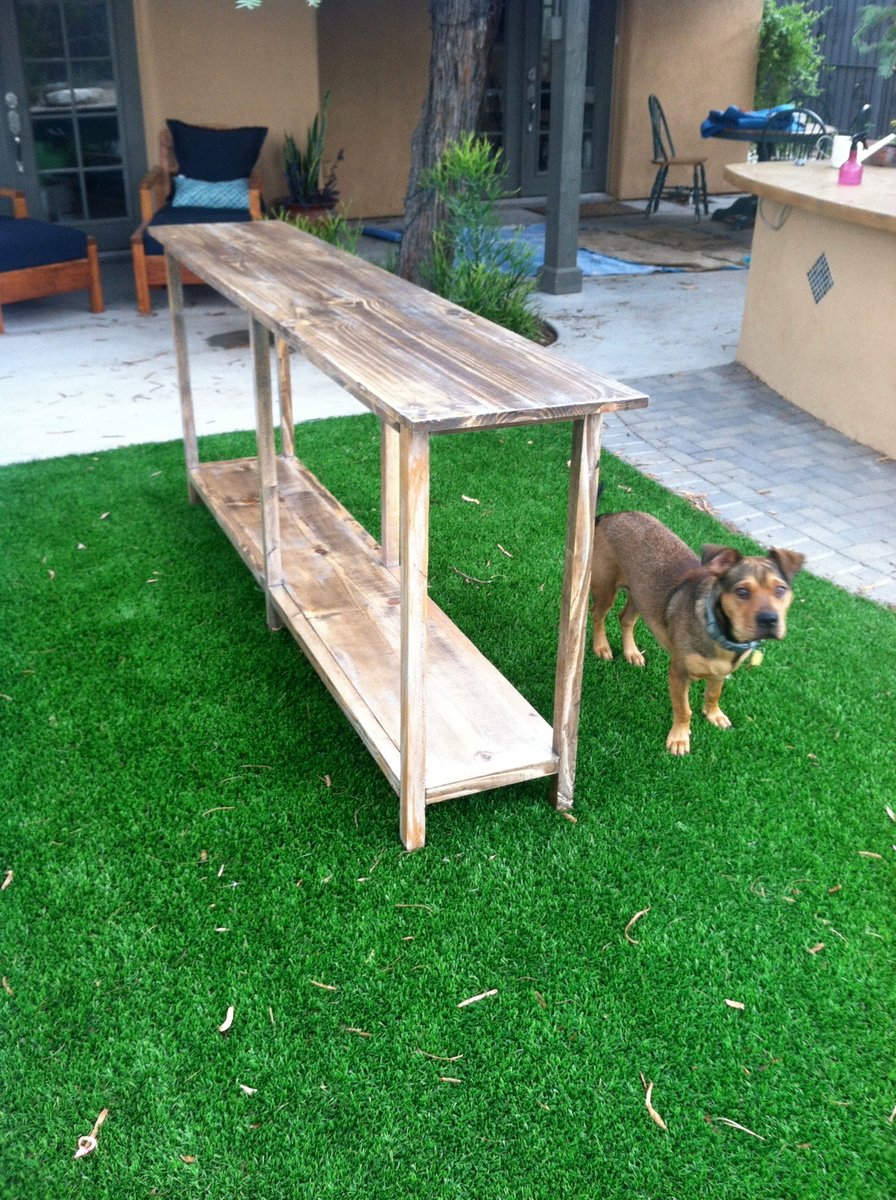
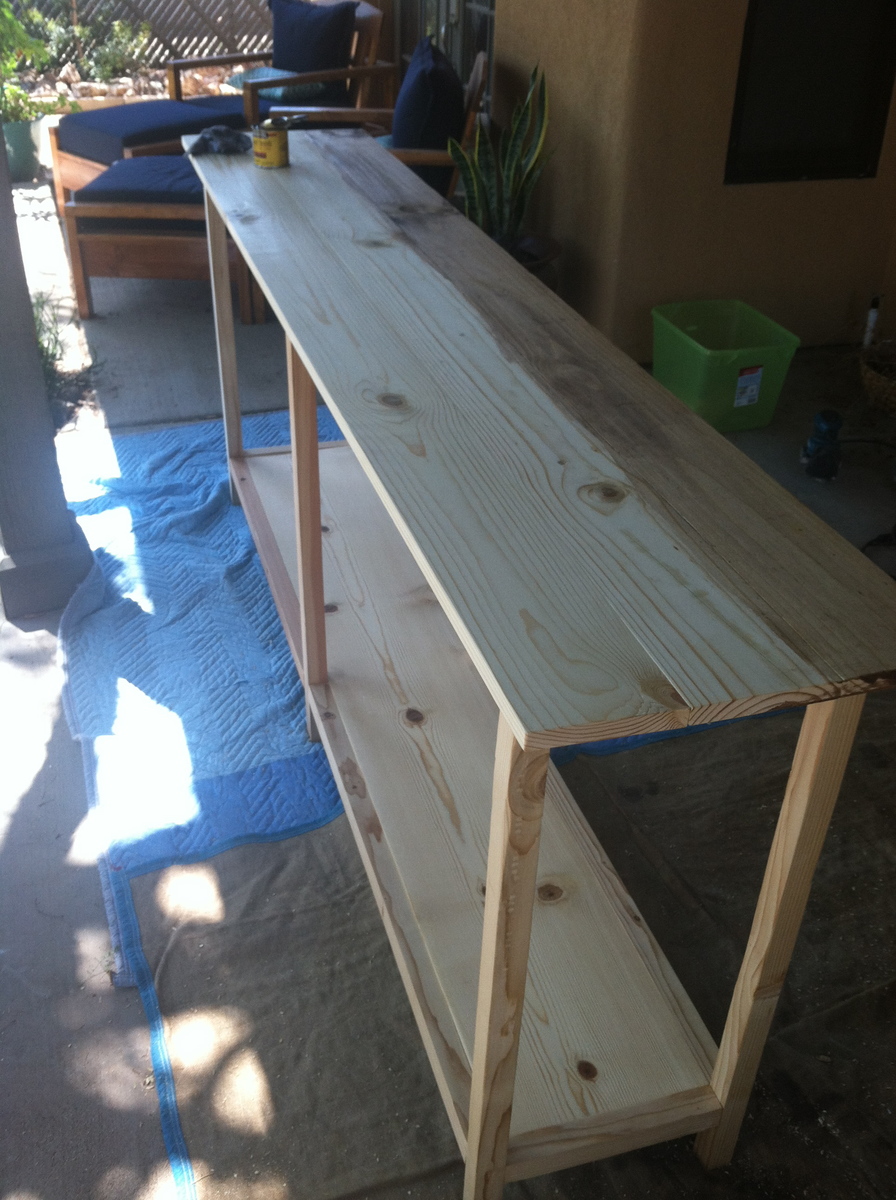
Aromatic Cedar table
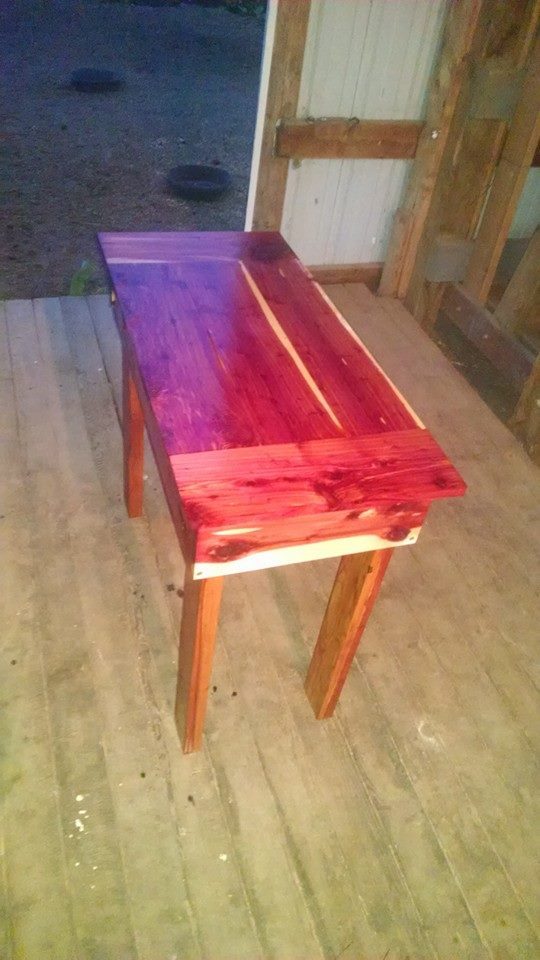
Simple table built with Aromatic Cedar.

Simple table built with Aromatic Cedar.
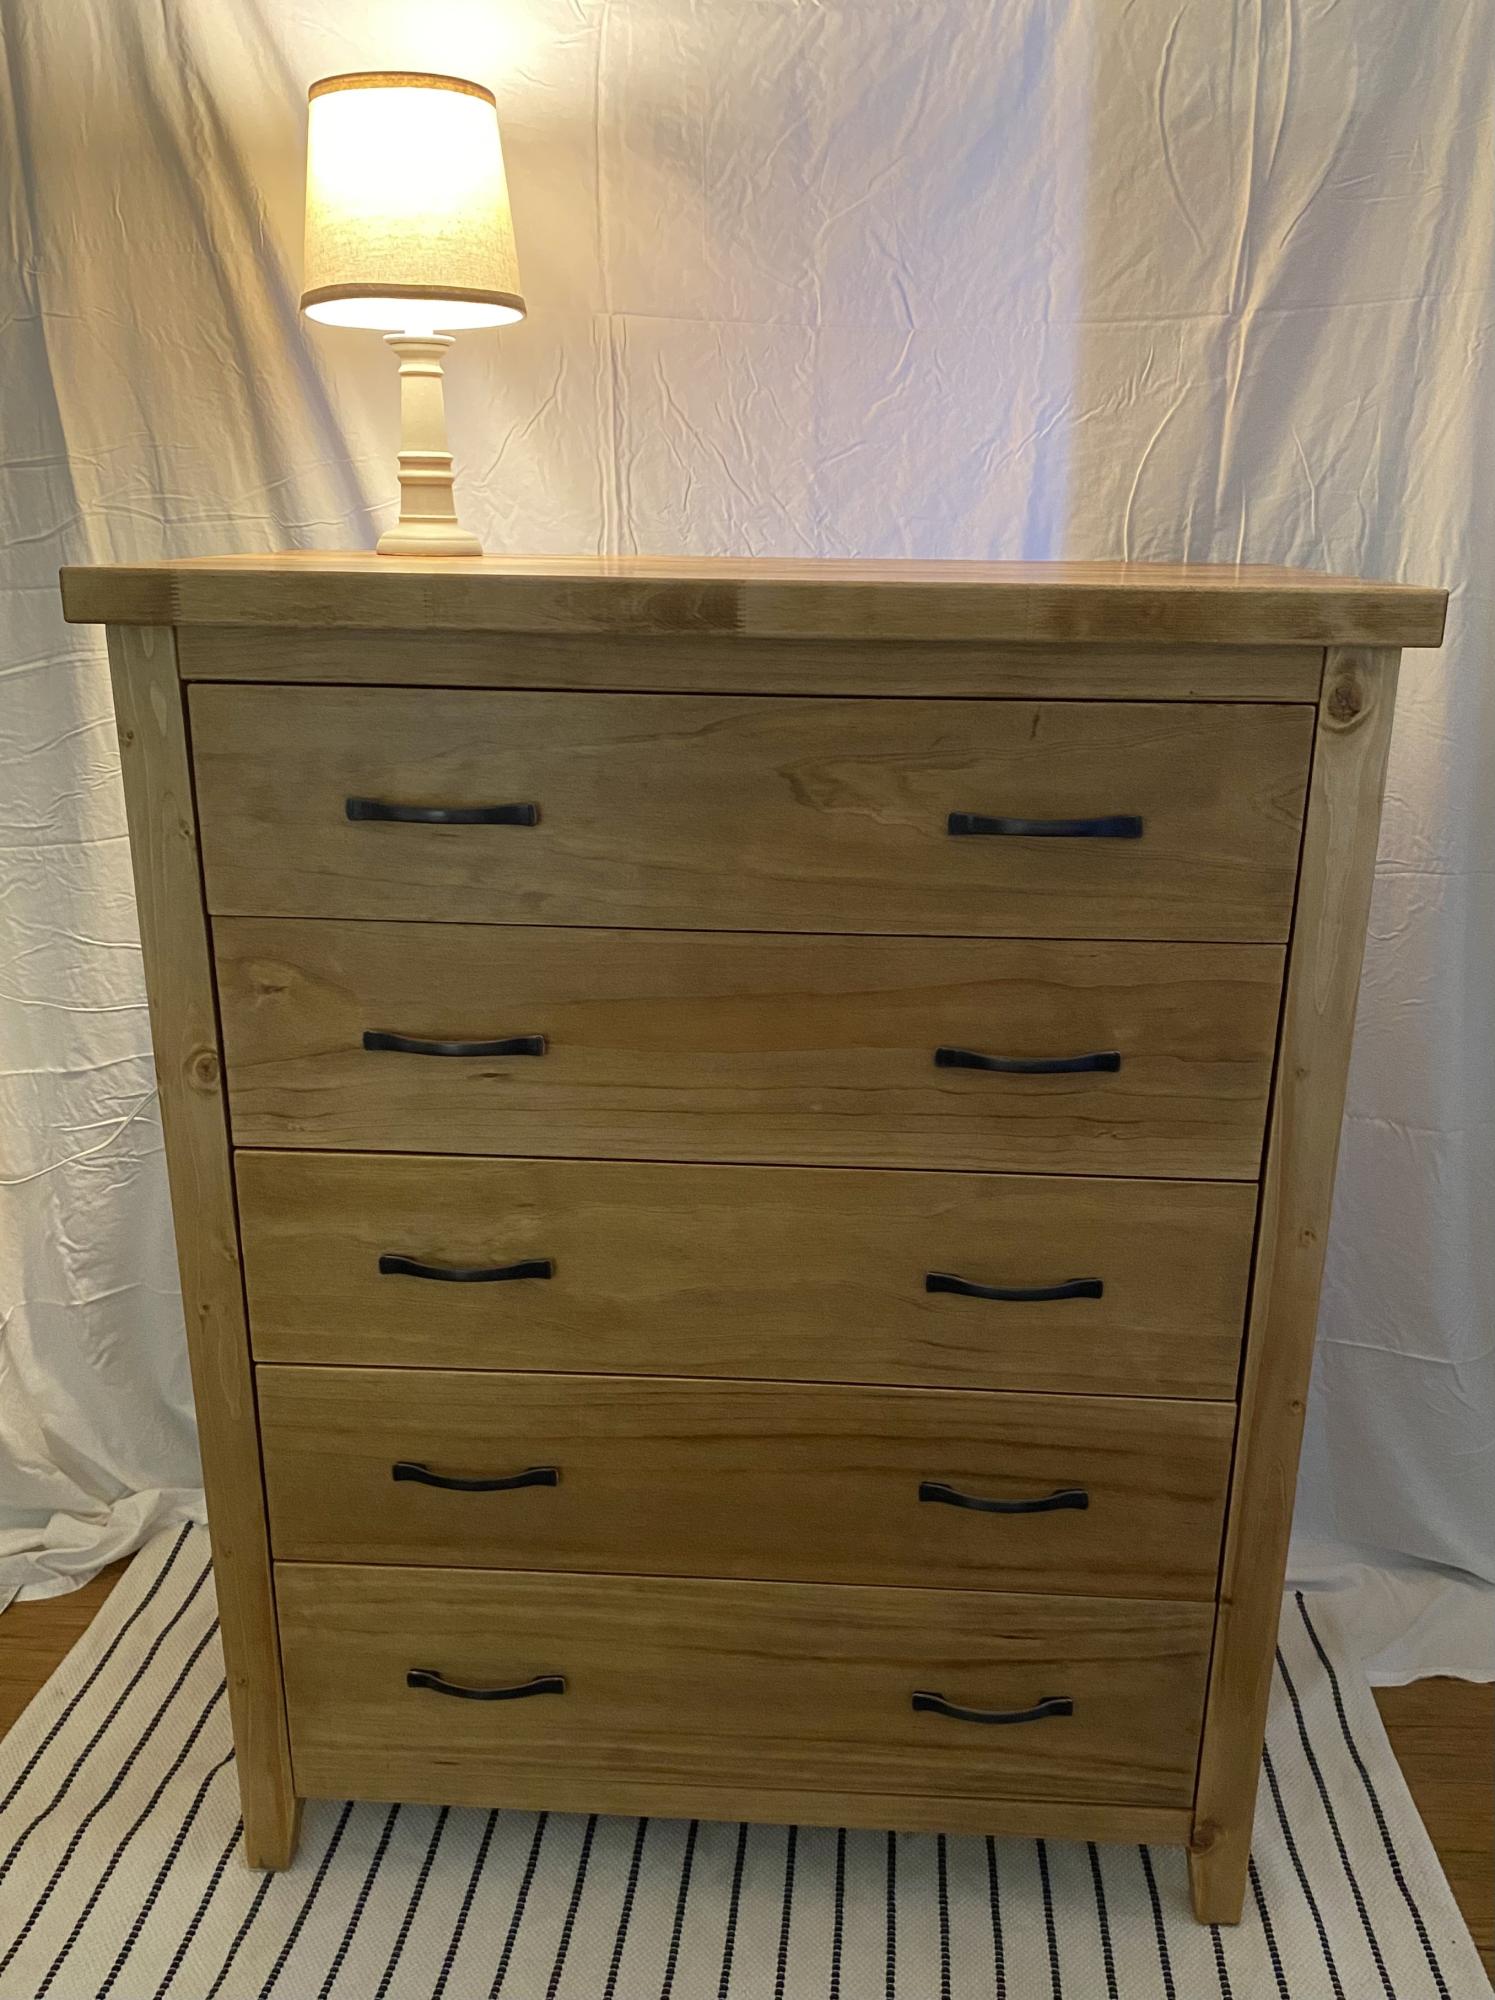
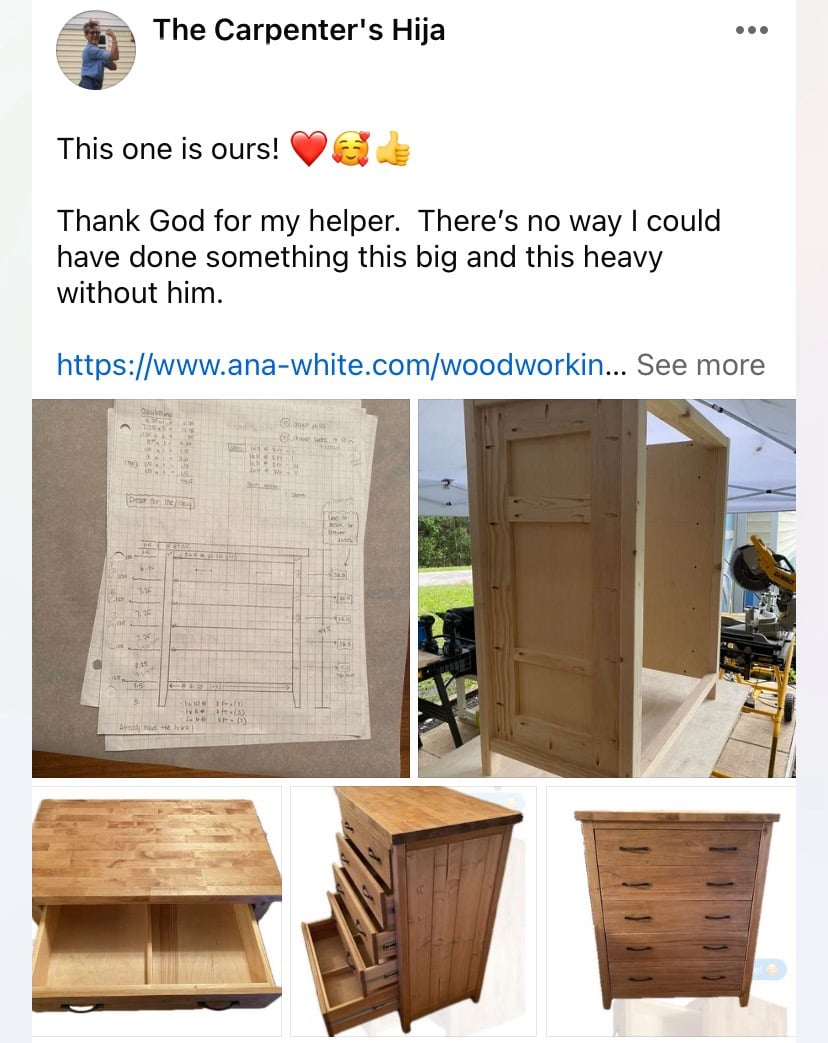
I used this plan, https://www.ana-white.com/woodworking-projects/chest-drawers-2-4s , but I made it a little taller and wider. - The Carpenter’s Hija
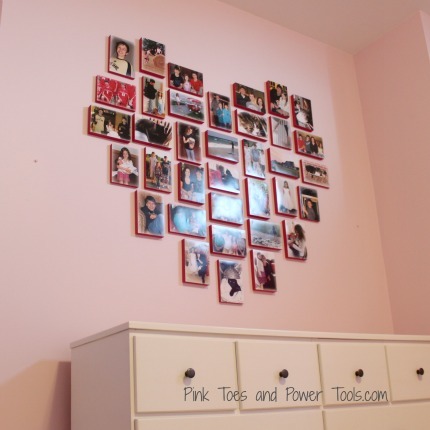
I have a hard time throwing out any scrap I have after I finish a project, so I had accumulated a fair amount of 3/4 and 1/2 plywood. I used up every last bit of it putting a scrap wood heart collage in my daughter's room! This is the perfect project for getting lots of practice making cuts on a miter saw for a beginner and hanging it is a breeze if you follow the steps I took in the blog post I wrote up about this.
Easy and free. Love those kinds of project :)
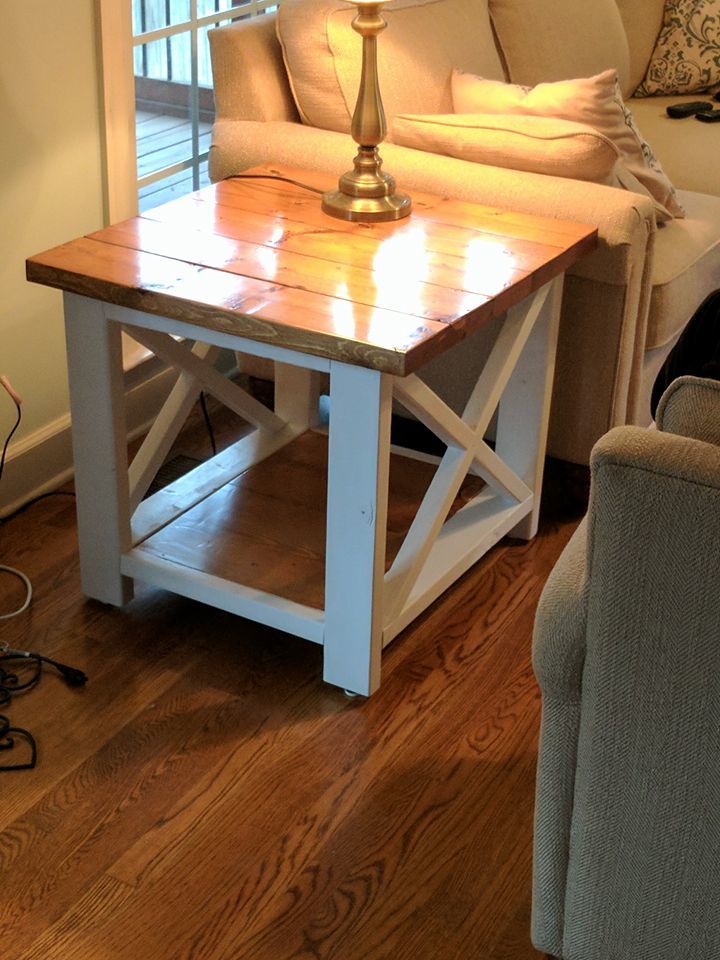
This was my first woodworking project ever. No woodworking experience at all and very little experience with power tools. I am super inspired now and have tons of other ideas lined up.
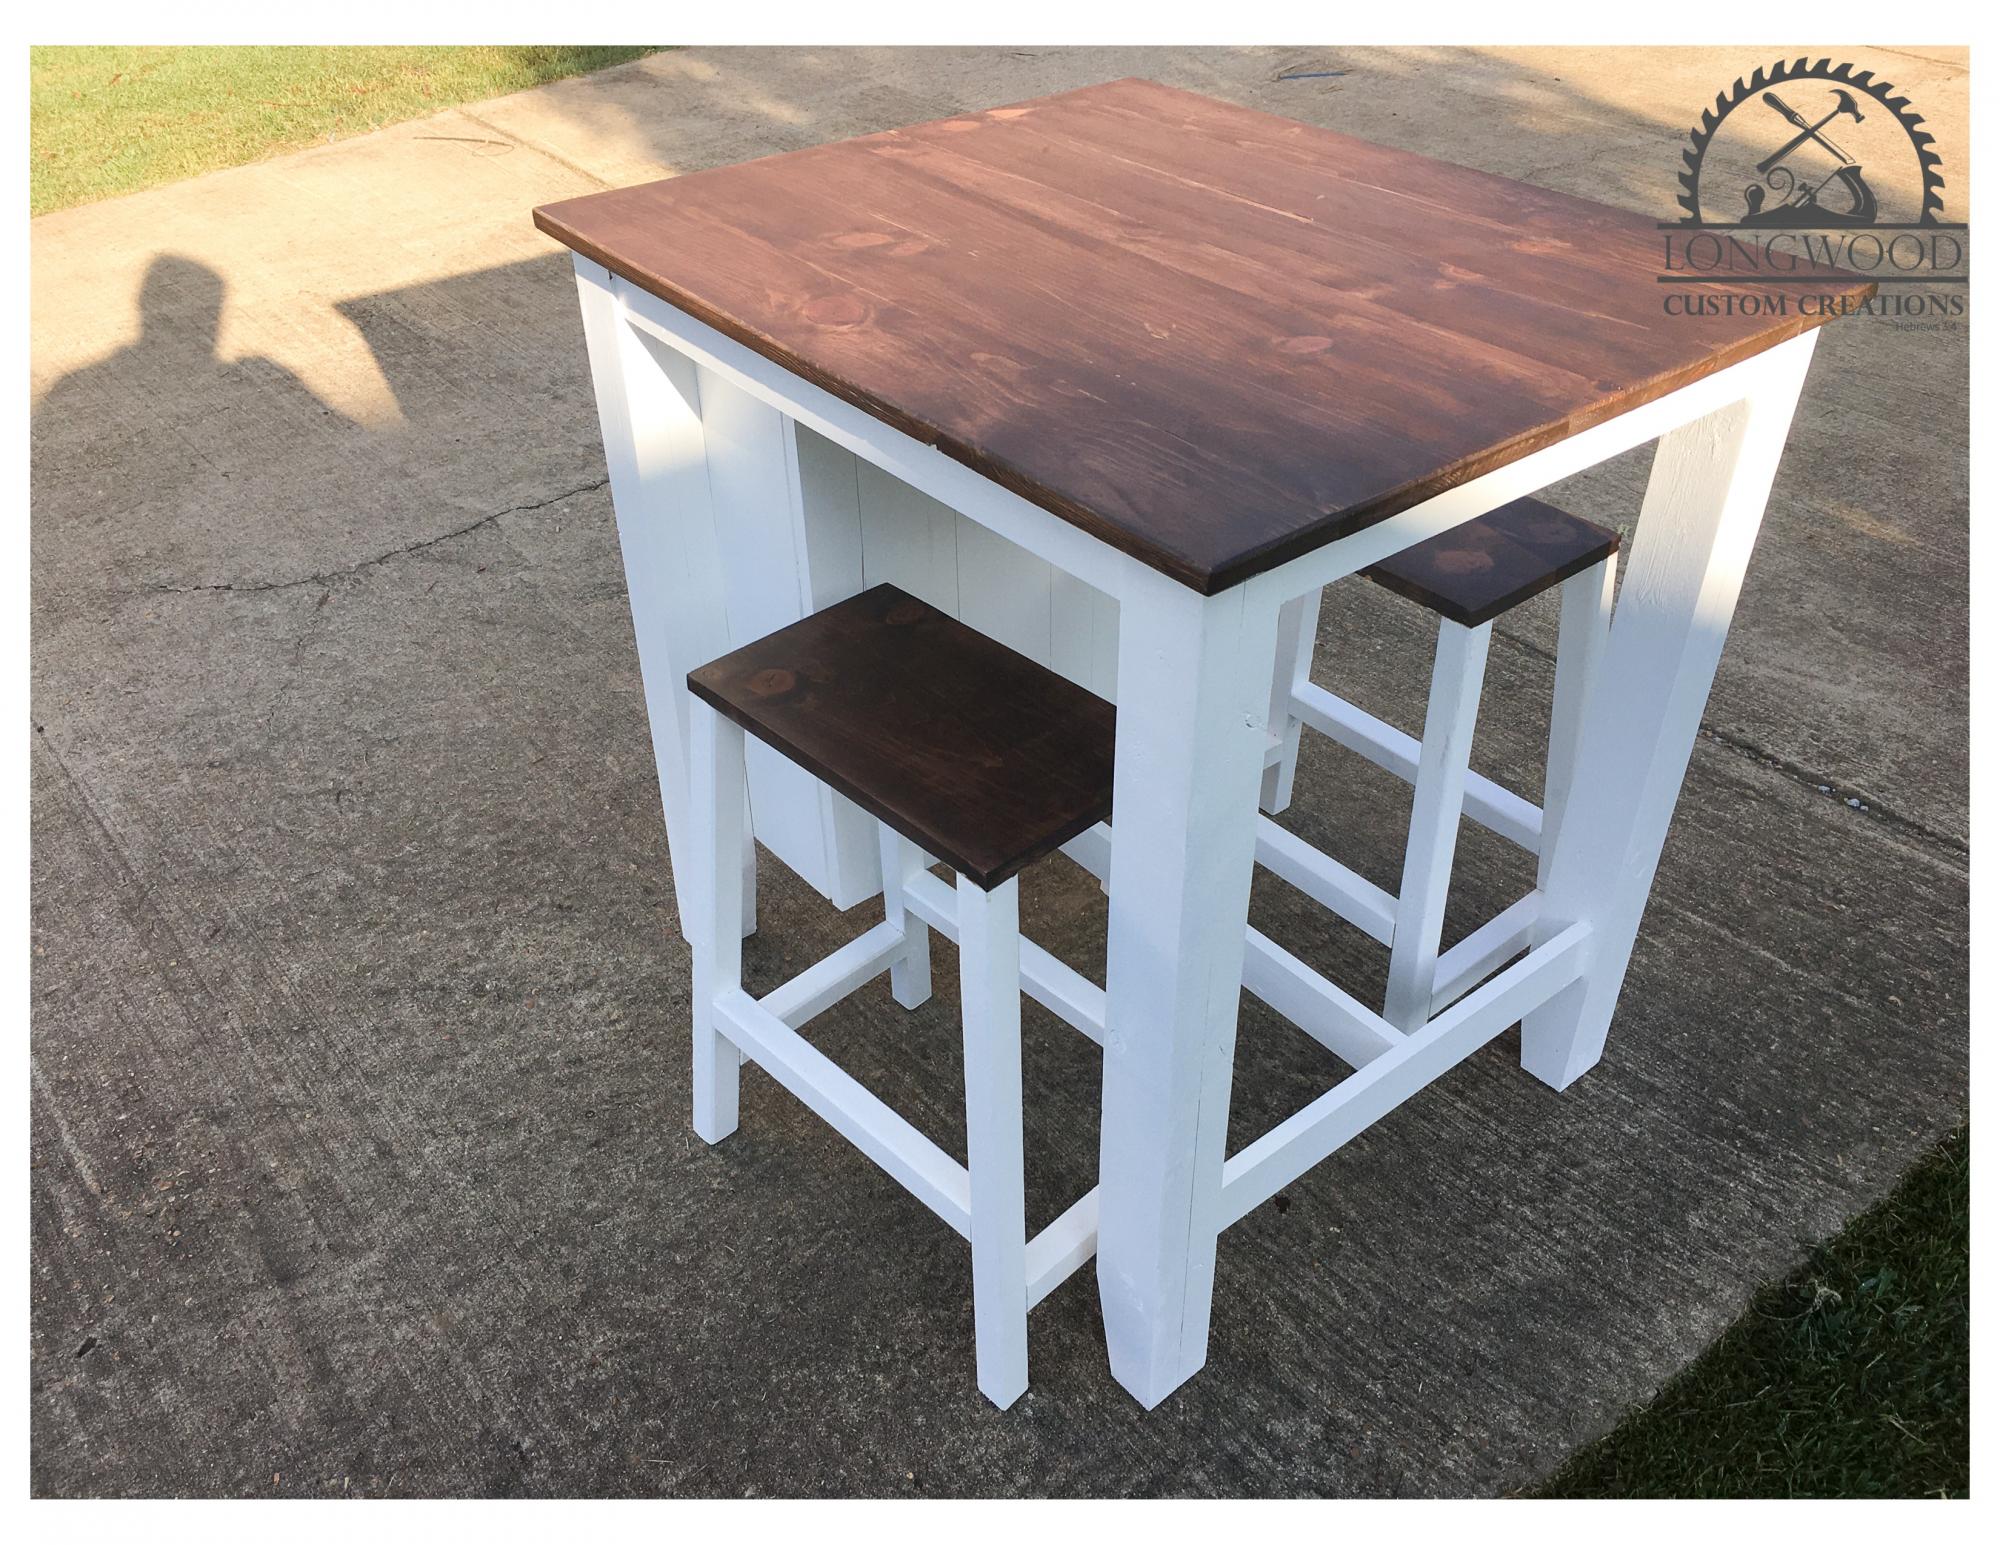
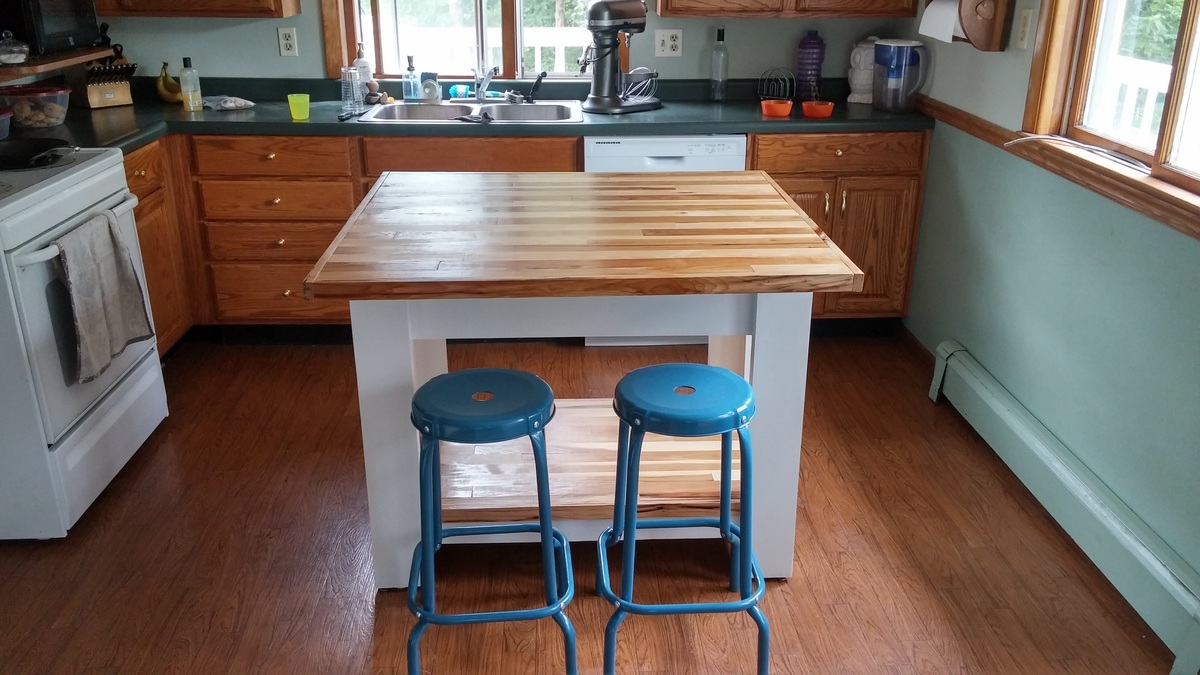
I had a friend who was interested in a small island with two stools that looked like this offered by a fancy home interior store. The reviews weren't all that great, even for the half off sale price. They needed something small to fit their space that would basically serve as a dining area for her and her husband. It is build out of spruce and whitewood lumber. White paint and dark walnut stain, with poly on top. The legs are two 2x4s glued together , then ripped each side to square it off making it an actual 3" x 3". The stools came from Ana's farmhouse counter stool plan. The island I just went with overall demensions and built it from there. Pocket hole screws and finish nails.
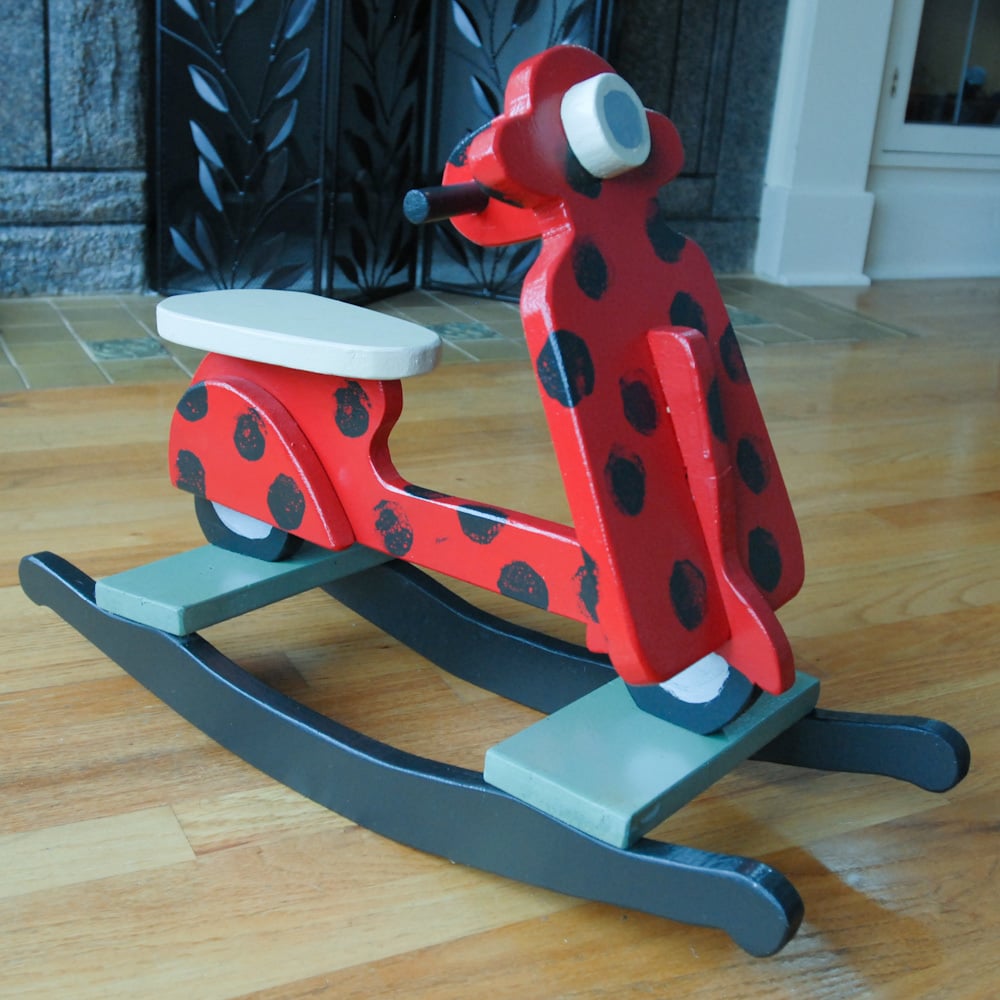
There were some parts missing from the plans. I wrote out what I did to build this rocker on my website.
http://www.domesticated-engineer.com/1/post/2012/12/ladybug-moped-rocke…
Make sure to use hard wood! My rocker broke within the first hour. Wood glue fixed it but it gave me a good scare!
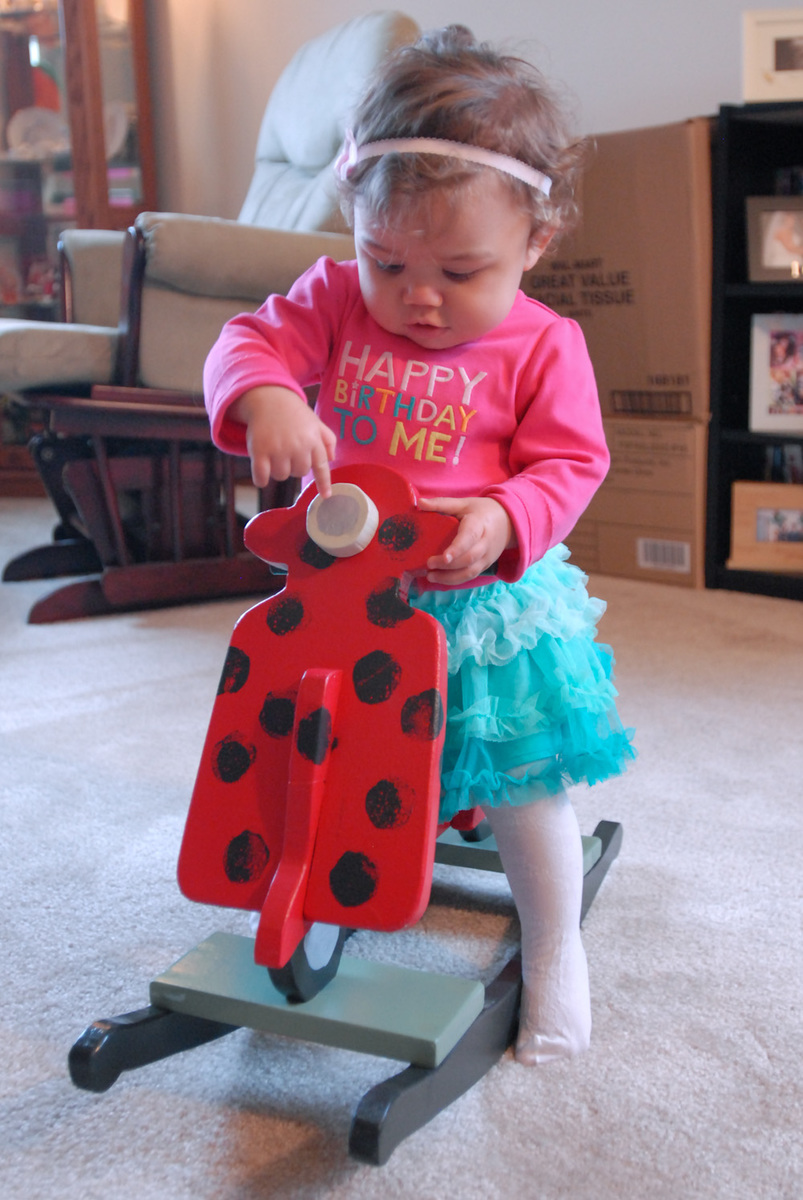
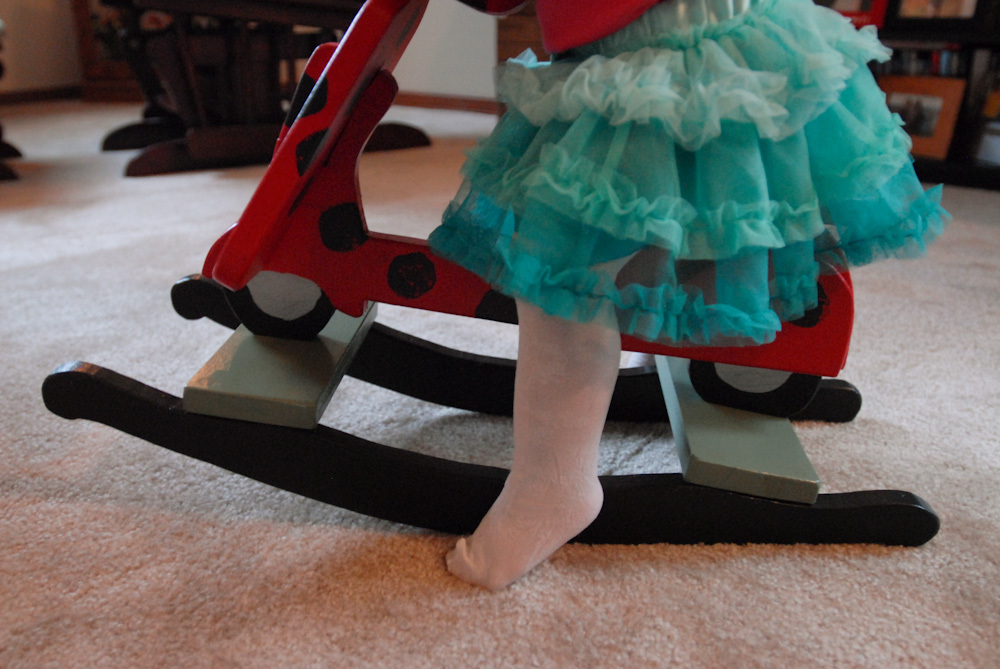
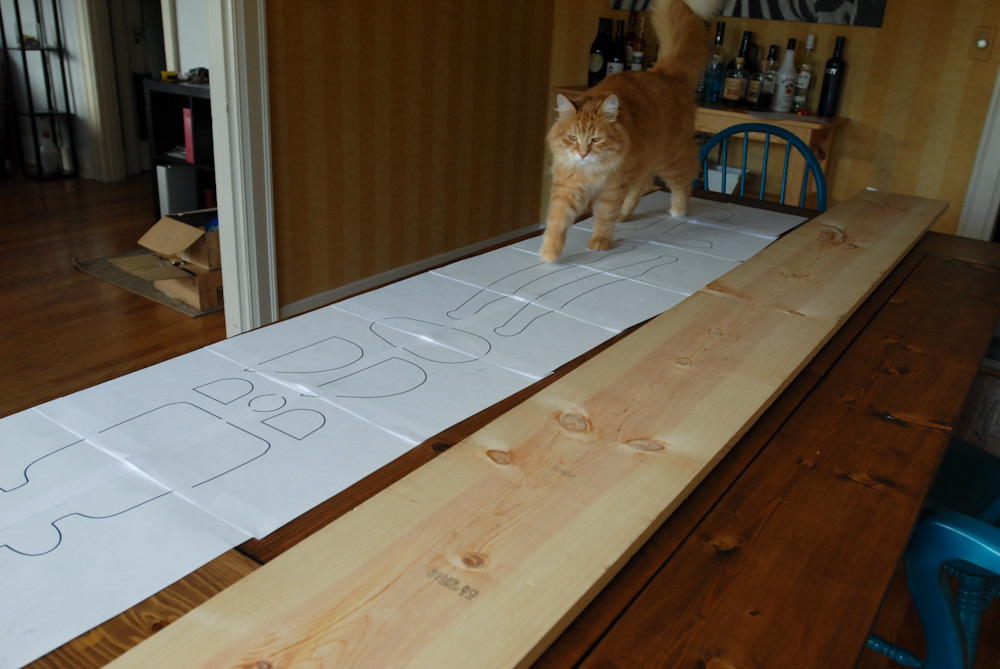
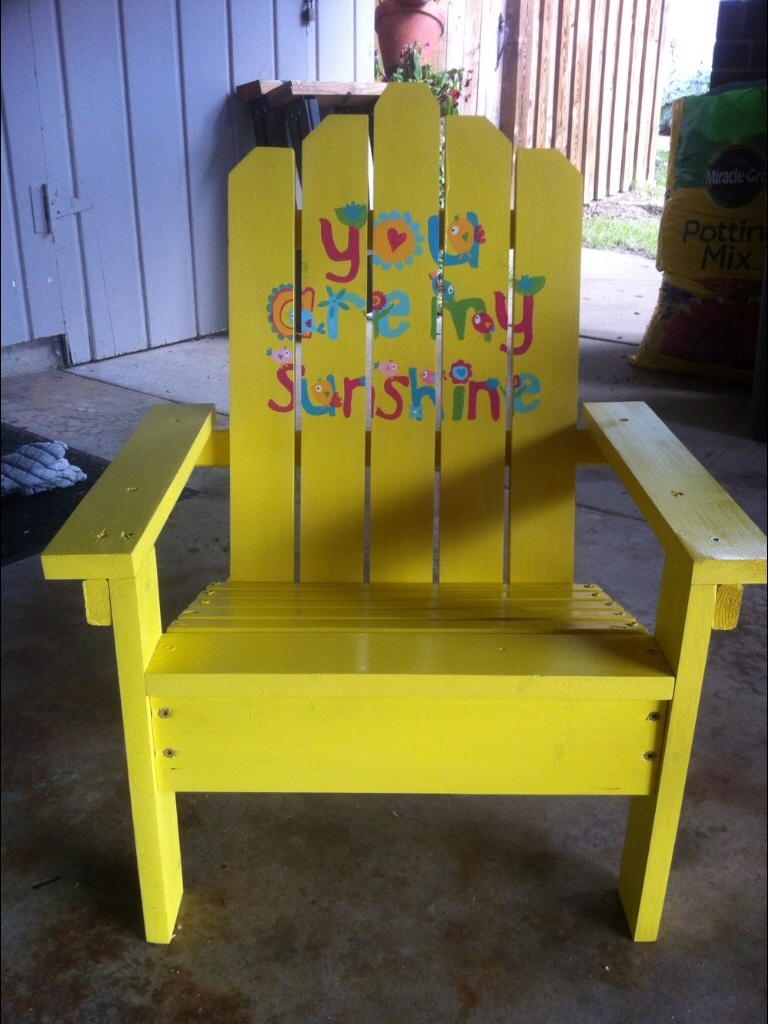
Just changed the back a tiny bit. My nieces and nephews love these! Thanks for the great plans.
Wed, 09/17/2014 - 15:25
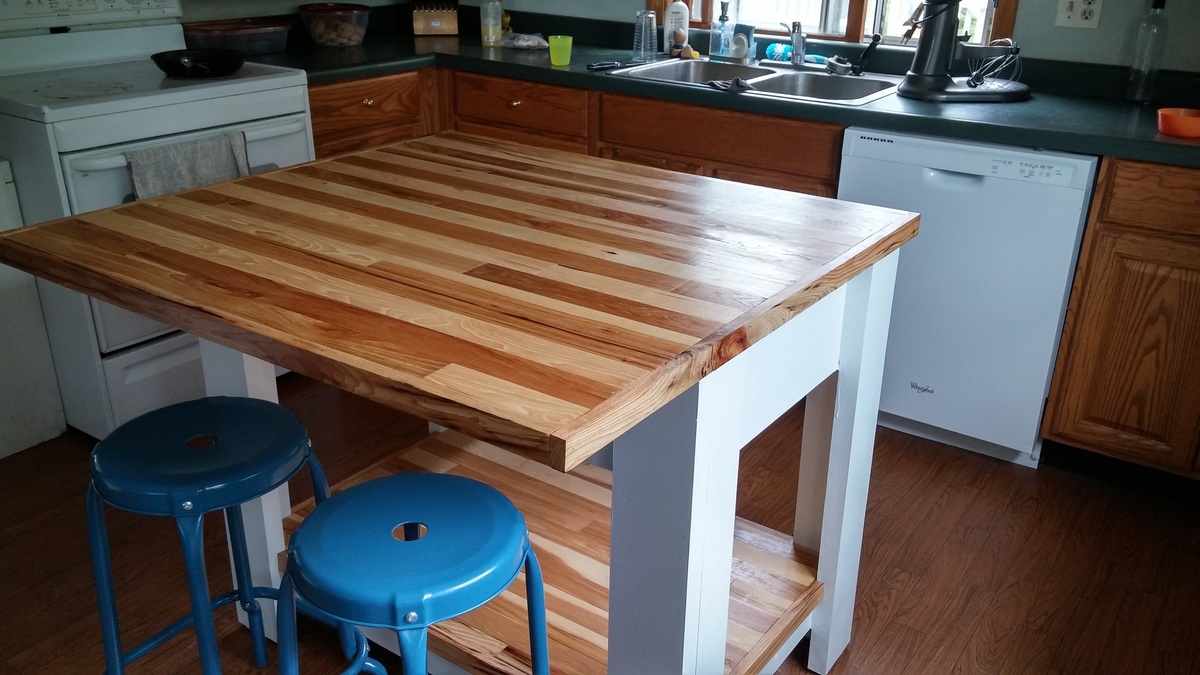
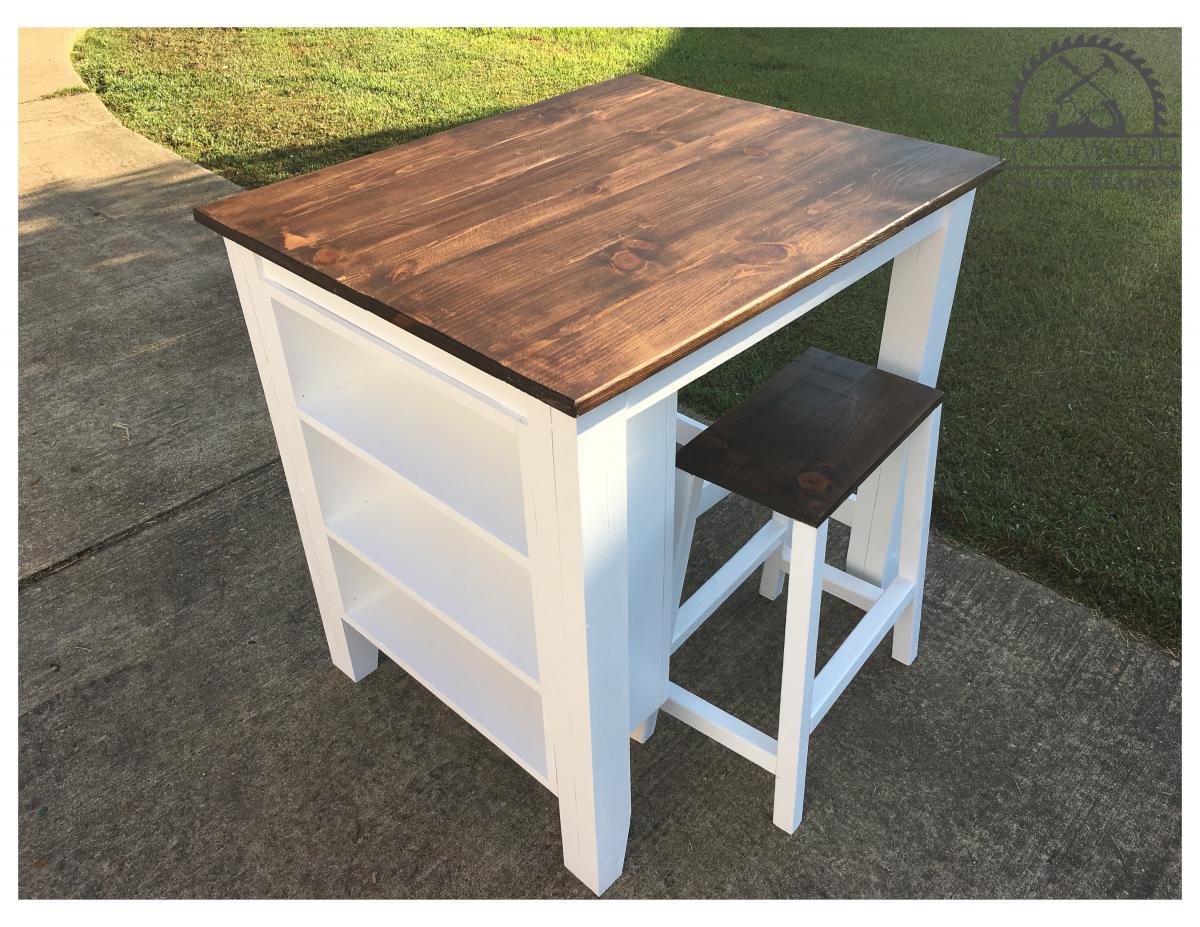
Basic kitchen island
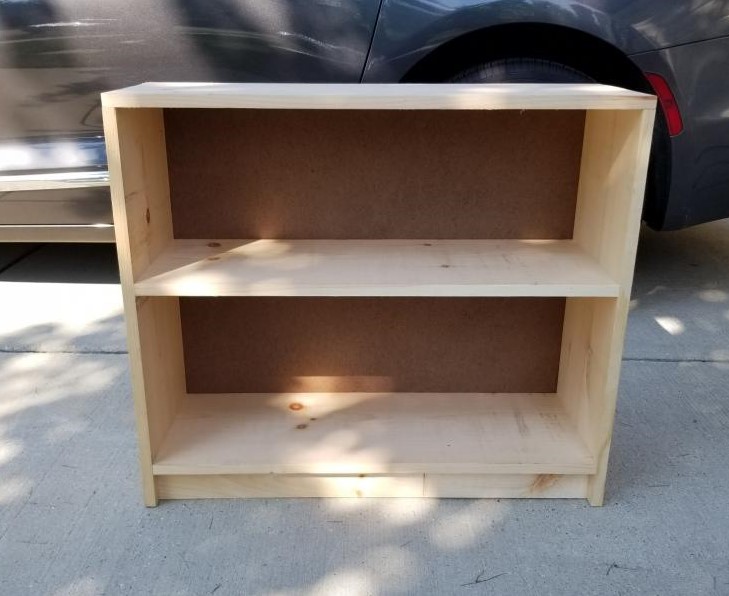
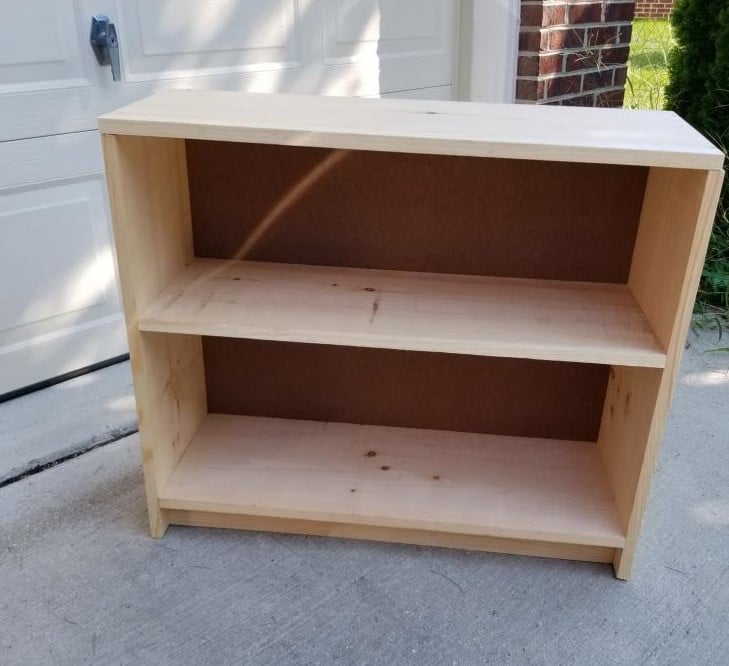
2 bookcases for my family, storage and organization. Left raw for them to customize. Current vision is purple and pink or maybe an ombre stain like we saw on Good Bones. Hopefully I can add update of final decision.

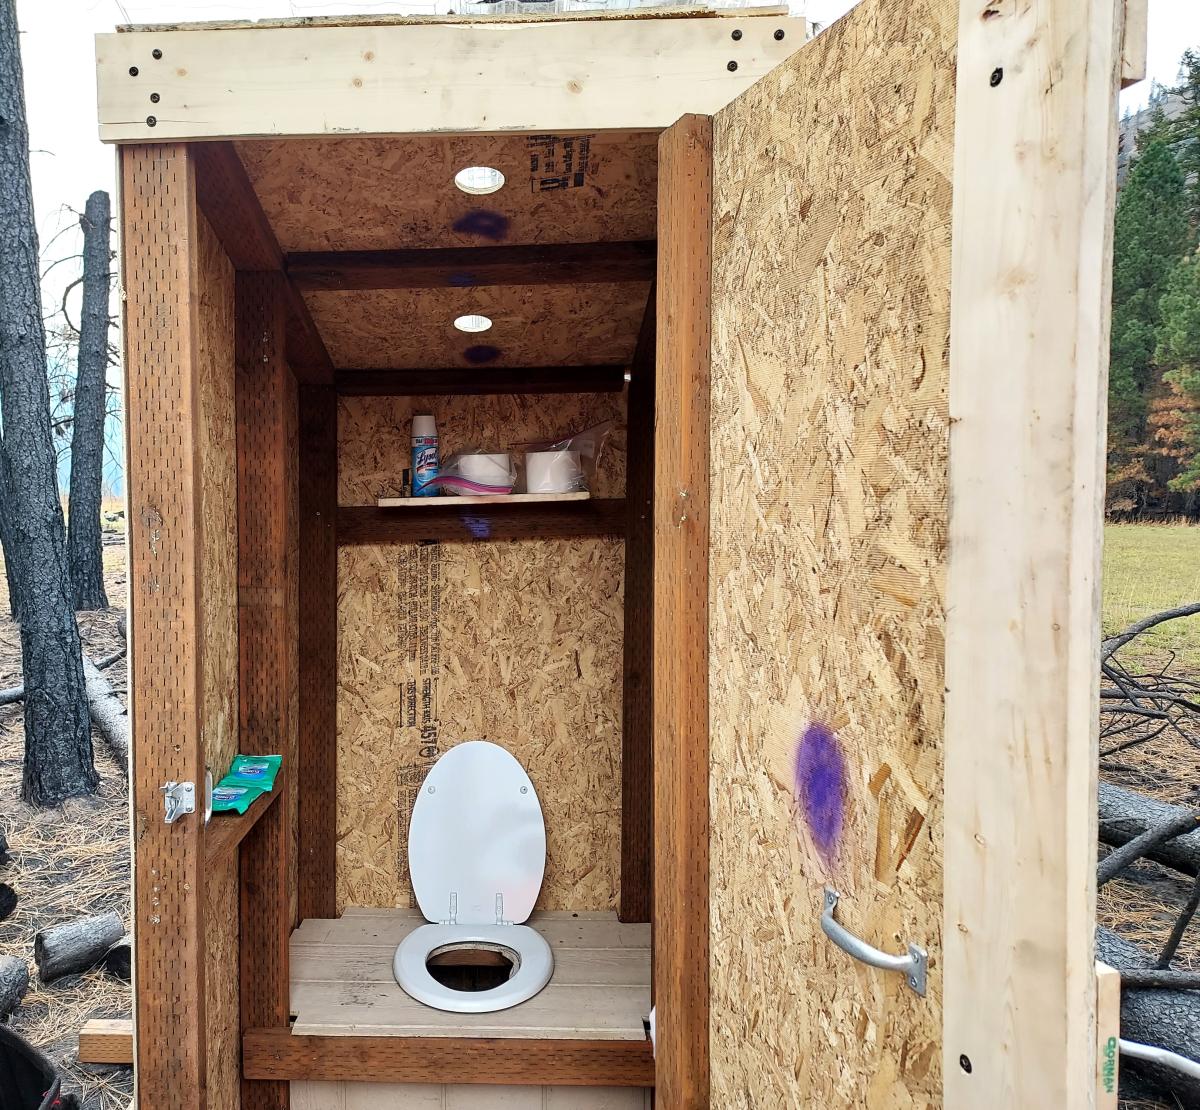
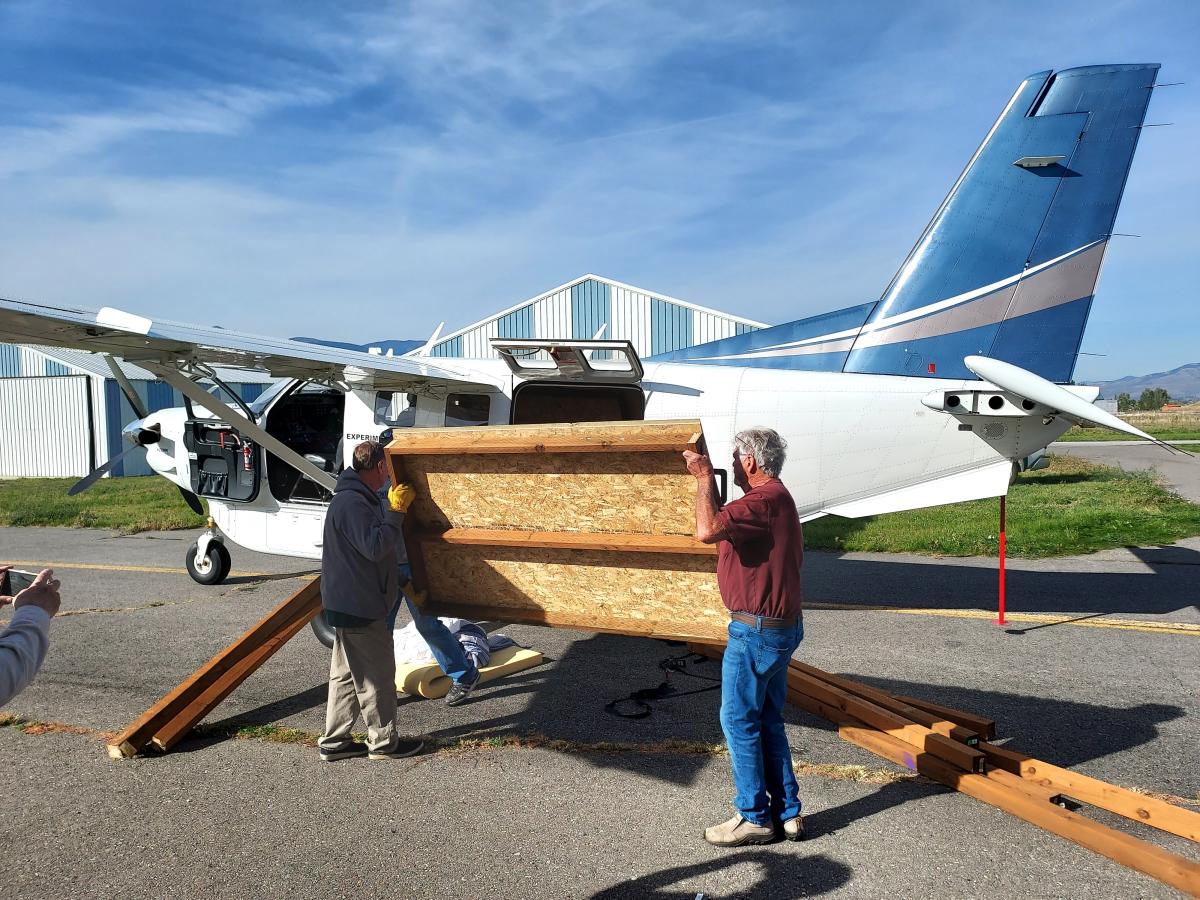
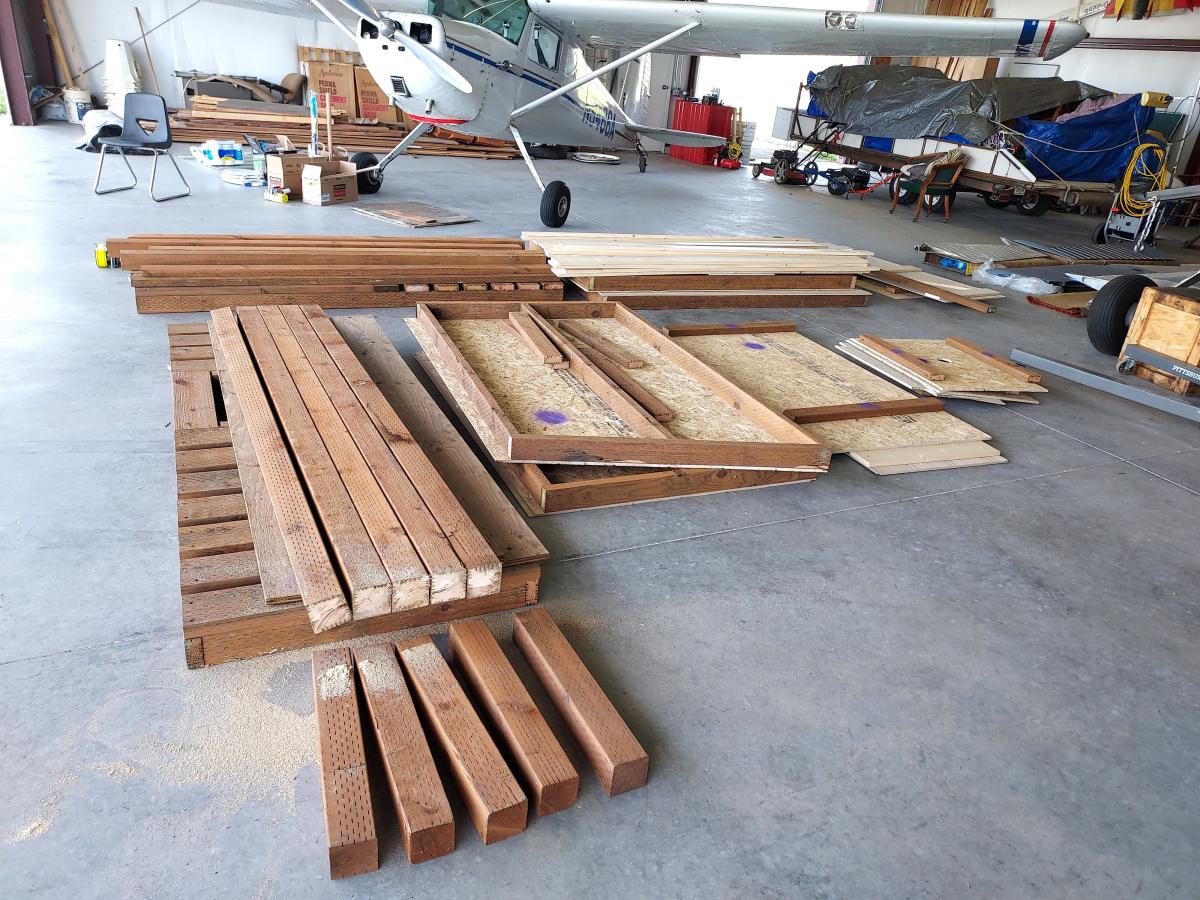
Built as panels adding a large base for holes. Replacement for fire damage wilderness toilets. Loaded into Kodiak aircraft and assembly by volunteers on site. Worked Great! Thanks Ana!! - Wingnut13 RAF theraf.org

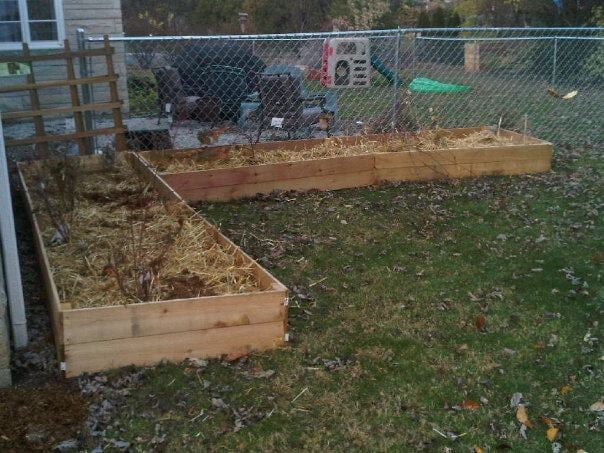
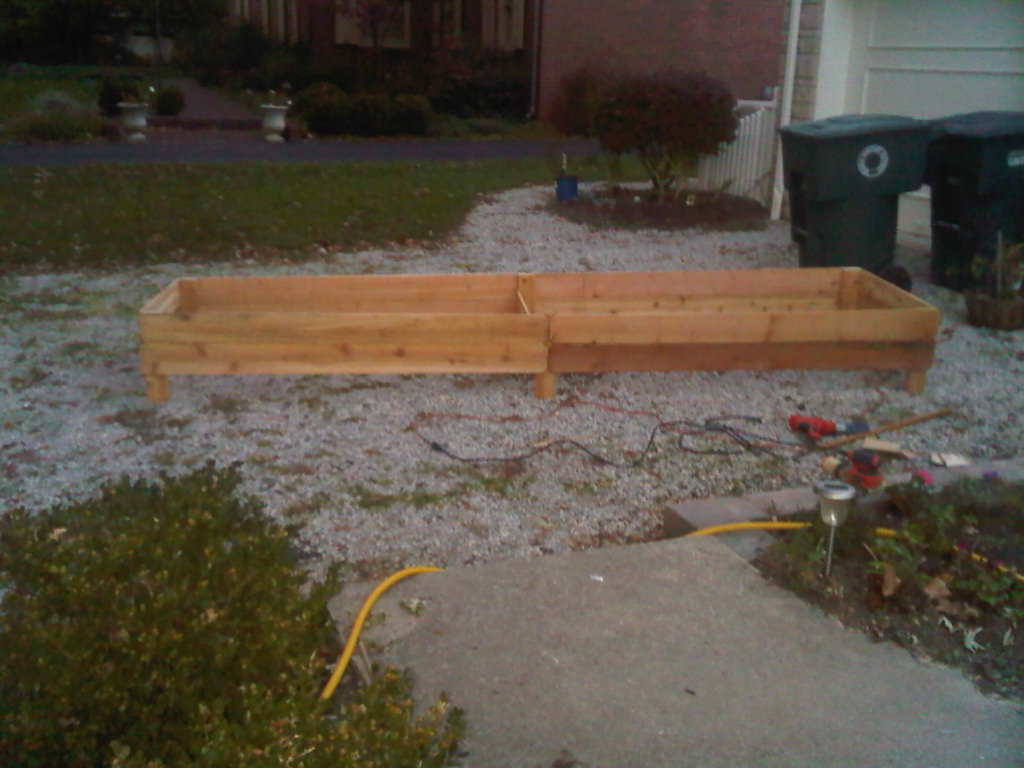
I used the same cedar fence boards, but for a large berry patch made with minimal cuts. The end boards are 1/2 the length of the long side boards. I made them 2 fence widths high - about 11 inches. Each bed is nearly 12 feet long. I joined the dogeared ends of 2 boards in the center, making a diamond cut out pattern that looked good. In order to support the tall sides, I used cedar 2x4x8 boards. Use 18-24 inch posts on each corner and at the center joint. I cut an additional board in half, affixing it to the center posts, to brace the long sides and add stability. Each box is approximately 3 feet wide, 12 feet long, and 11 inches tall. You'll need 8 fence posts for the long sides, 2 for the short sides, and 1/2 for the brace - you could use a different piece of wood for this, but the cedar fence posts are such a deal. You'll also need approximately 9 feet of cedar 2x4 for the corner posts - I bought 8 foot lengths and cut each into 2 foot posts for stability. The cost was around I'll add 2x4 posts in the spring and put a trellis behind the raspberries. If the birds start to steal my blueberries, I'll add metal or wooden corner posts that will support fruit netting. We're planting strawberries around the base of the larger fruit bushes. The 11 inch sides should keep rabbits from invading. If they are persistent, I'll add a few inches of chicken wire around the top edge. This made the equivalent square footage of 4 of Ana's original $10 beds.
Fri, 12/07/2012 - 17:57
This was similar to the construction I used for a compost bin - will post that next!
Sun, 12/09/2012 - 10:40
I'm putting together several L-shaped raised beds out of 6x6s with the internal walls being 2x6s. This gives me encouragement. I really like the look of this! Thanks.
Sun, 12/09/2012 - 10:42
I'm putting together several L-shaped raised beds out of 6x6s with the internal walls being 2x6s. This gives me encouragement. I really like the look of this! Thanks.
Combined a few different plans from Ana White and made a tiletop coffee table and matching end table.
TV console is next :)
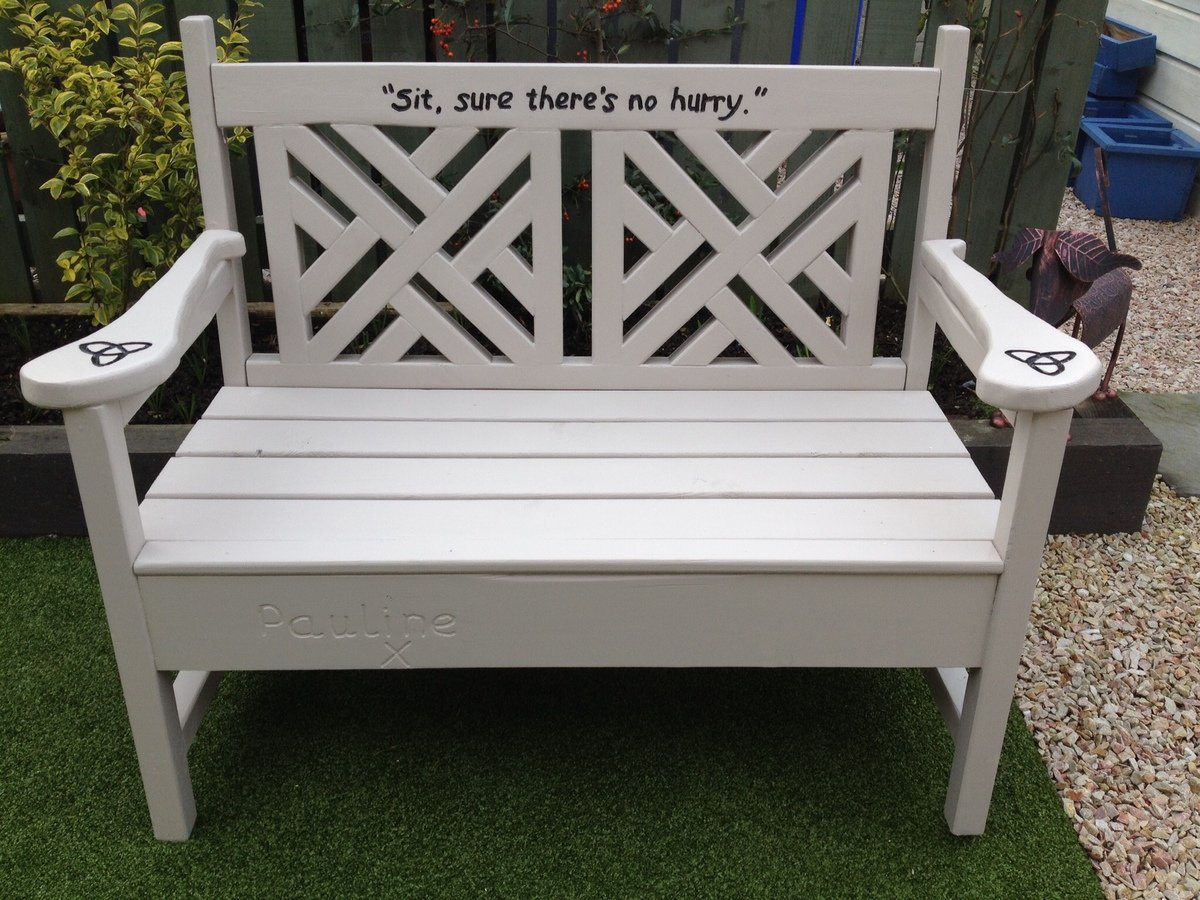
I built this as a memory bench in honour of my father who died on 27th January 2016. Because of you Ana you gave me the confidence to start building furniture. But because of him I had the skills and desire.
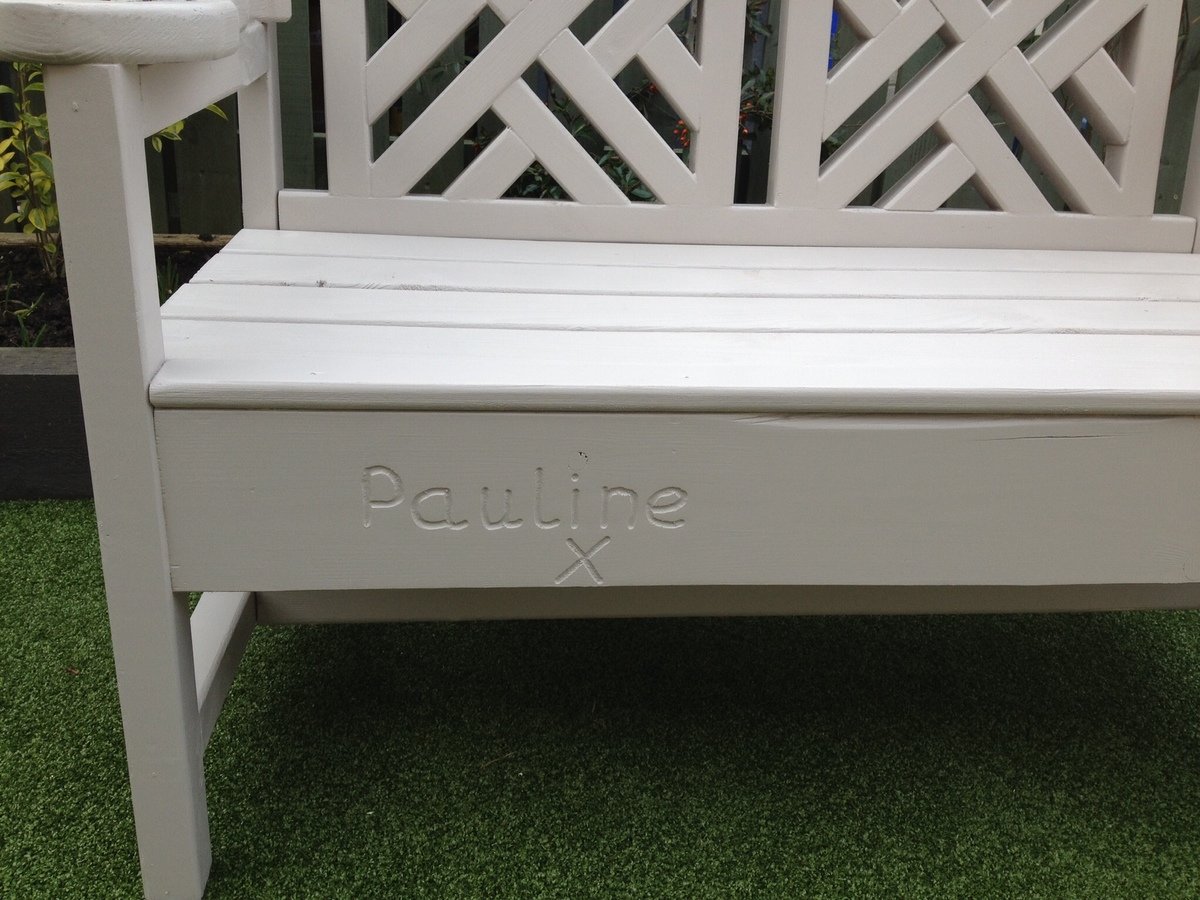
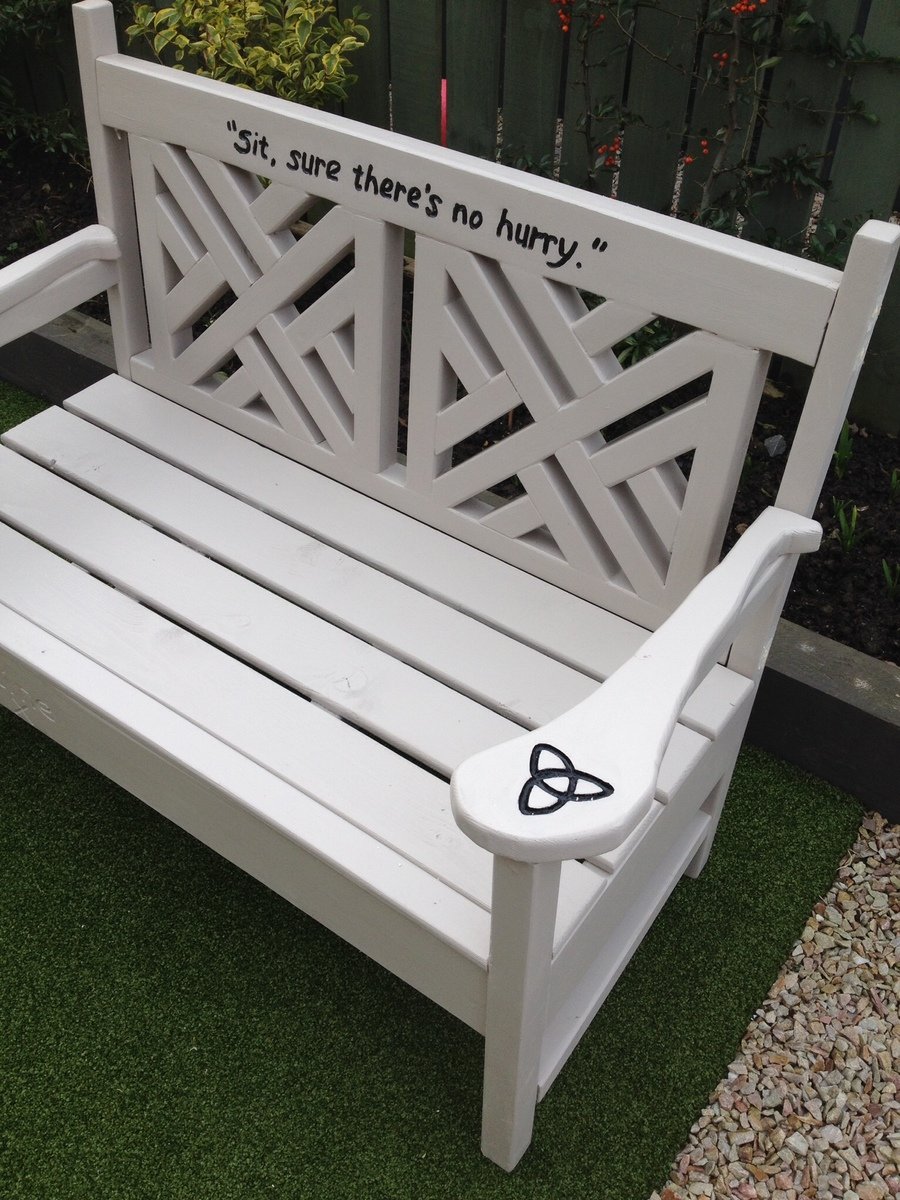
This is my first wood project. It was probably a bit ambitious for a first project, but what can I say other than Ana White inspires me.
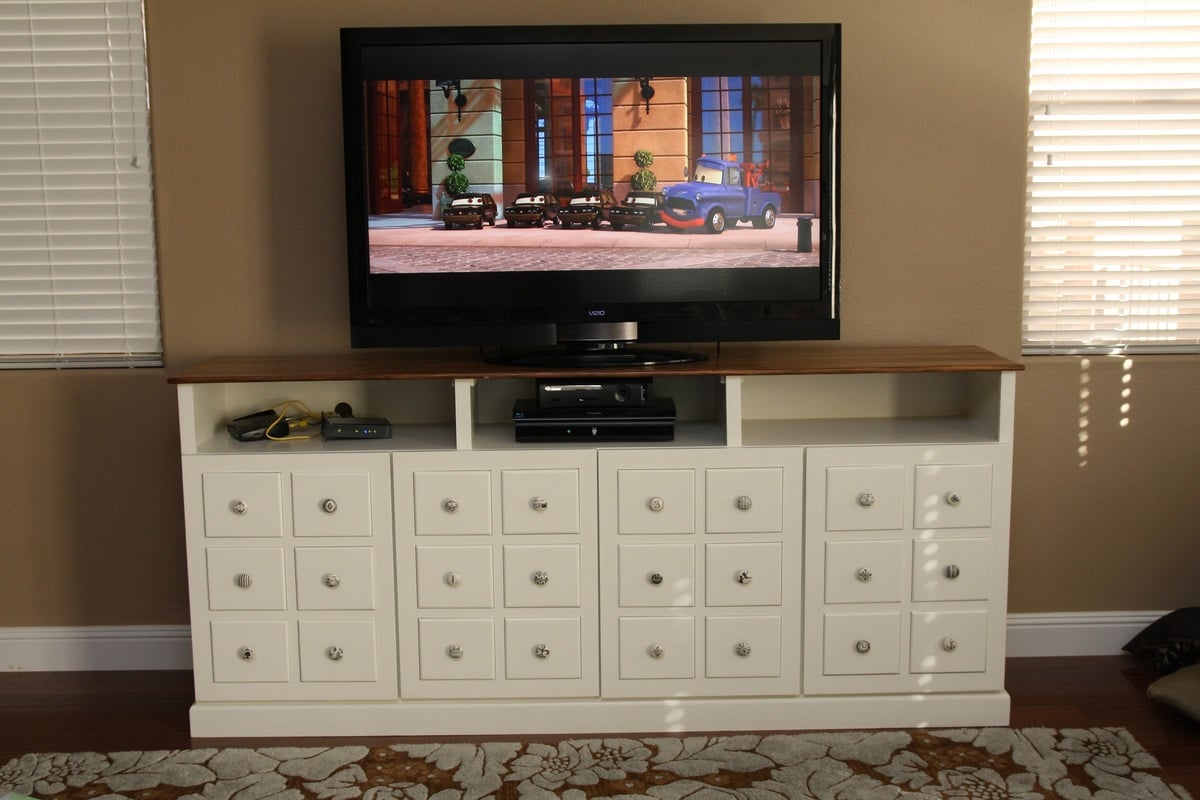
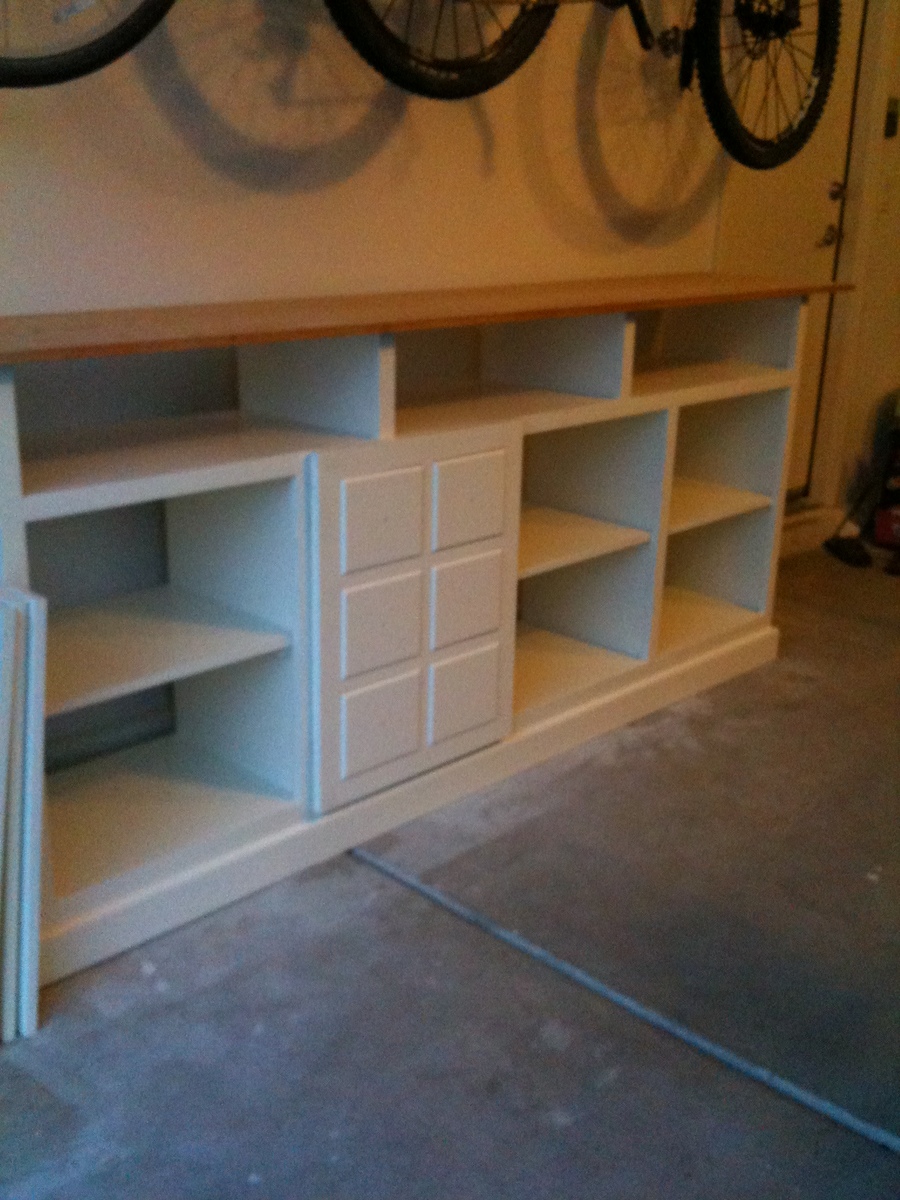
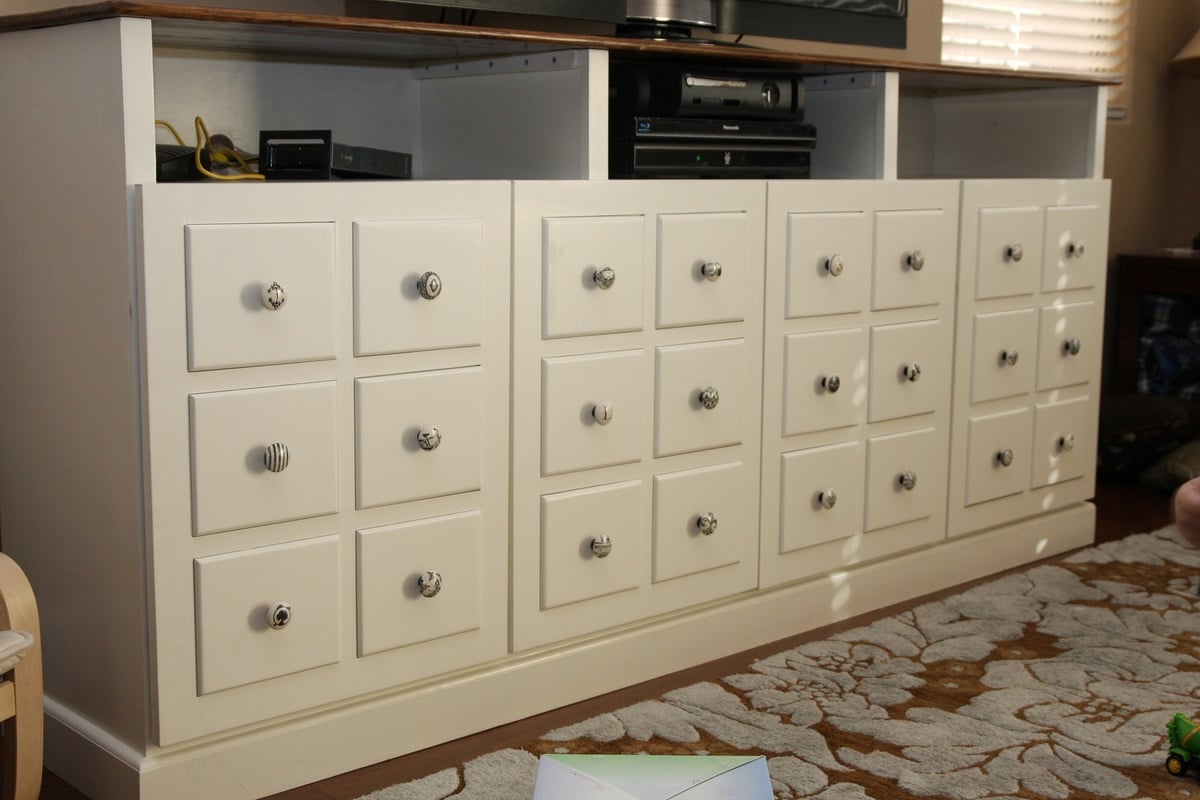
It all started with buying that big ol' TV. We had a chunky armoire that wasn't going to work anymore and I really liked Ana's Apothecary Console and I REALLY liked kayleentheobald's take on the Console in the brag posts. My wife went out of town for the week and I had redhead_61 help me take the design and make it bigger to fit between our windows and be big enough for my son's bigger toys. I was going to be the good husband and surprise her with a finished product when she got back. So I went to work, every night after work with redhead_61 and got the carcass put together pretty fast and really the only thing we needed was the top and the doors. I decided to pack it all up in the back of the truck and ask my neighbor for help on the doors.
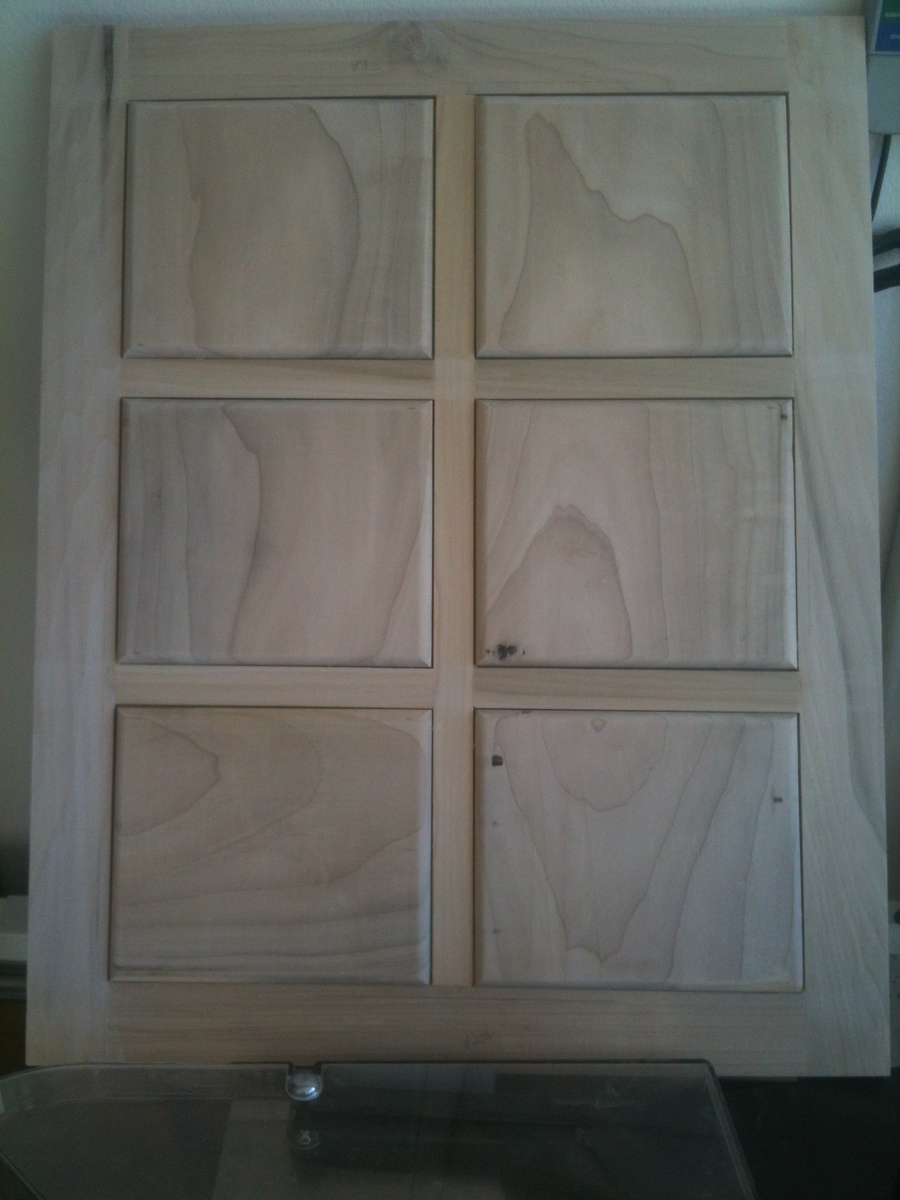
Now this is where the amount of time I put into the project got a little out of hand (BTW there is no button for "way more than a week" for estimated time investment). I told my neighbor that I wanted my faux drawers to look a lot more like an apothecary cabinet with smaller drawers, so we came up with a plan to make 6 panels per door all done tongue and groove using muntins and styles (like window panes) and do it without any screws or nails. If we knew what we were doing maybe we would have got the doors done in only a few days, but it took closer to a few weeks spread over a couple months due to work and other obligations.
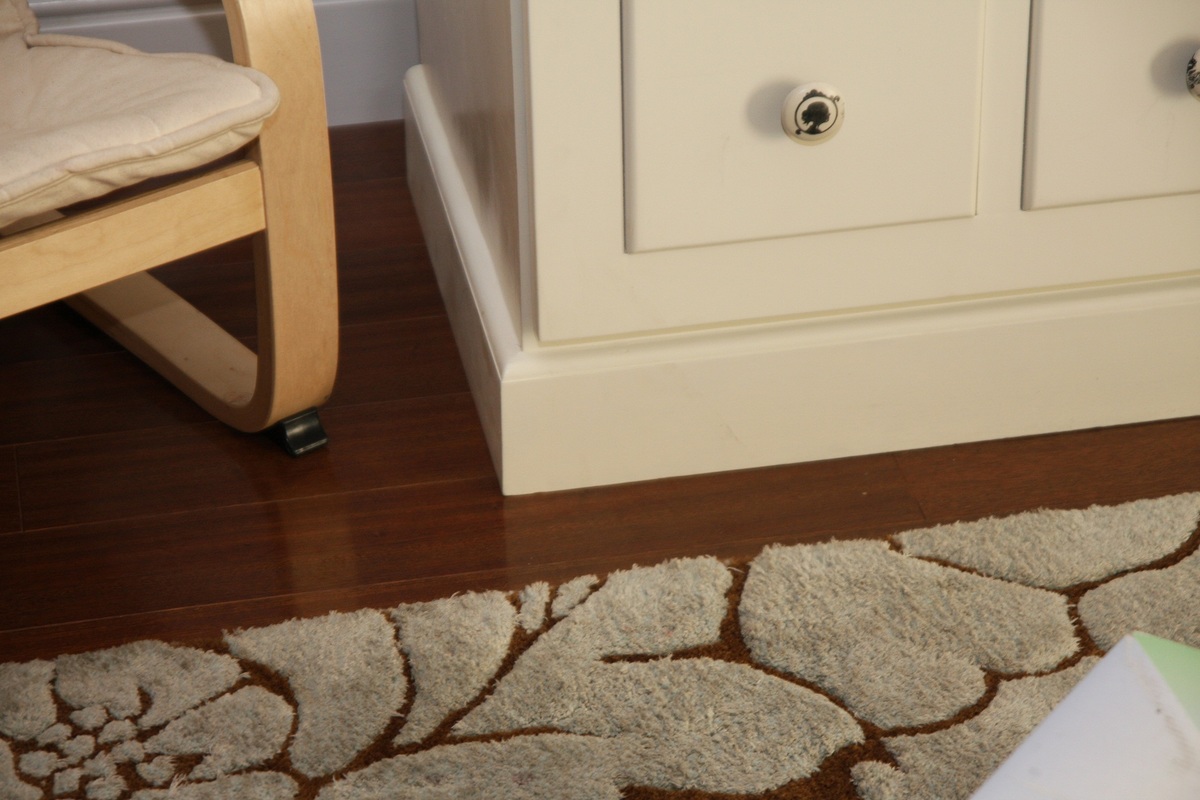
Building the base is not that hard; just square everything up and use wood glue and screws. We added a little molding at the bottom for some aesthetic appeal.
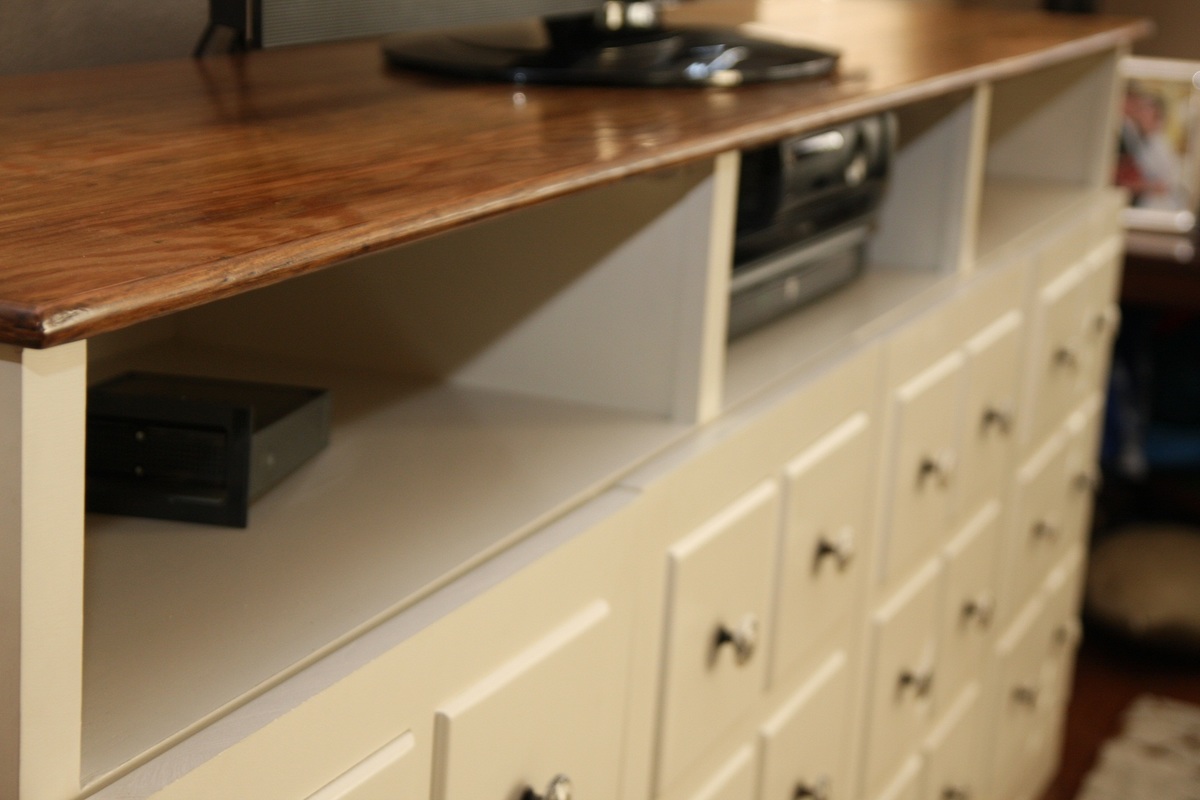
The real time came in the finishing I described below. After I had spent several weekends building the thing I no longer wanted something I could just throw in the family room and put a TV on top; I wanted a real piece of furniture that would last forever. This is where my wife interjects, "well it better since you took over a year to finish it." I love you too, honey.
I wood filled, primed, sanded and repeated many times over until I had it just right. (BTW if you're going to use plywood, take the time and effort to find a place that sells good high quality stuff that is meant to build furniture not the construction grade crap I got from Home Depot - it'll only save you about 100 hours of wood filling, priming and sanding)
Finally, after 14 months (I didn't work on it constantly - being a lawyer and a dad kind of sucks up disposable time) I could haul my masterpiece into the house put the TV on top, sit back and admire the work. I can tell you it was worth every moment. Thank you Ana White for inspiring me to bite off more than I could chew. That said, I think my next project is going to be a shelf or something.
Wed, 12/12/2012 - 08:33
I love the whole design....it fits perfectly in your space, the colors are perfect, and the detail is amazing. As someone who takes a long time to finish a project, I appreciate your 14-month timeline! It's awesome!
Thanks for all the detail on how you did it.
Wed, 12/12/2012 - 11:38
I love what you did with the knobs! That is one beautiful piece of furniture!
Wed, 12/12/2012 - 14:20
So beautiful! It will last forever, I love it all (esp. the doors), I am sure you family does as well!
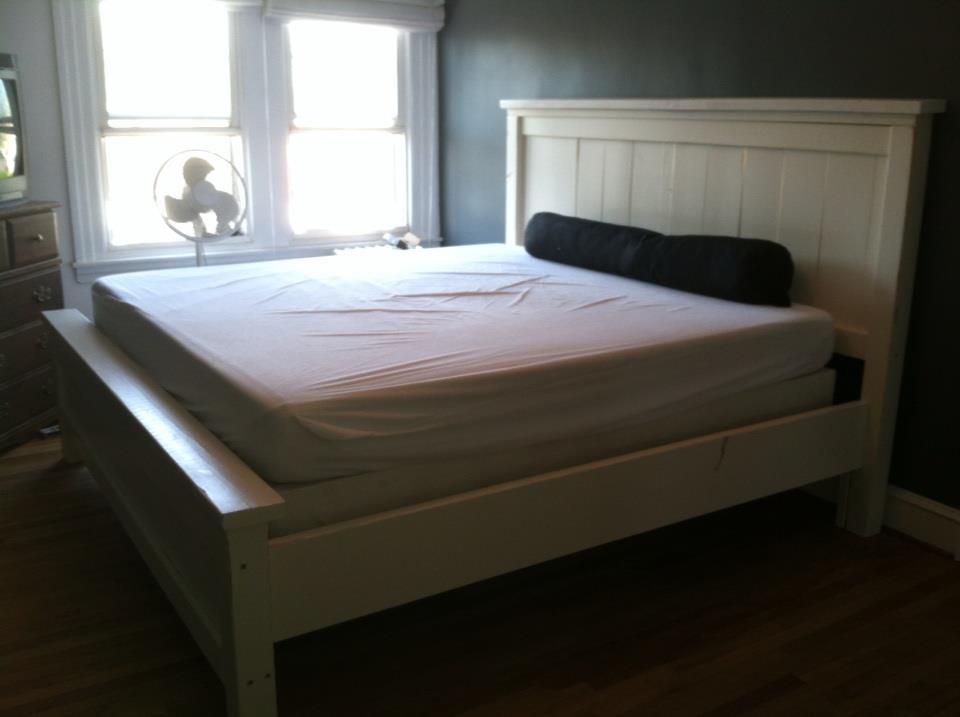
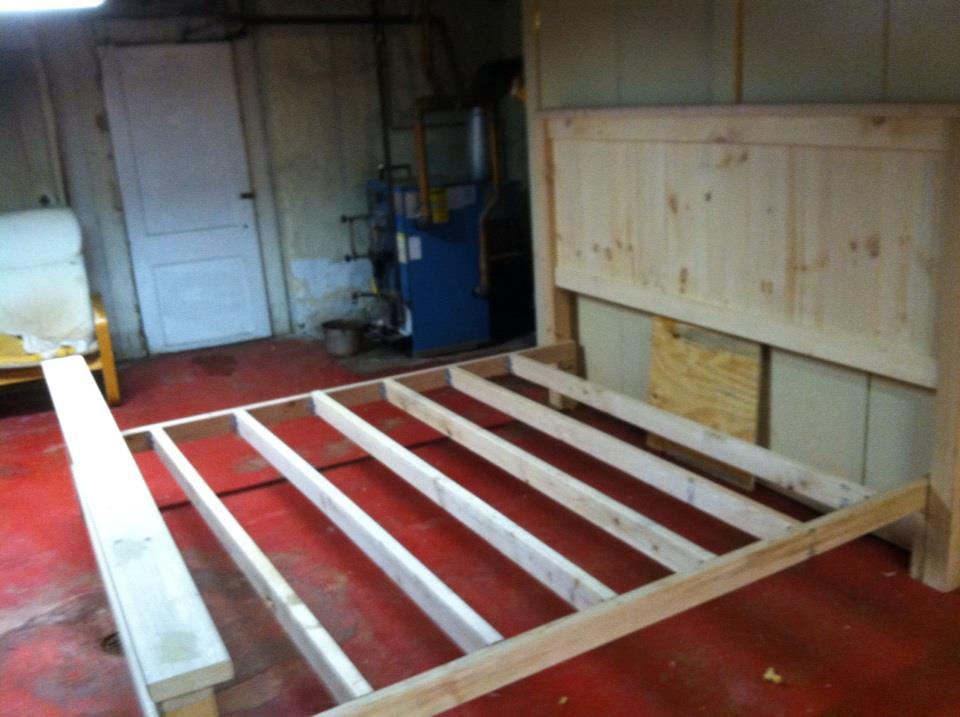
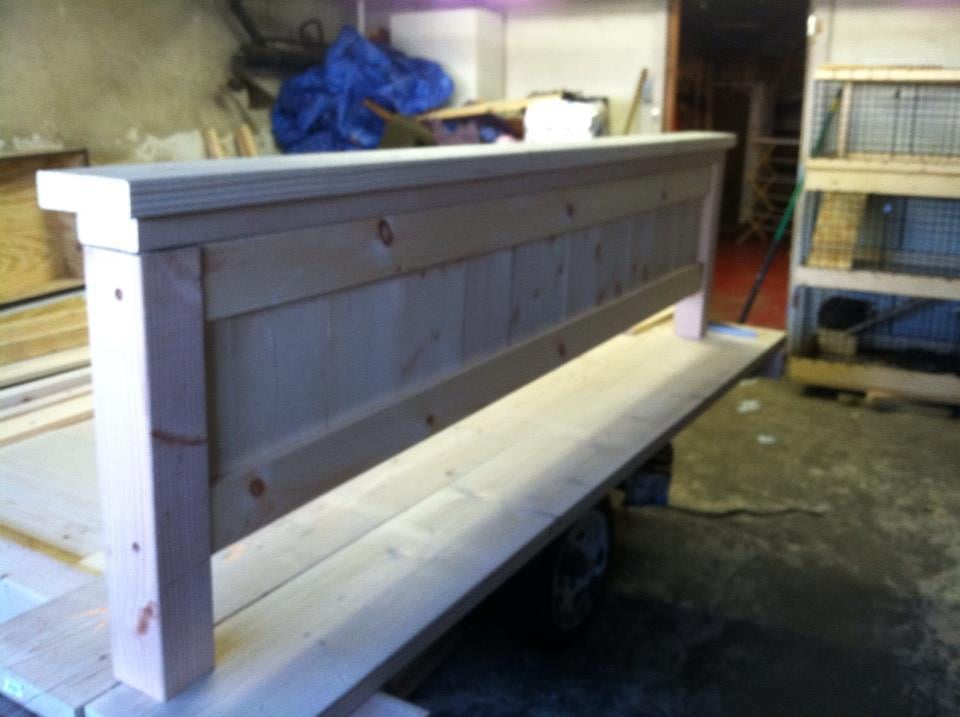
just had to make a small change to get it to be a king , It was a long weekend project

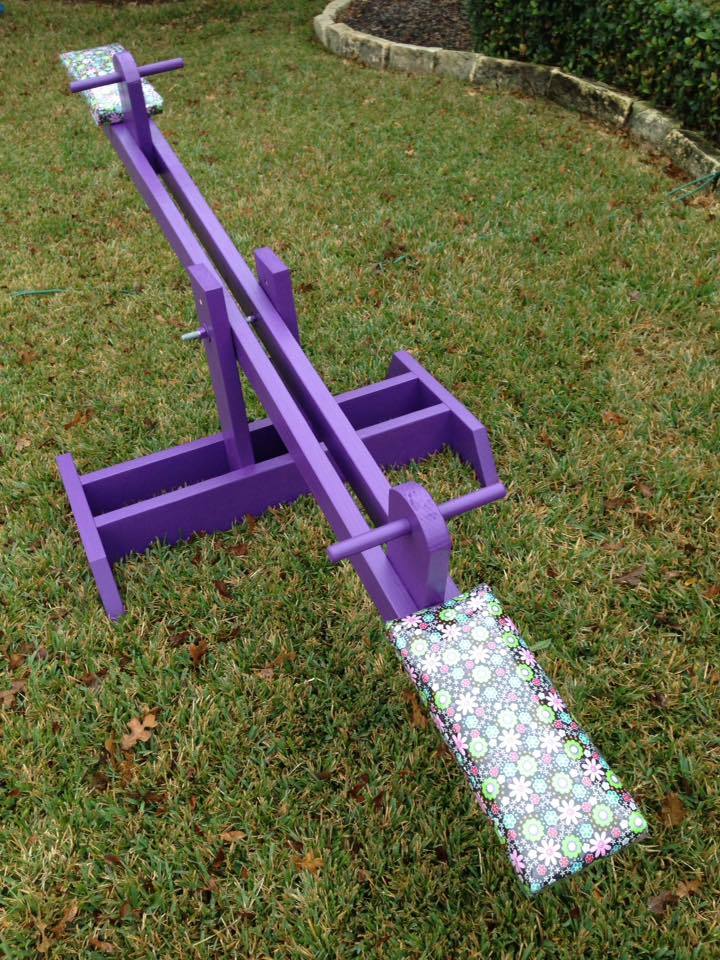
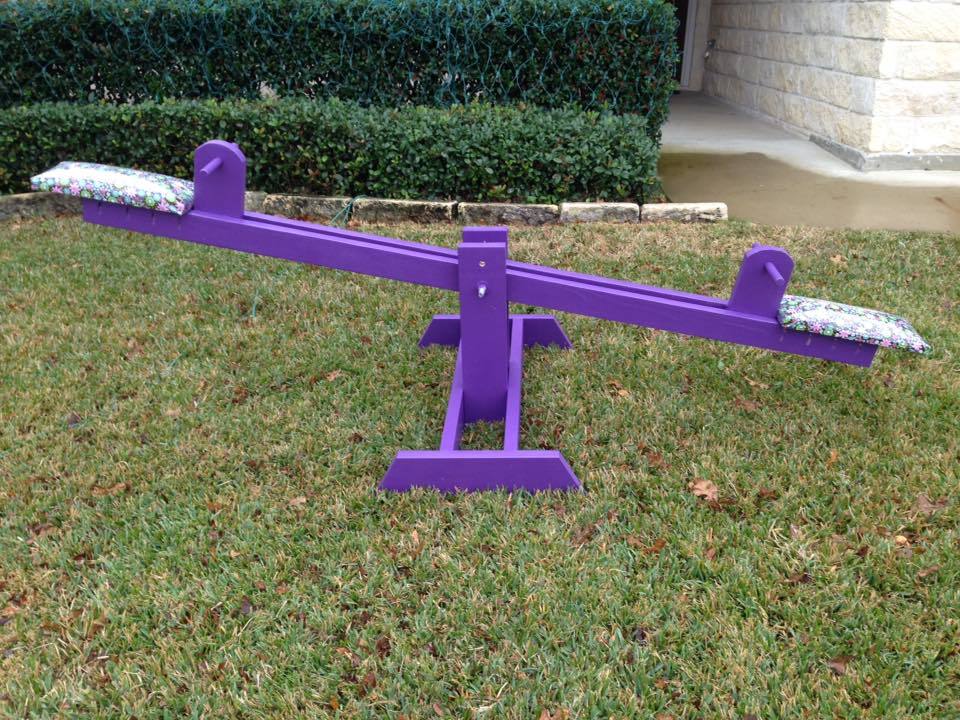
I built this for my daughter for Christmas this year. For the seats I used 2" foam wrapped in decorative fabric. Then I covered that with a thick plastic that I found at the local hobby store, to make it waterproof.
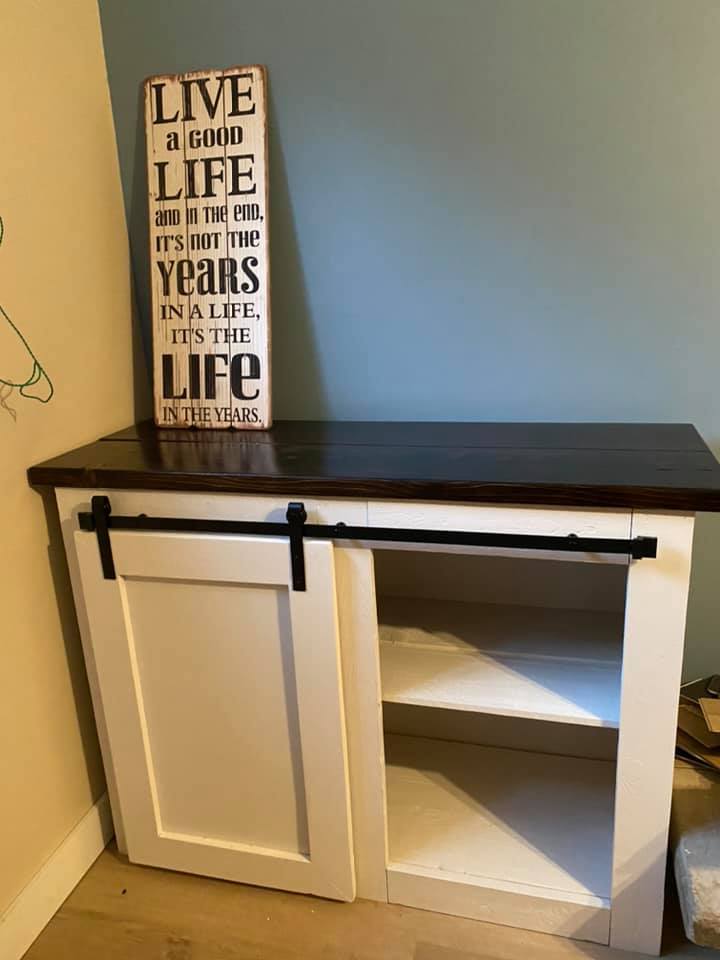
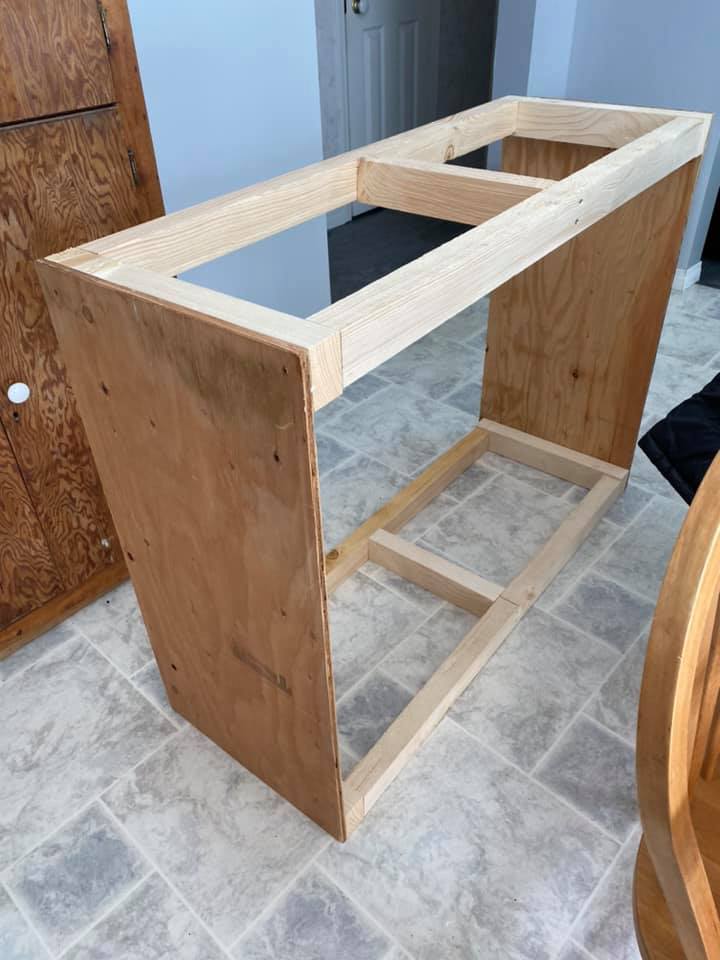
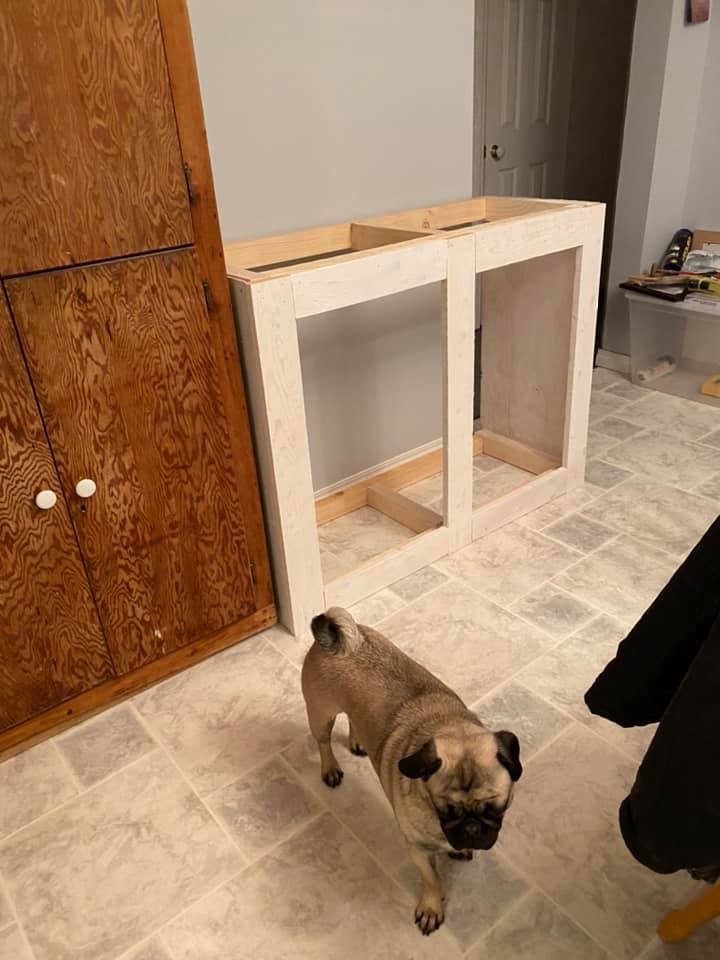
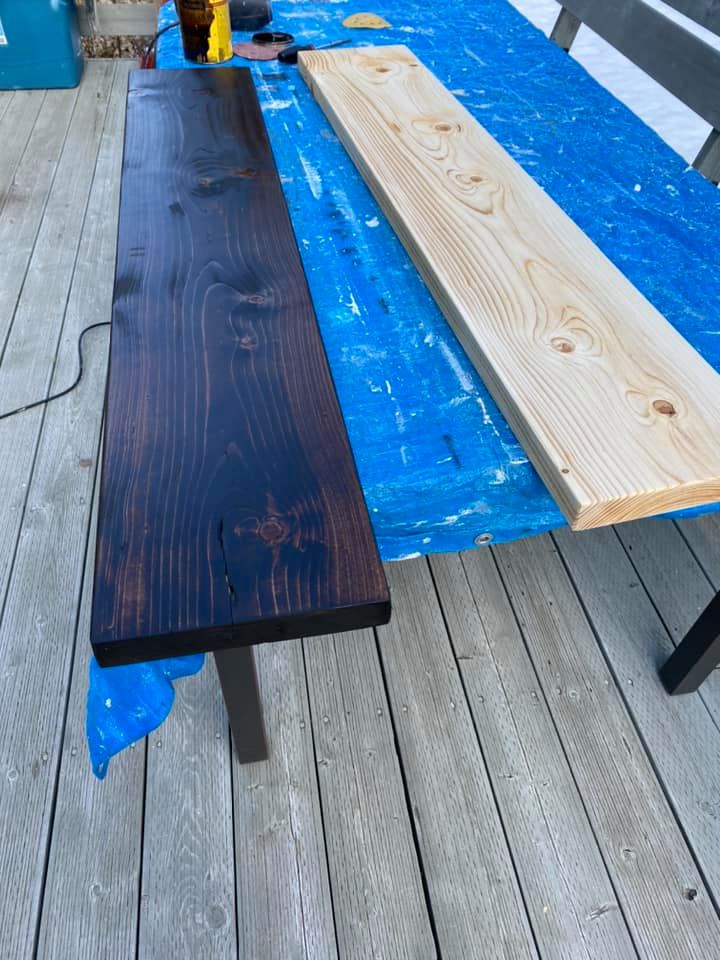
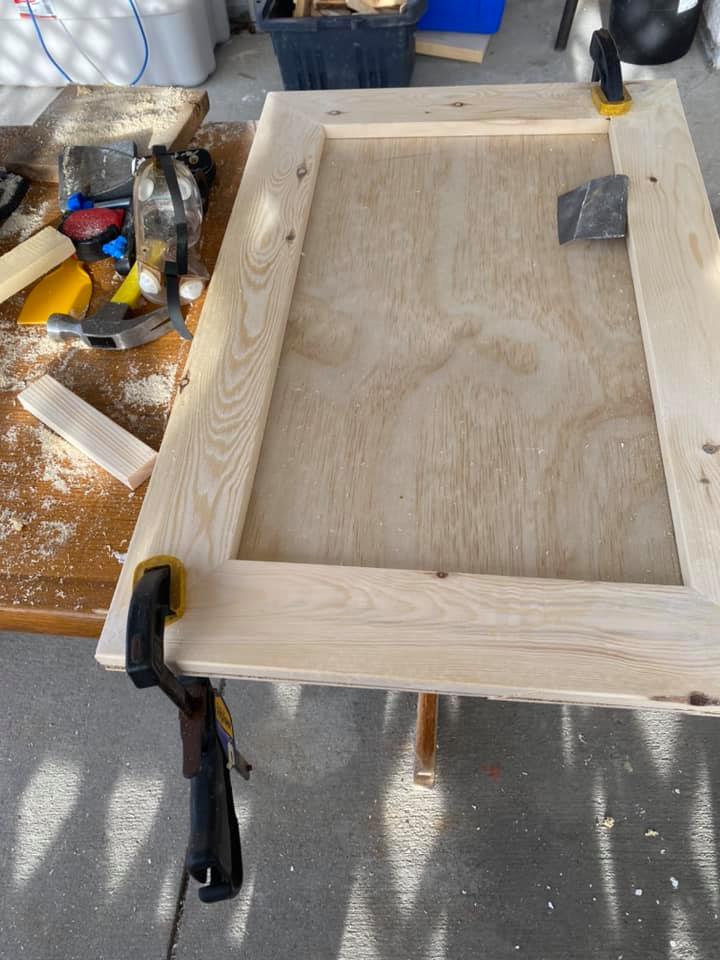
Use the plans from Grandby Barn Door Console to create this two-door cabinet for my sister. Modified plans to fit specific space. Rough Cost including mini barn door hardware, and finishing paint/clear coat is $150 Canadian dollars.
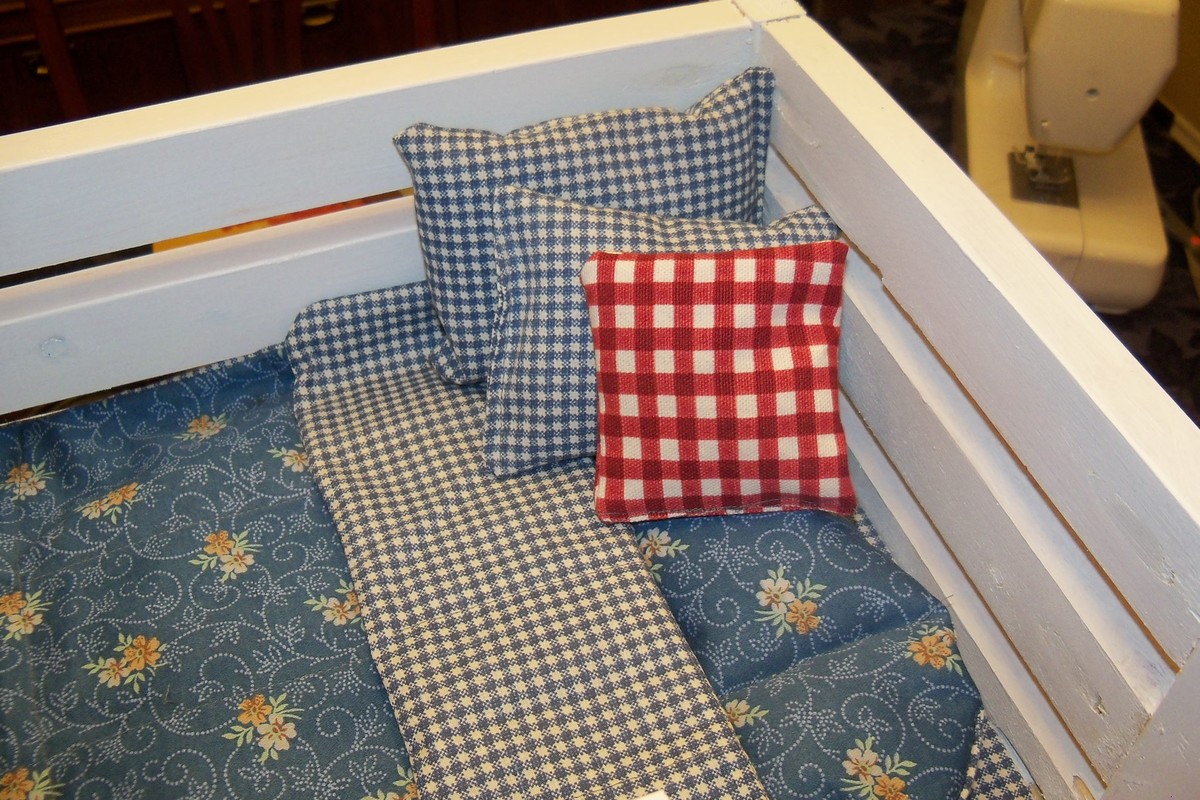
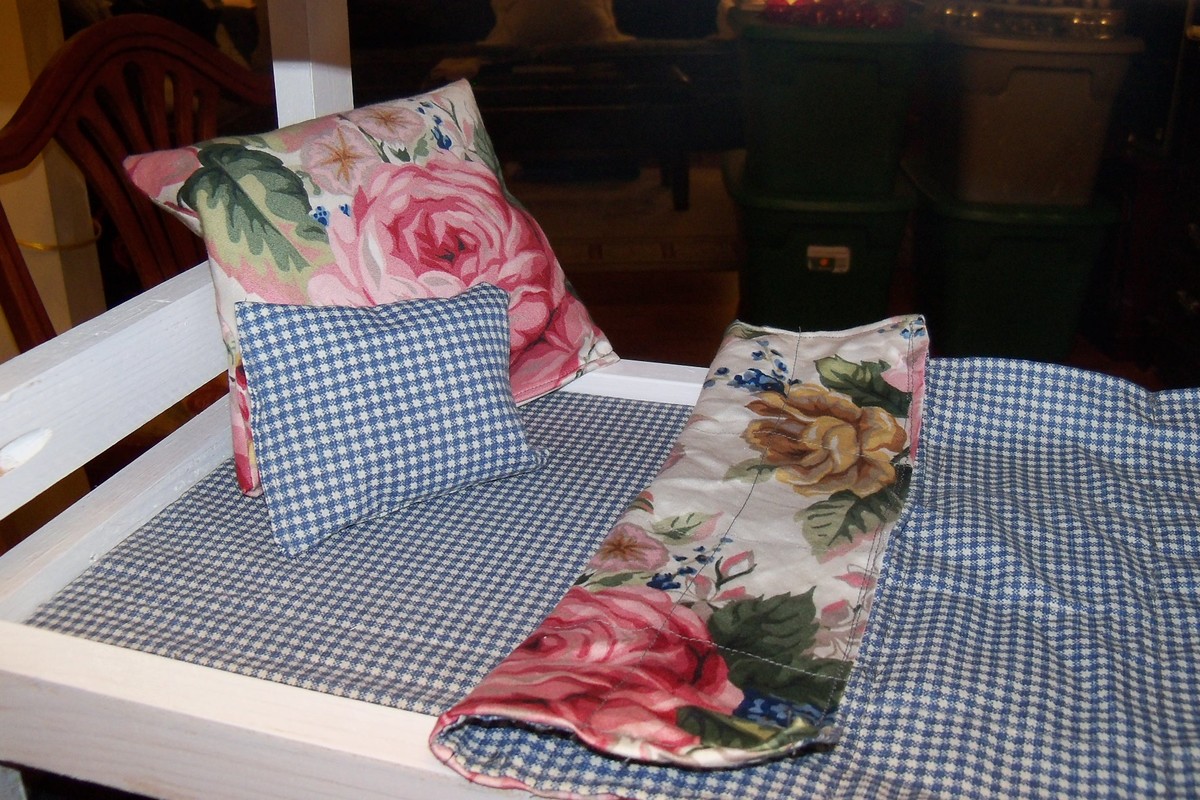
Doll Bunk bed, this was a lot of fun to make the plan was laid out well and very easy to follow.
This was a gift to a friend's 10 year old and it really made her happy.
I enjoyed sewing the bedding. It was just an over all load of fun.
I made it very quickly, I think the filling, sanding painting took longer.
I made this table to sit between a sofa and a wall with a window. Used the Rustic X Console plan as my jumping off point. I increased the height to meet the window sill and increased the width to the width of the sofa. I used 2x2s instead of 2x4s for the legs, and 1x6s instead of 2x6s for the top. I dd not include the middle shelf. Since the table is sandwiched between a sofa and a wall only the sides are exposed, so I left off the Xs. Because of this it now serves as a tunnel for the cats and dog.
All in all it basically turned out how I wanted it, though I could have worked on the stain a bit more.
