Community Brag Posts

Clara Table and Chairs

Submitted by sraper2 on Mon, 02/04/2013 - 06:38

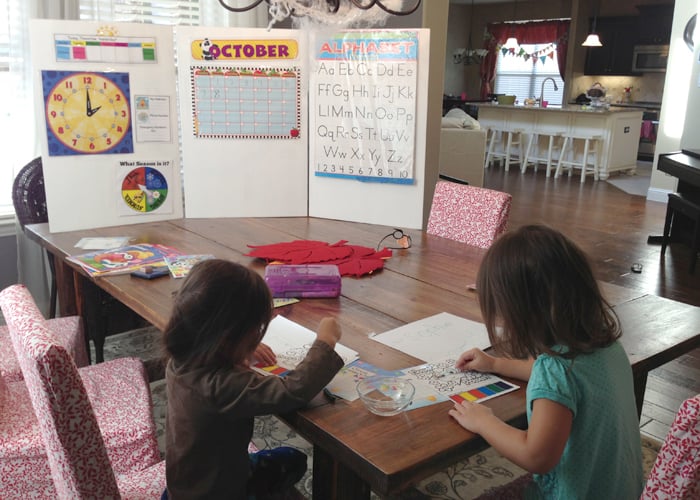
I built this for my daughters for Christmas. I also built another for my friends daughter. Ours is made putting 3 pieces of wood together with pocket hole screws and our friends is just one solid piece. I definitely recommend doing it with just the solid piece. It makes it easier for coloring! It took me about a total of 5 hours to make the 2 tables and 4 chairs not including paint.

Built from Plan(s)
Estimated Time Investment
Afternoon Project (3-6 Hours)
Recommended Skill Level
Beginner

My first build

After following Ana and a couple other talented ladies I decided to get a Kreg and take some action! I made a few adjustments to the size and I used pocket screws to put this together. It is solid! Found the baskets at Lowes and fell in love. It was super easy and my husband couldn't believe I put it together so fast. I has added much needed storage to the front door and we just love it.

Built from Plan(s)
Estimated Cost
$70 total
Baskets were $45!
Estimated Time Investment
An Hour or Two (0-2 Hours)
Finish Used
Flat black spray paint
Minwax dark walnut stain
Wood conditioner to seal
Recommended Skill Level
Starter Project

Comments

JoanneS

Sun, 12/07/2014 - 17:48

This looks super!  You did a great job and it looks beautifully constructed.  Congrats!  The finish is lovely. :)

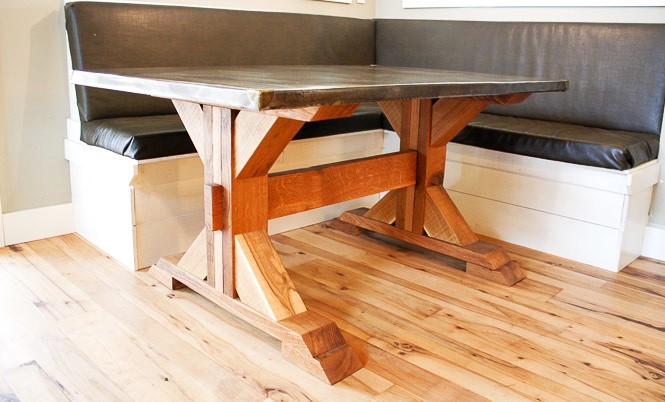
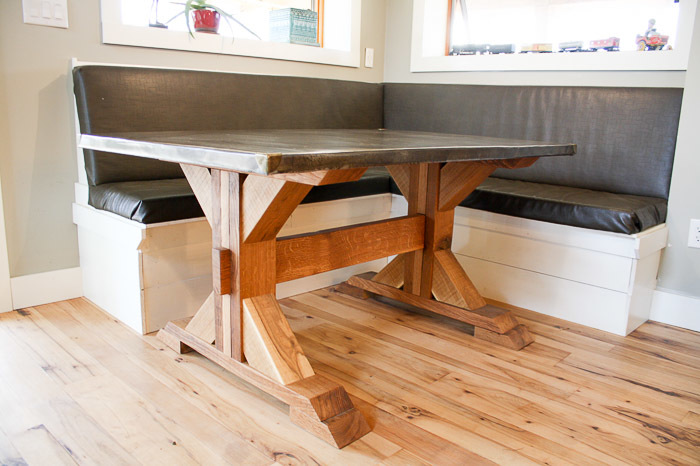
X-base farmhouse table with zinc top

Submitted by Anonymous (not verified) on Sat, 03/11/2017 - 11:05

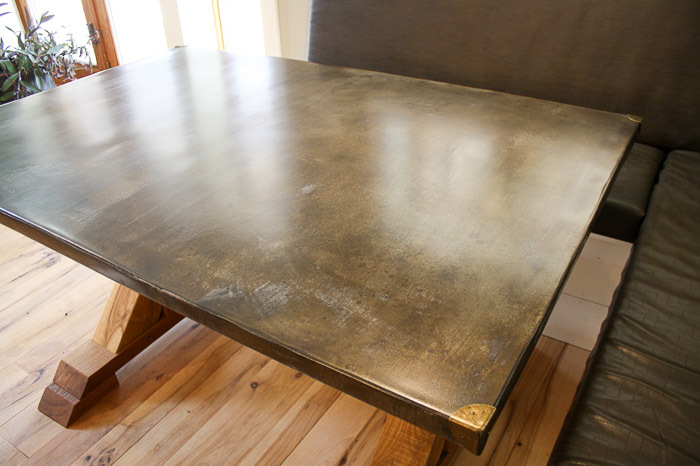
We used leftover white oak from the railing in our house, so our cost was just the zinc top, which we got from Rotometals. Total cost was around $200, all said and done. 

Built from Plan(s)
Estimated Cost
$200
Estimated Time Investment
Weekend Project (10-20 Hours)
Finish Used
Rubio Monocoat
Recommended Skill Level
Intermediate

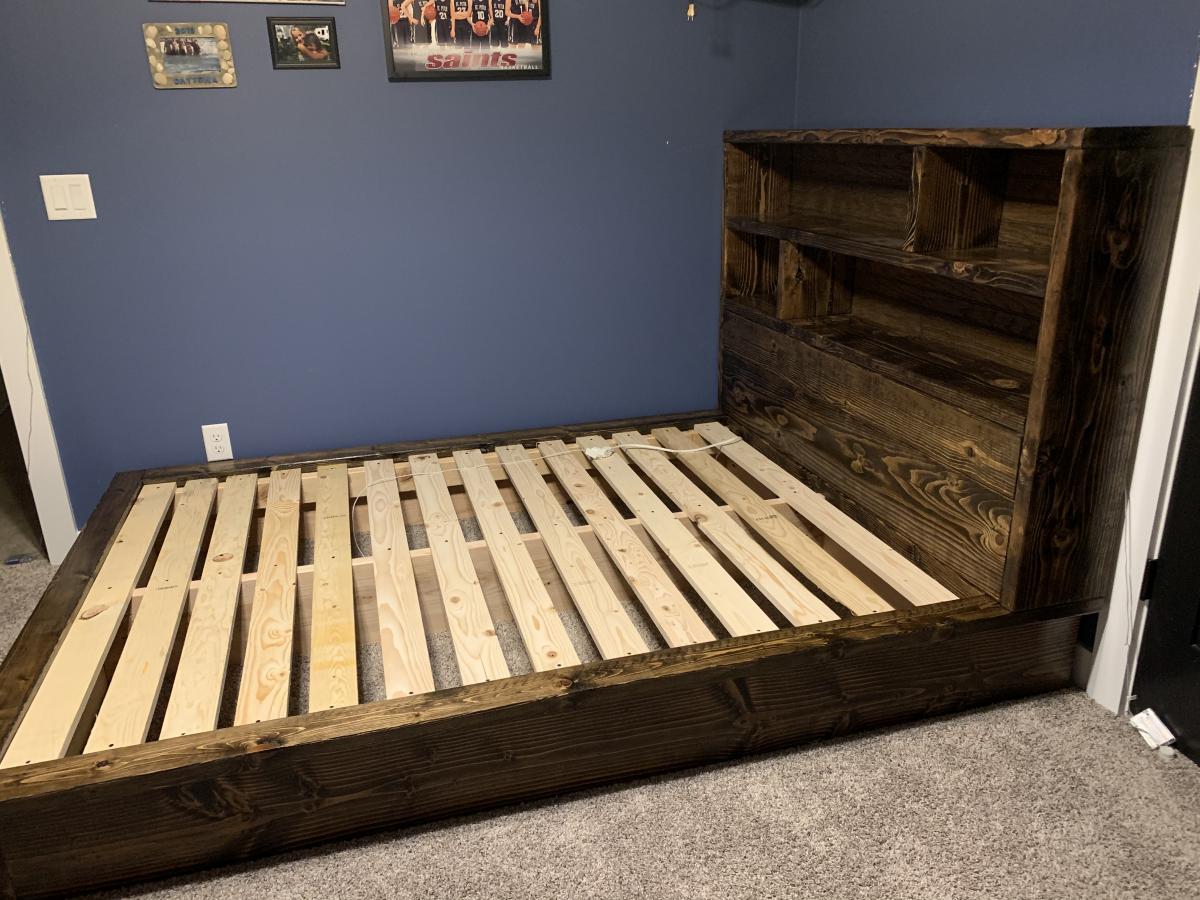
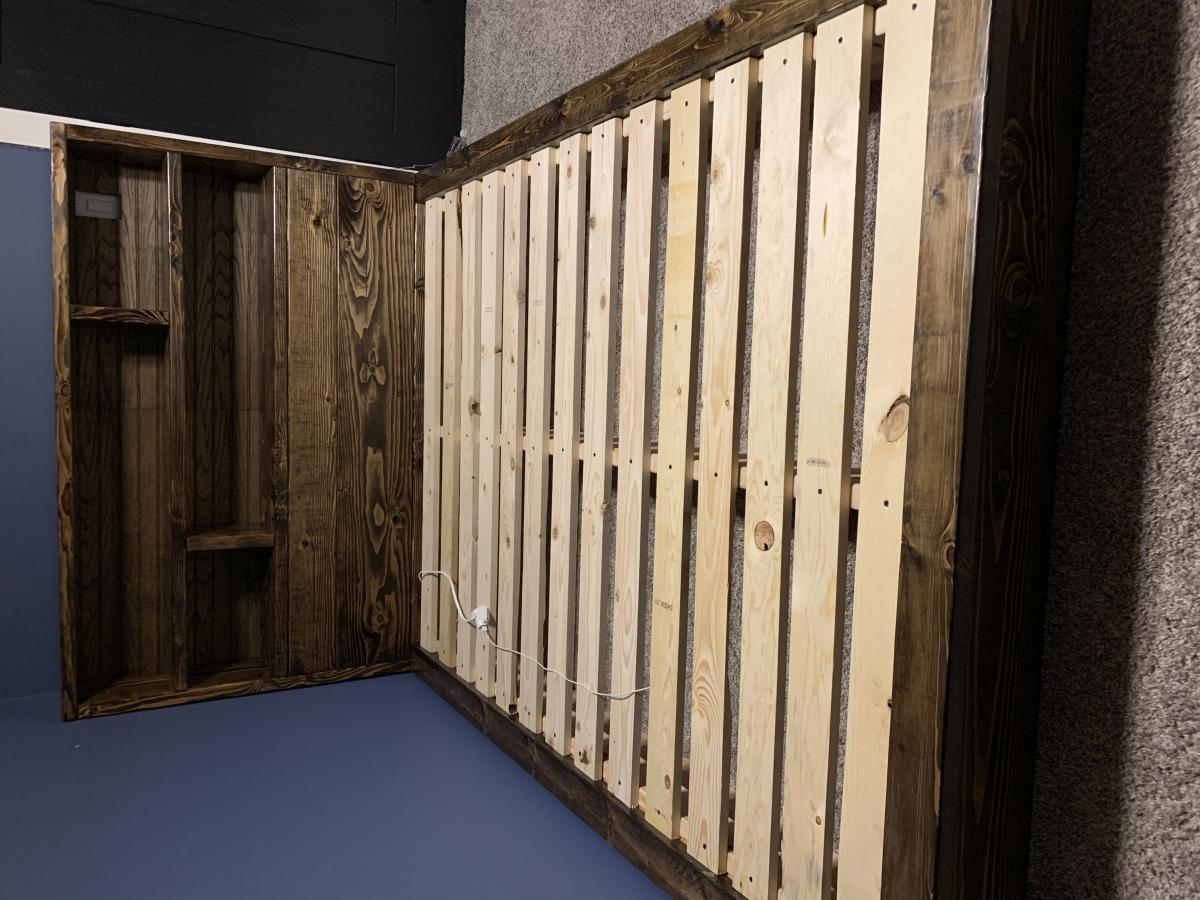
Full size Platform bed

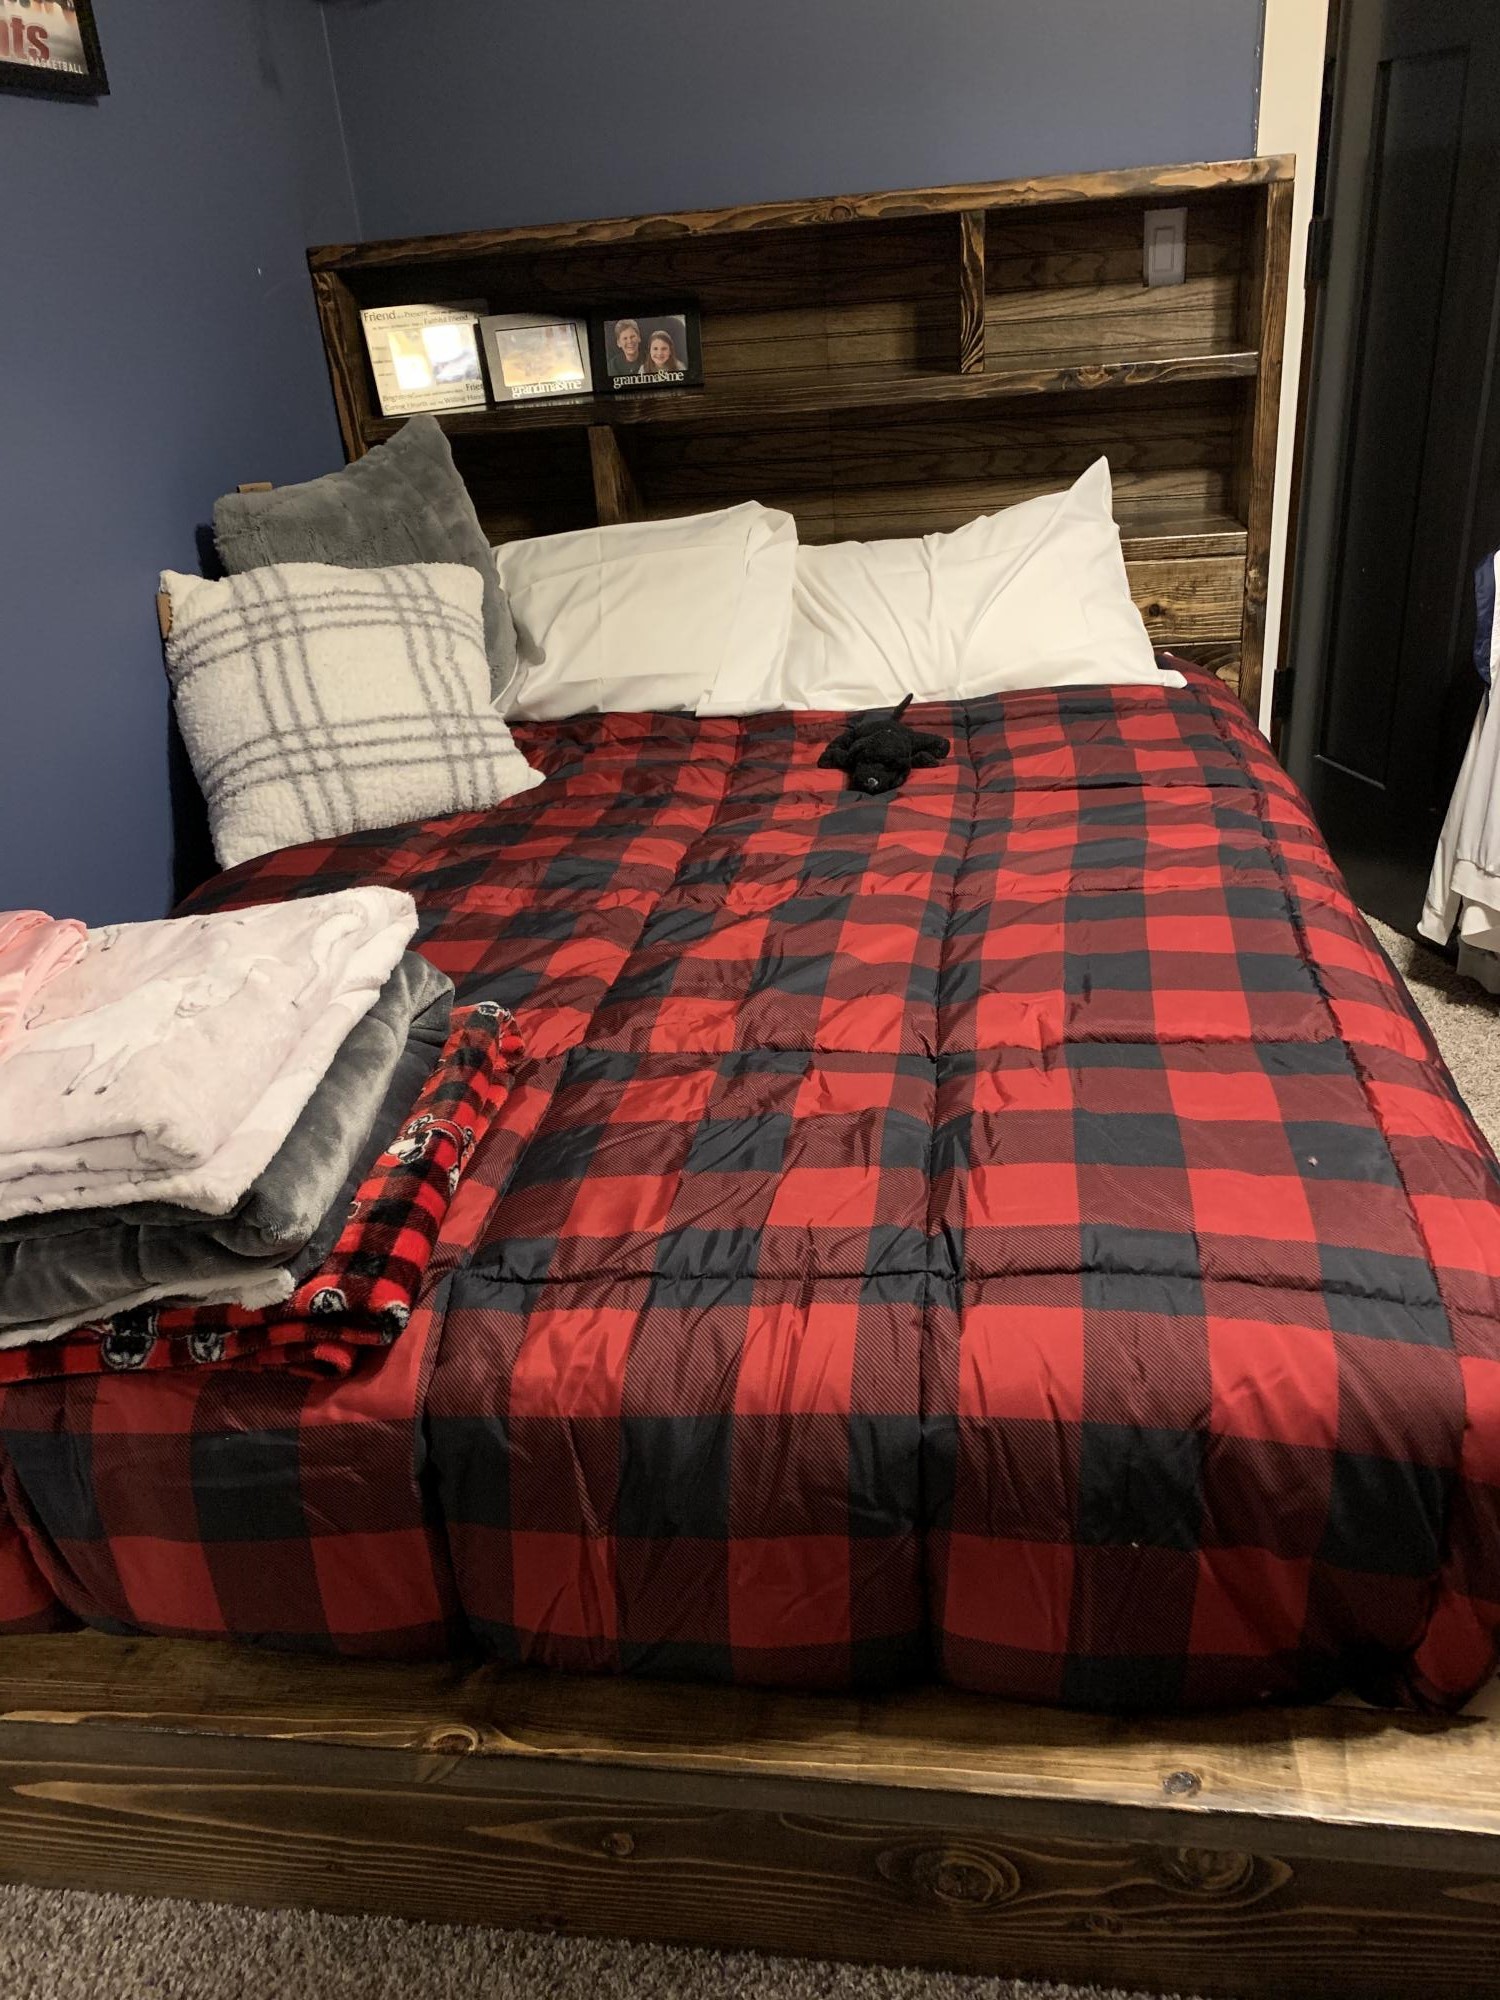
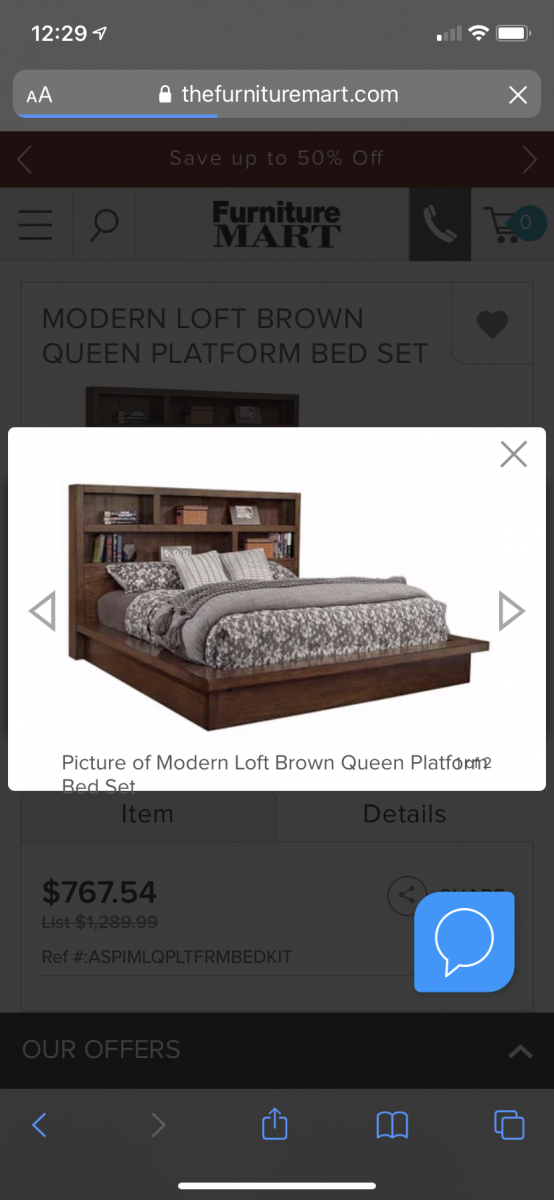
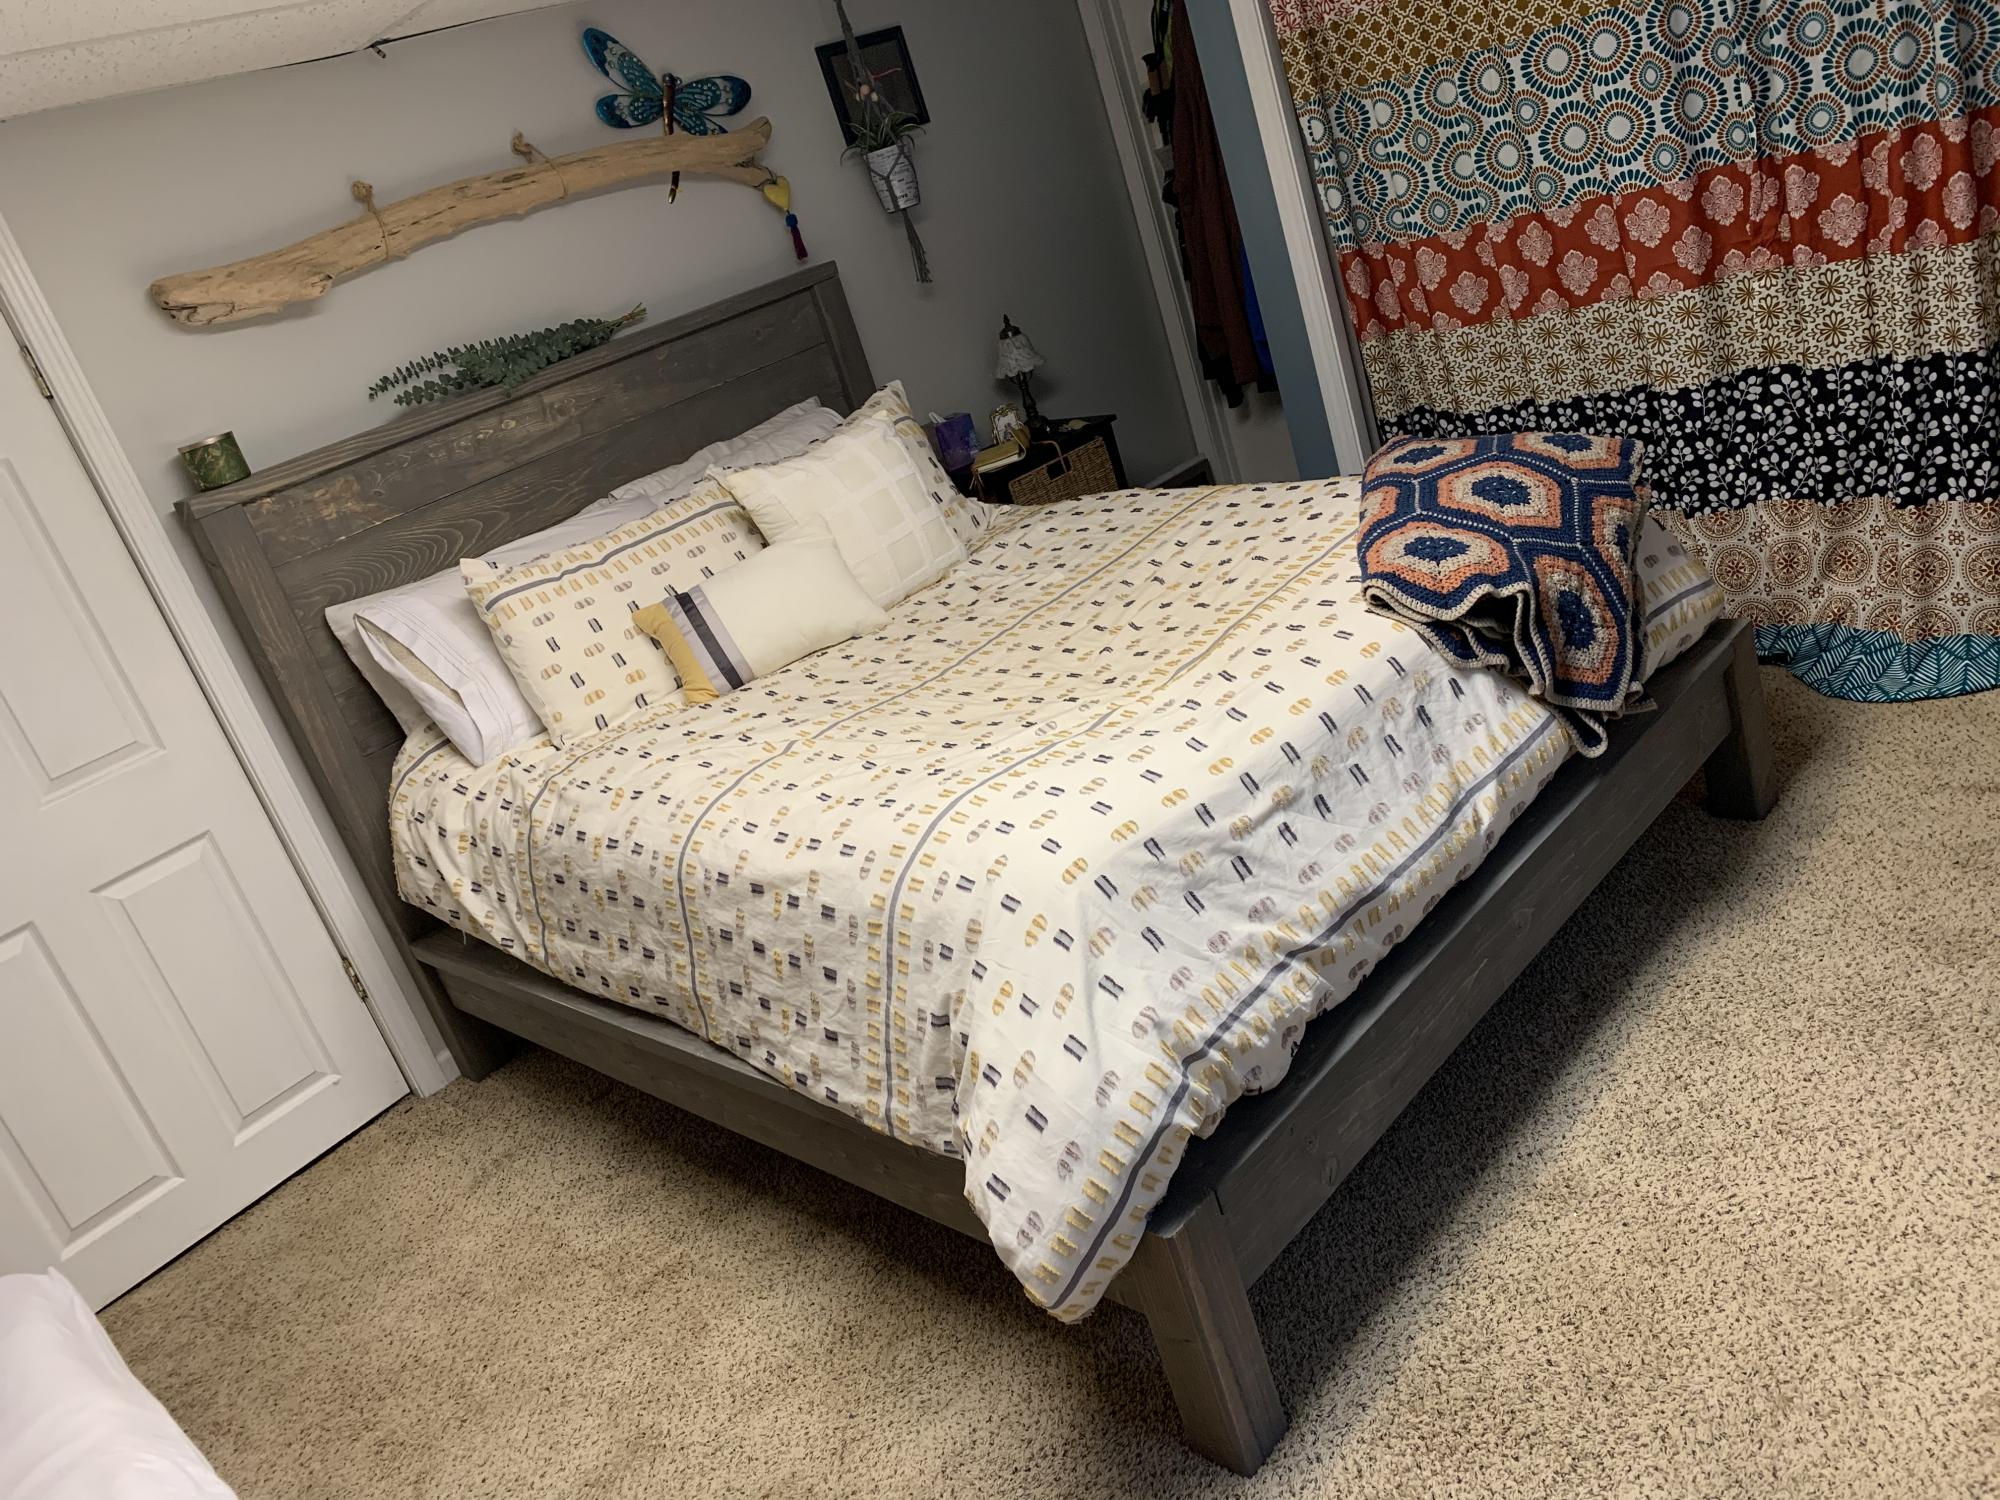
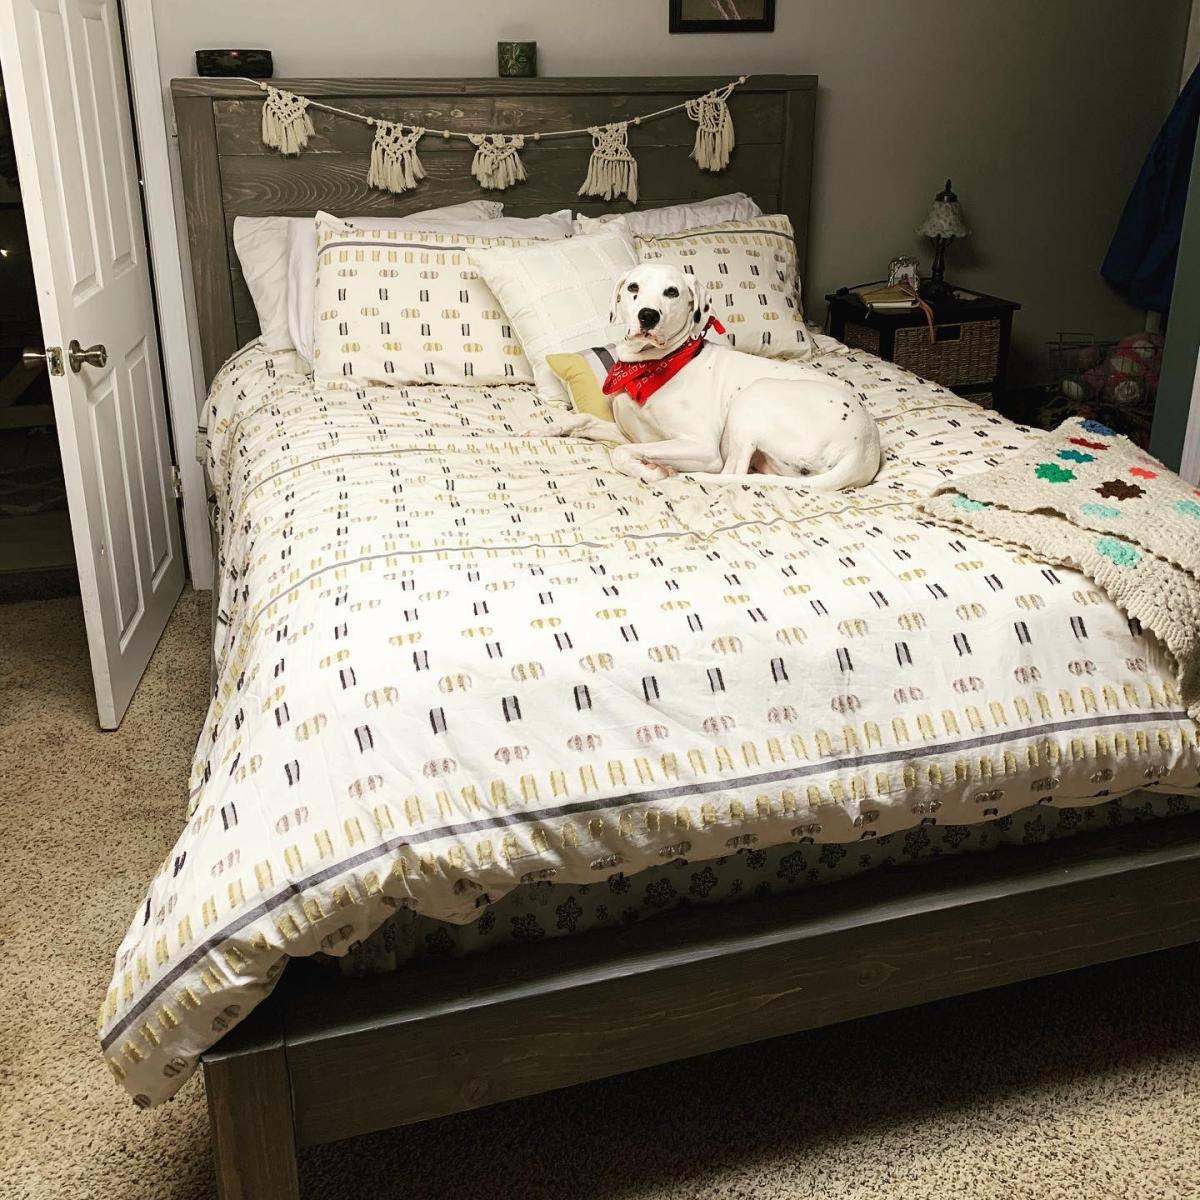
My daughter saw a bed like this that was going to cost $1000 for a queen size. She only needs a full size so we took the plan from this site and built the base. We made the headboard by looking at the picture and copying as best we could. It was our first big project! We were so happy with how it turned out!! She loves it!!

Estimated Cost
200
Finish Used
Minwax Dark Walnut stain and Polycrylic

Comments

Farmhouse Table

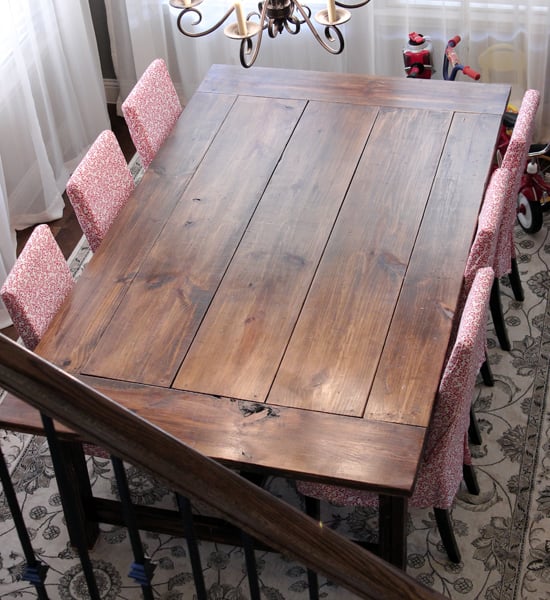
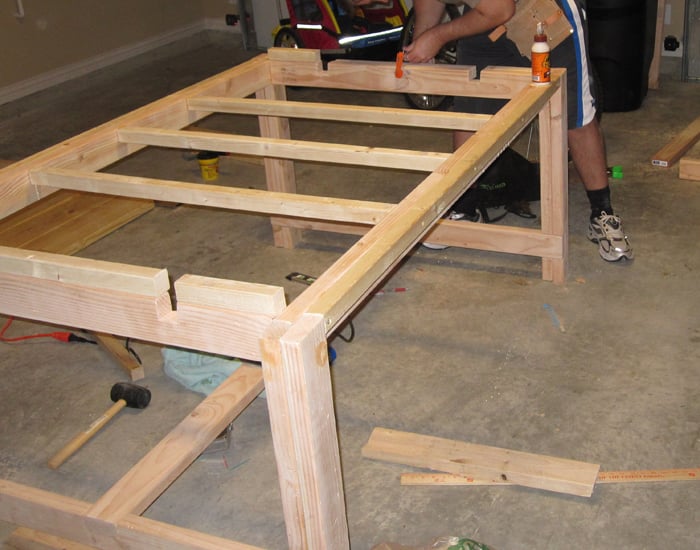
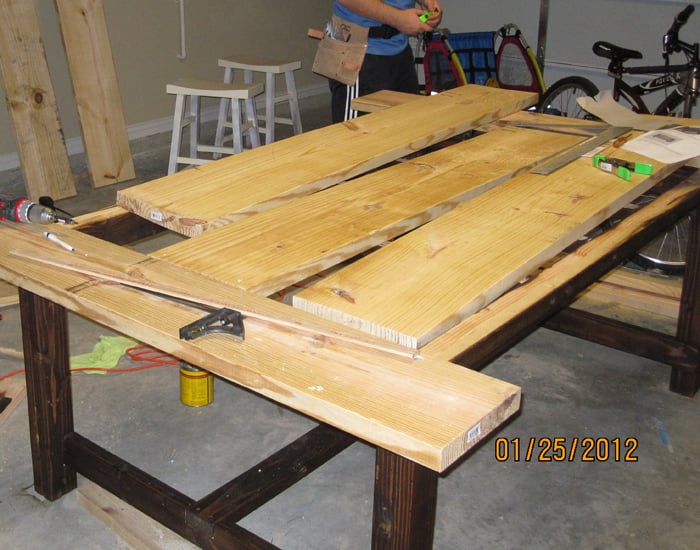
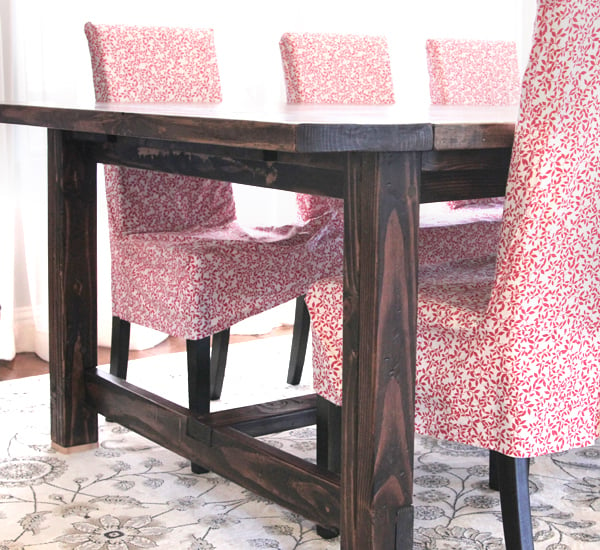
My brother-and-law has been building a TON of projects from Ana's site. After comparing prices of farmhouse tables online, my husband and I decided to try building our own. I measured our dining room, modified the plans (to make the table slightly shorter and slightly wider), then we picked up some basic tools and lumber, setup a little shop in our garage, and went to work. It took us a whole week (of after-work and after-the-kids-are-down nights) plus maybe a weekend to complete this project.

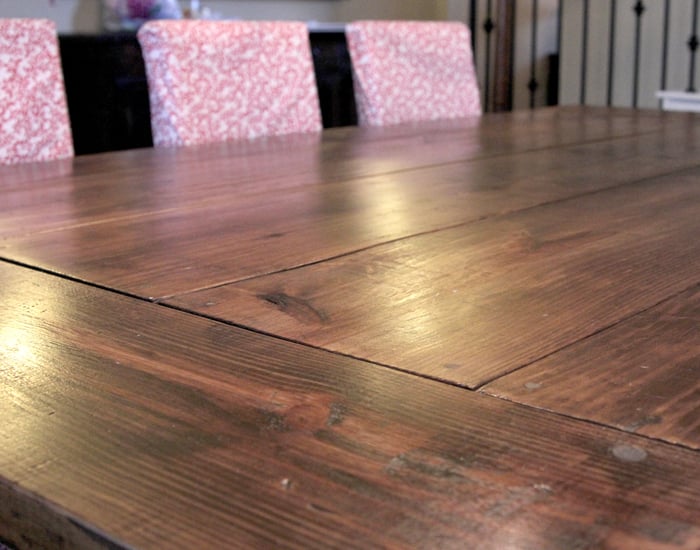
We started staining the legs of the table with a minwax stain in Dark Walnut, but it left it looking very contrasty/zebra-like. An employee at the hardware store recommended Rust-o-Leum, so we finished up the top with it. Added a clear satin varnish on top (Deft), then moved it inside. We love it!!! (We stained it after distressing it, then added 5-6 coats of varnish).

Things we'd do differently:
1. Invest early in a Pocket Hole Jig (like the Kreg Jig) to piece your wood together. We actually bought one for our second wood project (which I was able to screw together pretty much the entire thing myself...whereas, both my hub and I had to work together to get this table put together...it was a pain!), and wished we had purchased this earlier.

2. Check your wood and get it as straight (not bowed) as possible. Then don't let the sprinklers or rain get on it. :) Don't worry about knots, holes, or other things that could give your table character.

3. You can stain the wood using paper towels. (I did this on the second project...worked great, and easy clean up).

4. Make sure you square up your wood every step of the way. We THOUGHT we did this...but with trying to screw pieces together, and making them fit... now we've got an extra piece of wood underneath one of our legs. :P

Estimated Cost
$500, lumber and power tools
Estimated Time Investment
Week Long Project (20 Hours or More)
Finish Used
Rustoleum Dark Walnut
Deft Clear Satin
Recommended Skill Level
Beginner

Comments

Linda7

Fri, 02/08/2013 - 09:36

This is a gorgeous build! The table top finish is just outstanding. You all did a marvelous job (even without the kreg jig)!

Kentwood Twin Bed

Submitted by meganomesh on Wed, 12/10/2014 - 13:32

My husband and I built this bed for my sister-in-law for Christmas. It took us about a week of working an hour or so a day on it. Most of that time was staining. The actually assembly took about 2 hours. 

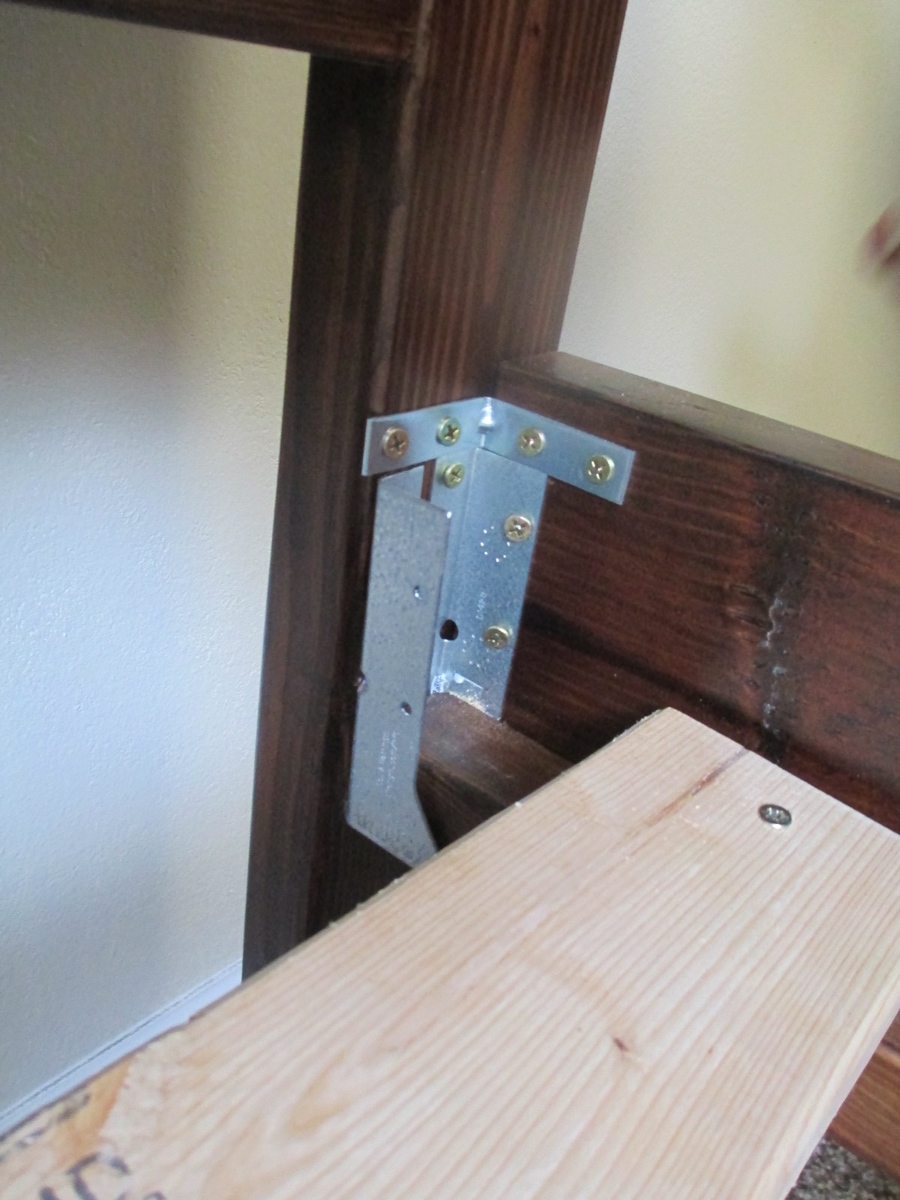
I included a picture of how we attach the siderails to the headboard/footboard. We use a bracket that the 1x2 slides into. It is screwed to both the siderail and the headboard with 1 1/4" screws. We also attach a small L bracket to each corner with helps remove any wiggle that was there previously. It really makes the bed much more stable by adding those little L brackets. Again, we used 1 1/4" screws to attach them. 

Built from Plan(s)
Estimated Cost
$110-$120 (price includes wood, stain and hardware)
Estimated Time Investment
Week Long Project (20 Hours or More)
Finish Used
Sanded well
1 coat of pre-conditioner
1 coat of Minwax early american
2 coats of Minwax Mission Oak with Polyurethane, Satin
Steel Wool after each coat of the stain with poly
Recommended Skill Level
Beginner

Comments

meganomesh

Wed, 12/10/2014 - 13:55

I had some trouble with the submission of my form and now it's not allowing me to edit so I'll write the details in the comments.

The assembly took about 2 hours but we worked on the bed about a week due to the many coats of stain etc.

Here's how we finished the bed:
1 coat of Minwax pre conditioner
1 coat of Minwax Early American
2 coats of Minwax Mission Oak stain with poly, satin
Steel wool the project after each coat of stain with poly

I included a picture of the hardware we use to attach the side rails to the bed. The big bracket holds the side rails up. The little "L" bracket in each corner makes it so the bed doesn't wiggle or move. This is our 4th bed to build and we have found this set-up to make a very secure, sturdy bed.

meganomesh

Wed, 12/10/2014 - 14:01

I had some trouble with the submission of my form and now it's not allowing me to edit so I'll write the details in the comments.

The assembly took about 2 hours but we worked on the bed about a week due to the many coats of stain etc.

Here's how we finished the bed:
1 coat of Minwax pre conditioner
1 coat of Minwax Early American
2 coats of Minwax Mission Oak stain with poly, satin
Steel wool the project after each coat of stain with poly

I included a picture of the hardware we use to attach the side rails to the bed. The big bracket holds the side rails up. The little "L" bracket in each corner makes it so the bed doesn't wiggle or move. This is our 4th bed to build and we have found this set-up to make a very secure, sturdy bed.

Rustic Media Center

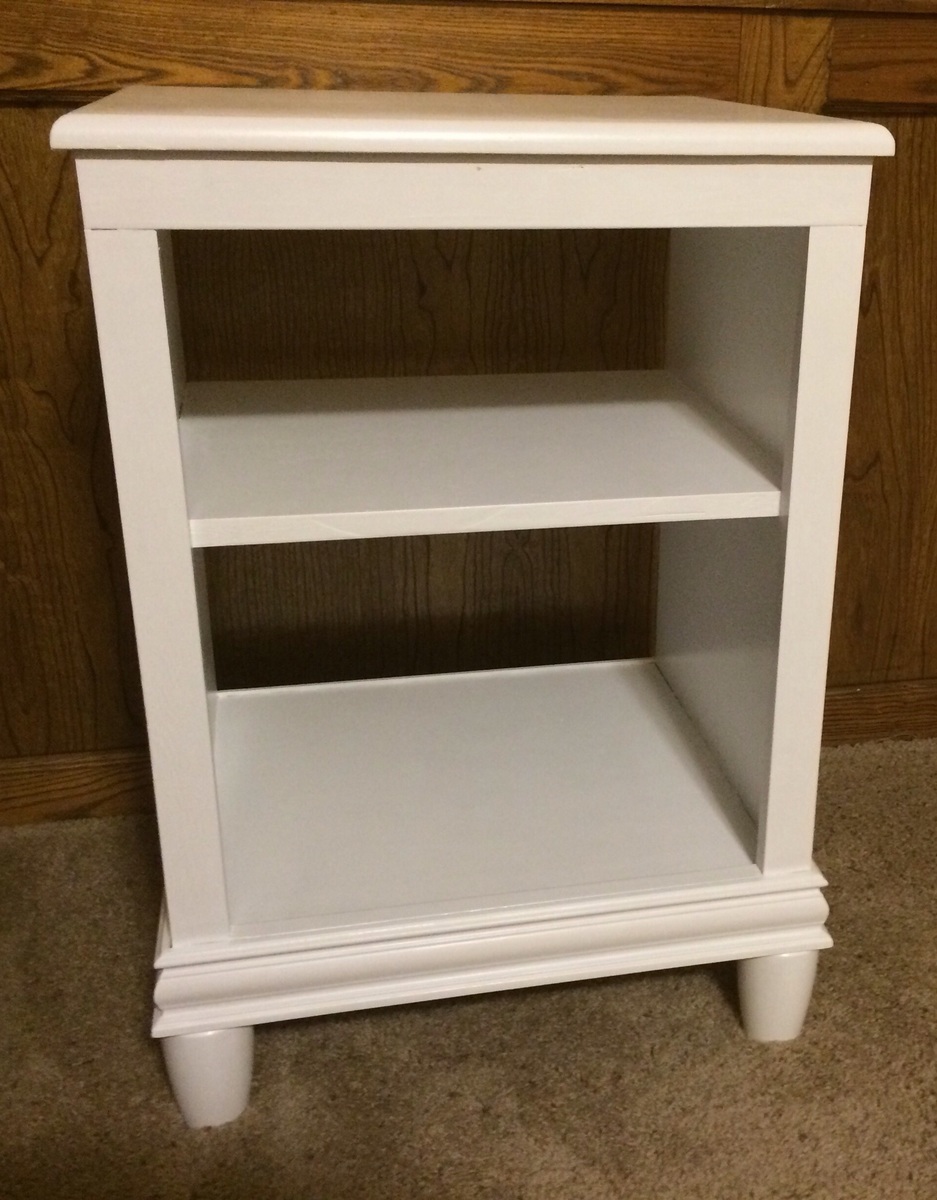
Rustic Media Center stained with teal and white distressed paint. 

Estimated Cost
$350
Estimated Time Investment
Weekend Project (10-20 Hours)
Finish Used
Kona Stain, Teal and White Paint
Recommended Skill Level
Intermediate

Farmhouse Table

Submitted by cypack6 on Tue, 01/05/2021 - 16:47

My first project

Estimated Cost
180
Estimated Time Investment
Weekend Project (10-20 Hours)
Finish Used
Jacobean
Recommended Skill Level
Beginner

ClubHouse FORT

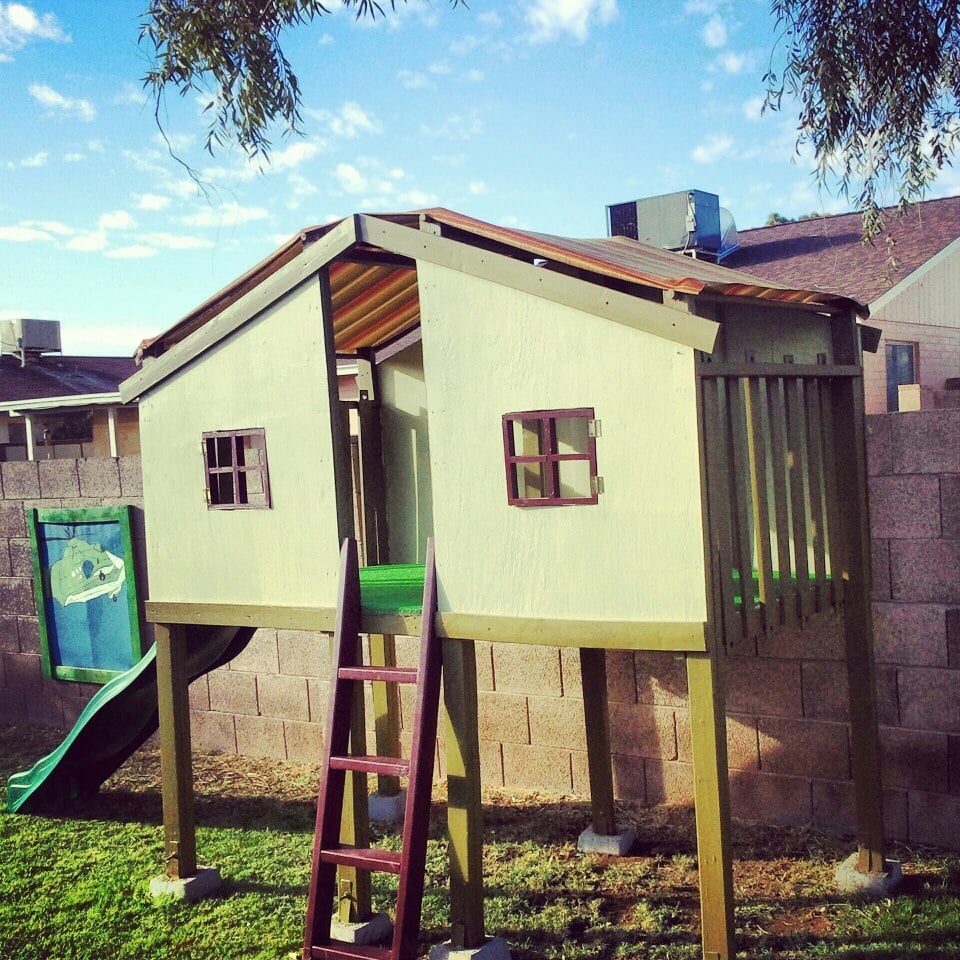
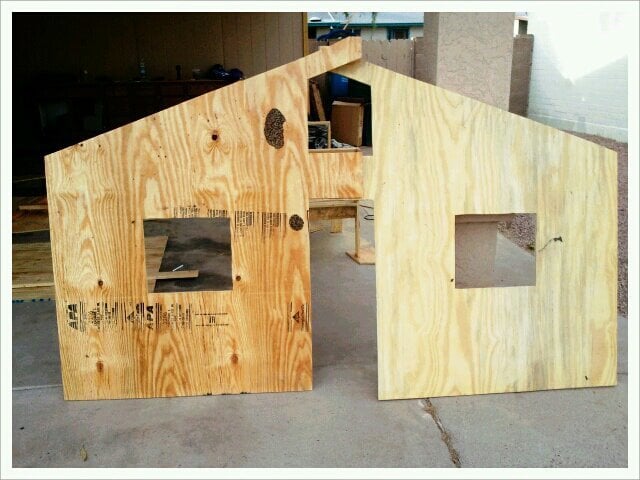
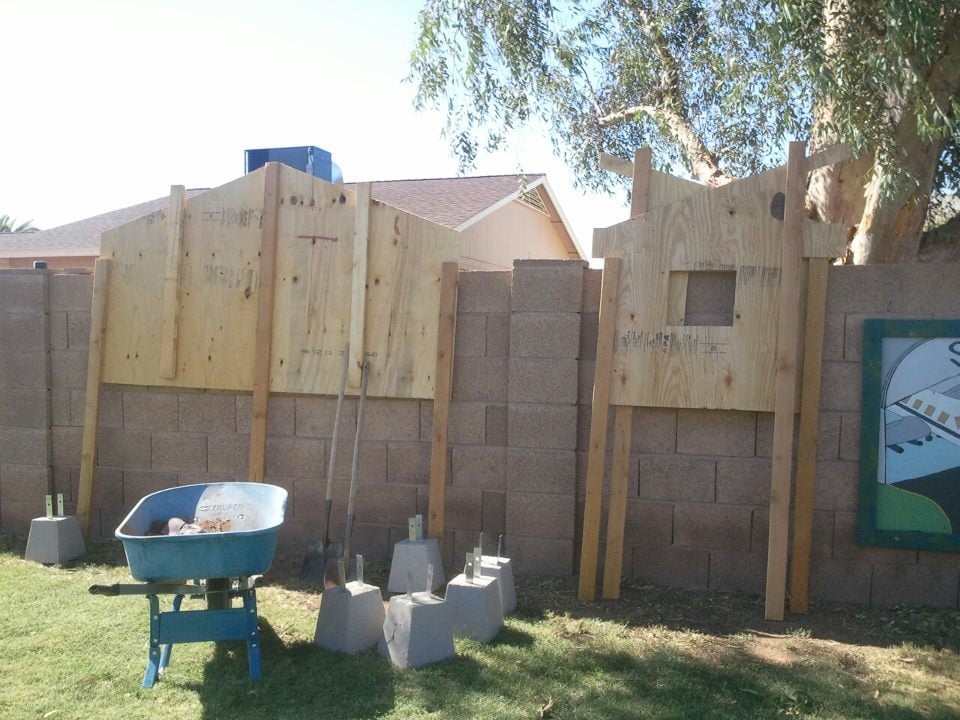
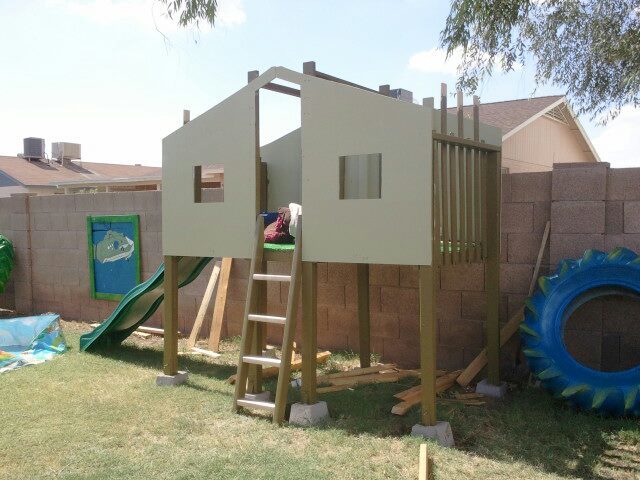
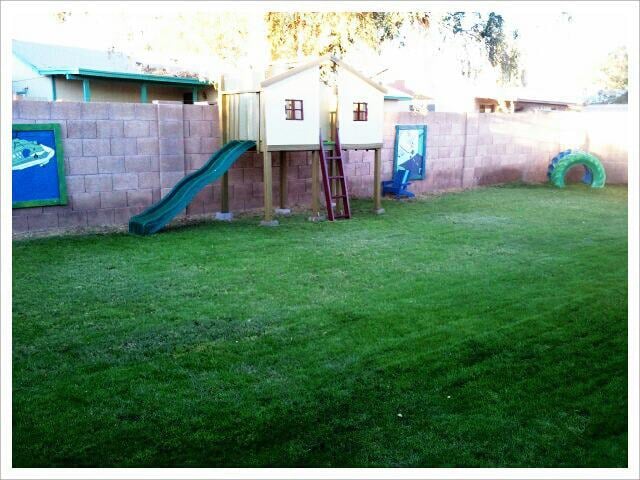
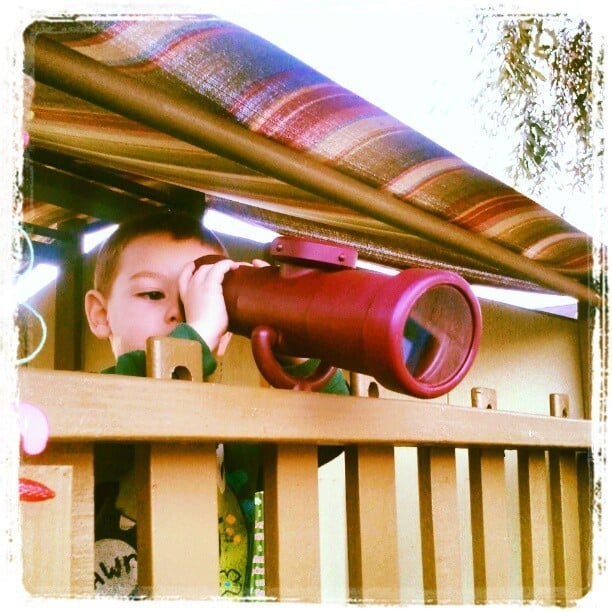
My sons awesome fort. It took some time to complete, as I was doing it on my own. The balancing and juggling act when attaching a few pieces would of made some priceless videos. I used plans from " Clubhouse Bed" as a general guide.

Built from Plan(s)
Estimated Cost
400.00
Estimated Time Investment
Week Long Project (20 Hours or More)
Finish Used
Outdoor Paint
Recommended Skill Level
Beginner

Comments

Linda7

Fri, 02/08/2013 - 17:39

You did this all by yourself??? This is just fantastic...lucky little boy!!

spiceylg

Mon, 02/11/2013 - 06:28

I'm seriously impressed you did this by yourself. Not that you aren't able, but the fact that there are so many big pieces which would have been really awkward and cumbersome with just one person. Beautiful job! Love the screen name, too, definitely fits!

spiceylg

Mon, 02/11/2013 - 06:28

I'm seriously impressed you did this by yourself. Not that you aren't able, but the fact that there are so many big pieces which would have been really awkward and cumbersome with just one person. Beautiful job! Love the screen name, too, definitely fits!

Kateglez

Wed, 09/25/2013 - 08:36

You did a great job, mom! Are there any plans available? I would like to try and build this for my 10 yr old grandson. Did you sink the posts, or are they only attached to the blocks?

Kid storage chairs

Submitted by Anonymous (not verified) on Wed, 03/15/2017 - 08:50

I followed Anna White's plan to build this chairs. My kids love them. Thanks for the free plan. It took me a while to finished it because they were my first project.

Built from Plan(s)
Estimated Cost
about 30 to 40 for two chairs.
Estimated Time Investment
Weekend Project (10-20 Hours)
Finish Used
simi gross paint self primer.
Recommended Skill Level
Beginner

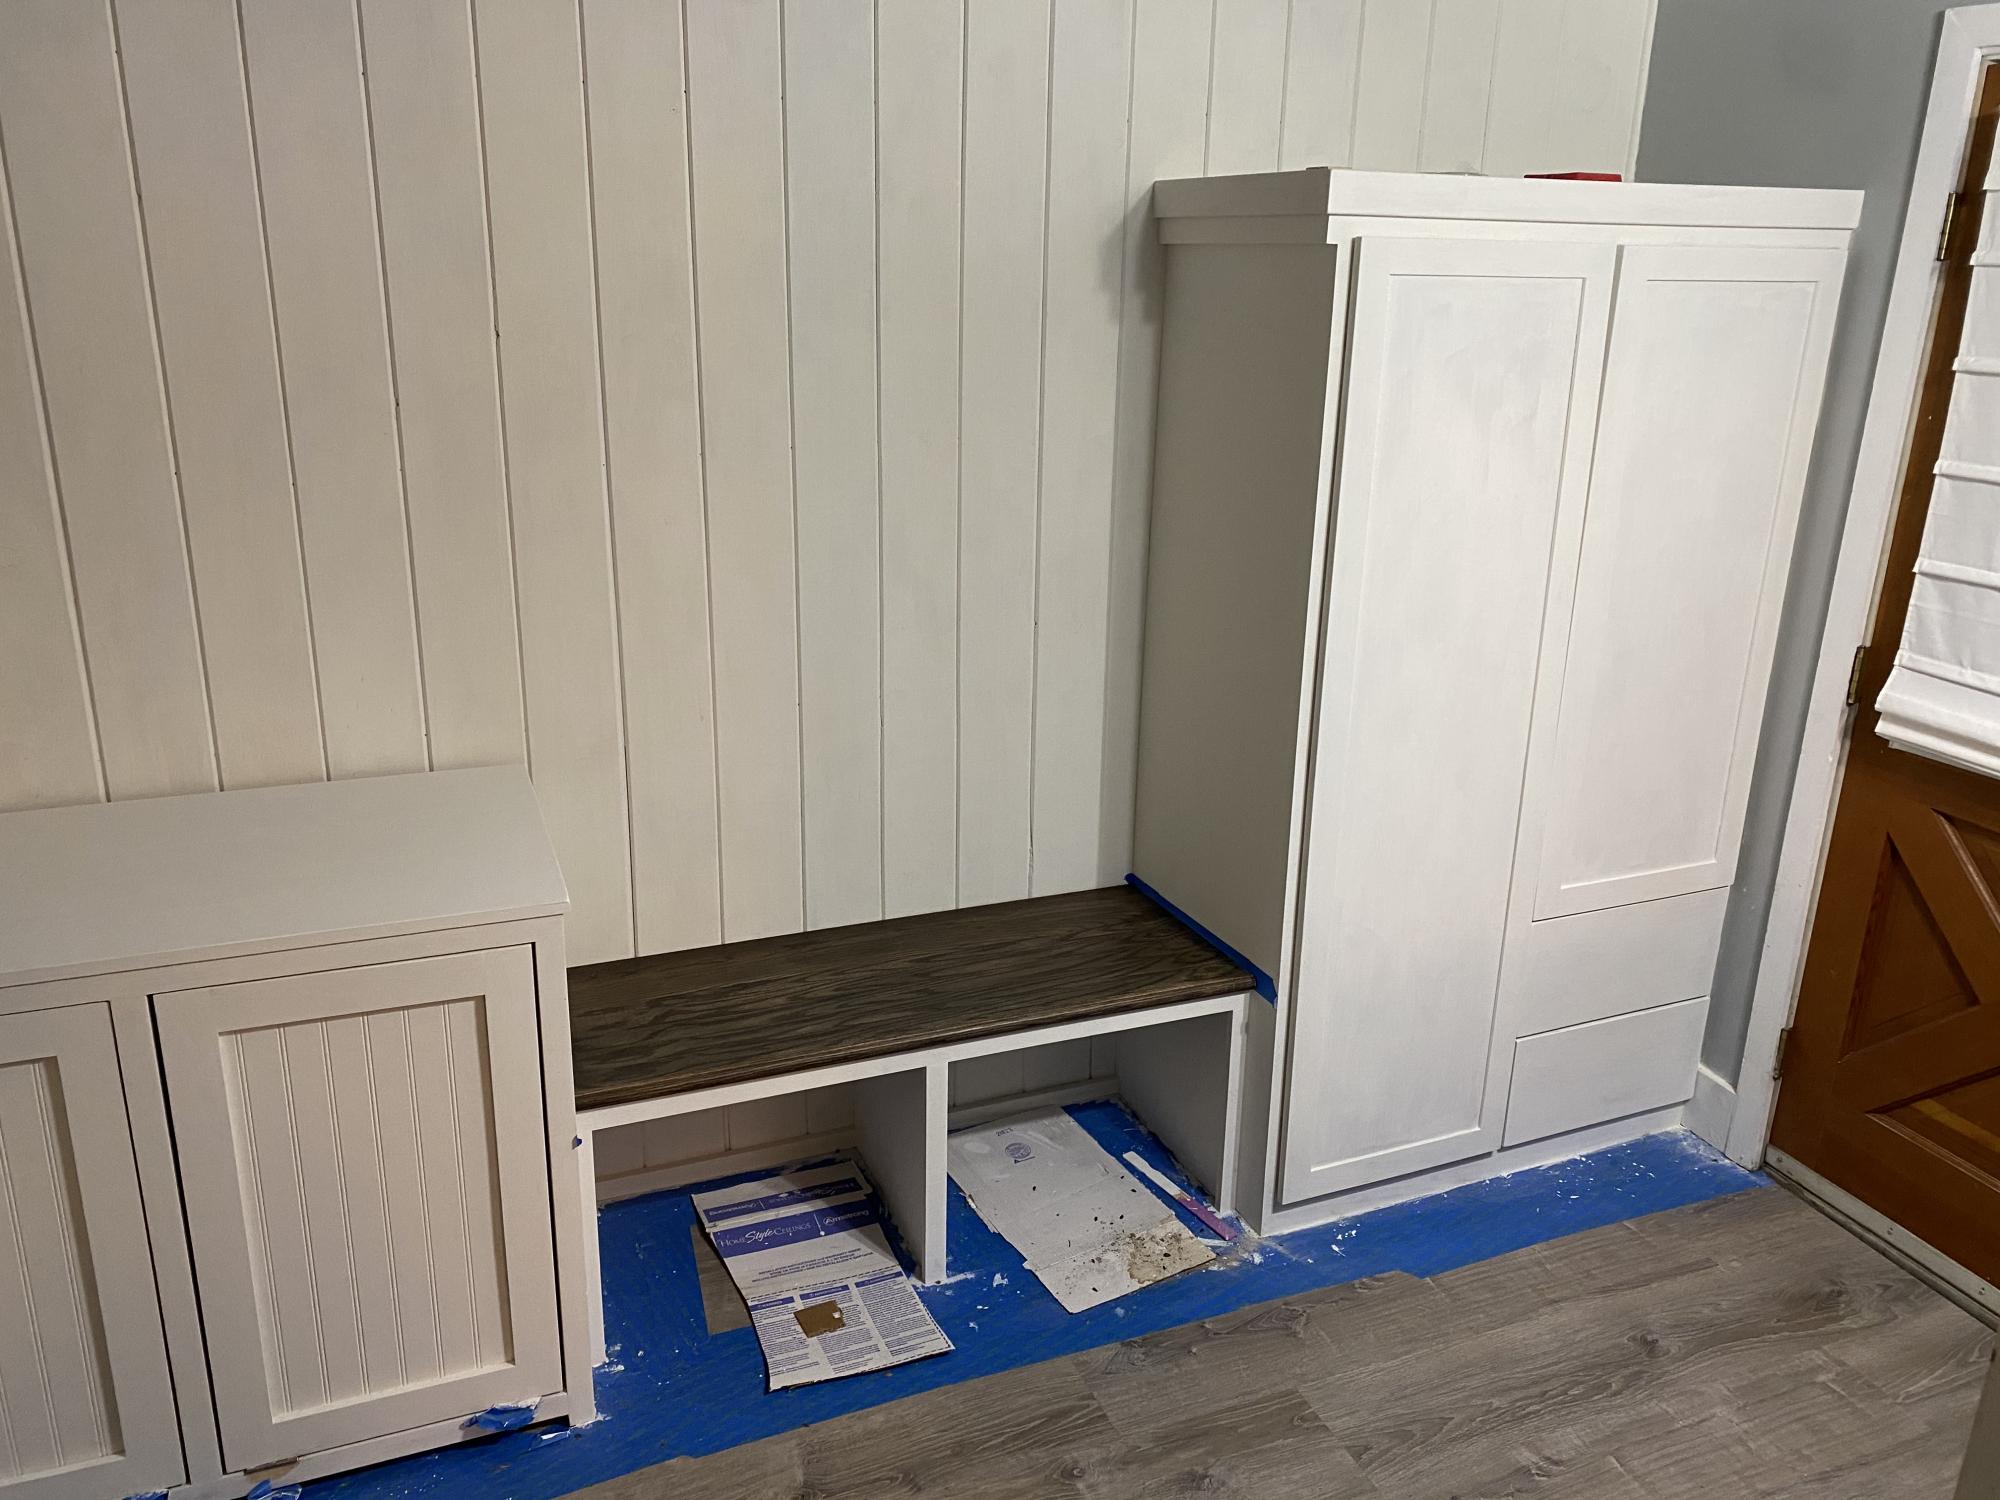
Mud room bench

Submitted by Dan Kielty on Tue, 01/12/2021 - 08:18

Built-in mud room bench attached to the cabinet

Estimated Cost
$200
Estimated Time Investment
Day Project (6-9 Hours)
Finish Used
Miniwax ebony , behr chalk farmhouse white
Recommended Skill Level
Intermediate

Comments

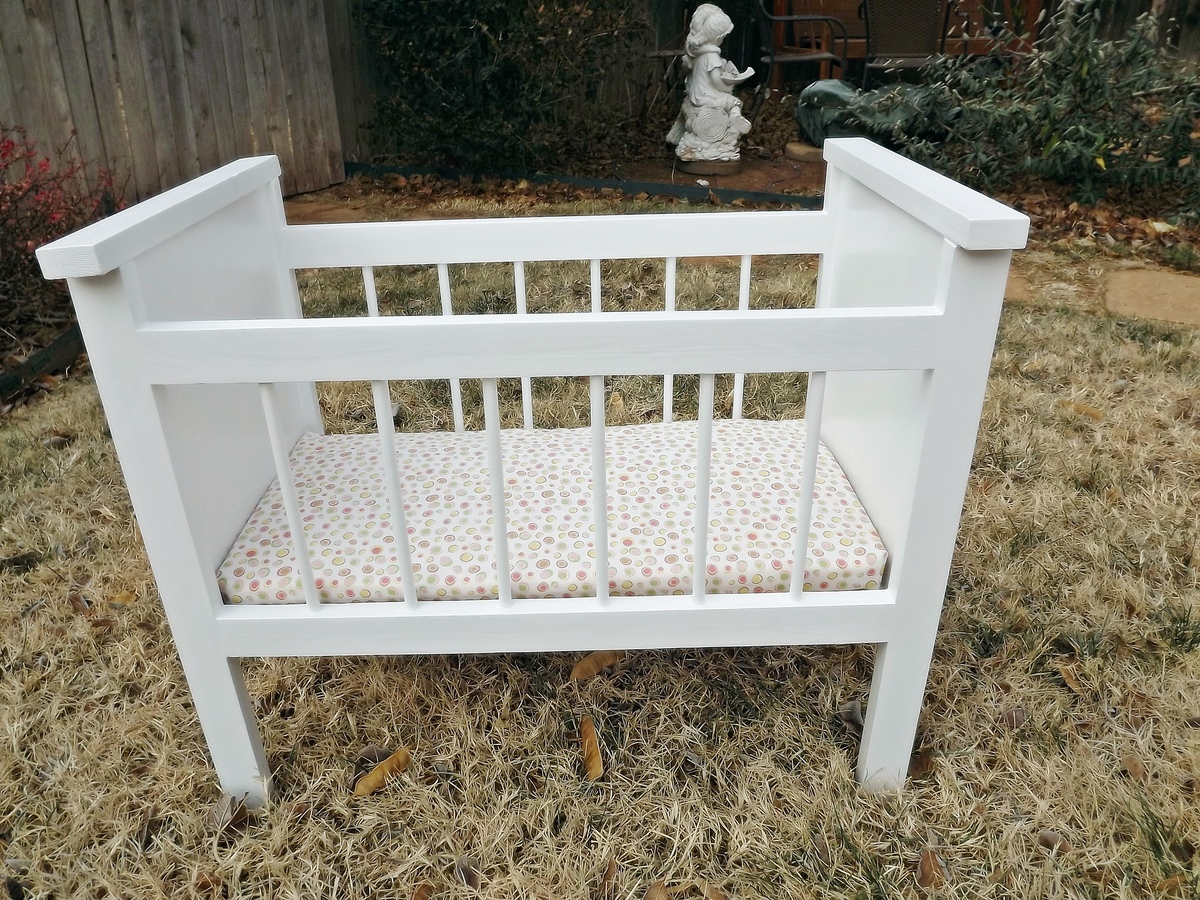
Fancy Baby Doll Crib and High Chair

Submitted by Linda7 on Sun, 02/10/2013 - 20:14

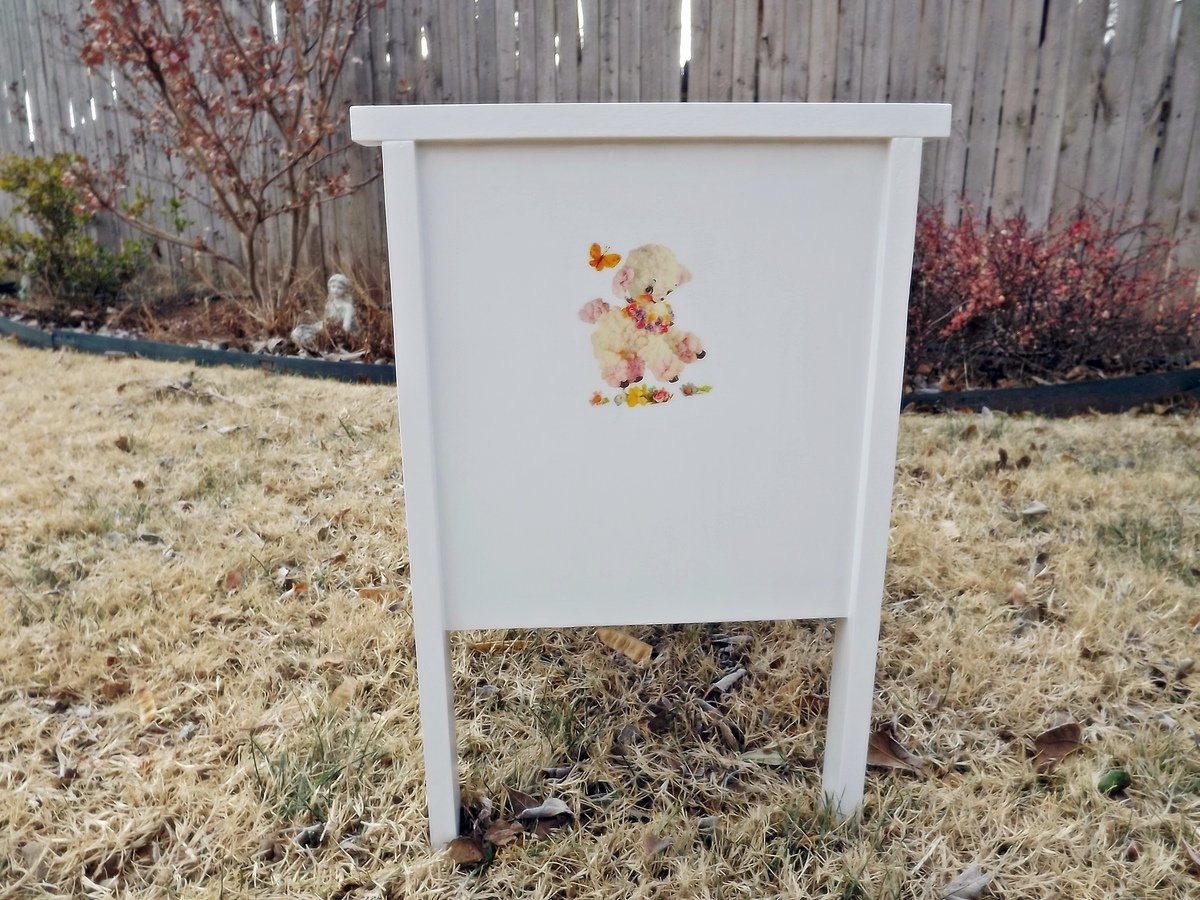
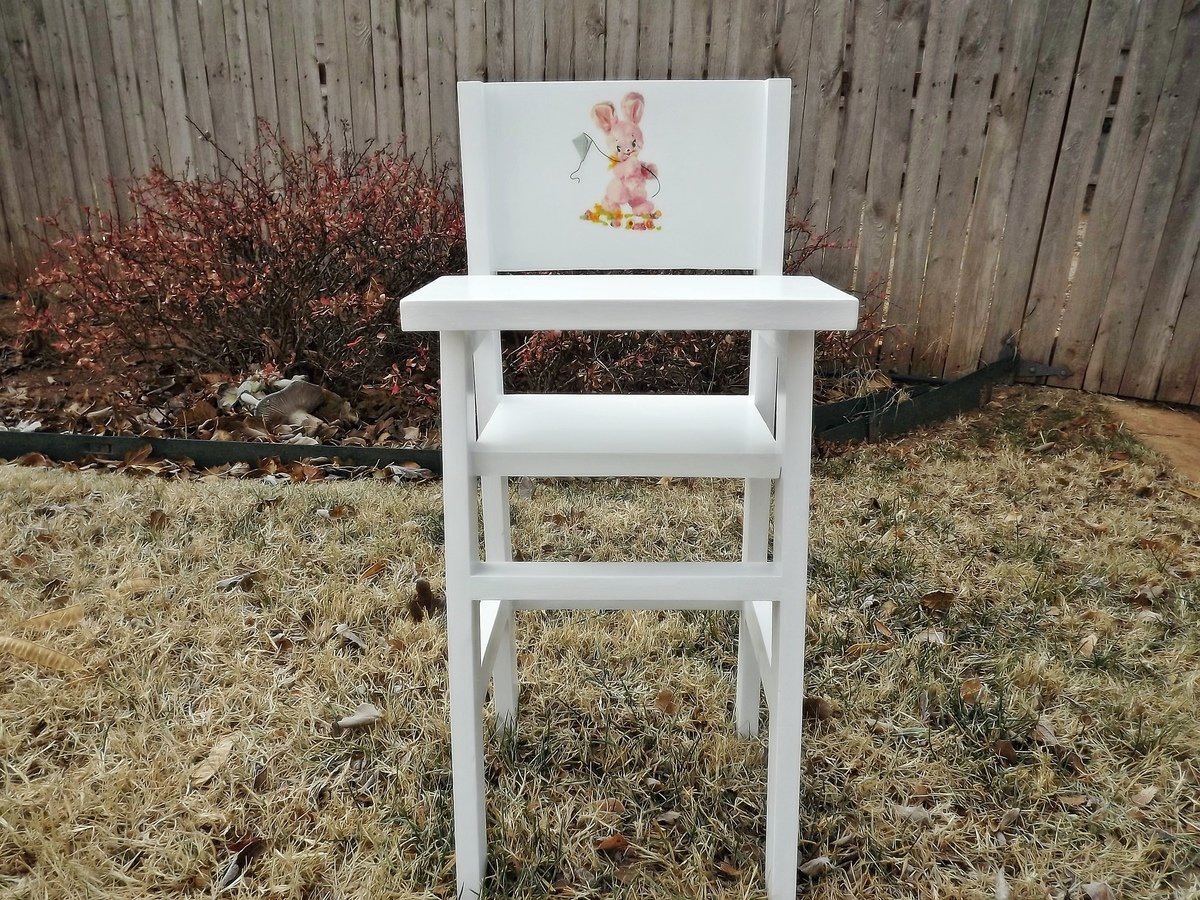
This is the final installment (#6) in the doll bed and high chair sets I've been building my great nieces. Each set was decorated with a lamb water-slip decal on the end of the bed (kind of a little theme going). This is the second crib I've built with dowels - I usually use 1" x 2"s - and I learned to use a spade drill bit rather than a regular drill bit. It doesn't split the wood around the holes. I've had a lot of fun building these for my nieces, and now I may have to start building them for my friends' children and grandchildren. :-)

Built from Plan(s)
Estimated Cost
$20.00-$25.00 not including paint which I had on hand
Estimated Time Investment
Afternoon Project (3-6 Hours)
Finish Used
Kills primer; Olympic bright white interior wall paint, semi-gloss
Recommended Skill Level
Beginner

FARMHOUSE TABLE

Submitted by beefcake on Tue, 12/16/2014 - 11:03

All the boards are ran through a jointer and planer making each board squared.

No rounded ends.

Stain conditioner used.

Finish - Minwax Early American


Estimated Cost
$85
Estimated Time Investment
Weekend Project (10-20 Hours)
Recommended Skill Level
Beginner

Cedar Toy Box

Submitted by Anonymous (not verified) on Fri, 03/17/2017 - 17:07

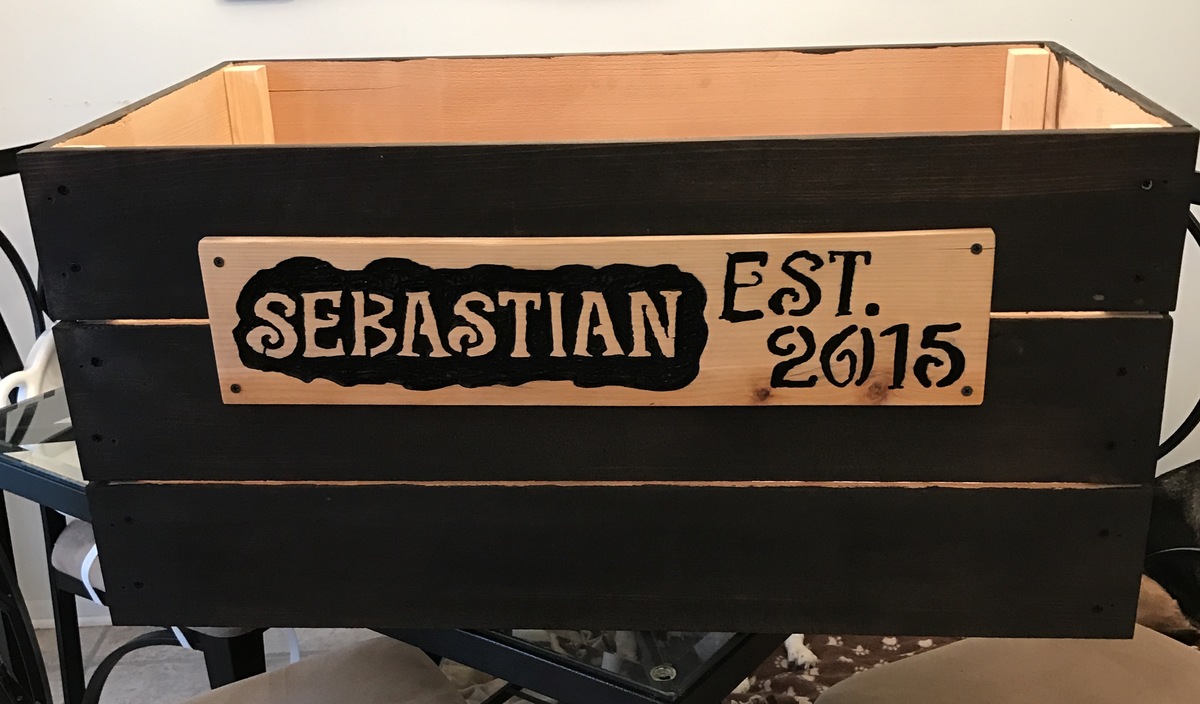
I wanted an easy toy box made from pallets. I came across the plans for the Simple Cedar Wooden Toy Box and decided it would be easier to but a few lengths of cedar fencing than to tear apart a bunch of pallets.


I omitted the feet and rope handles and opted for a carved wooden sign for personalization. I thought it was going to be too small, but soon realized it is a decent sized box.


I used Minwax Jacobean stain and am very happy with the end result.

Built from Plan(s)
Estimated Cost
$30
Estimated Time Investment
Afternoon Project (3-6 Hours)
Finish Used
Minwax Jacobean
Recommended Skill Level
Starter Project

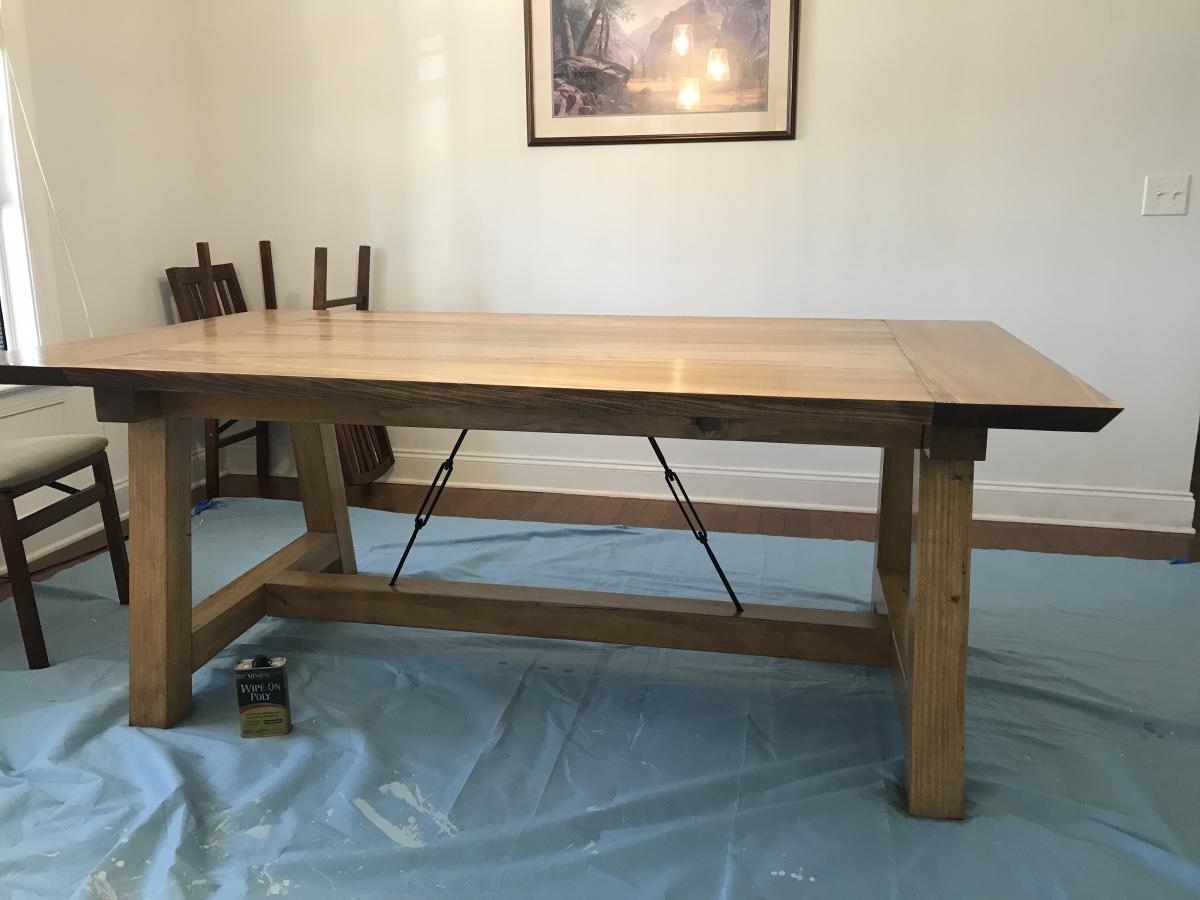
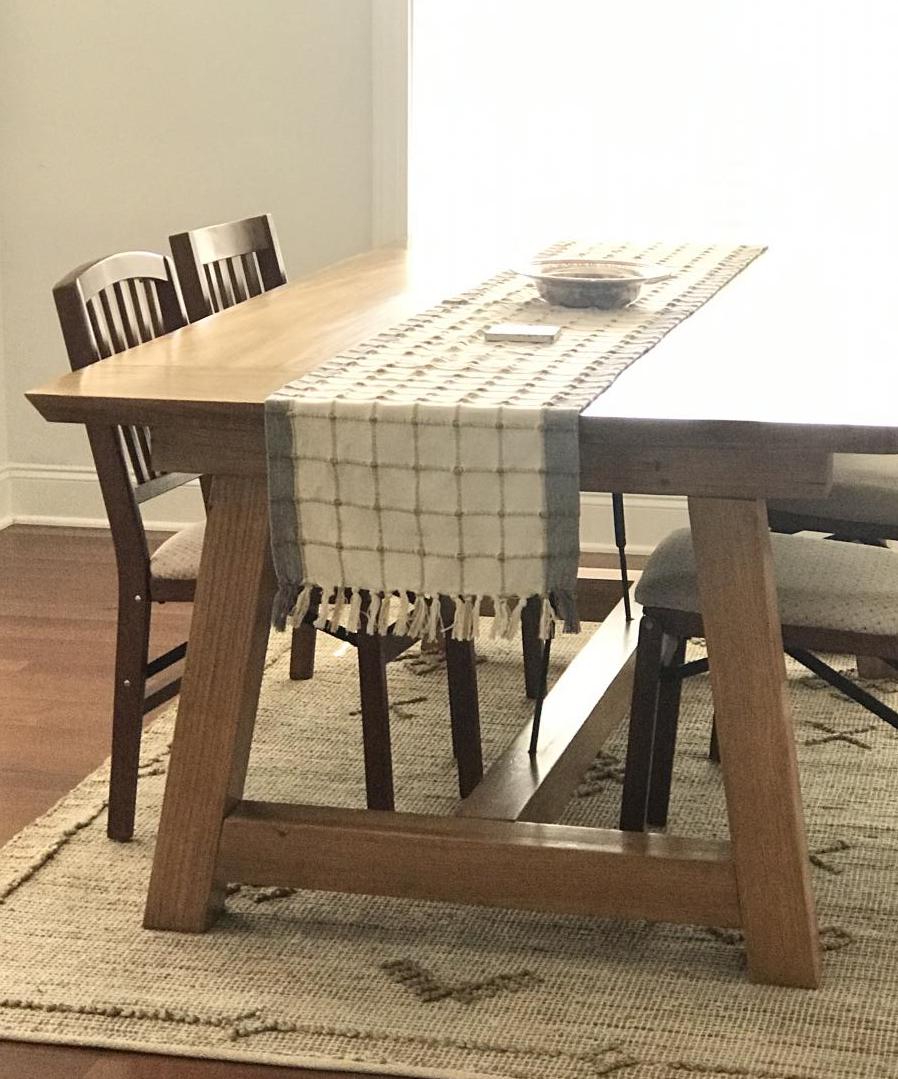
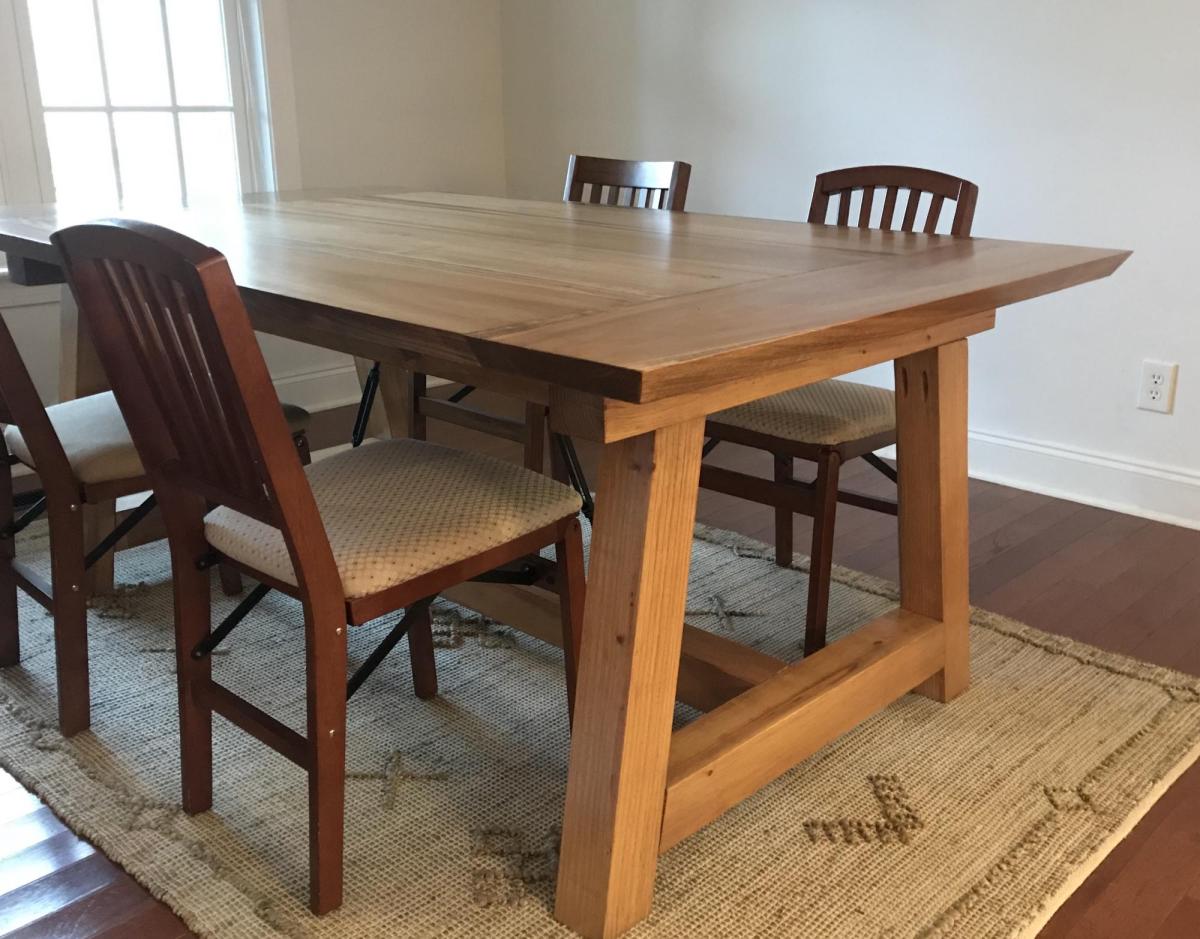
Farmhouse Table with Industrial Hardware

Submitted by Anonymous (not verified) on Sun, 01/17/2021 - 11:26

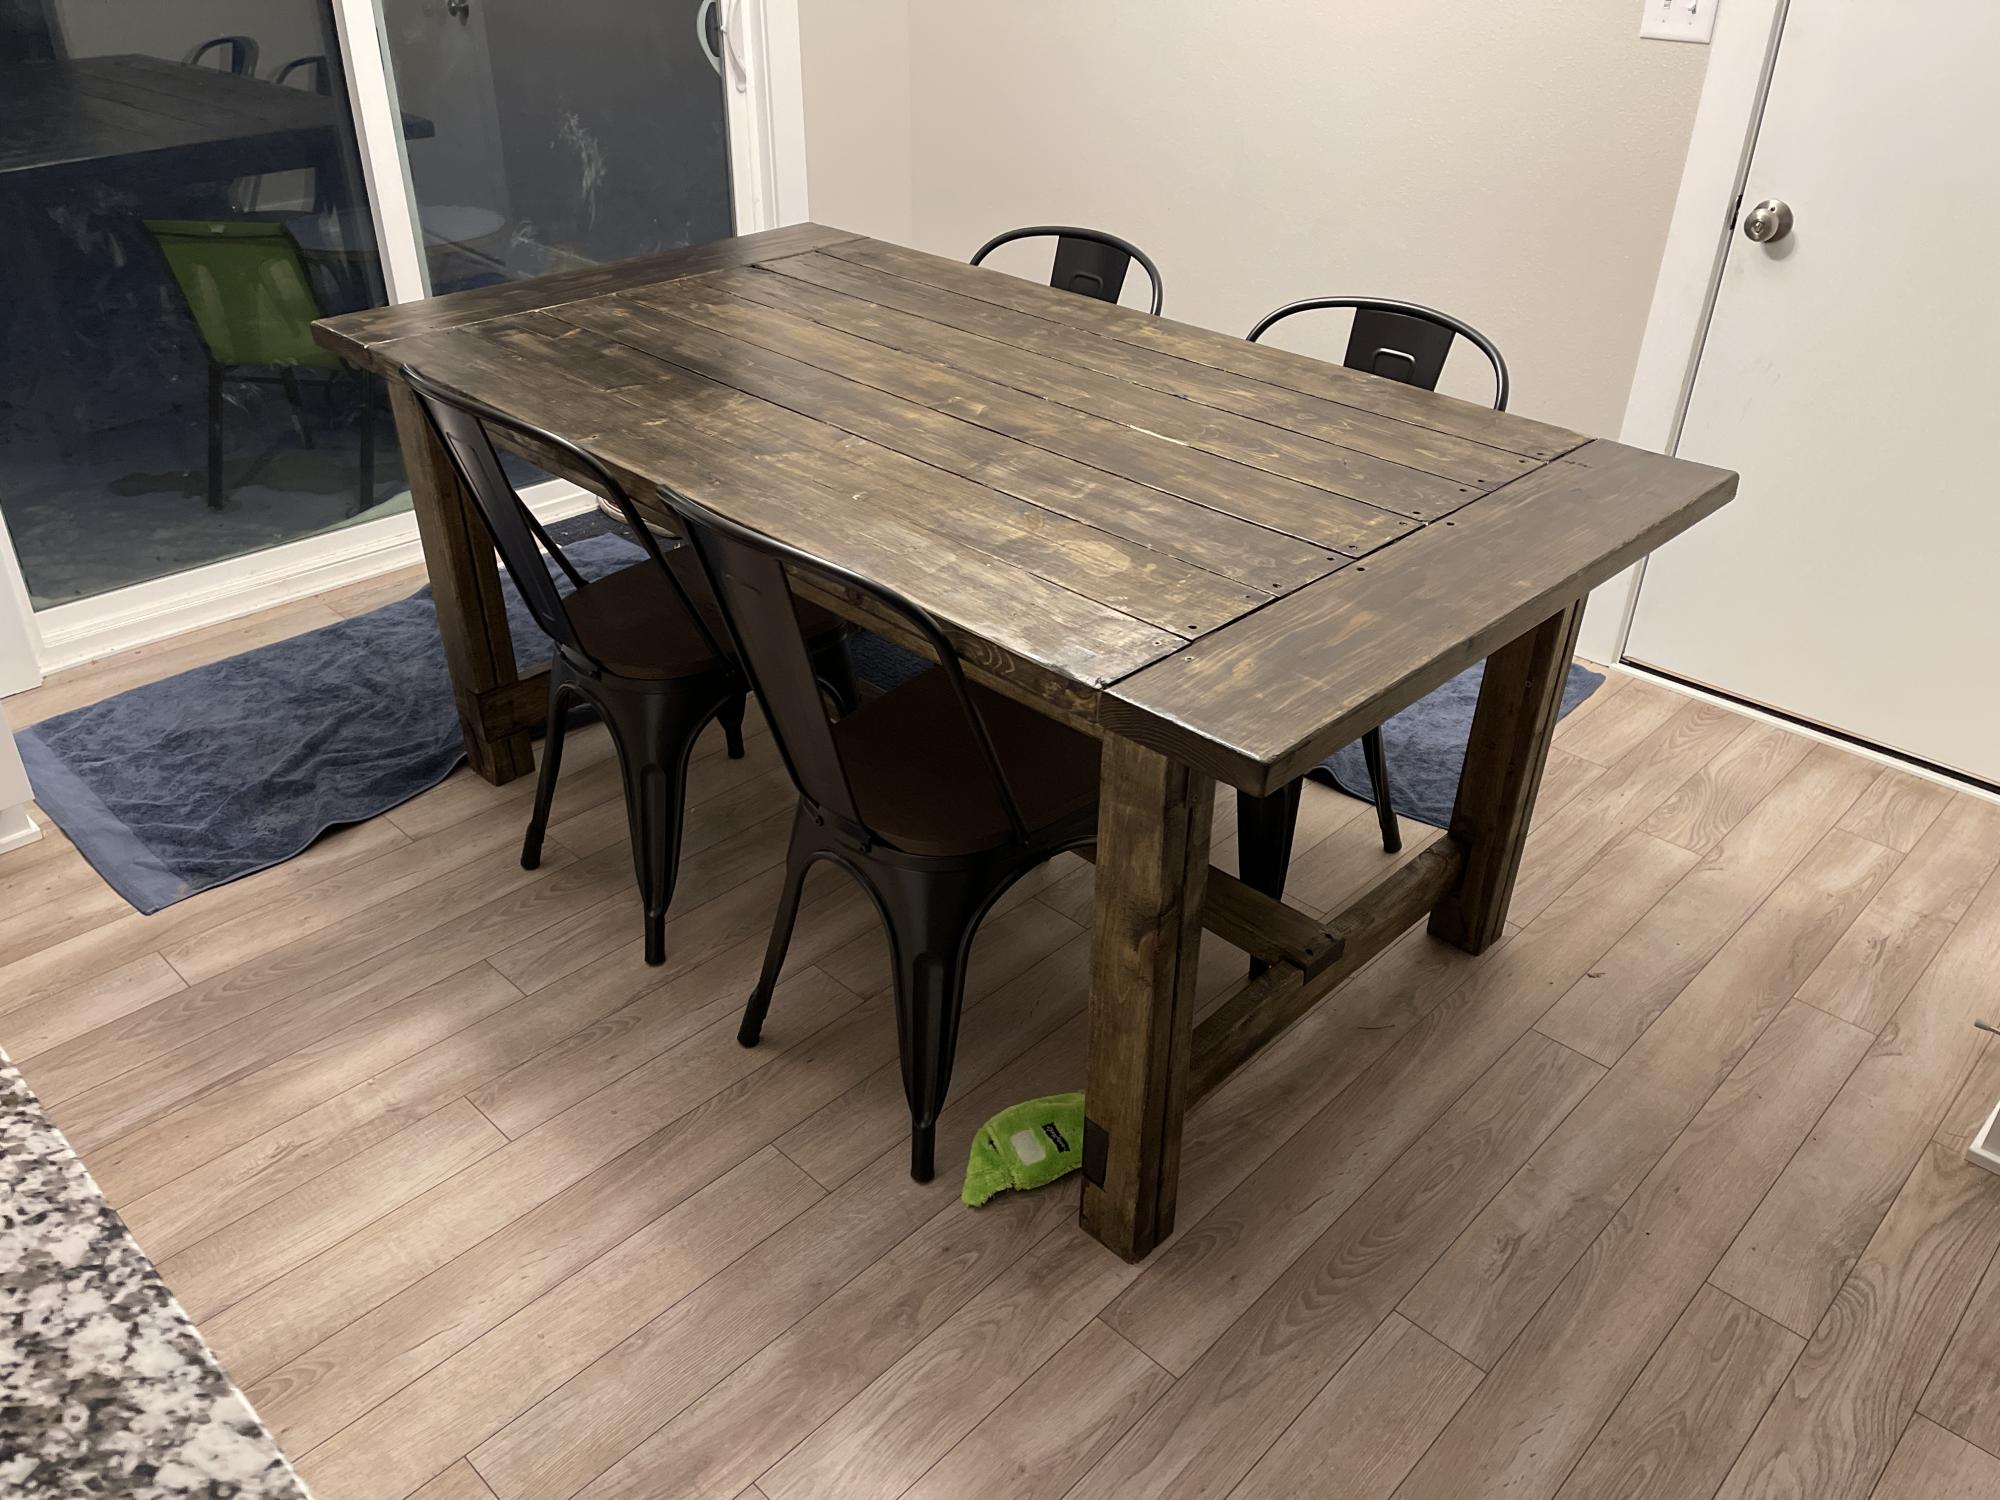
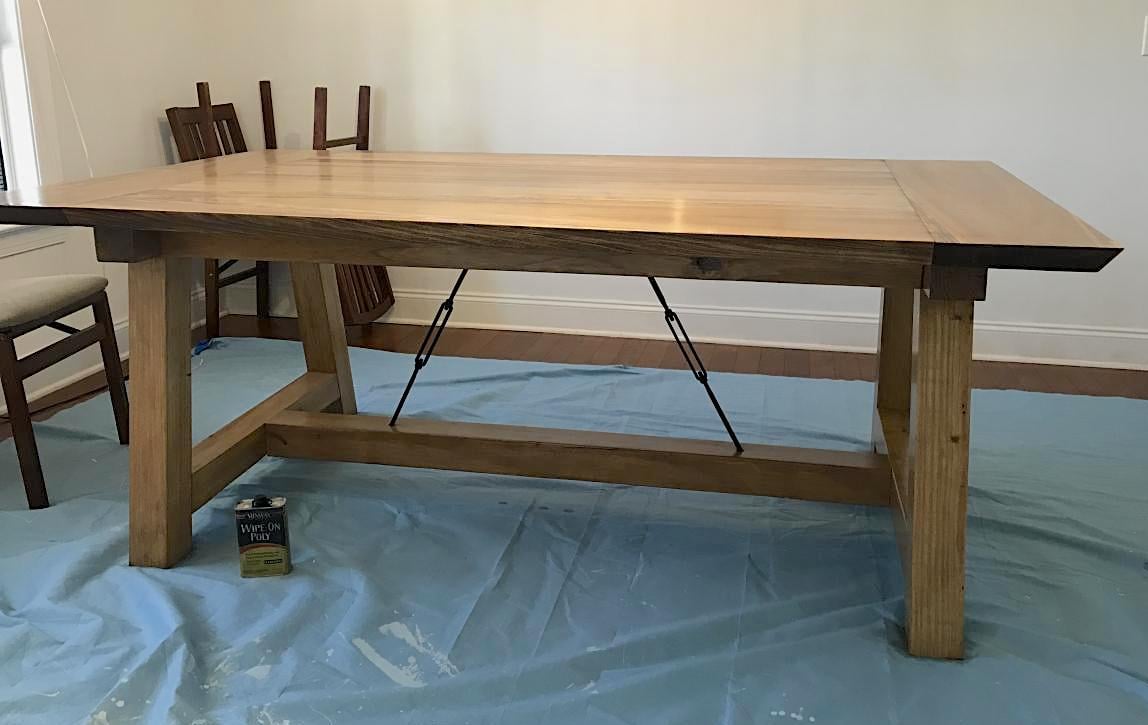
My hubby and I used the tressle table plans to make this awesome table. We changed it up, adding the turnbuckles like a Pottery Barn table that we wanted. I think this turned out way better!

We used yellow pine for the lower portion and poplar for the top.

Built from Plan(s)
Estimated Cost
200
Estimated Time Investment
Week Long Project (20 Hours or More)

Comments

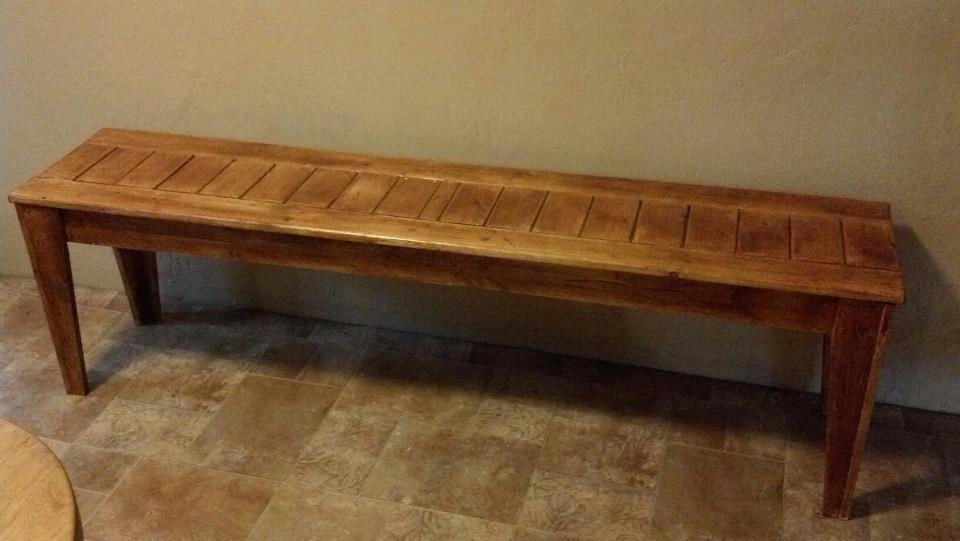
Farm house bench LOVE IT!!

Submitted by Suzie Ake on Wed, 02/13/2013 - 10:43

I have hunted for the perfect dining room bench for my large family but they were either to poorly crafted to withstand my crew, to small, or to pricey. Then I found this site showed the farm house bench to my husband and he said, "Hey I can build that!" and build it he did. He changed a few things here and there but the overall finished bench is AMAZING, and I LOVE IT!!! Thanks Ana!

Estimated Time Investment
Afternoon Project (3-6 Hours)
Recommended Skill Level
Beginner

Camp Loft Bed

Submitted by dadto3kids on Thu, 12/18/2014 - 20:51

I had a friend who needed a bed for two energetic boys for a small bedroom.  I saw these plans and thought this would be perfect for them.  They absolutely loved it and now have plenty of room for their toys in their bedroom. 

Estimated Cost
about $50 for screws stain and polyurethane. I already had all the wood otherwise I would presume it would cost another $50-$75.
Estimated Time Investment
Week Long Project (20 Hours or More)
Finish Used
Minwax Early American
Recommended Skill Level
Beginner

Comments

milyron

Tue, 05/19/2015 - 11:00

Hi, This bed is awesome. I have few question and would appreciate if you could help me.
Did you use any connector bolts to be able to take it apart easily?
How did you connect the slats of the platform to the frame? with PH screws?
would appreciate any details you can give me.
Thanks
Mily:-)

Thanks for providing the plans!

Submitted by Anonymous (not verified) on Mon, 03/20/2017 - 17:45

Used the plans with minor modifications, many thanks for a great design!

Estimated Cost
$55.00
Estimated Time Investment
Day Project (6-9 Hours)
Finish Used
Dark Walnut topped with classic Gray.
Recommended Skill Level
Intermediate

Farmhouse FYI bed frame

Submitted by Anonymous (not verified) on Wed, 01/20/2021 - 11:25

We are mediocre novice in the handy area. I more so than he, but together we wanted to tackle this project.
The directions were great and the pictures helped with some of the minor confusion. Great plan and solid beautiful bed frame.
The total cost was around $175. Wood is a bit expensive in our area...
the stain we chose was a semitransparent gray wash. I thought it was going to be a true stain but it was more a paint quality but in the end the wood grain showed through and we just used one coat! Went on thick

This was my boyfriend and my first major construction project and tackling it together we were a little intimidated ... never used a kreg jig but had purchased one a few years ago and never used it. Haha well you def want to have it. Watched a iTunes video and it Was easy and we faired well.
Only one argument that taught us both a few things and ended up giving us the desire to make more furniture together.
Thank you Ana white

Built from Plan(s)
Estimated Cost
175
Estimated Time Investment
Afternoon Project (3-6 Hours)
Finish Used
Val spar gray wash semi transparent stain
Recommended Skill Level
Intermediate

Tapered Crate

Submitted by dmcarwin on Sat, 02/16/2013 - 08:06

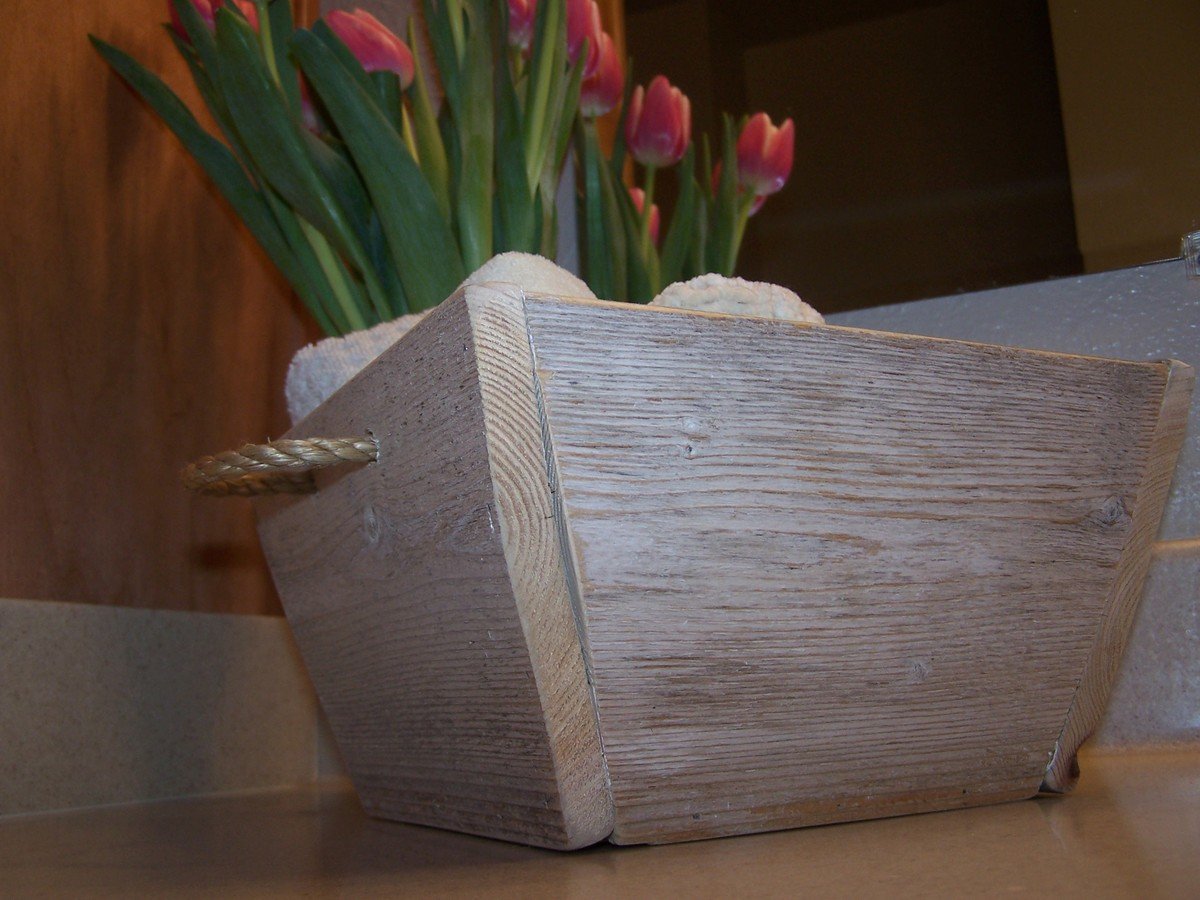
I was so excited when I saw the plan for this! I love making crates out of wood. It was quick and easy and I already had a cedar fence post! It was less than 30 minutes start to finish! For more pictures check out my blog post. Thanks Ana!

Estimated Cost
Free!
Estimated Time Investment
An Hour or Two (0-2 Hours)
Finish Used
It was naturally finished for me!
Recommended Skill Level
Starter Project

Comments

sarahwilley2

Sat, 02/16/2013 - 10:45

Great job! This looks awesome. I can't wait to make some of these babies!