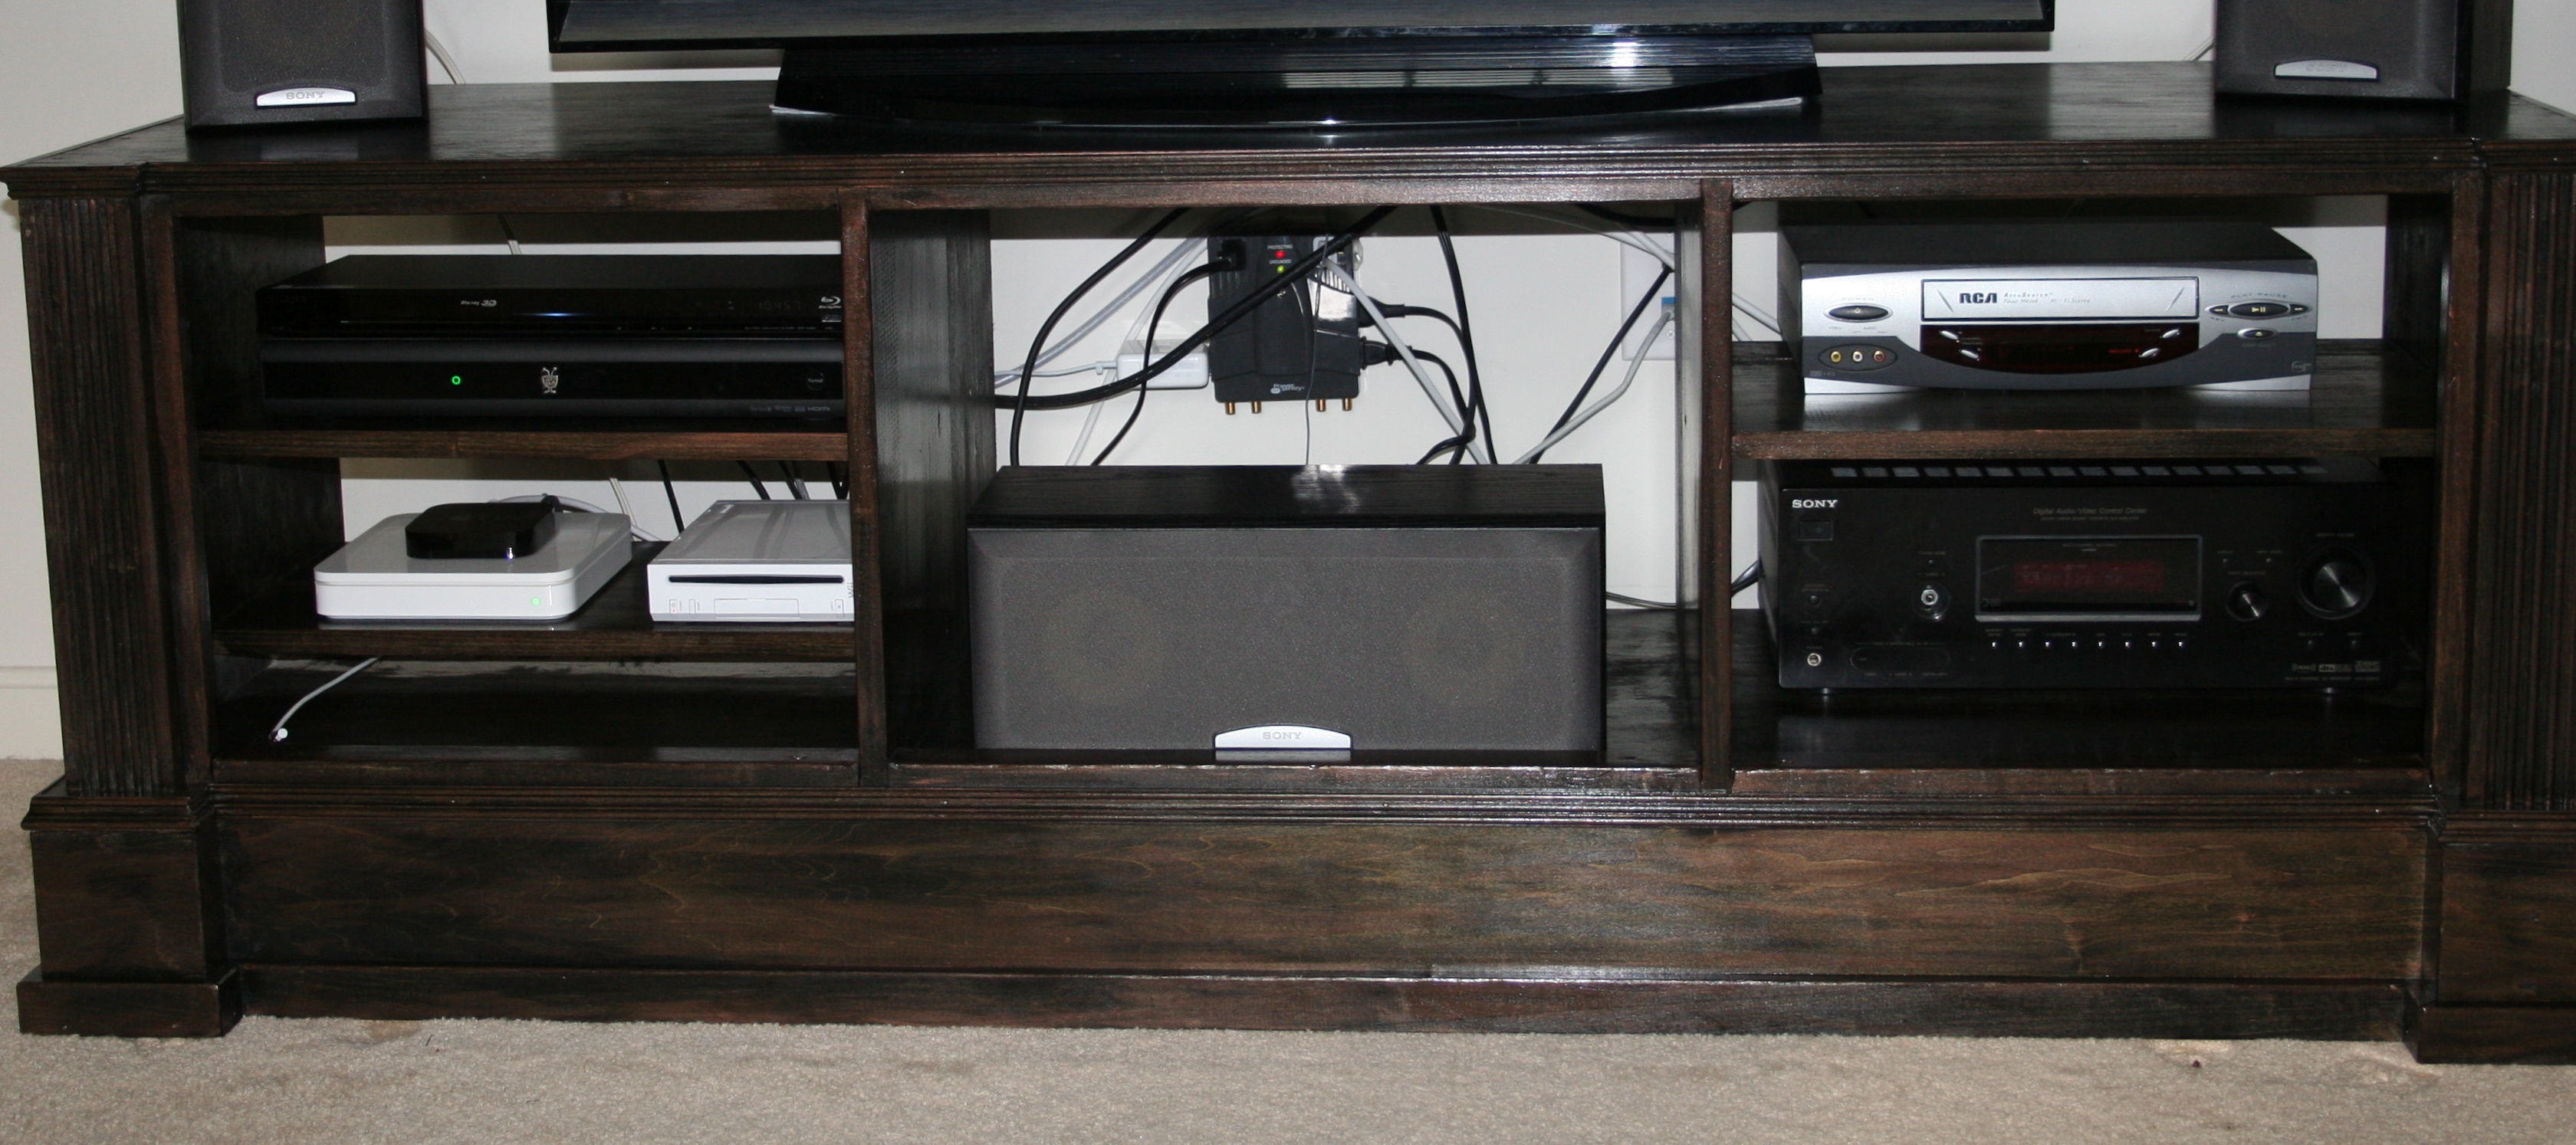
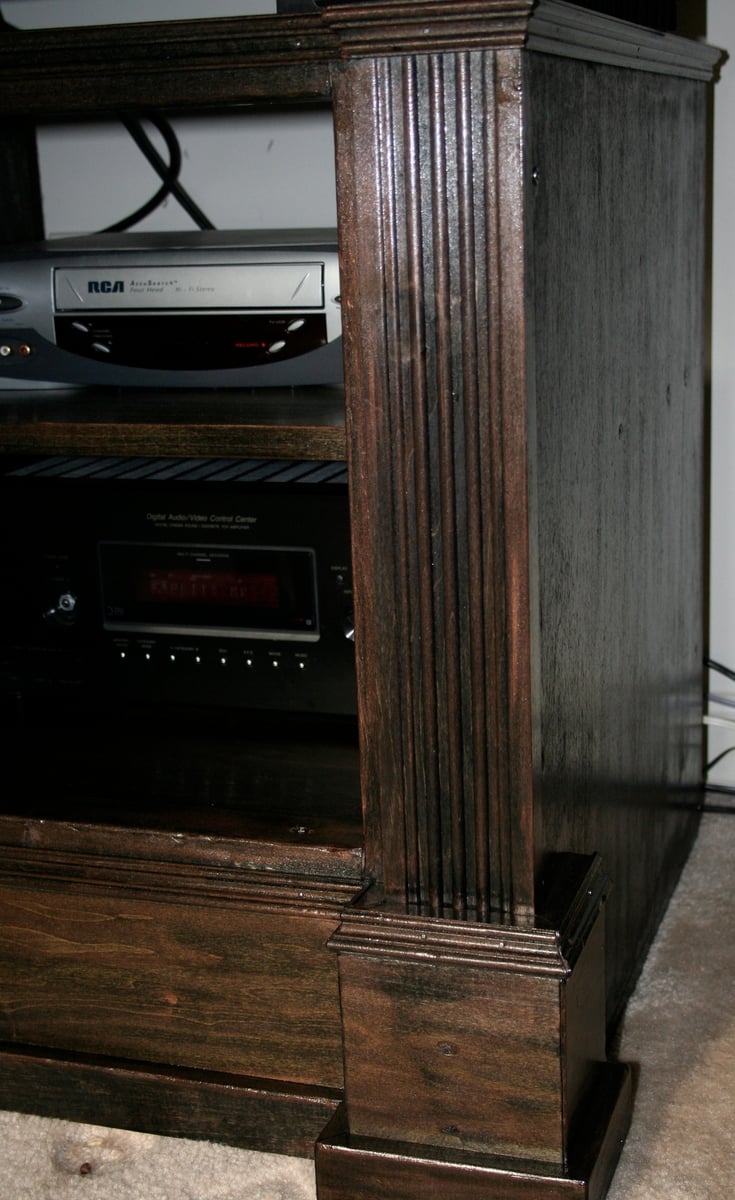
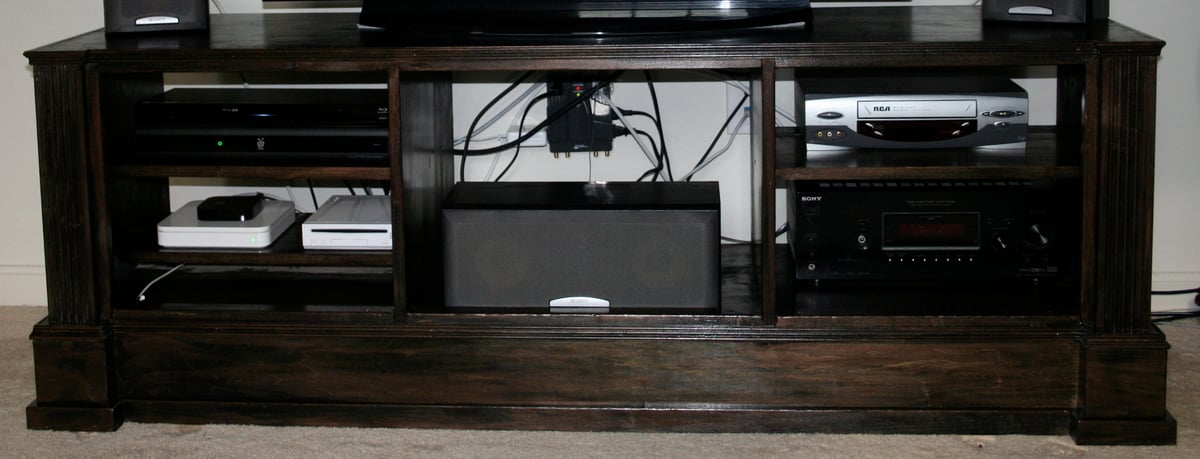
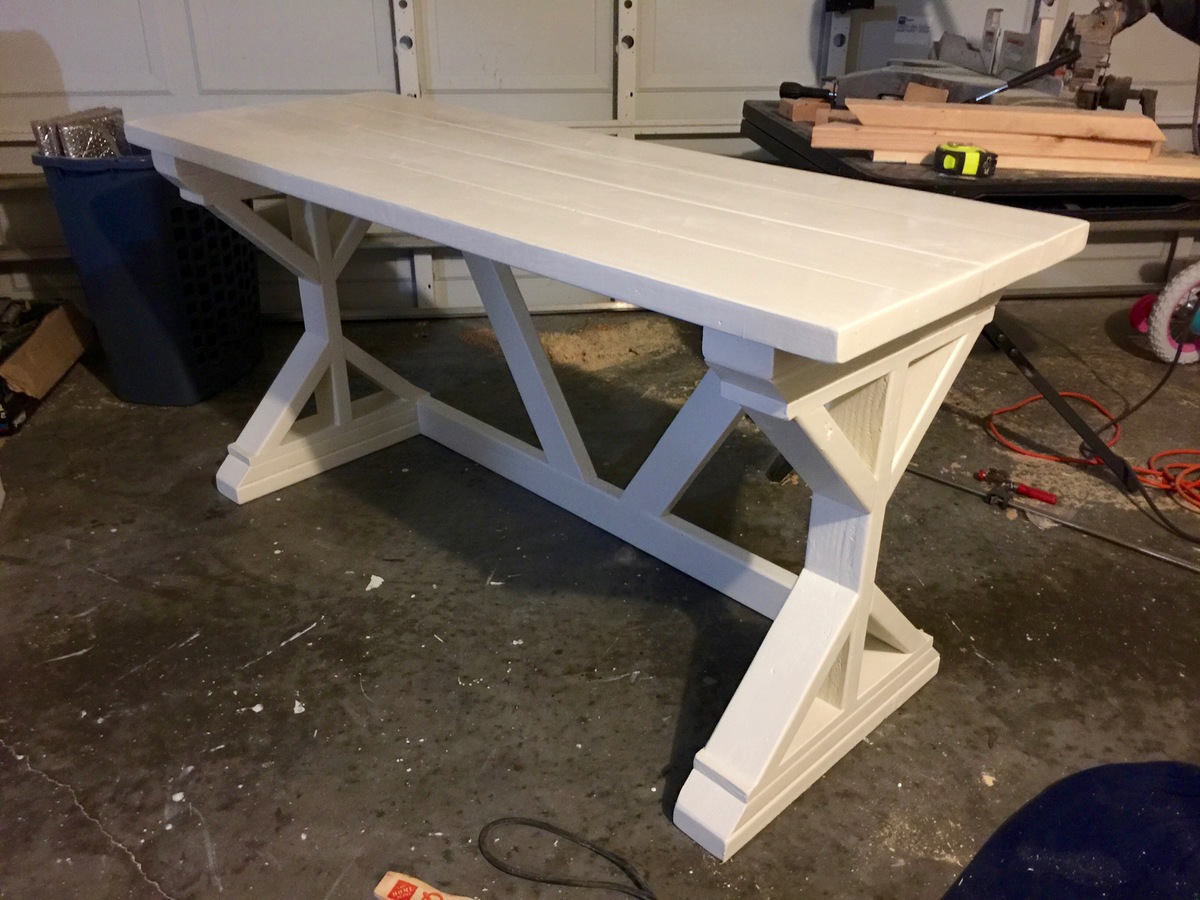
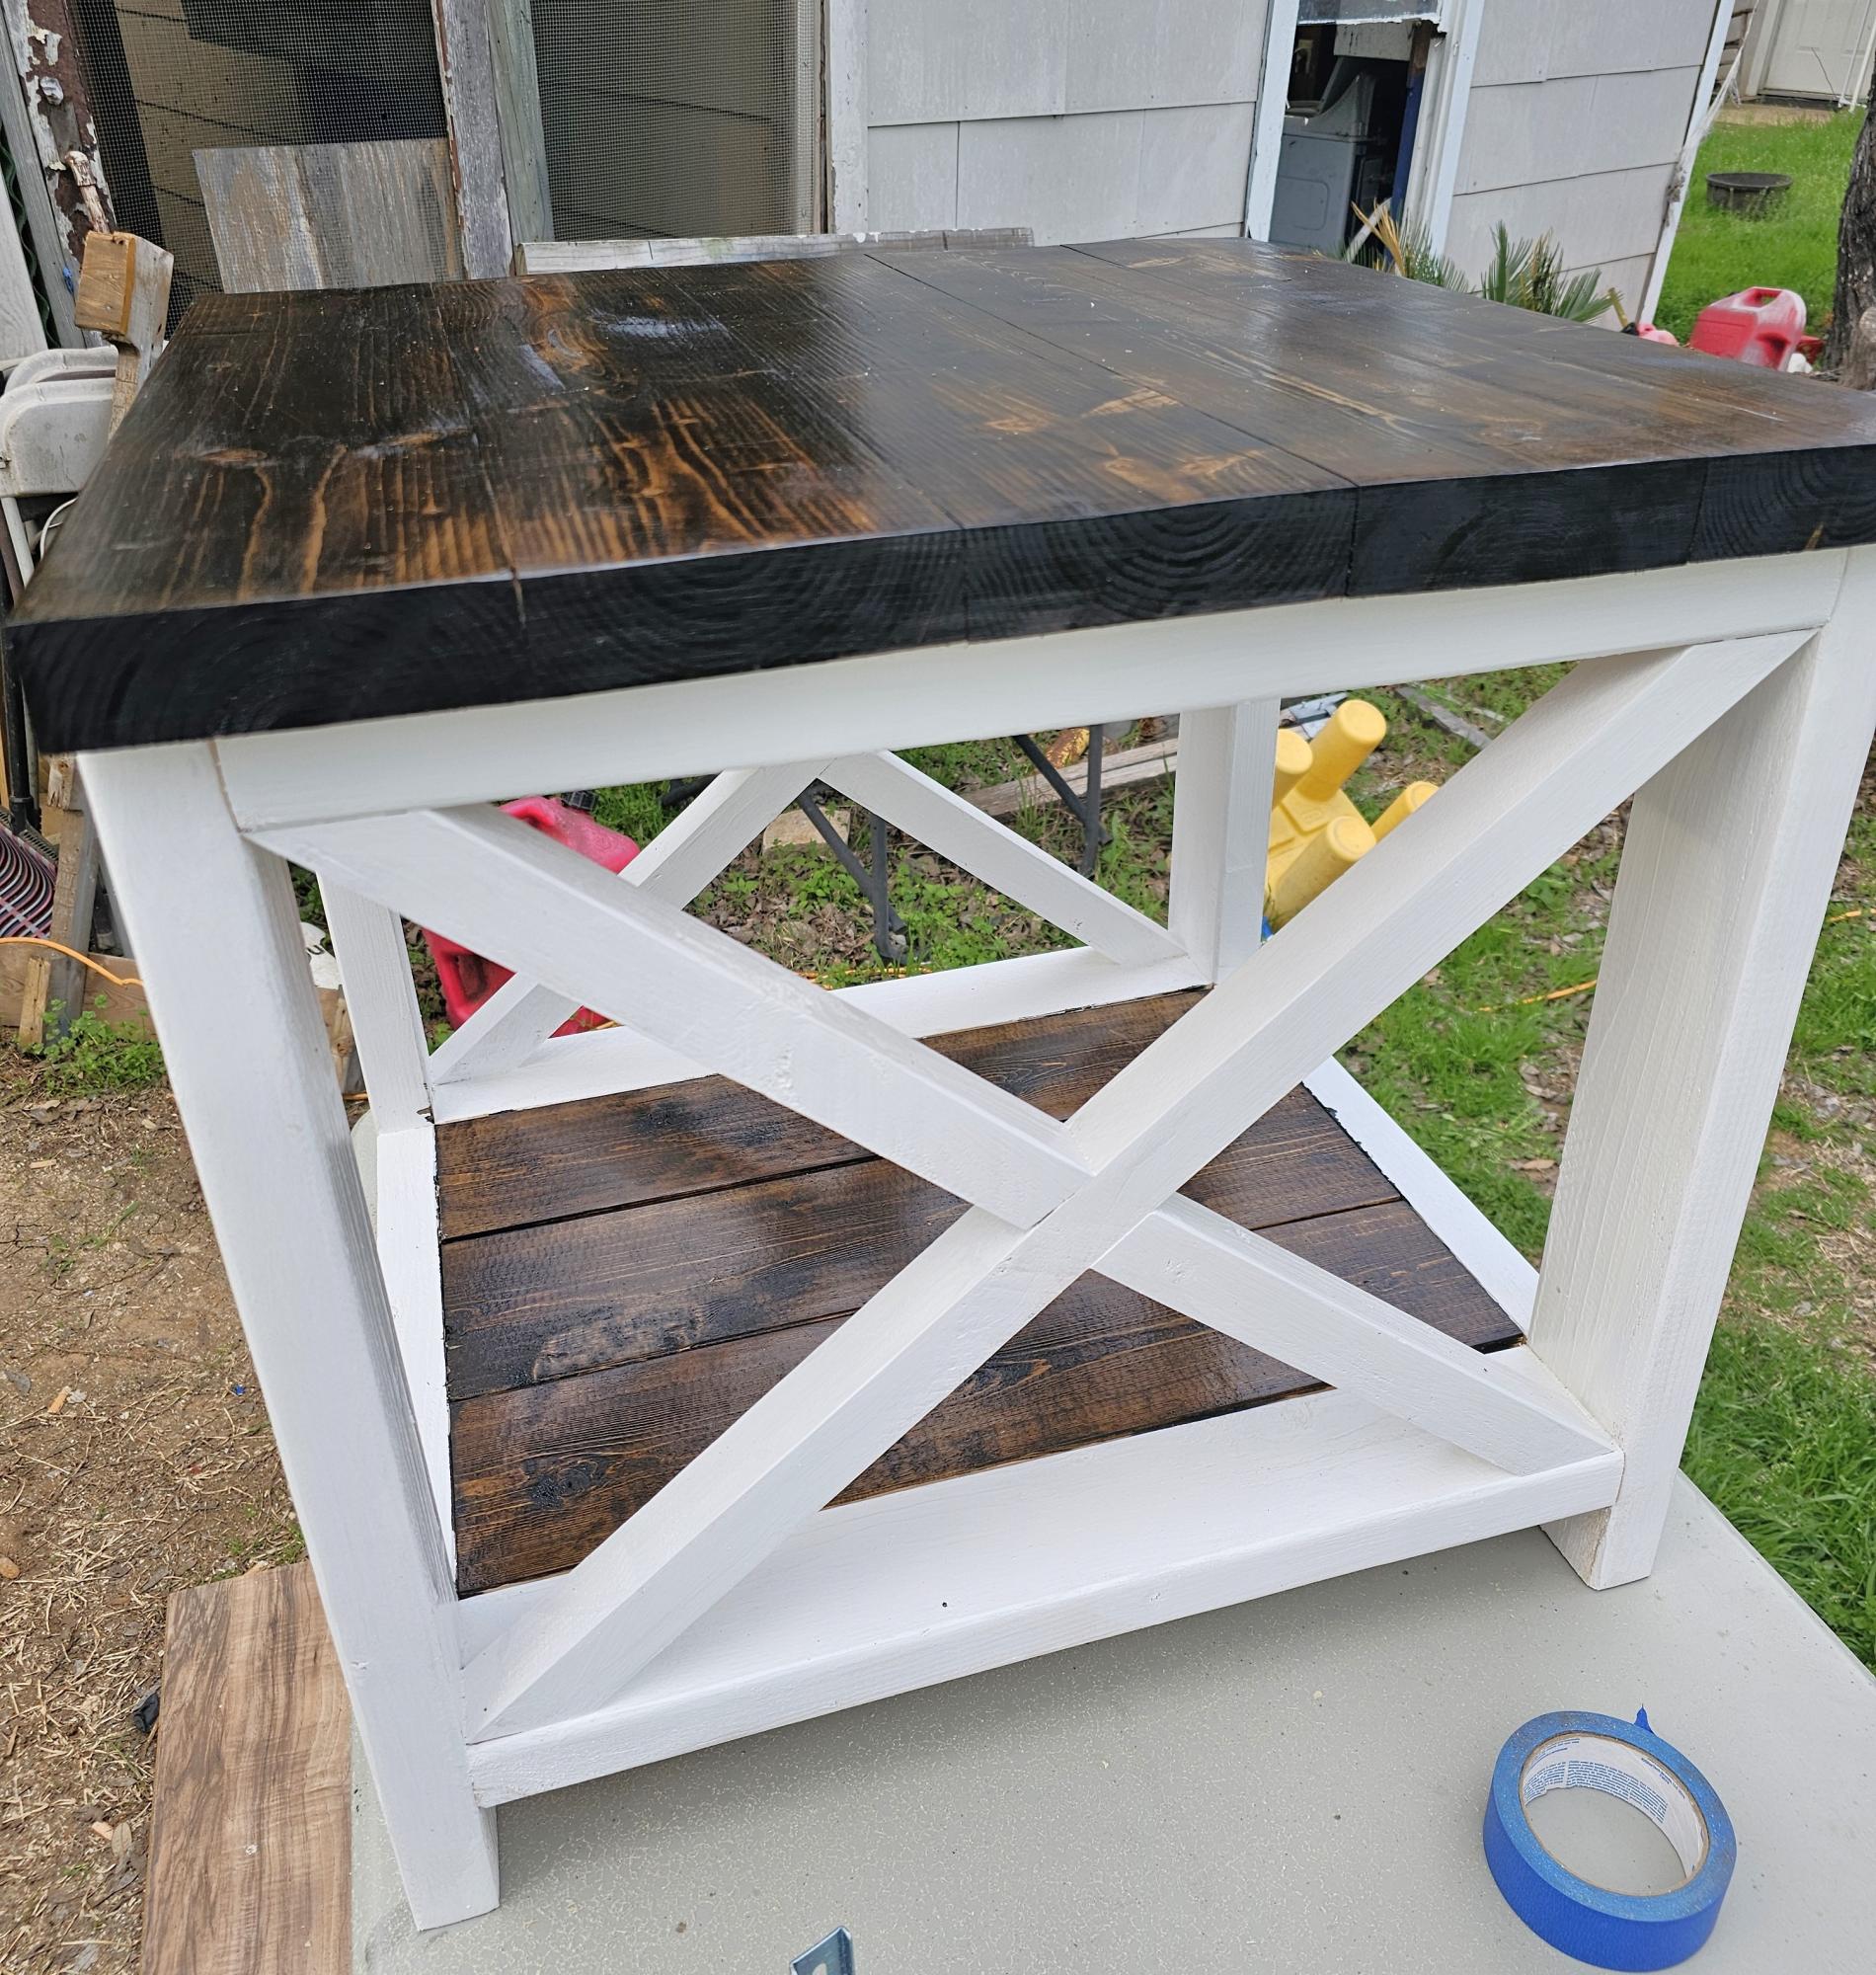
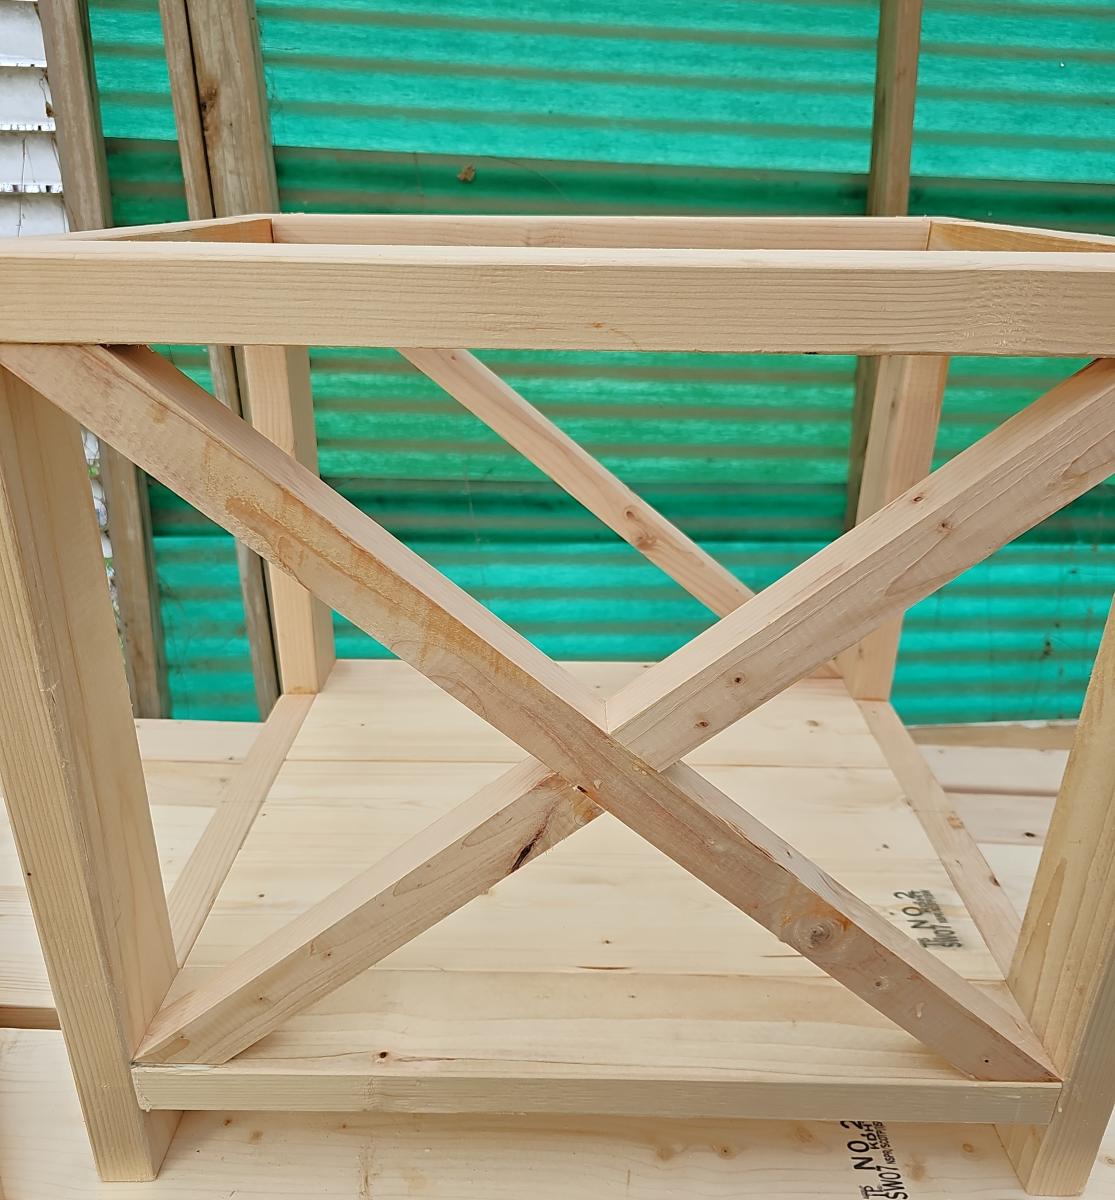
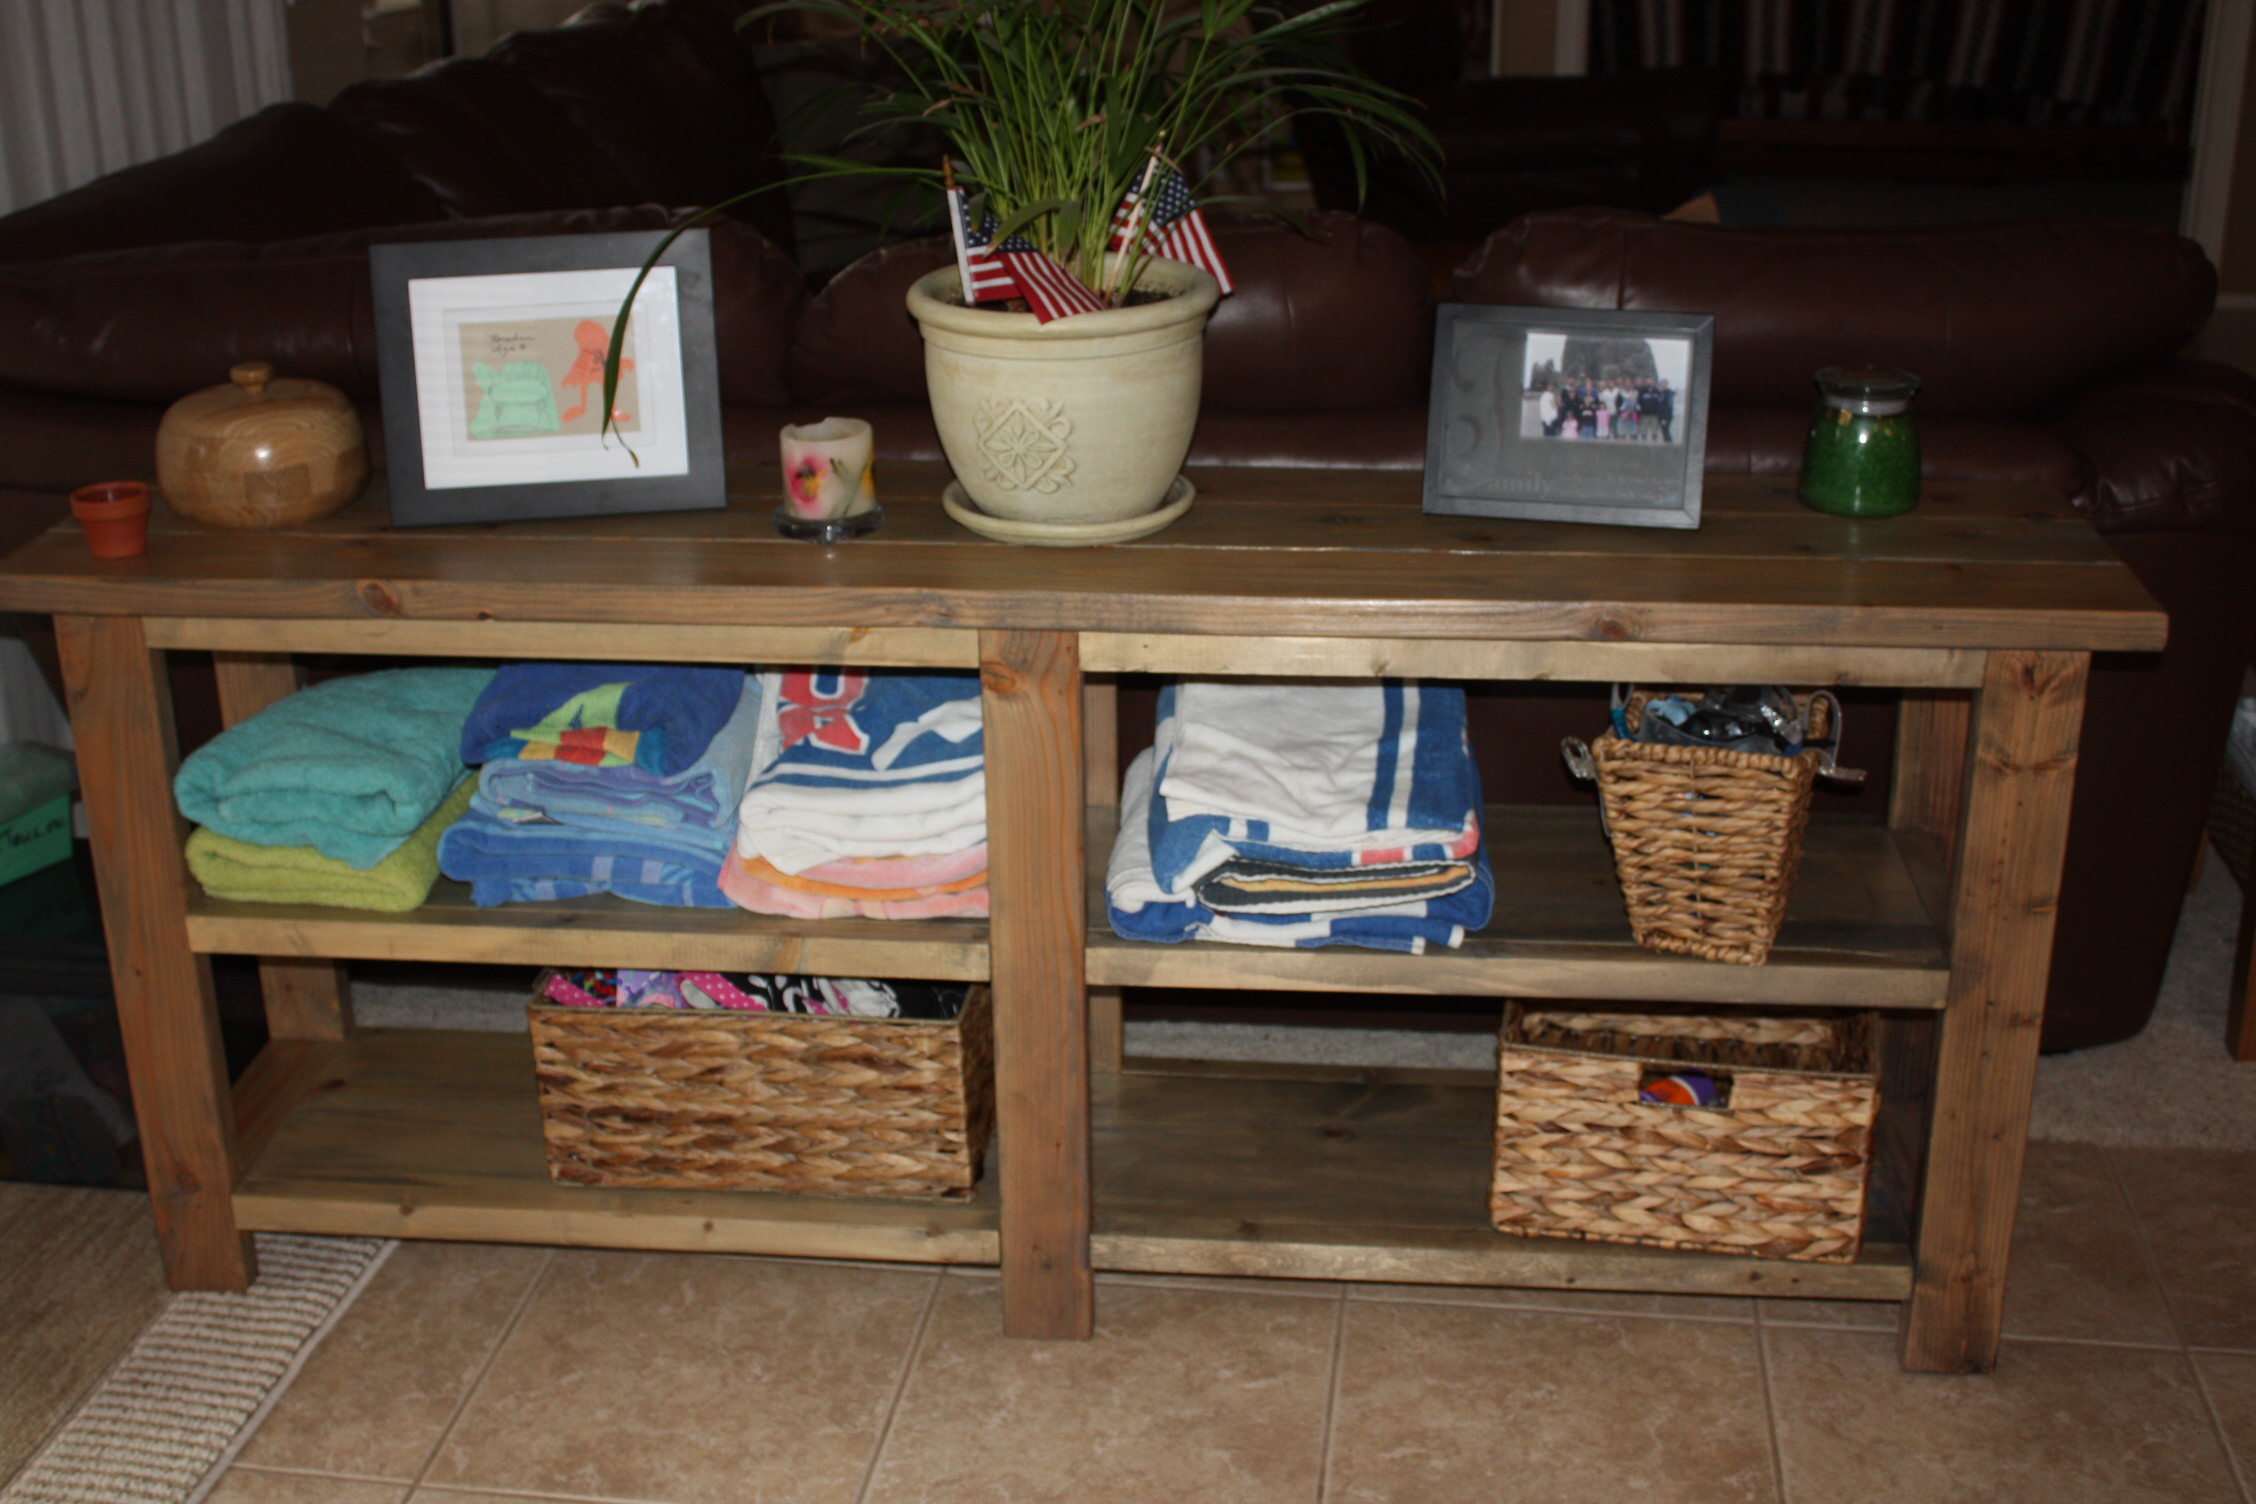
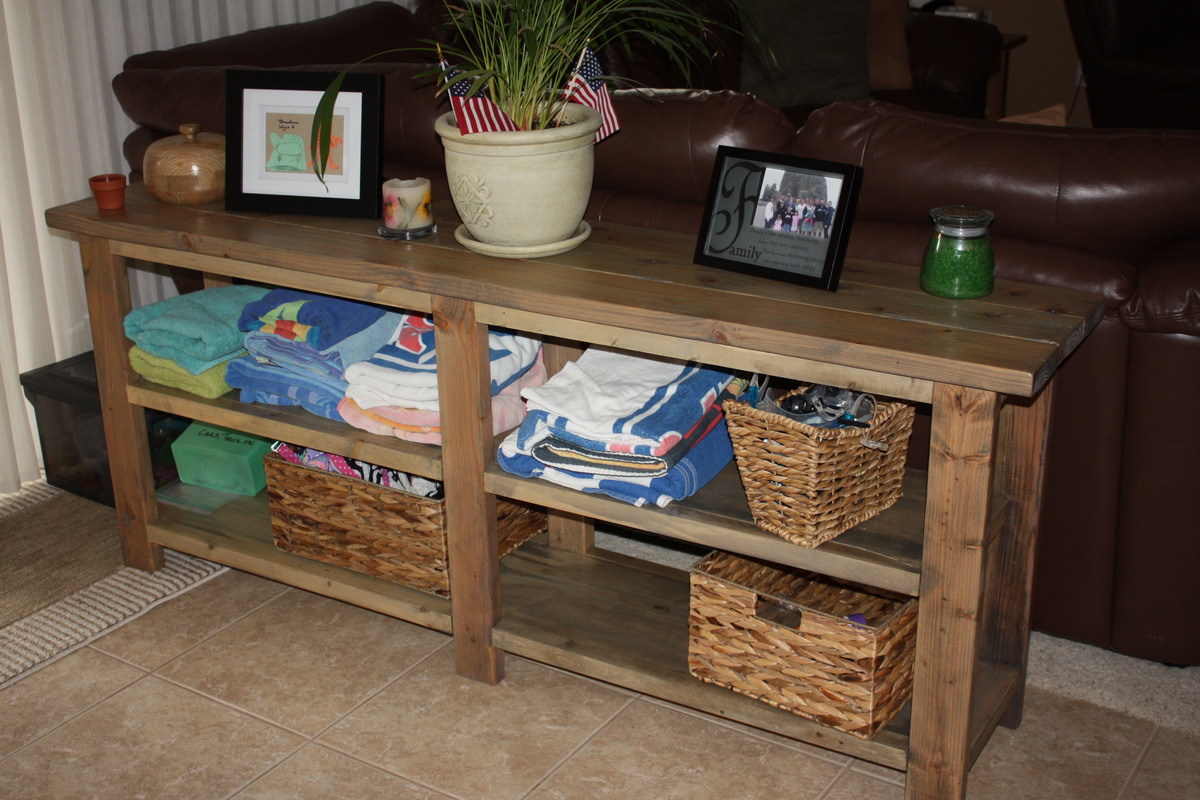
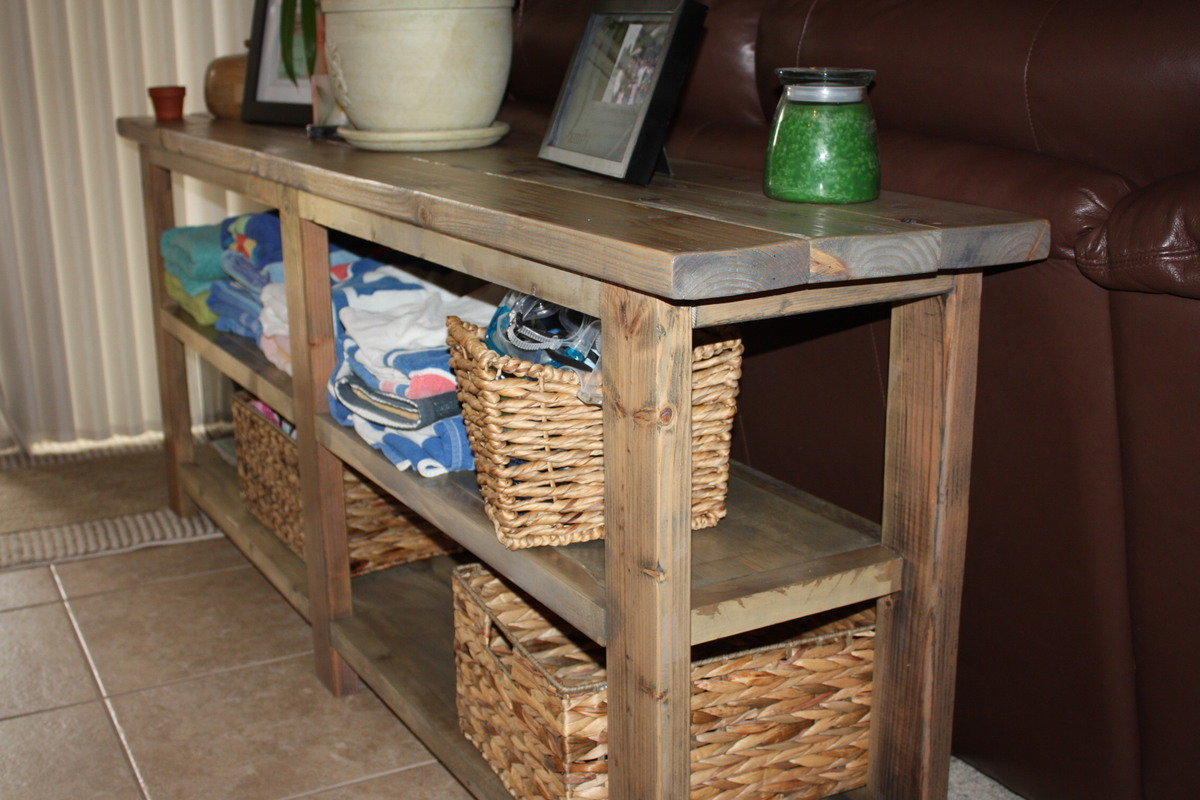
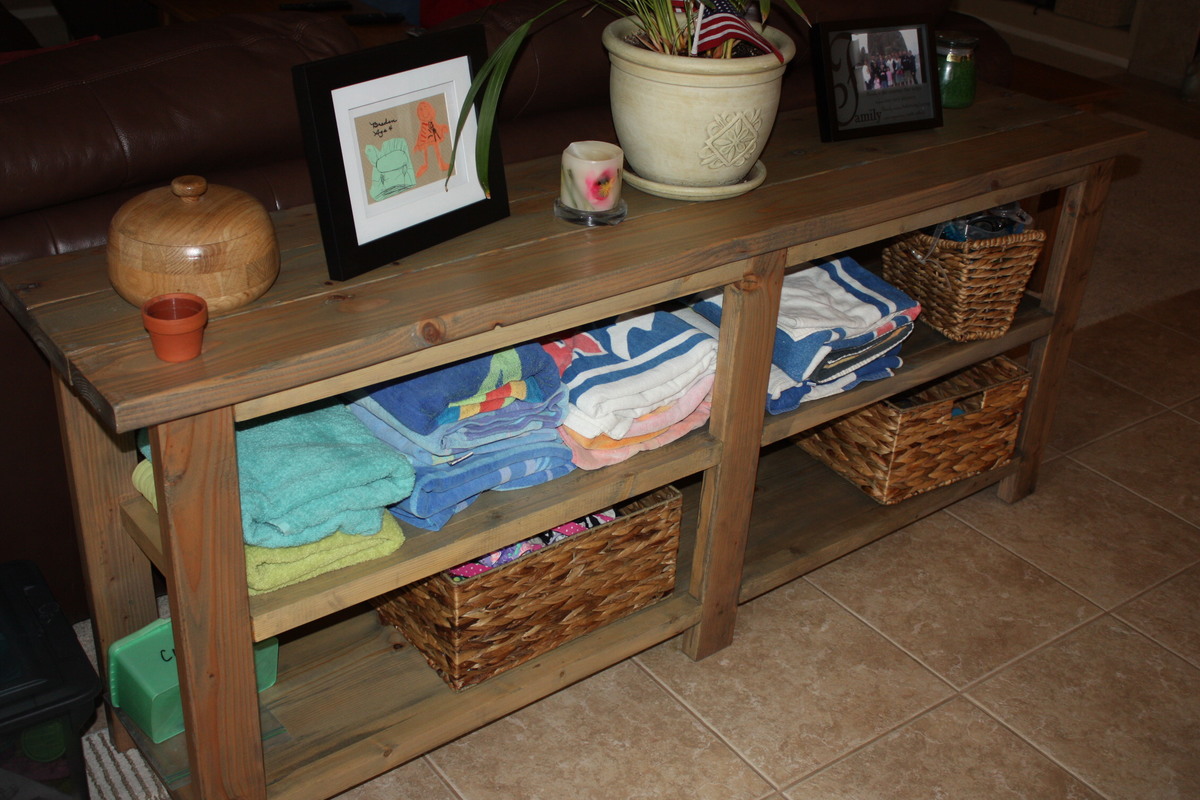
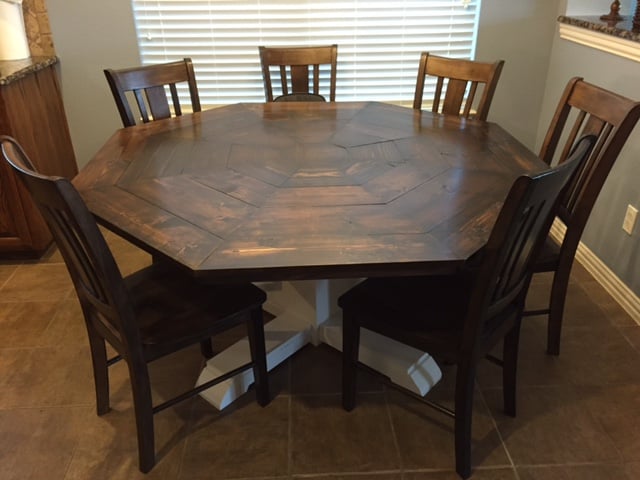
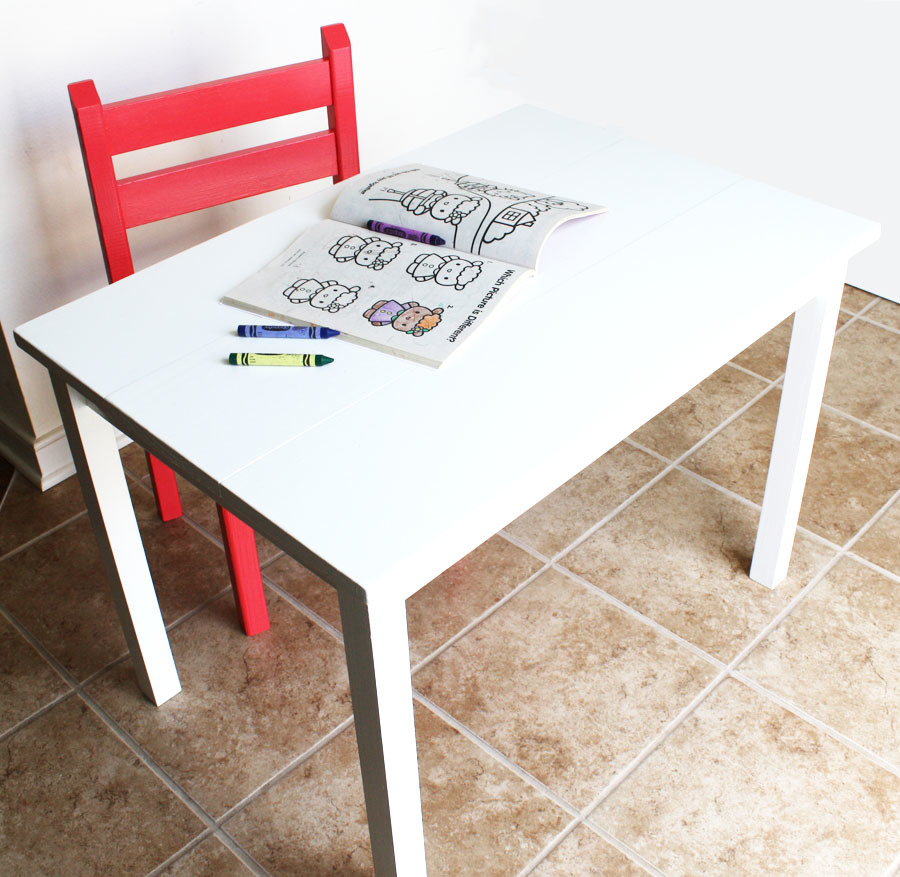
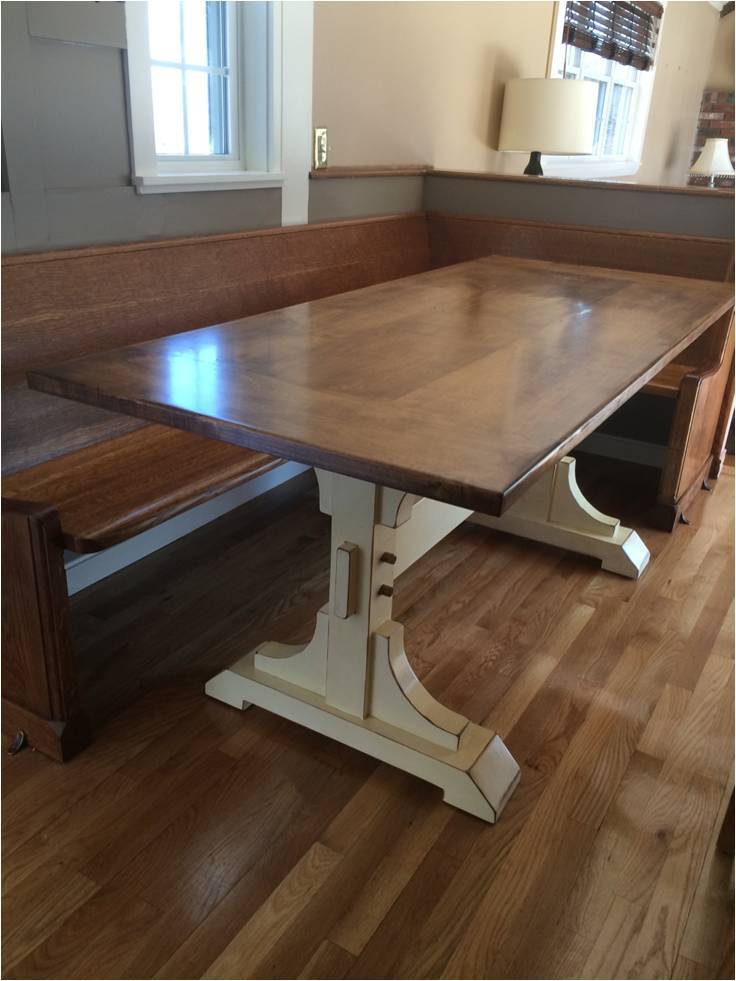
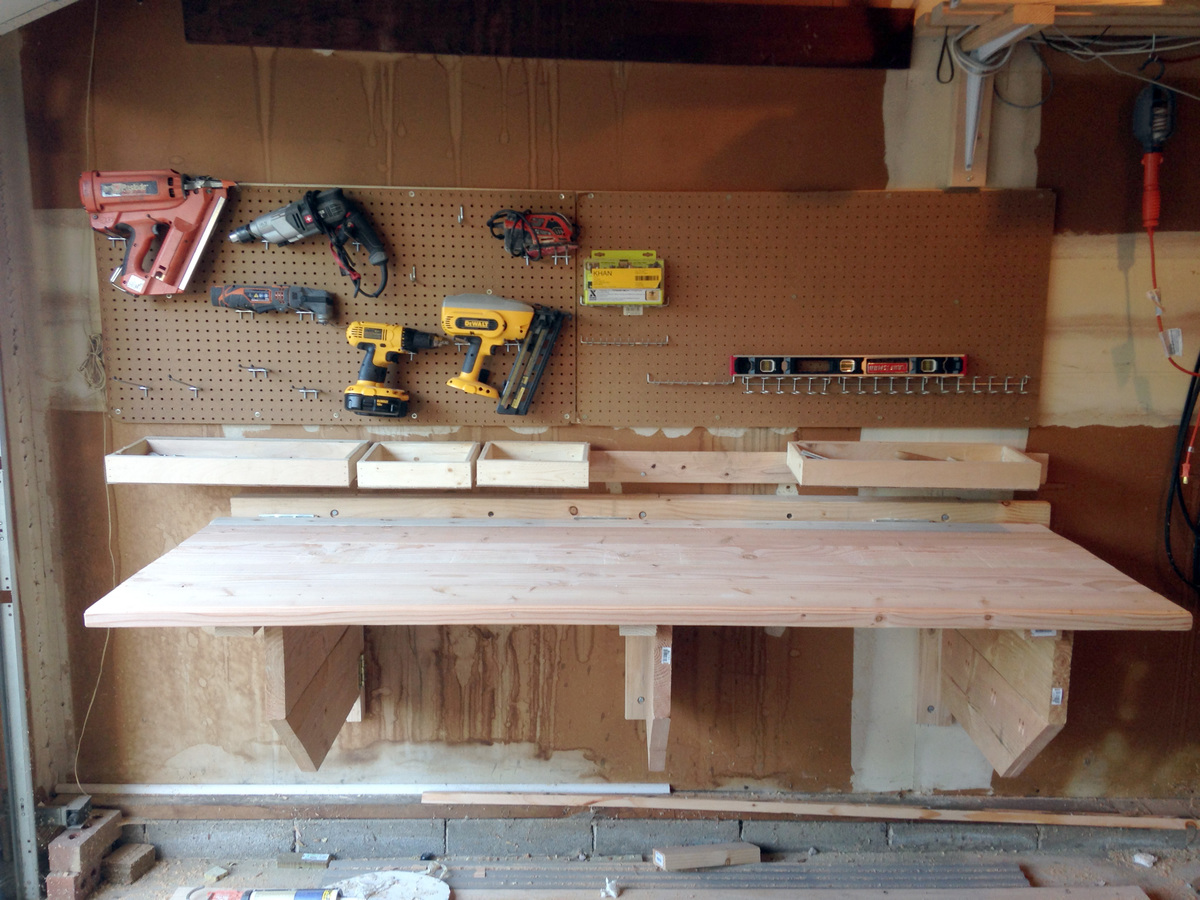
Computer Desk
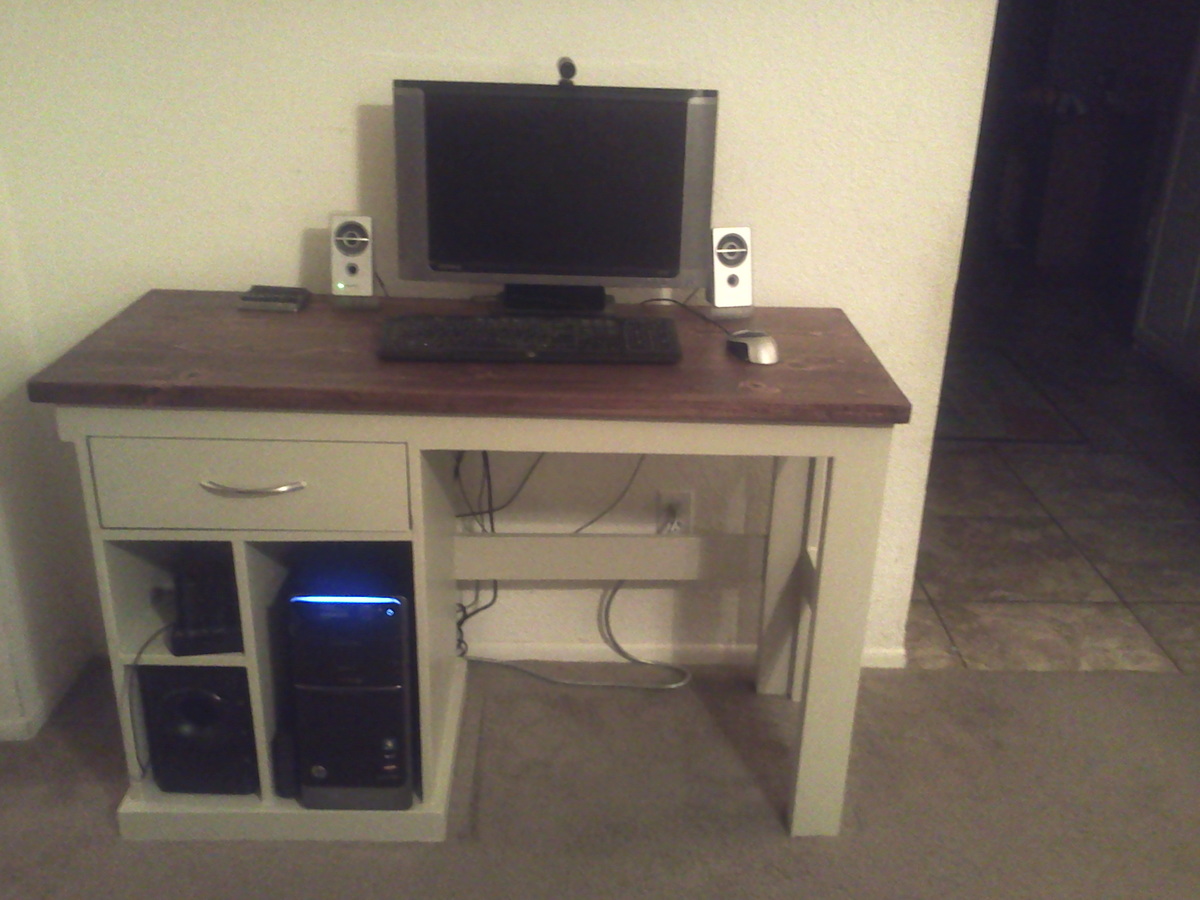
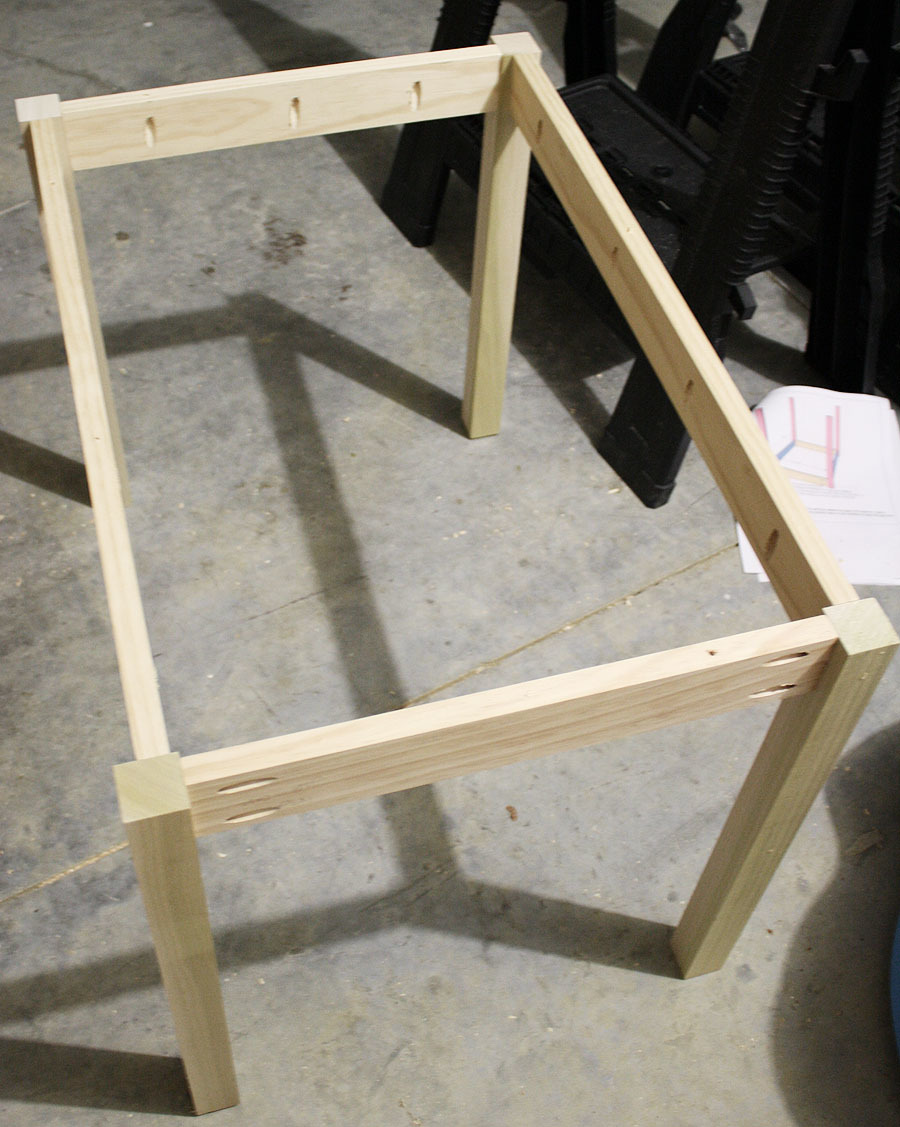
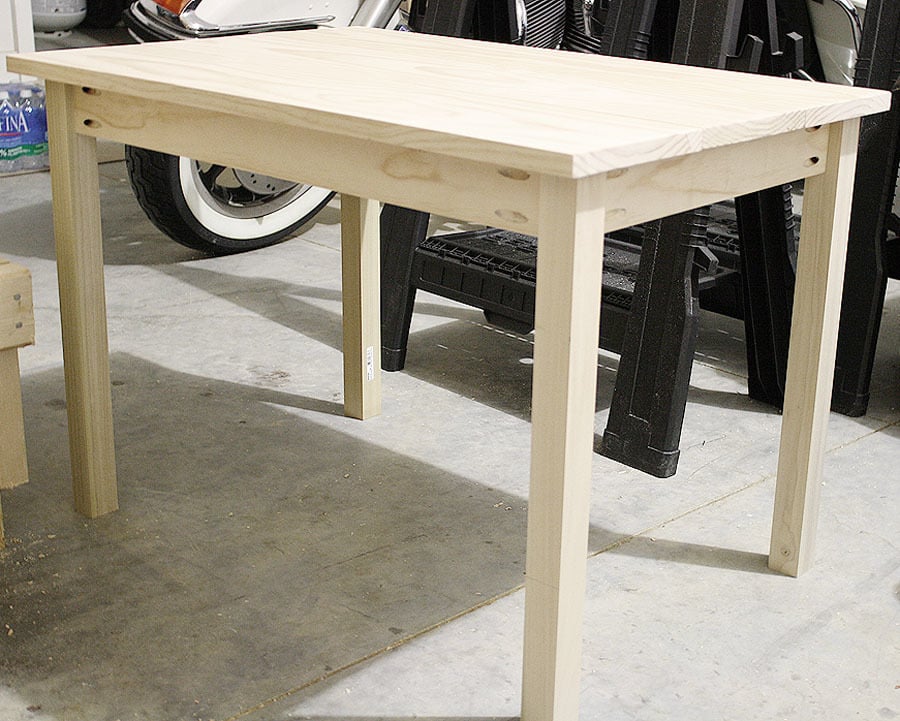
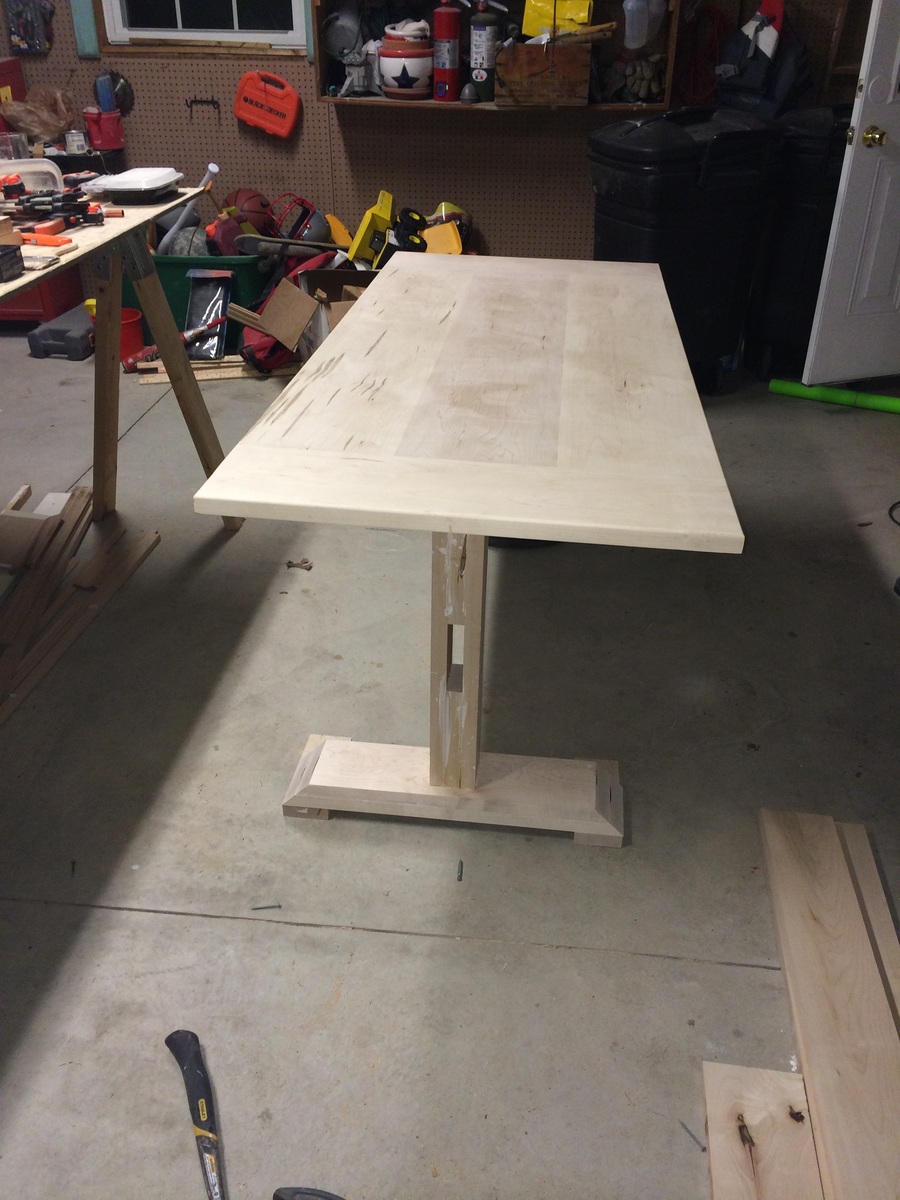
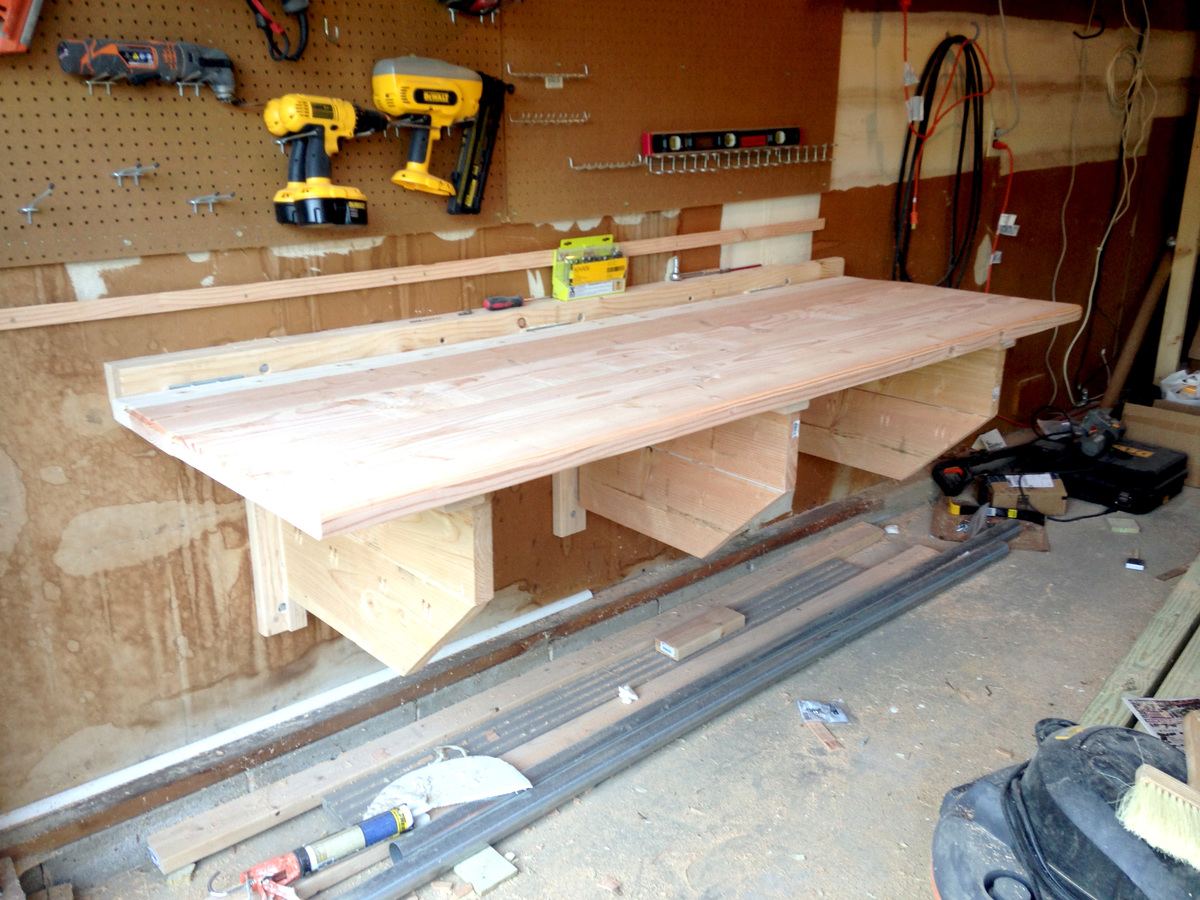
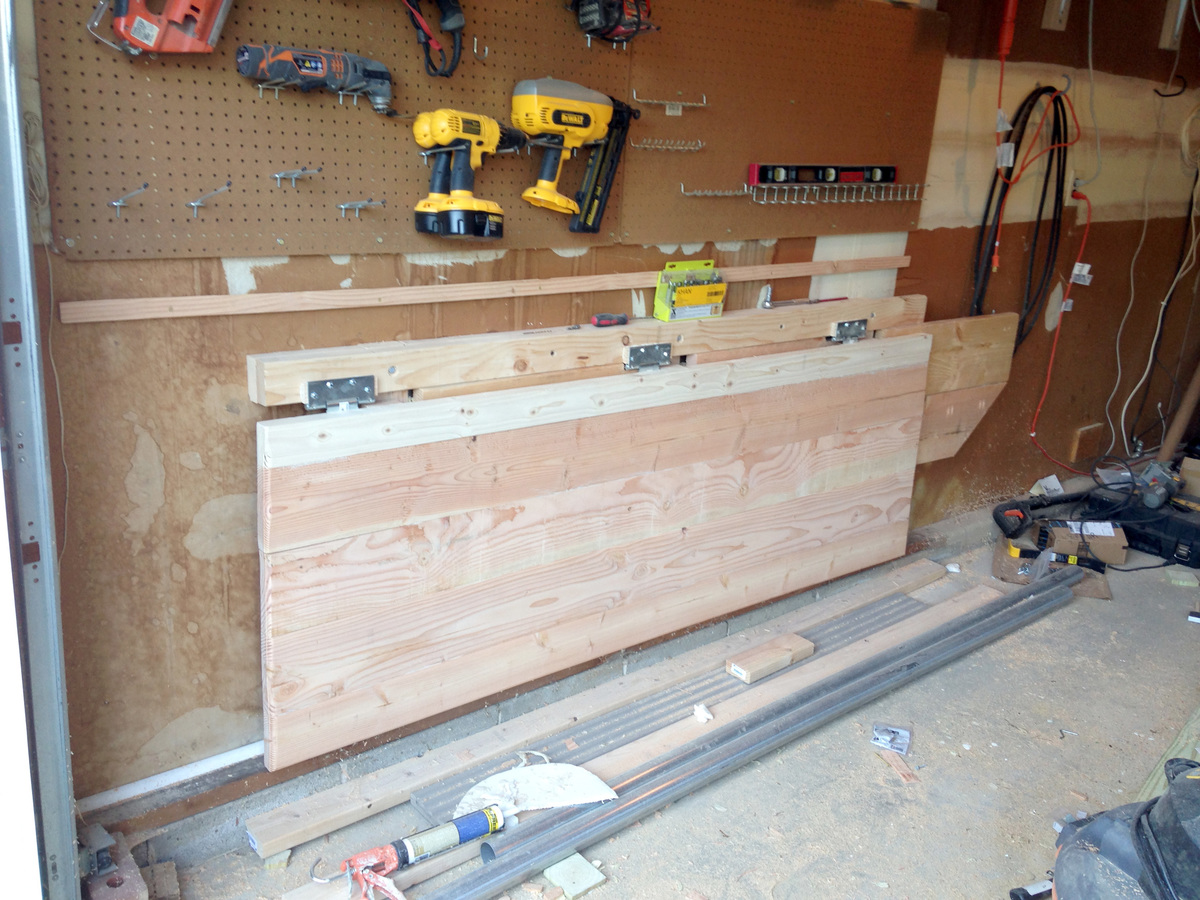
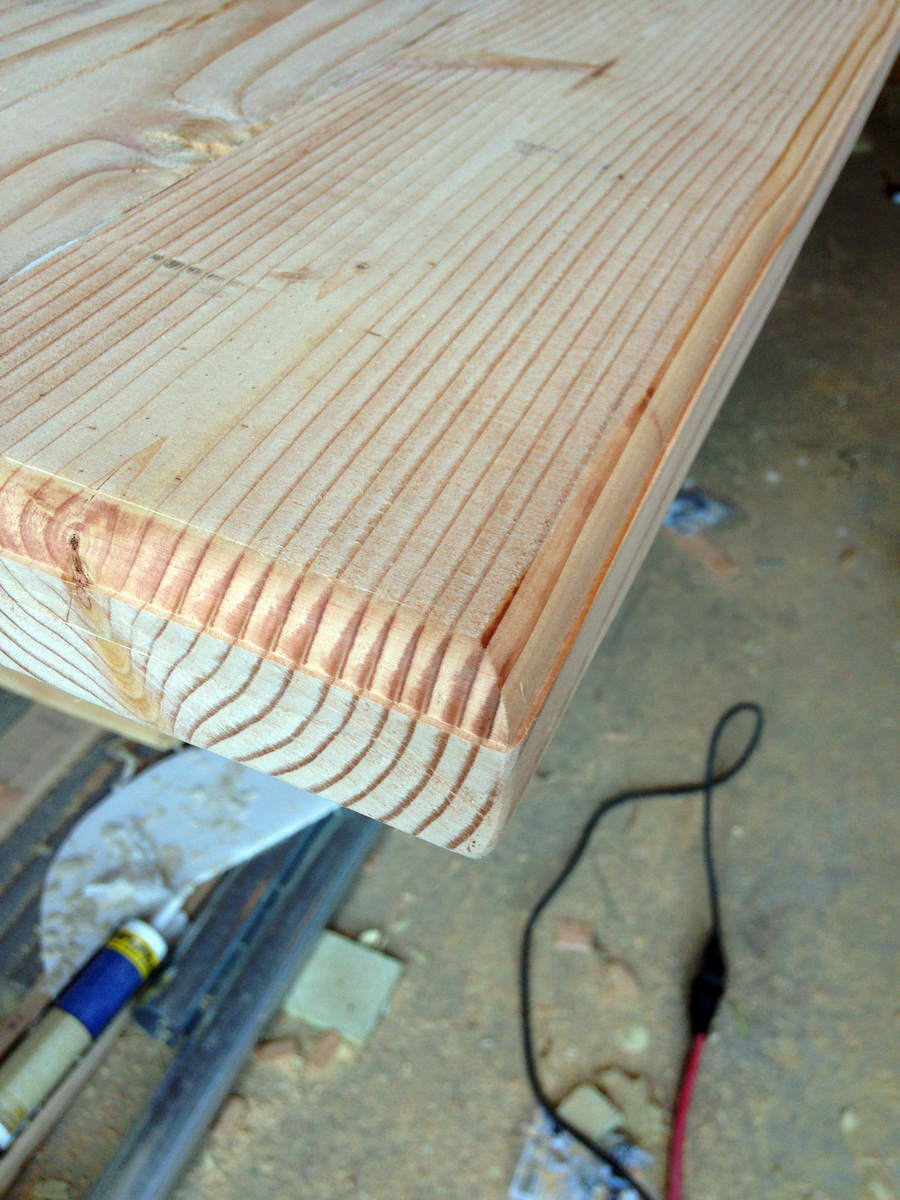
This is my first furniture project I wanted to replace my cheap computer desk that was falling apart. The build was pretty simple, the only problem was finding a good project board and finding a good stain. Tried several different stains an a piece of scrap before deciding on red elm gel stain. Project took longer than I anticipated but most of that time was in getting the finish right, the build part was pretty quick.
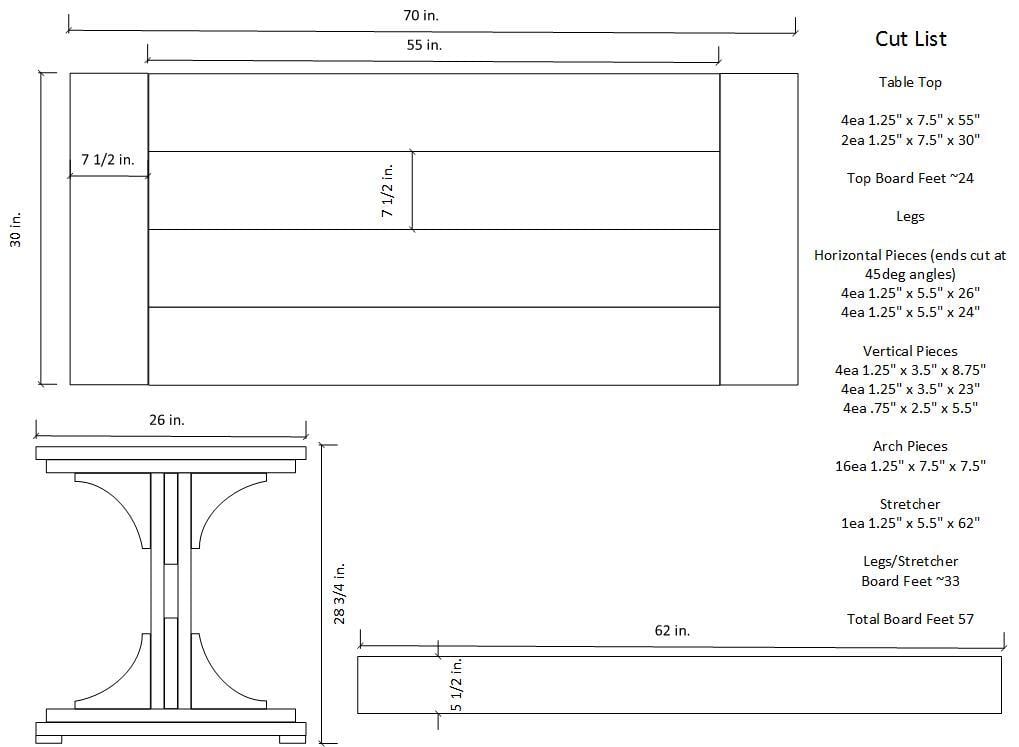
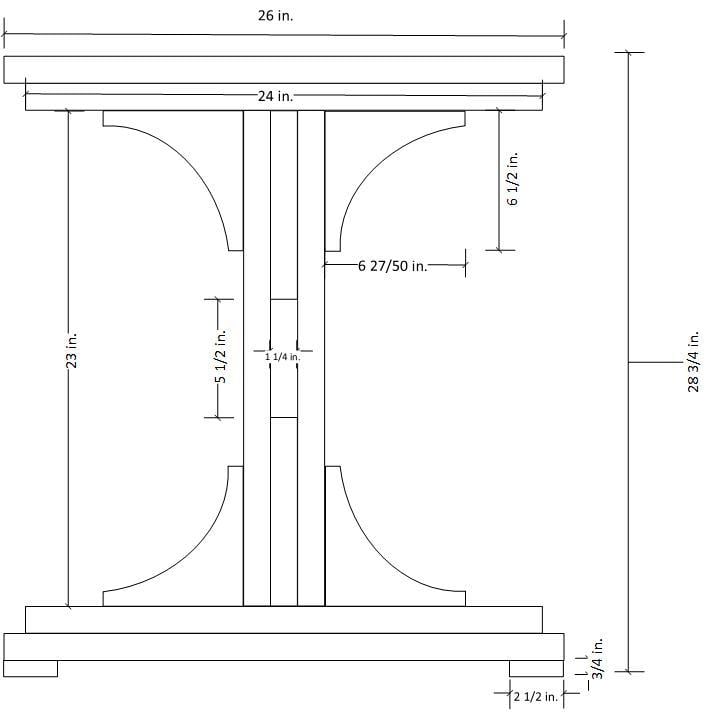
Built from Plan(s)
Estimated Cost
$175
Estimated Time Investment
Week Long Project (20 Hours or More)
Finish Used
mini wax red elm gel stain
clear matte poly spray
almond color paint
clear matte poly spray
almond color paint
Recommended Skill Level
Beginner


Comments
CSaintD
Mon, 05/05/2014 - 08:29
Great job on computer desk!
Well done. I feel your pain in looking for good boards - it takes me about an hour at Lowes just to find 4 or 5 good boards. Wish I had a lumber yard close by.
I like your finish on the top. I will try that one next time.