Community Brag Posts

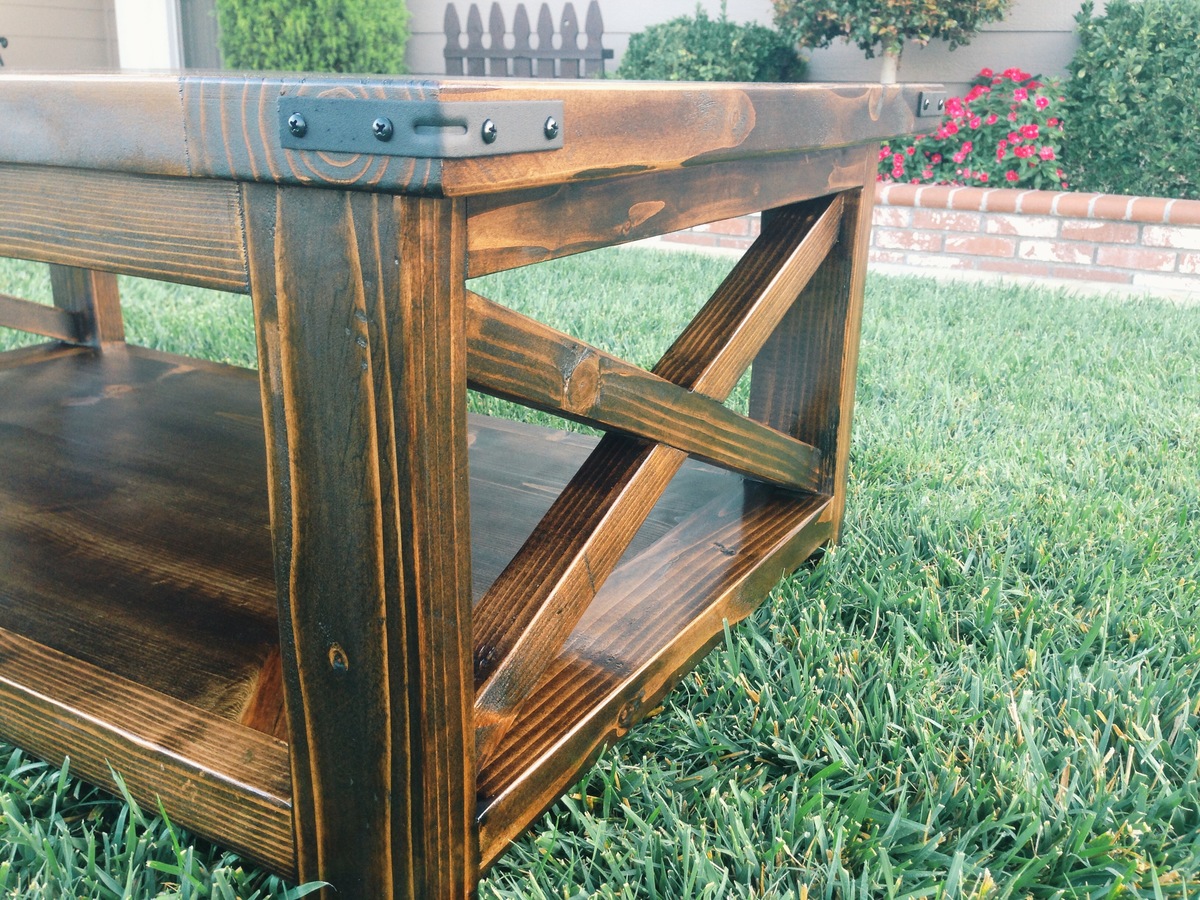
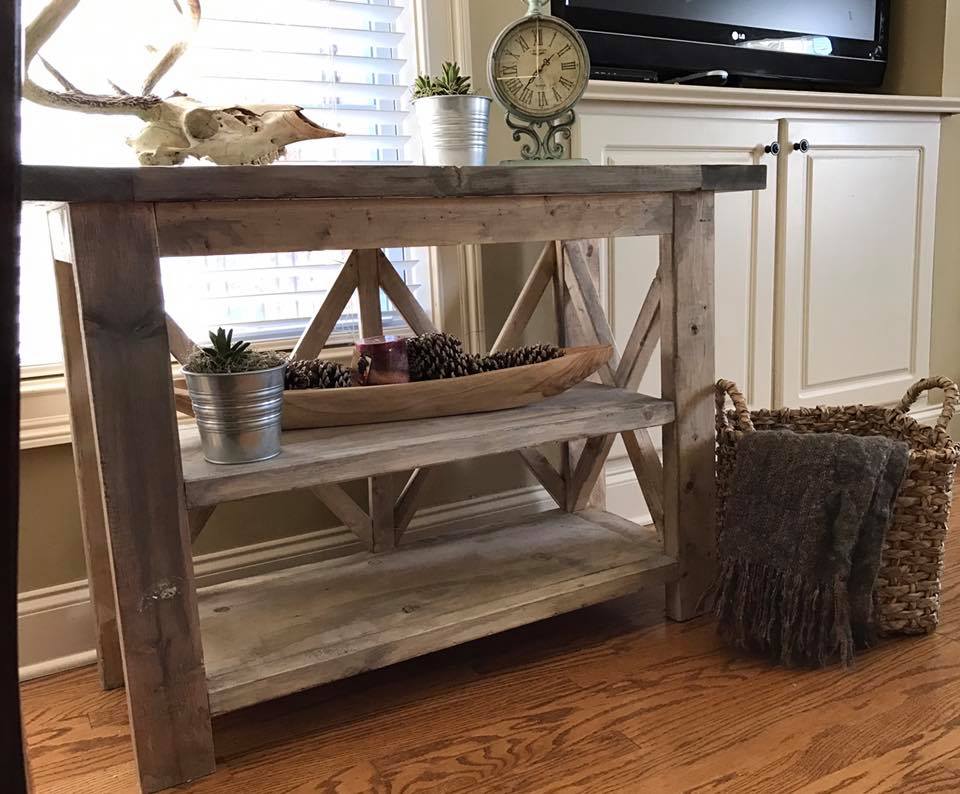
Rustic X Console with a twist

Submitted by Rifka on Sat, 12/10/2016 - 17:23

I just love this plan of the rustic X Console.  You can create so meny versions from this one plan.

This one I made is 42" long, with two X in the back.  The finish, is vinger and steal wool with a dash of black tea.

Thank you, 

Rebecca

Built from Plan(s)
Estimated Cost
$30.00
Estimated Time Investment
Weekend Project (10-20 Hours)
Finish Used
Vinger and fine steal wool
Recommended Skill Level
Beginner

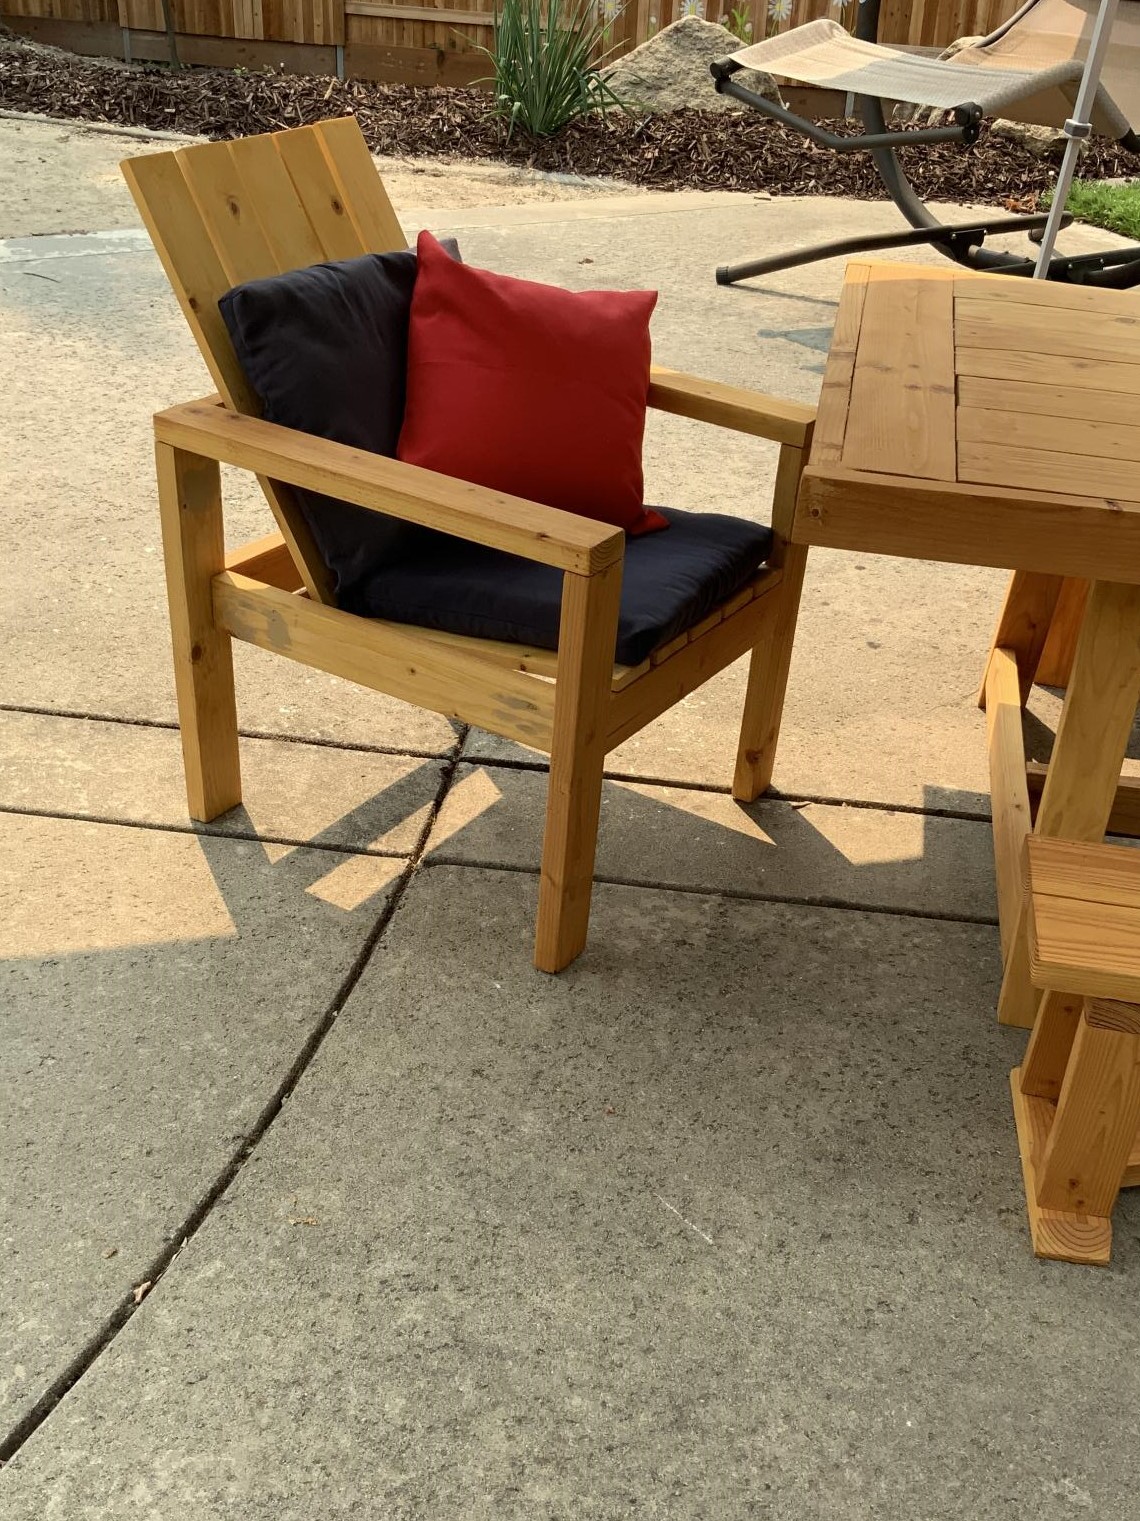
Outdoors Simple Modern Chair (dining size)

Submitted by Joella C on Sun, 08/23/2020 - 11:47

Finally the 3 rd piece made for the COVID-19 Birthday Celebration outdoors for my husband and his twin! “ all together but socially distant” I made the Oudoor Simple Modern Chair (dining size) for the ends of the 2 tables! Again...I’m a nurse never having touched Power tools, let alone knowing what they were called! Ana made it possible for me to create these to celebrate outdoors my husband and his twin for their birthday during a Pandemic!

Estimated Cost
$100 for 4
Finish Used
Matching deck stain and poly all in one Varathane Natural

Fancy X Desk

Submitted by Mdcary on Tue, 11/06/2012 - 11:57

easy project especially since I asked the guys at the hardware store to cut my pieces to length and I cut the angles with my new sliding compound miter saw. Since I reduced the length of the desk to 5 feet, the angles and length of the cross supports in the back changed drastically and had to be played with to get it right. I also added a hidden shelf between the 2 support 2X4's to hide all the cable for the computer. I just used scraps for the hidden shelf. Nothing more unattractive than a bunch a cords and cables hanging behind. Worked great and I should have taken pictures as the build was happening.

Estimated Cost
$75
Estimated Time Investment
Weekend Project (10-20 Hours)
Recommended Skill Level
Beginner

Comments

Callie_Grace

Thu, 11/08/2012 - 06:07

The desk looks wonderful! I am curious what color of paint and stain you used? I am wanting to build a coffee table and that is the combination of paint and stain I like!

Coffee Table

Submitted by naomi on Fri, 08/29/2014 - 03:06

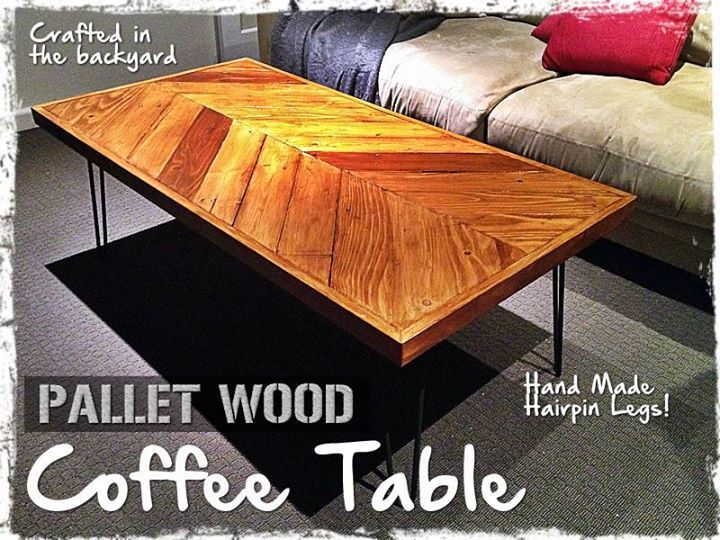
My eldest son and his girlfriend just recently moved into their own home together and seeing as I like to build things I decided that as a house warming gift I would build them something.

I decided that a coffee table would be perfect!

I like the character in old timber instead of new timber so I went out and gathered some pallets and I got to work.

I wanted to use hairpin legs for the coffee table but soon discovered that they are crazy expensive to buy. Solution: make them myself. So I purchased a cheap welder, steel rods and some L brackets all to make the hairpin legs.

When staining the table top I used the same stain colour for the entire top but I used a extra coats to get different colour depths.

Estimated Time Investment
Weekend Project (10-20 Hours)
Recommended Skill Level
Beginner

Comments

naomi

Fri, 08/29/2014 - 07:34

Thank you. They do love it. The hairpin legs worked great and if I take out the cost of the welder the legs worked out really cheap - less than $30 for four legs.

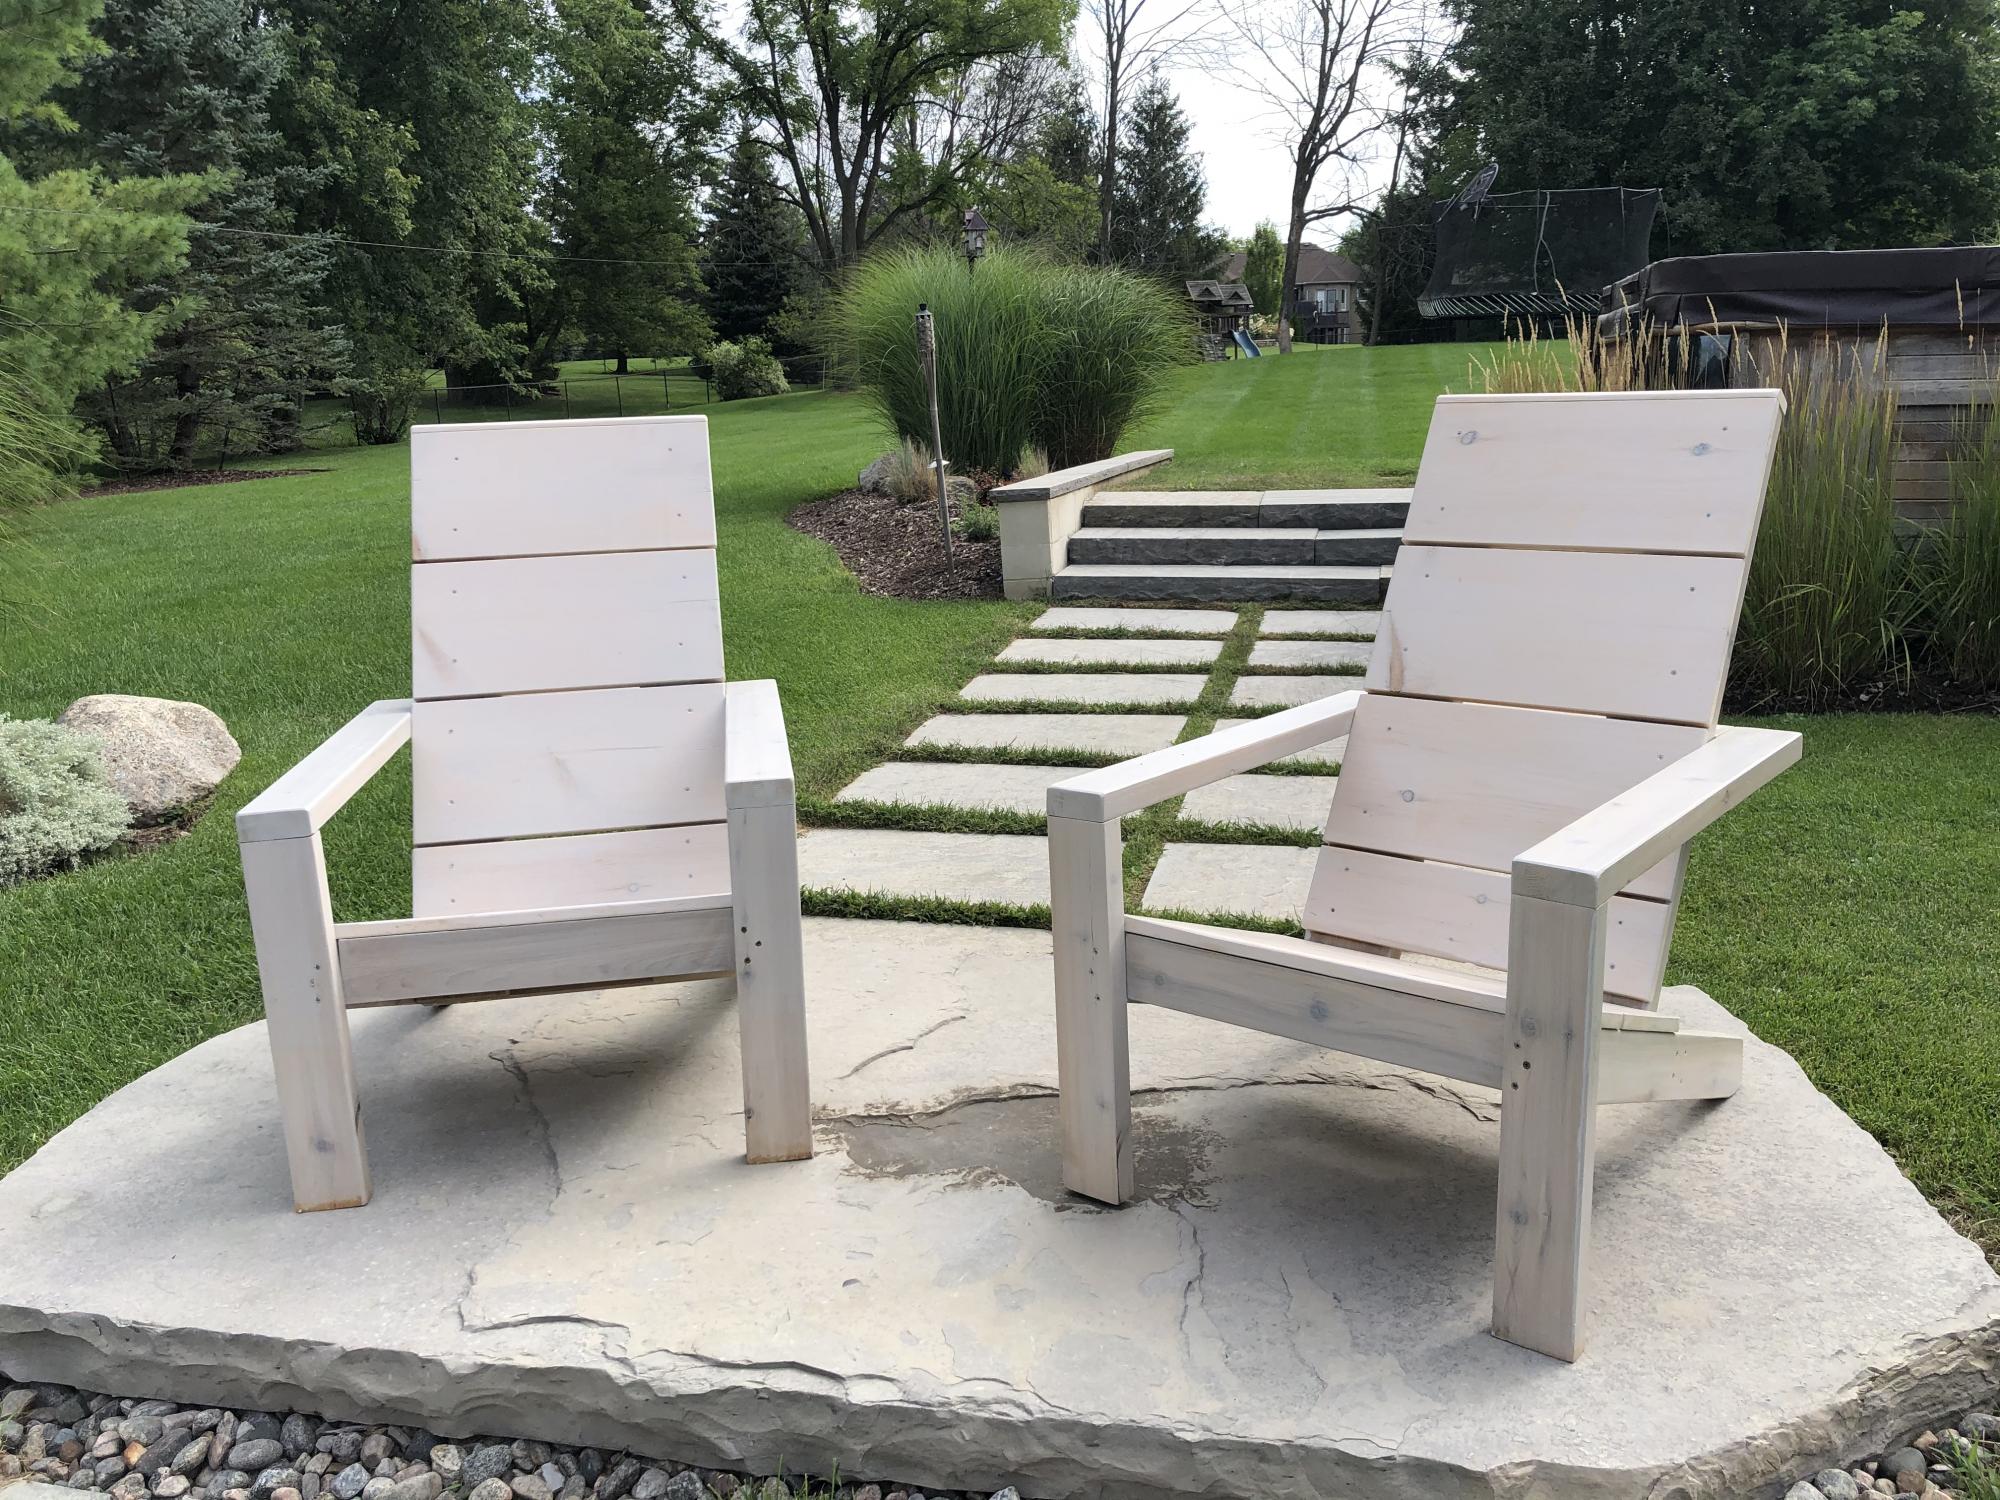
Finally finished my 2x4 modern adirondack chairs!

Submitted by Anonymous (not verified) on Fri, 08/28/2020 - 07:52

I finally finished my DIY Modern Adirondack Chairs! Frame made with 2x4 cedar lumber and seat and backs with 1x10 pine planks. Stained with Benjamin Moore Aborcoat silver grey semi-transparent stain with a clear coat. Used a free diy plan by Ana White with some slight modifications to make the chair back higher. Cost was a bit higher than expected but lumber has gotten more expensive during the Covid time.
Thanks Ana for the design and the YouTube video. I watched it at least 20 times!

Estimated Cost
About $100/chair
Estimated Time Investment
Weekend Project (10-20 Hours)
Finish Used
Benjamin Moore Arborcoat Silver-Grey semi-transparent again, Arborcoat Clearcoat
Recommended Skill Level
Beginner
Seasonal And Holiday

Dresser Makeover

Submitted by kyalamode on Mon, 11/12/2012 - 07:33

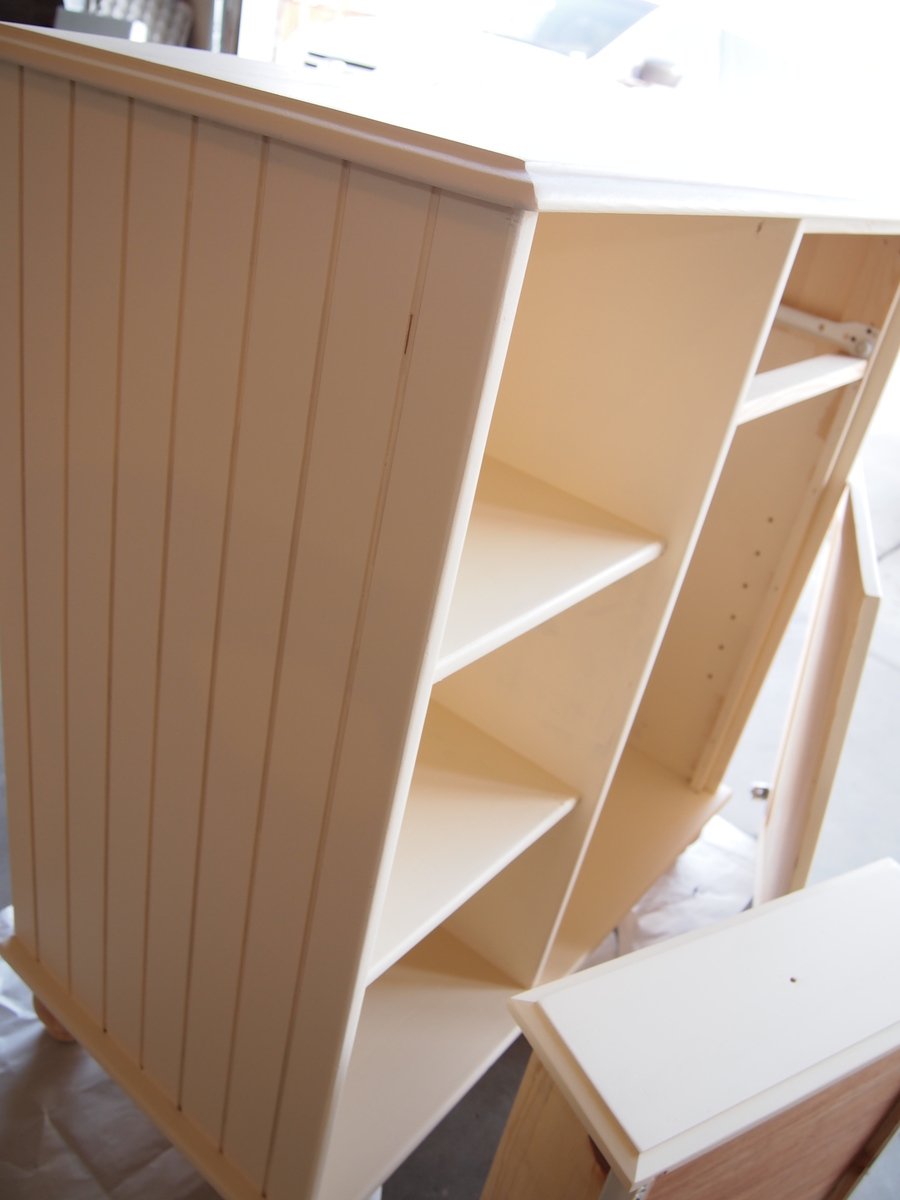
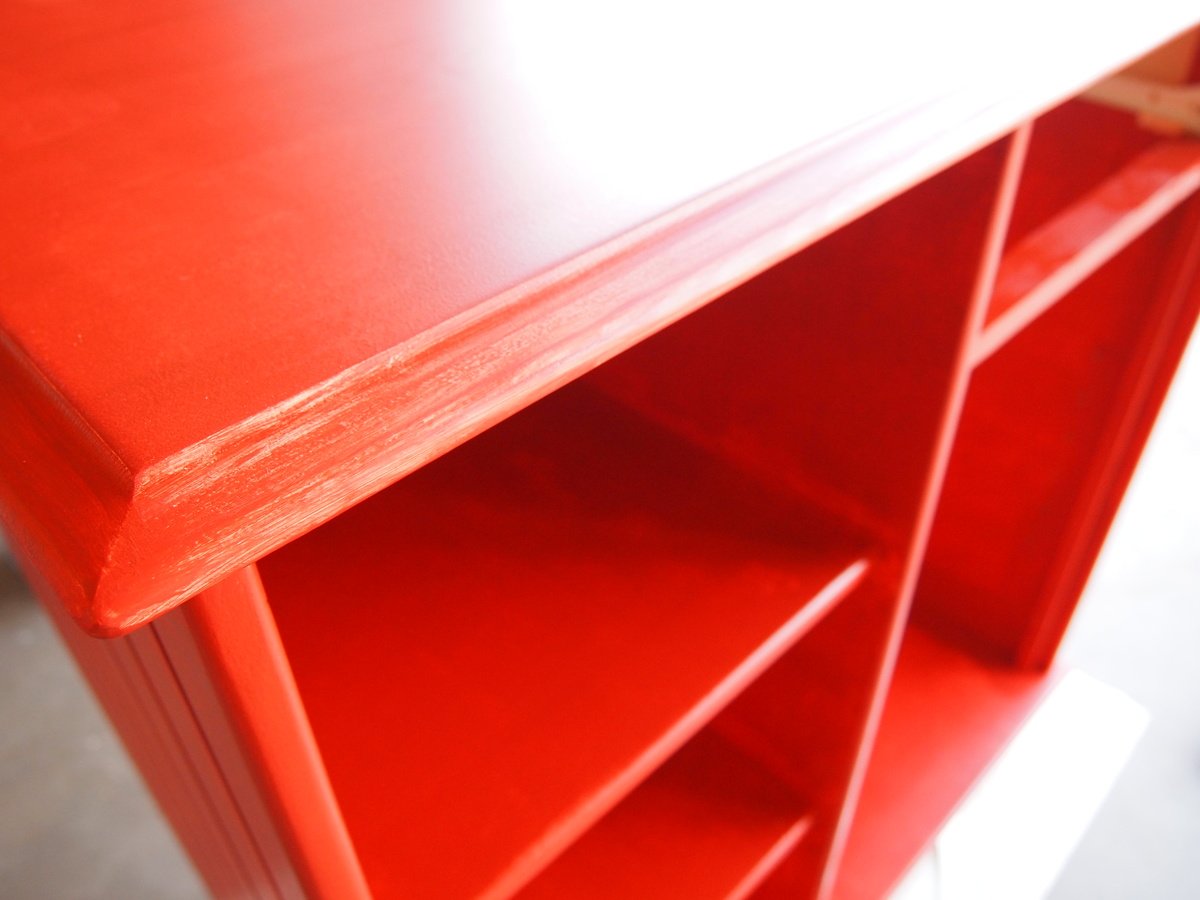
I bought an unfinished dresser from a local furniture refinisher - on clearance. It was intended as a changing table as I was preparing the nursery for our first child (about 5 1/2 year ago). Finally, 5 years and another baby (who is now 3) later, I finally decided to do something with it. So, please note that I did NOT build this piece from scratch. Rather, it was more a finishing project. It was unfinished pine. I failed to capture the "before" photo. Inspired by the Farmhouse Console and the Antique White project, I decided to tackle a distressed look.

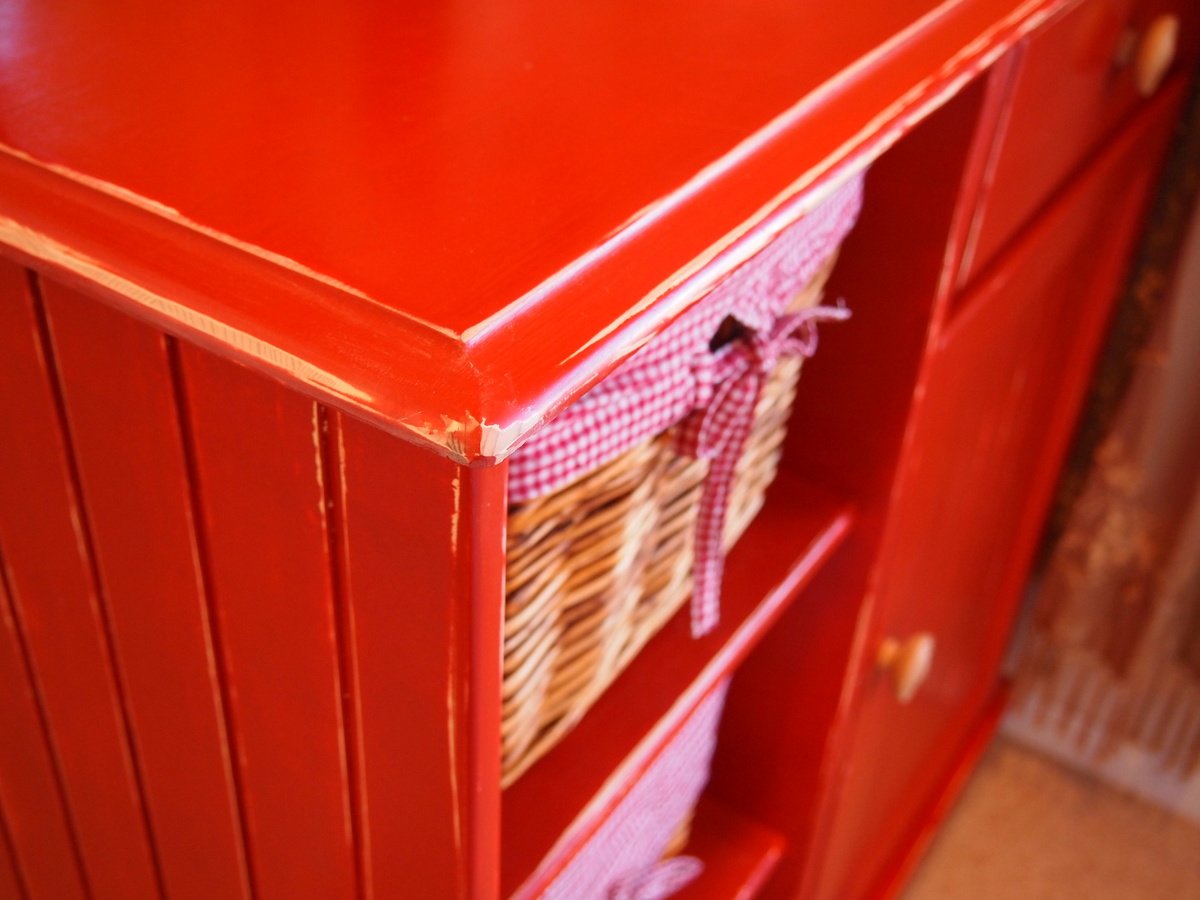
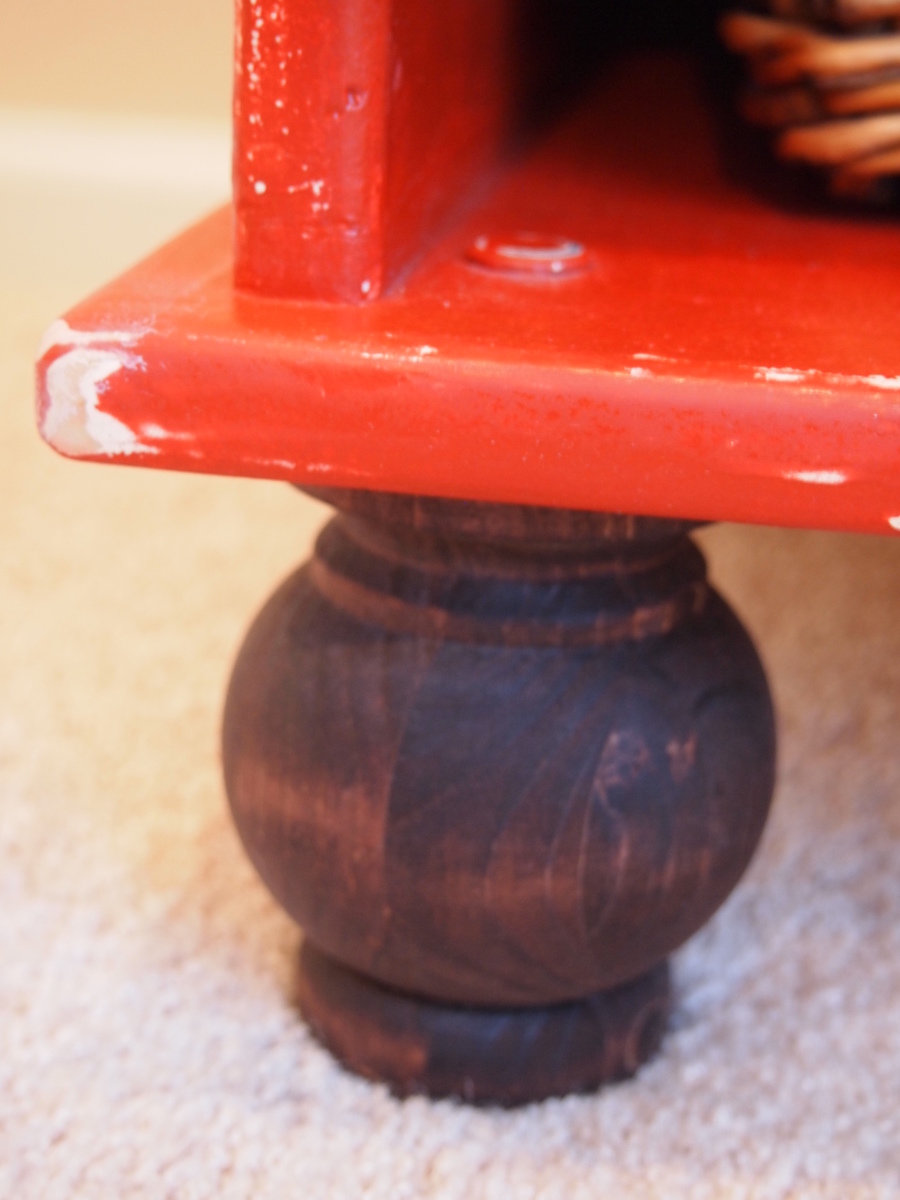
I sanded between each coat, and focused on areas that would naturally be worn. The end result was essentially some areas of bare wood showing through, and other areas where the base color shows through.

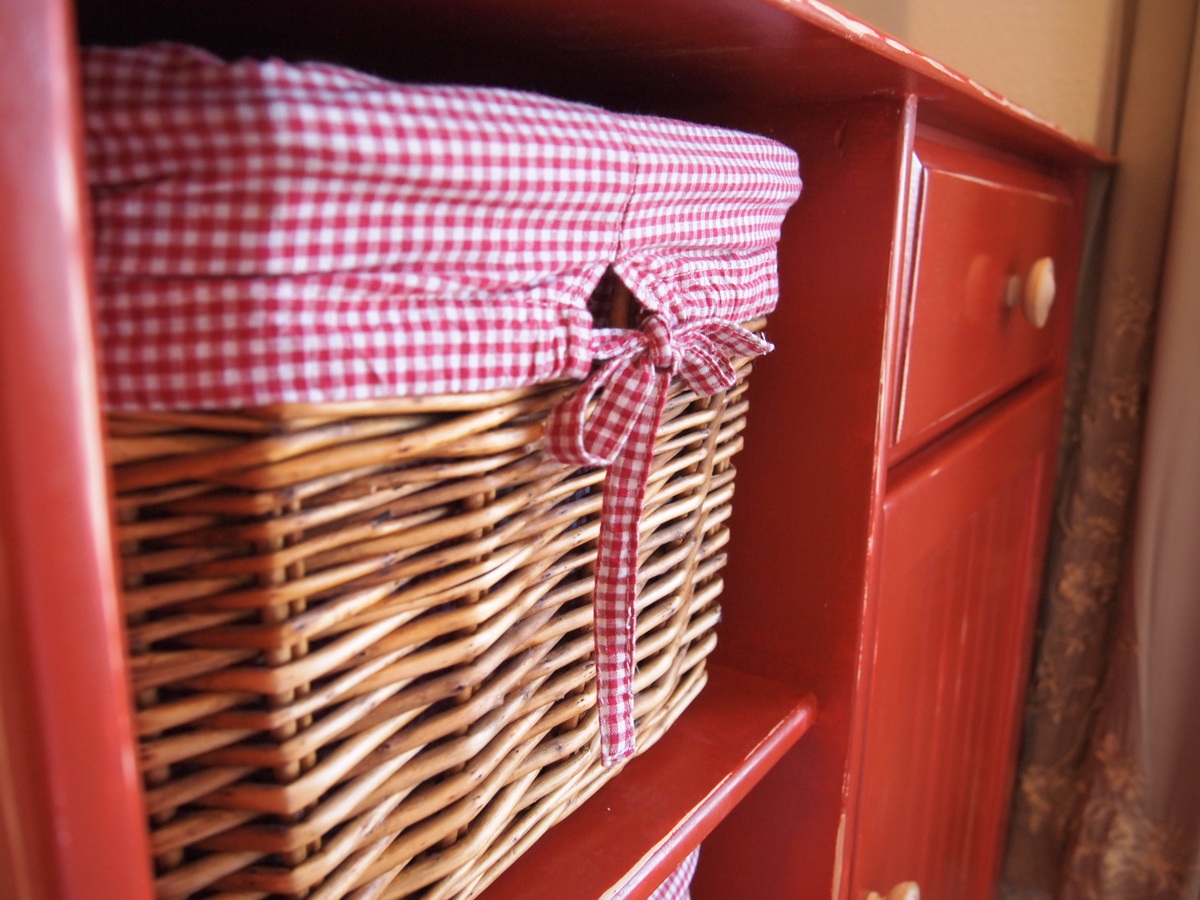
I don't remember where the baskets came from, but they fit perfectly and the red-checkered pattern matched nicely. It turned out to be such a cute addition to my daughter's room, and I think it will be a piece that will grow with her.

Estimated Cost
$50
Estimated Time Investment
Weekend Project (10-20 Hours)
Finish Used
Materials:
Sandpaper in 60, 120 and 320
Behr enamal paint (in Buttercup and Antique Red)
Behr Glaze (not necessary)
Minwax Finishing Wax paste
small paint roller
small paint brush
cotton rags (which I made from old 100% cotton t-shirts)


I sanded... and sanded... and sanded. I have a little handheld Porter Cable sander that works brilliantly, except that it doesn't get into the little cracks and crevices, so I did that by hand. I started with 60 grain, then 120.

I painted 2 coats of Behr interior flat enamel in Buttercup, sanding with 120 in between coats, sanding through to bare wood where it would naturally be worn. Here is where it got interesting and frustrating. When I originally purchased paint, the very nice gentleman at the paint counter asked me what I was doing. I explained that I was doing a faux distressed finish on a dresser. I ordered a pint of the red paint, and he then explained to me that I should go with the Behr glaze. So, he gave me the glaze and that little sample of the red to mix into the glaze.

Glaze fail. I actually liked the look, but it was so not the look I was going for. Nevermind the fact that the glaze dries very quickly and soon became a sticky mess.

So, I left the project for about a week to ensure that the glaze was completely dry.

Then, I sanded with 60 and 120 again. The intention wasn't to get the glaze off, but rather treat it like a base coat. I then painted the entire piece with the red (no glaze). Then sanded with 120 in areas that would naturally be worn. The end result was essentially some areas of bare wood showing through, and other areas where the buttercup color shows through.

I sanded one final time with the 320 grain. I then used 2 coats of Minwax wax, resulting in a very silky, shiny finish. (It seriously is SO soft to the touch!)
Recommended Skill Level
Beginner
Comments

Linda7

Mon, 11/12/2012 - 11:06

I'm very impressed with your recycled changing table--beautiful finish on a piece that will indeed grow with your daughter. The piece itself reminded me of the recycling console (pp. 86-91) in Ana's new book. Your finish would look awesome on that plan, too.

Upcycled Dresser

Submitted by naomi on Sat, 08/30/2014 - 04:18

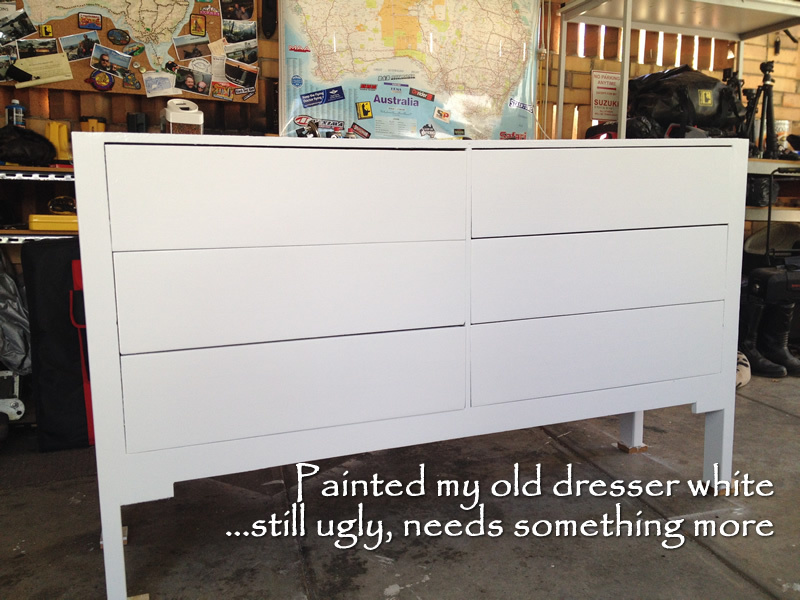
After building my farmhouse bed and 2 new bedside table I still had my very ugly and old dresser.
It functioned really well so instead of building a new one I decided to up-cycle the old one.

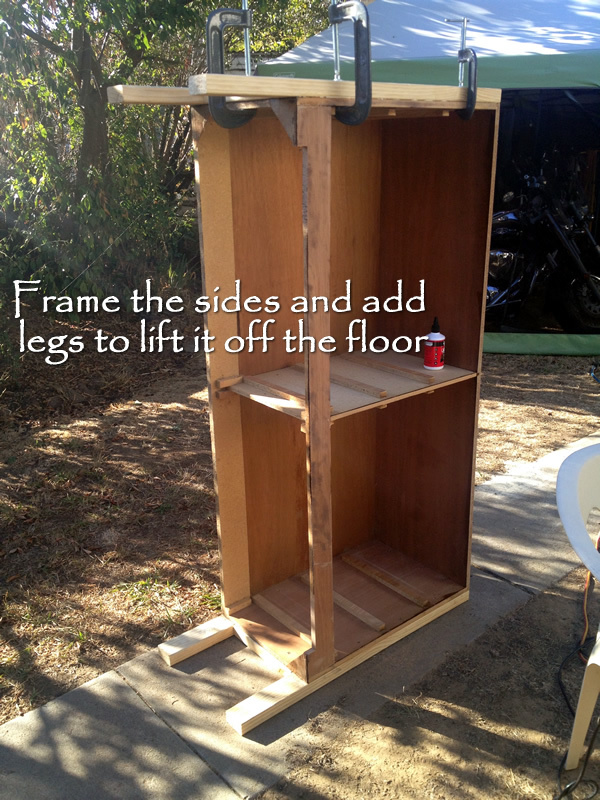
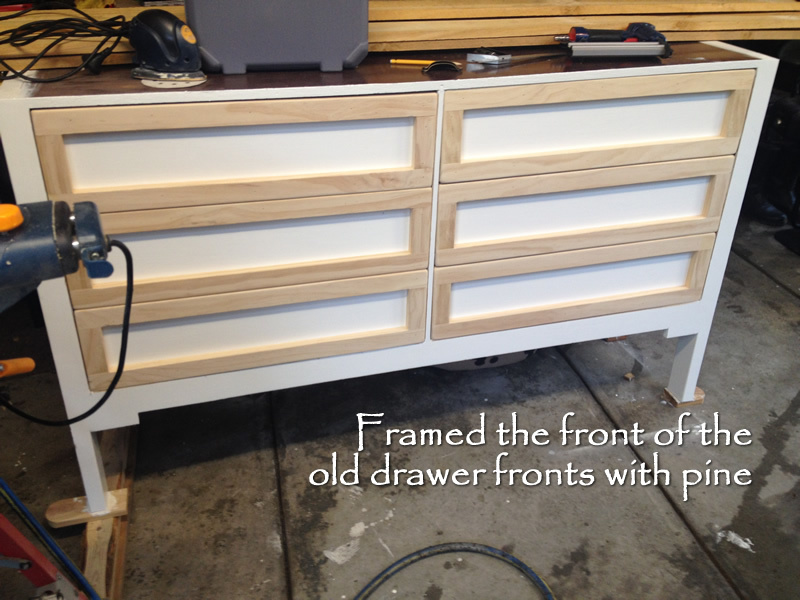
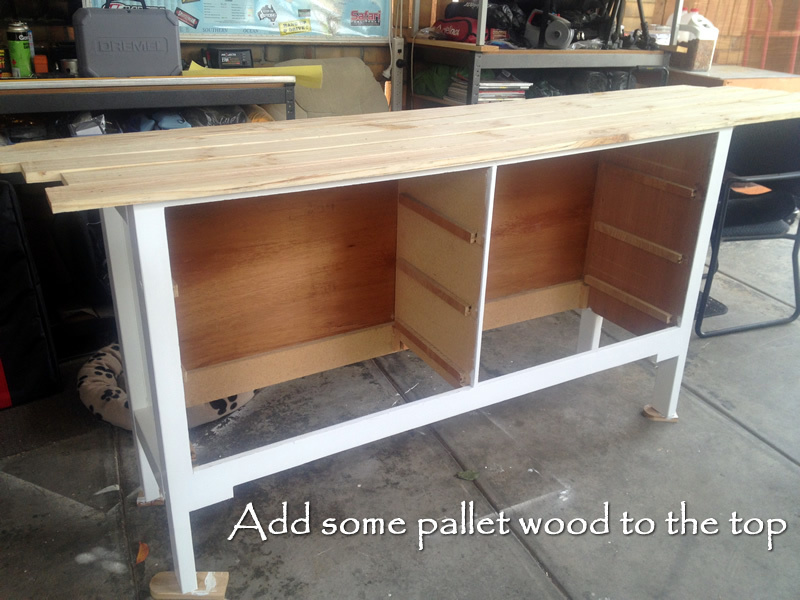
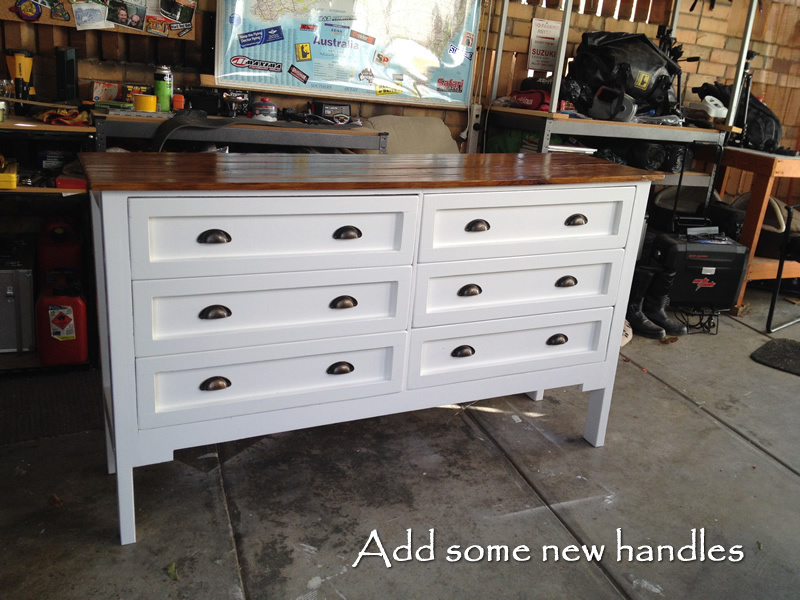
I simply framed it up with some pine, painted it white, added pallet wood to the top, stained the pallet wood walnut, then added some fancy handles and now it's like a whole new dresser.

Thanks to Ana-White's website and book I have a whole new set of skills and I am not scared to give just about anything a go.

Estimated Time Investment
Weekend Project (10-20 Hours)
Finish Used
Walnut and White Enamel
Recommended Skill Level
Beginner
Comments

In reply to by CSaintD

naomi

Sun, 08/31/2014 - 00:58

You're right, I had a ball doing this mainly because I was winging it the whole time.
This dresser was actually a hand me down when I got it about 15 years ago. I don't see the point in throwing out something that is still useful.

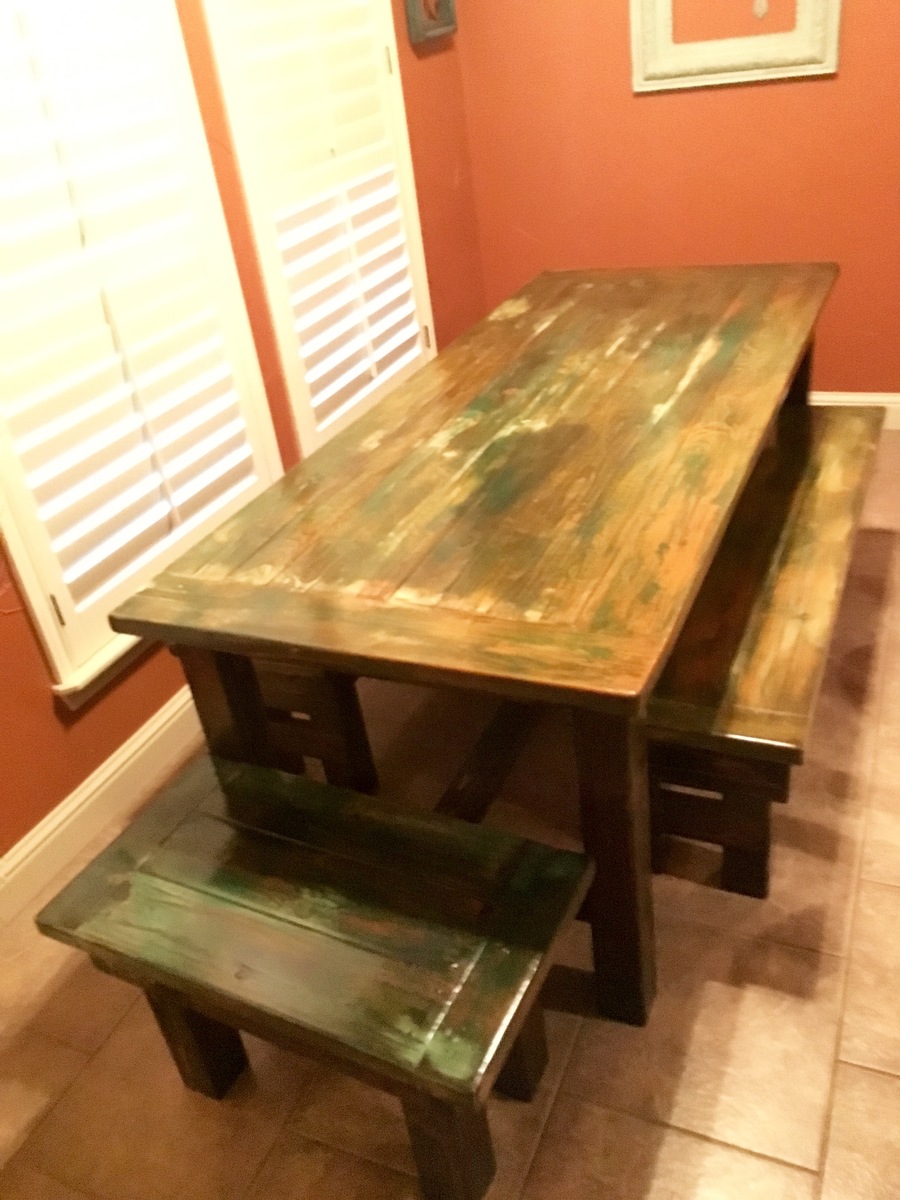
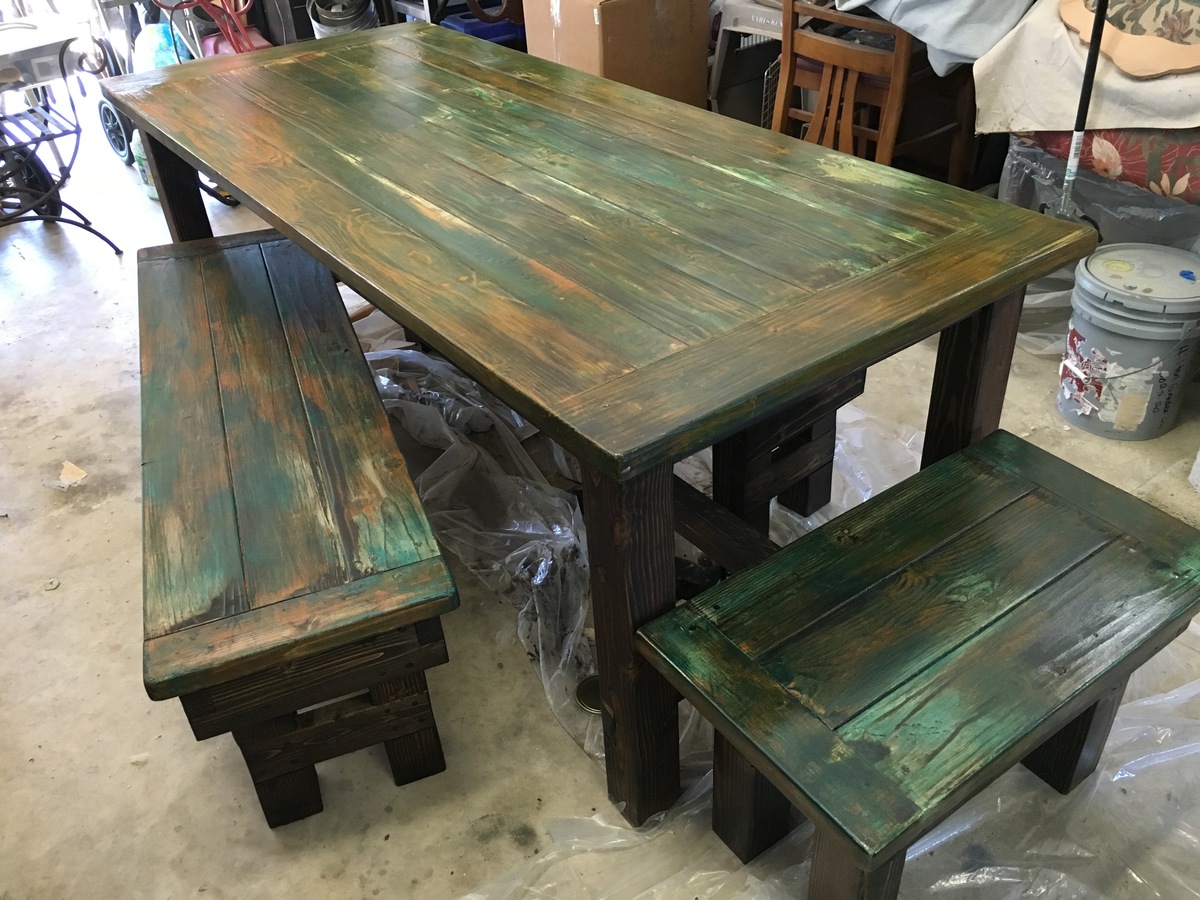
Rustic Farm Table

Submitted by RNorris11 on Sun, 12/18/2016 - 10:04

I've got a few years experience doing carpentry work . I was asked if I could build a farm table for a friend of mine. So I gave it a go. I think for my first table to ever build from scratch, it turned out beautiful . I'm extremely happy with the outcome. 

Estimated Cost
$170.00
Estimated Time Investment
Week Long Project (20 Hours or More)
Finish Used
Used a flat paint ( teal & burnt orange ) bushed on randomly over the entire piece. Then I used some white semi gloss in places to add some high lights. ( stain wipes off of semi gloss paints and does not dull the finish) then stained over top of everything.
Stain color- minwax Jacobean
Then 2 coats of minwax semi gloss polyurethane .
Apply 1st coat after it completely dried I used 0000 steel wool to sand it all again for any impurities to get a clean smooth finish. Then apply another coat of poly.
Recommended Skill Level
Intermediate

Custom Kitchen Island

Submitted by Anonymous (not verified) on Mon, 08/26/2024 - 10:13

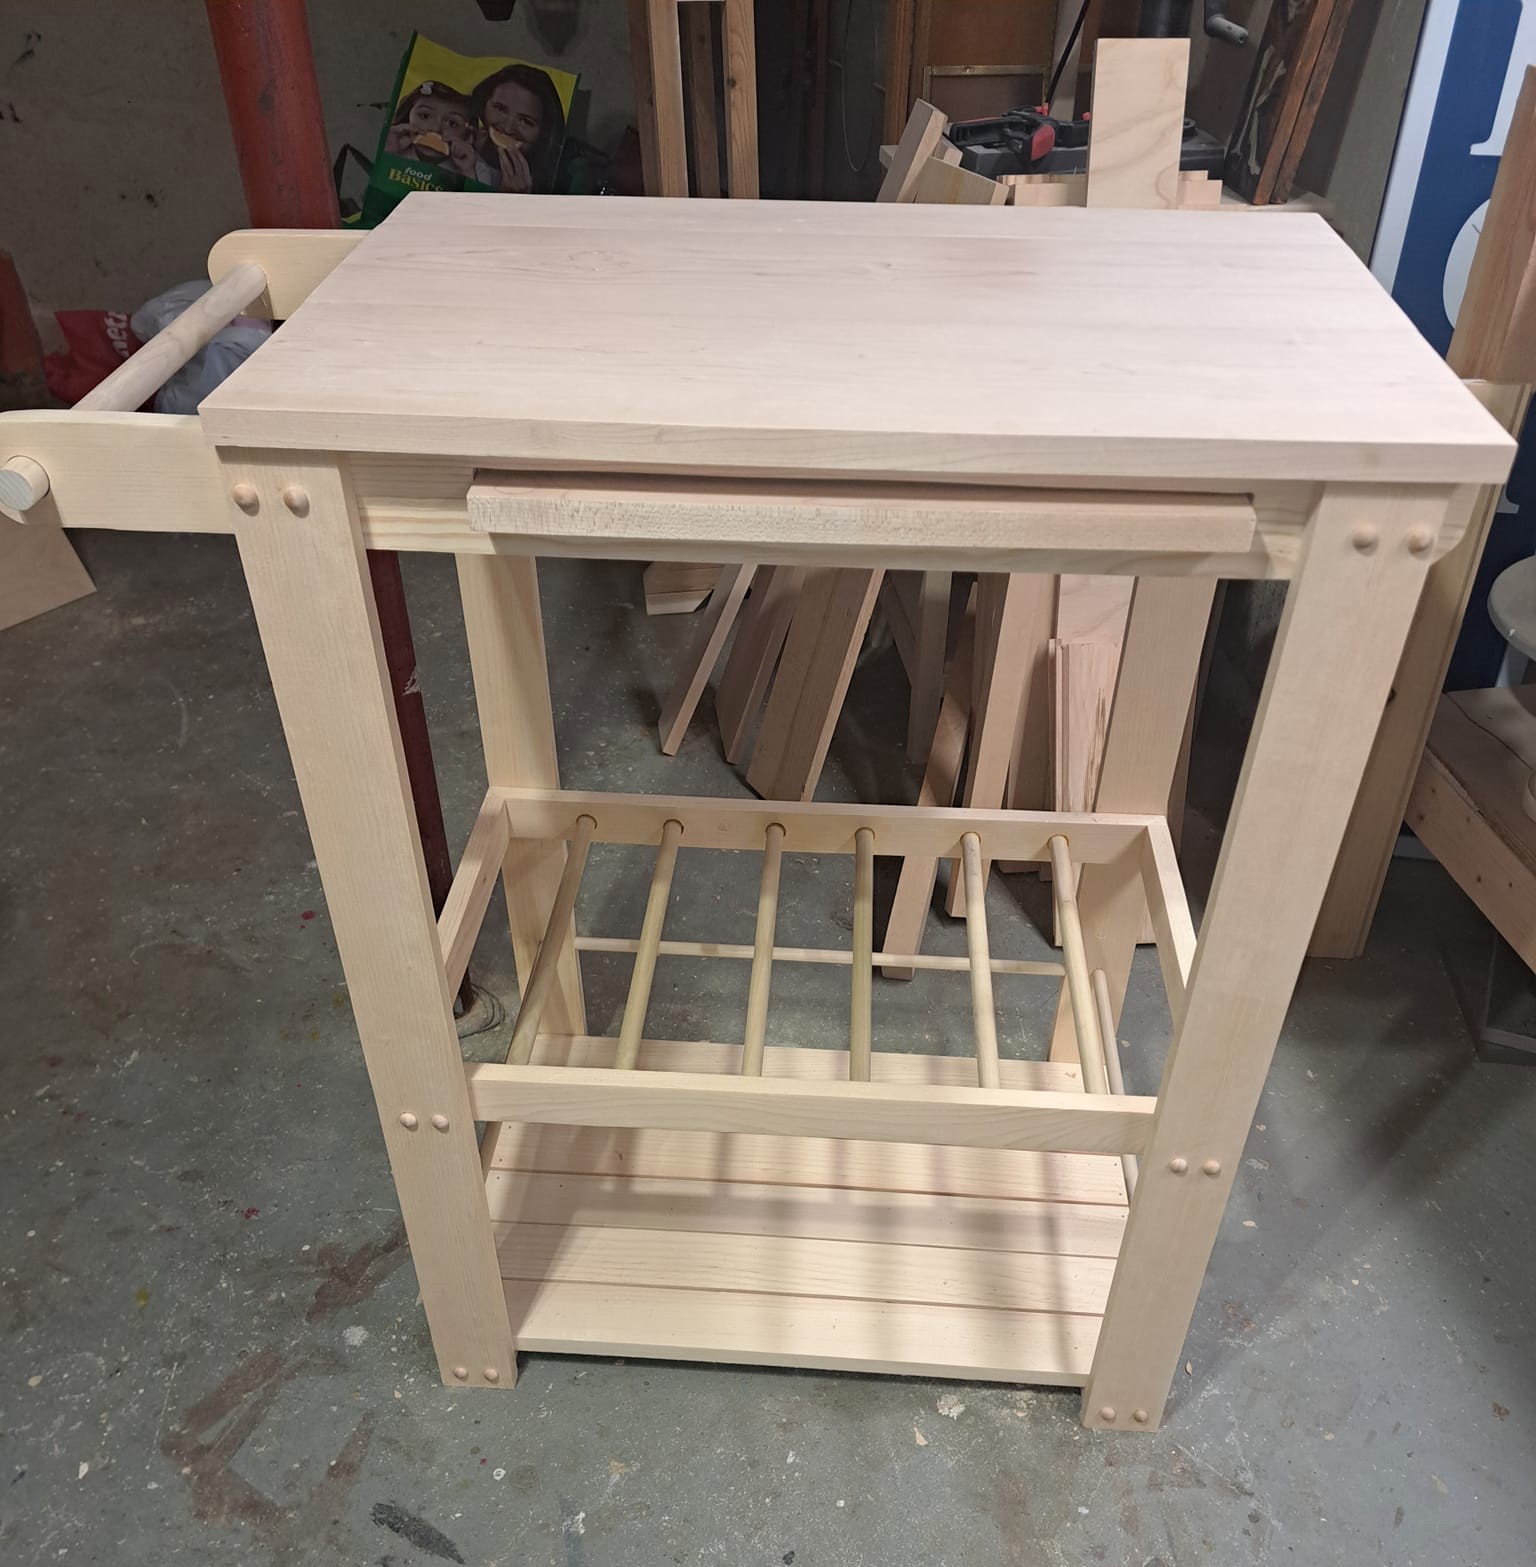
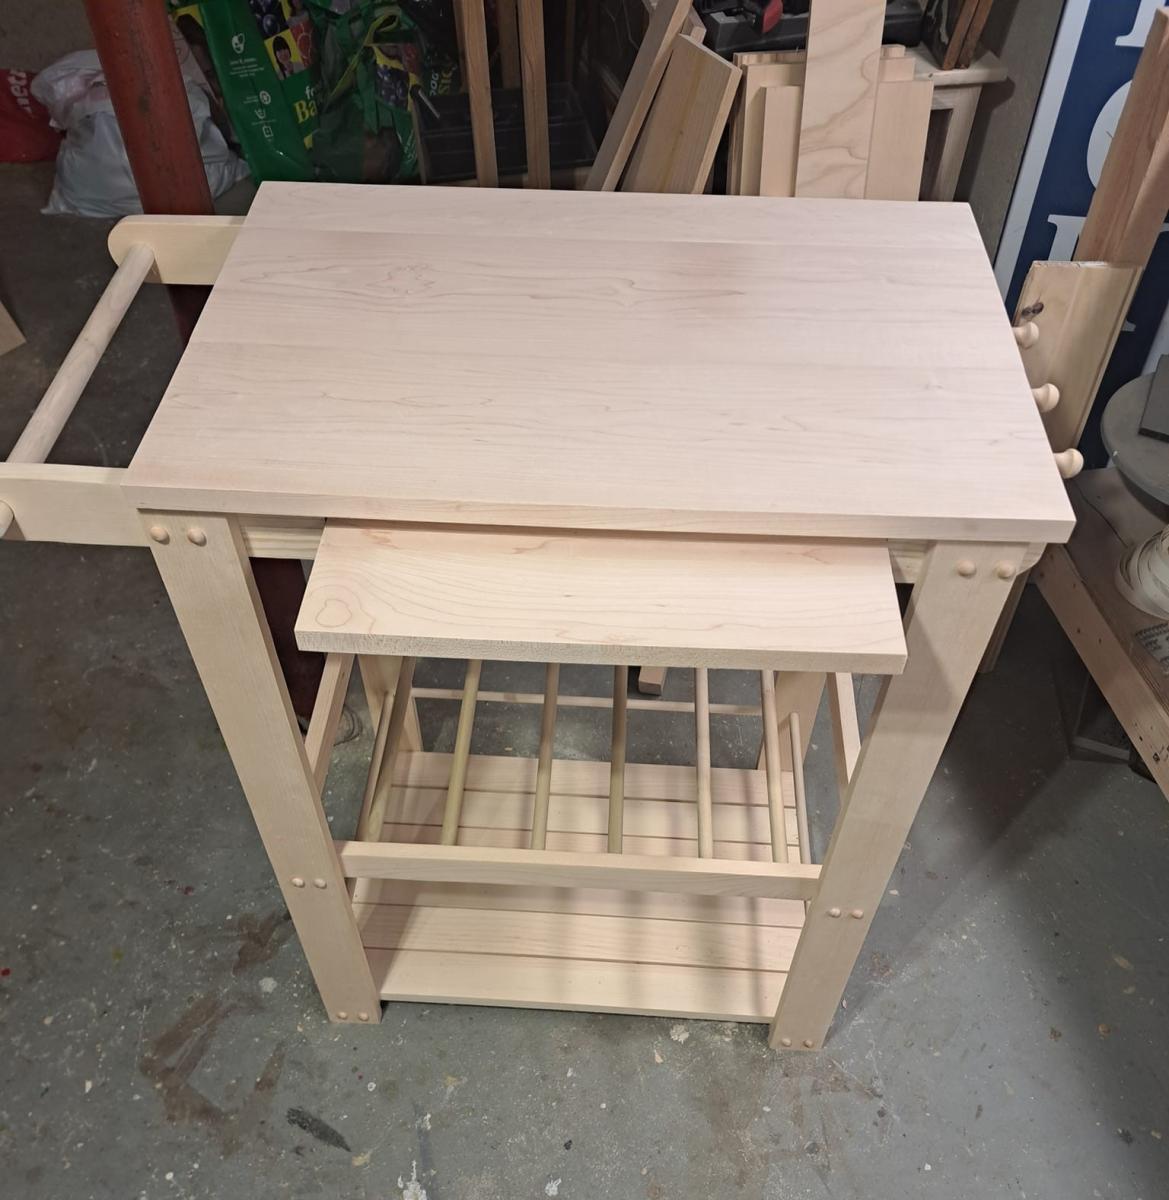
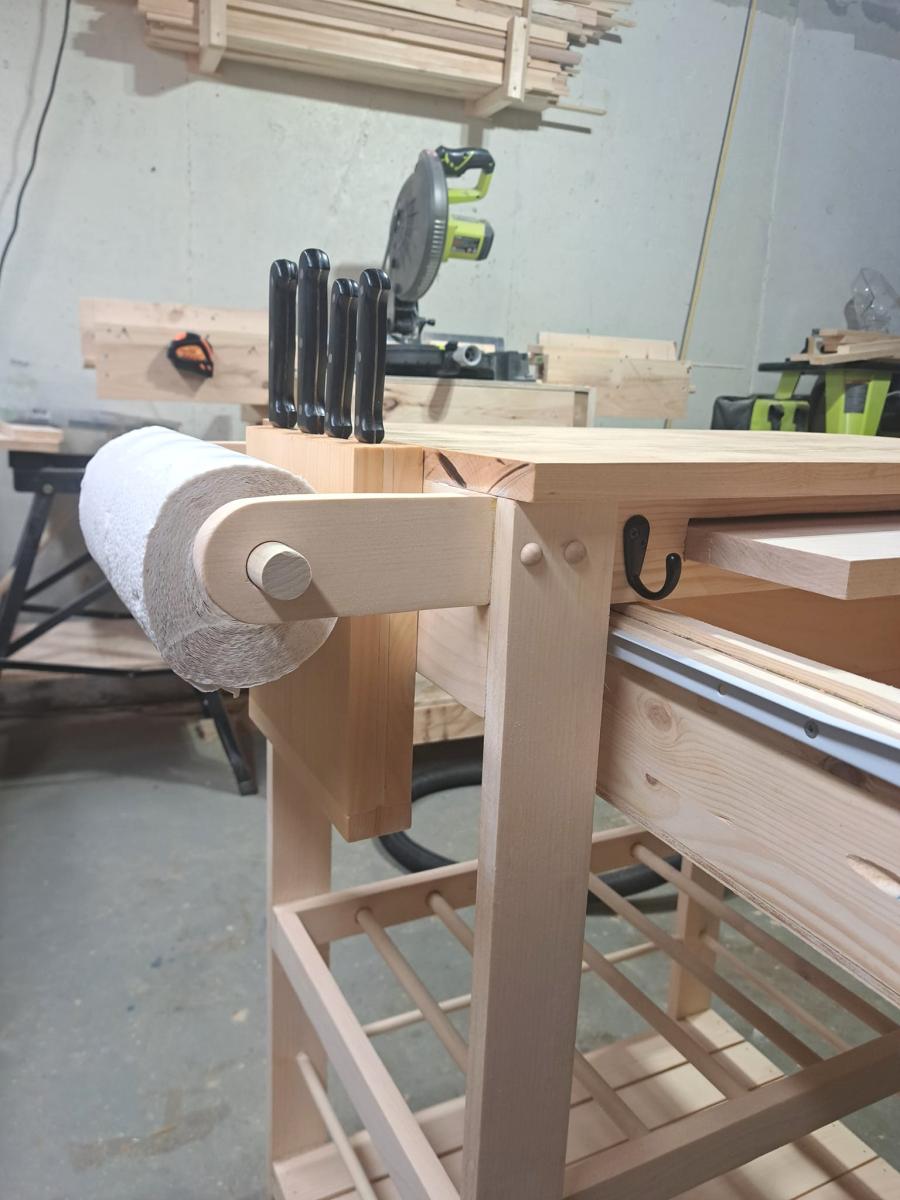
Kitchen cart made from pine with a maple top and removable cutting board. Includes knife holder, paper towel holder, drawer and wine rack.

Jason DiPersio

20 sec tidy up coffee table

Submitted by Jaime04285 on Thu, 11/15/2012 - 18:08

This was one of my first projects that I completed all be myself. I've done lot's of furniture with my dad but never alone. It went pretty smoothly just following the plans. I even used the Kreg jig for the first time and I love it! I completed in about two or three months working on the weekends for a few hours when I could. I was also working on refinishing my son's trundle bed so I'm not really sure how long it took me to finish. Sorry for the poor quality photos, I'm terrible at taking pictures.

Estimated Cost
$75.00
Estimated Time Investment
Weekend Project (10-20 Hours)
Finish Used
First I used wood conditoner with a foam brush. Then I used one coat of Minwax English Chestnut over the whole thing and then added another coat where the boards meet and other raised areas to make them darker, aslo with a foam brush. Then I put two coats of Minwax polyurethane clear satin on with a cheap paint brush and as long as I went back over it after a few seconds I could get rid of any bubbles.
Recommended Skill Level
Beginner
Comments

bhoppy

Fri, 11/16/2012 - 11:21

I love how the darker areas look on your table. I tried for that look when I made mine but couldn't get it right. I will have to try again next time. Congrats on your first solo project:-)

Jaime04285

Fri, 11/16/2012 - 20:22

thanks, I didn't wipe any of the stain off, I just blended it in to the rest of the board.

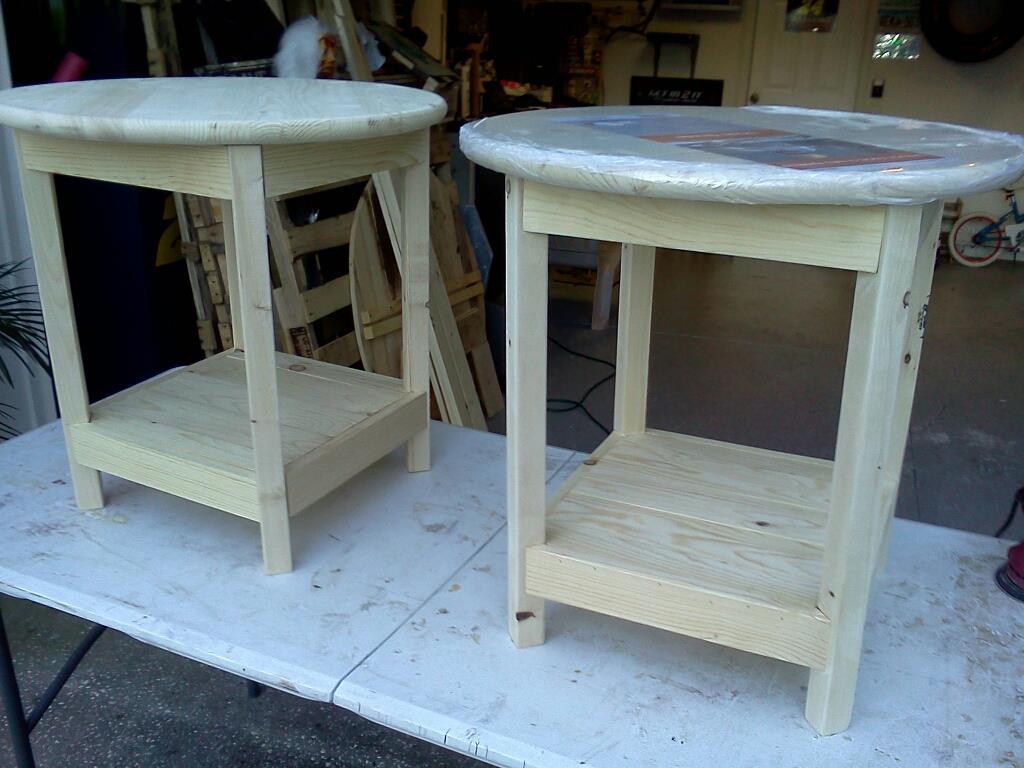
X coffee table

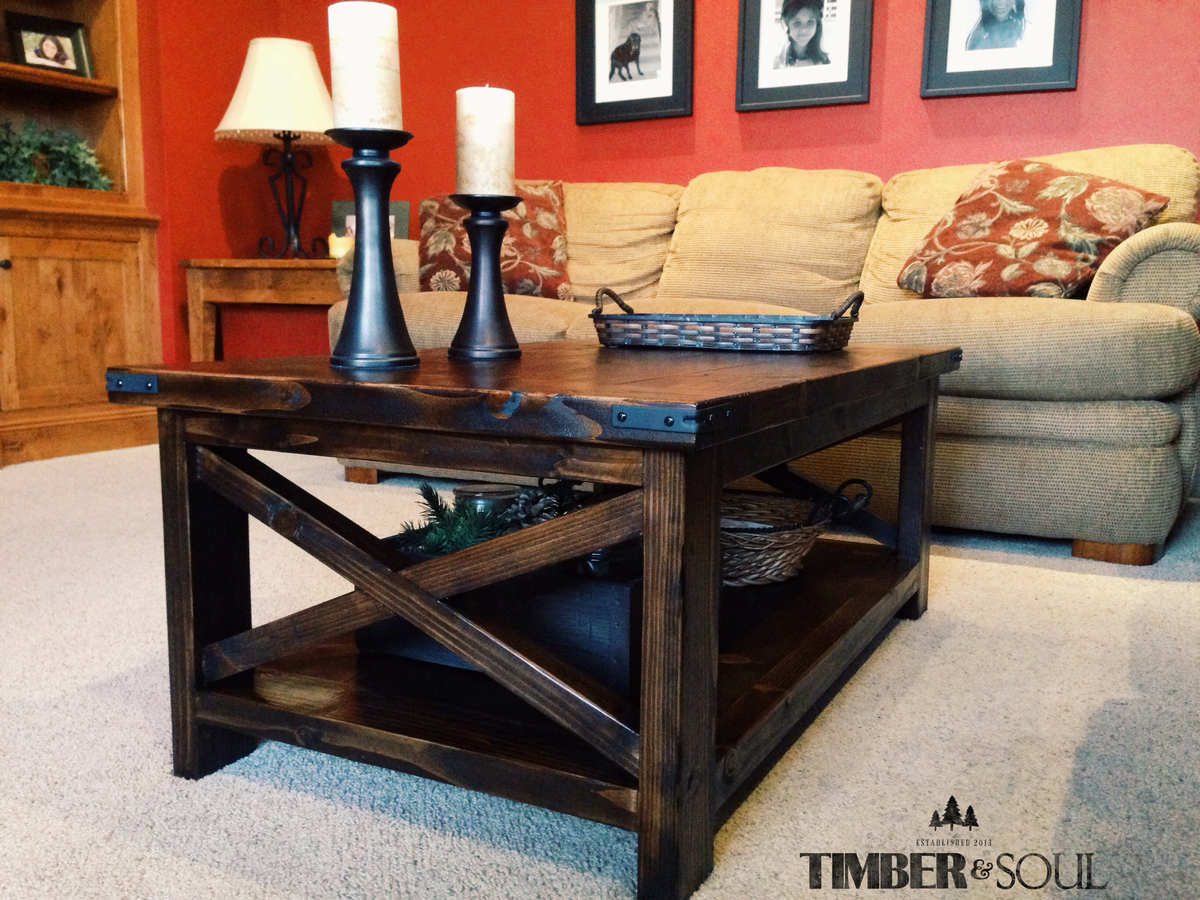
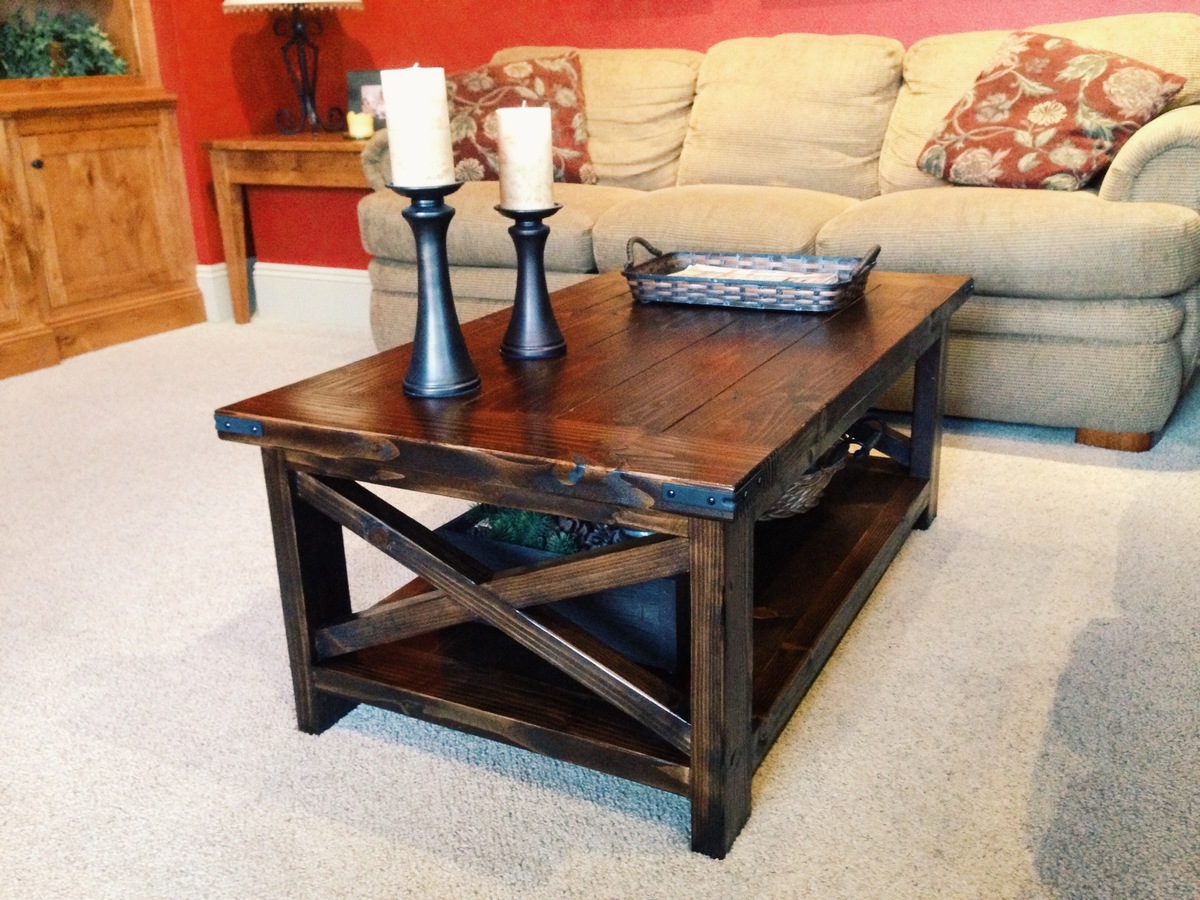
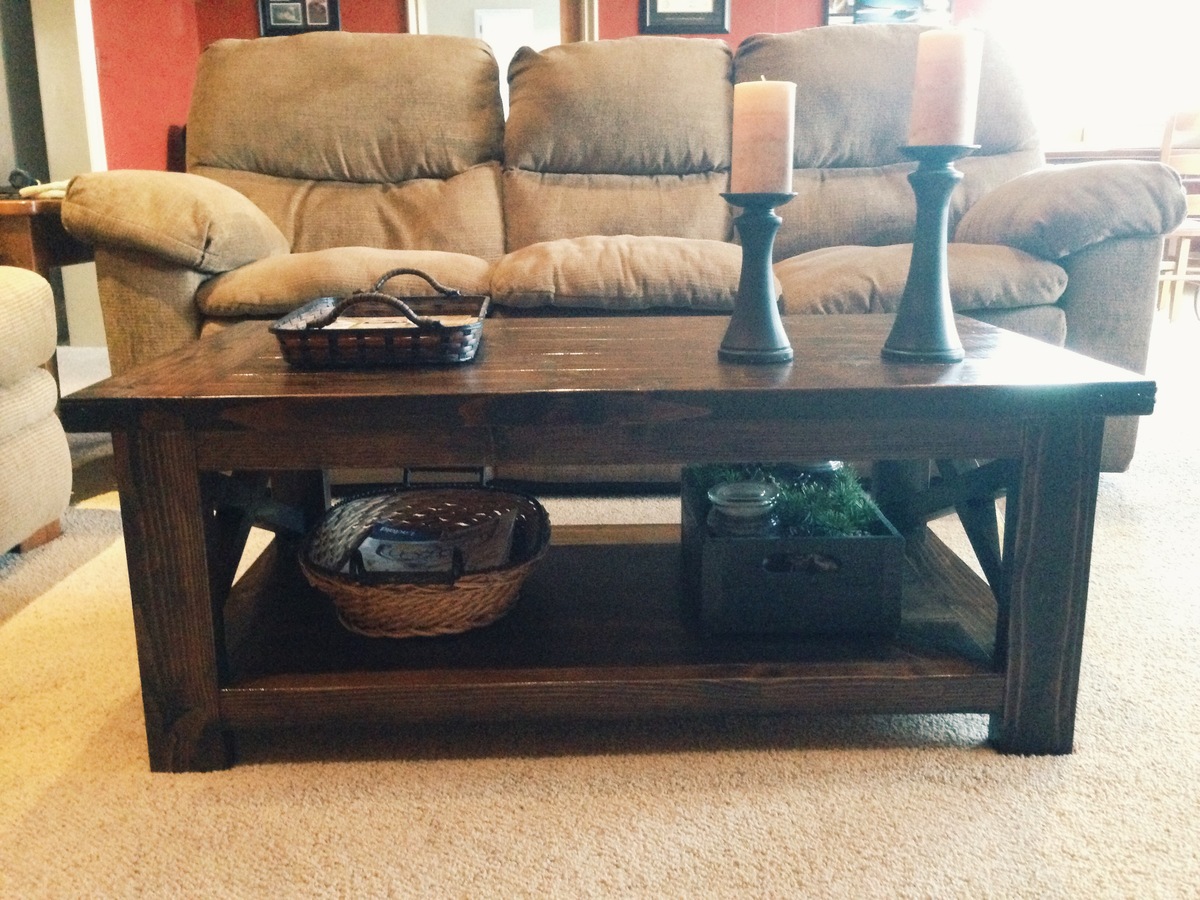
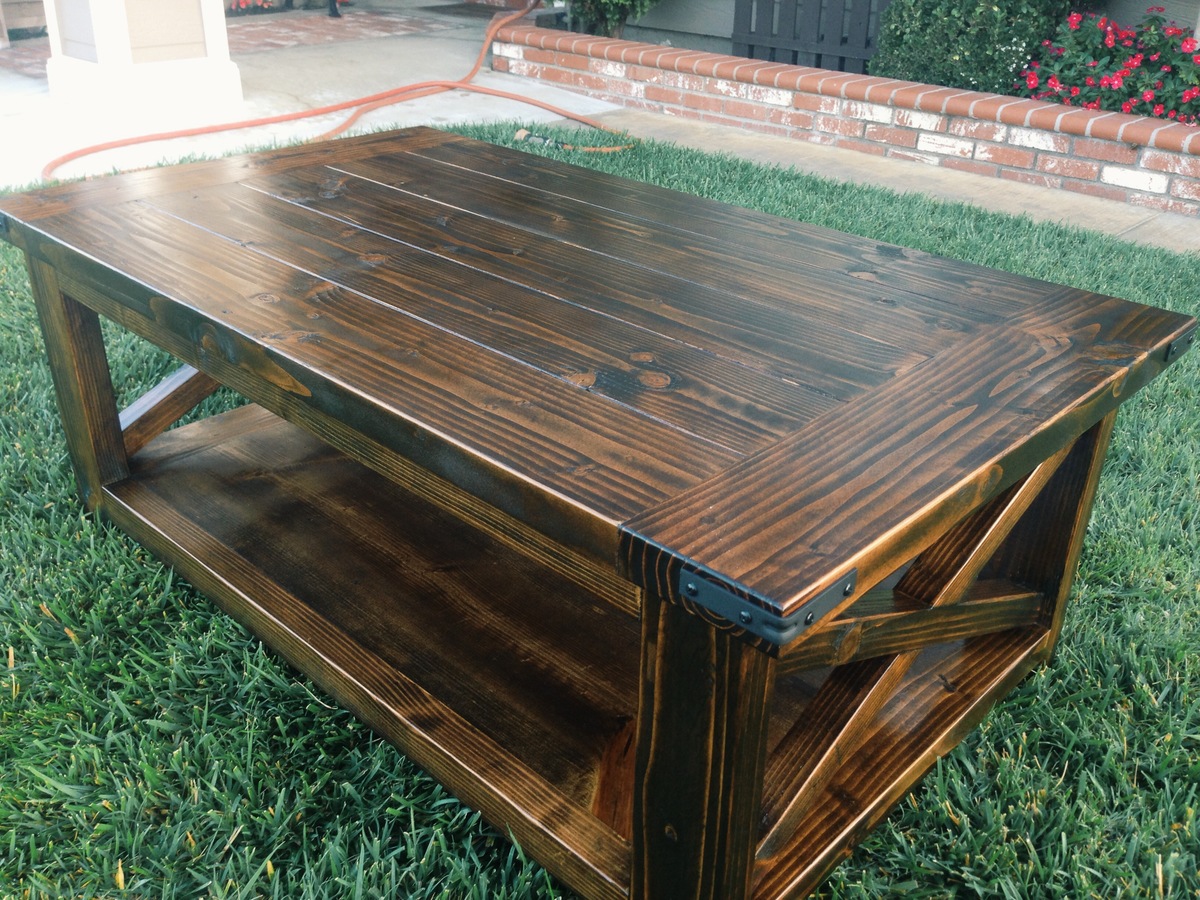
This X coffee table built from ana's plans. Fairly easy project. Used douglas fir for the frame and top and pine for the shelf. Finished with dark walnut stain and 2 coats of poly. The only thing I modified from the plans was the top. I added the breadboard style ends.

Estimated Cost
$60.00
Estimated Time Investment
Day Project (6-9 Hours)
Finish Used
2 coats of dark walnut stain and 2 coats of poly.
Recommended Skill Level
Beginner
Handmade by Trenton

Submitted by Anonymous (not verified) on Thu, 12/22/2016 - 17:45

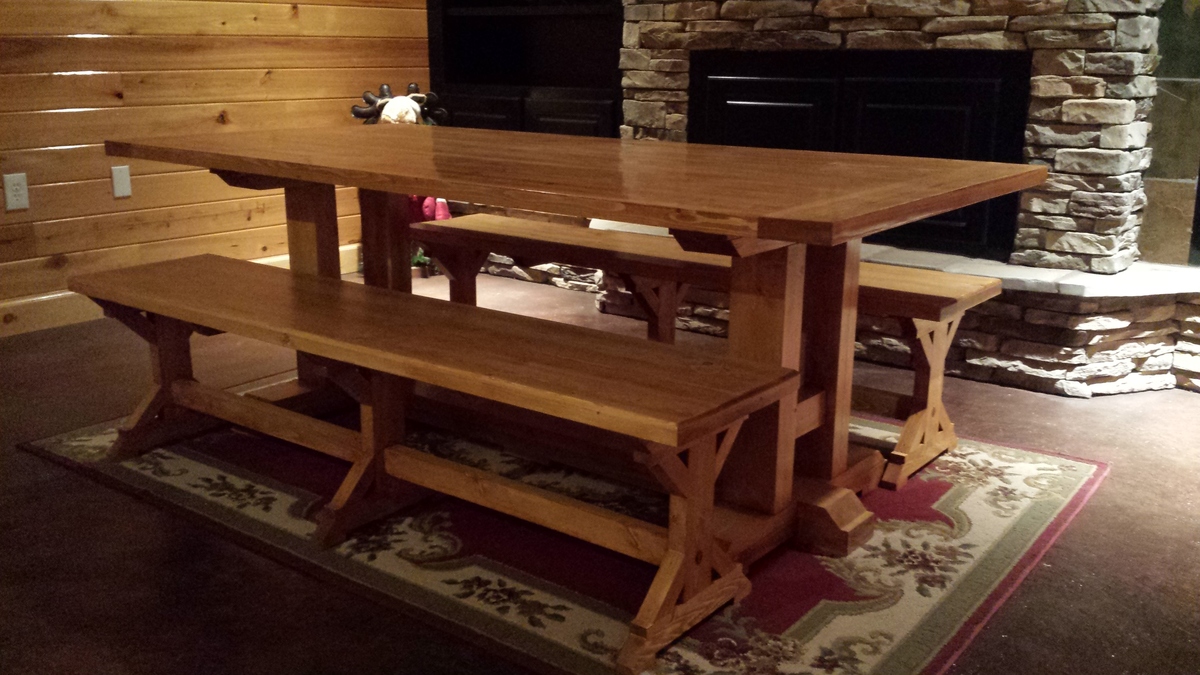
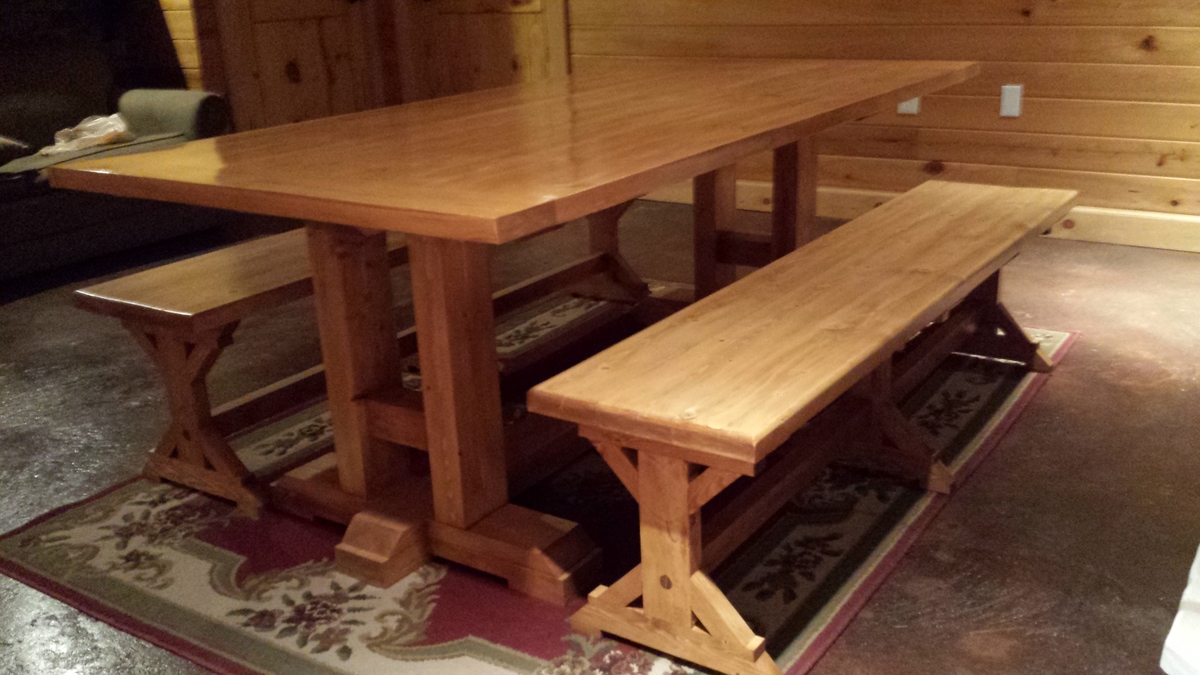
These made the perfect benches for my first farmhouse table.

Built from Plan(s)
Estimated Cost
@ $55 Per bench
Estimated Time Investment
Week Long Project (20 Hours or More)
Finish Used
Sherwin Williams Wood Classic stain and Target Coatings Emtech 9000 poly
Recommended Skill Level
Intermediate

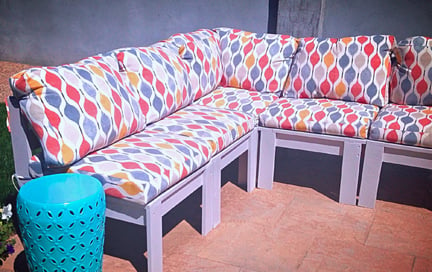
Outdoor Sectional

Submitted by ahkatie on Fri, 09/05/2014 - 10:28

After spending most of our budget on patios and grass this summer, we needed some furniture. These plans worked perfectly for our space and were so easy to build.


Estimated Cost
$150.00, not including the cushions.
Estimated Time Investment
Day Project (6-9 Hours)
Finish Used
Behr Interior/Exterior High Glass Enamel - "Natural Gray"
Recommended Skill Level
Beginner
Beautiful and sturdy dollhouse

Submitted by DIYMomof4 on Sun, 12/25/2016 - 13:04

Thank you Ana for the wonderful dollhouse plans!  I have been making furniture using Ana's plans for a couple of years now.  I made this as a Christmas present for my 3 year old daughter.  This dollhouse is safe, strong, and my daughter loves it!  It took me about a month to make the dollhouse and furniture.  I do have 4 children and have limited spare time, so I'm sure it could be done faster.  I followed the plan almost exactly as written.  I used screws for the stair treads and added 1x2's underneath for support.  I just put up 3/4" plywood for the roof as my jig saw is not the best.  I also added small push LED lights for the first and second floors.  This dollhouse will last for years maybe even be passed down to grandchildren!

Estimated Cost
It was under $100 for the dollhouse. I'm not sure how much the furniture would cost, as I used a lot of scrap wood.
Estimated Time Investment
Weekend Project (10-20 Hours)
Finish Used
Lindseed Oil - I really liked using this finish. It is so easy and there are no fumes. I also used it on the furniture.
Recommended Skill Level
Beginner
My daughter’s first project assist

Submitted by tcorstange on Sat, 09/05/2020 - 20:05

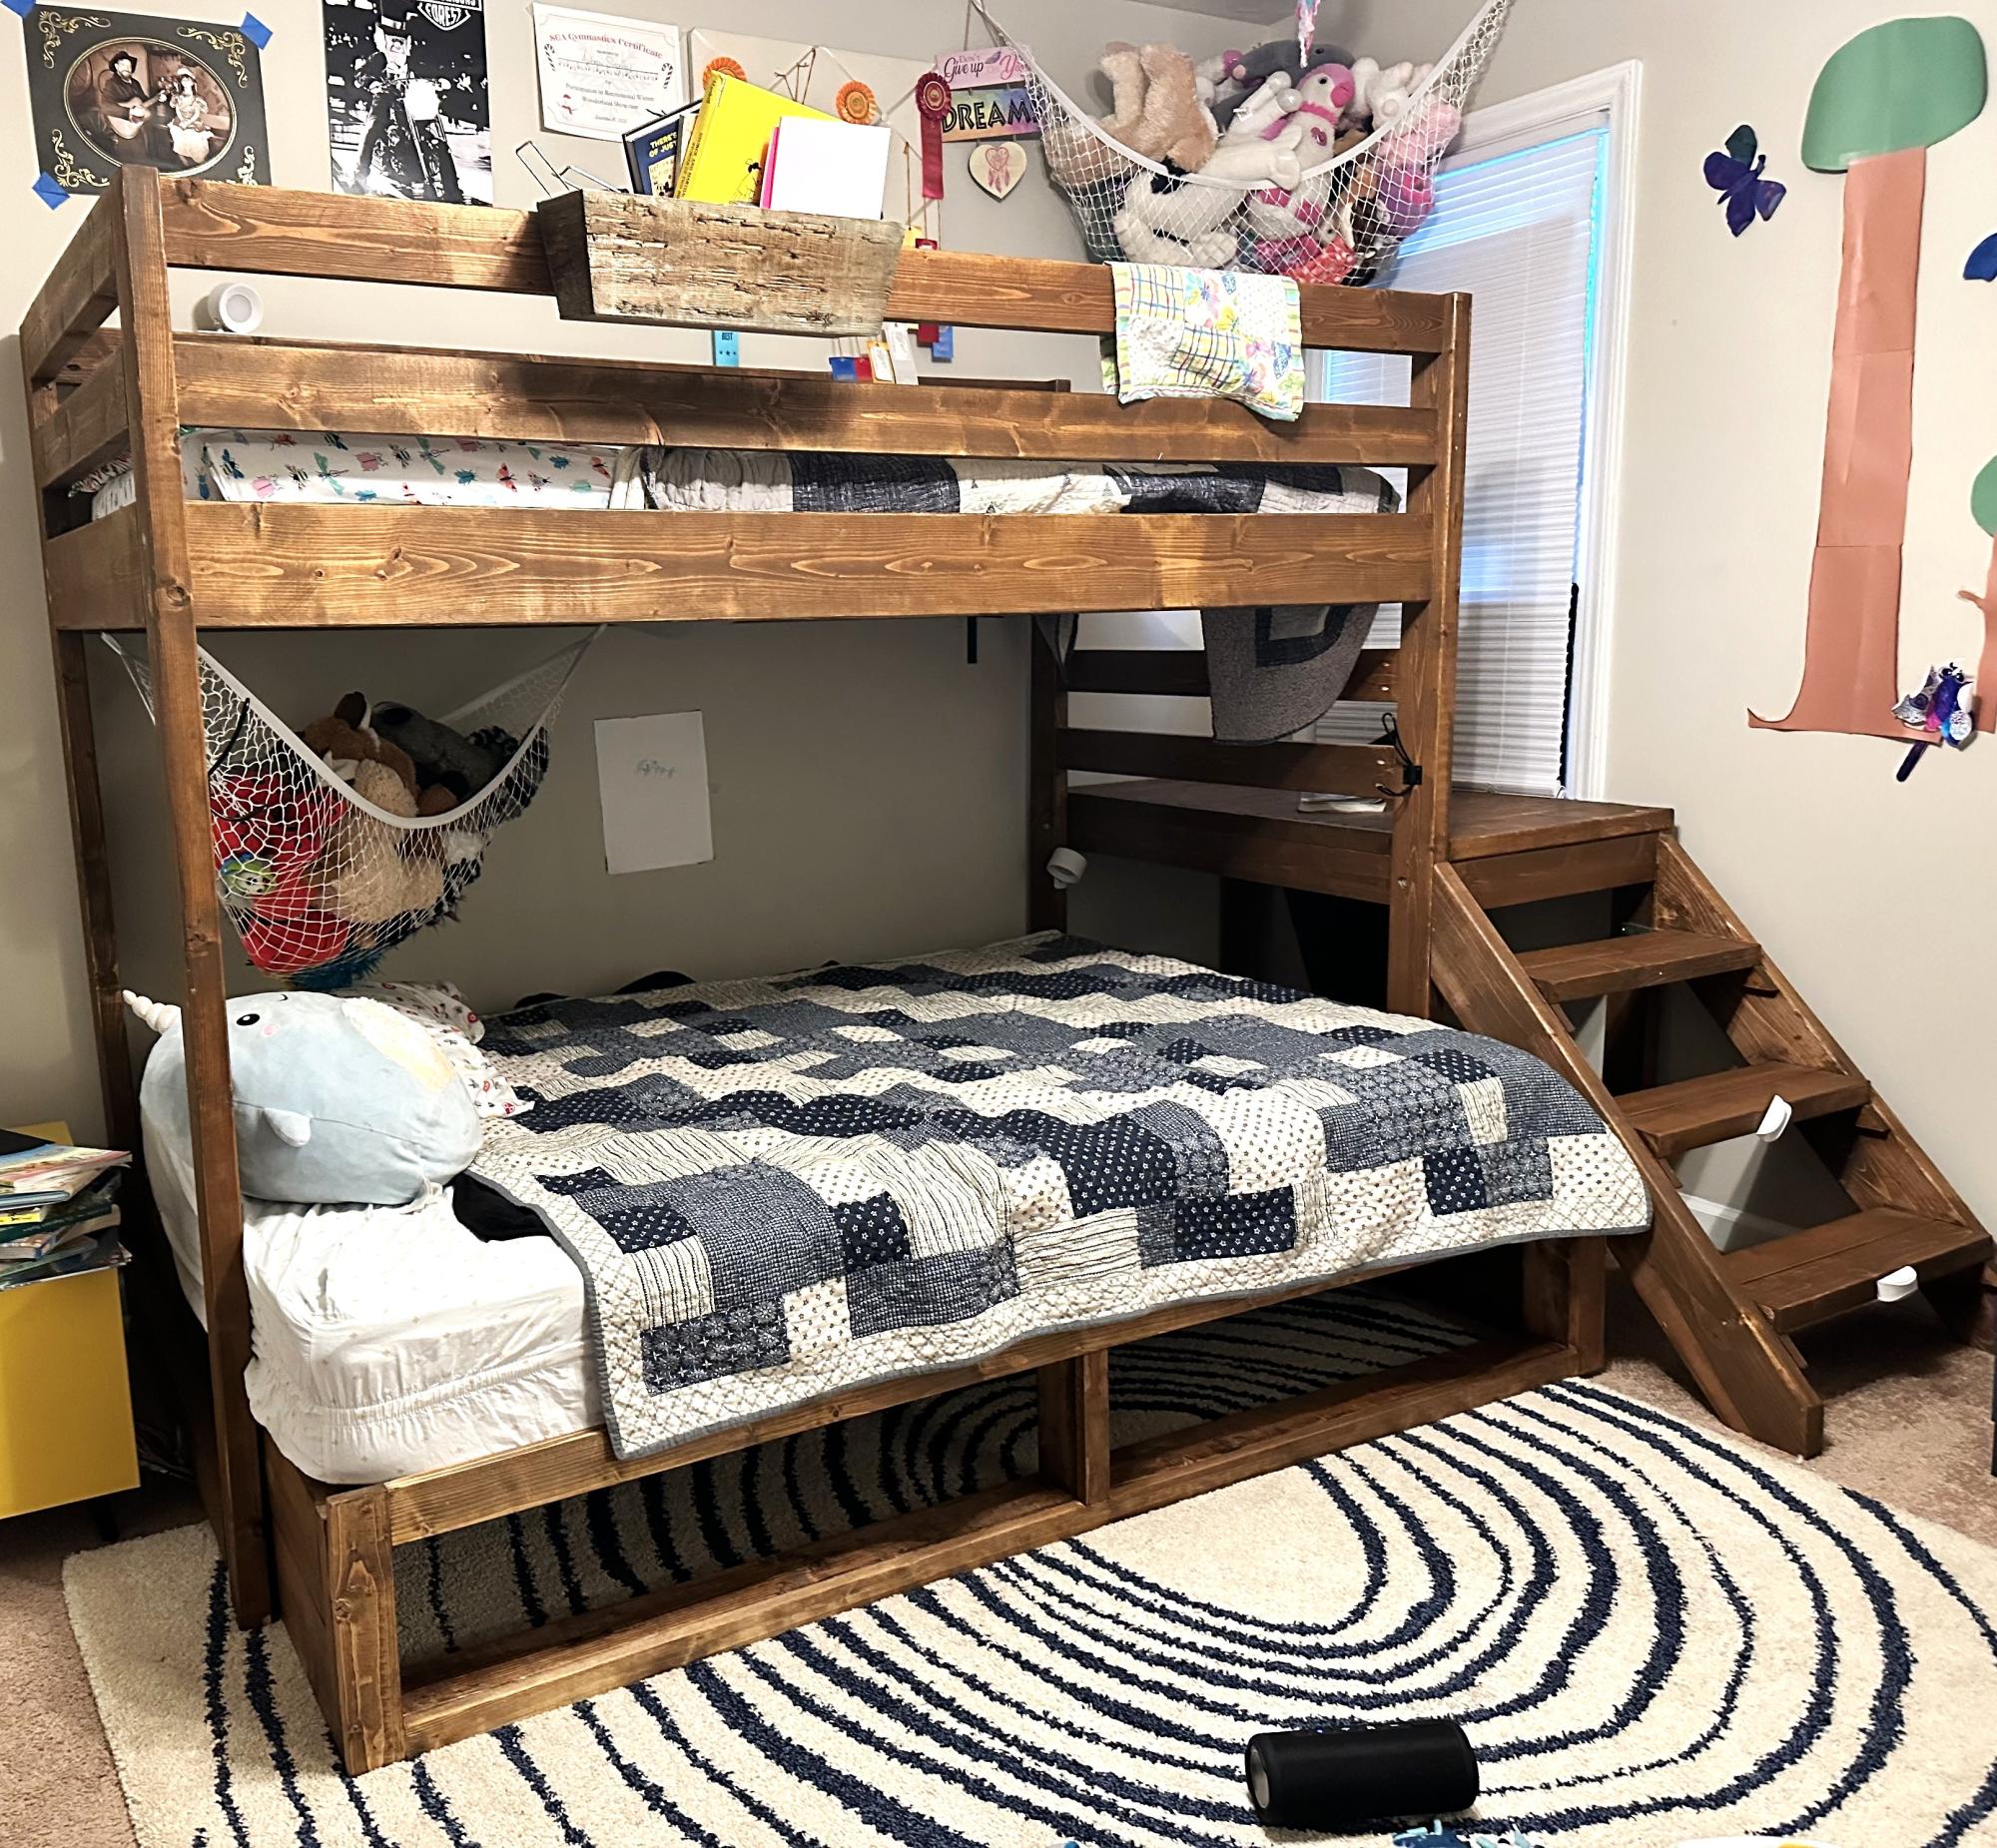
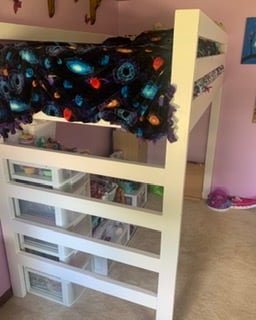
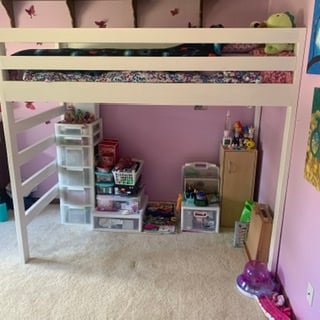
My daughter wanted to help with building her loft bed. She handled drilling all the pocket holes, sanding, painting and some of the assembly. This was her first project. We opted to not use the landing from the plan. Increased height to 70 inches. Used 1x4’s for the mattress supports. Anchored to the wall to eliminate any shaking in the bed when climbing up
Estimated Cost
$100
Estimated Time Investment
Weekend Project (10-20 Hours)
Finish Used
Semi gloss white paint
Recommended Skill Level
Starter Project

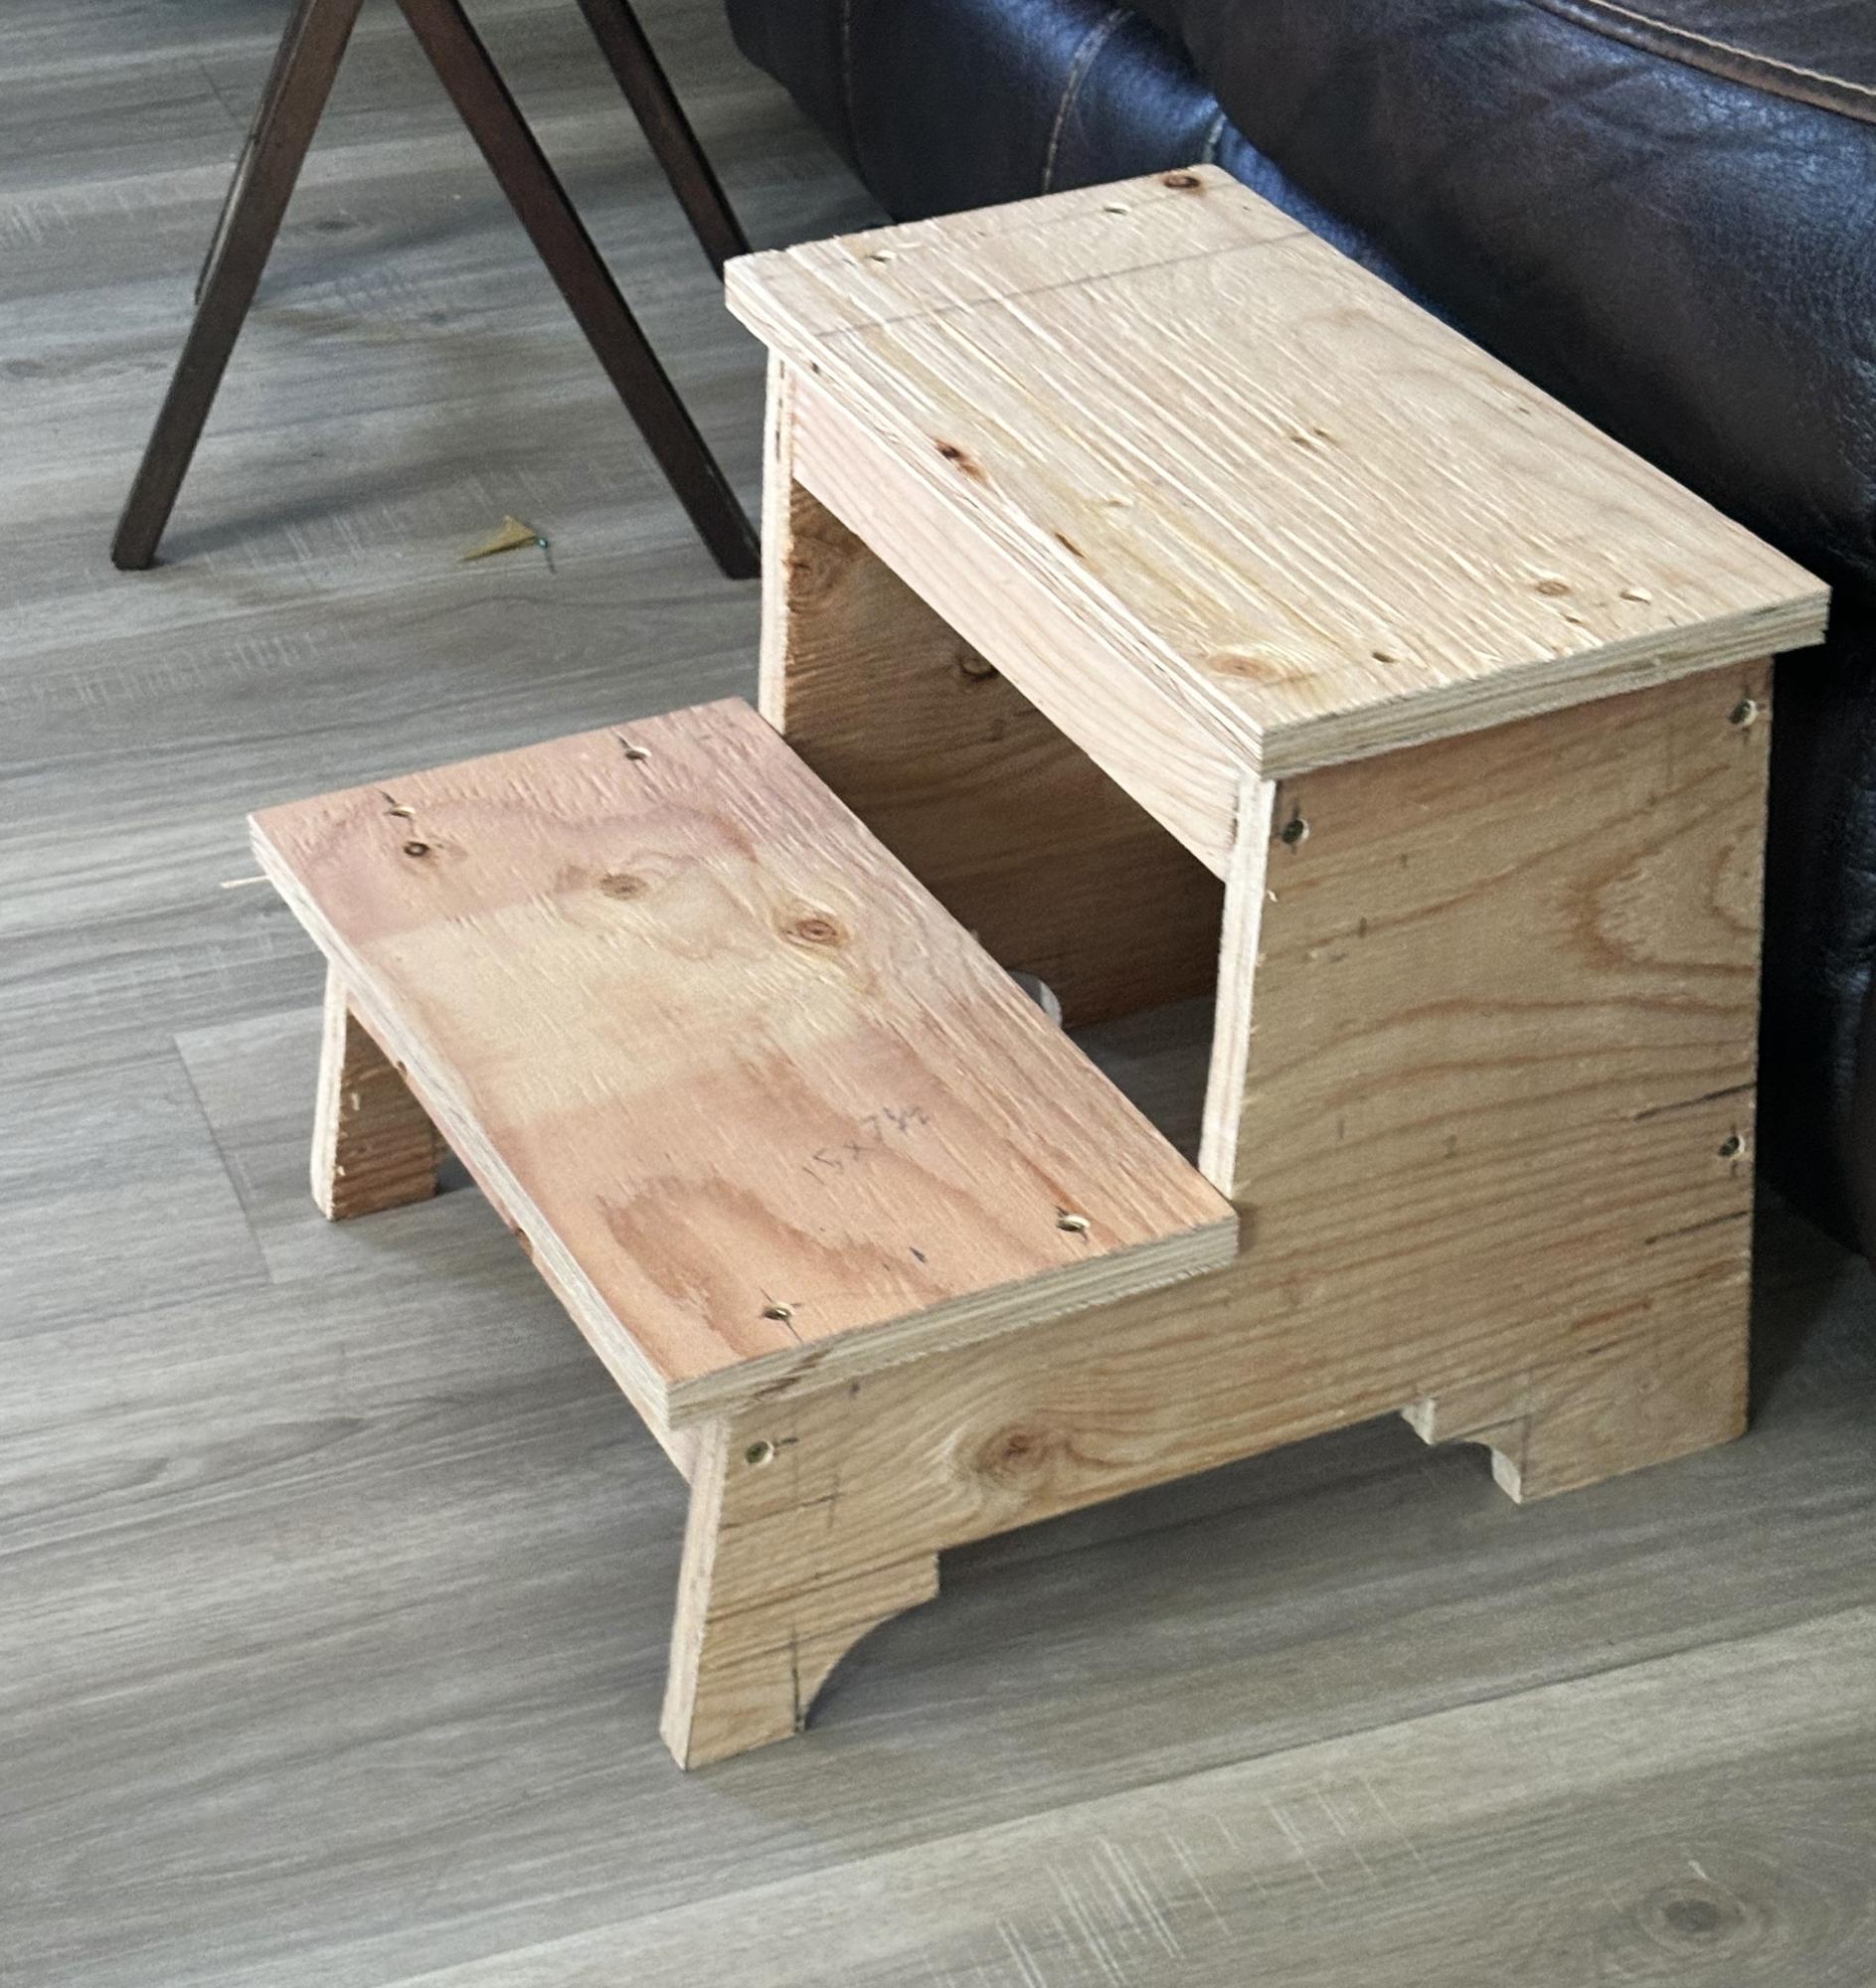
Plywood Dog Steps

Submitted by Anonymous (not verified) on Fri, 09/06/2024 - 08:25

Nice little dog stairs, as I call them. Perfect if you’re looking for something to do that doesn’t take up a lot of material. I built it out of three-quarter ply, and it seems to work fine. The dogs love it as well.

Keaton McIntyre

Built from Plan(s)

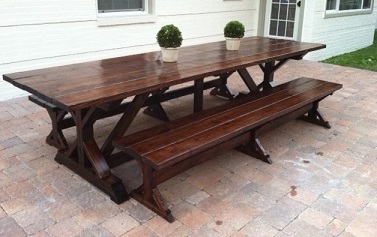
My fancy farmhouse table version. 10' long

Submitted by JS on Fri, 11/23/2012 - 10:48

Built this fancy farmhouse table for the back patio. Made it 10' long. Instead of 4 2x10's I used 5 2x8's 10' long. All yellow pine from Home Depot. This is the first table or wood type construction project I have ever made. Screwed everything together, filled in holes with stainable wood filler, used 3 coats of Minwax Provencial stain and then 3 coats of outdoors Helmsman Spar Varnish (sanding with 000 steel wool between coats). Turned out great. Total materials including wood, screws, sanding, stain, varnish, and brushes was a little less than $300. The stain and varnish I bought was about $100, 1 gallon can of stain and 1 gallon can of varnish. Tools used were miter saw, cordless and corded drills, and sanders before staining. Thanks for the plans Ana-White.

Estimated Time Investment
Week Long Project (20 Hours or More)
Finish Used
MinWax Provencial stain (3 coats)
Helmsman Outdoor Spar Varnish (3 coats 000 steel wool sanding between coats)
Recommended Skill Level
Starter Project

Comments

Yo

Wed, 07/31/2013 - 10:12

That is a great table. You clearly are a talented homemaker. I build kit cars. I bet with your skills we could do great work together.

SOCOOLJ

Wed, 07/31/2013 - 10:52

Looks great. I did the same but I went and bought a Home Depot table(pre-built) and just stained it. Looks almost identical except 1/4 of the time and cost. BTW I love the painted brick. Thanks for sharing. I give your table a 10!

Back