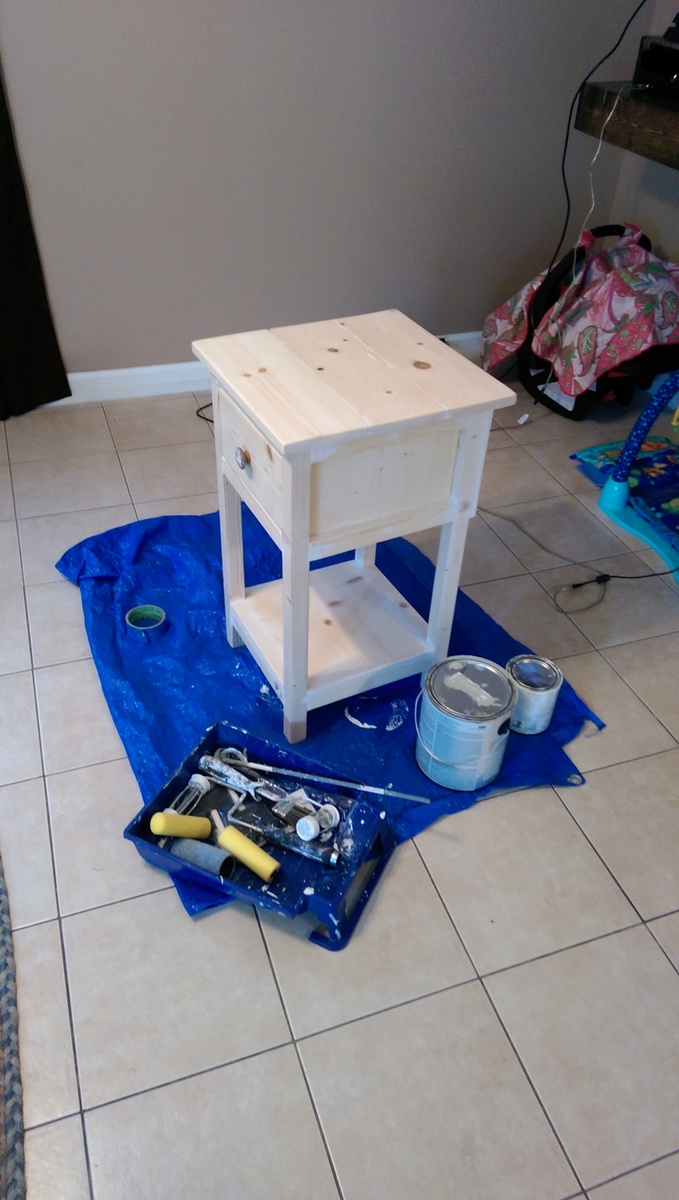
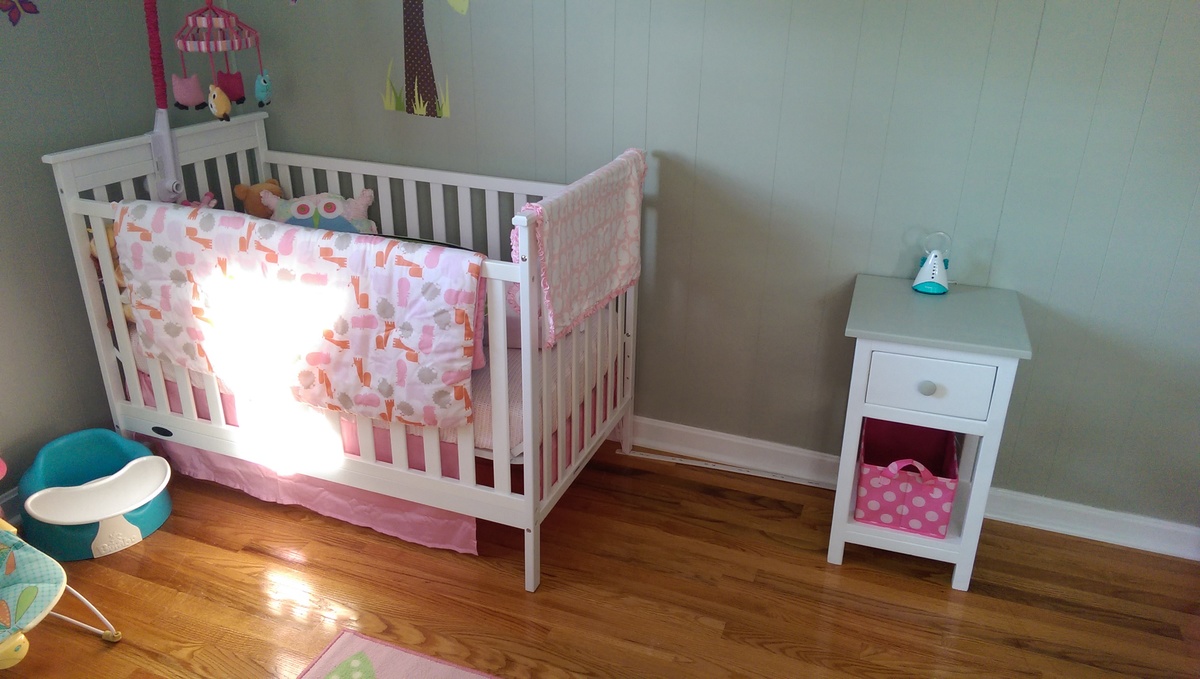
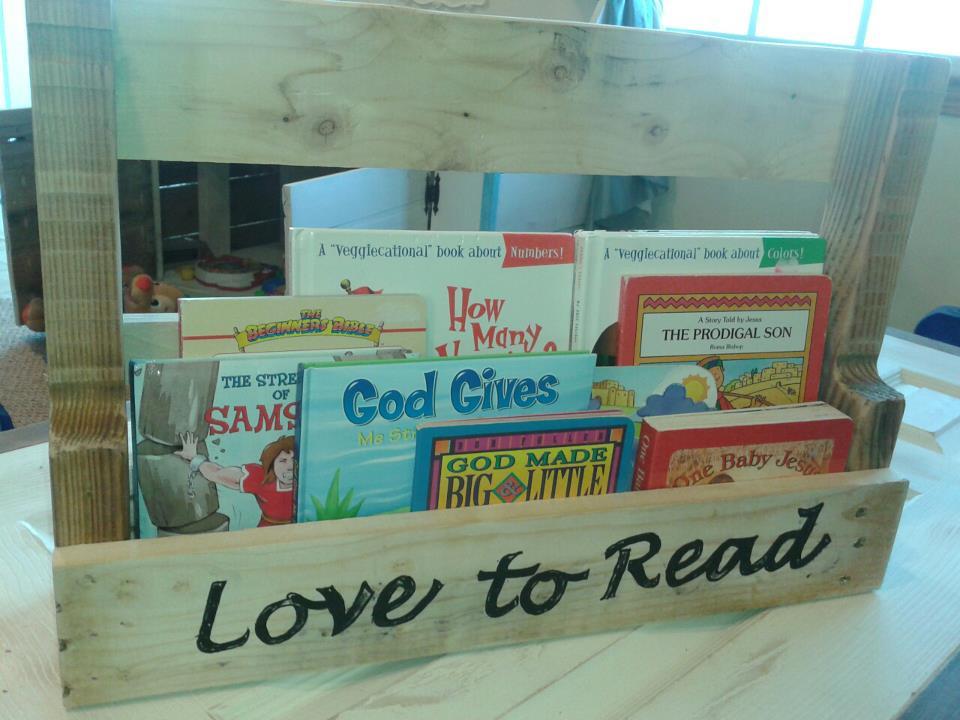
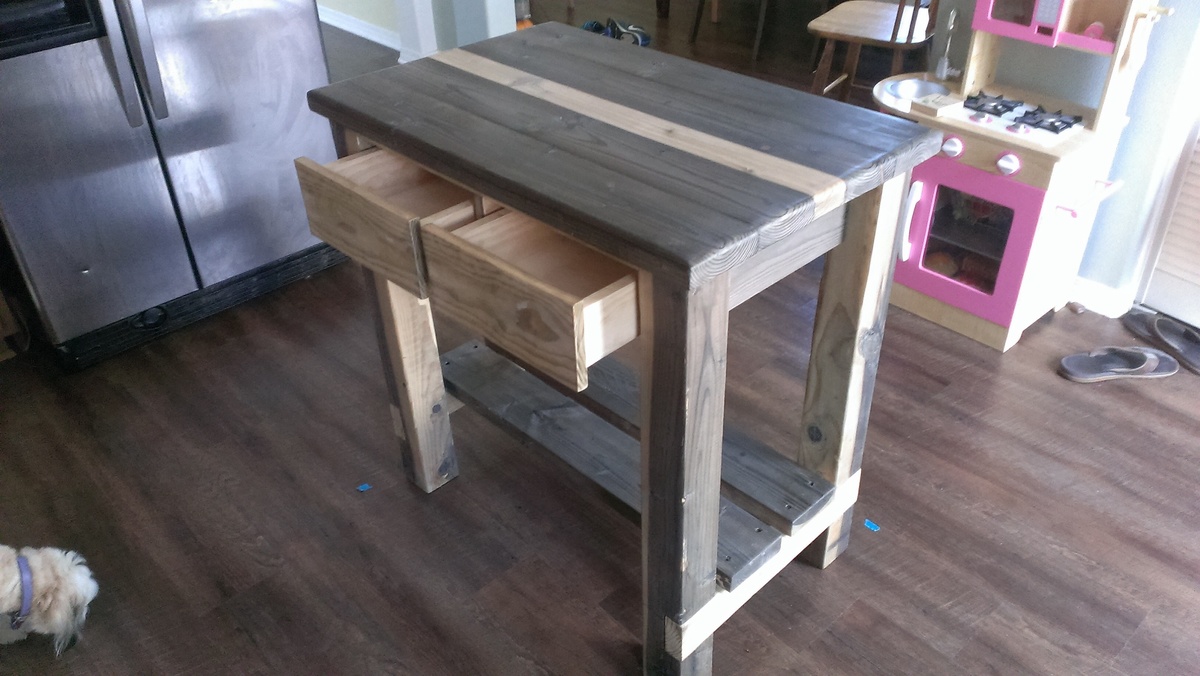
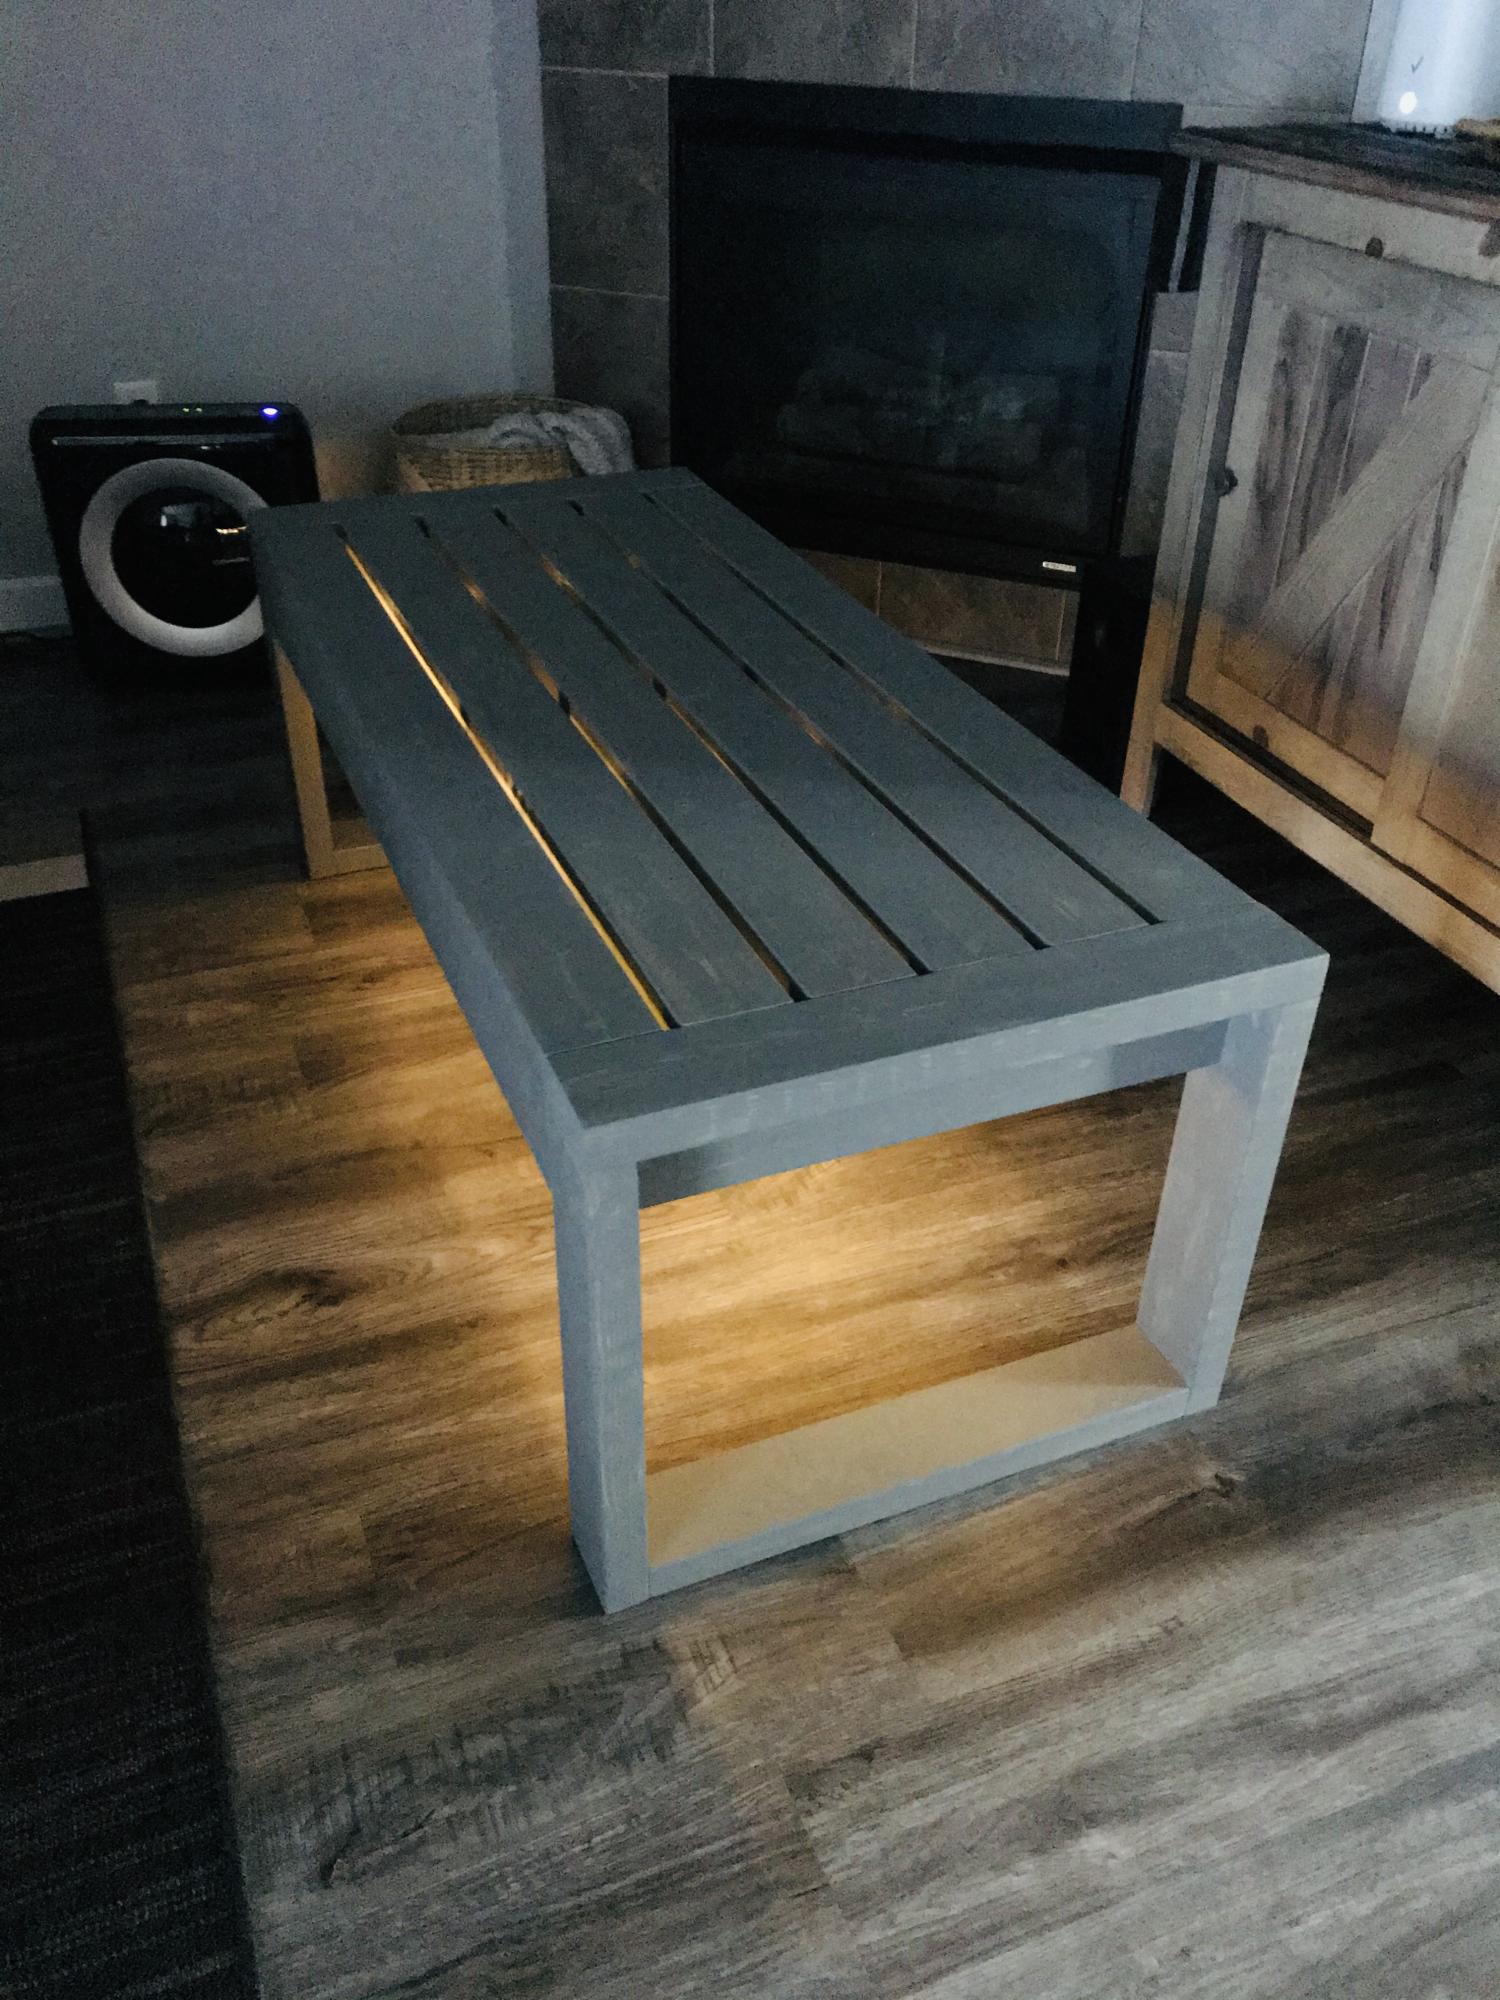
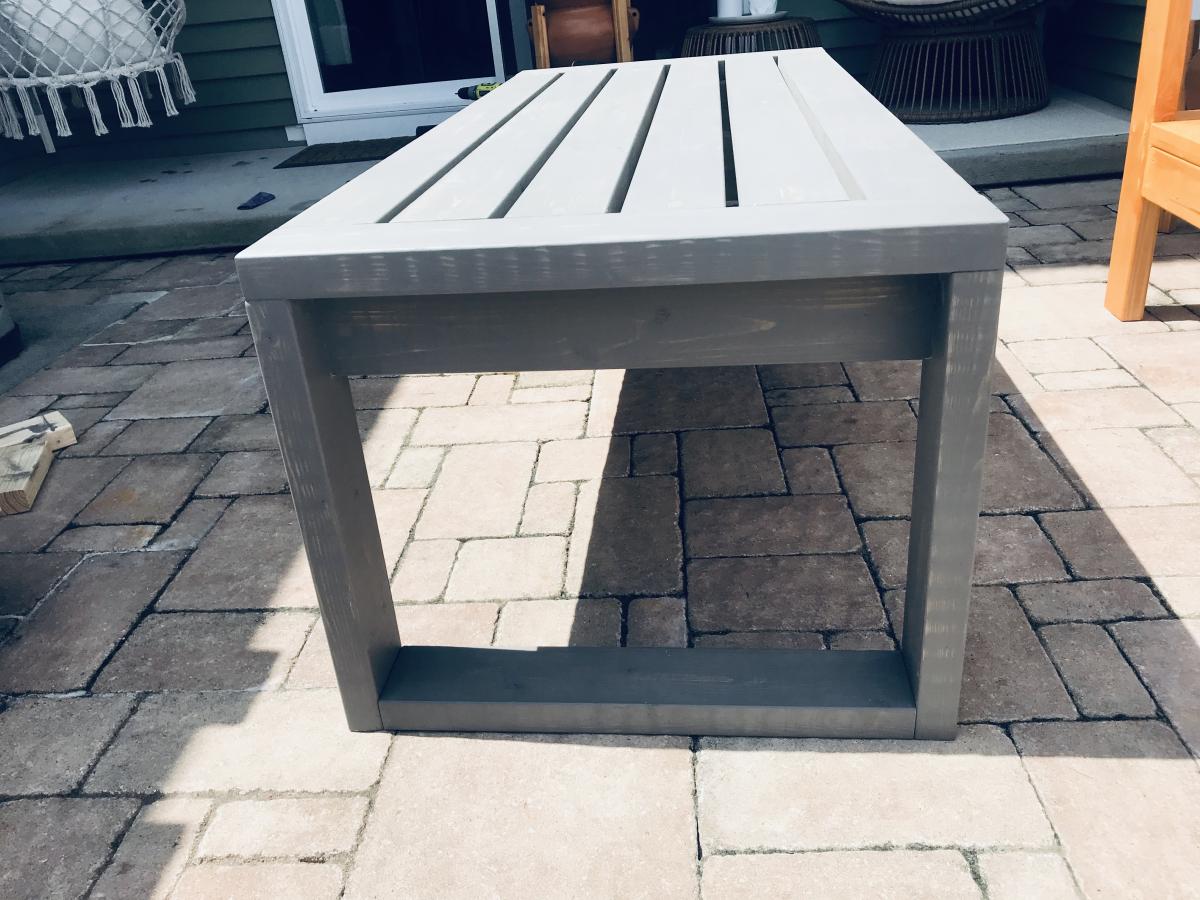
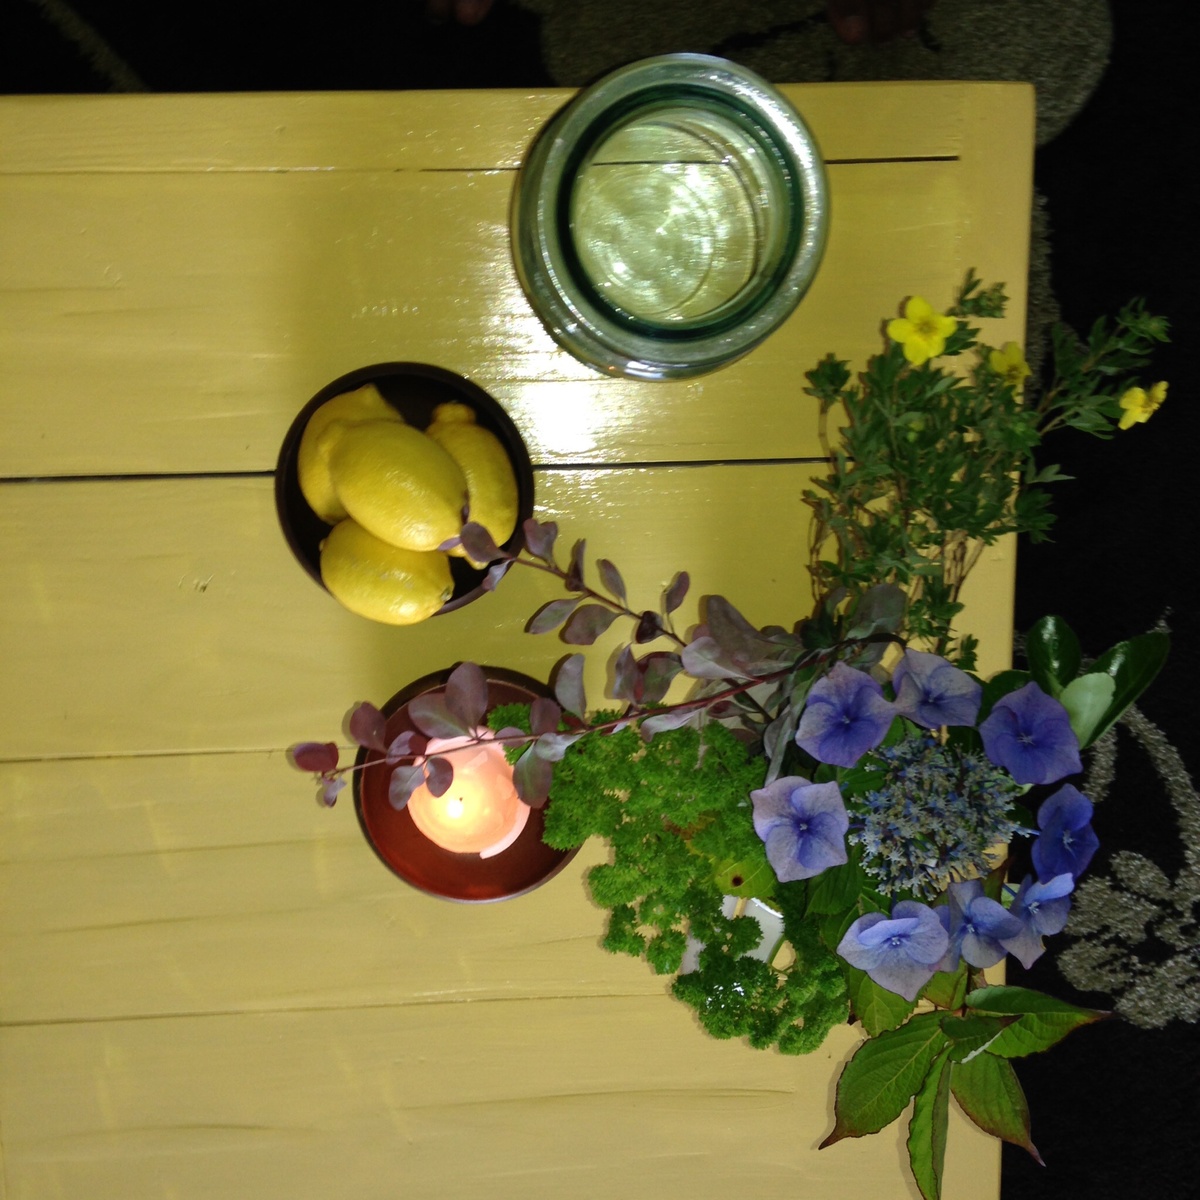
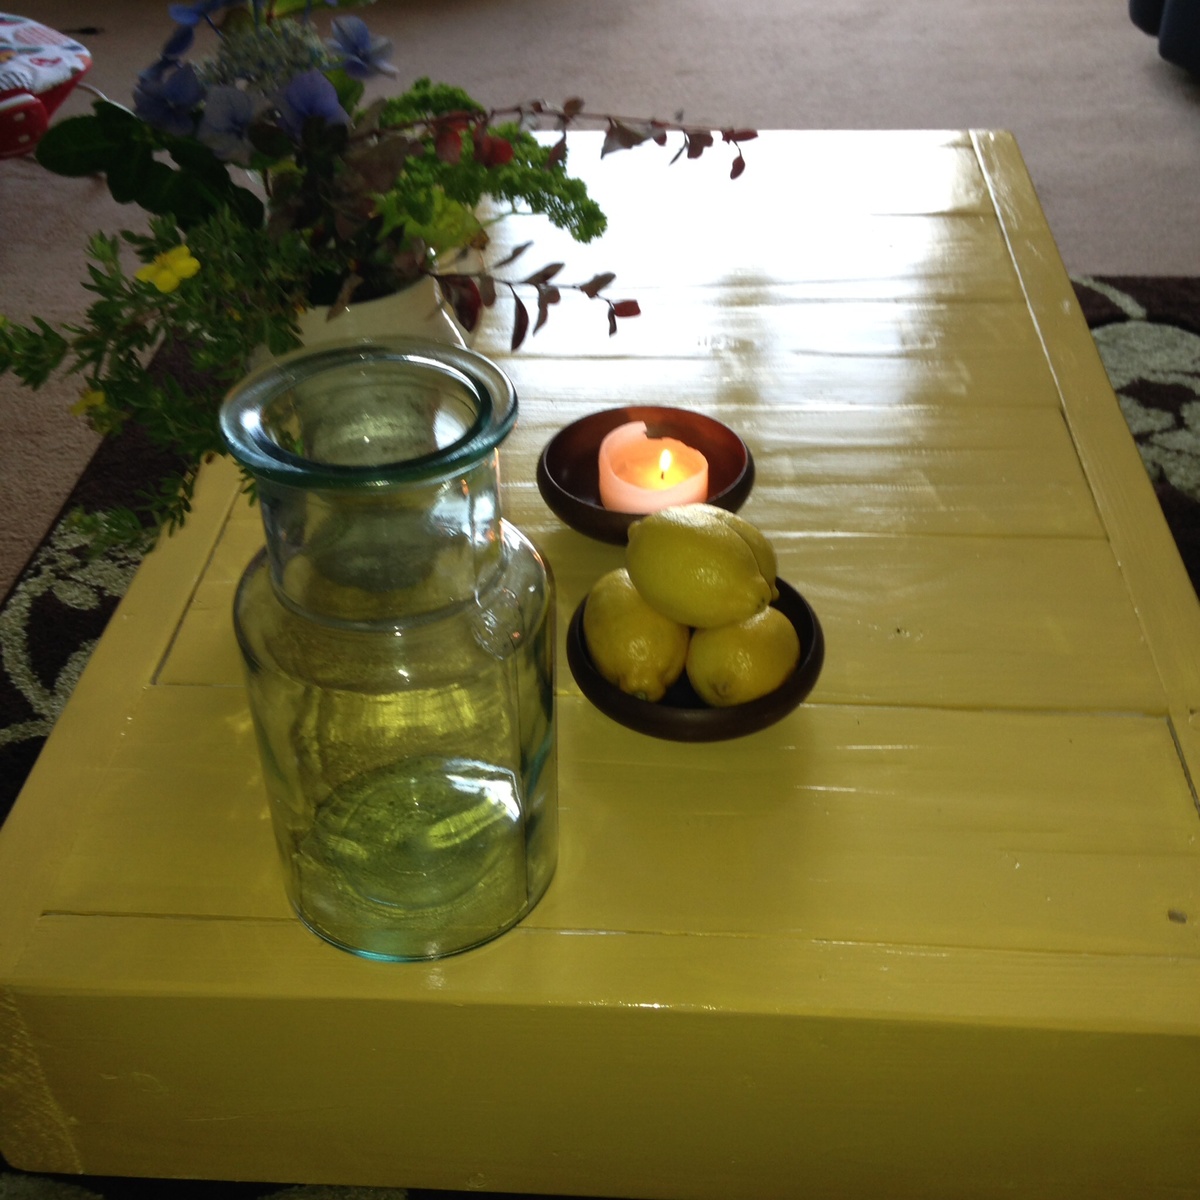
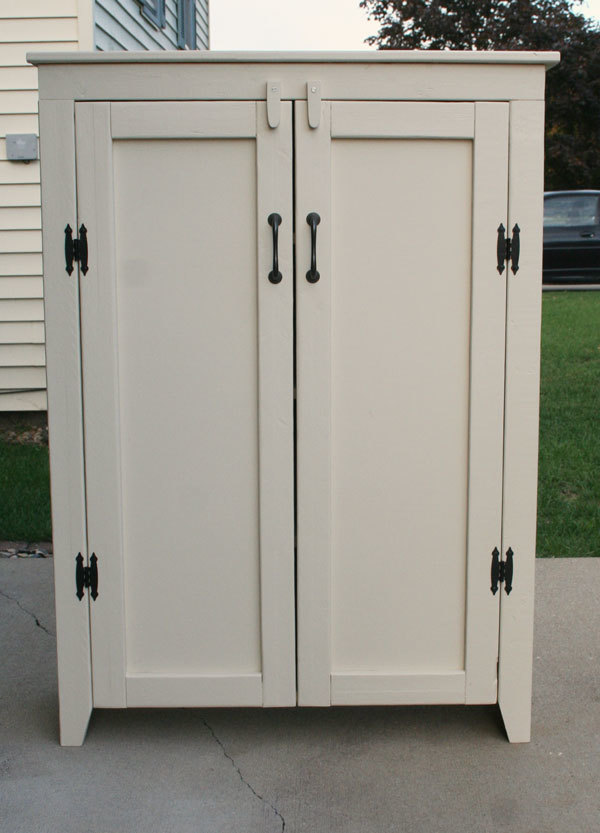
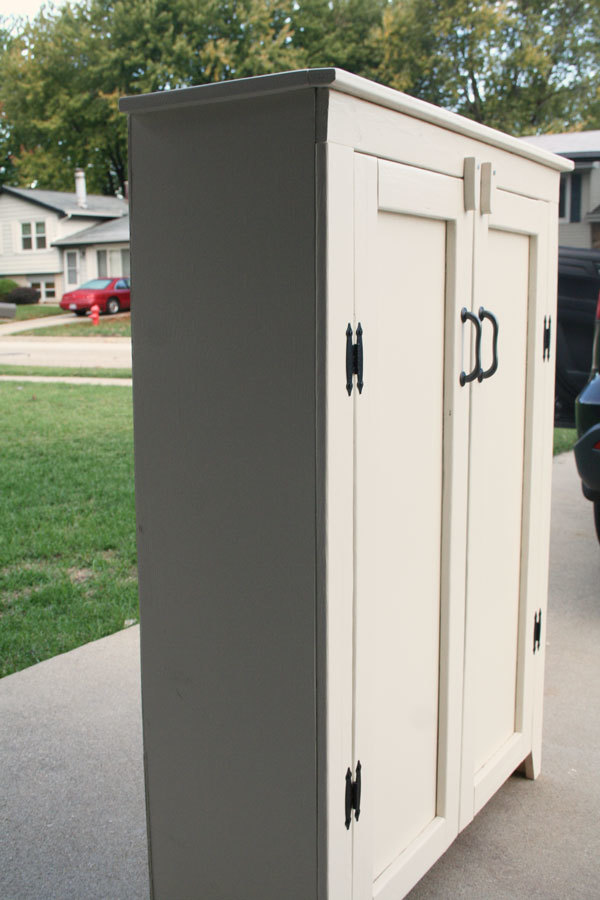
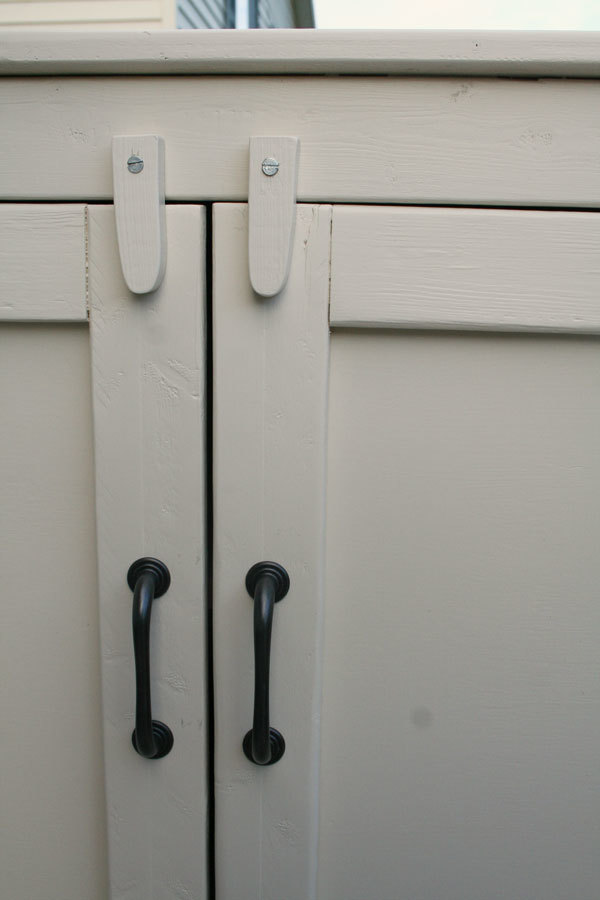
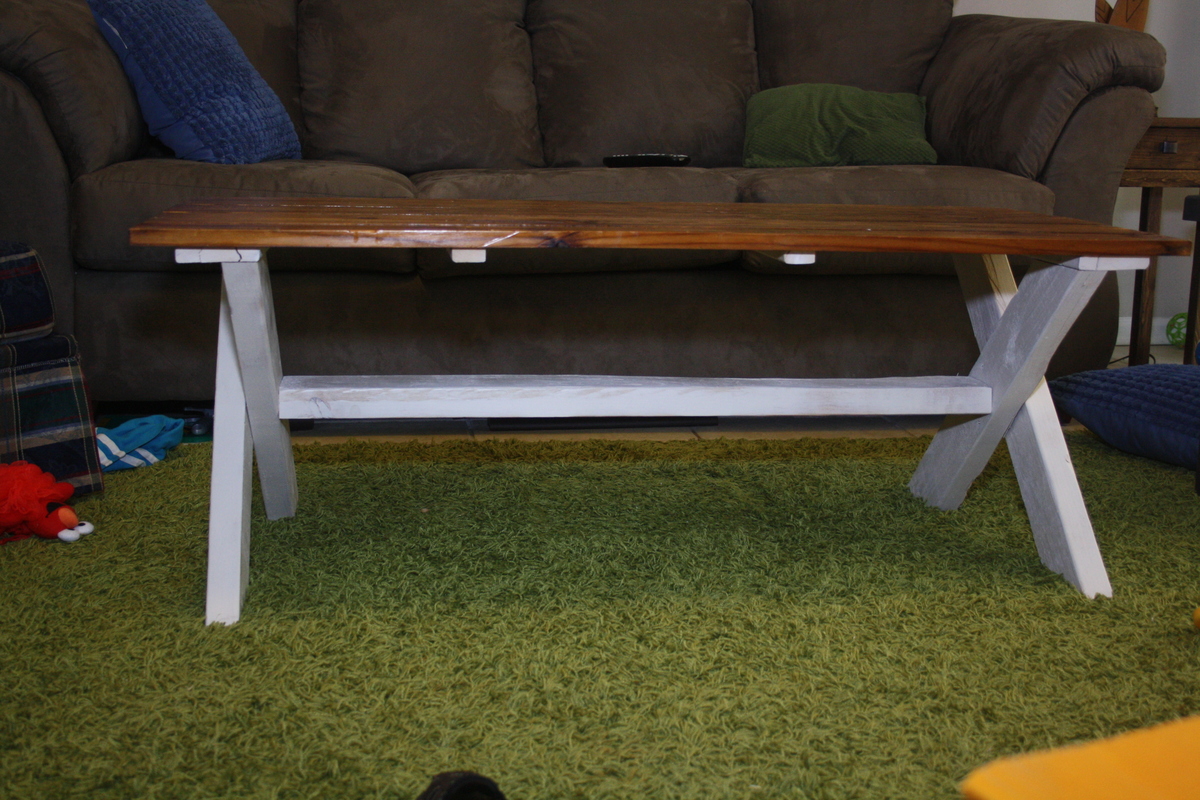
Rhyan Console Table
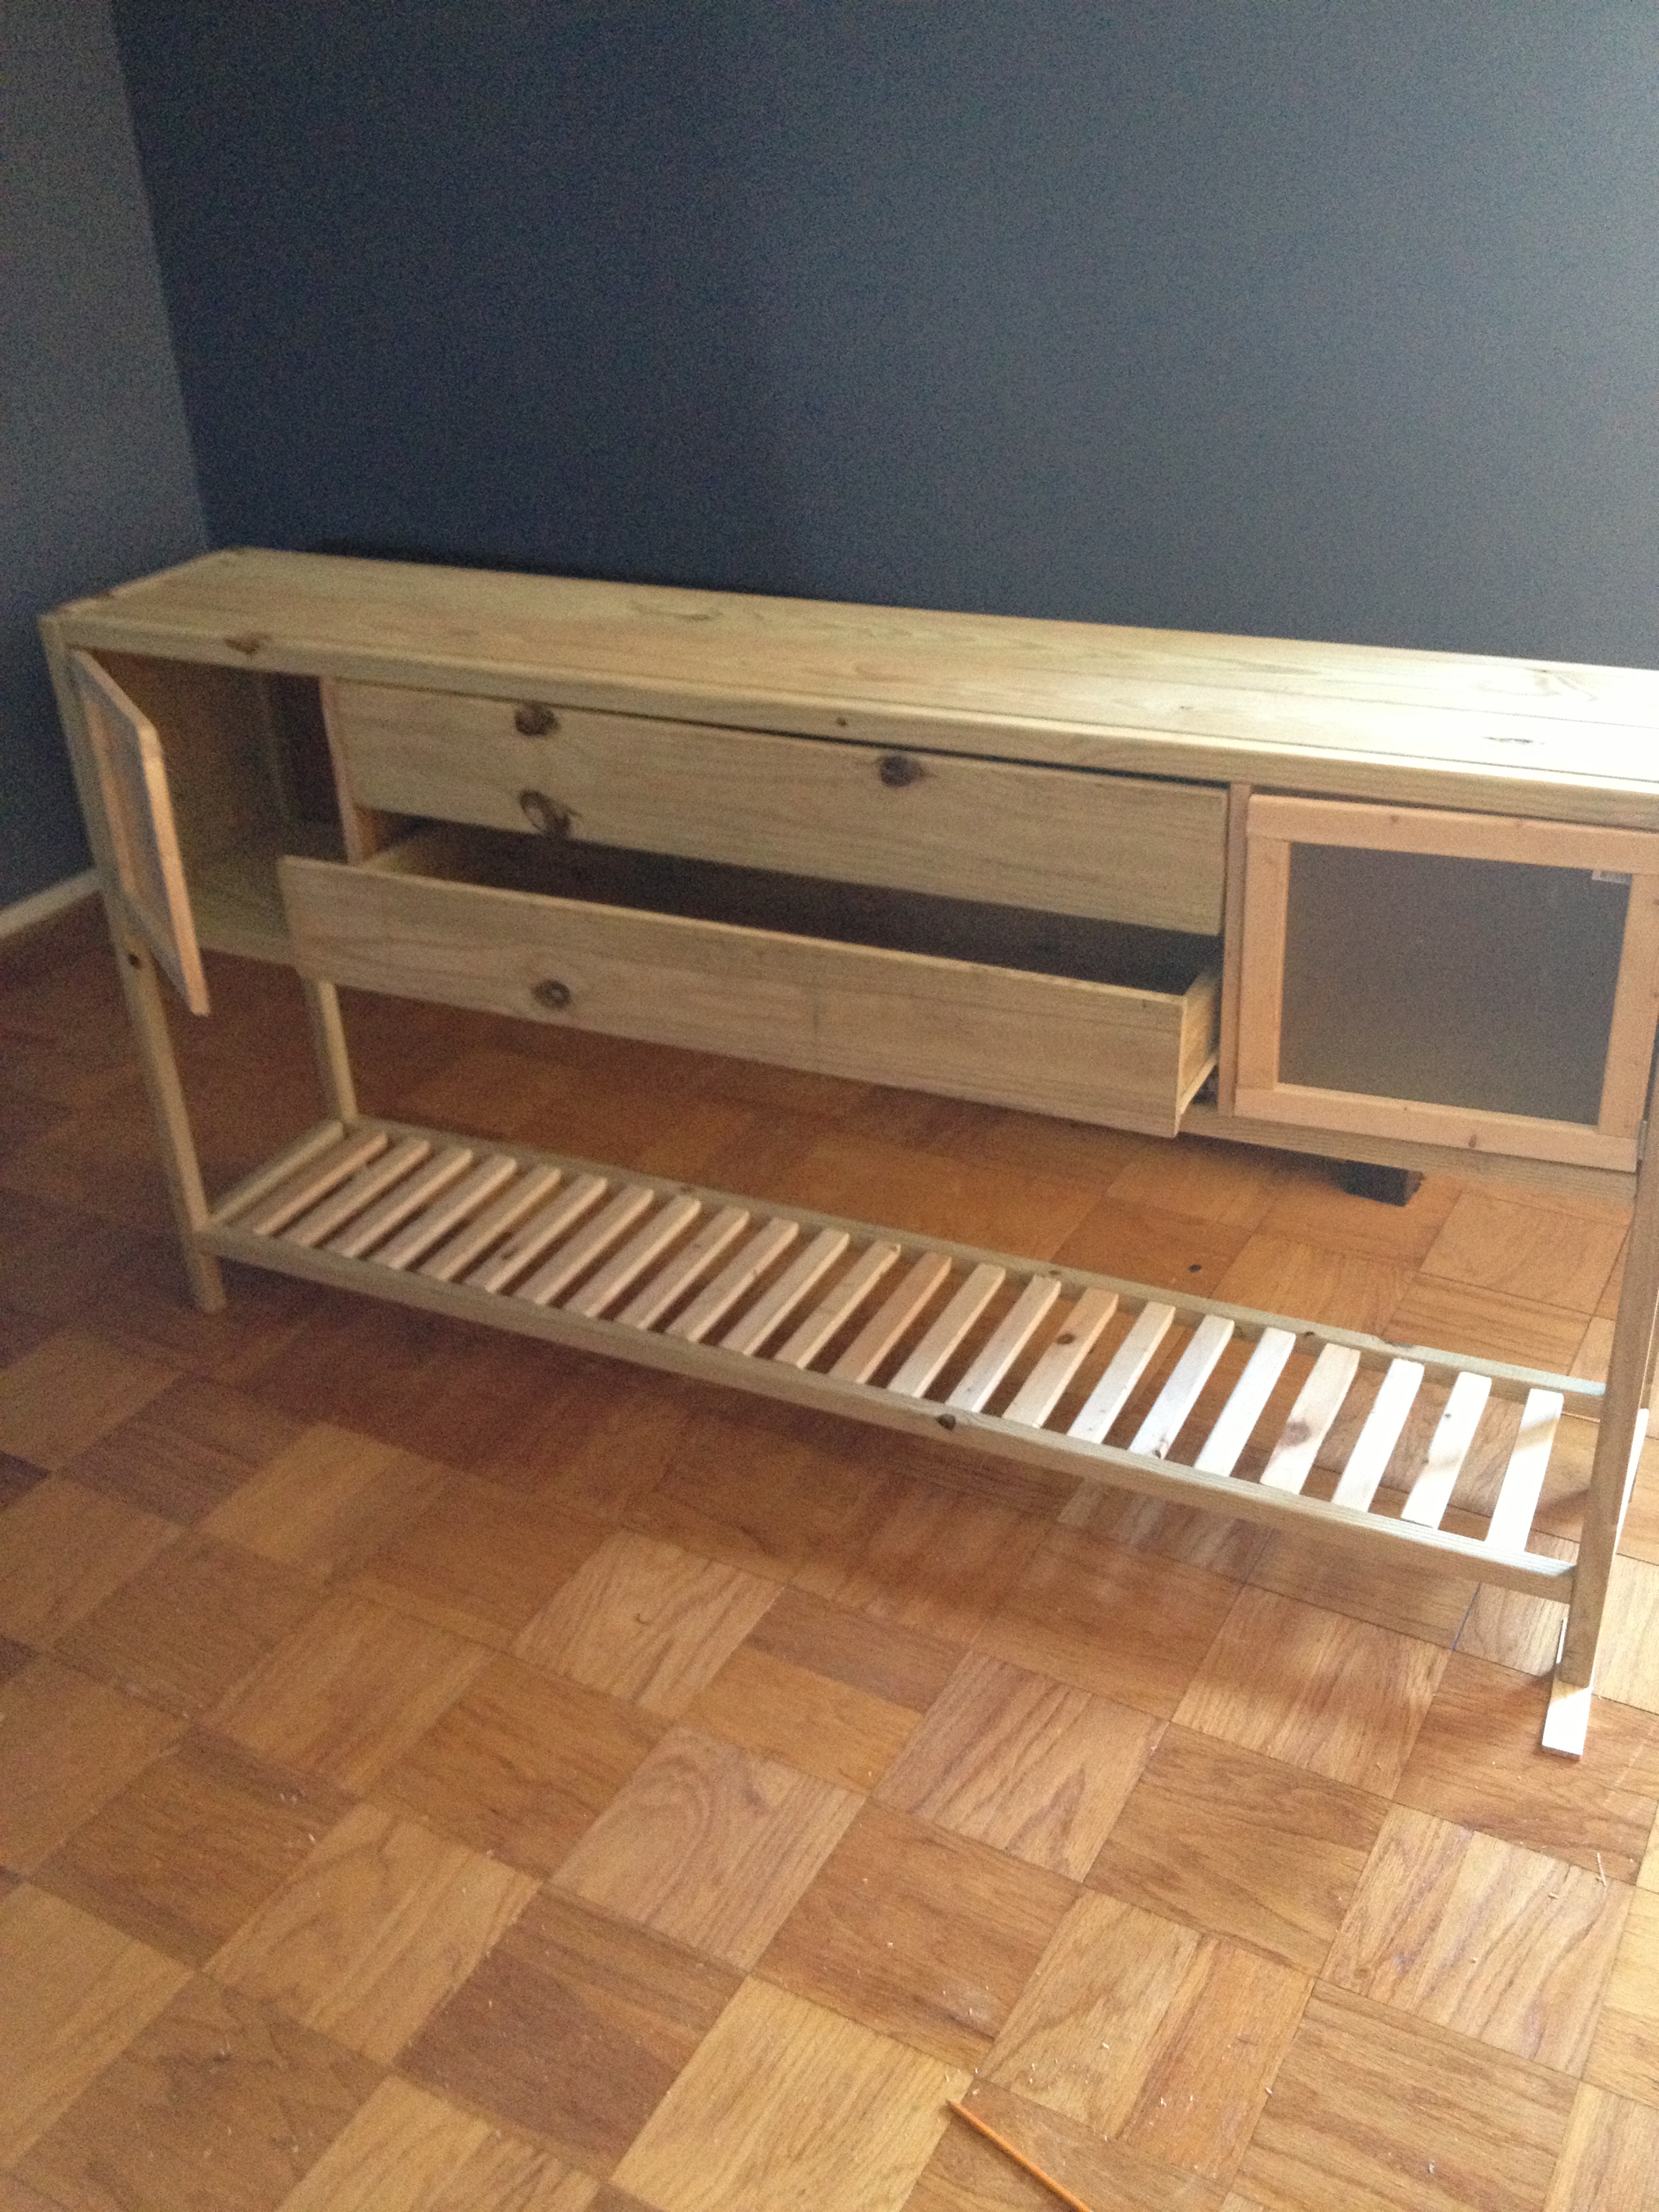
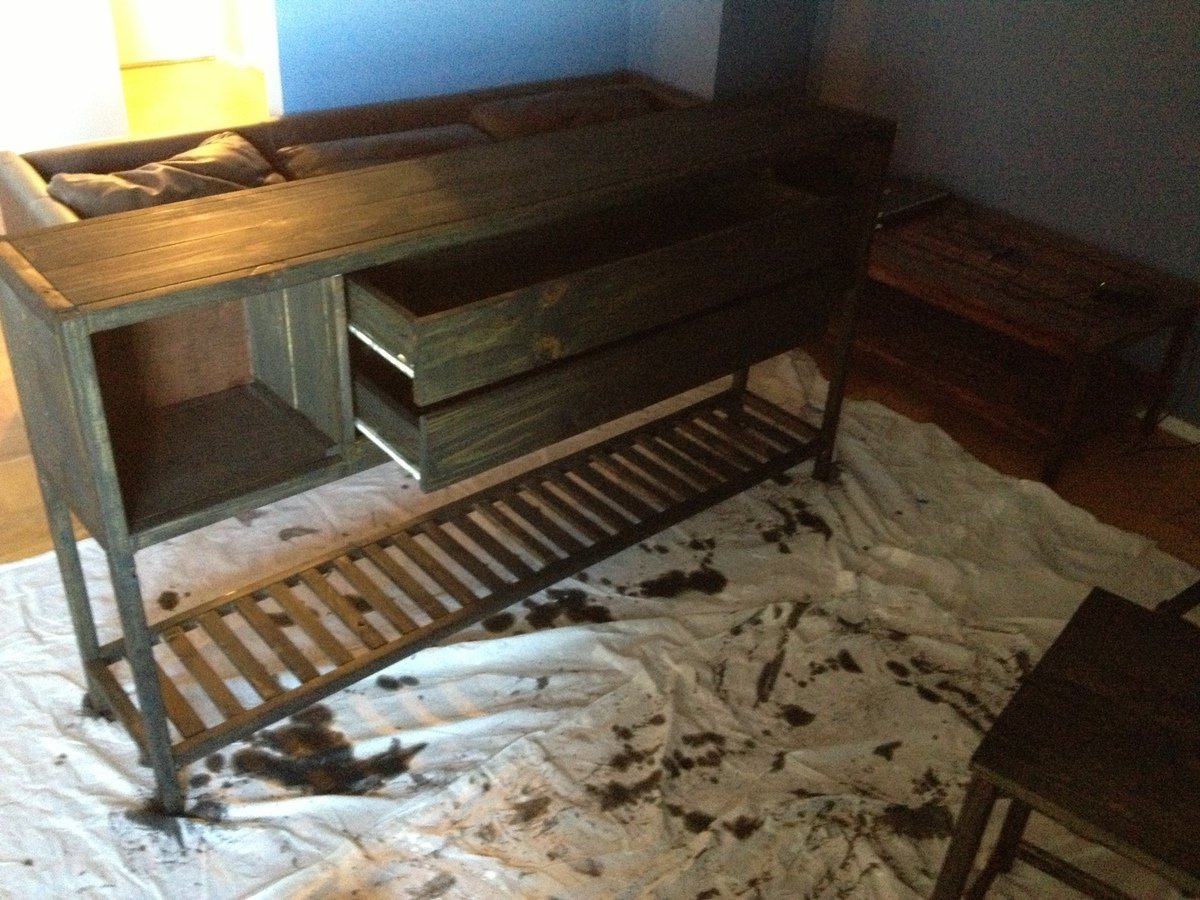
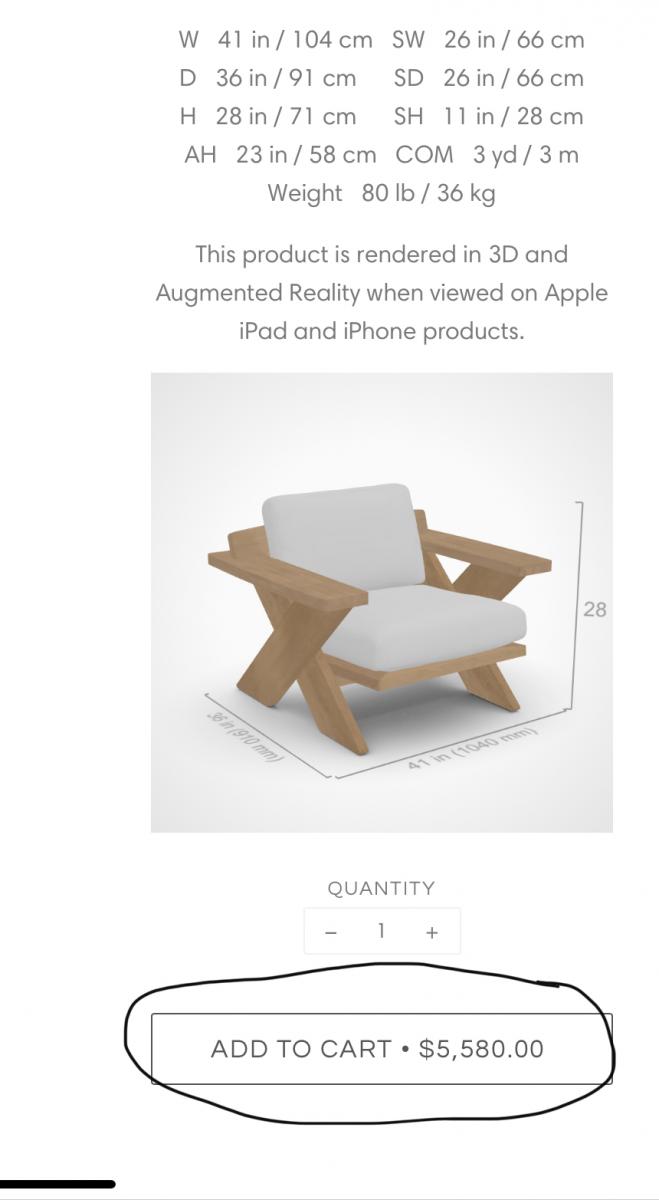
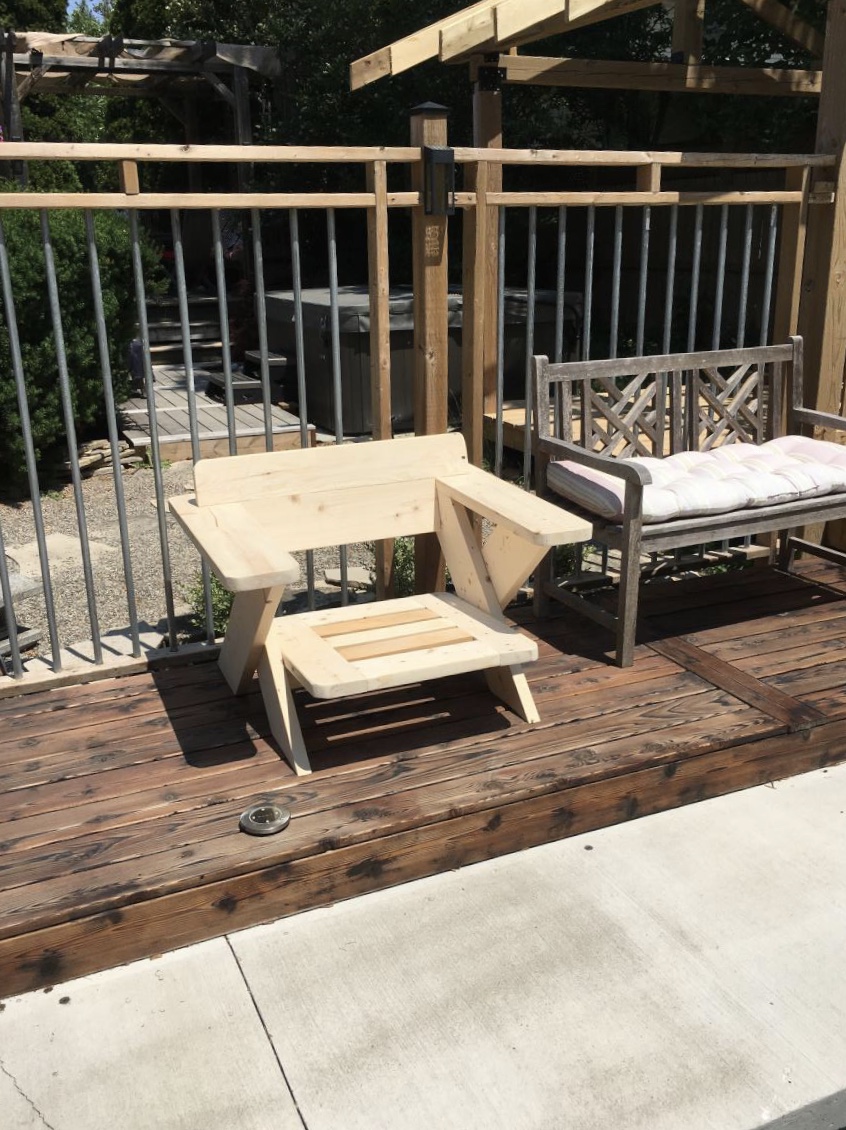
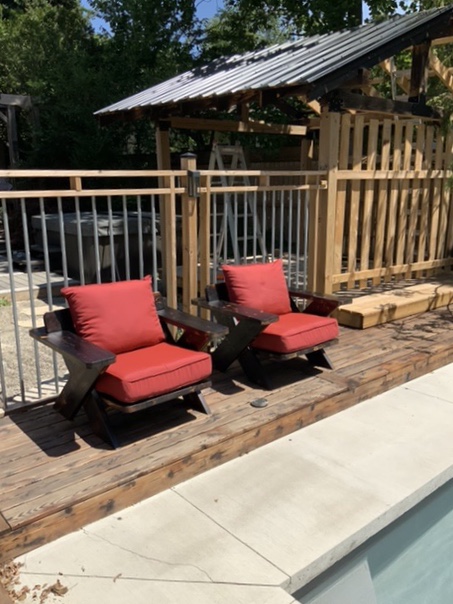
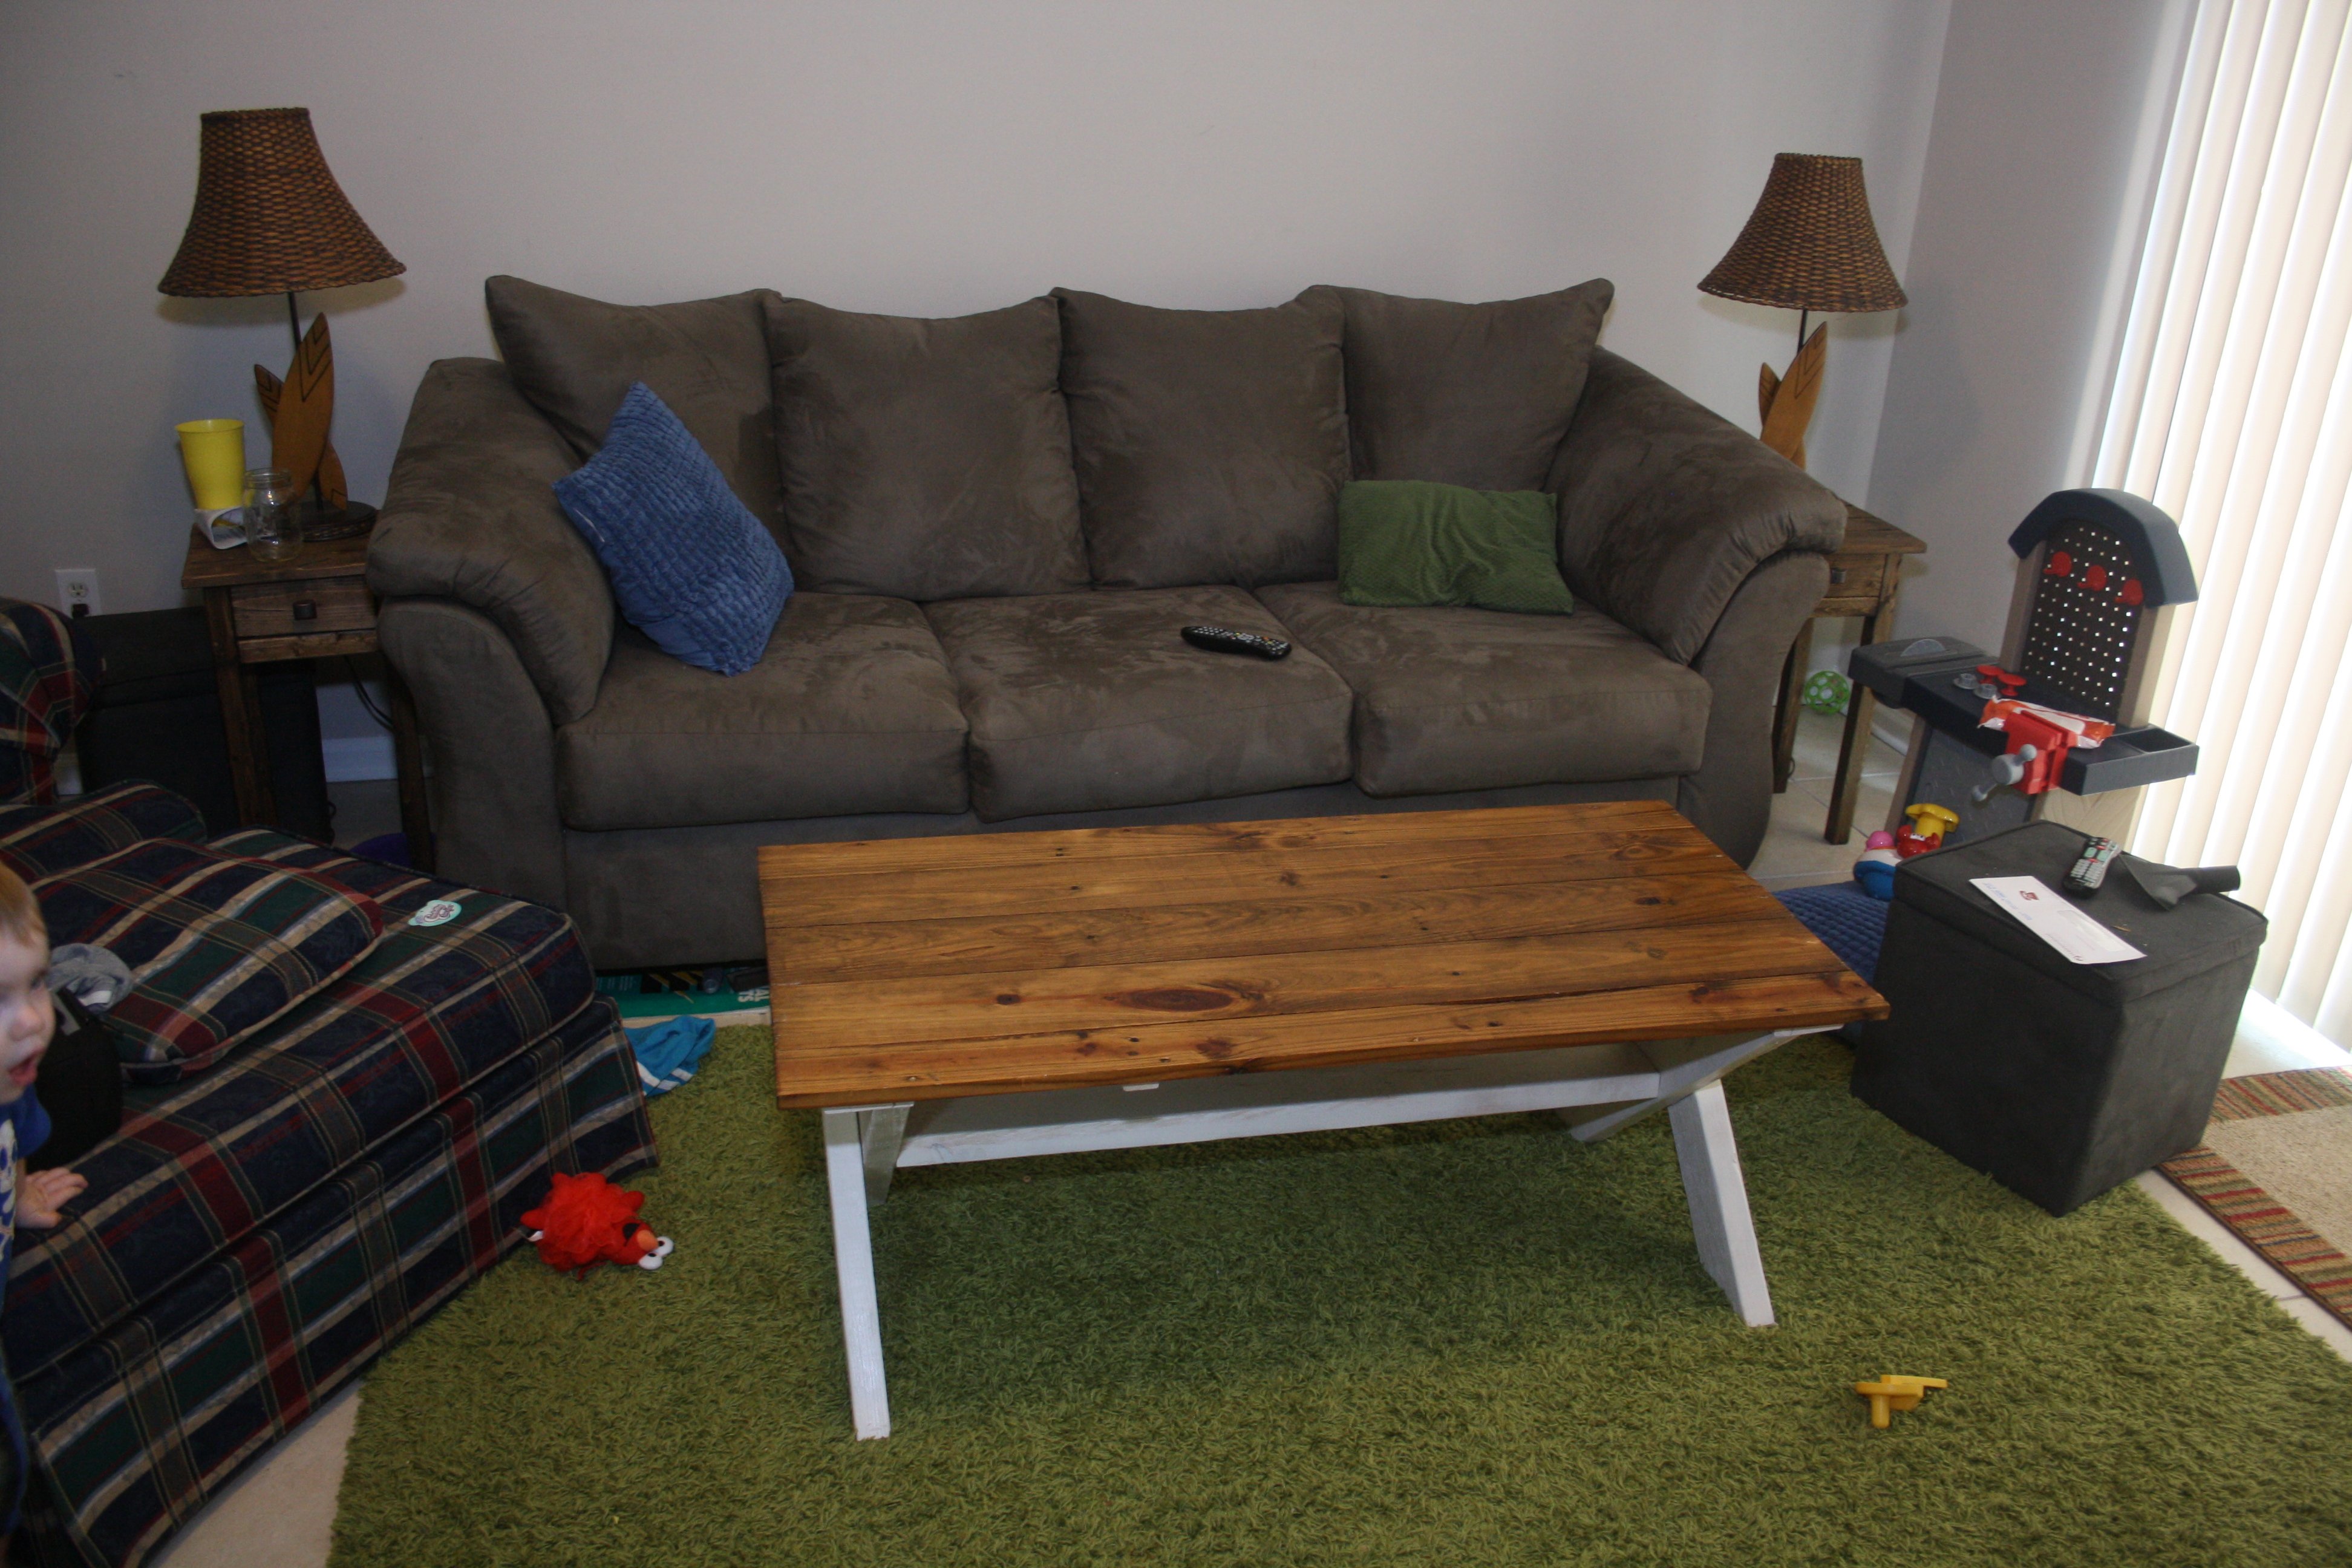
I just wanted to thank Lady Goats for the idea for this project. I got the plans from http://ana-white.com/2011/12/plans/rhyan-console-table and made some modifications. I wanted to use the table as an entry table, so I made it taller and longer to fit the space I had for it. I still have to poly it and will post more pics as it comes along.
As far as cost, I used 1x6 instead of 1x12 to reduce the cost for the project. I think at the most it came out to 90 (including stain, poly, screws, brushes).
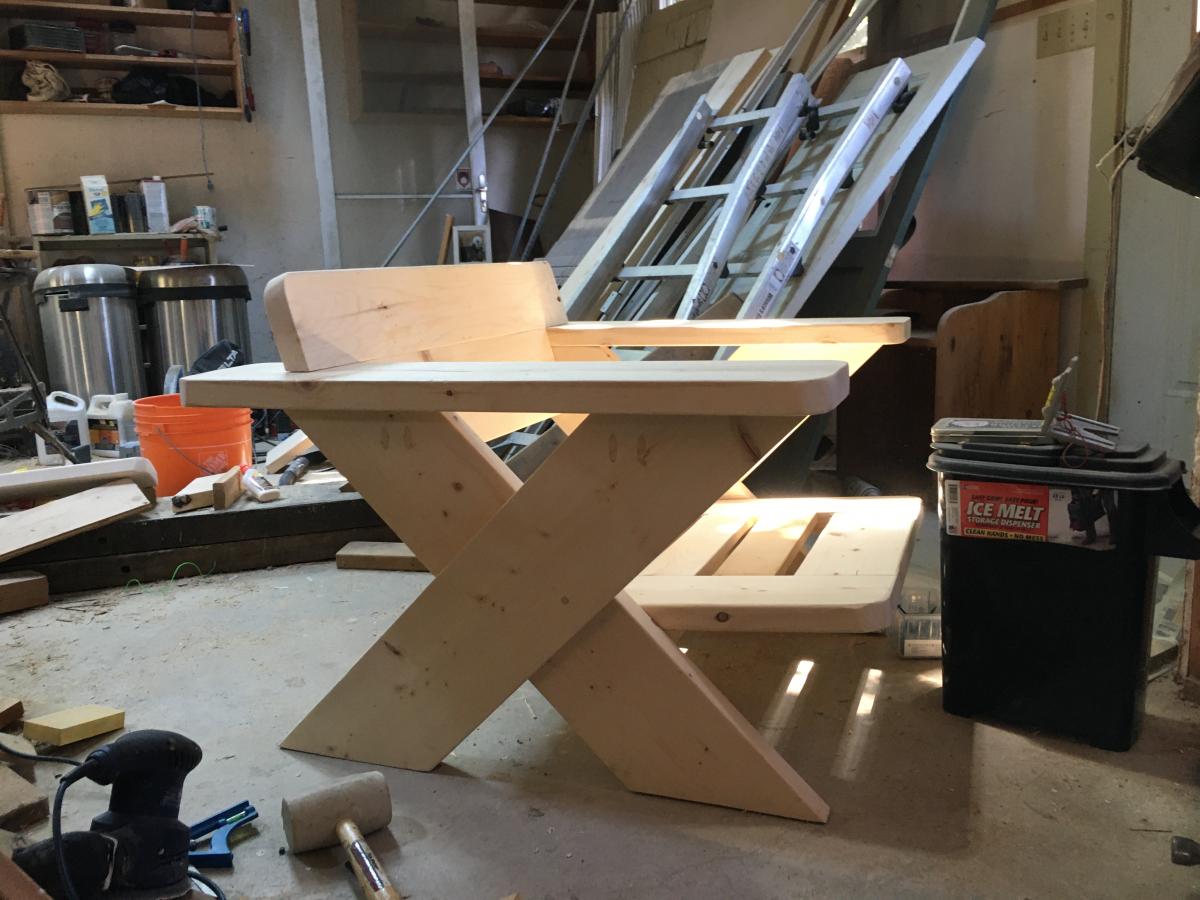
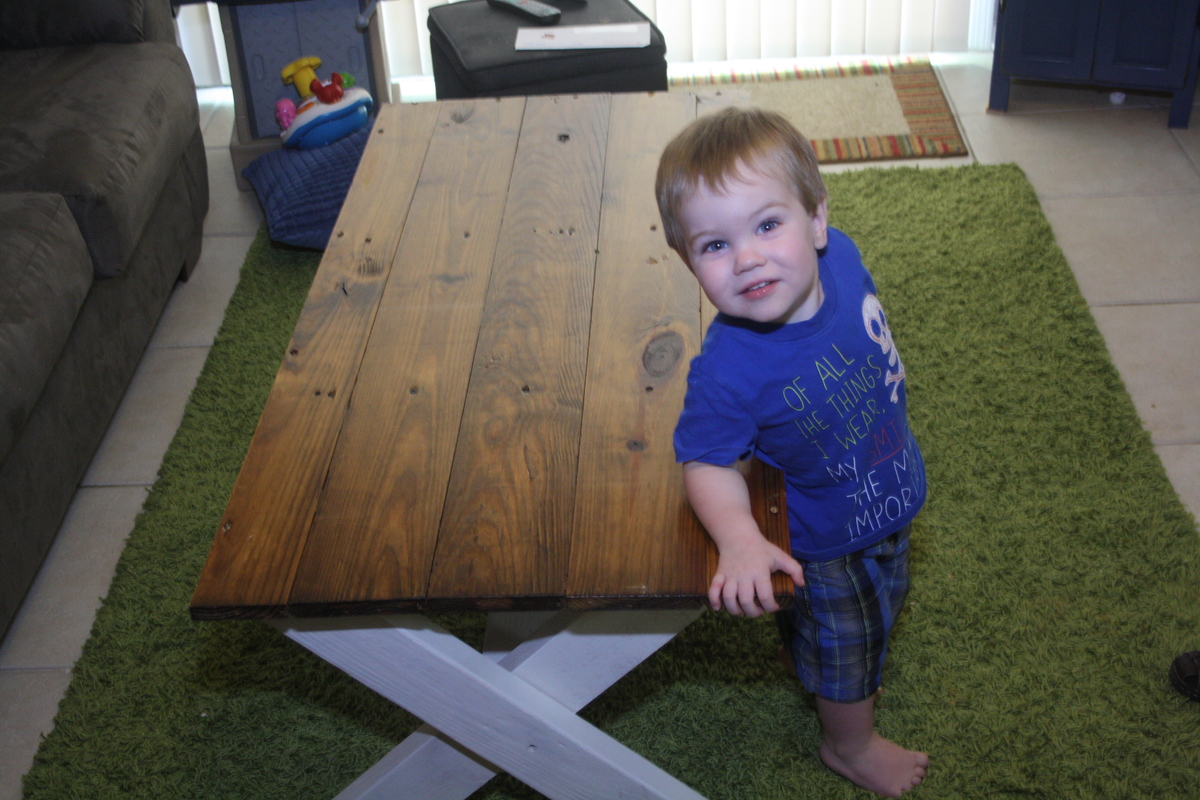
And yes, I built it in the living room of my small apartment.
Thanks again!
Built from Plan(s)
Estimated Cost
$90
Estimated Time Investment
Weekend Project (10-20 Hours)
Recommended Skill Level
Intermediate


Comments
Lady Goats
Tue, 09/25/2012 - 15:15
This looks great!
I immediately though of the rhyan console when I saw this, but wondered if there was another plan out there! Looks great (but don't thank ME! Ana did the plans!!).
Beyond impressed with the mods! And the fact that you built it in your living room!