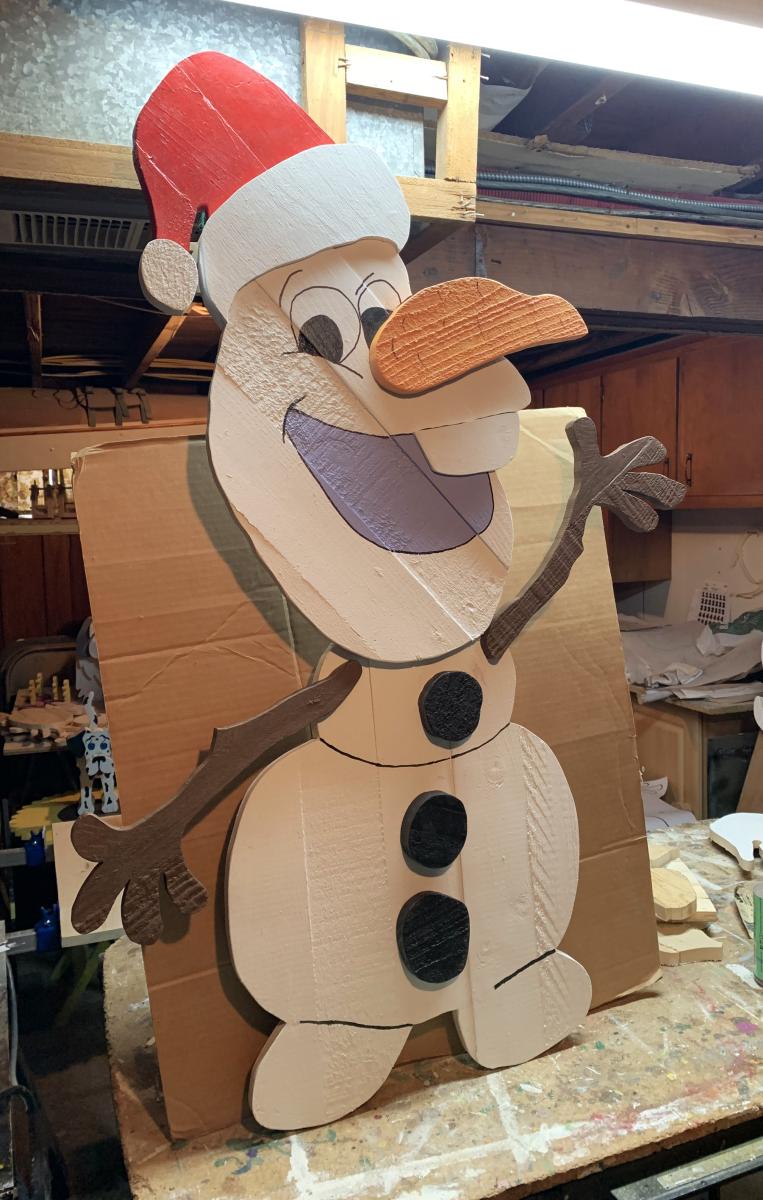
Rustic X Coffee Table
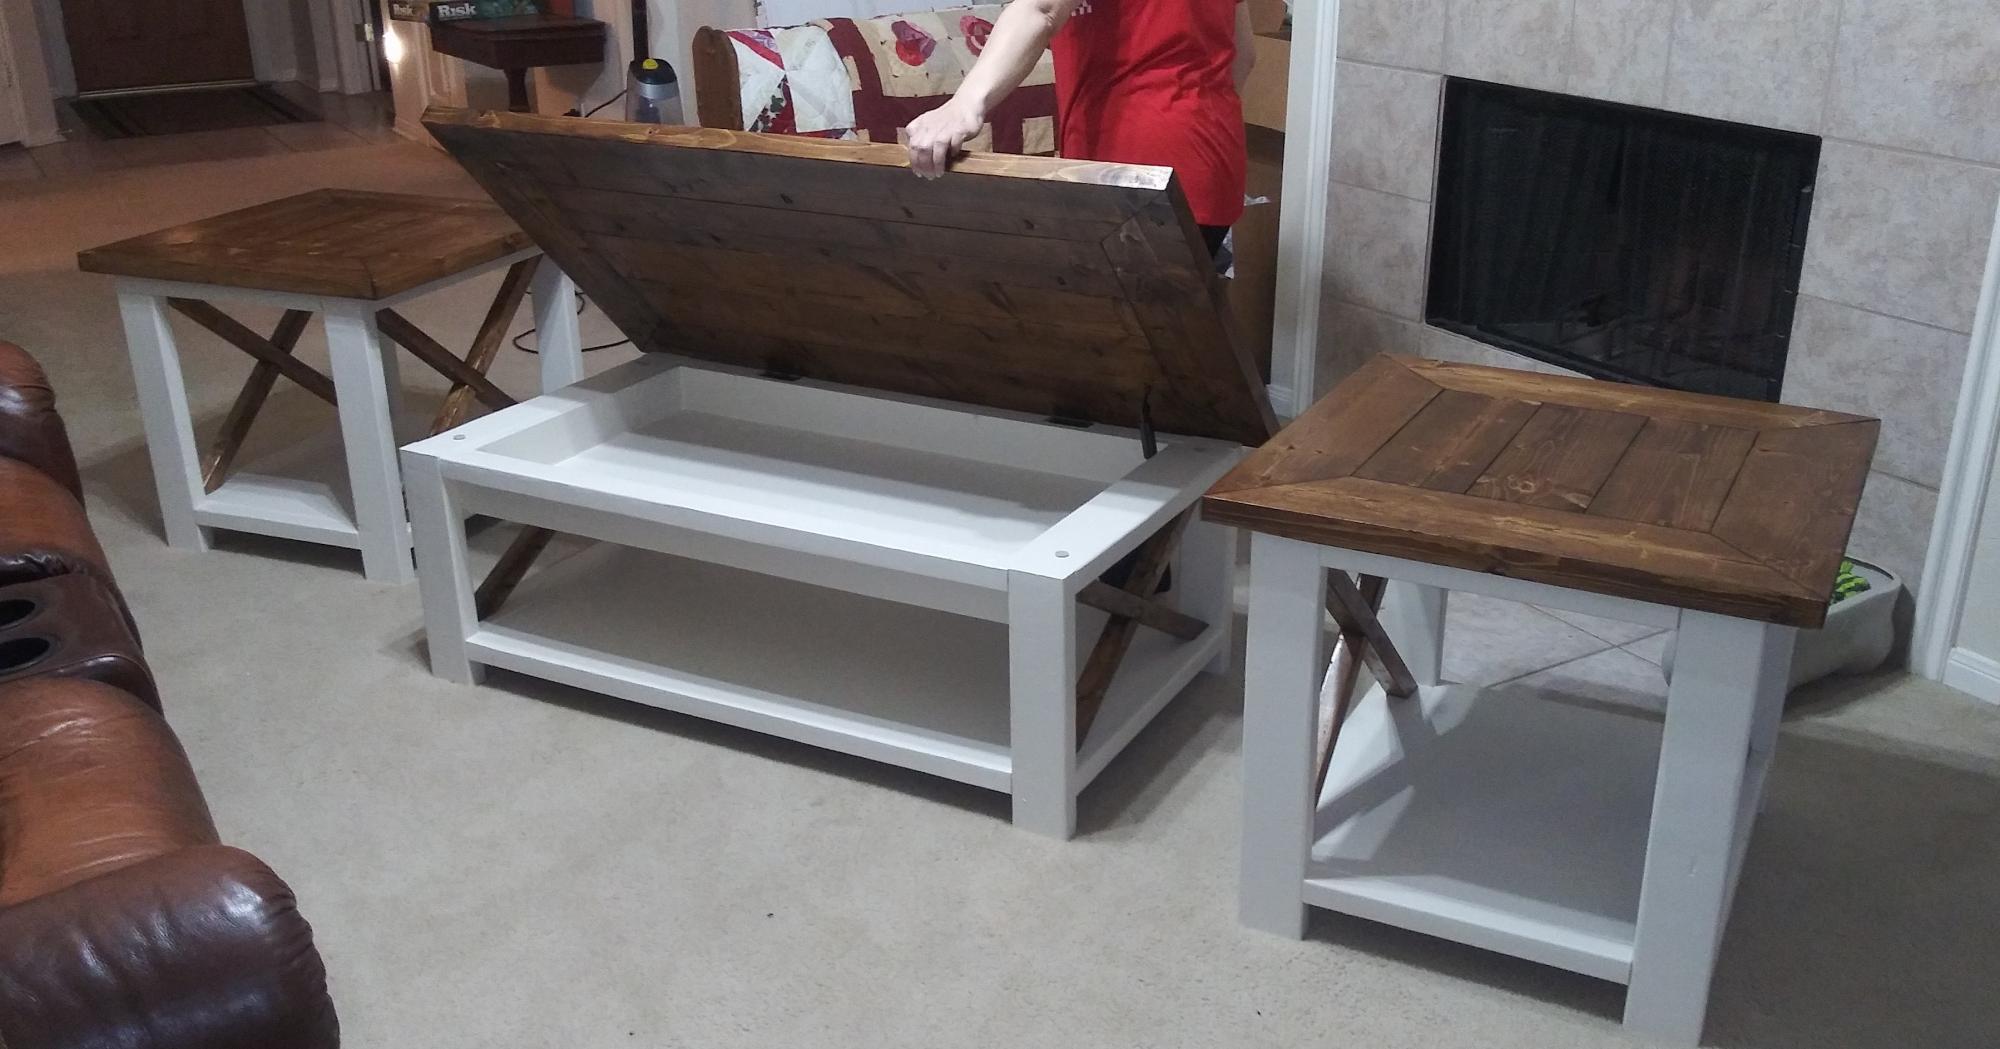
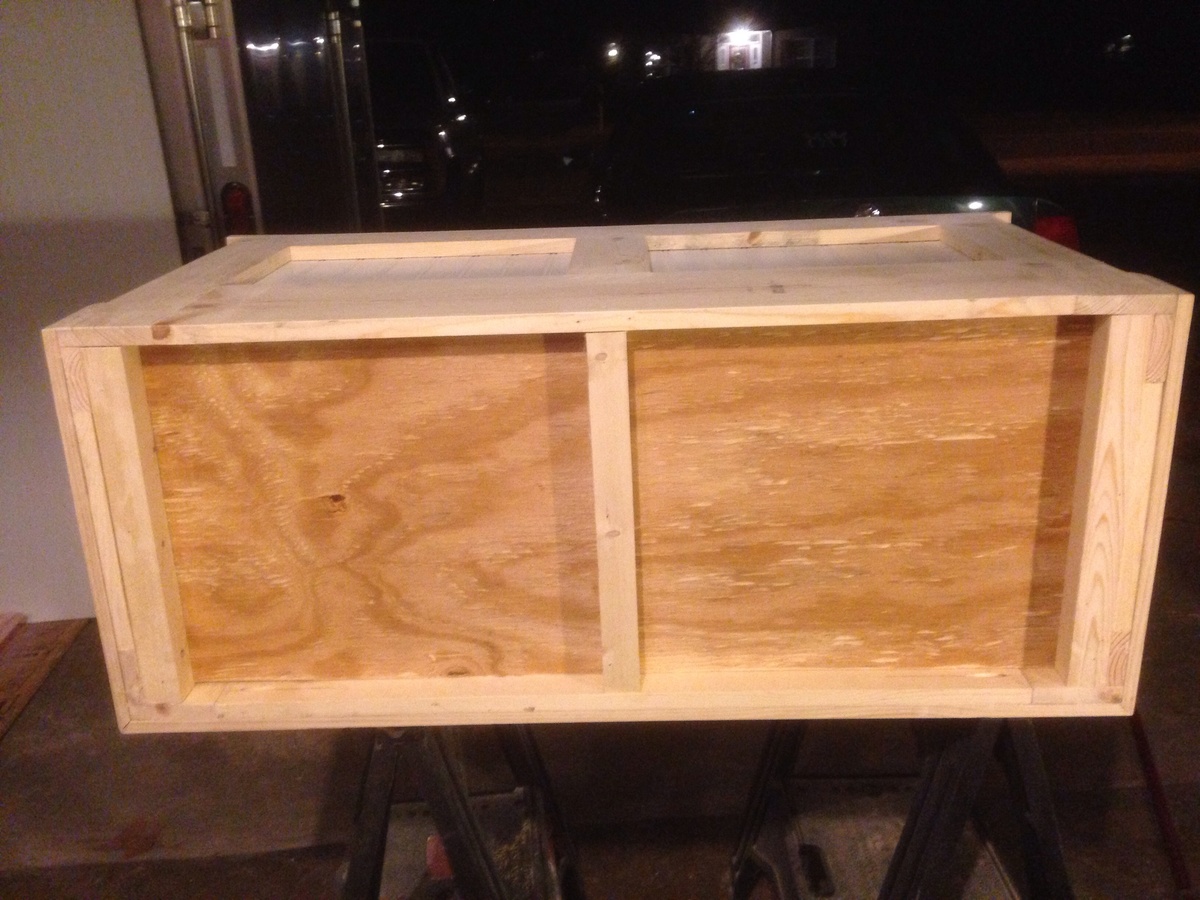
I used the Rustic X Coffee Table plan to make a living room set. I added a 3.5" deep lift top storage area out of plywood, and also used plywood on the bottom of the table as well instead of 1" by 12".
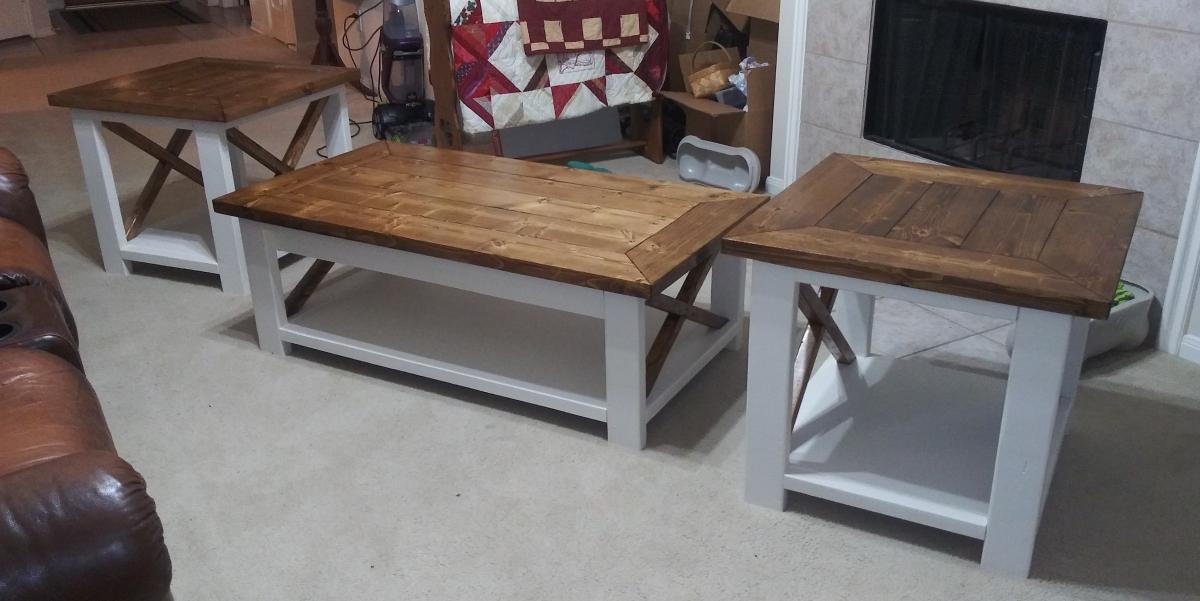

I used the Rustic X Coffee Table plan to make a living room set. I added a 3.5" deep lift top storage area out of plywood, and also used plywood on the bottom of the table as well instead of 1" by 12".

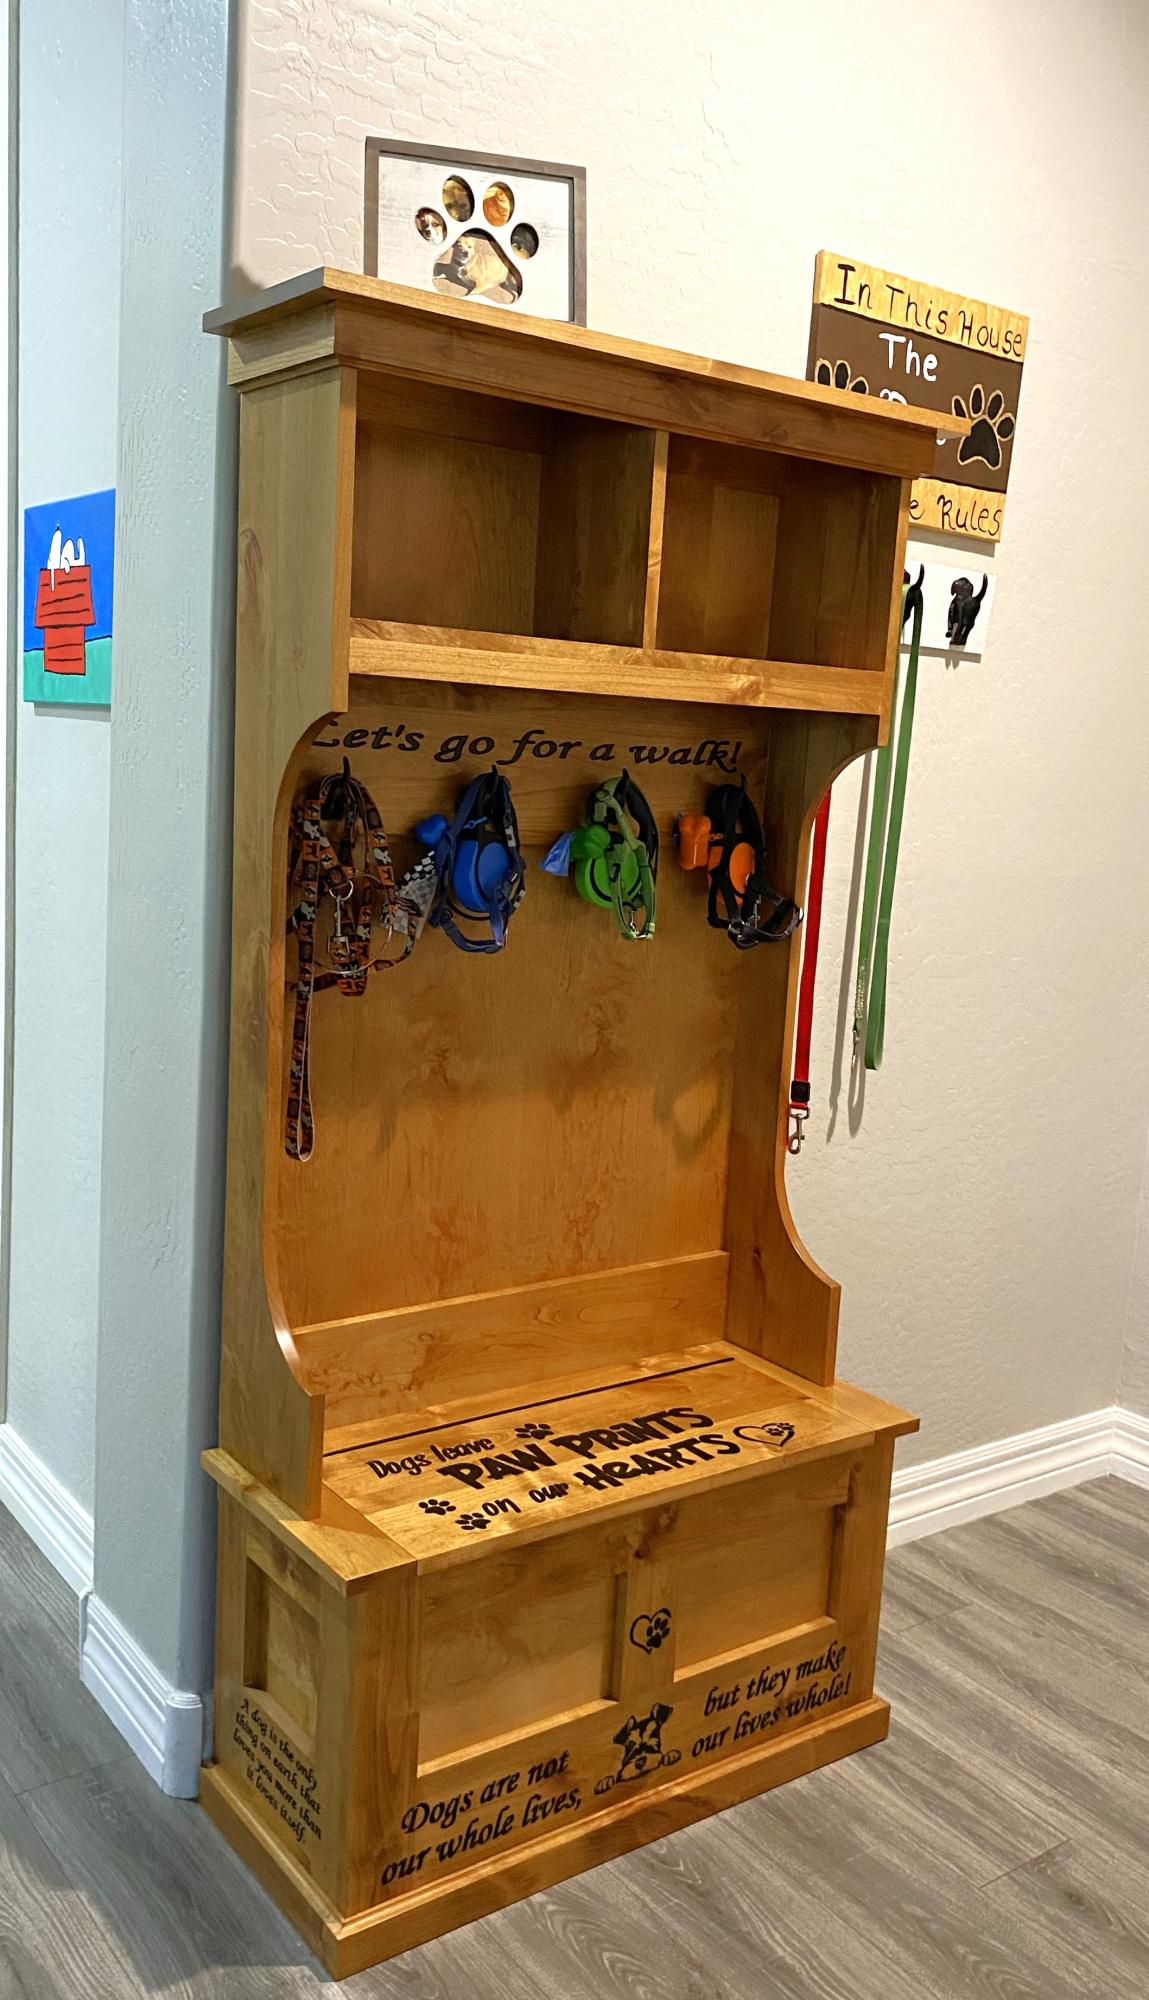
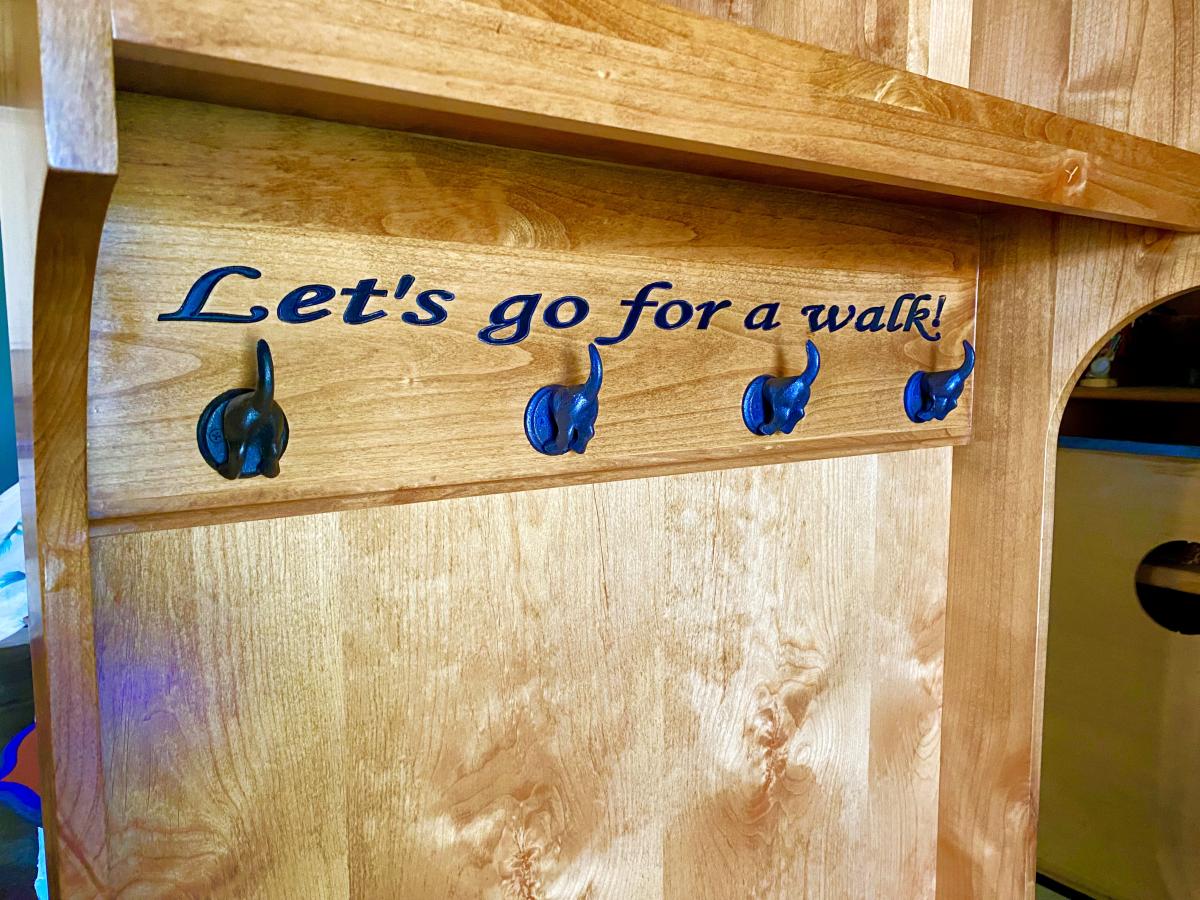
I made this for some friends who are fellow dog lovers. I used the Mimi’s hall tee and storage bench plans. They were very happy with it. This is the second time I’ve used these plans. It’s a very fun project to build.
M. Wold
Sat, 11/18/2023 - 12:48
Love this, such a great storage solution for a pet walking station!
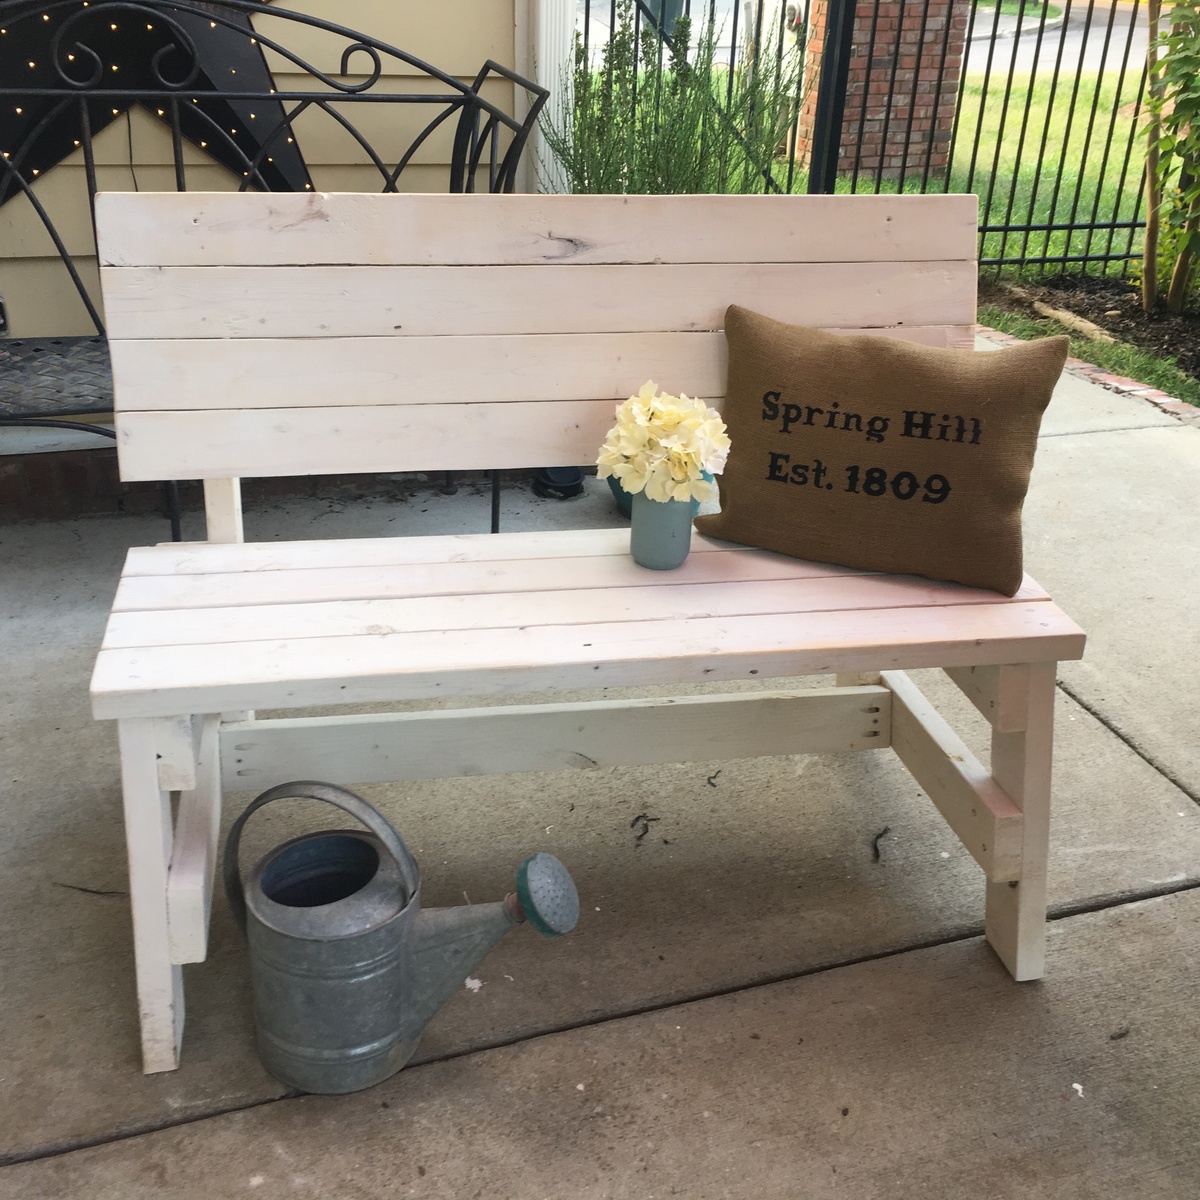
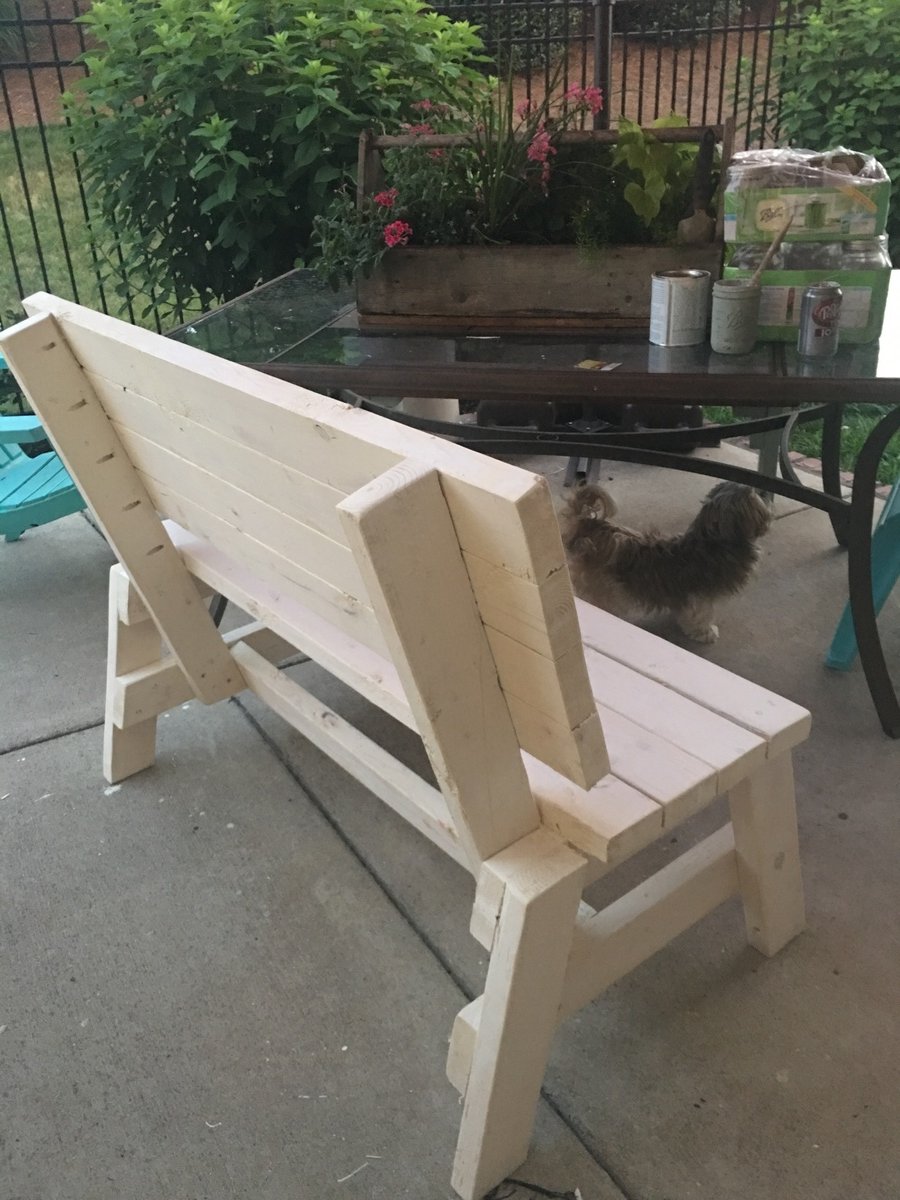
A friend who has a photog service on the side said she needed a bench for group photos. Selected this modern farm bench and it has been a great hit. I did not make any changes in the design. Took a day and about $20 in lumber. Sorry for the photo clarity or lack thereof, I have several orders from her family members but I need to get on with my projects.
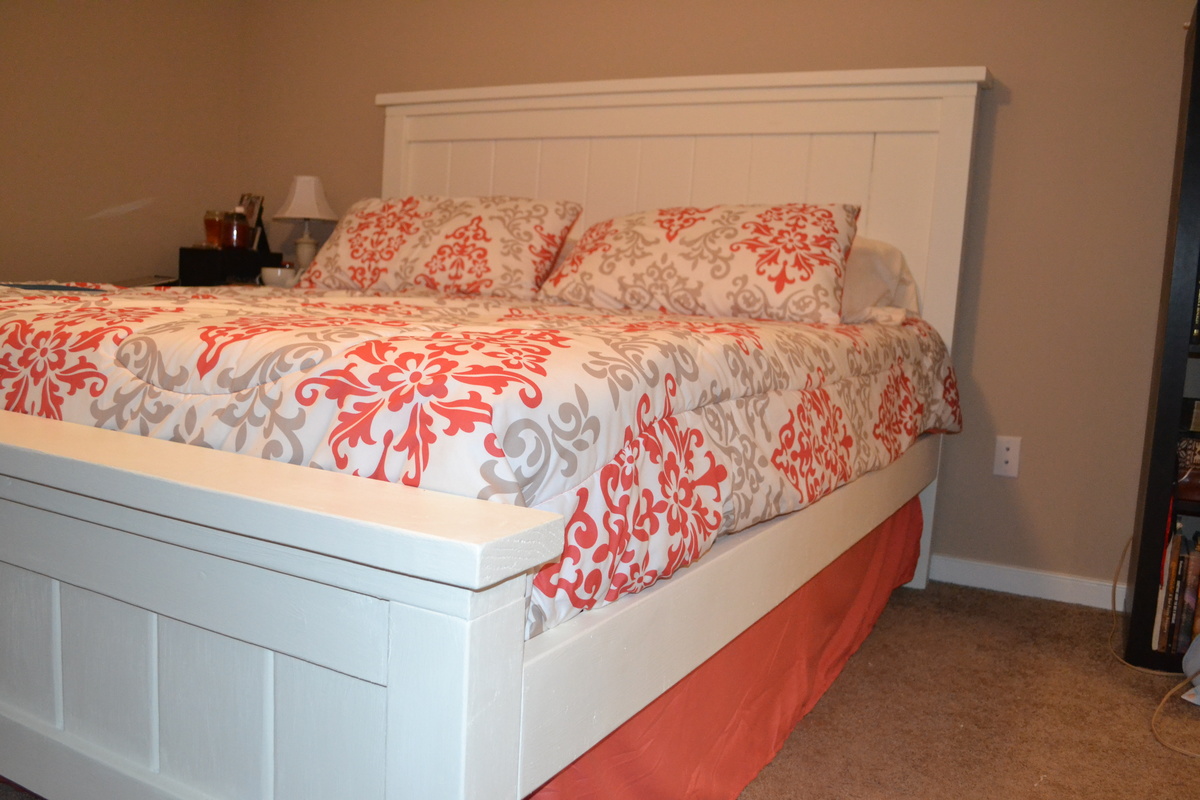
This is my first project and I've spent a couple of months preparing for it. My wife loved the plans for this bed and I loved the challenge. I reviewed the plans for both the king and queen size beds and read through all of the comments before starting. The comments were especially helpful, so thanks to everyone for contributing. I took my time with project hoping to minimize beginner mistakes. We recently upgraded to a king sized mattress and already had a bed frame (we highly recommend this one)
So I adjusted the plans for making just the headboard and footboard along with the runners. I omitted the 1x3 boards to account for orienting our king bed so that it is 76" wide and 80" long. Initially, I made the mistake of thinking that 1x6 boards would be adequate for runners. But that wouldn't withstand the constant onslaught of our kids climbing into our bed, so I switched to 2x6 boards and it's much sturdier. I cut the runners 3" longer than the bed frame to allow for room for the bedding and to account for the 1" overlap from the 2x6 cap on the footboard. L brackets were perfect for attaching them to the headboard and footboard. Now that this is under my belt I'm looking forward to my next project.
This is an adapted plan from the:
Chunky X Base Table
http://www.ana-white.com/2016/02/free_plans/chunky-x-base-table-featuri…
I made it counter height, made it skinnier at 27" depth and really long at 72" long.
Truss bench made from reclaimed 2x4's
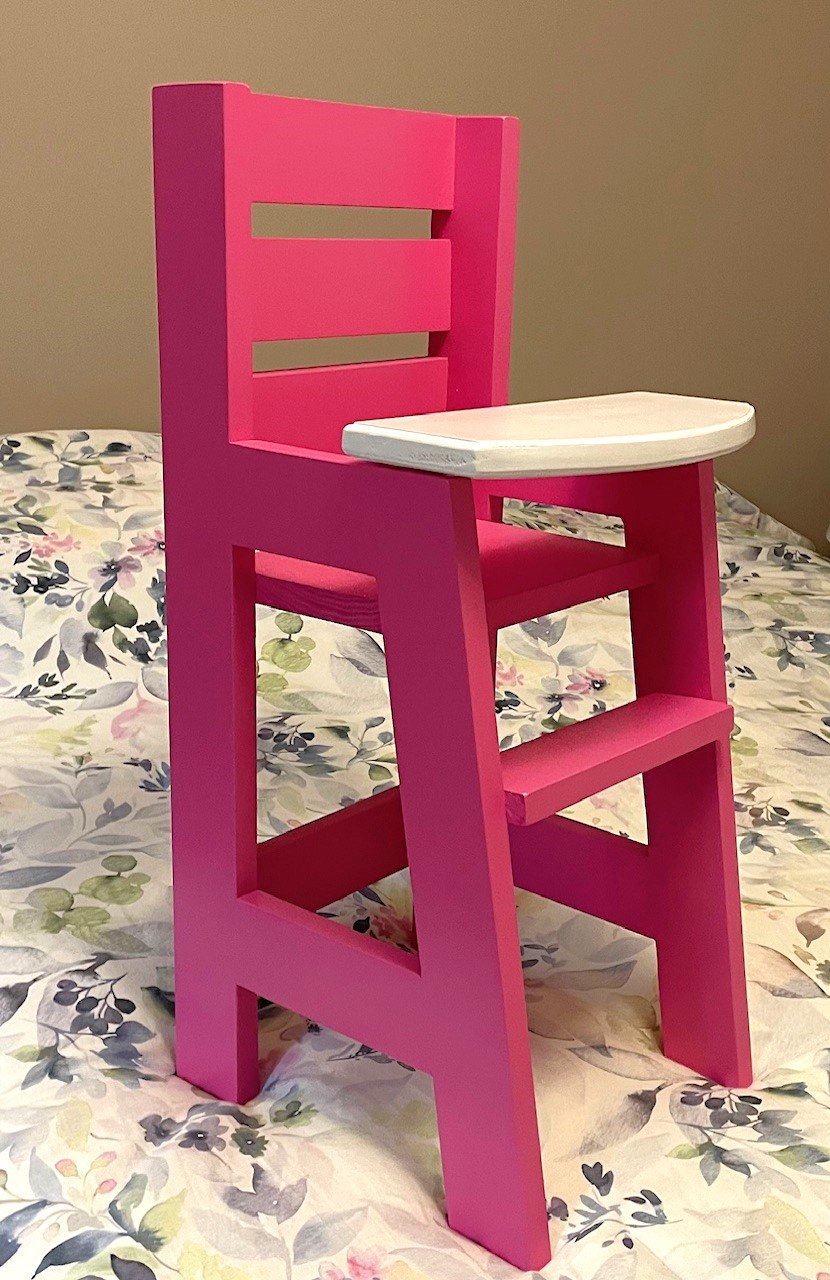
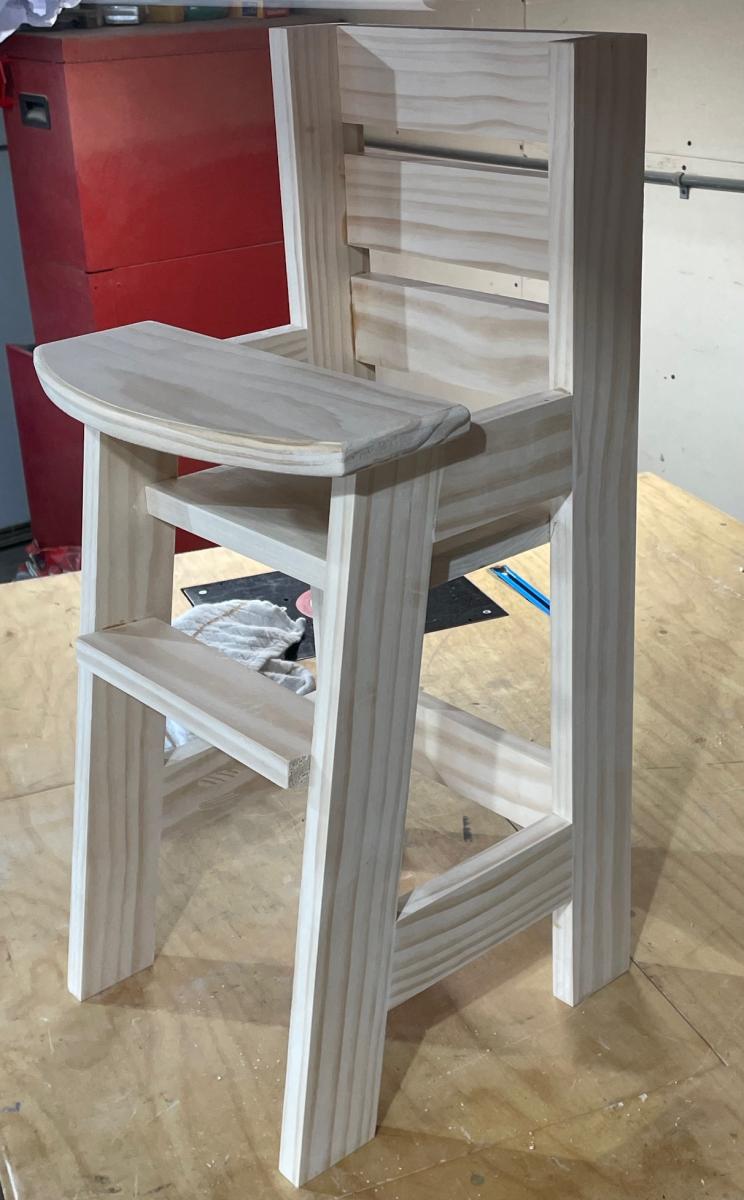
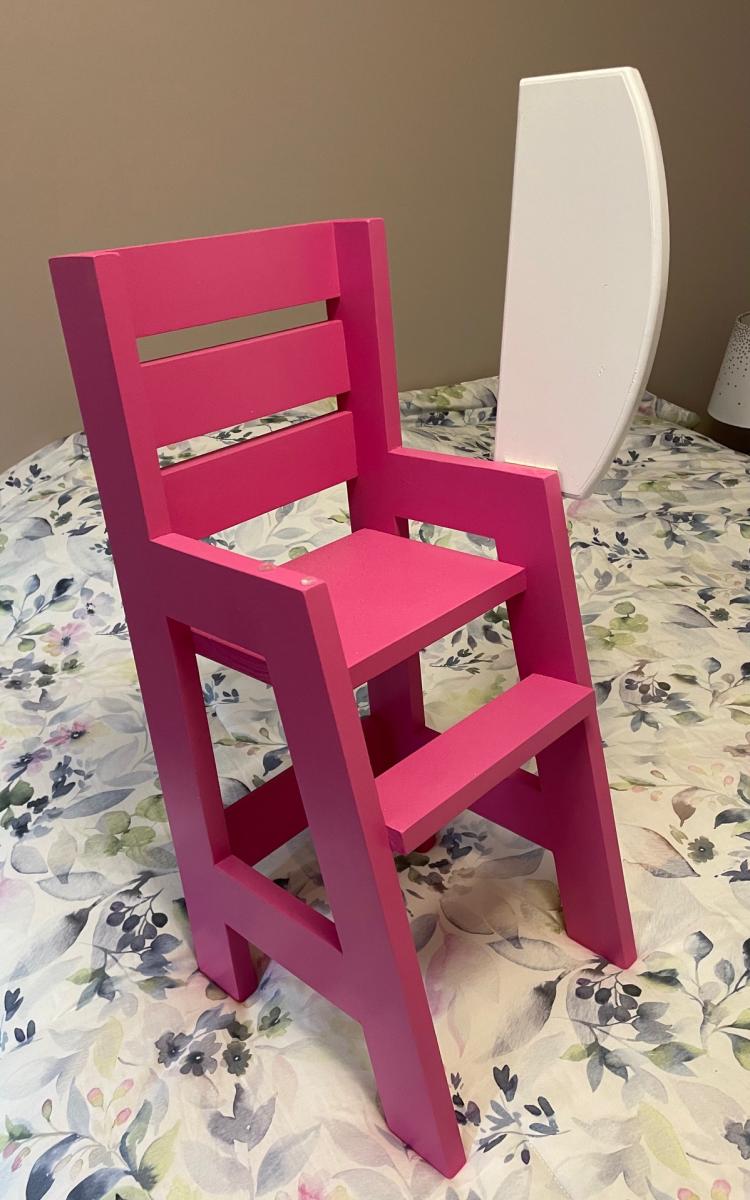
Used Ana's doll high chair plans. Modified the tray with a curved hinged tray. Painted in her favorited color!
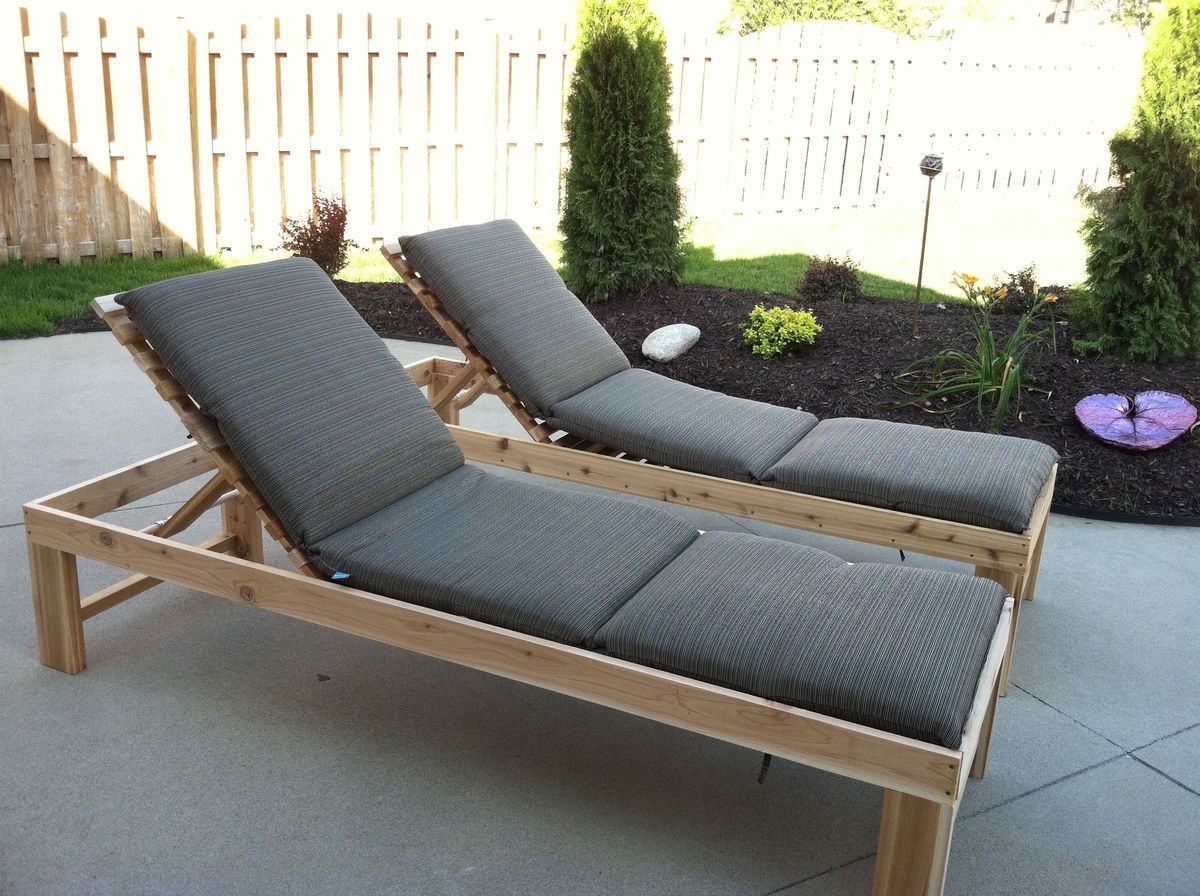
Cedar wood Chaise Lounge Set
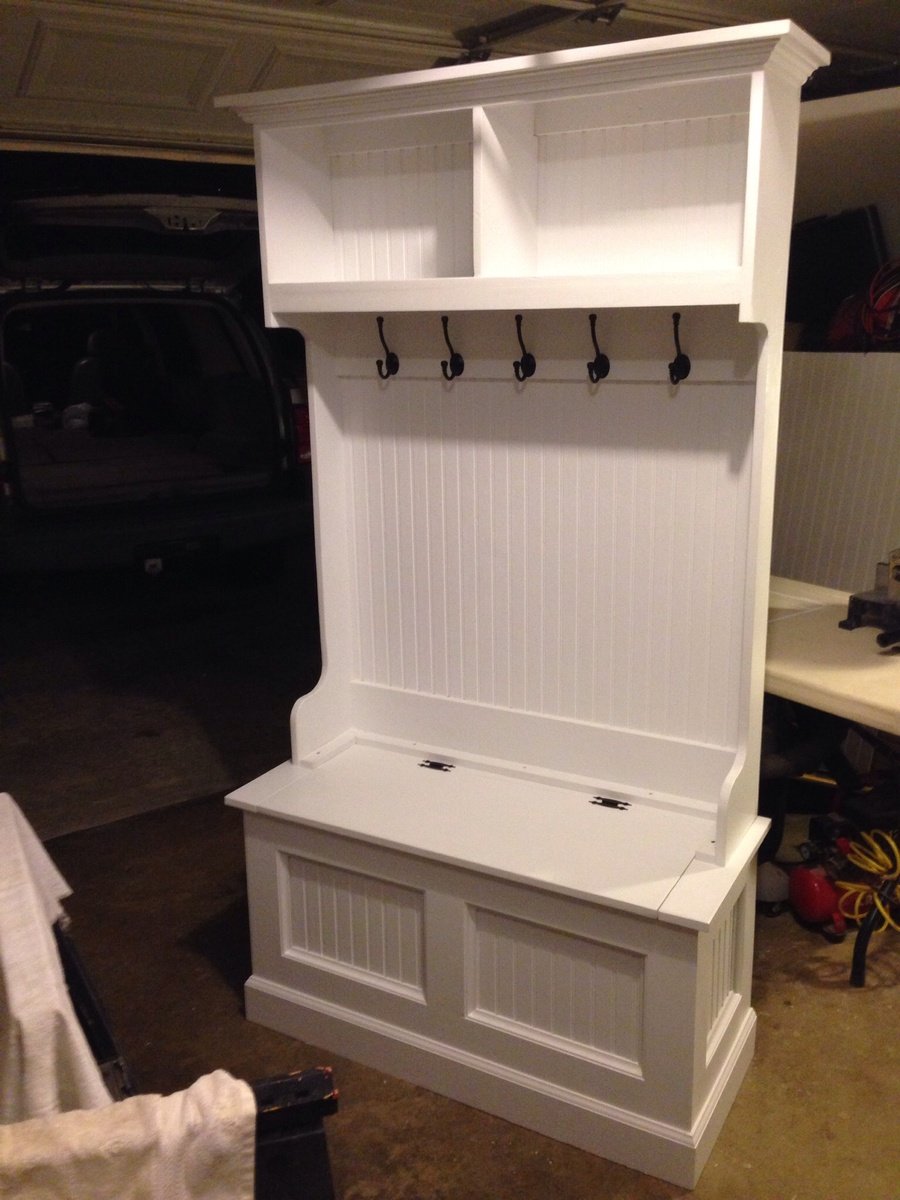
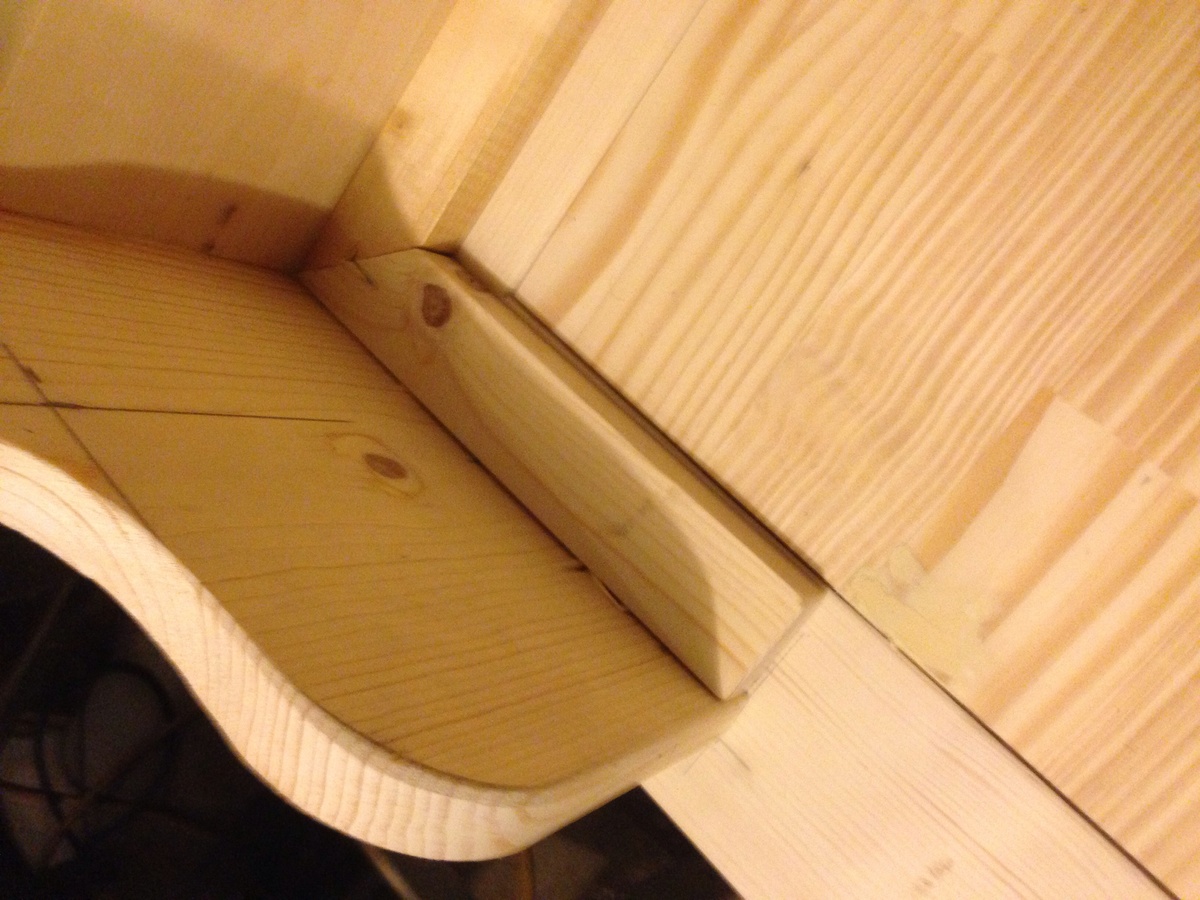
This was my first attempt at building actual furniture. It went pretty well I think. I followed the plan pretty much. I made the bench longer and taller. I also added a few inches to the height if the hutch.
A couple other changes I made that I thought it needed was 2x2 bracing on the bottom if the bench for stability. I also added a band of 1x2 to the bottom of the hutch so I could screw the hutch to the bench without having to go inside of the bench and try to line it up .
I then added another board to the top band of the hutch, because with the one small board there it want wide enough to mount a decent size hook to.
That's pretty much it. If you have any questions, let me know.
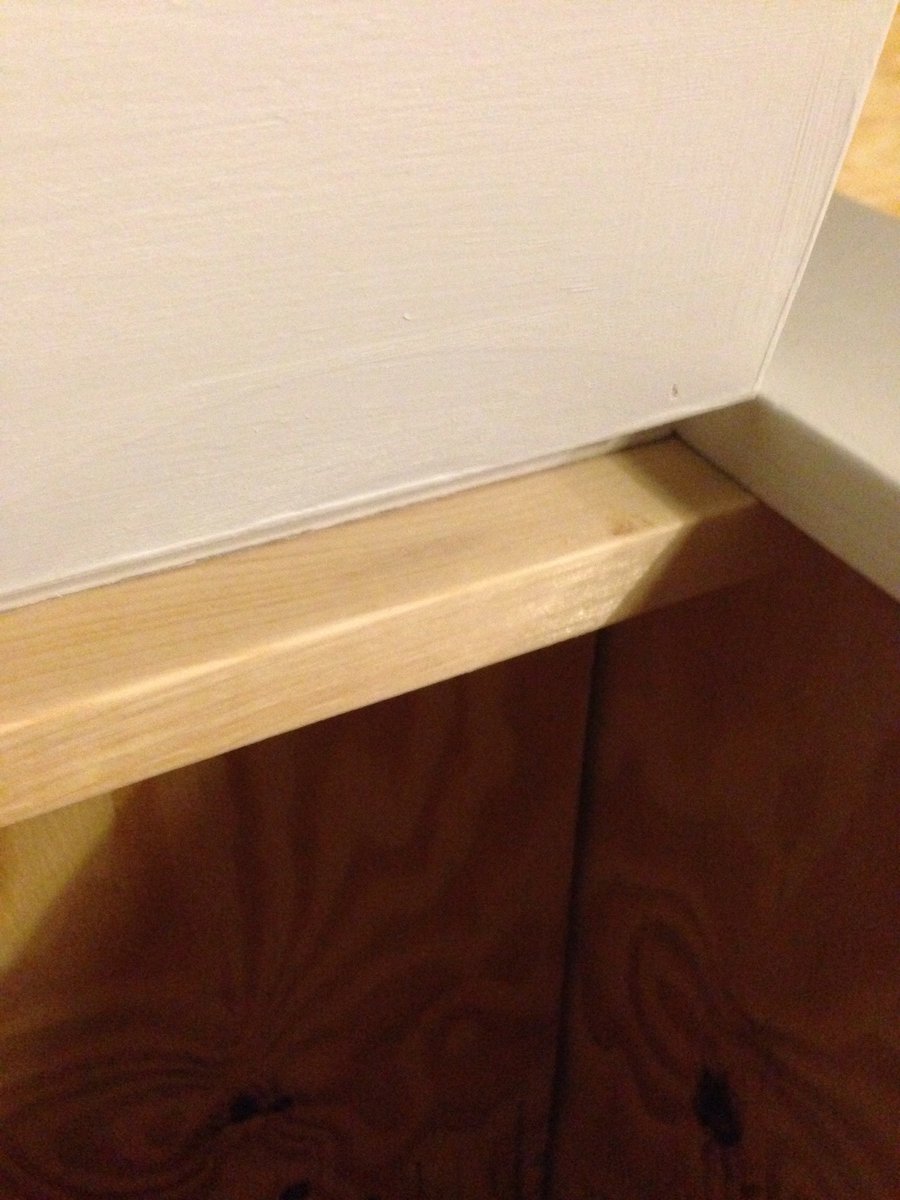
Great first project!
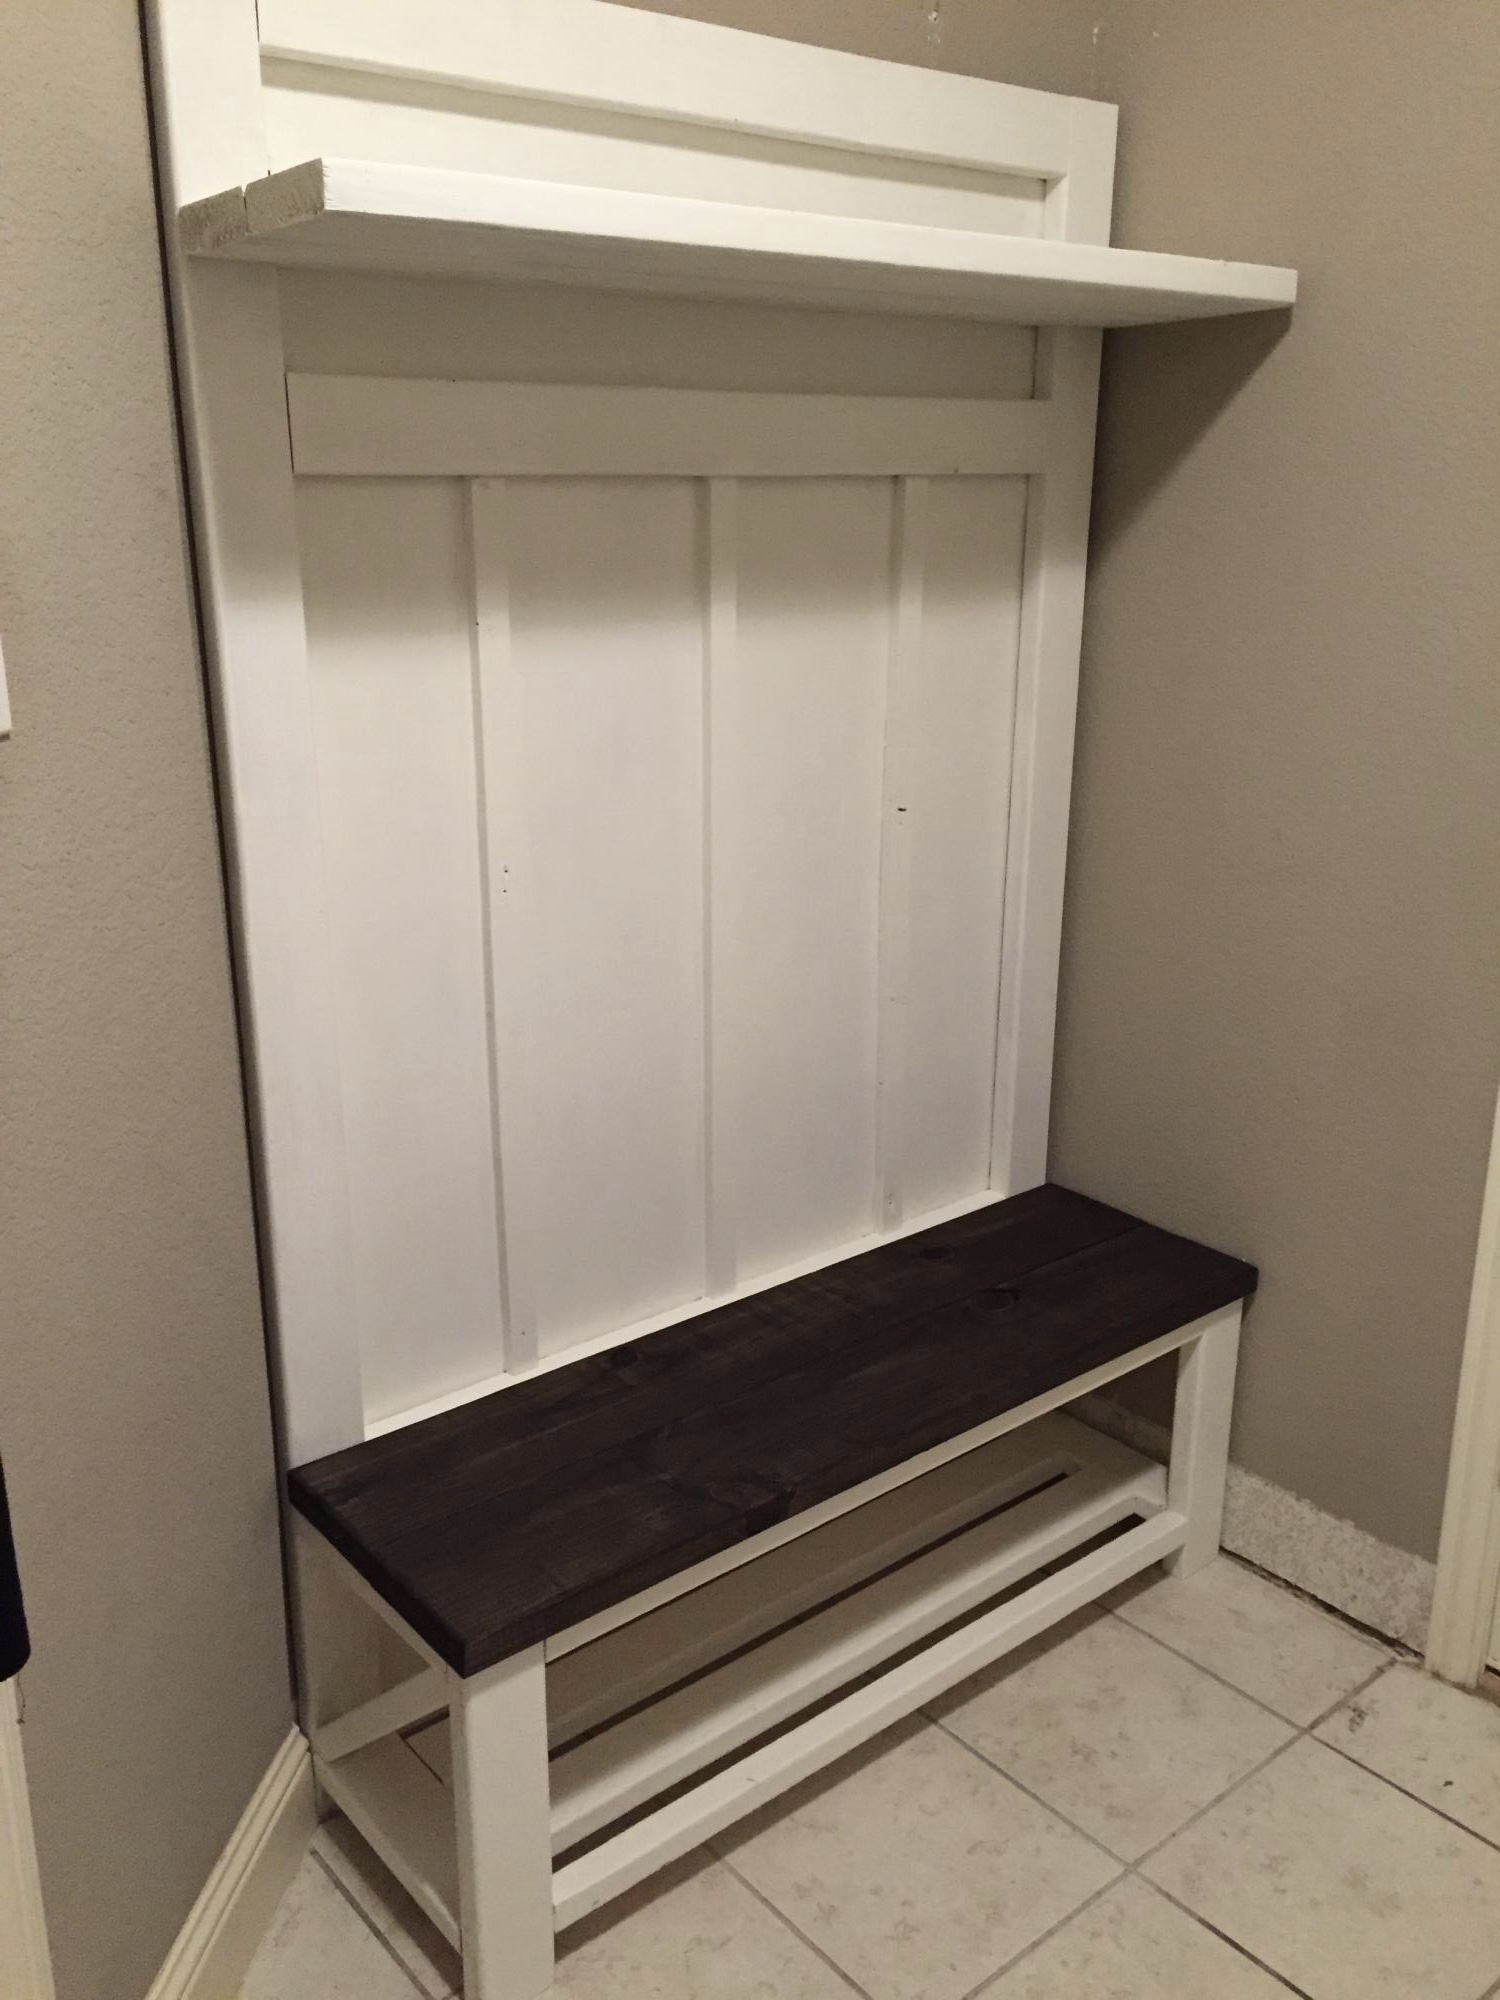
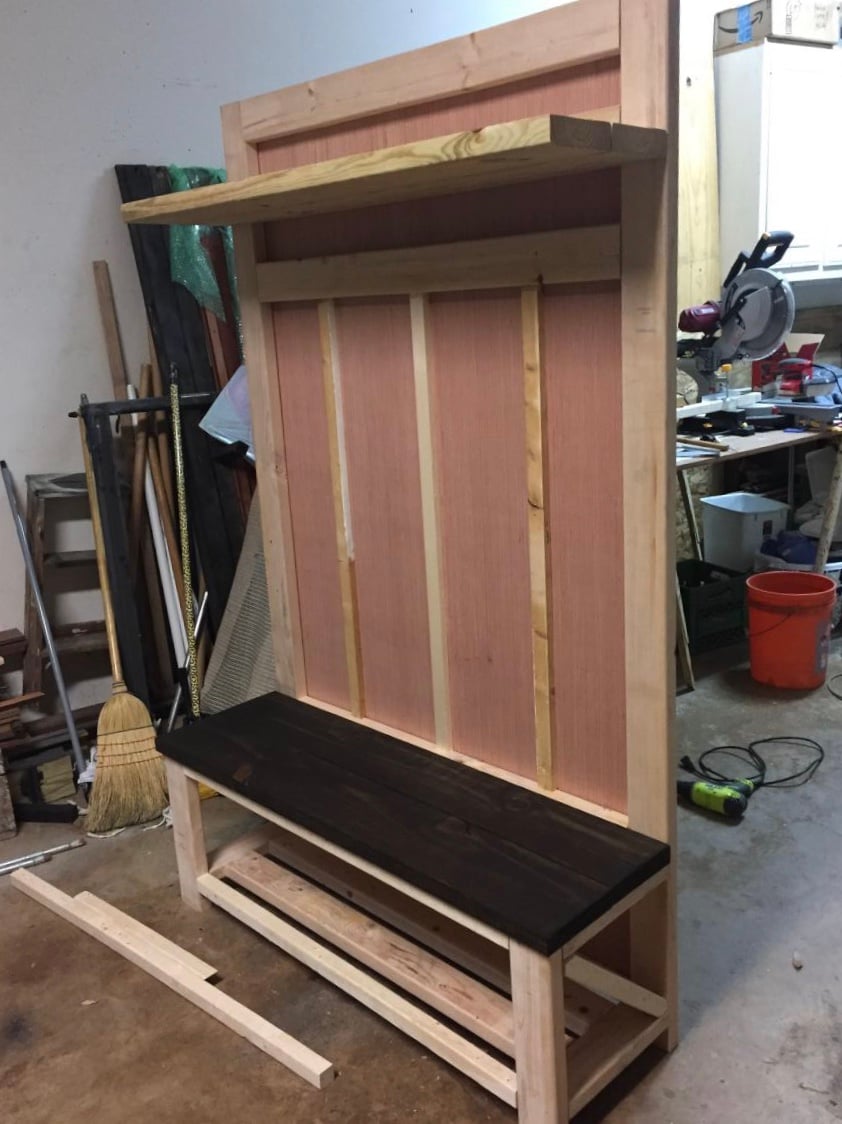
My first wood working project. Made it a little taller and added a shelf.
I saw Ana's Laundry Basket Dresser & thought it was an awesome idea, I am notorious for not folding the clean laundry for weeks & our new puppy likes to steal the clean socks & in the process pulls out other clothing all over the closet floor. I plan to build two of the basket dressers & then space them apart & add a top to them to make it like a folding table with the basket storage built into it but that involves a trip to Lowes. This project also gave me the best idea for tidying up our mudroom. Our local trash/recycling company decided 6 months ago to go to an every other week pick up schedule for recycling, with an every week pick up we only had a bin & a half, very managable & tidy. Now with every other week pick up somehow we generate 4 bins! As you can imagine, even with breaking down cardborad & nealty placing items in the bins, it gets messy & looks awful & this is the main way people enter our home. So after seeing this dresser project I got the idea to just adjust the plans to fit our bins. I also only had a single sheet of plywood & limited space so I tweaked the design from Ana's plan to accomodate my needs & materials. Now our bins are contained & the bin dresser doubles as a large table where we can put down the groceries when we get home from shopping! While I put it down as a weekend project, I only did so because I spread out the work over two days because I wanted to give the paint time to dry, I like to paint & stain my Projects before assembling as it's easier to get full coverage & I don't end up with dificult to paint knooks & cranies.
Using only scraps from all my other projects, I modified Ana's plans to create this workspace in the house we just moved into. I changed the dimensions of the shelves to take advantage of the materials I had on hand. Additionally, though I have a lot of different things on the shelves in this picture, I'll be using the shelves more for books and reference materials, so I needed standard shelf sizes. Though this is a simple design, cutting some of the angles and installing the shelves was a bit tricky, therefore I think this is more of an intermedite project. I also added 2x4 legs to support my Mac. Can't have that tumbling to the ground!
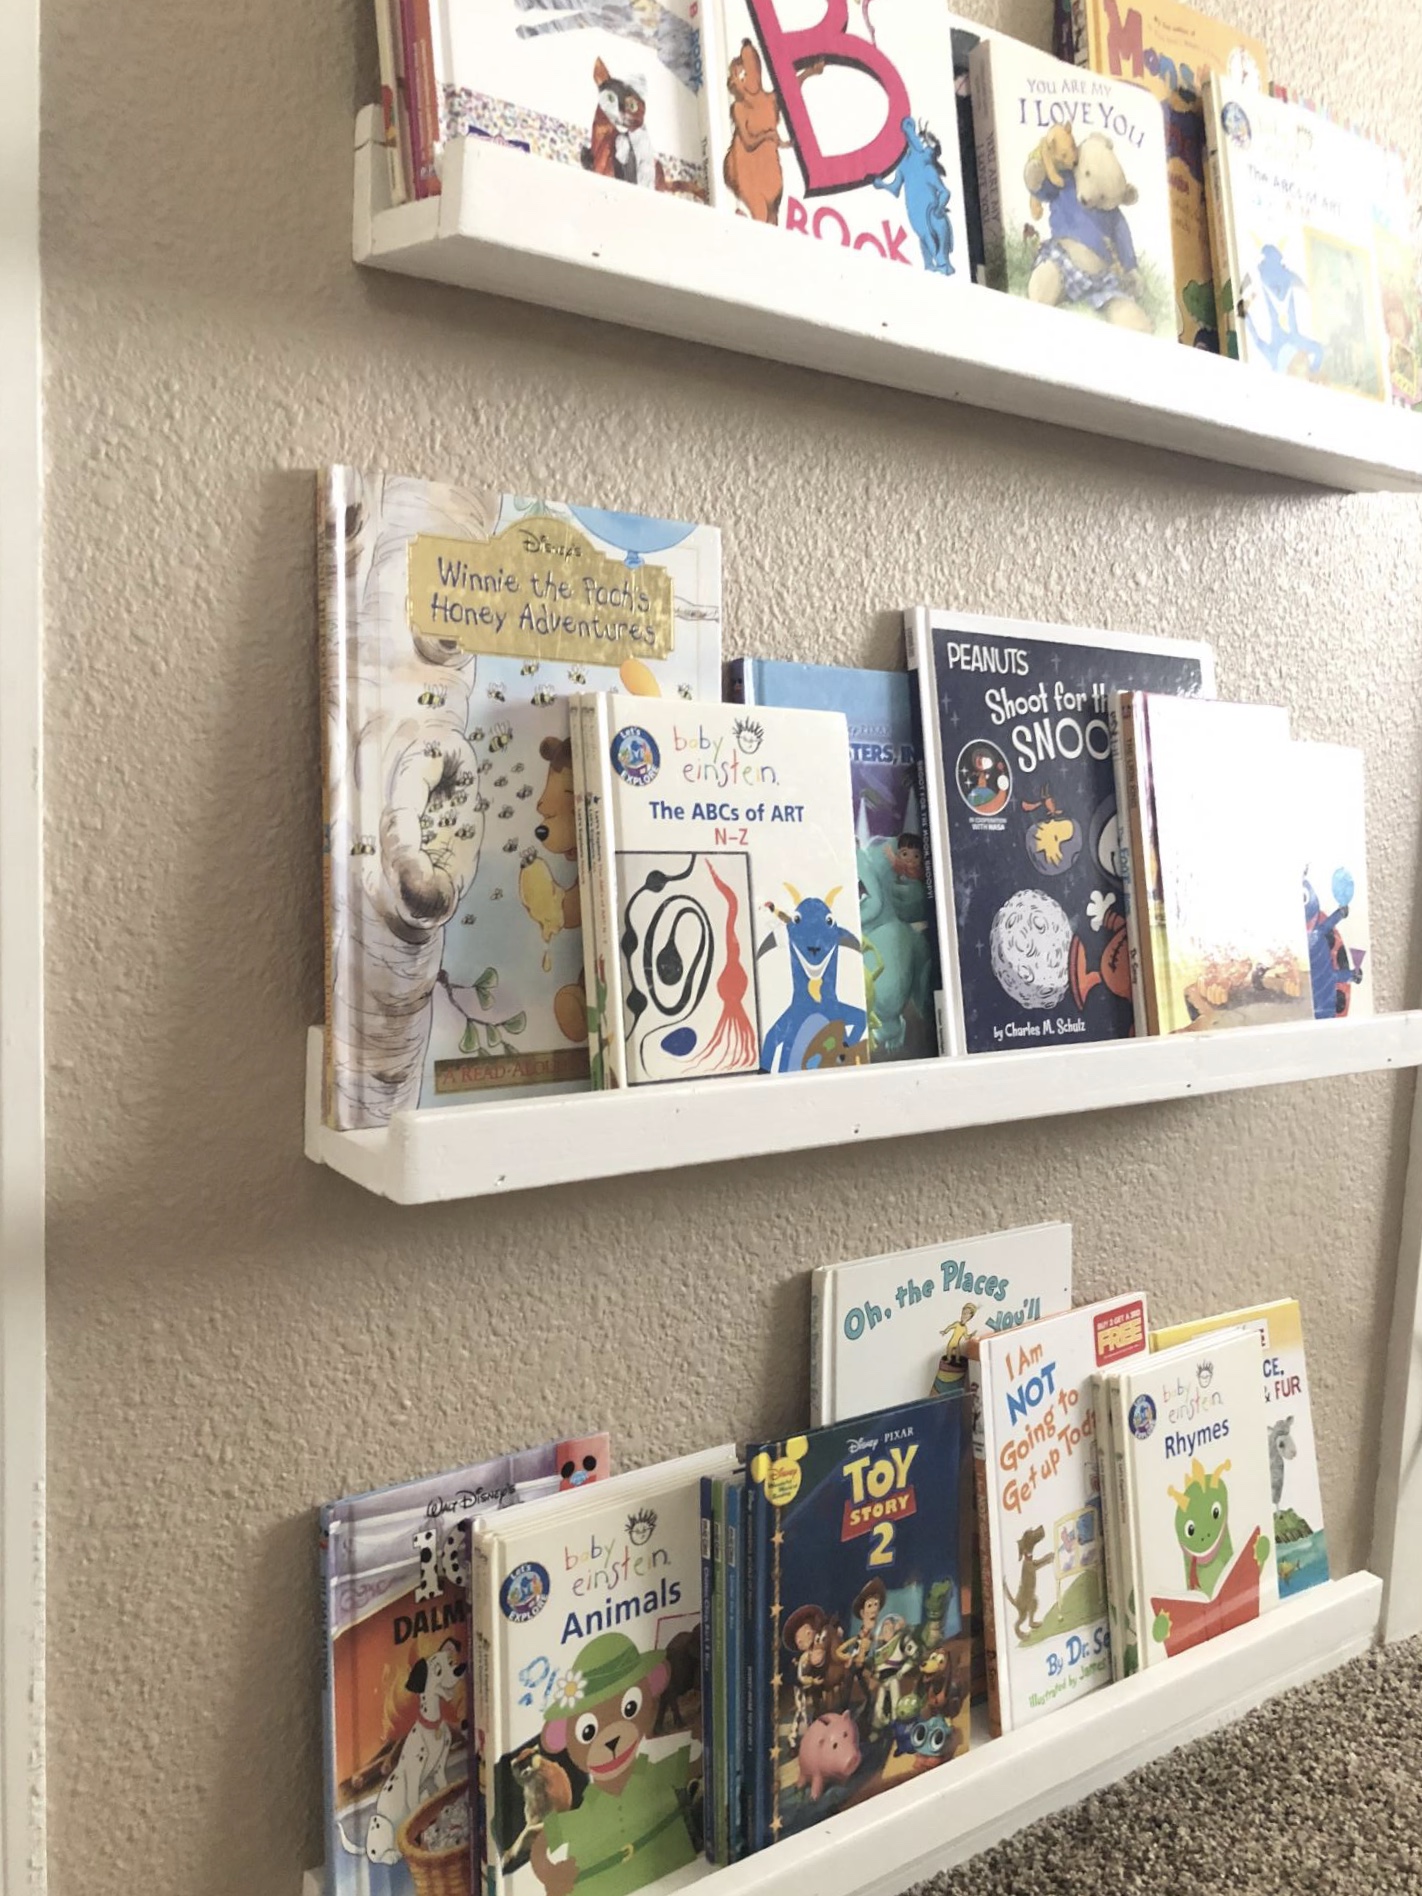
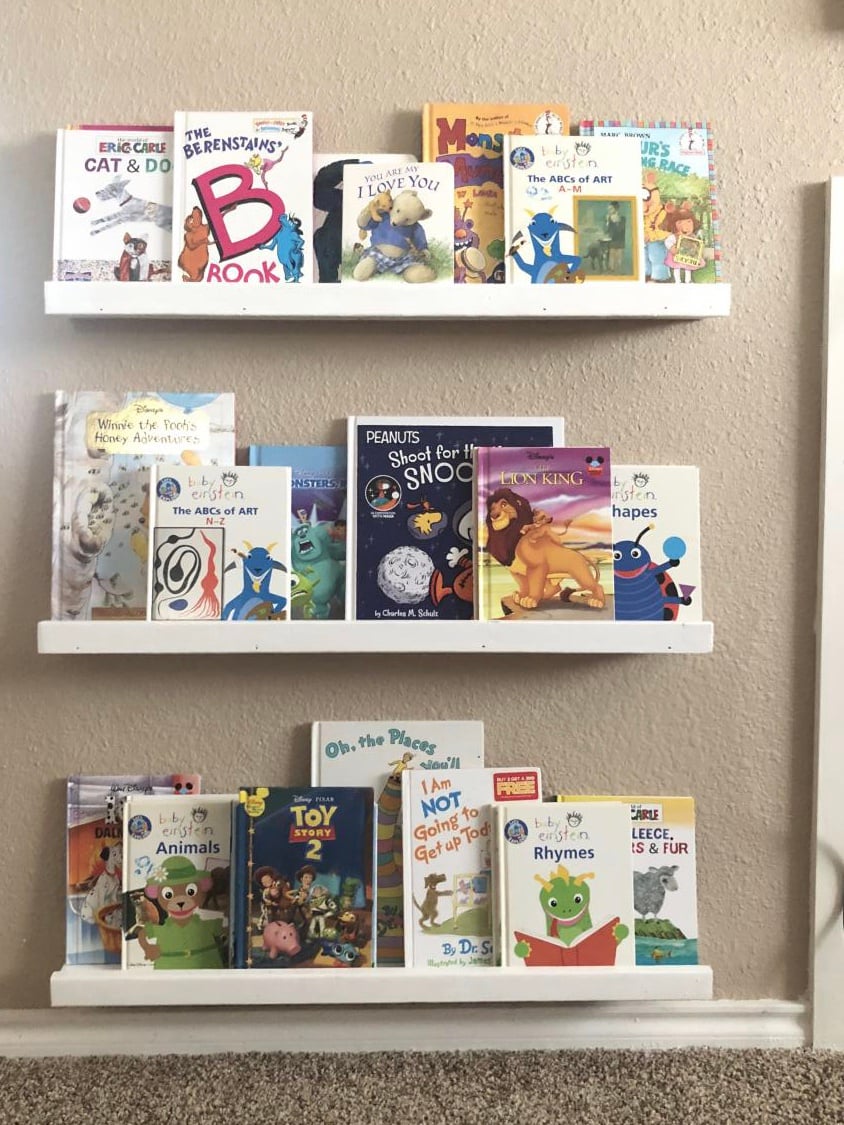
A great way to display books in the kids playroom. So easy to make.
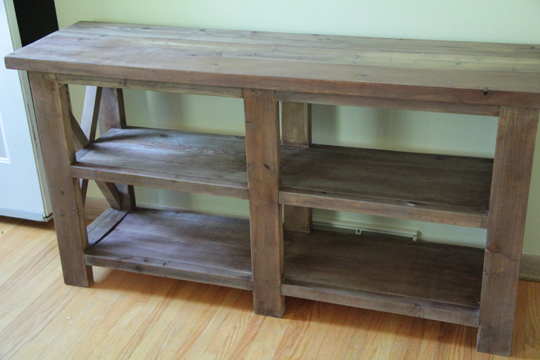
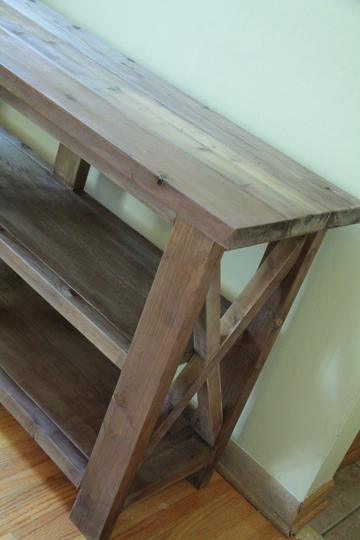
This is my third project from this site (ok, third project EVER). I was coming on to look for doll bed plans, and the Rustic X Console showed up on my screen....I loved it instantly, and knew I had to try it. My husband ran out and picked up a Kreg Jig for me, and we spent a couple evenings on it. Had lots of fun, though now I know why Ana says to make sure you buy straight boards--the middle shelves were not straight, and that was frustrating to work with but we made it work! Now I just need to figure out what I'll be using it for.
Thu, 06/07/2012 - 14:31
So beautiful!!!! So glad you tackled - turned out amazing!!
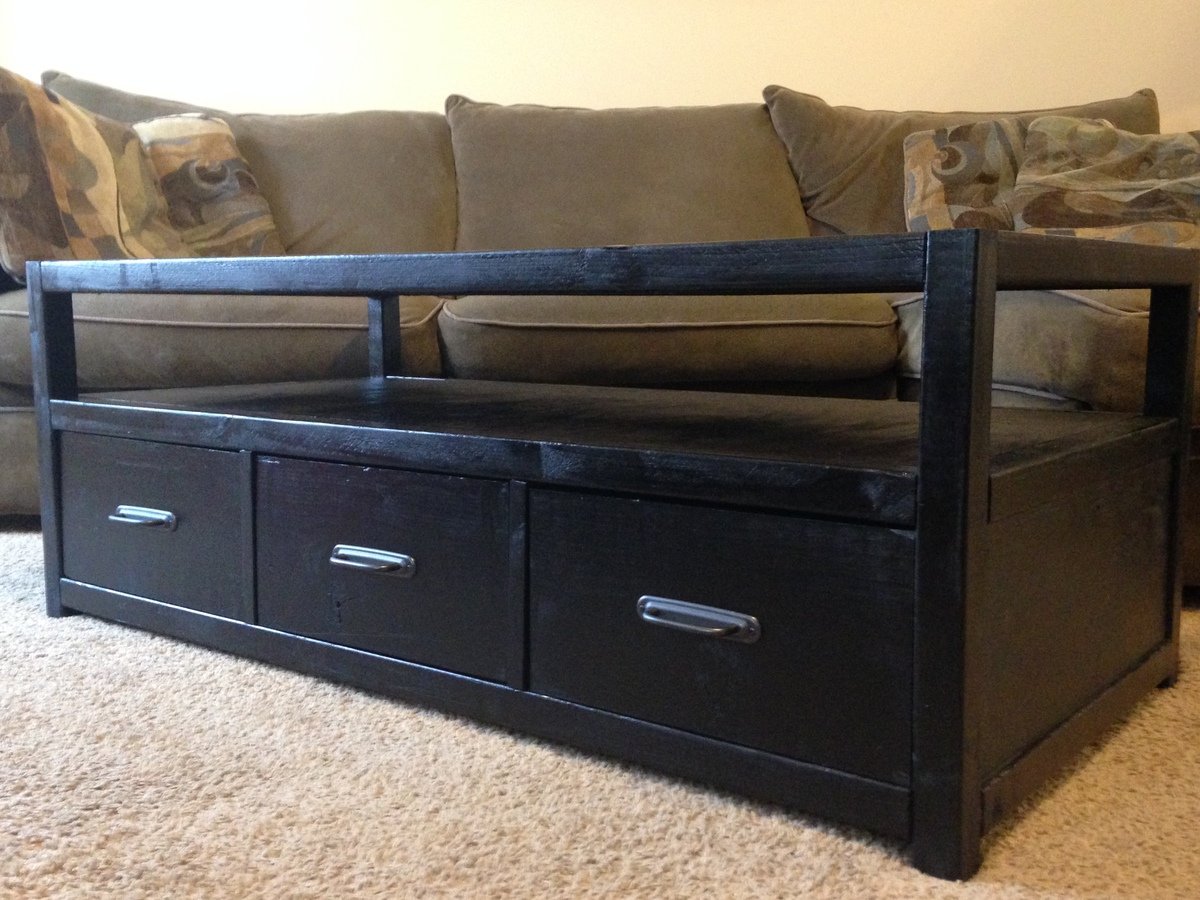
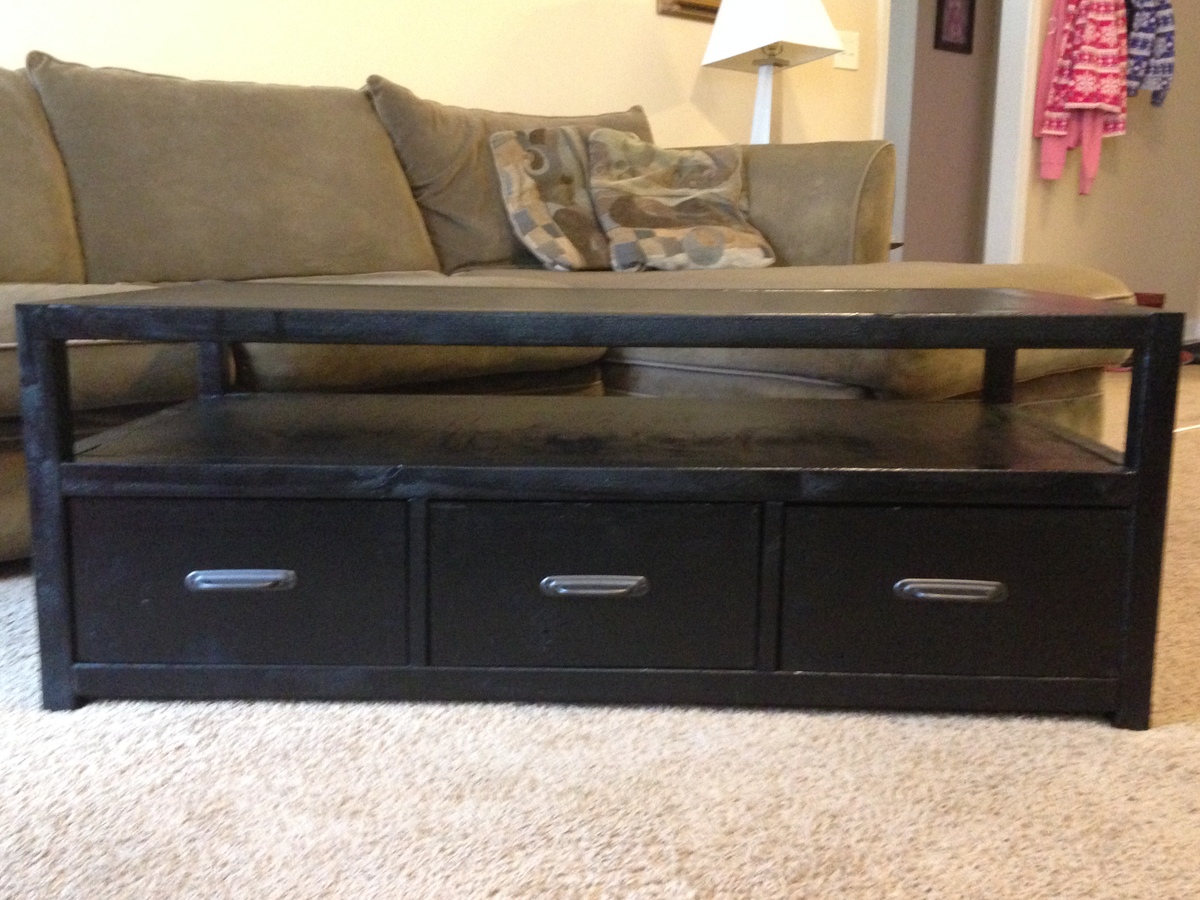
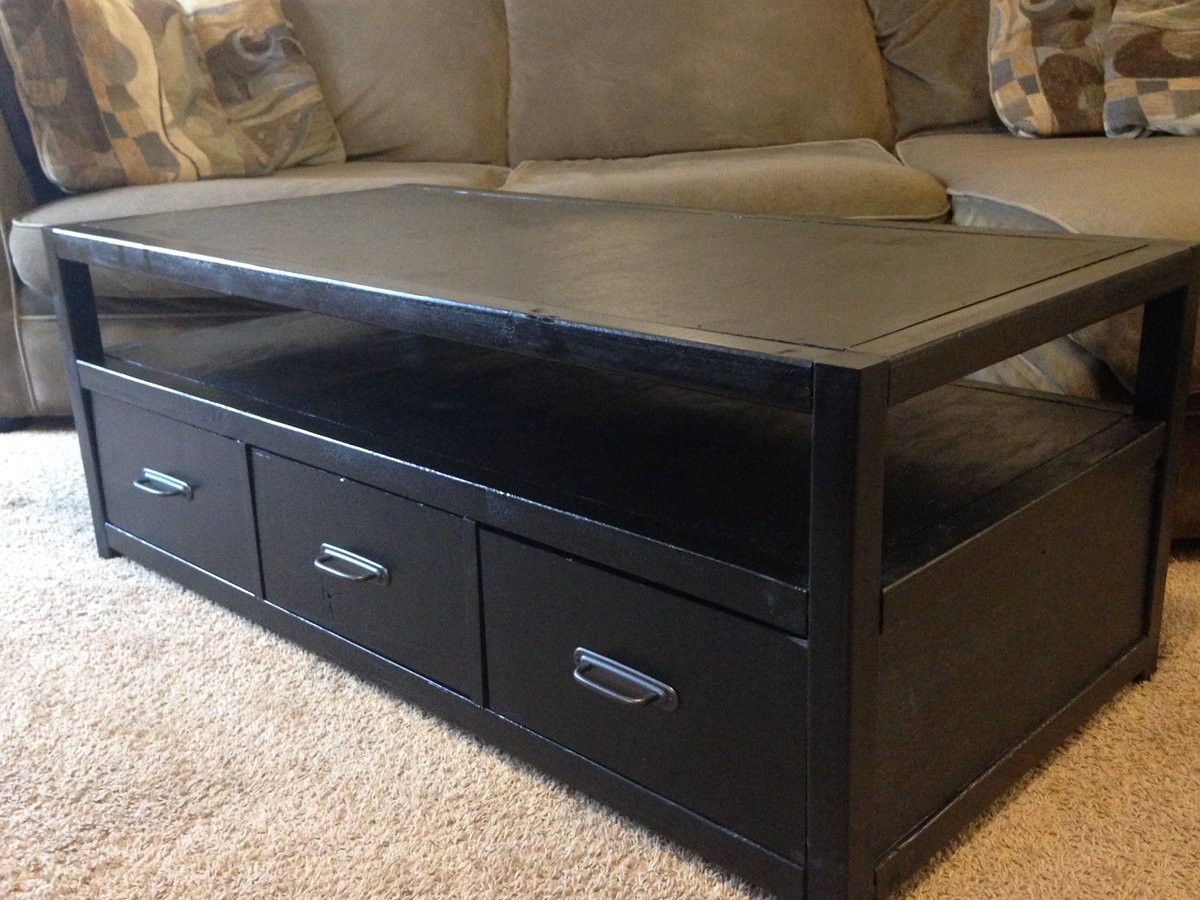
I loved this coffee table plan. I found it on www.morelikehome.net and also linked on Ana White's page. My wife and I loved the size and also the number of drawers for storage. I would say that the plans were great and I had to only make minor adjustments due to my own errors.
It took me about four days to complete. I used the Kreg jig to complete most of the joining. I put it all together by the end of the second day. It is solid as a rock. The last two days were mostly staining all pieces and then restaining to get the right finish. It also took a couple more weeks to find pulls and get them installed. But now it's all done and we love it already!
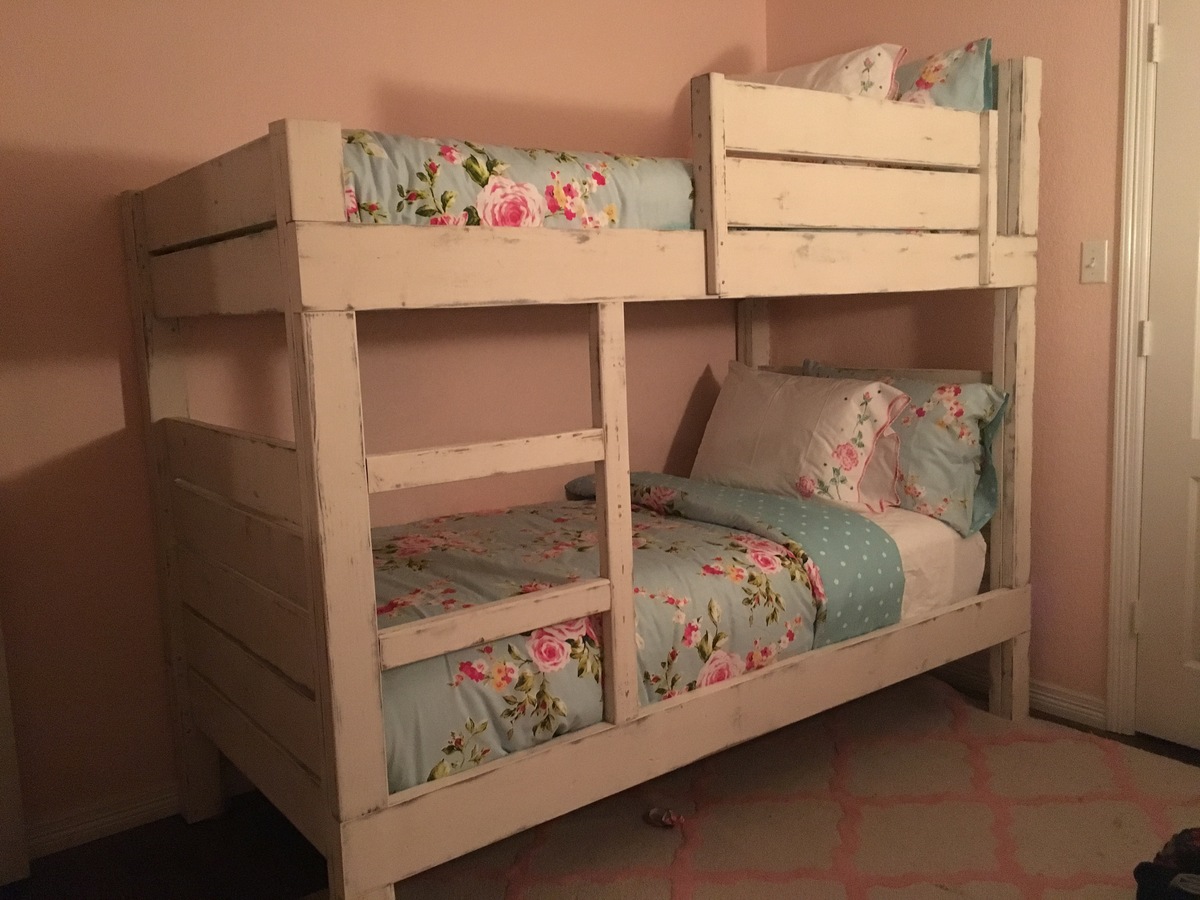
We sanded, stained, painted, and distressed the wood before building. That was truly the most time consuming part. The plans were great and everything went together smoothly! We decided to take off the top 2 planks from the footboard, and used those as the side rail. We created the ladder from what we had on hand.

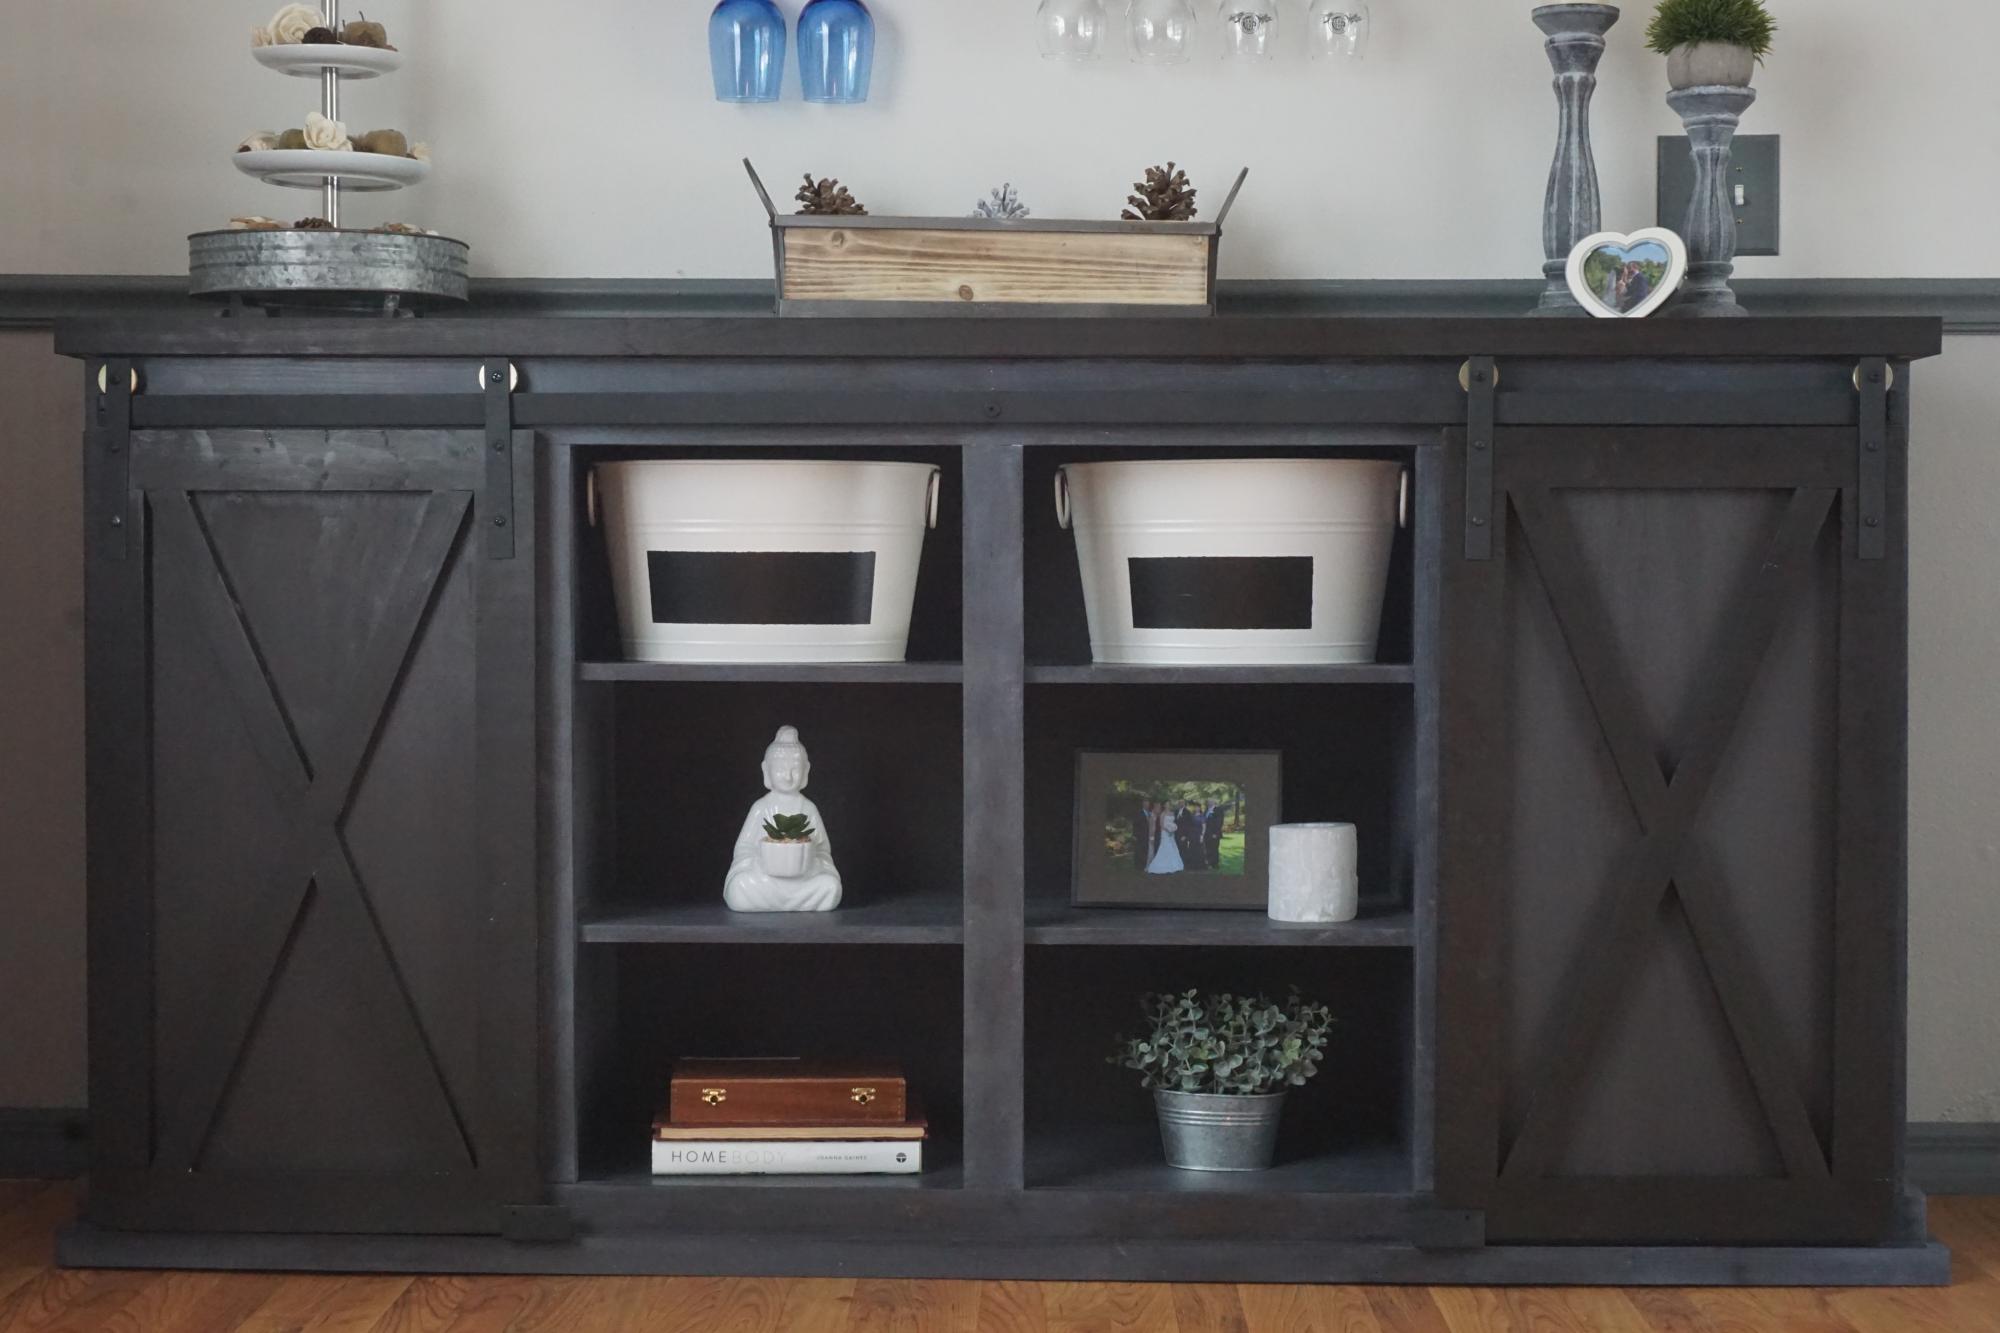
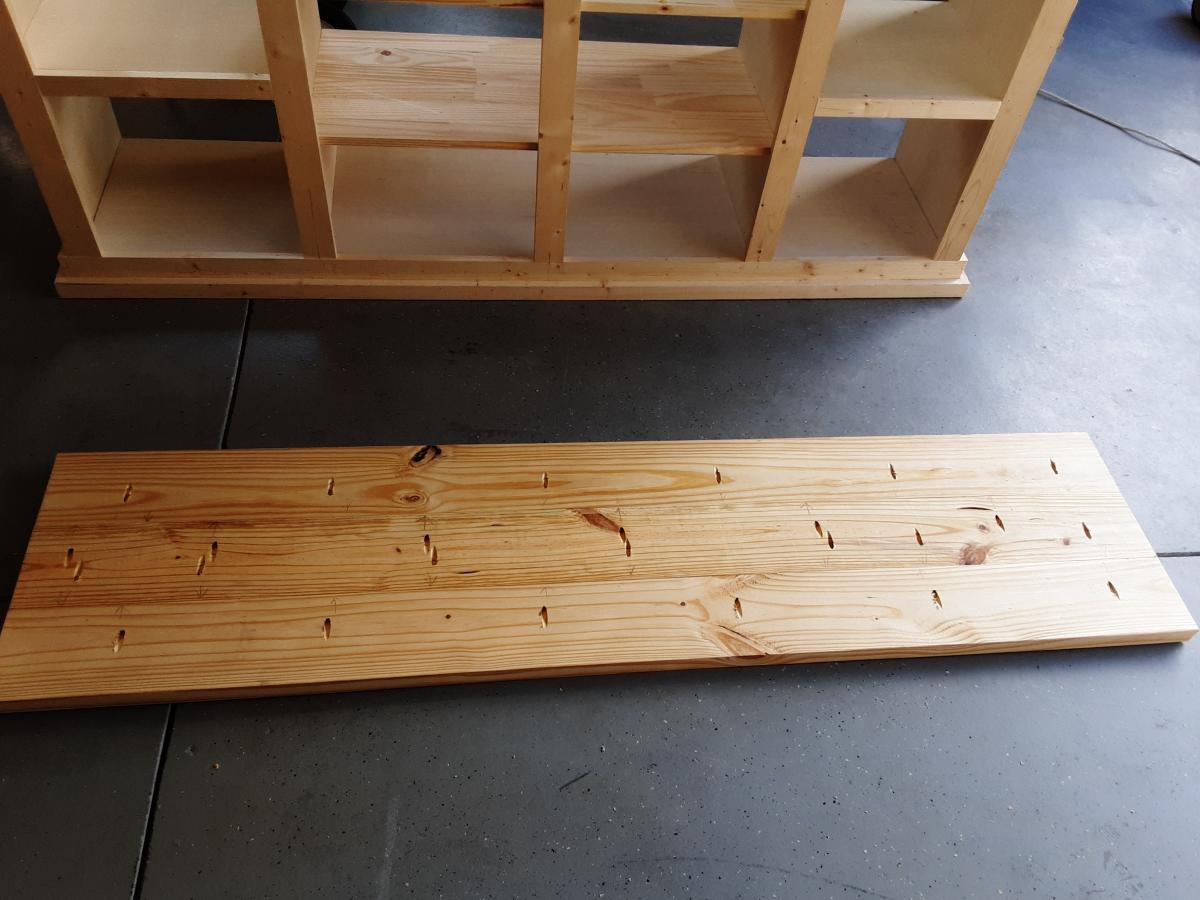
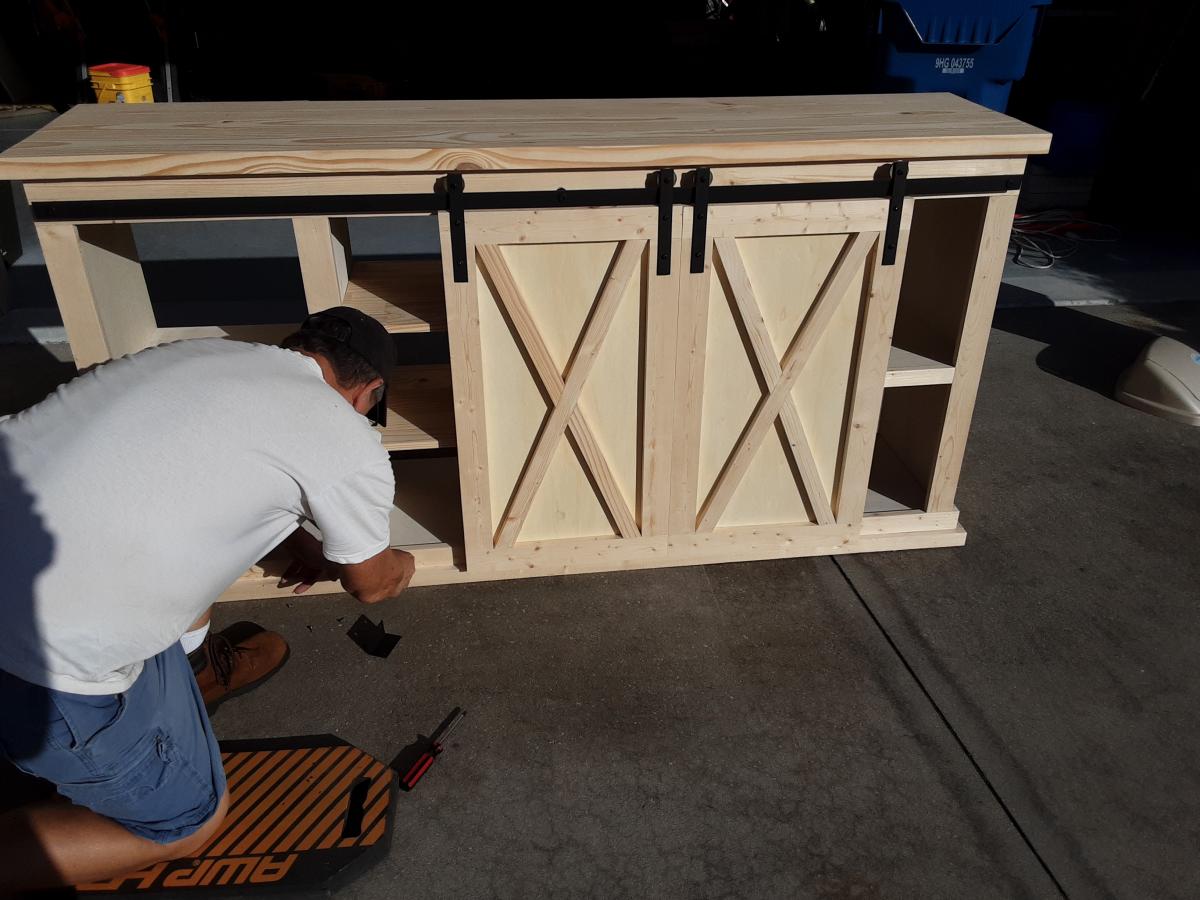
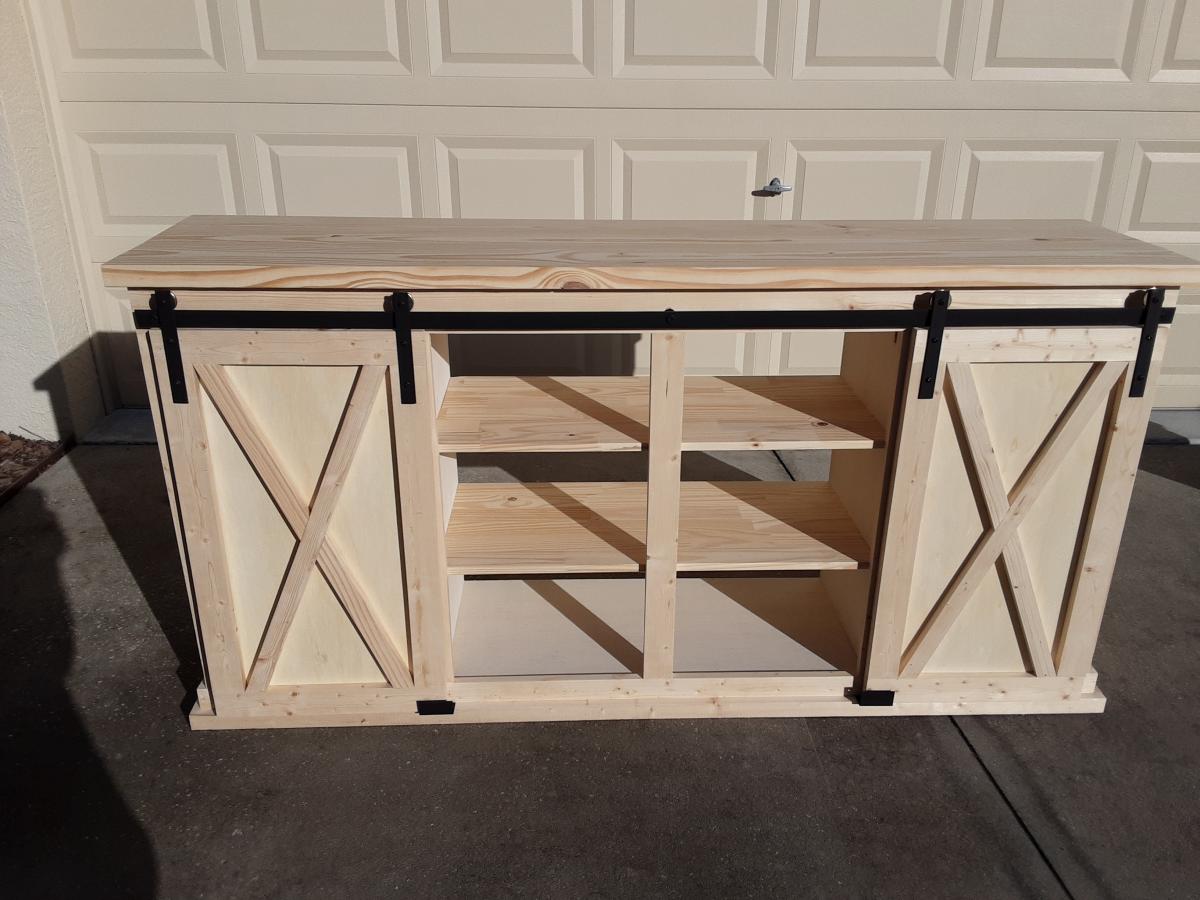
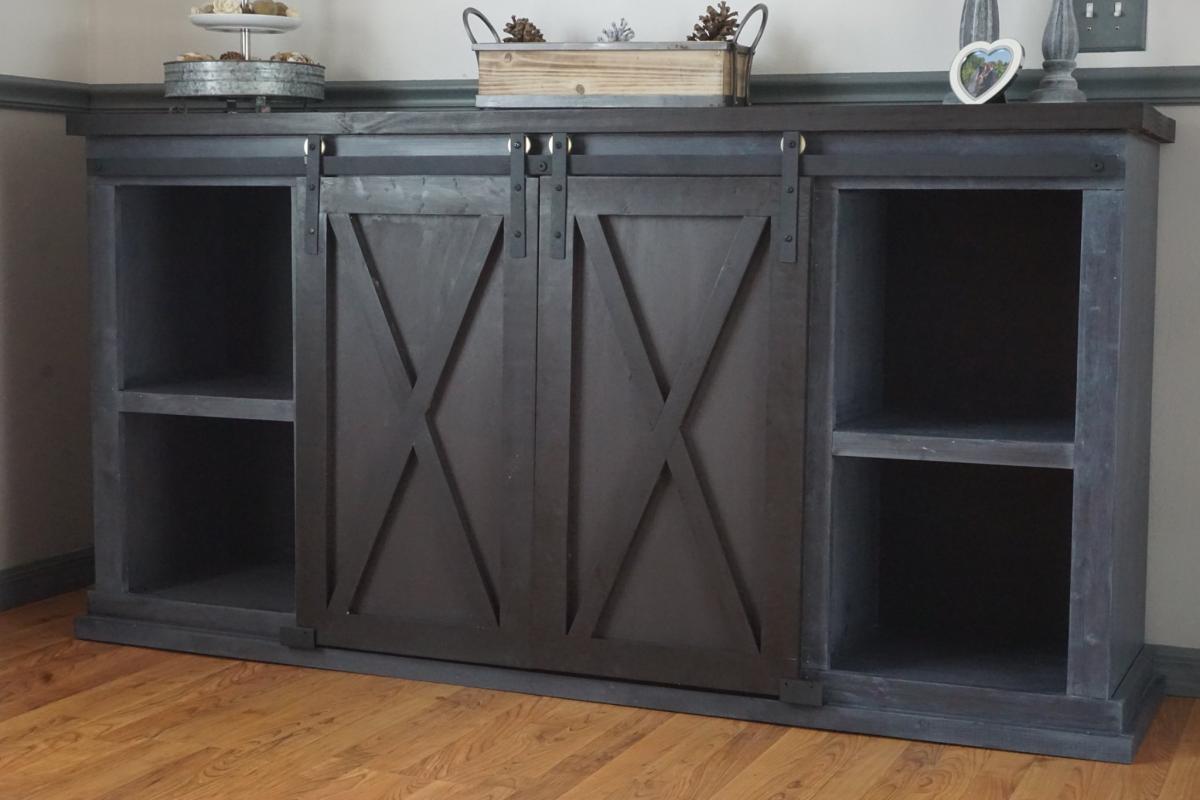
Followed the overall plan to build the console for my daughter's birthday. Made several modifications including using (3) 2 X 6 inch pine boards attached using Kreg pocket hole screws for a seamless and sturdy top; substituted barn door hardware rollers with Barton Kramer 1-1/2 in. Patio Door Wheels providing a smooth glide and budget friendly alternative; added more partitions to accommodate extra shelving; and utilized u shaped brackets lined with felt to keep barn doors in line.
Used Kreg pocket holes to assemble the unit which gave us the ability to easily transport this rather heavy and
6-foot large console. My daughter was extremely pleased and actually many of her friends wanted to know where she bought the unit. This was truly a rewarding experience and confidence builder for me and my wife.
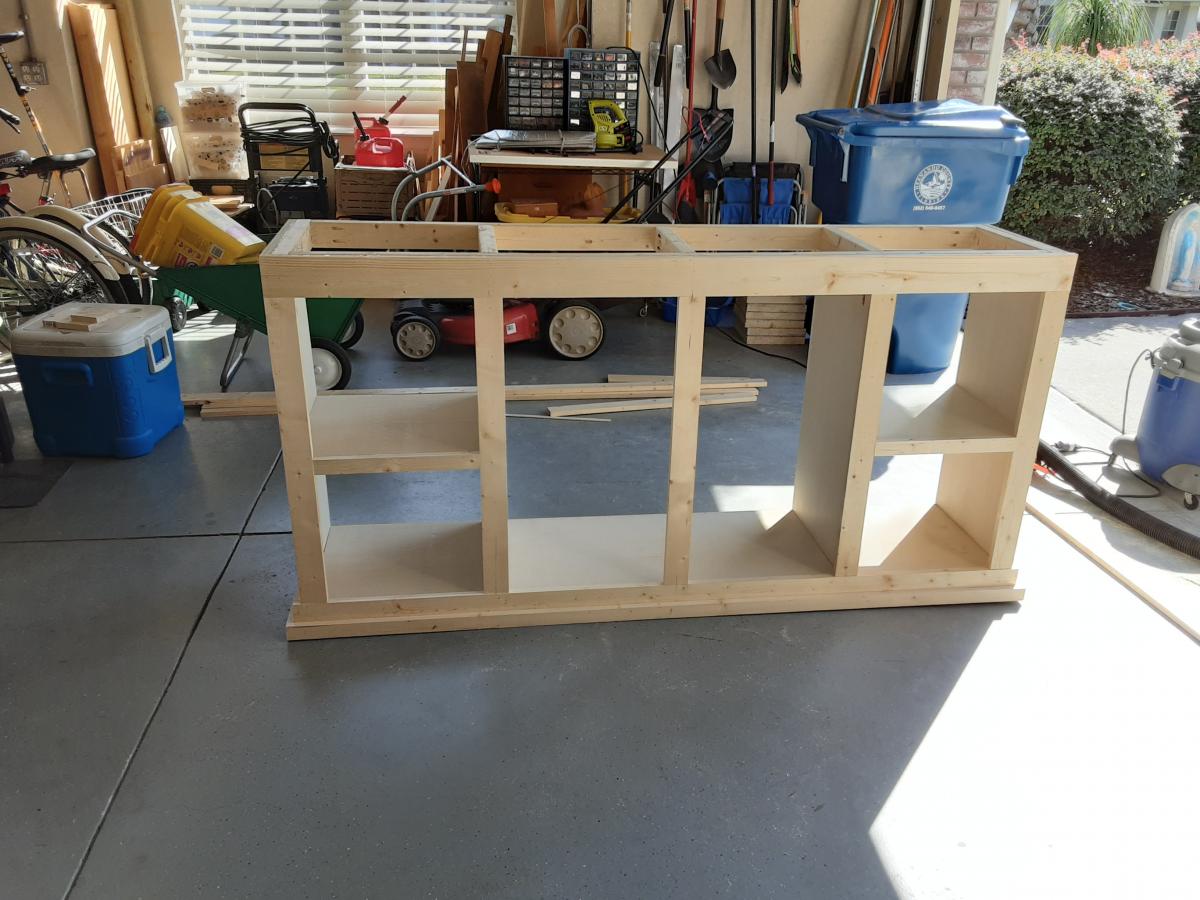
I chose to adjust the great design to have a free standing tree with backing and a live bark base. Fun project.
