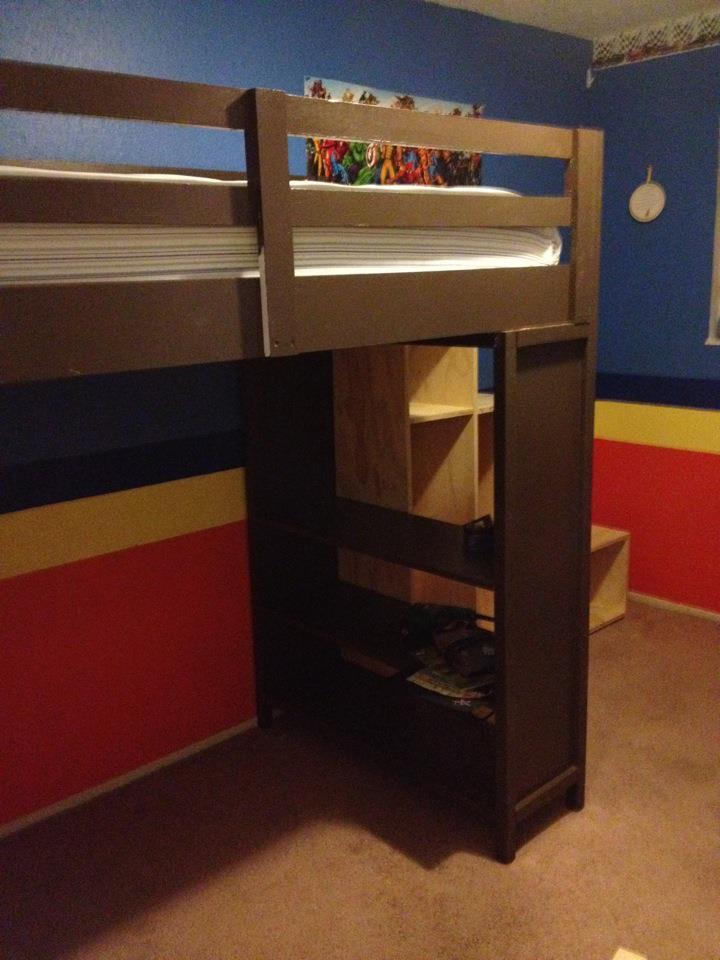
We were shopping for bunk beds for our 5 and 3-year-old kids, and everything I saw was overpriced, mass produced junk. I'm not kidding - we were looking at $800-$2000 for anything that appeared to be remotely stable, let alone well-designed.
Naturally, I started searching for plans (it's the right thing to do), and naturally, I found my way to Ana White. This project began in earnest when I found the Side Street Bunk Bed plans here:
http://ana-white.com/2012/03/plans/side-street-bunk-beds
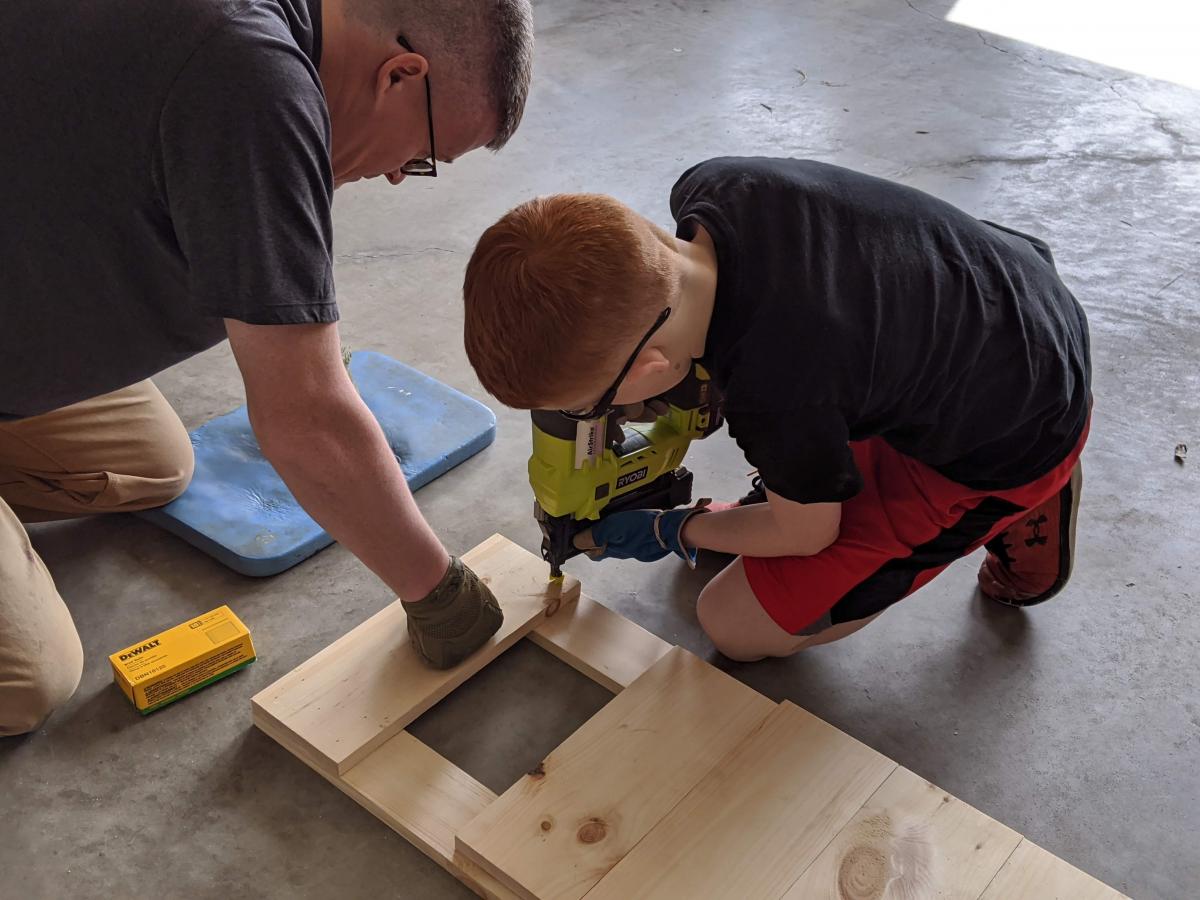
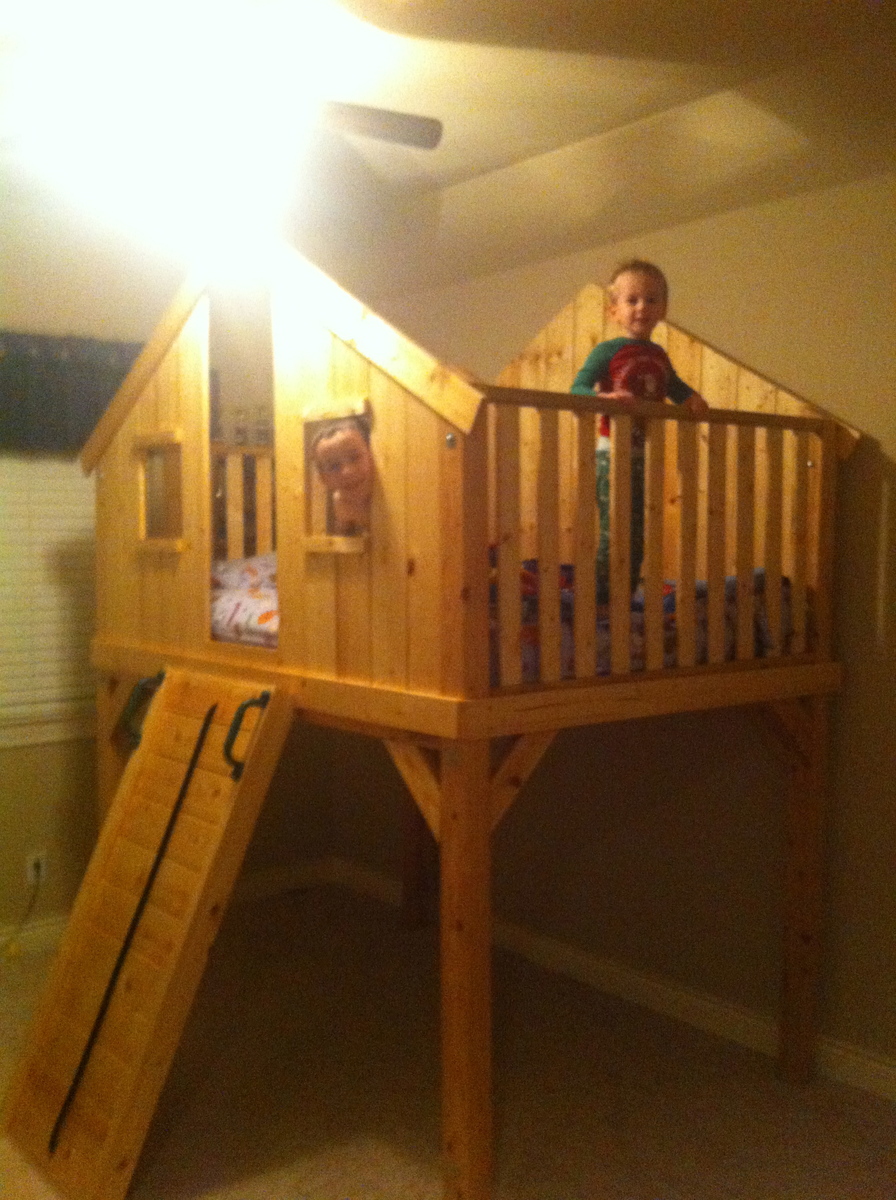
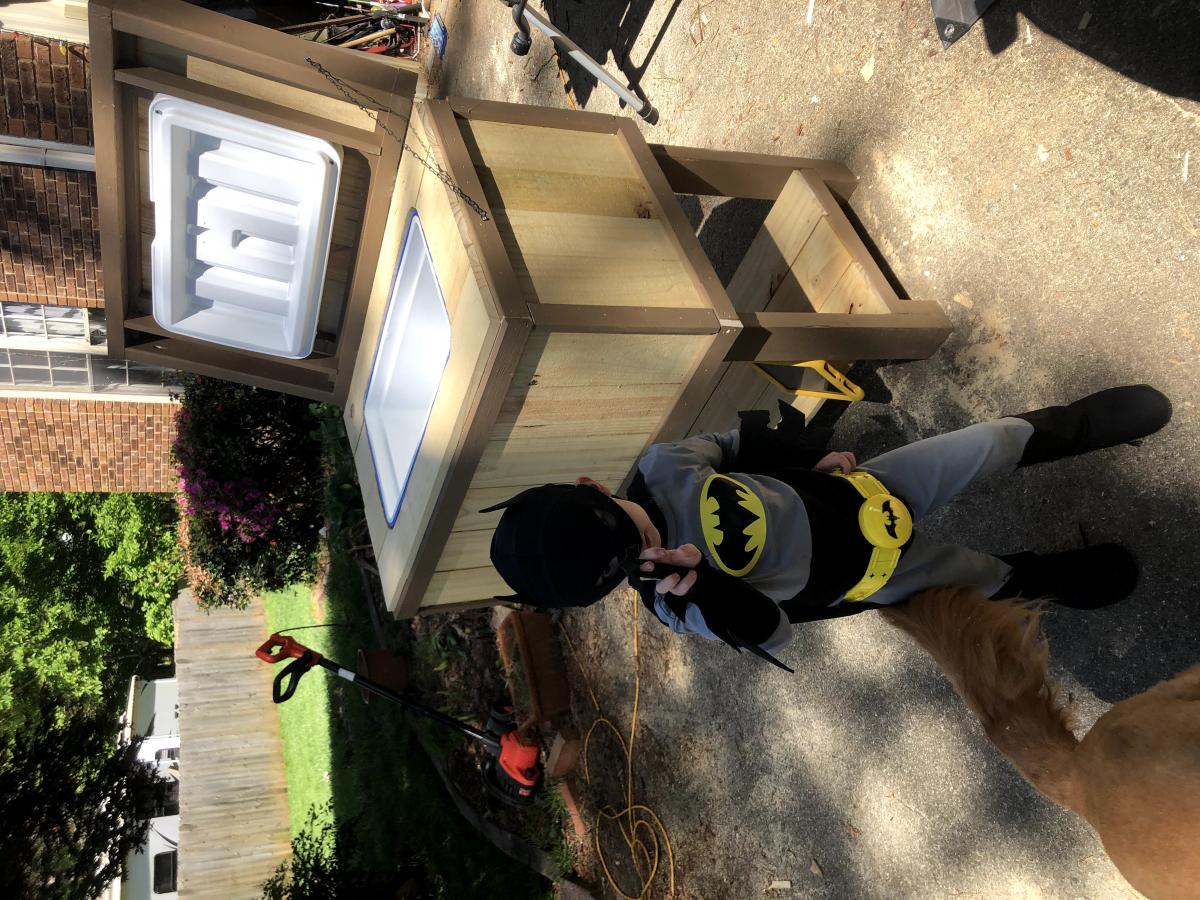
I figured I'd give it my own twist. I needed to practice using my DeWalt compact router (and the new trim router table my wife had given me months before), and any excuse to bust out my Kreg Jig is fine by me. I also had different ideas for the ladder and guard rails...so I printed out the plans, sketched out my variations, and proceeded to suffer through the indignity of lumber shopping at Home Depot.
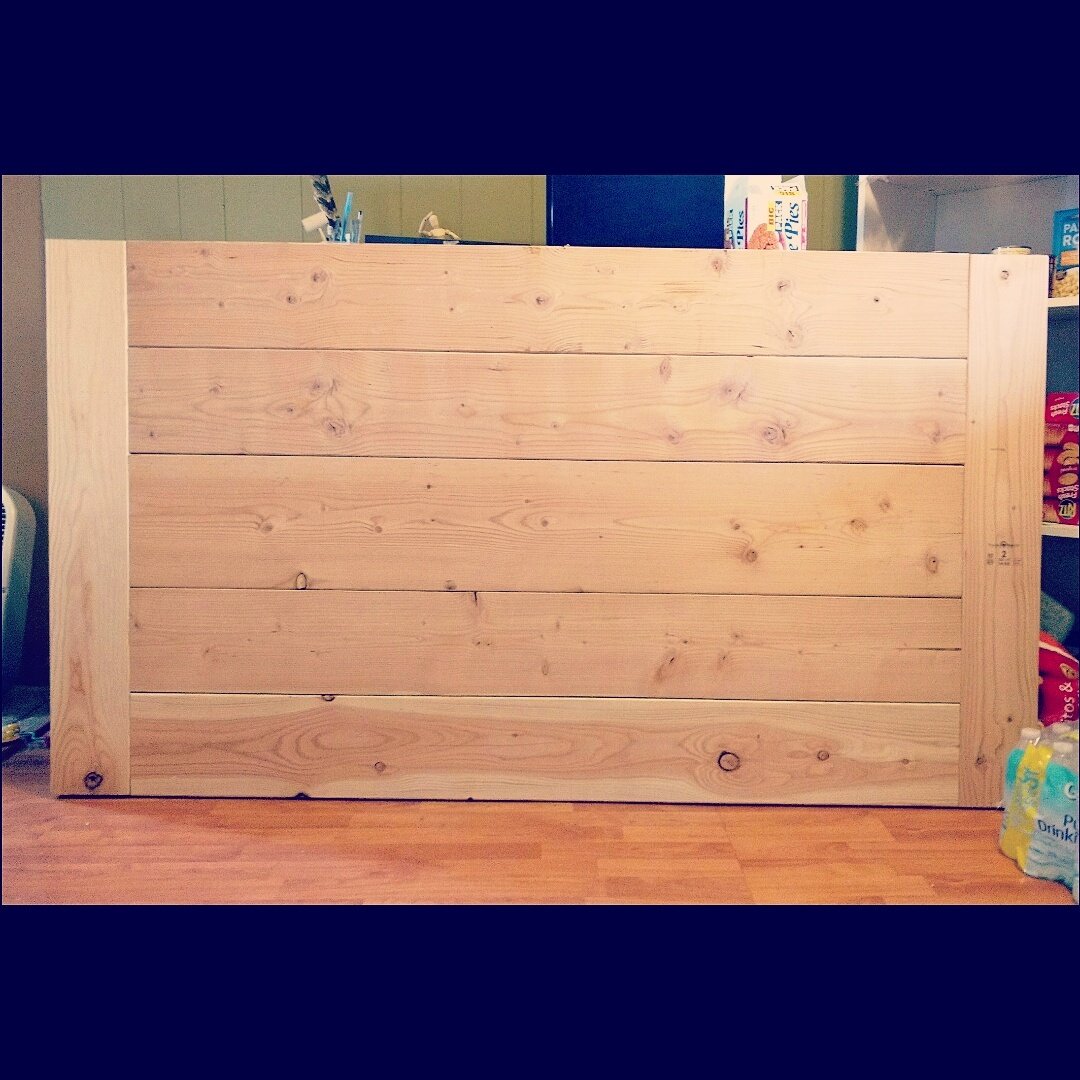
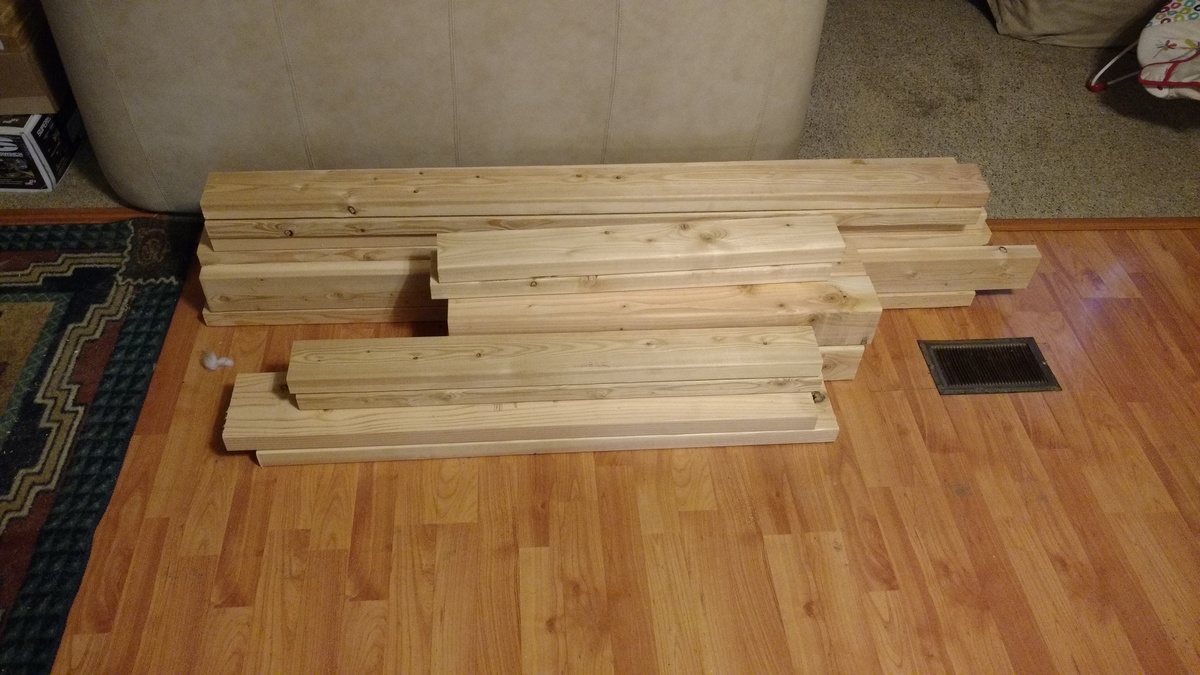
I know what you're thinking - WHY would anyone even bother trying to find a straight board in THAT place? Well believe me, I suffered for the convenience of driving to the HD two miles from my house. I had to work each and every board like crazy, but eventually I got em all into fine shape. Wood wants to be good, even the crap they sell at HD.
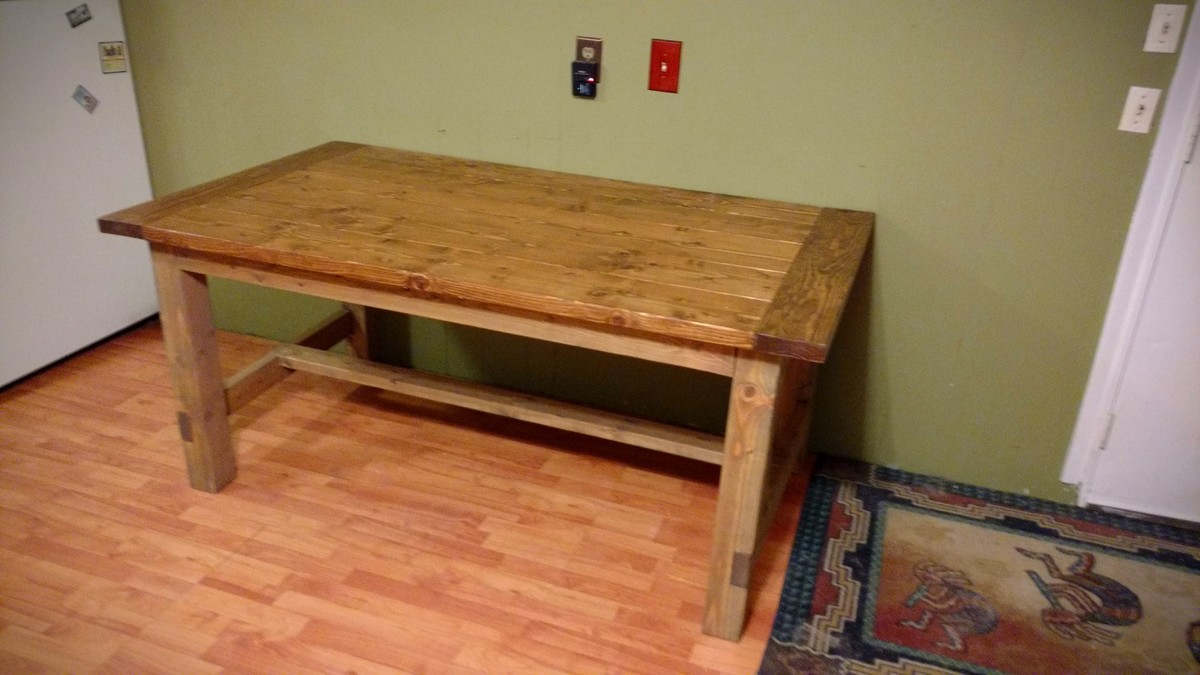
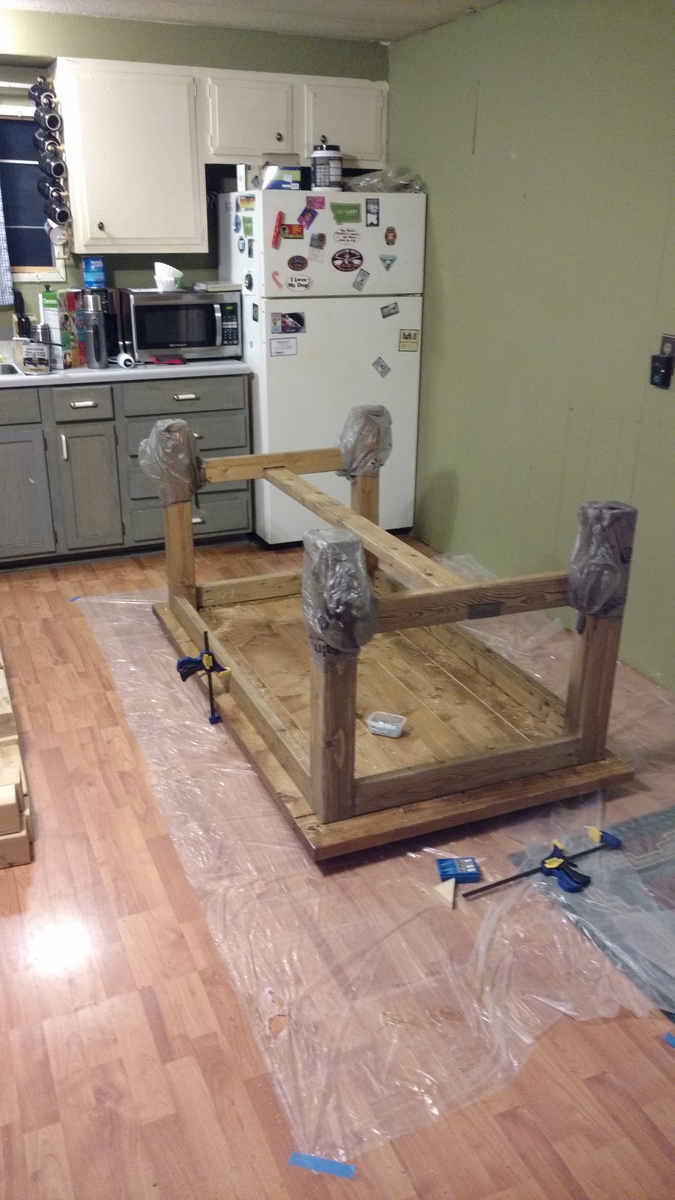
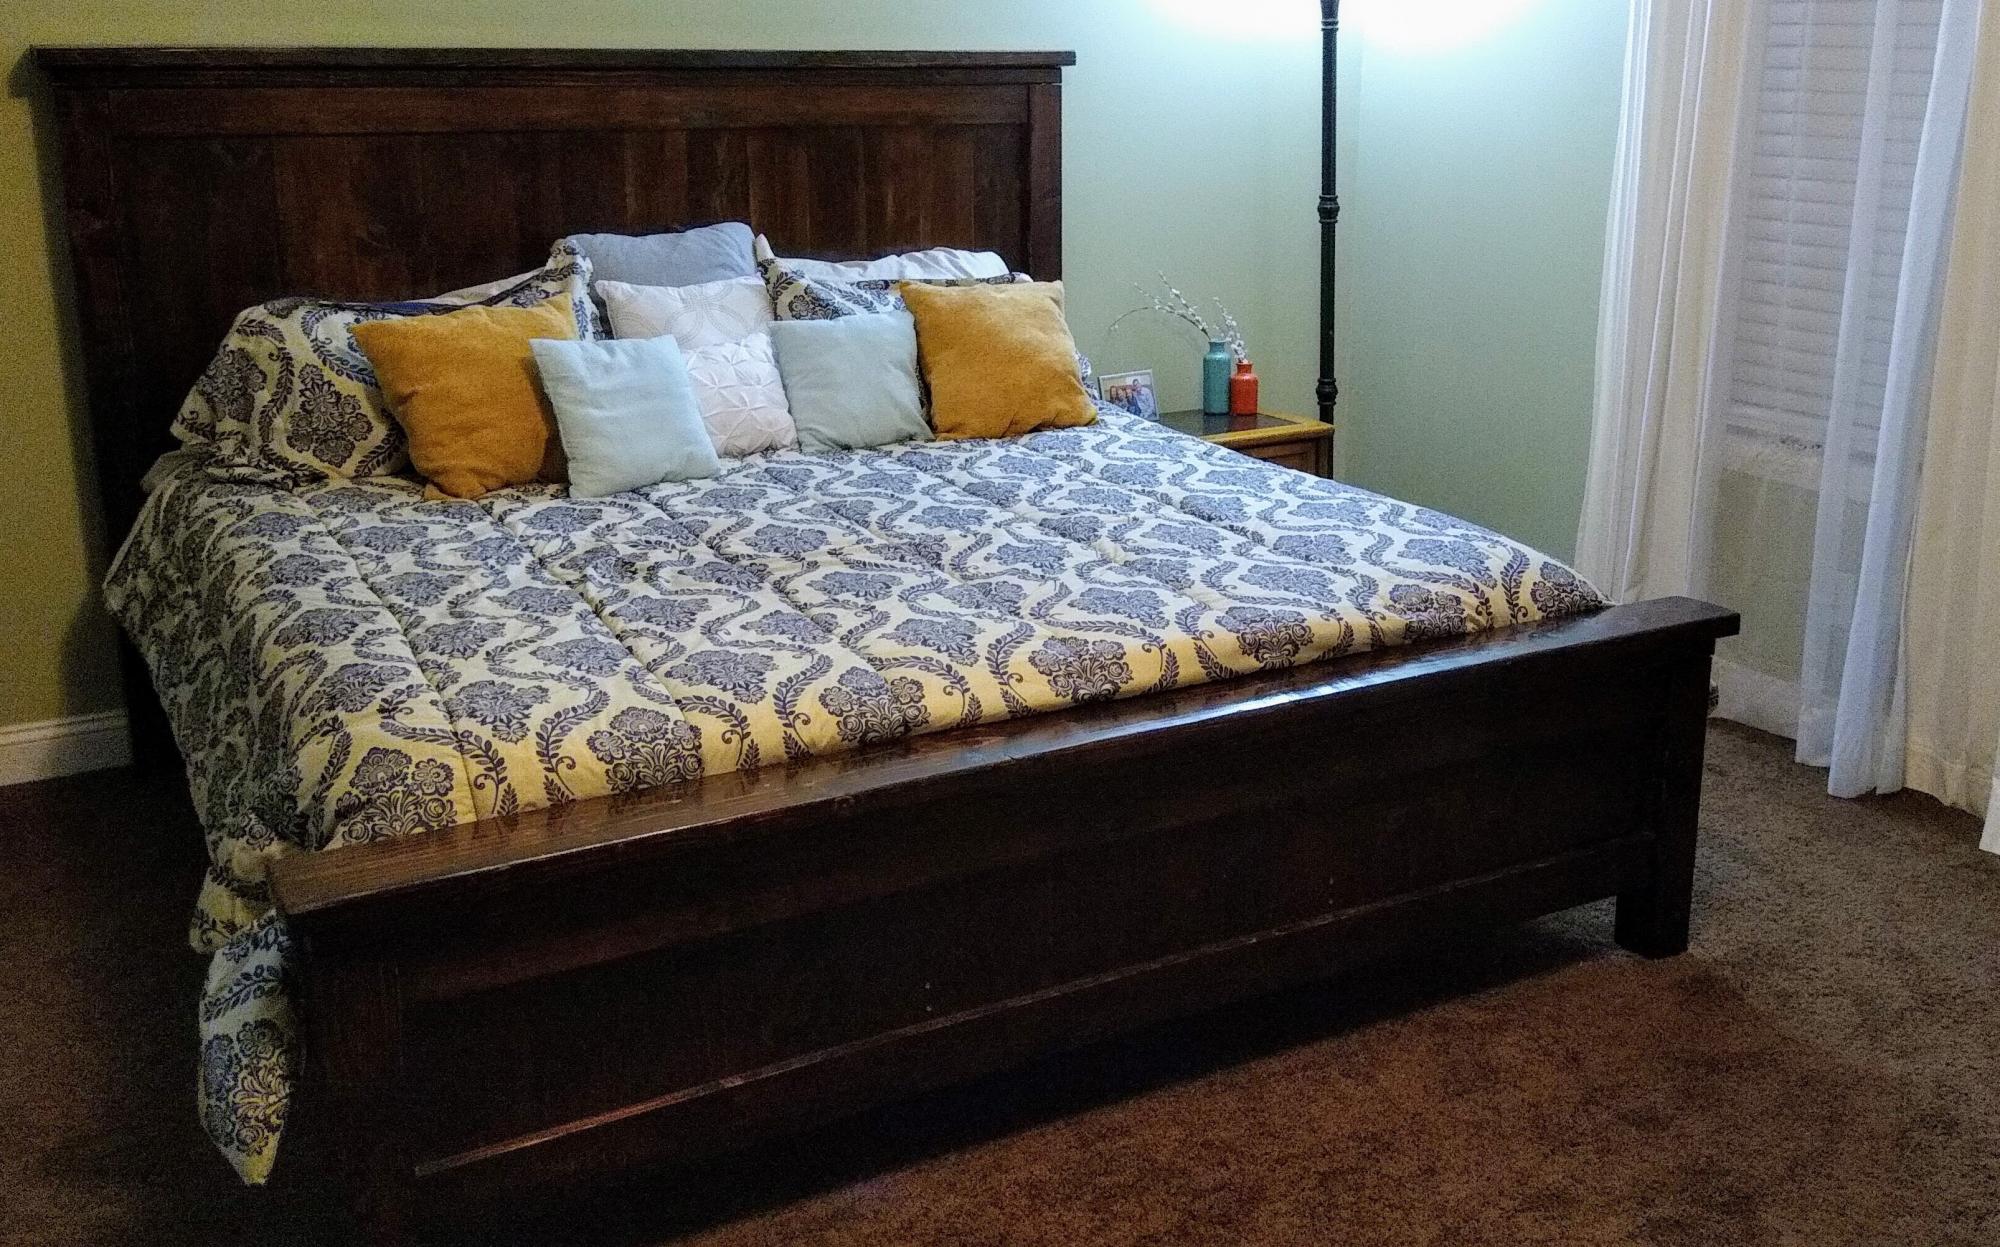
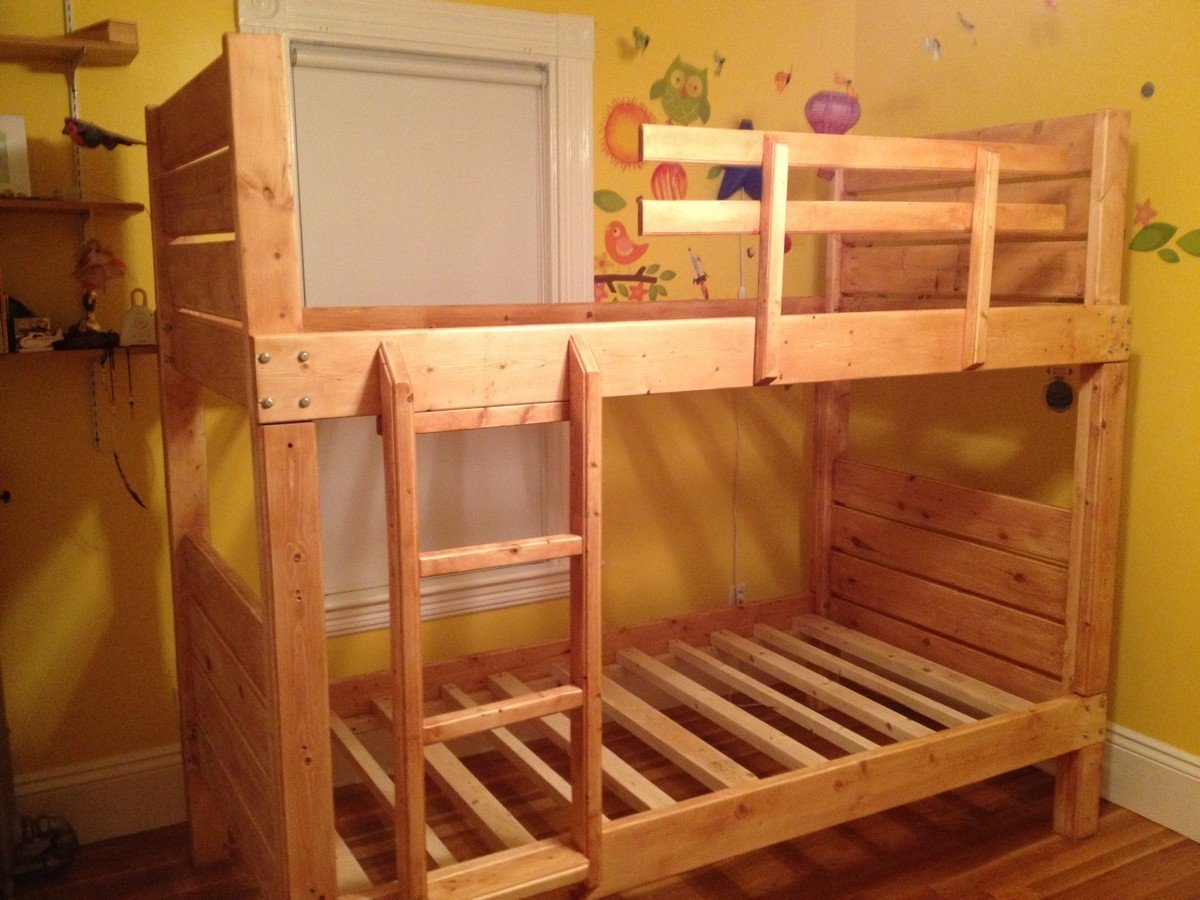
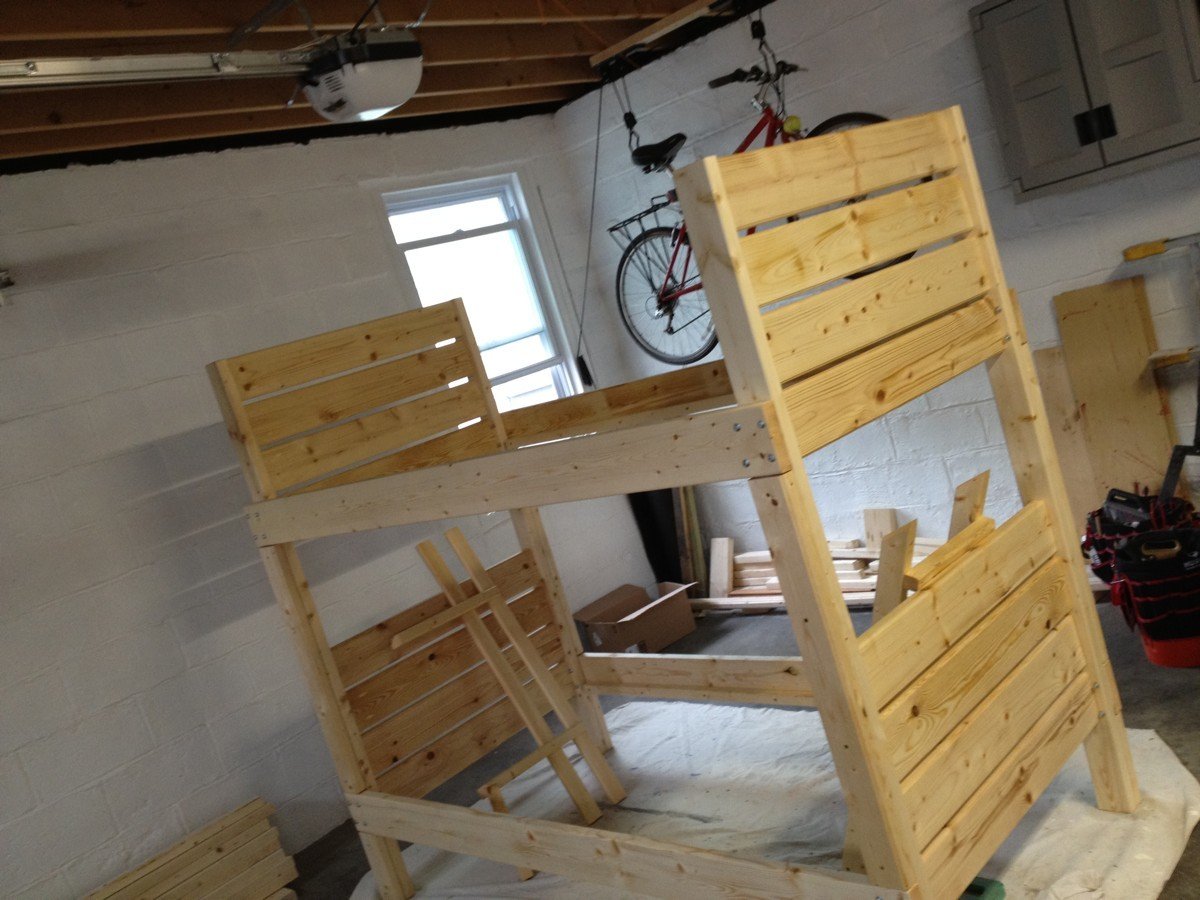
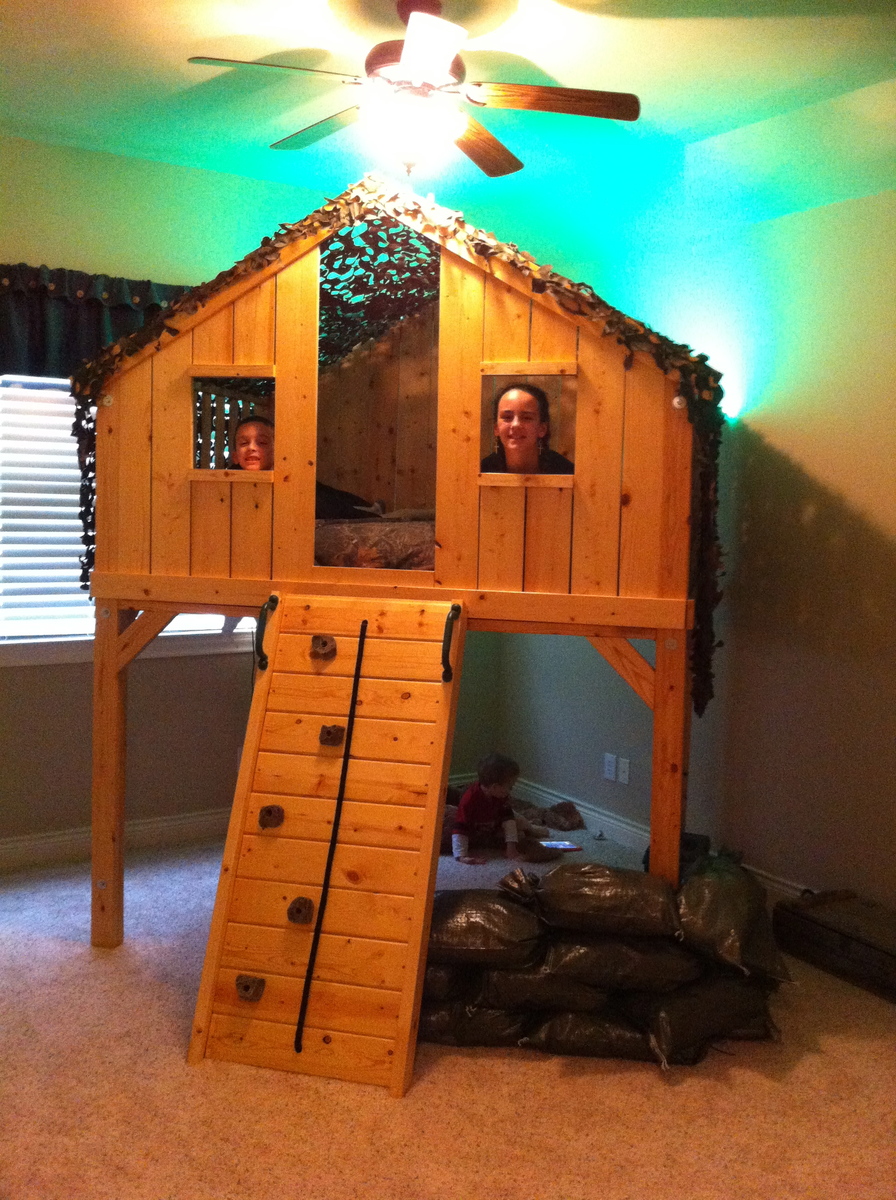
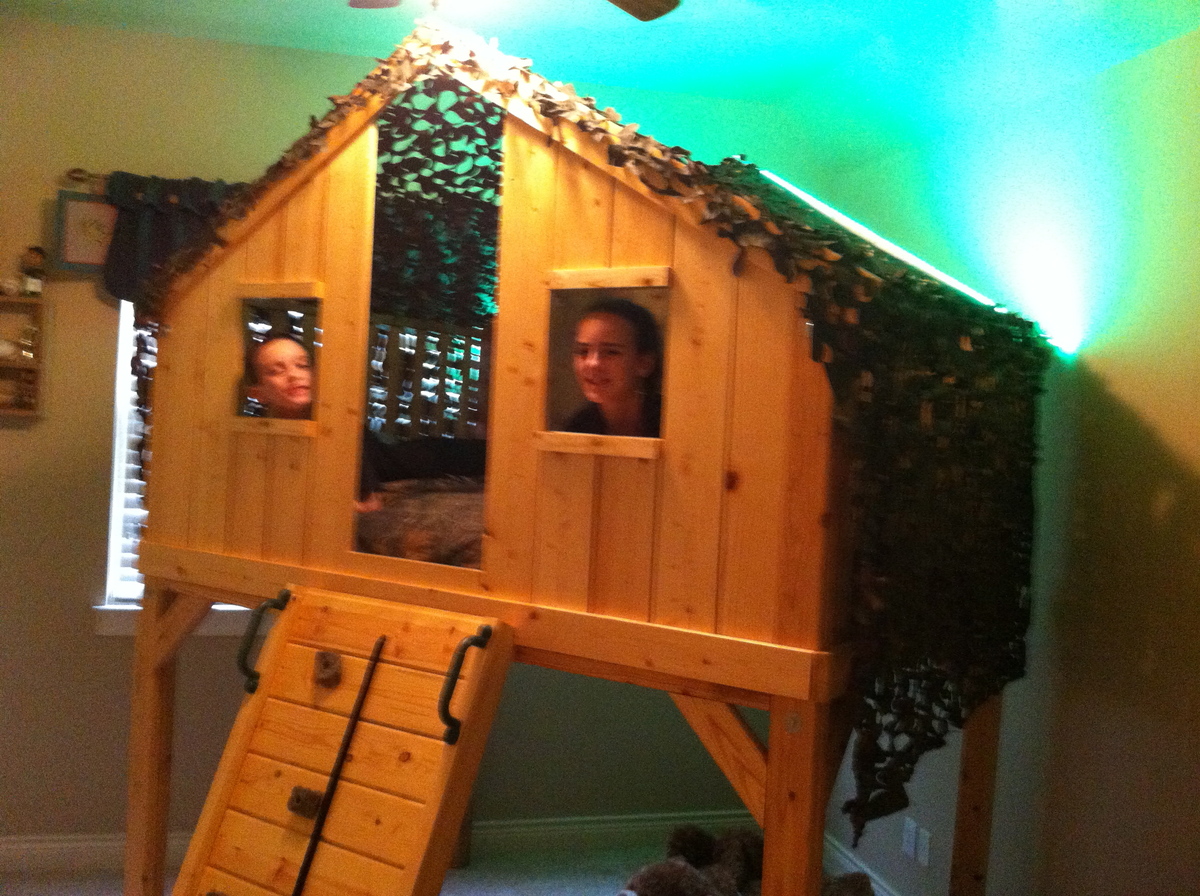
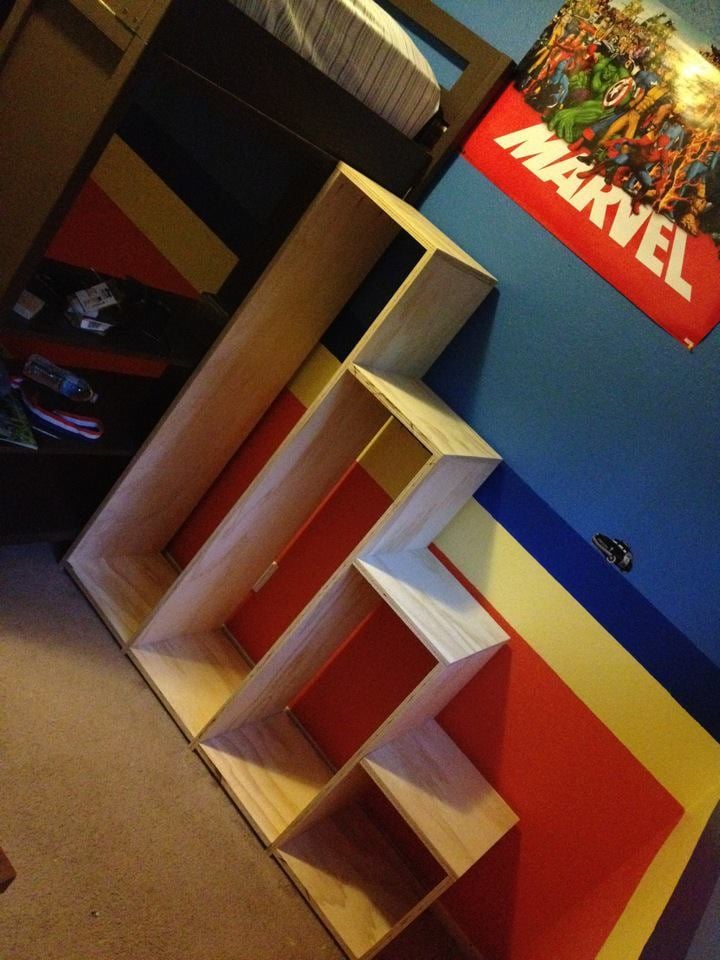
About halfway through the build, I started to worry that what i was building was TOO sturdy - total overkill. But now that it's in use, I can tell you I'm glad I built with these plans. I can still climb up on top of the bed with both my kids if I want to and this thing doesn't budge. Not an inch. Not a creak. SOLID. Exactly what any parent wants.
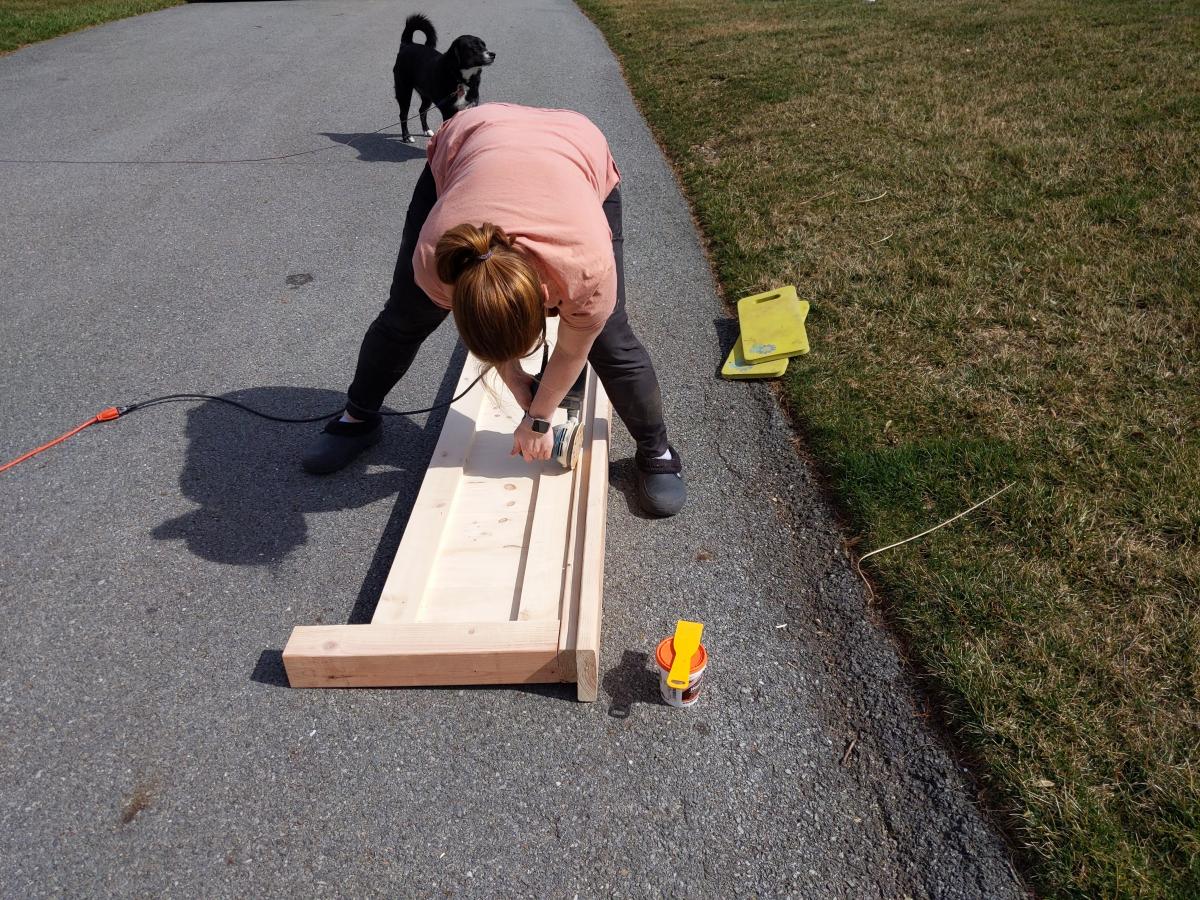
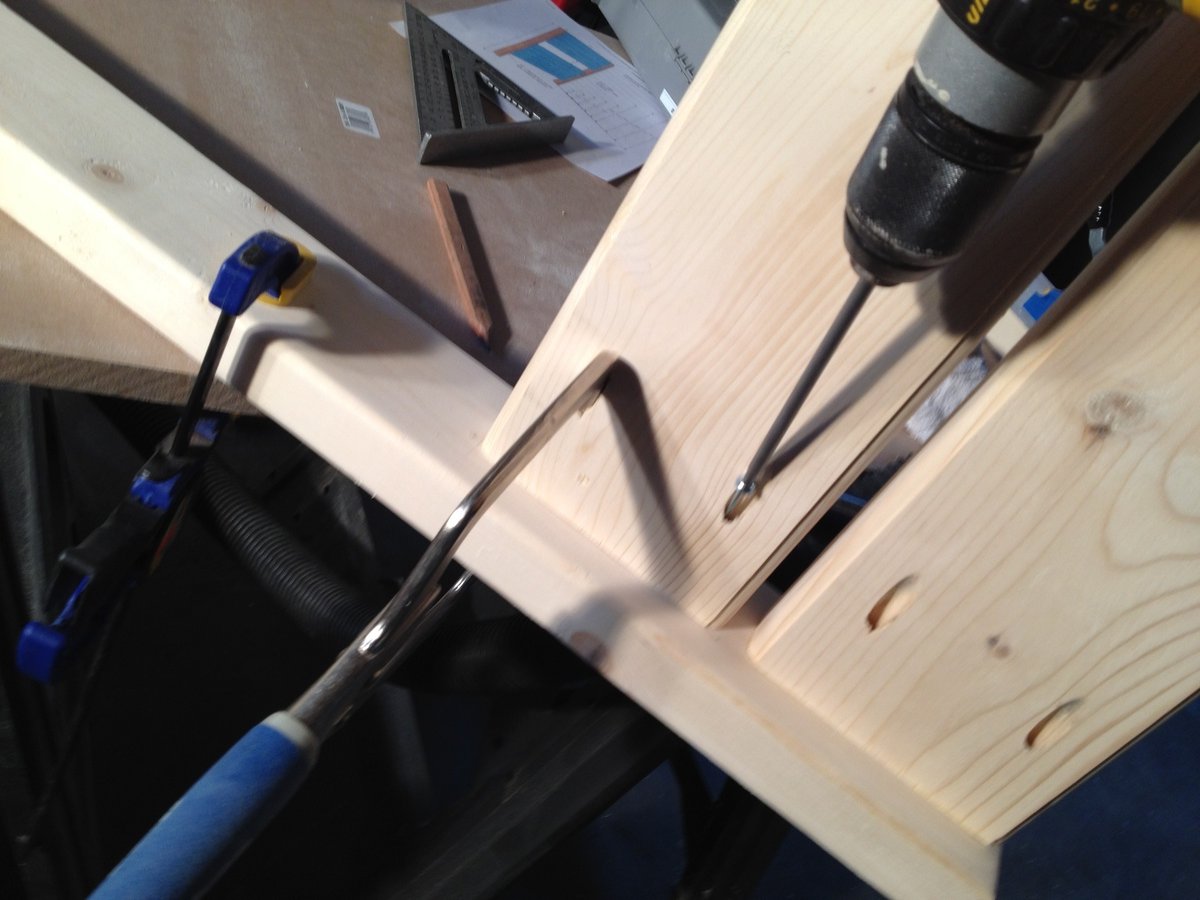
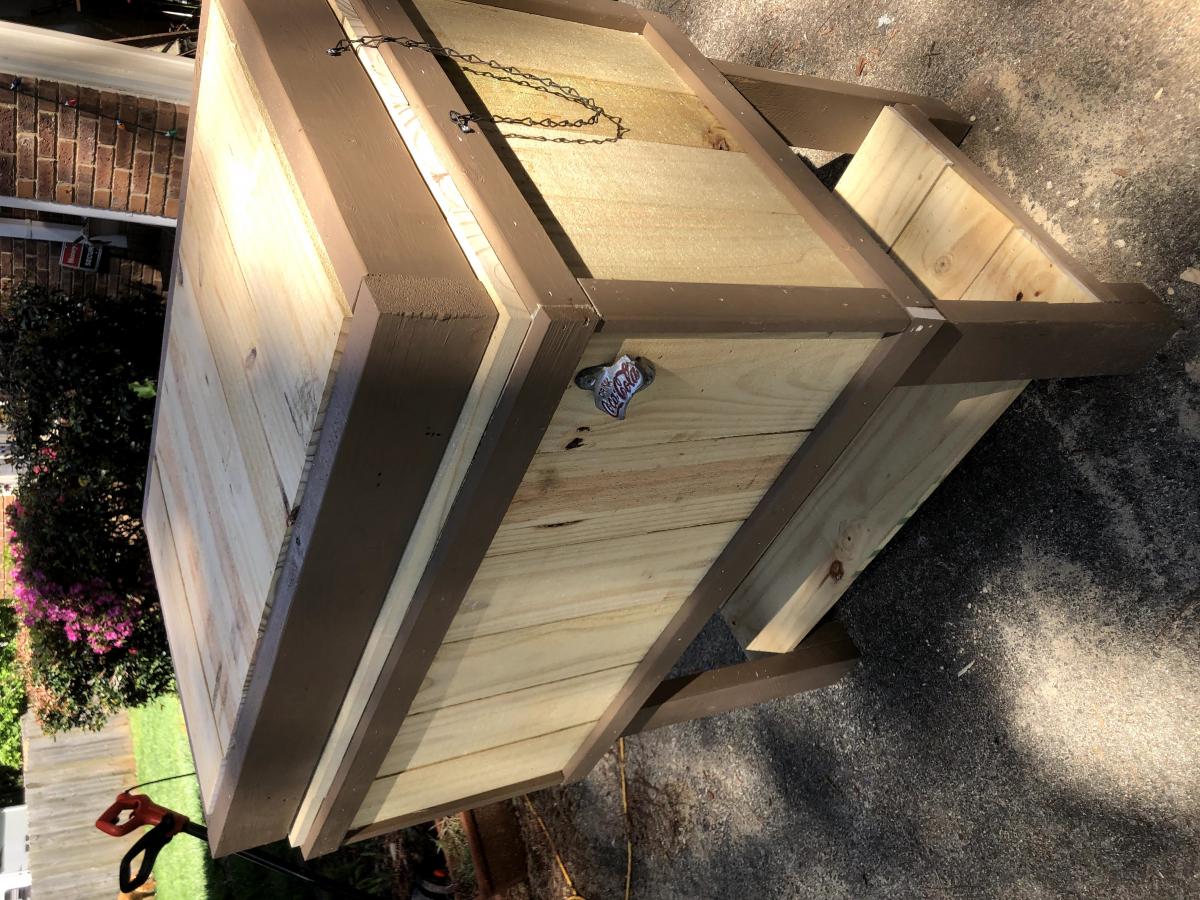
Not a lot of complex tools involved here; my trusty Delta chop saw, my DeWalt 18v cordless drill, a DeWalt palm sander ( I spent hours with this), the Kreg Jig and a couple of clamps (of course), and the DeWalt Compact Router and table. The router really made a difference in the overall design – and I wasn't afraid of screwing up the lousy lumber I was working with. In the end, it all finished rather nicely.
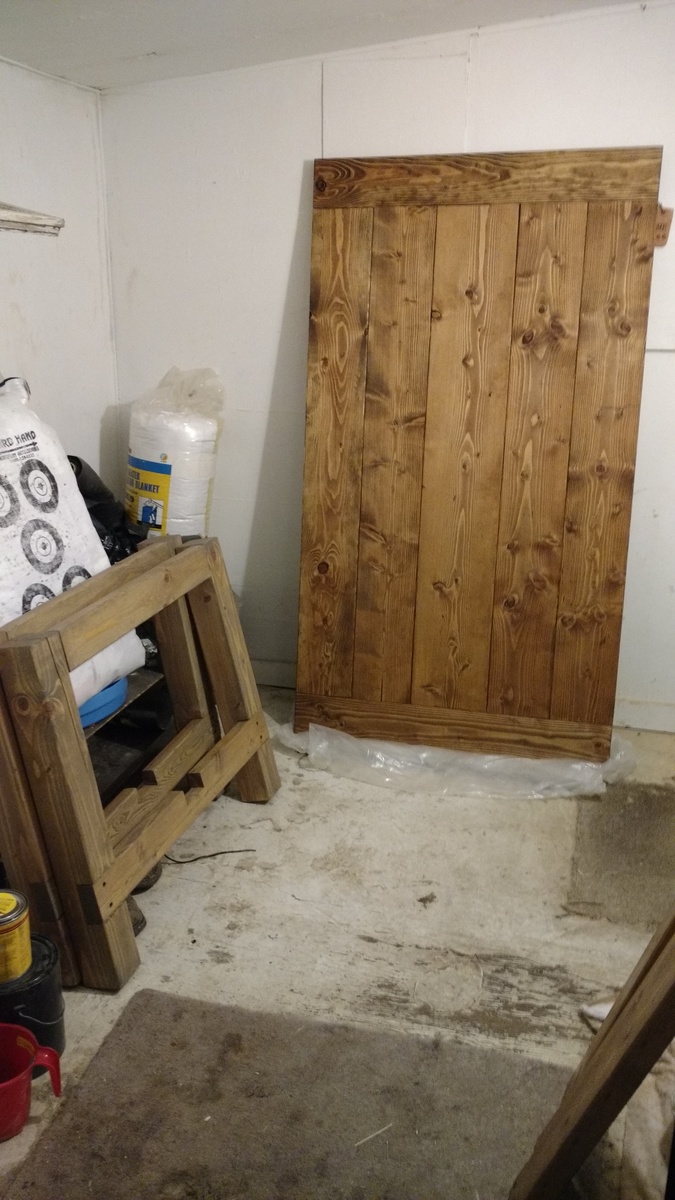
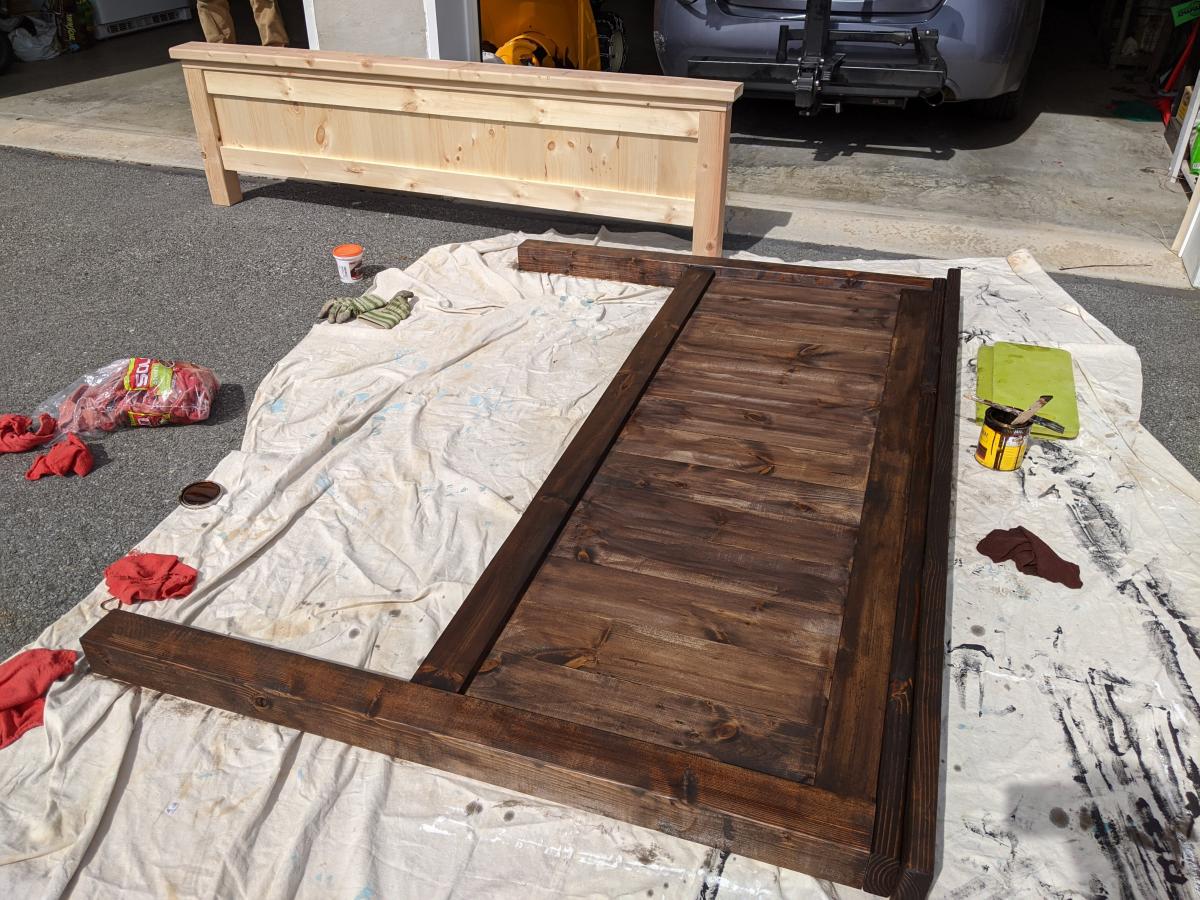
I treated every piece with Minwax wood conditioner, then a single coat of Minway Polyshade in Pecan. Nothing fancy, but after sanding it down and giving it a polish, I gotta say it looks just as good as your average IKEA finish. Not bad at all.
This is the largest piece of functional furniture I've ever built, and my kids LOVE it. They talked about it for days after, and you can't buy that on Amazon. It was a real confidence builder, and I'm PSYCHED to move on to some nicer lumber and more complex projects!