Community Brag Posts
Classic Storage Bed, adapted
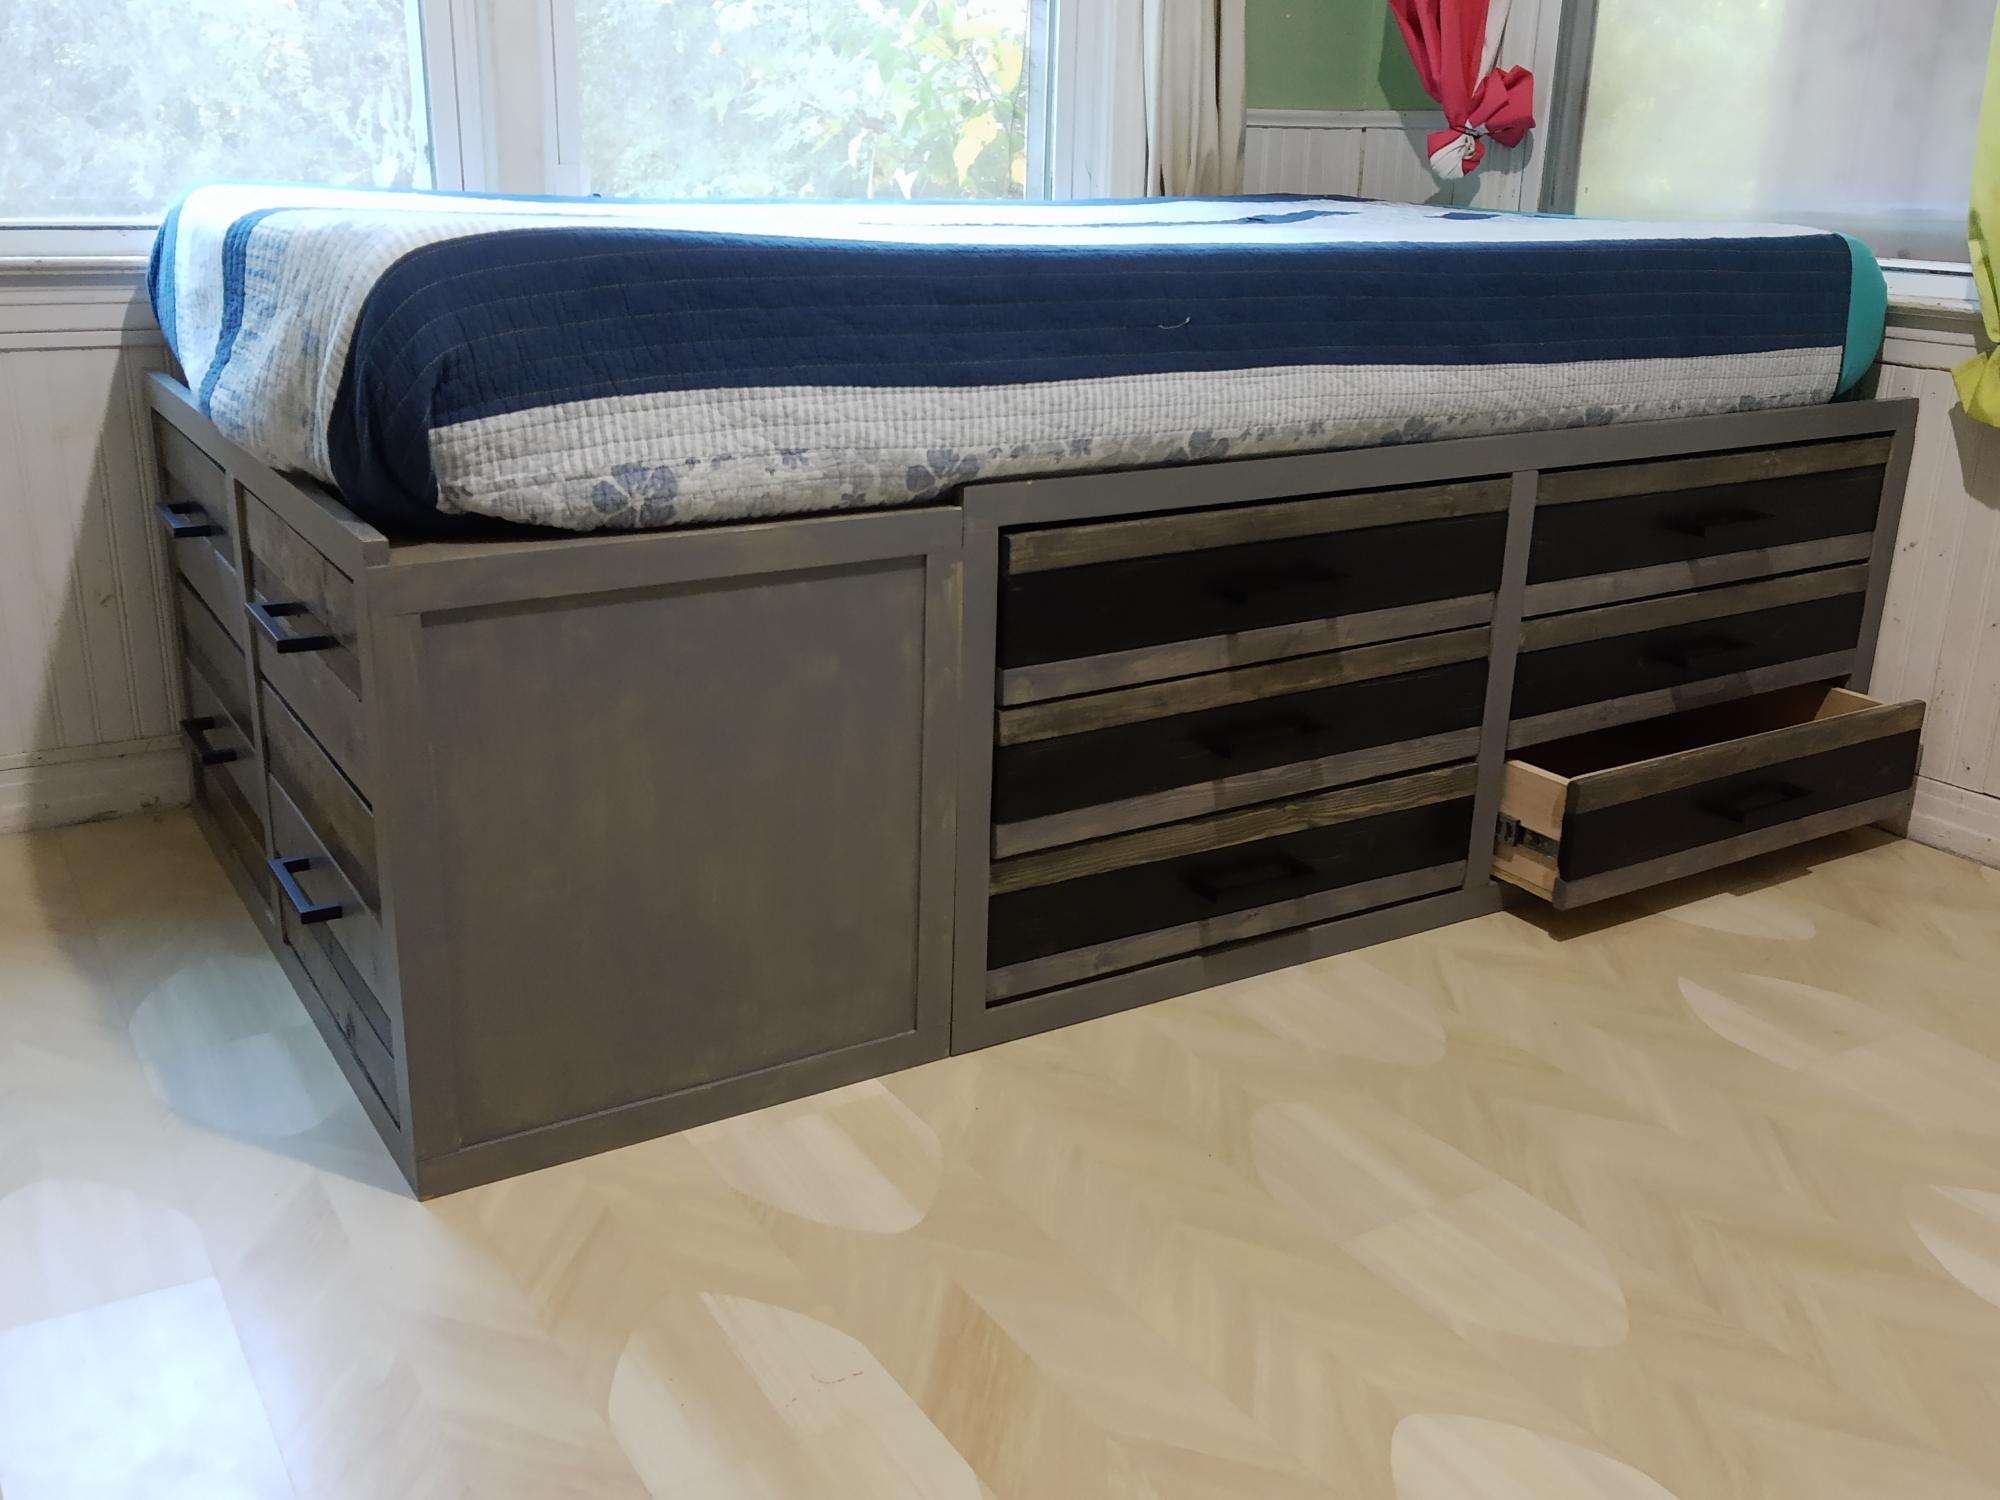
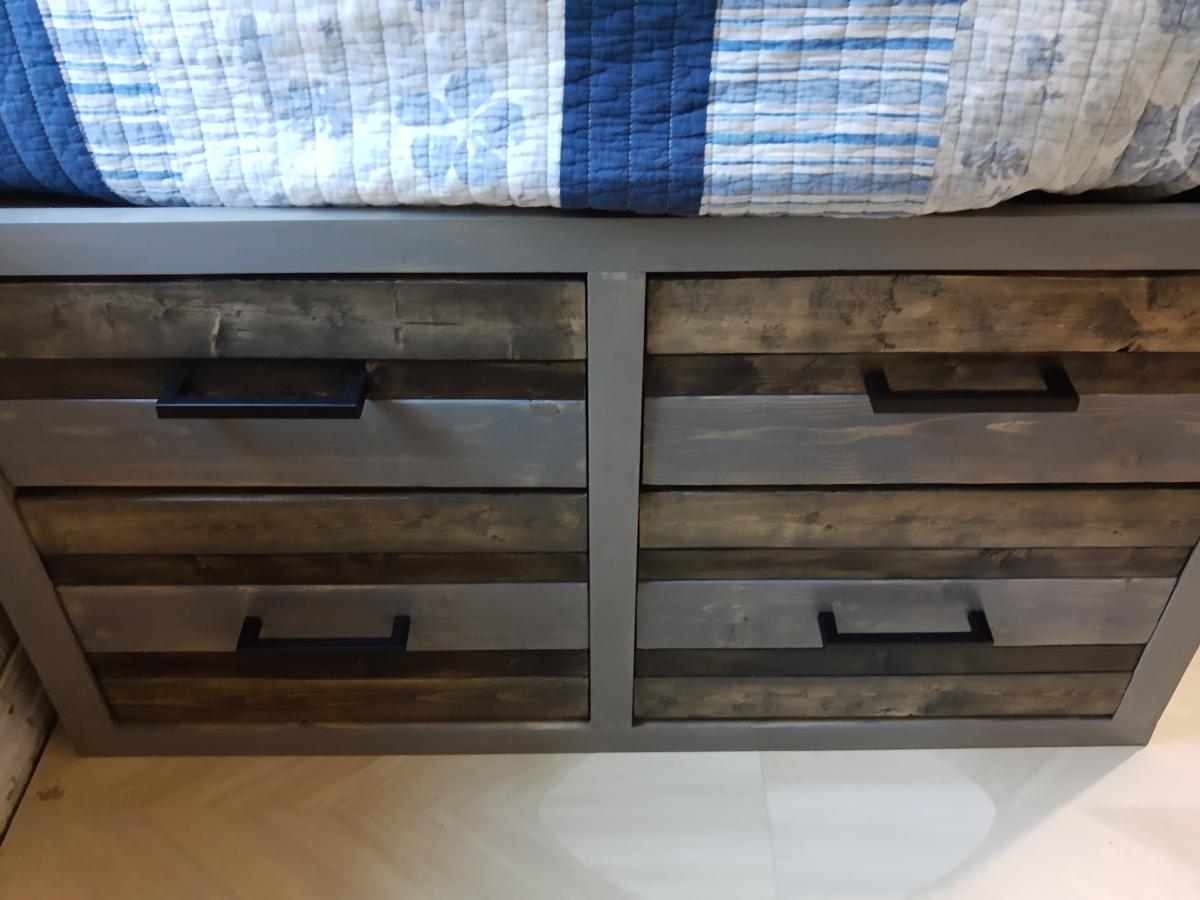
I doubled the height of the Classic Storage Bed to create 6 side drawers and 4 bottom doors for my daughter's twin bed. She lives the extra storage in her small bedroom. Thanks for the inspiration!
Comments
Barn Frame using 1x3 and 1x2 lumber
I built this for an odd-sized print. I used 1x3 on the interior frame, and 1x2 on the border frame. I really like the rustic look of it, and it came together really quickly.
Ashley Makes: Rustic X Console (Minus the X)
I built the Rustic X Console to store my growing collection of cookbooks. The plans were pretty easy to follow. I really struggled with warped boards!
You can check out my blog entry for more photos and details.
First piece!
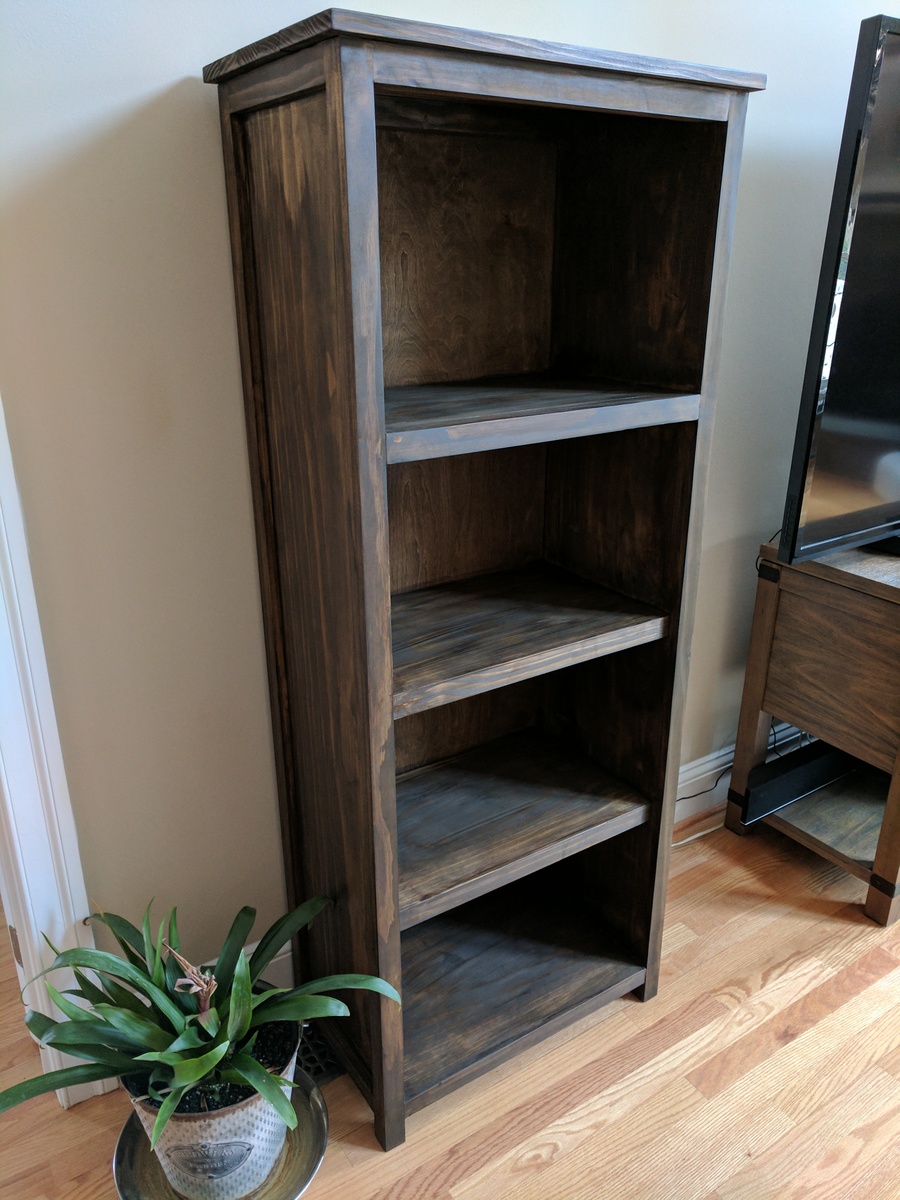
Used this plan as a "practice" platform for a larger version in the future. Very simple yet nice design. I would prefer to hide some pocket holes on the sides to avoid the extra work of plugging them next time. Also, Lauan plywood panels are cost effective way of finishing the back.
Pot holder
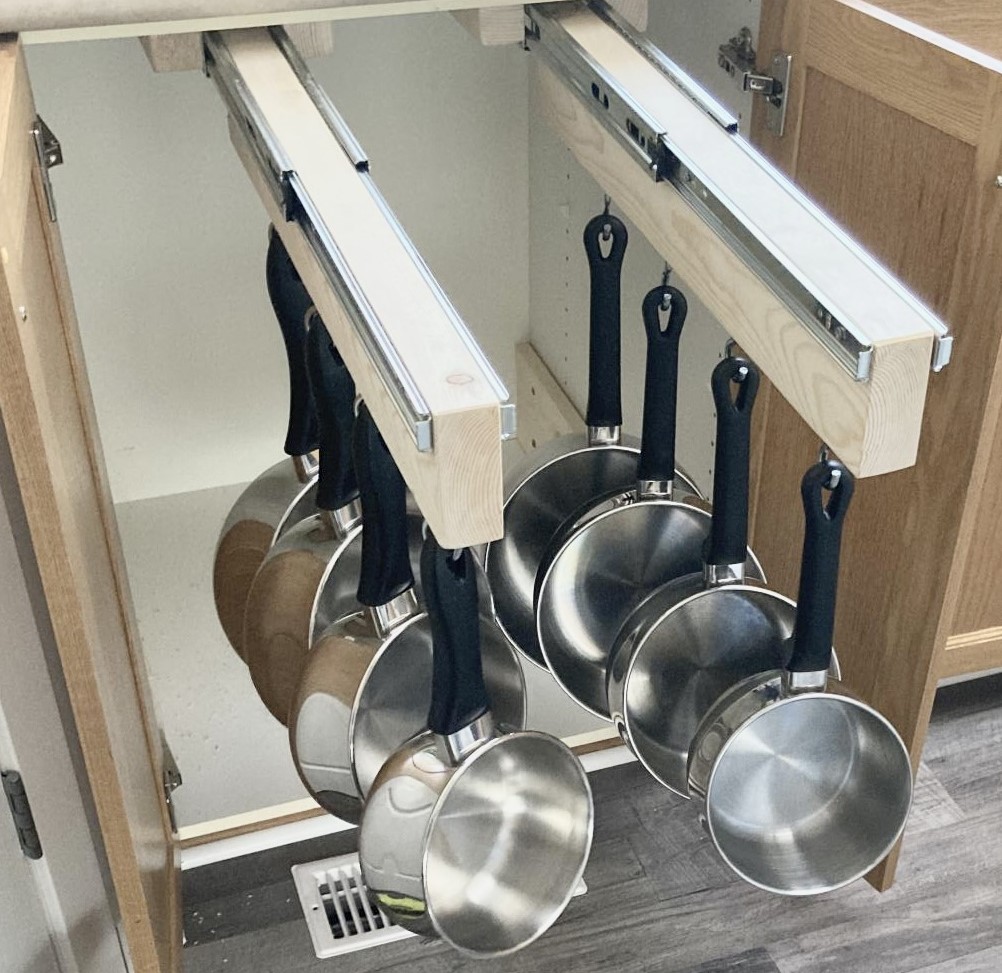
Working off your idea. Added another holder. There will be a bottom drawer for bigger stuff.
12-foot ledges for front-facing children's books

We built three 12-foot shelves to span the entire width of a wall in our play room. Each shelf cost approximately $30, mainly because we had to purchase a higher grade wood to get 12-foot pieces that were reasonably straight. I haven't filled the screw holes with wood filler yet.
Because these are child-height and we have a little climber on our hands, we screwed the shelves into every stud along the wall, and used more screws throughout than we would have for simple display shelves.
This was my first project and I did most of the work myself, with my husband's assistance when extra hands were necessary. It turned out so well I plan on tackling a few more Ana White projects! :)
Comments
Octagon table with moulding
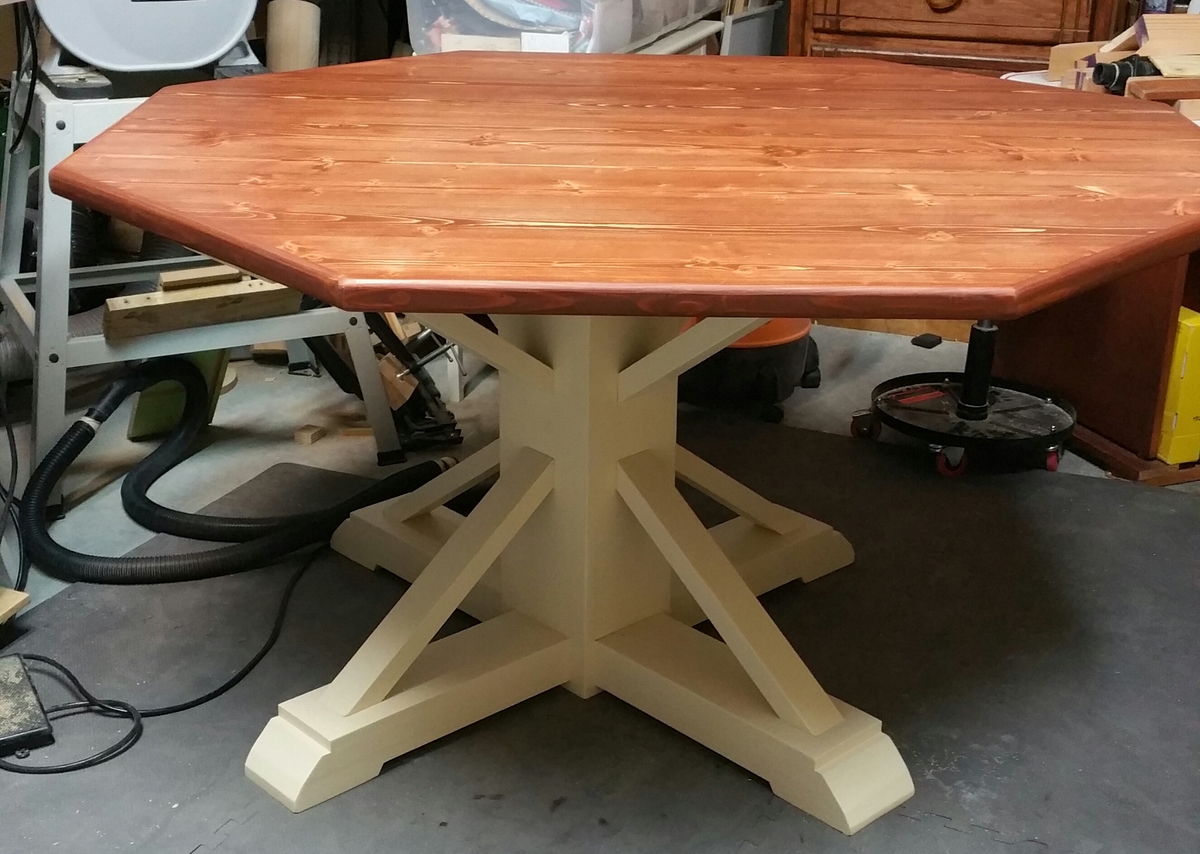
The angles were very challenging. I wanted to replicate the angles of 55 degrees. But of course my saw wouldn't cut them. So I made a quick jig for my miter saw that allowed the supports to be cut on their side just 10 degrees off 45 degrees equaling 55.
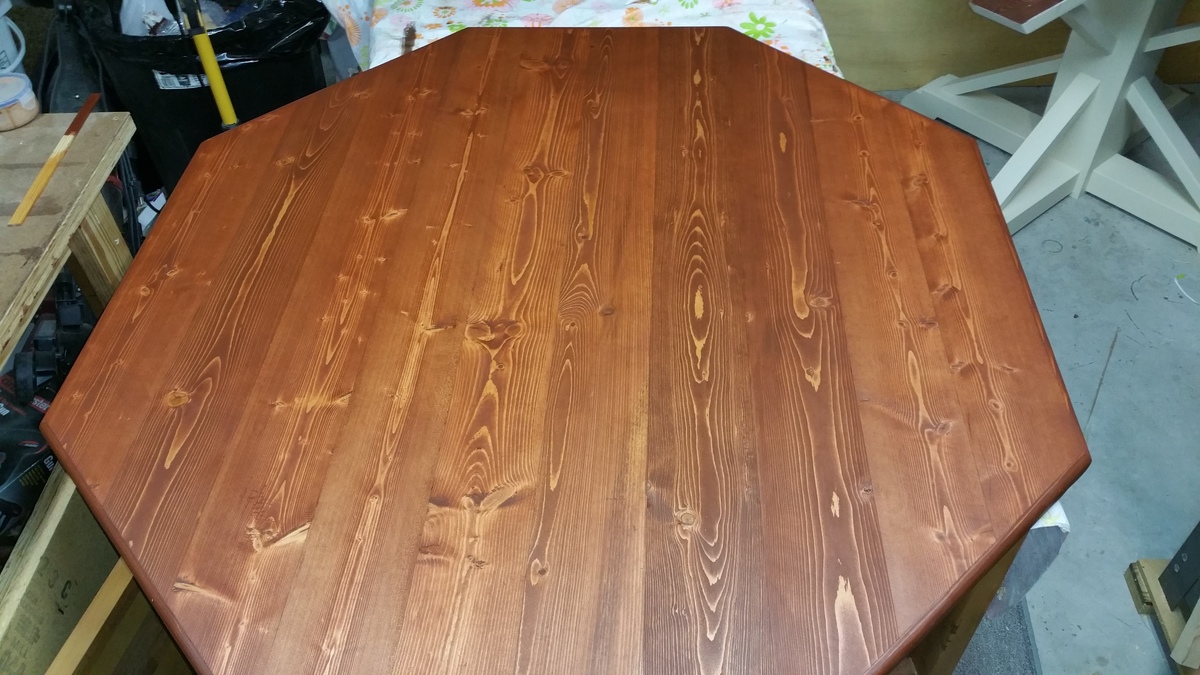
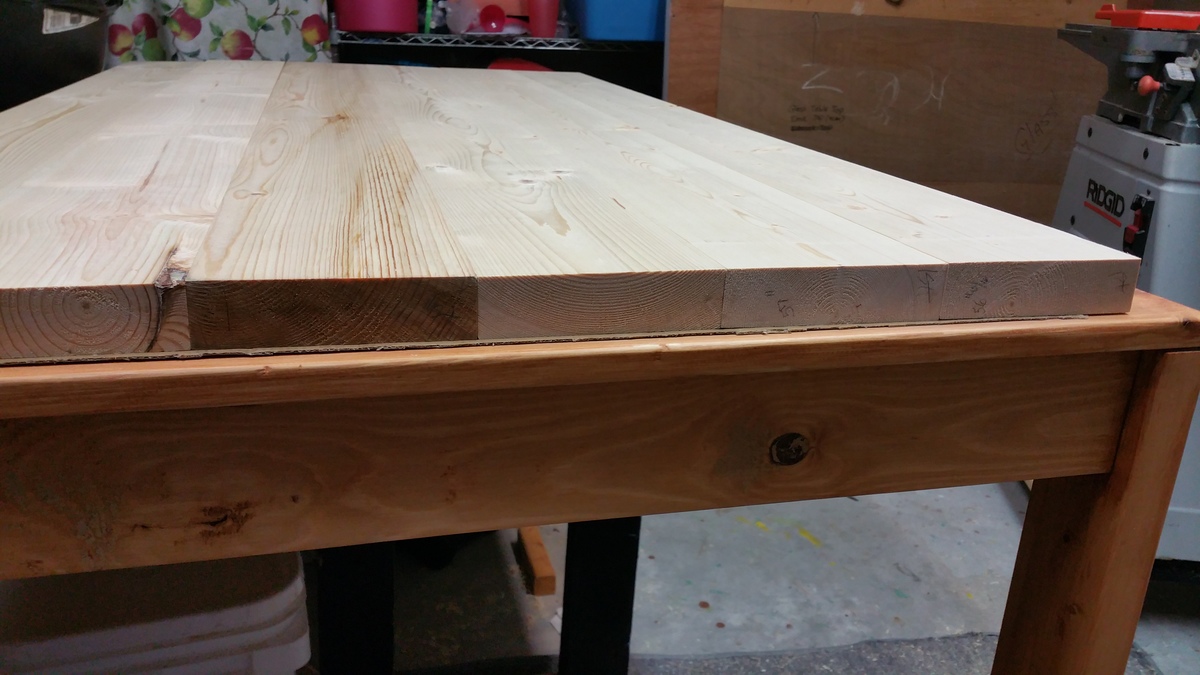
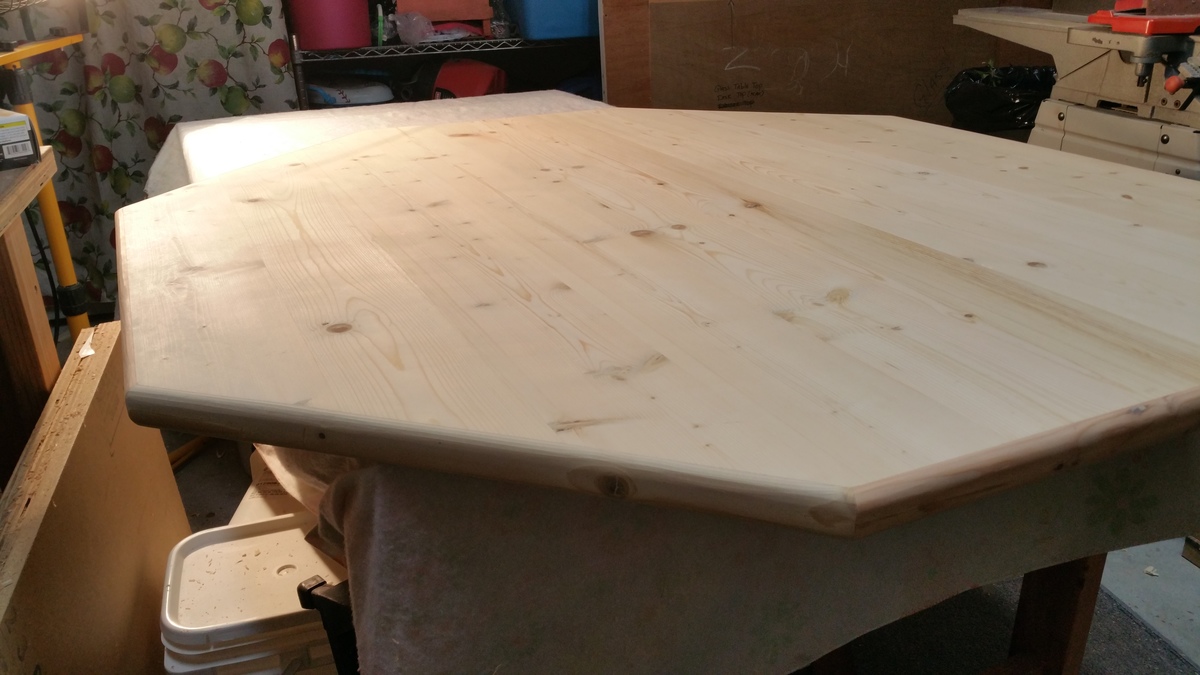
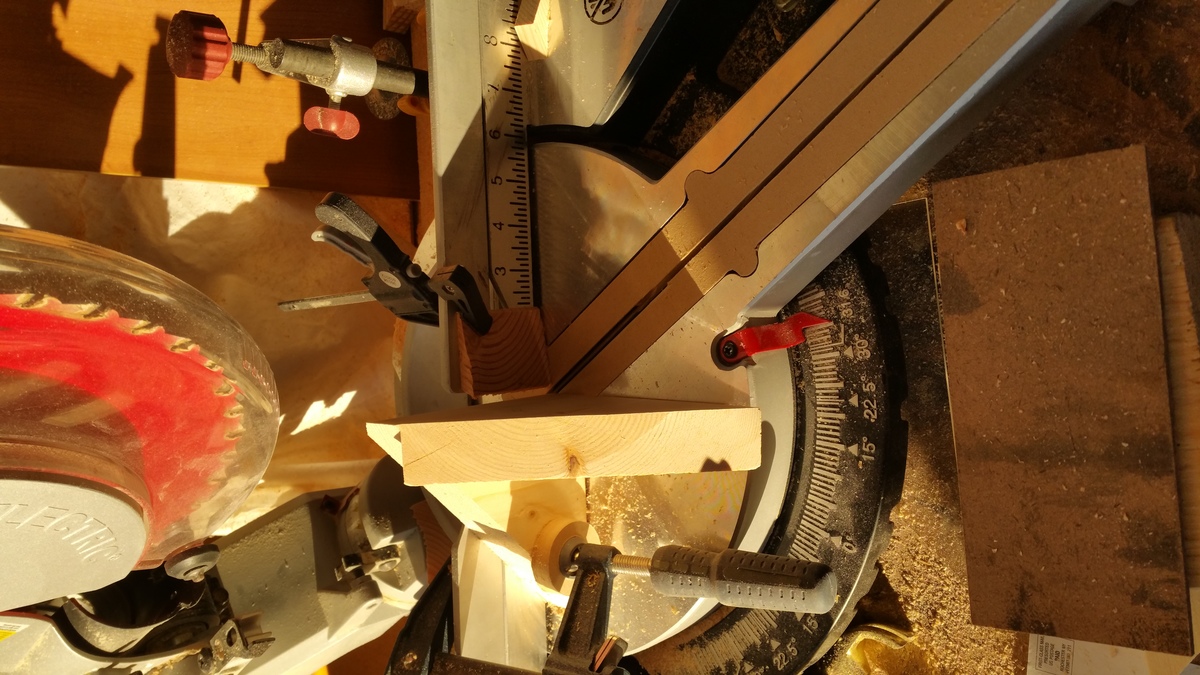
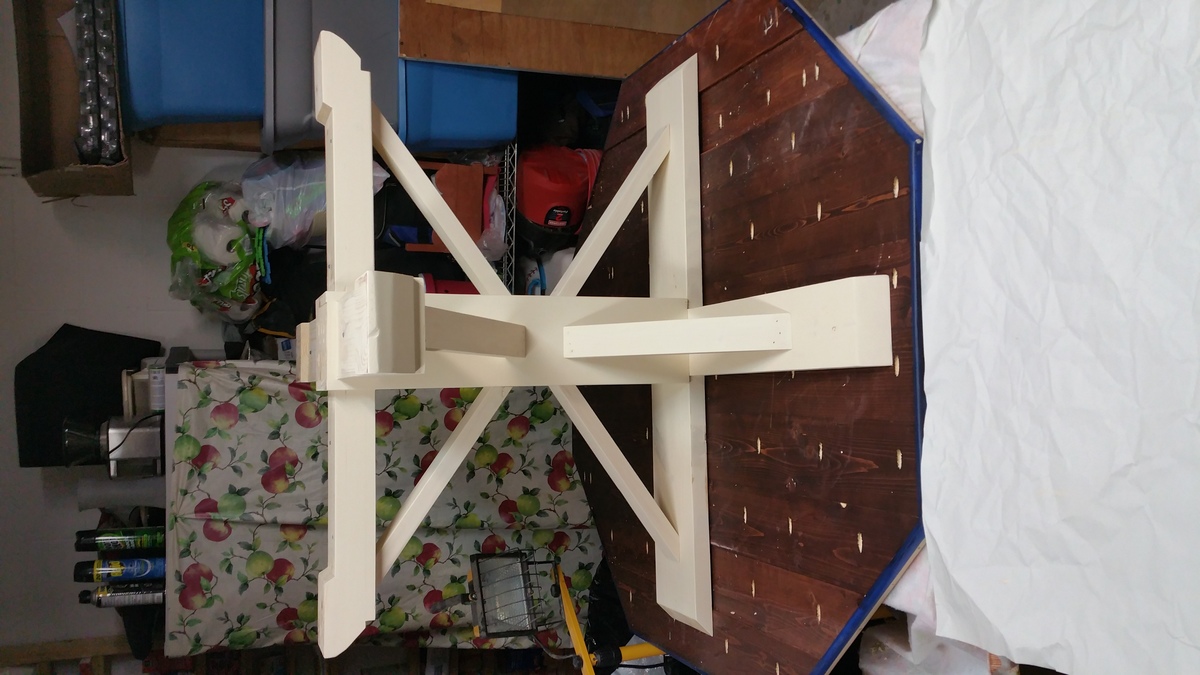
Varathane matte touch Polyurethane
Applied stain with Terry cloth covered sponge from Harbor Freight.
4" best roller from home Depot for the clear coat.
Hemnes Linen Cabinet
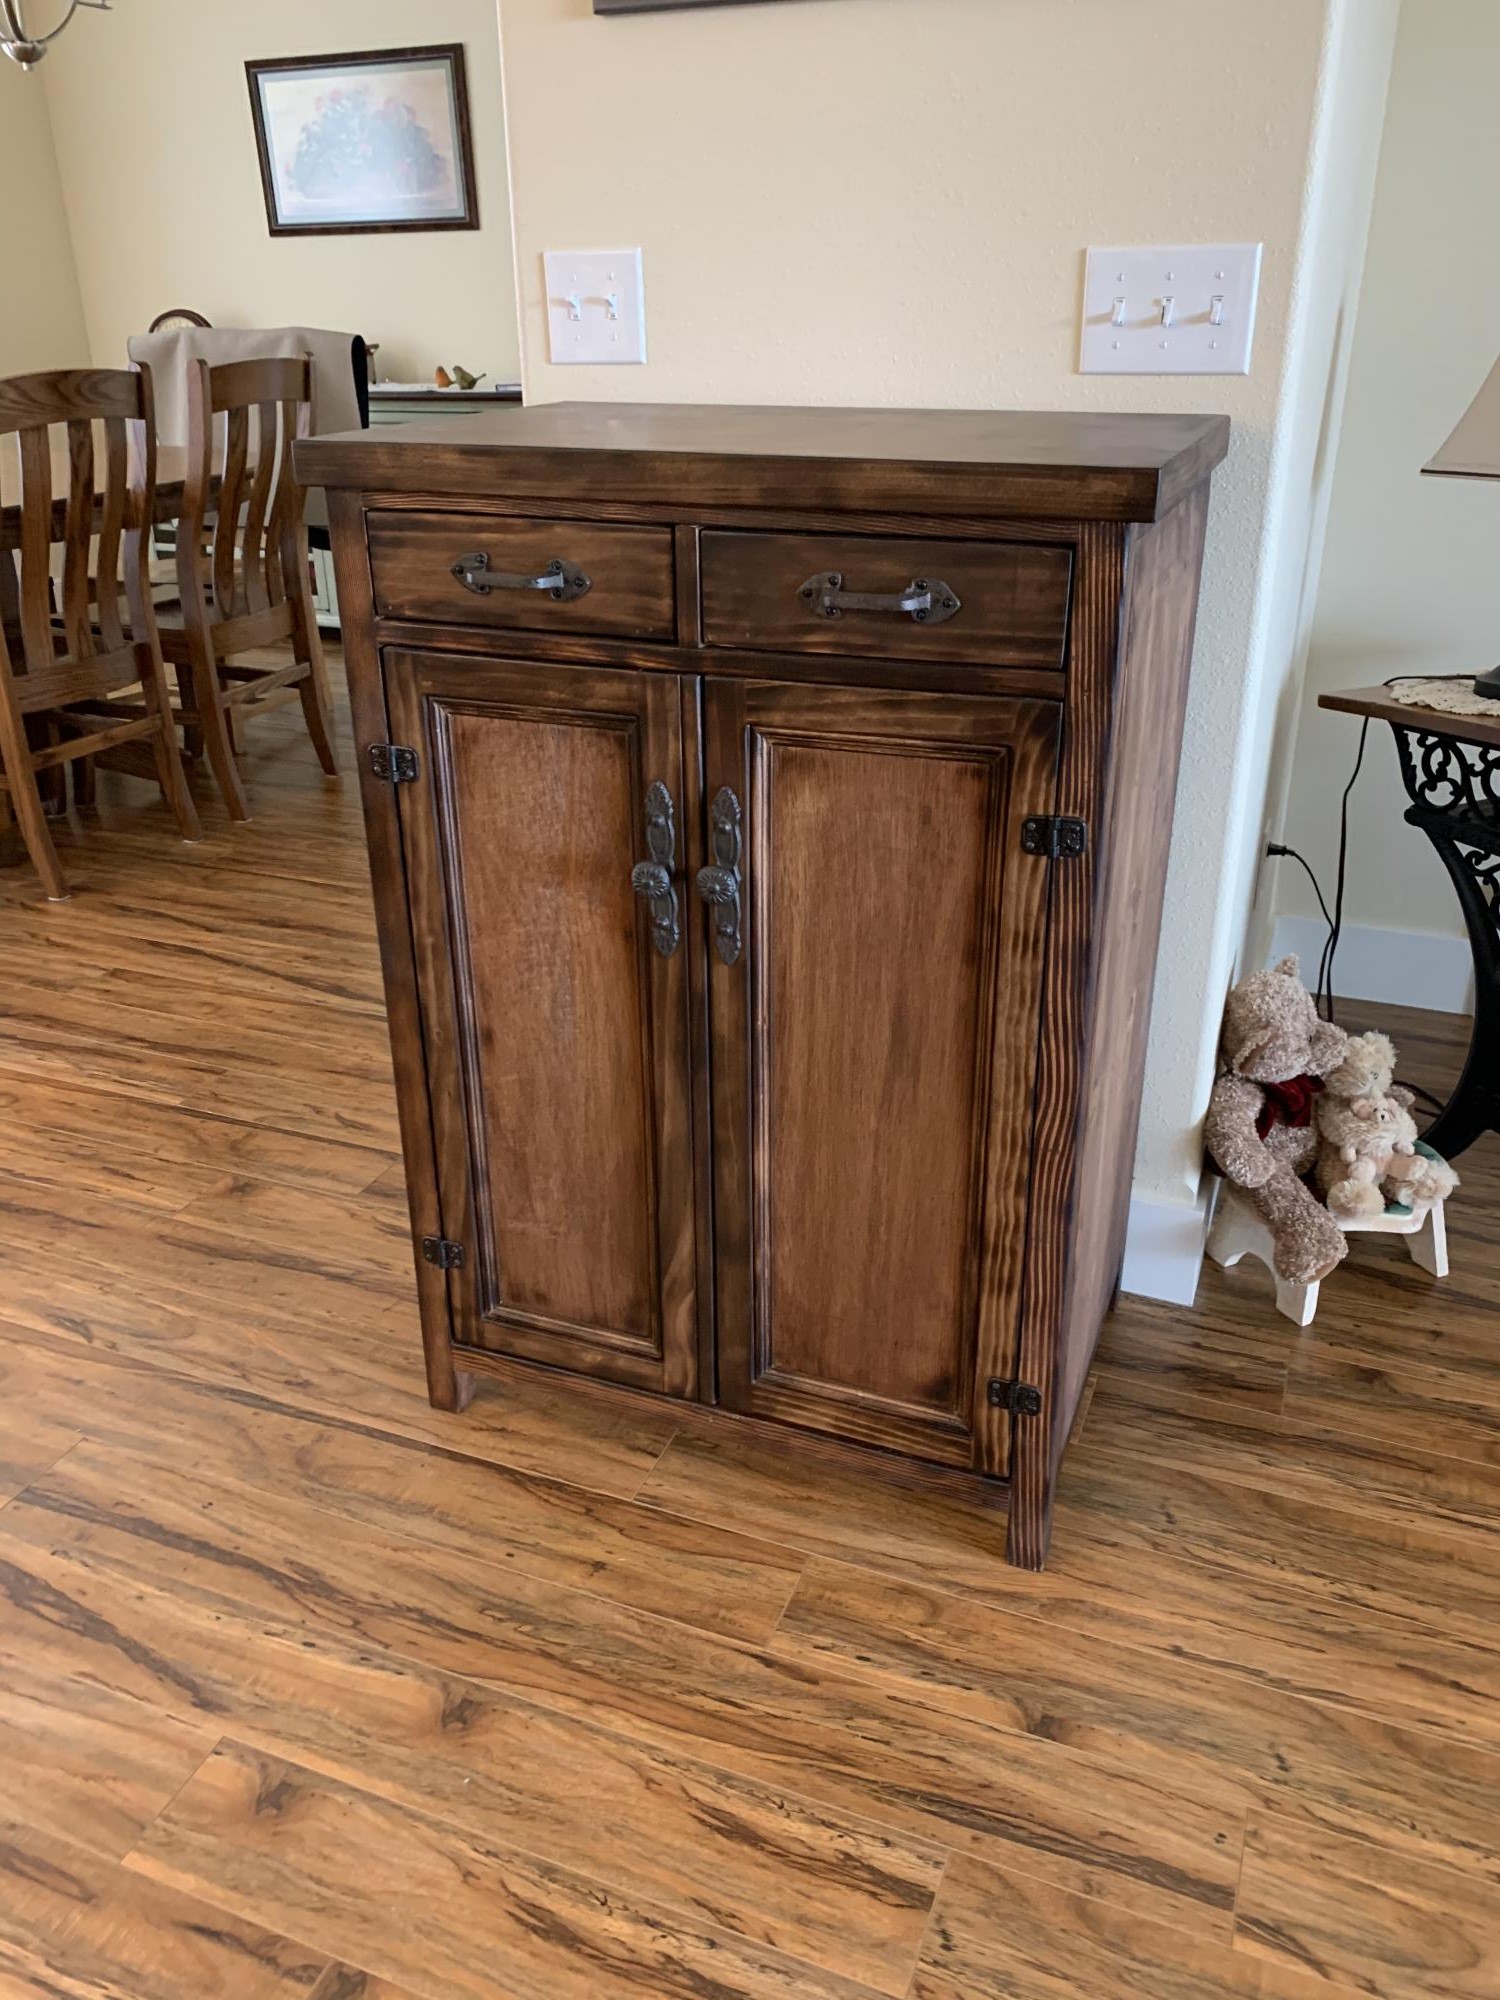
I modified the Hemnes Linen Cabinet plans to fit this space. Instead of painting, I burned and stained the cabinet before applying polyurethane.
Comments
Printer's Console
Followed the plans pretty close on this one.
Comments
Fri, 12/19/2014 - 17:34
I really love how this turned
I really love how this turned out. What stain did you use? Thanks!
I've started building the Triple Printers Console. I haven't quite decided on the color.
In reply to I really love how this turned by handmadewithash
Mon, 12/22/2014 - 18:19
Stain
The stain was Cabot's Dark Walnut wood stain.
Fancy X Farmhouse table and Bench
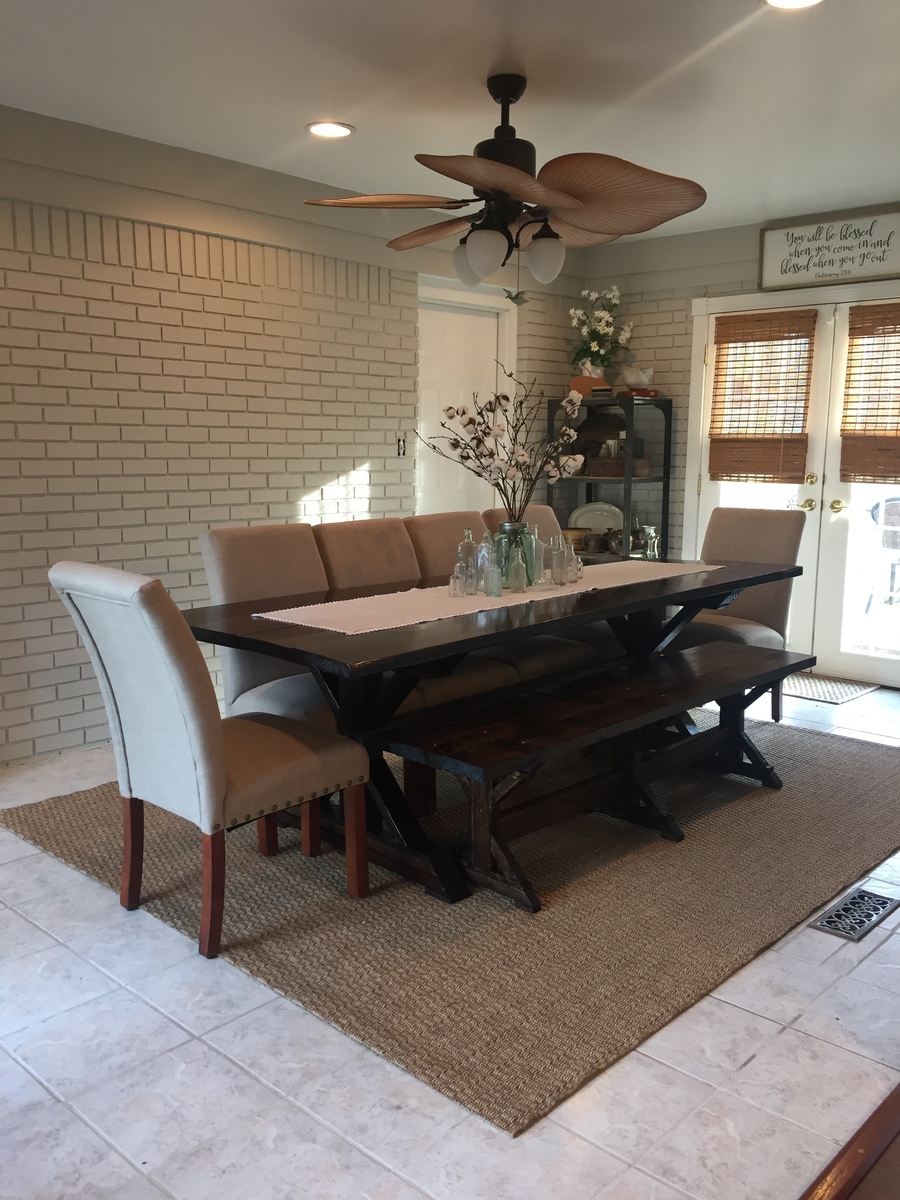
I absolutely love my rendition of the Fancy X Farmhouse Table (and bench). I took Ana's plans and combined them with some of the details from charmingimperfections.com to create the vision in my mind of exactly what i wanted. The build was not bad at all but the Kreg Jig is a MUST have tool! This was my frst experience with the KREG jig and i am now looking forward to many more DIY Builds! :)
Bench $50
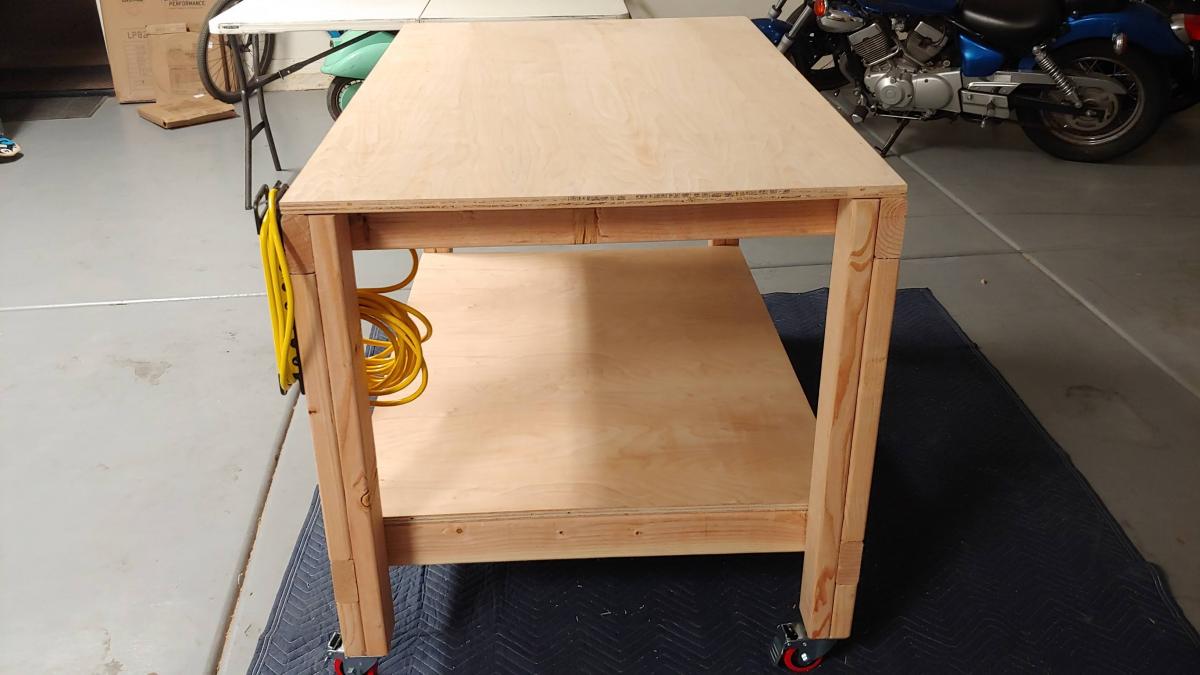
First Project: Workbench with casters
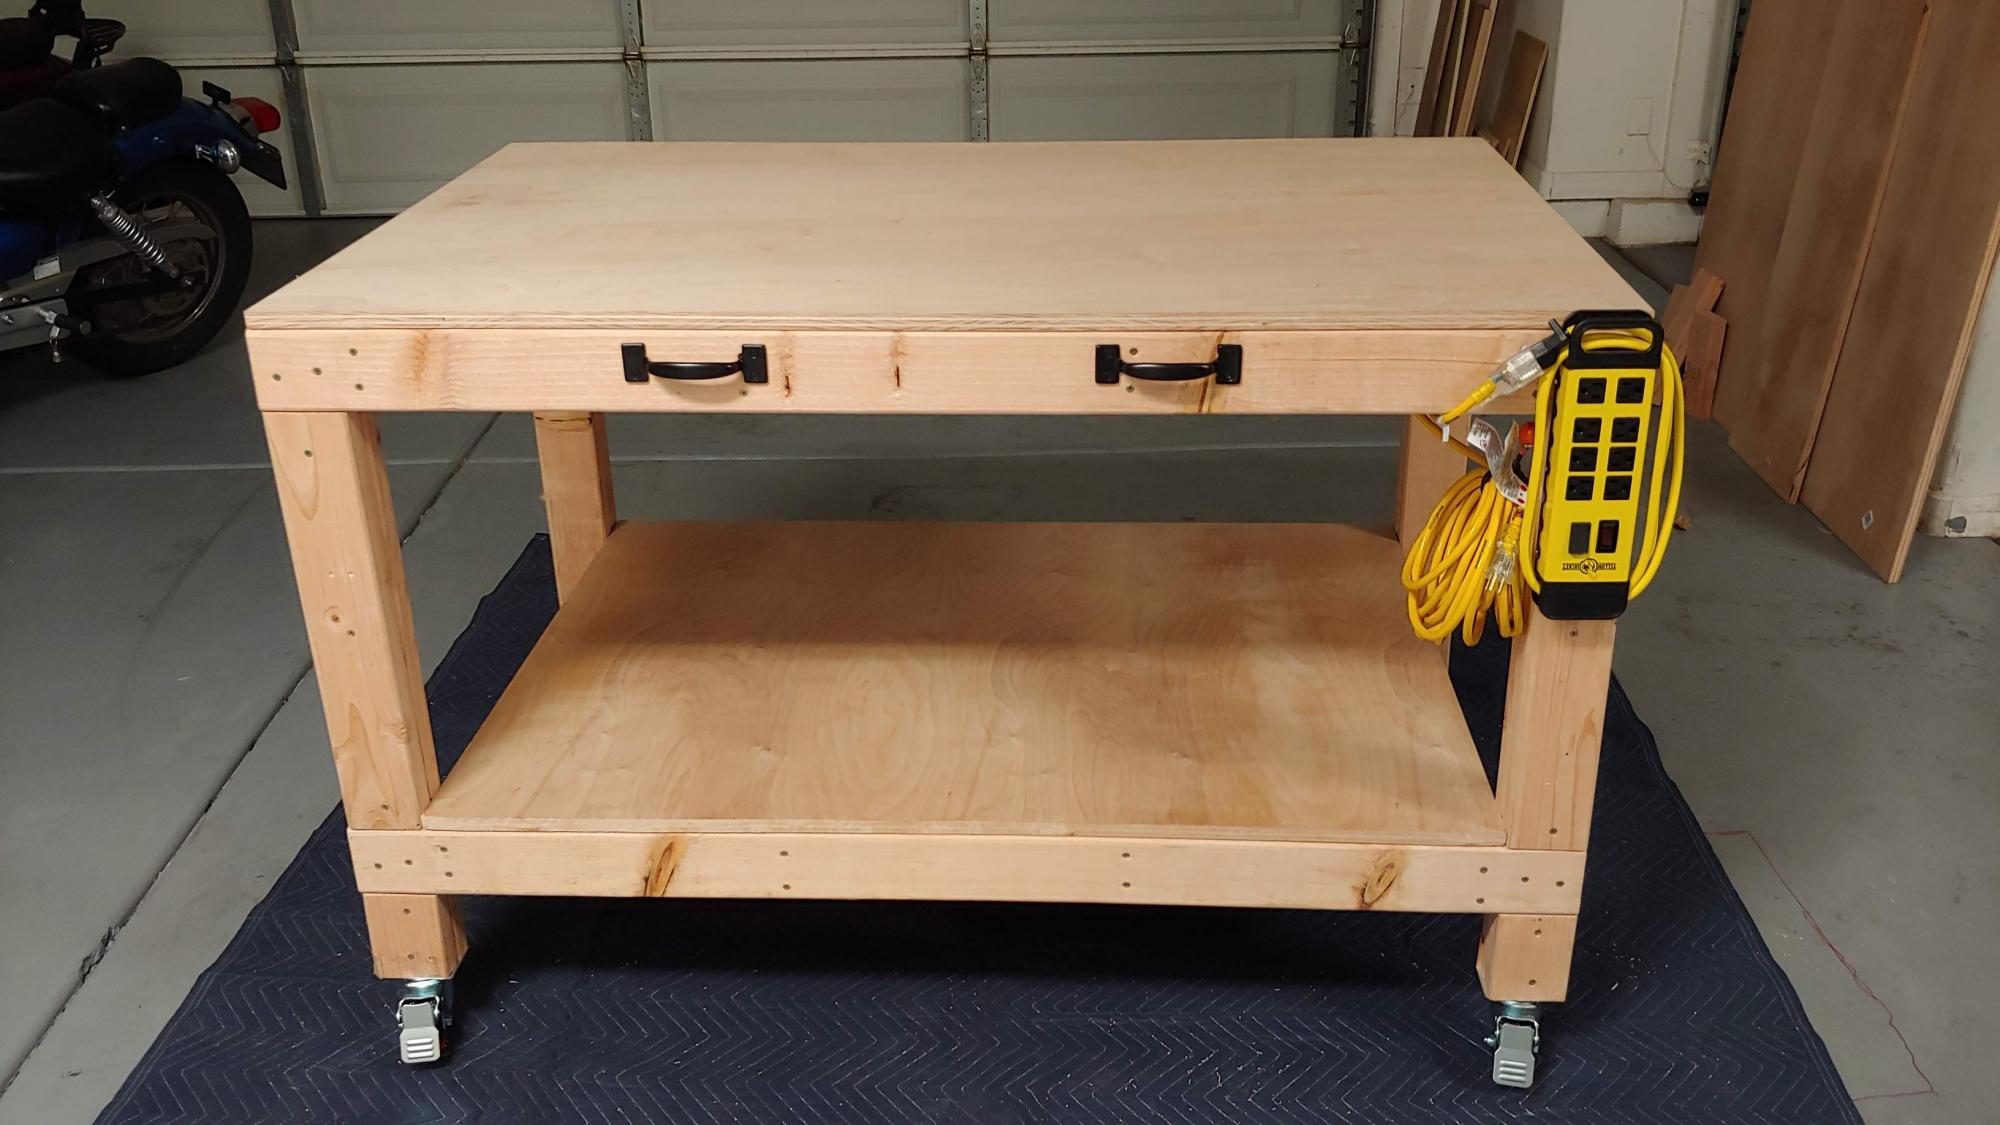
Success with first project, I am very happy with it.... although I need to find a better way to square things.
Comments
Camp Loft Bed for a Little Firefighter
We built the camp loft bed for our 5 year old sons birthday. He wanted a firefighter bed, but we wanted something that would be a little more "flexible" for his room. The camp bed was perfect for him! The stairs were too deep for the room configuration, so we did not include the stairs, and instead purchased a sturdy stepstool from IKEA to match the bed. The double bonus is that when we read to him a night we can move the step stool and stand on it while we read the story! I made the firefighter station curtain/tent and attached it with a tension rod. We also constructed a large toy box on wheels to slide underneath the platform for his big toys like race tracks, etc. The bed is very sturdy, the set up is perfect for his small room, and he loves it. The bed was very easy to construct.

Comments
Mon, 02/18/2013 - 11:26
Great ideas for adapting the
Great ideas for adapting the plans to fit both your son's desires and your possibilities.
Harvest Bench
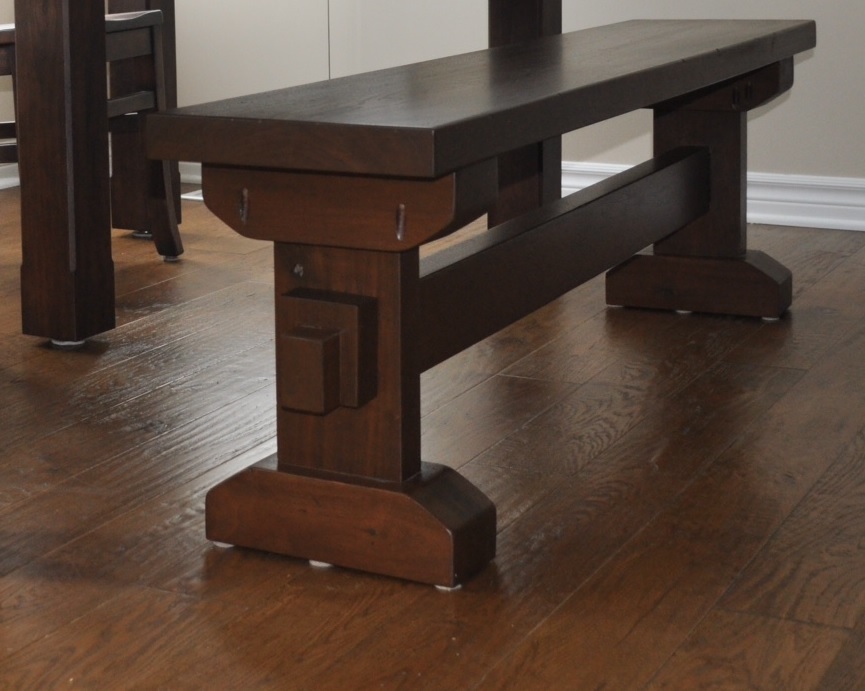
I purchased a harvest table from a local store that sells only solid wood furniture. The store had the option of purchasing a bench. I decided that I could save some cash and make the harvest bench myself.
For details, check out my blog - http://www.woodworkingfourdummies.com/blog/harvest-bench
Cheers,
Ian
X Brace Twin Headboard
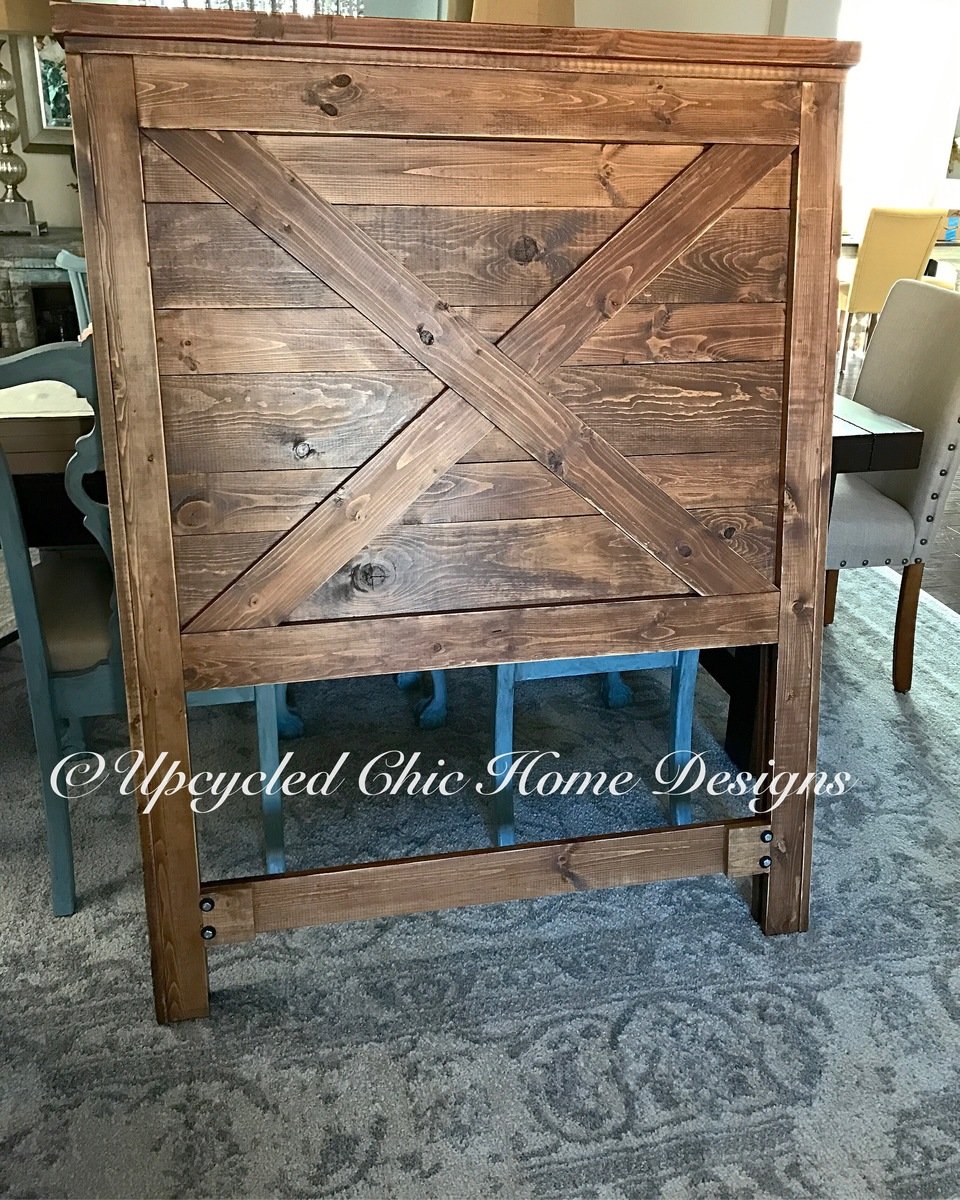
We took the plans for the twin headboard modification and added an x brace to make it look like a barn door. We also added a piece to the bottom for additional support for mounting to the boxspring as well as to prevent warping and narrowing of the posts.
Cal King Scrap Wood Bed Frame
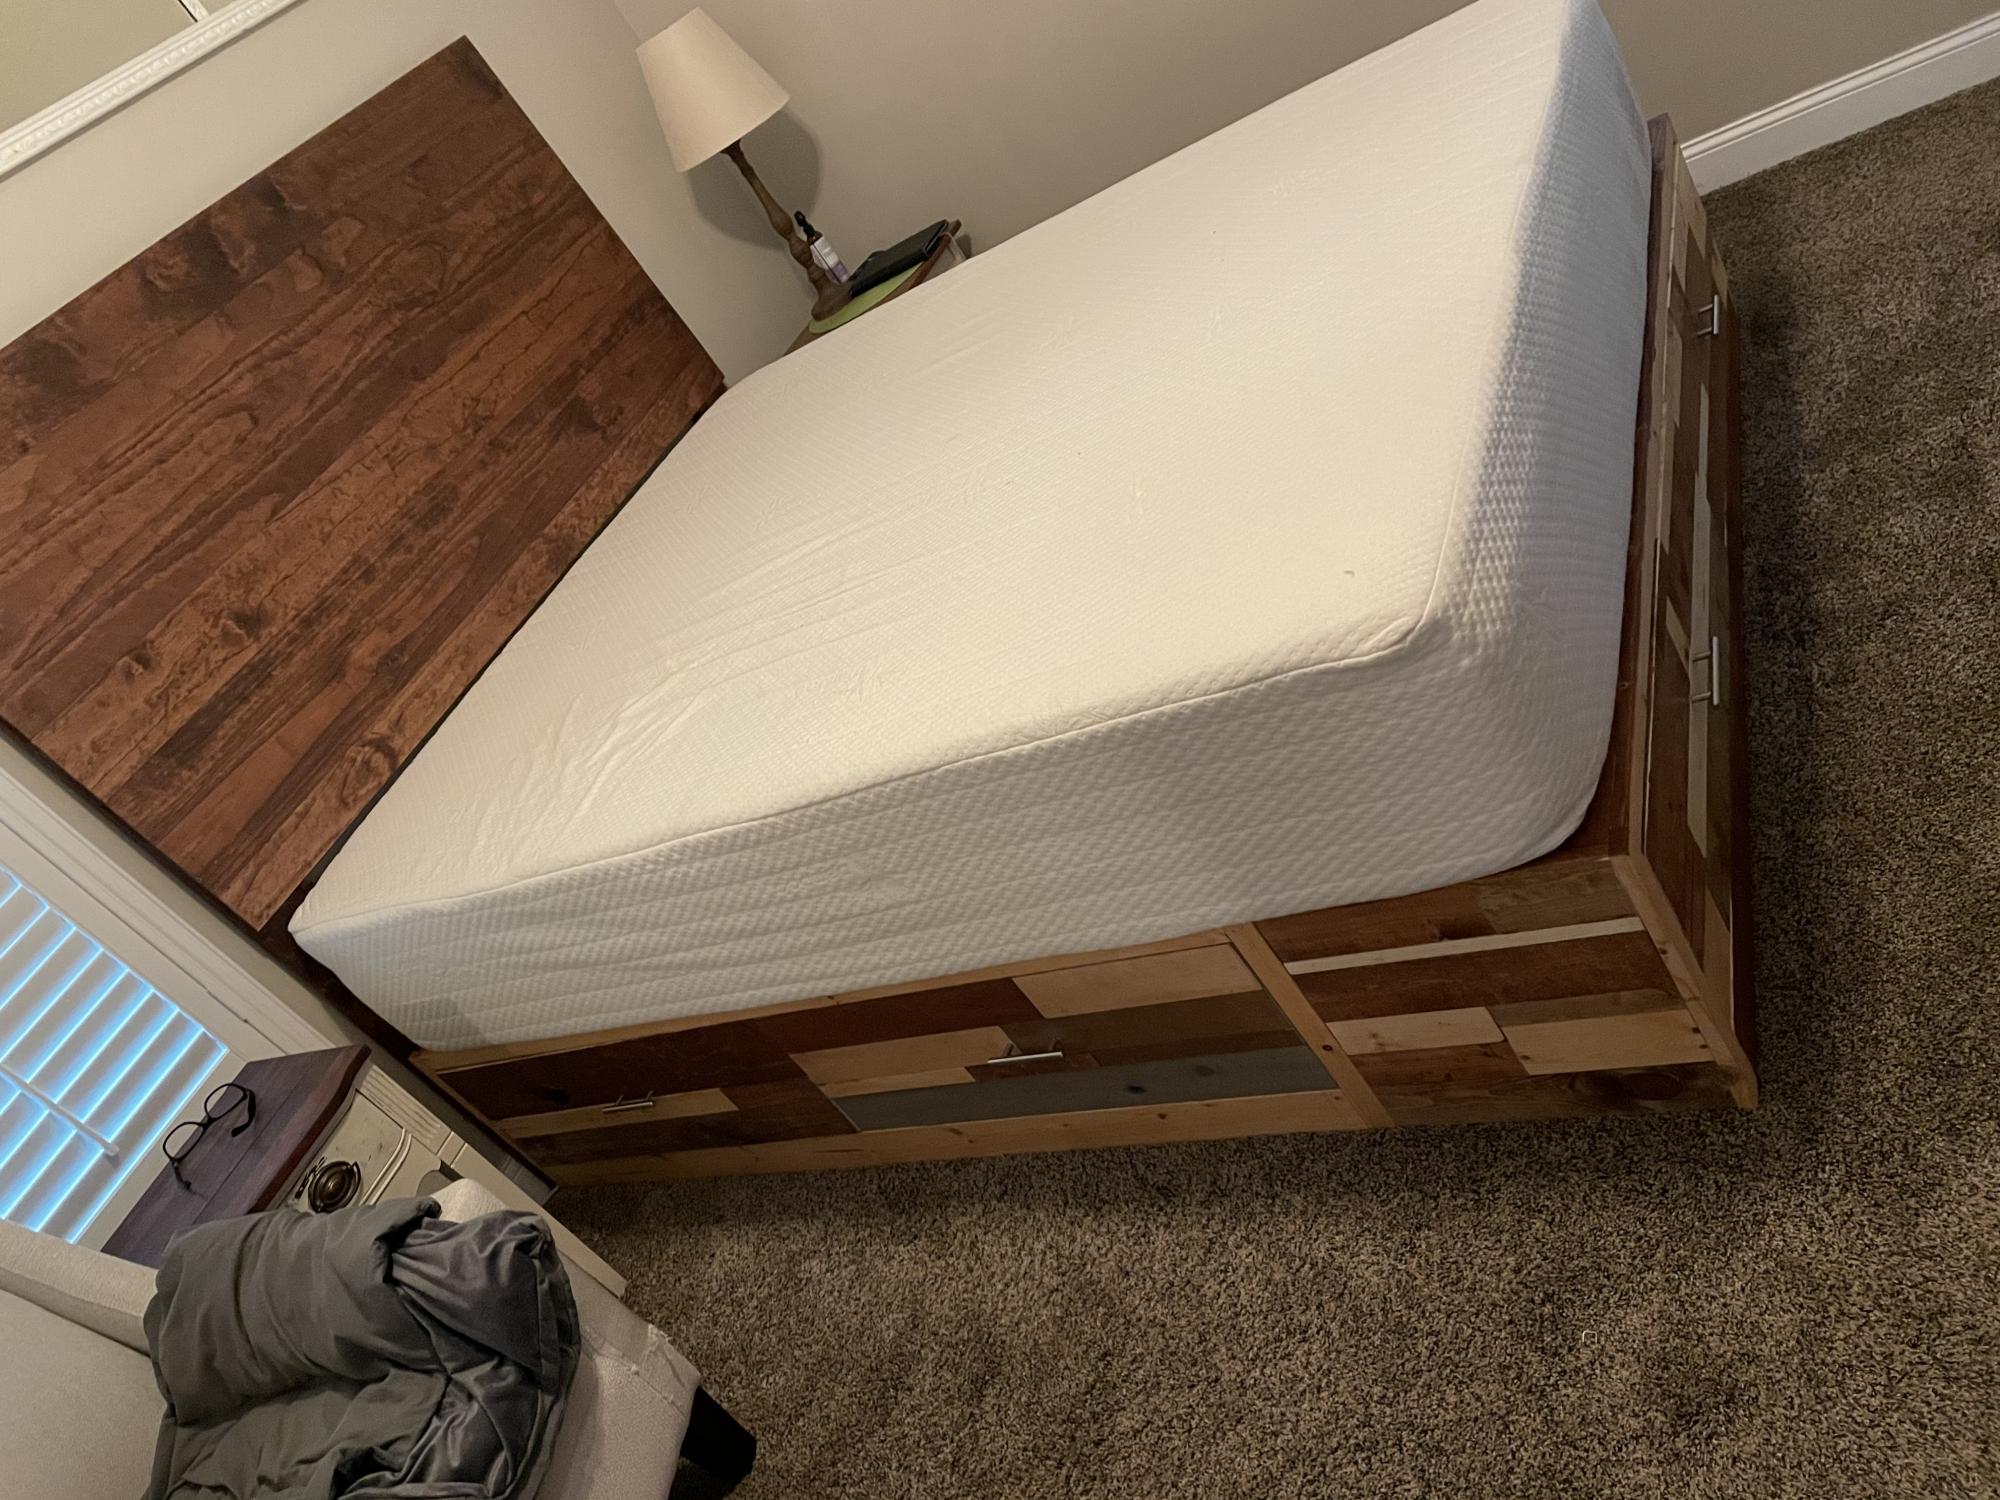
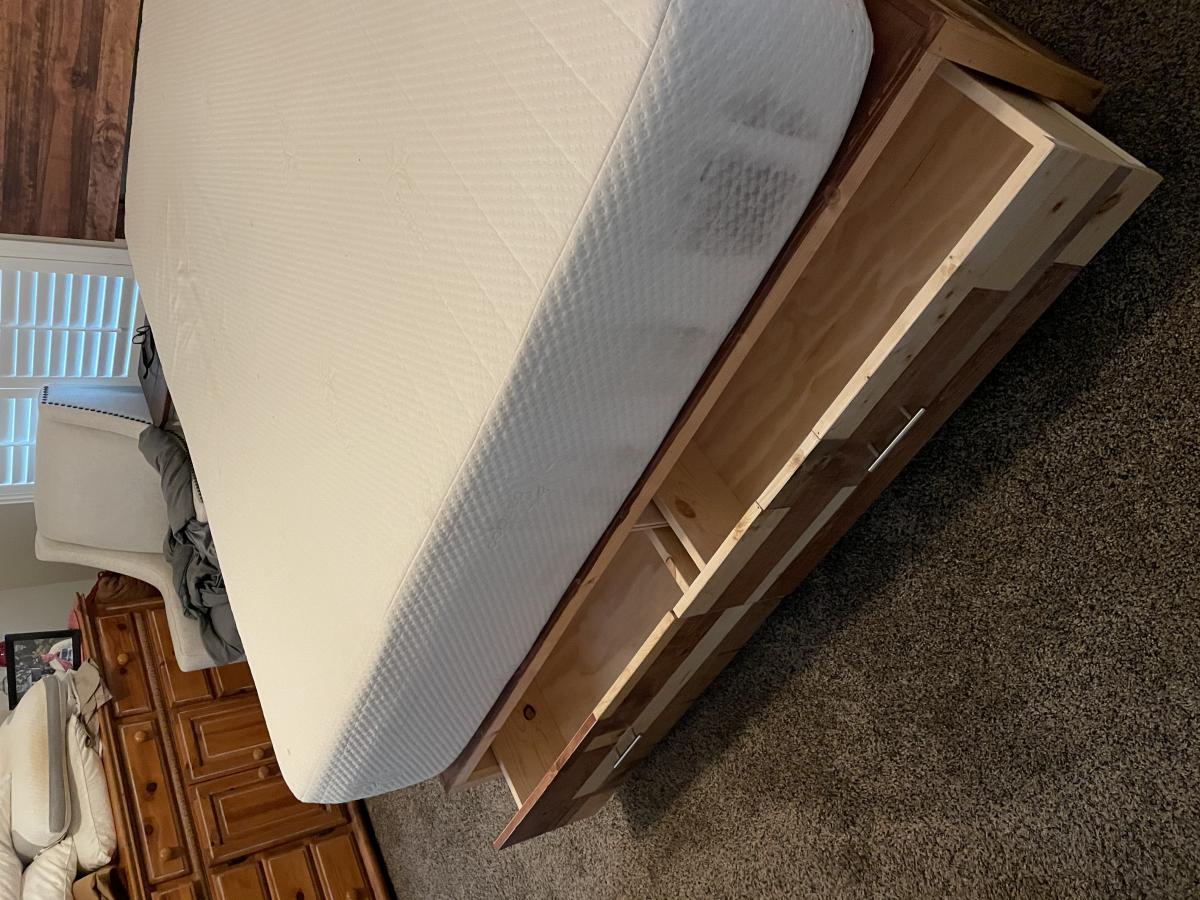
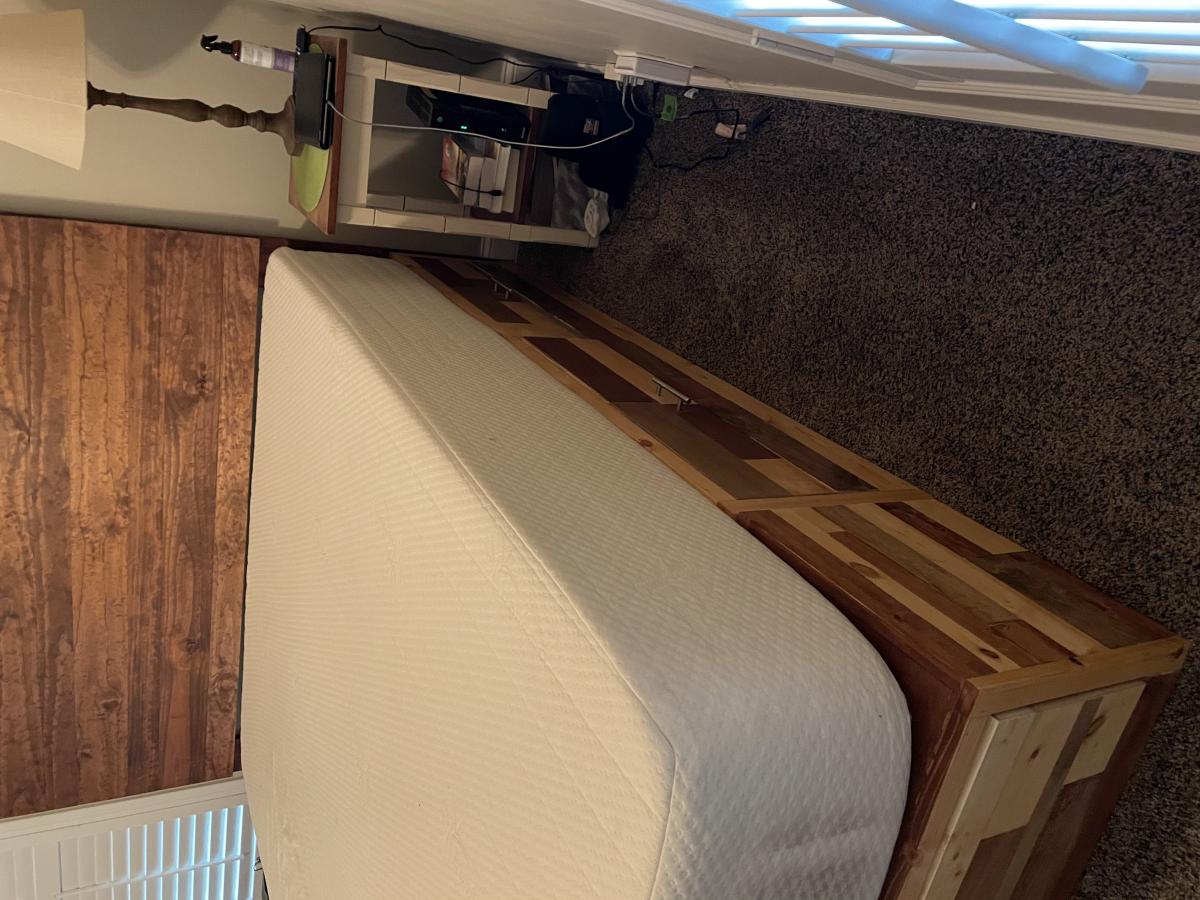
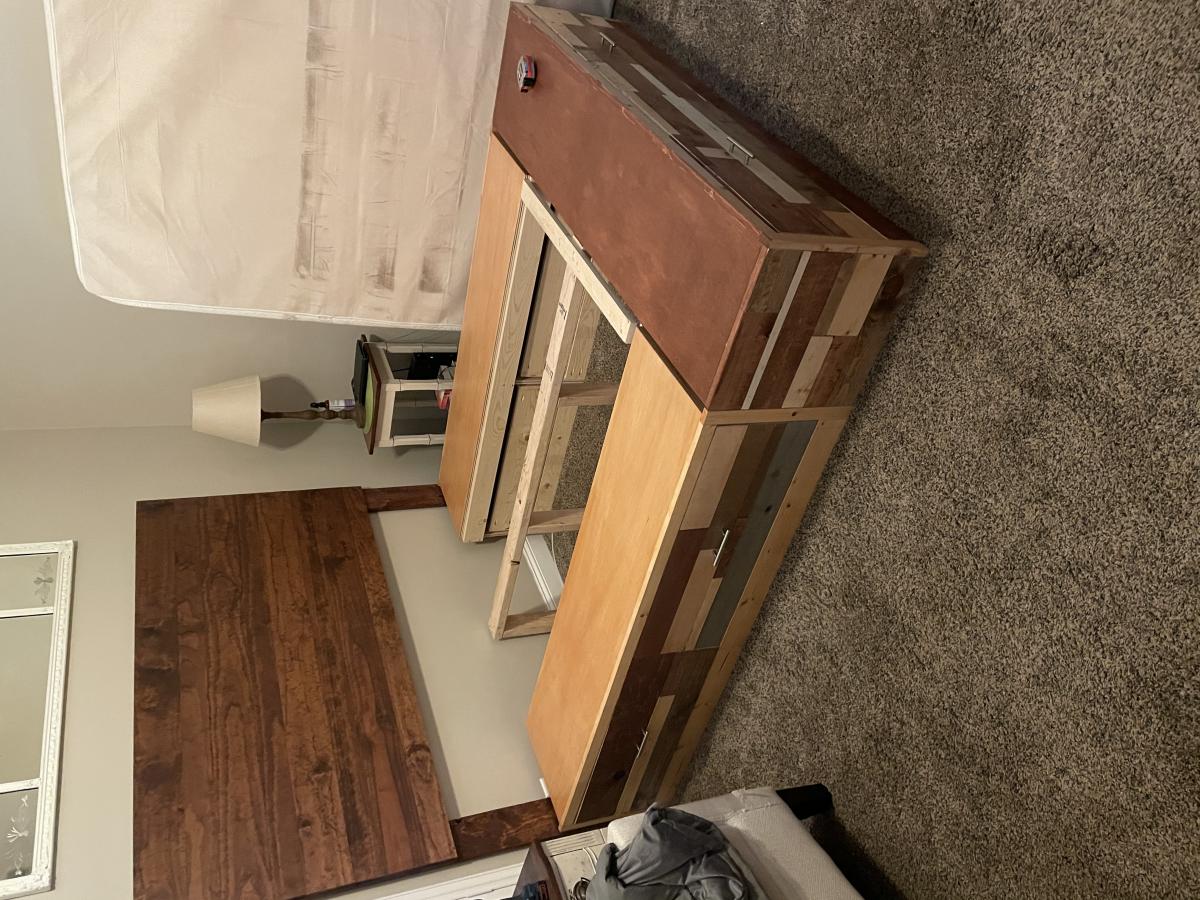
My first project from Ana’s plans. Loved having the material and cut list available!! I adjusted my measurements to fit a Cal King just as Ana suggested.
Comments
Napoleon Vanity retrofit

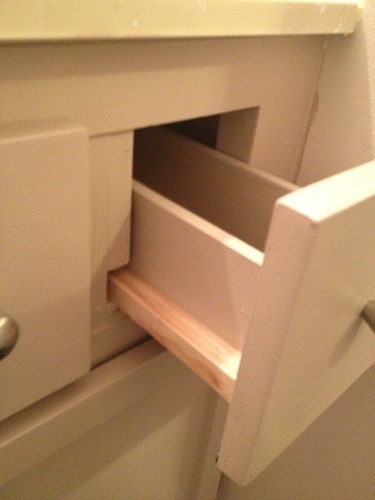
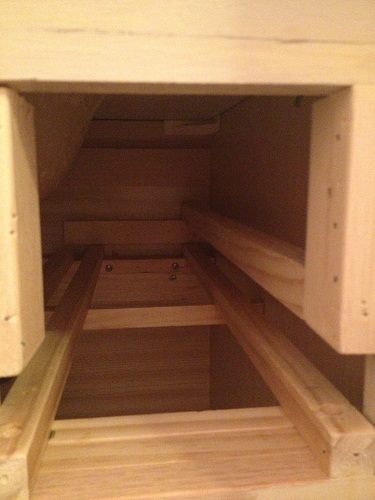
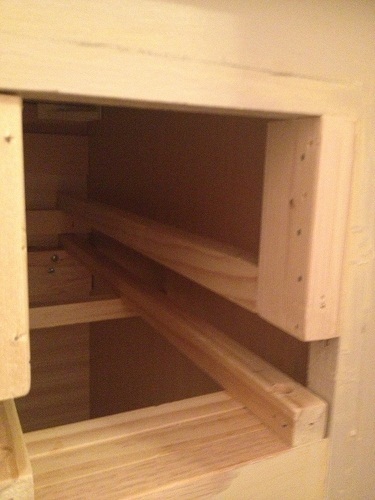
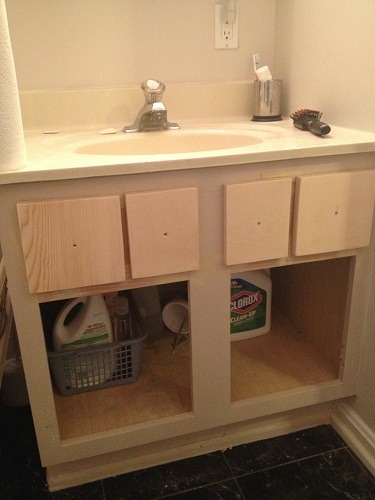
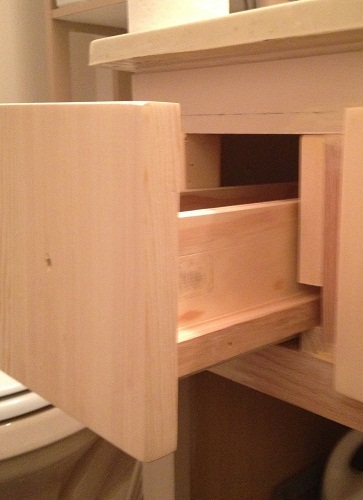
This is our 20-year-old bathroom vanity, retrofitted to resemble the Napoleon Sink Console. This old cabinet is the standard builder size from the 90’s -- 30” wide x 29 ½” tall x 21” deep – fits a 31” x 22” sink top. The 2 outside drawers are working drawers, and the 2 inside are faux (just fronts). It was a weekend project. Since the sink stayed in place, I had to figure out something for the drawers to slide on. I had 3 sticks of ¾” x ¾” S4S in the garage, so I used these and fashioned a frame to hold the drawers, and also used it on the sides of the drawers as slides (figured the frame out as I went along). I used up some scrap 1x12 to cut the drawer faces and supports at the inside back of the cabinet. Since the space was so tight, I used some scrap 1x2 as bracing attached to the original frame, and attached the added face frame to that. The doors are ½” x 1 ½” craft board and ¼” birch plywood. The drawers are 3/8” x 3 ½” craft board with some ¼” plywood on the bottoms. I re-used the existing hinges and used some knobs from a multi-pack (available from Target) and some left over paint that was on hand. I bought about $30 of materials in addition to my scraps.
Now that I’ve got this one under my belt, it’ll be easier to do this in the other 2 bathrooms. I’ll probably use some 1x2’s instead of the s4s if I have to go out and buy the materials for the next one, it’ll just have slightly different measurements.
Half-sized Rustic X table
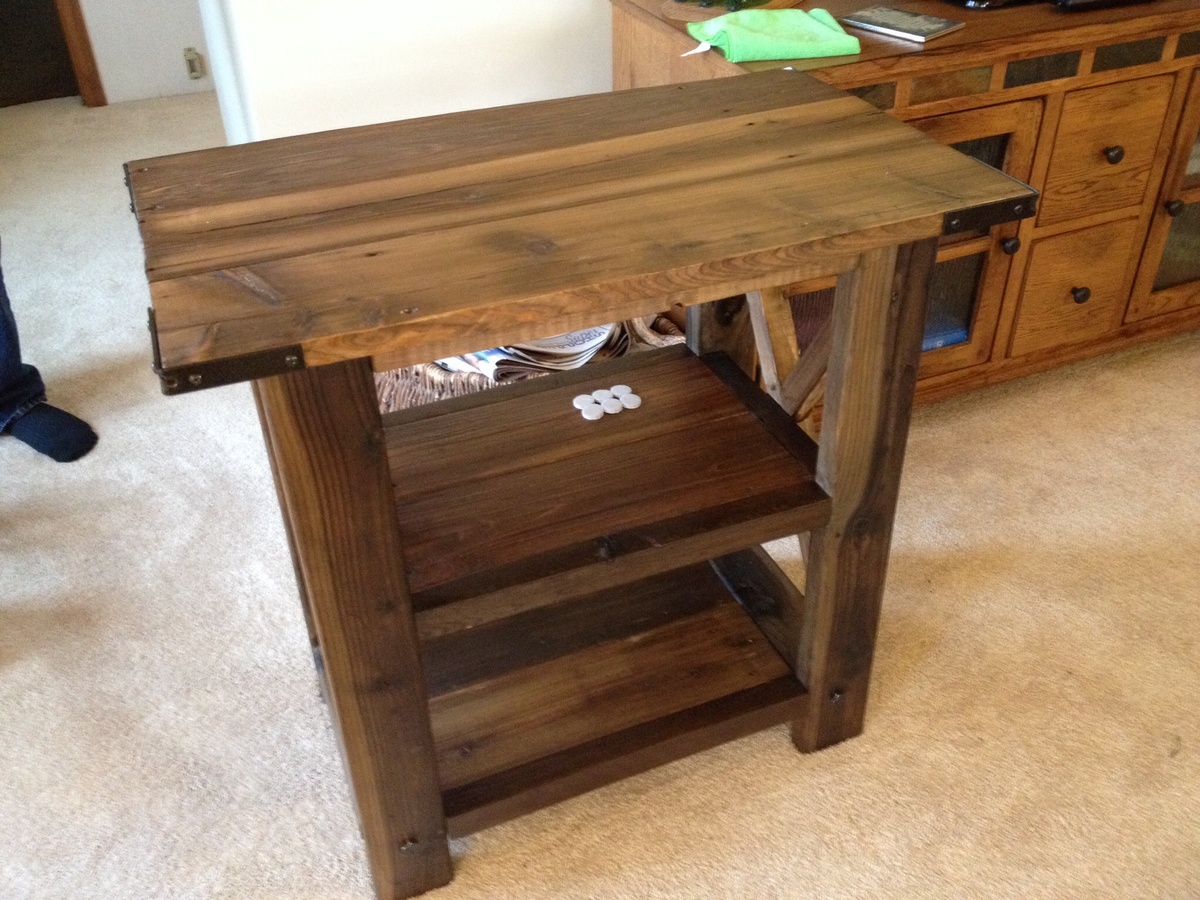
I used 1x6 cypress wood for the top as well as middle and bottom shelves. This wood was given to me from my in-laws and came from an old corn crib that was torn down on their farm. The remaining 2x2's, 2x4's, corner brackets and screws were picked up as used or broken pieces from a local Habitat for Humanity Re-Store. I also picked up the tung oil I finished with from the same place. The pics show the various stages of build from the initial raw pieces that had been planed/sanded to using Hillary's tea and vinegar oxidation; after a good bit of tung oil was used; finally right before I gave it away as a Christmas gift. I had never worked with old cypress wood previously and was very impressed with how it accepted the oxidation (nice and light) as well as the oil finish. I preserved the old nail holes in the wood as much as possible and you might even notice I left some the white paint from the old corn crib that was on the end of one piece. Great plans - fun little project!
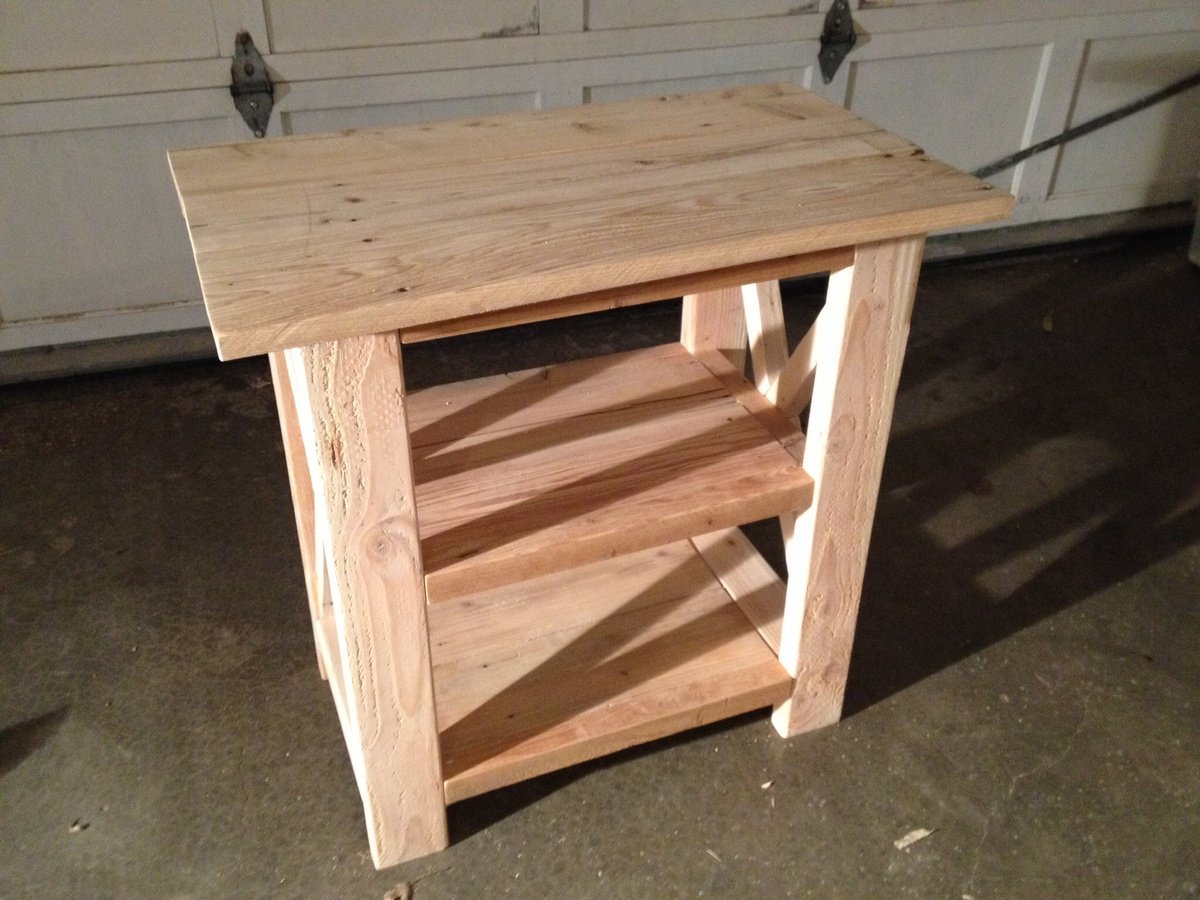
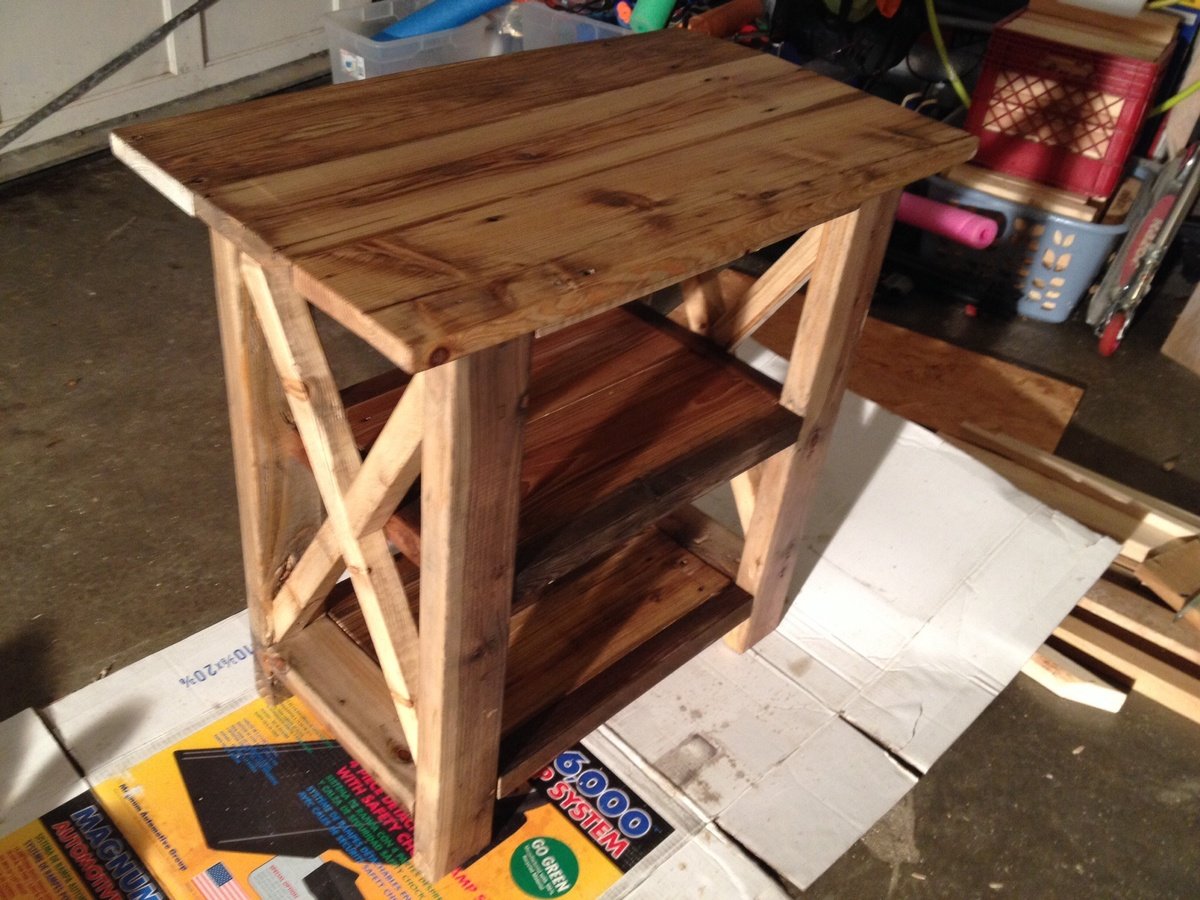
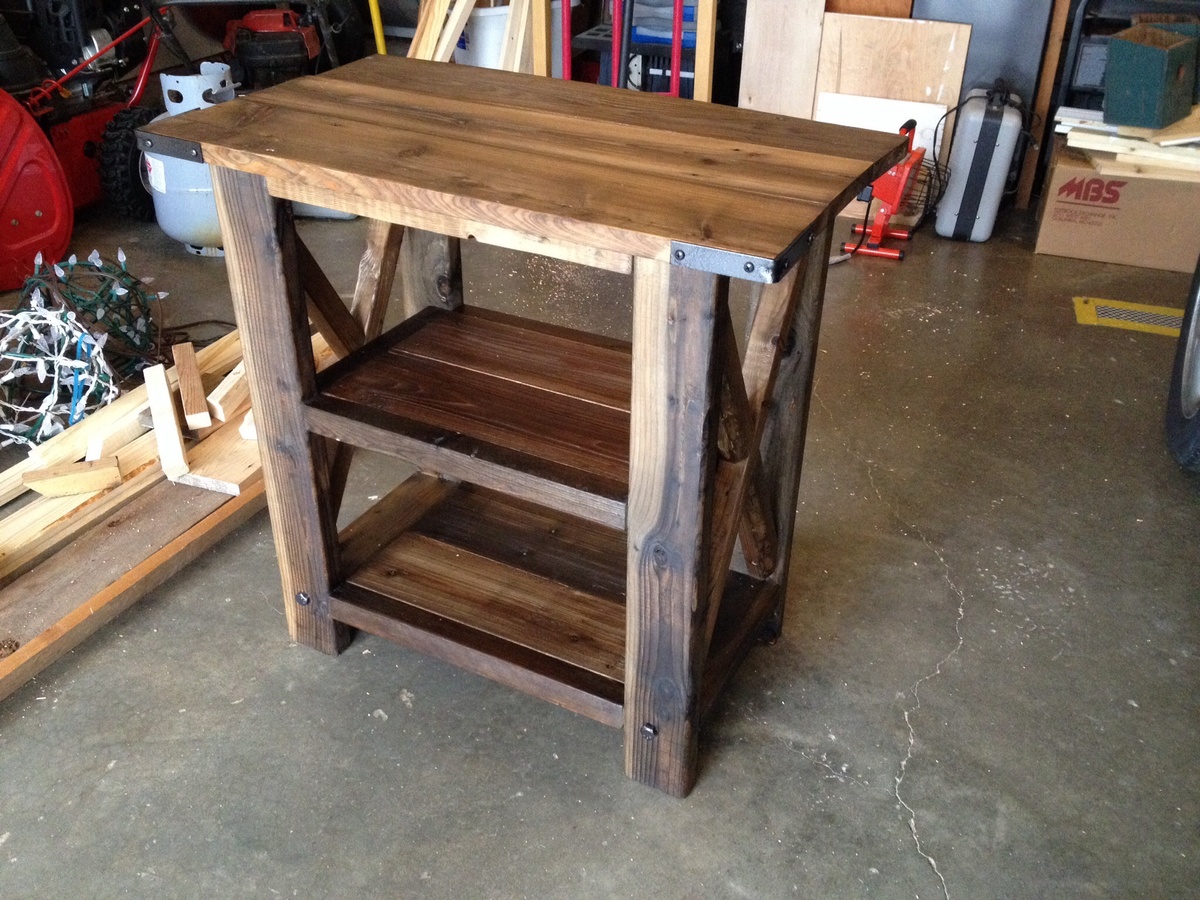
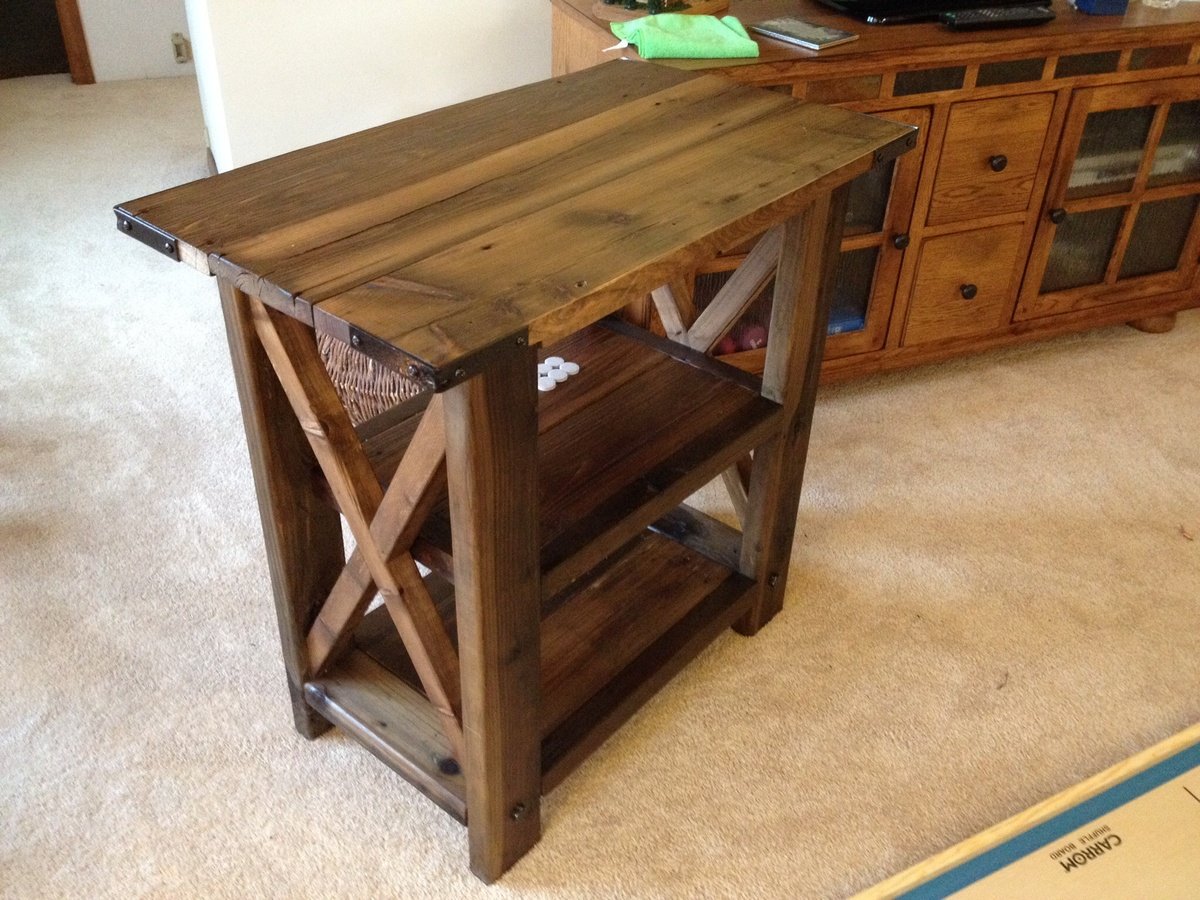
Finished the table!
We struggled with the angles because we made the table bigger than this tutorial suggests but all in all, awesome build.
Frosty Garden Greenhouse
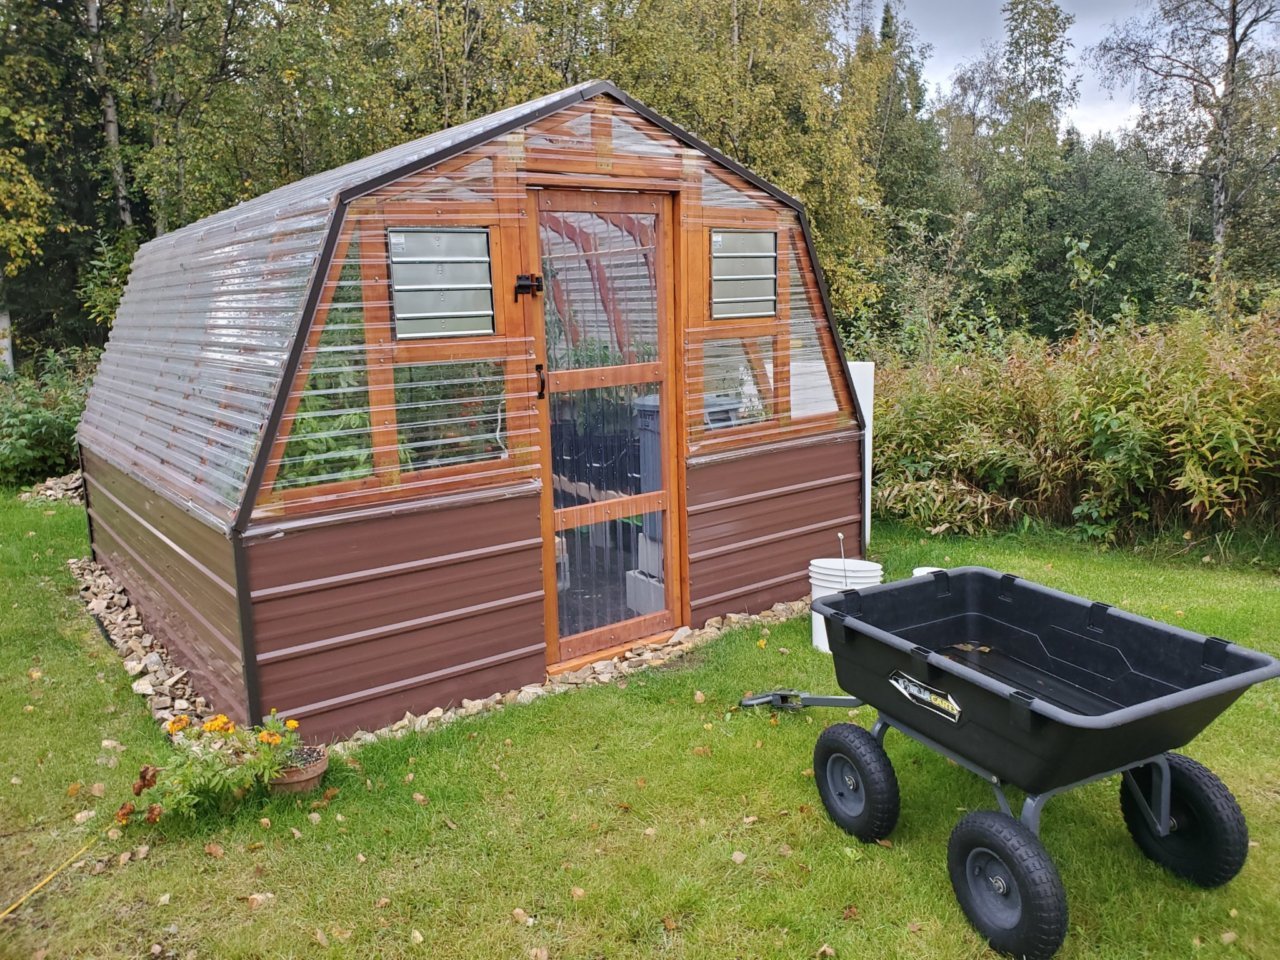
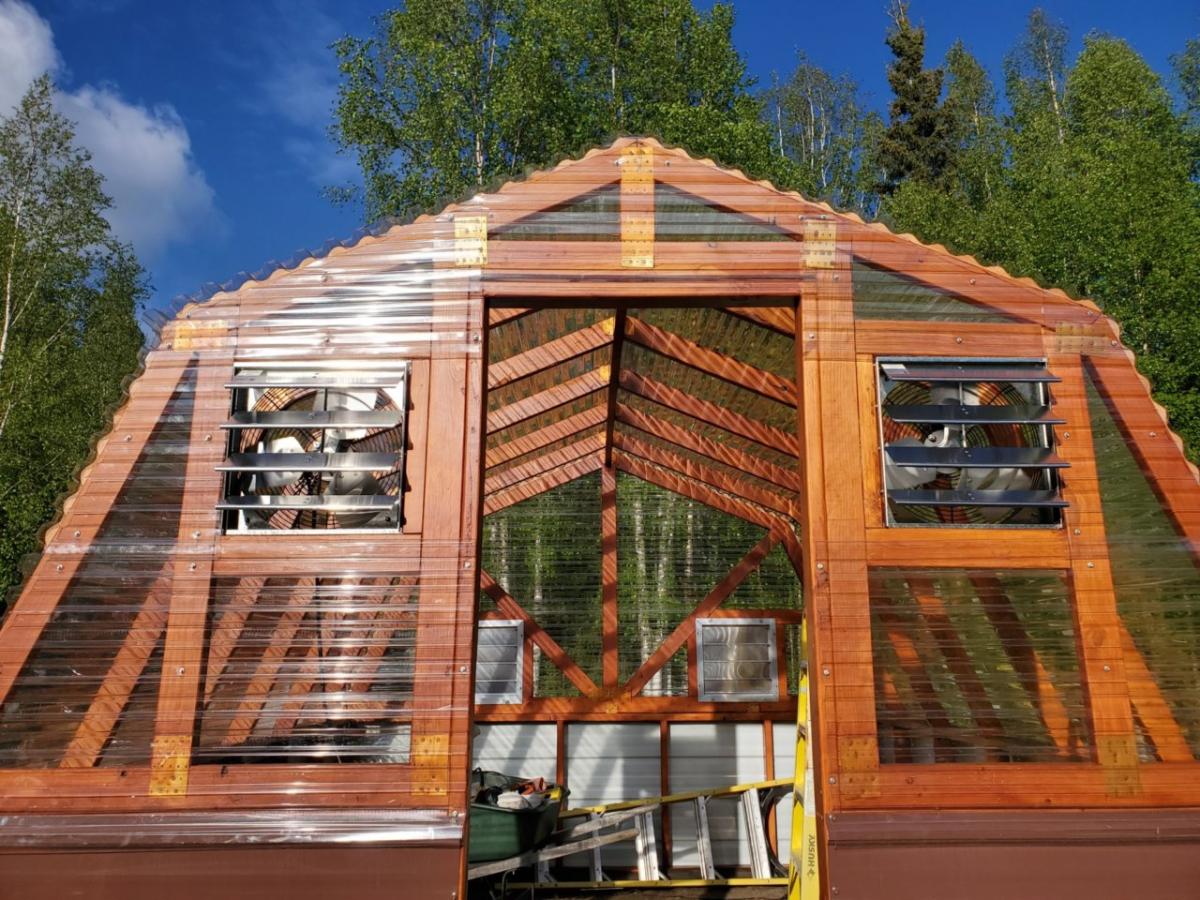
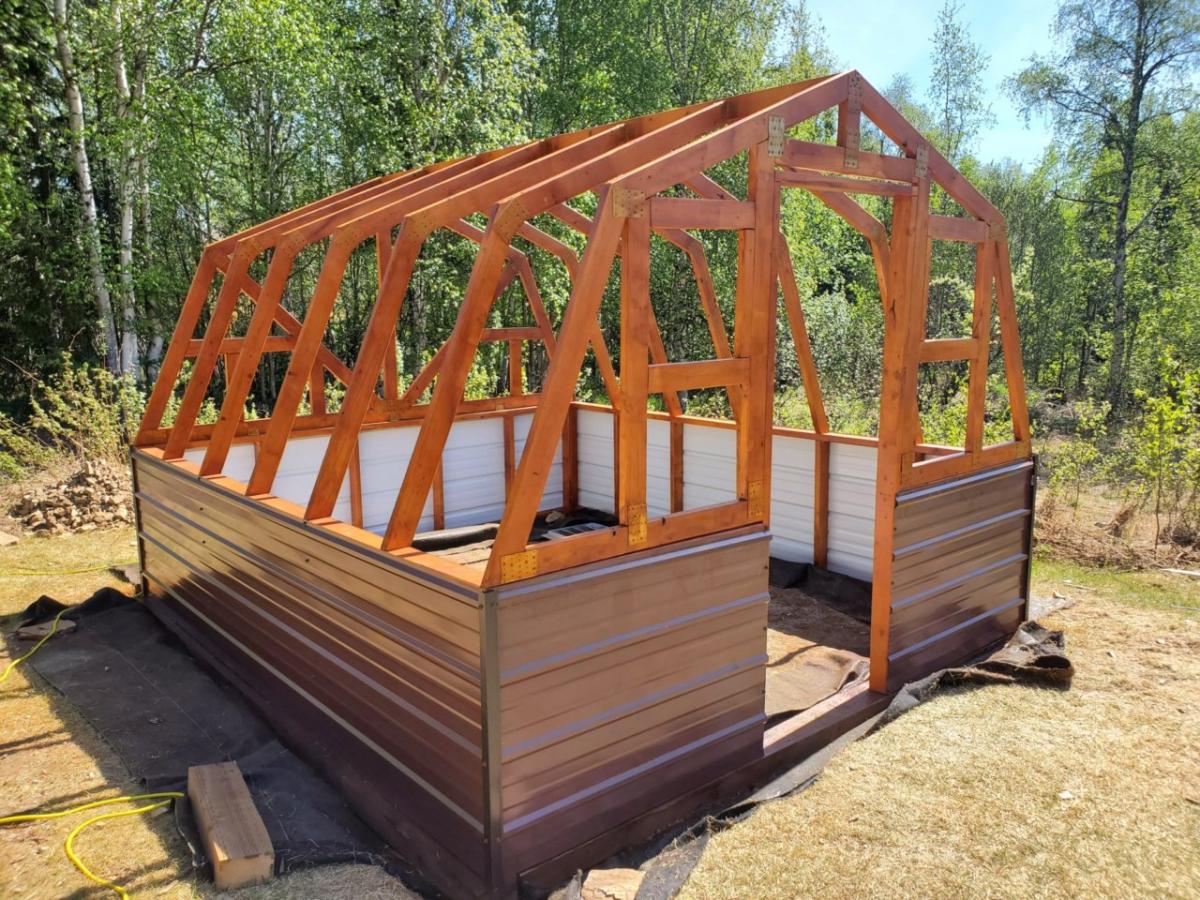
It was truly great for us to find a greenhouse design from a fellow Interior Alaskan blogger. We kept coming back to this design, enough times to where we decided to actually build it.
We would be the first to admit that tackling a gambrel style building was slightly intimidating and not what we had in mind for our very first self-built building! But, we faithfully followed the cut lists and directions. It turned out beautifully! If you're in the same boat, have confidence that you can build this too!
We love the options available for making it your own. We decided to stain the greenhouse lumber of ours to match our cedar sided home. We also built a semi frost-resistant foundation, since we're a little north of Ana at 65 degrees and sometimes experience frost heaving. We also added full climate controls to ours, adding both fans and louvers that keep our greenhouse at perfect temperatures.
The performance has been great! Building this greenhouse has been the single greatest thing we have done in our years of subarctic gardening. We might even consider building a second greenhouse down the road. No matter how big your greenhouse is, it's never quite enough!
Thanks for the great plans, Ana! We appreciate your work!

Comments
Reading Nook Truss Shelve
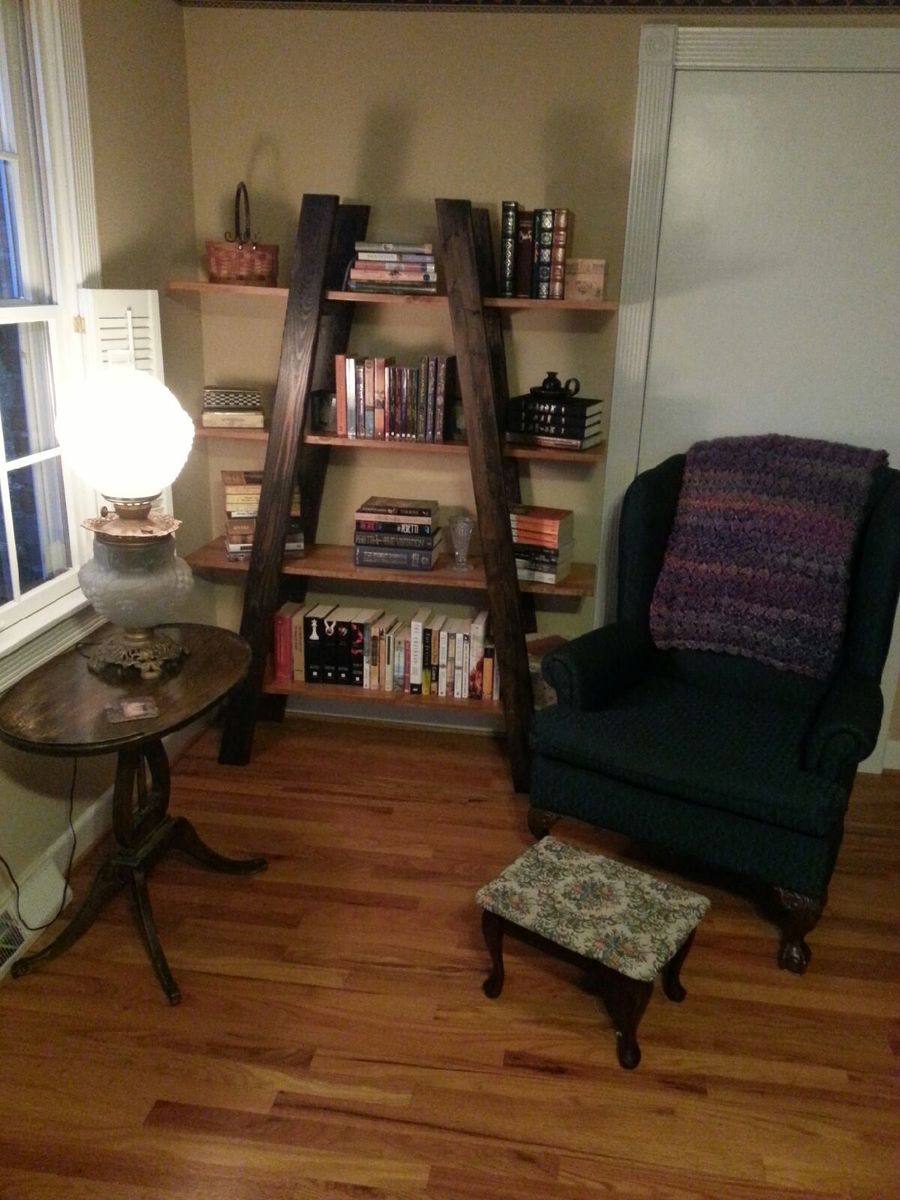
This is my first Anna White project. It turned out really well.

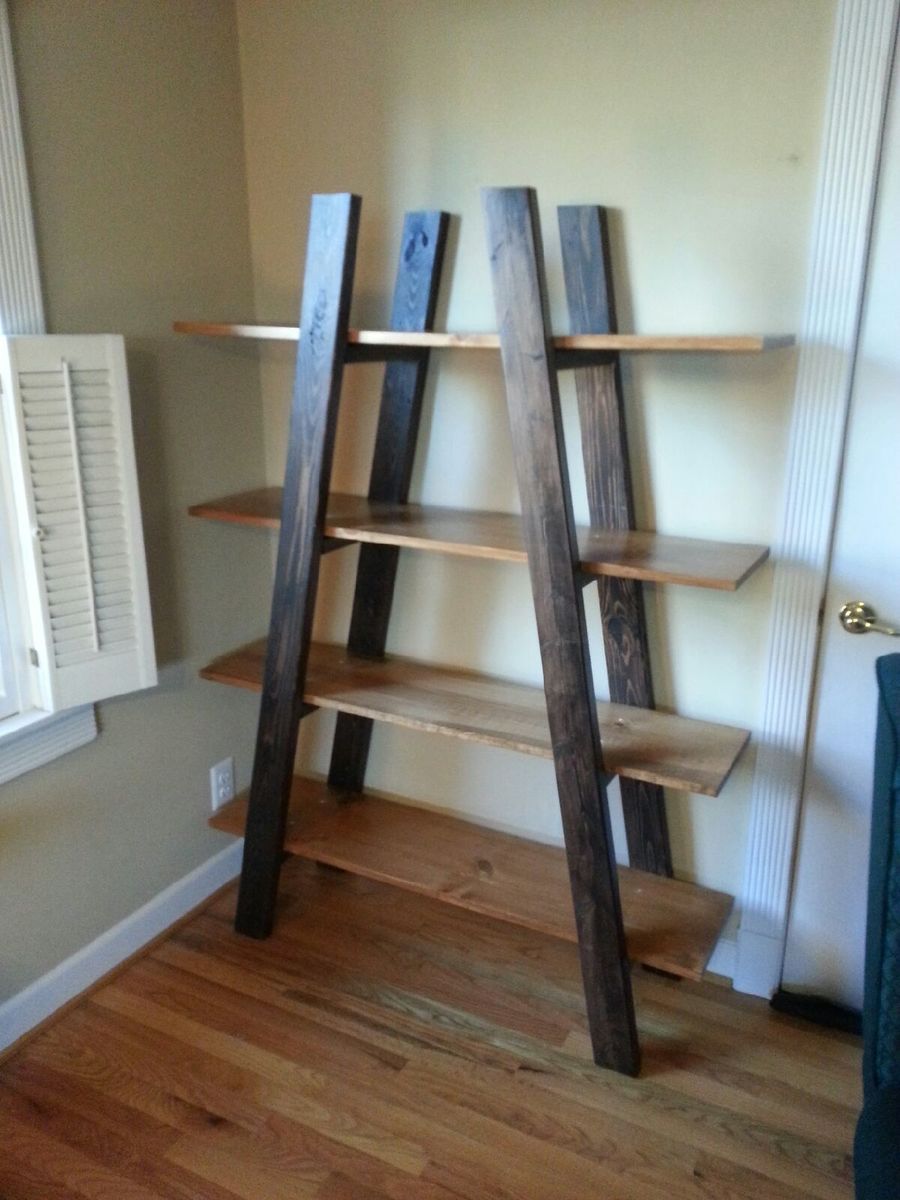
Project itself is quick to build (maybe 2 hours or so) but properly applying the stain takes a bit of time and paitence.
I applied one coat of of stain with a 2 1/2 inch angled synthetic brush using the colors listed. Let them soak for about 5 mins then wipe clean with a soft clean cotton rag. Let dry overnight. Followed by applying three coats of Rust-O-Leum brand polyurethane. Wait three hours min between coats. Then dry overnight. Didn't turn out as smooth as I hoped for but the weather conditions were not warm for February in KY. So I advise actually following the temp suggestions as listed on your stain product. I didn't have paitence to wait for Spring.
