Doll Highchair
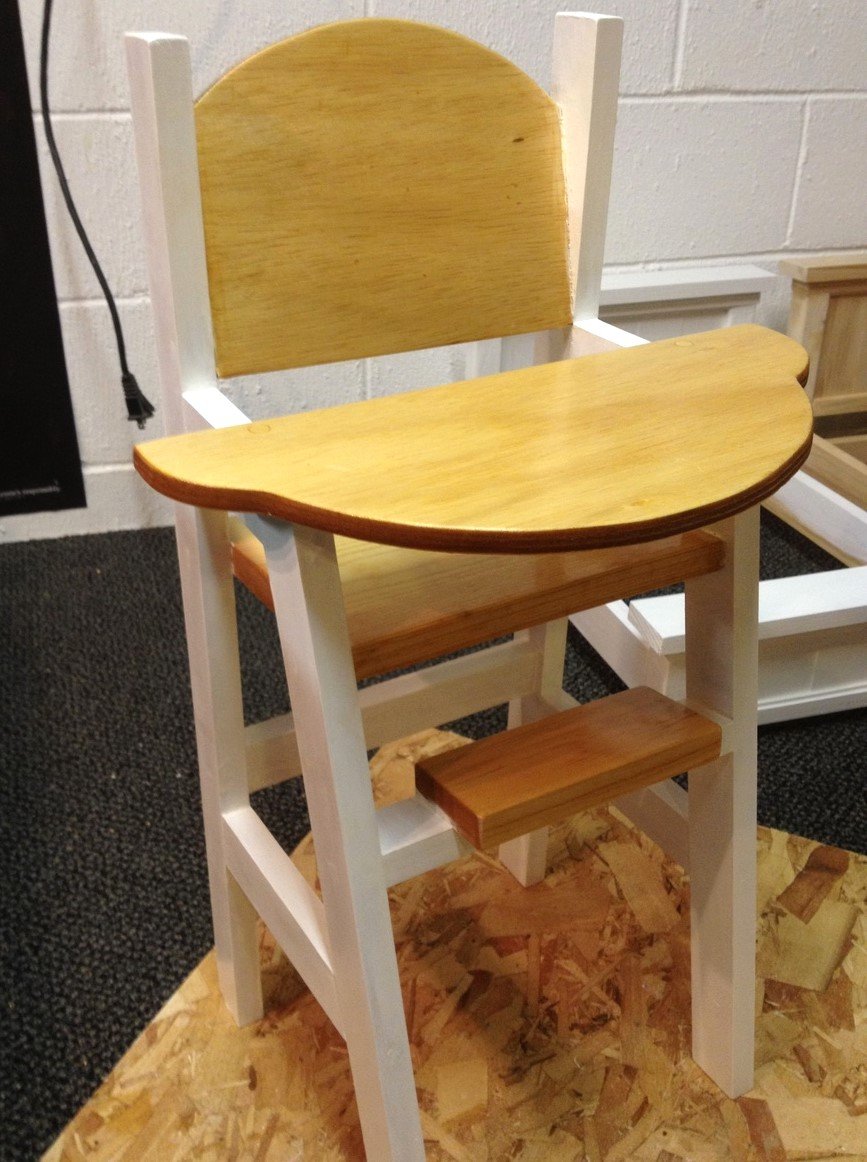
Used basic plan, with some customization to the seat back and the tray area of the chair. Finished with white enamel paint, pine stain, and high gloss polyurethane to protect the wood.

Used basic plan, with some customization to the seat back and the tray area of the chair. Finished with white enamel paint, pine stain, and high gloss polyurethane to protect the wood.
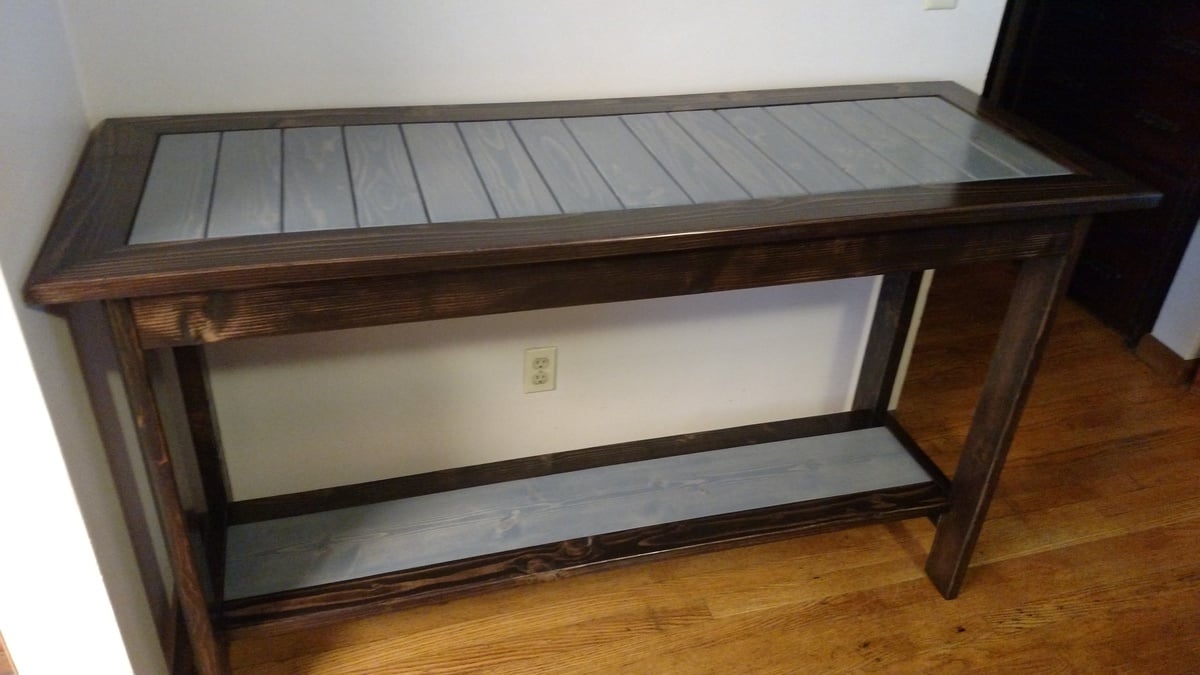
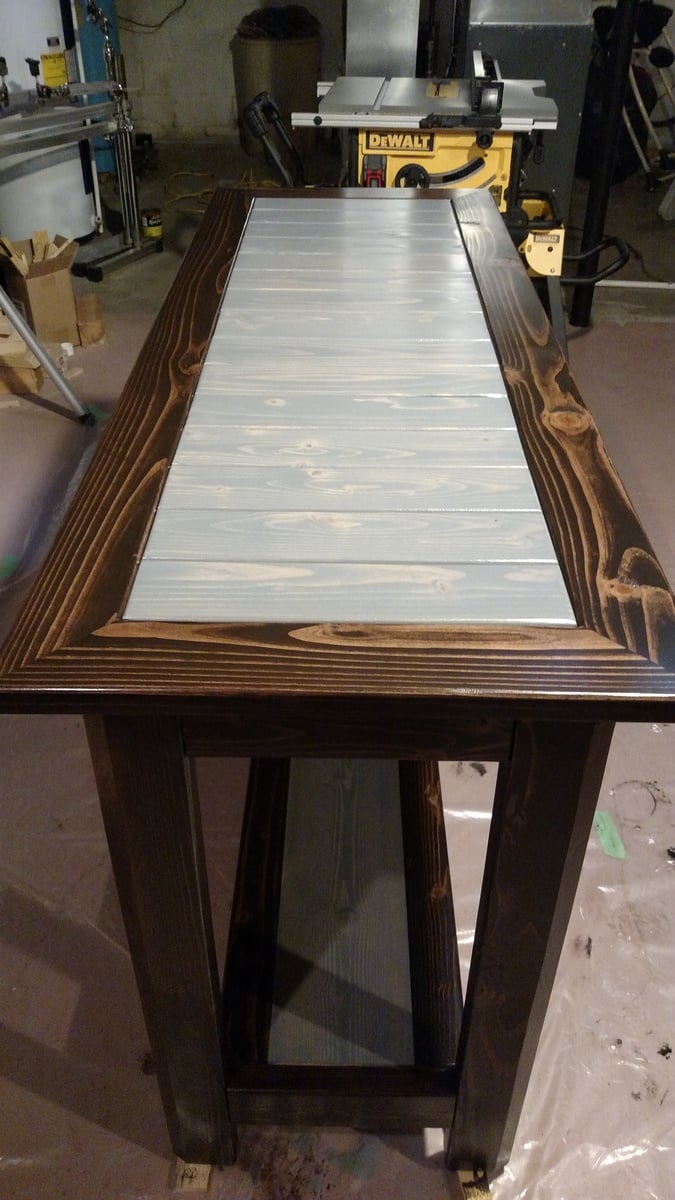
I used the ideas of many and added my own as well, with the bottom shelf and 30 degree edge cuts on legs and bottom edge of table top. I constructed this in two separate parts, frame and inserts. I stained the the gray and brown parts separately then finished assembly and clear coated. I used nine 2x4x8' and one 1x8x6'. Table top is 60" x 22". I had to use one piece of 2x6 and rip to 4" wide. This filled the 1/2" gap I was left with on the gray part of table top.
Mon, 02/02/2015 - 14:26
I really like the contrast with the colors. You did an outstanding job of making this piece a one of a kind. Very, very nice.
Mon, 03/12/2018 - 12:41
Did you happen to have a support for the bottom shelf? This is exactly what I'm wanting for my entry way! Awesome job and love the colors!
Built this over the course of a week, but could have been done in a weekend if I didn't have three young ones. My husband is military and we move often, so it is built to be broken down into three large pieces. Used these http://www.rockler.com/5-surface-mounted-bed-rail-brackets to attach the rails to the head board and footboard. This bed is a tank and doesn't move at all! We are in love with the way it turned out!
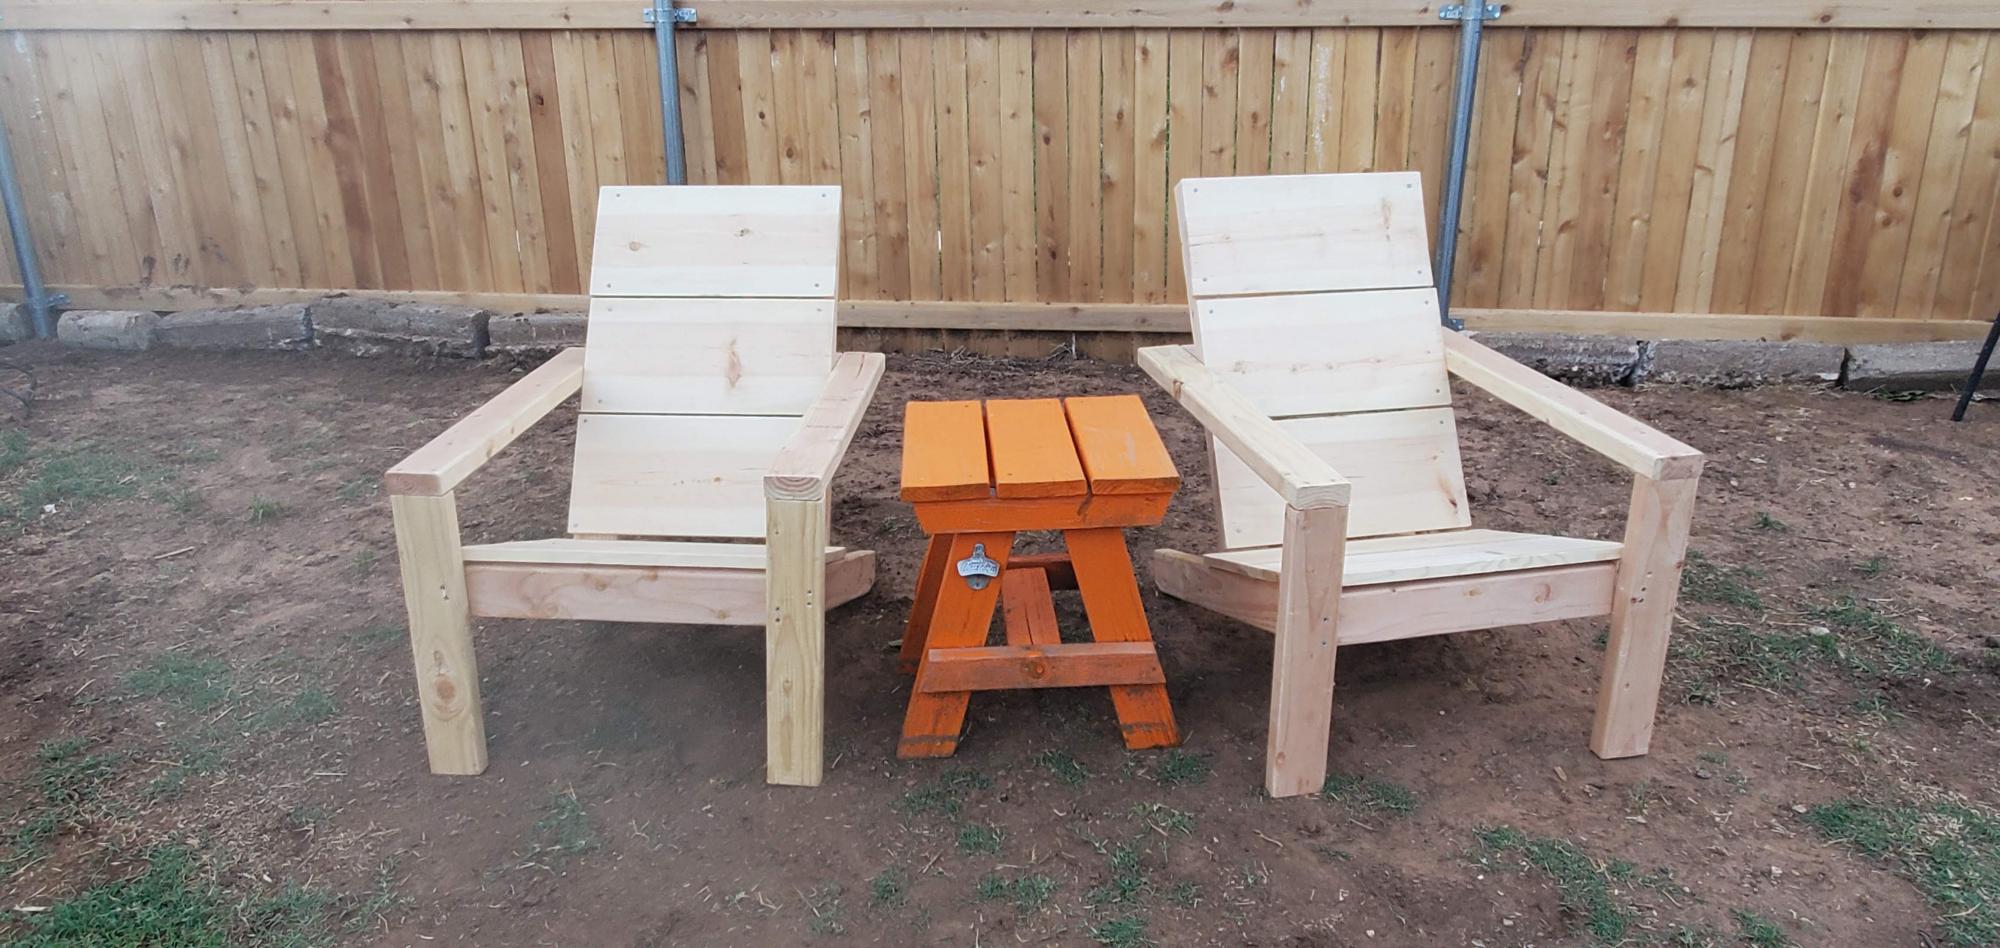
I ended up painting them a Bright Blue and Bright Red like crayola colors and I forgot to take an after picture but I was so excited about this because it was my FIRST time building something with wood. My husband made the table with the scraps I had leftover.
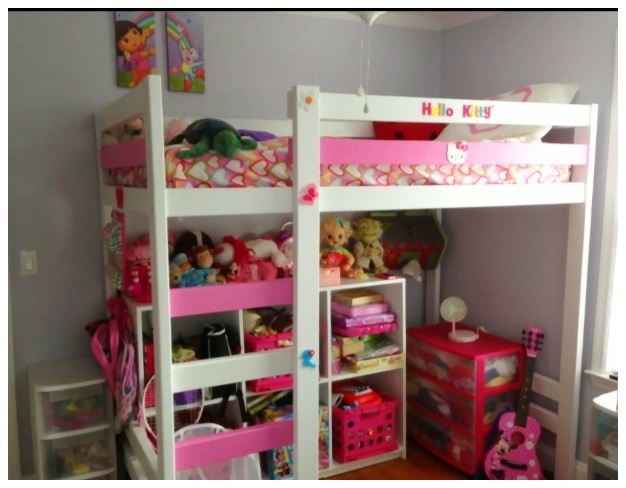
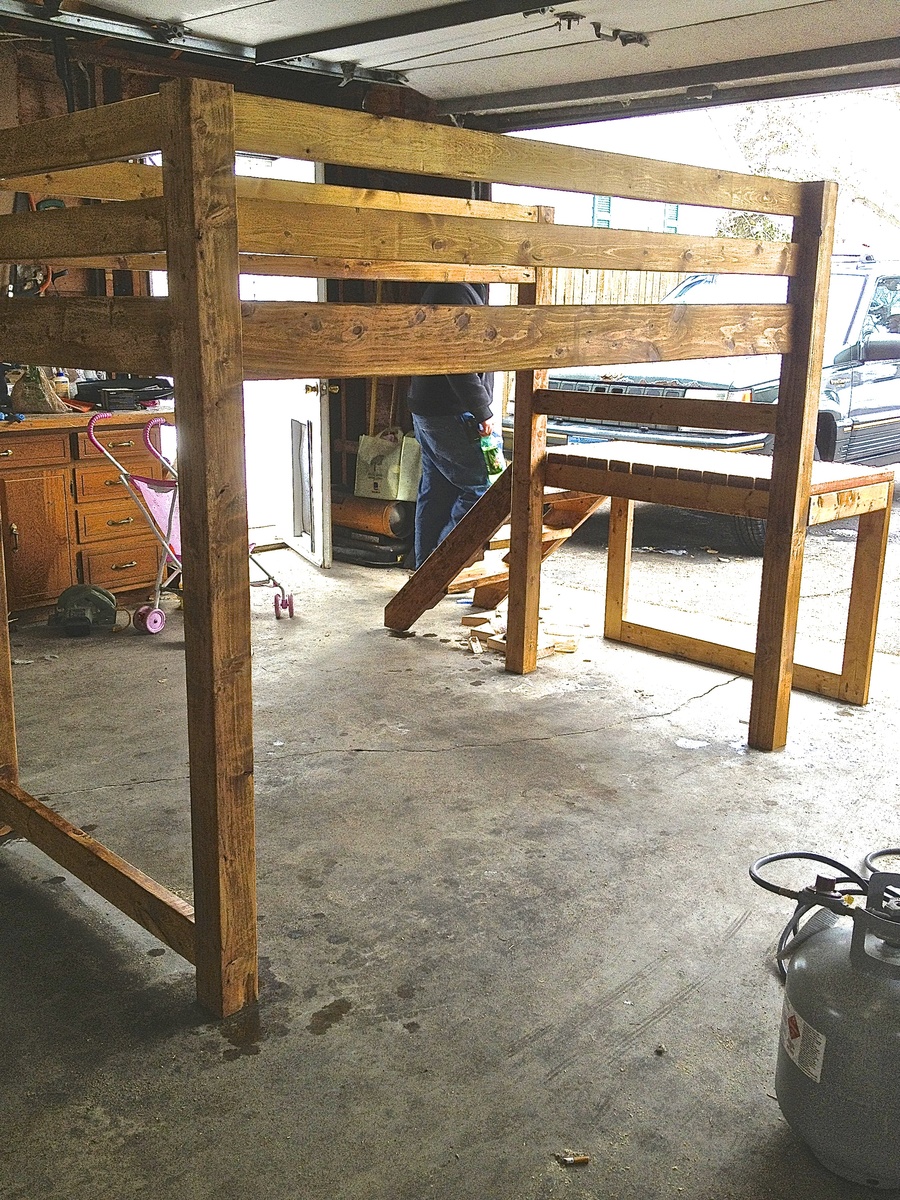
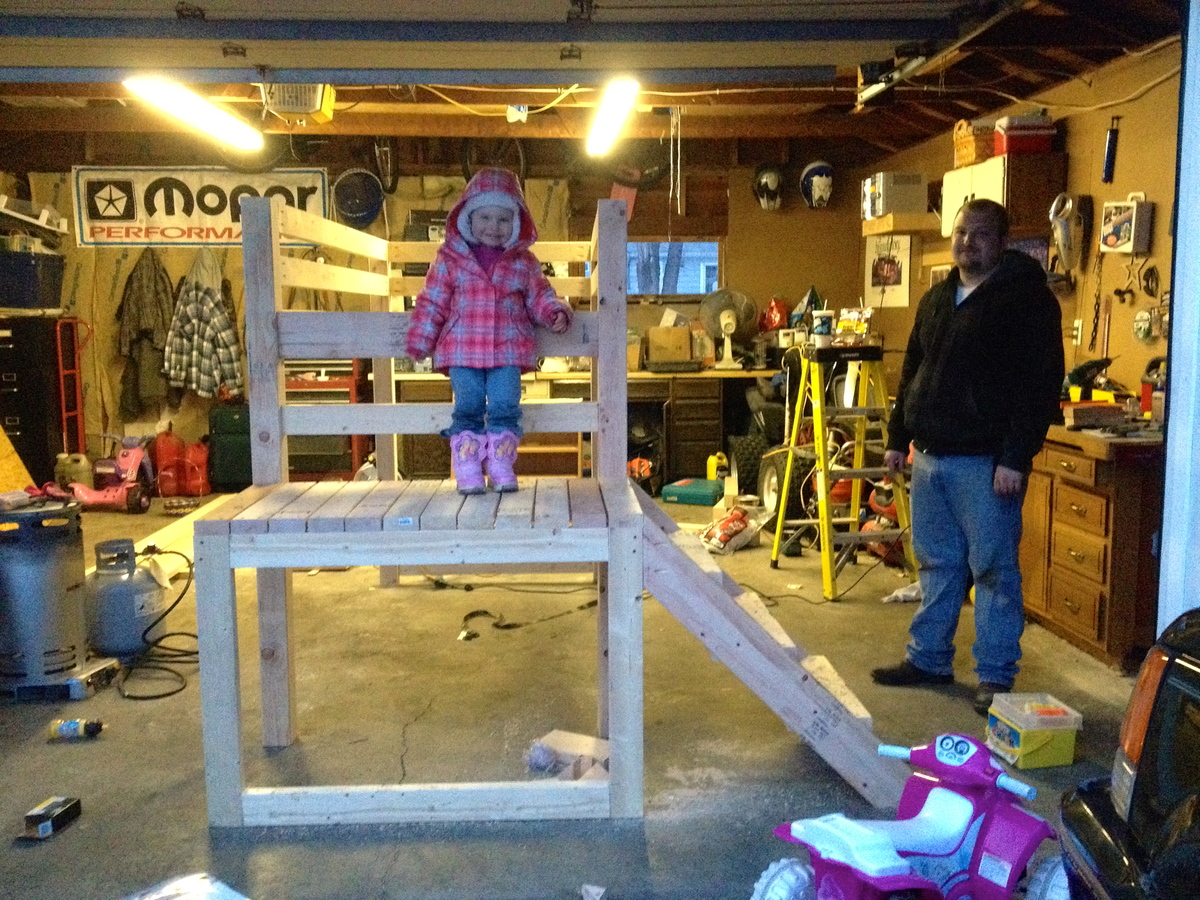
Loved the chunky look of the bunk bed plans but needed space for toys and junk.
Raised the height and used lag screws for extra security .
Stella can't wait to go to bed at night , so I take that as a successful project.
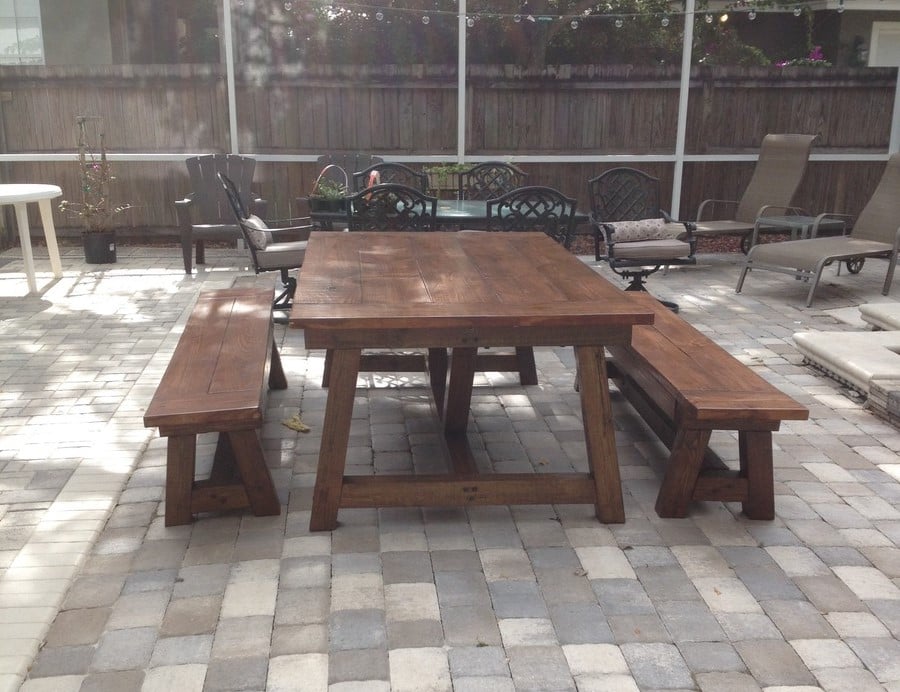
This was my first table I built, very happy I found these plans. The legs were pressure treated 4x4's which made it very heavy one I put it all together. Thanks for the plans Ana!
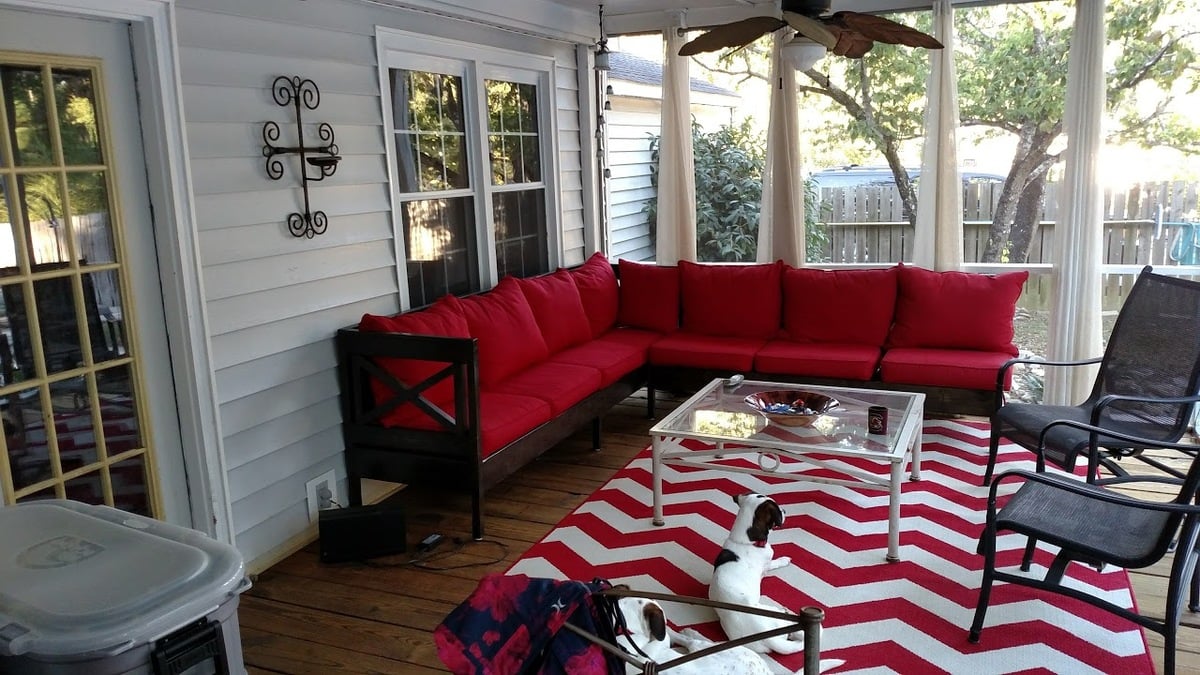
Loved making the Weatherly for the back porch. Extended it out to be a four seater on the long side and 3 seater on the short. Finding a deal on the cushions is the key (I didn't).
Did make a jig for the X back to make them more exact and consistent.
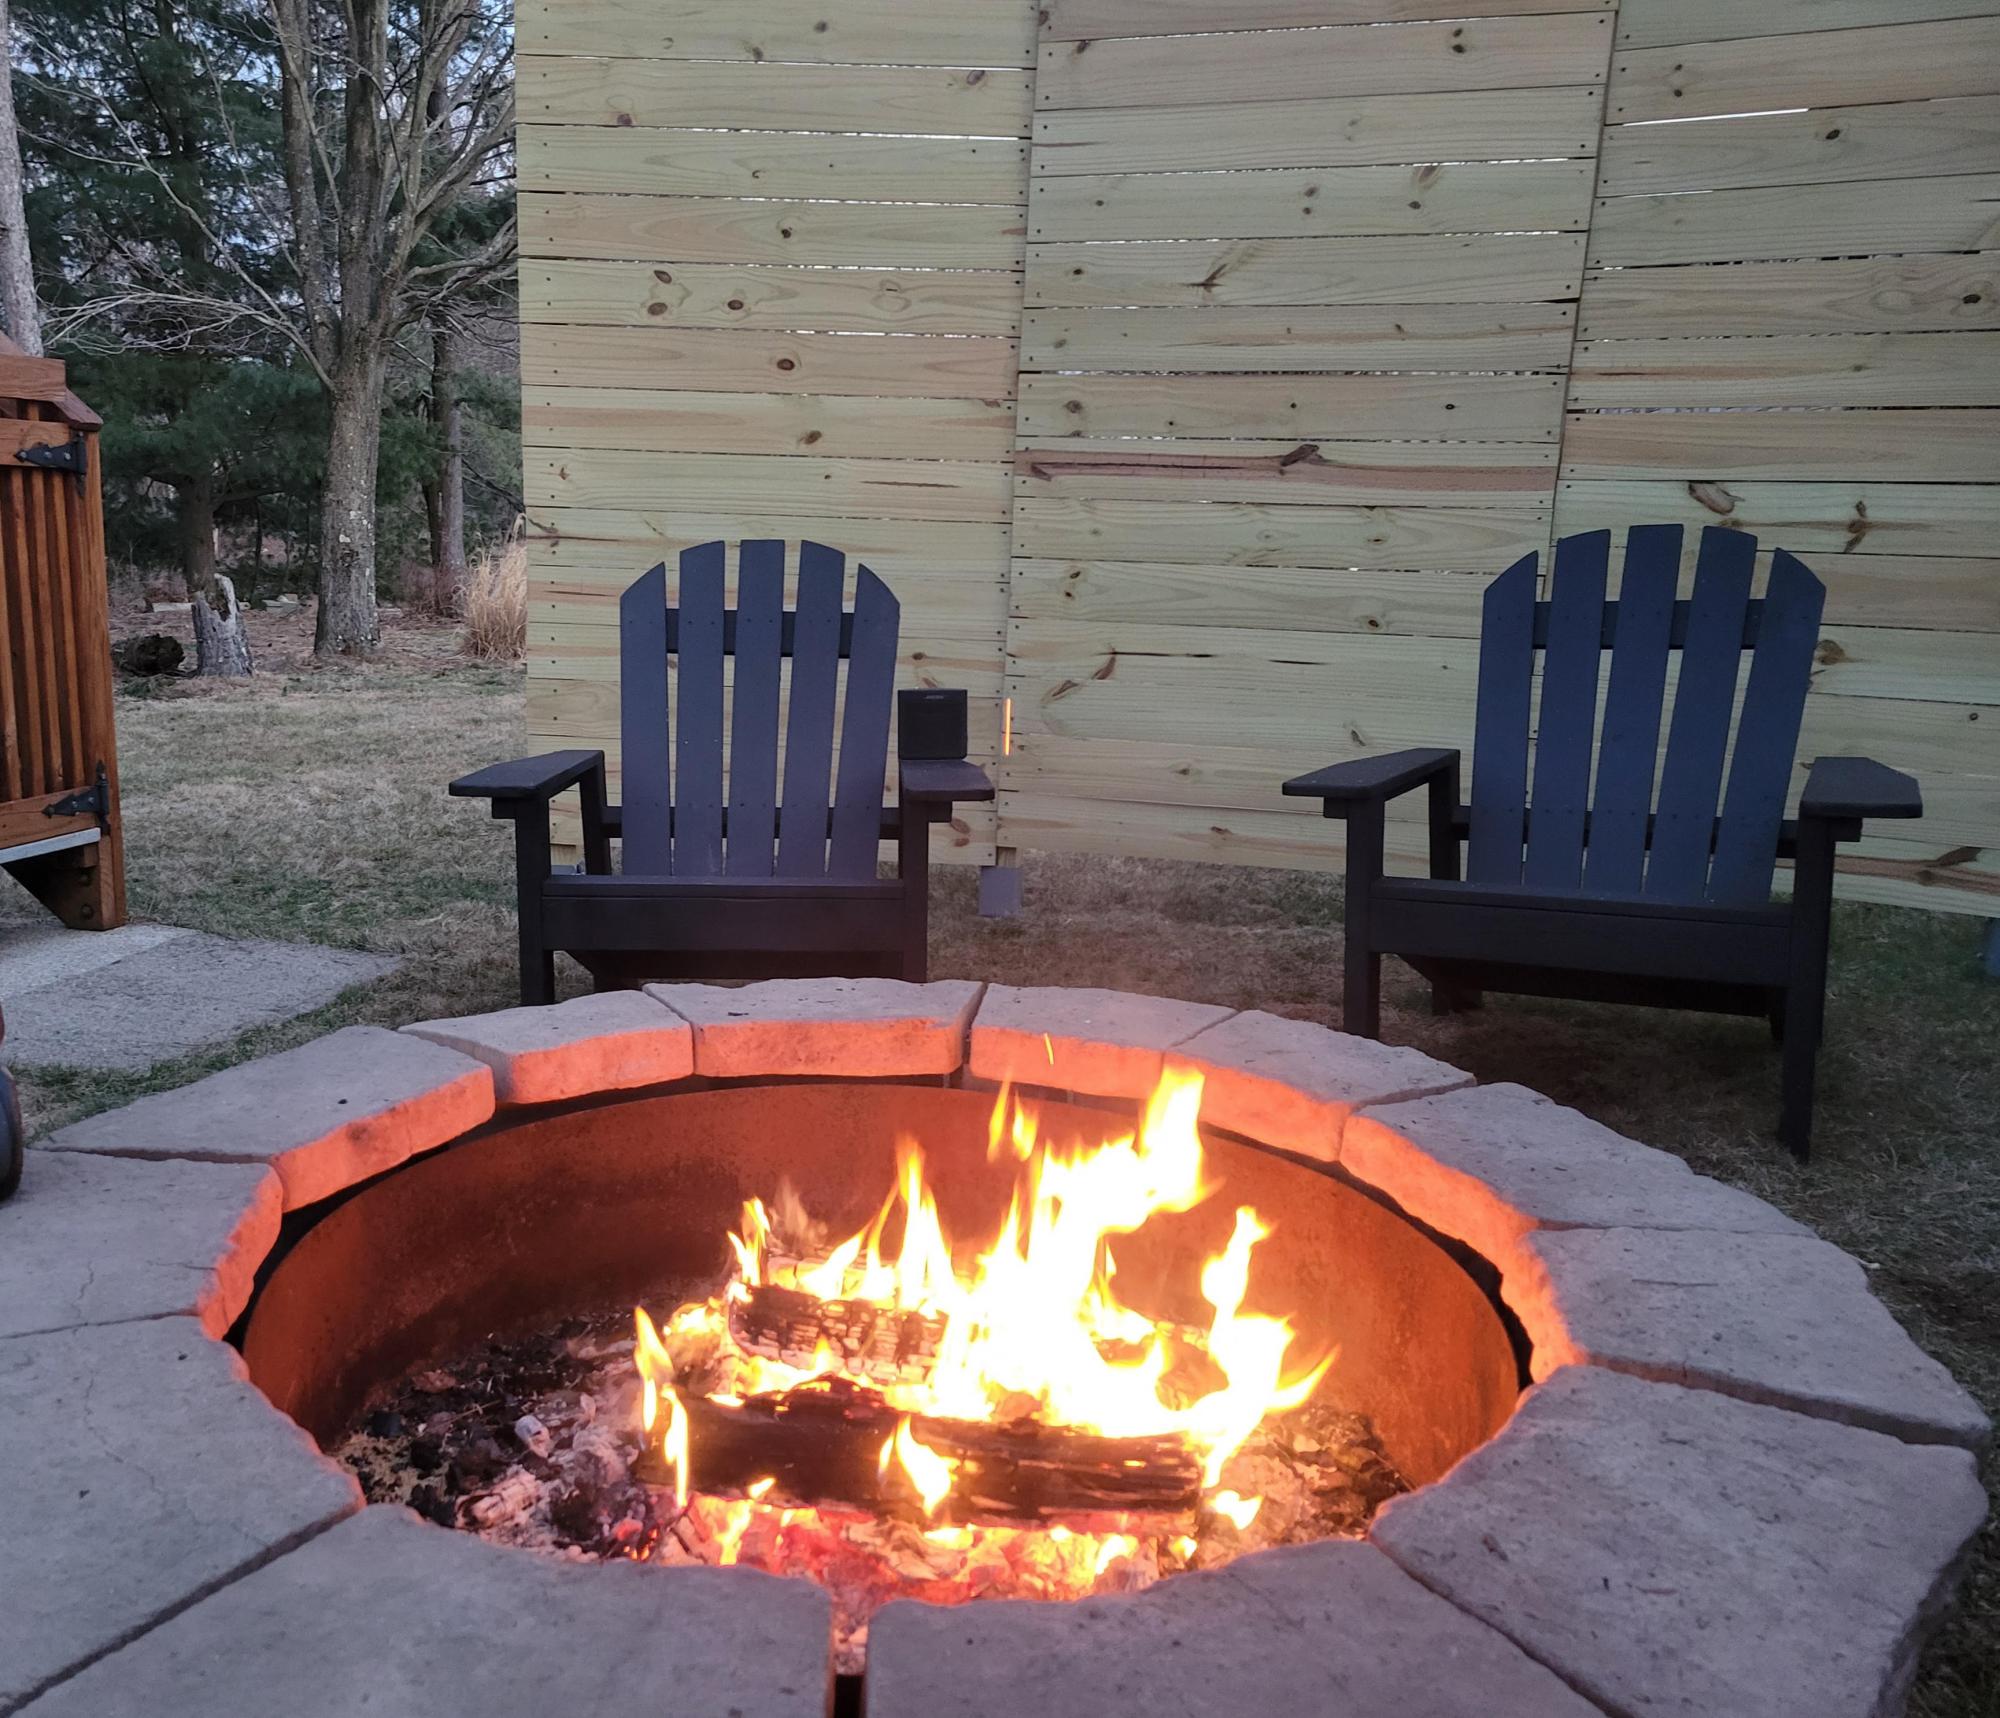
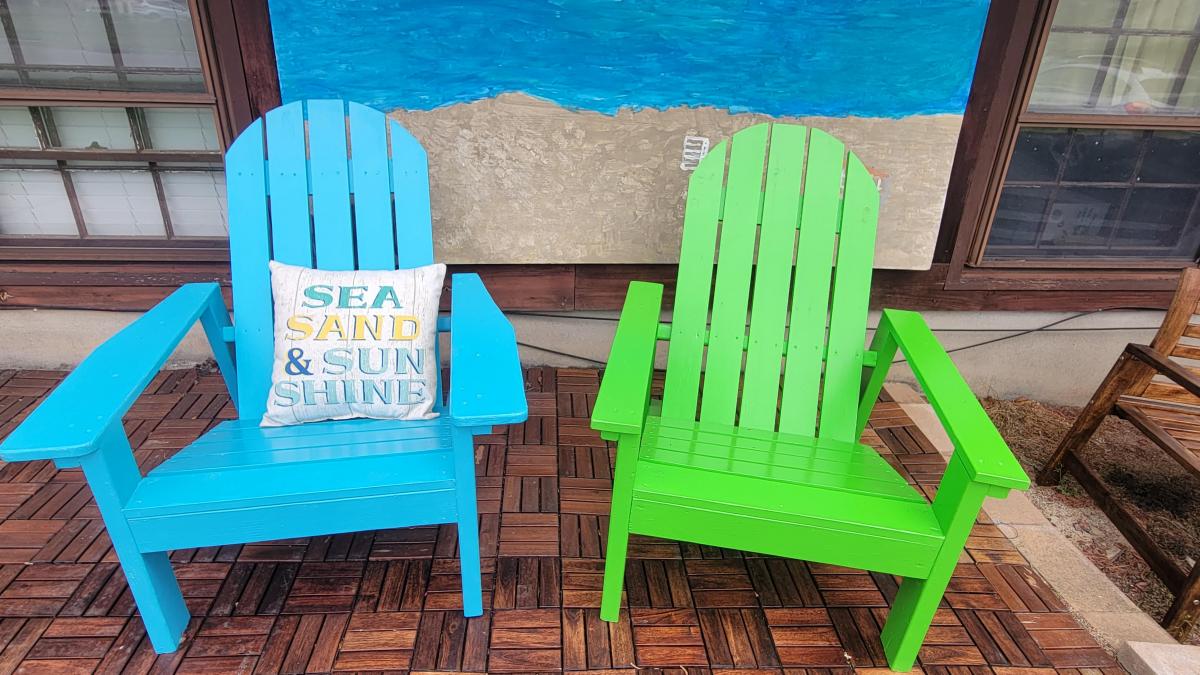
I originally made the Adirondack chairs in a Beach style, then I made them matte black for around the fire pit. I modified the design a little, making the arms wider (to accommodate food and drink better) and fanned the back a bit. Everyone loves the look and how comfortable they are, as well as how sturdy they are. Goodbye to those plastic chairs that break.
Thanks for the great project ideas during the quarantine.
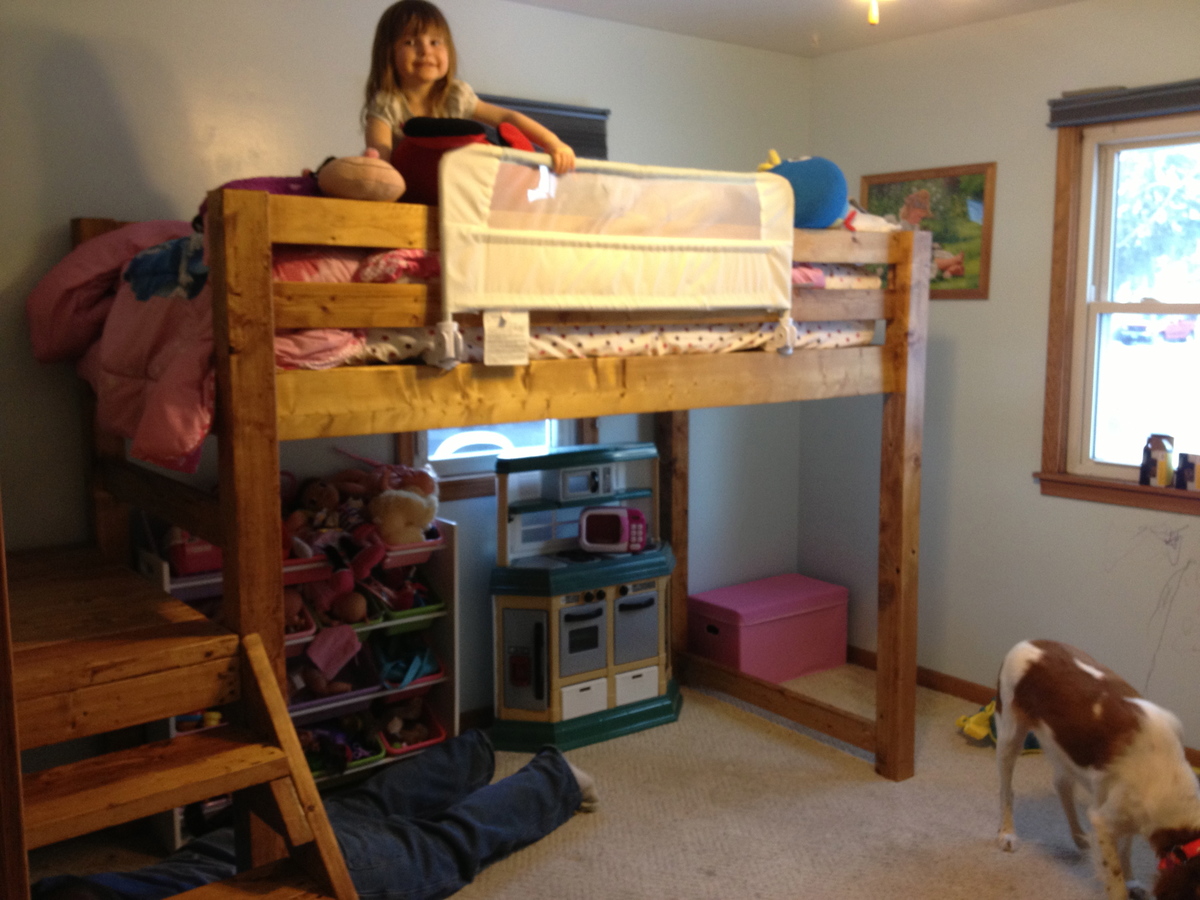
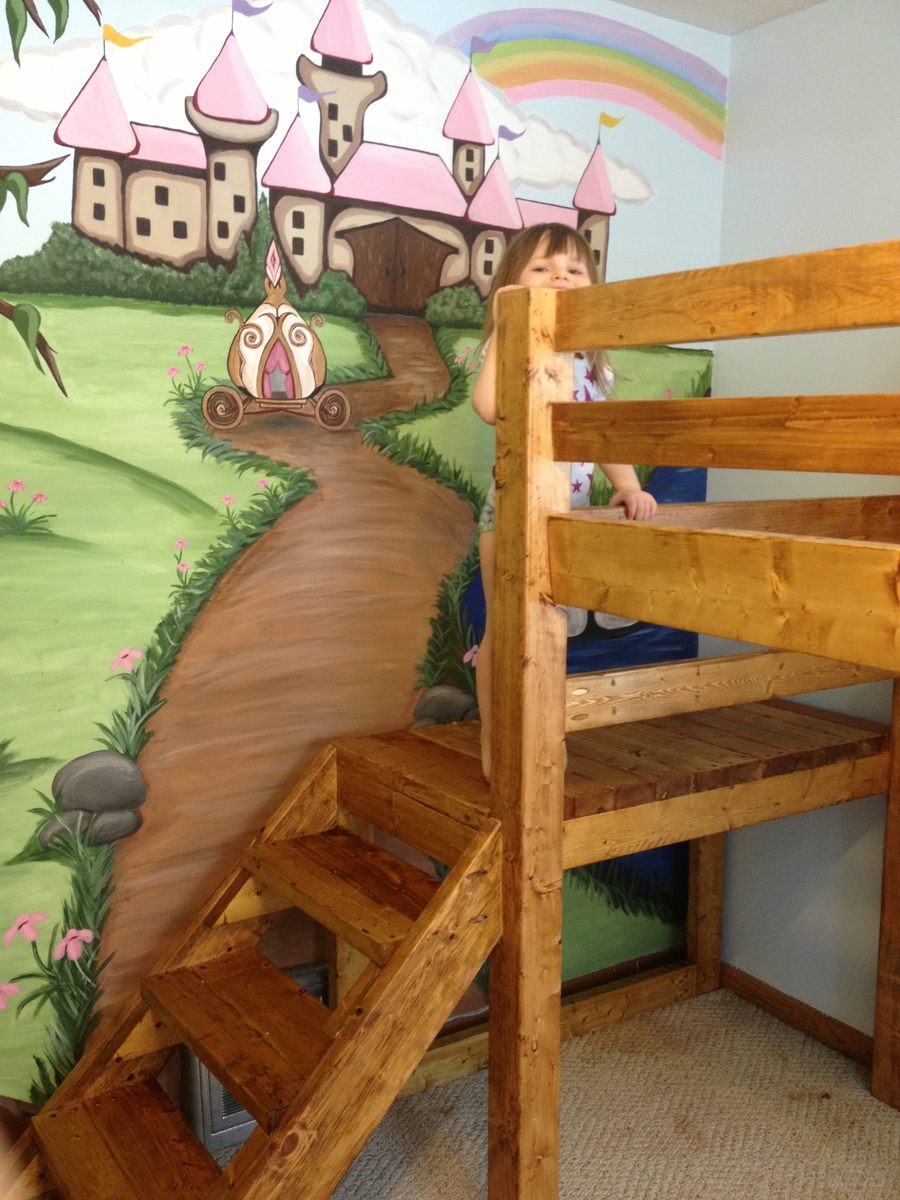
We built this bed for our daughter. We needed more space in her bedroom and she LOVES it! Thank you so much www.ana-white.com and Pinterest for the plans! Turned out awesome!
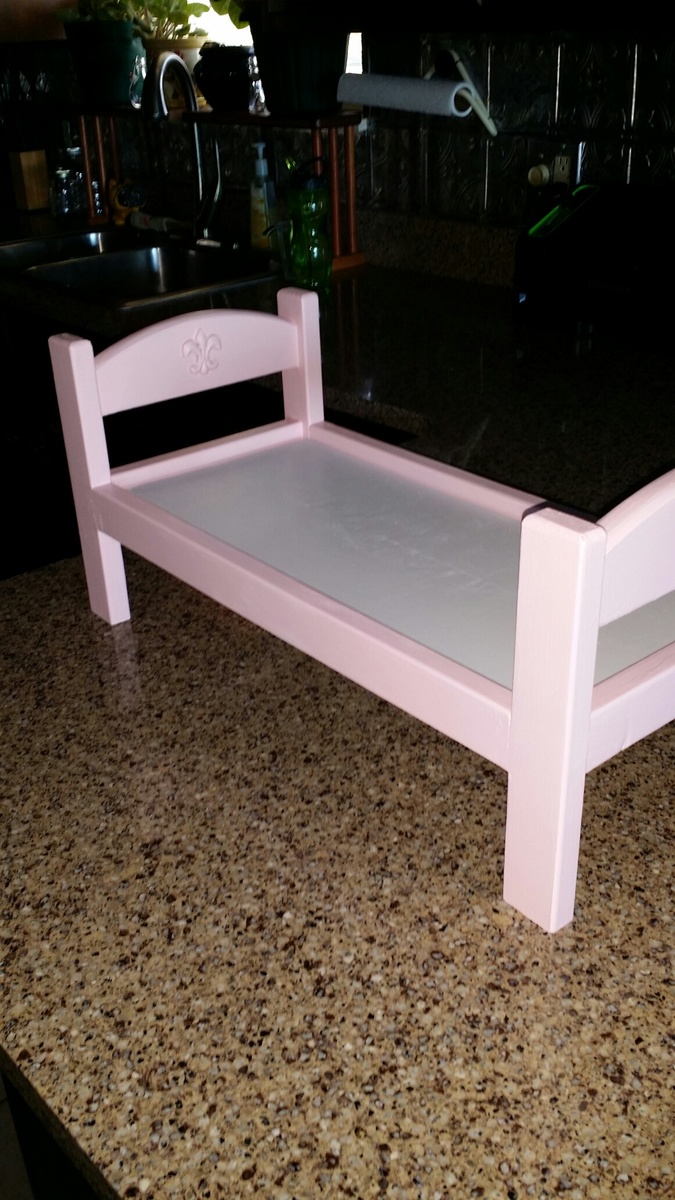
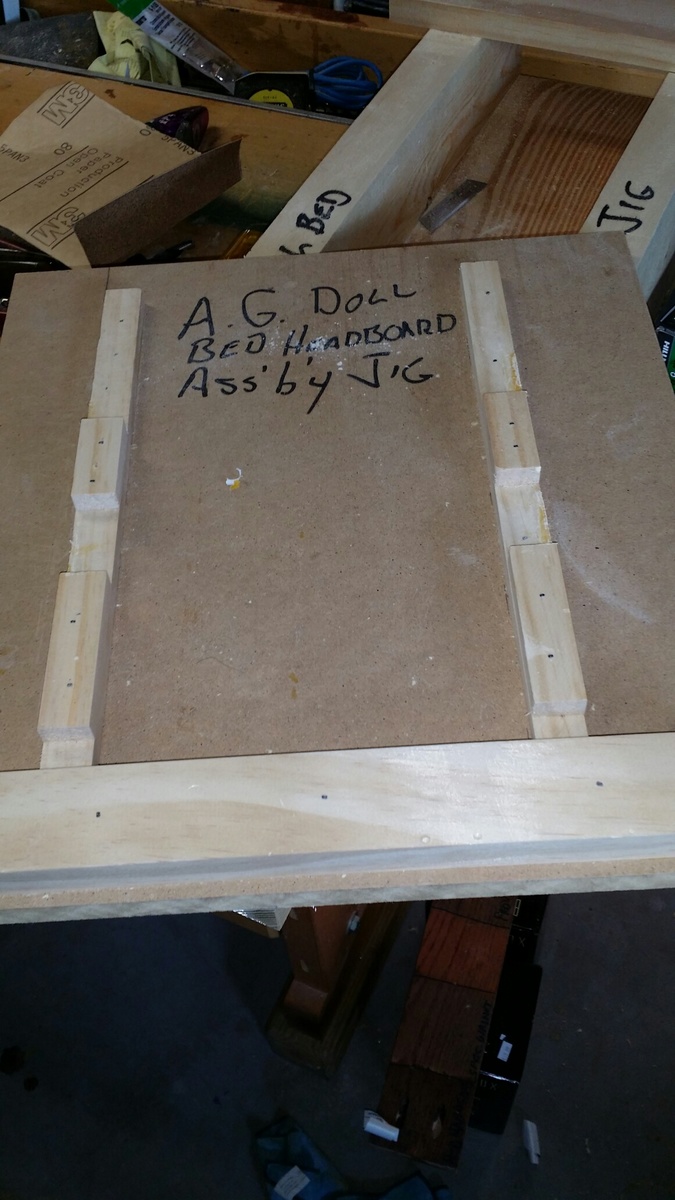
My granddaughters requested beds for their multiple American Girl dolls. I found this project and it looked like it would be fun to make. Well, the girls have friends so the order soon totalled 19 beds. After making a prototype I realized this would be time consuming and the results erratic if I didn't fashion some jigs for constructing the beds. The jigs added speed and precision to the project. Also, after building a few and puttying the screw countersinks, I tried connecting side rails to the head and foot boards using pocket screws. This works great..Pictures of the jigs are attached.
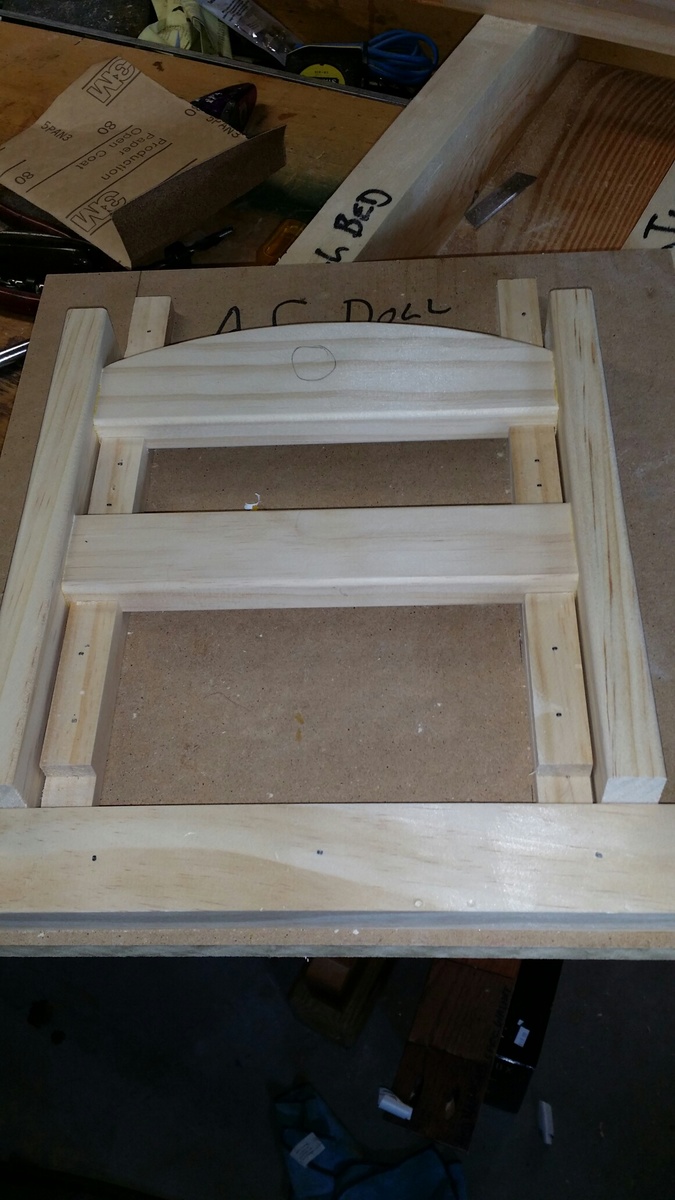
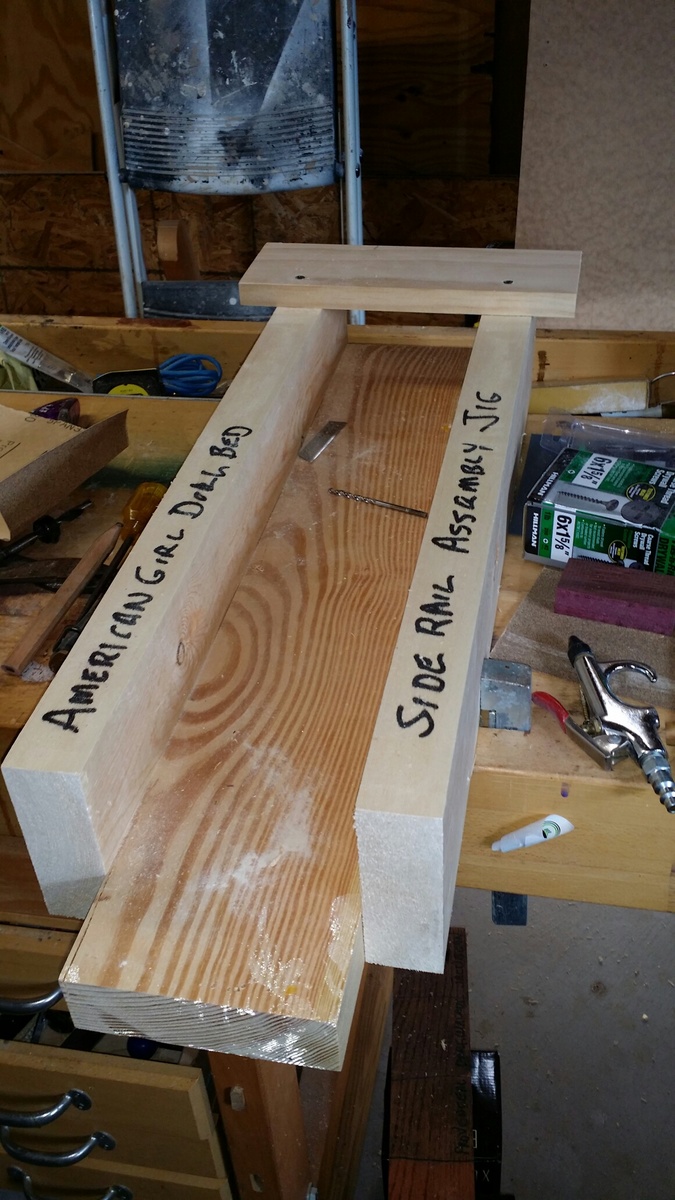
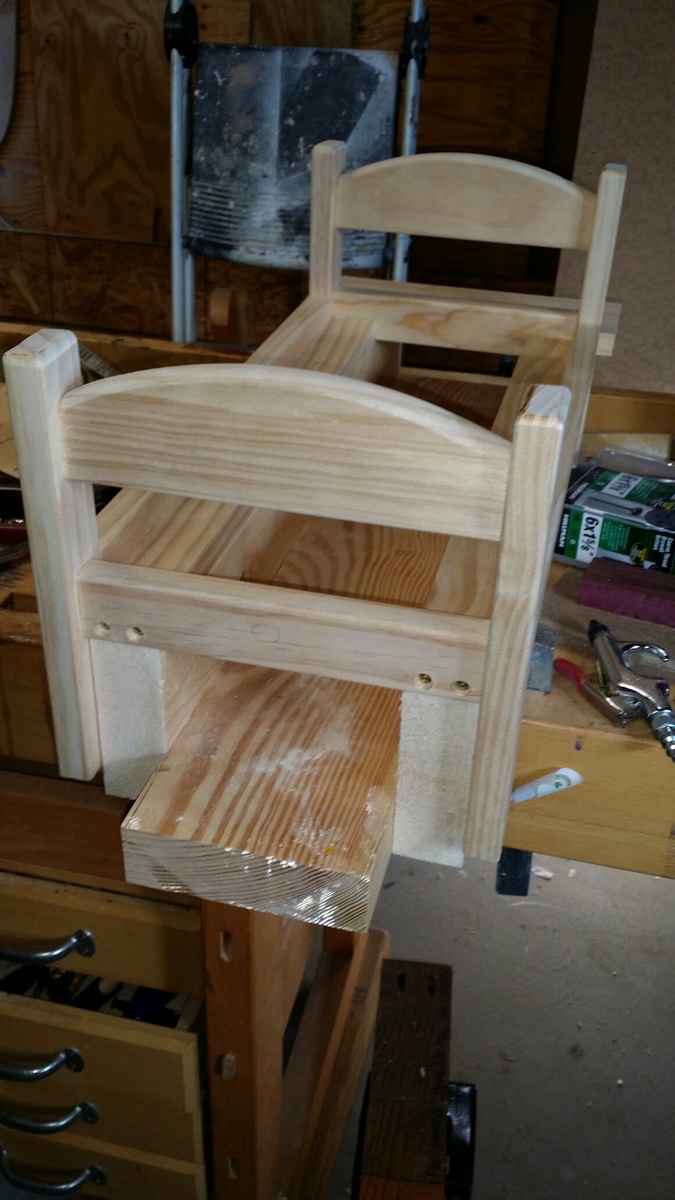
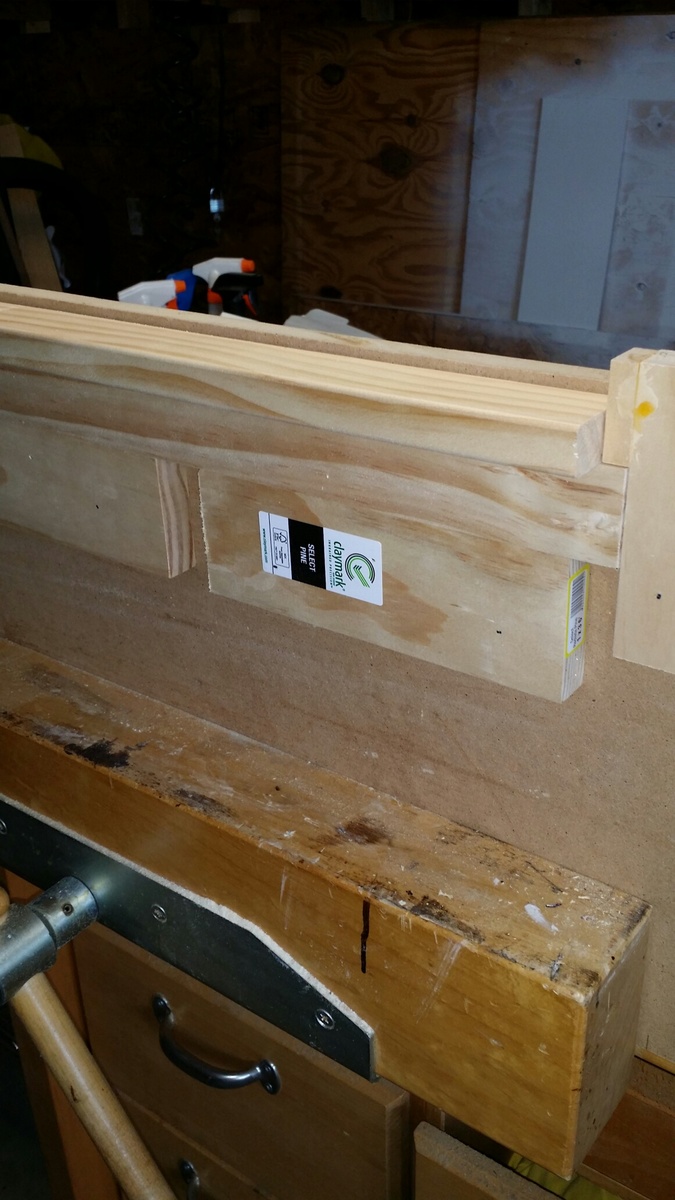
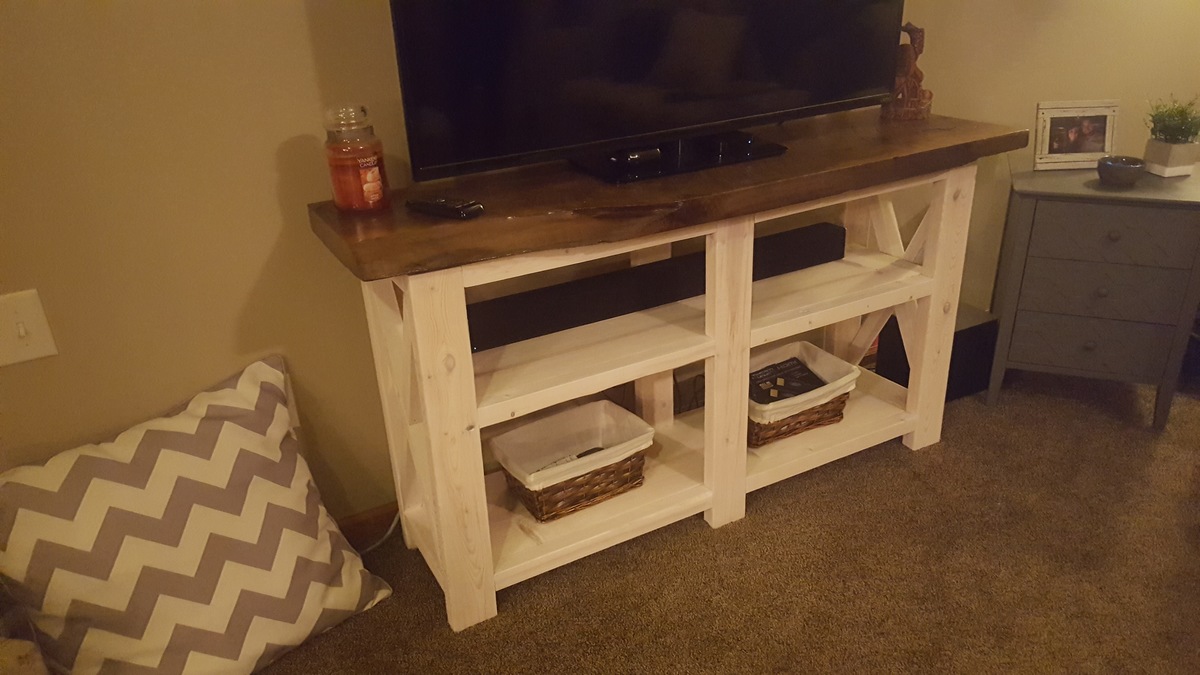
My friend and I made this together and it was my first time using the Kreg pocket hole system. I was very impressed. The base of the piece is pine finished with a white-wash stain so the grain is still visible. The top is a restored piece of walnut finished with a simple clear coat of polycrillic. Thank you so much for the design idea! My friends love it in their living room!
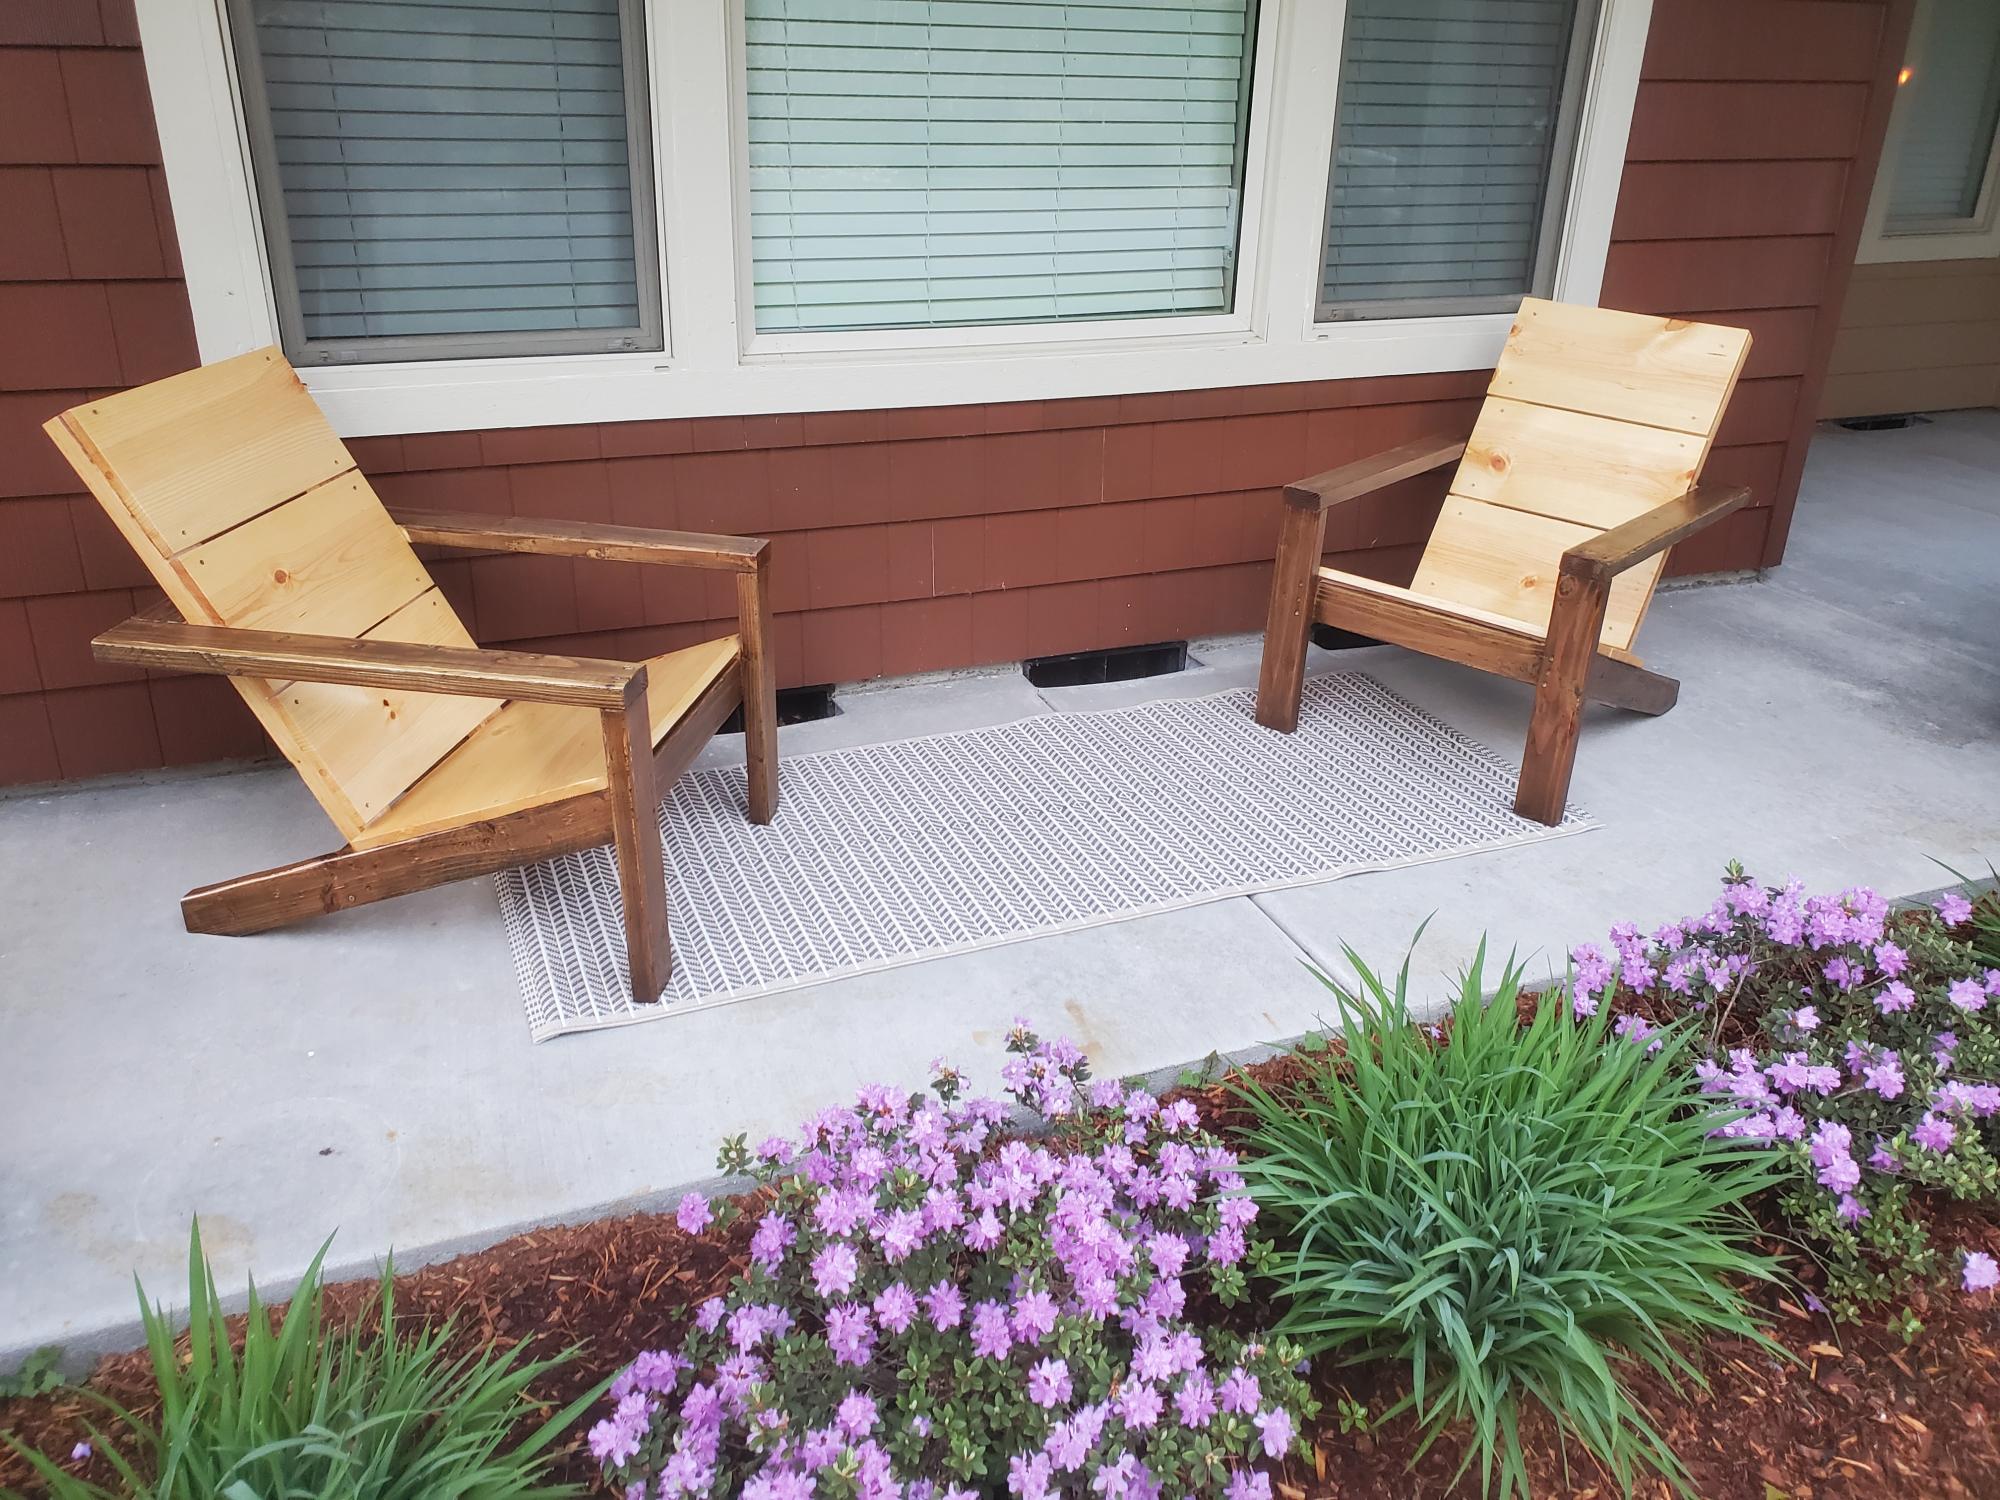
This was my second build ever, and I'm so extremely satisfied with the entire process! Ana's plan was super easy to follow, and I couldn't be more proud of how they turned out!
The better half wanted a coffee table for the rec room to use for snacks and board games. I had seen the use of a hayrake stretcher on tables so, since I like to experiment, give it a try on this table.


Sat, 11/02/2013 - 12:37
I would love to build a hayrake style table like this. Are there any plans available?
In reply to Hayrake plan? by stemar61
Sat, 11/02/2013 - 14:21
I did not have any plans. Just built by feel. However go to this link
http://www.thedesignconfidential.com/2013/03/coffee-or-game-table-hayra…
where I have posted much more detail on my building process including some extra pictures. Interesting build. Good luck and post your results when finished.
Hey, y'all. Here is how our milk paint dining table turned out. We are proud of it. Keep checking the blog and I will have more pictures of our complete dinning room flip posted.
Thanks,
Kira
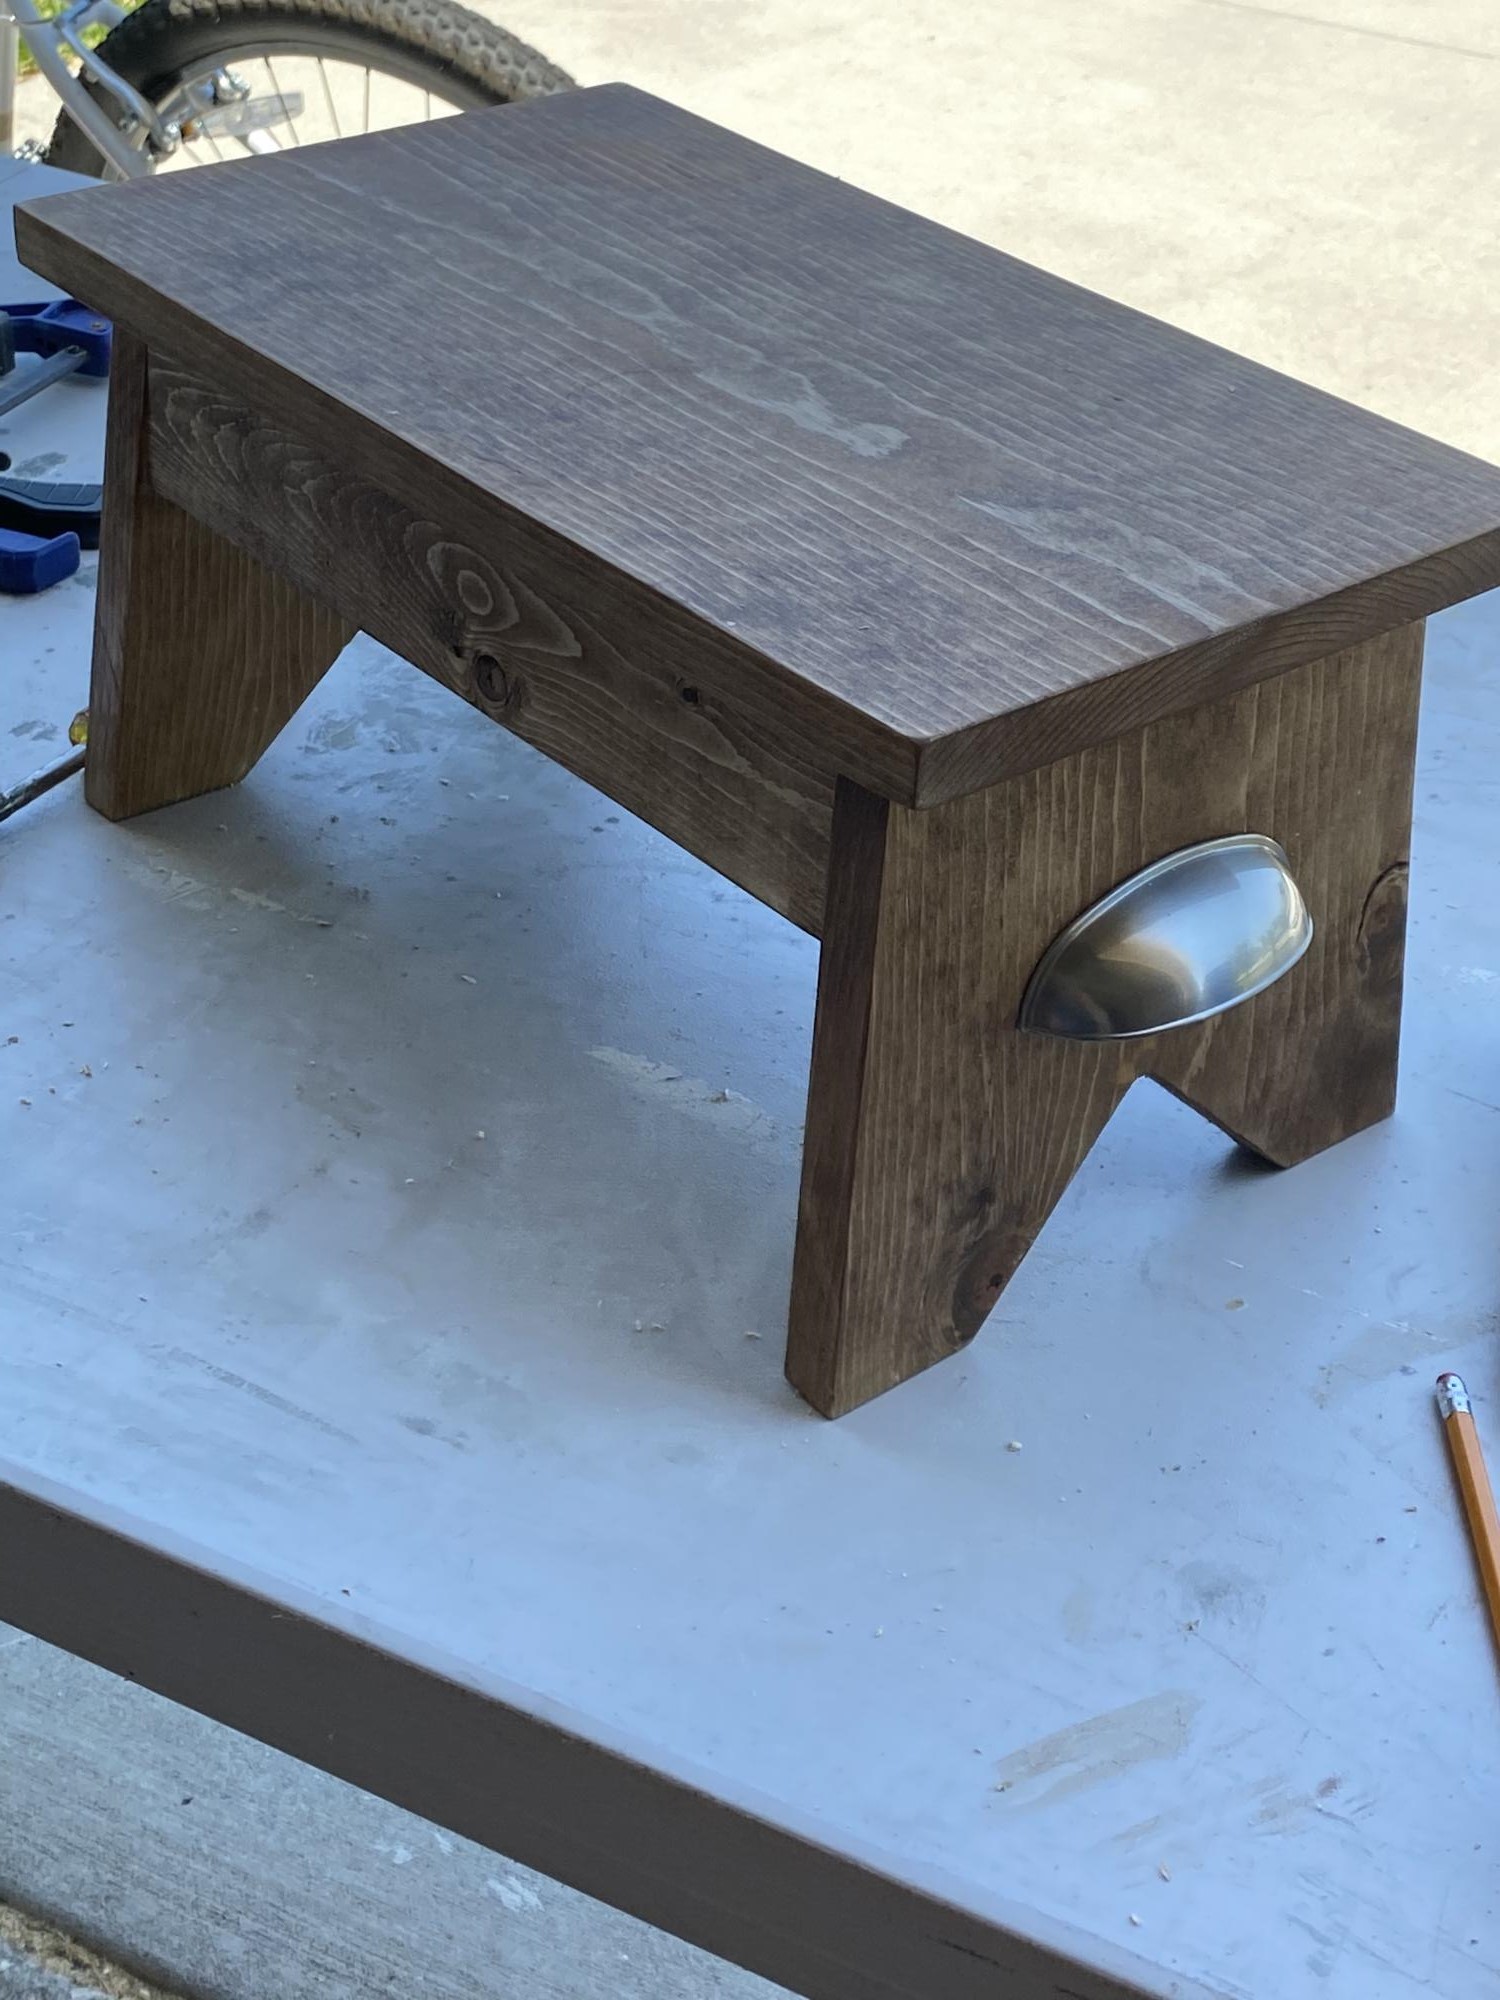
Love, love , love this step stool. It’s perfect and relatively easy to make.
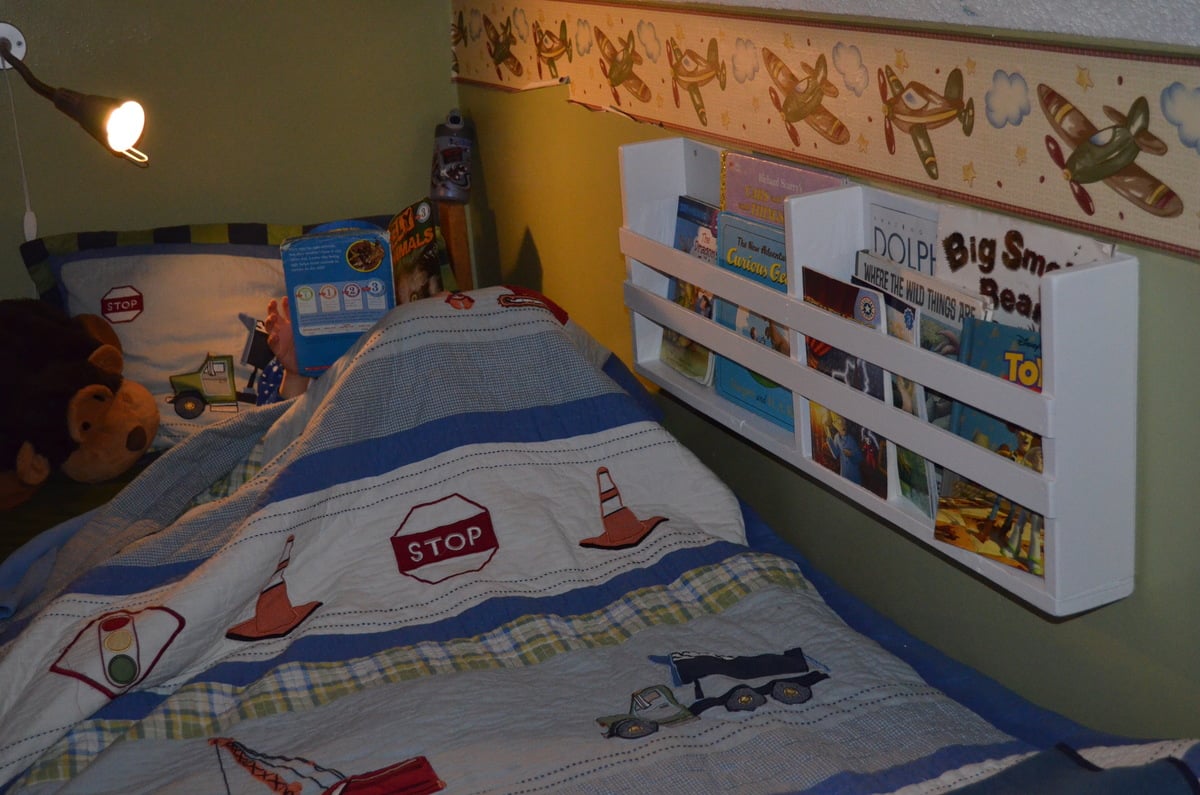
We needed a small space book shelf that my kids could have next to their beds. So we searched the internet for a shelf. We found one that is similar to this one and we made our own plans and built them. It was so simple and our 2 boys, 5 and 7 helped make them with us. I then found it here! Easy and simple.
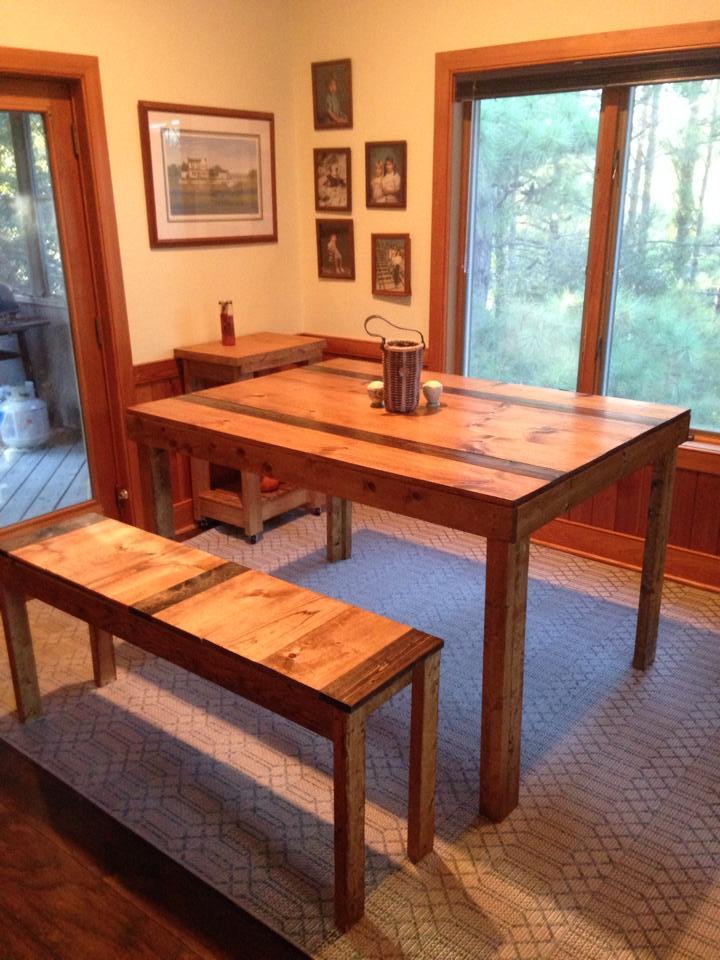
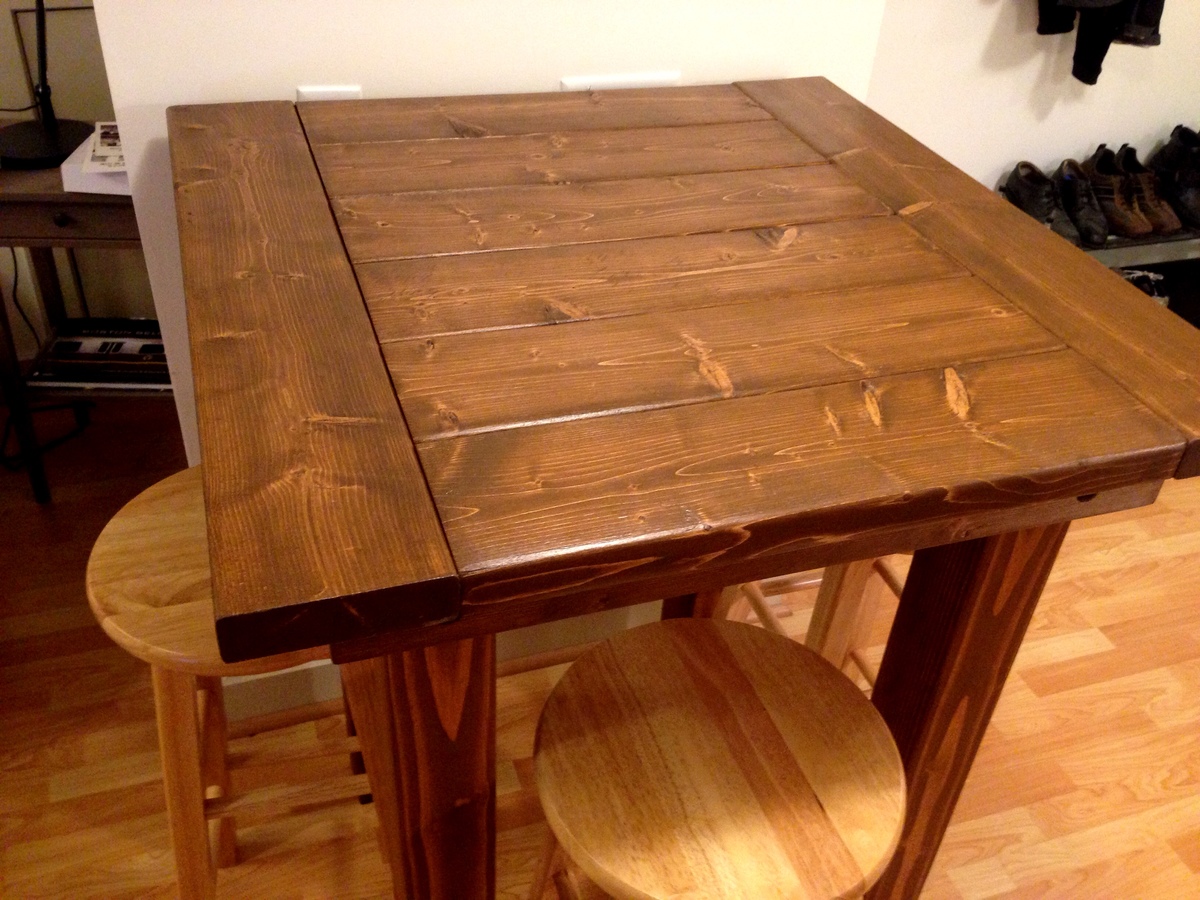
Modeled after the rustic table. I made it smaller and taller. I used Pine boards and golden oak stain and also jacobean stain. The legs can come off by unscrewing them.
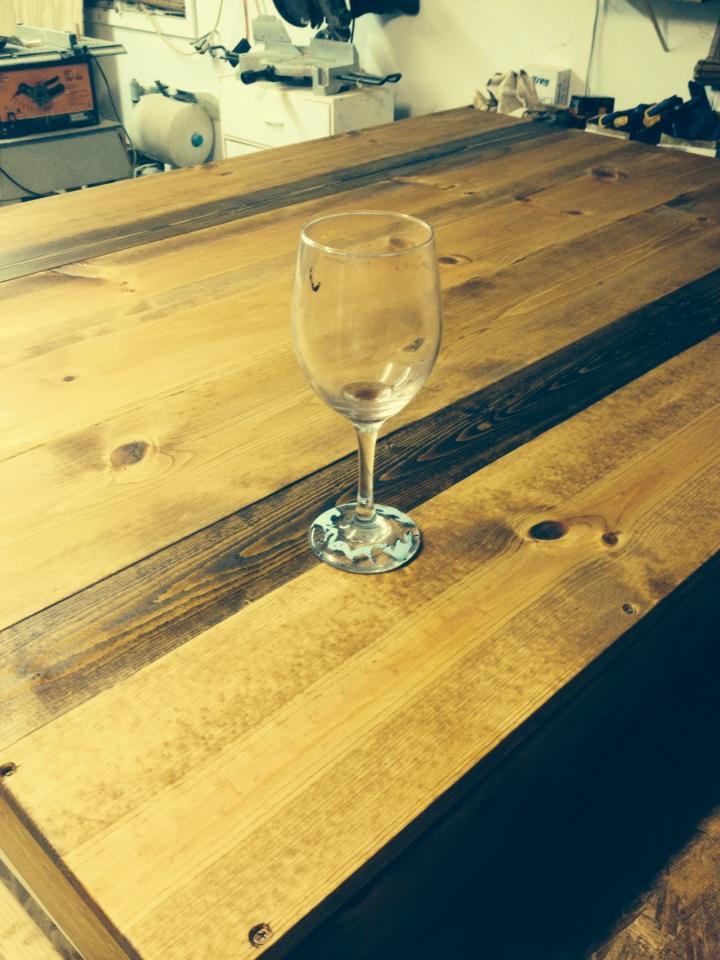
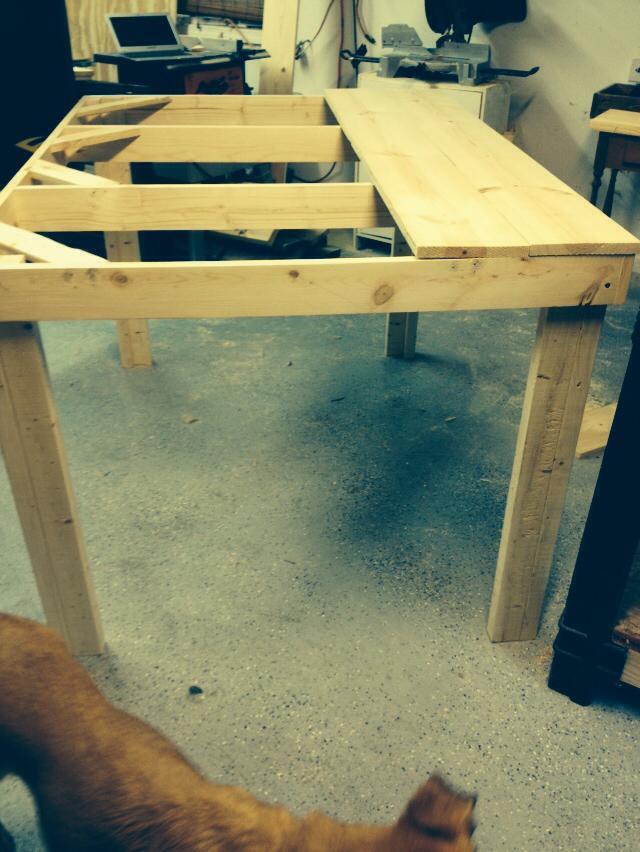
A full write up of this build, including photos & dimensions, is here: http://imgur.com/gallery/YyawW
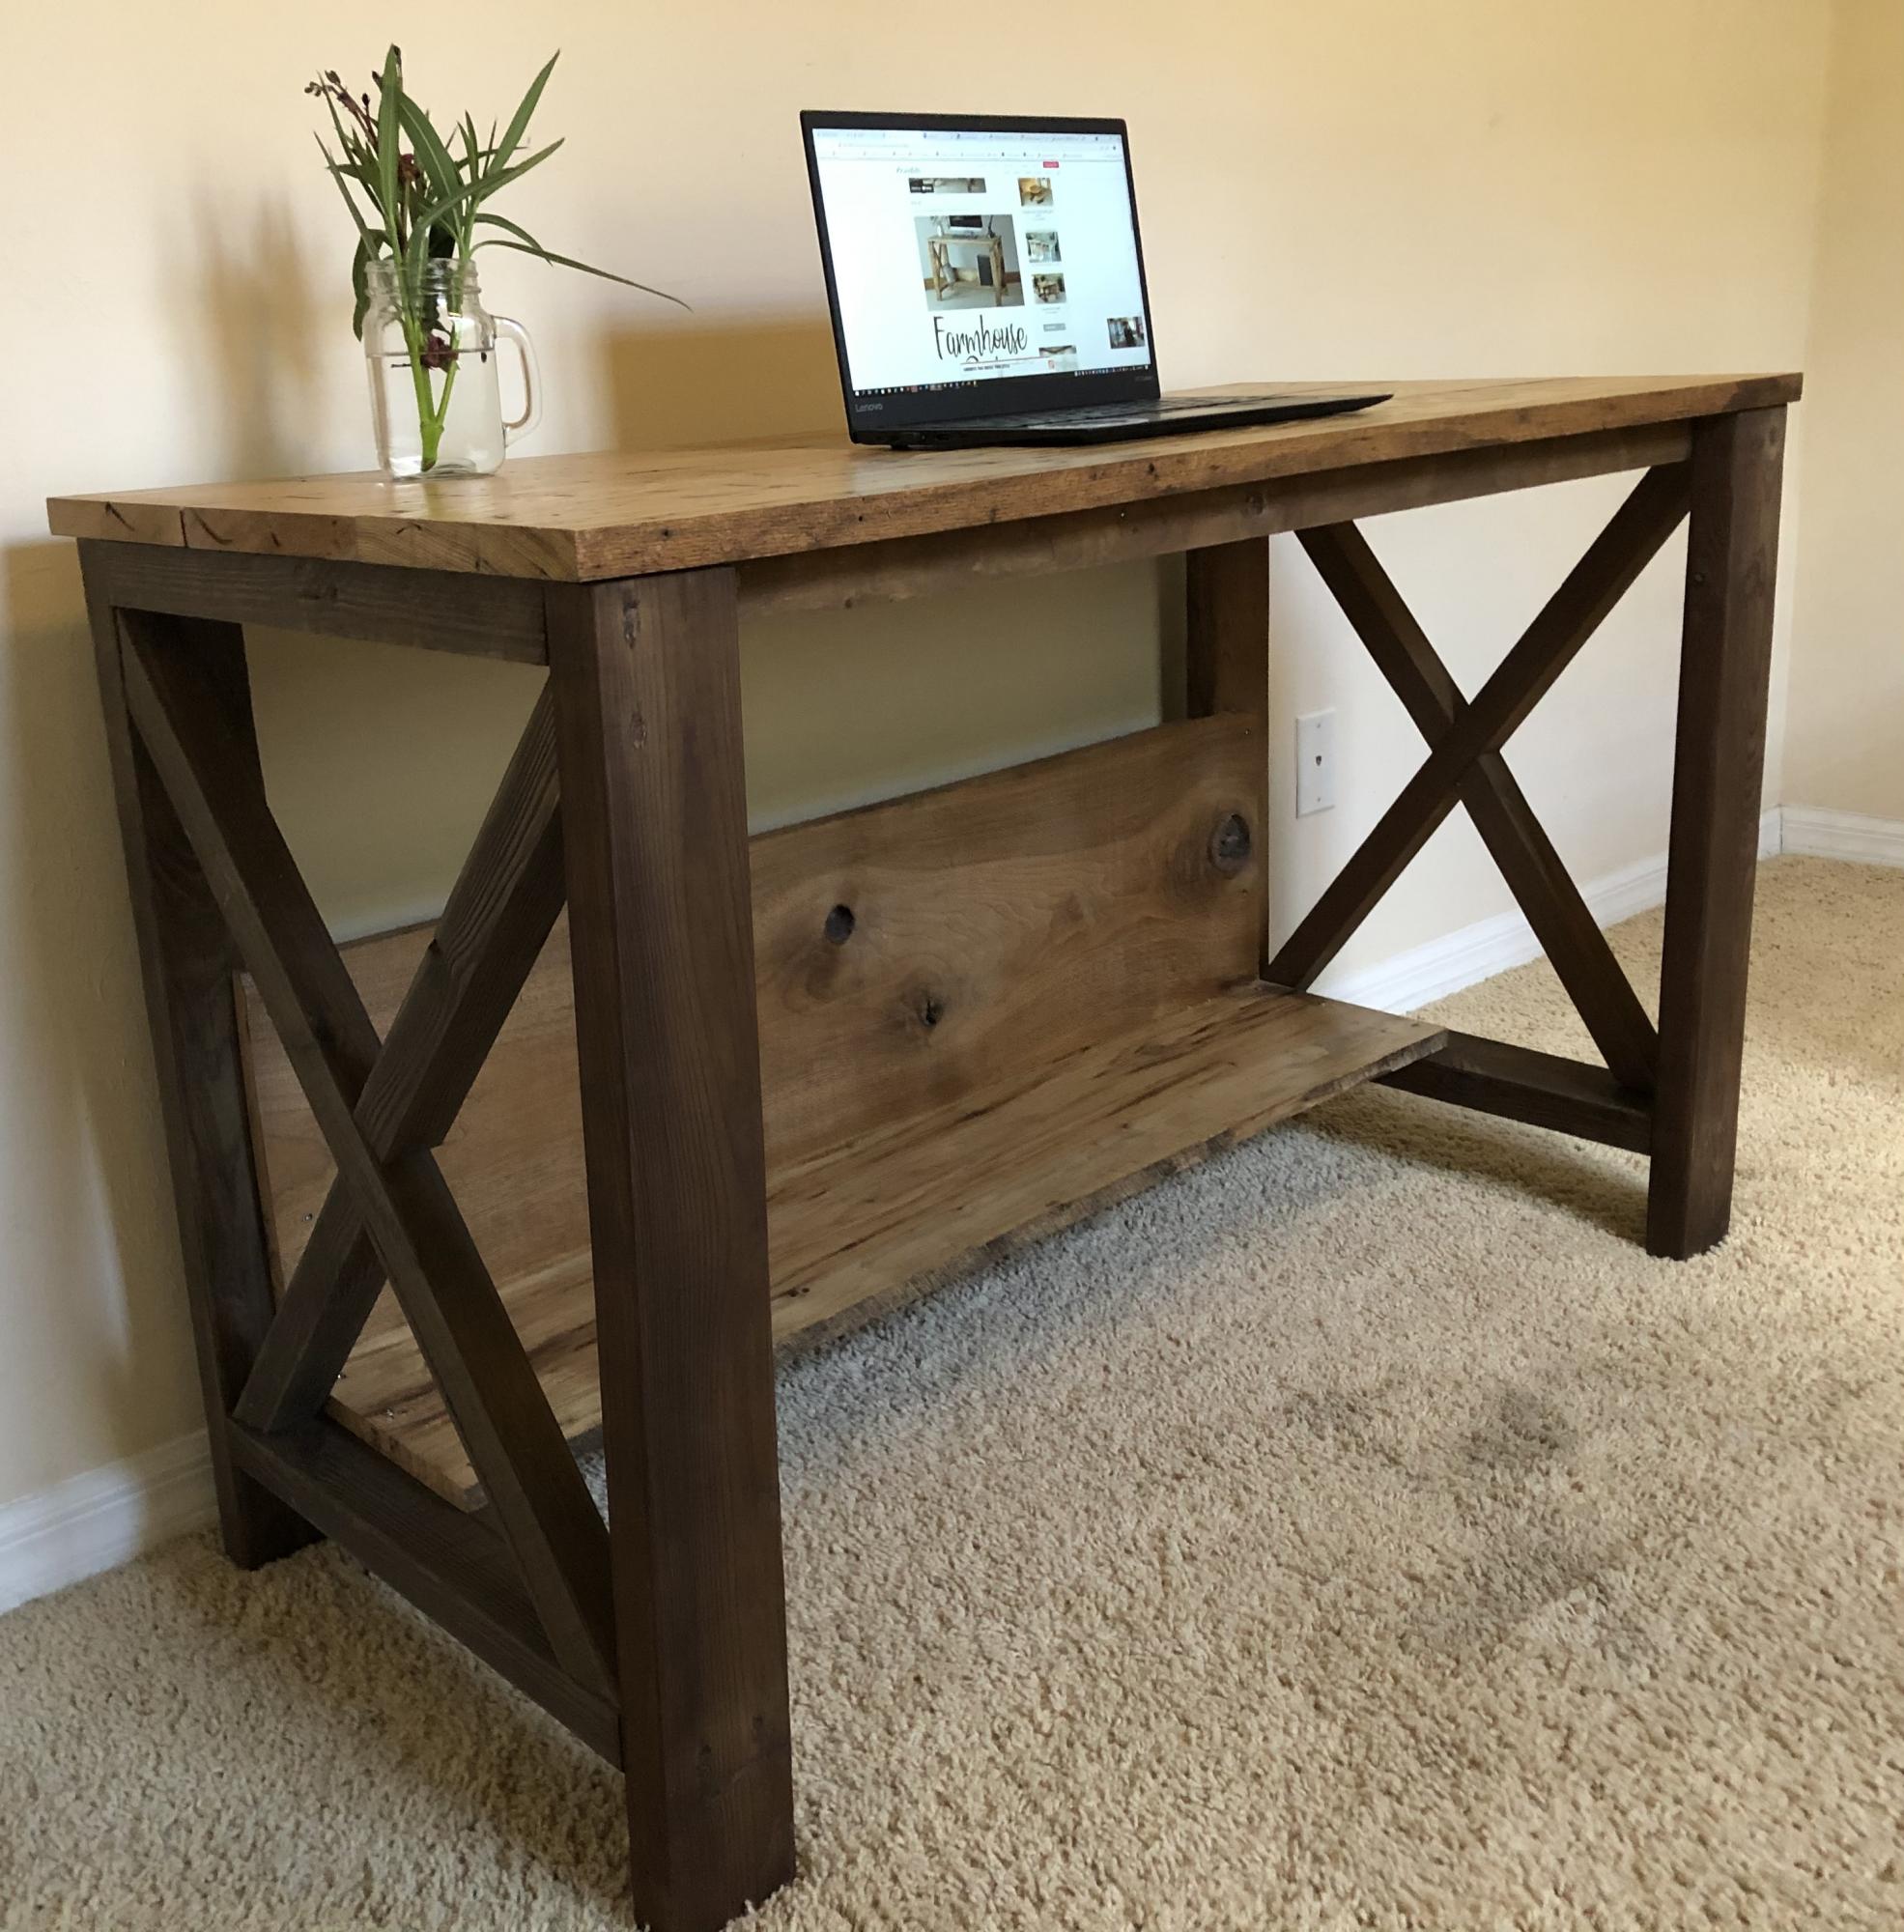
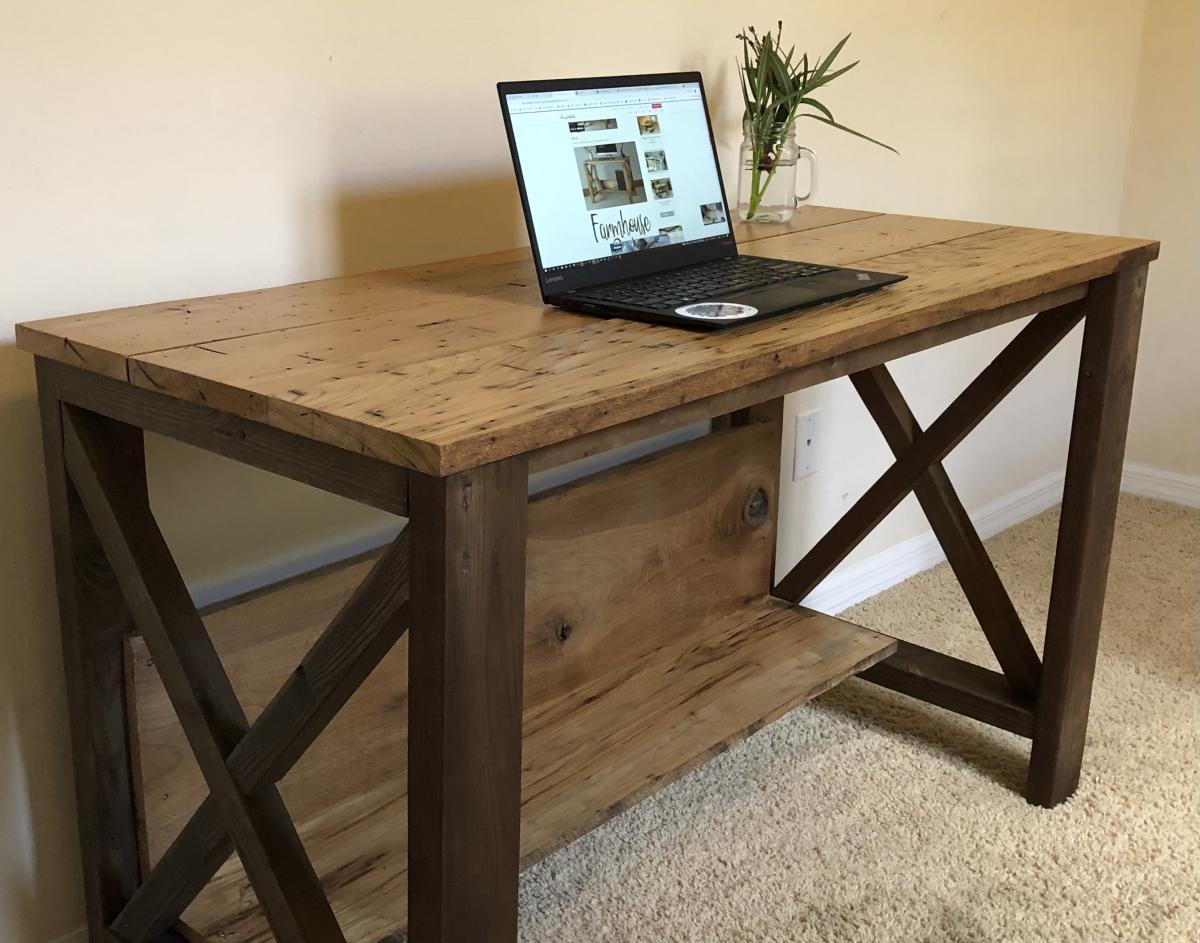
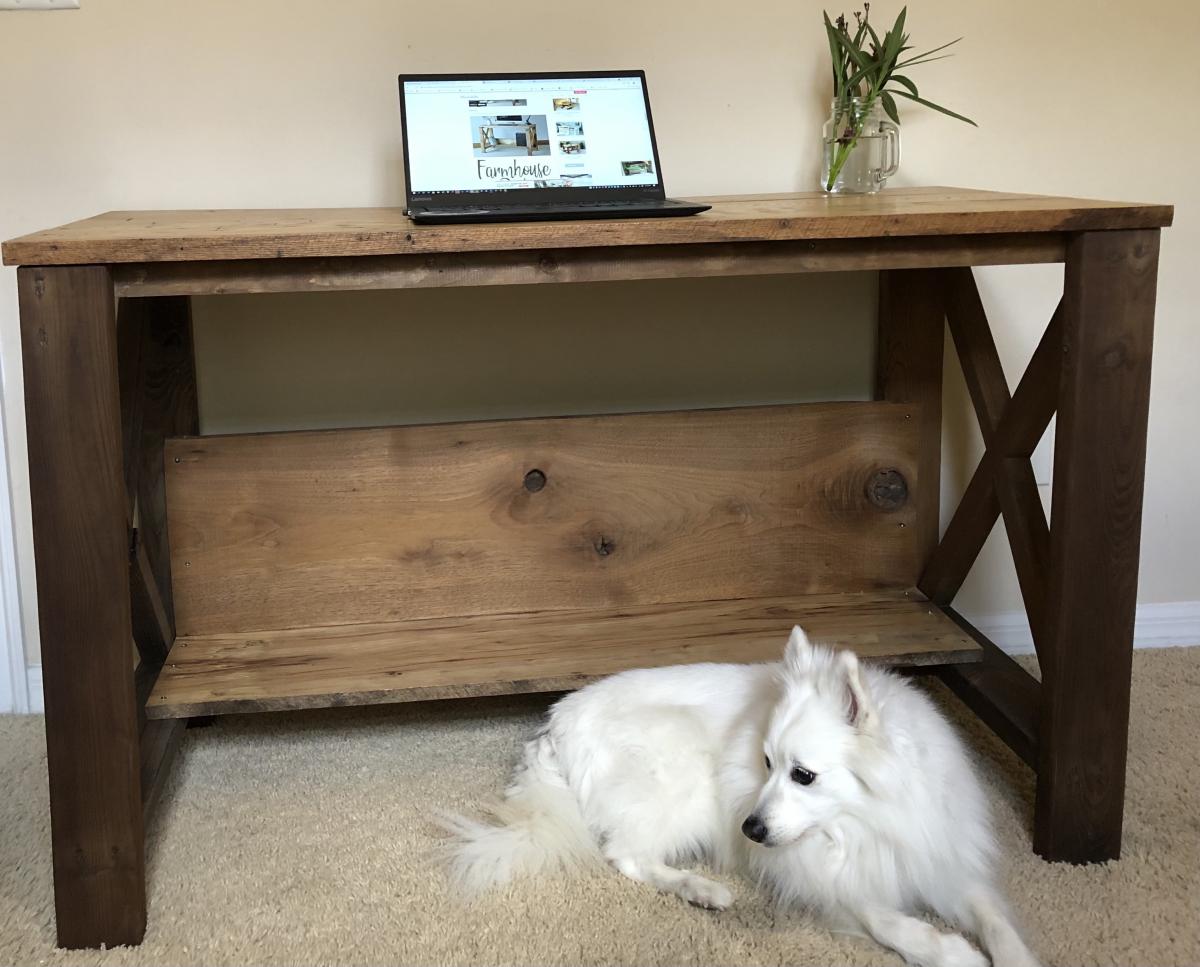
I just completed my first build (#AnaWhiteFarmhouseDesk). It has a ton of mistakes, but they are my mistakes to learn from.
1. Measure twice cut once not measure once cuss twice.
2. Cutting 2x4s in half does not make a store bought 2x2. Which is really 1 1/2 x 1 1/2. Who determined that we would measure wood (used in carpentry which requires very precise measurements) and just round up? Awwe, they'll figure it out!
3. Steelwool & vinegar stain with a black tea conditioner provide a beautiful aged wood appearance, but when using different types of wood it is nearly impossible to match (maybe even store bought stains are like that, too.)
4. When your 95 yr old grandfather (how freakin' cool is it that I have a 95 yr old grandfather... With a planer no less) tells you to catch the "wormy Chestnut planks" on the other side (okay... I'm bragging about getting my hands on wormy Chestnut for my desk top) remember to bring you own PPE because at 95 he doesn't require ear protection and doesn't give a frog's fat a$# if sawdust shoots in your eyes & nose... What's the problem???? He never had a new pair of shoes until he was in the military serving in world war 2 so what's a little sawdust?
5. Sometimes you just need to ask for help from your trusty uncle! Thanks to my uncle Nathan (Lord do I love this man!) I finally, with his help, completed the build by assembling the desk top yesterday. I was so afraid of screwing up my gold desk top (aka wormy Chestnut)
6. Mistakes... Do not fear them, but rather embrace them because that is life's playground where learning happens.
7. Learn from others. Thank you Ana White, Woodworking for beginners members FB group and YouTube!
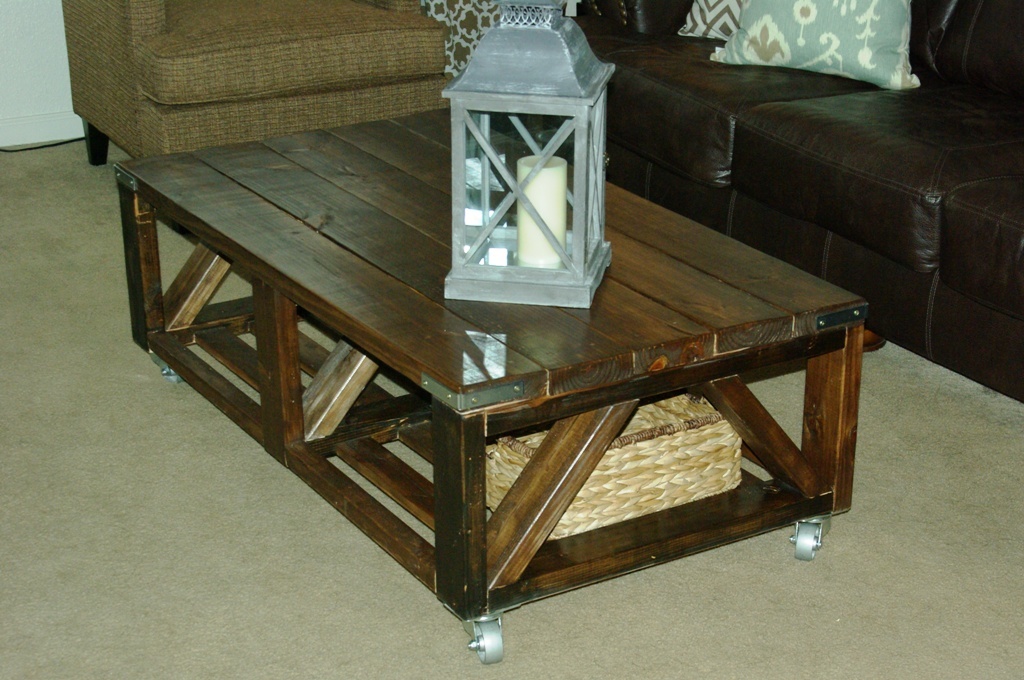
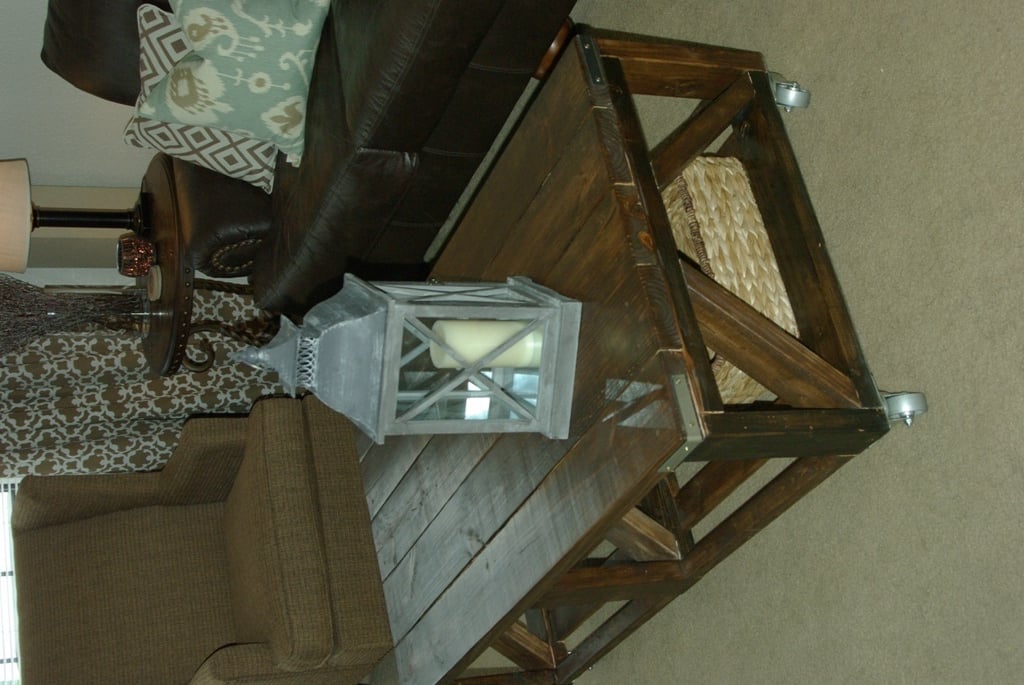
I used all metal casters on my table for a more industrial look! This table is huge so make sure you measure the room you are planning on putting it in! For more info & pics check out my blog: http://builditwithbrooke.blogspot.com/
