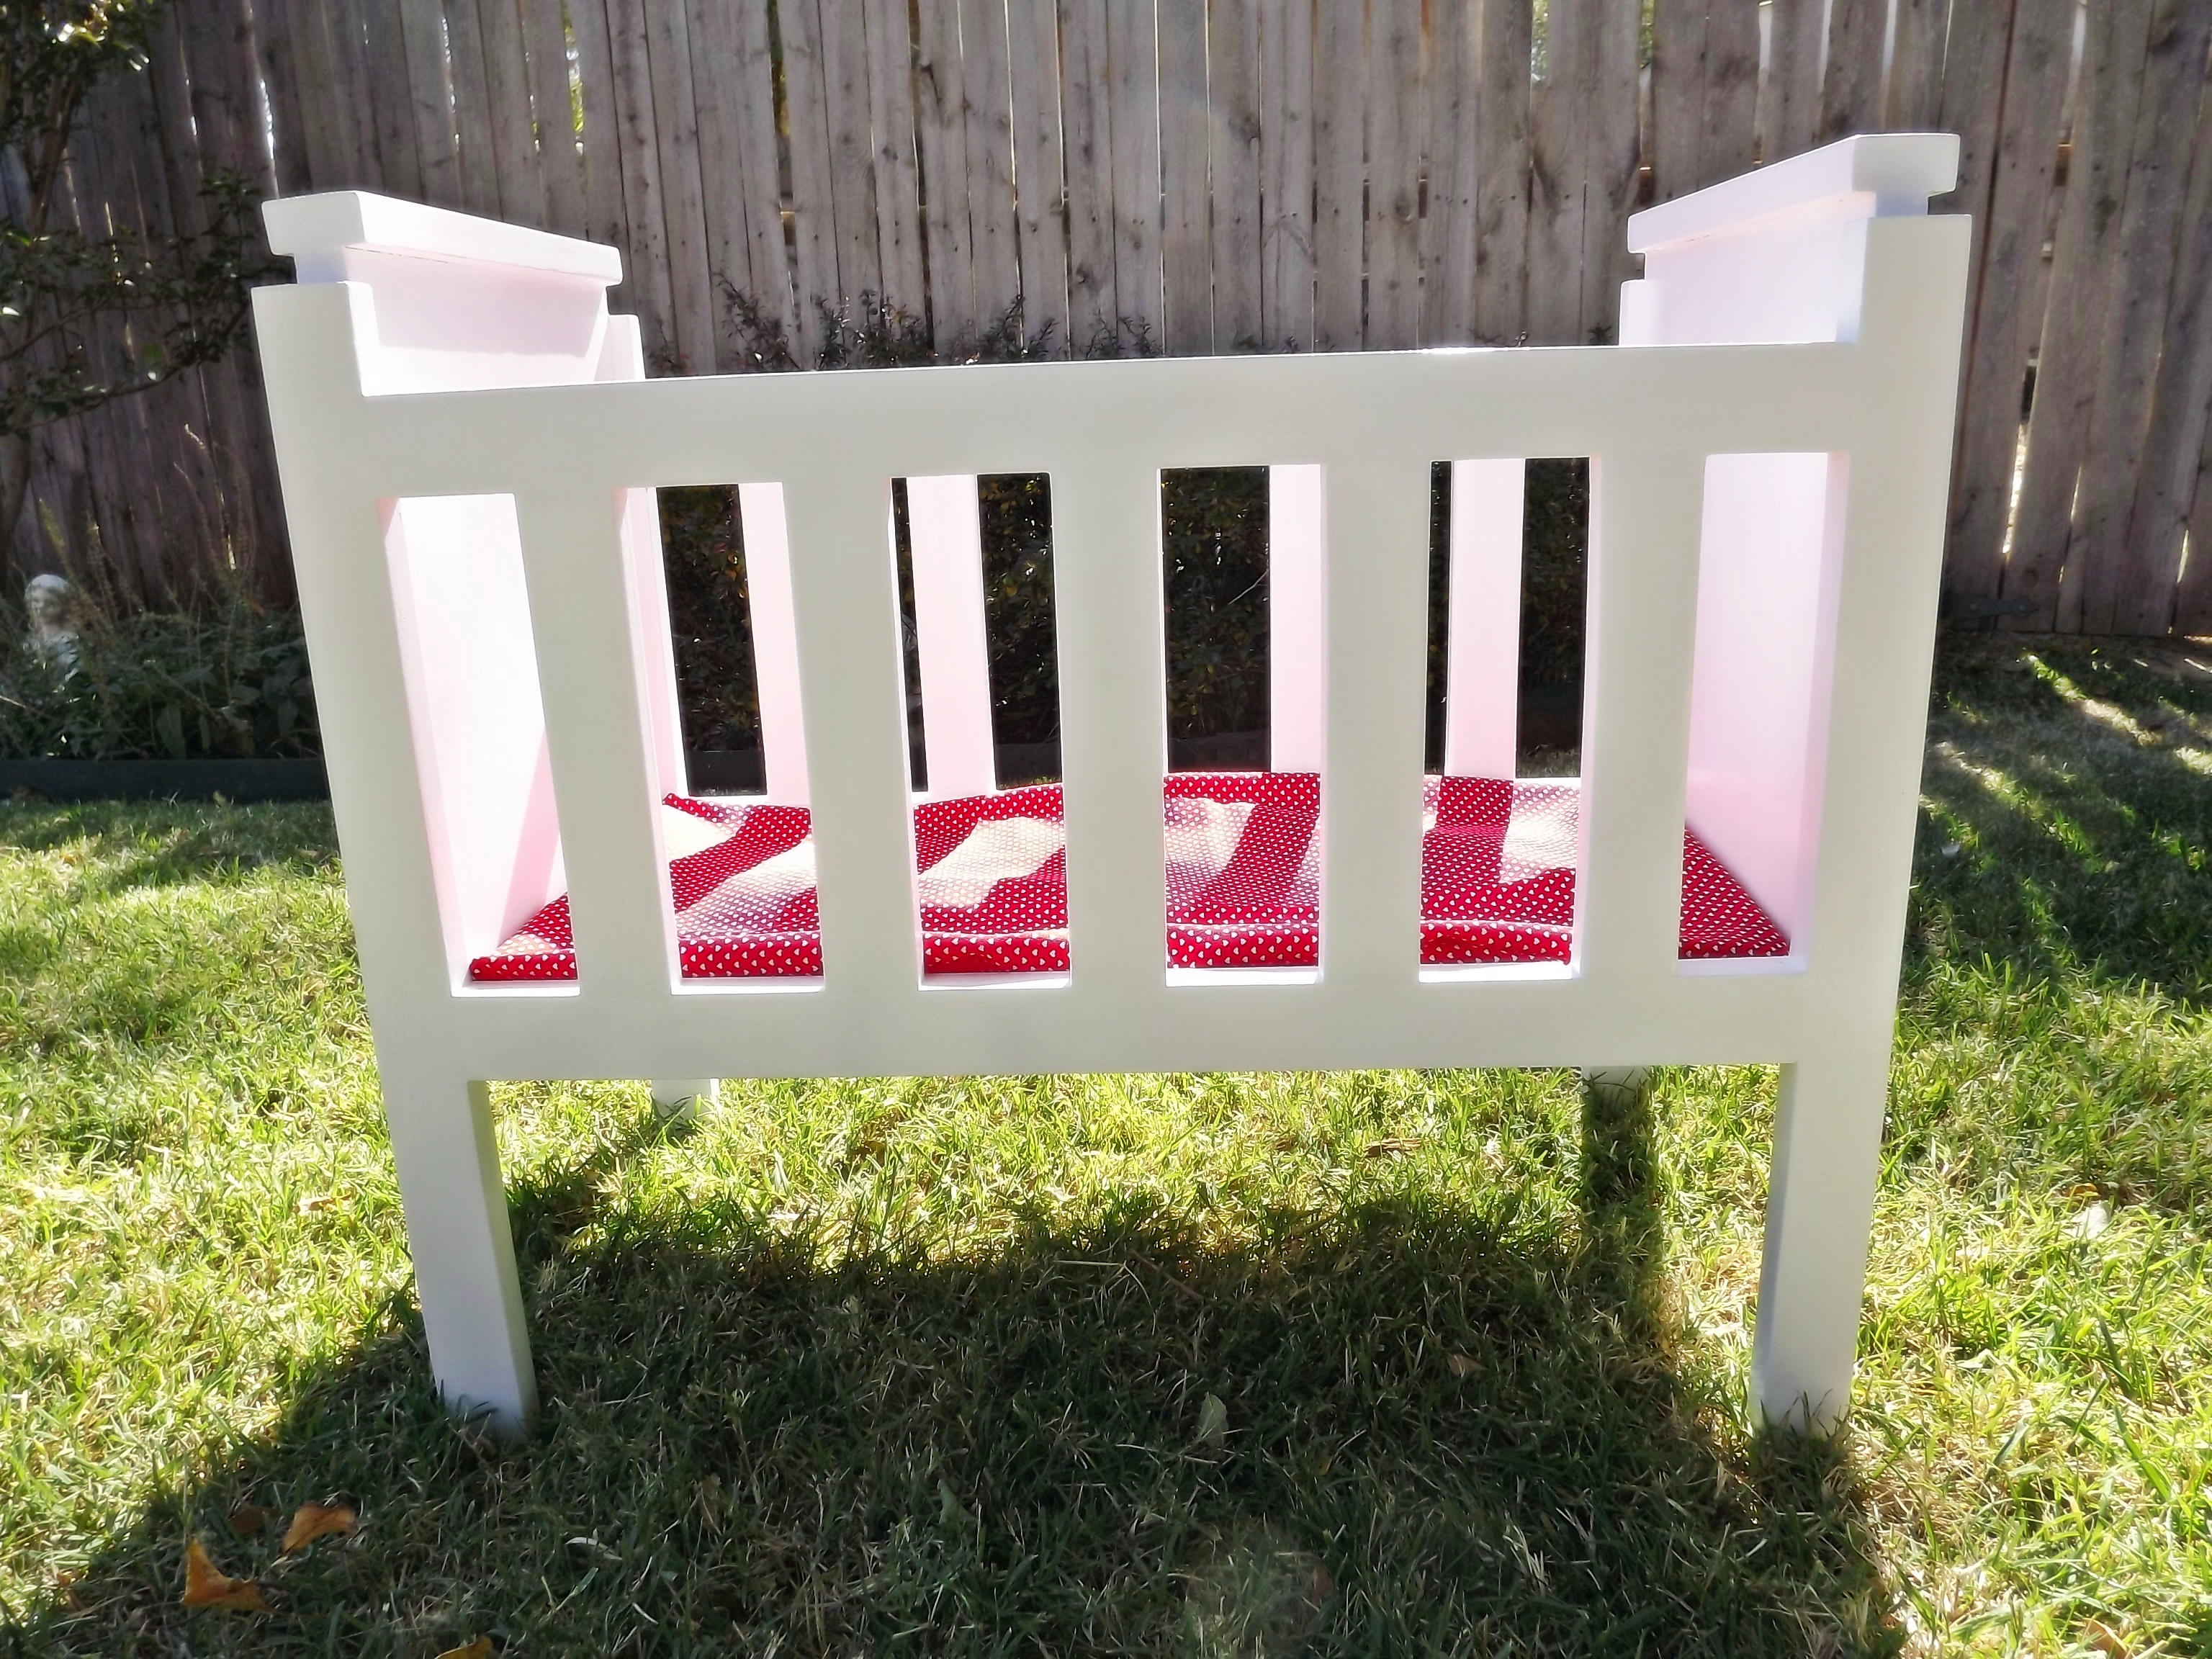
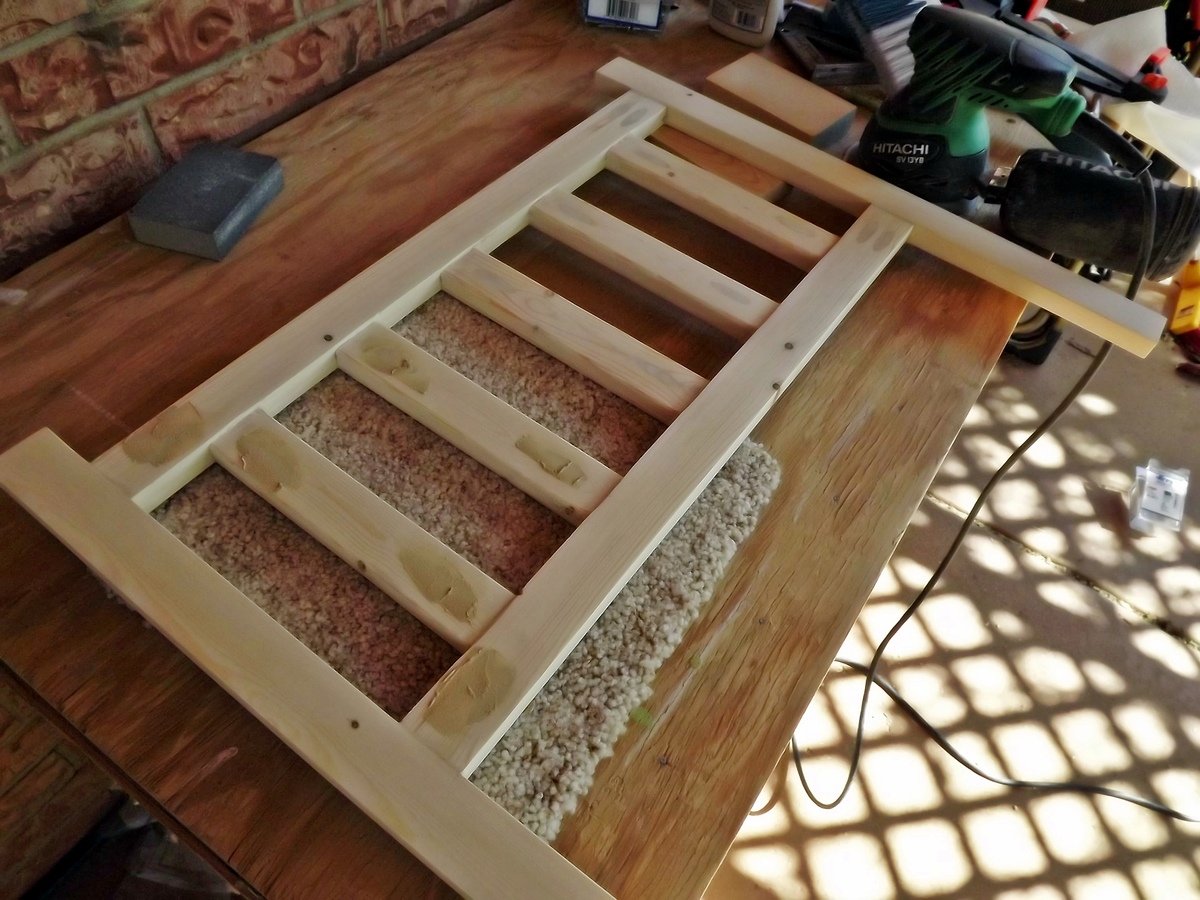
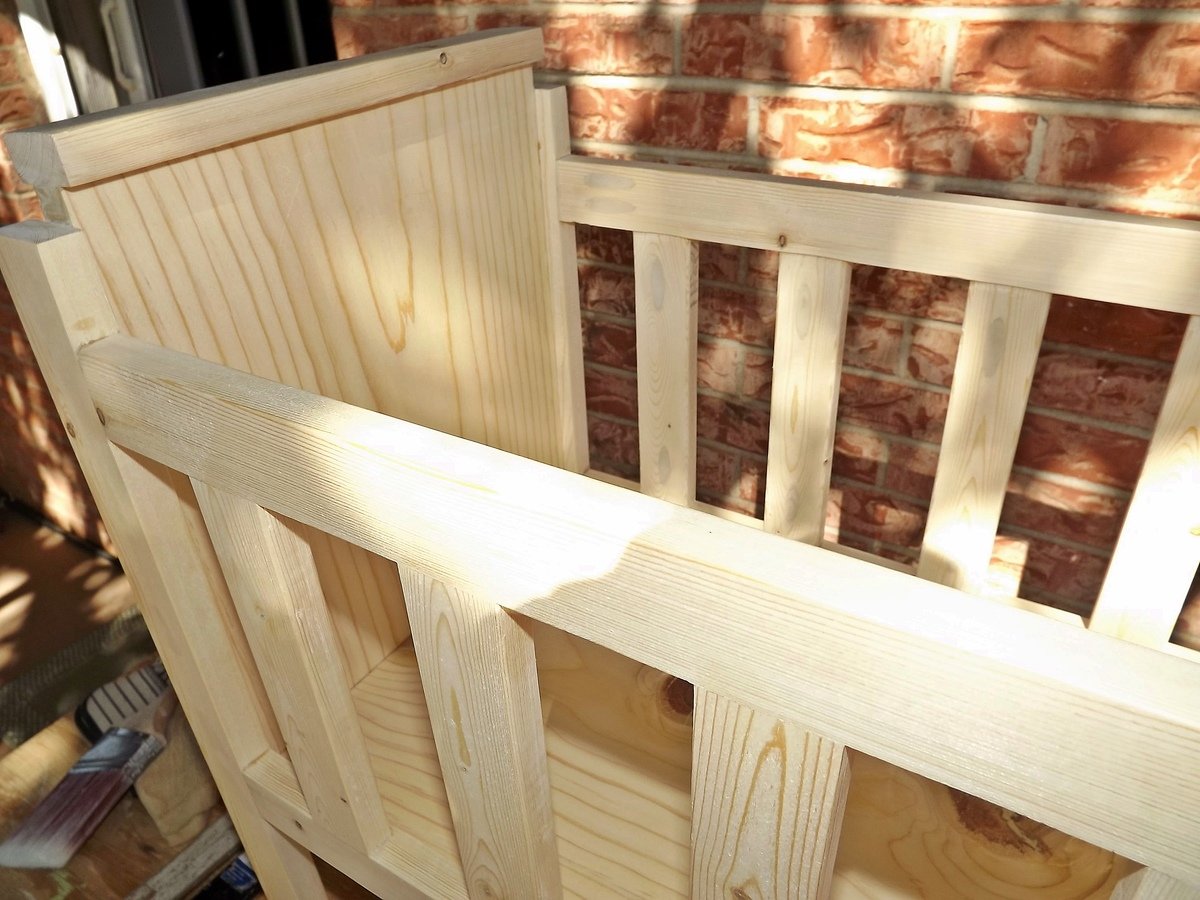
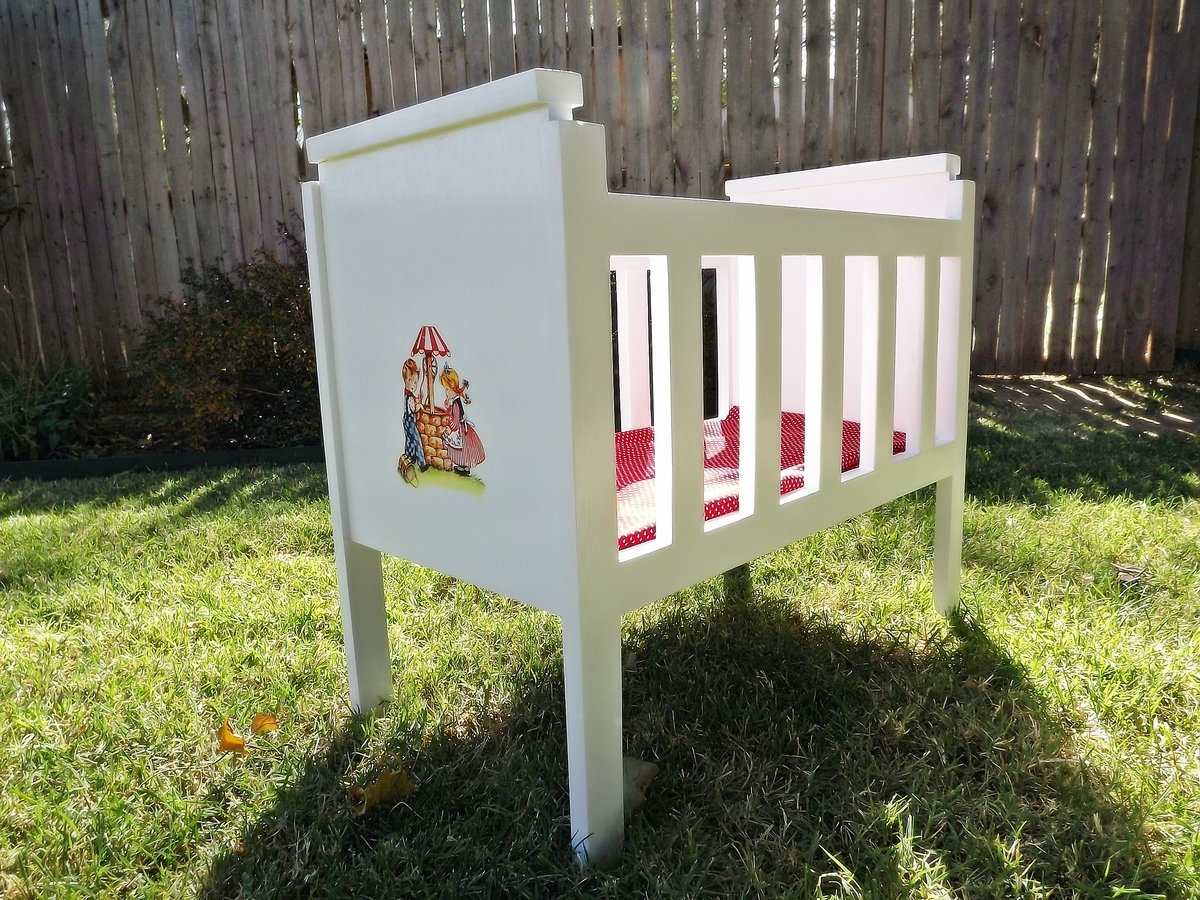
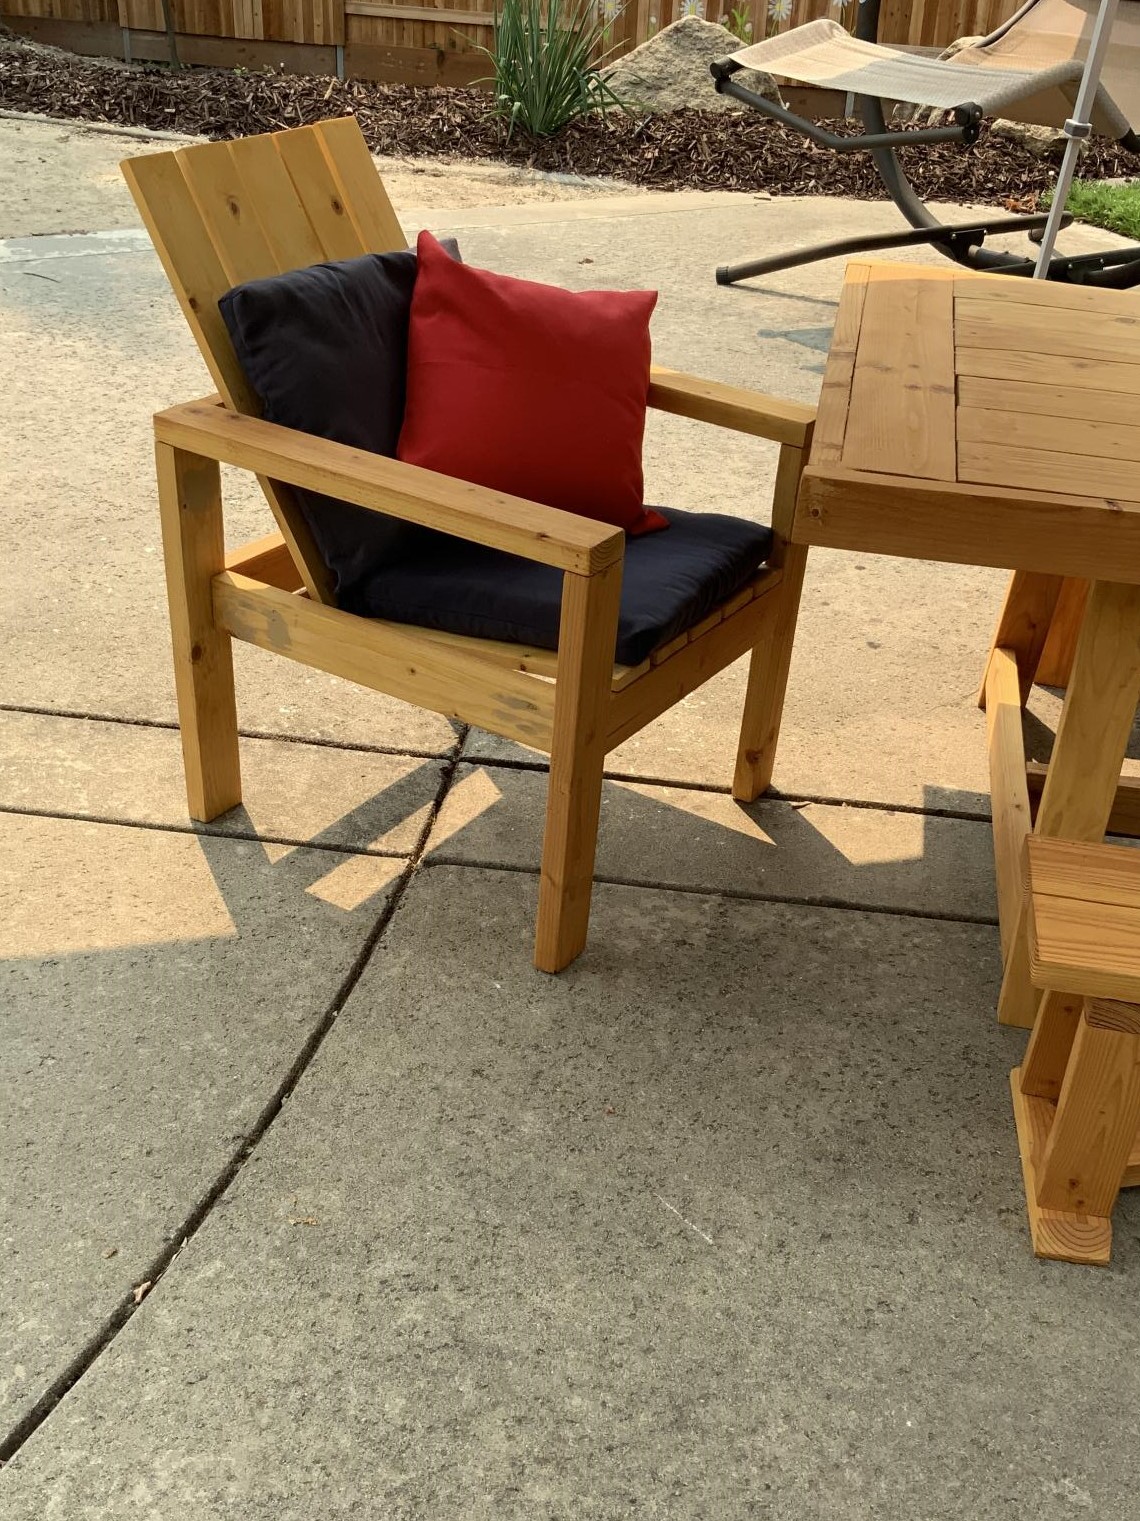
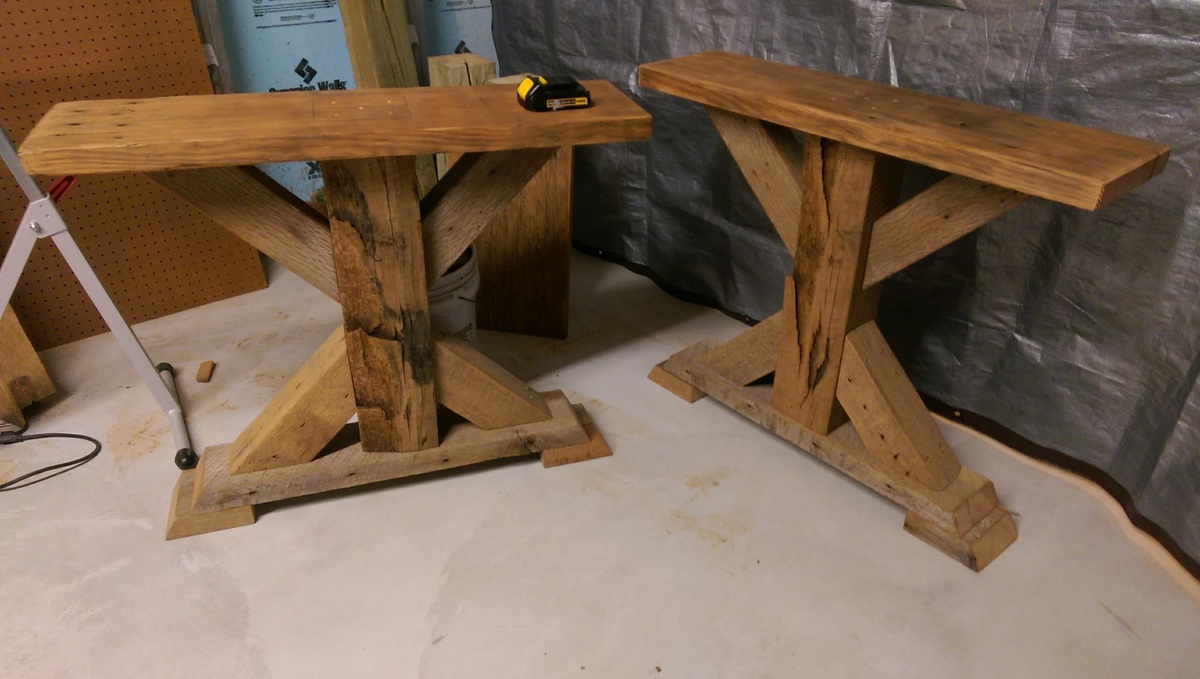
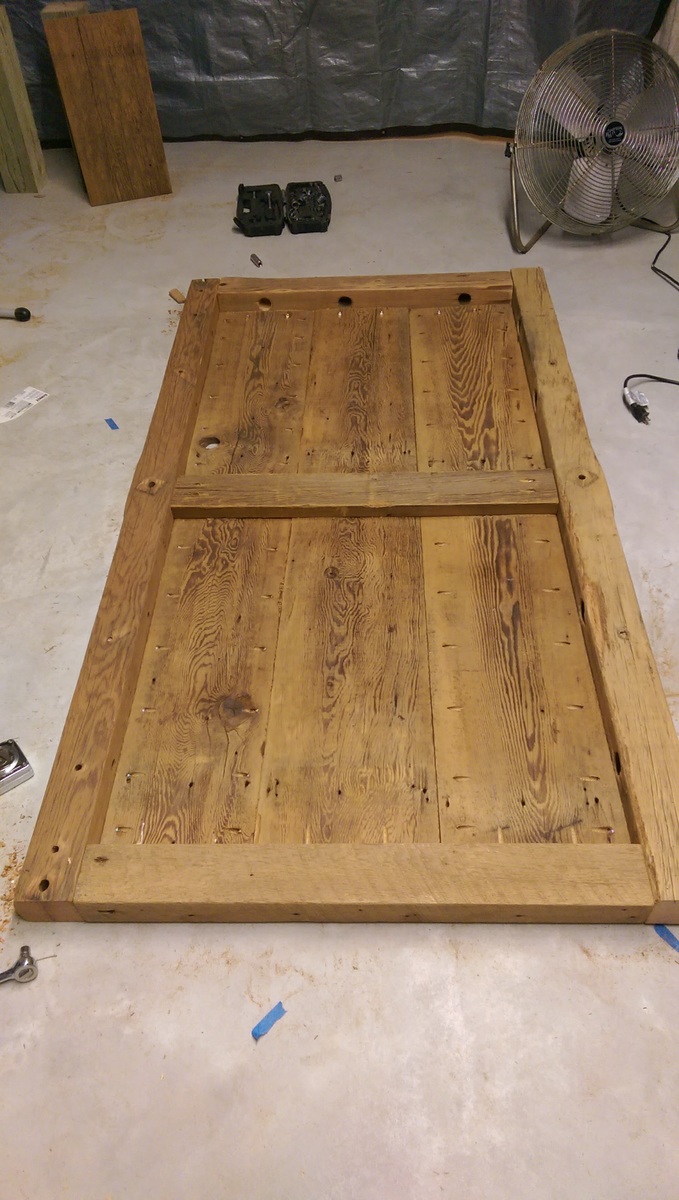
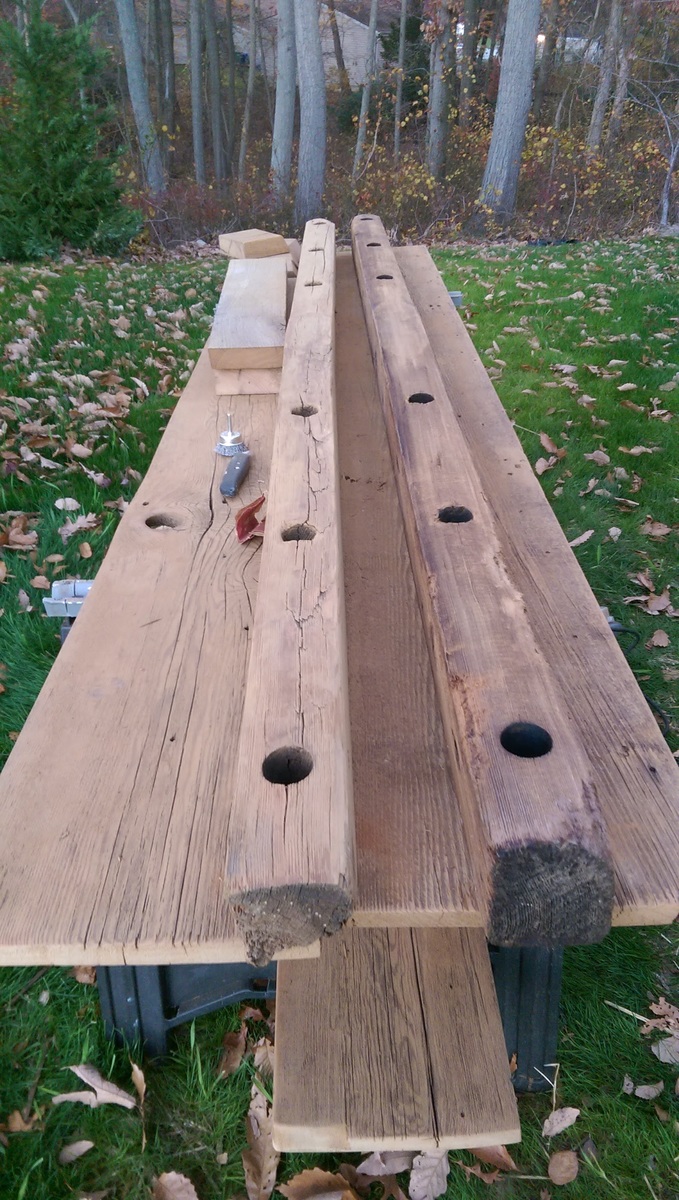
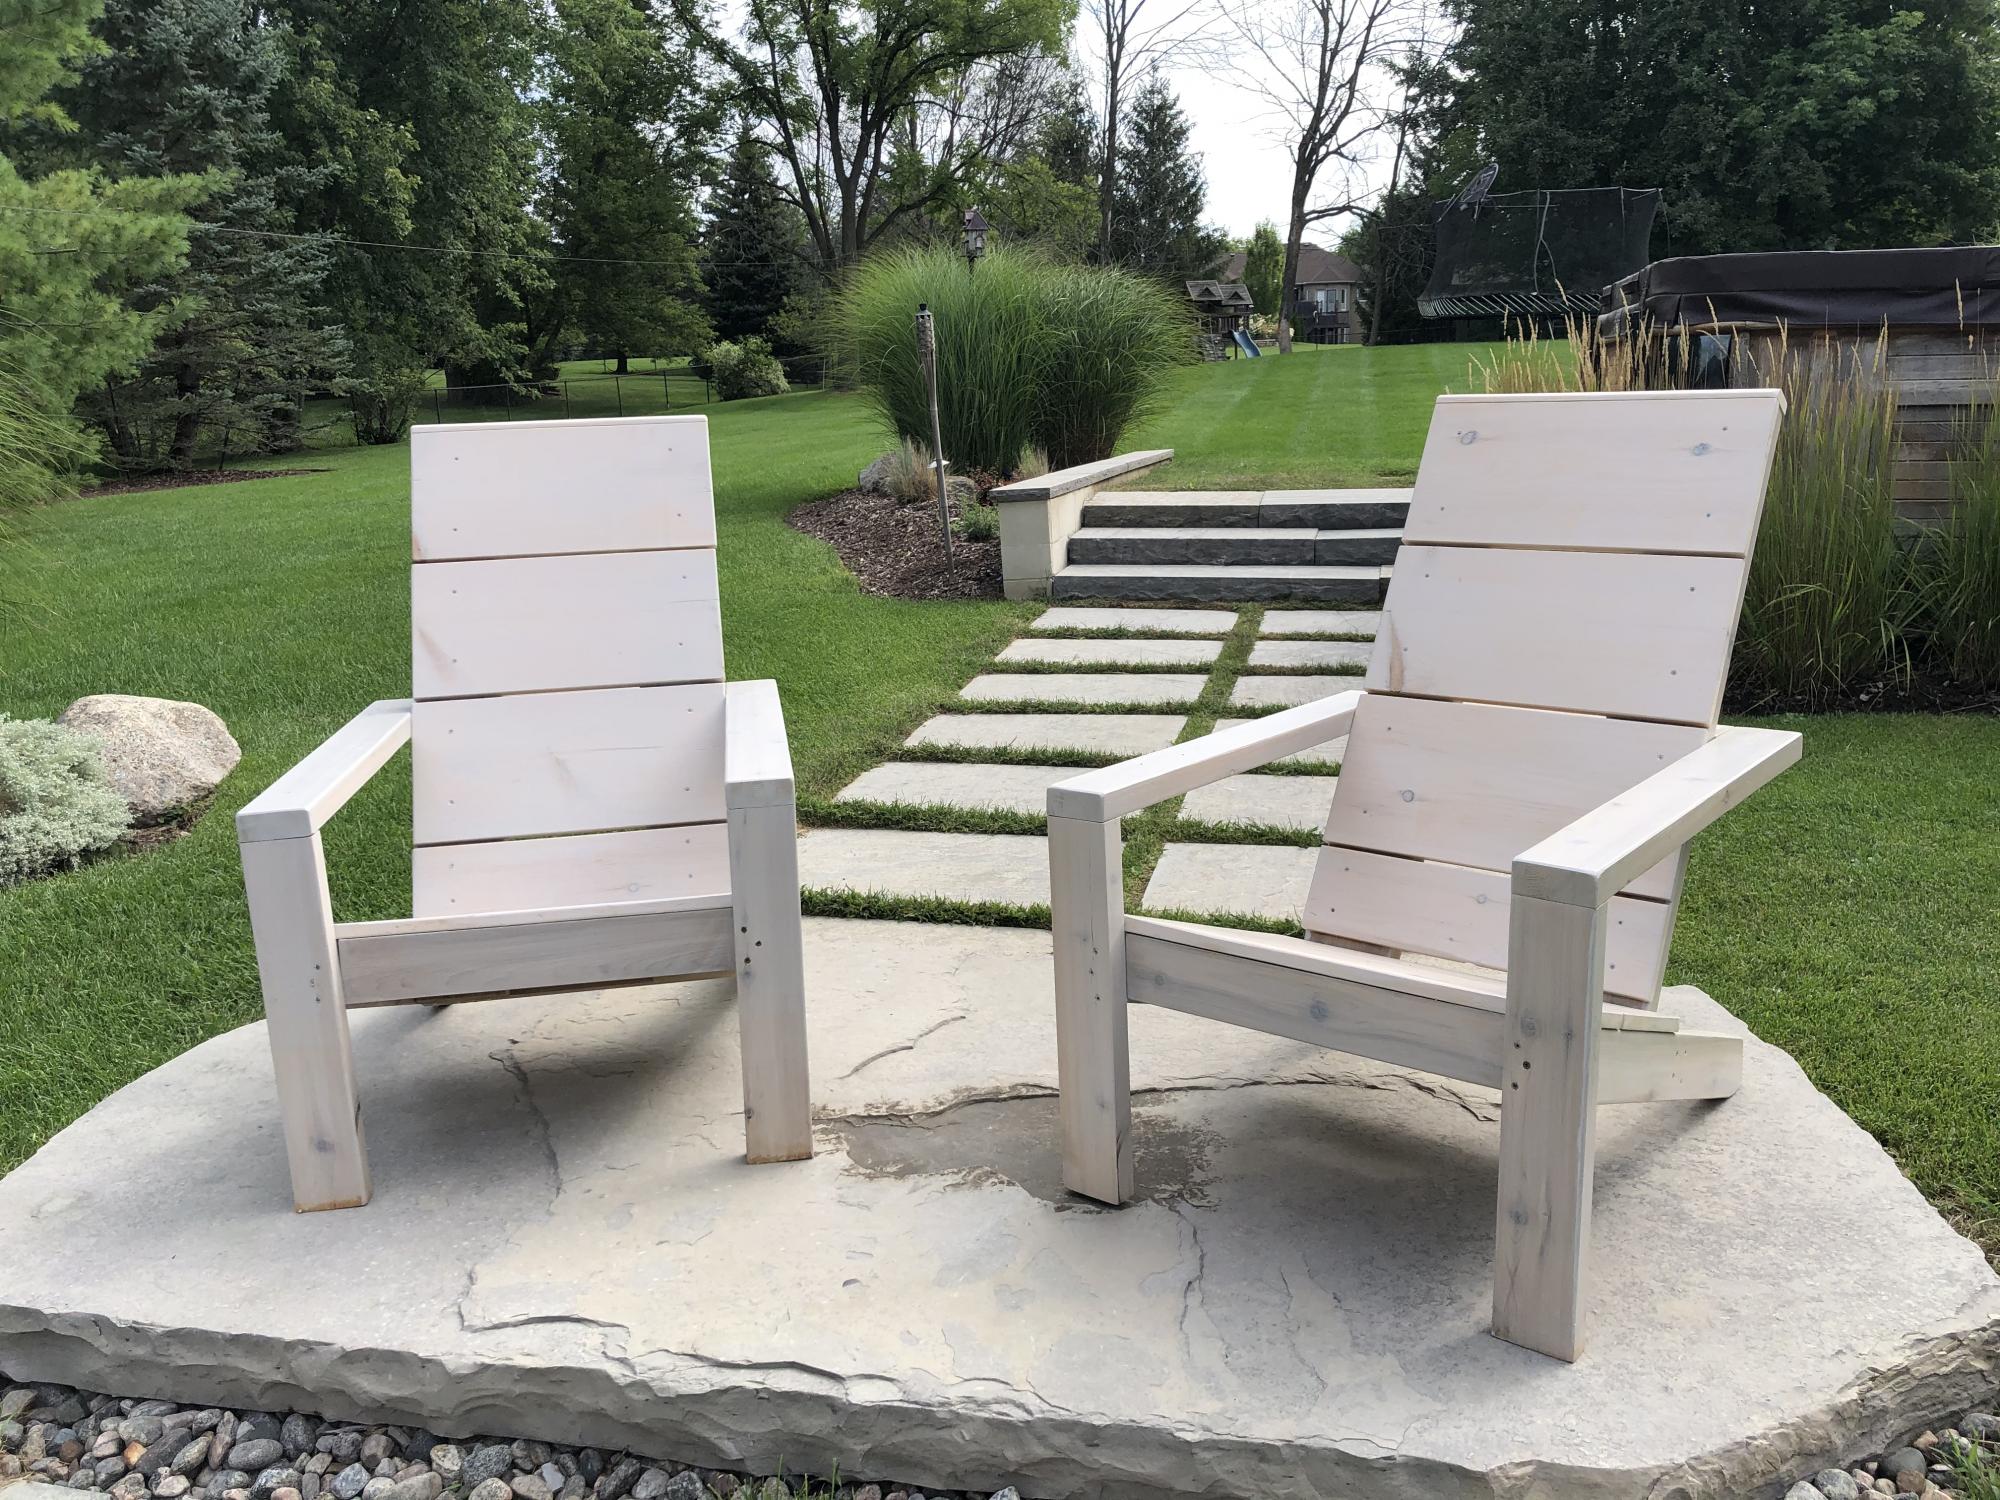
Themed Adirondack Chairs
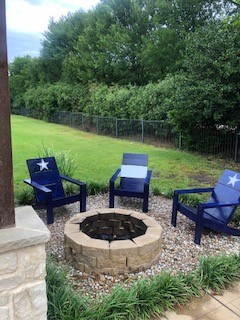
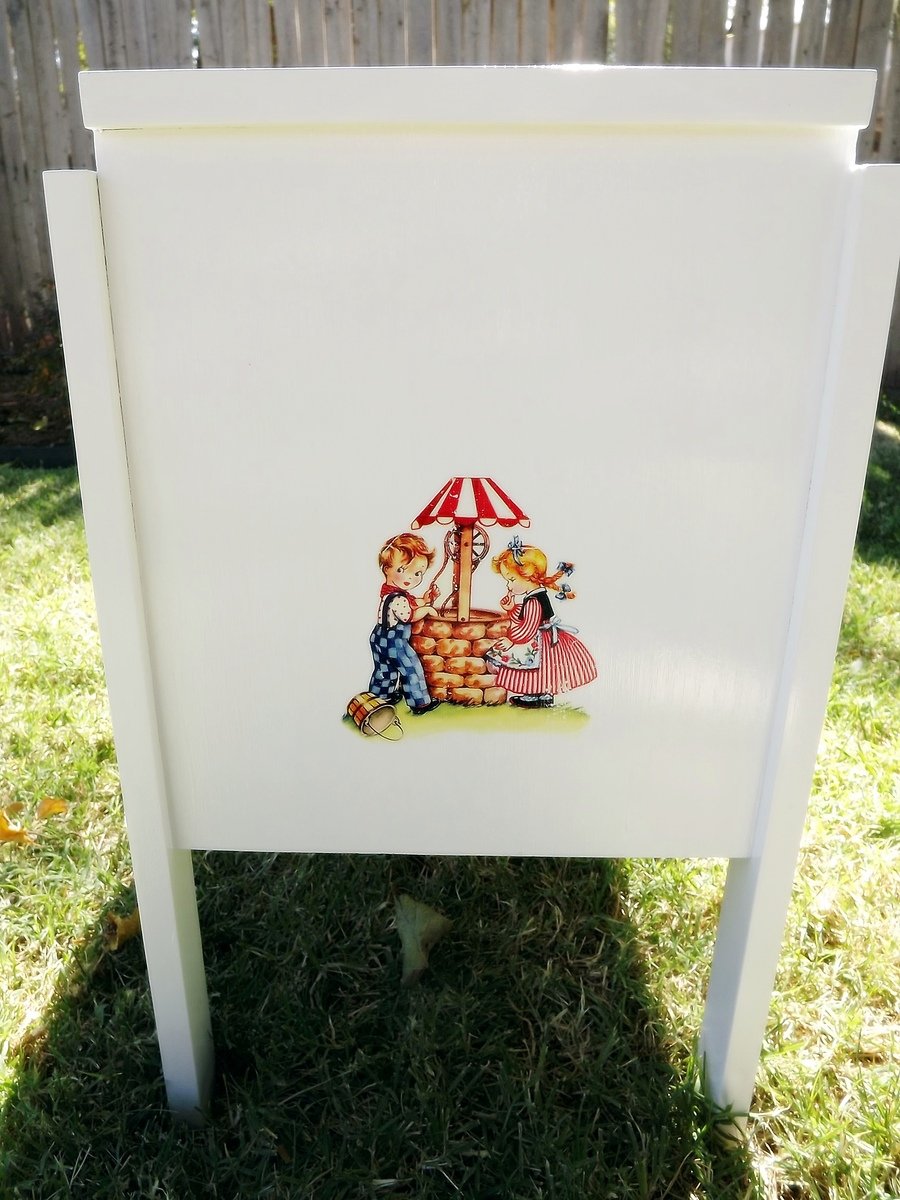
I created one chair as a proof of concept and stained after it was put together. I then create the other two frames and then stained and varnished (4 coats) the frames and the seat pieces before connecting them. I then added the vinyl emblems to two of the chairs and applied a final coat of varnish over the emblems. Very comfortable and we love how they look.
Built from Plan(s)
Estimated Cost
$150 for three (includes the vanish and stain)
Estimated Time Investment
Week Long Project (20 Hours or More)
Finish Used
Varathane tintable base - Navy
Varathane tintable base - White
Halacyon rugged gloss varnish
Oracal Vinyl 651
Varathane tintable base - White
Halacyon rugged gloss varnish
Oracal Vinyl 651
Recommended Skill Level
Beginner