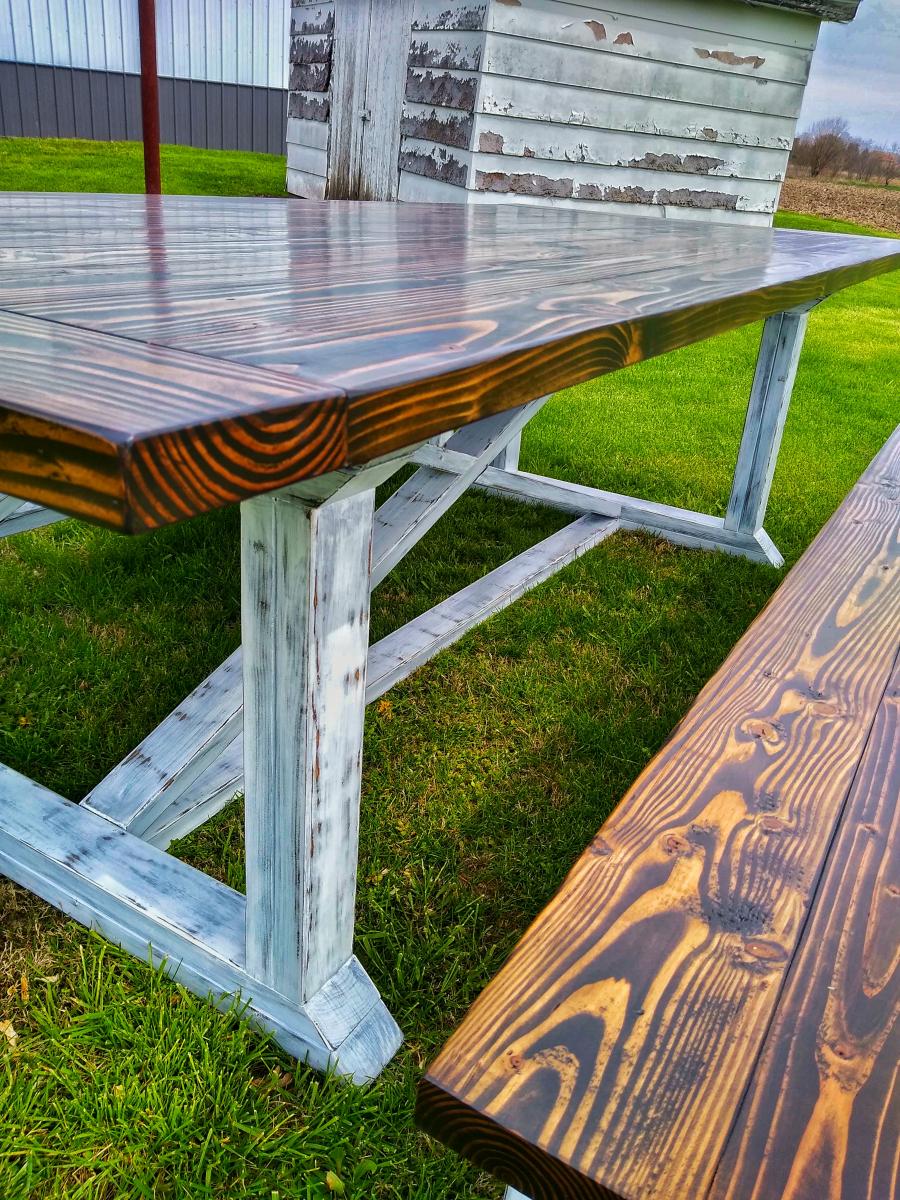
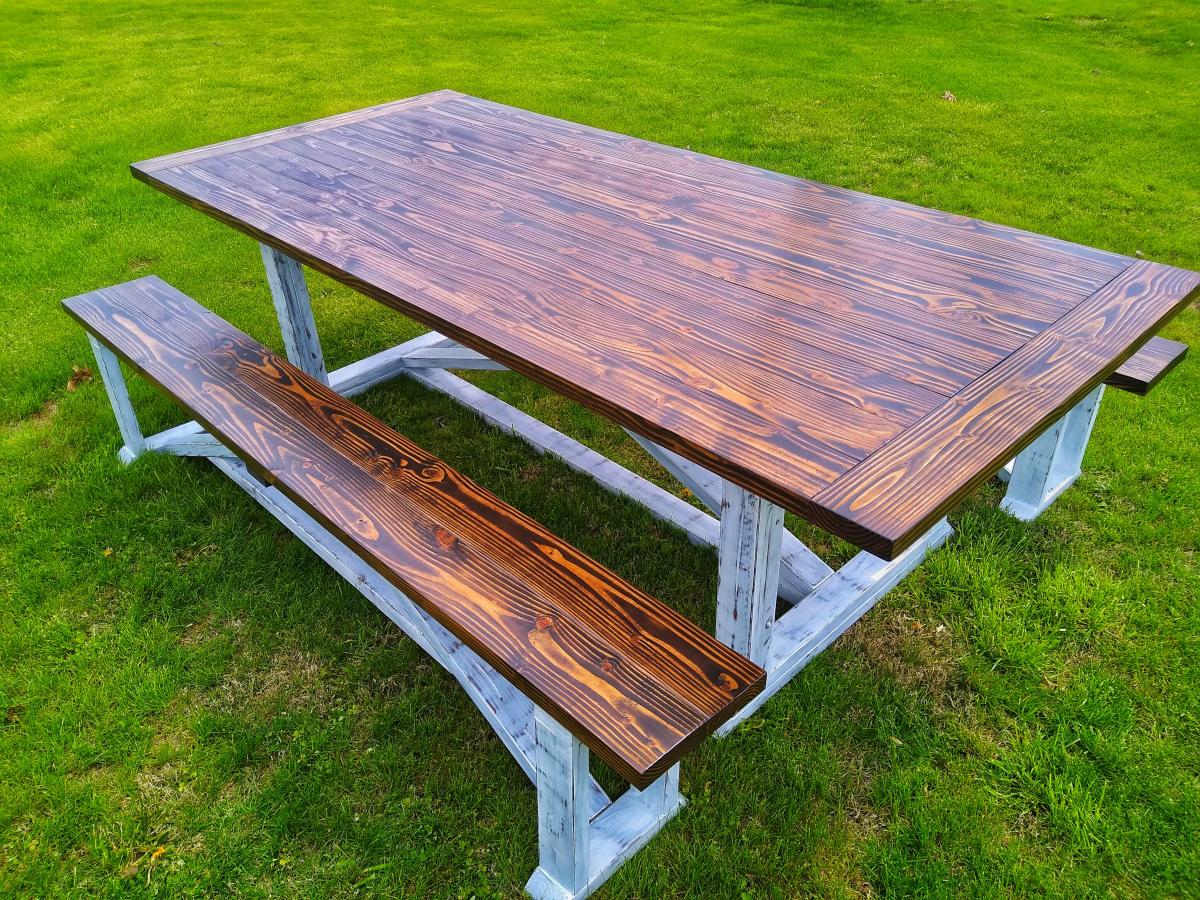
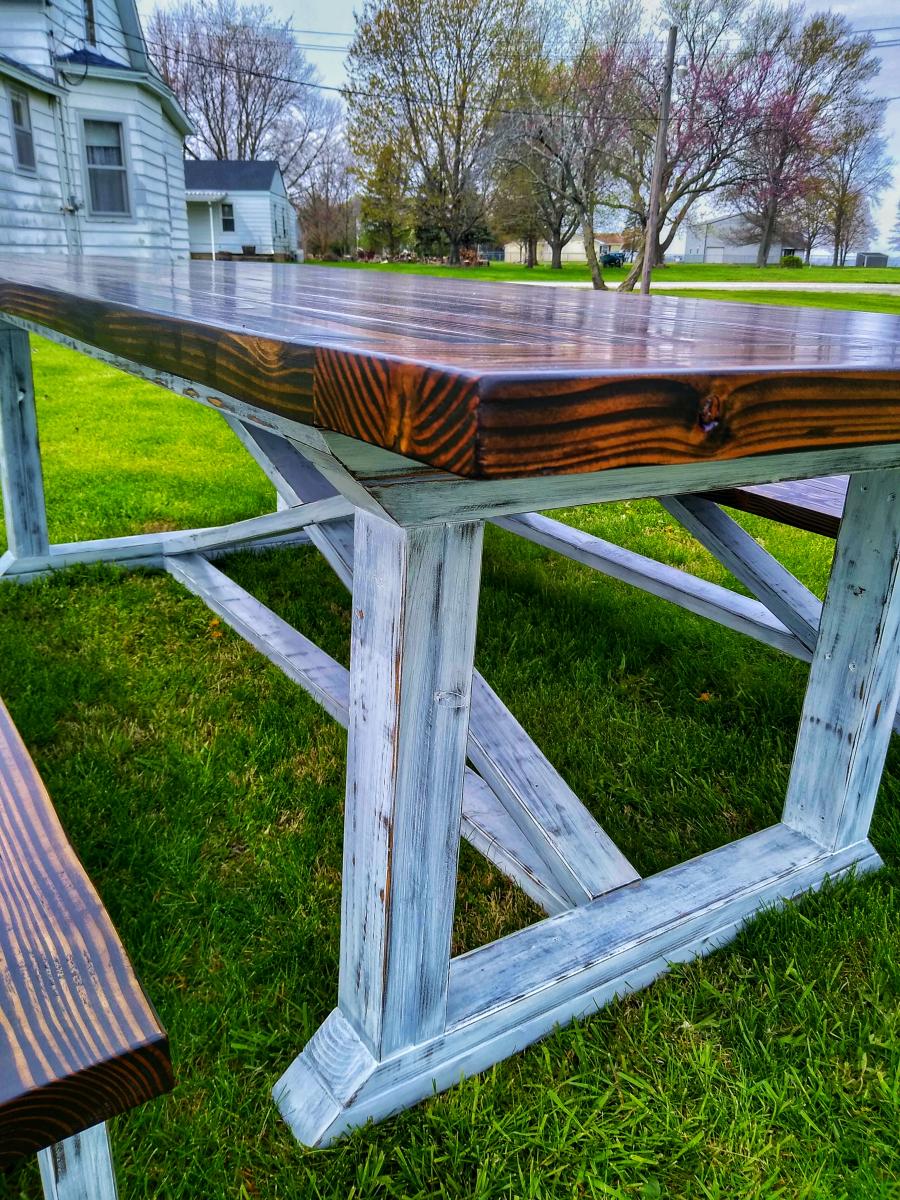
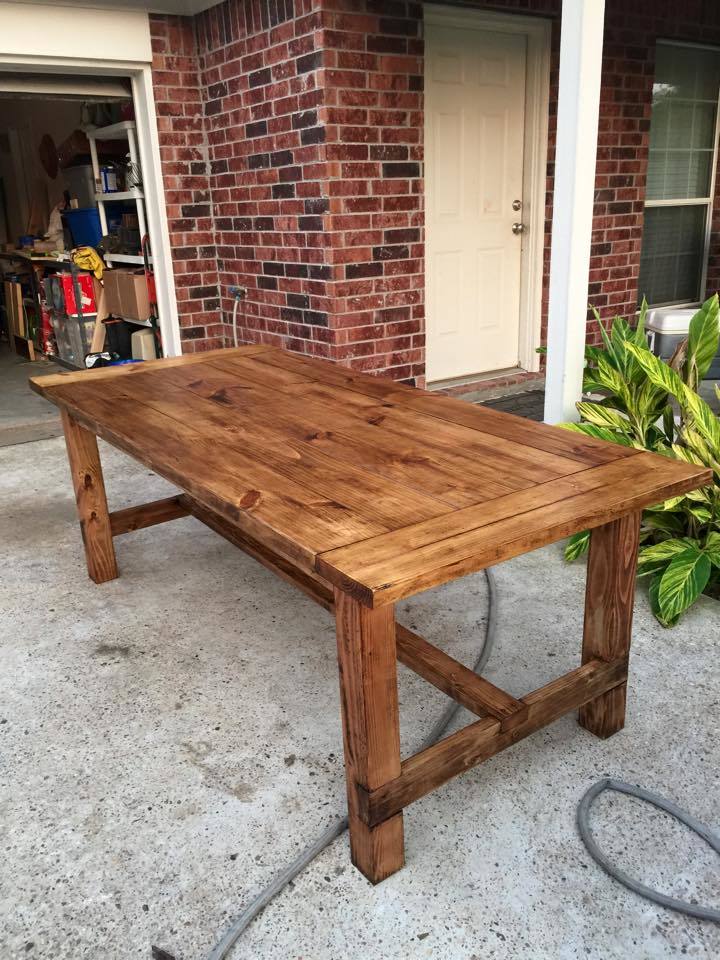
Farmhouse Table
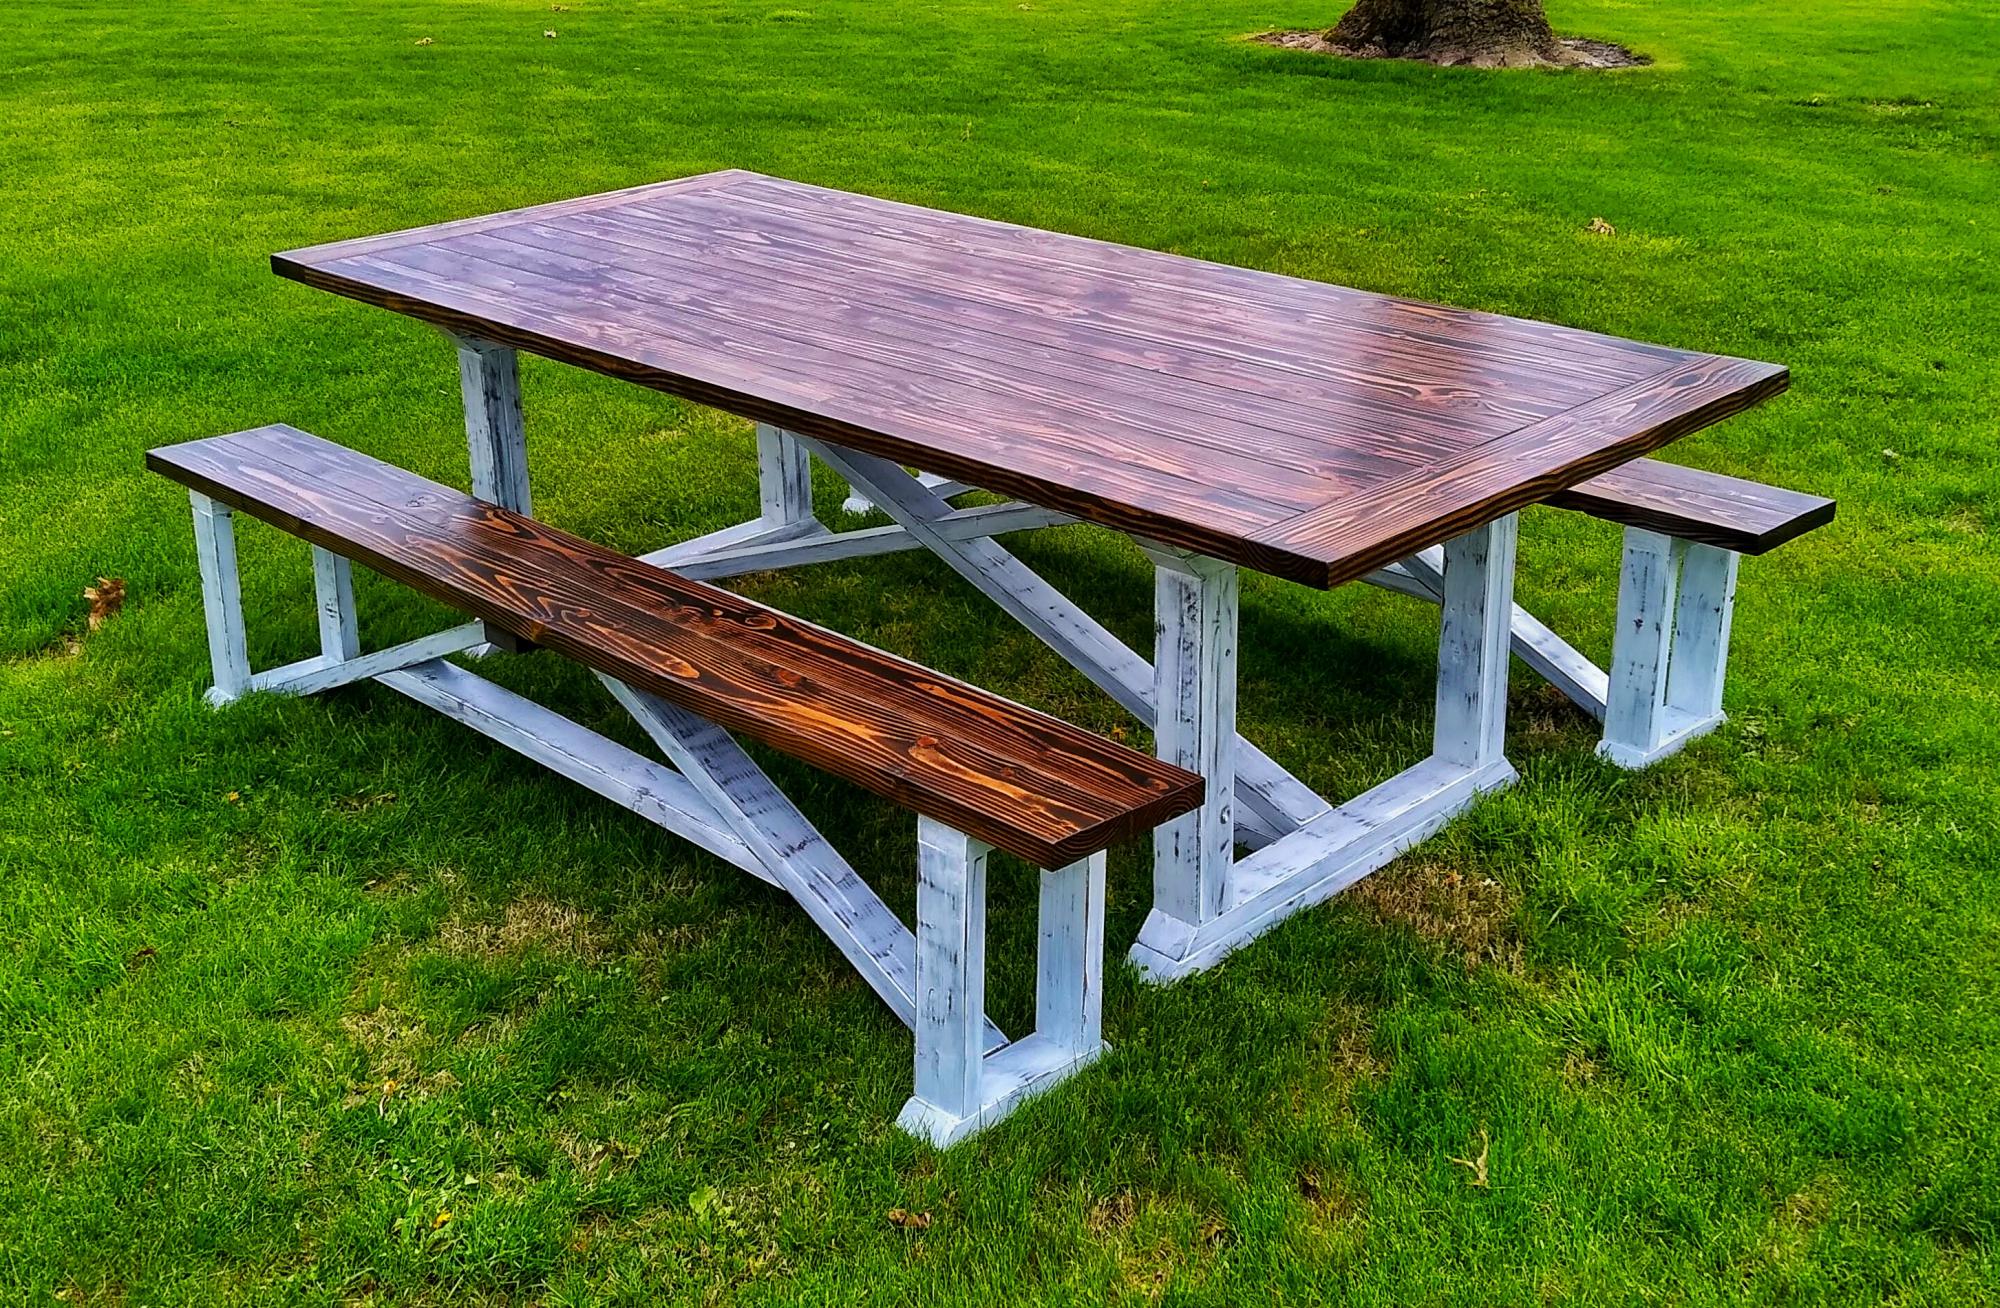
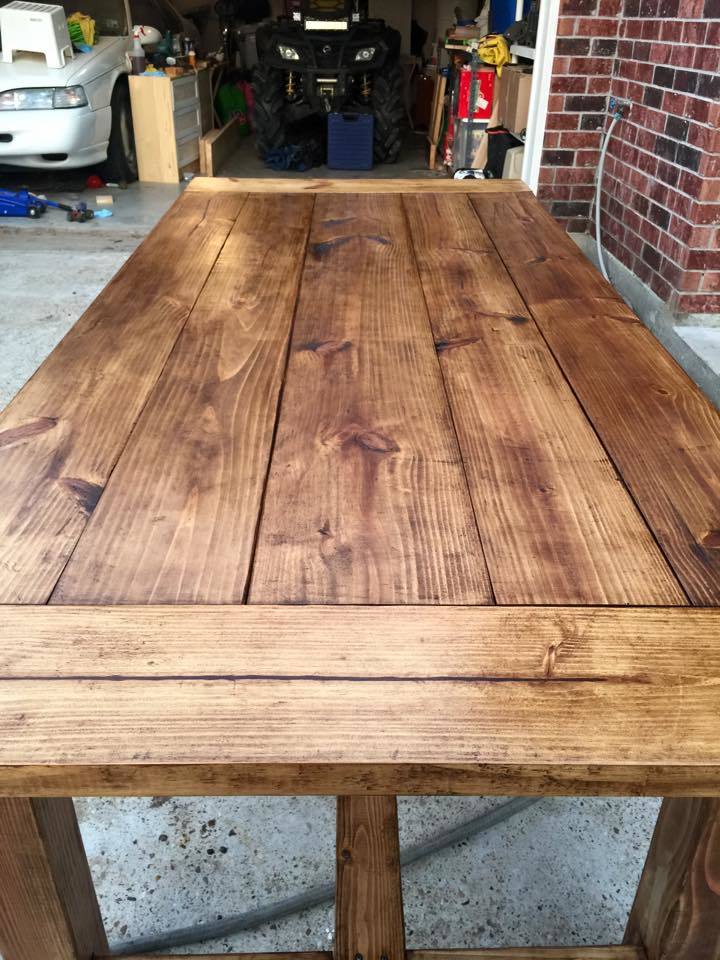
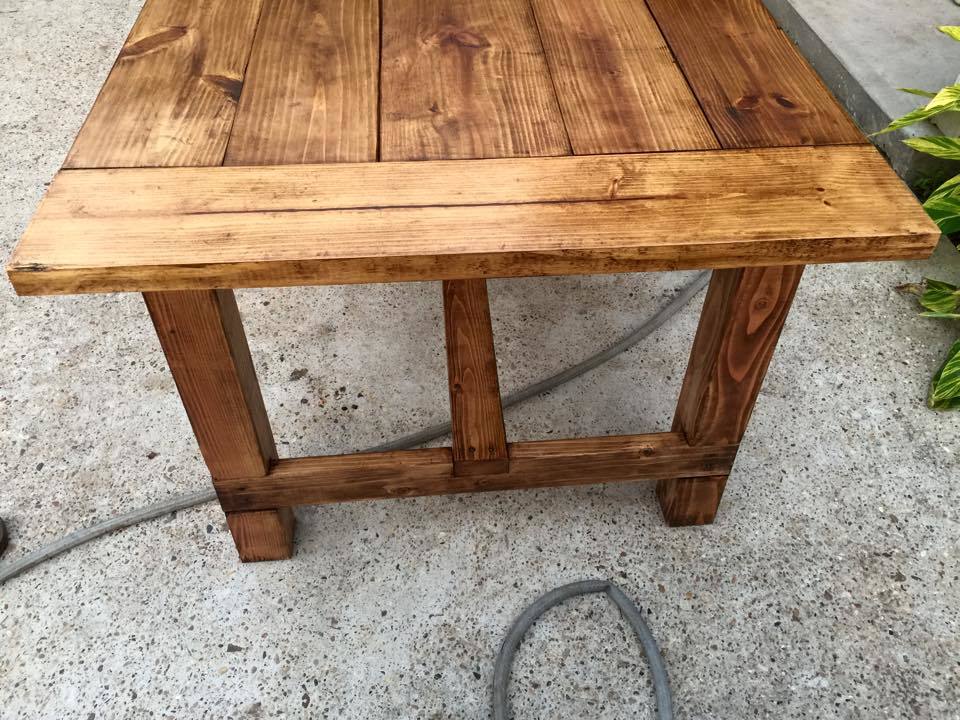
This was my first Farmhouse Table build. 8ft long with 2 benches. Distressed white with True Brown tops.

Built from Plan(s)
This was my first Farmhouse Table build. 8ft long with 2 benches. Distressed white with True Brown tops.
This was the first time I built something from scratch. I've done assembly required bookshelves and a doll-house, but never before had I cut my own wood and drilled my own screw holes, nor had I ever tried my hand at painting a piece of furniture. My husband's friend mentored me and got me going with the power saws, I used his shopsmith for a table saw, and I used the compound miter saw we own. Because this website is so user-friendly, I might have even tried to do this on my own, but it helped having someone much more experienced than I check in on me every now and then and give me some tips.
We are in a new house, so most of our walls are still white, but we did paint the family room a bright green, so I used leftover paint for the bench. I had to work on this in the evening after the kids were in bed so it took me about a week, working for about 1-2 hours a night. I found relaxing for the most part(except for where the newspaper underneath the bench started sticking to the painted legs).
I did not use furring strips even though they would have been cheaper, since my friend convinced me they would have required more sanding. The upgrade only cost a few extra dollars.
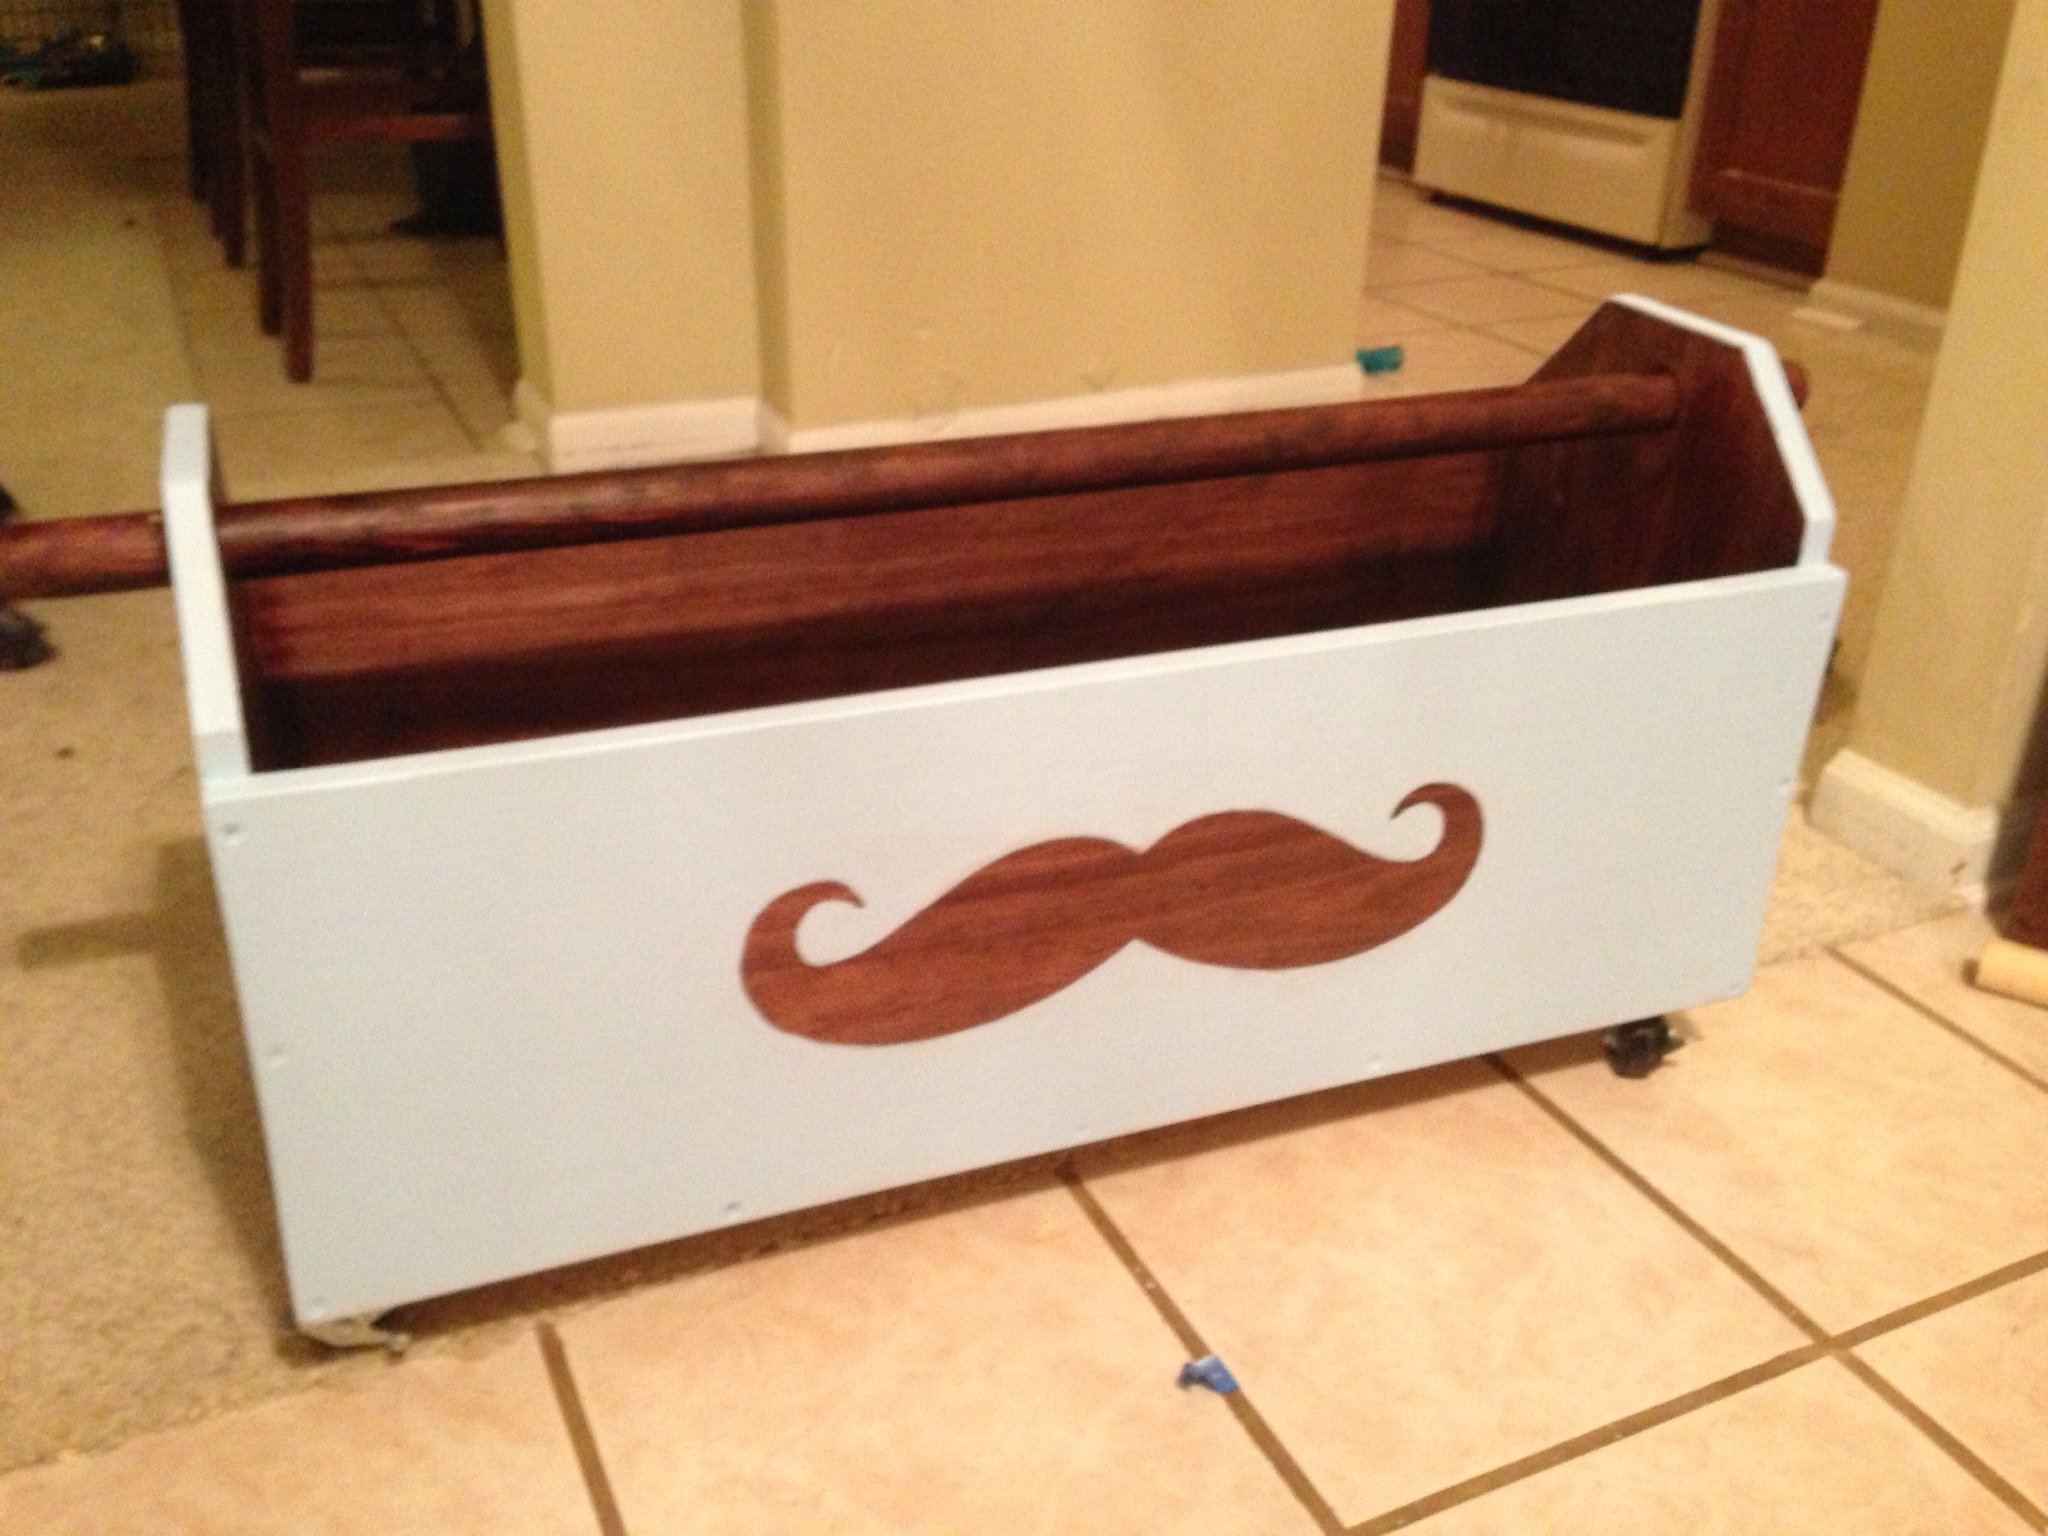
We went exactly as planned in the Build a Toybox outline, but bought 12x1 instead of 16x1. This caused a problem when we started putting it together. The two short sides were taller than the long sides. We decided to make lemons from lemonade and turn it into a toolbox/toybox, and in the end really liked the result. We added an additional cut with 1.5" holes on either side and a 1.5" diameter 36" long dowel rod for the handle. We added casters to the bottom and poof! done. Fun project! We made it for our soon to be nephew and filled with gifts for the baby shower.
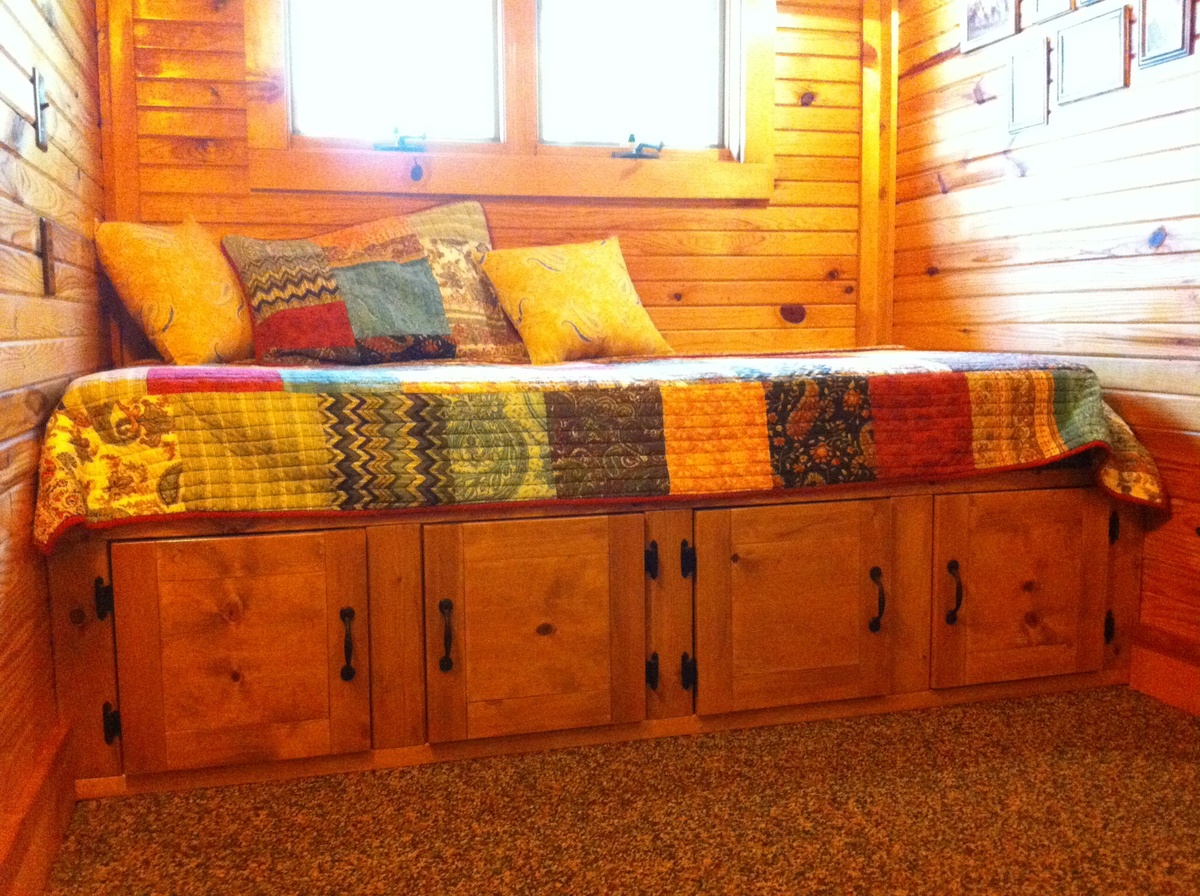
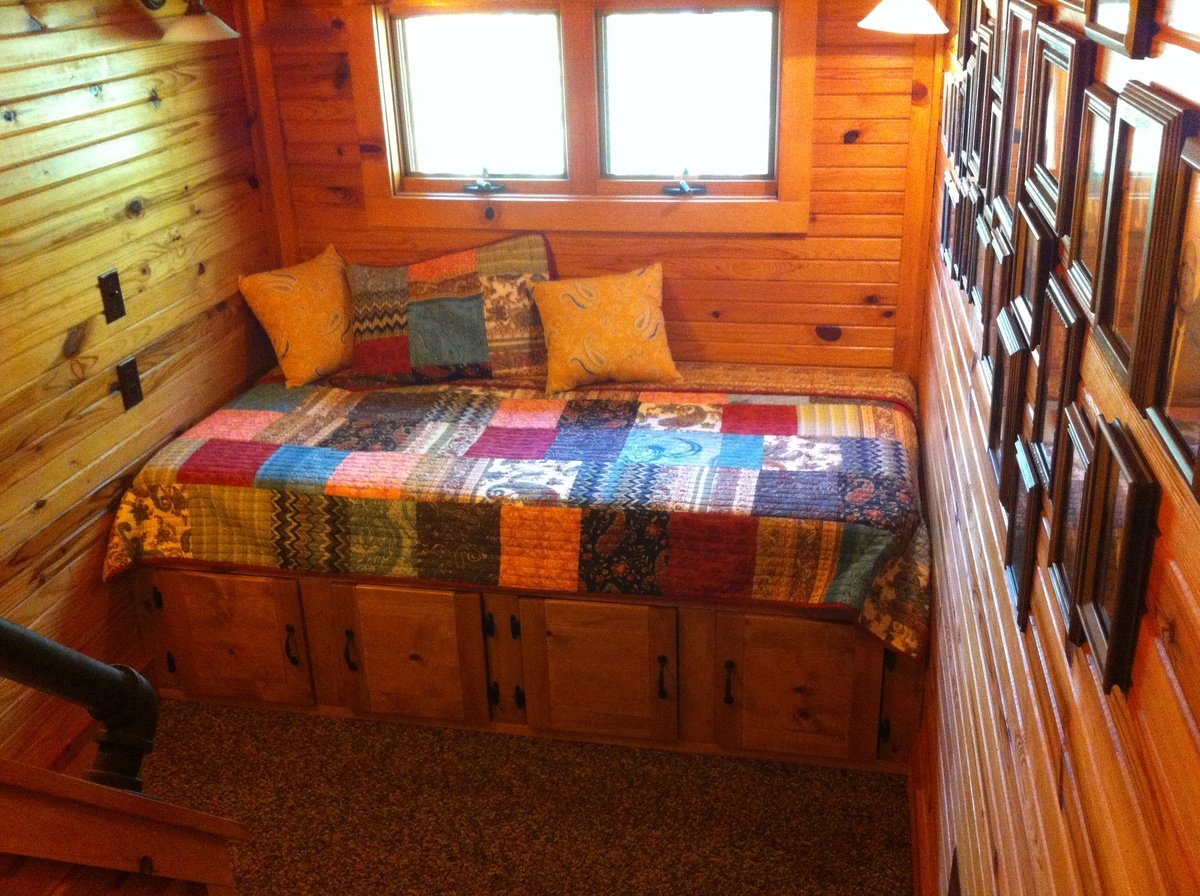
We wanted to build a reading nook in our cabin landing that would also function as extra sleeping space. This plan was modified to raise the height. We then built the frame and one side panel, since the bed length of the plan was EXACTLY the width of the landing space... It was meant to be! We love it!
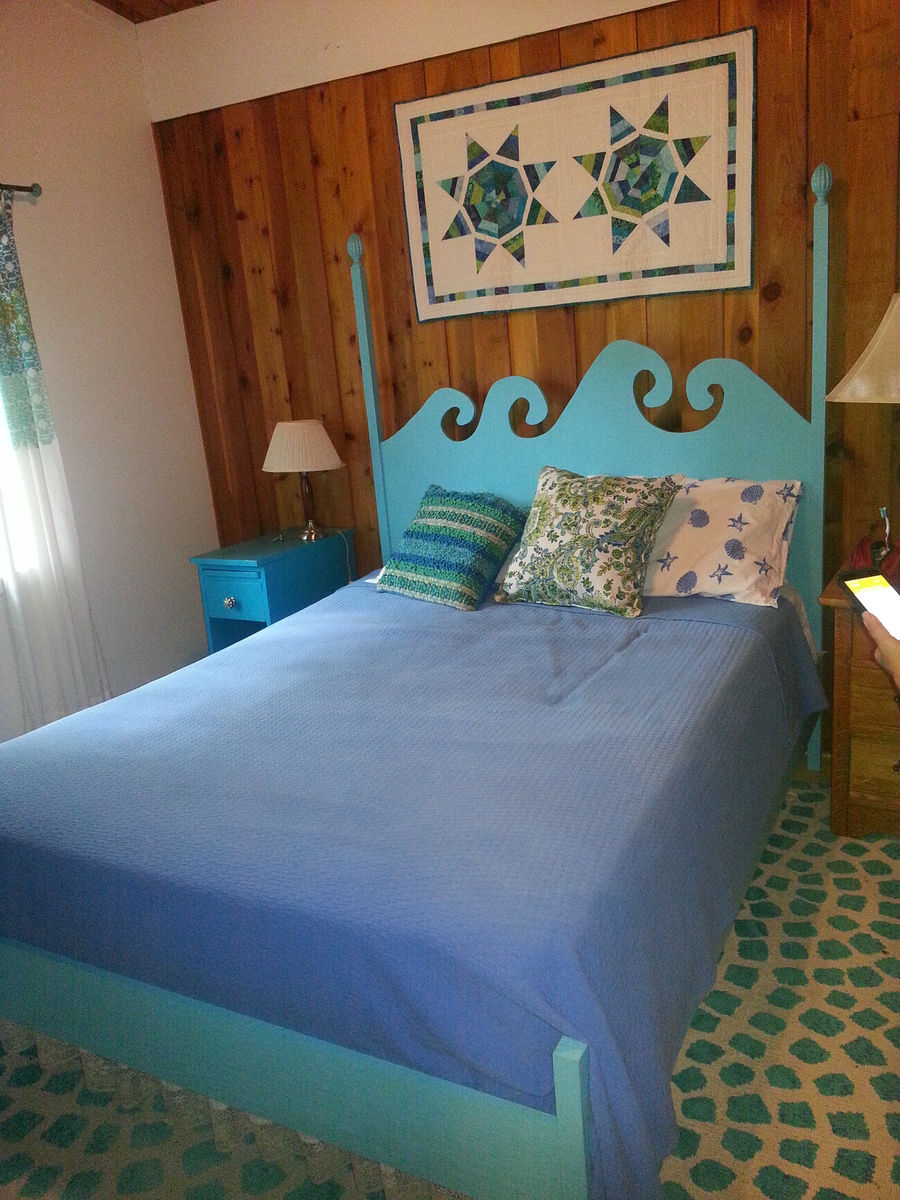
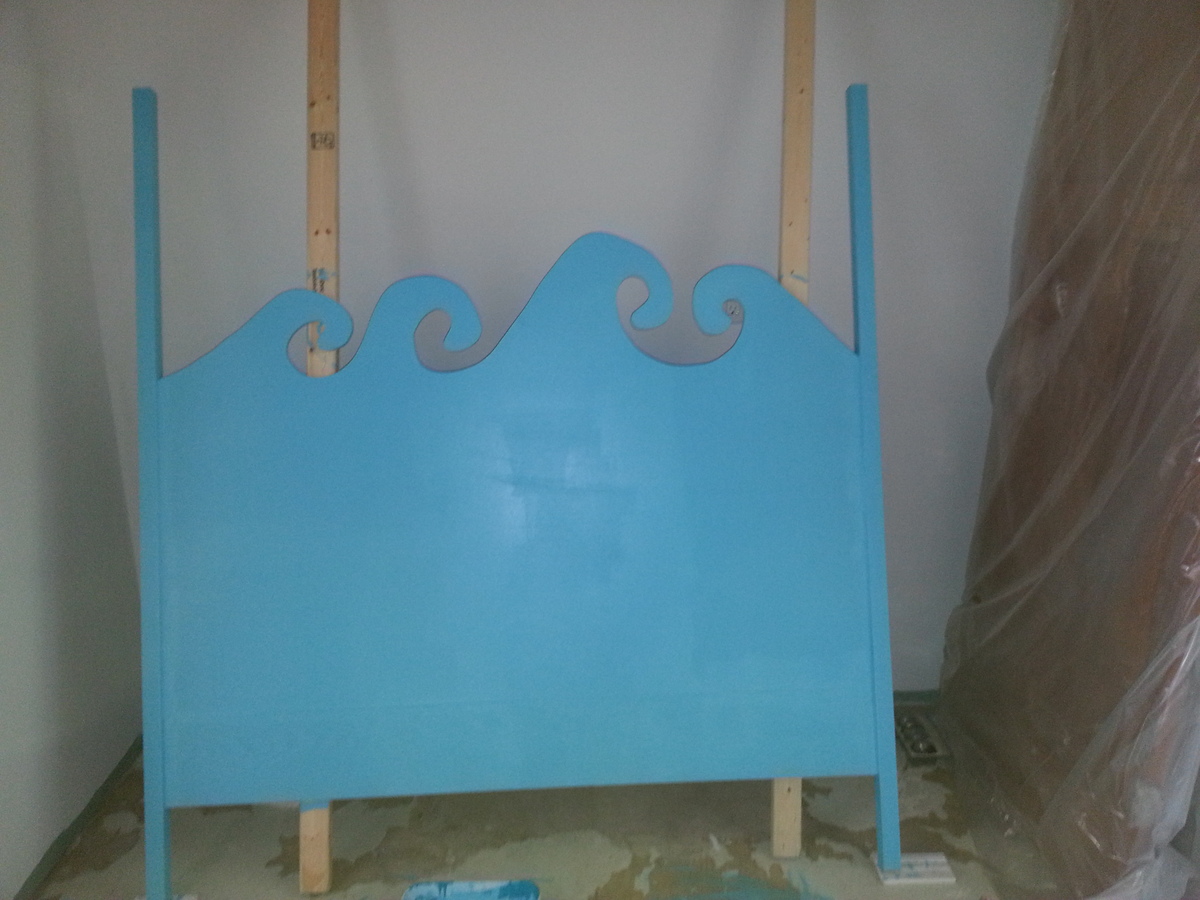
This "pin" was my inspiration (https://www.pinterest.com/pin/540643130244817922/) and I was very happy to have the Hannah canopy plans to modify! The upper canopy was eliminated, a "whimsical wave" was cut in the headboard using a jigsaw, and the foot board posts were shortened. In addition, measurements for the bed were modified to fit a queen size mattress. I used hardwood plywood and hardwood side boards, as I wanted a durable bed. The posts were pine 2x2's as I could not find hardwood of this dimension at my local stores. I also used hardware from the Rockler company (http://www.rockler.com/5-surface-mounted-bed-rail-brackets) to mount the head and foot boards to the side boards, as I wanted to assemble and disassemble the bed easily.

This is a guest bedroom. The closet had 6 panel, colonial bypass doors. The bypass doors leave the center unusable. To save room, I built a dresser in the center. The bypass doors are getting converted to swing doors. I used shelf help to design the project.
Wed, 10/06/2021 - 09:32
Love the built in dresser! Thank you for using Shelf Help, that looks amazing!
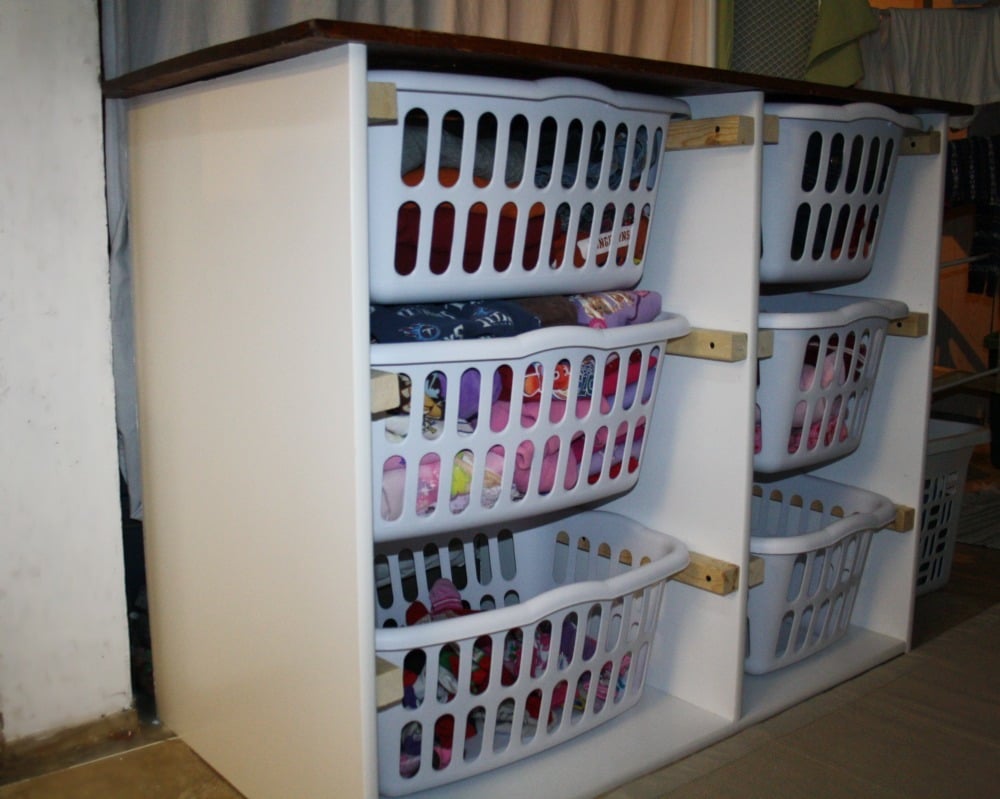
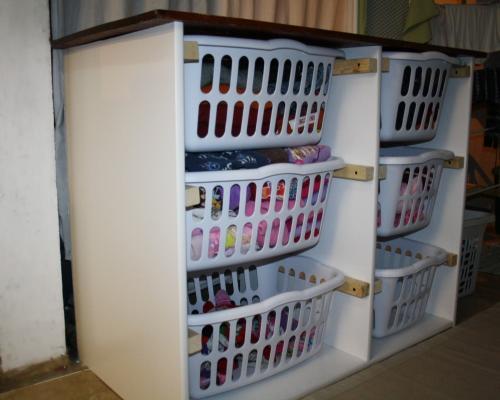
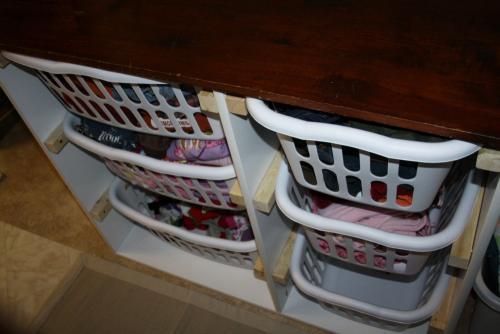
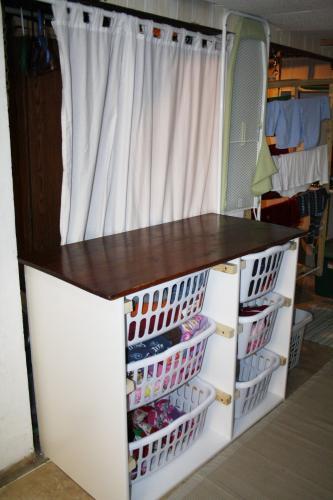
I needed a change. The freebie table that I used for folding laundry bugged me because the beat up legs of the table prevented any storing/stacking/using the space underneath it. The top of the table was always filled with baskets of clean clothes! I loved the tabletop and it fit the space perfectly so I decided to customize the laundry dresser to fit under the 2′x4′ tabletop. I wanted to fit a basket for each family member (5) and we always need one for linens.
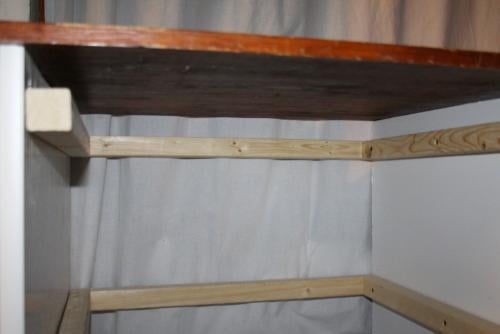
I worked it out to use melamine boards to save on finishing (and match my other basement builds) and 2×2′s in a ‘U’ instead of a backing (kids were in the car so I couldn’t fit the big piece of backing!) I bought 2 2′x6′ shelves (cut one in half and one 3/4″ less than half) and 1 2′x4′ shelf and cut it to 43″. Then I just used a kreg jig to make the ‘E’ shape (the sides covered the rough edge of the bottom piece) and attach the tabletop. I also used the kreg jig to make the ‘U’ shapes to fit inside the 24″ space (long way) and 18″ space (short way). I thought about putting the back piece more forward so that the baskets the long way couldn’t slide all the way back, but decided to just make both sides the same. I pre-drilled and countersunk the screws to attach them to the sides (measuring and clamping over and over). Melamine is a little slippery to work with but it was nice to save time on the finishing end!
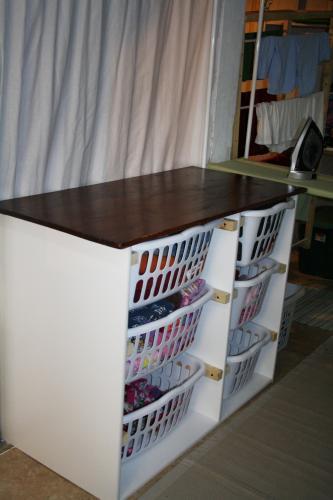
I have a fold down ironing board right next to the table which is just perfect!
P.S. I have a hanging drying rack in the background (the expanding ones didn’t work b/c the floor angles down to a drain) and a metal pipe behind the white curtain for hanging items.
Stand with the table at 36″ so you can fold without getting a backache, easily slide the baskets in and out to put away clothes as you fold them….and thank Ana for the way that she has transformed your home and feeling toward doing laundry!
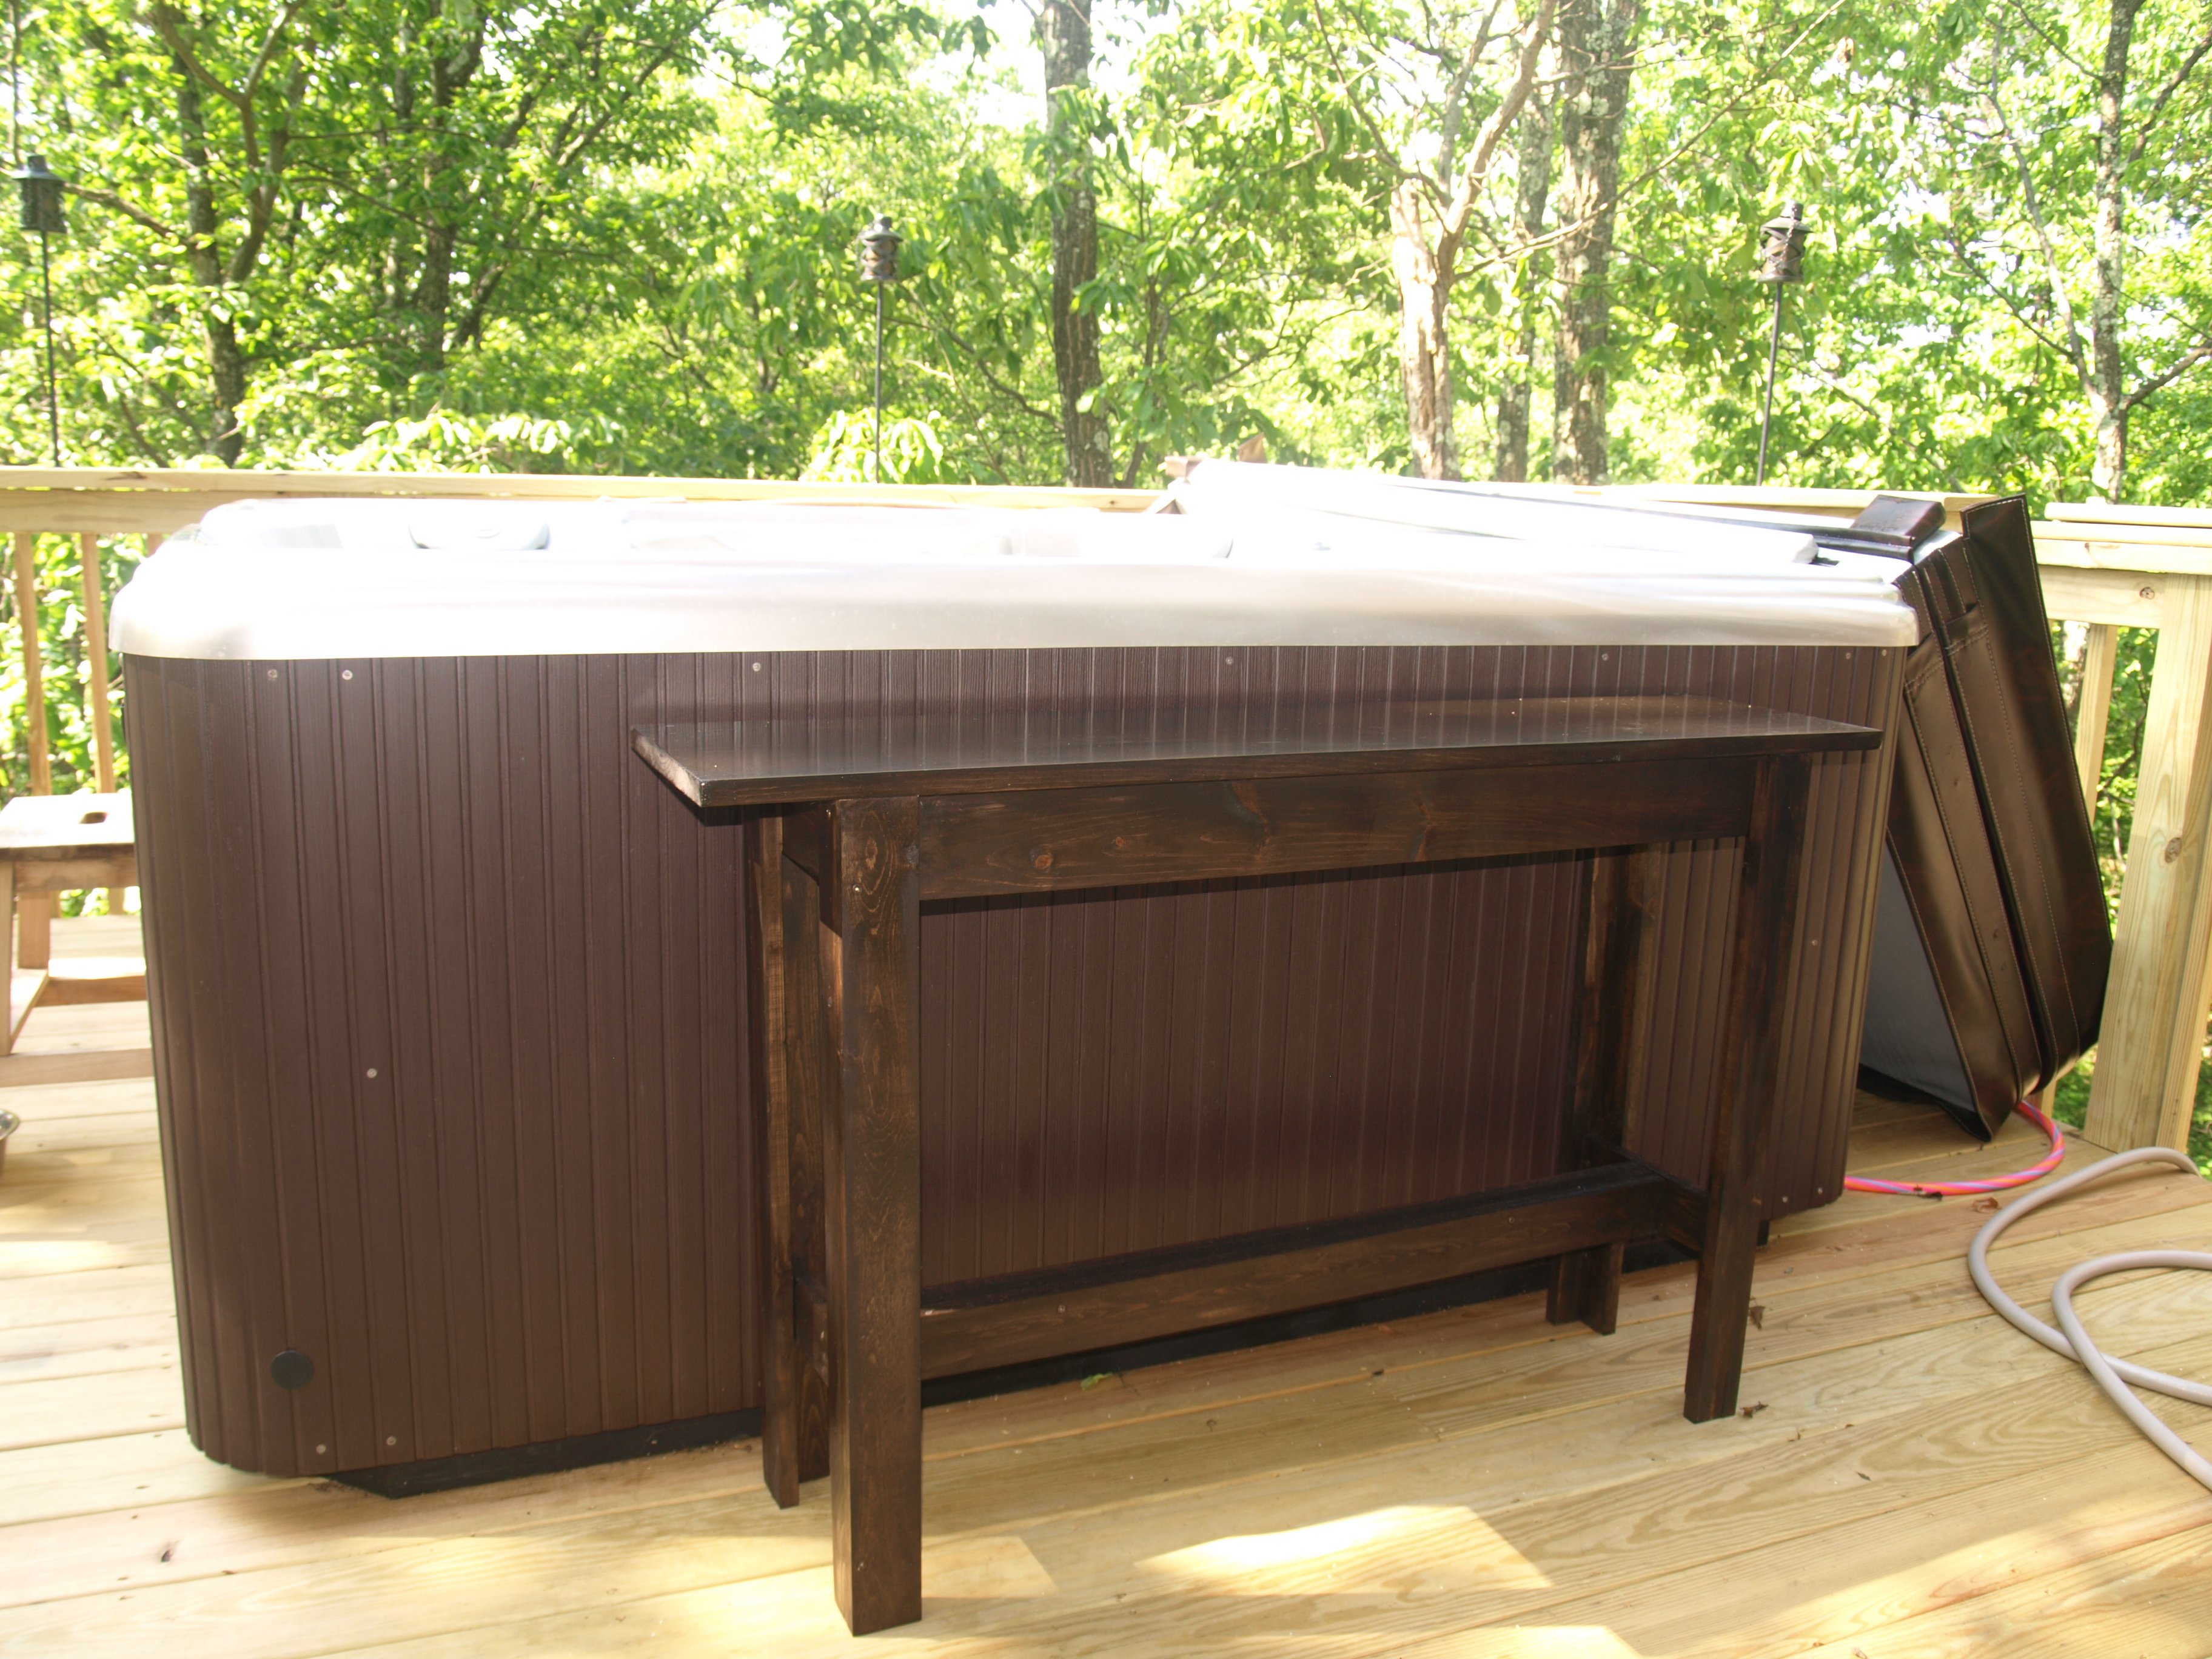
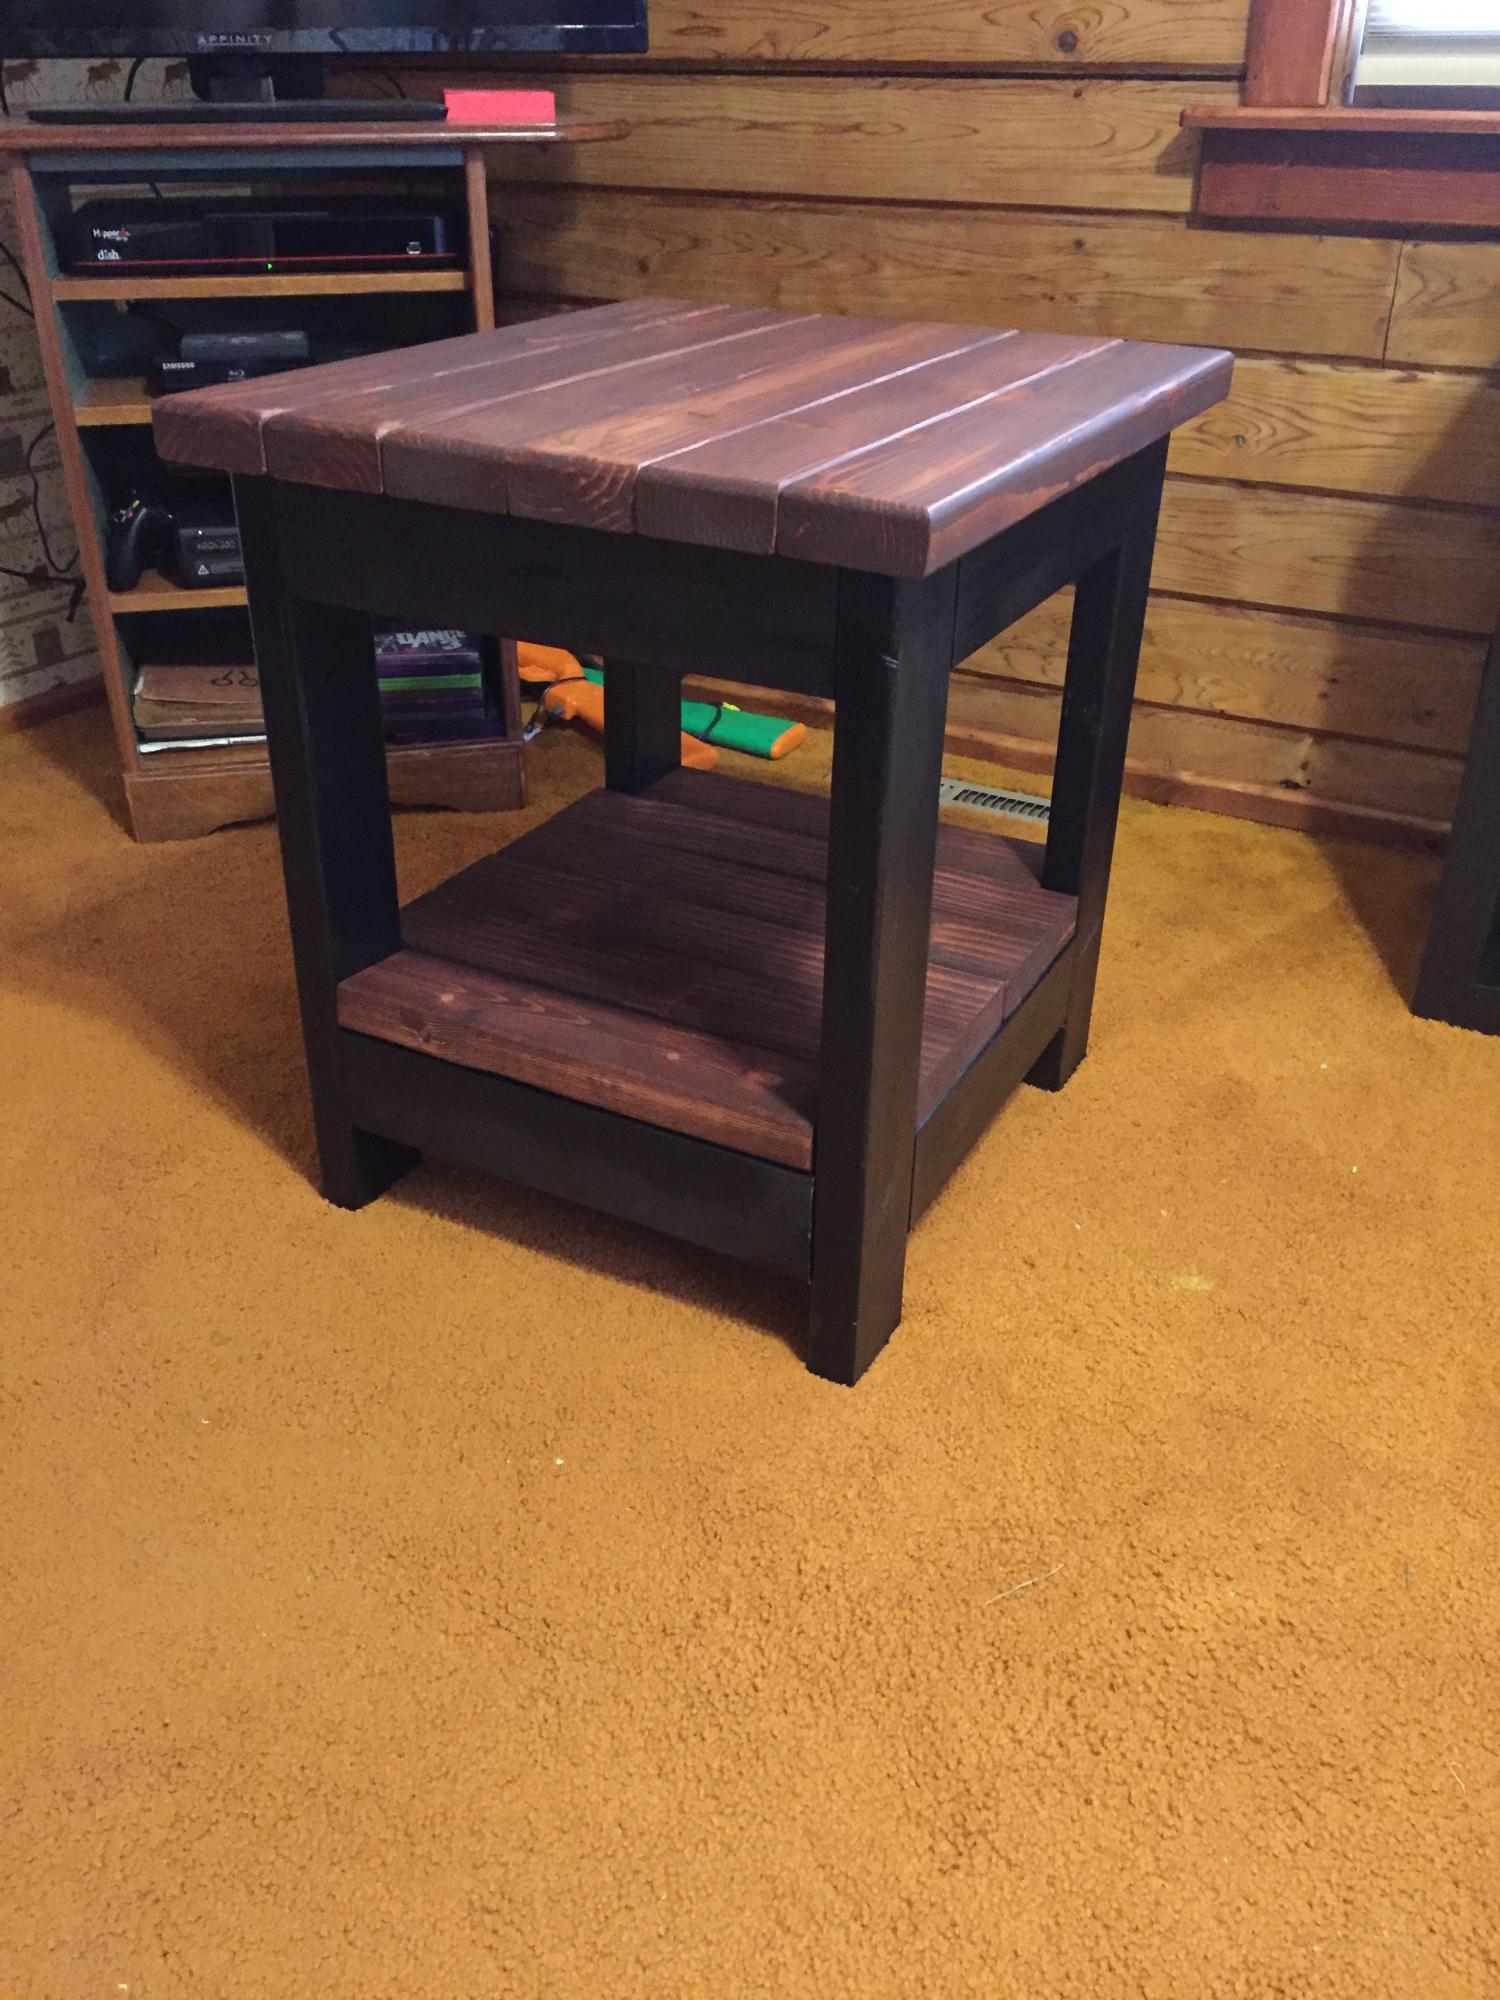
I completed this table with my 5 year old daughter as my assistant. My husband requested a table to put next to our new hot tub to set his drinks on and this is perfect. We only put one board on the top because I felt since it would be outside, I wanted a smooth top. I just screwed it in diagonally from the bottom. I also used spar varnish since it would be outside.
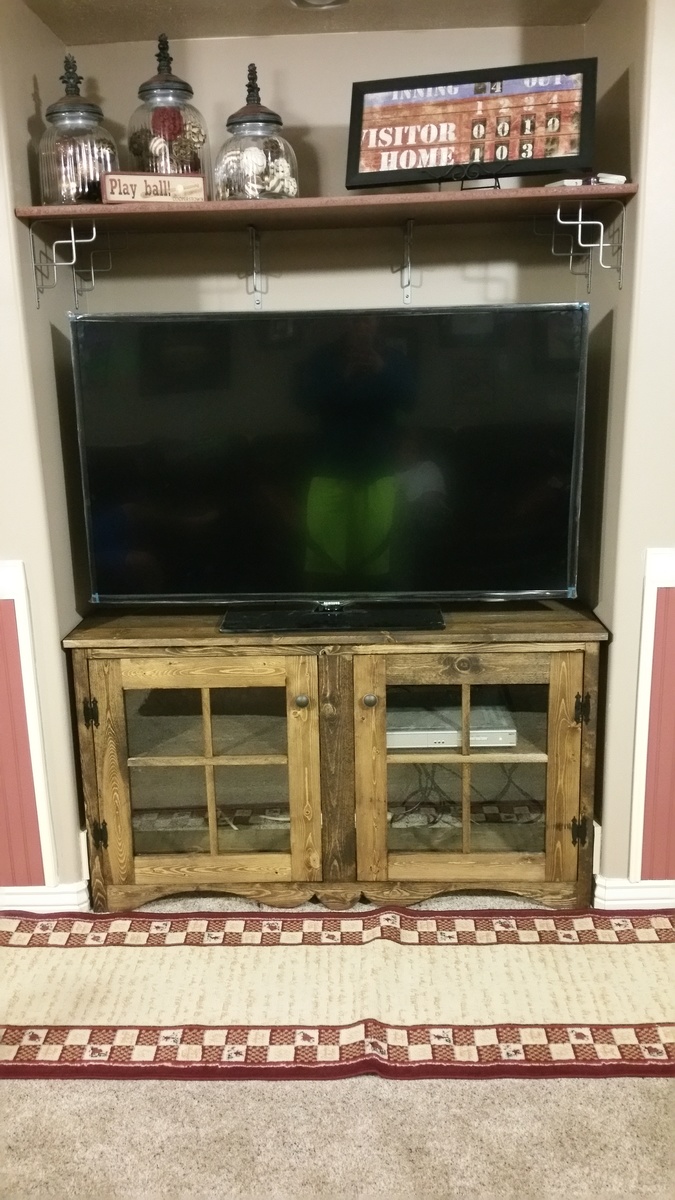
Farmhouse media console built to fit in a spot for their television.
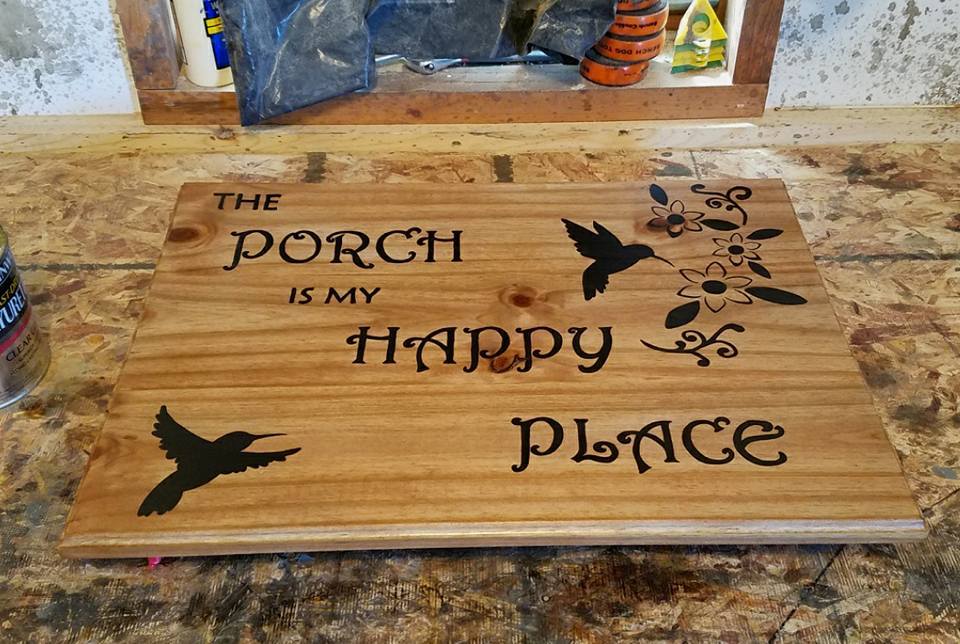
My father asked for a porch sign for his birthday, and as he enjoys sitting and watching the hummingbirds feed, thats the theme I went with. Sign is made with a redwood fence board that was sanded down and biscuit joined together, then given a decorative routered edge. Painted with Rustoleum paint, and given a few coats of spar urethane. Used jute cord on the back to hang the sign with.
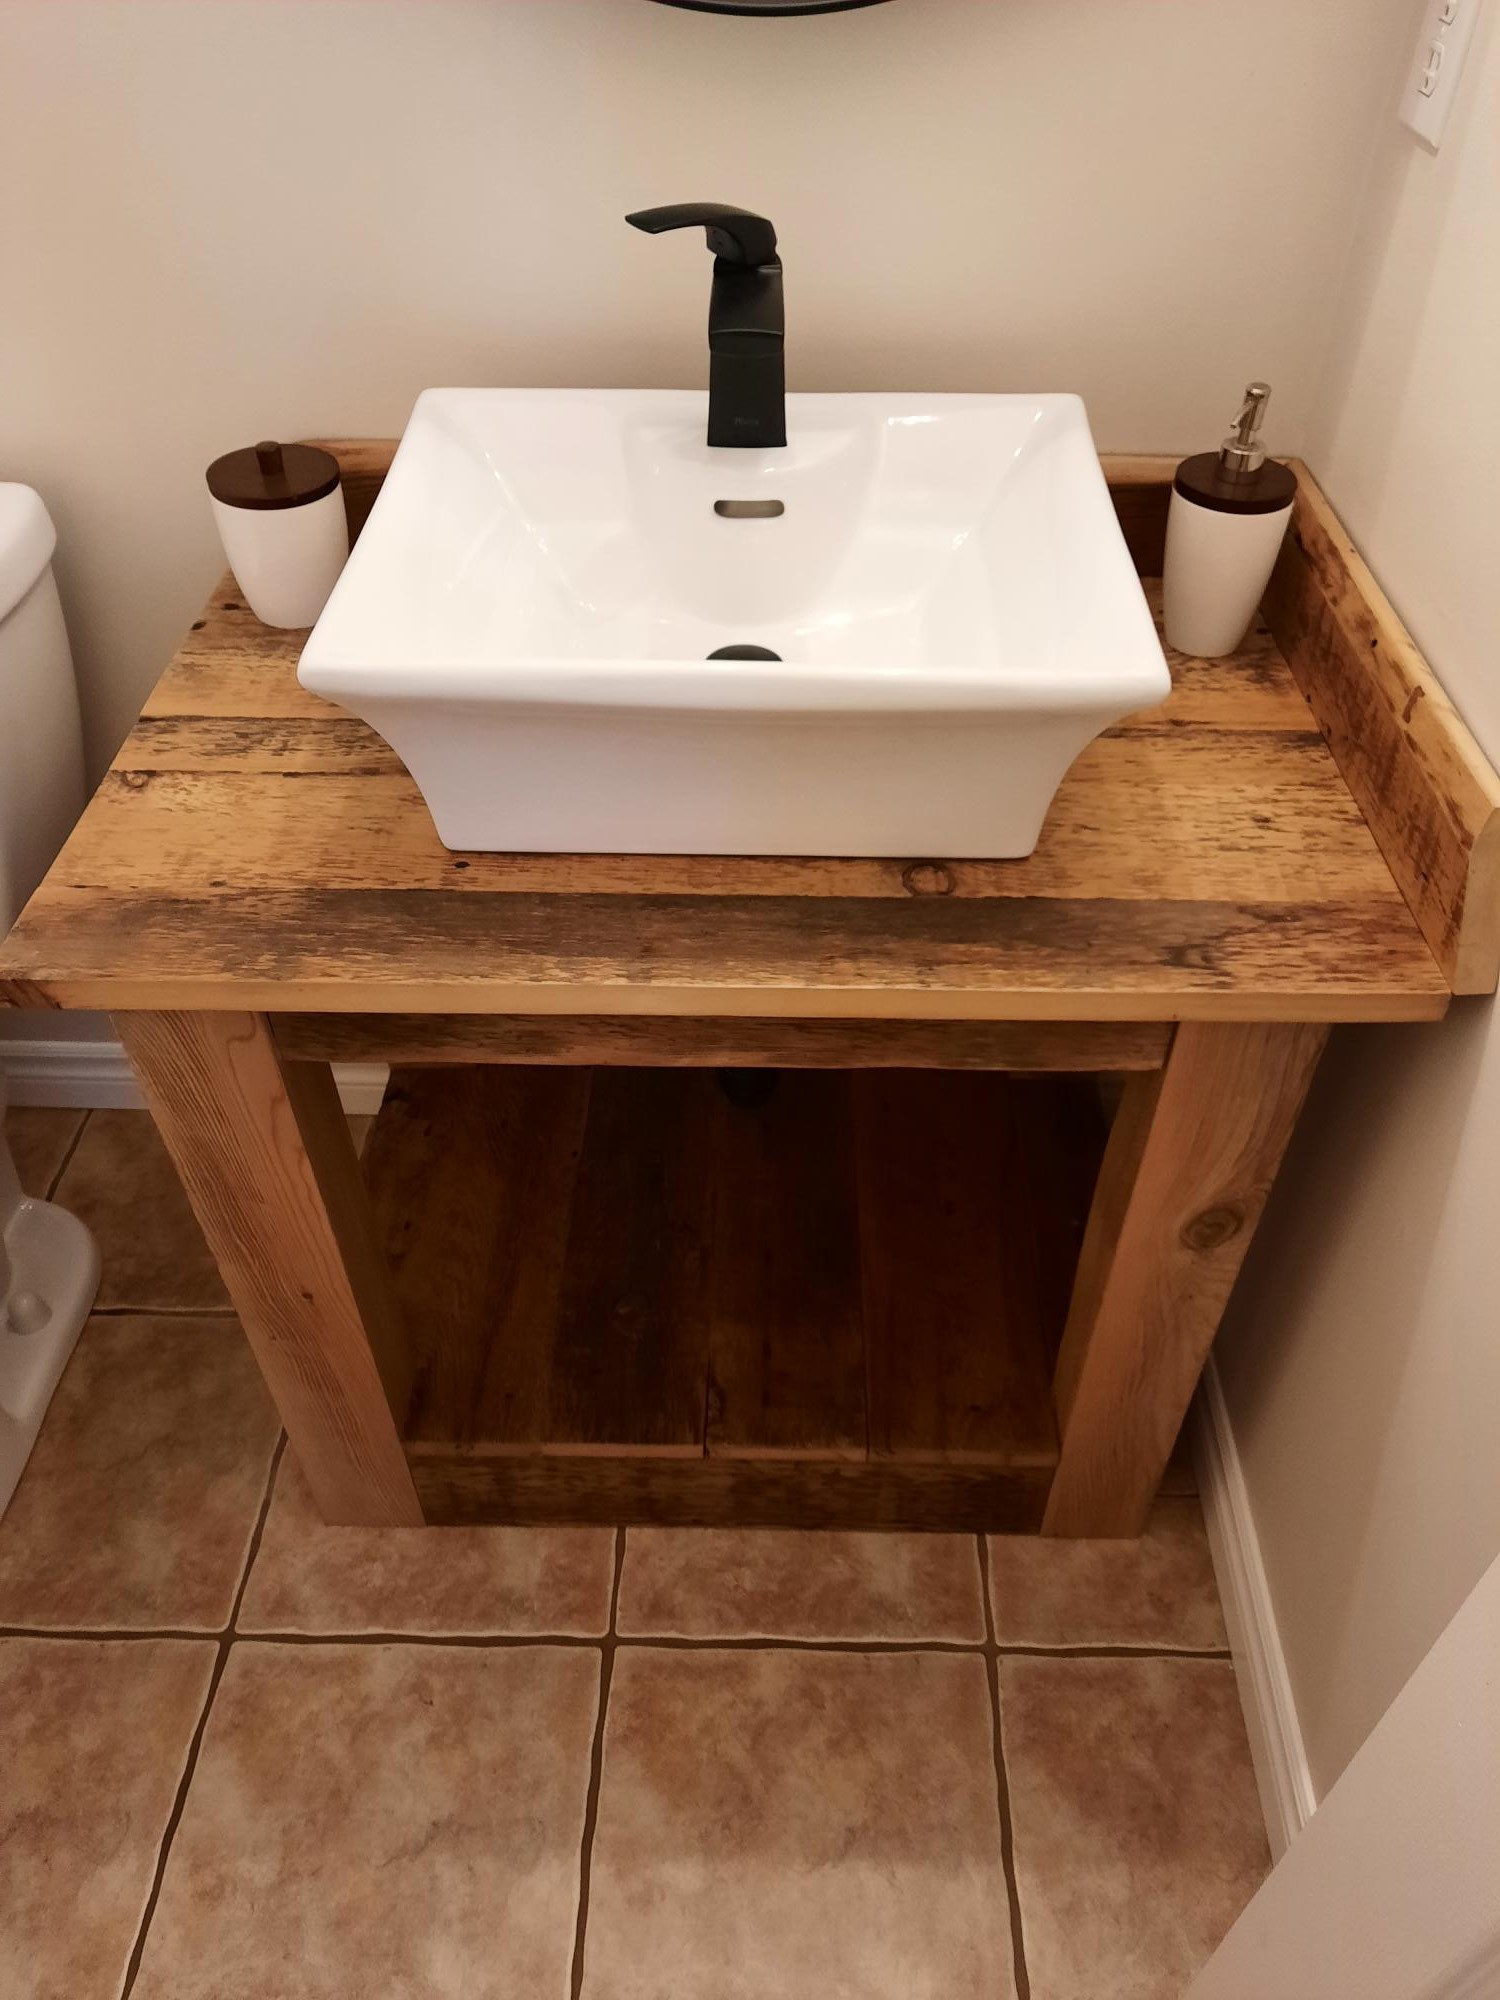
First time building and I'm in love with it!
So happy with the finished product. Used 100 yr old barnwood and matte finish with varathane.
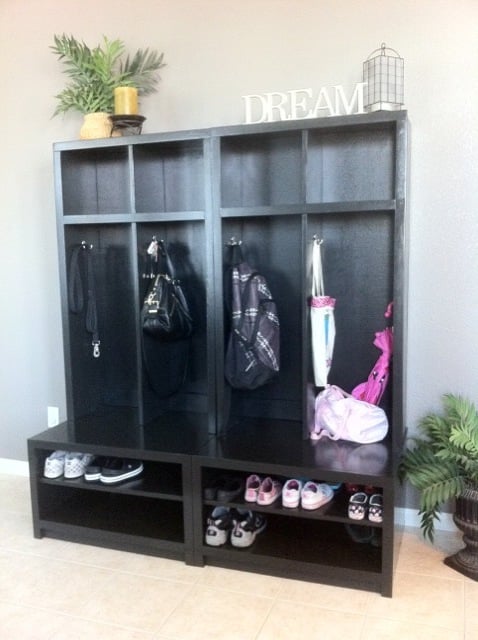
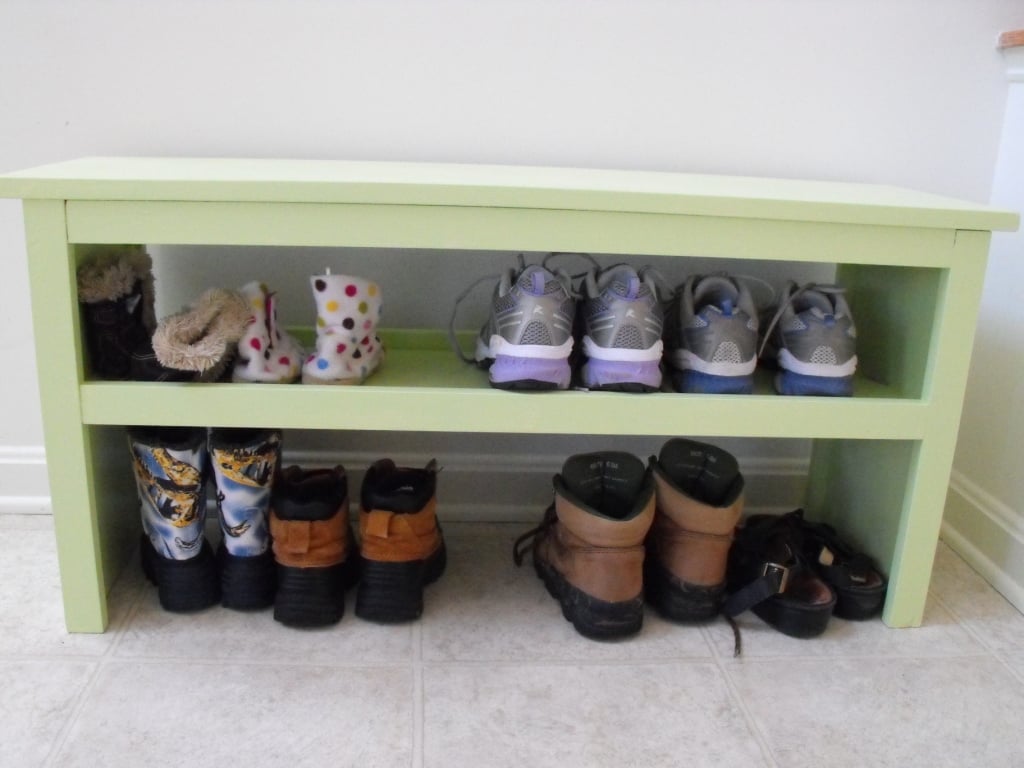
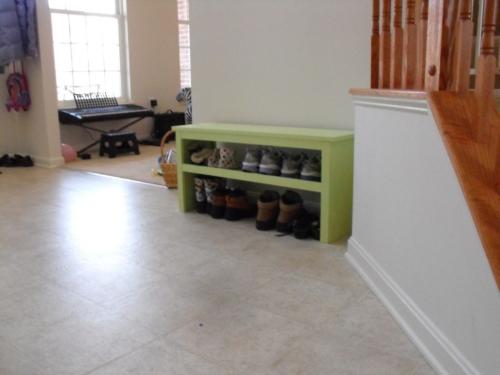
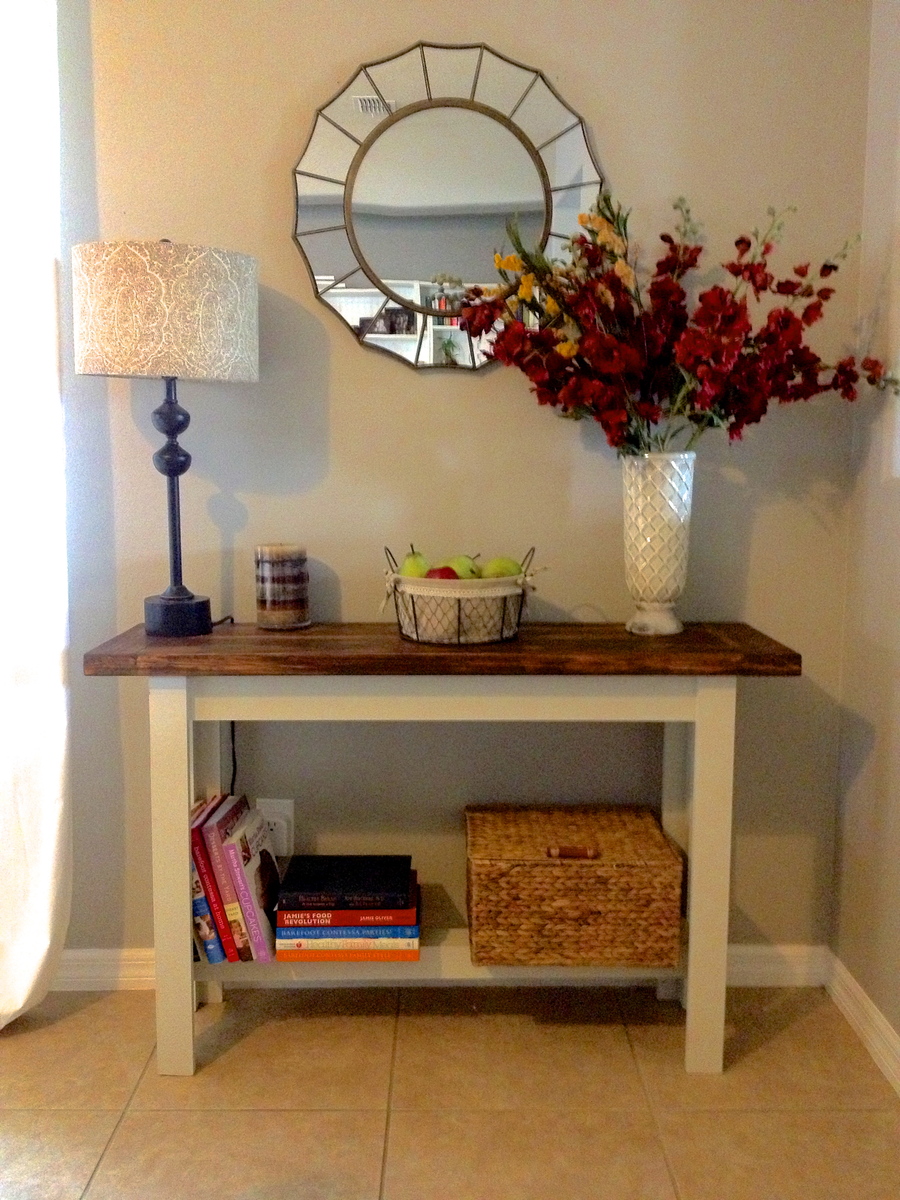
This by far has been my favorite build. Our front room is in the process of being revamped, and this is just the beginning. With our garage now dedicated to building, our cars have been kicked to the street. This means we actually use the front door now, so I took full advantage of making a piece of furniture that would allow for all the various items that get dumped on the floor when we walk in.
I love that everyone has a cubby and shelf for the shoes. My kids actually hang their backpacks up now when we get home from school and my husband can find his keys, wallet and sunglasses now!
This was one of the bigger projects I have tackled, but well worth it. I don't think my husband would have ever allowed me to buy this at PB for over $1000
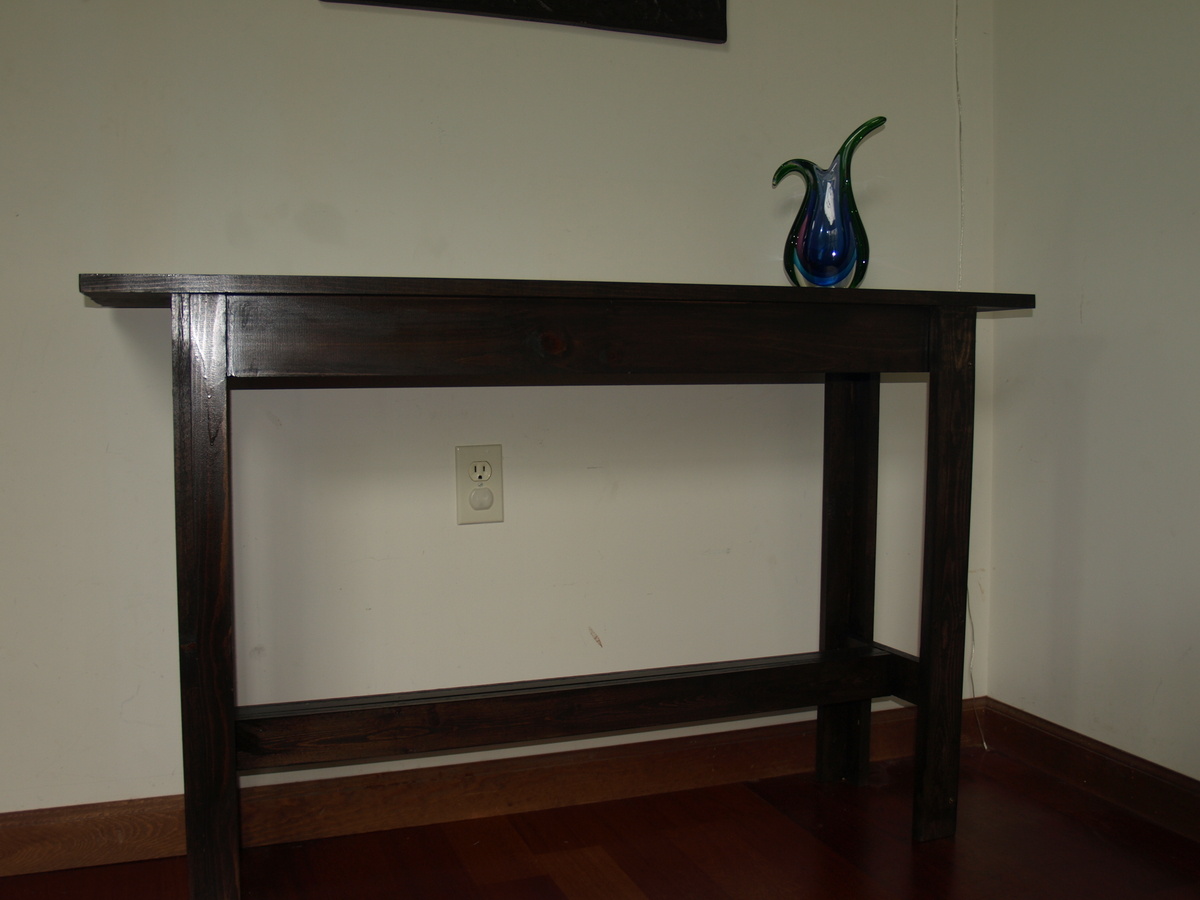
I am cheap and I have expensive taste. I love, love, love Pottery Barn. I also love Michael Kors, Coach, Gucci, Jimmy Choo, and all things pretty. Especially pretty shiny things.
So I regress...
Anyways, I have had this bare spot in my living room and it has slowly been driving me crazy. Through much painstaking research I have decided that I wanted something like the Hyde Pottery Barn Console Table. Okay, not something like.... I wanted the Hyde Pottery Barn Console Table, but it also would cost $500. Hahaha. $500 for a console table. That's just ridiculous says my cheap, fugal self.
So I look at ebay and craigslist... nope, no one selling my dream table. And then a miracle happens.... I stumble across Ana White's blog. I think I've found my new blog BFF!
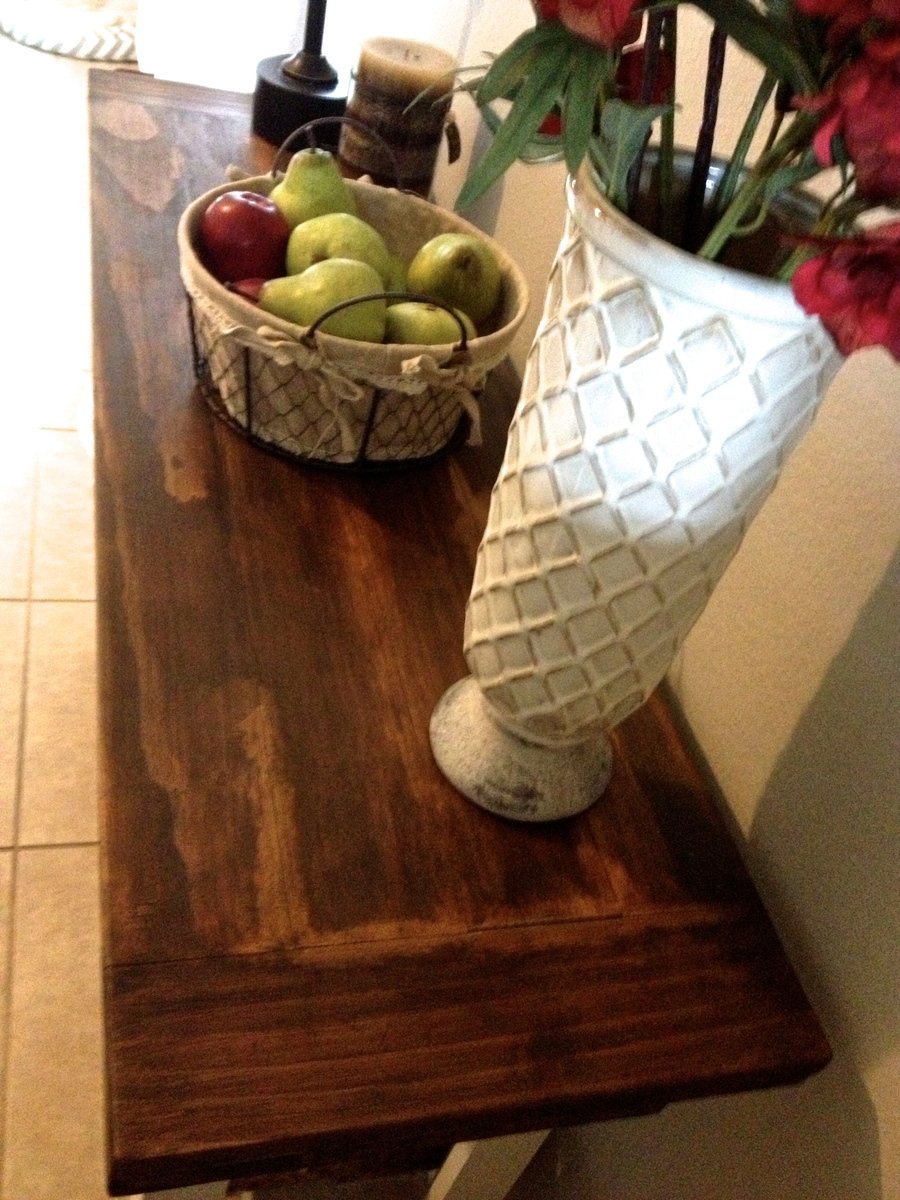
I followed her plans exactly and I decided to paint the bottom off white and stain the top walnut.
This was my first ever furniture build and I'm so excited by how it turned out!
Thanks, Ana!
Tue, 06/04/2013 - 13:57
You did an amazing job! I'm so glad you found what you wanted and were able to create it yourself!
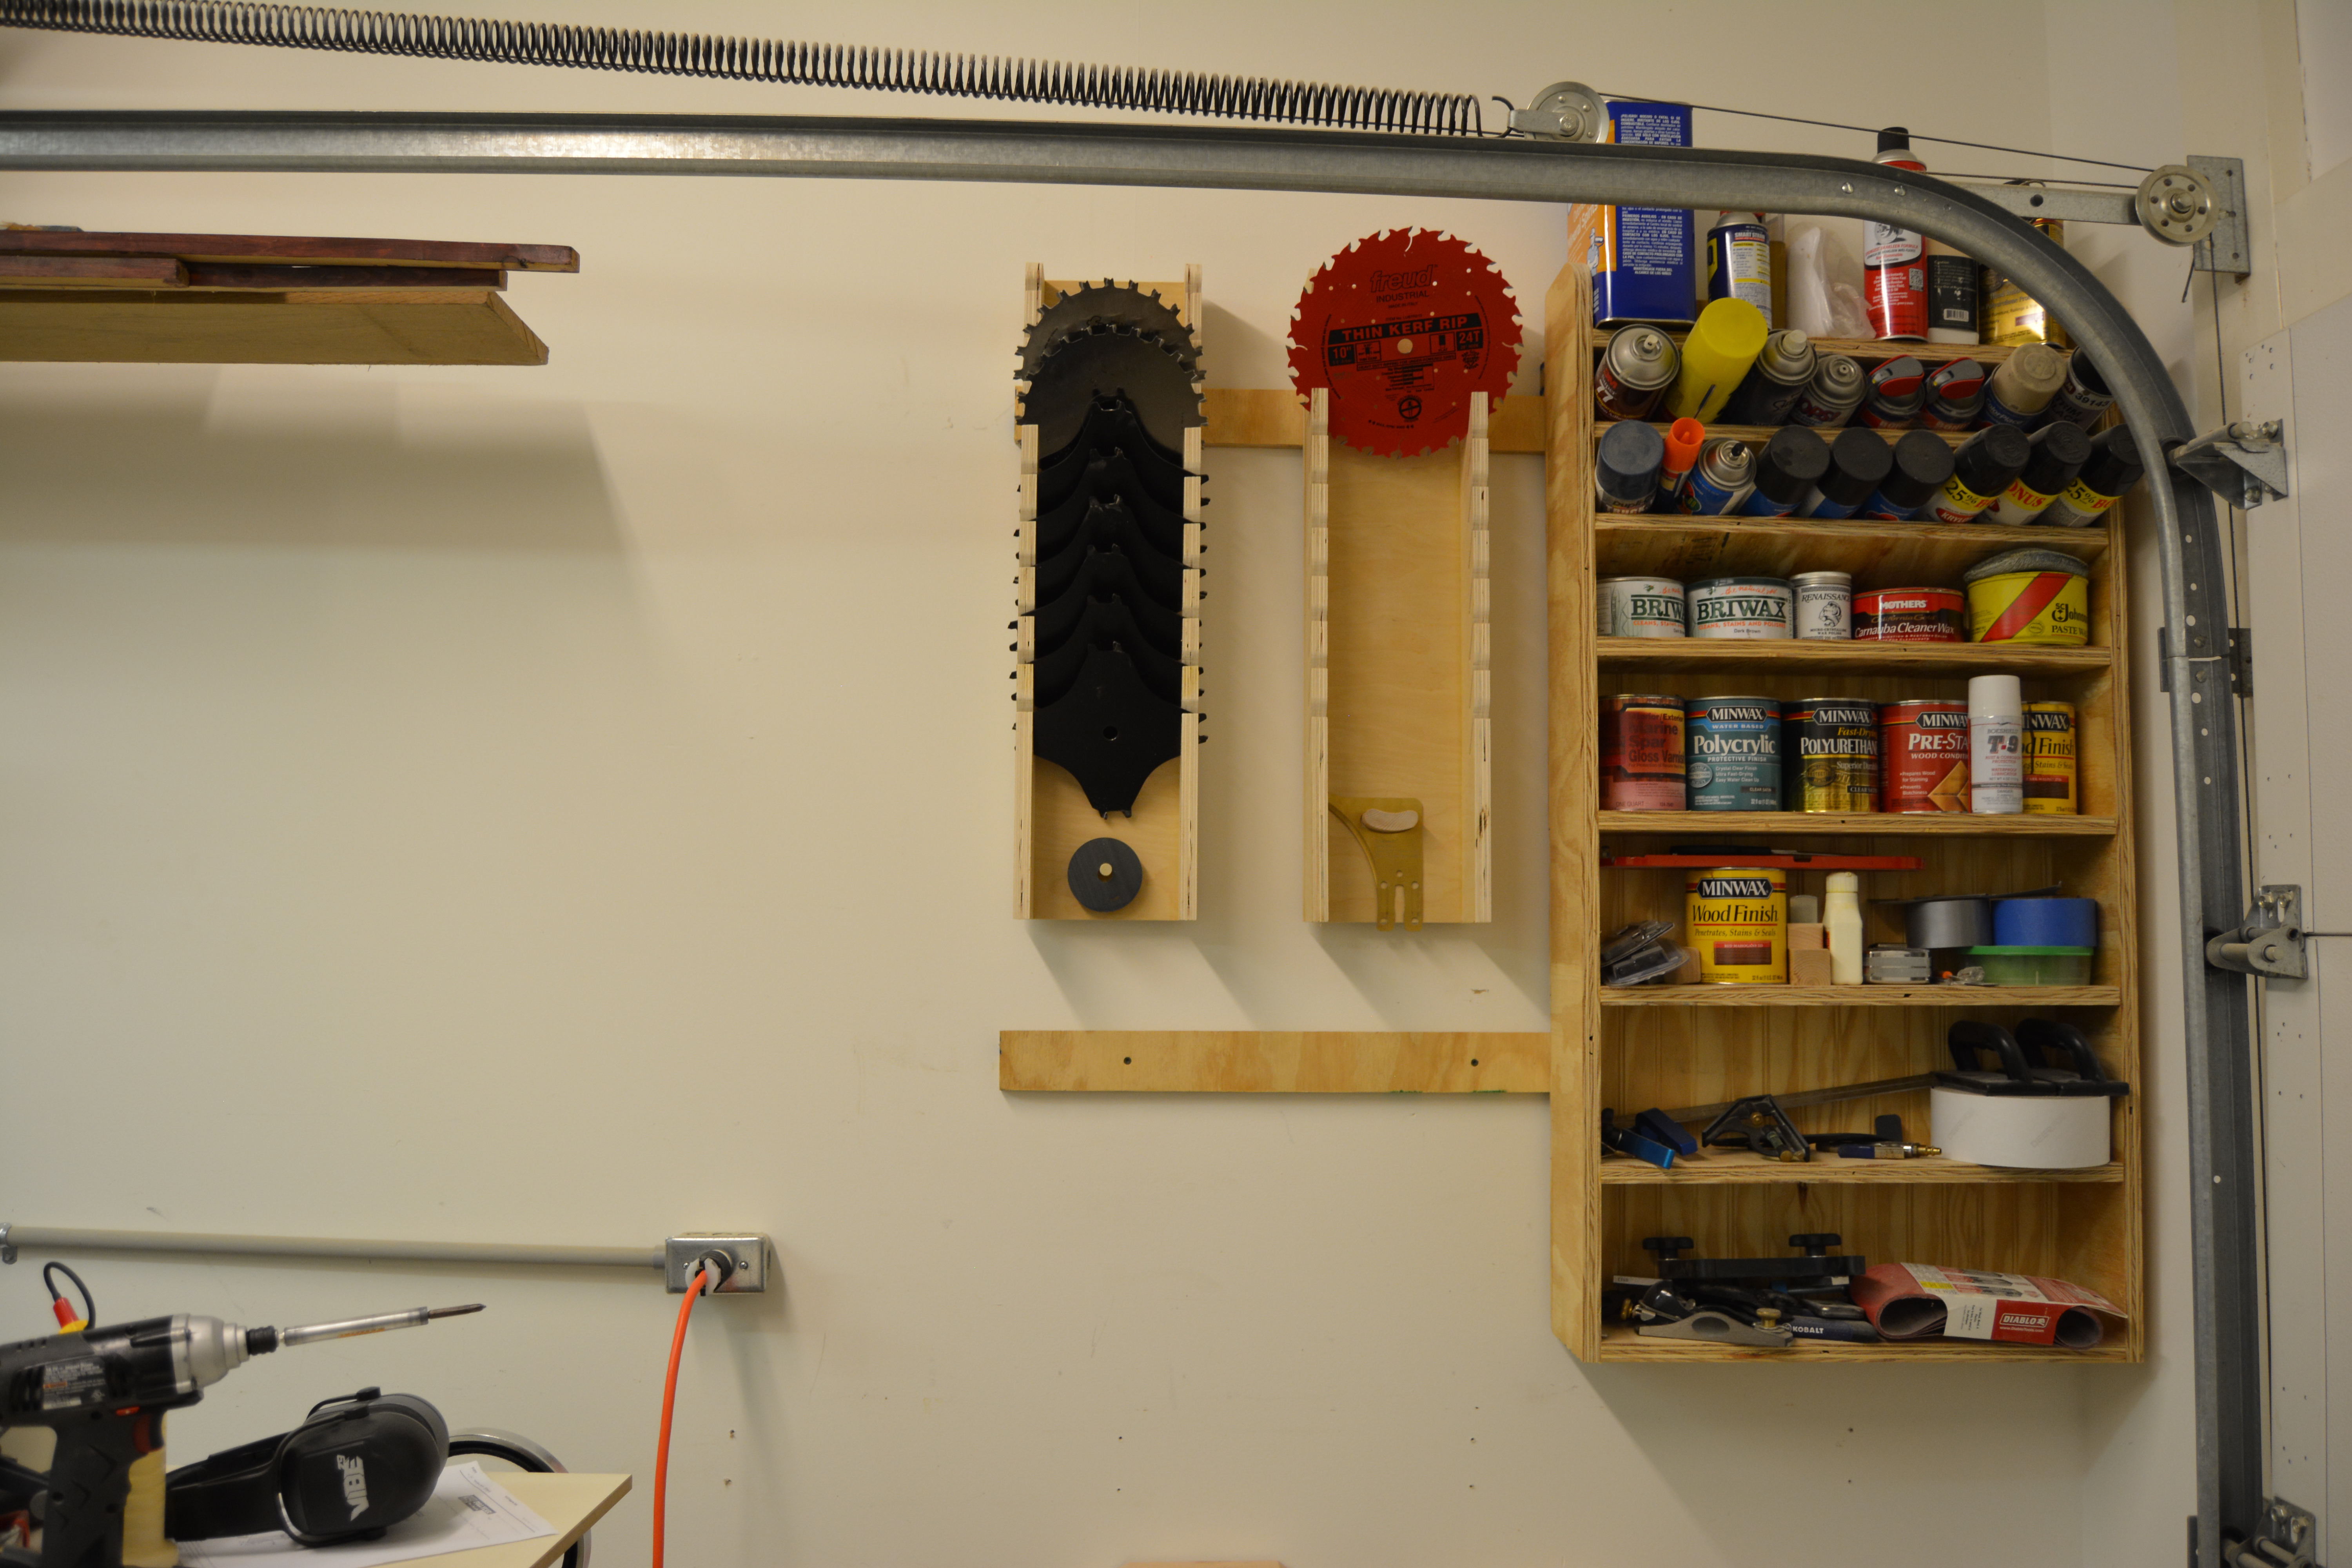
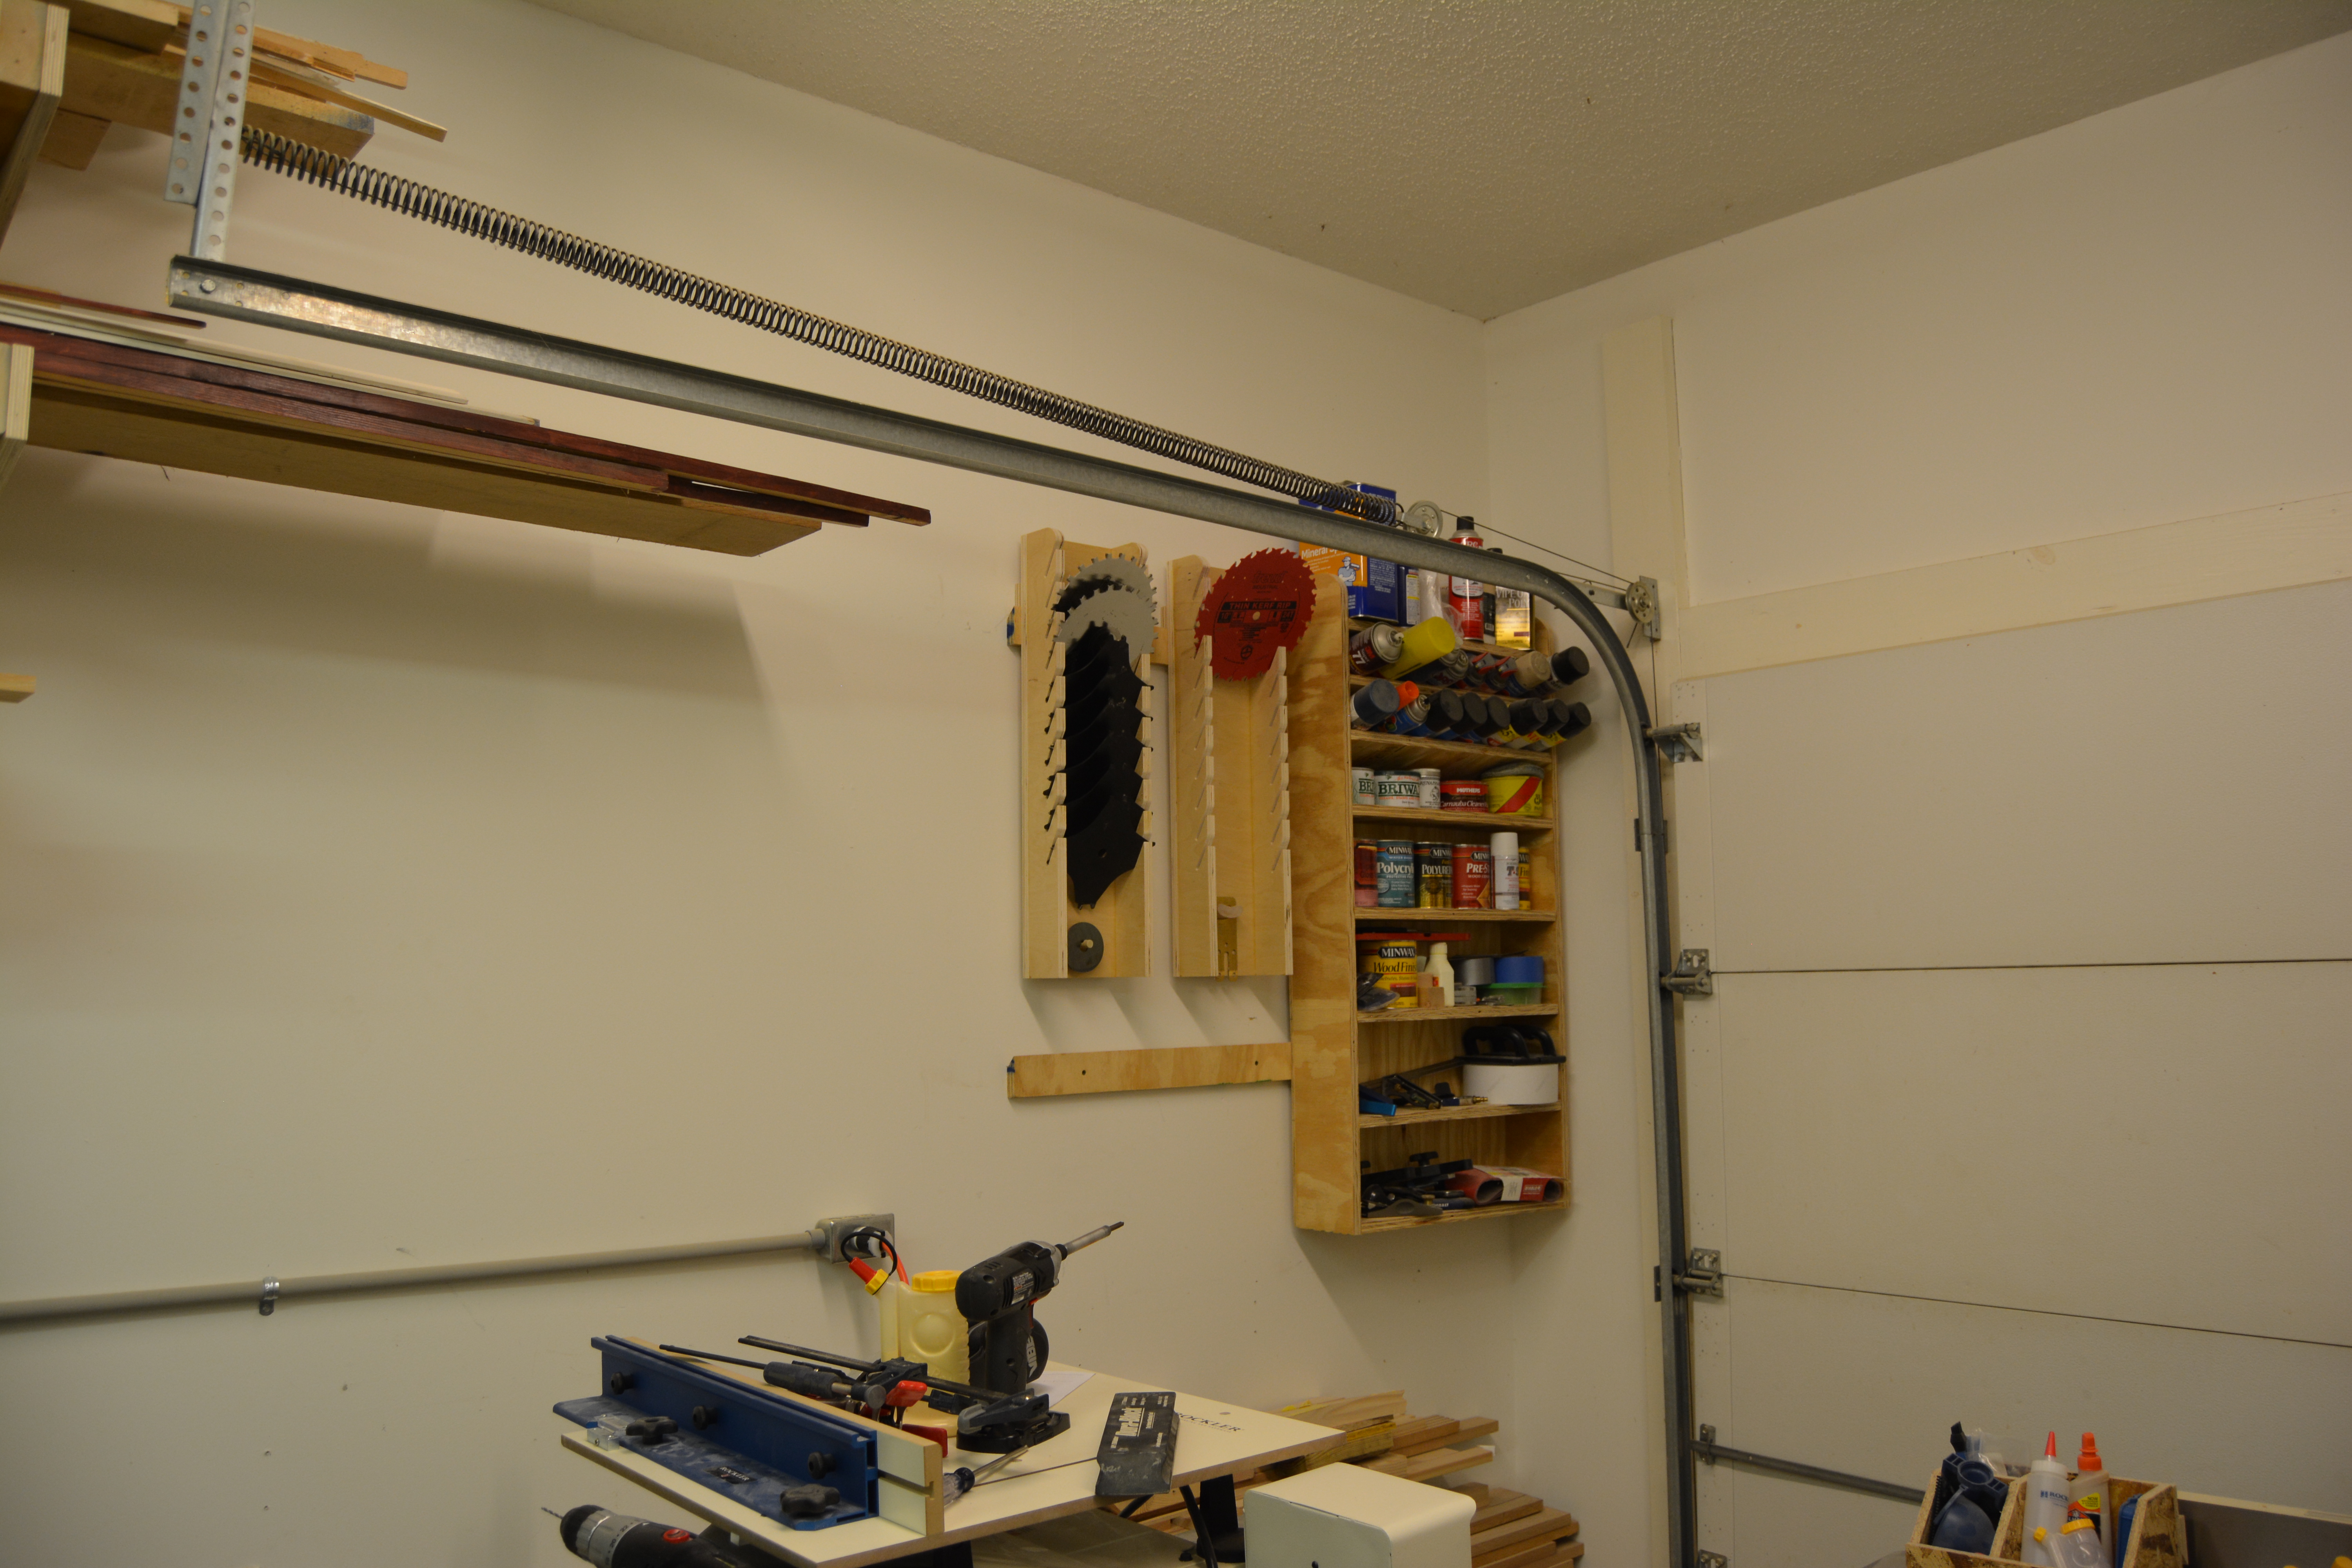
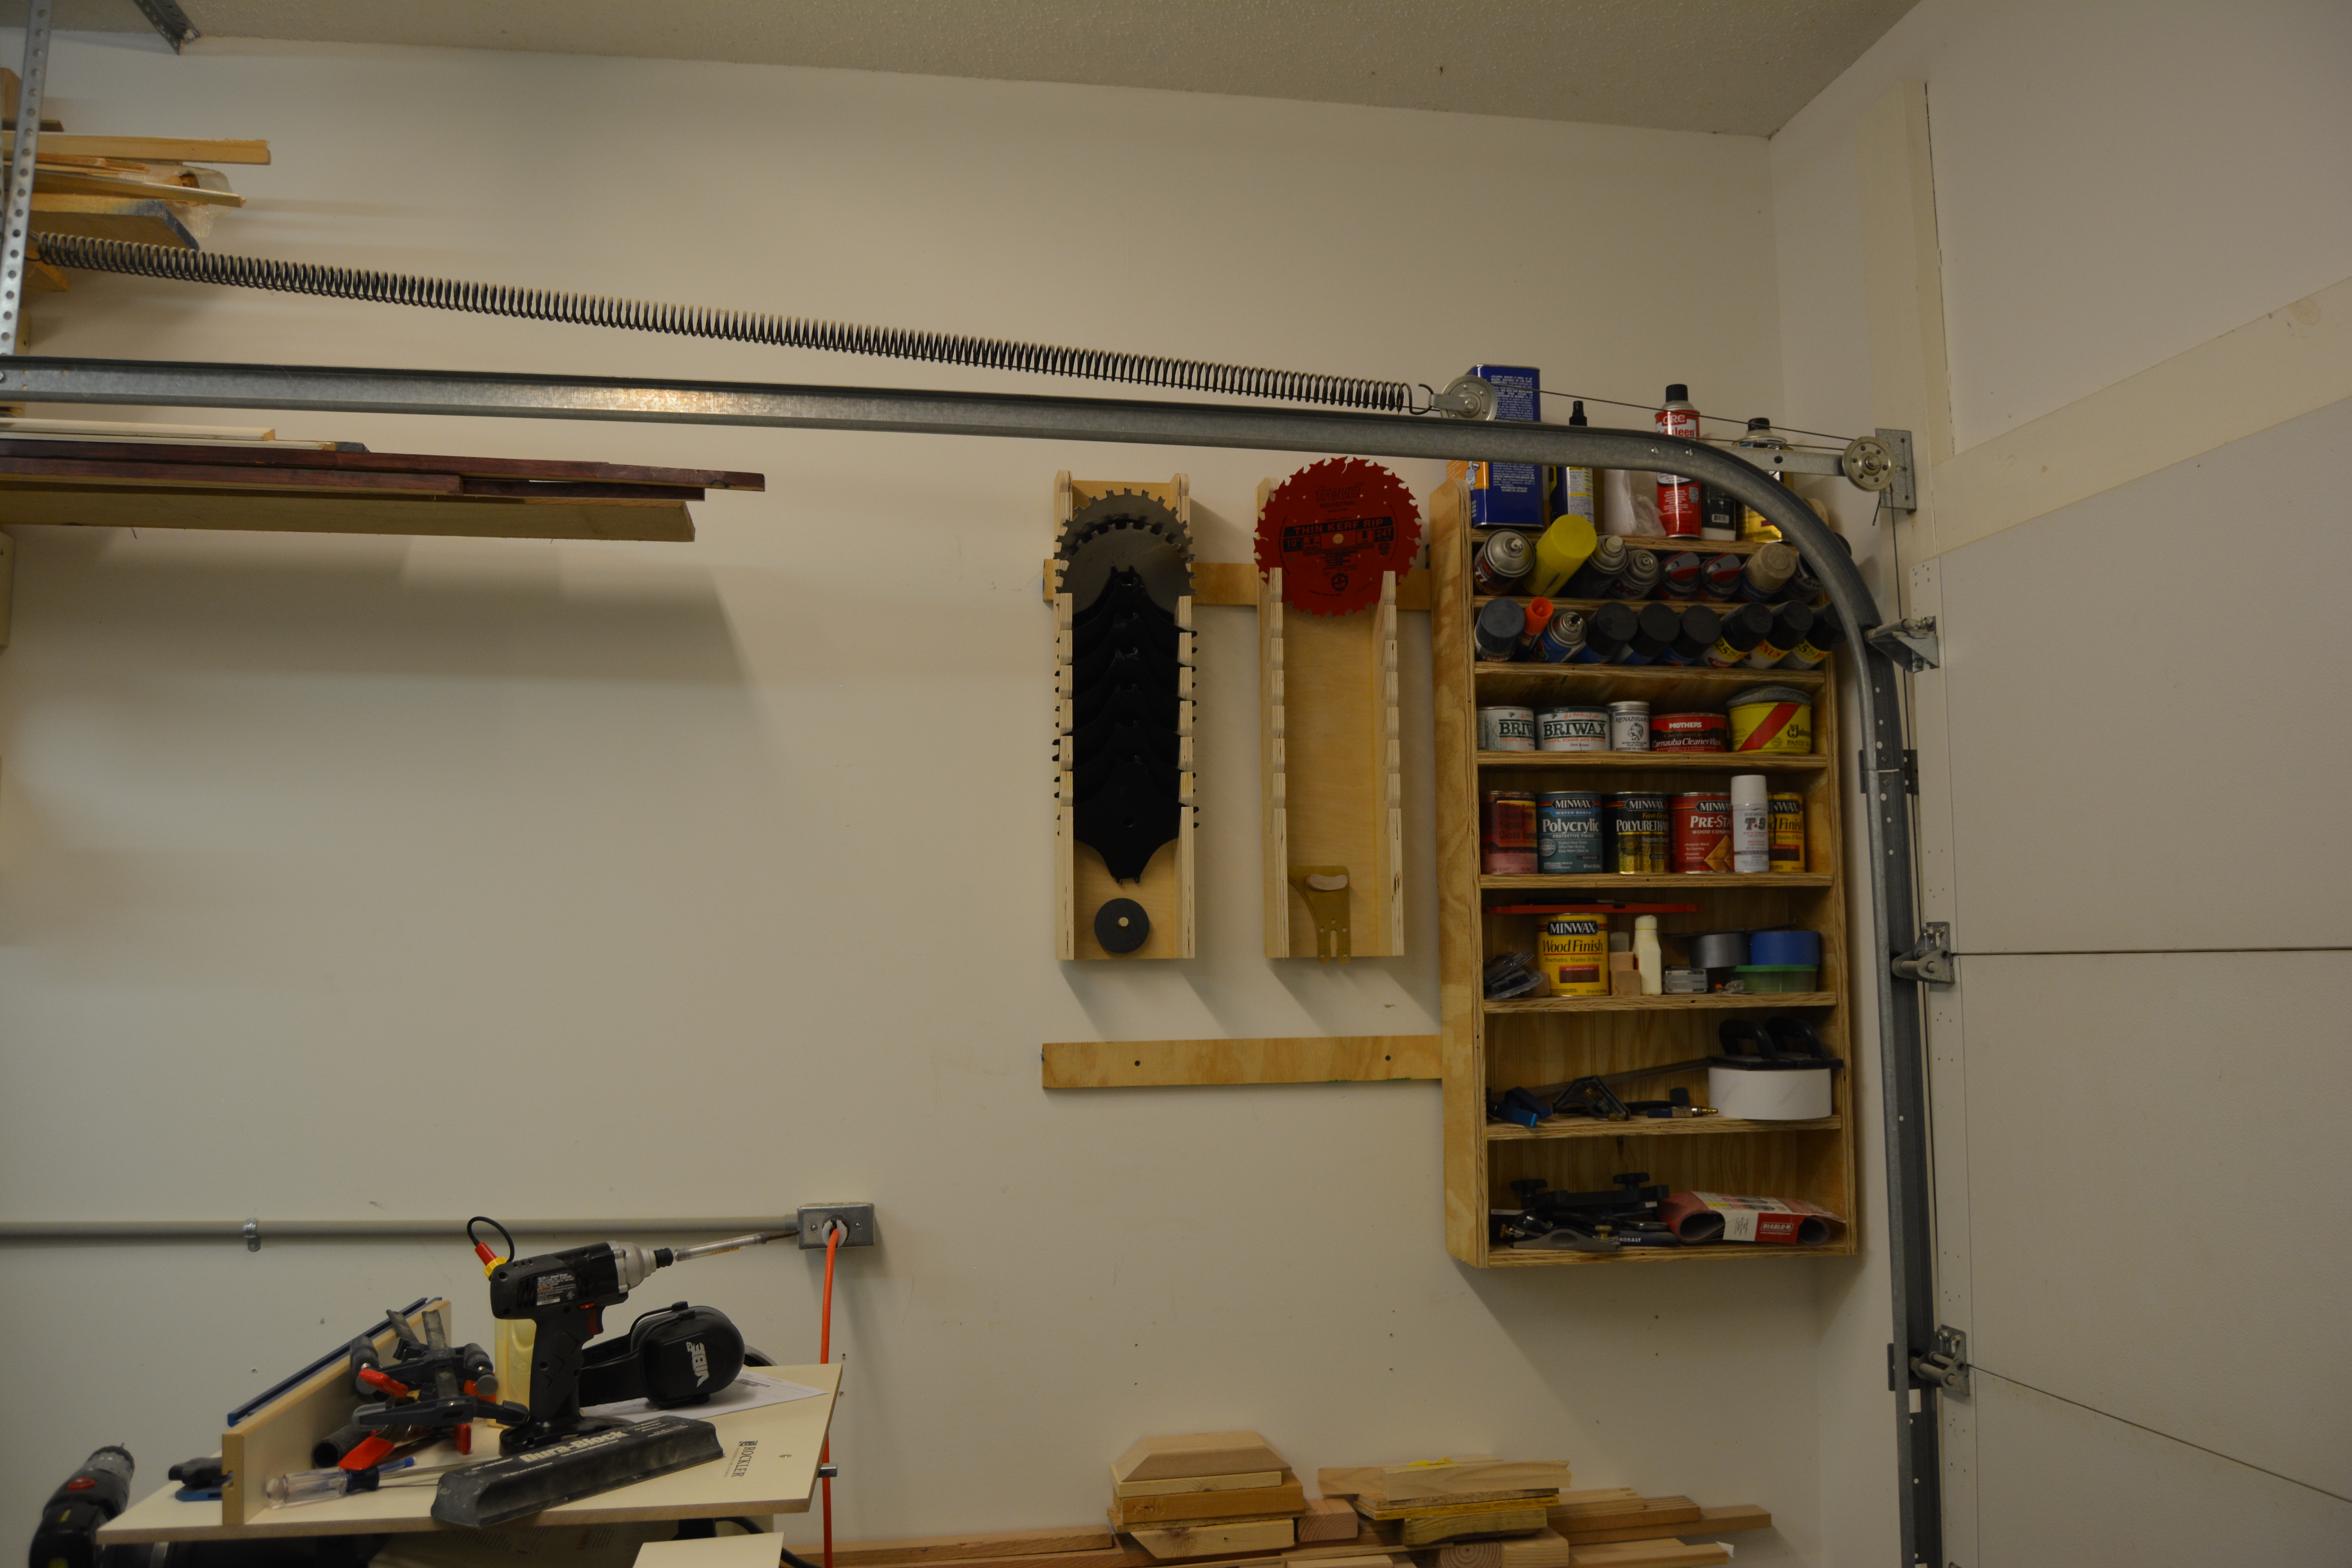
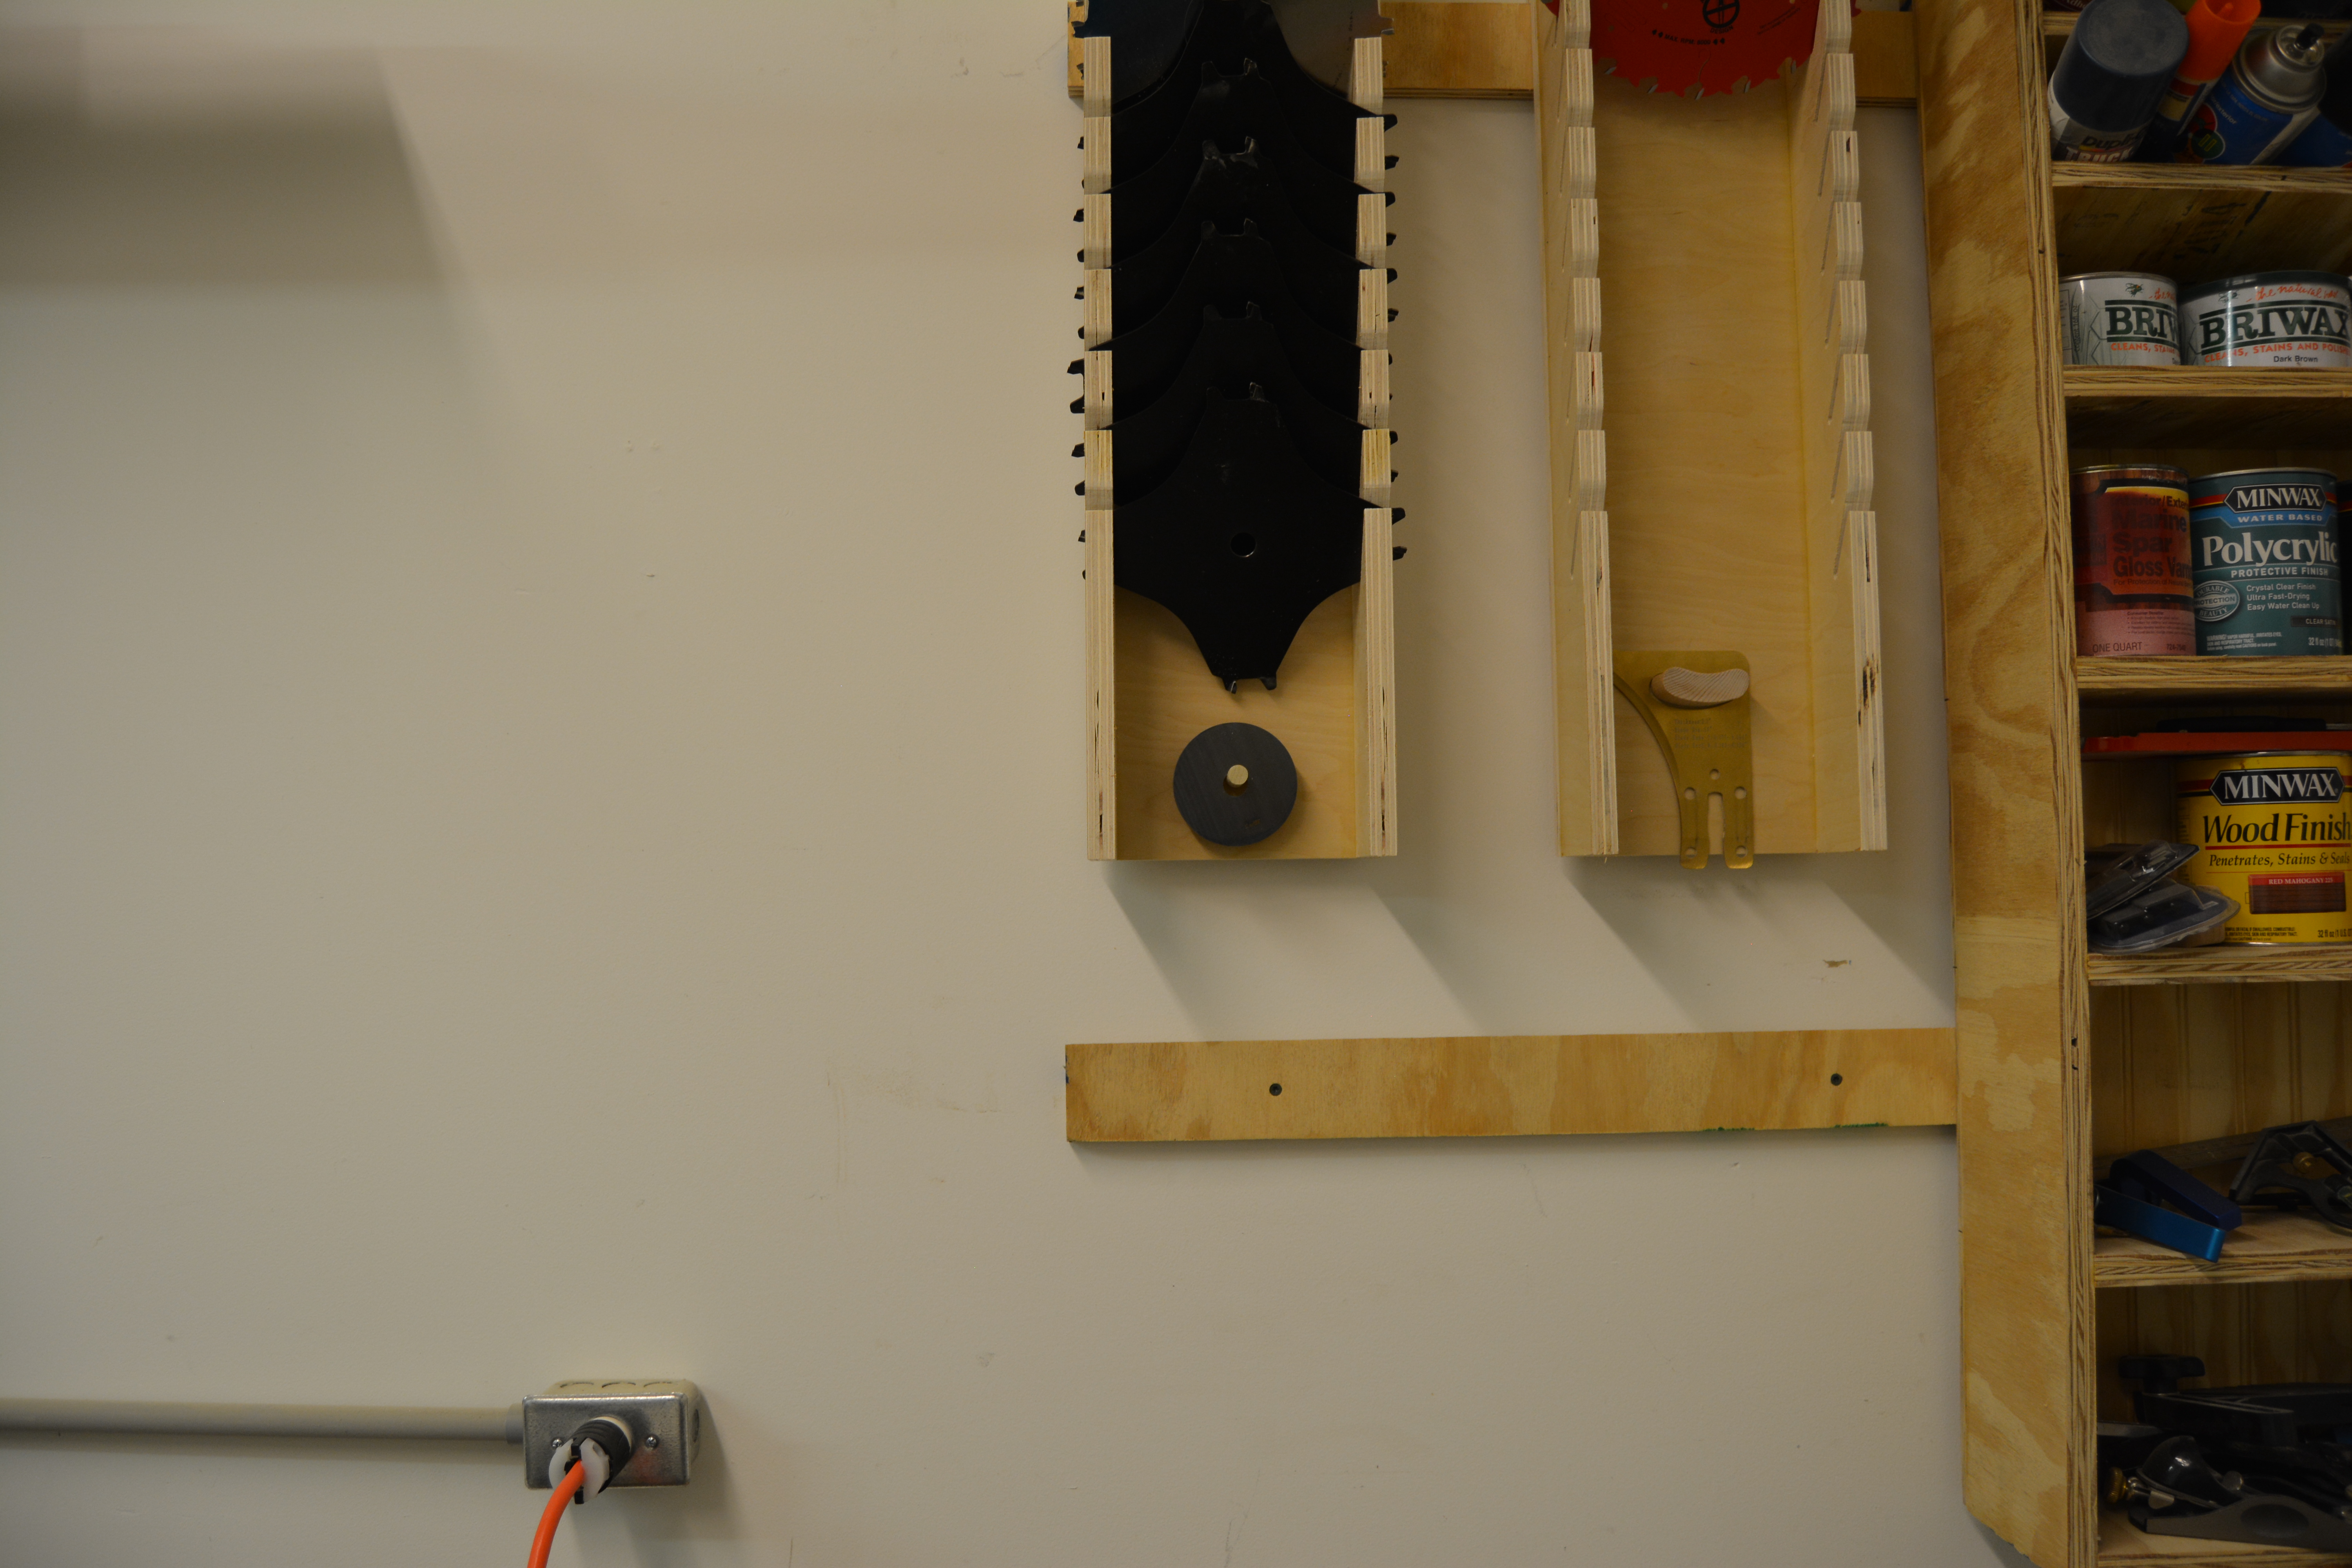
This weeks project was some saw blade storage for all my blades.
Here is the YouTube video: https://www.youtube.com/watch?v=88DxZ3cuwSo
Website: http://www.lanebroswoodshop.com/2015/05/saw-blade-storage.html

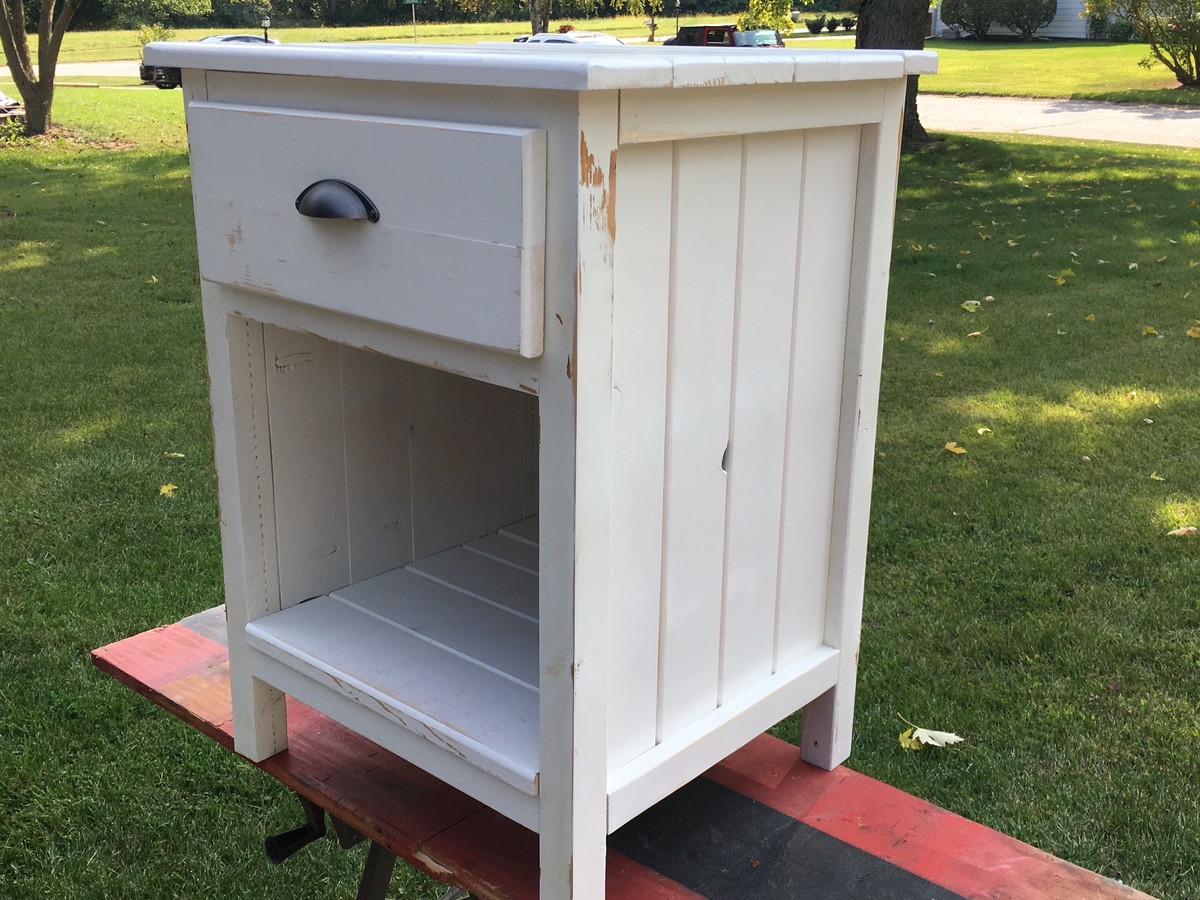
This is my interputation of the Reclaimed Wood Look Bedside Table. I beveled the edges of the of the 1x material and a top drawer with a large cubby beneath. I used a sprayed latex paint then a light sanding to give it the distressed look and the two coats of clear poly.
What a fantastic project!
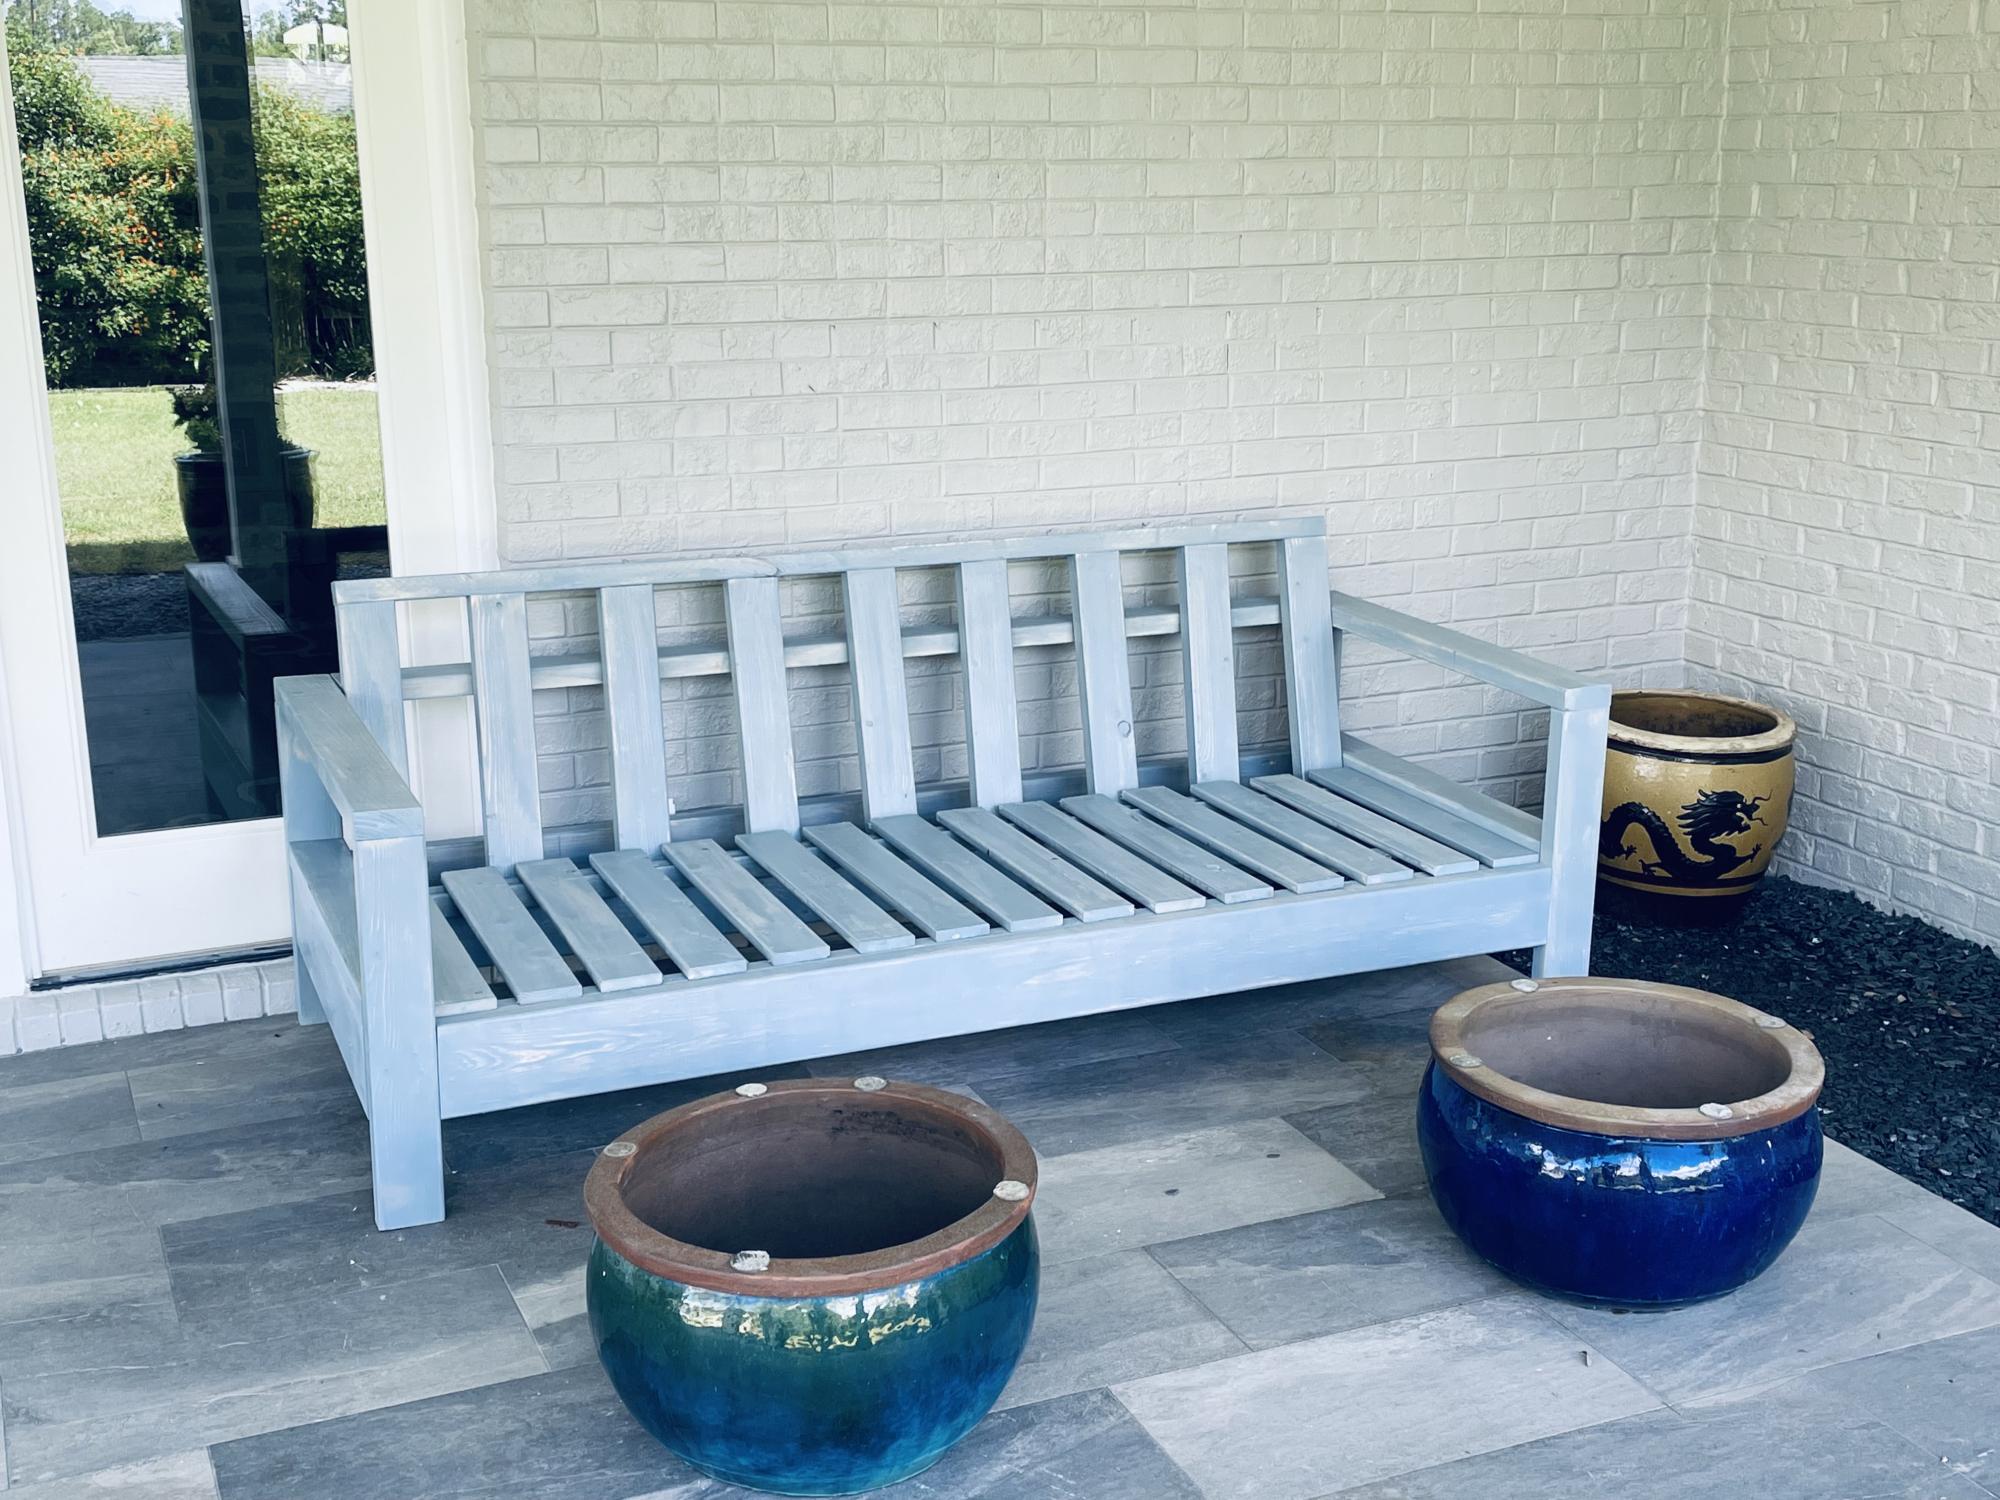
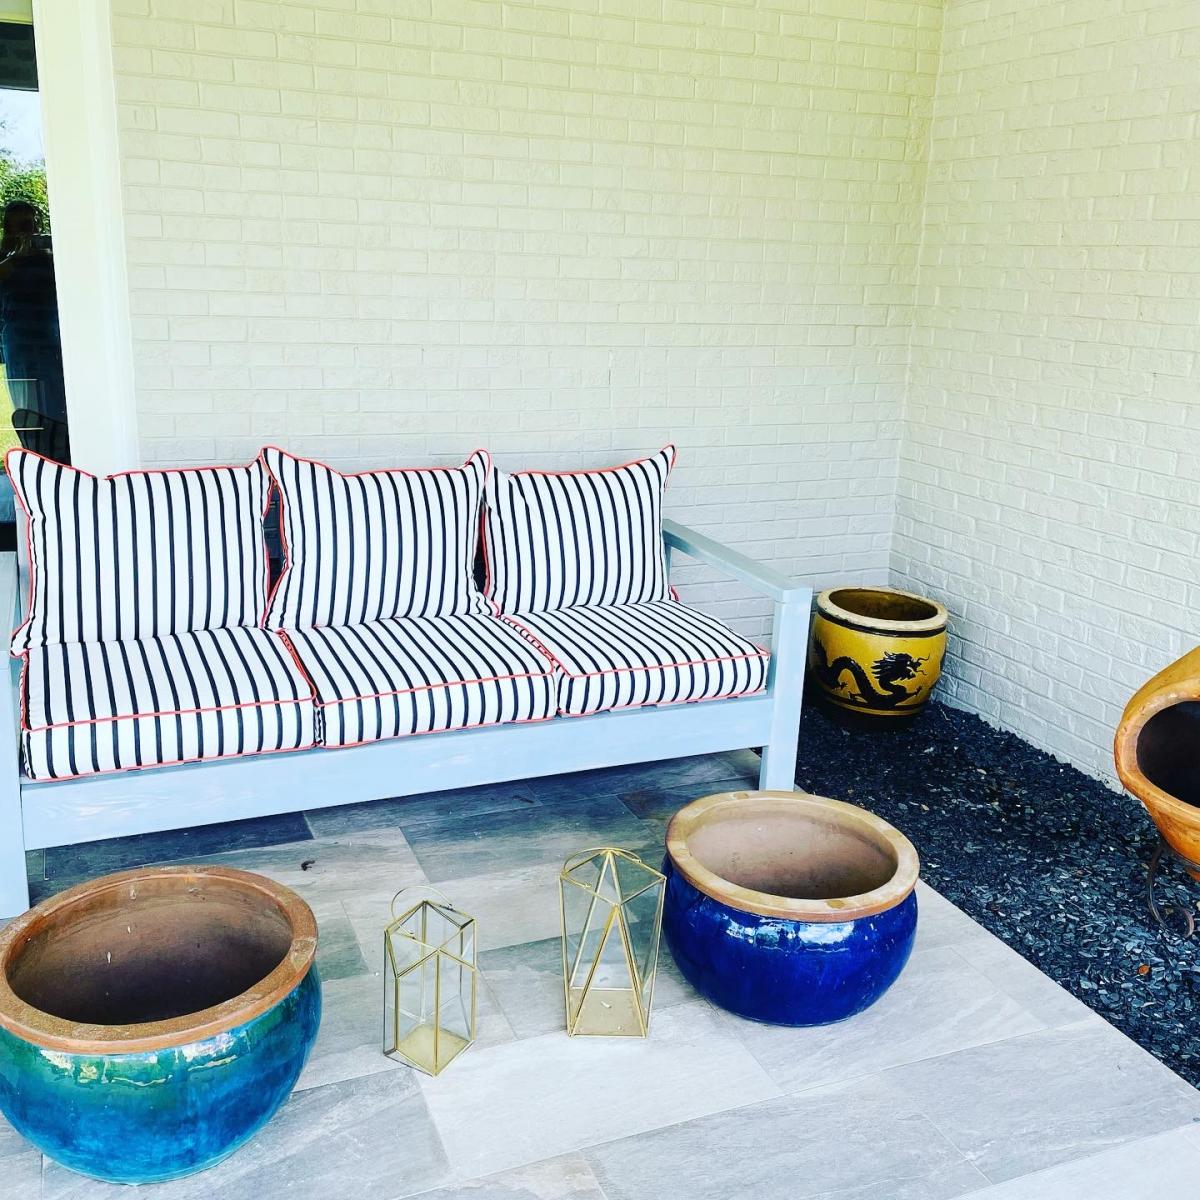
Color of the stain - colony blue by Behr. Lightly distressed.
Now awaiting cushions!
Updates: cushions arrived!

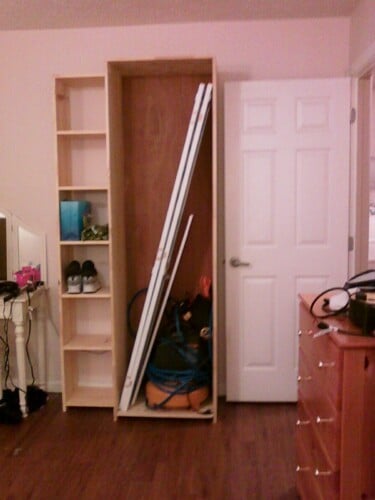
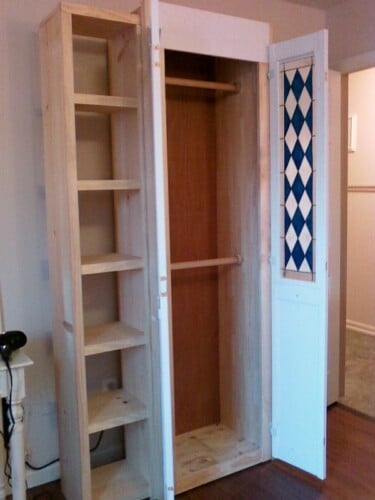
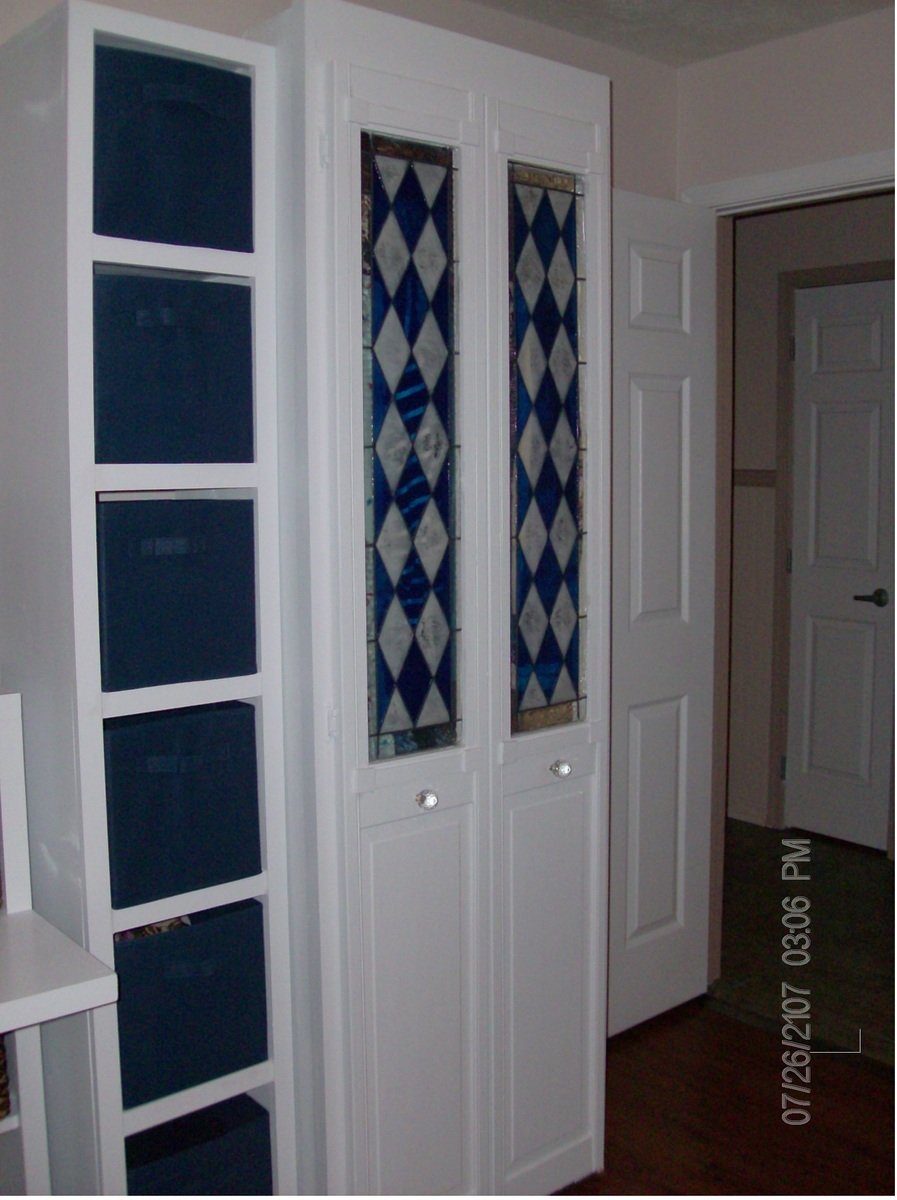
This is modified from Ana's Simplest Armoire plan, re-sized to fit the door (already had this, from another project -- I couldn't part with it when that room was remodeled- that gallery glass insert took me so long to make) and deep enough to hang clothes. Used my favorite new toy, the Kreg jig for this.
Such a fun project, now we're hooked! We've made a bedroom full of pieces to go with this one, and still making more.
Ana, thanks for the inspiration!

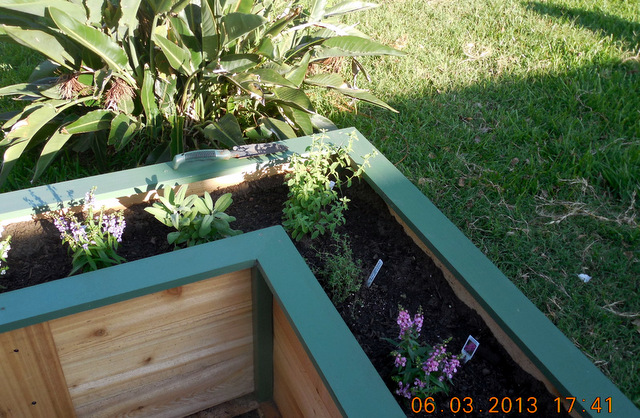
I have a really boring backyard patio so I thought I would spice it up with flowers but I could not find a plan for a large right angle planter. So I made up my own.
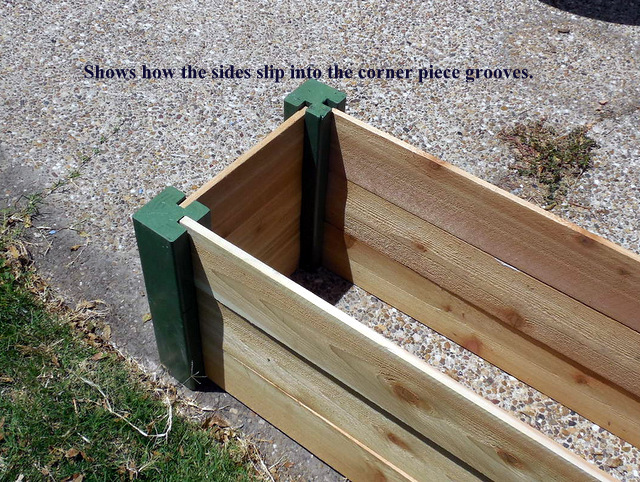
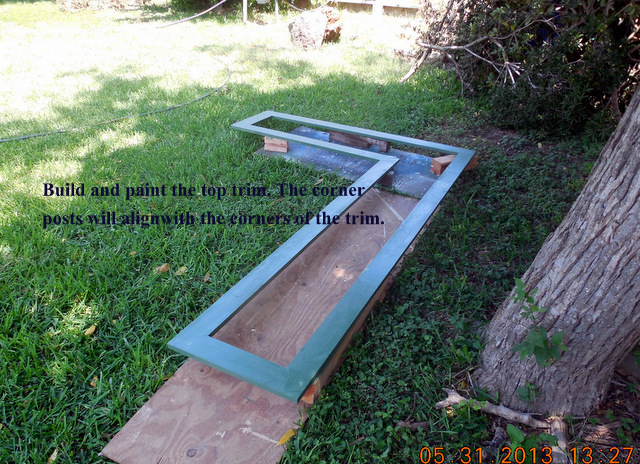
The planter is made from cedar fencing but pine for the top trim and the corner legs. The legs have grooves that the sides slide into and are not screwed or glued in place. That is so you can remove the top trim and then just pull the sides out to replace them as needed or to even change the size of the planter.
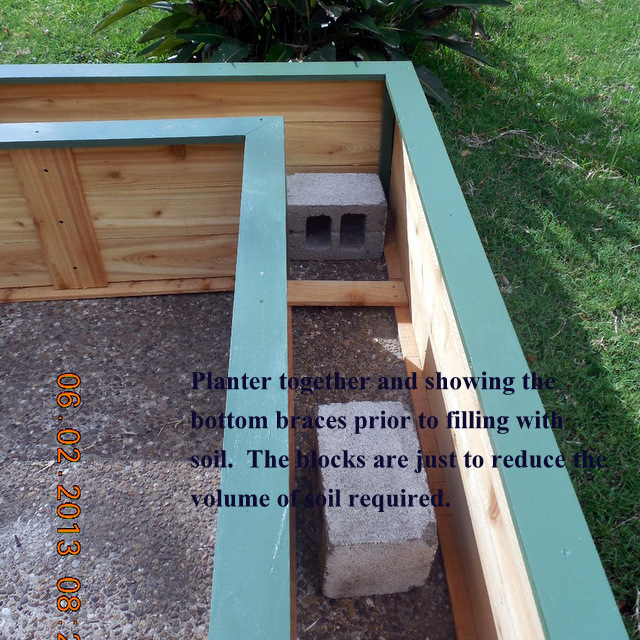
This planter is 18" high so it is comfortable to sit on but that also means you will need a lot of soil to fill it up. Mine took 26 40lb bags which is over 1/2 ton of soil. Add water and that planter is here to stay. But it also means that there is a large tendency for the sides to bulge along the bottom so I placed stop blocks along the bottom base and screwed into the base.
I planted Angelonia for color and sage, oregano, and thyme for spice. It was fun to build and came out well but it was expensive as the soil along was nearly $60. Add another $50 for lumber and screws and you have exceeded the magic $100 mark. Still a good deal, however.

Wed, 06/05/2013 - 10:14
Thanks for a very good idea. If I ever do another on I will incorporate your suggestion.
Wed, 06/05/2013 - 10:17
Thanks for a very good idea. If I ever do another on I will incorporate your suggestion.

Sun, 06/09/2013 - 06:05
I don't know what it would do cost-wise, but you could also use gravel to fill the bottom of the planter to give it better drainage.
I managed to build this with a circular saw and some sand paper with absolutely no experience!! I am so happy with the results. I followed the plans precisely as I am not brave enough to experiment yet. I used Minwax Polyshade Mission Oak flavor. I've never stained anything before and I was pleased with the results. A couple coats and the shade is beautiful. I am going to fashion a couple benches and find me some brightly colored chairs and call it done.
Thank you for making this possible. I certainly never thought I could do something like this.
Our first project using the plans provided on this web site. We couldn't be happier with the outcome. The plans were concise, accurate and easy to follow.
Tue, 09/19/2017 - 21:52
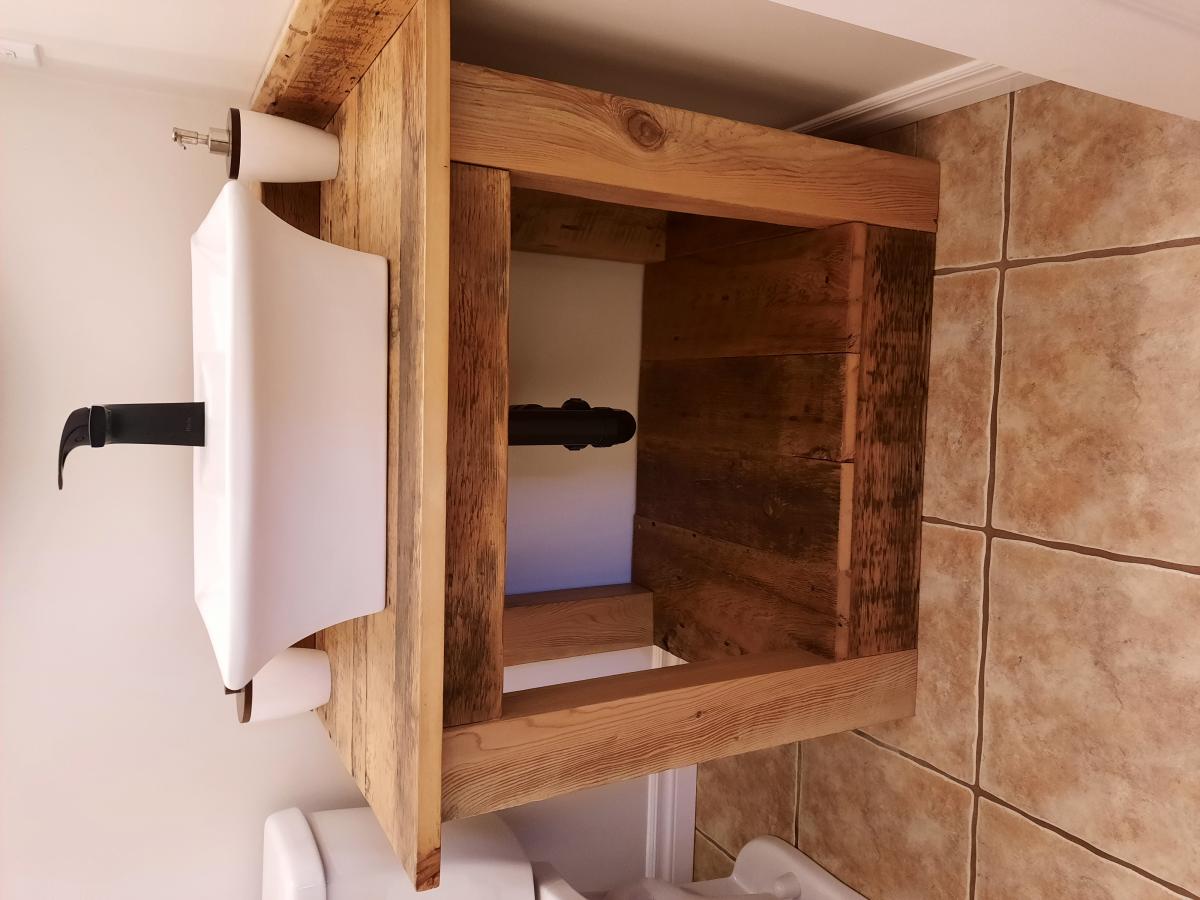
I apologize that the picture is sideways. That is not the way it is saved on my computer but no matter what I try, it rotates to this.
I love my new hobby and your site makes it so fun and simple, thanks for sharing your knowledge and enthusiasm.
Cindy
Comments
Ana White Admin
Wed, 10/06/2021 - 10:16
LOVE!
You have that finished nailed down, just stunning!