Community Brag Posts
Farmhouse Table
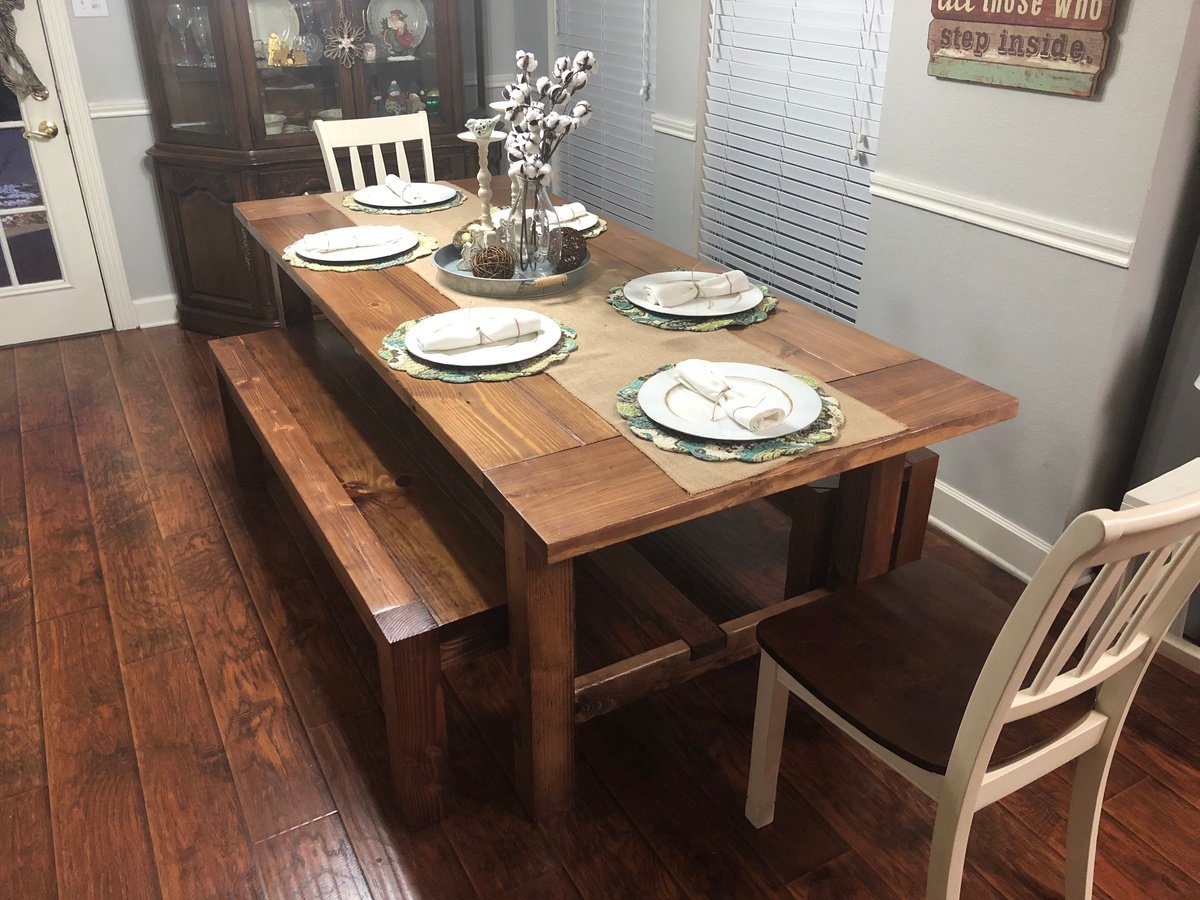
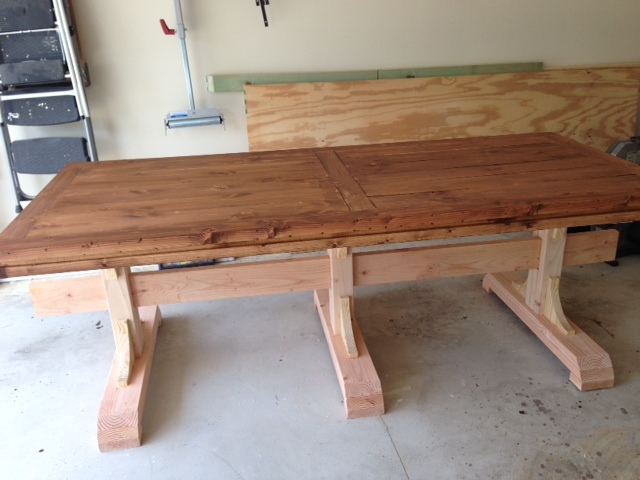
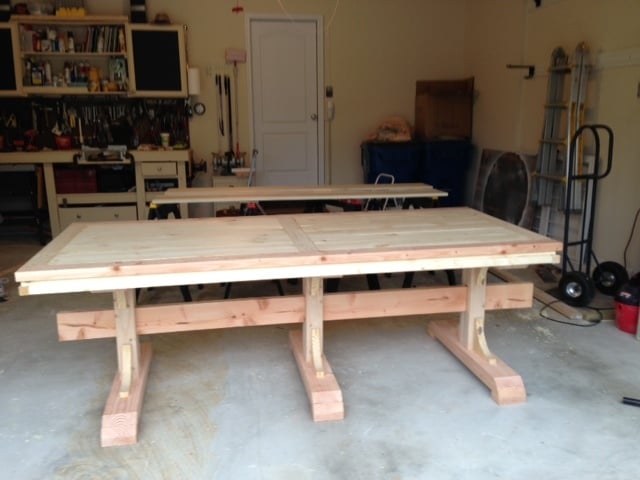
Finally got the time to do the farmhouse table. Changed up just a few things. Flipped the ends around to add more leg room and put a 2x10 as breadboards. Chairs fit in about 8 inches under now and plenty of leg room and I'm 6'3. Only real adjustment is shorten the stretcher board by 3 inches total but just do stretcher board last and measure it to fit exactly.
Also wanted a different style bench so went with the bench that matched the Big Ur Farm Table and Bench and customized the benches to fit. Also instead of 2x4 all across top of bench I place a 2s8 in center. Adds just a 1/4 inch in total depth and looks great and one less board to do pocket holes on.
Office Desk
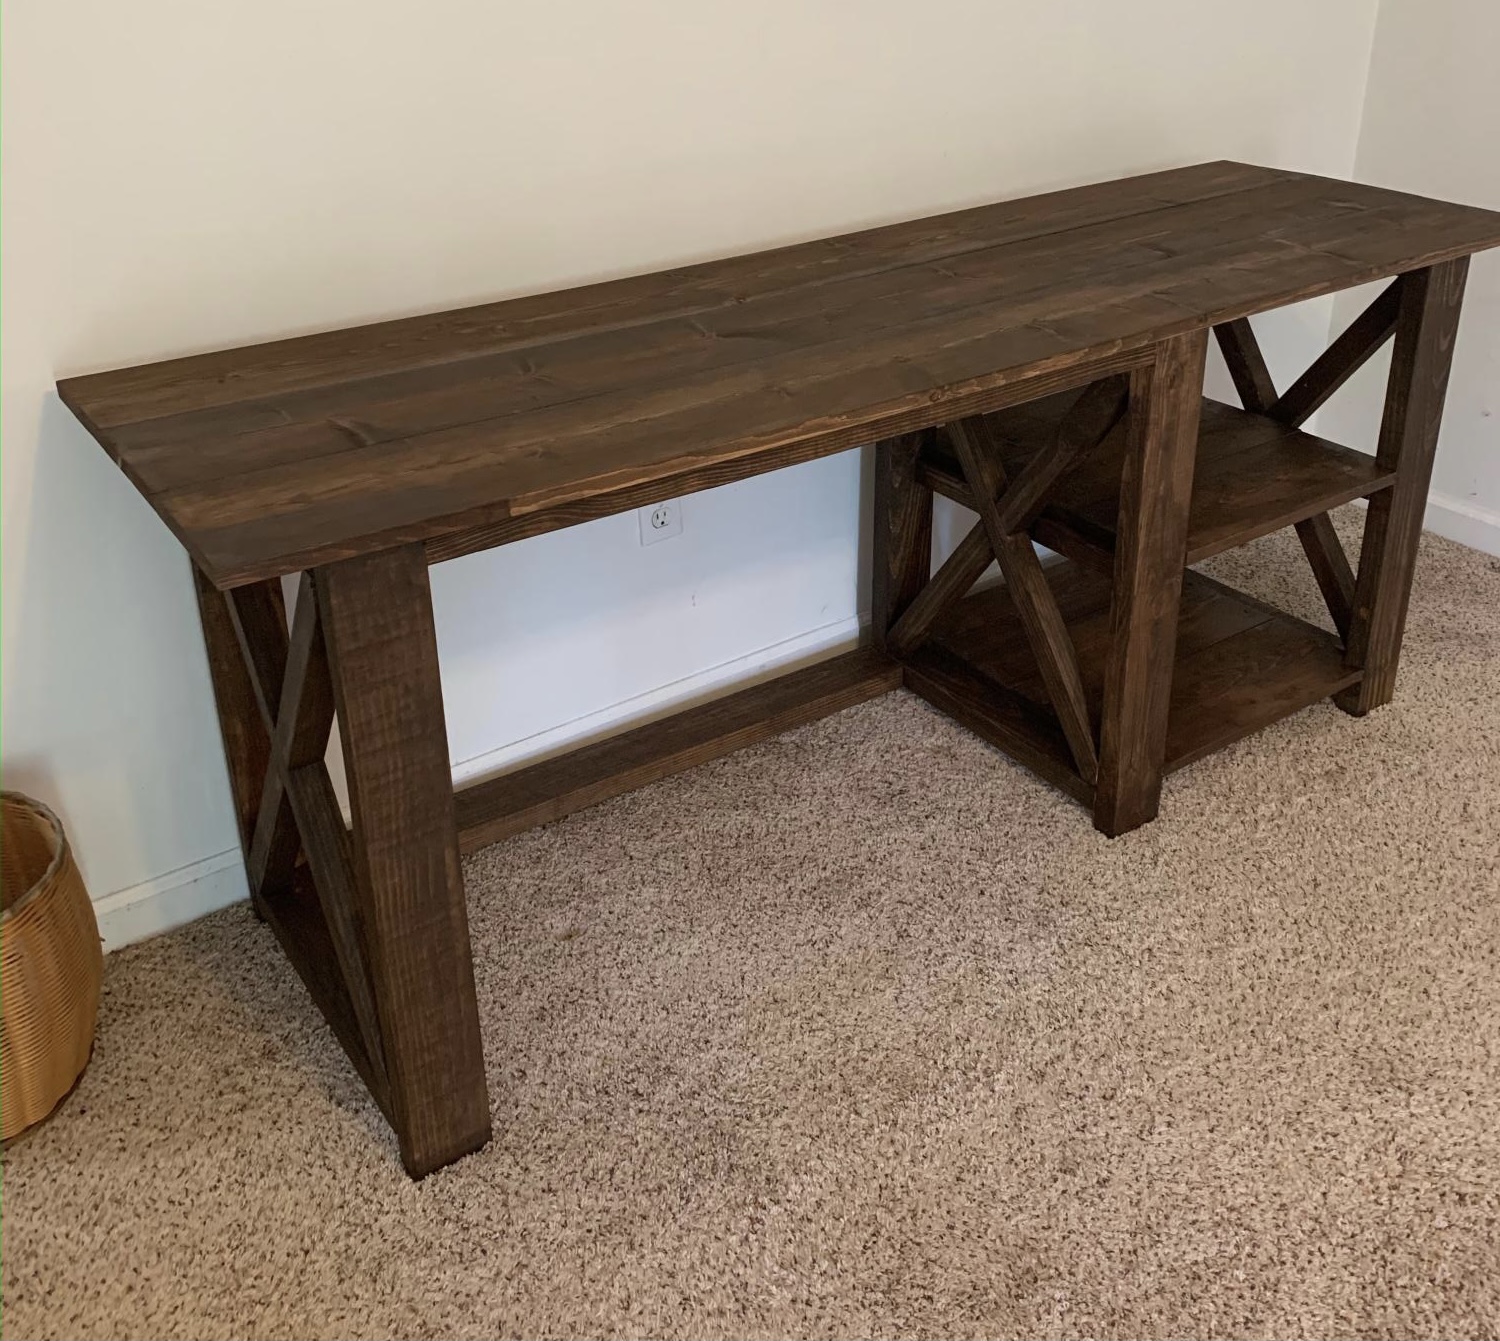
Used these plans to make this office desk for my daughter!
Comments
Dresser with Open Bottom Shelf for Changing Table
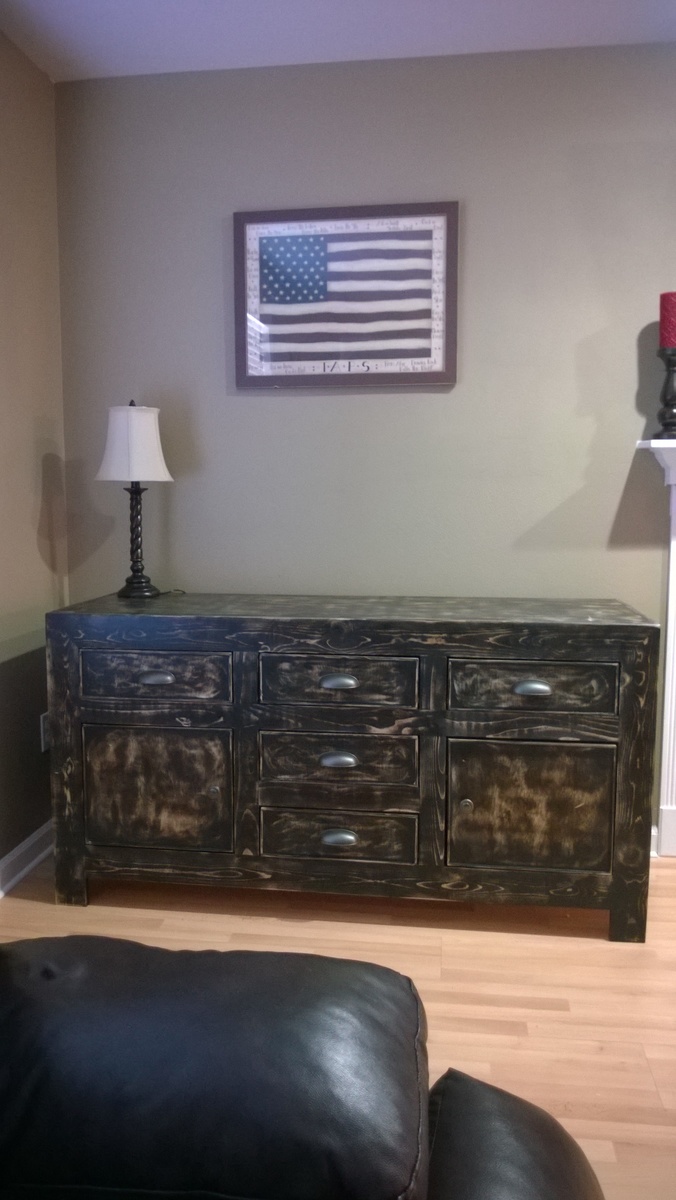
My husband and I built this dresser to use as a changing table in our daughters nursery. I explain the build process (with photos) in this blog post : http://mekhart.blogspot.com/2011/03/nursery-room-biggest-build-yet.html and the finishing process in this blog post : http://mekhart.blogspot.com/2011/04/nursery-room-finished-dresser.html . I'm so thankful to Ana...I love that almost every element of her nursery is home made!
Hubby's First Build
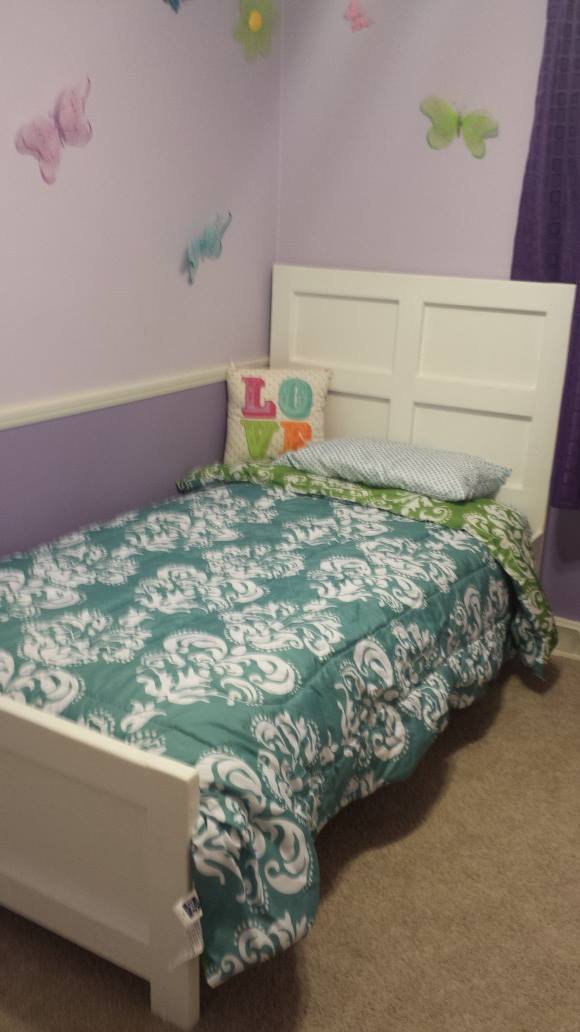
After searching and searching for a decently priced bed for our two year old and failing to find anything that I liked under $400, I decided to do a google search and came across the directions for the Emme twin bed. I loved the design and the color of the stain in the instructions but had to go with white as everything in our toddlers room is white. My husband said the instructions were simple to follow. I think he did a wonderful job for his first time ever building anything. Not to mention my little girl loves the bed. Thank you Ana!
Comments
Tue, 03/11/2014 - 07:49
How did you attach your rails?
Hello - Your bed looks great! How did you attach your rails? I'm at this point in the build and trying to figure out the best option as my bed brackets aren't fitting.
Child's Rainbow Rocker toy
I originally found this on a Pinterest link. The DIY'er kindly blogged instructions as well as a template file for the side pieces. This is a child's rocker toy that uses non toxic food dye for the colored parts of the wood. A template is provided for the end pieces through a link provided or you can just eyeball your own. Overall, it is a fairly easy project but a bit time consuming.
When cutting out the template for the sides, it is best to cut the smaller holes first and the do the larger outer lines.
I used a Kreg's jig, Mitre saw, Jig saw, and a palm sander.
A note about the food dyed wood: I used about 20 drops of food dye per 1/4 to 1/2 cup of rubbing alcohol and applied with a foam applicator. You have to be careful of what you lean your wood up against or it will create a line as the dye leeches out onto the other object. If I had to do it over again, I would have painted one side, let completely dry and then do the other side.
Since it is a child's toy, consider that you will need to sand, sand, and sand the side pieces very smooth to make sure little hands do not get splintered.
Comments
Fri, 06/12/2015 - 10:56
I've had this pinned on my
I've had this pinned on my board for a while now. Glad to see someone else has made it. I'm not in a hurry since my kids are all grown but no grandchildren yet. Someday I'll have a need to make it.
Mon, 11/23/2015 - 07:17
Hi there. Thank you for the
Hi there. Thank you for the comment. My children are still using this. One thing I endede up learning is that the food dye needs to be sealed. I plan on using beeswax or something more natural to do it. If you don't, the color rubs off on the kids when they use it. :)
Thu, 12/24/2020 - 12:45
Wood Rainbow Rocker Tem[plate
Lianna, Hi there. Just saw this. For some reason, the link to the template I had on here is gone. So I did a google search and found this one:
https://www.scribd.com/document/370653463/Rainbow-Rocker-Template
Or you can go here: https://pin.it/5awfA92
You will have to have it enlarged. I got mine done at a local office supply store that could make larger engineer sized prints. I prefer to enlarge the entire print instead of printing off multiple sheets and taping it together.
End table- modified smaller plans!
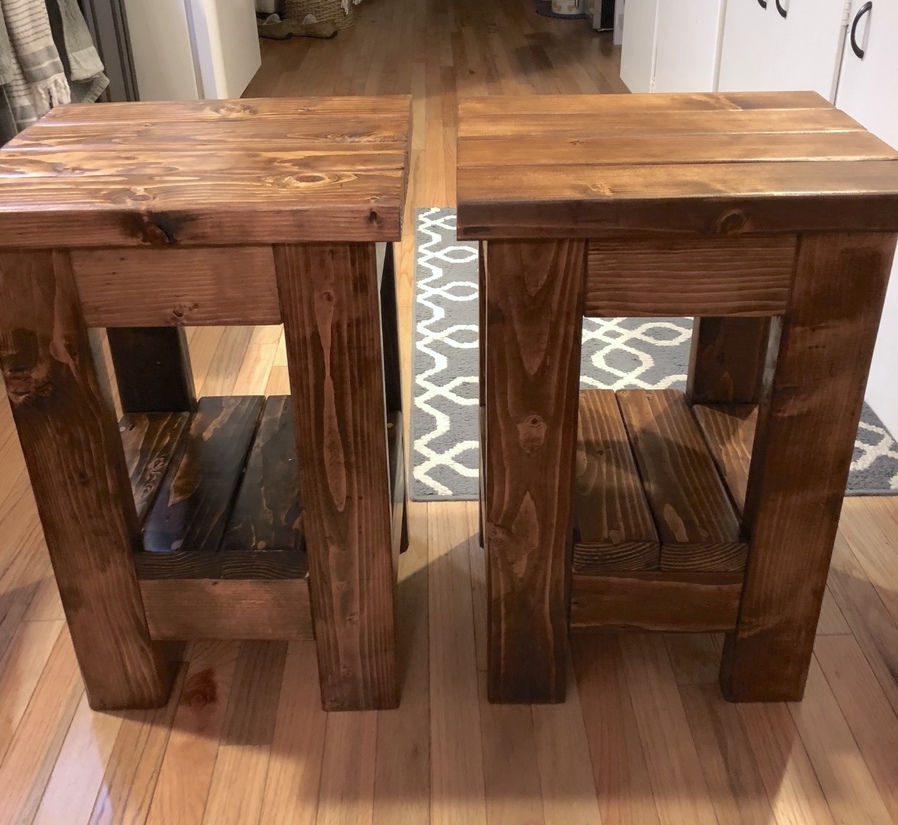
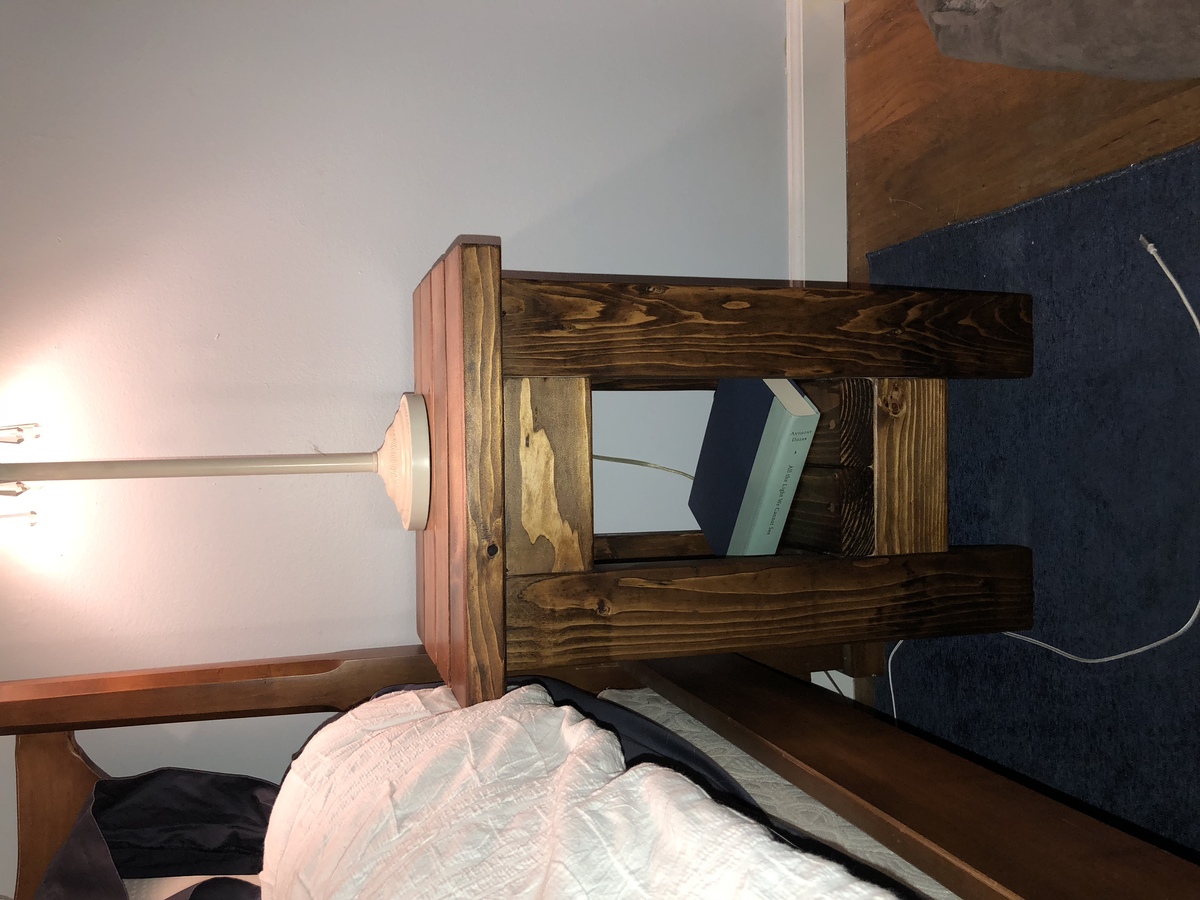
I wanted to build my wife a matching set of bedside tables for her birthday and loved these plans! However when I measured the space on either side of the bed found that these plans were too large. Some quick calculations later I modified the plans to create some smaller tables and it worked out perfectly! I removed two 2x4s from the top and the bottom shelf and took 7 inches off each of the aprons and voila, smaller tables!
i used minwax wood conditioner, “honey” stain and two coats of polyurethane. Very pleased with how they turned out and the wife was so surprised and happy! Thank you!
Grazing board
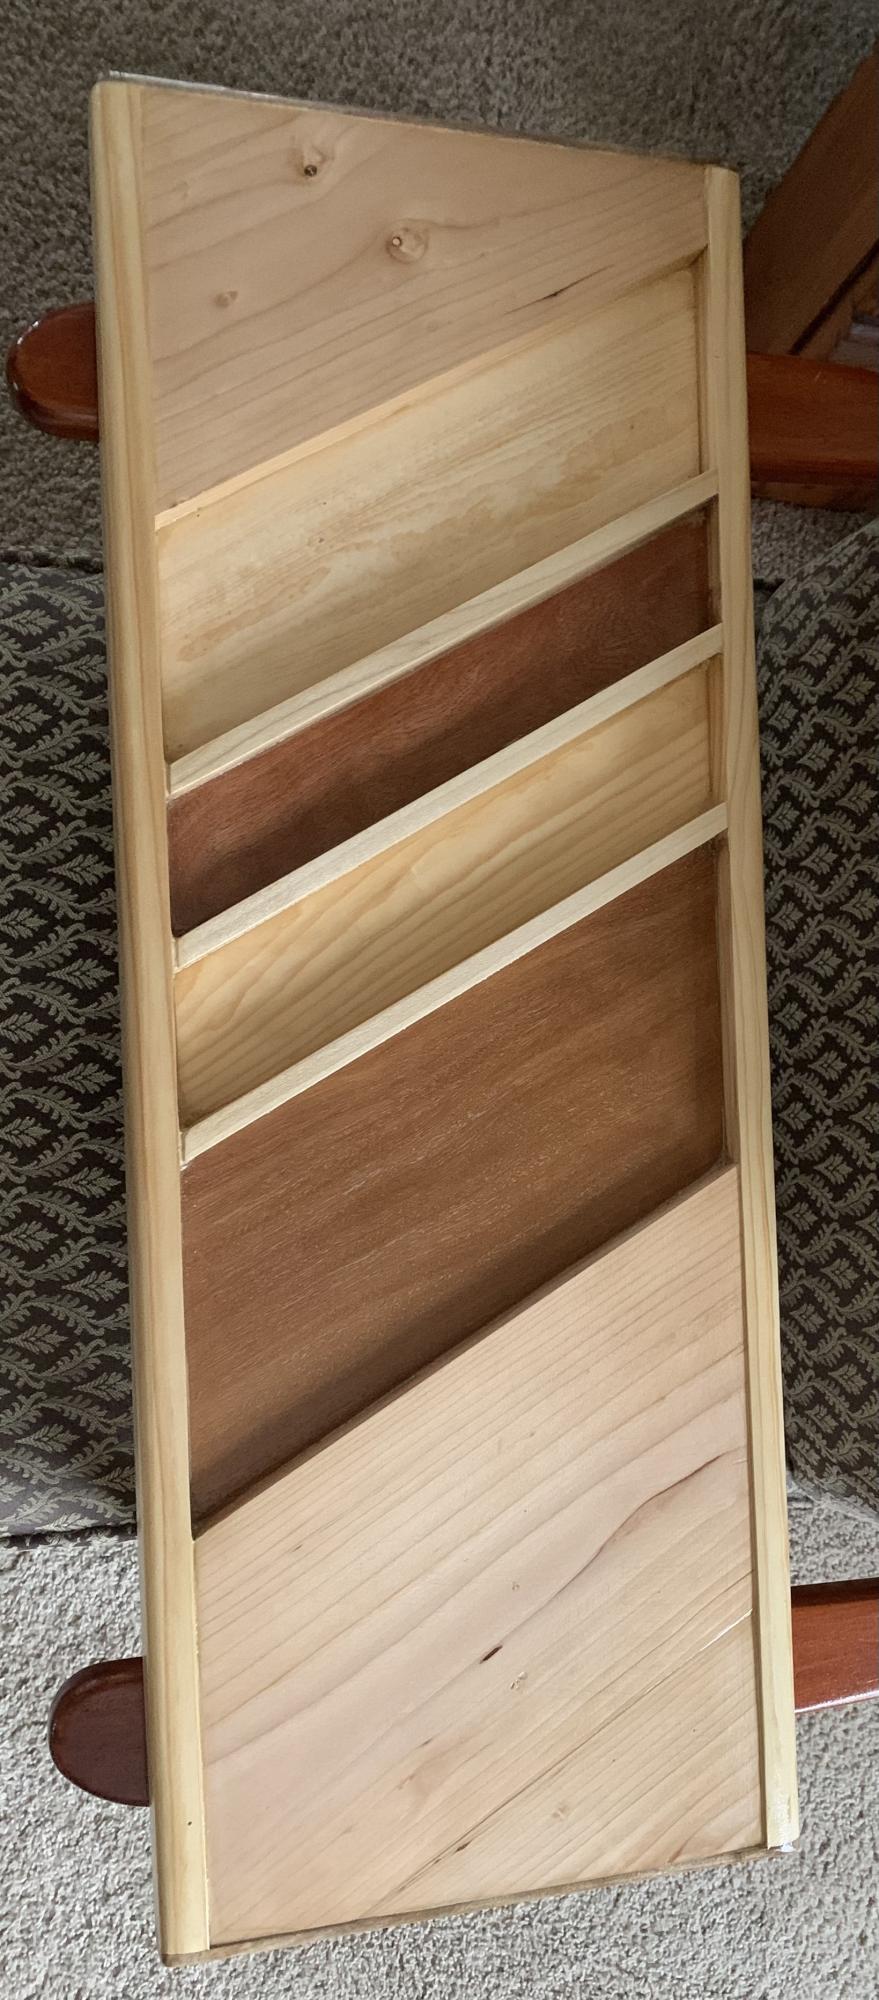
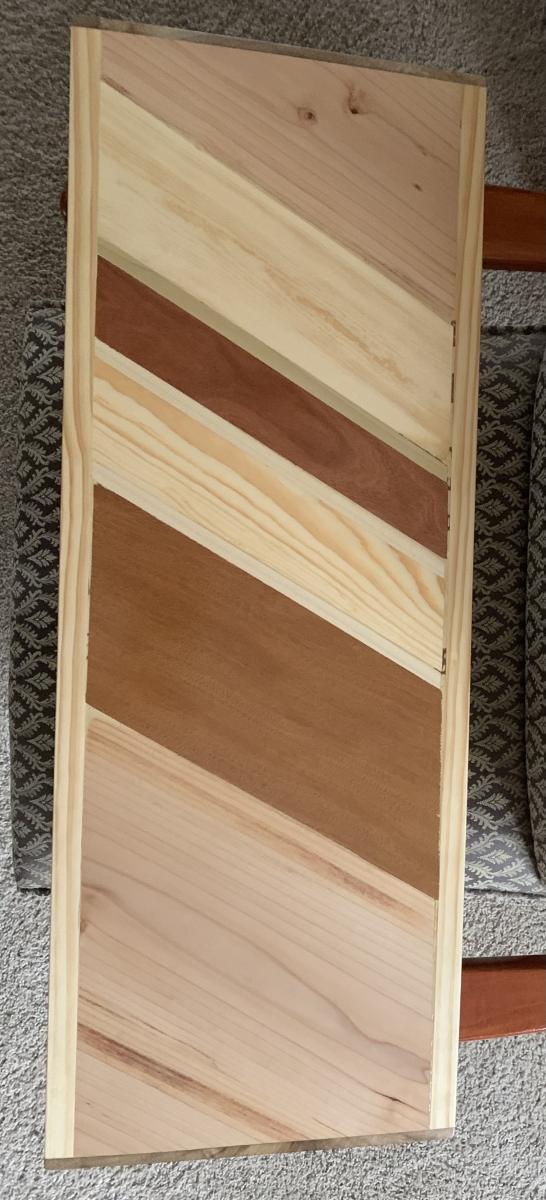
Used your idea of a grazing board or charcuterie Board to build one for my daughter for Christmas. I have made some cutting boards for her in the past but now she has a charcuterie board for the specific purpose.
Comments
Cedar Rasied Garden Bed
I built this to house some free lettuce seeds. Please see the full story on my blog!
Bristol Lounge Chair
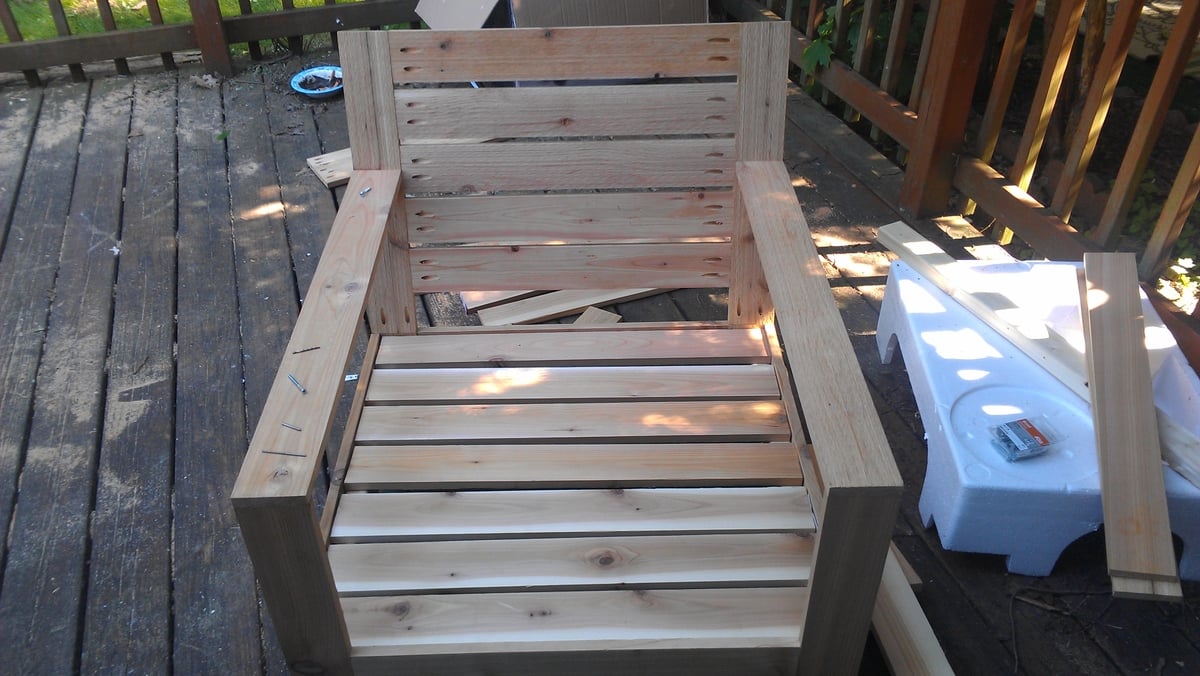
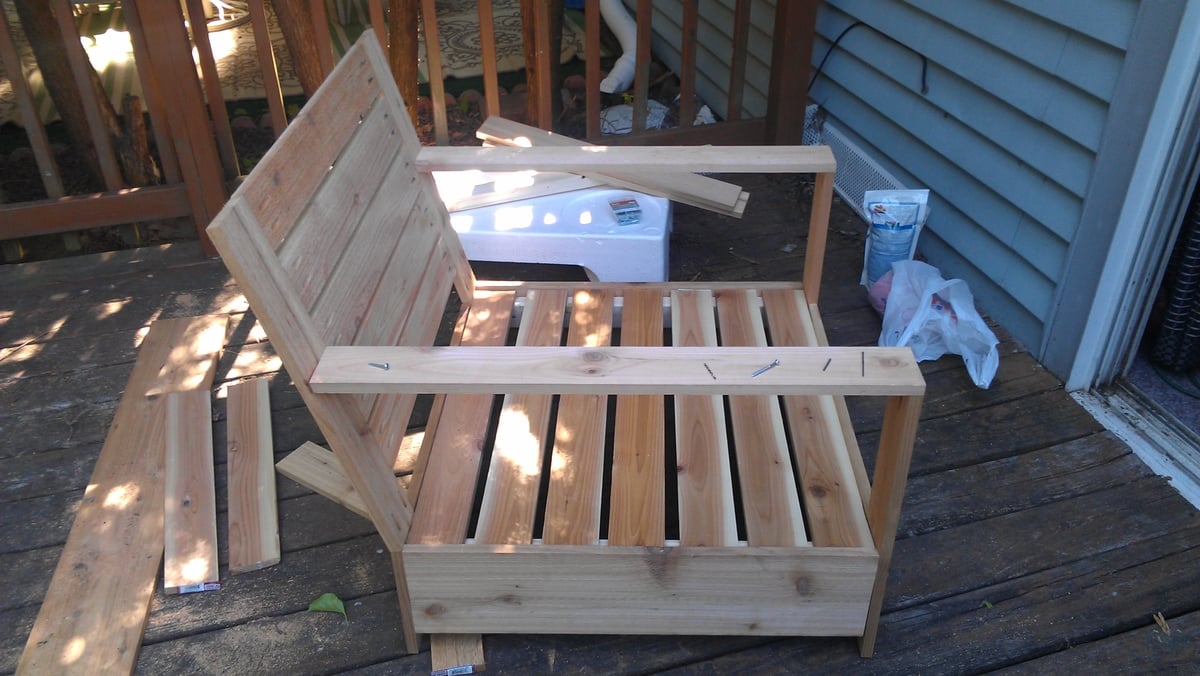
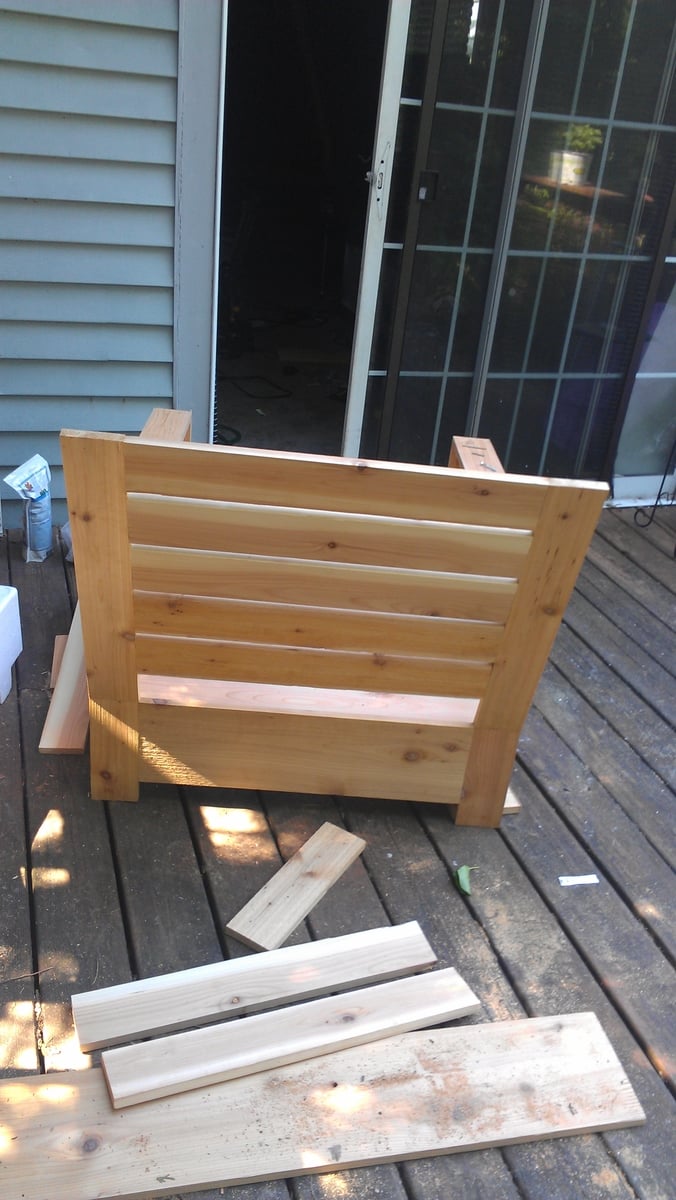
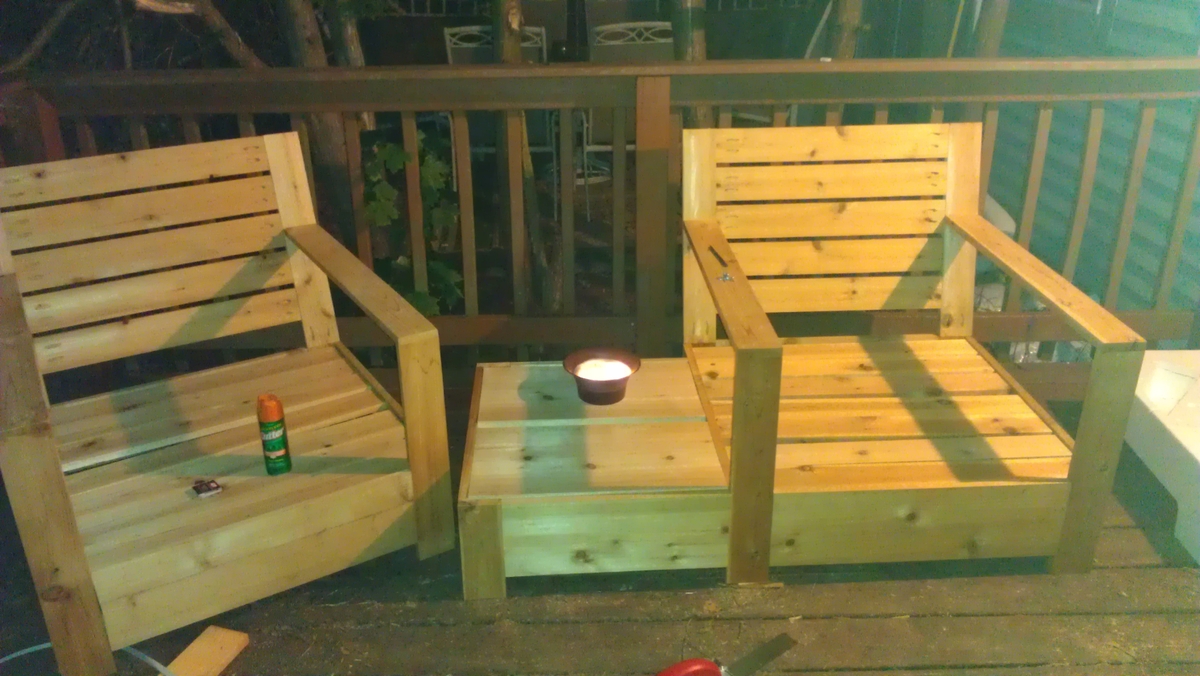
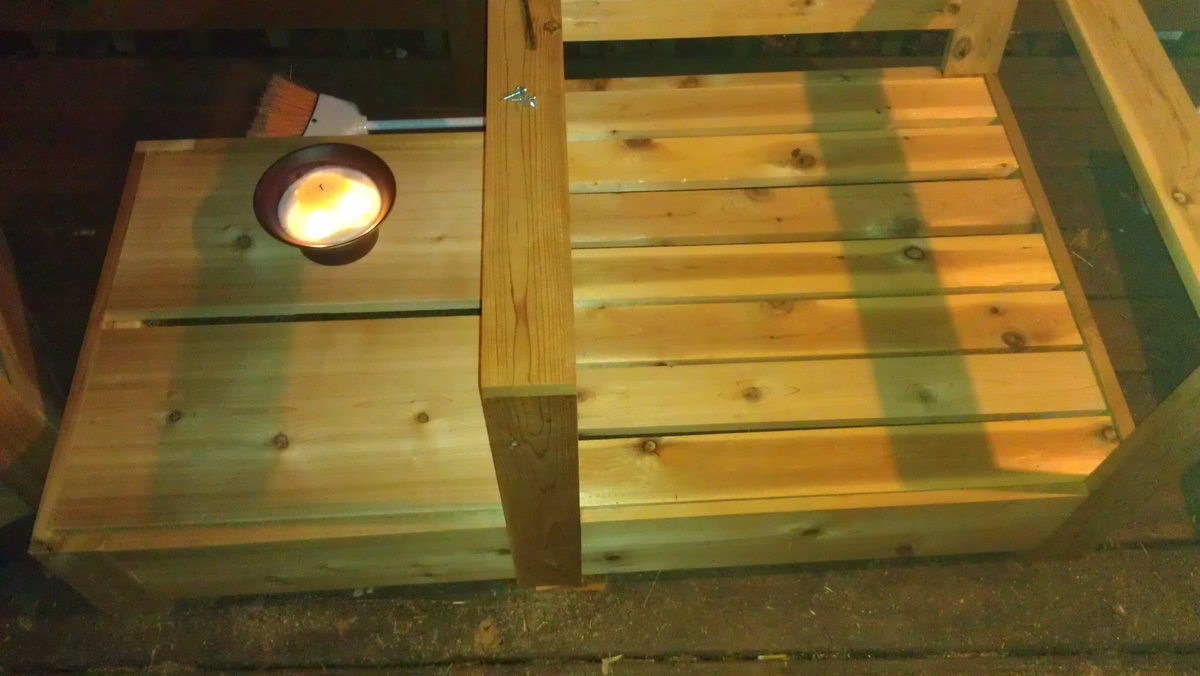
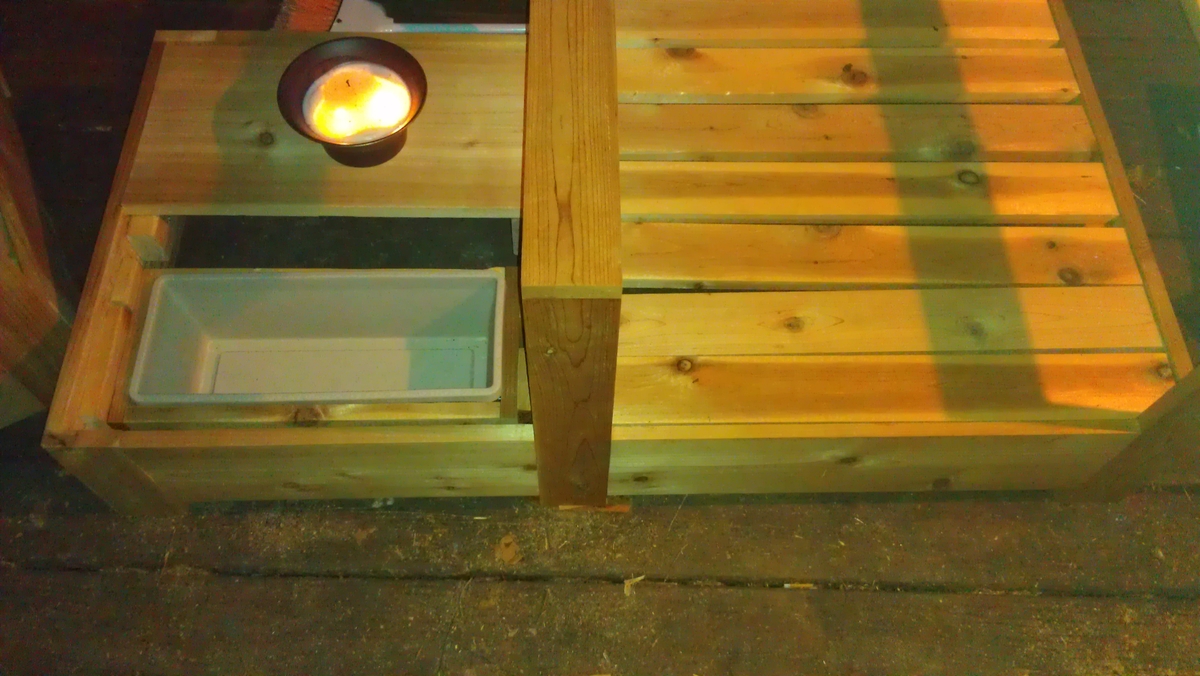
Bristol chairs with an attached side table. I added a planter box under one of the boards to fill with ice and beverages.
Cedar Planter
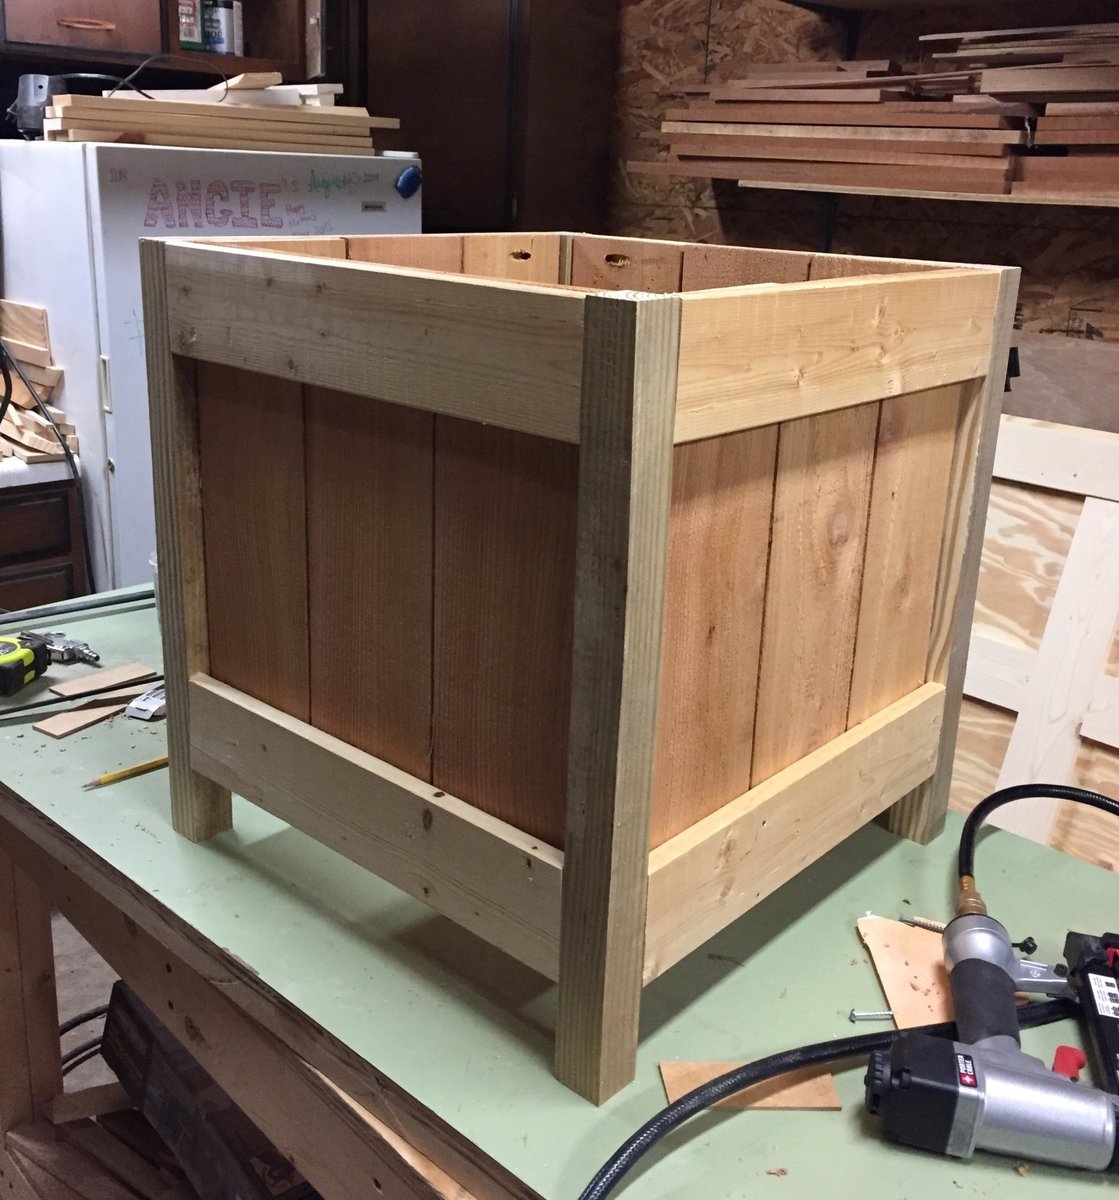
Used repurposed lumber for most of the project. Only thing I bought was the cedar pickets. This project cost less than $9
I also chose to cut the tops off and add mitered boards on top.
Sliding door console
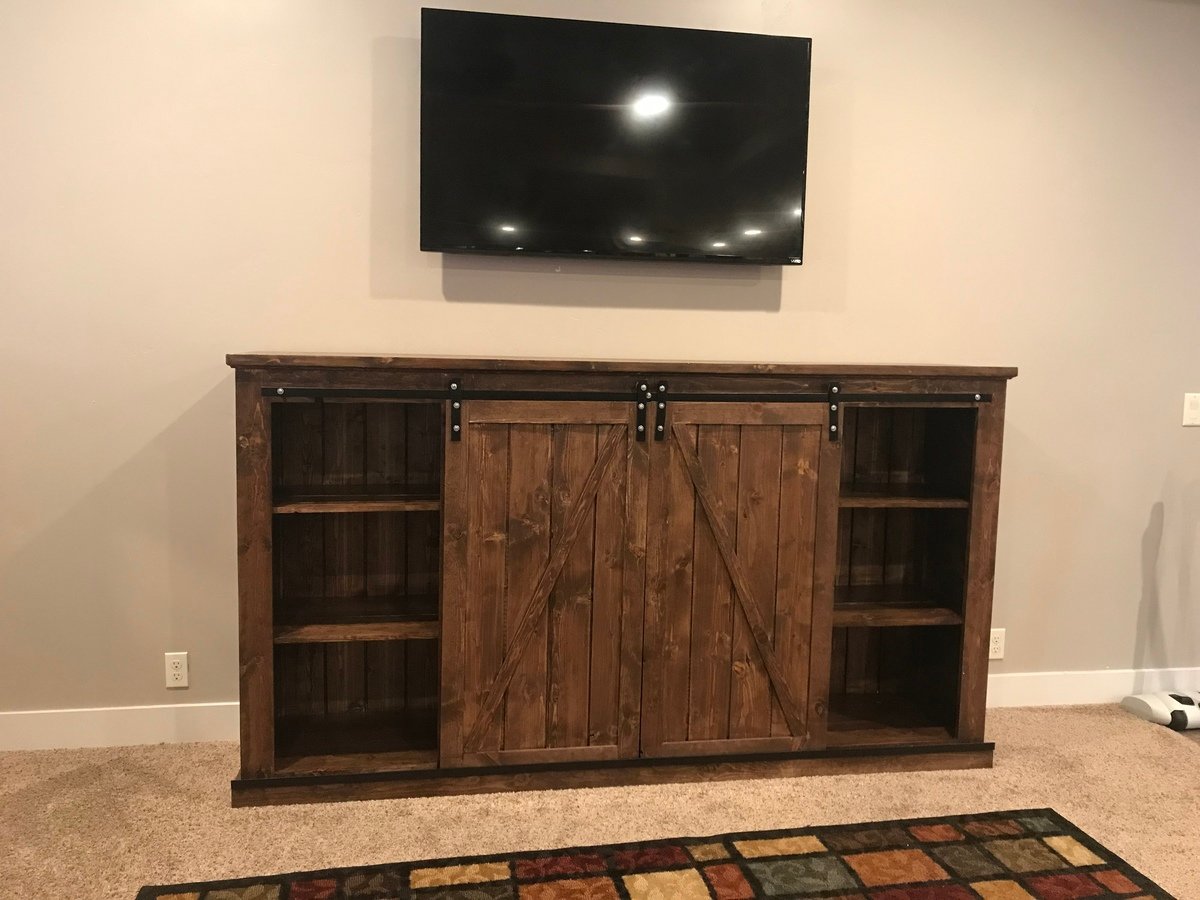
We doubled the height and added another shelf! Amazing build and amazing plans! Thank you!! This was our first build. We are novice
Sunroom console table
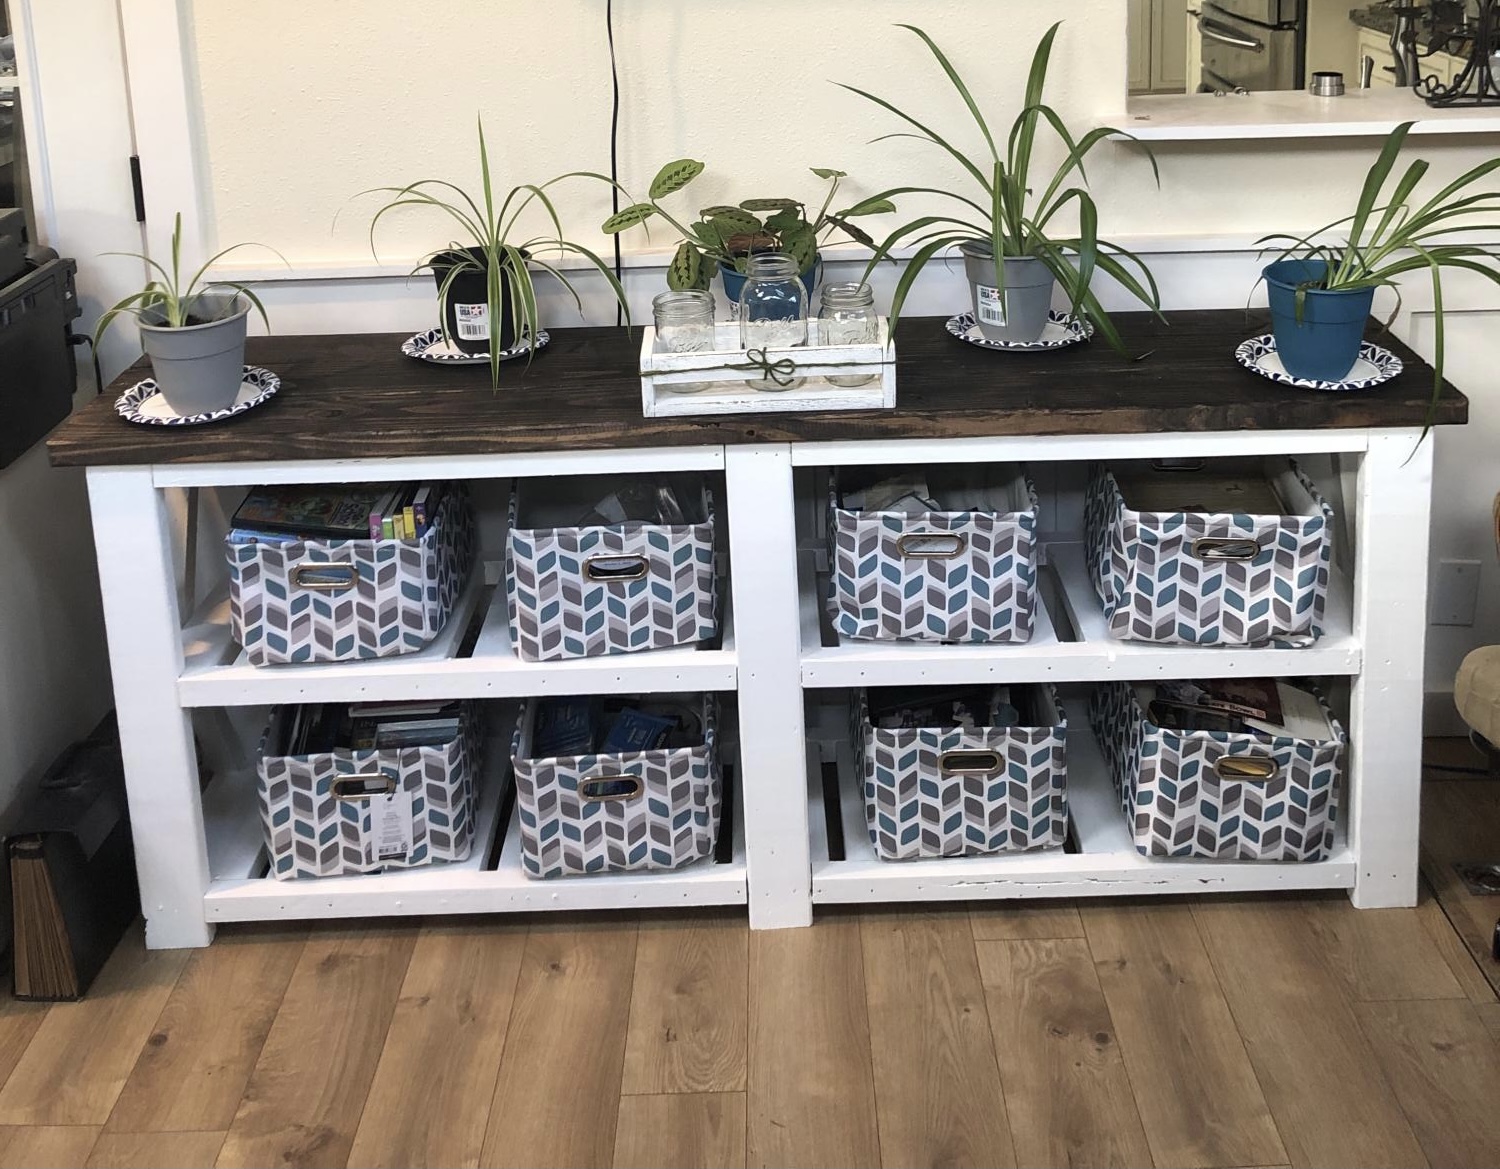
This was my first big project. I am a total beginner and was mot sure how it would turn out. Your plan was so easy to use. I am very happy with how it turned out and am excited for future projects.
Comments
Simple White Nightstand
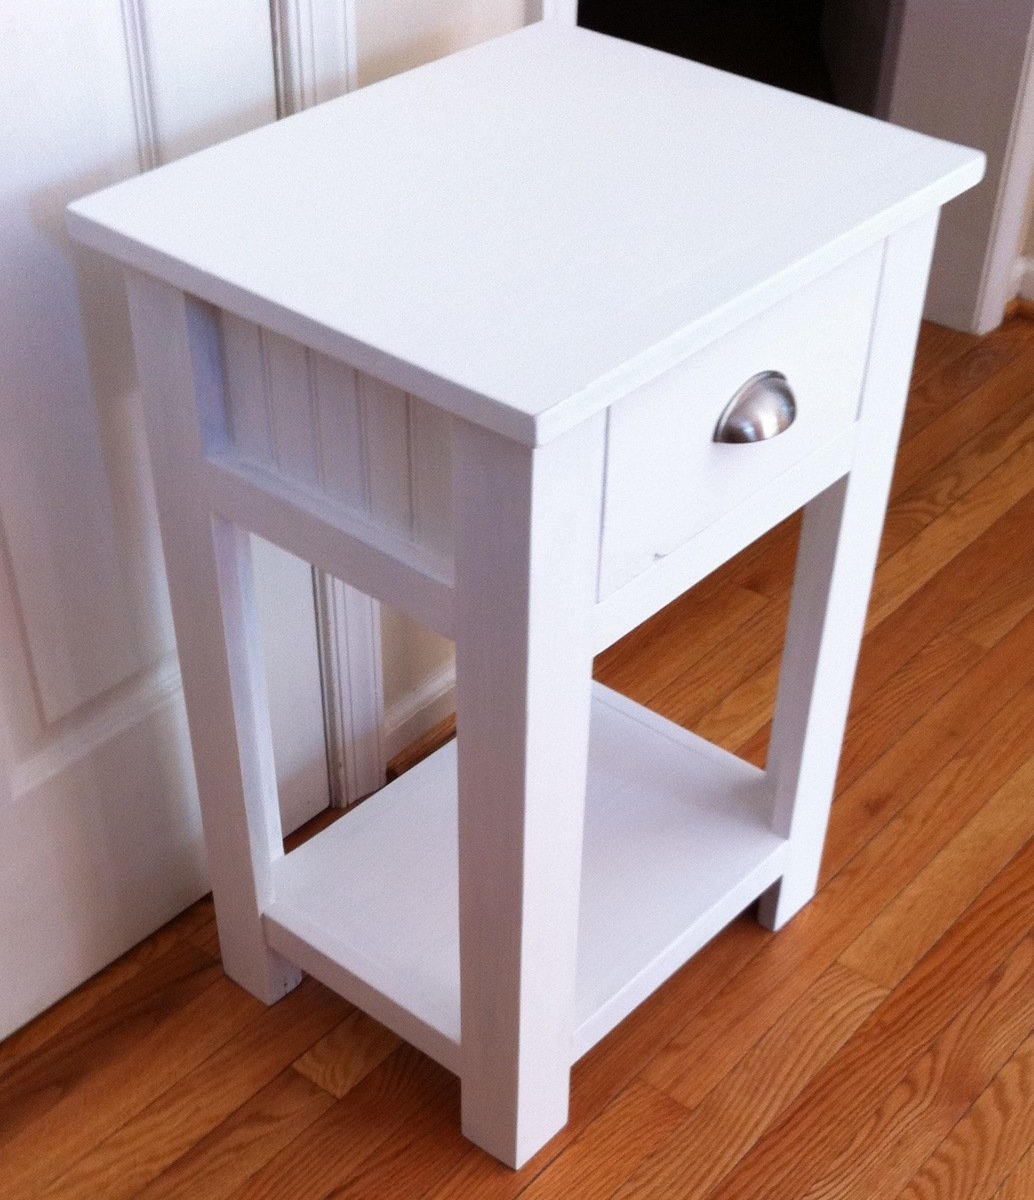
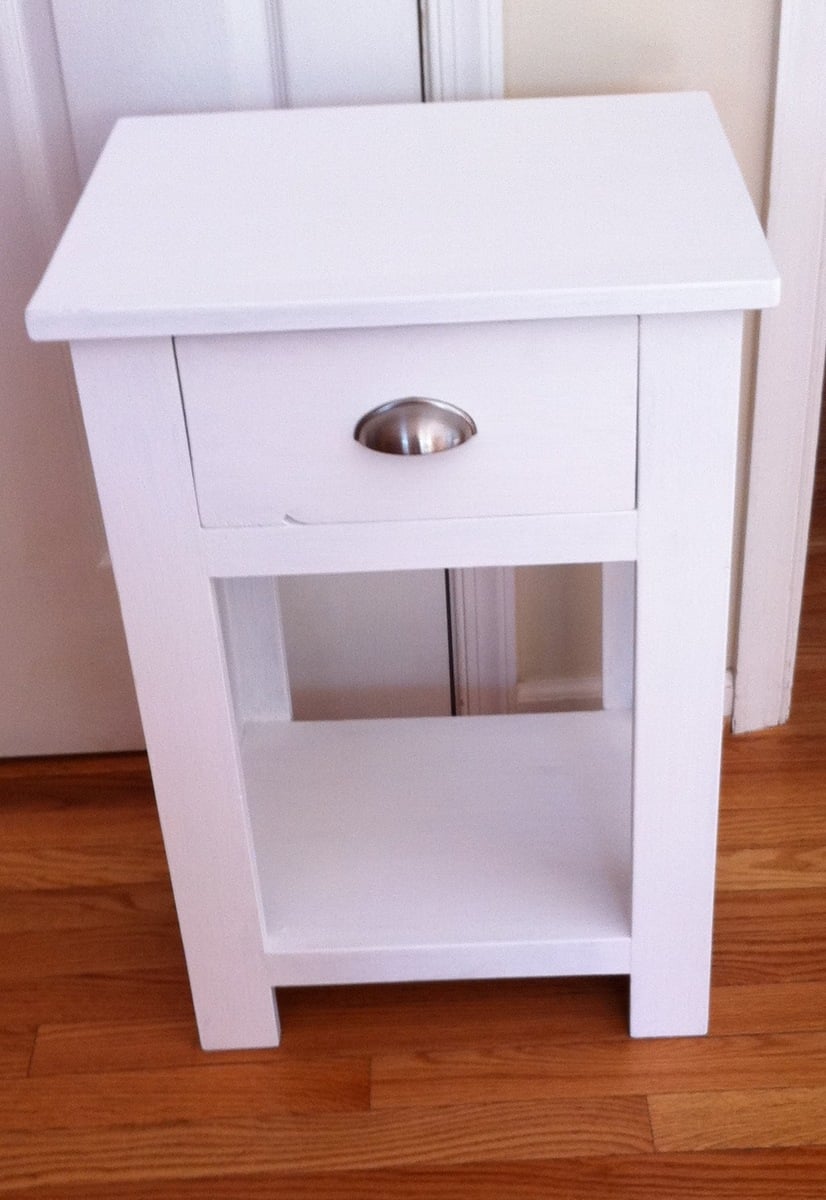
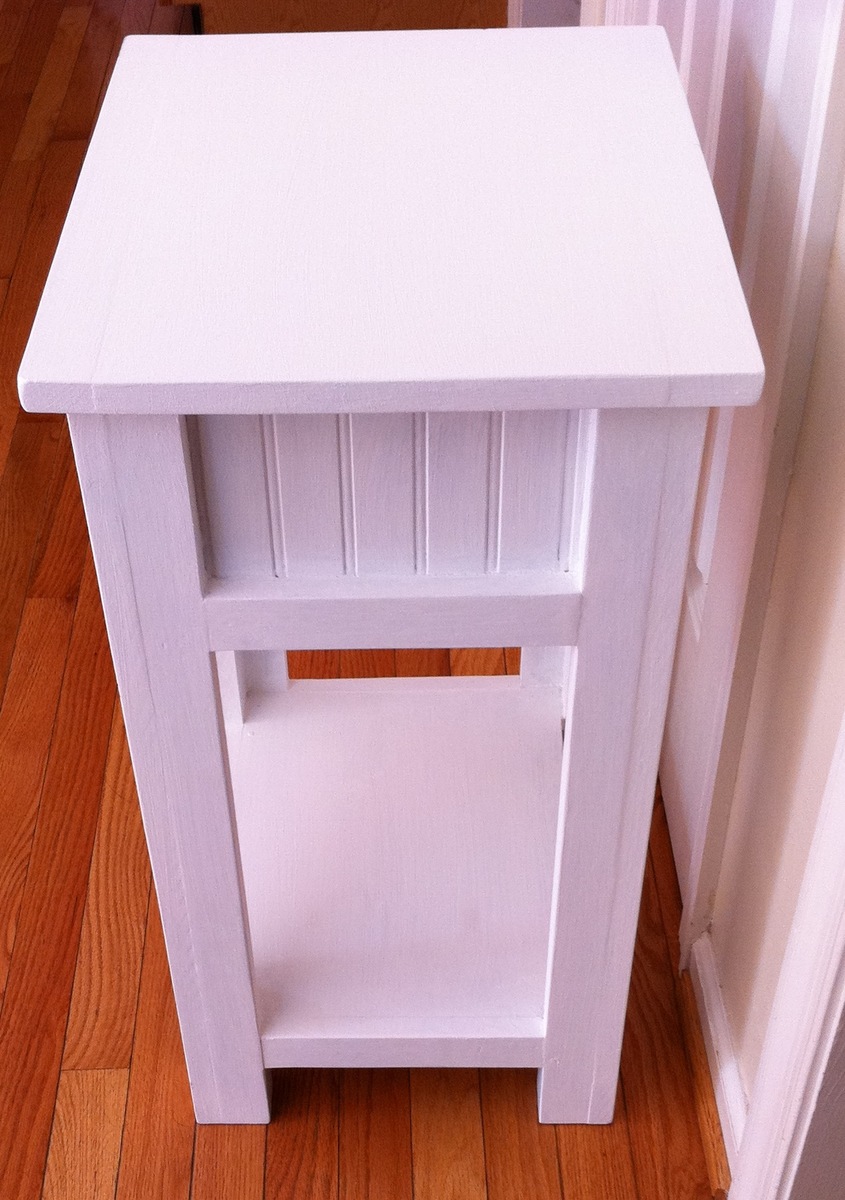
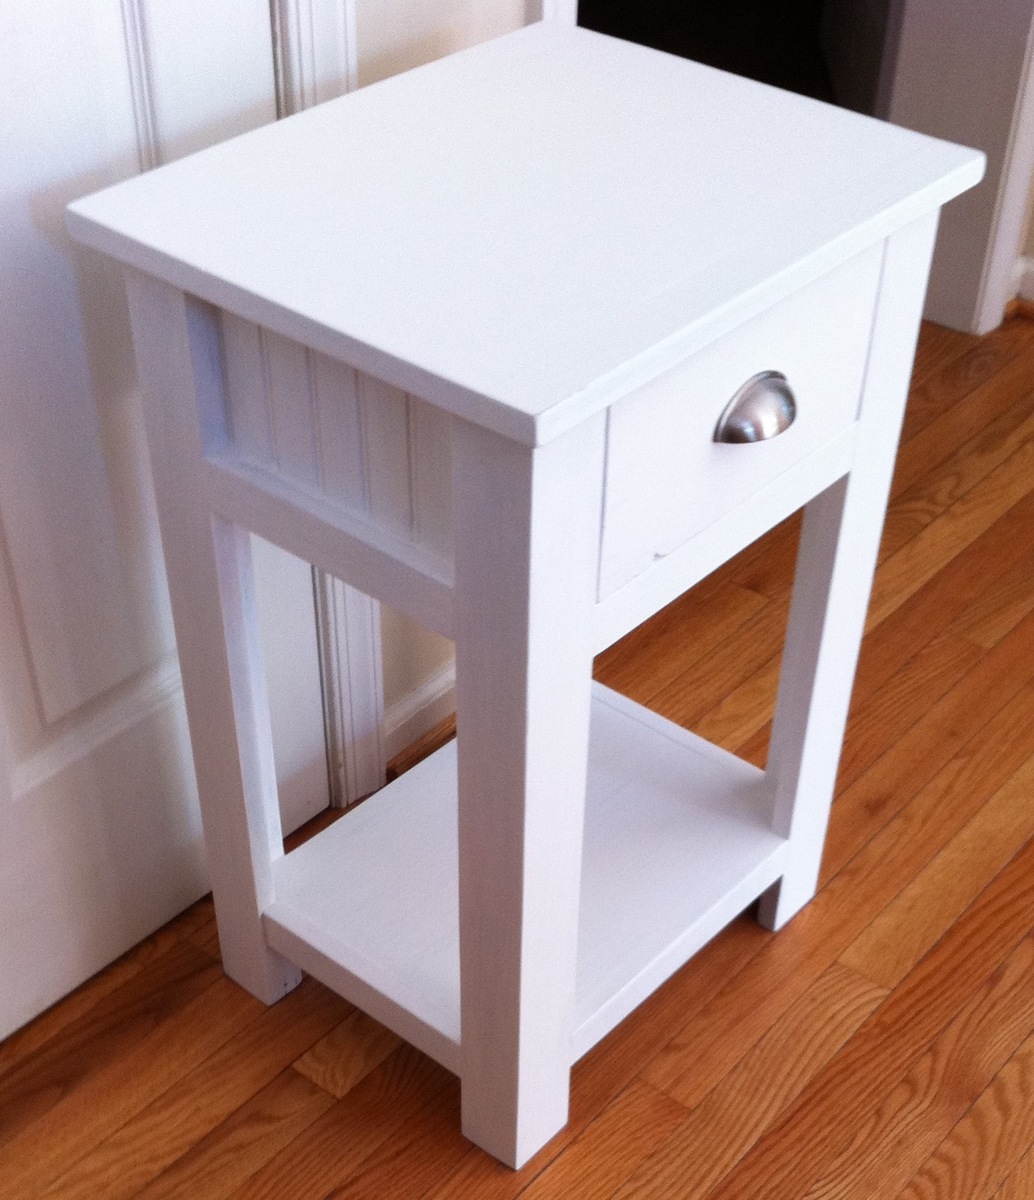
It is a friend's birthday on 5/6 and I noticed she didn't have a nightstand so instead of buying a present, I decided to make her a nightstand. I really liked how the person who built "Lee and Beth's Simple Nightstands" used bead-board on the sides, and I have a lot of bead-board left over from our master bathroom renovation, so I decided to use it, too, and that way I wouldn't have to buy the wood for there, because I didn't have any extra plywood to use there. I also used the bead-board on the back and as the bottom of the drawer.
It looks more modern-cottage than it does modern, like I wanted, but it still looks good.
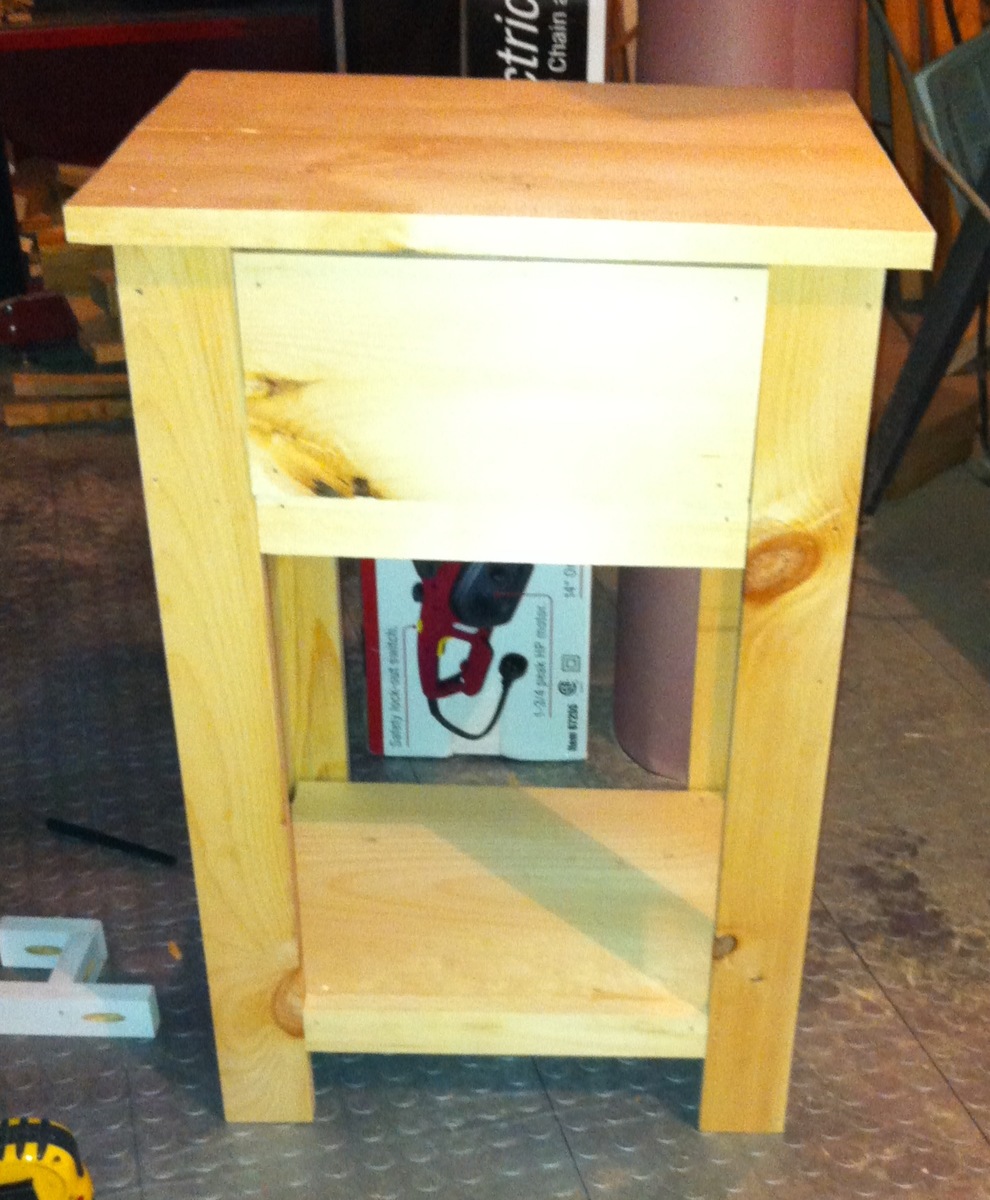
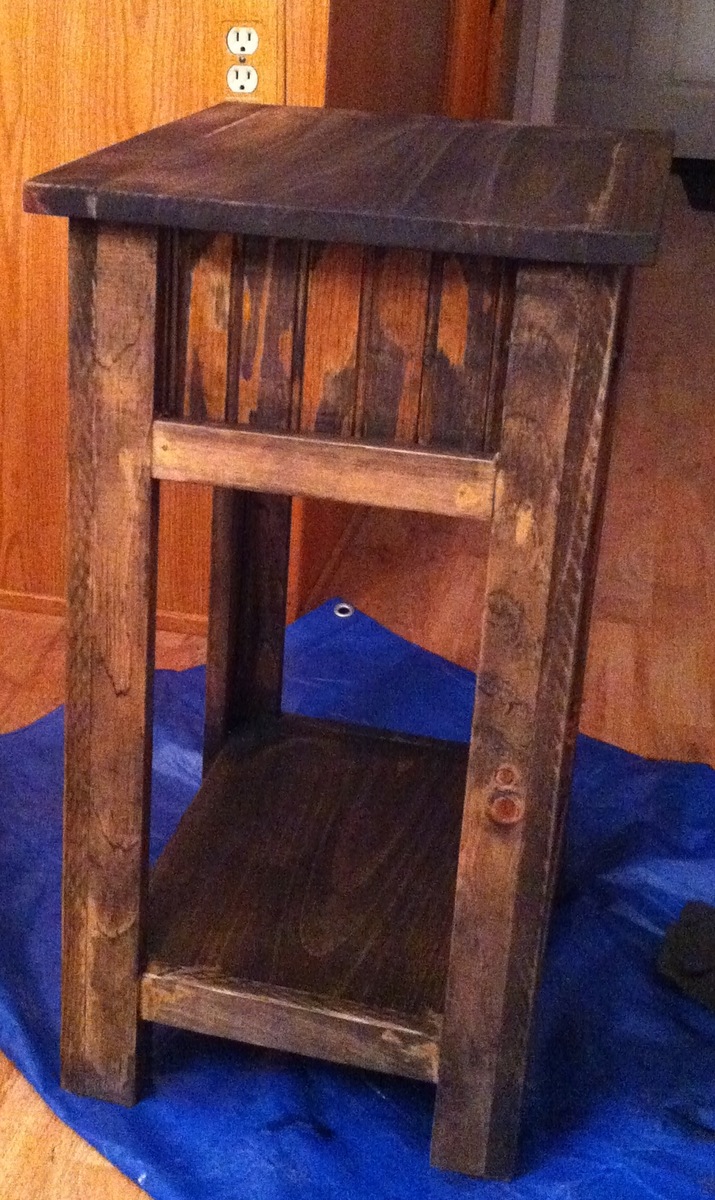
Pictures are of what it looked like pre-sanding and wood-filling, with 1 coat of the stain on it, and then finished with white paint.
With the combination of scrap wood and new wood, I only spent $20 on new wood for the project, and $5 on the drawer pull!
For the top, instead of a 1x12 and 1x3, I used a 1x12 and and then flanked it with 2 1x2s - for a more balanced look. I also cut the 1x12 at like 19 1/2 inches instead of 18 1/2.
Comments
Farm House Table
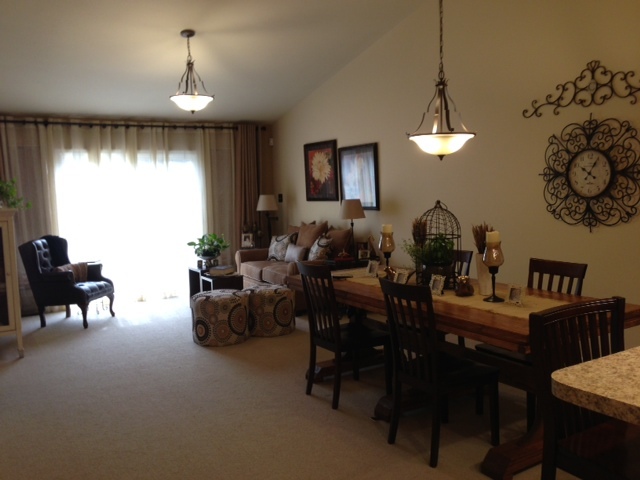
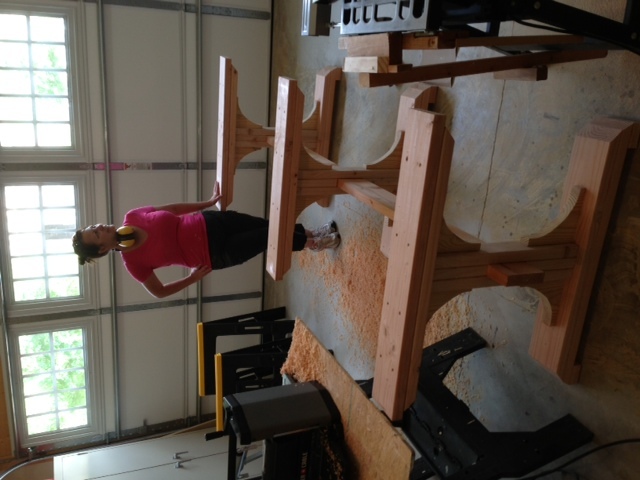
Ana thank you for the wonderful plans. It was my first major project, and it will not be the last. I purchased your book this weekend and love it!!! Thank you for all you post to your site.
Comments
Pottery Barn Inspired Truss End Tables
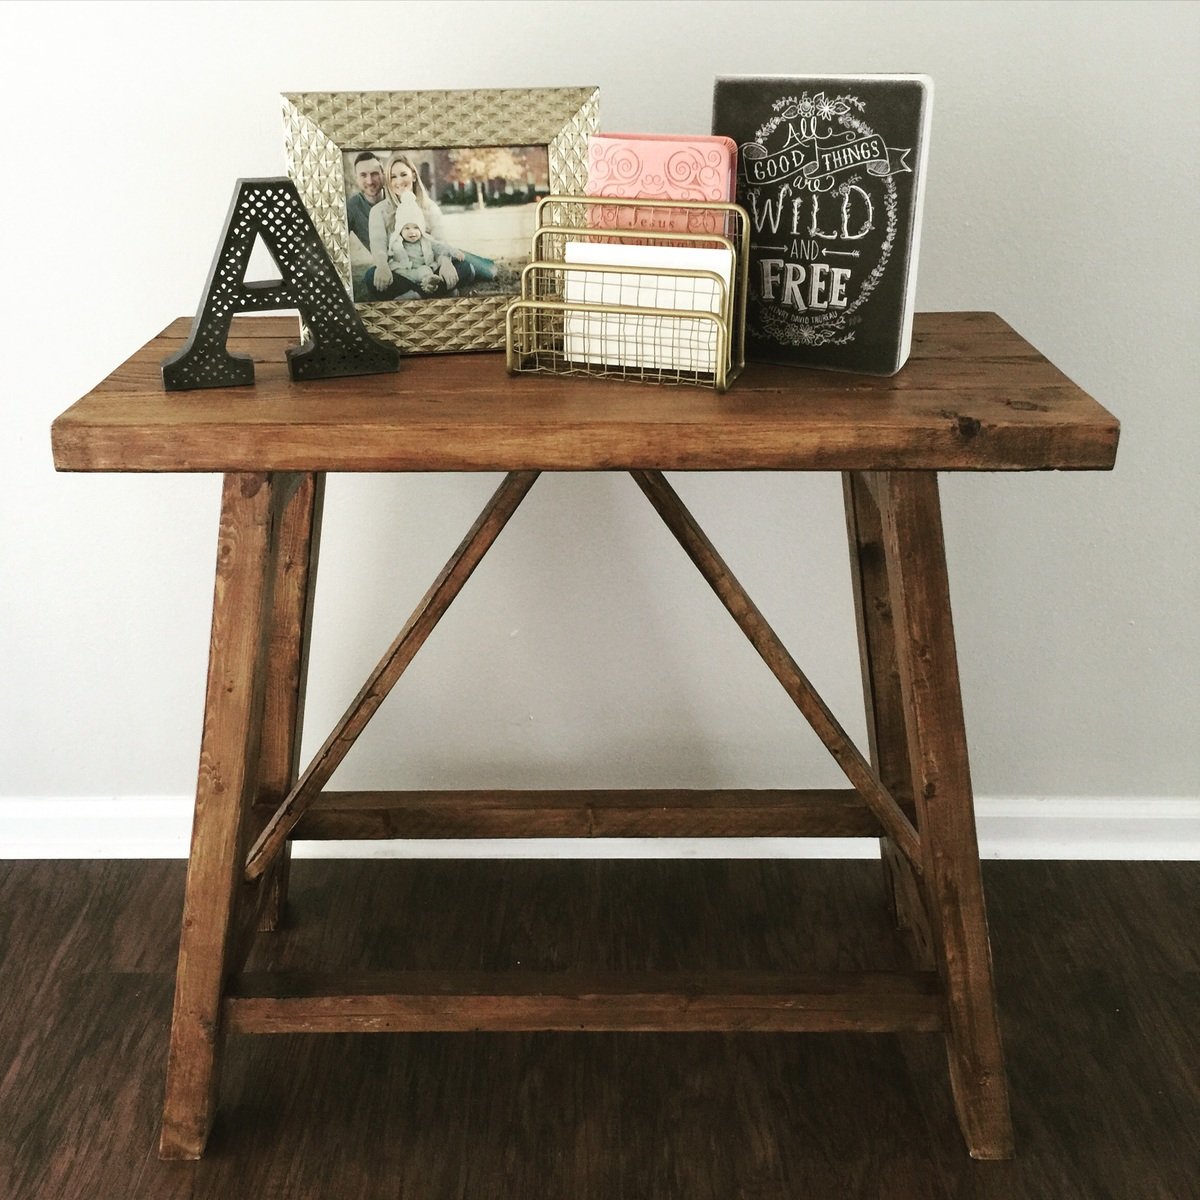
I changed up the plans so this table would fit my space better. This was my first time building with a Kreg jig and a miter saw(I'm a newbie). Love how it turned out!
Just my size closet
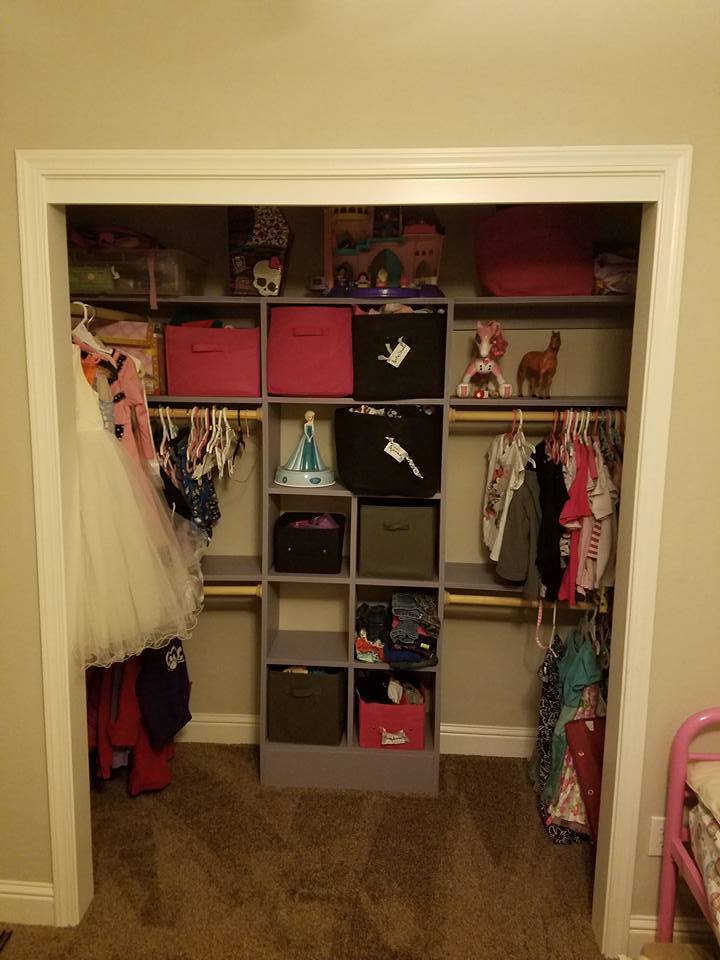
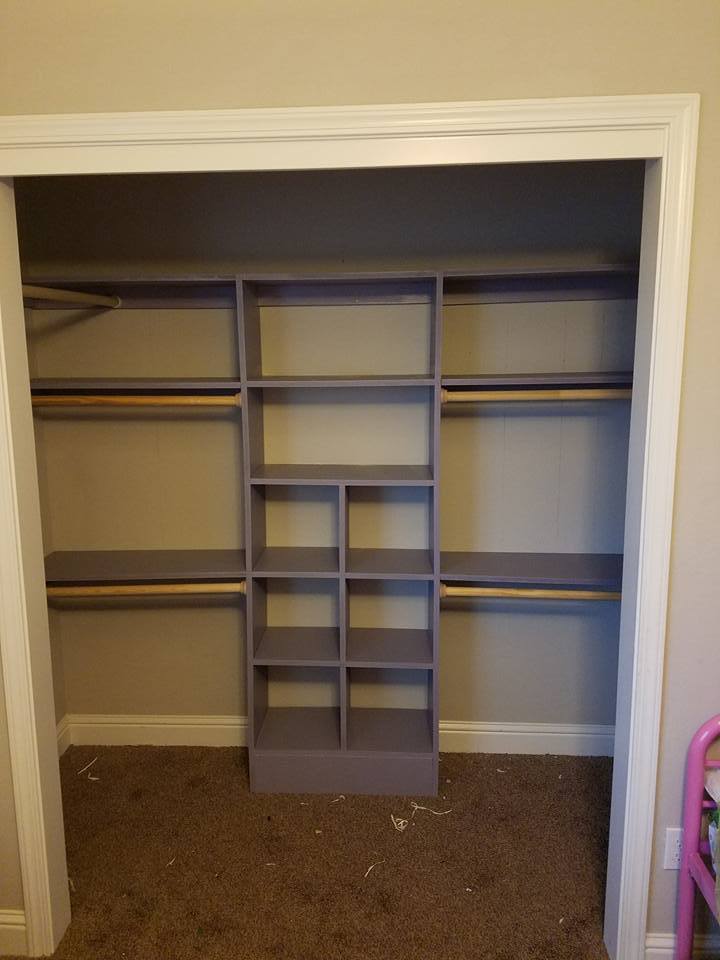
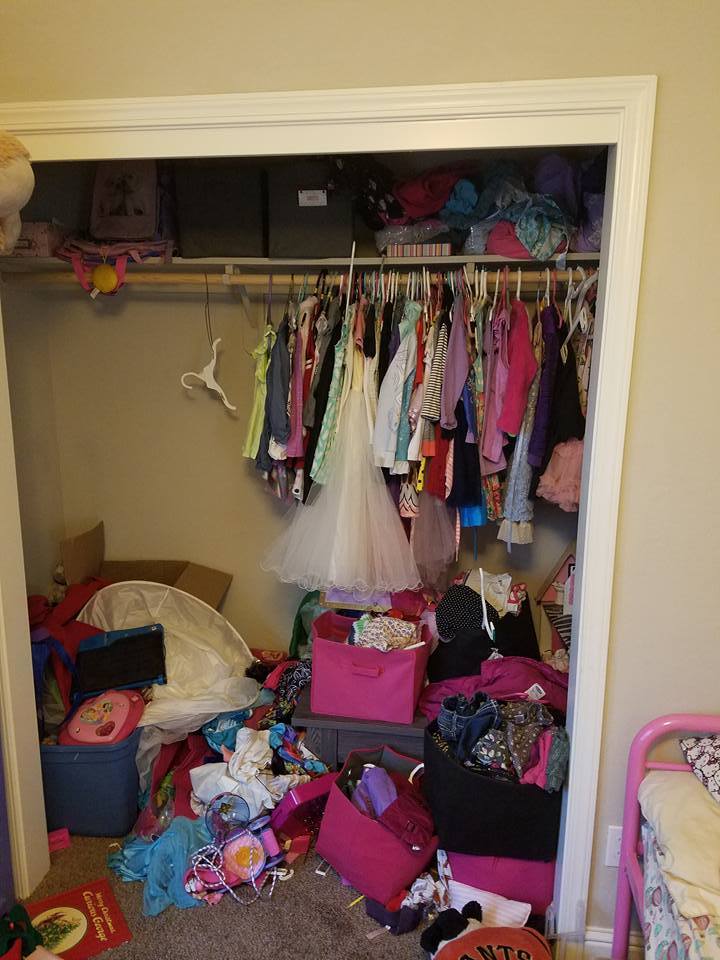
Finally got around to getting my daughter's closet organized. Made some adjustments to the plans to better fit our size needs. Everyone in the family is very happy with how it came out.
Christmas tree shelf
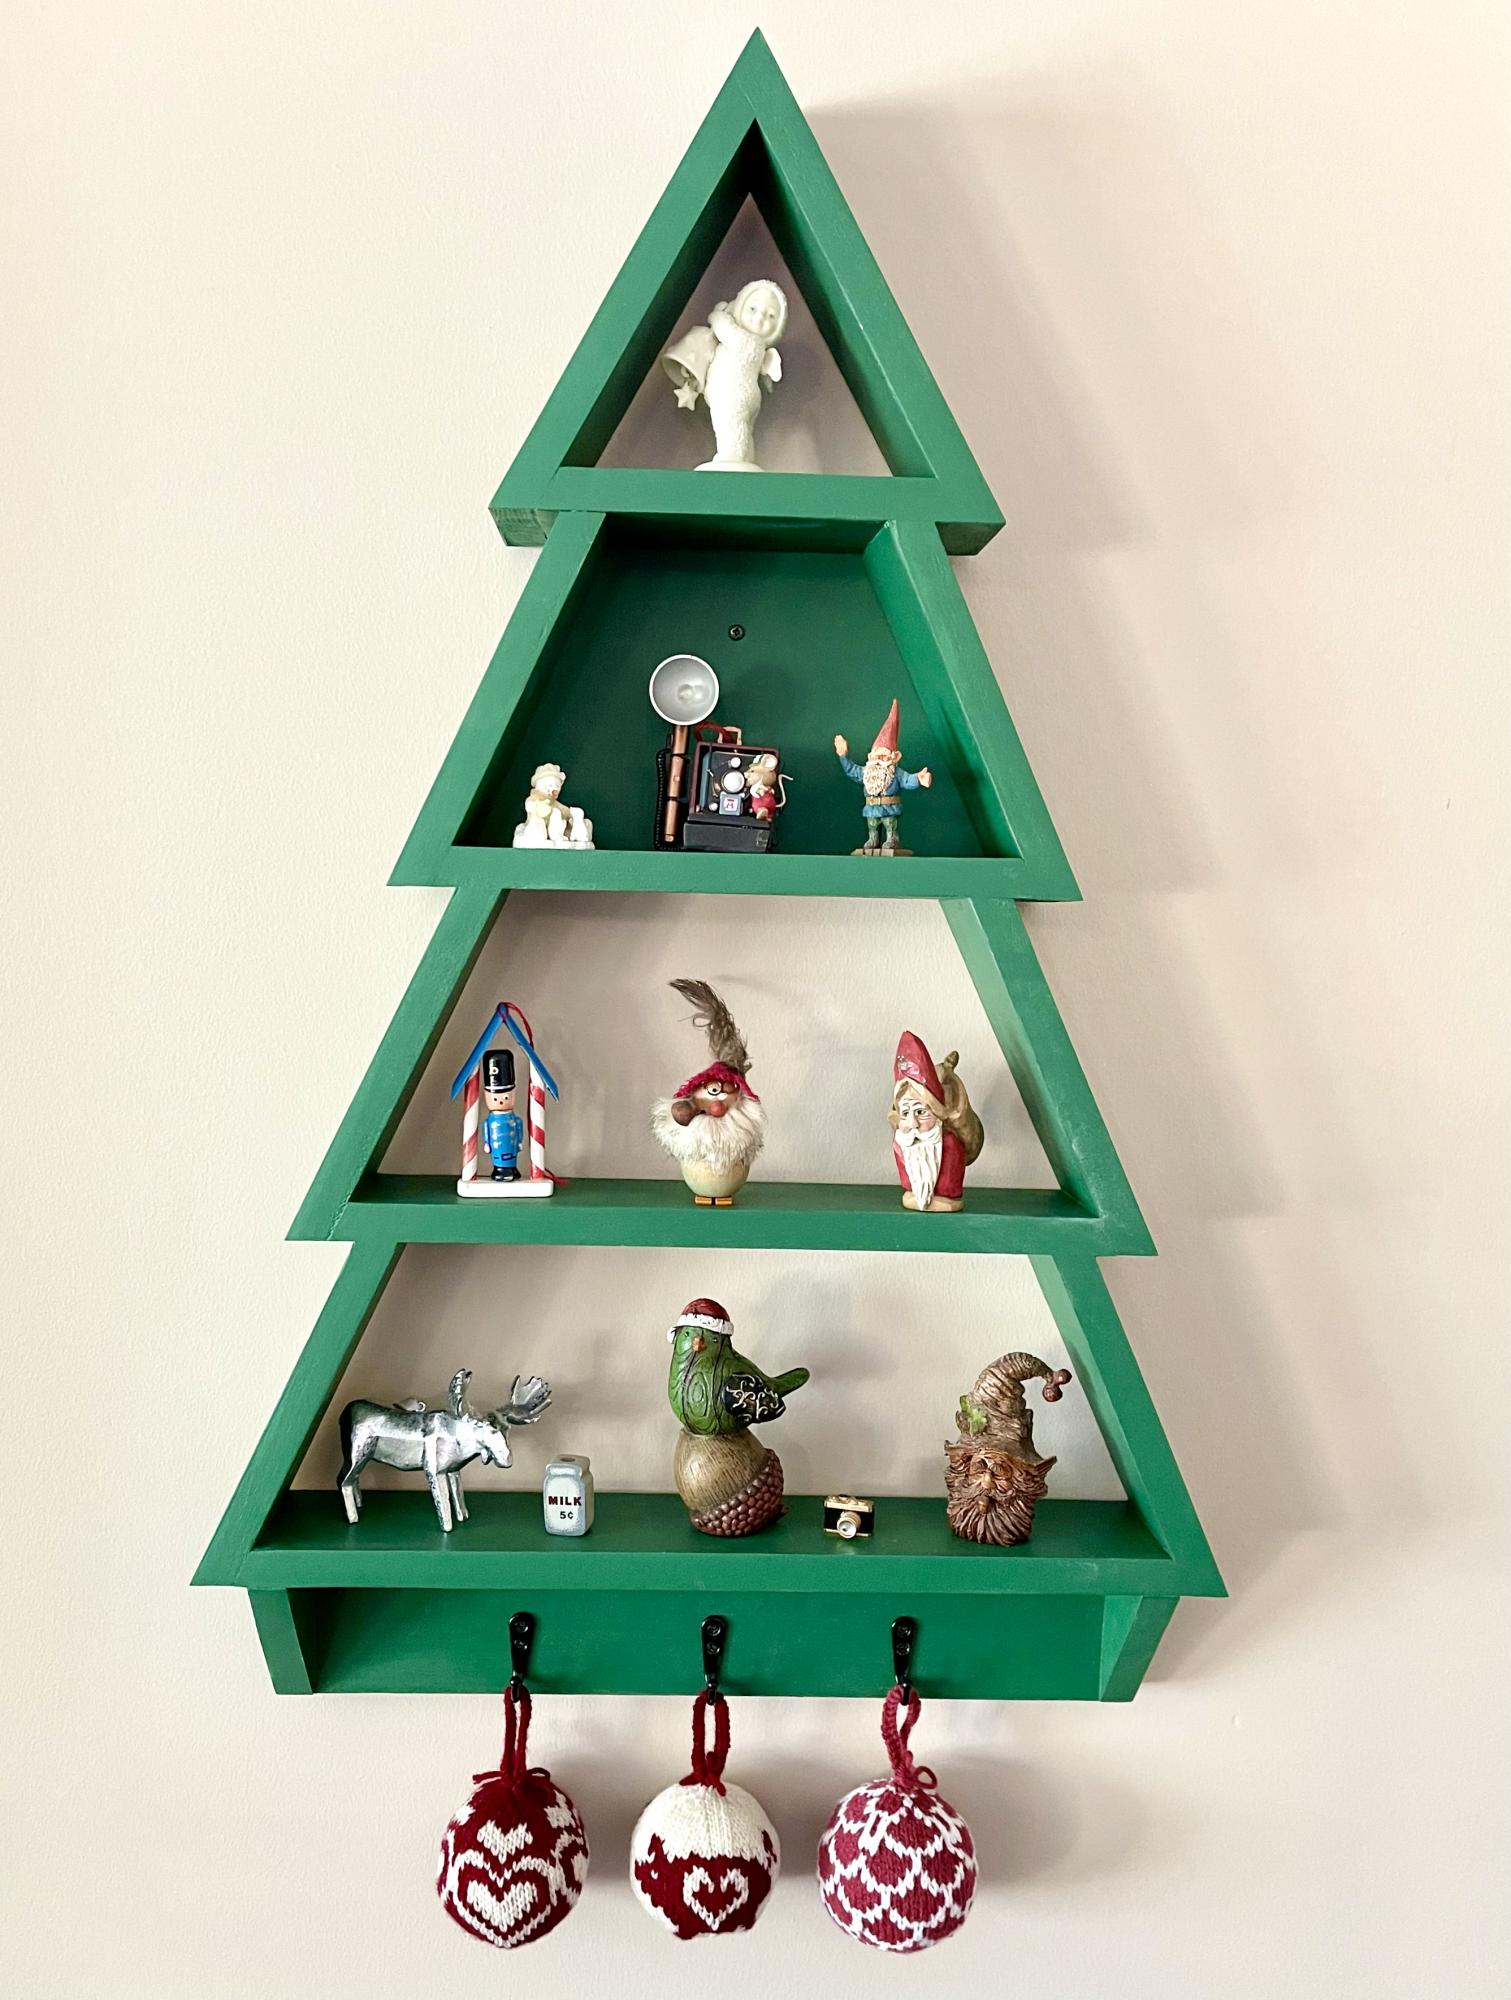
I’ve made a couple of items from the website but this is one of my favorites and I’ve got a bunch of family orders for next year.
Rob Bakker
Calgary, AB
Comments
Mon, 12/27/2021 - 15:56
Wonderful!
Looks great and you will make many people happy to have their own!
Minnie Mouse step stool
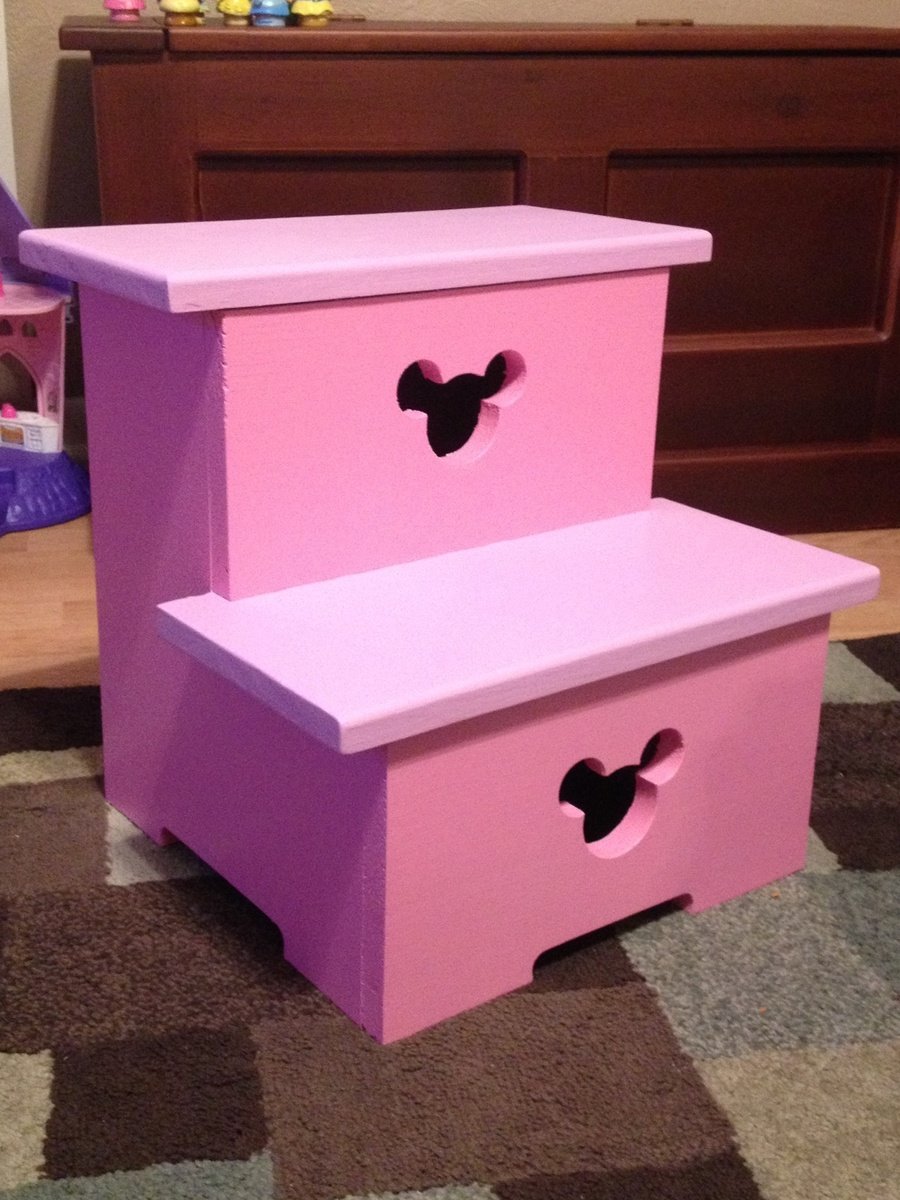
It was time for potty training and when it came time to wash her hands her arms were a little too short. So I threw this step stool together over a few hours and with the little one being a Minnie Mouse fan I had to add the Mickey head. Great project for those wanting something easy and quick.
Comments
Thu, 07/09/2015 - 11:31
Instructions
Is there any instructions or measurements anyone can provide me with for this project?
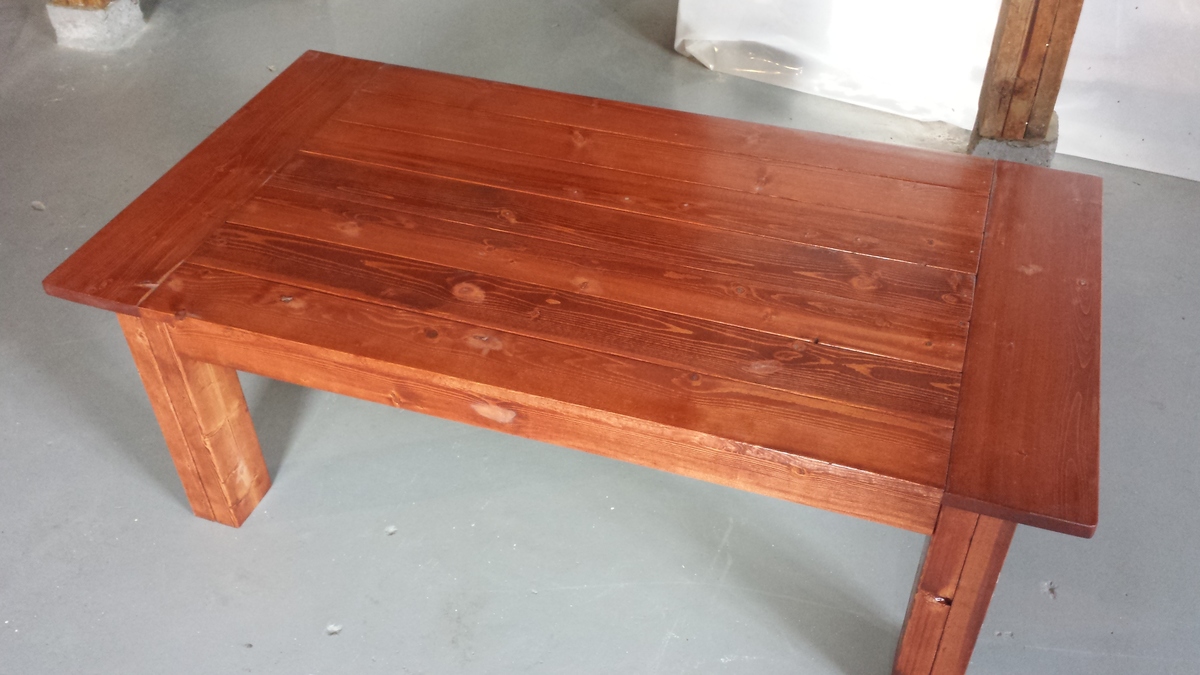
Tryde coffee table
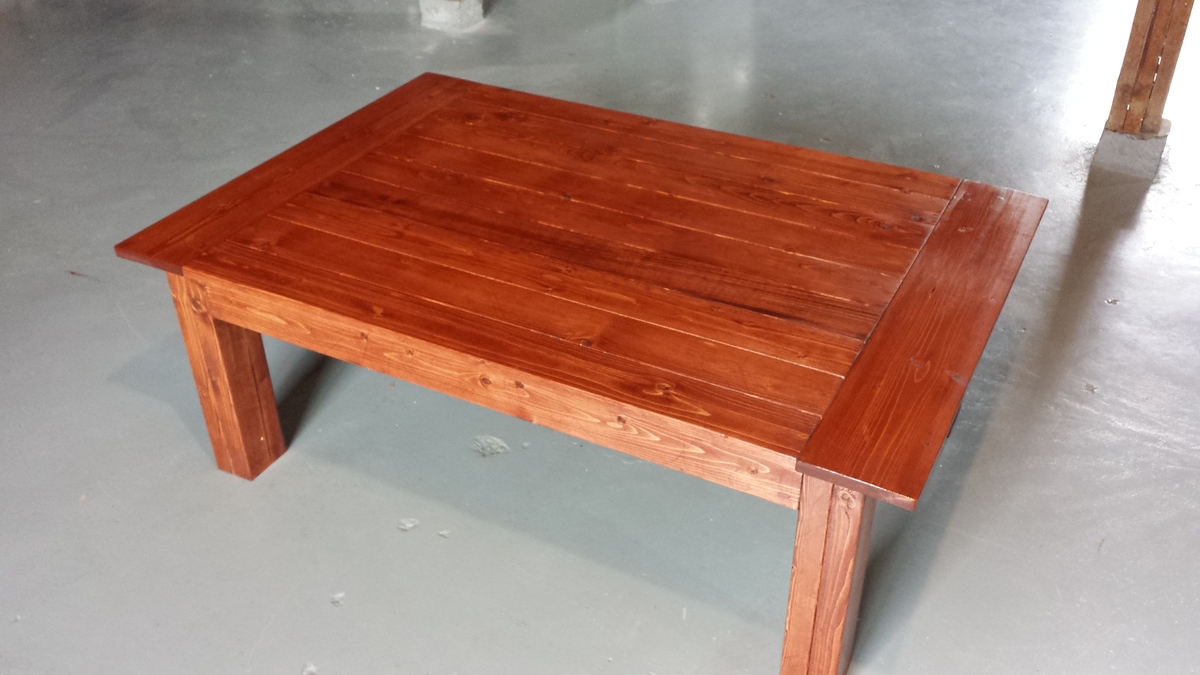
I've made a couple of tables from this plan now, and I love the simplicity of it. I changed the top to 1x4, 1x6 so that it doesn't look so bulky.
Bucket stand
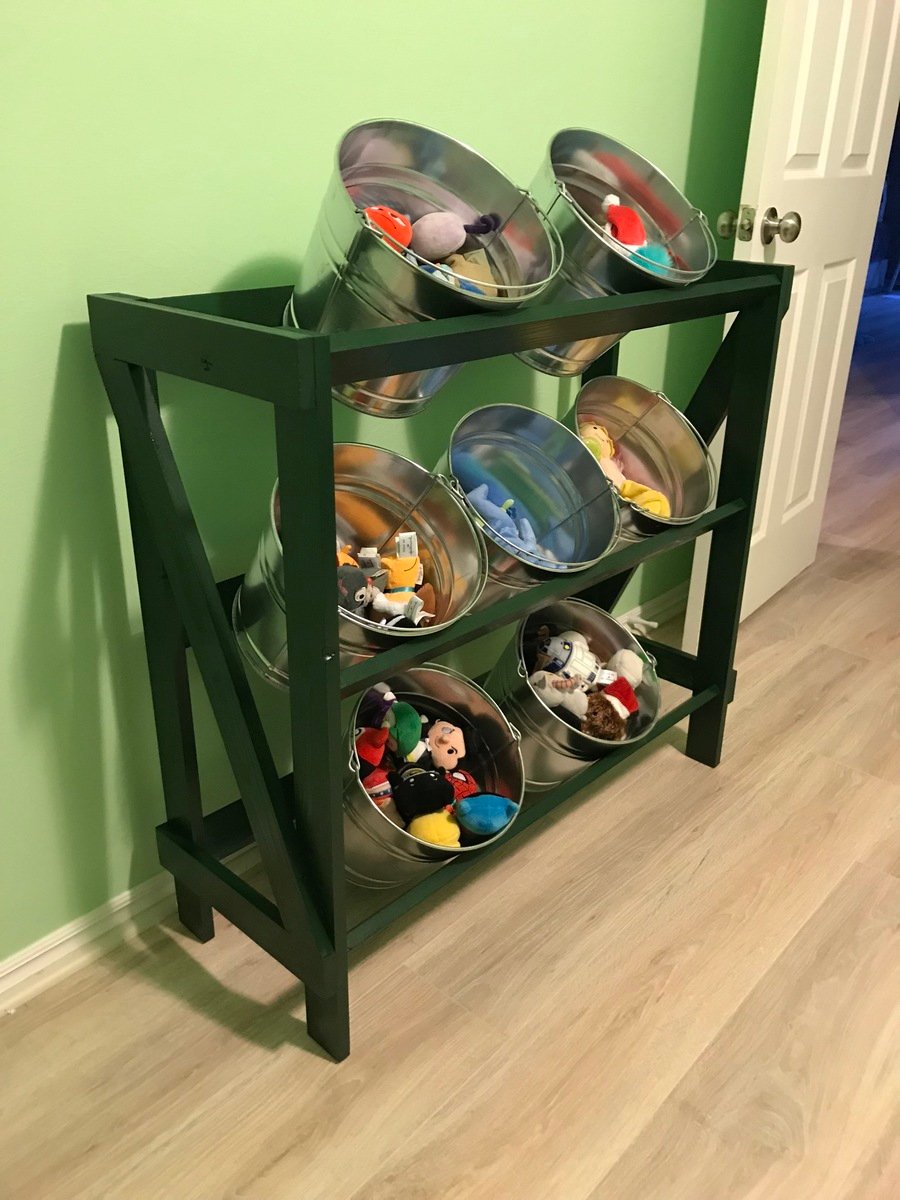
Built and painted to match toy bin.
