Community Brag Posts

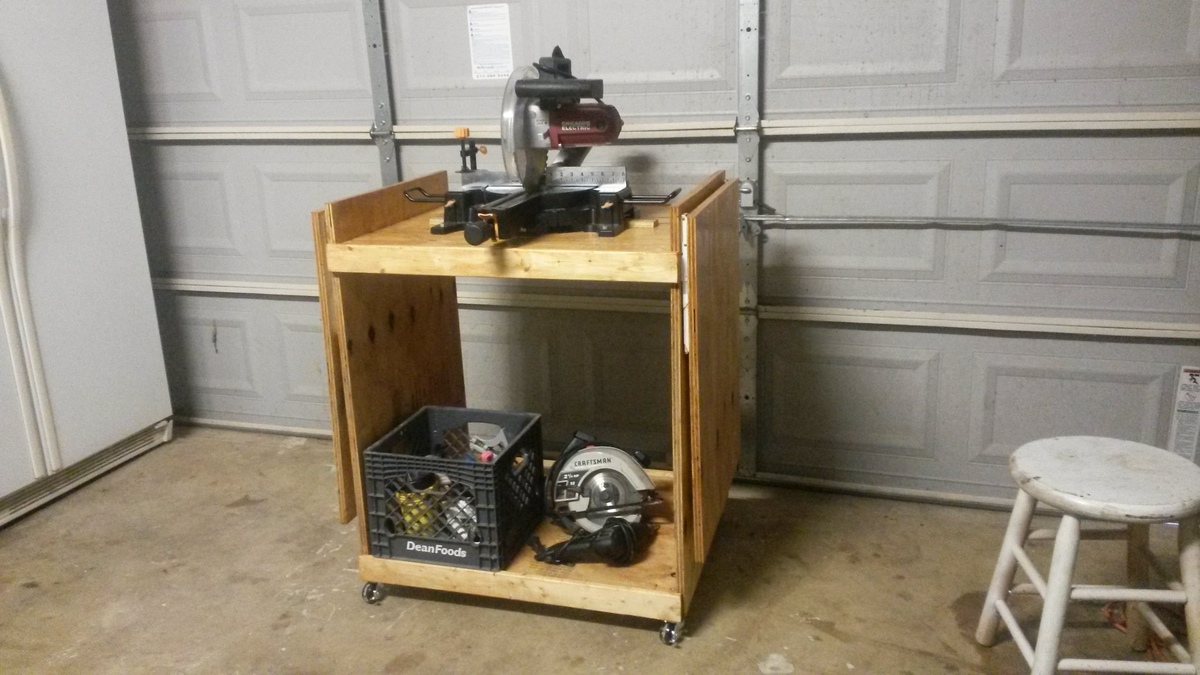
Miter Saw Cart

Submitted by DrOcean51 on Tue, 05/19/2015 - 18:03

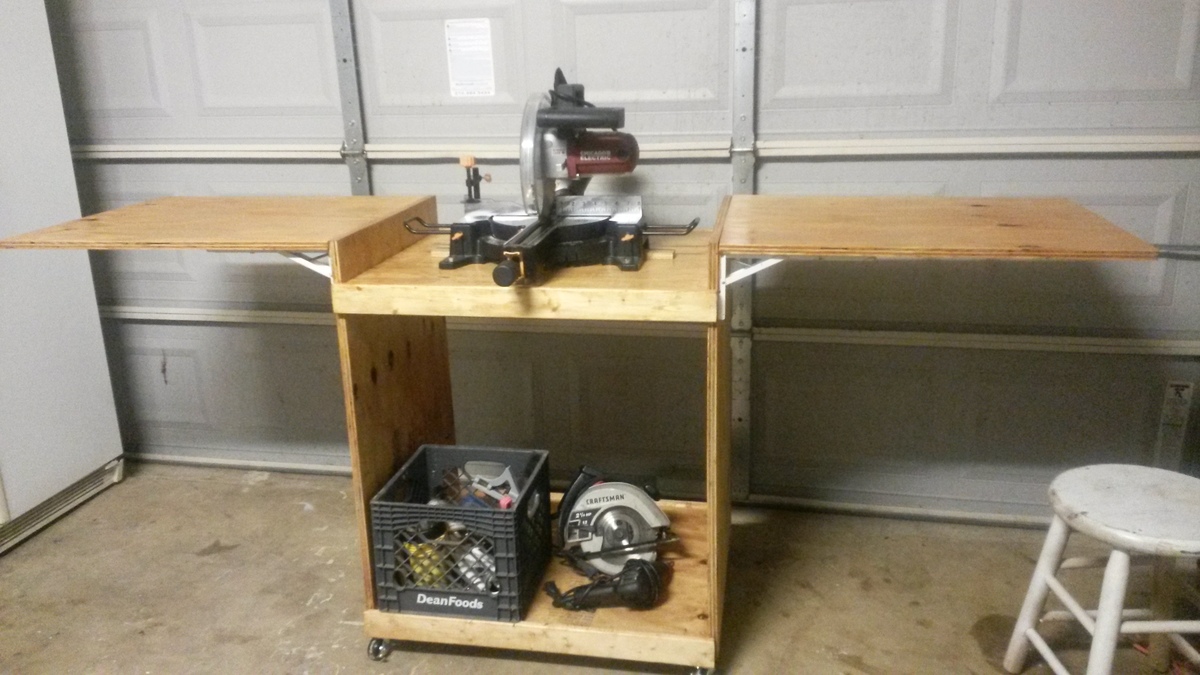
As a beginner I found this very easy to build. I took my time to make sure everything was measured and cut just right. I substituted longer screws for the brackets. The ones that came with the brackets seemed a little short. There's a trick to getting the screws in the brackets. The angled bar swings back to make it easy to attach the screws. Very happy with the finished product.
Estimated Cost
$50-$60
Estimated Time Investment
Weekend Project (10-20 Hours)
Finish Used
I used a Pecan Poly stain.
Recommended Skill Level
Beginner

Comments

RenoRustic

Wed, 05/20/2015 - 08:43

I went over a year without a miter saw stand/cart. Looking back it now that I have one, I kick myself for not getting one sooner. I have limited space for storage so I went with a store bought so that I can fold it up when not in use, but I really wish I had something that's always set up like yours. I also like the extensions that can fold down when not in use. Good job!
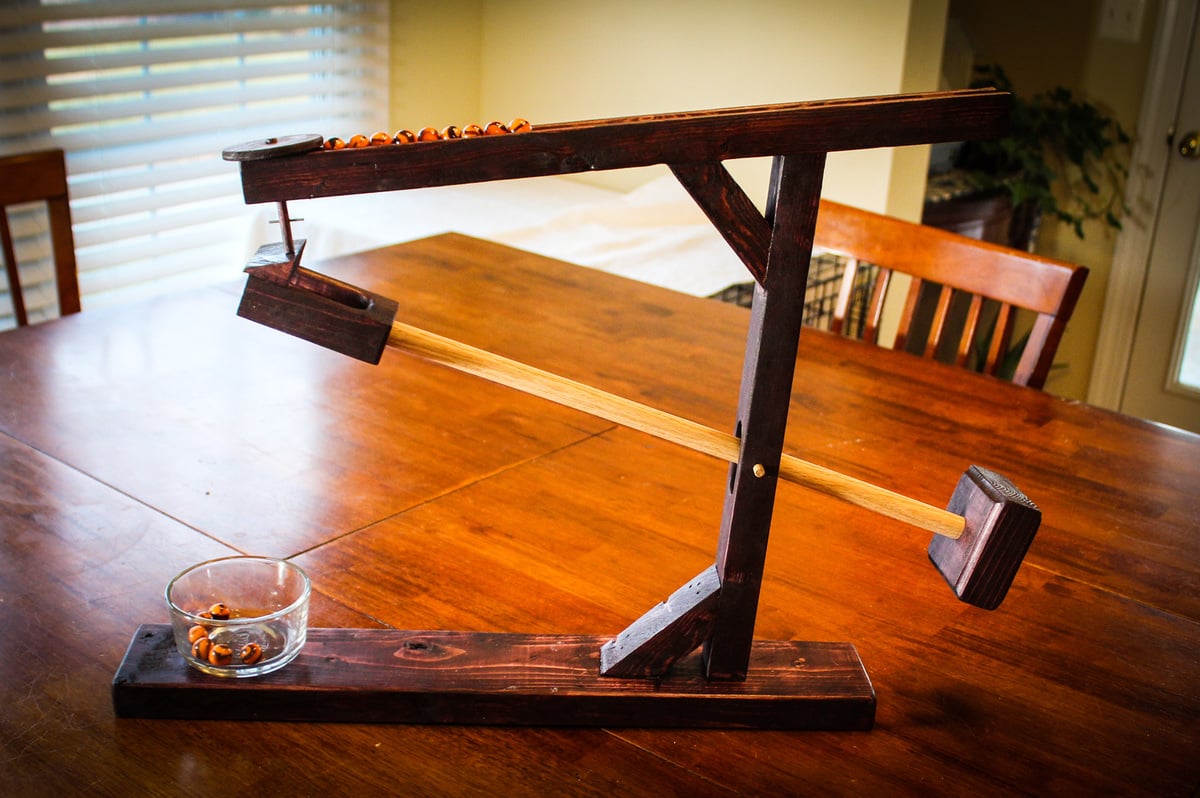
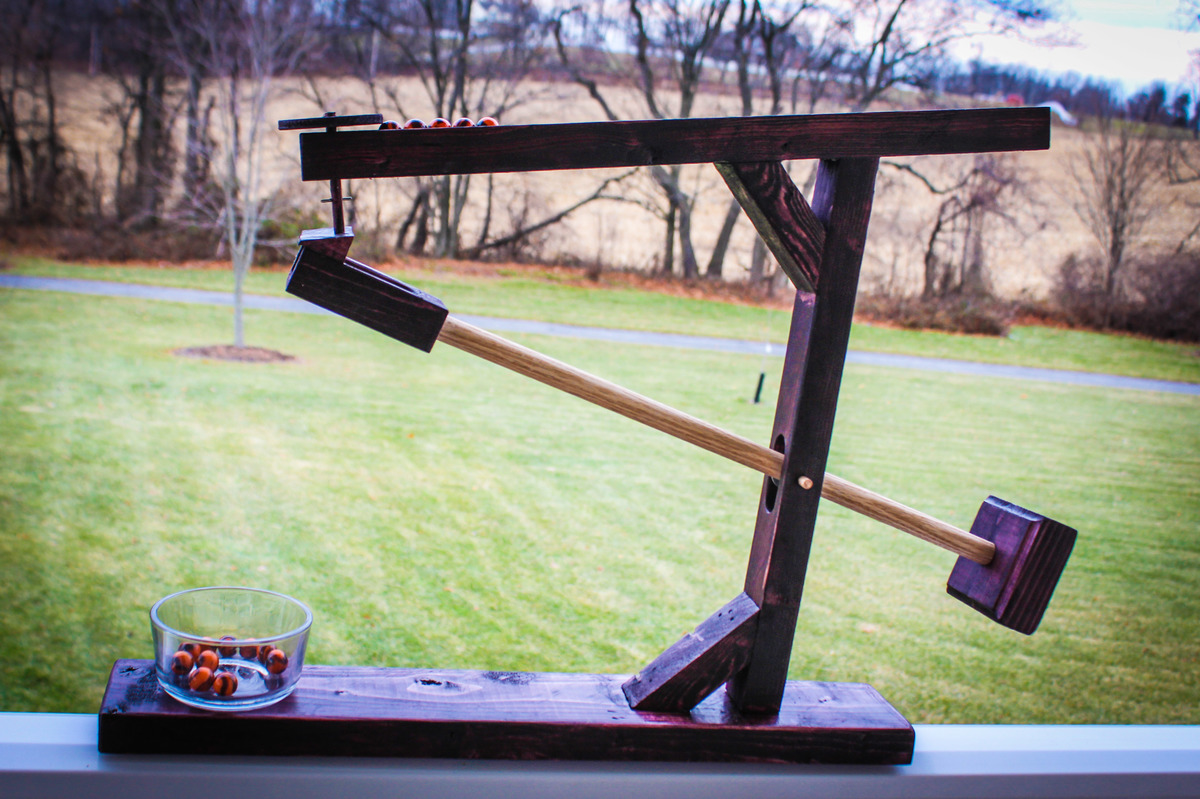
Wooden Marble Roller Machine

Submitted by mtairymd on Thu, 12/14/2017 - 13:57

I saw a picture of marble machine years ago and I finally got around to trying to make my own. I seriously had doubts about getting it working; so I didn’t want to invest money in nice wood. Therefore, besides the dowels, everything you see was made from a scrap 2×4.

As expected, it was a challenge to get mechanism worked out. I had to remake the cup and adjust the pivot point but I eventually got it working as shown in video.

Build Instructions: https://www.instructables.com/id/Wooden-Marble-Roller-Machine/

In Action: https://youtu.be/sel0w0gXGQk

Estimated Cost
$5%
Estimated Time Investment
Afternoon Project (3-6 Hours)
Finish Used
Dark Cherry
Recommended Skill Level
Intermediate

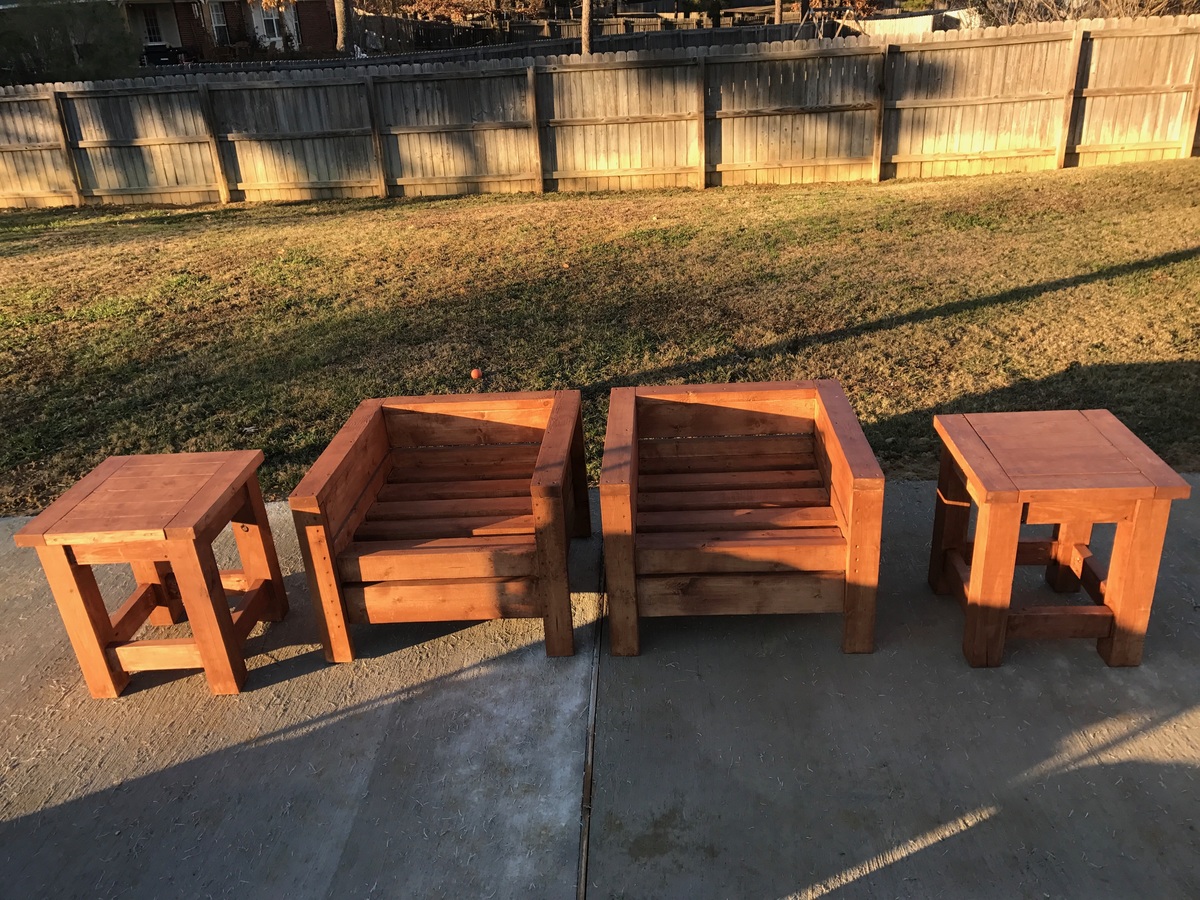
Modern outdoor chairs and tables

Submitted by mcneece on Mon, 12/18/2017 - 14:10

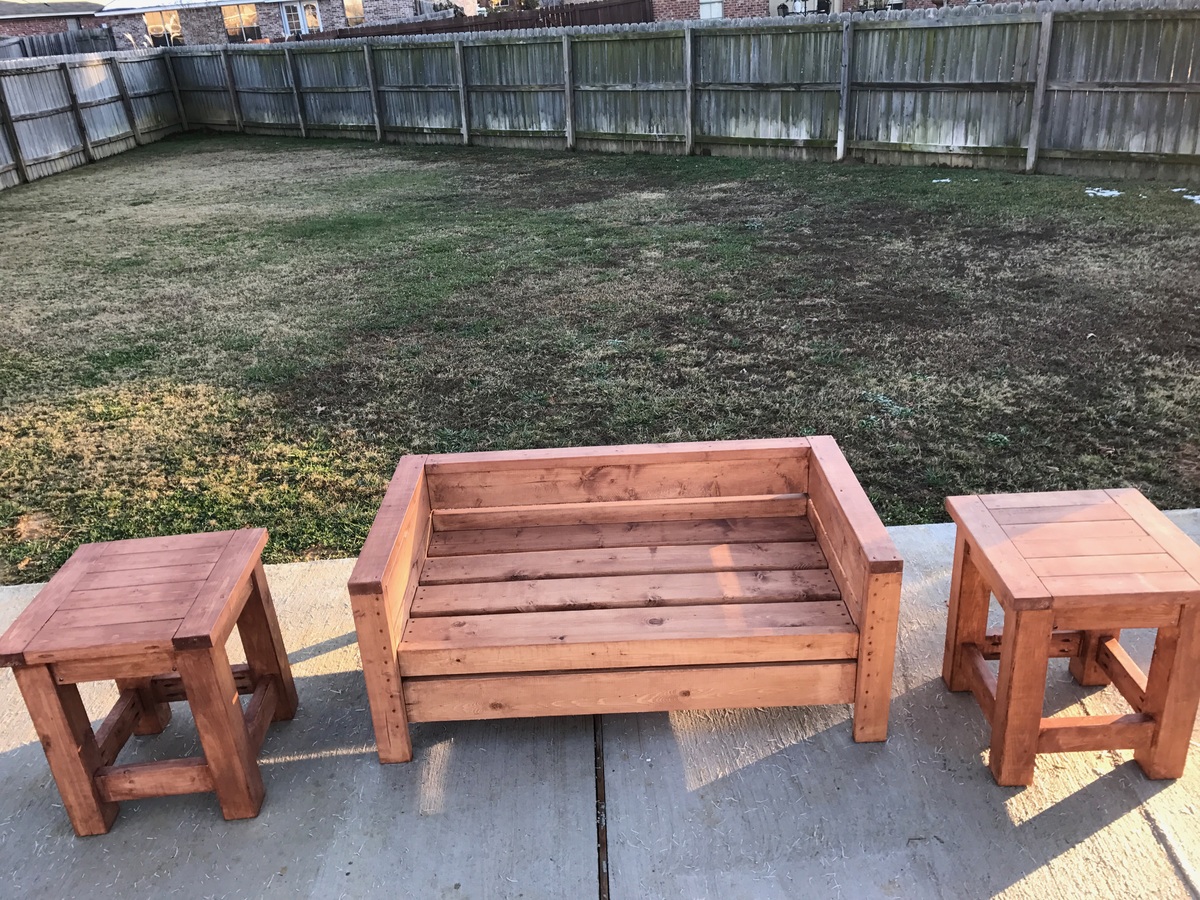
Project is still in progress but so far this has consisted of a firepit, 20x20 slab, 4 cypress columns, bistro lighting, 2 modern outdoor chairs, 1 modern outdoor bench, 4 matching tables, and a project screen.  To come: flower bed, projector storage stand with casters and hinged top, outdoor speakers, and possibly a green egg stand, and extending power to the back of the slab.

Estimated Cost
$75 per chair, $100 per bench, $40 per table
Estimated Time Investment
Week Long Project (20 Hours or More)
Finish Used
Thompson waterseal (transparent)
Recommended Skill Level
Intermediate

Dollhouse Bookcase

Submitted by mnewton on Mon, 04/11/2011 - 12:52

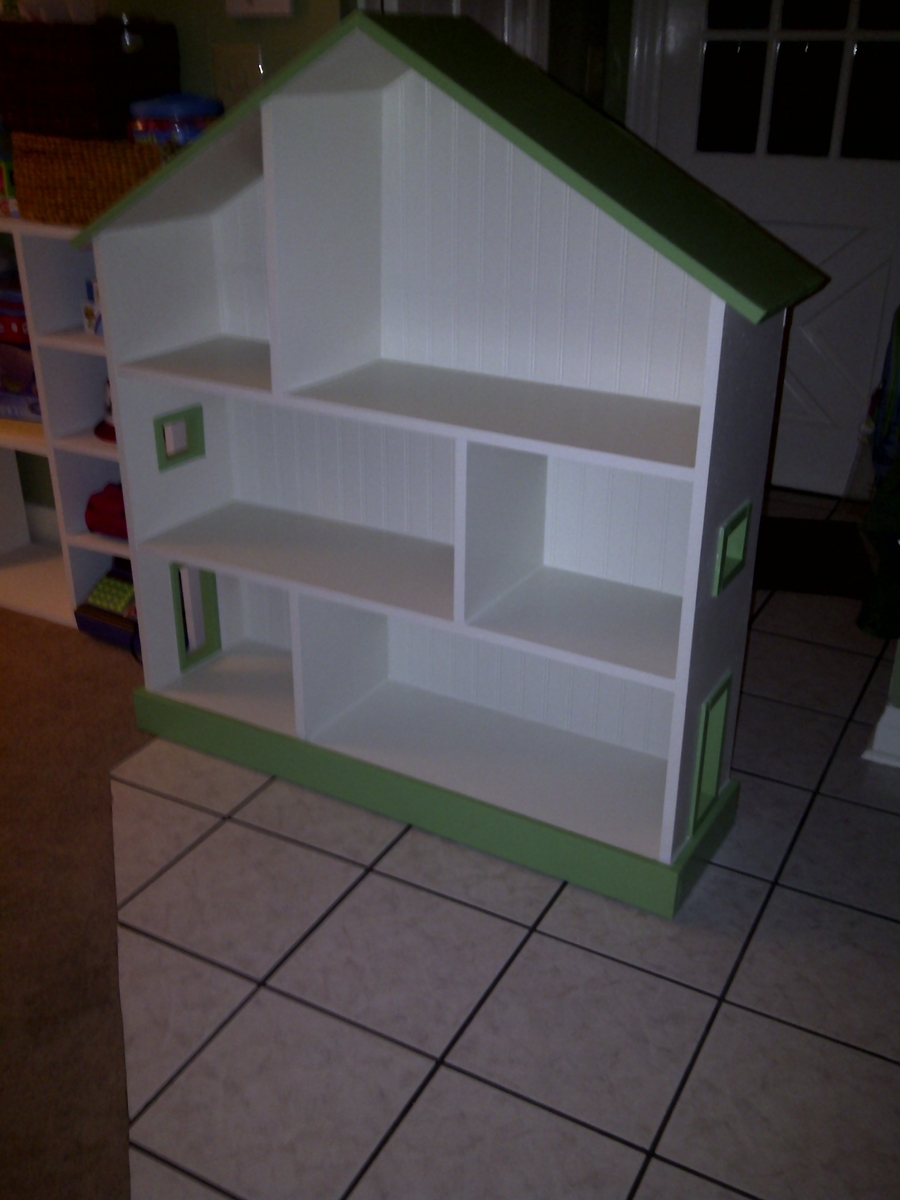
This was my first build. I was conviced to do this once I saw the Pottery Barn price tag. The plans were so easy to follow.

Built from Plan(s)
Estimated Time Investment
Afternoon Project (3-6 Hours)
Recommended Skill Level
Starter Project

Convertible picnic table

Submitted by ClemTanya on Tue, 06/18/2013 - 19:43

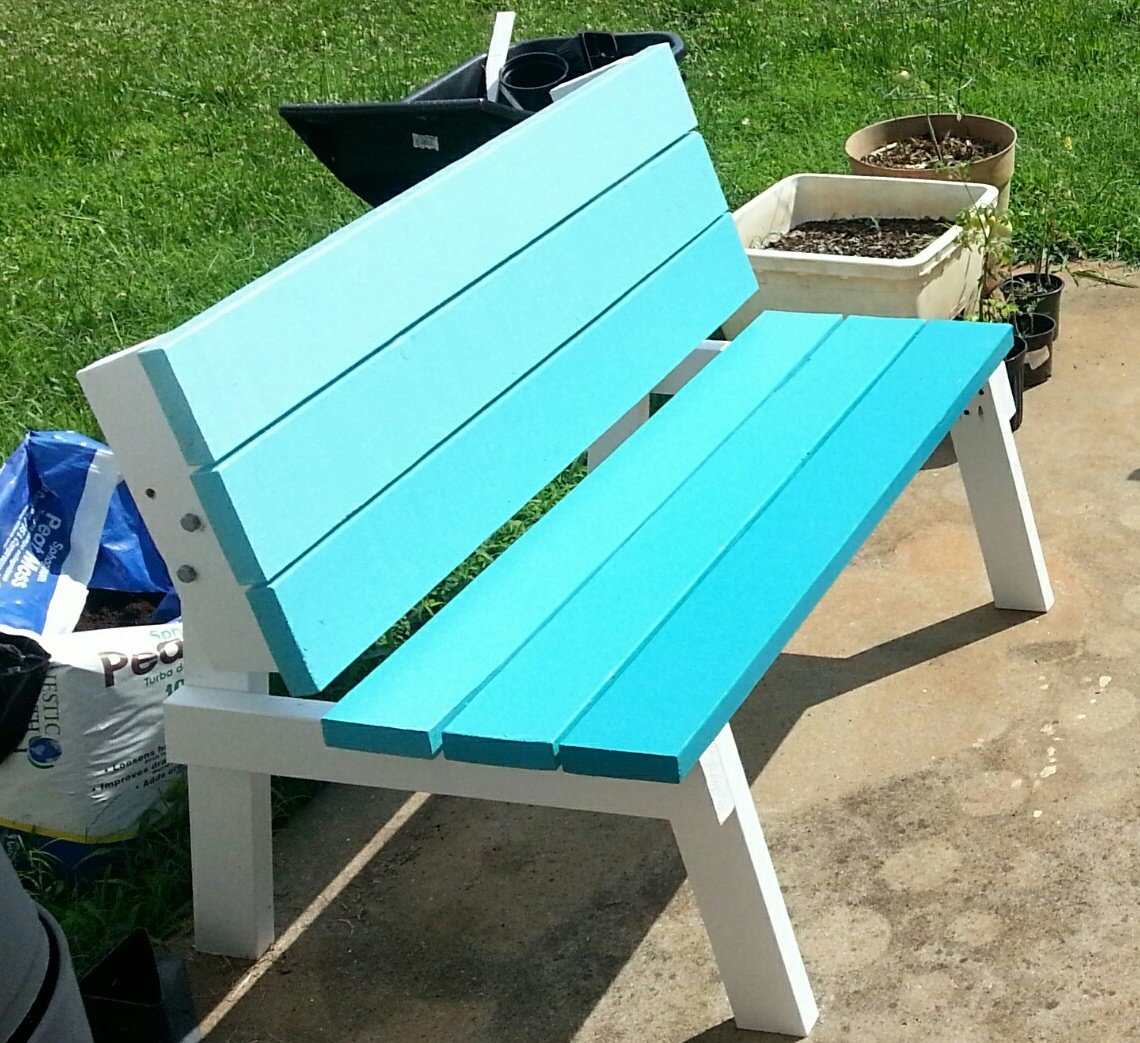
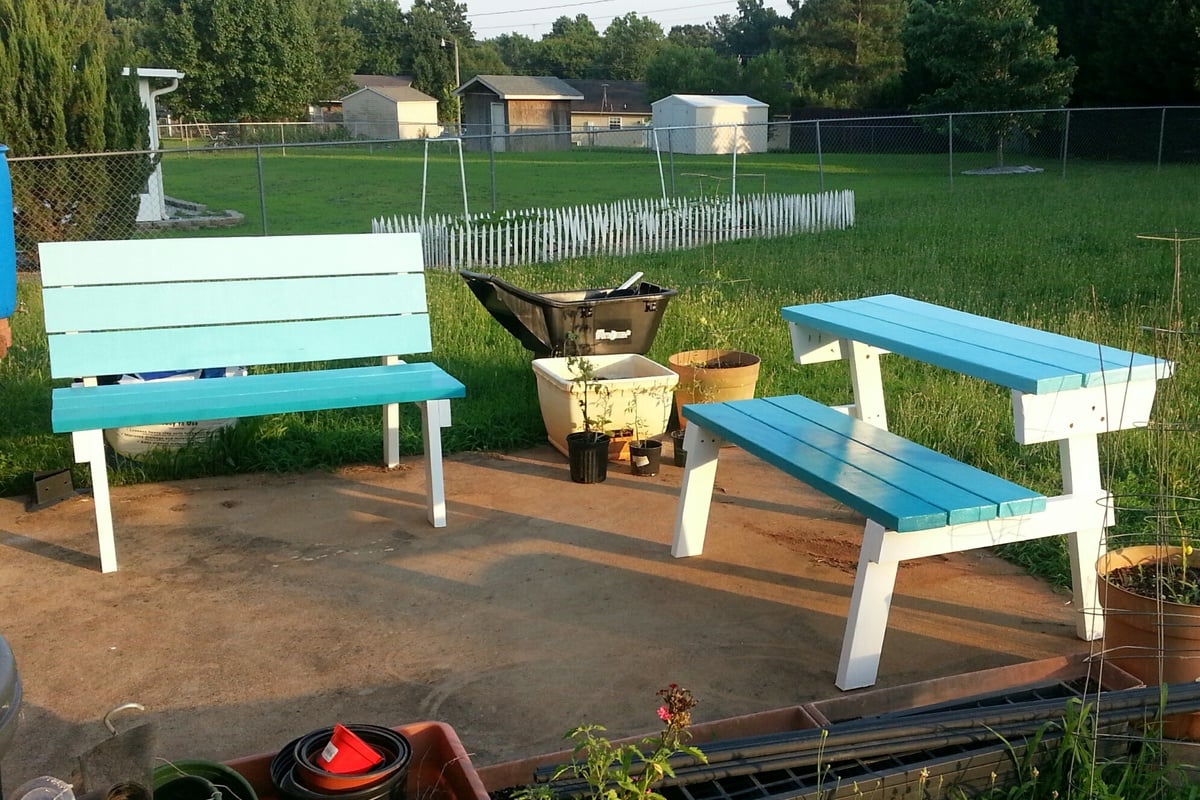
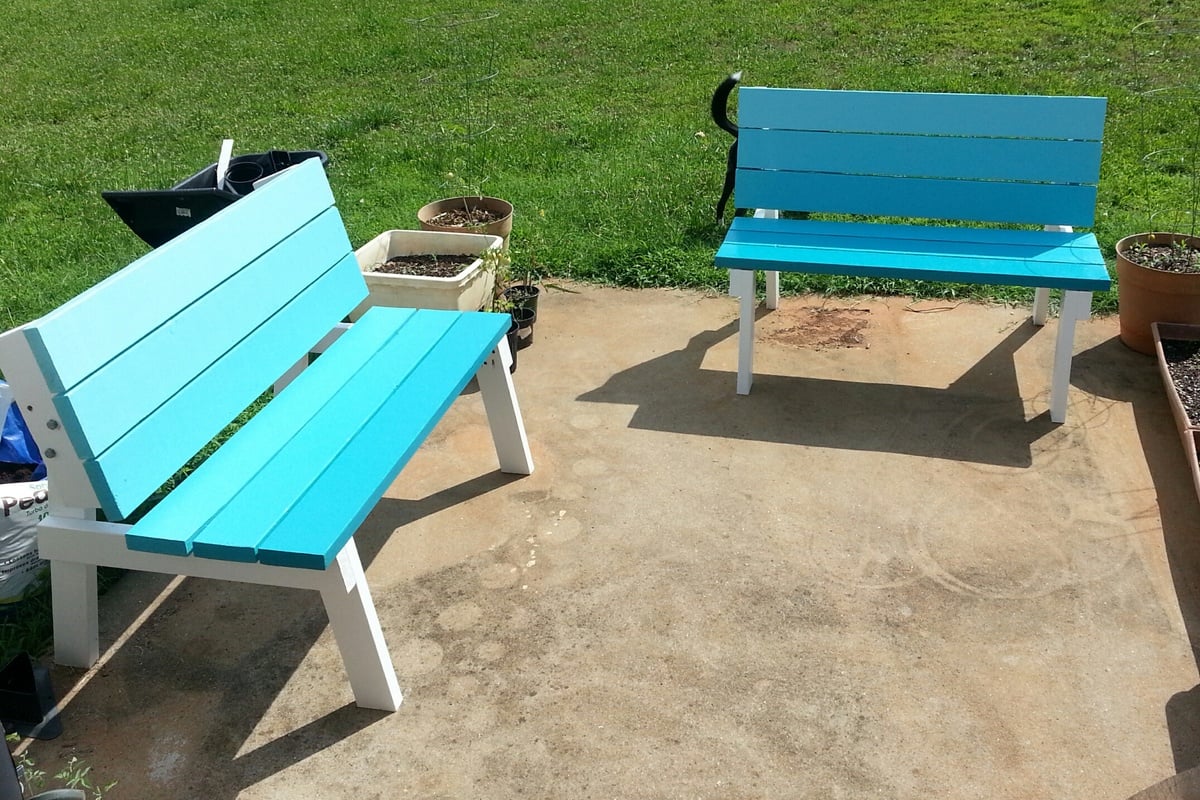
I built this table with the dimensions described in the original plans, but made a slight modification by using my Kreg Jig to add pocket holes for attaching the tabletop and seat boards from below rather than drilling down through the top. I'm never really happy with the way a finish comes out after using wood filler, plus not having to fill holes saves a step in the finishing process (which is the really arduous part of the job for me). I also like the sturdiness of the Kreg joints.
This was my first project using the Kreg Jig in an application that didn't have the location for the pocket holes specified, so for the first bench I followed right along with the plans and just detached the drill guide and clamped it to my project to drill the pocket holes as I went along. For the second bench I was familiar with where all the holes should be drilled, so I was able to quickly mark off the location and pre-drill all the pieces assembly line fashion. The second one practically flew together.
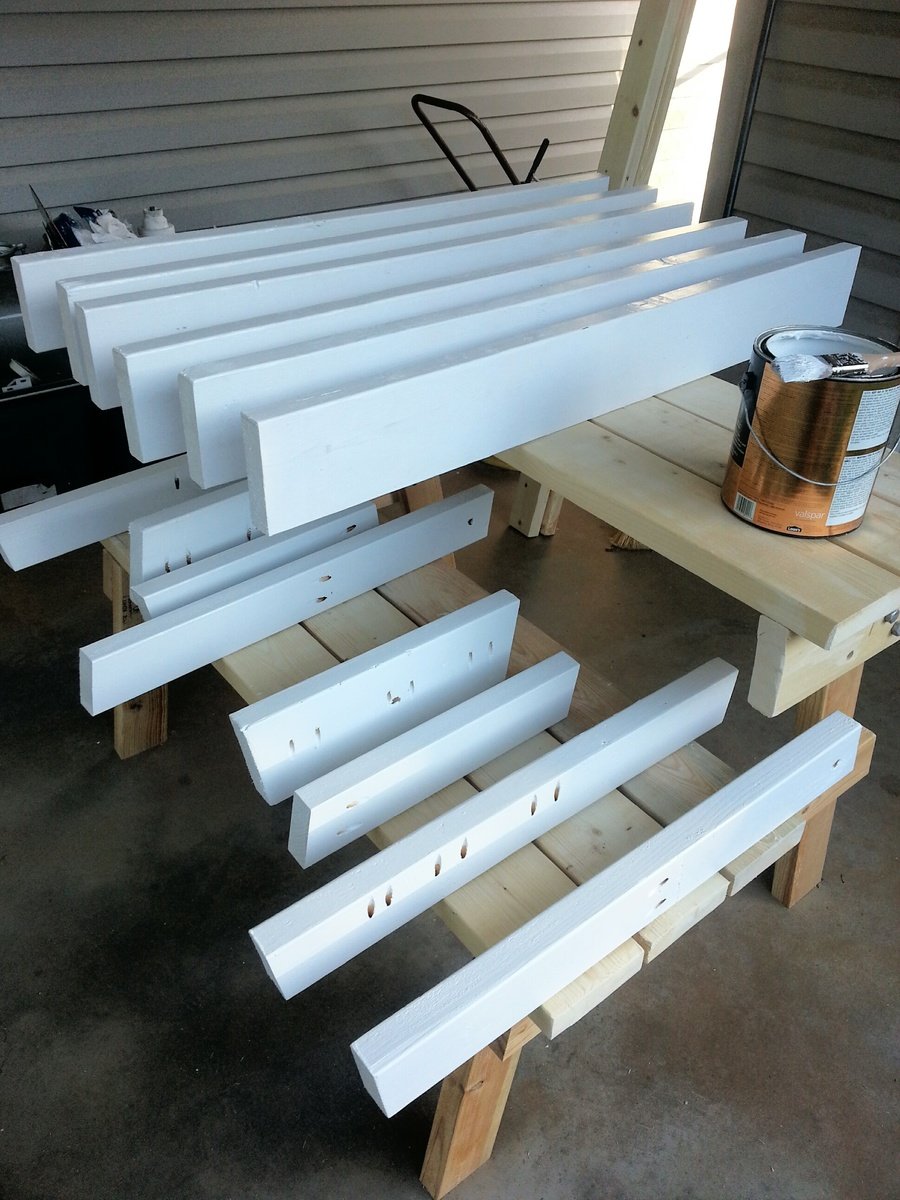
If you want to use this method, you will be drilling your pocket holes in the boards labeled "seat support" and "tabletop support" (there are 2 of each of these pieces for each bench/half table). You can mark the position of the tabletop boards on the tabletop supports and drill your pair of pocket holes to correspond roughly to the center of where each board will be (so 6 holes in each of the 2 pieces labeled tabletop support for each bench). Nearly the same process for the seat supports, but remember that the holes to attach the outermost seat board won't be centered because of the location of the front leg. I chose to add a couple of pocket holes through the front leg board as well for extra sturdiness in case it gets picked up by that outermost seat board when the bench/table is getting moved. I have included a picture of the pre-drilled pocket holes to help clarify the above directions.
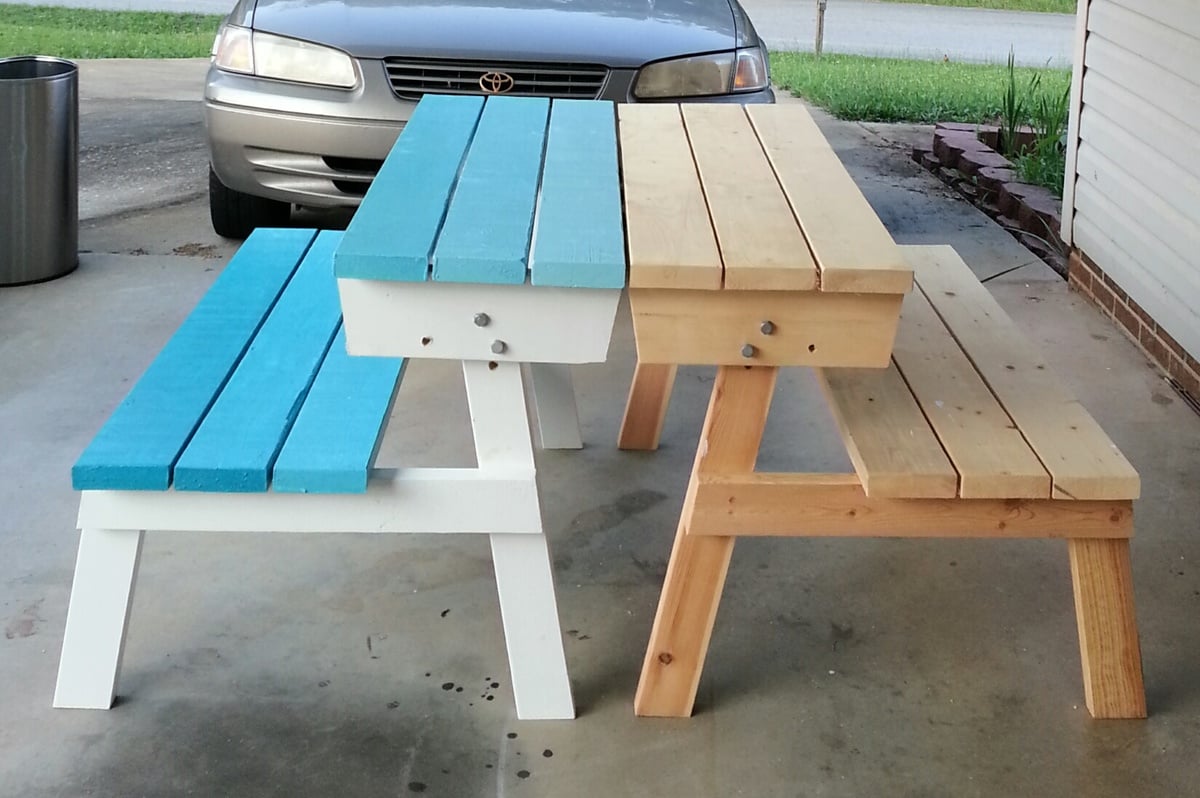
The build itself can definitely be classified as a beginner project and easily manageable by one lady (although it would be really nice to have a buddy to help move the finished bench...I had to take the tabletop back off mine to move it from my "workshop" (carport) around to my patio). In terms of time, the build for both benches could easily be completed in an afternoon; I ranked it as a weekend project because of the finish. The tabletop and seat boards each have 4 coats of an exterior semigloss paint and I custom blended the colors so that each board gets progressively darker as you go down the bench. I was inspired by the ocean, with the water getting darker as you go deeper and deeper. As you can see from my photos, I rushed headlong into the first bench and put it together unfinished (I was more concerned about figuring out the placement of the pocket holes than the finish.) For the second one I pre-drilled my pocket holes, then put on 2 coats of base coat and 1 coat of color (on seat and tabletop boards) before assembly, saving only the finish coat on the colored boards and touchups on the white boards for after assembly. I definitely recommend the second method.
I worked on the project over a couple of weekends and evenings because of weather and time constraints, but under the right conditions it could be completed in a weekend or even maybe a long day (especially with a second painter and in good paint drying weather). I'm really happy with the final product and I've already been enjoying the comfy bench seat for reading.

Estimated Cost
$100 (including finish)
Estimated Time Investment
Weekend Project (10-20 Hours)
Finish Used
Exterior semigloss paint: 2 coats of self priming base coat (Valspar Duramax) and an additional 2 coats of color that I custom mixed into 6 shades on the bench seats and tabletops. The darkest shade on the outermost seat board is called Monterrey Bay Teal from Valspar. I mixed the five additional colors with white in 15% by volume increments. (If you want to get really, really specific, I started with a quart of the teal and made 100 grams of each of the 5 blended colors and this was almost the perfect amount to put 2 thick coats of color on all sides of each of the seat/tabletop boards.)
Recommended Skill Level
Beginner

Comments

Barnwood Frame

As part of a redecorating project using reclaimed barn wood for our guest bedroom, we constructed this window frame to display some photos from one of our siblings of barns found in Iowa.

The dimensions are 44” X 33” with each photographic image being 11” x 16.5”.
Since the wood had so many bore holes, we used ¾” redwood under the visible fascia for added strength.

Cost - $75 / 4.5 hours to build.

http://ana-white.com/2009/12/plans-barnwood-frames-1-and-10-minutes.html

Estimated Cost
$75.00
Estimated Time Investment
Afternoon Project (3-6 Hours)
Finish Used
None
Recommended Skill Level
Intermediate

Pub Table

Submitted by Flip0427 on Fri, 12/22/2017 - 08:43

My daughter-in-law requested a pub table for my son’s birthday. Having never done this before I searched the web and found Ana White’s site (great by the way).  Table was built using the image of old_man’s table on Ana White’s site as inspiration (size 42” x 44” x 42” high).  I used 2x8s for the top, jointed and trimmed down to 6” wide and then glued together.  Since I could only clamp up to 25” wide, I made the top into two sections gluing one board at a time to minimize wet boards.  I then had two halves that I glued together using a wedge setup so as to avoid purchasing additional expensive clamps.  Once the top was complete, I sized out my base and opted to place the apron boards between the 4x4 leg instead of placing them outside the legs.  They were attached by drilling pocket holes in the apron and then attached with glue and screws.  The top was then attached to the legs and apron from using 1 1/2” right angle brackets.  As old_man stated and I concur, this table is HEAVY....  Thanks to both Ana White and old_man for the inspiration.

Estimated Cost
$109.00
Estimated Time Investment
Week Long Project (20 Hours or More)
Finish Used
Used Minwax Ebony stain and Minwax Spar Polyurethane that I had on hand. Initially 2 coats of polyurethane over the entire table, sanding with 220 grit between coats and completed the top with 3 more coats with the final sanding of 600 grit on the top before the last coat of polyurethane was applied
Recommended Skill Level
Beginner

Planters

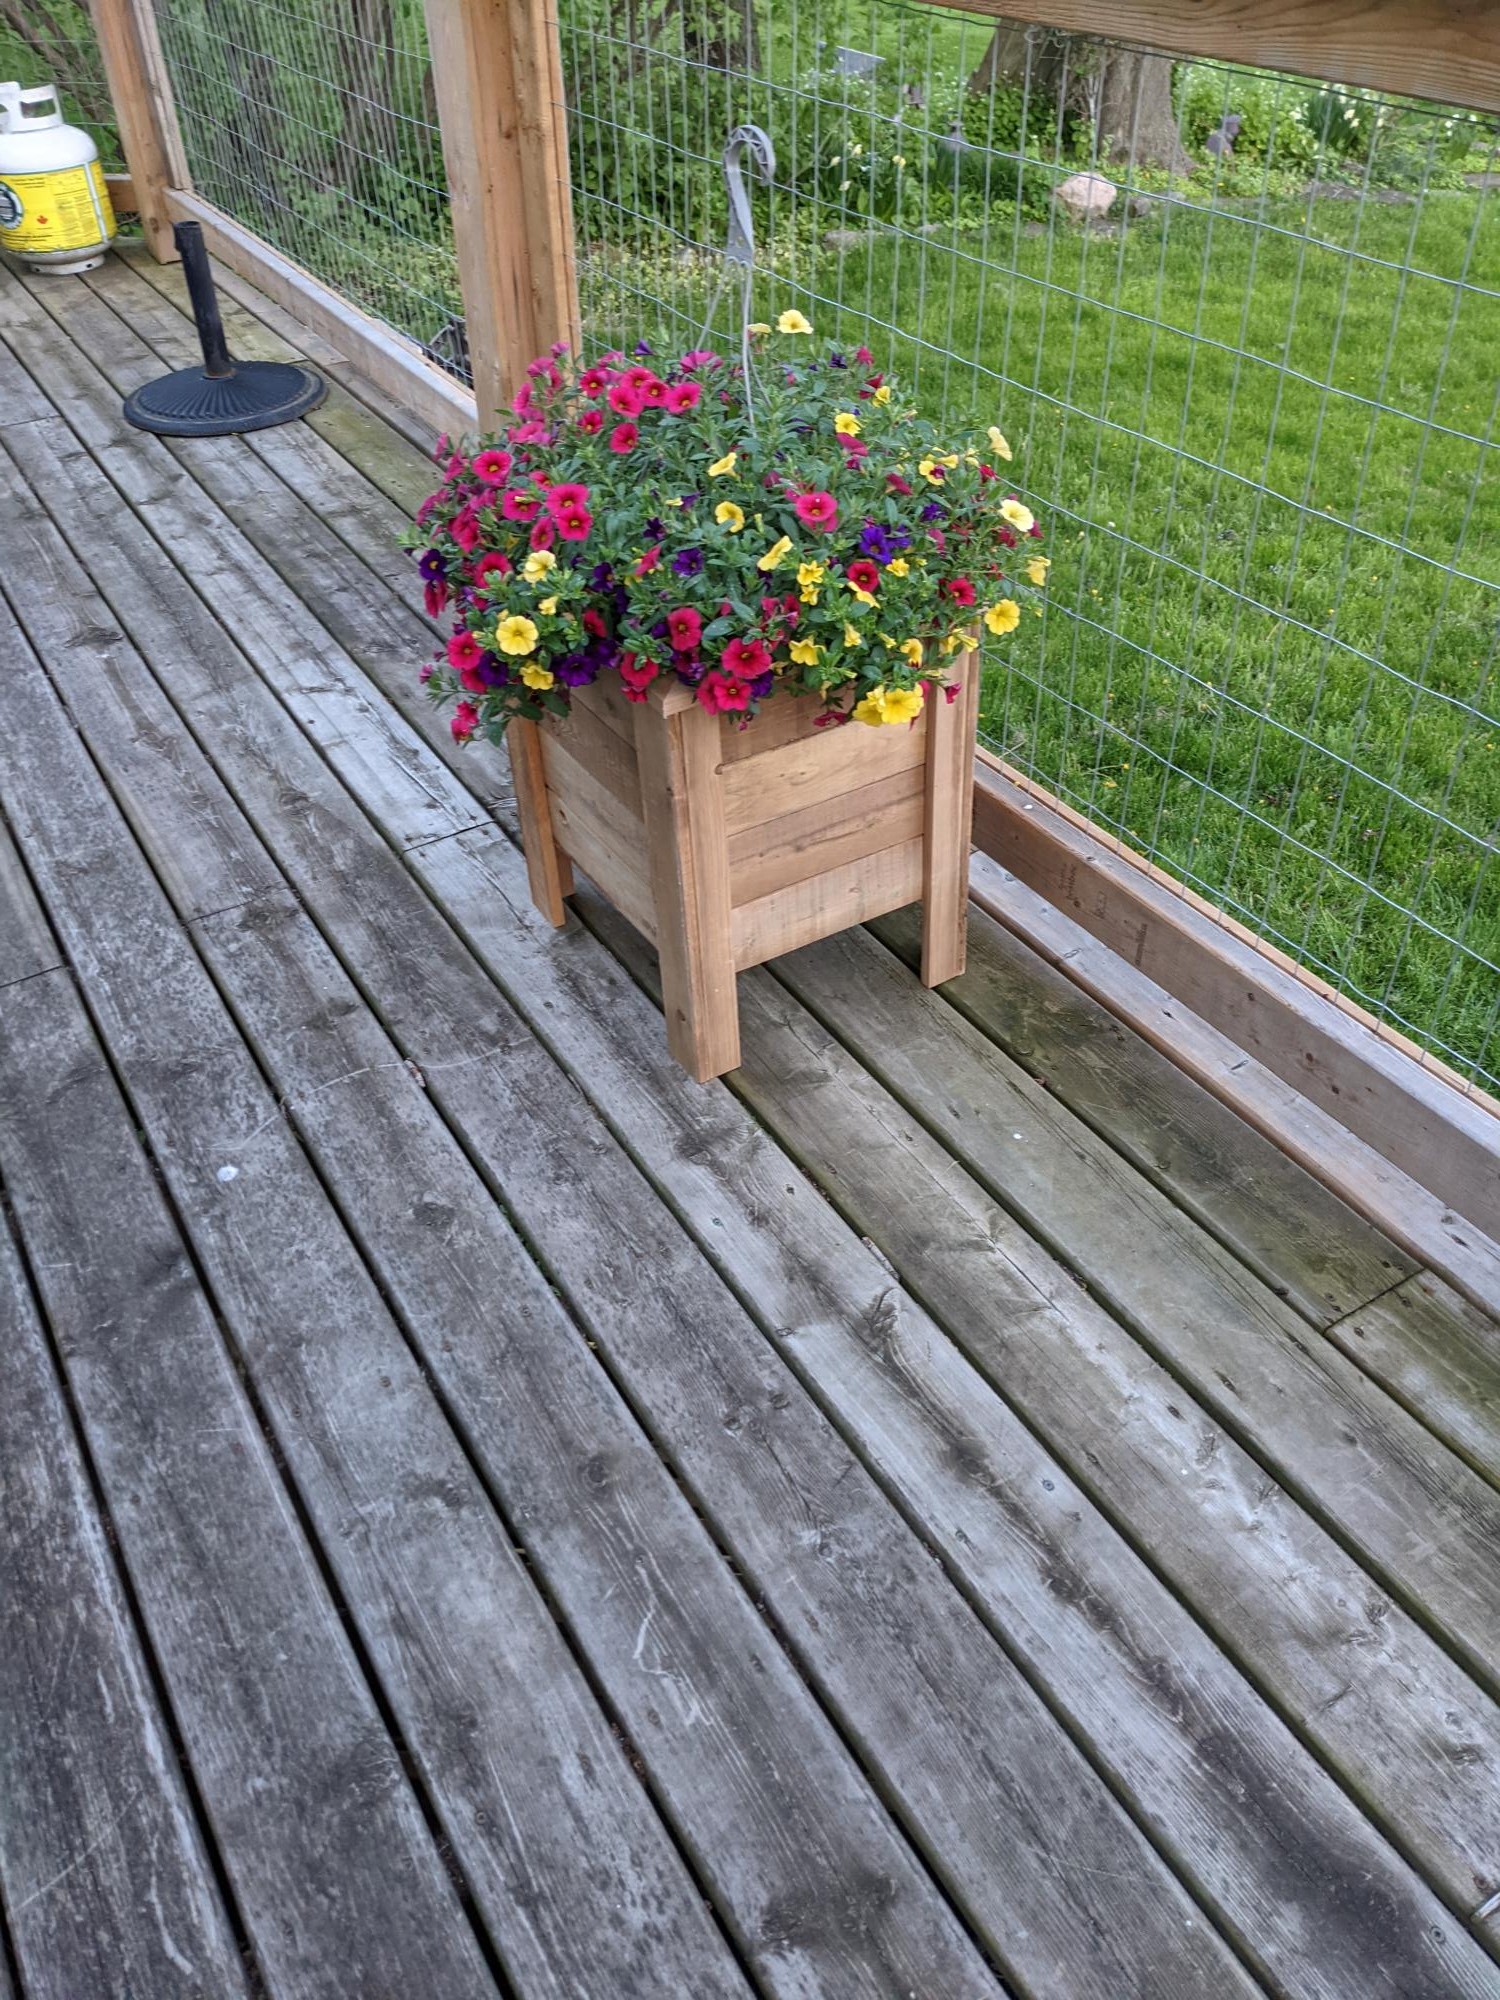
This was my first project! I did get better the more I made. Even mitred corners on the top! Thank you for the easy to follow plans.

Comments

farmhouse table

Submitted by wolfmawr on Sat, 04/16/2011 - 00:44

All natural table for six. We changed it a little using 4 x 4 for the legs and 2 x 4 for the sides. 

Built from Plan(s)
Estimated Cost
under $100
Estimated Time Investment
Afternoon Project (3-6 Hours)
Finish Used
Raw dark tung oil
Recommended Skill Level
Beginner

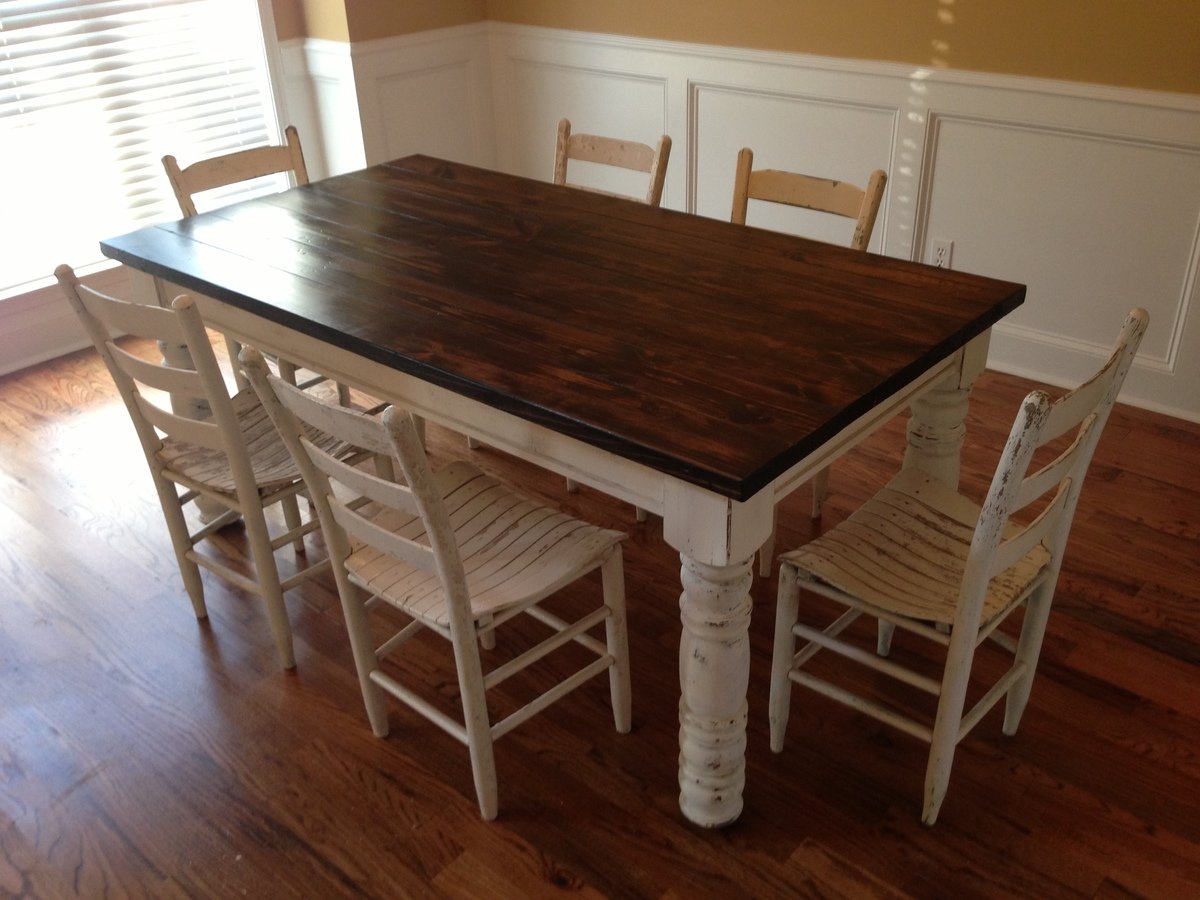
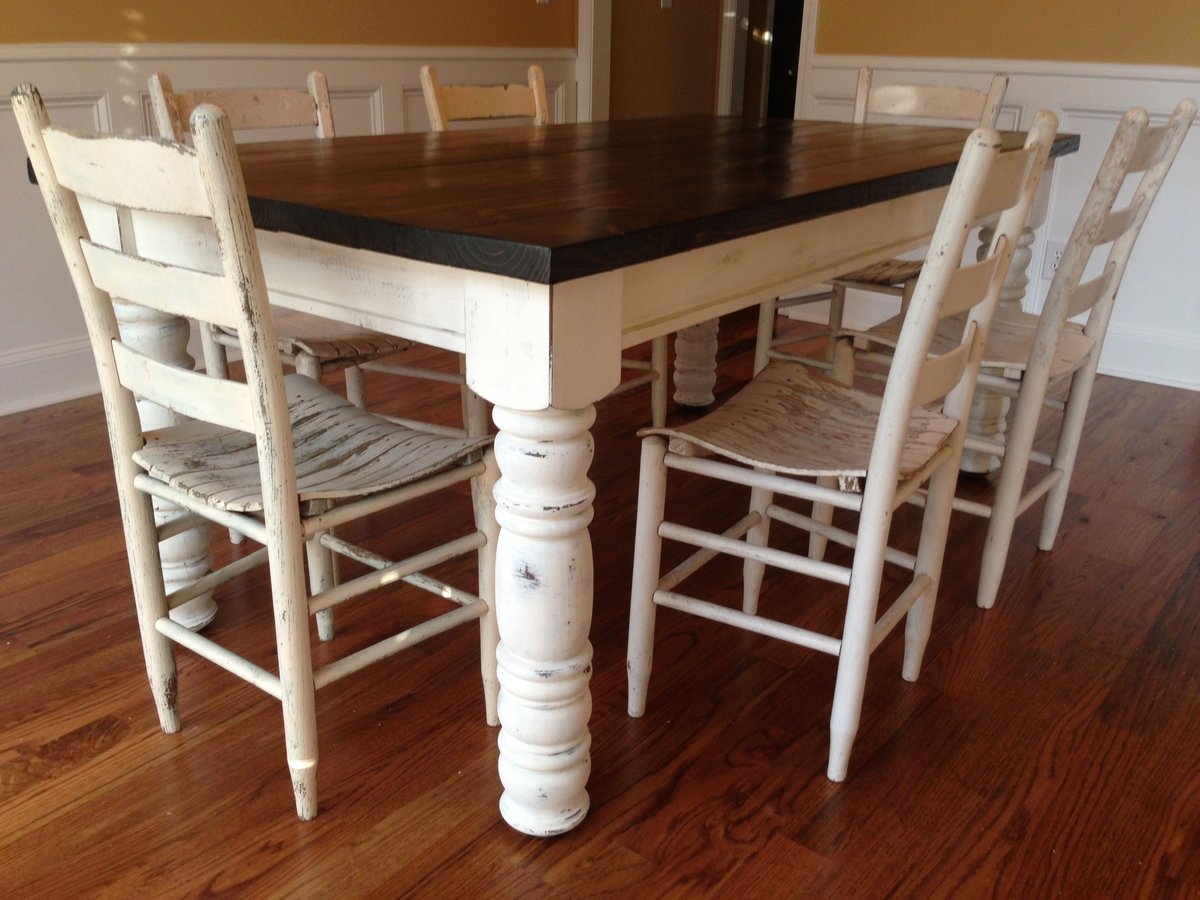
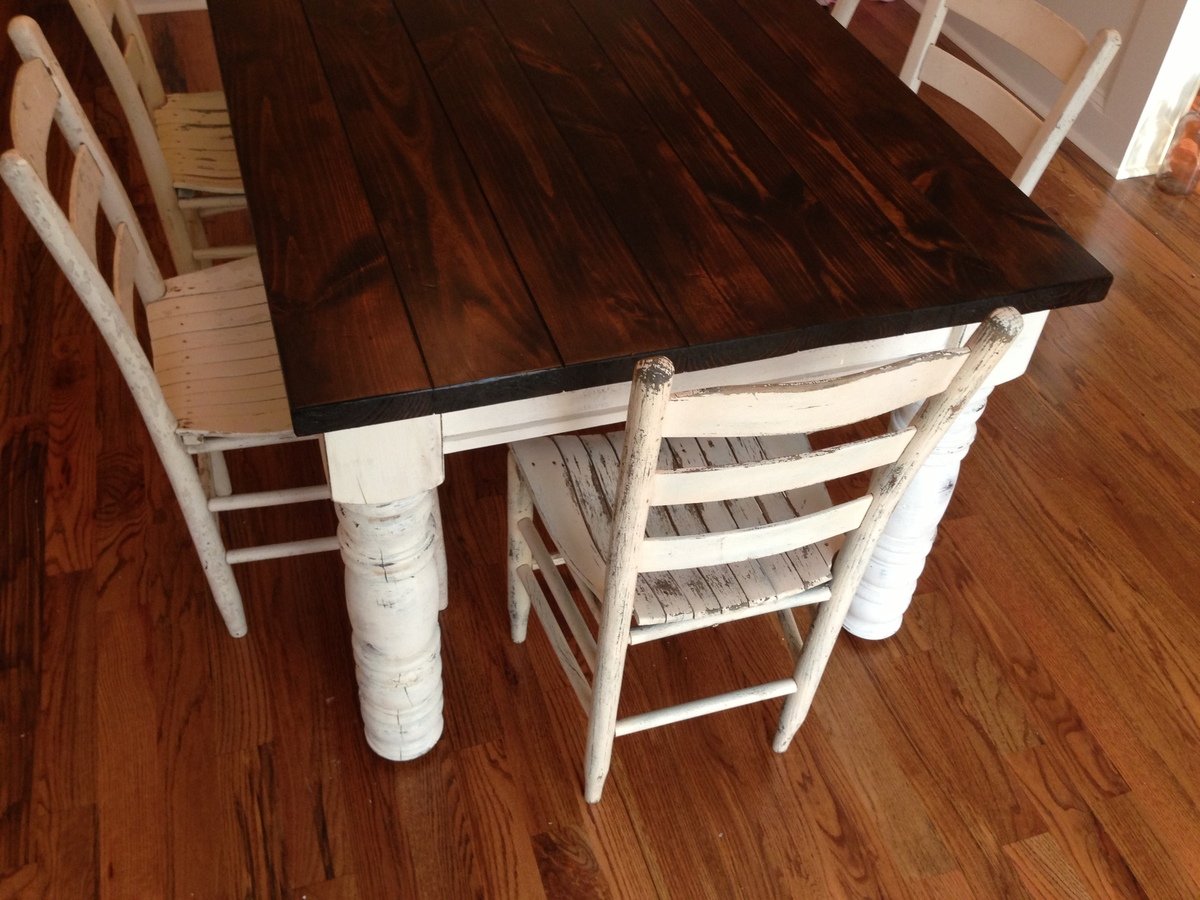
Husky Farmhouse Table

This is one of my favorite pieces on Ana's site. I knew the minute I laid eyes on it I had to build it. I hope you guys enjoy it half as much as I do.You can read the full details of the build at my blog here:

http://copycatcarpenter.blogspot.com

Built from Plan(s)
Estimated Time Investment
Week Long Project (20 Hours or More)
Finish Used
Espresso stain, Helsman Spar Urethane, Light Cream Milk Paint
Recommended Skill Level
Intermediate

Comments

JoanneS

Thu, 06/20/2013 - 16:00

Love this! You did a wonderful job, and the finishes are awesome! Also I read your blog post, what a great idea to give a new life to those bedposts and use them for your table legs.

Copycat Carpenter

Fri, 06/21/2013 - 05:14

I'm glad you like it! I've been showing this picture on my phone to everyone recently, like a proud parent, lol! Check back soon, I should have the full blog finished shortly.

spiceylg

Fri, 06/21/2013 - 07:58

Great job. Love the chunky legs and the story behind them! Way to repurpose!

Assembly/ Out feed table

This week's project was an outfeed/assembly table. A project that iv'e been needing for a while now. It's mostly constructed with 2x4's and plywood and mdf for the tops. I added caster the the legs to keep it mobile in my shop in case of having to move it around. I'm extremely happy with it and I love the extra space it provides underneath.

Blog article: http://www.lanebroswoodshop.com/2015/05/assemblyoutfeed-table.html

Video: https://www.youtube.com/watch?v=Hap5Dv60qHw

Estimated Cost
200
Estimated Time Investment
Weekend Project (10-20 Hours)
Recommended Skill Level
Intermediate

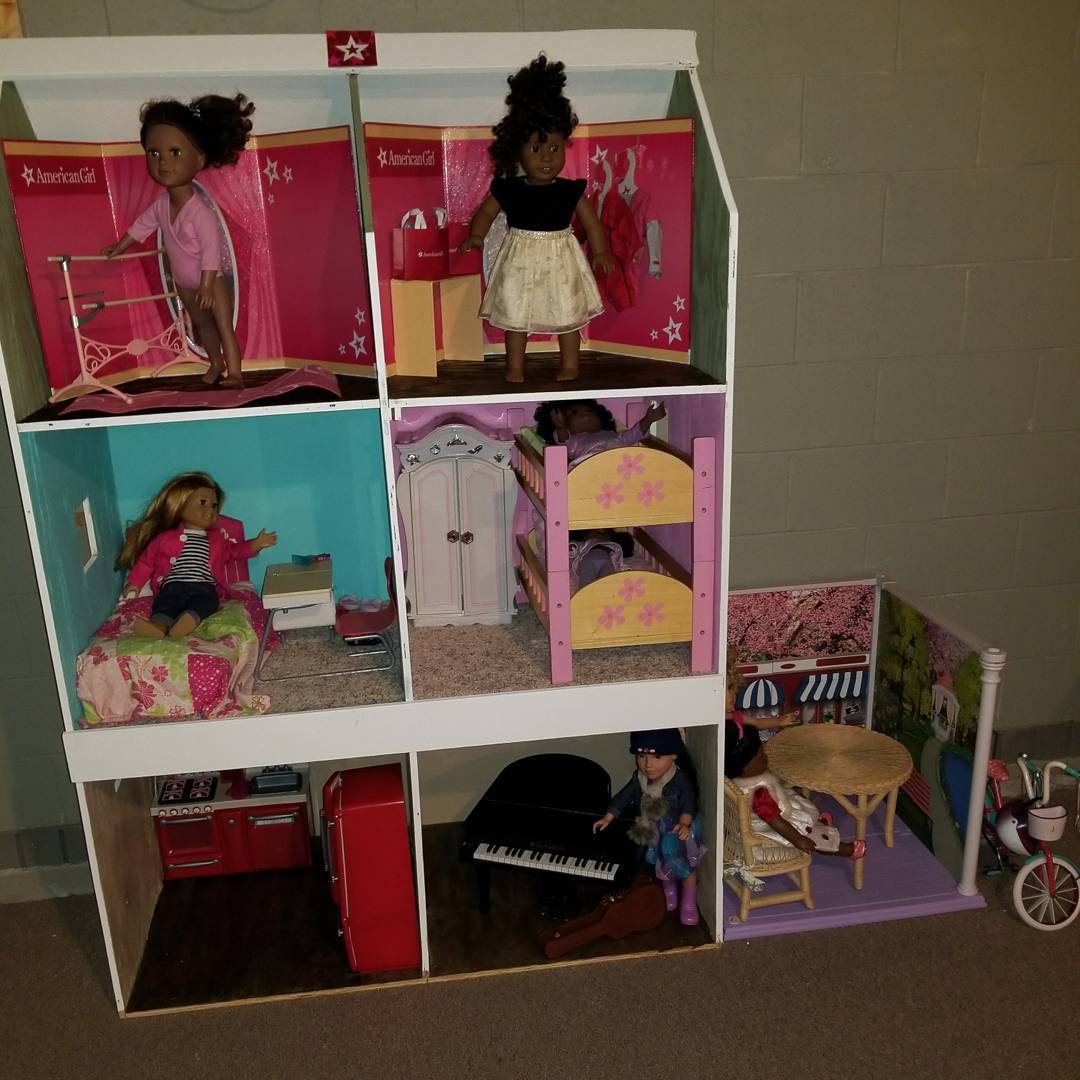
Doll house for 18" Dolls

Both my princesses absolutely LOVE their dollhouse. It was my first diy project and it's wasn't nearly as difficult as I thought it would be. 

Estimated Cost
I spent roughly $46 on the wood. We had a bunch of extra paint lying around the house and left over carpet pieces we decided to use.
Estimated Time Investment
Weekend Project (10-20 Hours)
Recommended Skill Level
Beginner

Adirondack Chairs!

Submitted by Anonymous (not verified) on Sun, 12/26/2021 - 12:32

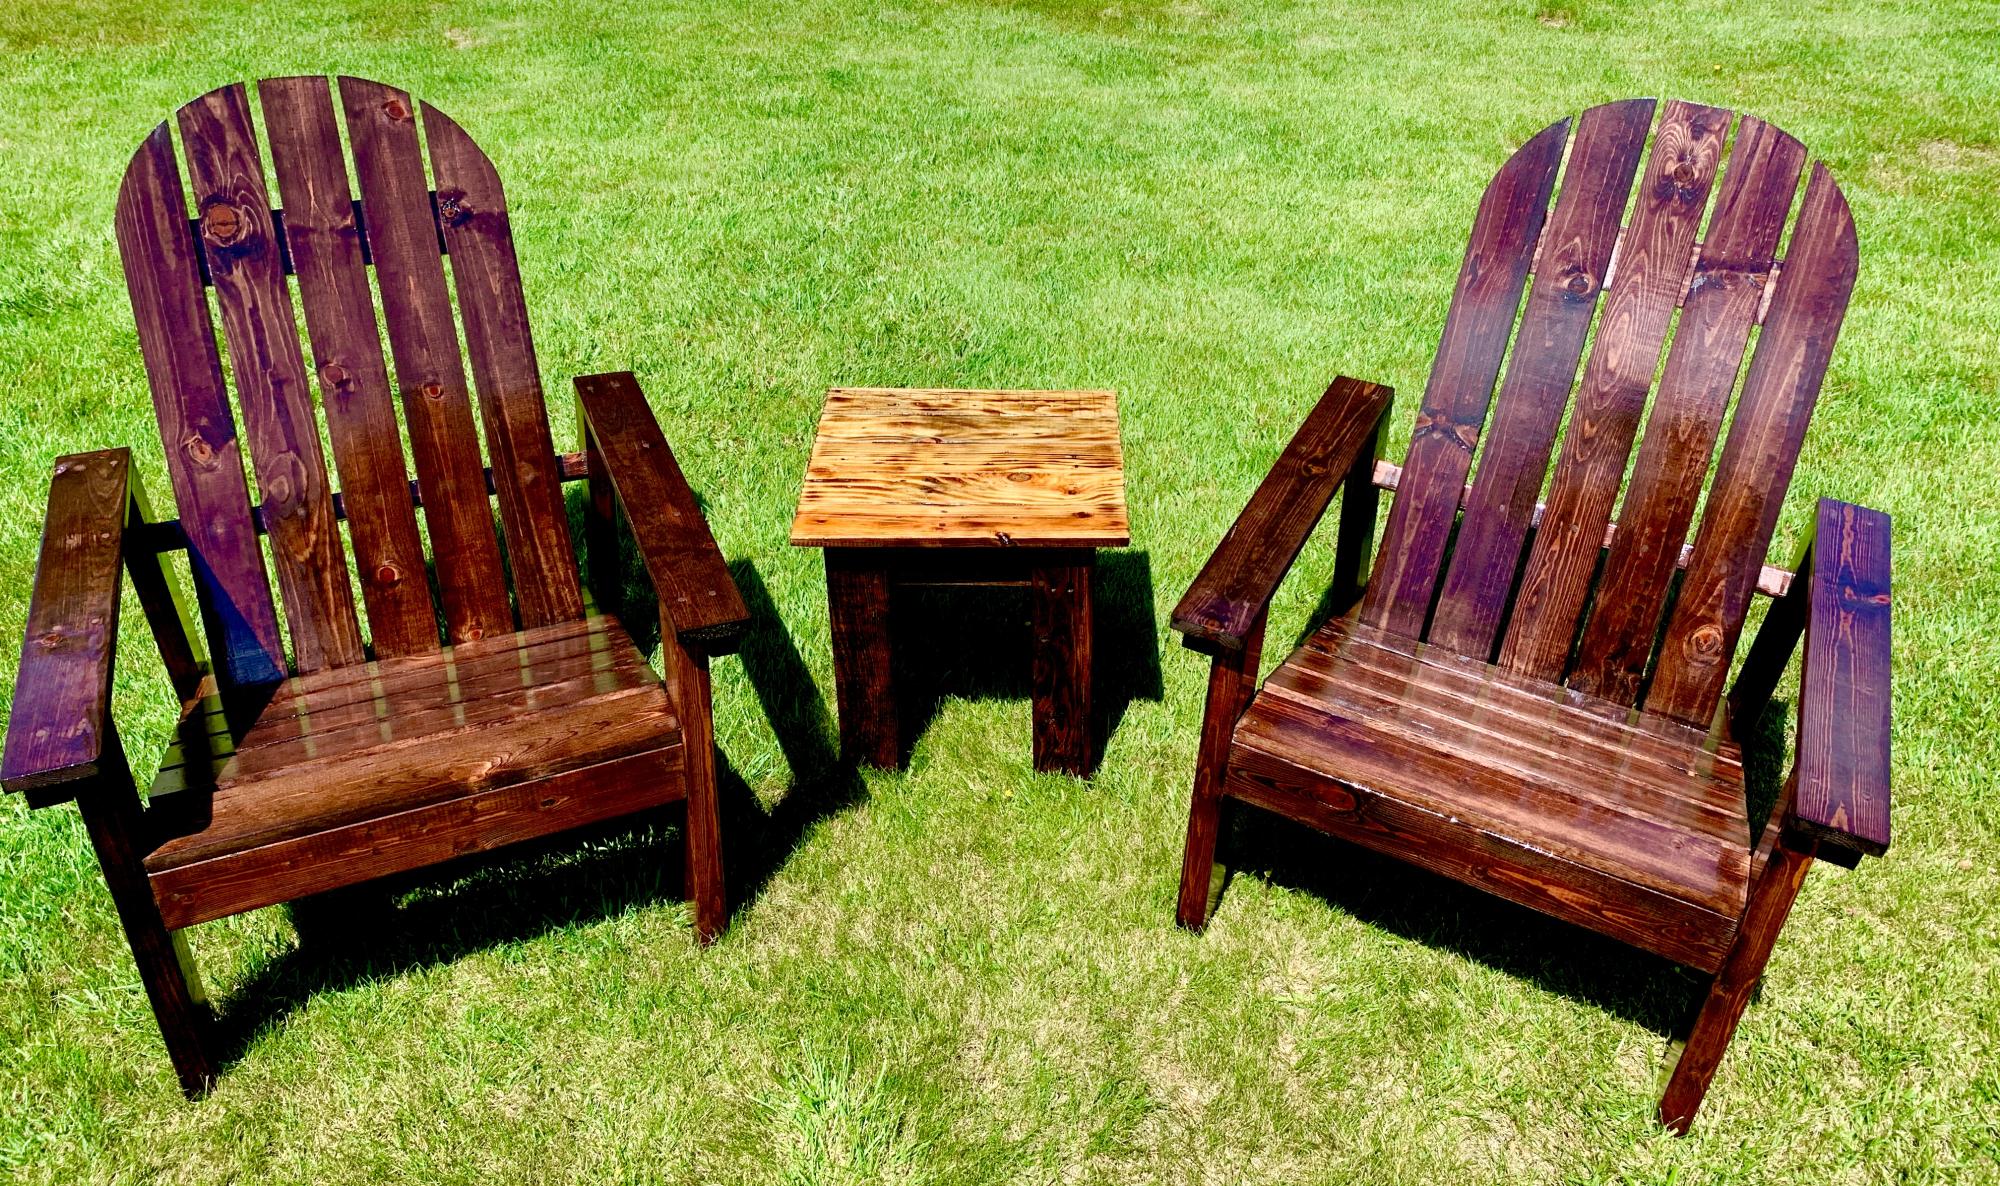
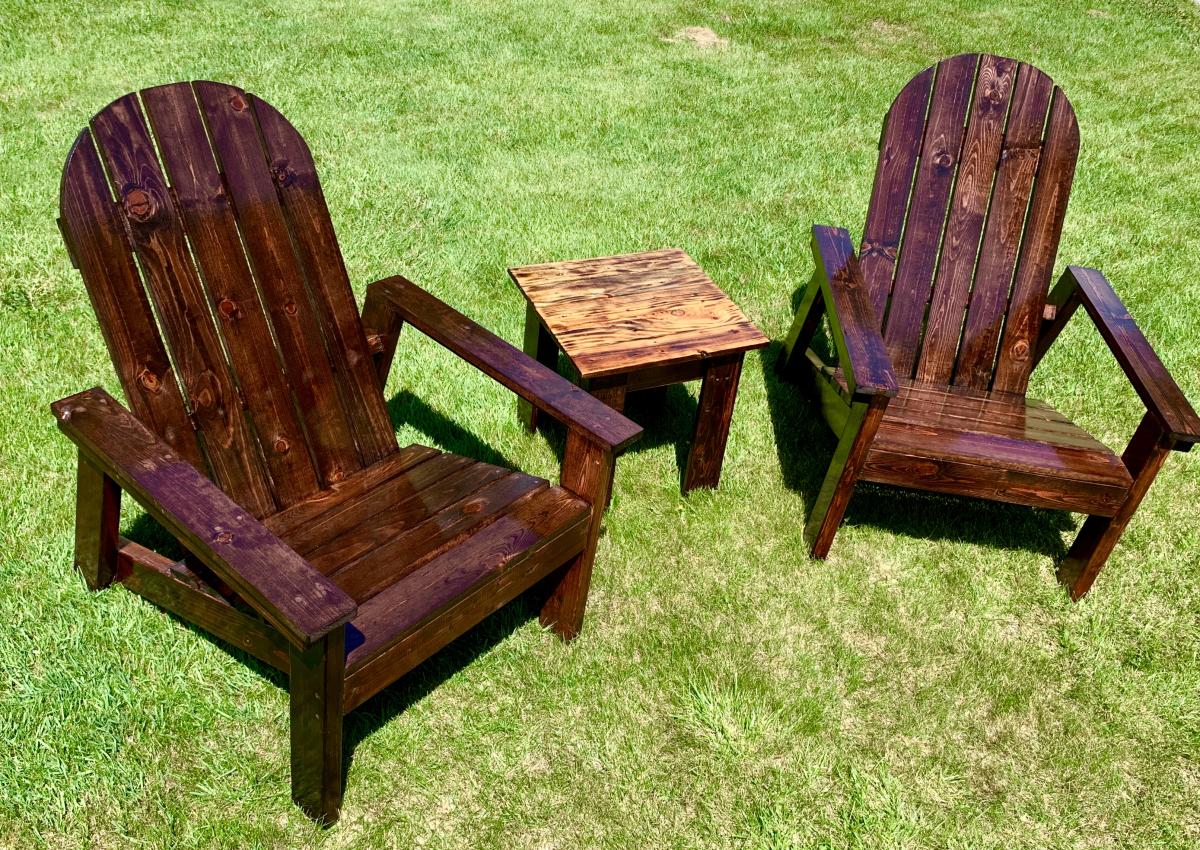
Ana’s Adirondack Chairs are the best!! The plans are so easy to follow and the chairs last for years! I made a pair for myself years ago and still constantly get compliments on them. I now make them (when I can) for gifts for friends for all occasions... Christmas, Weddings, you name it! Thank you Ana for sharing your talents with all of us. Blessing for a great 2022!

Comments

Lego Table with matching end tables

Submitted by hblackburn on Tue, 04/19/2011 - 18:13

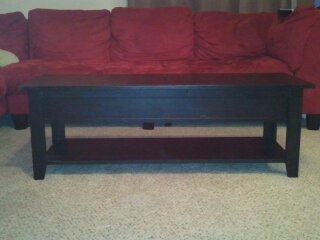
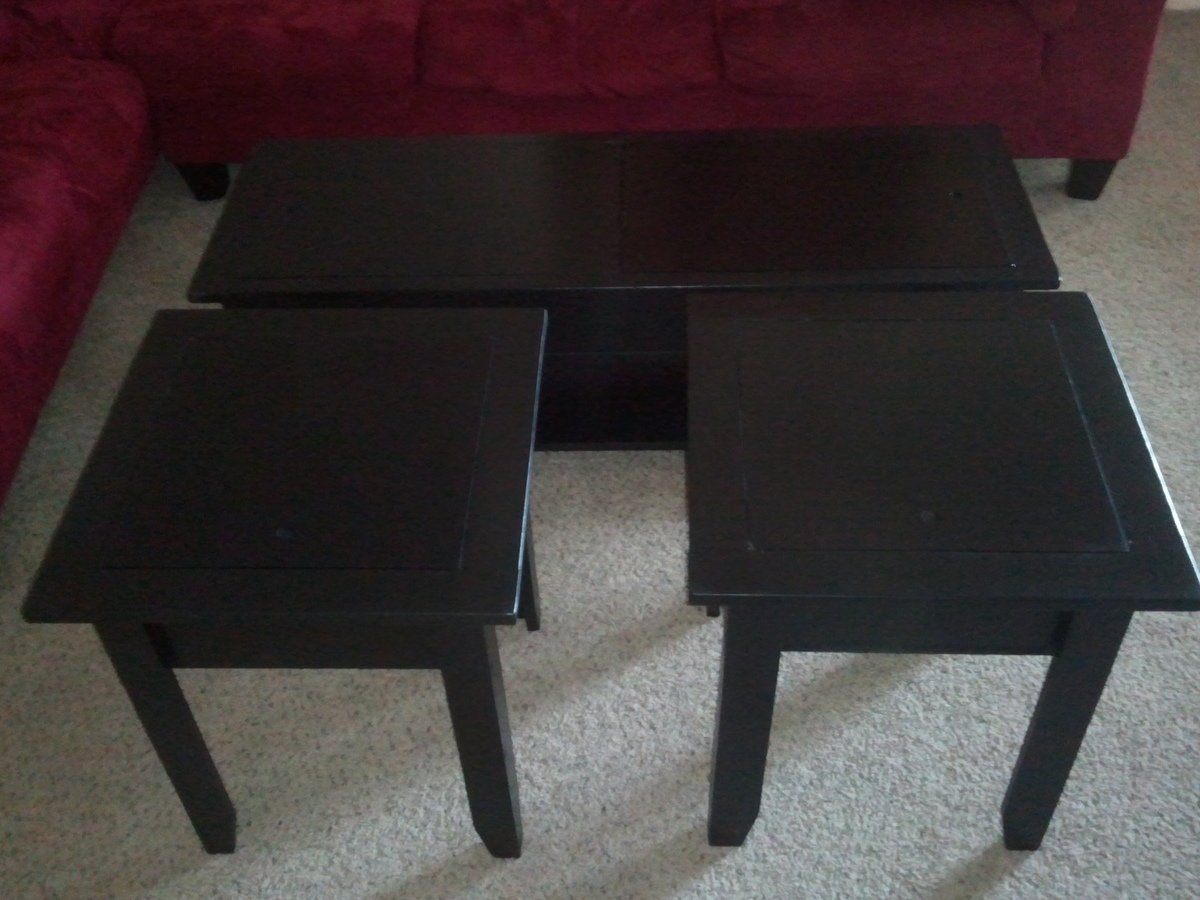
This is the lego table my husband & I made. It was a fun project to build & we liked it so much we had to make some end tables to match. We used the same design just scaled everything down for the end tables. Making them was no problem but painting them was a different story. We started out with a latex primer & paint,  & found out that was a mistake. The latex paint is just too soft for furniture. So we went out & got some oil base paint and sprayed them. With lots of sanding & repainting we finally got them done.

Estimated Cost
$100
Estimated Time Investment
Weekend Project (10-20 Hours)
Finish Used
Oil base paint.
Recommended Skill Level
Beginner

My first DIY project

Submitted by sara1 on Sun, 06/23/2013 - 07:08

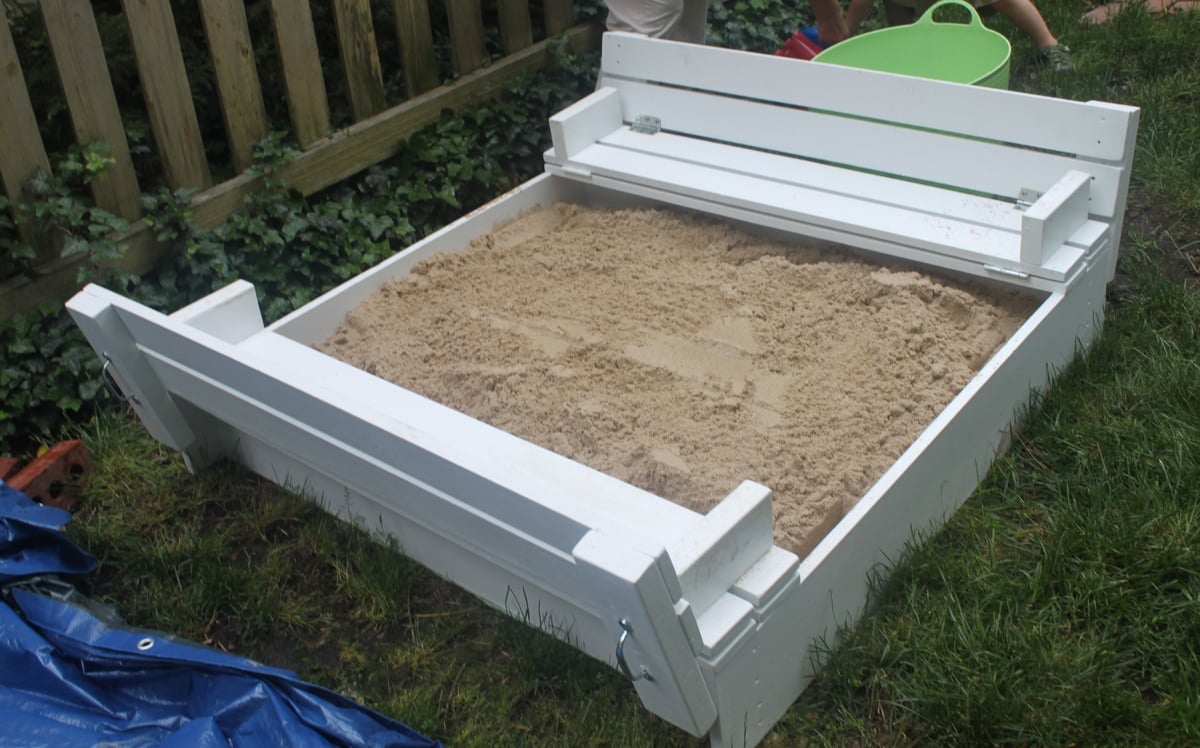
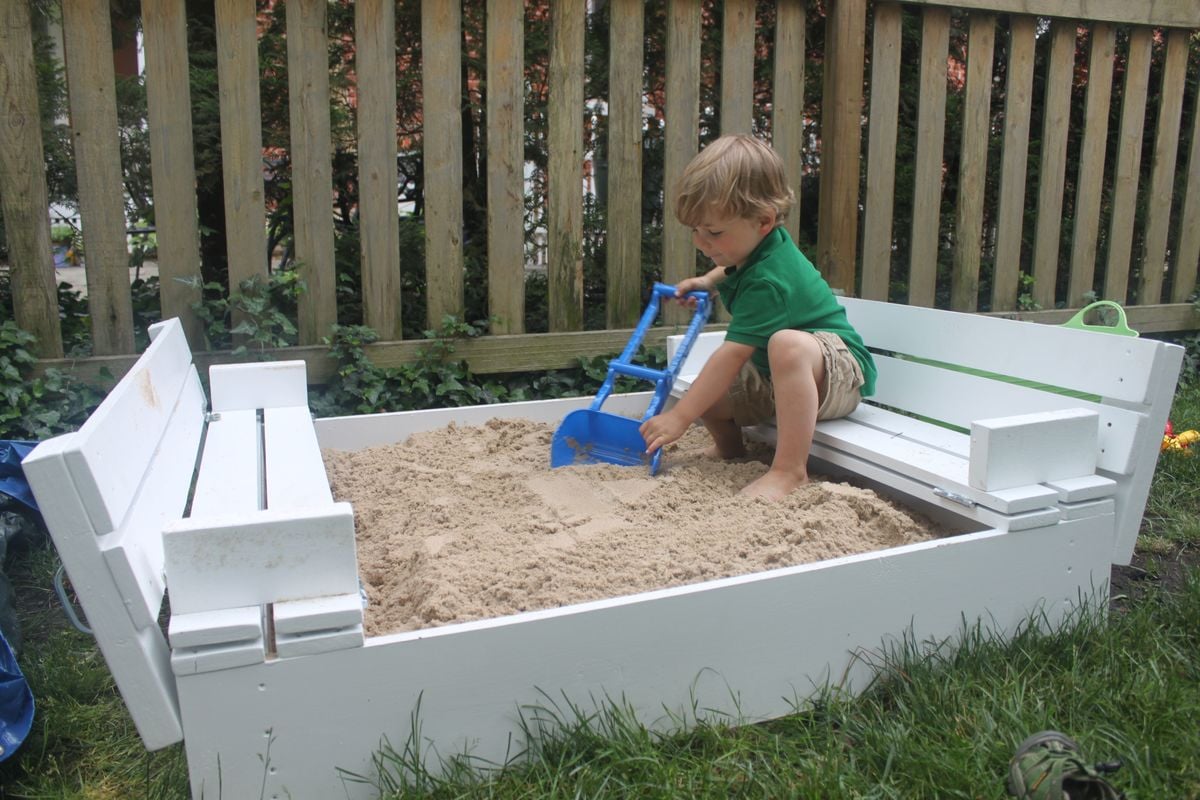
I was inspired to try this after reading all the comments and being discouraged by the high price and poor quality of commercial sandboxes. We followed the instructions and it was super easy! I'm a complete novice, so if I can do it, anybody can.

After cutting the wood and sanding it, it only took about three hours to assemble the sand box. I then primed and painted it the next day taking about 3-4 hours. We also attached a landscaping barrier to the bottom with a staple gun to prevent weeds from growing through the sand. We used 10 bags (50 lbs) of play sand, but you could get by with less.

So far, it's been a big hit with my three-year-old son.

Built from Plan(s)
Estimated Cost
$150
Estimated Time Investment
Weekend Project (10-20 Hours)
Finish Used
Valspar primer and pure white, satin finish
Recommended Skill Level
Starter Project

Work Table

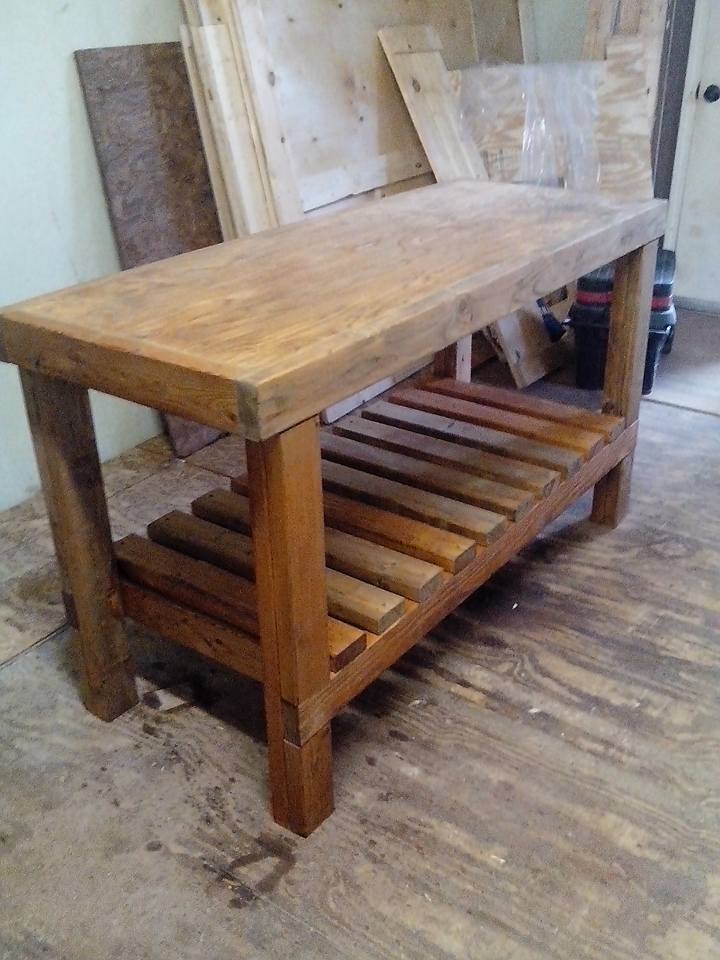
Instead of having the plywood top sit on top of the frame, I sunk it into the frame instead with 2x4 supports underneath.

Built from Plan(s)
Estimated Cost
$50
Estimated Time Investment
Weekend Project (10-20 Hours)
Finish Used
oak stain
Recommended Skill Level
Starter Project

Dining Room Pedestal Table

I've been wanting to build a pedestal dining table for a while, and loved these plans!

Estimated Cost
$120
Estimated Time Investment
Weekend Project (10-20 Hours)
Finish Used
I used a variety of stains but ultimately went with Briarsmoke by Varathane.
Recommended Skill Level
Intermediate

Full Storage Bed

I built Ana's Full Storage Bed.  This was fairly easy to build and it is a perfect bed for a child's room.  I LOVE the added storage!  You can see the plans for the crates I built to fit at our blog http://www.shanty-2-chic.com/2011/03/crates-for-storage-bed.html 

Built from Plan(s)
Estimated Cost
$120
Estimated Time Investment
Day Project (6-9 Hours)
Finish Used
Minwax Dark Walnut Stain and Minwax Polycrylic Gloss
Recommended Skill Level
Intermediate

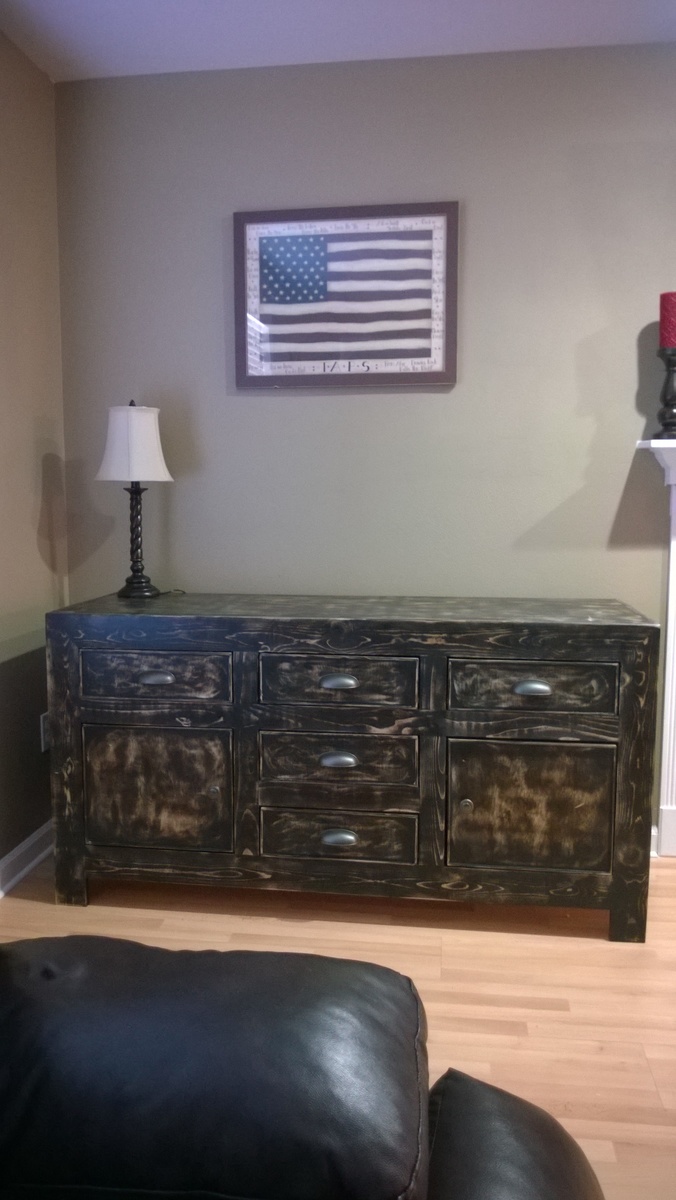
Modified Dawsen

Submitted by watkinsjc on Sun, 06/07/2015 - 09:08

Dimensions reduced to 60"x31"

Estimated Cost
$250
Estimated Time Investment
Weekend Project (10-20 Hours)
Finish Used
Early American stain, Flat Carbon black paint, heavy distressing
Recommended Skill Level
Intermediate

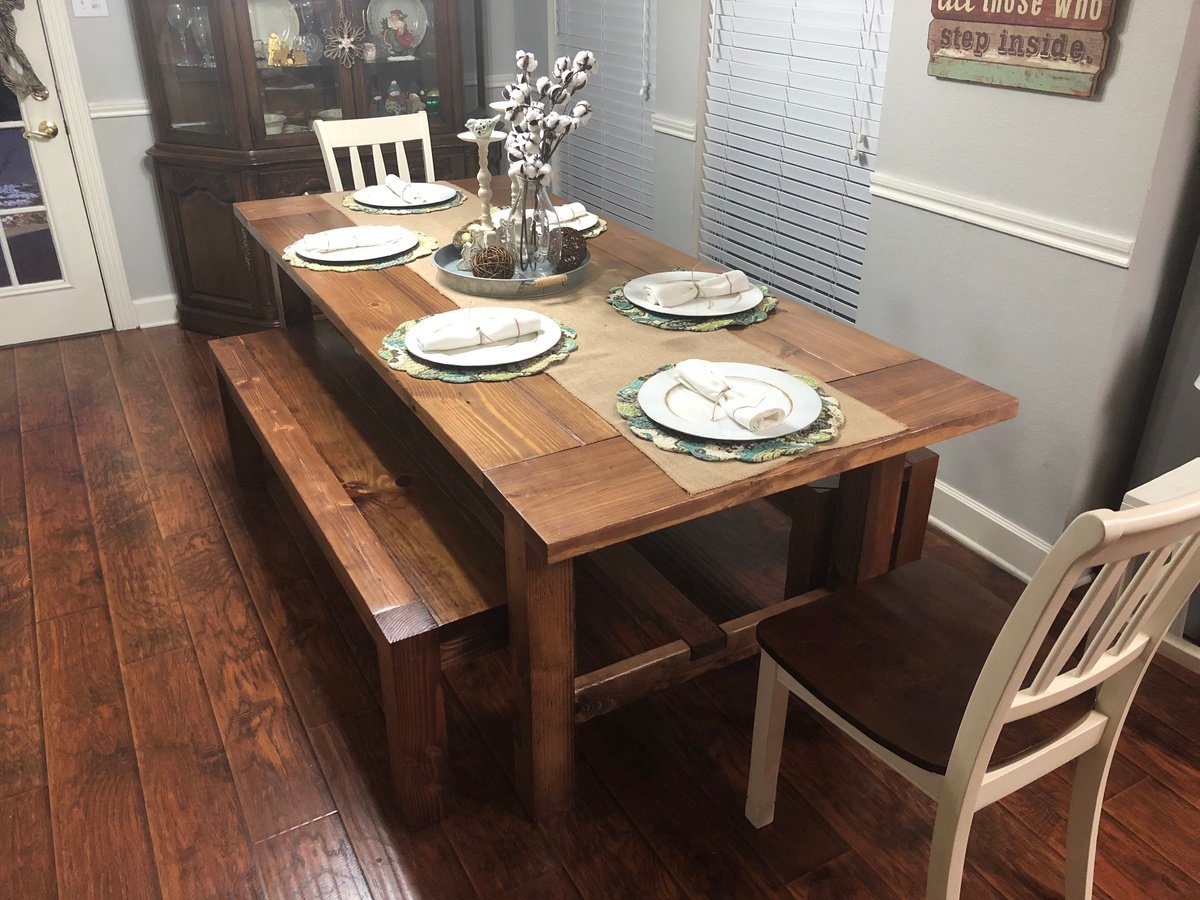
Farmhouse Table

Finally got the time to do the farmhouse table. Changed up just a few things. Flipped the ends around to add more leg room and put a 2x10 as breadboards. Chairs fit in about 8 inches under now and plenty of leg room and I'm 6'3. Only real adjustment is shorten the stretcher board by 3 inches total but just do stretcher board last and measure it to fit exactly.

Also wanted a different style bench so went with the bench that matched the Big Ur Farm Table and Bench and customized the benches to fit. Also instead of 2x4 all across top of bench I place a 2s8 in center. Adds just a 1/4 inch in total depth and looks great and one less board to do pocket holes on.

Estimated Cost
Approximately $300. Wood was close to $200 for table and two benches. Rest was stains, wood conditioner, poly, pocket screws etc.
Estimated Time Investment
Weekend Project (10-20 Hours)
Finish Used
Miniwax Red Oak stain. Just used a rag and wiped in the stain. Definitely use wood conditioner first. Drastically helps if using pine or other soft woods. Then just a few coats of poly.
Recommended Skill Level
Intermediate