Lift Top Toybox Coffee Table
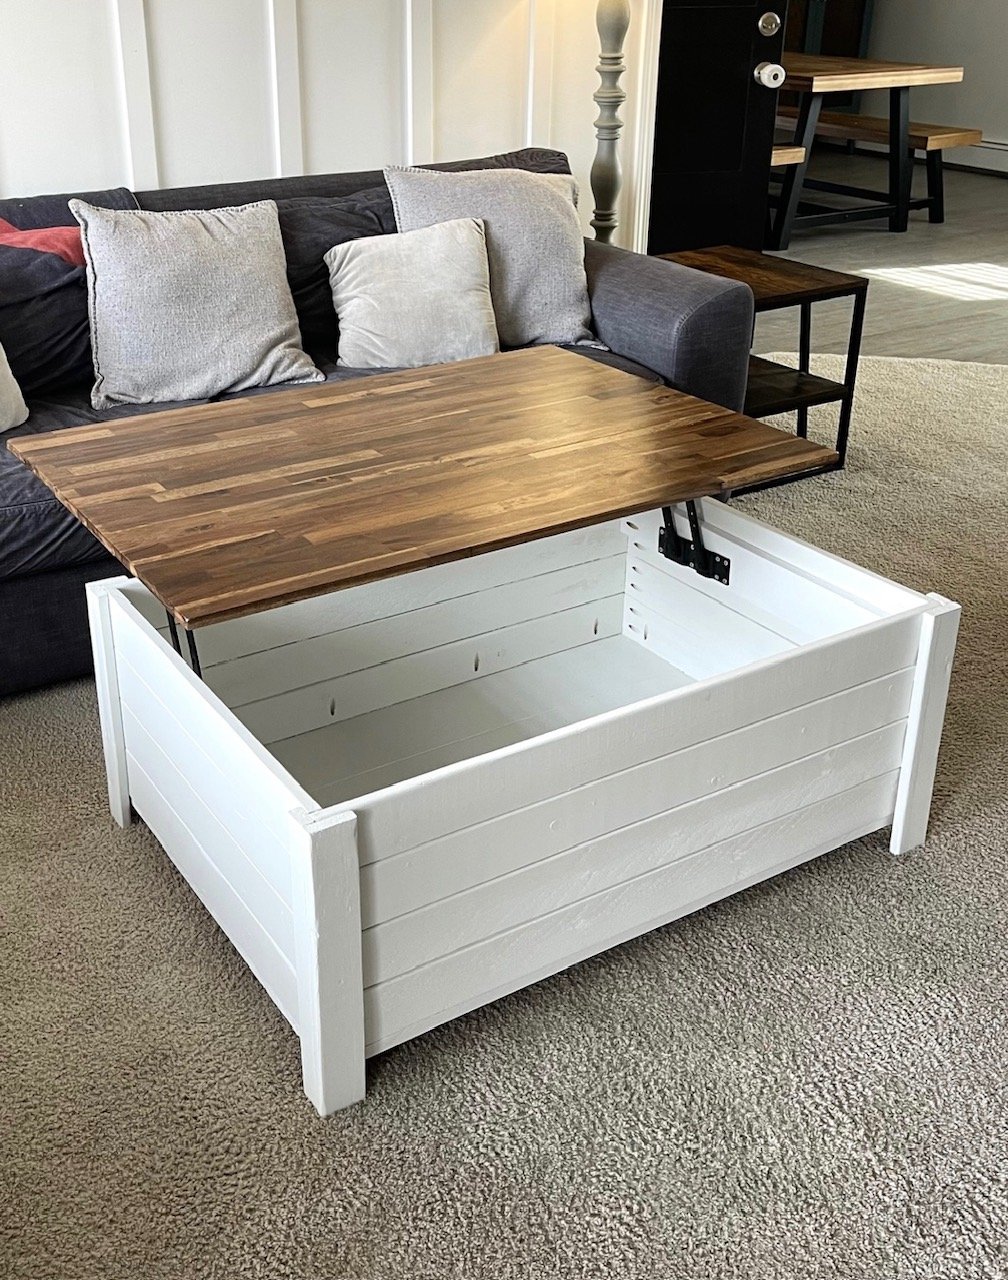
Made a few adjustments to the measurements and top… pretty happy with the way it turned out!
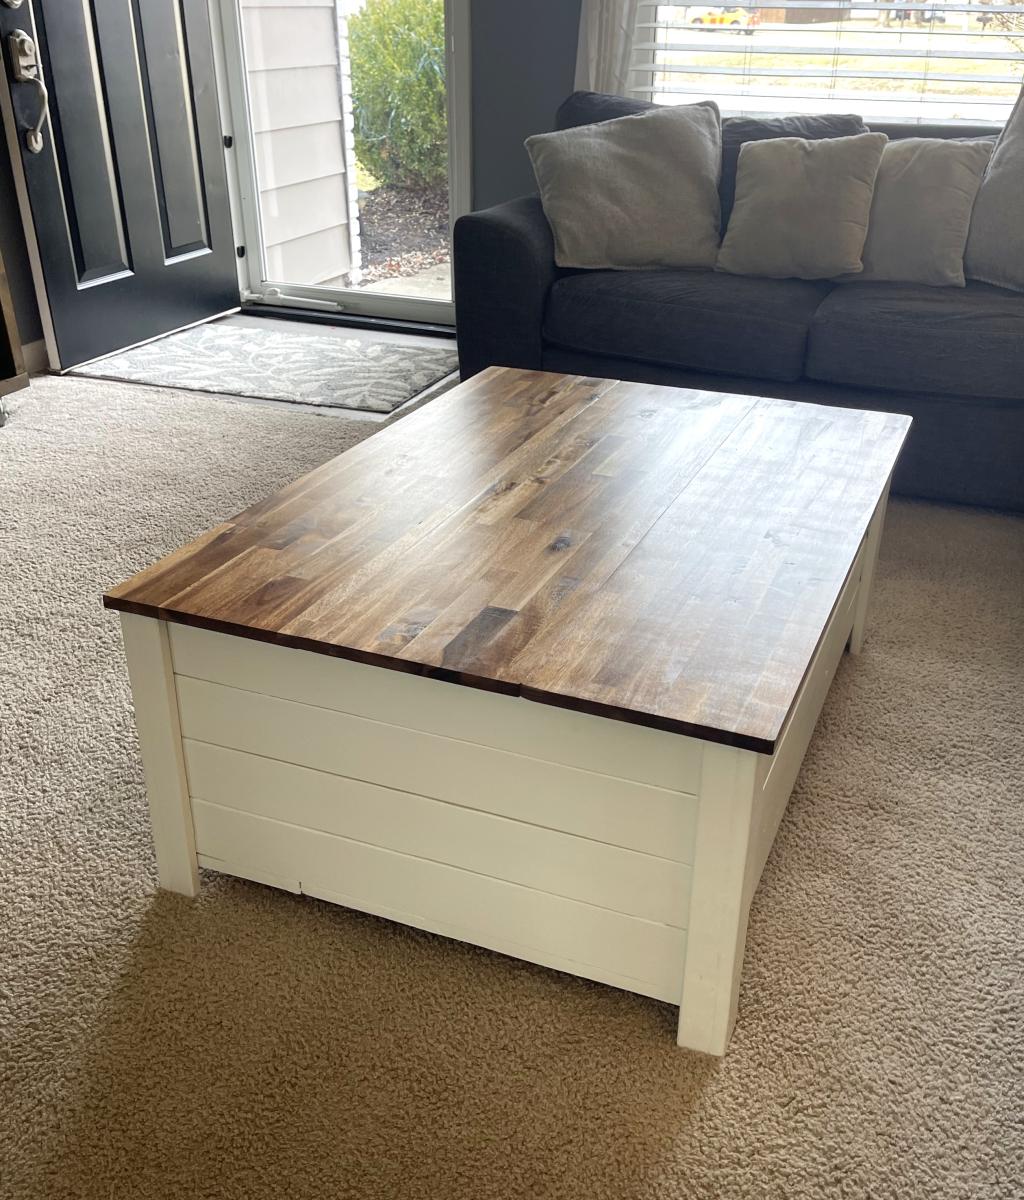

Made a few adjustments to the measurements and top… pretty happy with the way it turned out!

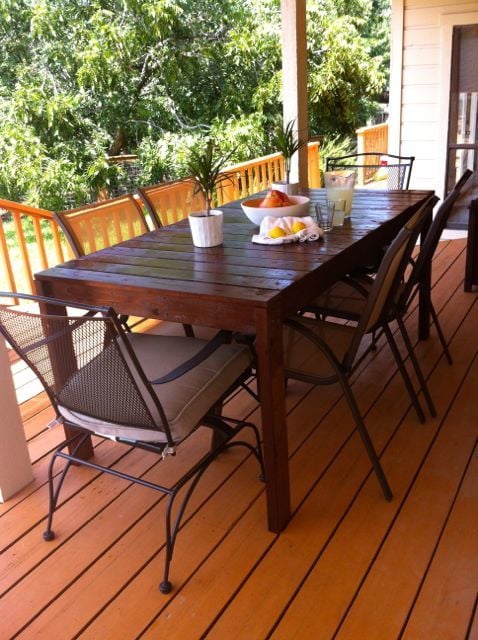
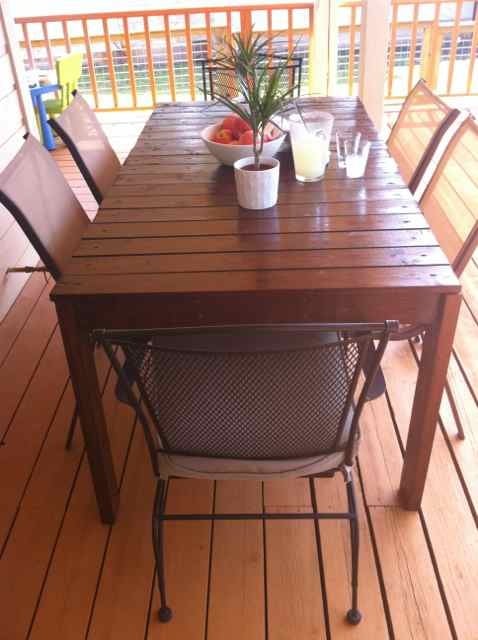
I built this outdoor patio table in about a weeks time working on and off. There are mistakes, it's uneven in places and it is not perfect! That being said, the plans for this are very forgiving and nobody would ever know without looking for these things.
You can get the breakdown on the build, the finish I used, chair solutions and other suggestions here:
http://legosecretagent.blogspot.com/2012/07/outdoor-patio-table.html
This beautiful table only cost around $60 total to build!
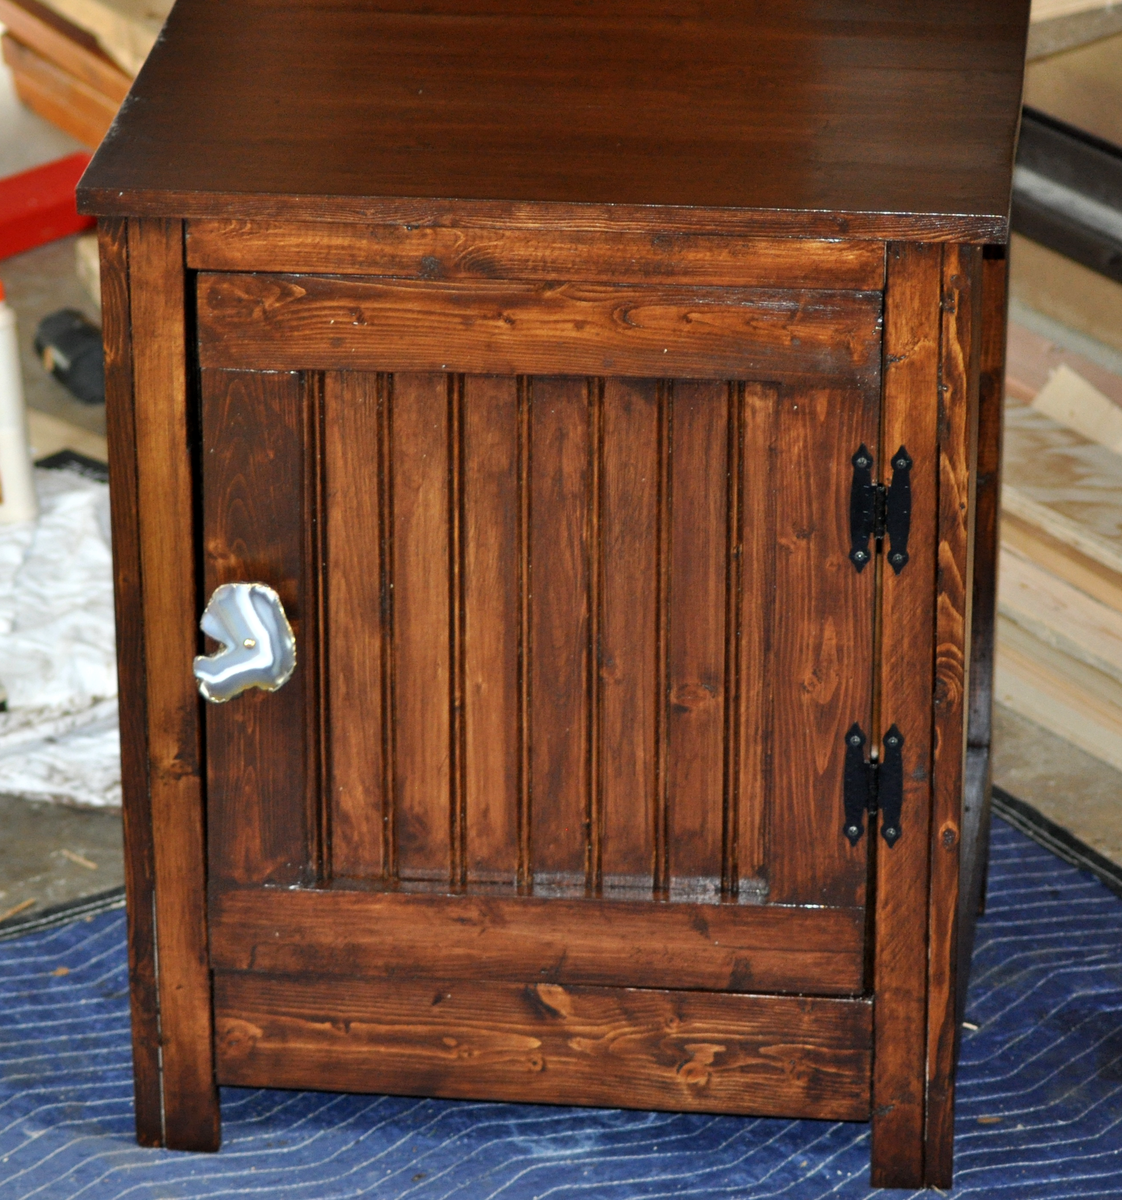
I DO NOT have a Kreg Jig. If you don't have a Kreg Jig, I recommend purchasing small mending plates. I got mine at Walmart, they were $1.77 a 4 pack. I do not recommend using 3 inch nail screws and trying to get them in super straight. While it worked for 3 face frames, the last frame I just could not get to work (maybe I was getting tired). Speaking of tired, I mostly build in the middle of the night while my family is sleeping. If you look closely, I put the 1x2 26 1/2 inch pieces on the front and back frame. Wah wah.... I had to add an extra 1x2 across the top and re-size the 3/4 inch plywood on the bottom.
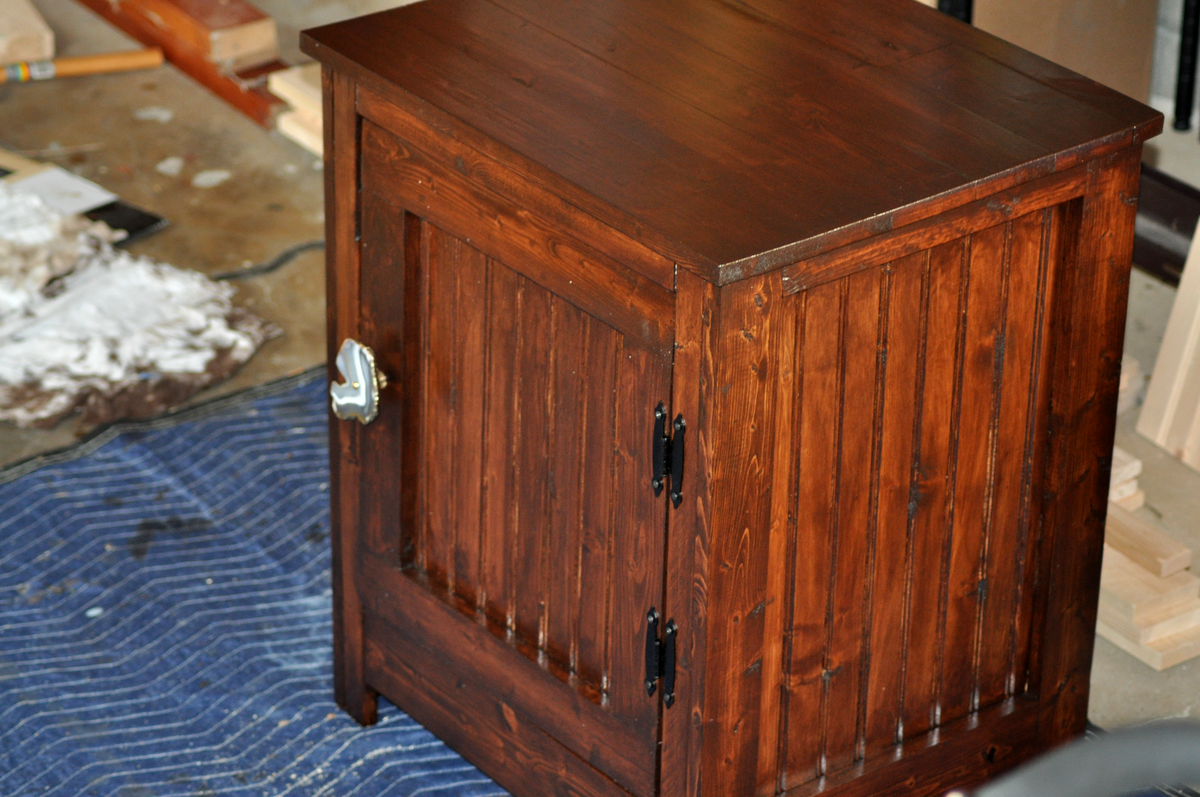
I'm pretty sure everything went wrong for me with this build but I wasn't going to let a nightstand beat me!
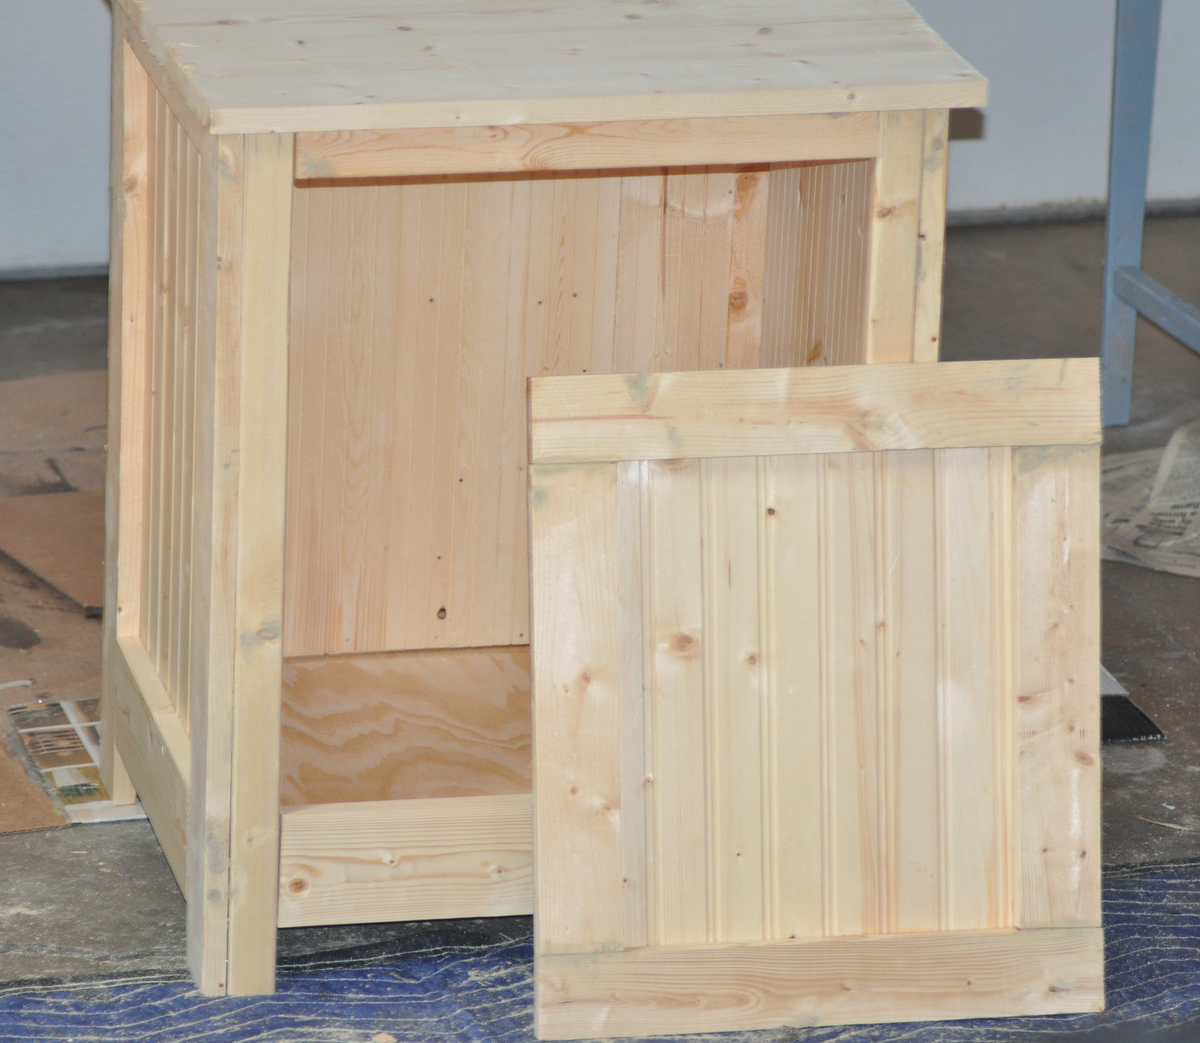
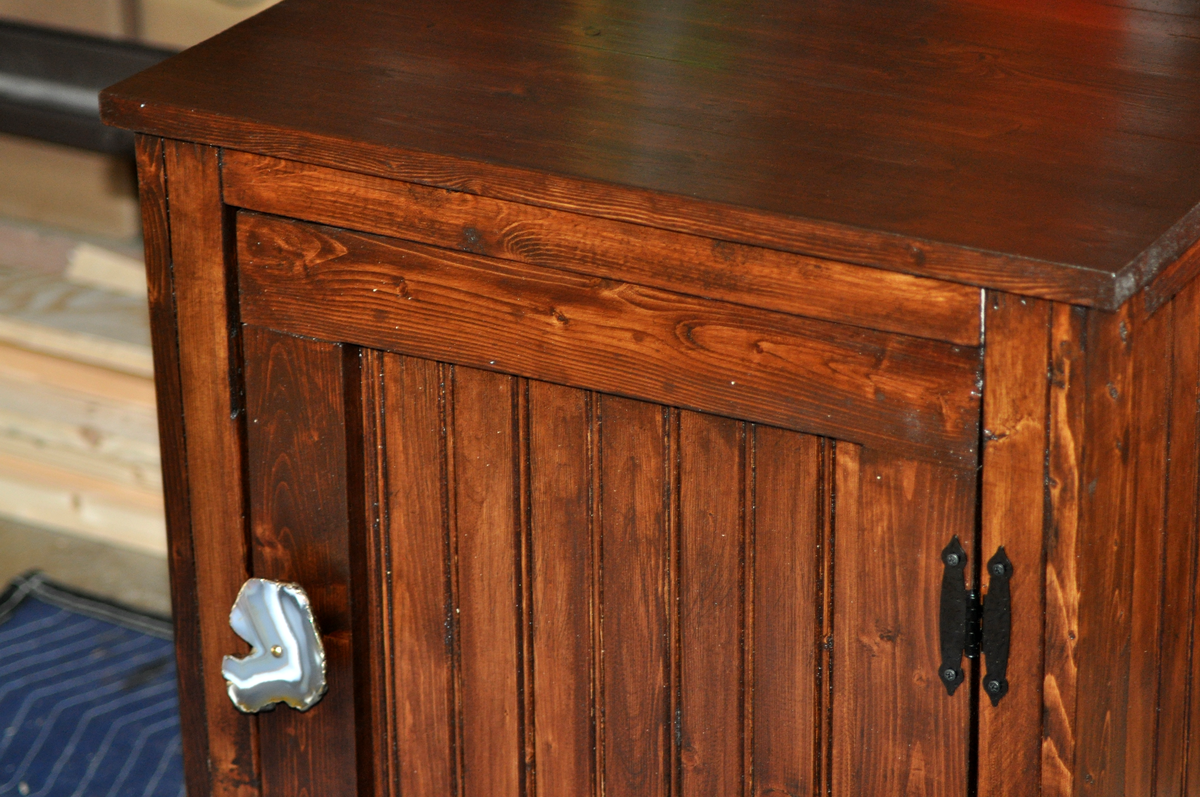
In case you are wondering, the cabinet pull is from Anthropologie. I haven't decided whether or not it's too fabulous for this piece.
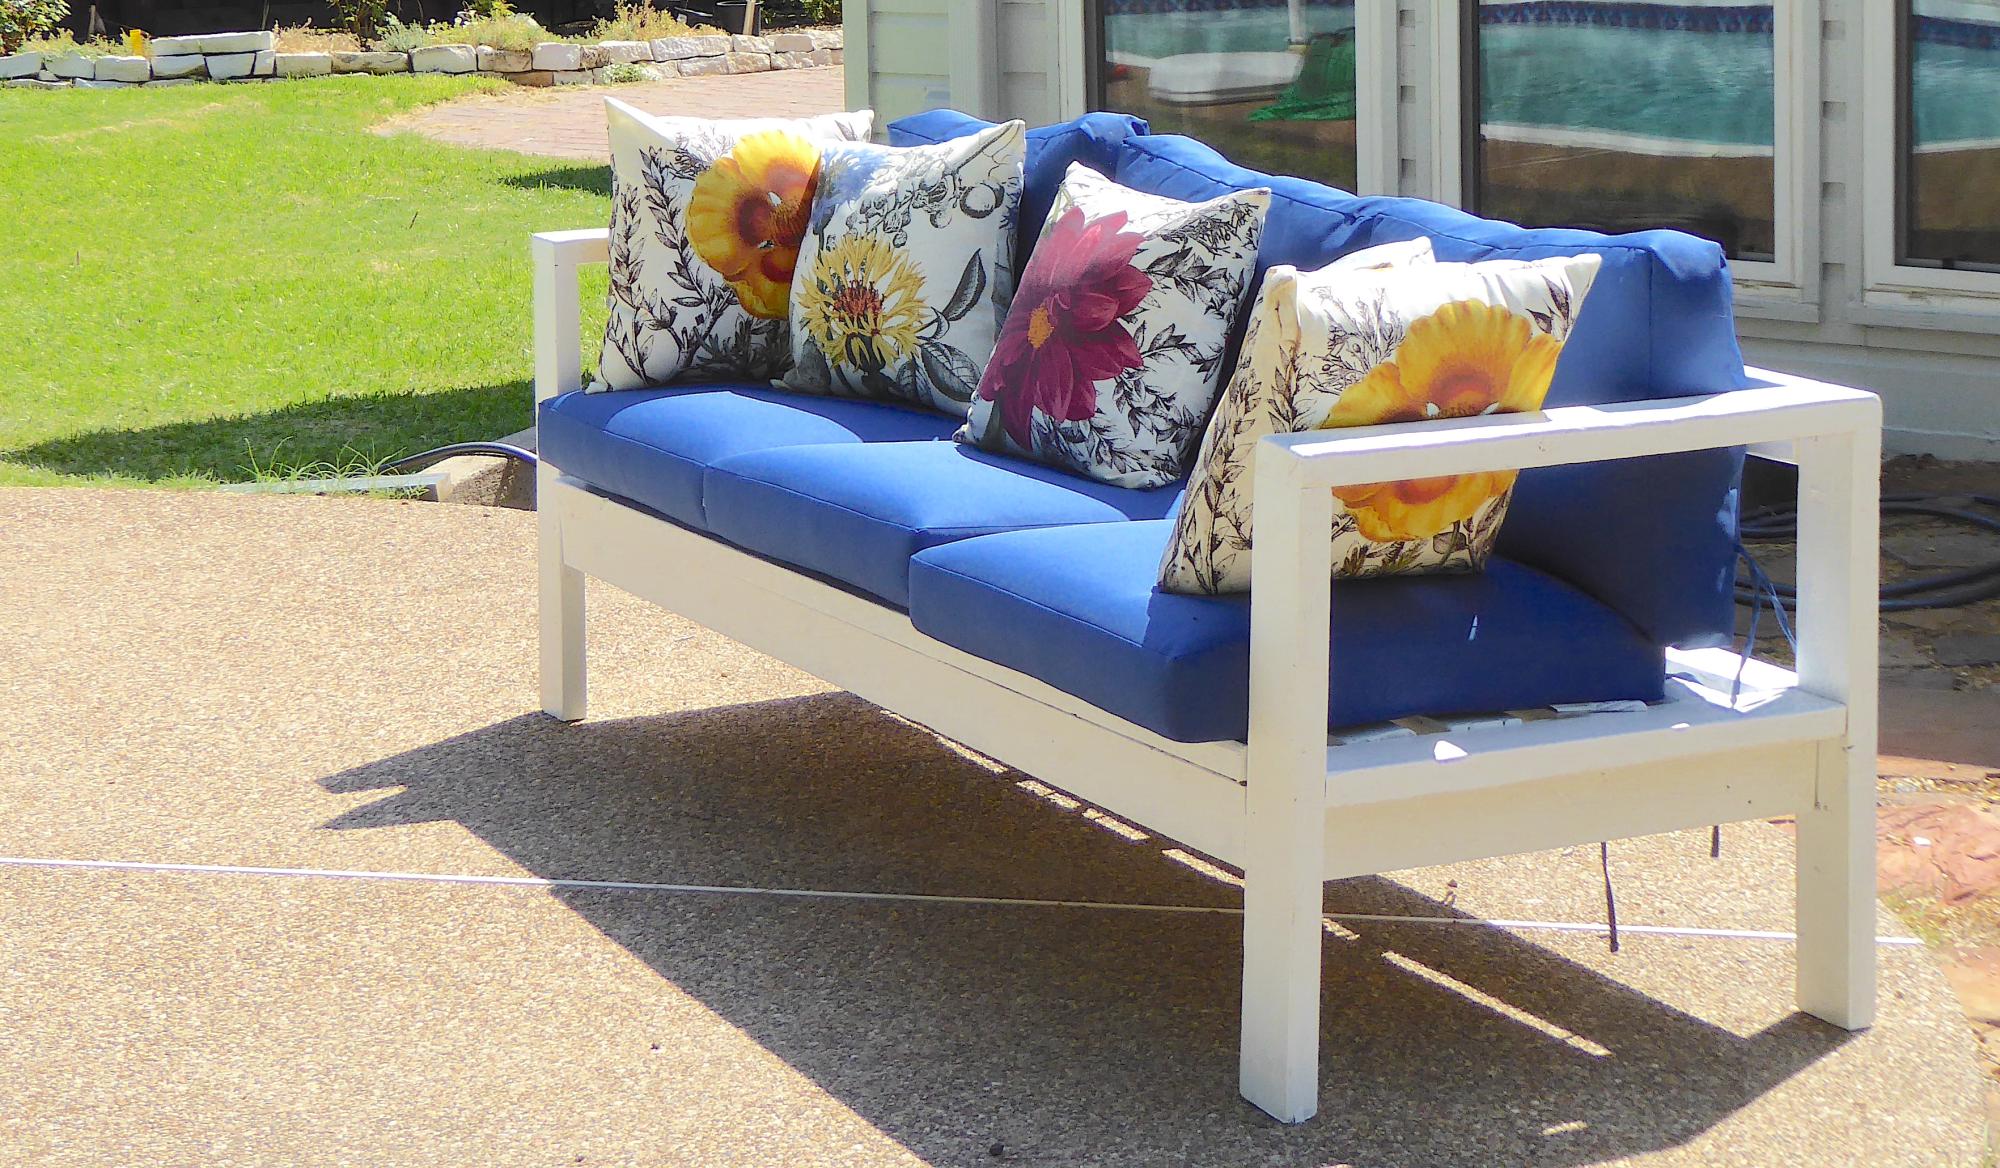
Made from wood salvaged from a renovation. Cushions from Improvements Catalog and Target.
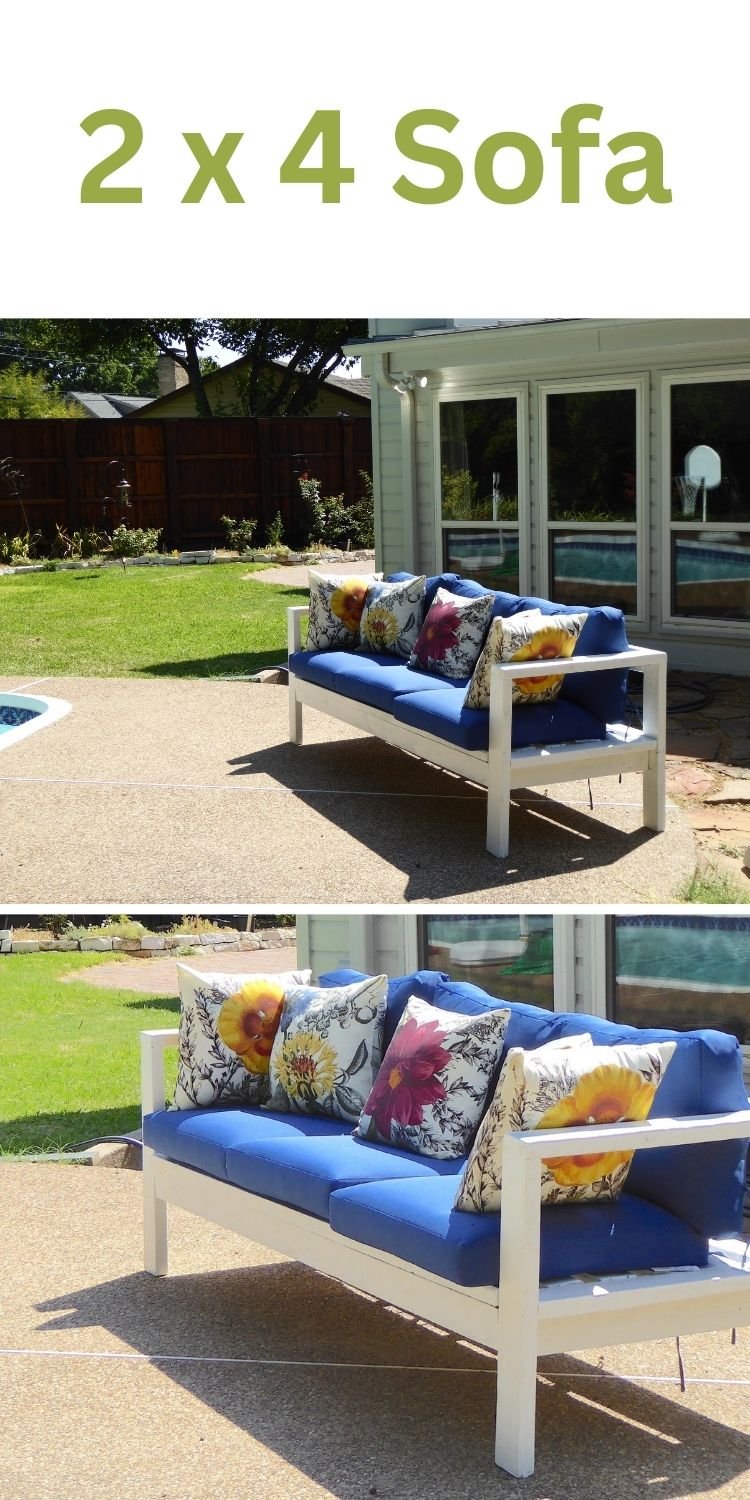
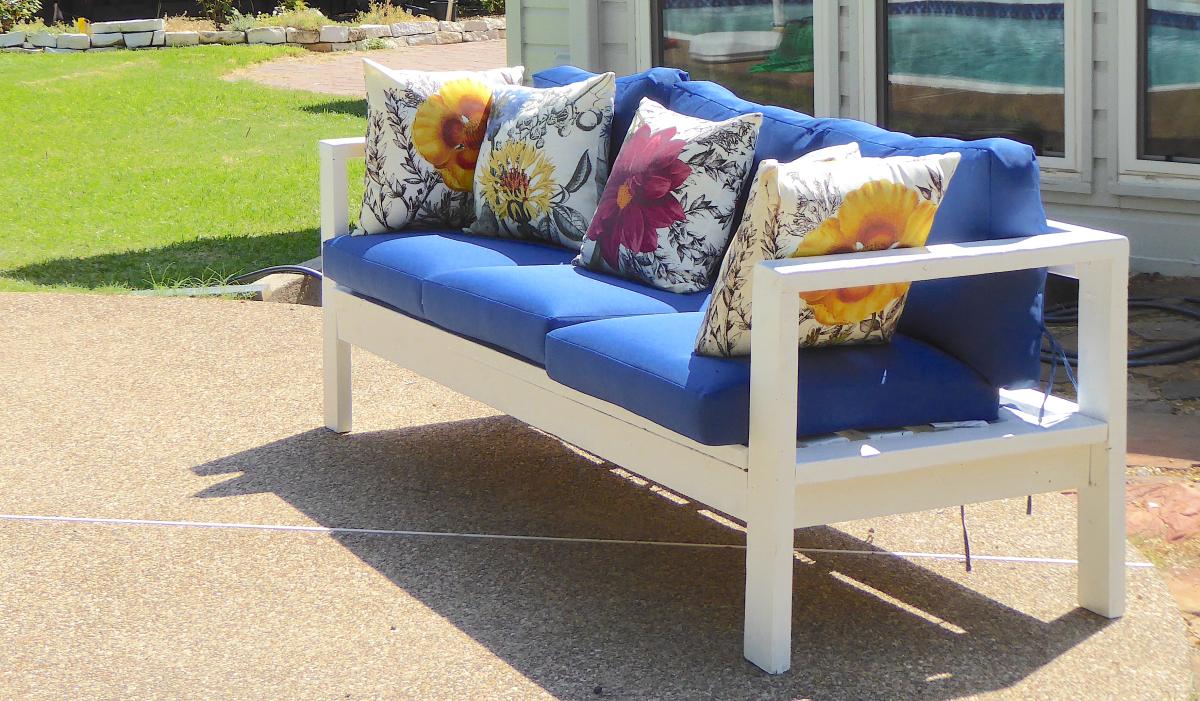
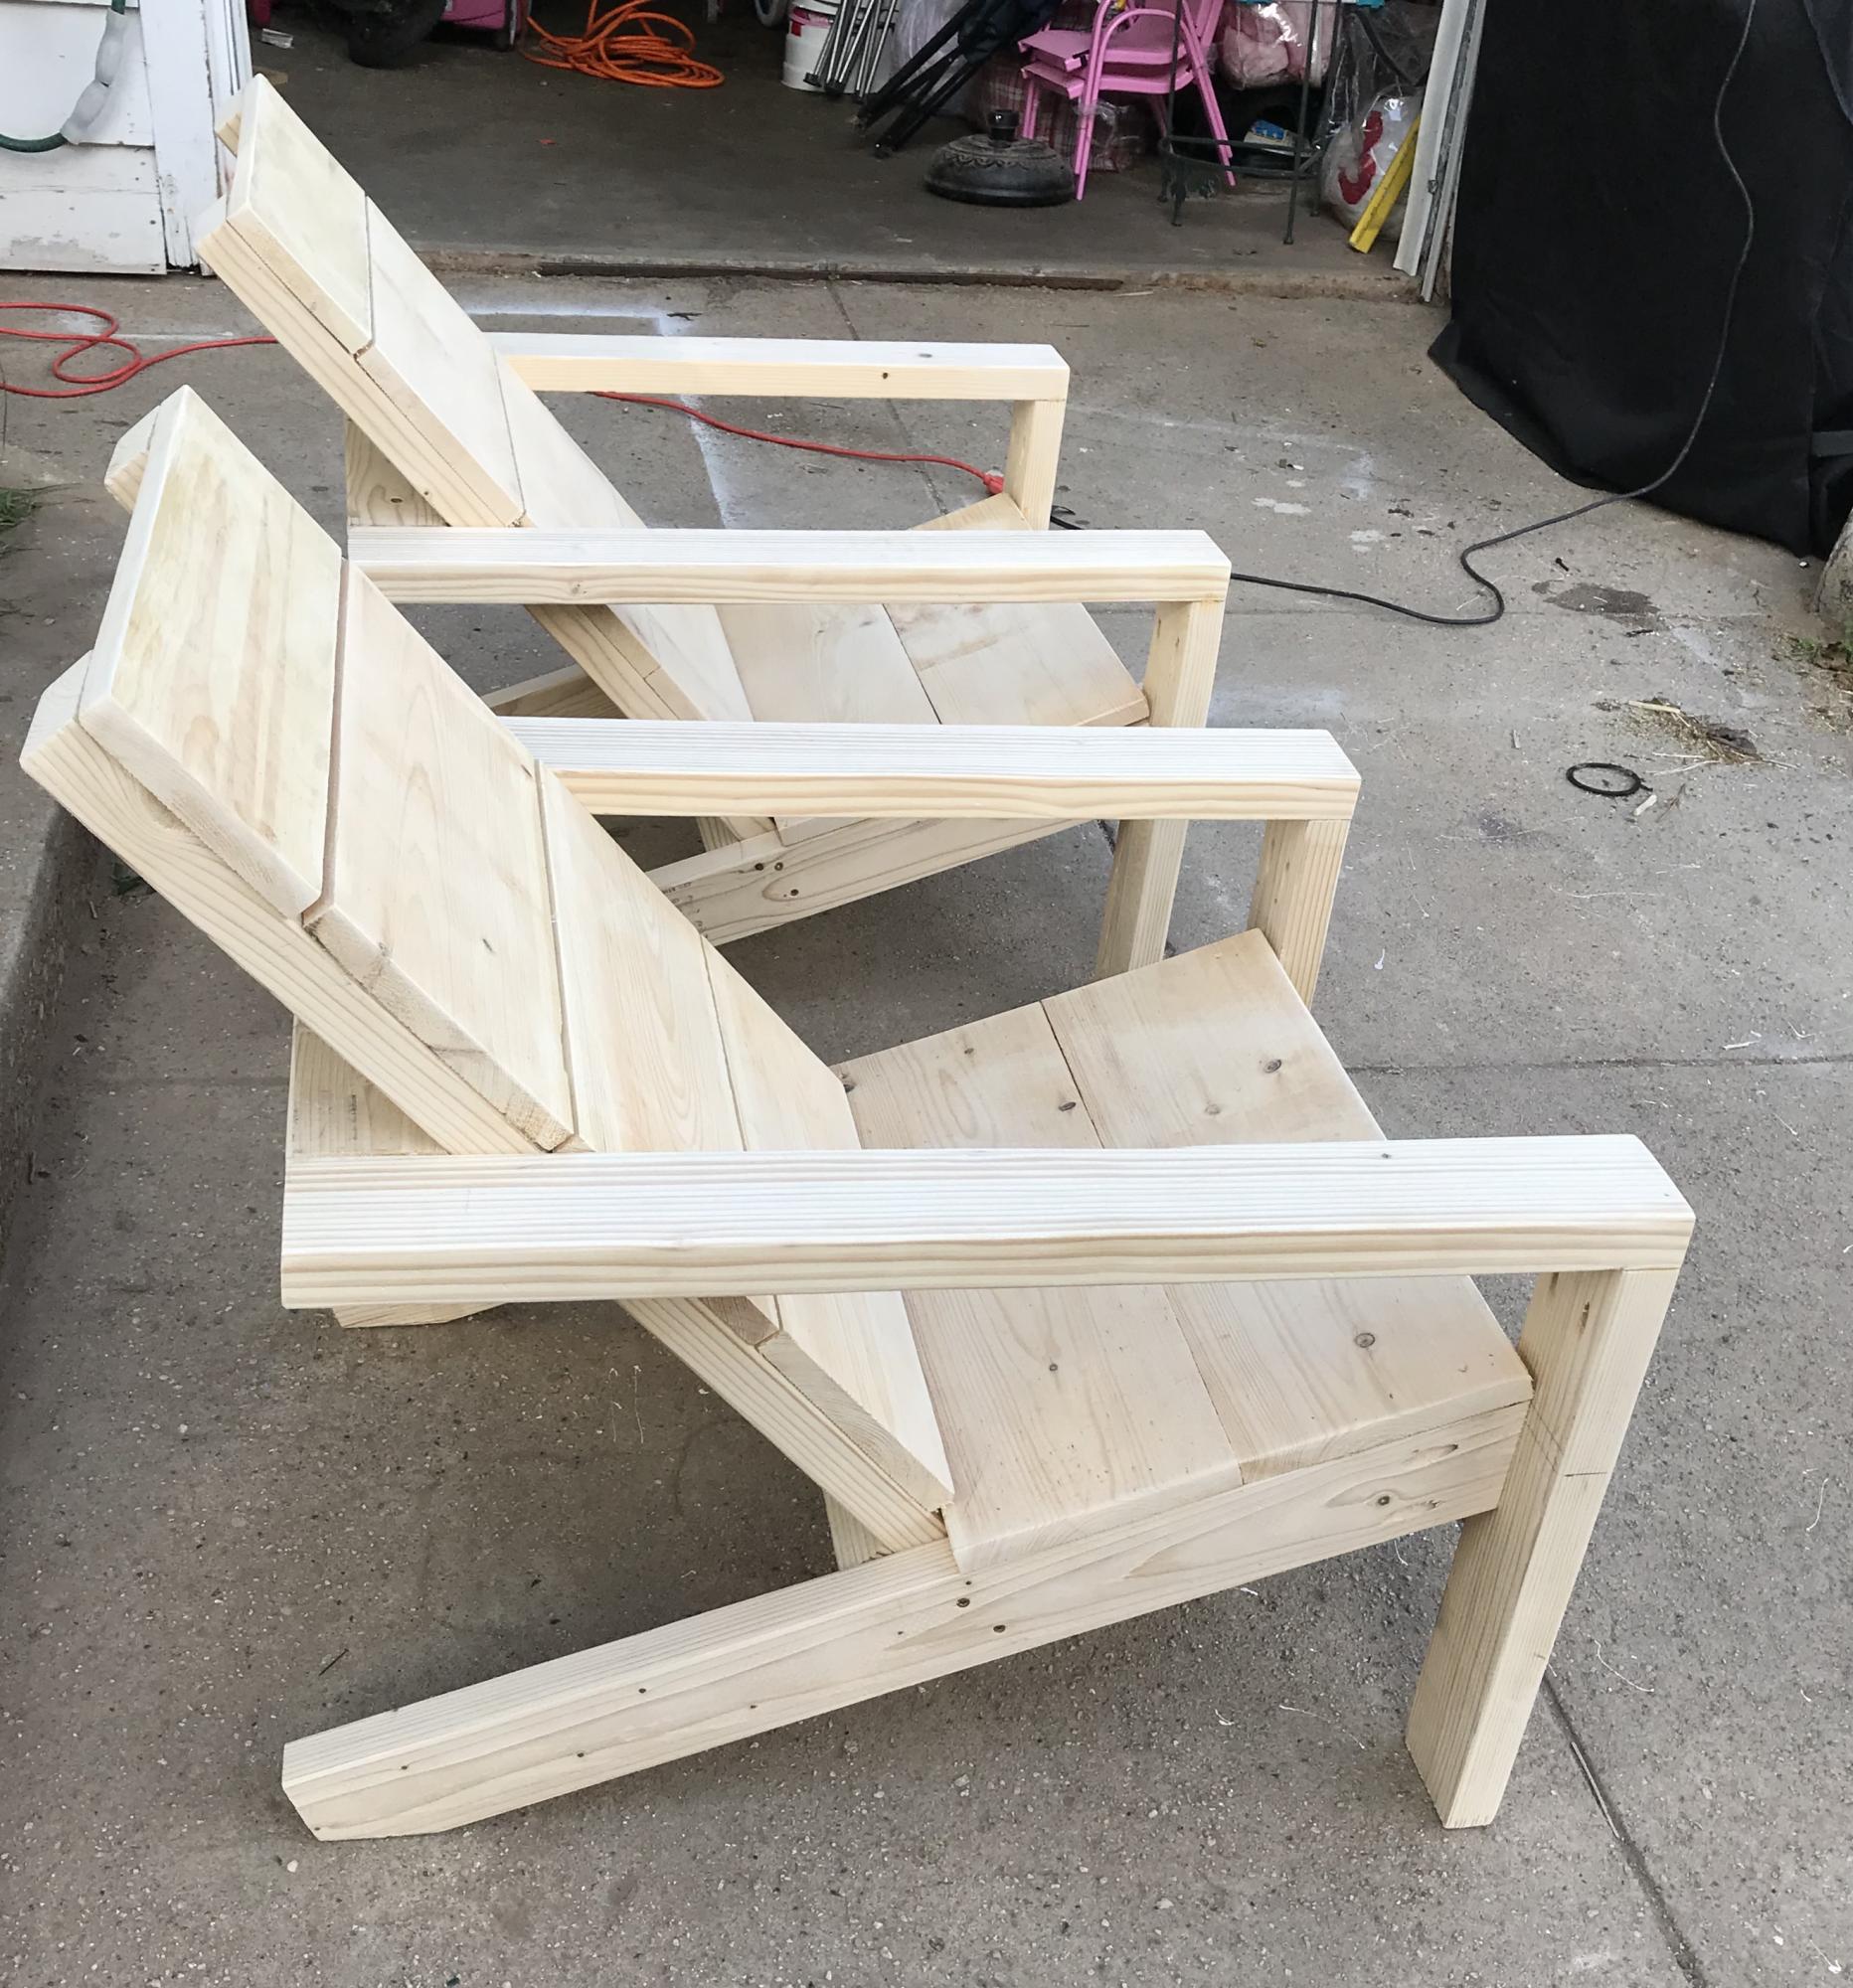
Thank you Ana White!
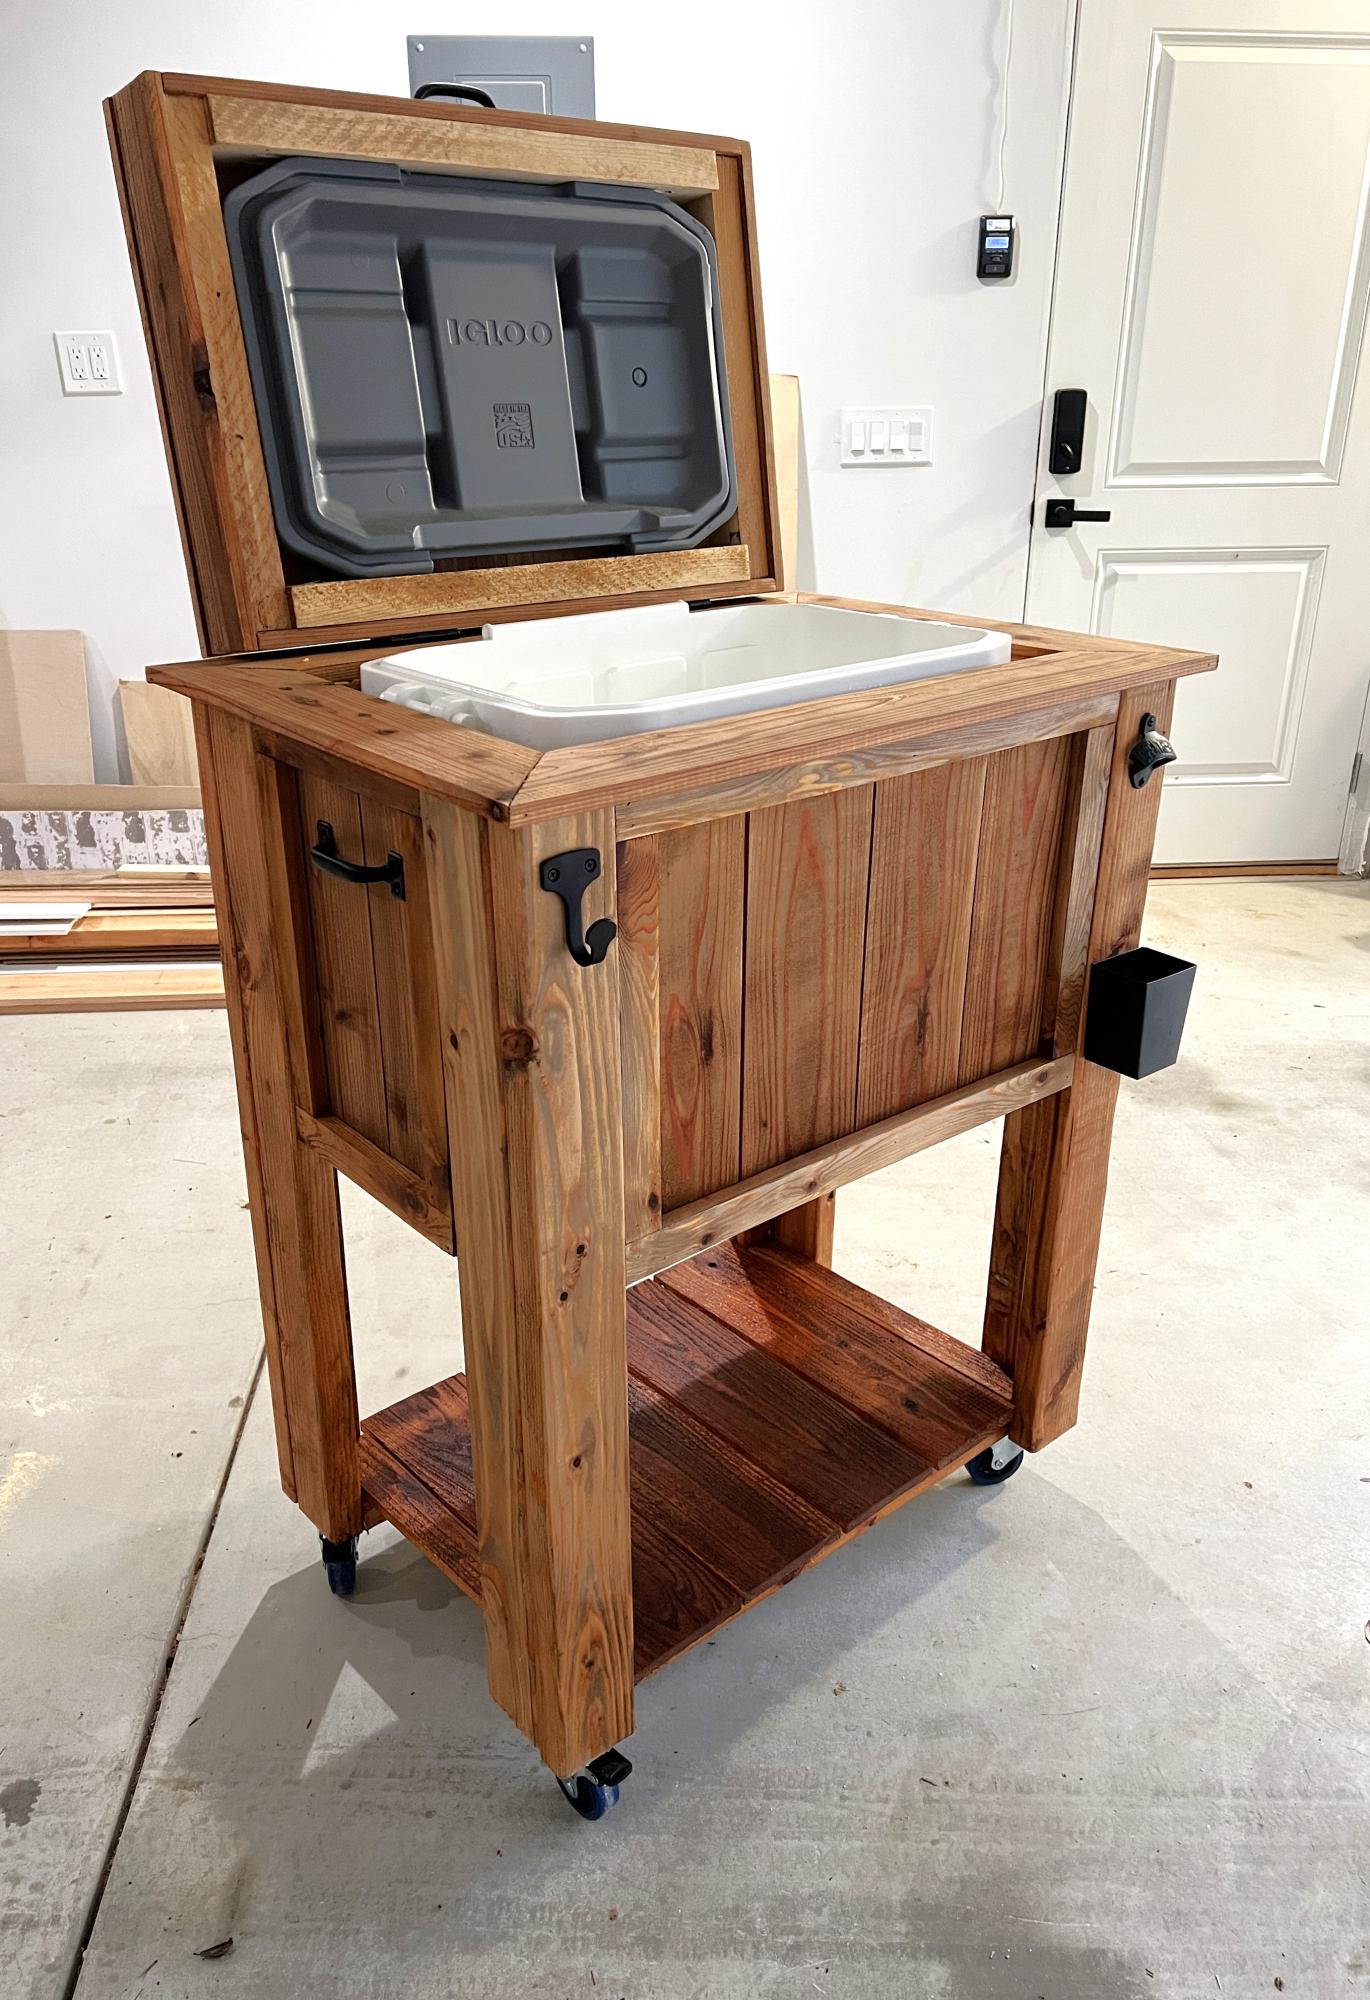
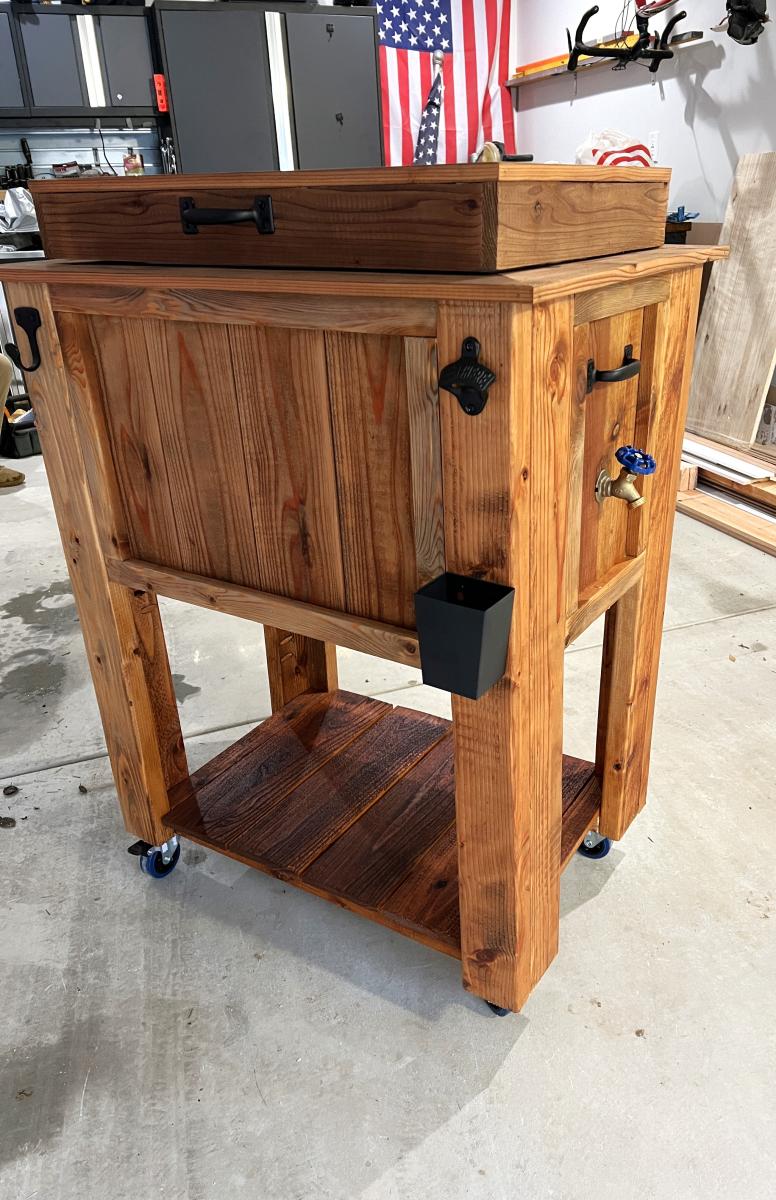
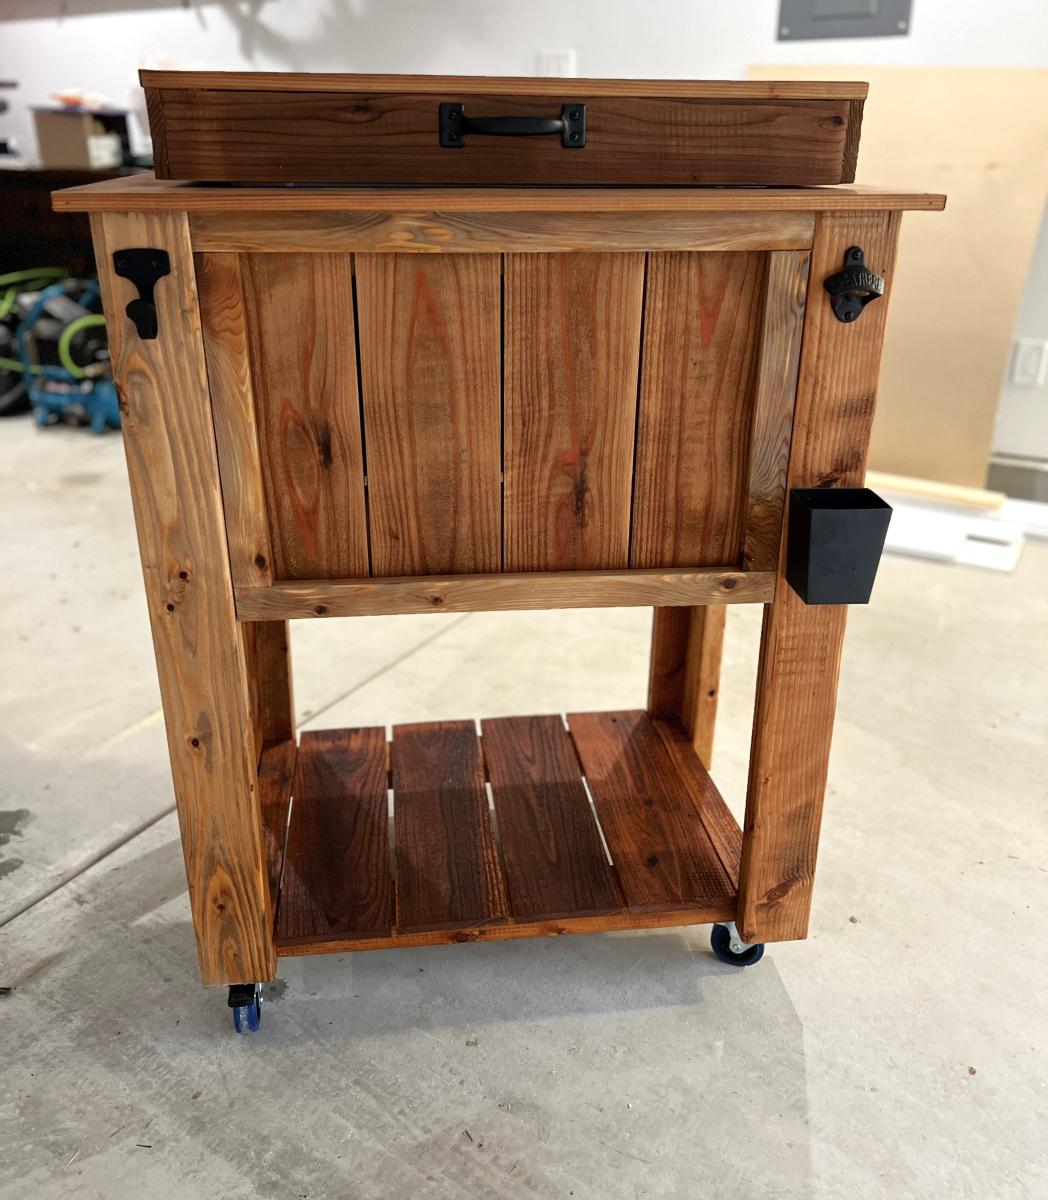
I made this cooler stand for my son’s schools silent auction.
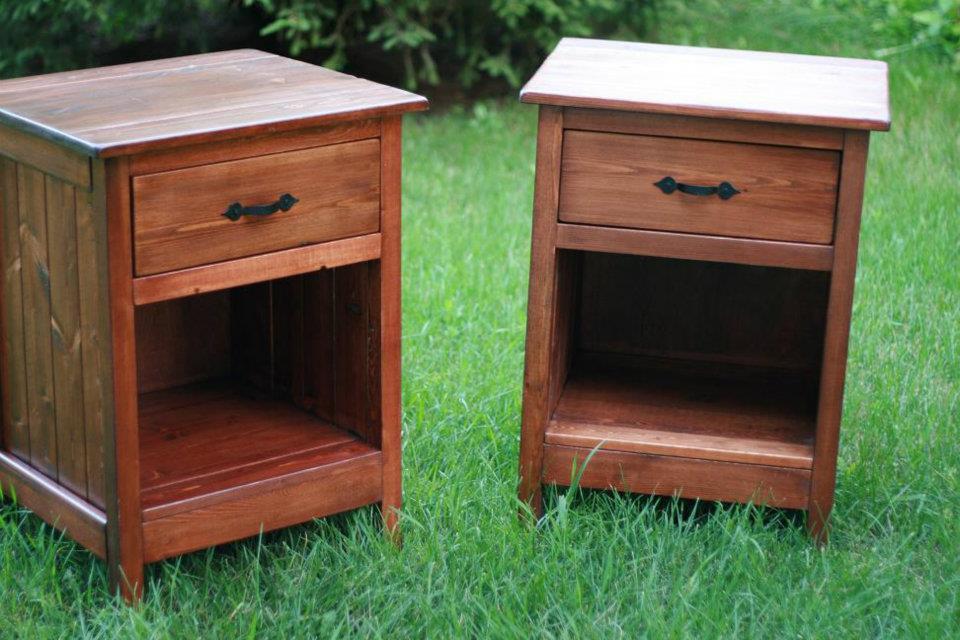
I used the plans for the Reclaimed Wood bedside tables but I didn't want to make all those drawers (being a beginner) so I settled on one. It took me fairly long to complete but really it should have been only a weekend project. I love the way they turned out.
Fri, 07/20/2012 - 20:16
I too fear drawers.
Your bedside tables have turned out beautifully!
This is my second project. I based it on the "simple easy storage bench". I made this for my wife, she requested an entryway bench as you enter the house from the garage. I'm glad I was able to finish it just in time for Mother's Day :).
I learned a lot by doing this project (e.g. hiding nails, wood fillers, warped wood, sanding, to name a few). There's still a lot of things to learn, I'm hoping to be able to practice more.
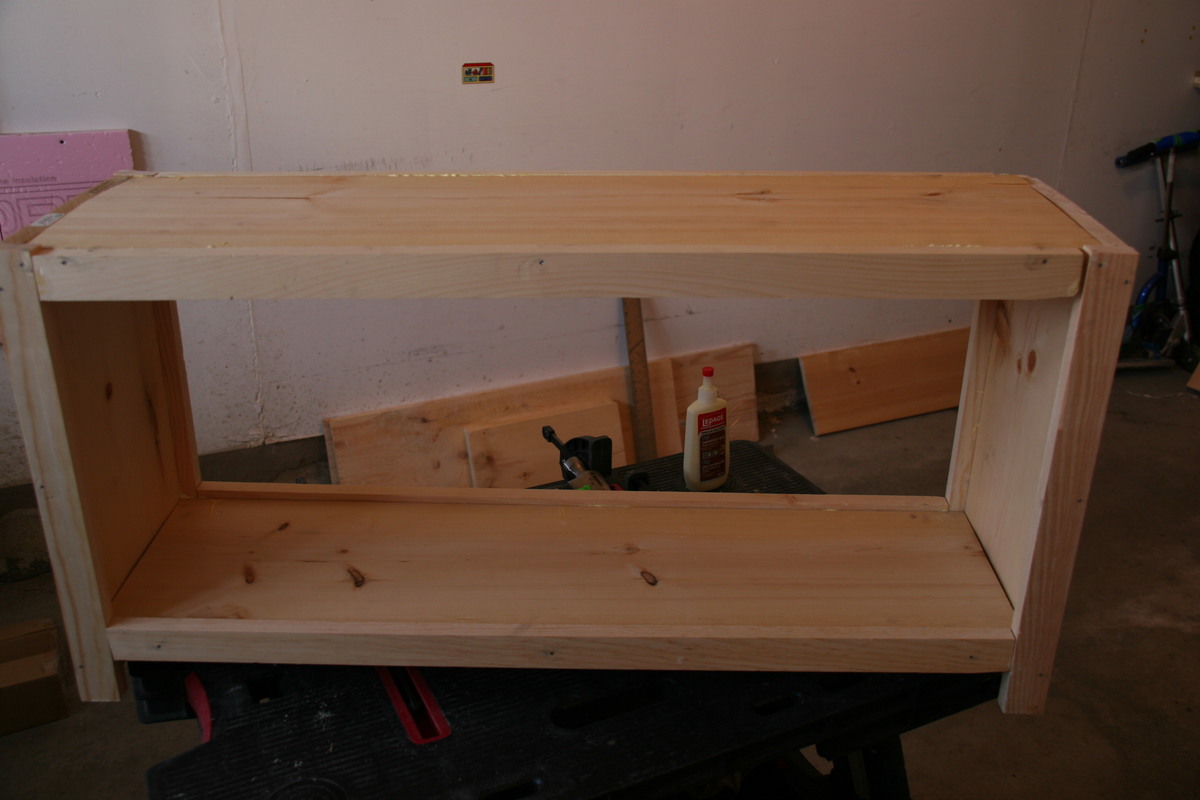
I was inspired by Handymommy's set, using the arm chairs instead of the standard ones, so thanks to you!
The wood I had was all rough cut 1 x 6's so I had to adjust the plans a bit.
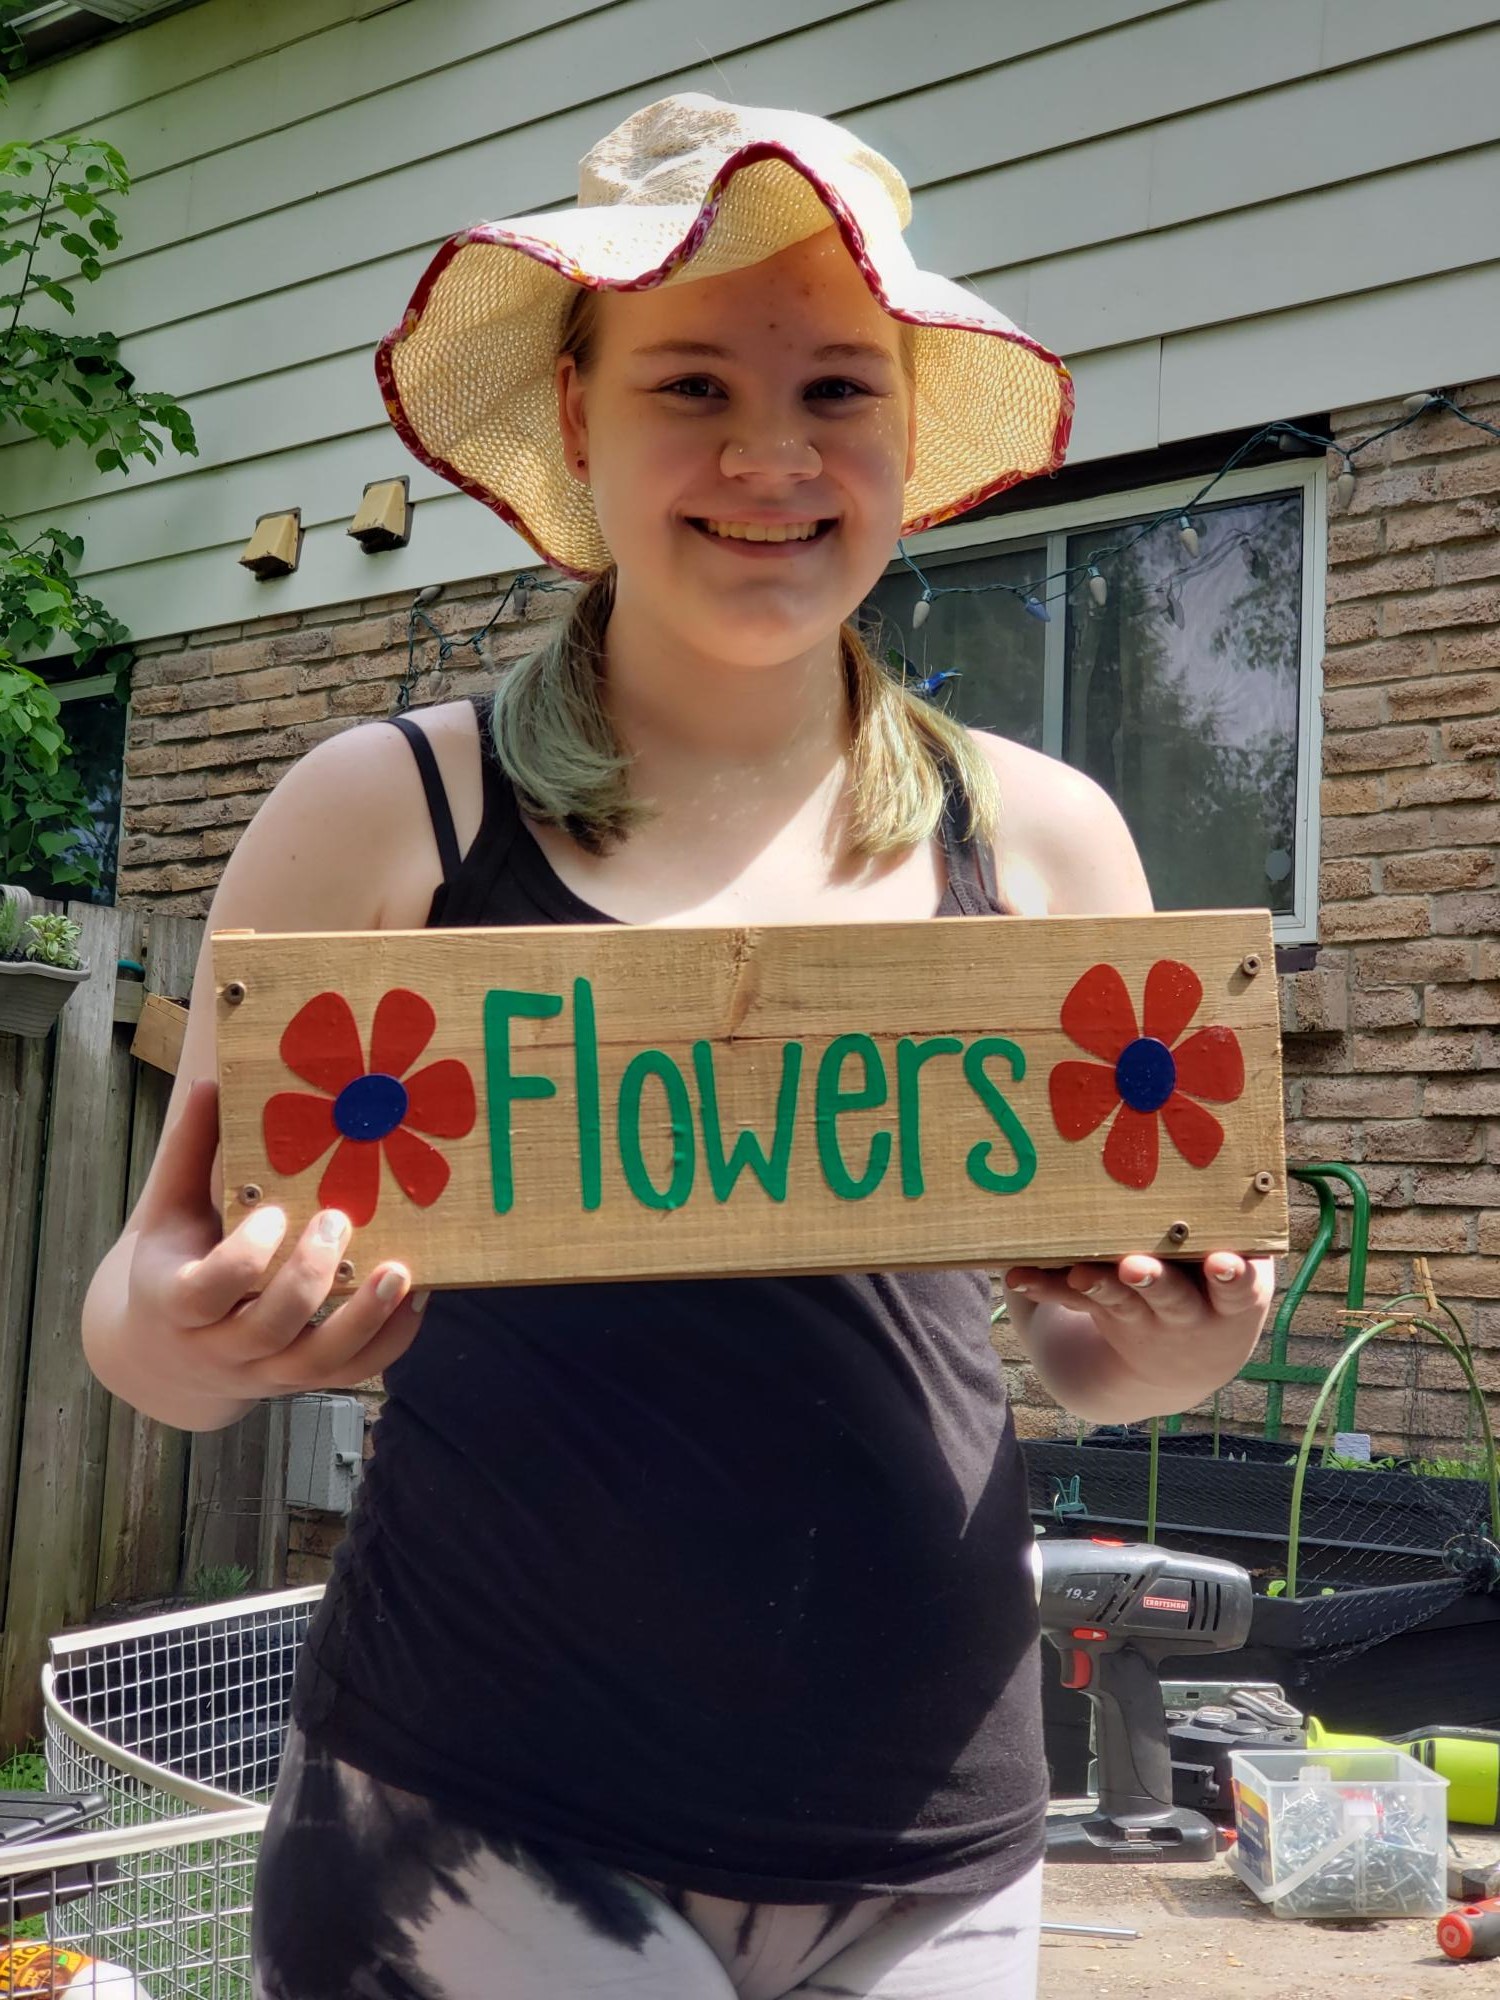
Used the flower box pattern from the $10 Cedar Tiered Flower Planter, and added hanging loops and wire to make planters to hang on our fence !
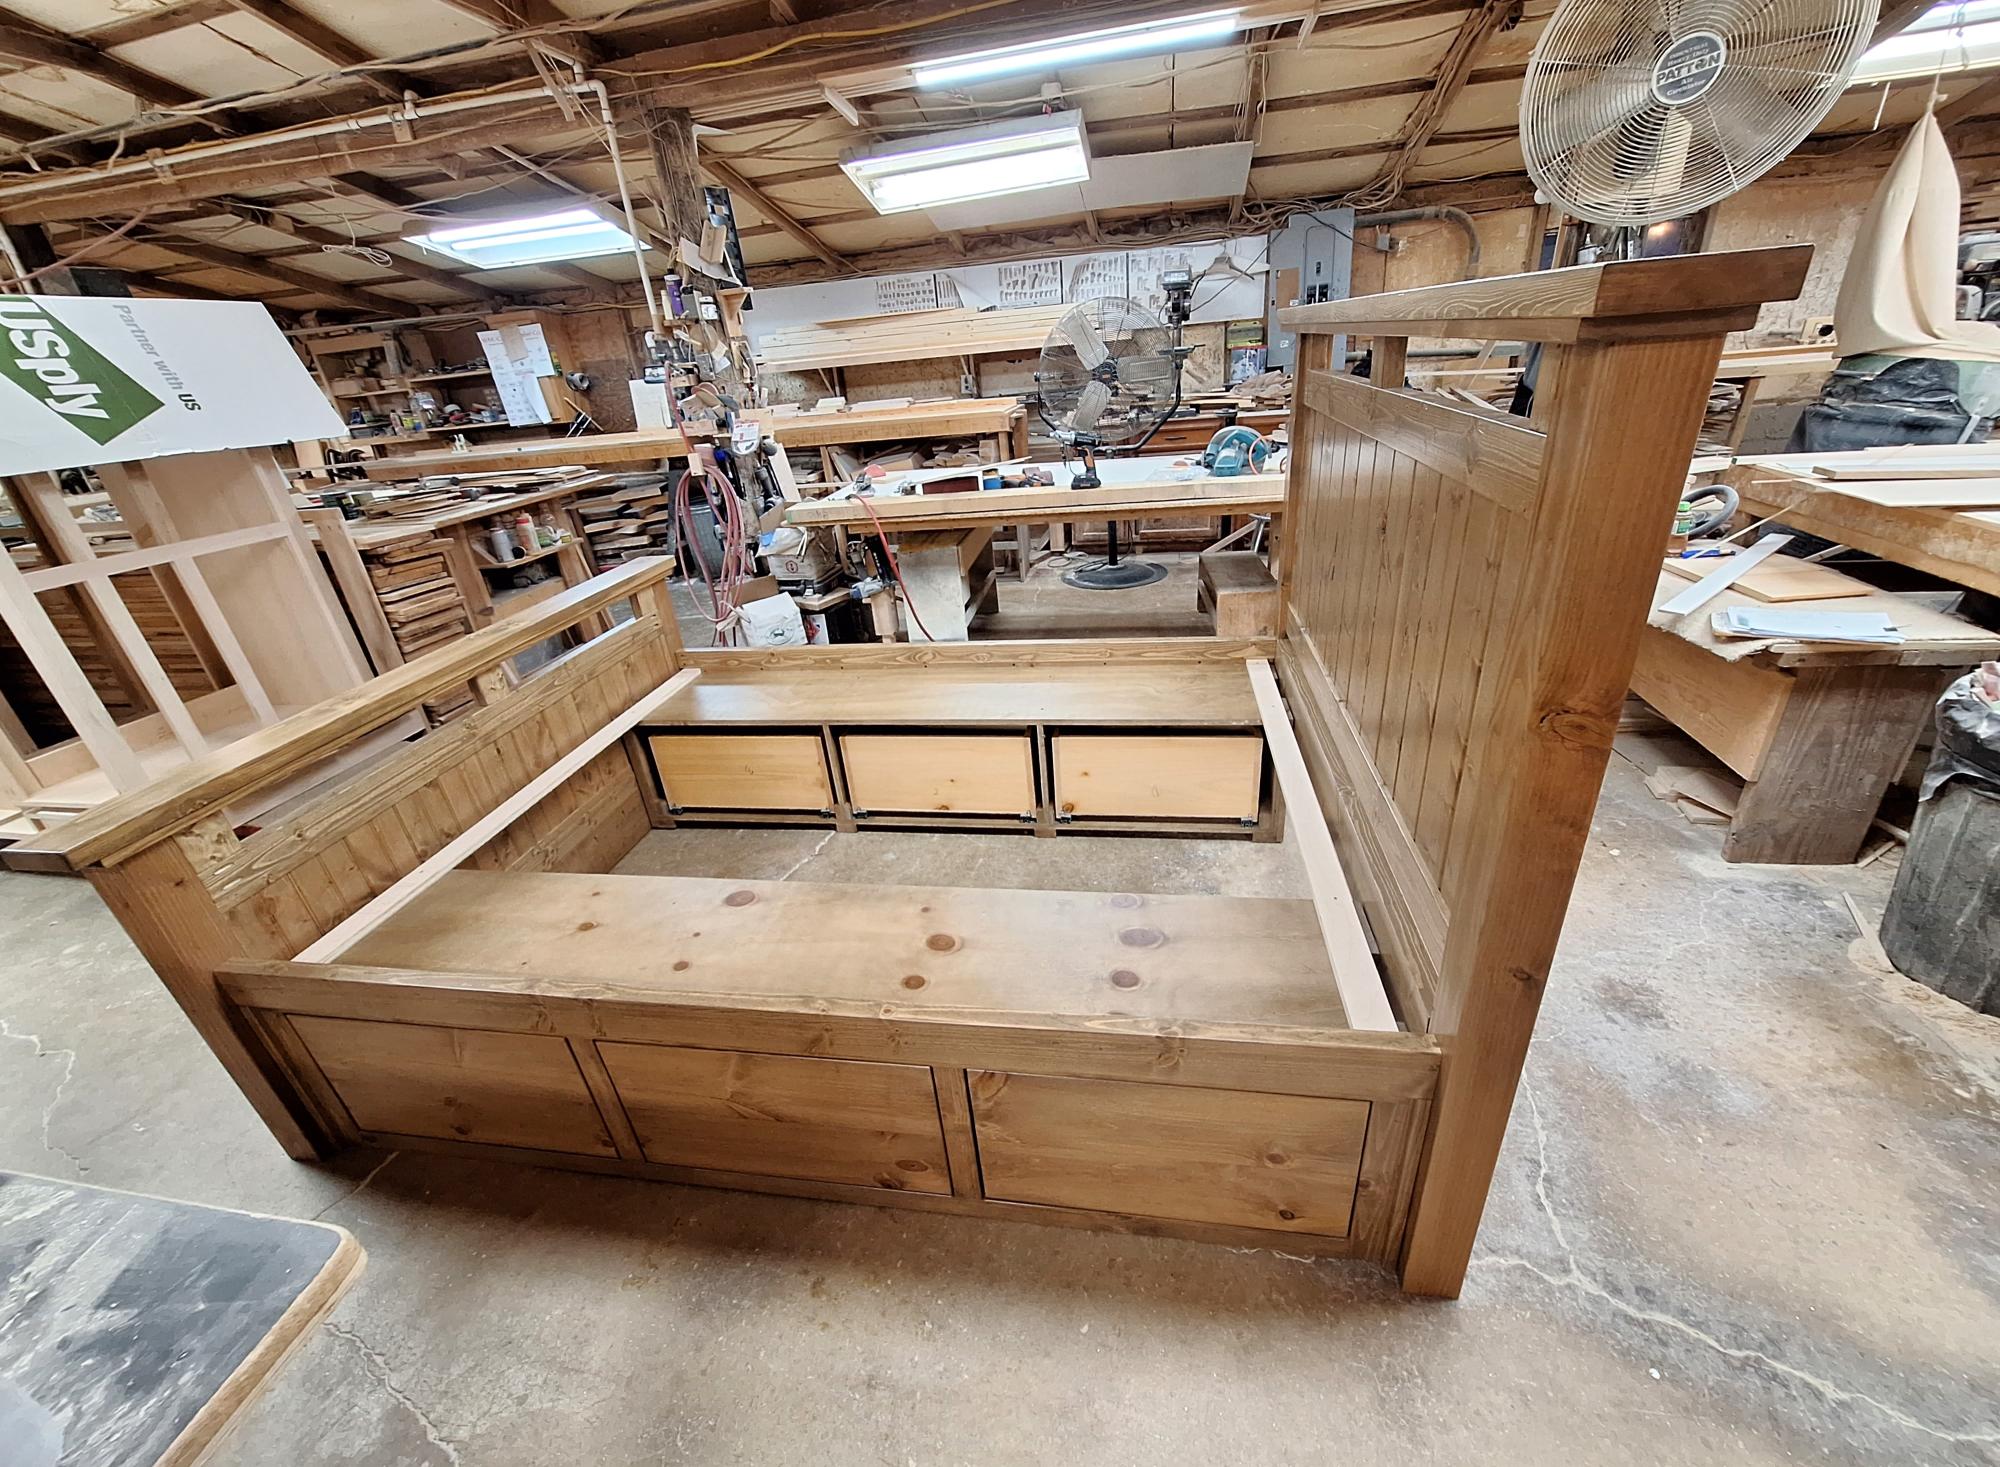
I took a couple of ideas and made this queen size storage bed.
Carol Hicks
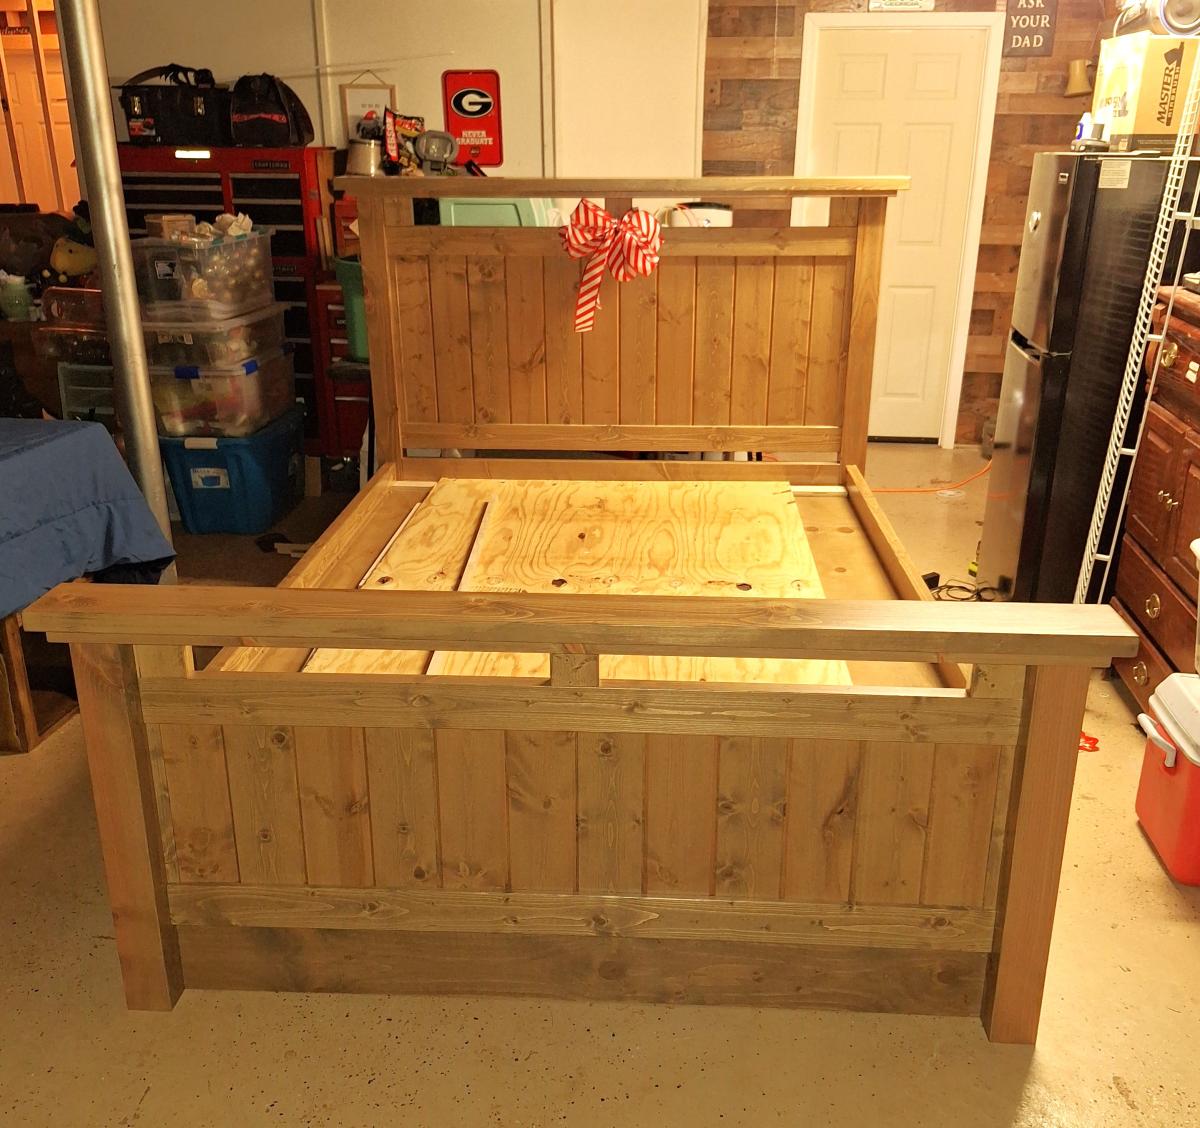
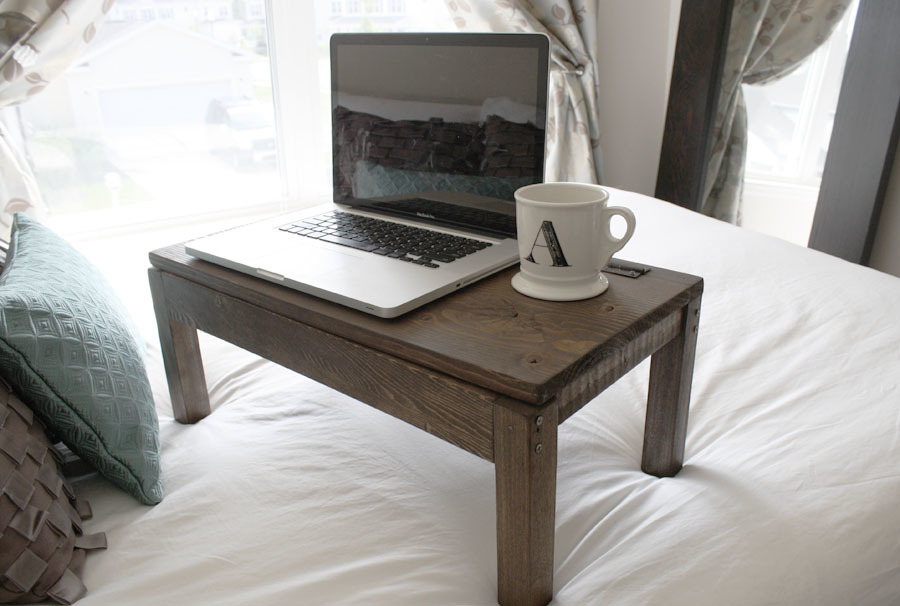
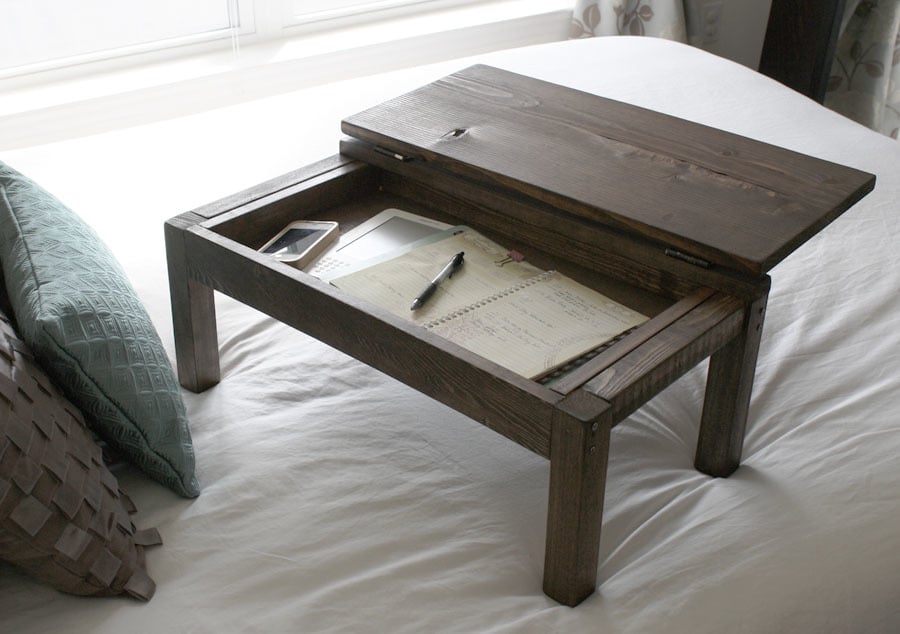
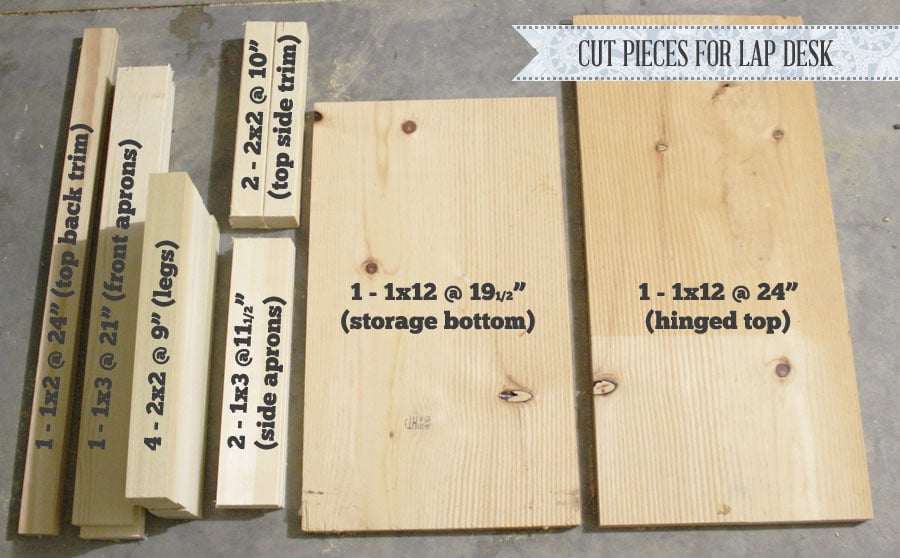
This was a really quick and easy build. I built it with two bucks and two hours with some scrap wood I had laying around. The only thing I bought was a package of 2 standard hinges ($2). Also, I deviated from the plan a little by not including the lower storage compartments (didn't want it to get too heavy), making the legs 4" shorter (so it's more comfortable to use in bed), and not building the storage dividers under the flip-top lid. Check out more info by clicking my blog link!
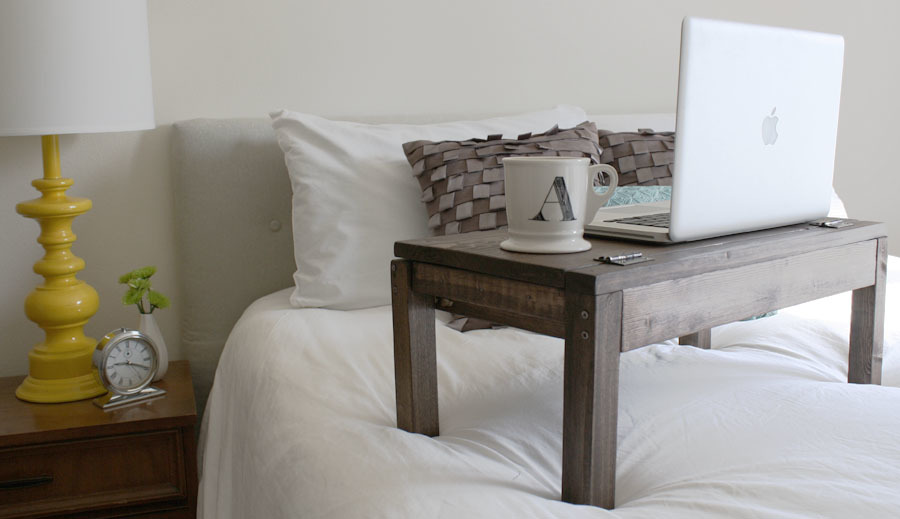
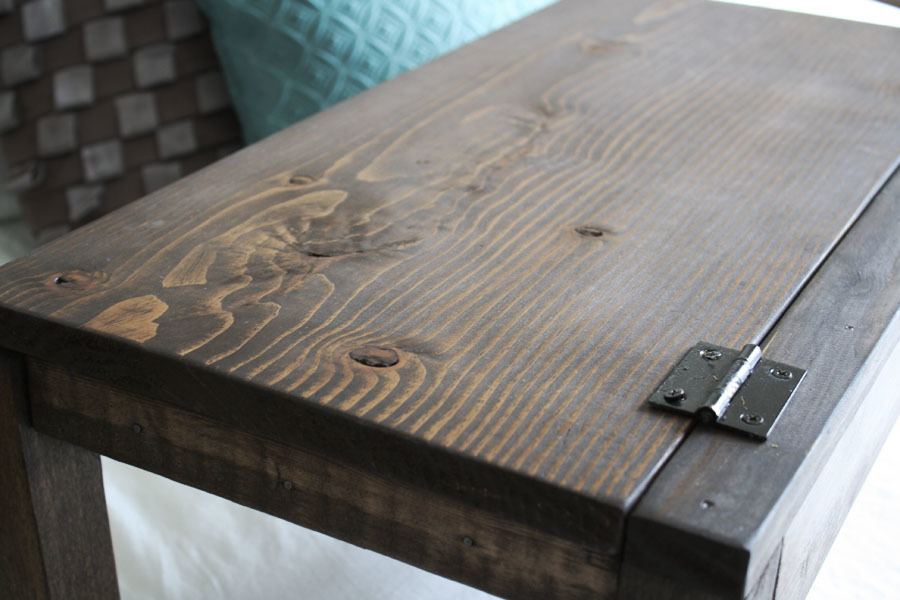
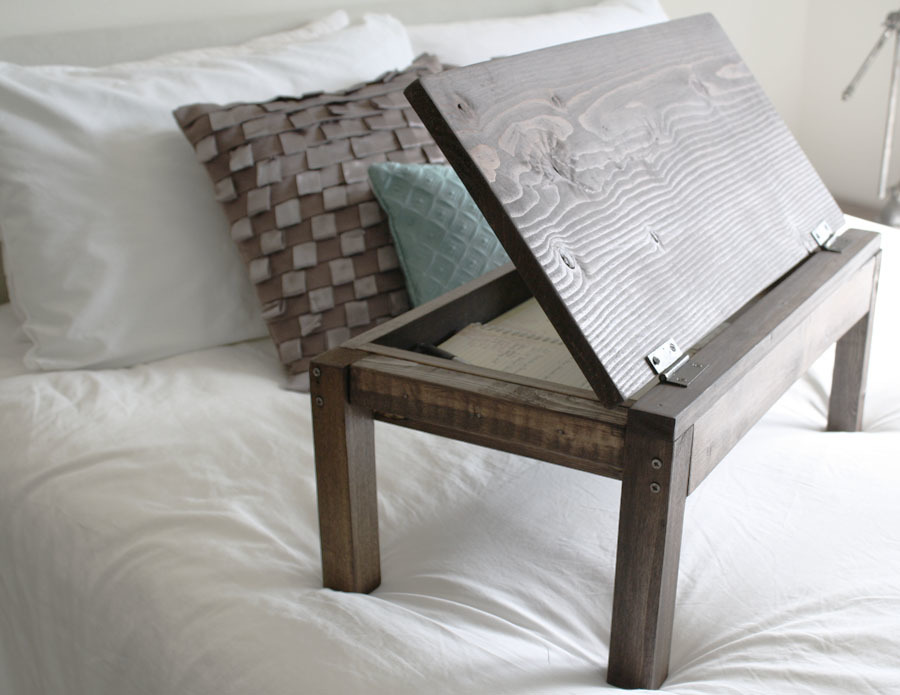
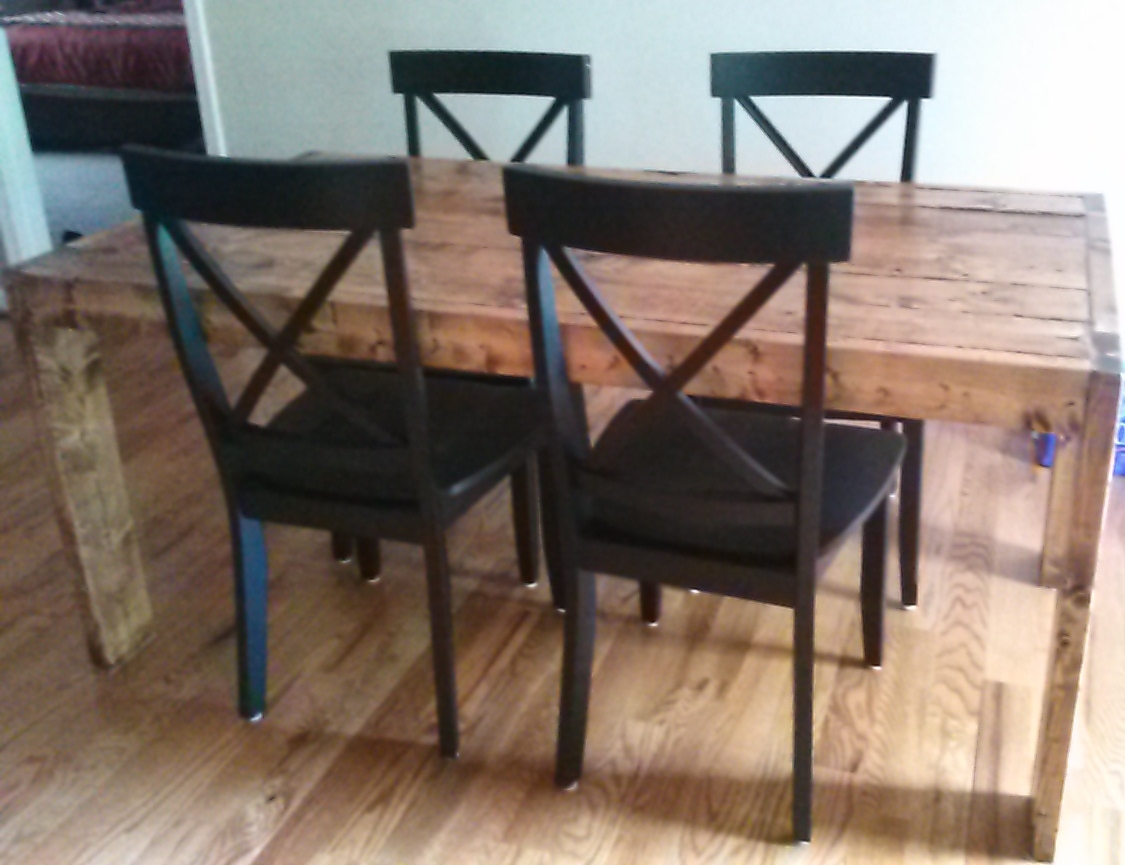
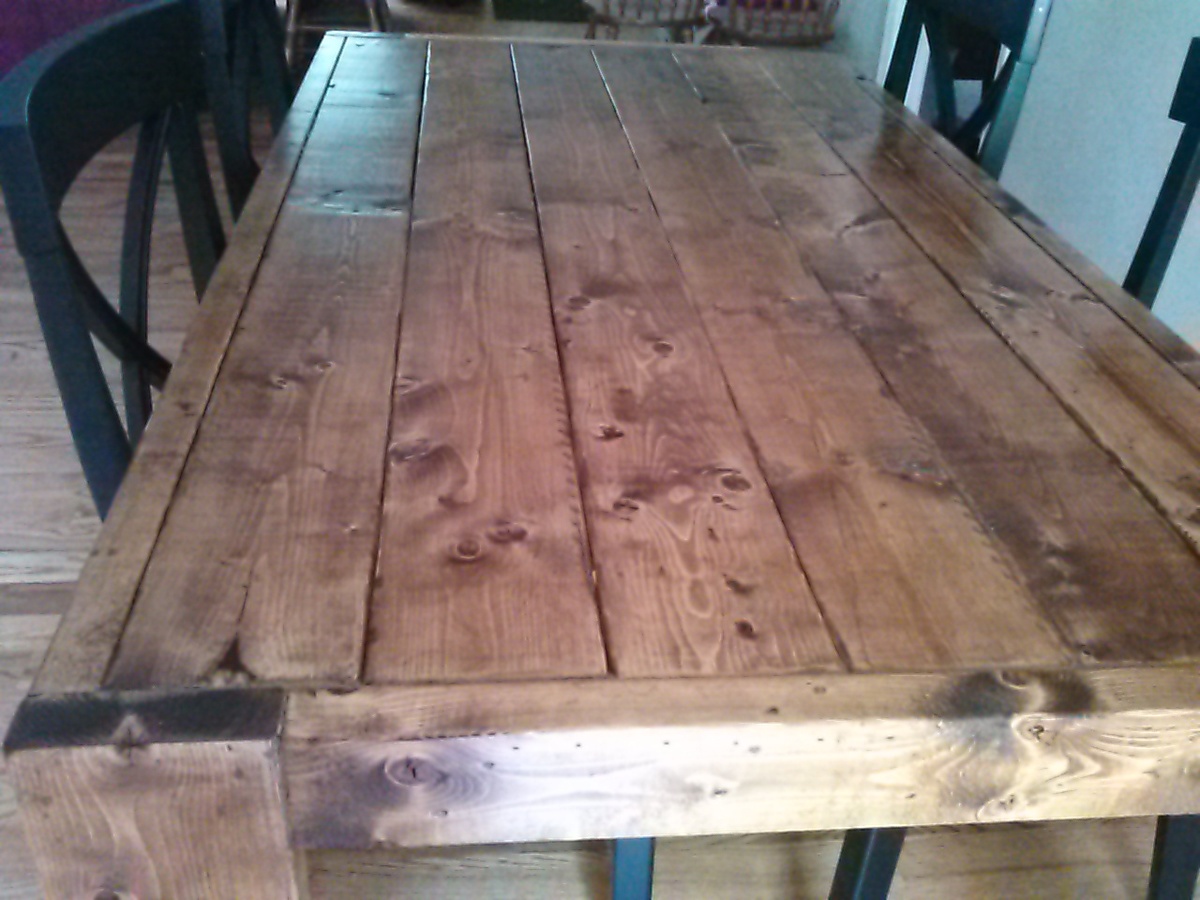
This was my first woodworking project. Thank you Ana for providing the plan and making it easier for me.
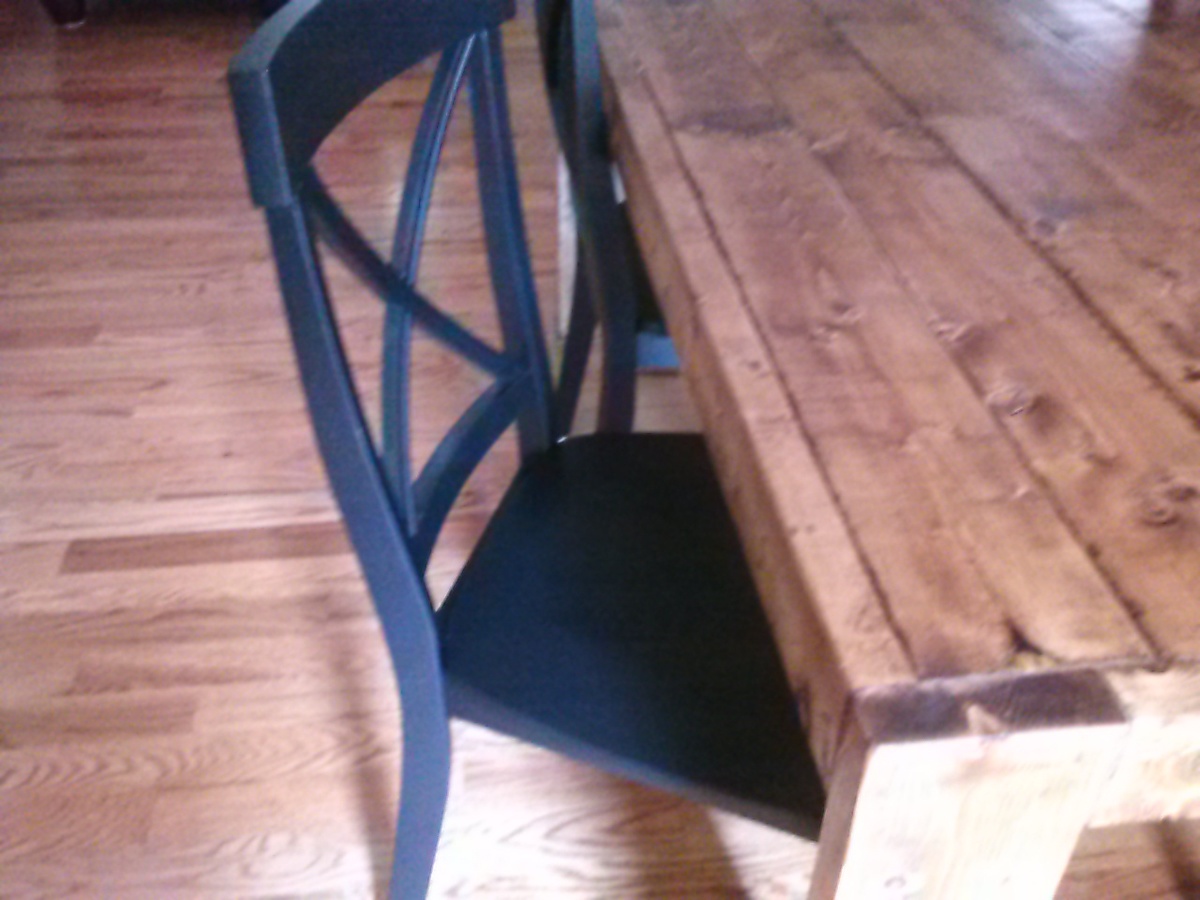
Thu, 05/15/2014 - 07:43
This was a fairly simple plan and I'm thrilled about how the table looks.
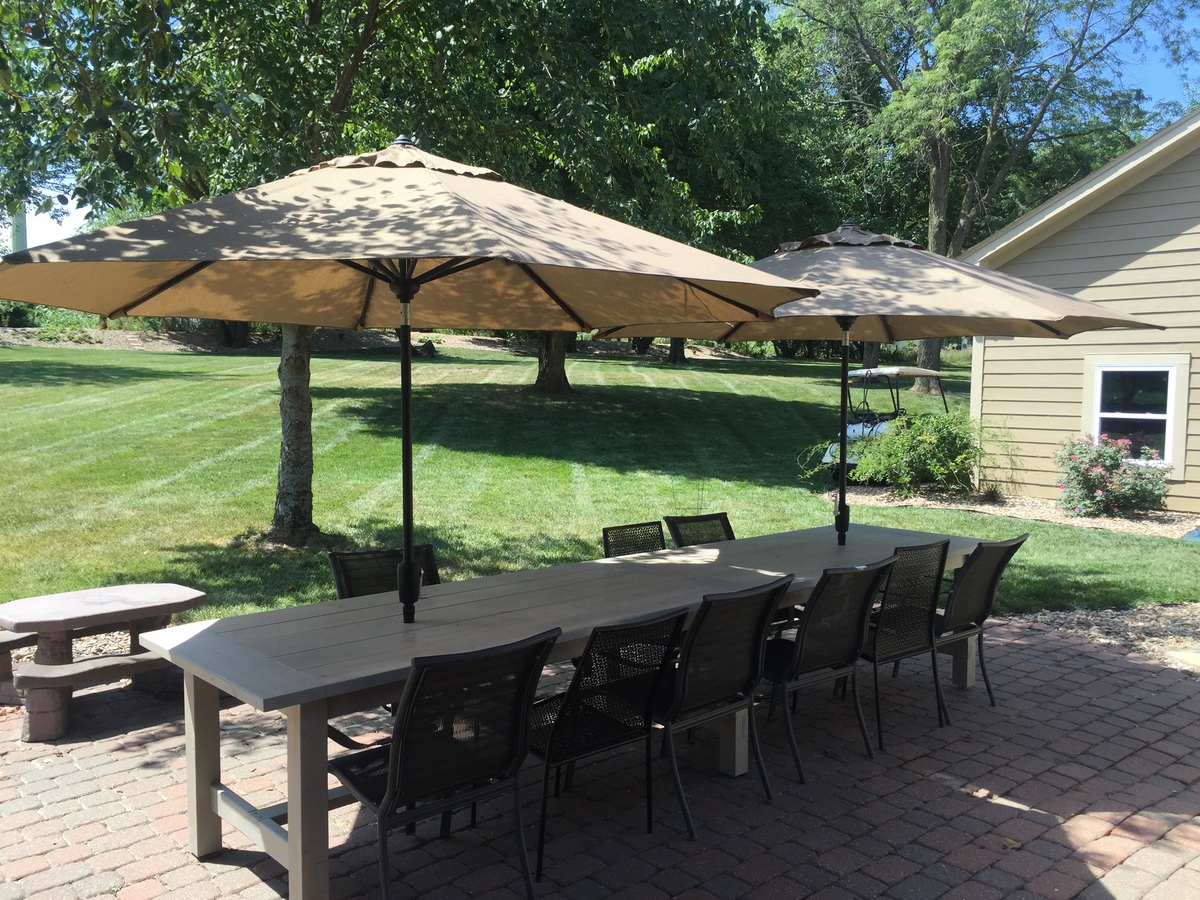
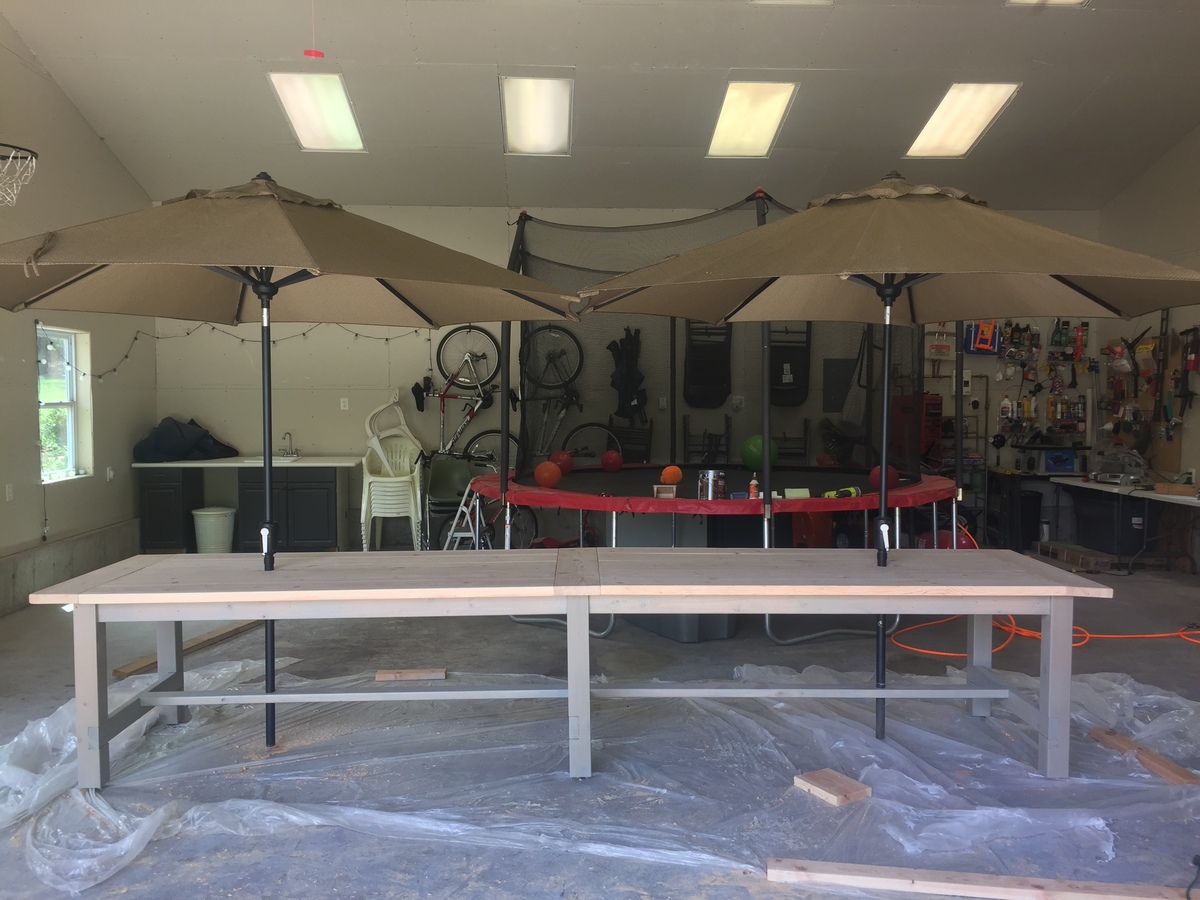
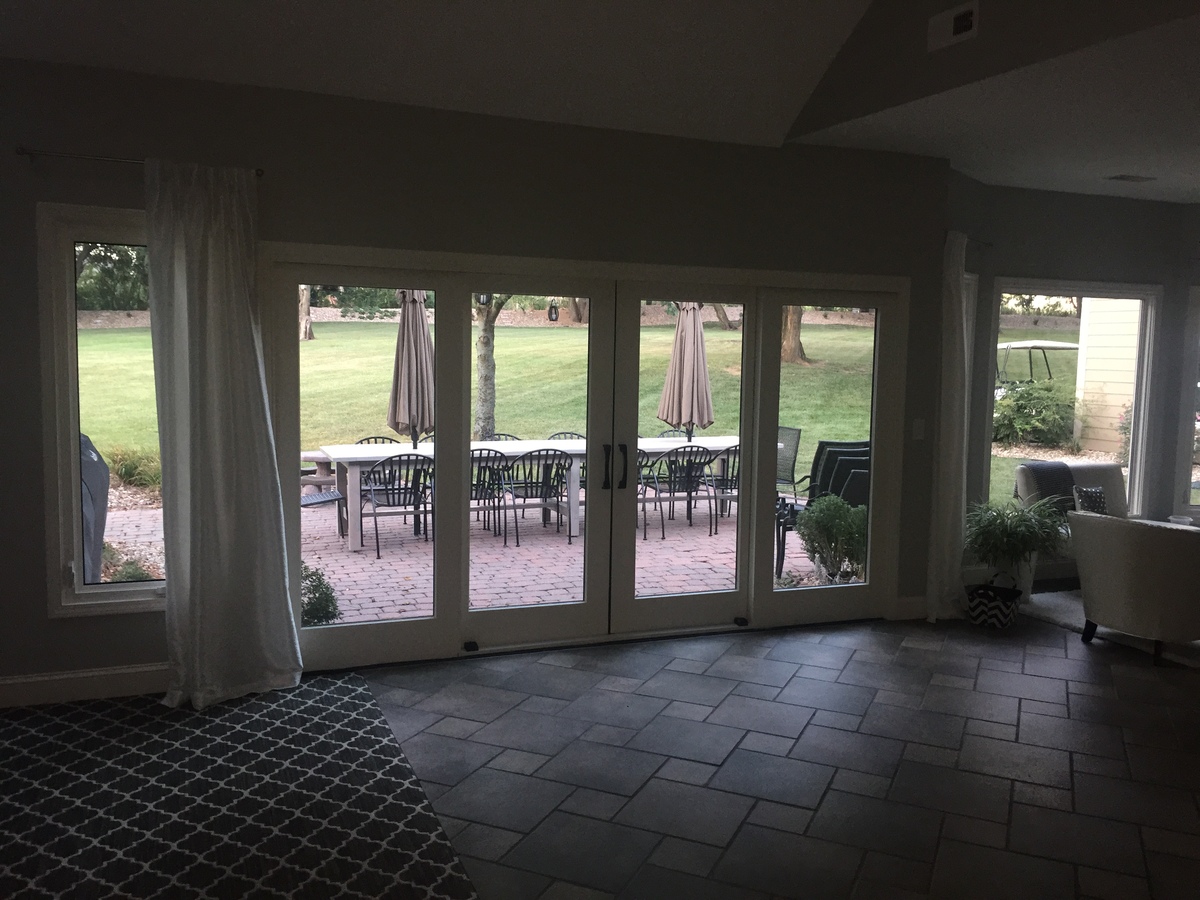
My wife wanted to seat 14, so I basically doubled the plan with a few extra inches on each side. We also wanted umbrellas, so drilled holes where they would just meet. The stain is the Behr semi-transparent deck stain and sealer in Harbor grey.
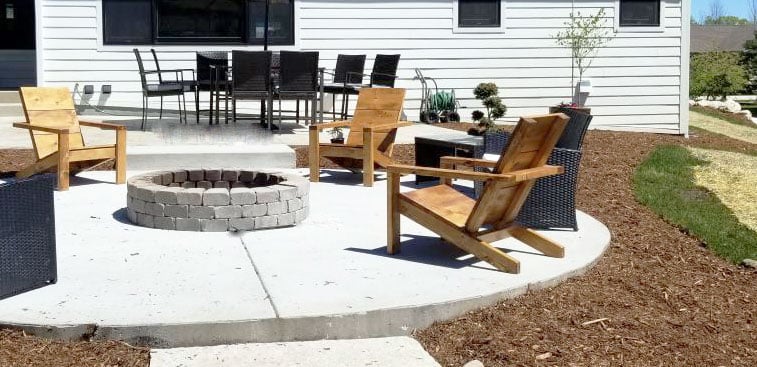
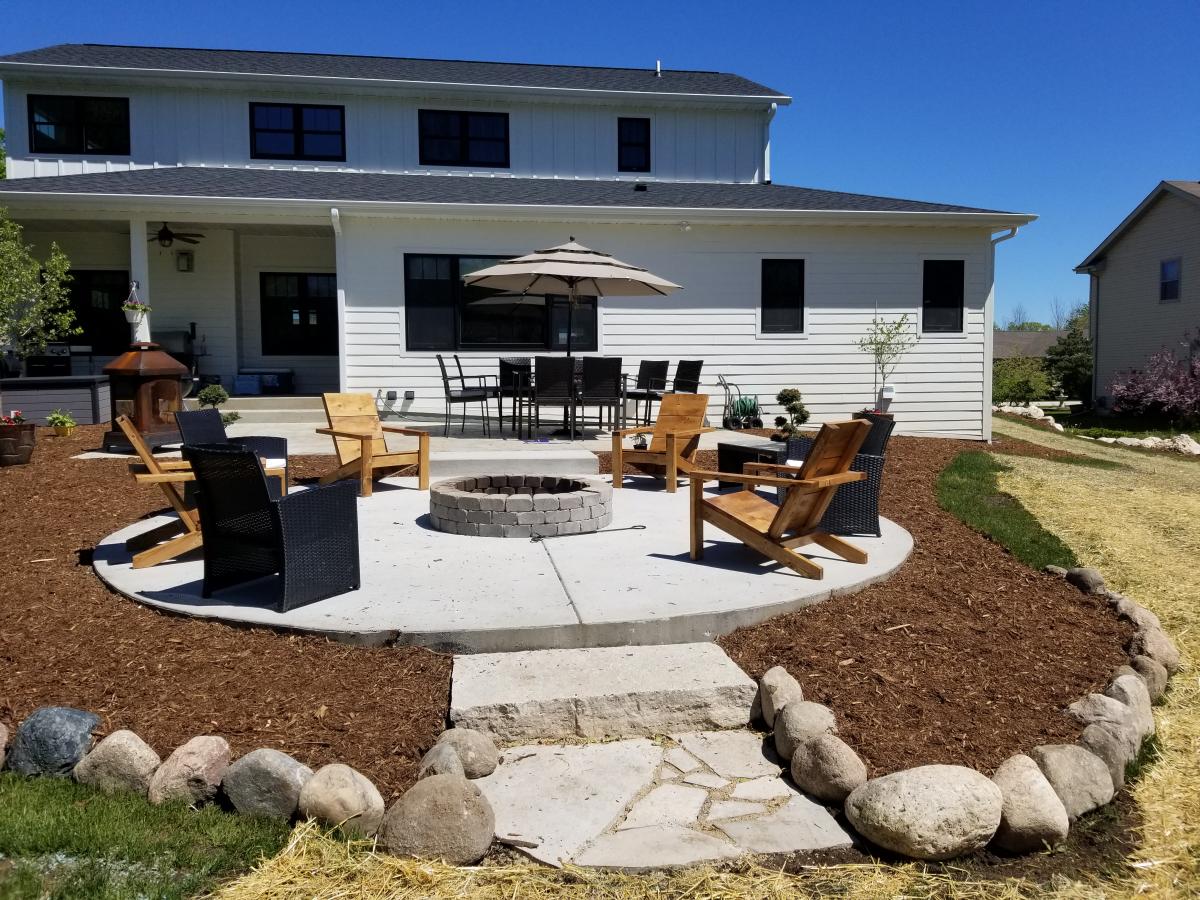
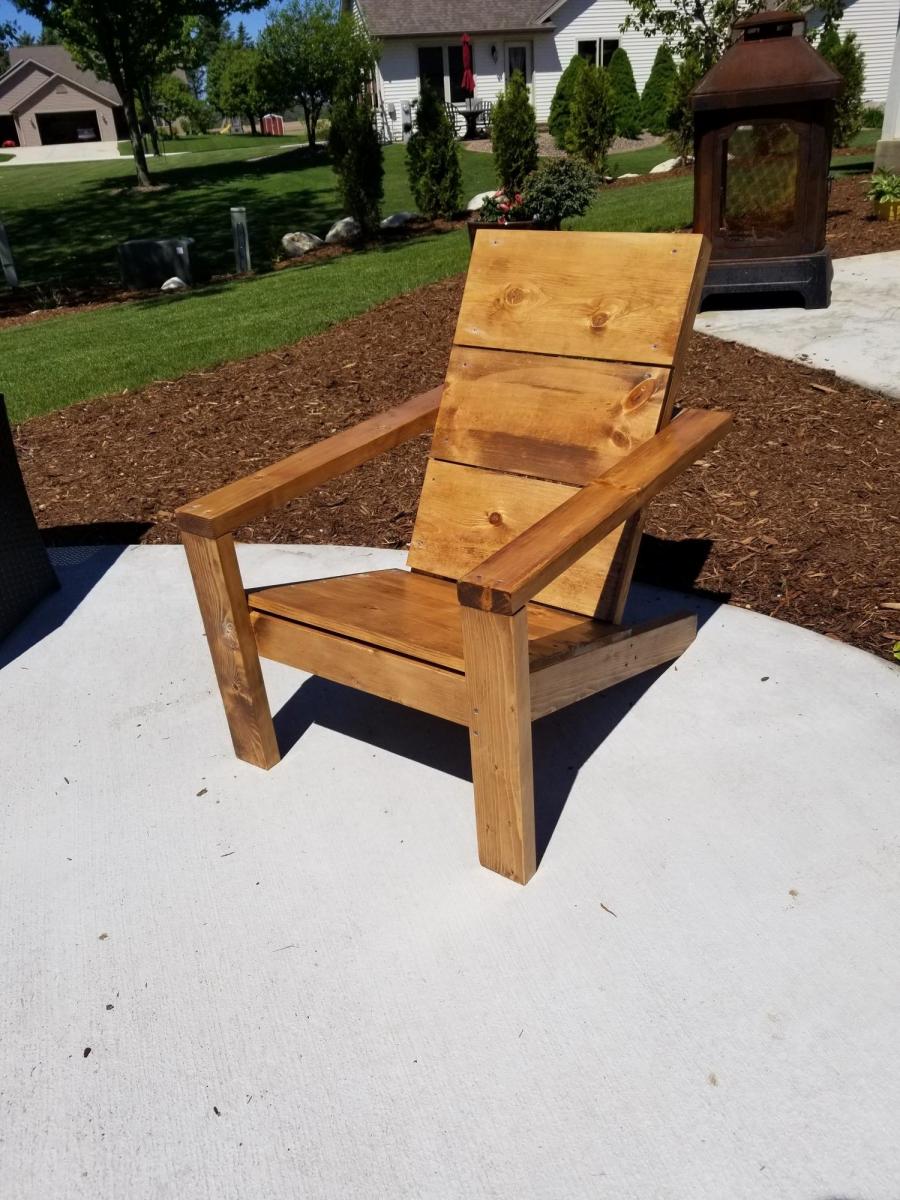
I made 4 of these chairs for around our fire pit. I chose to sand stain and poly before assembling and plan to add another coat of poly now that they are assembled. Sanding was the longest part of the process for me, but if you aren't as particular as I was about the finished project the time investment would be substantially reduced. I also of course had drying time for the stand and poly. Assembly itself was simple and the finished chairs are comfortable and sturdy without being overly heavy and bulky.
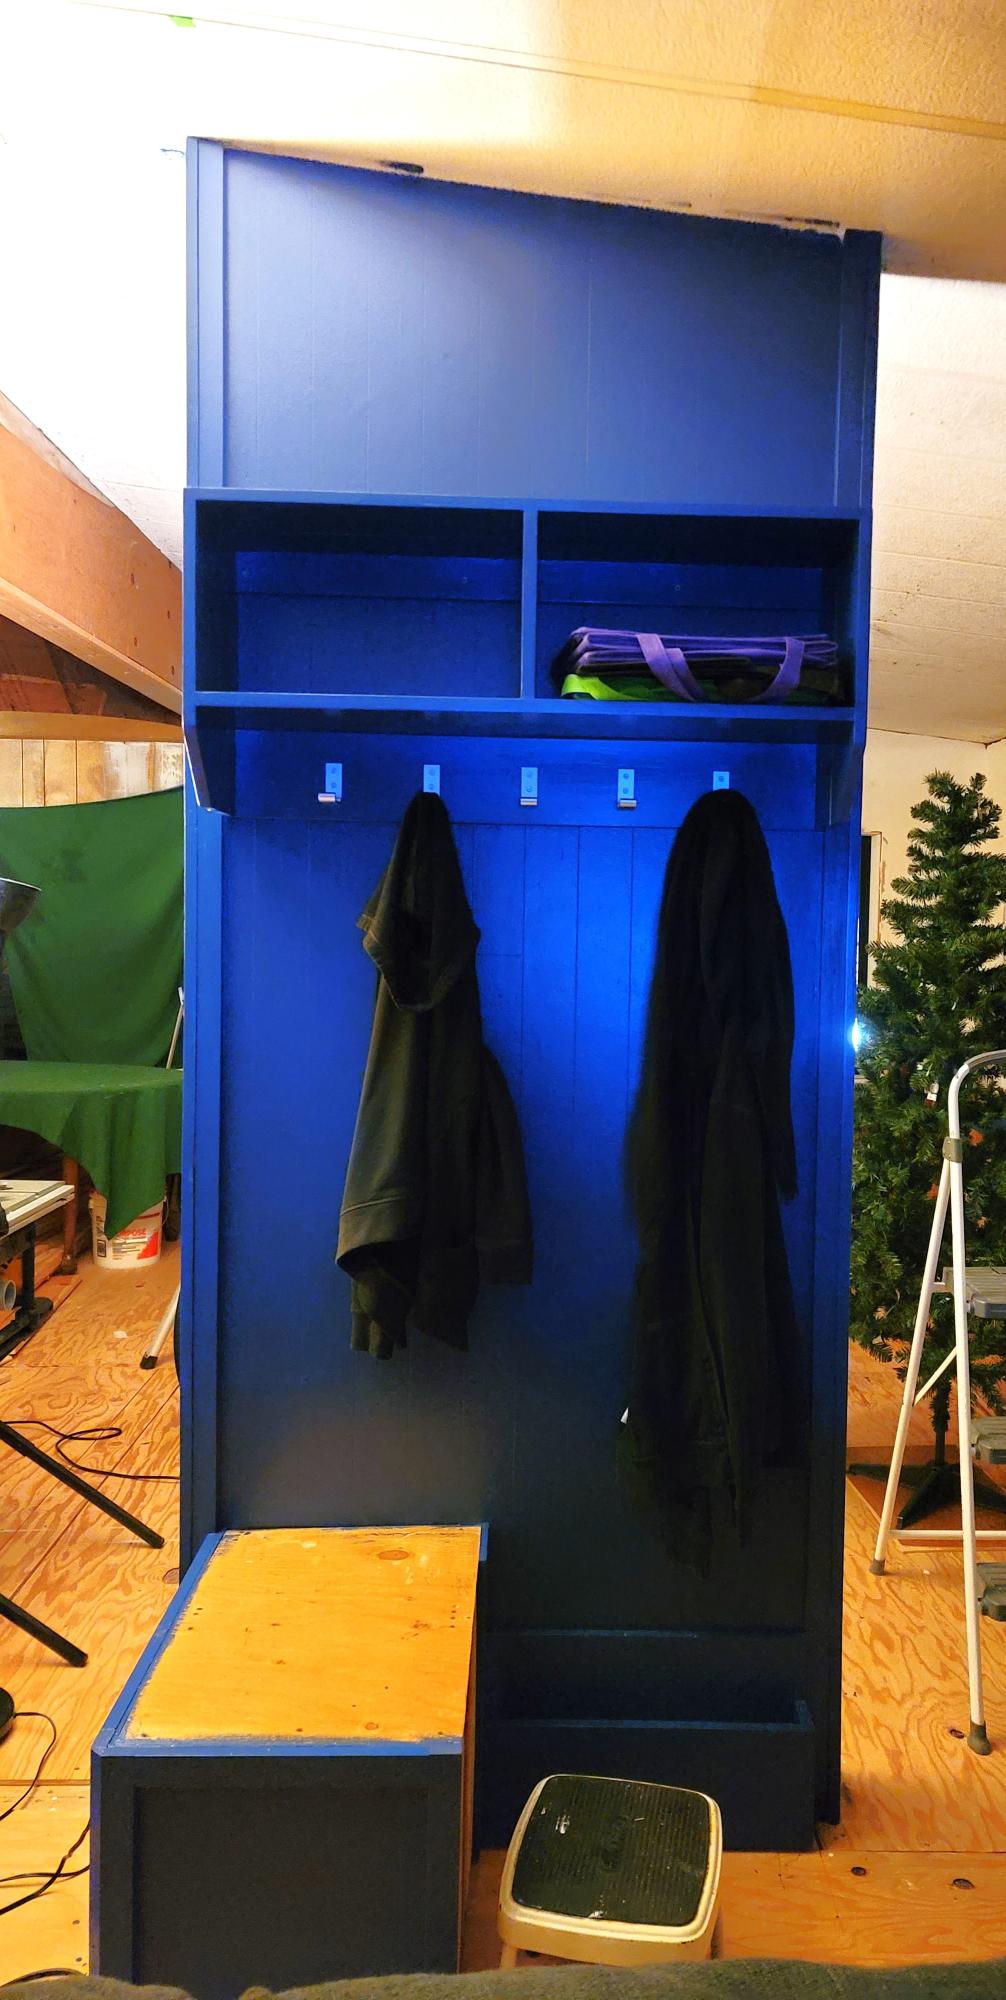
Happy to share this completed project based on Ana White entry shelf with hooks plan. I have a place to land when I come in the door!
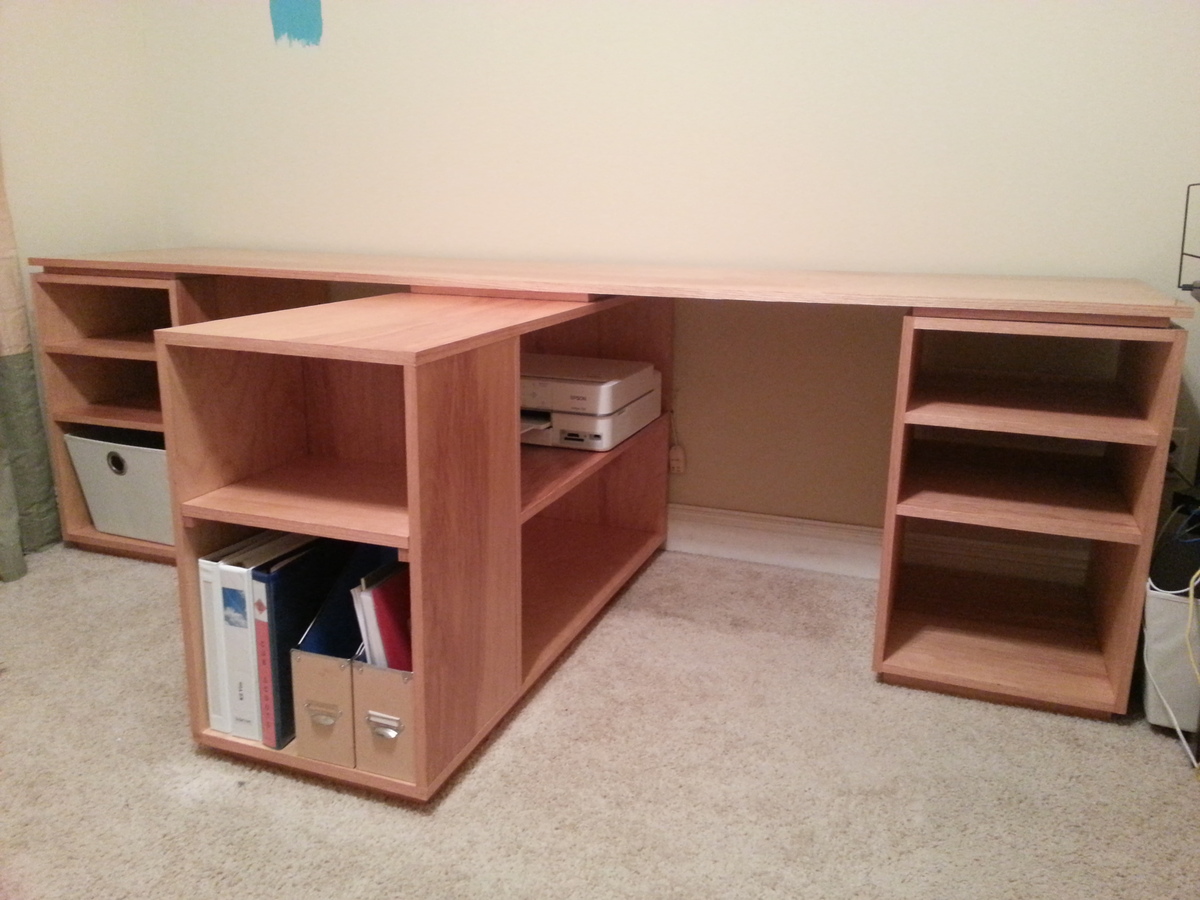
This was our first project! We built it exactly like the plans. We finished it with a clear satin poly and we are thrilled with the results. Next we plan to paint the room.
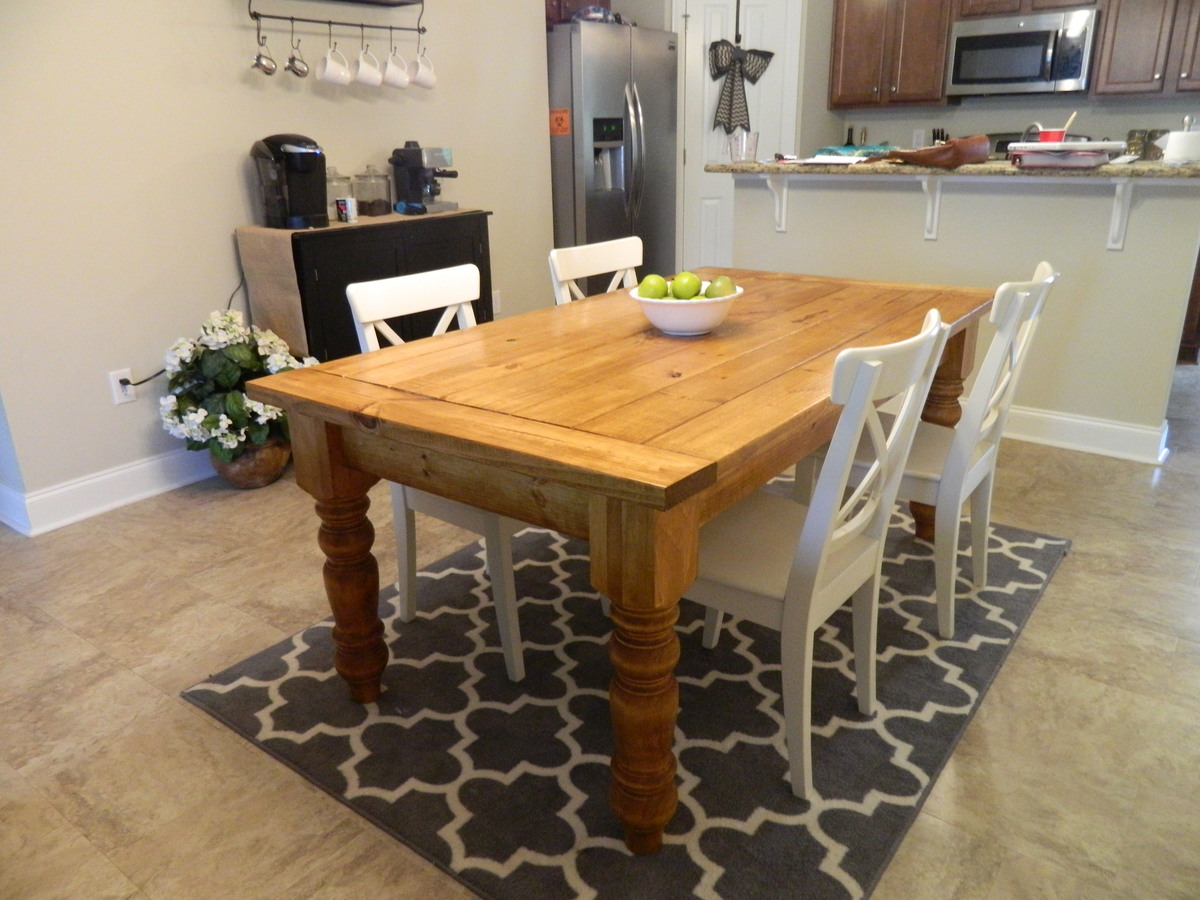
I love building my own wood furniture so that I can have beautiful pieces of furniture in my home while saving money! And while this project definitely cost more than the others I have done, I am so glad I splurged on the table legs. They ran me about $260 after tax and shipping costs, but I really think they give the table that extra OOMF! So a total of about $300 is nothing compared to a price tag at Pottery Barn or Restoration Hardware!
I chose this stain because I really wanted something to contrast with our dark leather couch and white dining chairs and this stain was even more perfect than what I expected it to be.
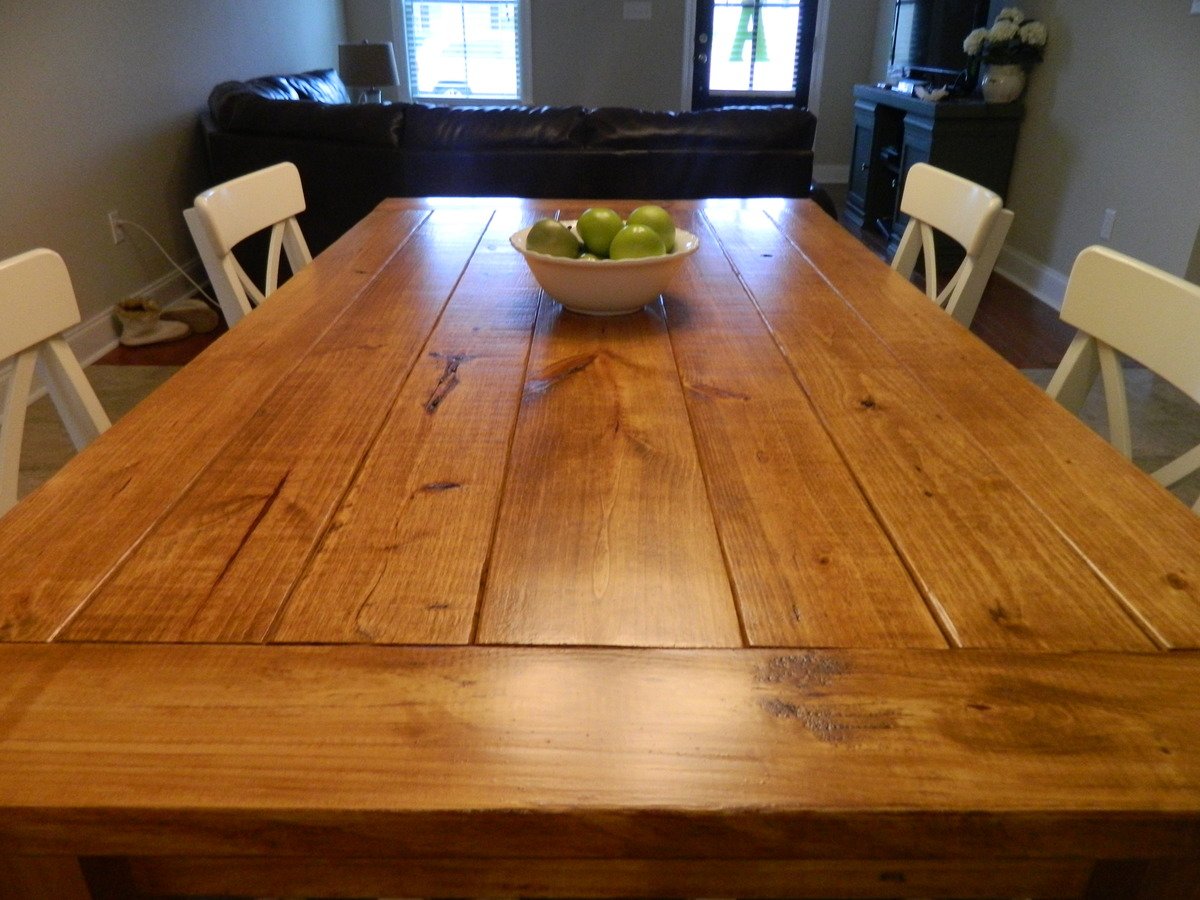
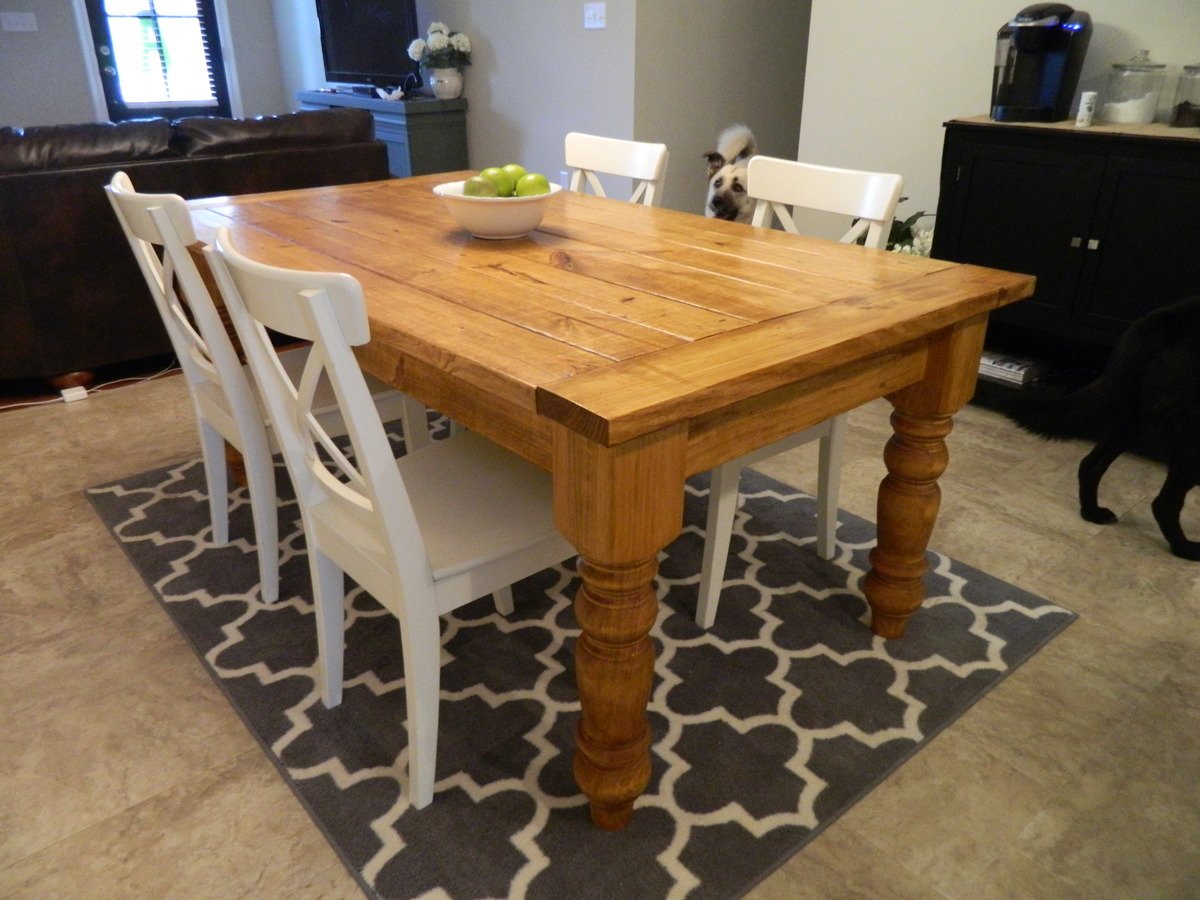

My first building project ever. Love it and plan on putting it in my dining eventually
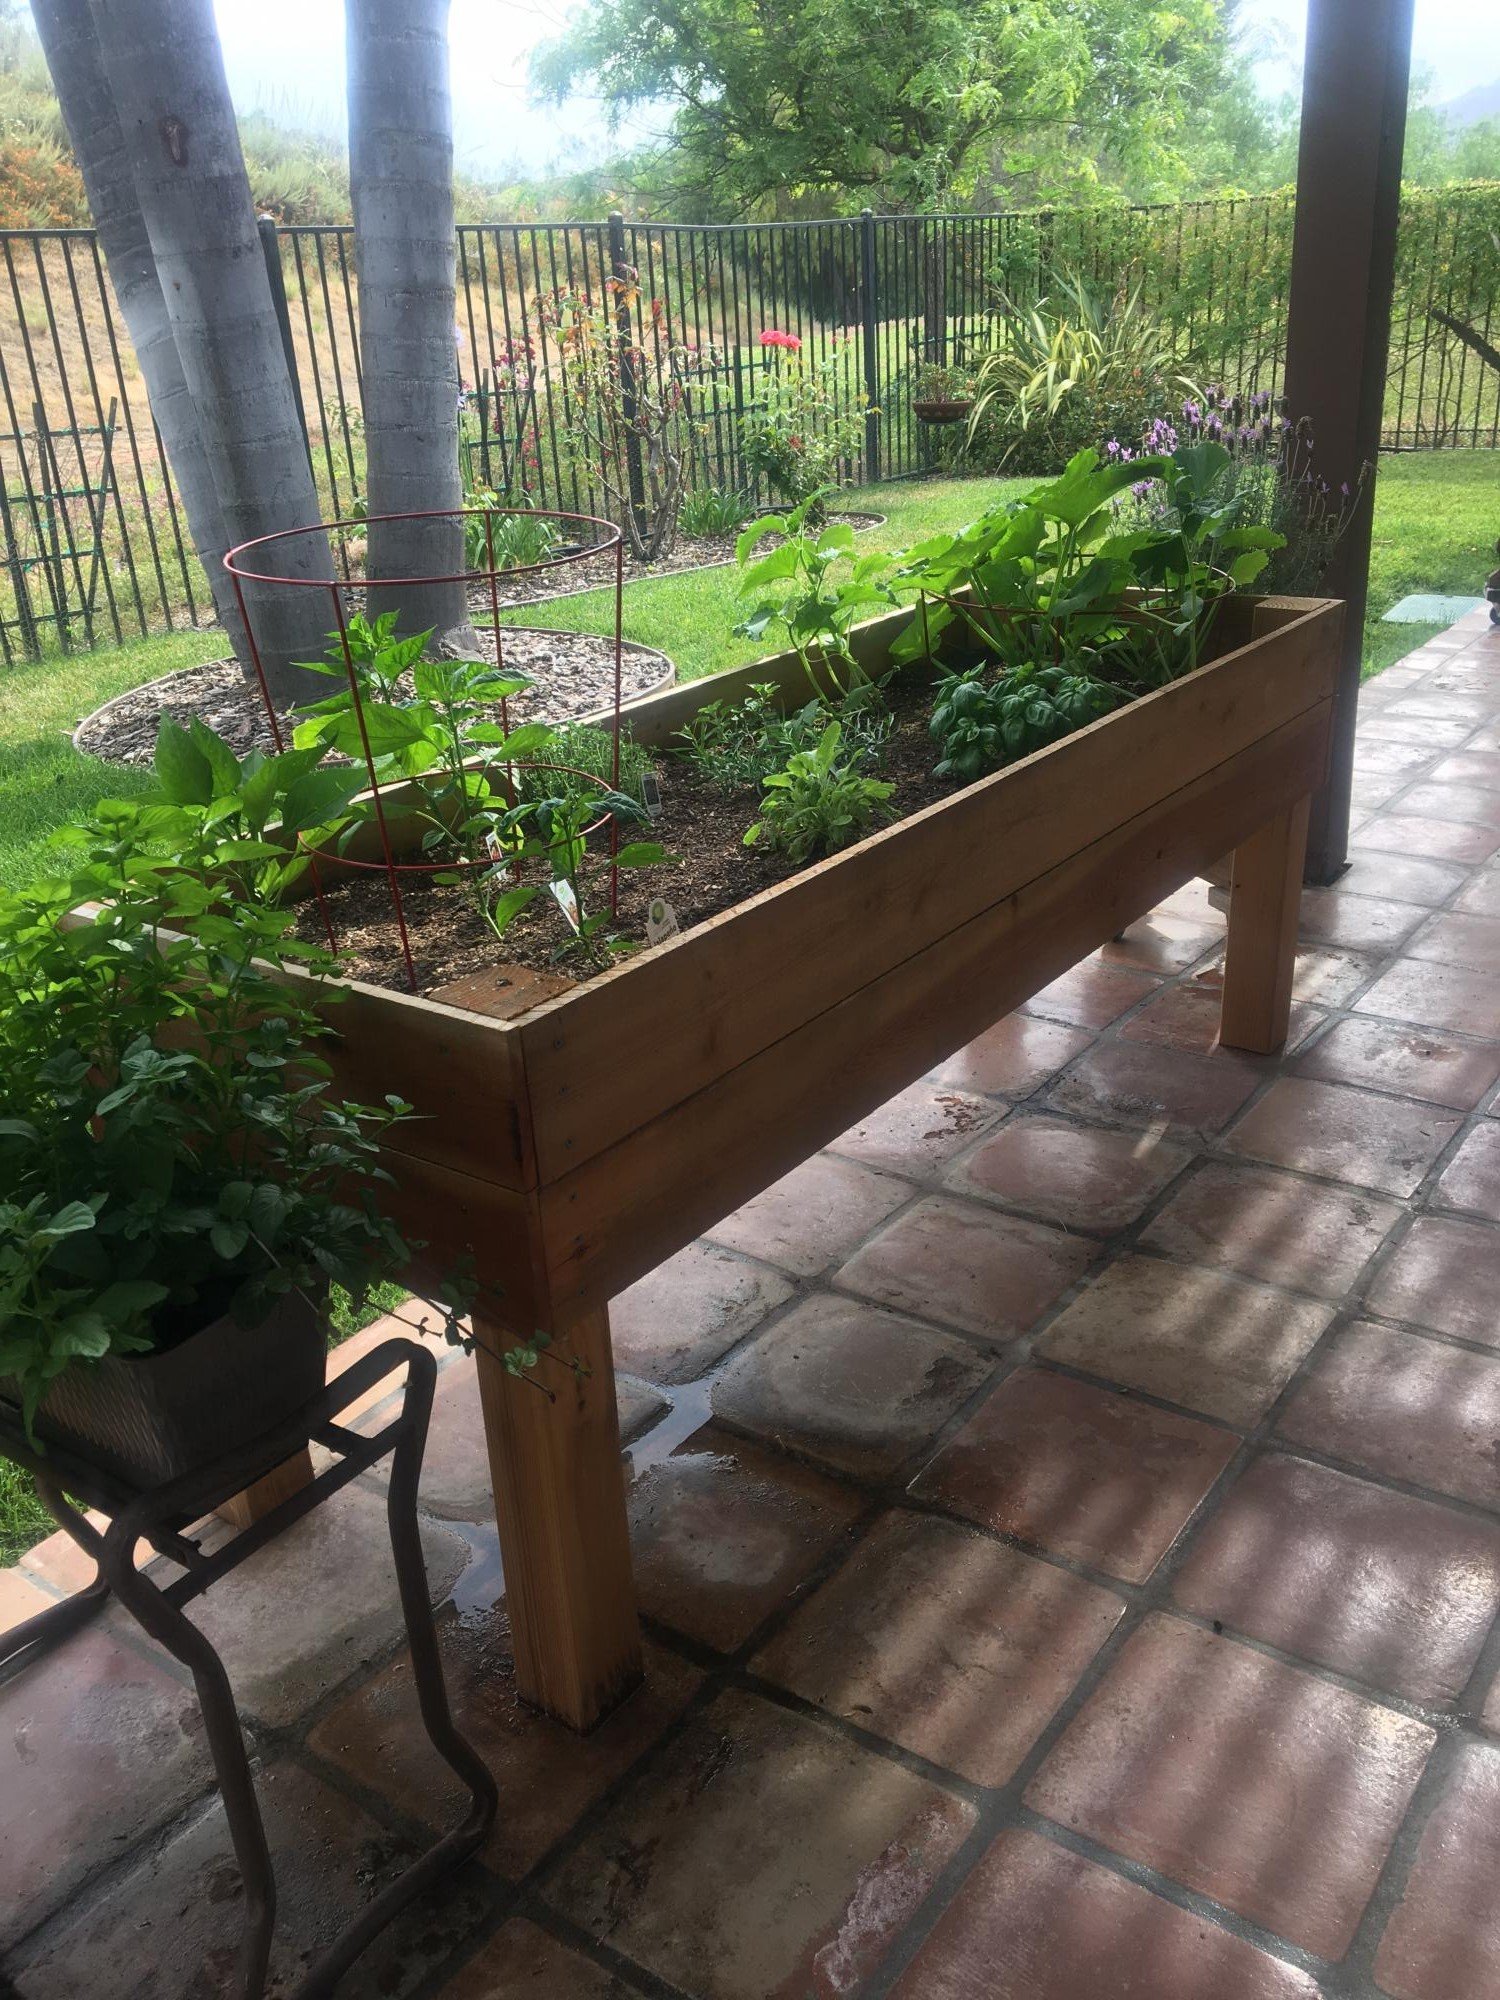
Hey Ana,
I saw your raised bed planter and decided to tackle it for ourselves. It measures 2'x8' and stands 28" to the bottom of the planter. I used redwood fencing for the sides and bottom at a cost of $1.79 each. I didn't use the wire mesh for the bottom but drilled 1/4" holes in the redwood fencing for drainage.
Thanks for the idea!!
Mike Howell
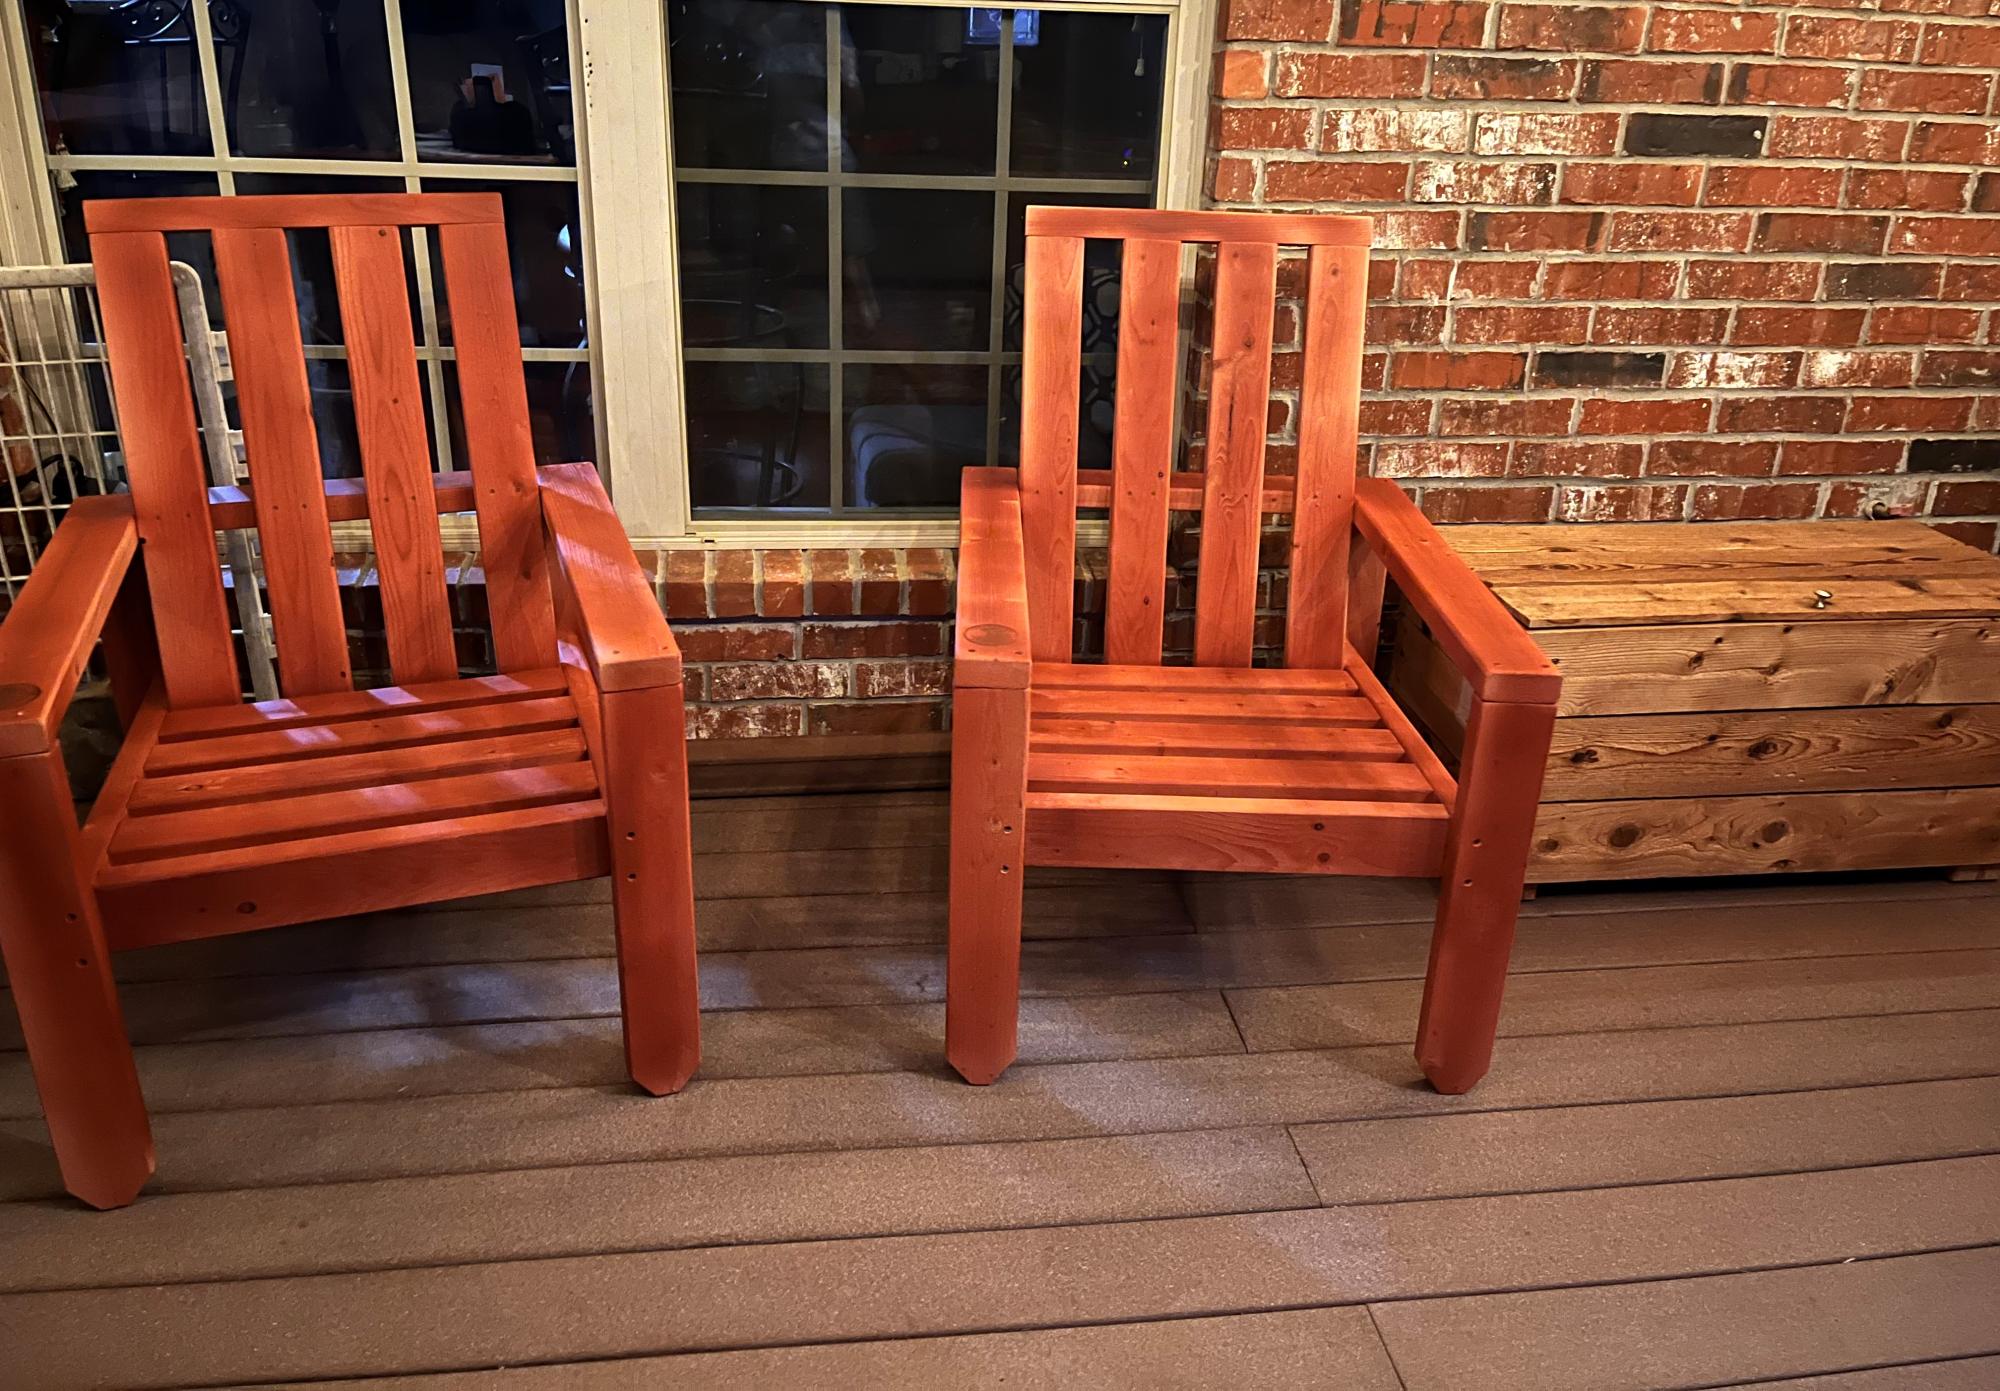
Ana White chairs along side my Ana White cedar storage chest (one of my 1st builds). Ana, thank you for the plans & for inspiring us to build!
Keith from Springdale, AR