Modified Clubhouse Bunkbed
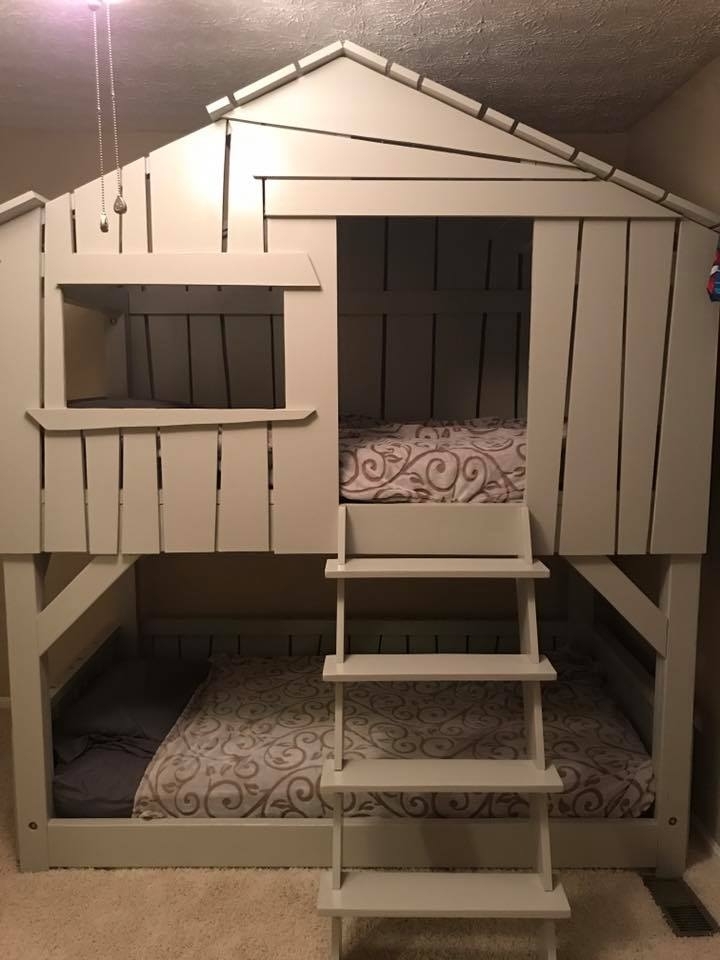
I used the plan from the Clubhouse bunk bed and modified to look similar to a Mathy-by-Boles Treehouse Bunkbed.
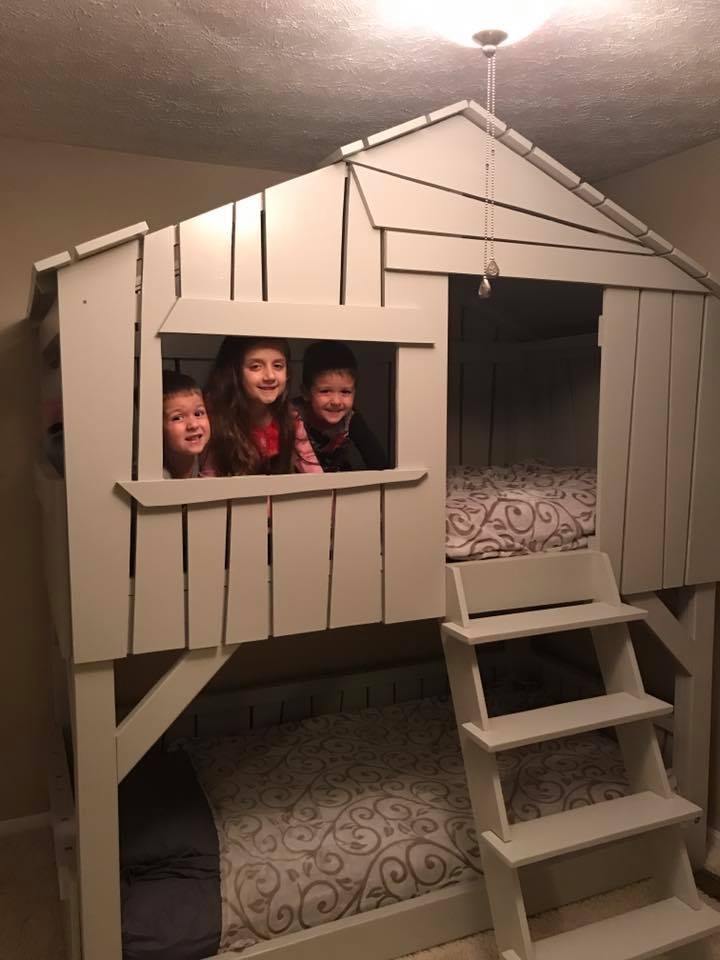
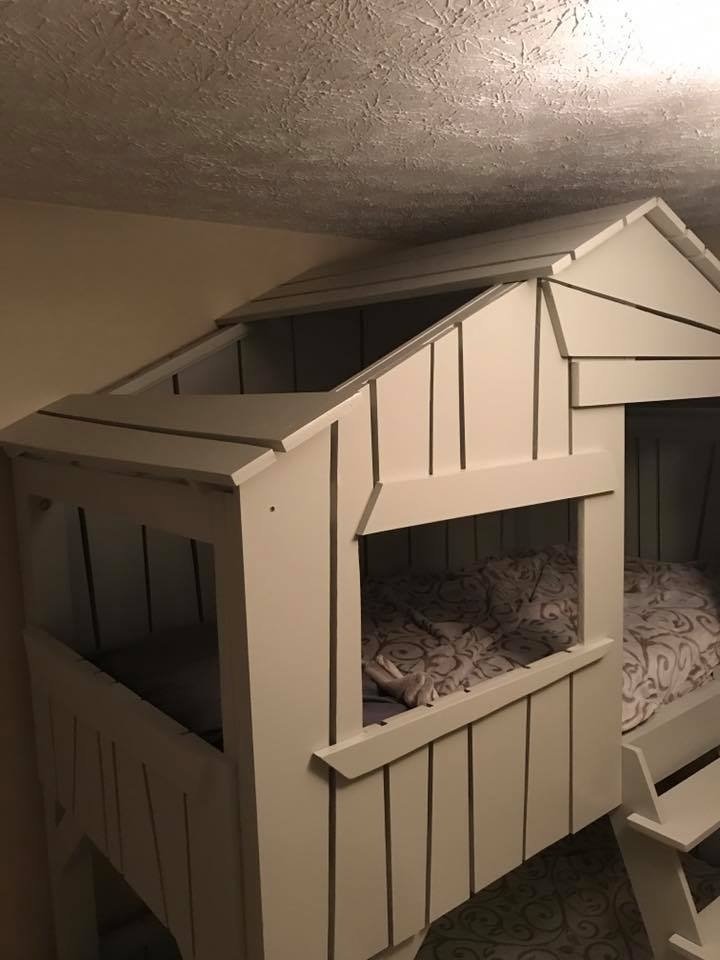

I used the plan from the Clubhouse bunk bed and modified to look similar to a Mathy-by-Boles Treehouse Bunkbed.


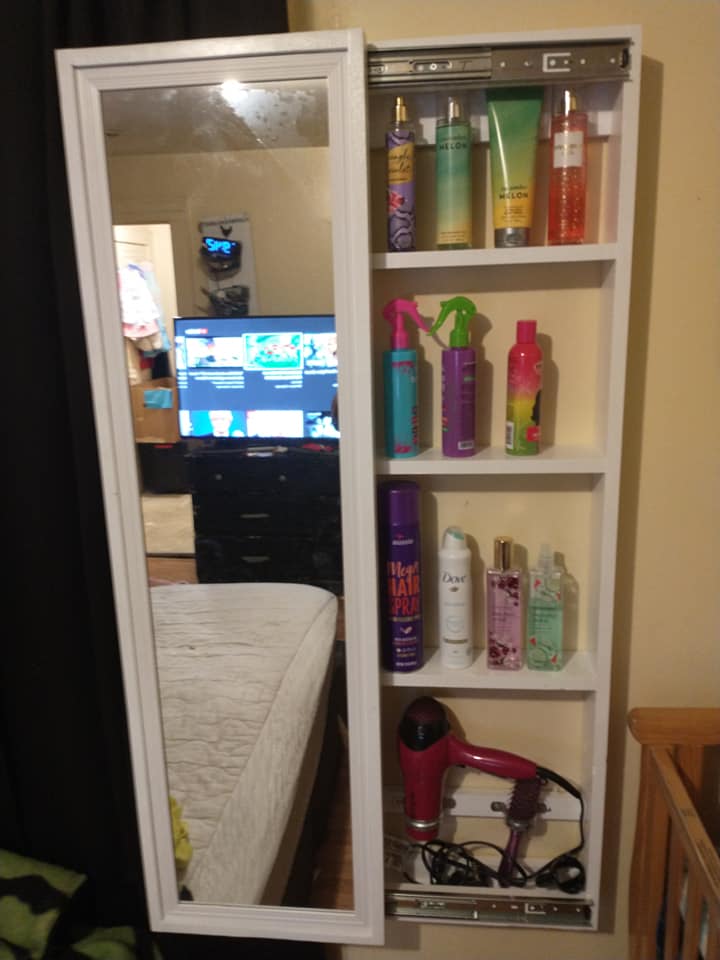
Great idea being my wife is not a hair person she really loves it.
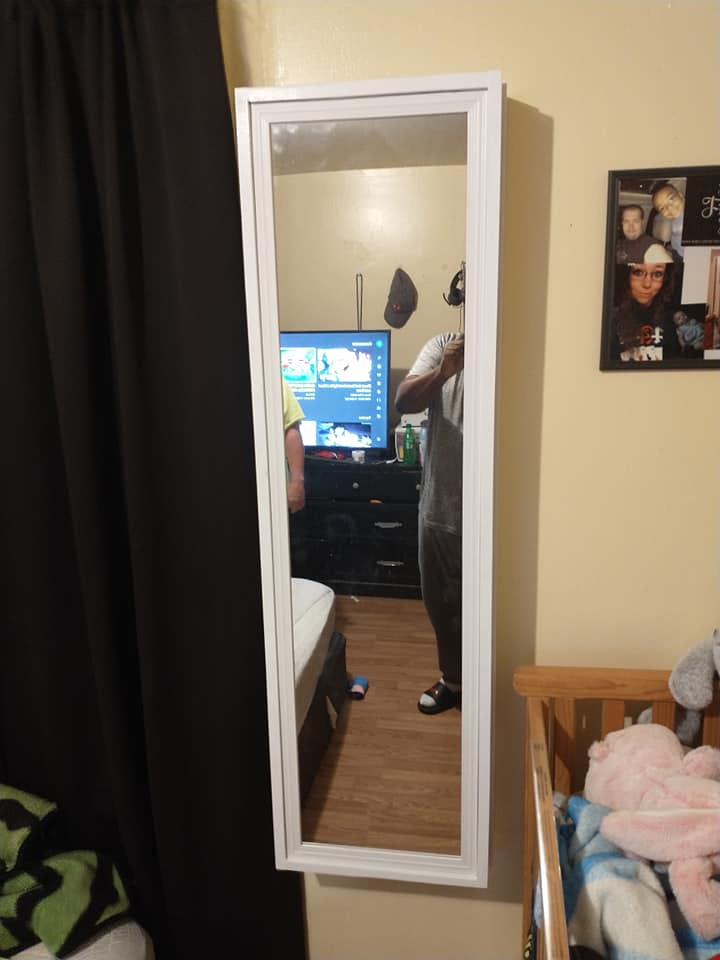
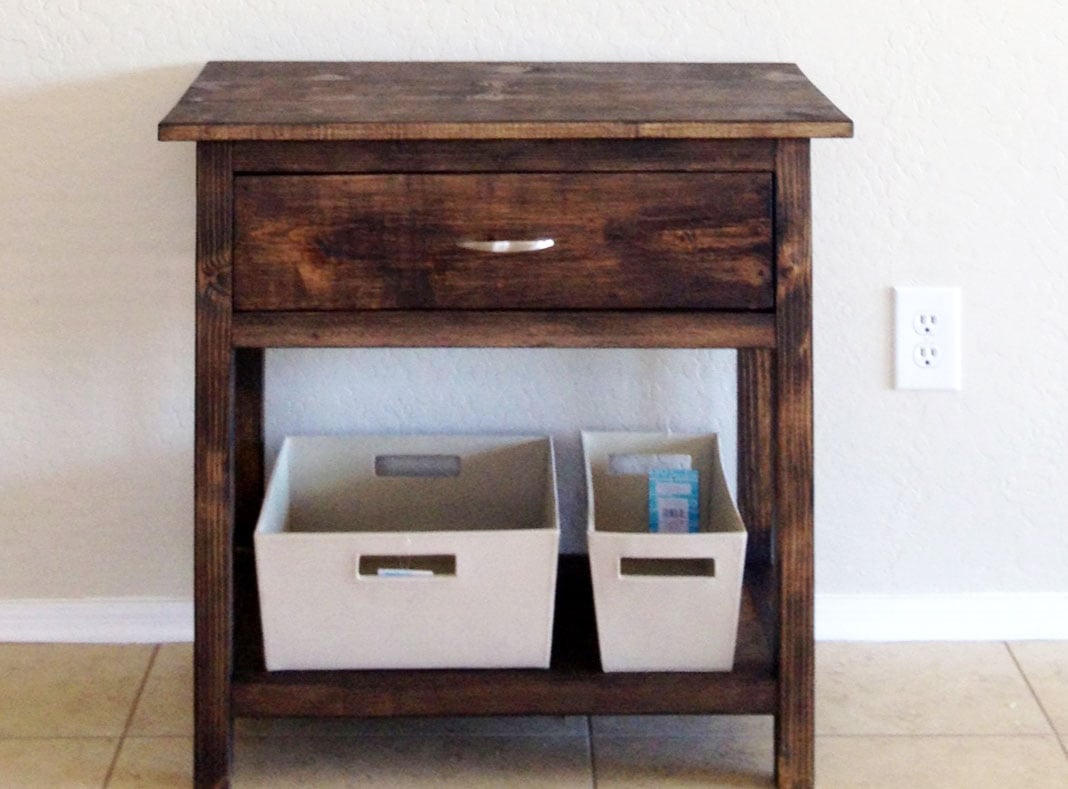
Yesterday I built two of these for my wife and I's room, we just moved from Hawaii to Arizona. The plans were clear and simple, and the end product turned out awesome. Next I will tack the dresser/tv stand. Thank you Ana
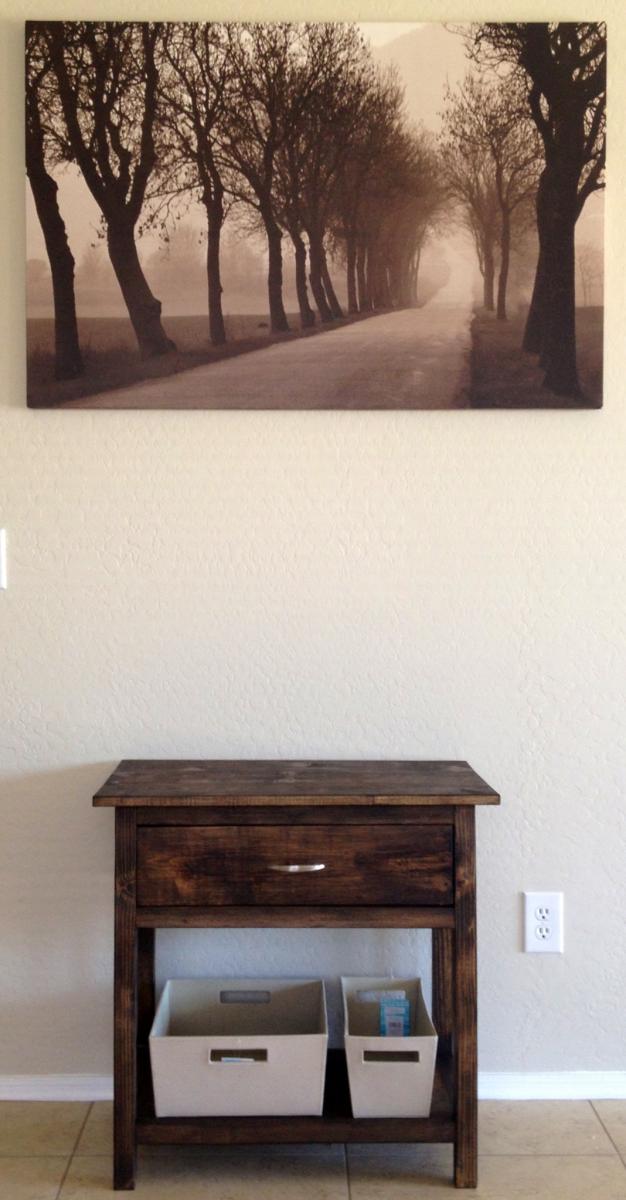
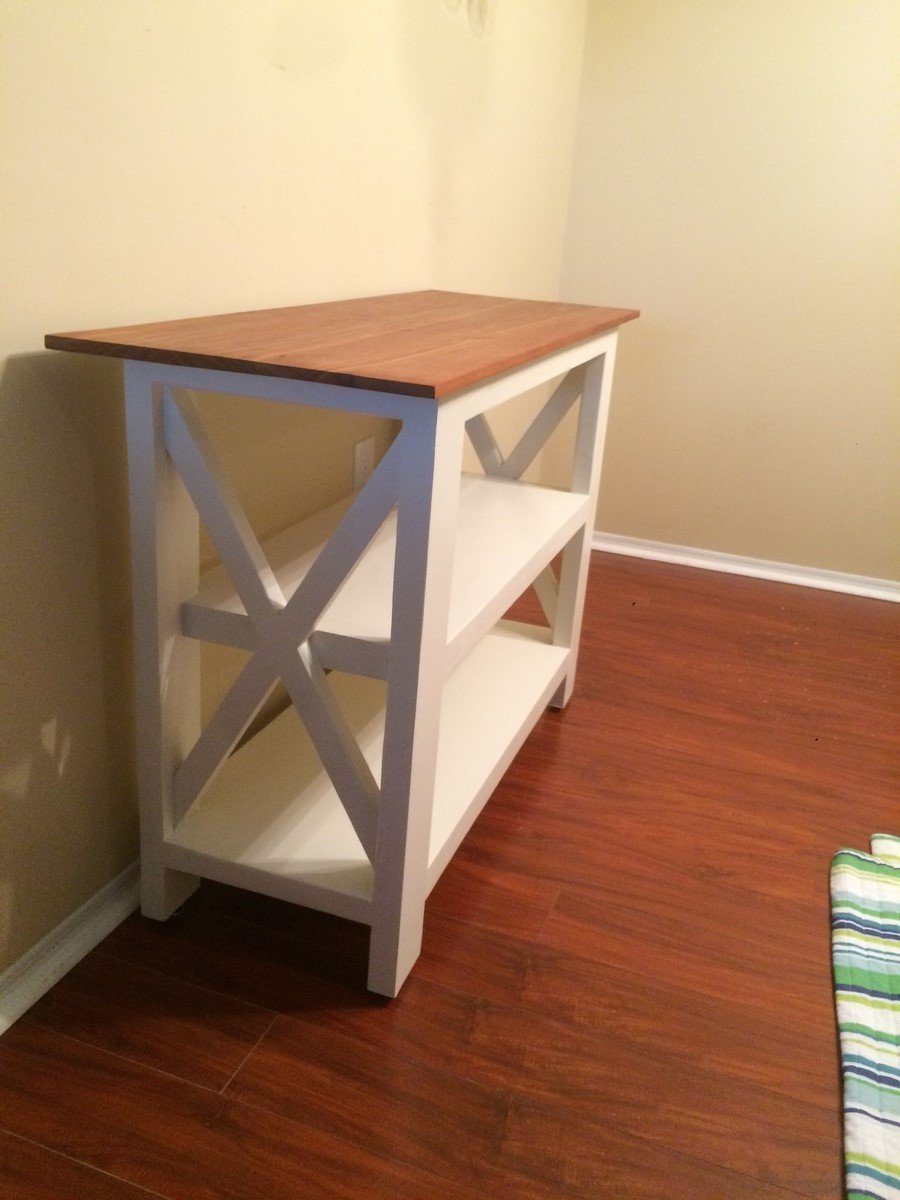
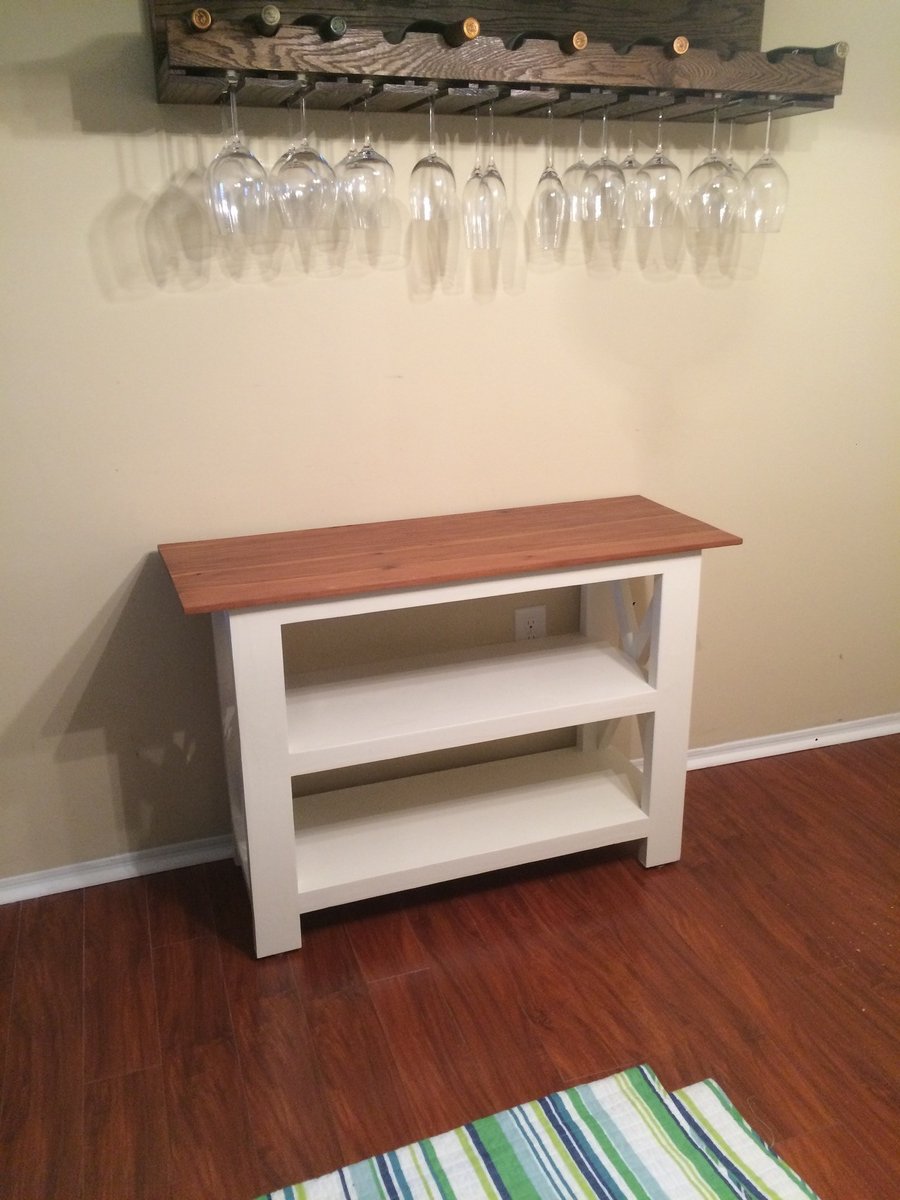
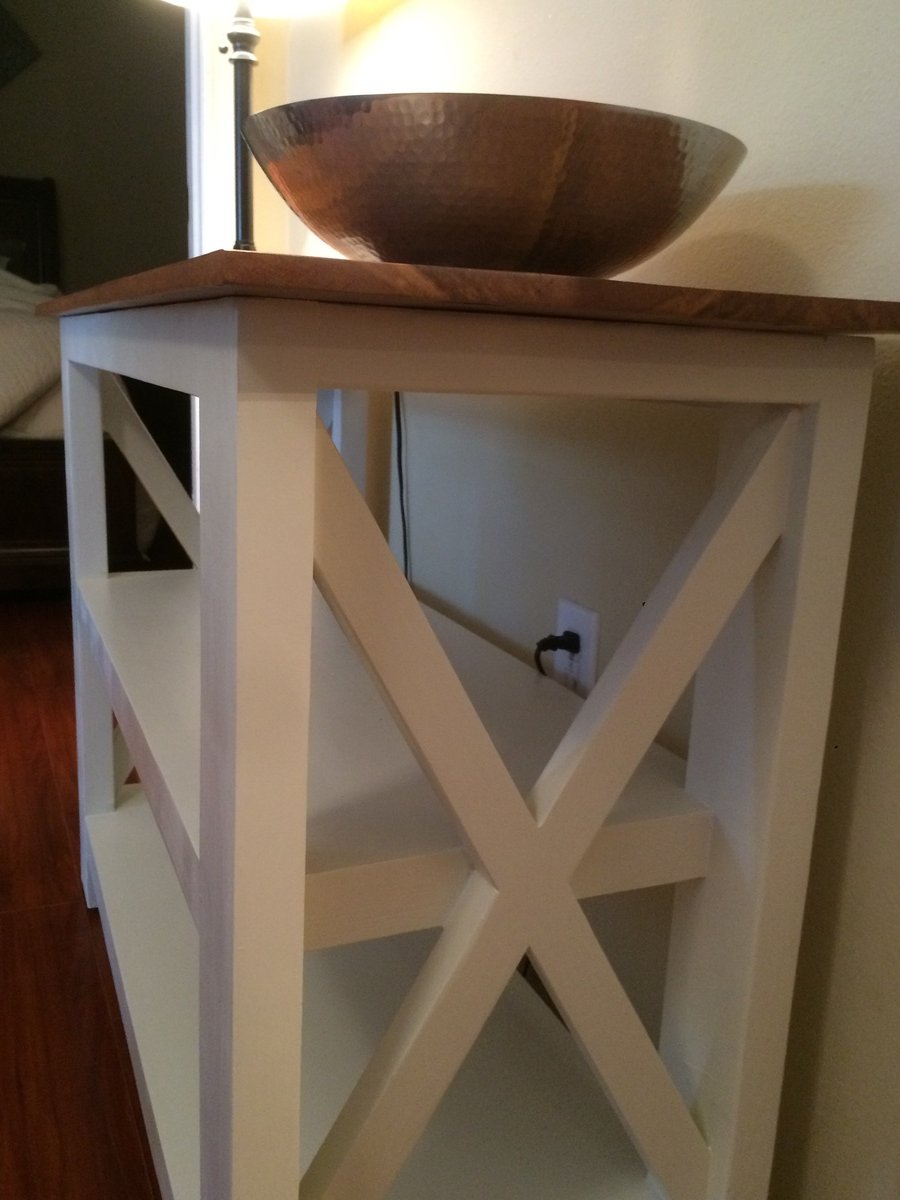
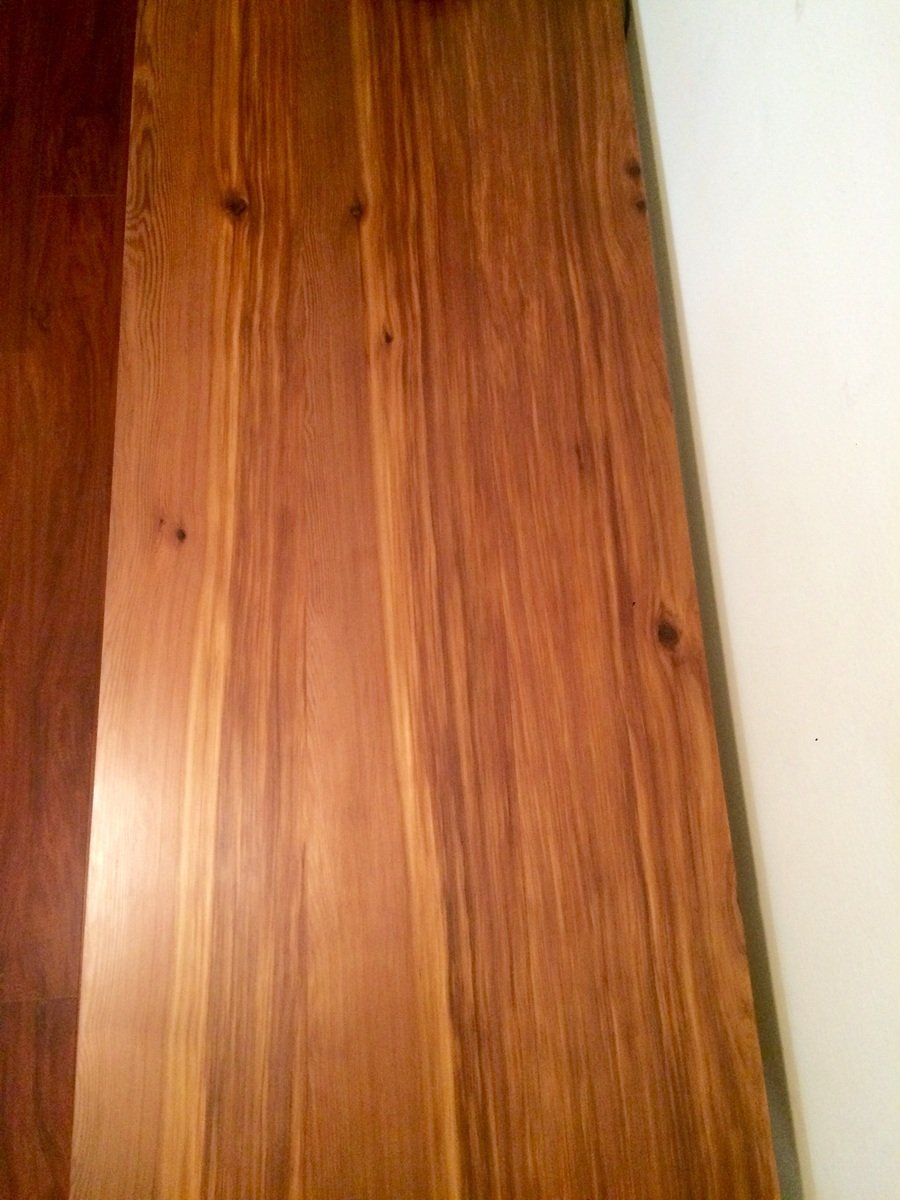
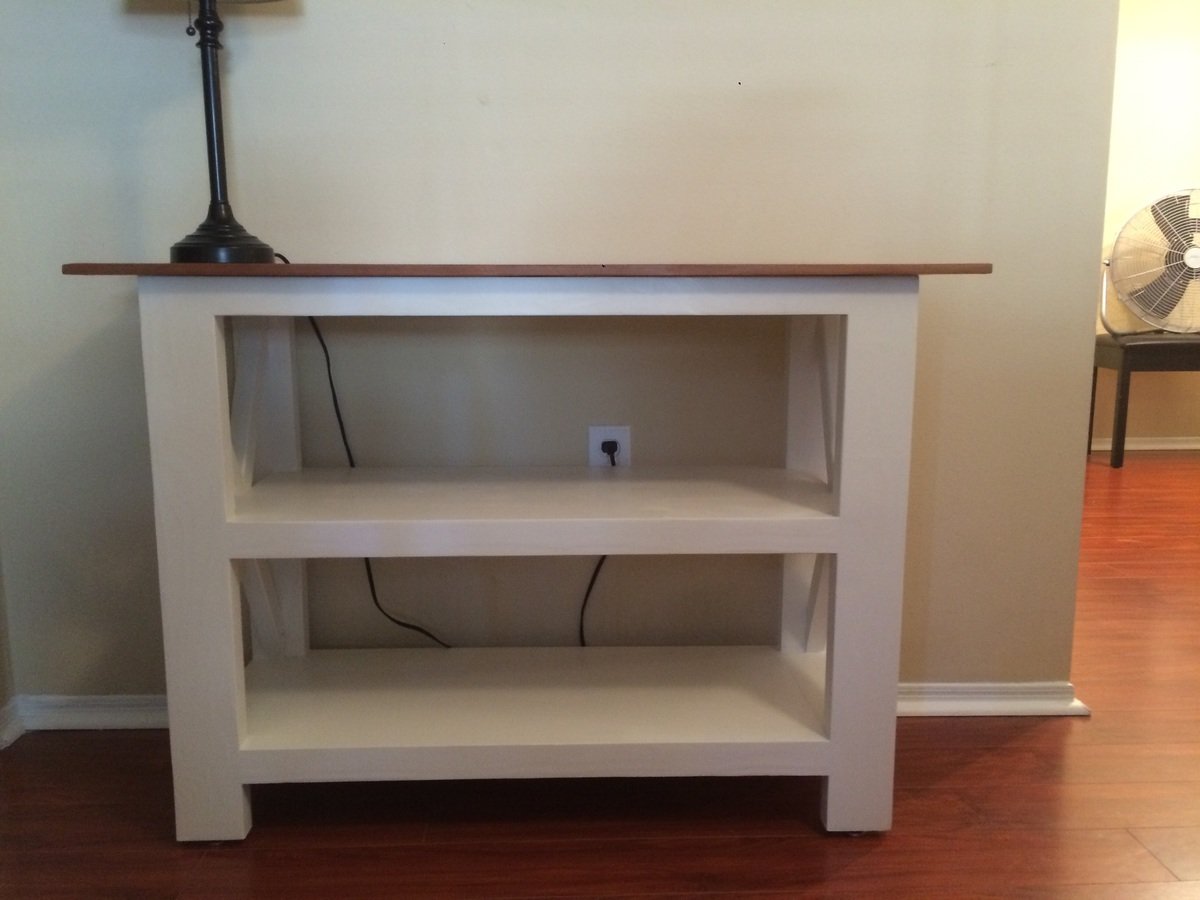
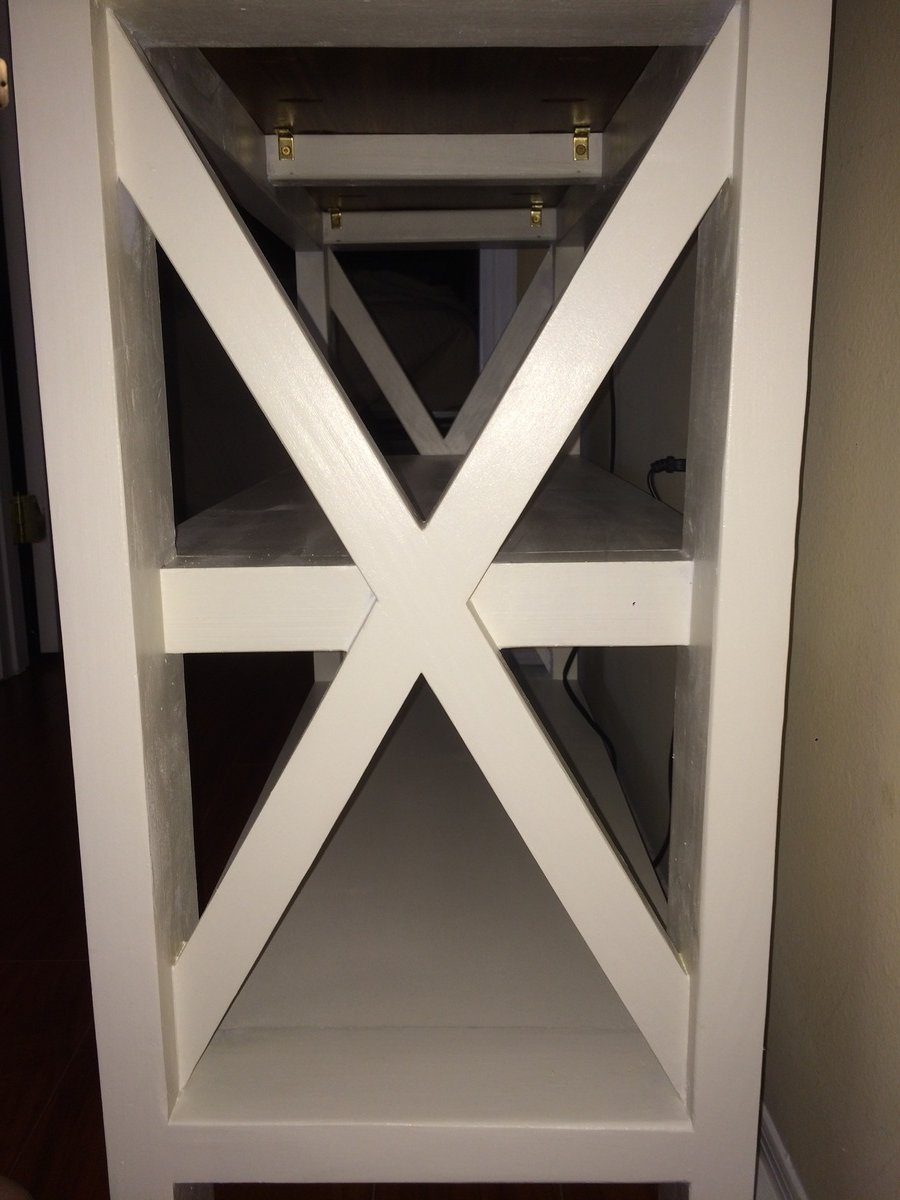
Essentially cut the original plans in half and modified a few things. The major change aside from the size is that is I used cedar plank for the top. I did this because I wanted a more professional look and I simply could resist the beautiful grain of the cedar. Pocket holed and glue cedar prices together after running them through the jointer. Also I connected the top to the frame via L brackets. Sealed the top with 3 layers of satin polyurethane. Apples poly with a 6 in microfiber brush dampened in mineral spirits. Also I painted the majority of the base with a foam roller. Put on slide plates on the bottom to adjust for slight unlevelness. Enjoy!
I'd built a table for my daughter and her roommates at college last year. One of them is getting married this year and asked If I would mind building one for them. They found a picture of this table someone had built and I tracked down your plans. They needed it smaller so this one is 72" by 39" and I built the bench in a similar style.
They wanted a smooth top (no grooves between boards) and no breaboard ends. The table top wanted to warp a bit at the corners without the breadboards, so I imbedded some angle iron to keep it flat.
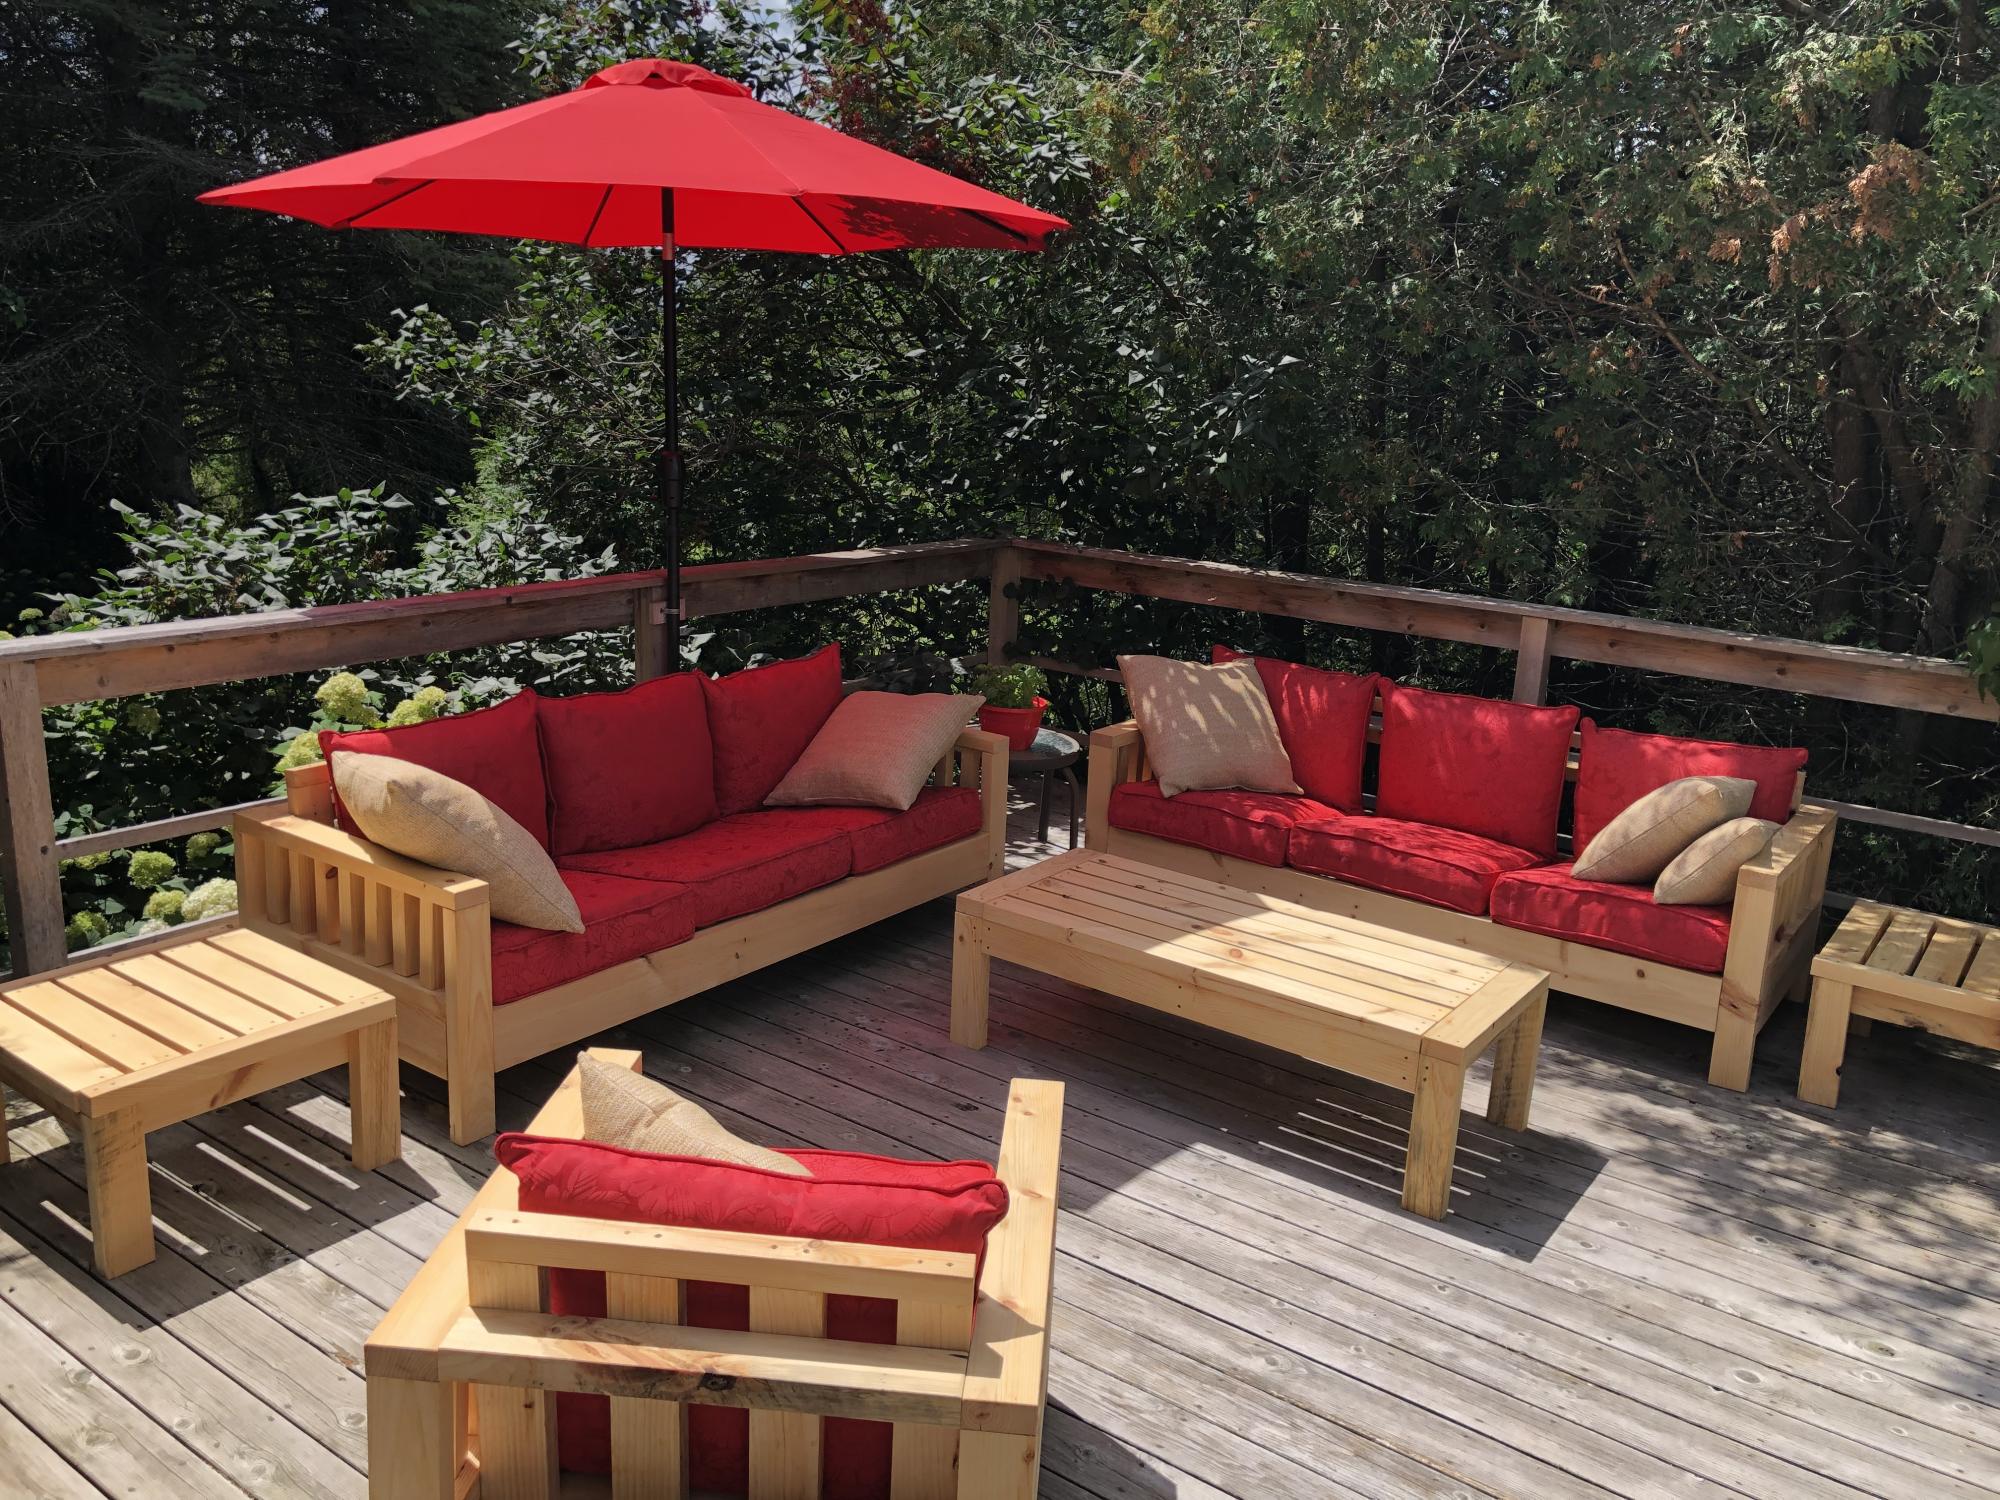
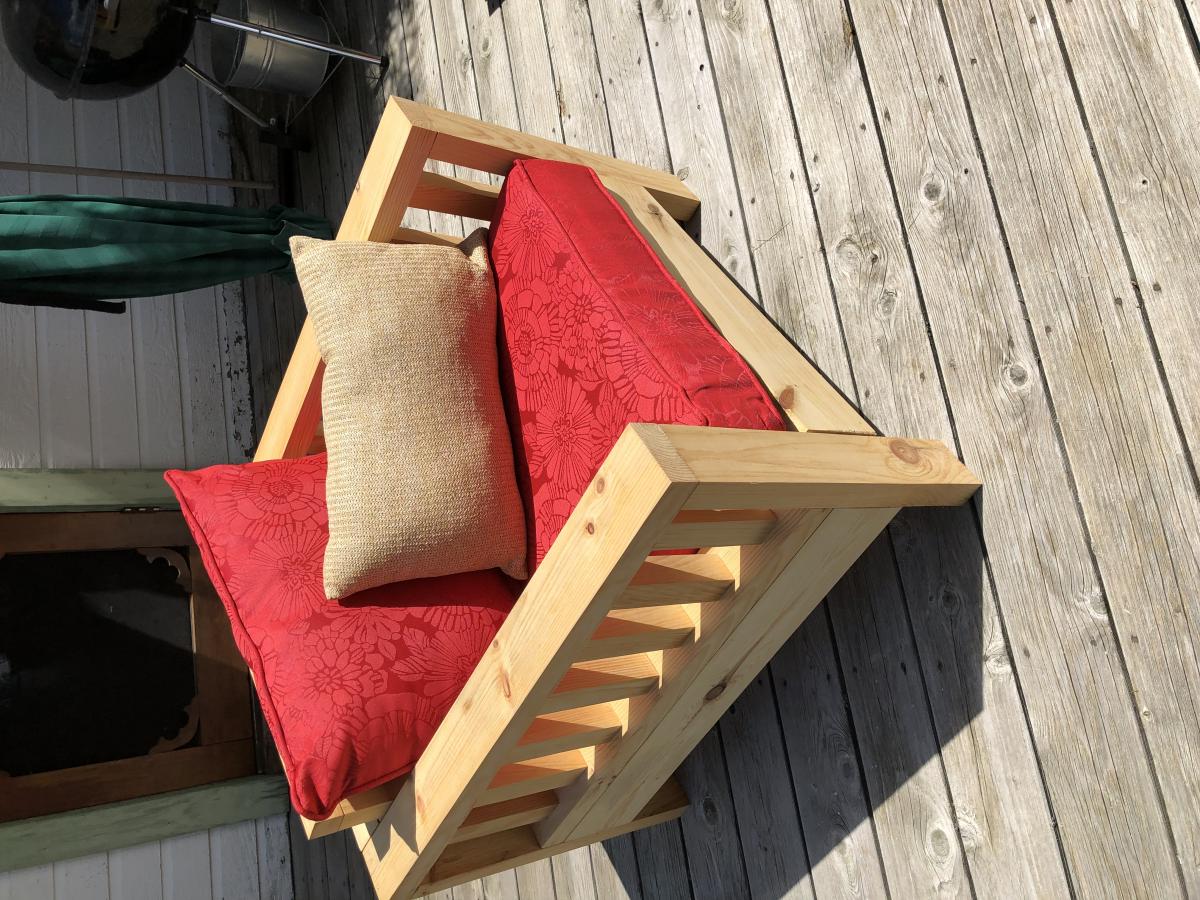
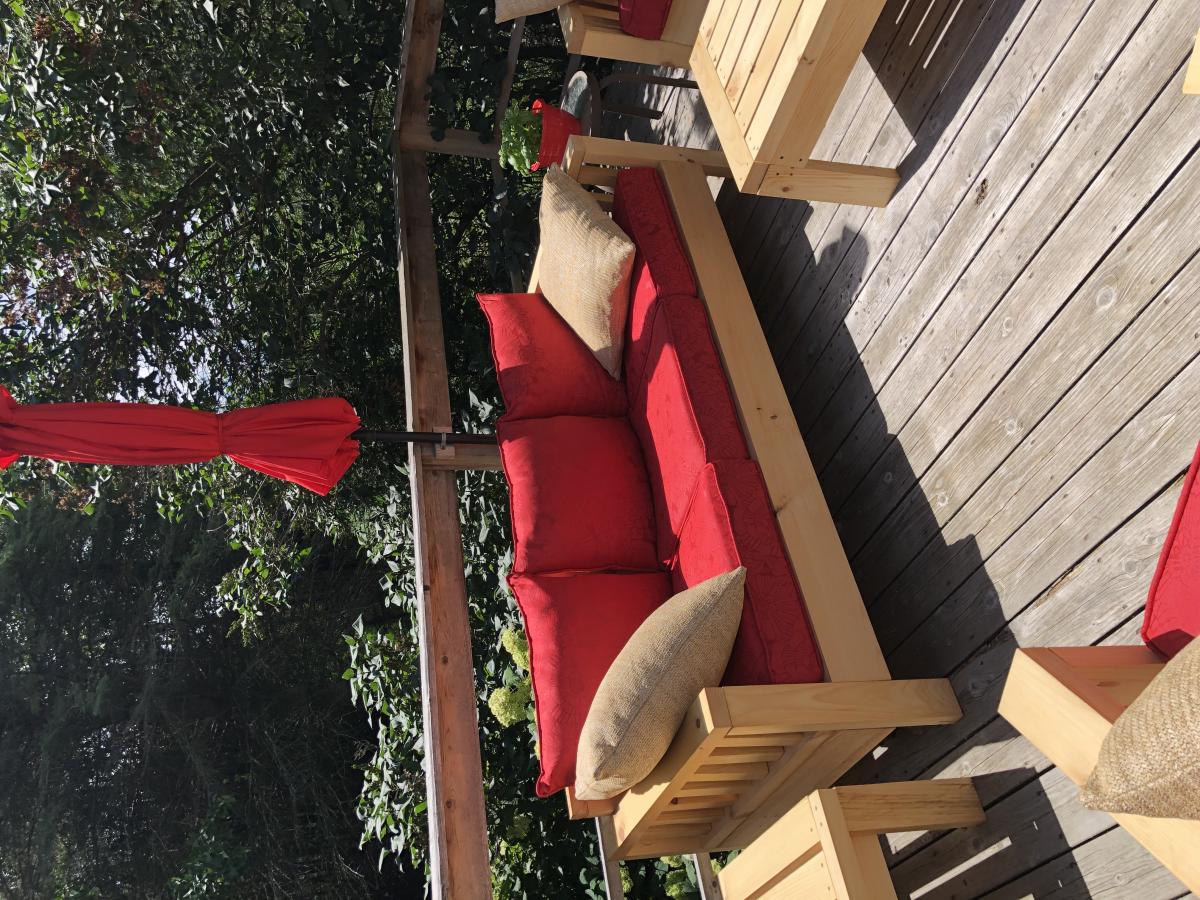
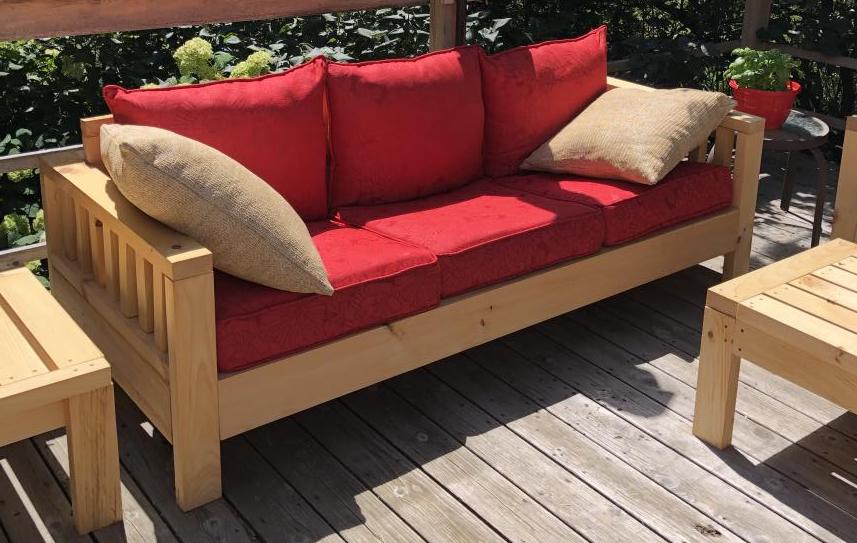
This was my first woodworking project. Ana made it look doable and I didn’t like any of the outdoor furniture offerings I could afford so I thought “why not”? I couldn’t find wood at any of the big box stores due to a severe wood shortage. Good timing on my part. As a result of the shortage the cost of the wood was higher (around $550 Canadian) but I did save around $200 by ordering from a local producer. And the wood I got was spectacular! I don’t think I’ll ever go big box again as there is no comparison. I ordered freshly milled pine which was air dried, from local Scierie Carson (Carson sawmill). I further air dried the planks in our barn, oiled them with boiled linseed oil and cut. I modified the plan slightly to add some posts in the arms and to lower the seat backs as the cushions I found were not as tall as Ana’s. I managed to find them on sale at Christmas time at a local Reno Depot (Quebec’s version of Rona, Lowe’s or Home Depot). The cushions cost $500 Canadian for 10 sets and believe me that was a deal. Over all it was not hard to do and I’m thrilled with the results. I have a gorgeous patio set that will adorn our farm deck for many years to come.
Sun, 08/01/2021 - 11:20
Impressive to say the least, well done! Love your can do attitude and I know you are enjoying the fruits of your labor with this amazing set up!
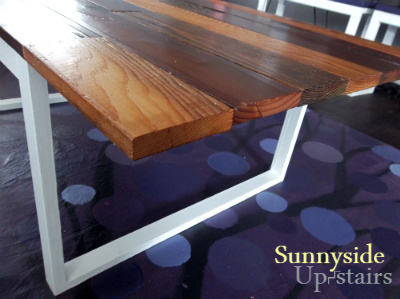
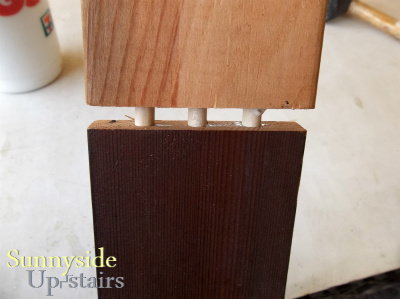
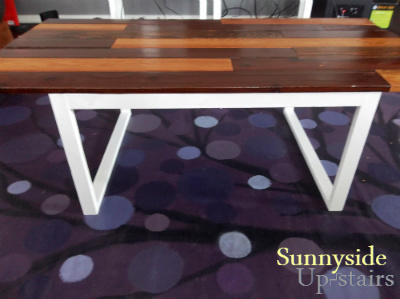
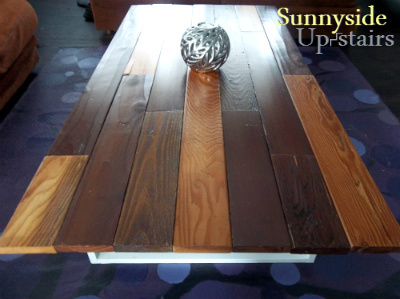
I purchased reclaimed 1x4s from a deconstruction warehouse called Re-Use Hawai'i for 20 cents a foot! I cut the lumber to make an un-ordered stagger pattern, experimented with dowel joints to join the cut pieces into 4 ft. planks and used pocket hole screws (hidden by the table legs and supports) to join the planks. I used old salvaged 1x2 window framing for the legs using pocket hole joinery.
This was my first attempt at a farm table. I found the fancy x plan for inspiration. The length is 6ft. I had to modify all of the measurements. All of the boards came off my grandad's old barn. The posts are laminated together from guide posts from his corral. There is a lot of history and character to the table. I did have to make the bench to match it. I'll post pictures of that soon. Most importatnly, my wife loves it!!!! Happy wife, happy life!!!
Mon, 05/18/2015 - 12:00
Hello, awesome job on the table. Was wondering if you would mind sharing the table top dimensions. I have a smaller space and was thinking of modifying to make something in the 6ft range as well. Thanks
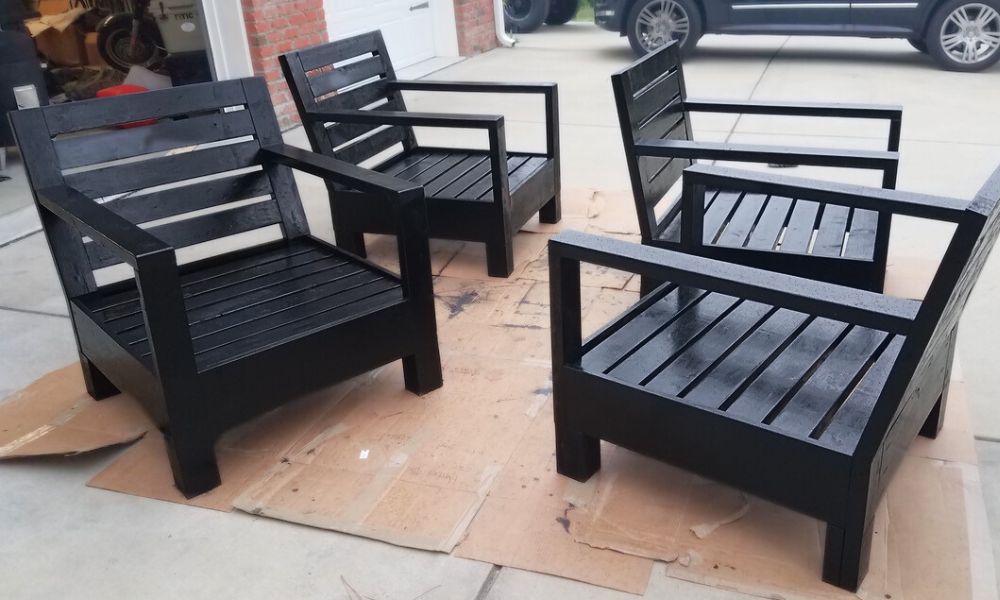
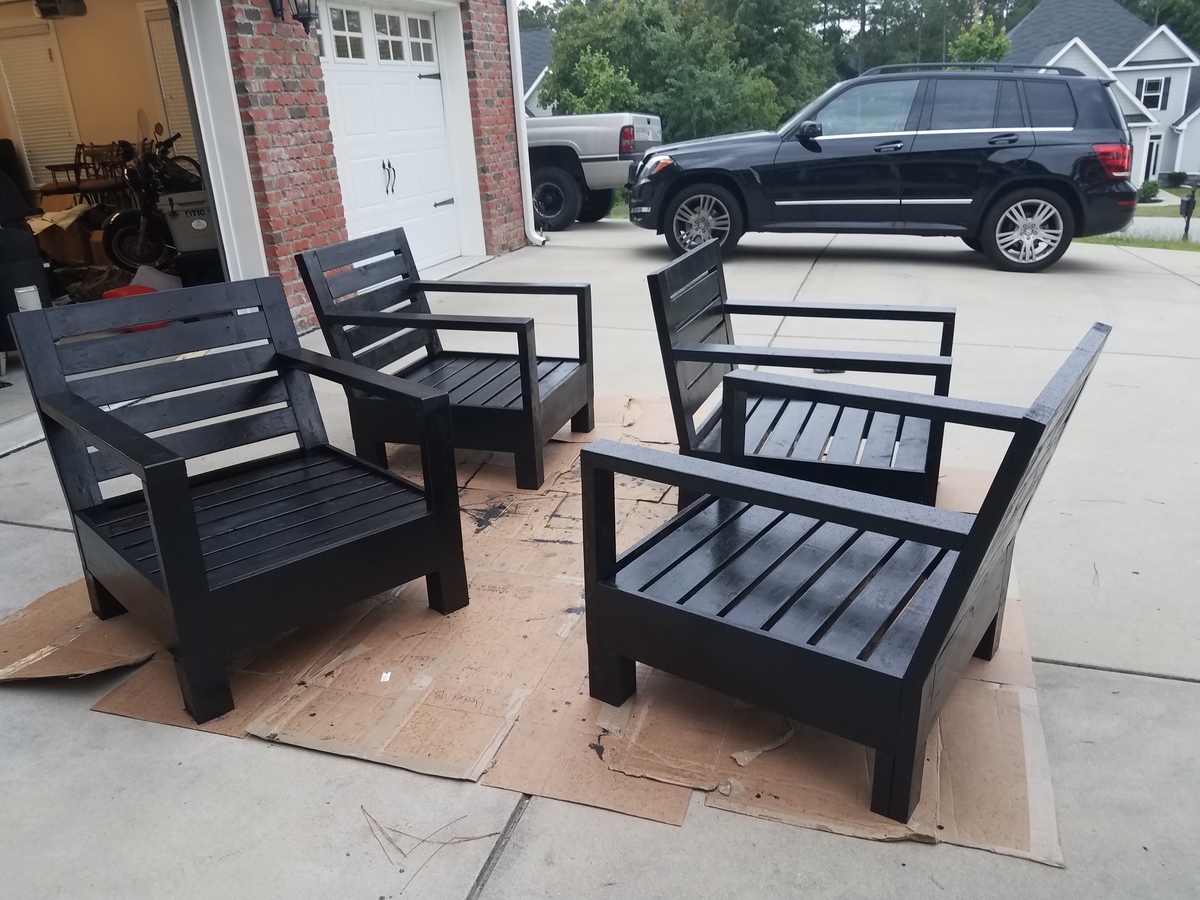
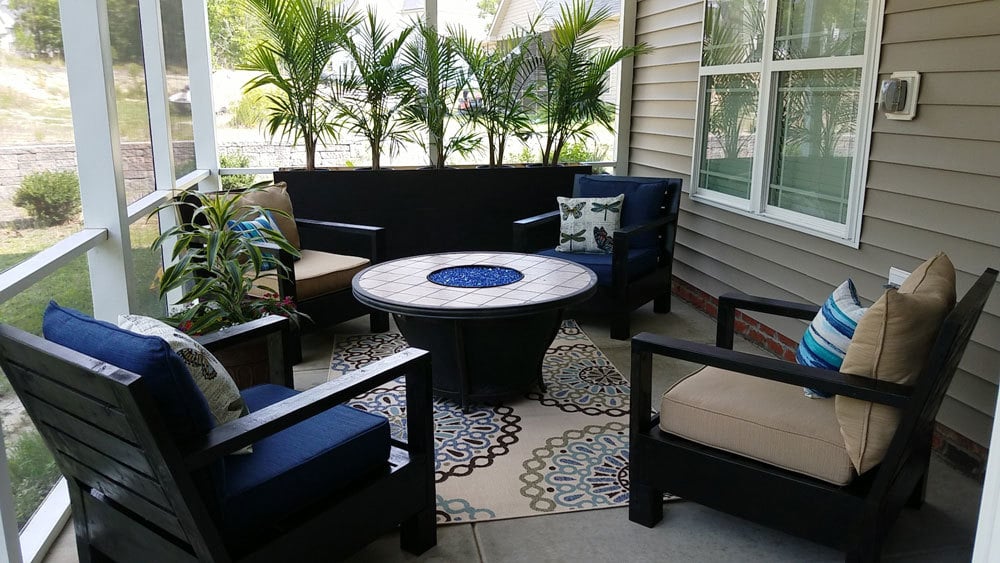
We used 2x4 to make the chair more sturdy. We also kept with the original plans and did not alter them to fit the cushions. We felt changing the dimensions altered the look of the chairs. And the cushions look perfect in the chairs. We were also building the chairs to sit around our fire pit, so we added 6" 4x4 legs to keep the bulky look. We used Ebony stain. We also made an 8'x3' planter box (see pic). We are beginners with no wood working experience at all and we nailed it! So, don't be intimidated by the plans. After the first chair, they all went together smoothly.
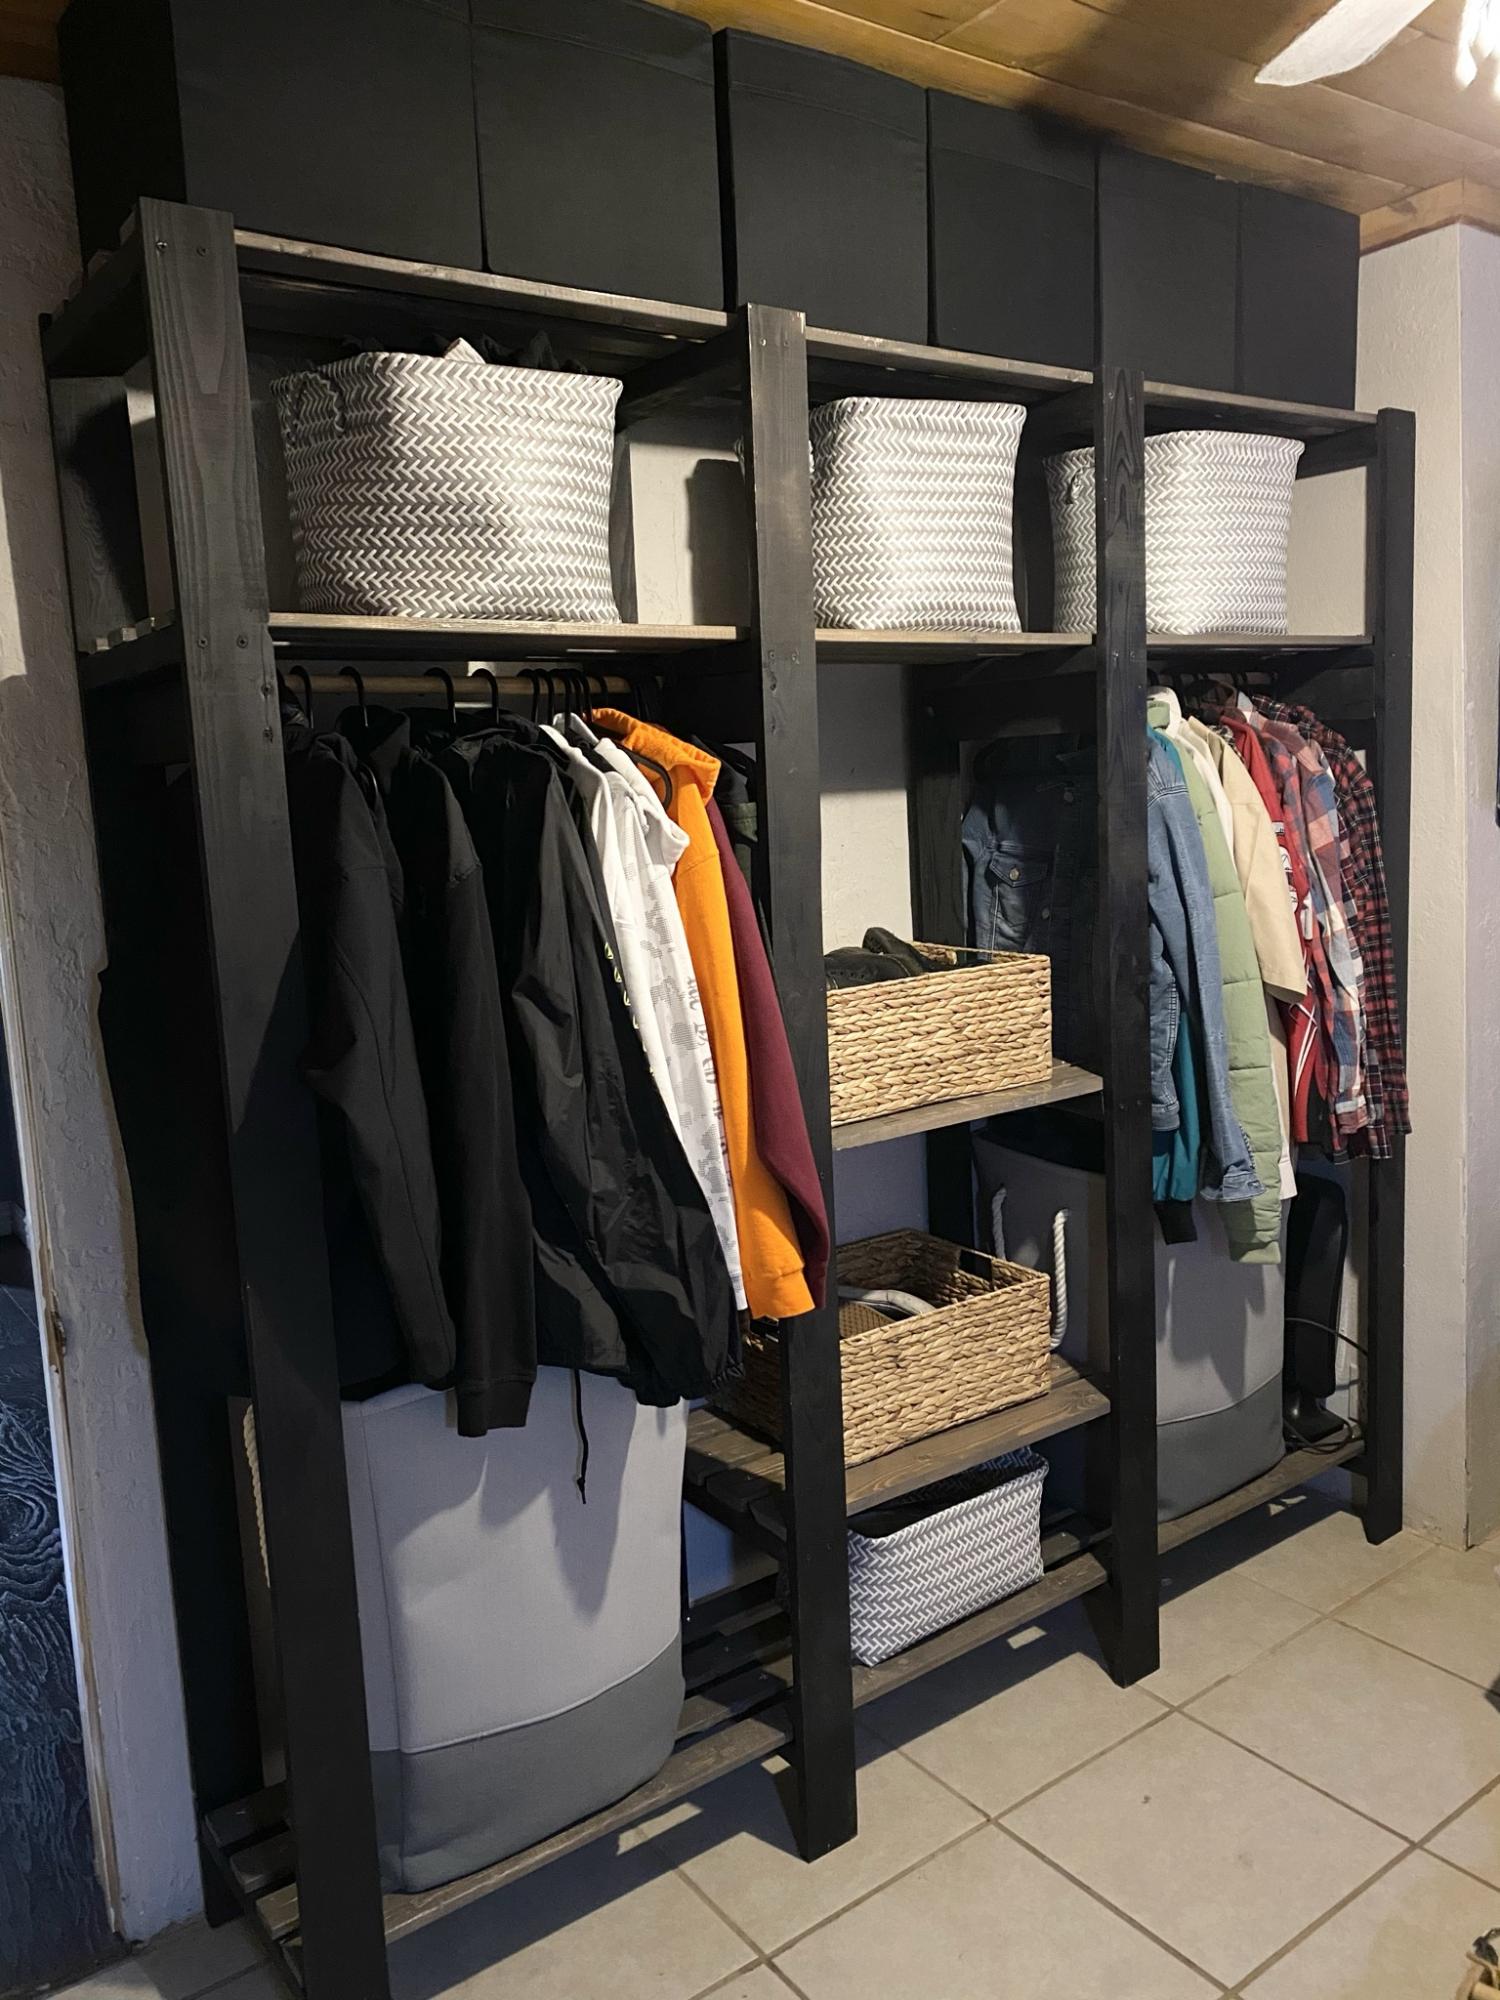
Closet
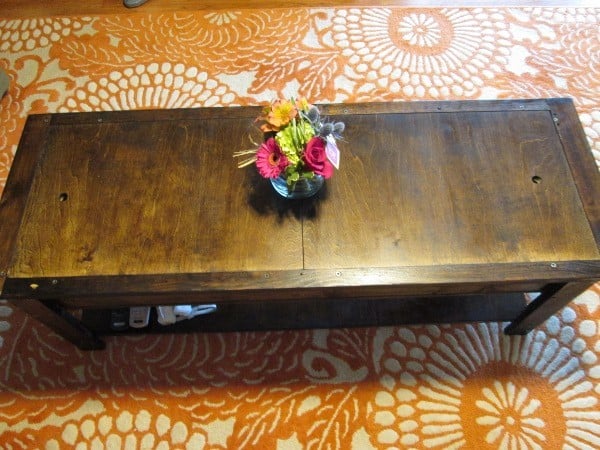
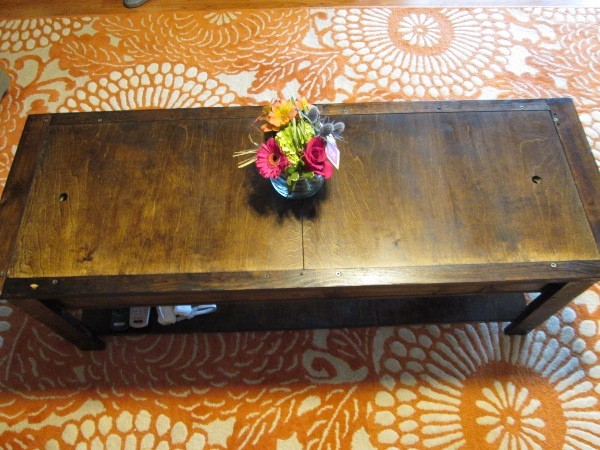
I built this lovely lego/coffee table for my son, 7 and my sanity at night! This is my 3rd plan I tried from Ana's wonderful plans. (I made airplane shelf and $10 wall ledge before).
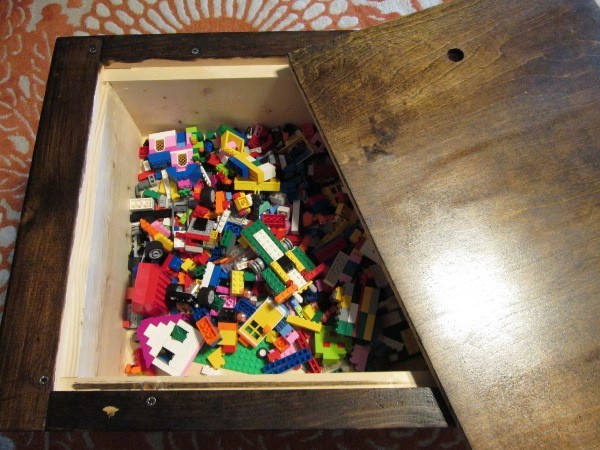
Sat, 04/26/2014 - 11:57
Your table is just beautiful!! Question-- do you remember about how much it cost for the wood materials? I am dying to make one soon!
(Also, I would be curious to know which stain you used, it's gorgeous.)
Thanks!
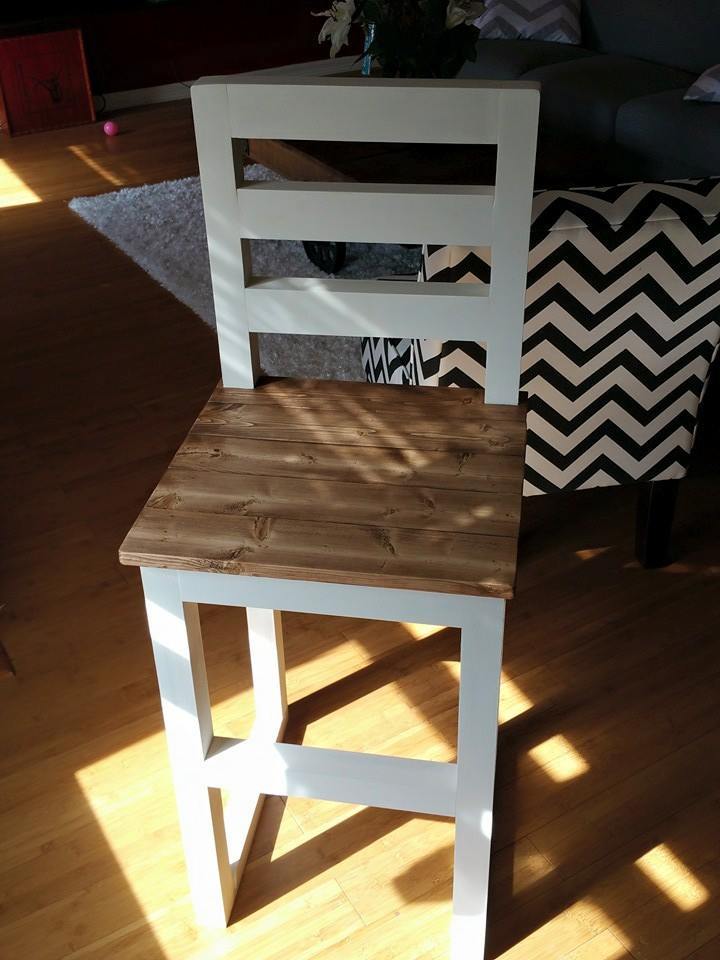
Love my new bar stool, now to build 3 more. I think it turned out great.
My son wanted a bed for his doll, Bobby John. We chose some plans for a bed to make and he helped me through the process. Instead of making this a trundle bed, we made the trundle more of a drawer. He can store clothing and some of the doll toys underneath instead of on the floor. ;) I modified the original plans by using drawer slides instead of the ball bearing casters, keeping is a single unit so that when it is moved around, it's only one piece. This also keeps it from banging around against the frame when pulling out or pushing in. Also added a few decorative elements like the ball post-tops and also used the Kreg Jig to hide the main fastening screws.
My wife made the mattress, bedding, and pillow and one of my daughters made a small, stuffed panda for Bobby to "snuggle". Turned out fairly well.
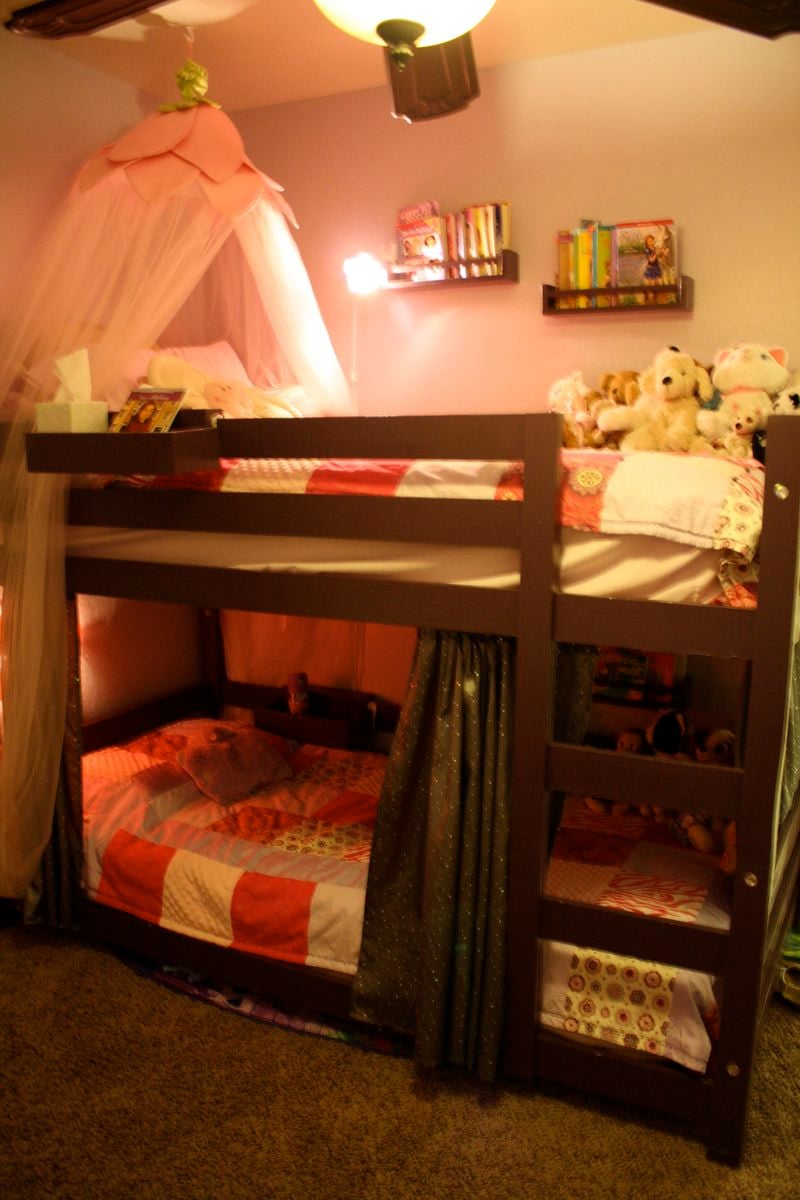
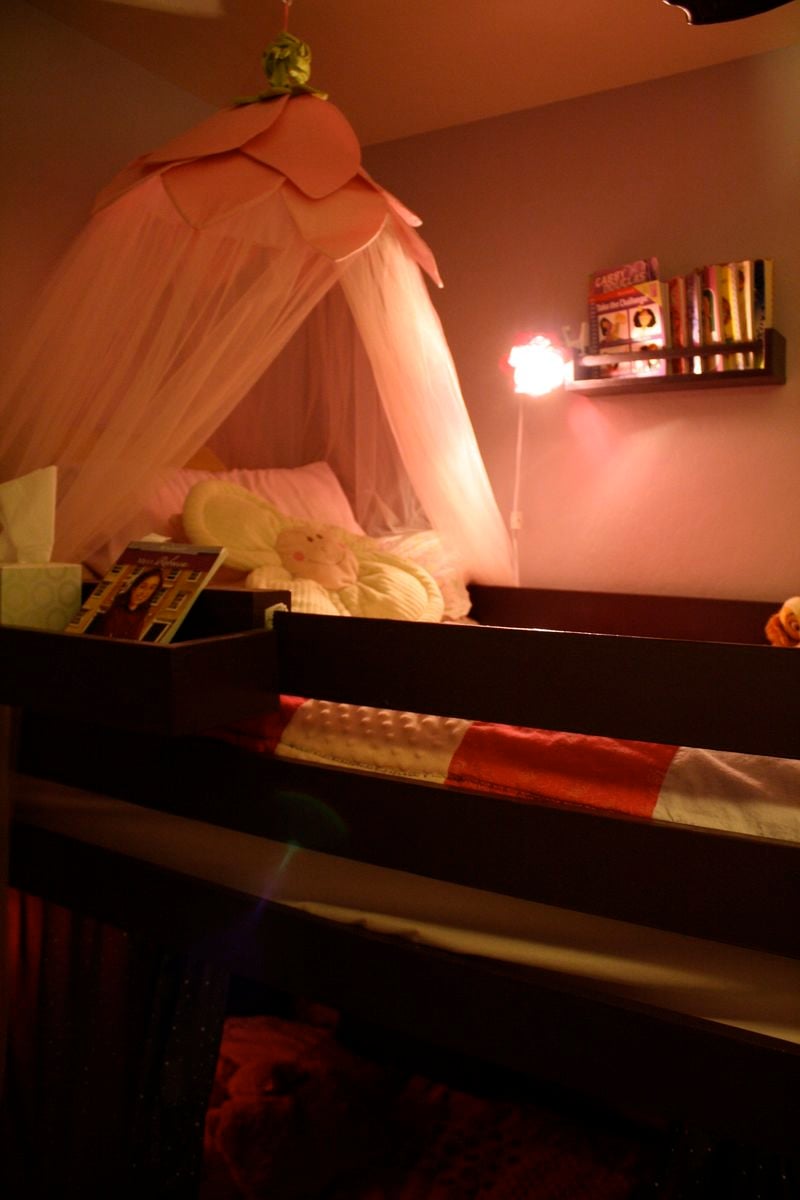
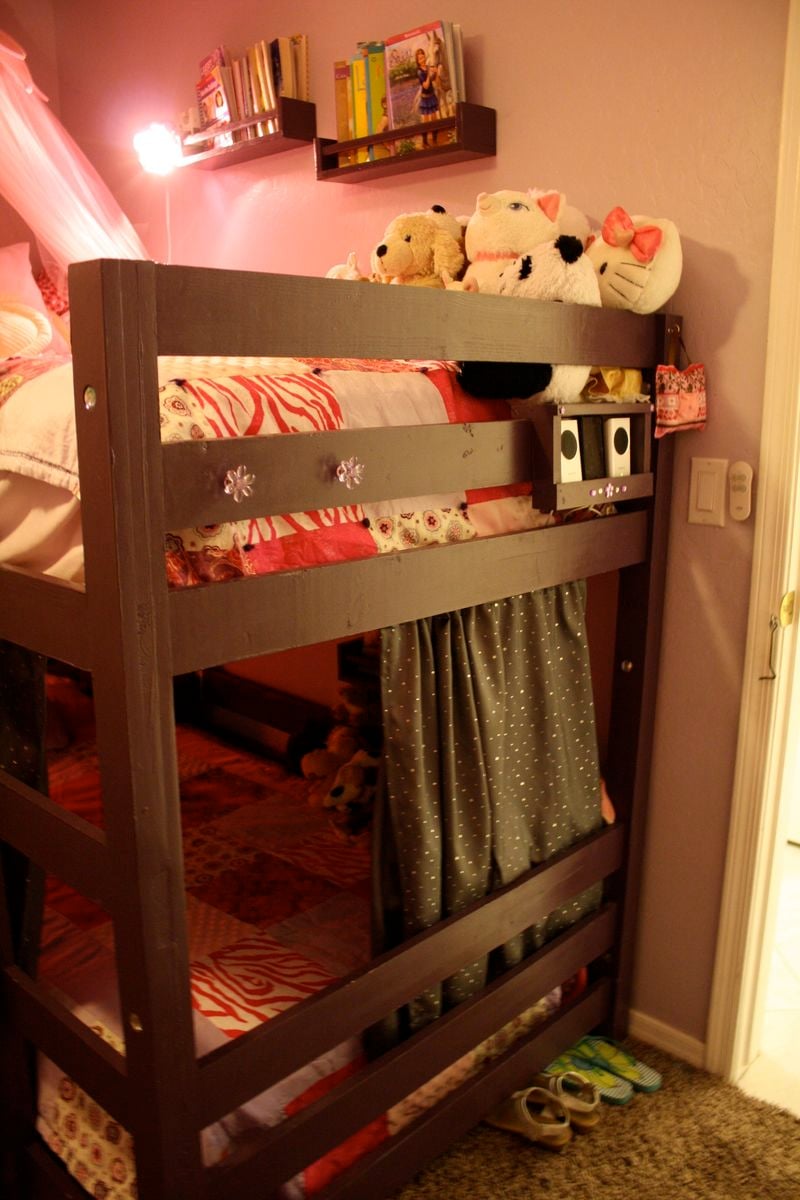
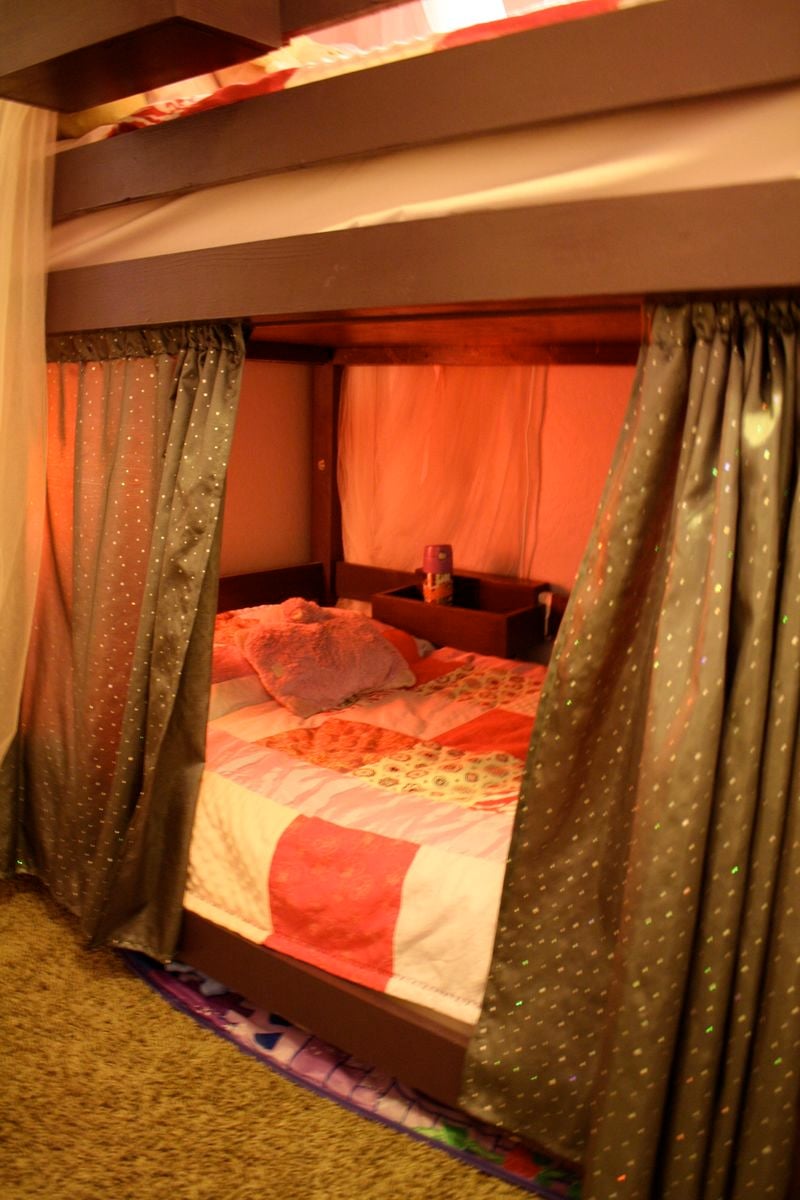
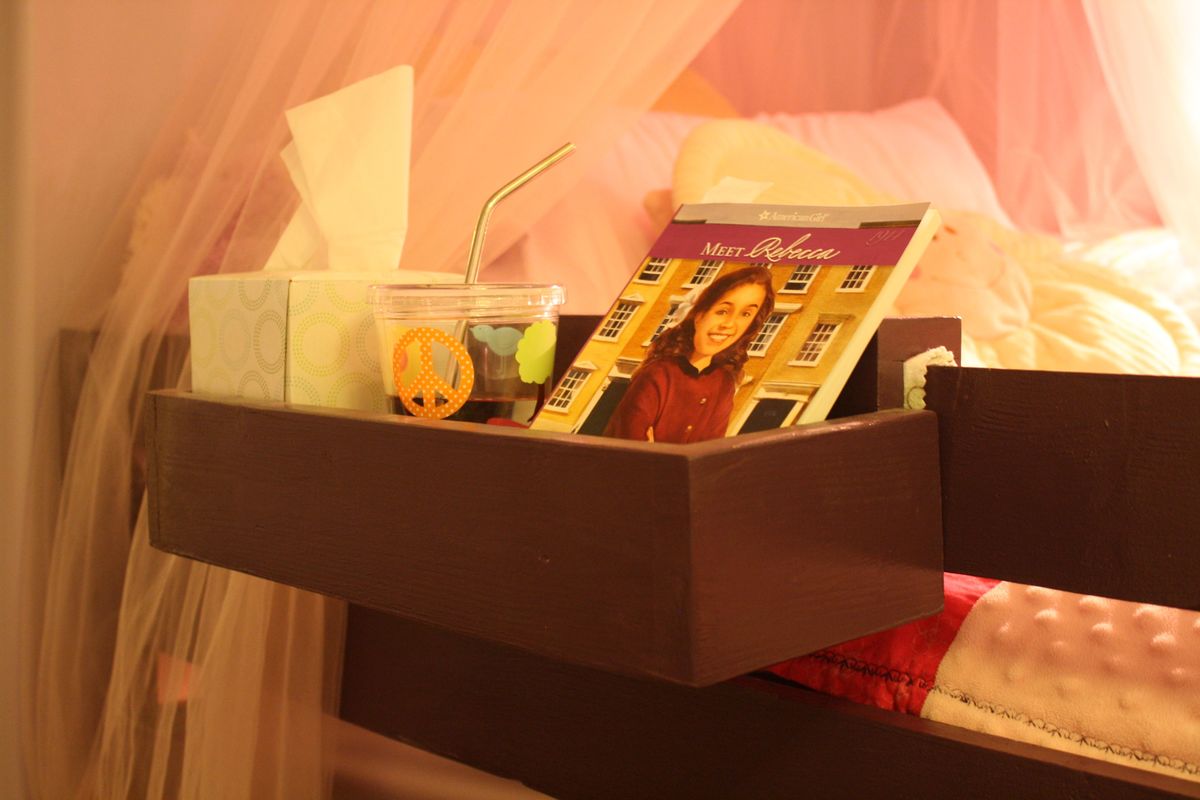
Our bedrooms are 9' x 9' so when our girls needed to move in together, we needed a bunk bed that would be short enough to fit under the fan, have a place for drinks, books, an alarm, and tissues, and also have a place where our youngest could have a dark sleeping space while older sister stays up later.
We're not going to be in this setup for long, so I used common board to keep the cost down as much as possible. The whole bed cost about $200, but I would suggest staying away from common board. It was really warped and couldn't be sanded smooth. We ended up going with a dark, thick paint to cover the wood imperfections. To deal with the warped wood, I made an outline of each end of the bed with painter's tape on the garage floor and used weights to hold the wood where it was suppose to be. I also modified the plans to make the bottom bunk a bit shorter and made the whole thing only 3 inches off the ground. All put together the bed is very sturdy and everything lined up well.
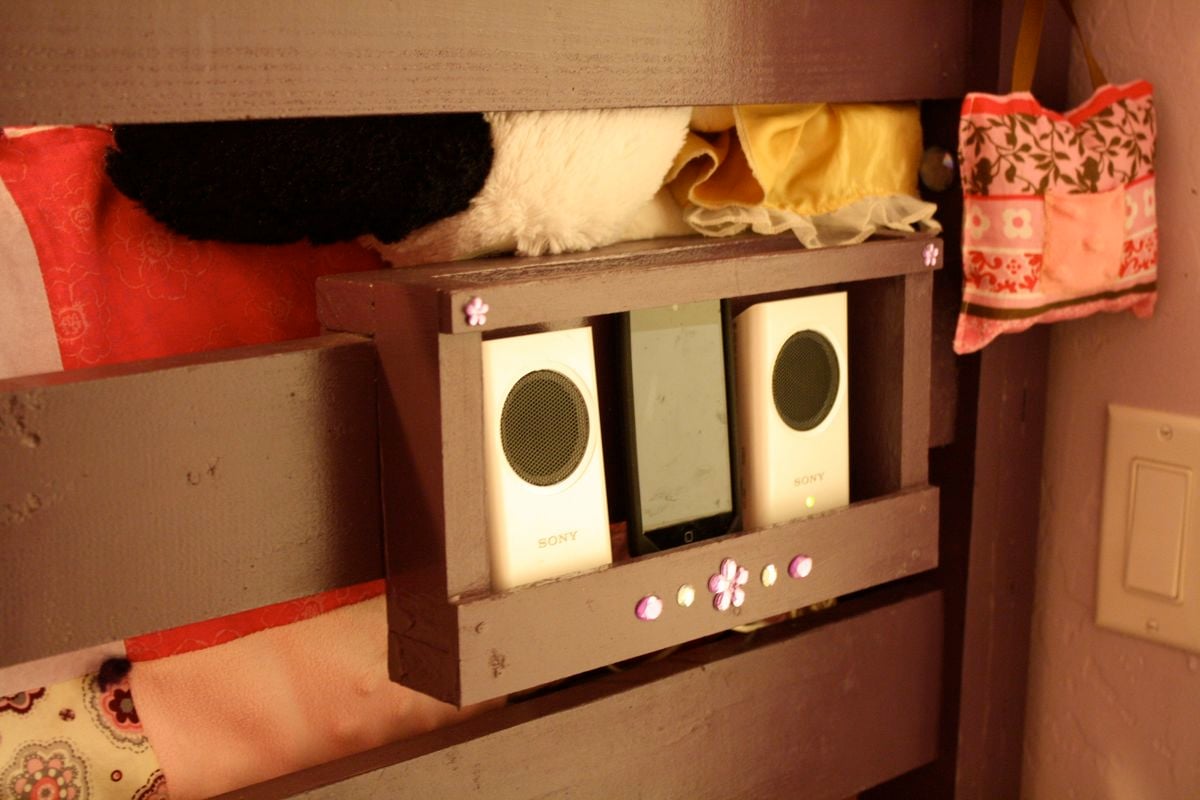
I used some scrap wood to make the holders for drinks and tissues and a holder for the iPod and speakers. These just rest over the railing, so we can move them around if need be. The book racks are Ikea hacks....they're just spice racks painted to match the bed. The curtains are just hung on a 1" dowel set into the same cups that closet rods are put up with. I also added some flower knobs from Target so that the girls can hang a robe when it's cooler outside.
Thanks for the plans Ana! My girls LOVE this bed!
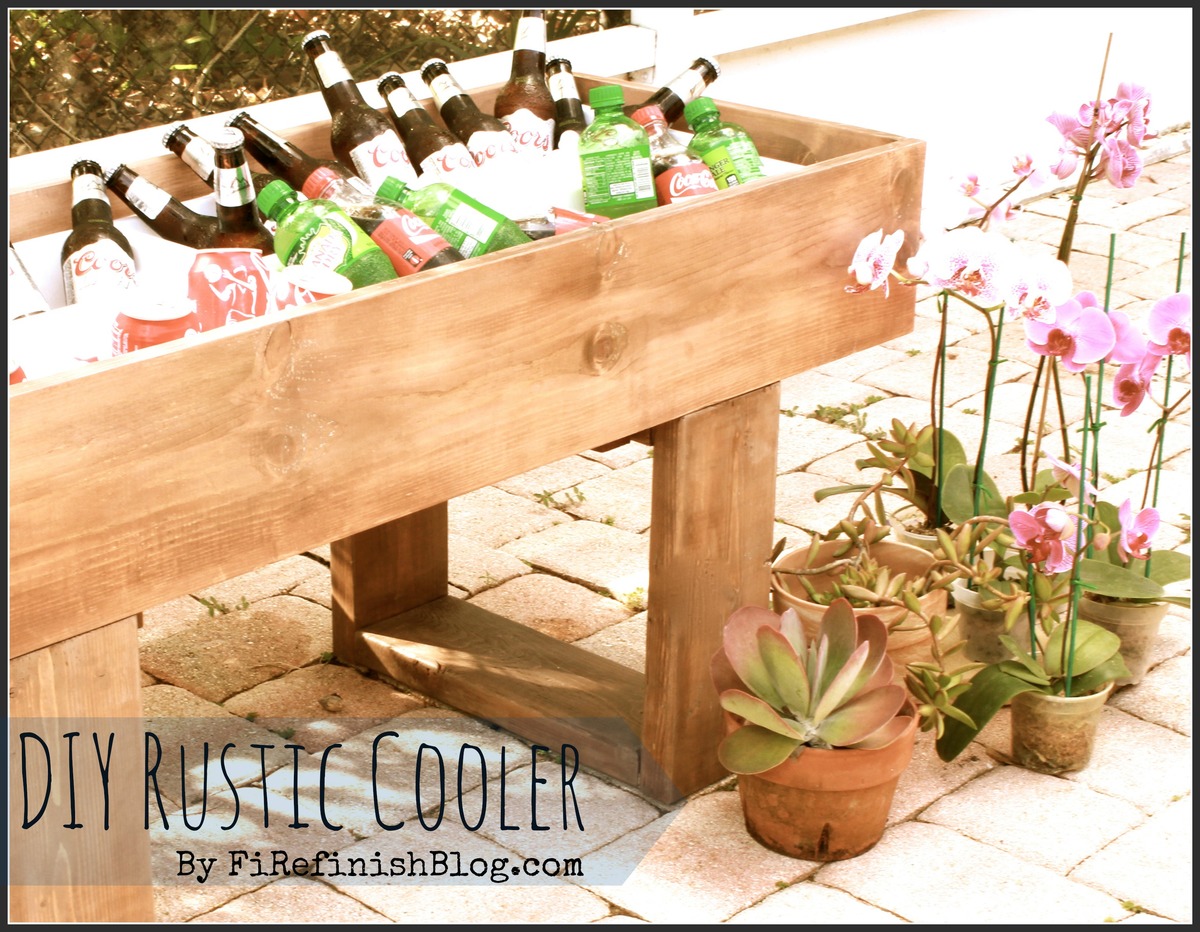
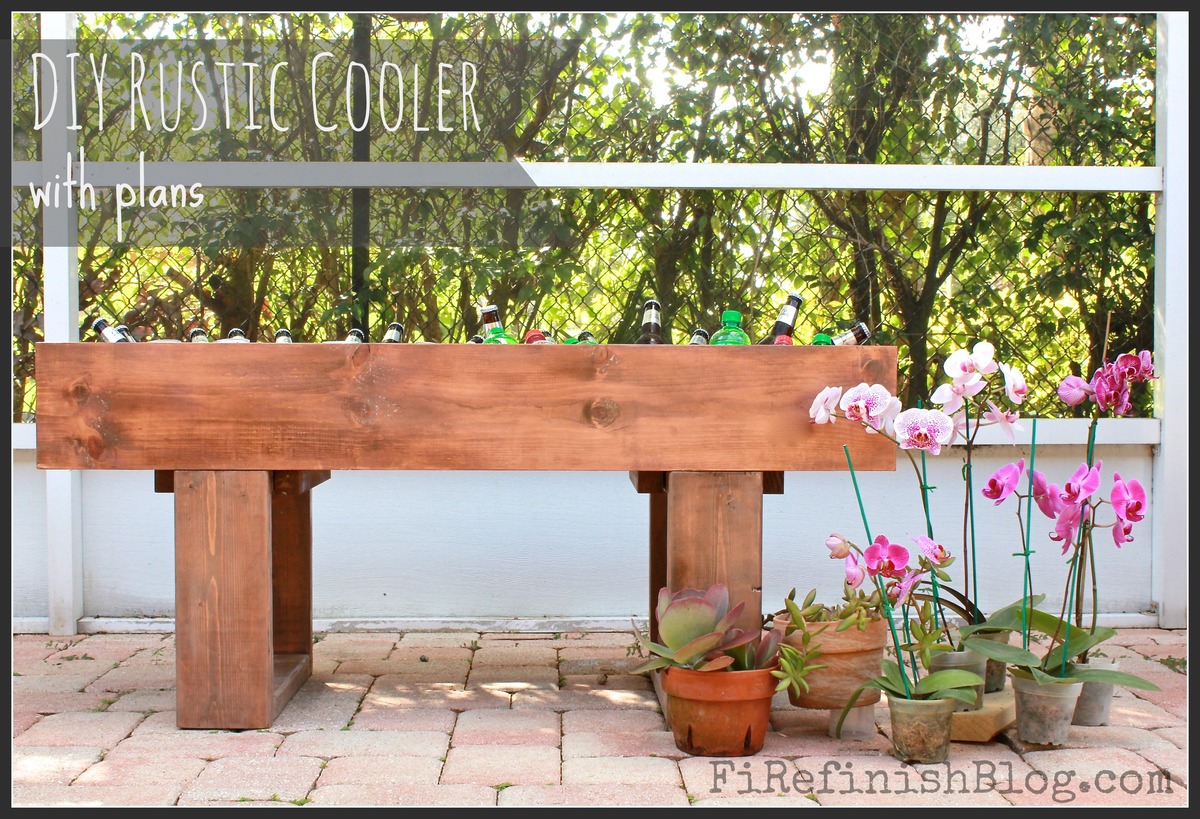
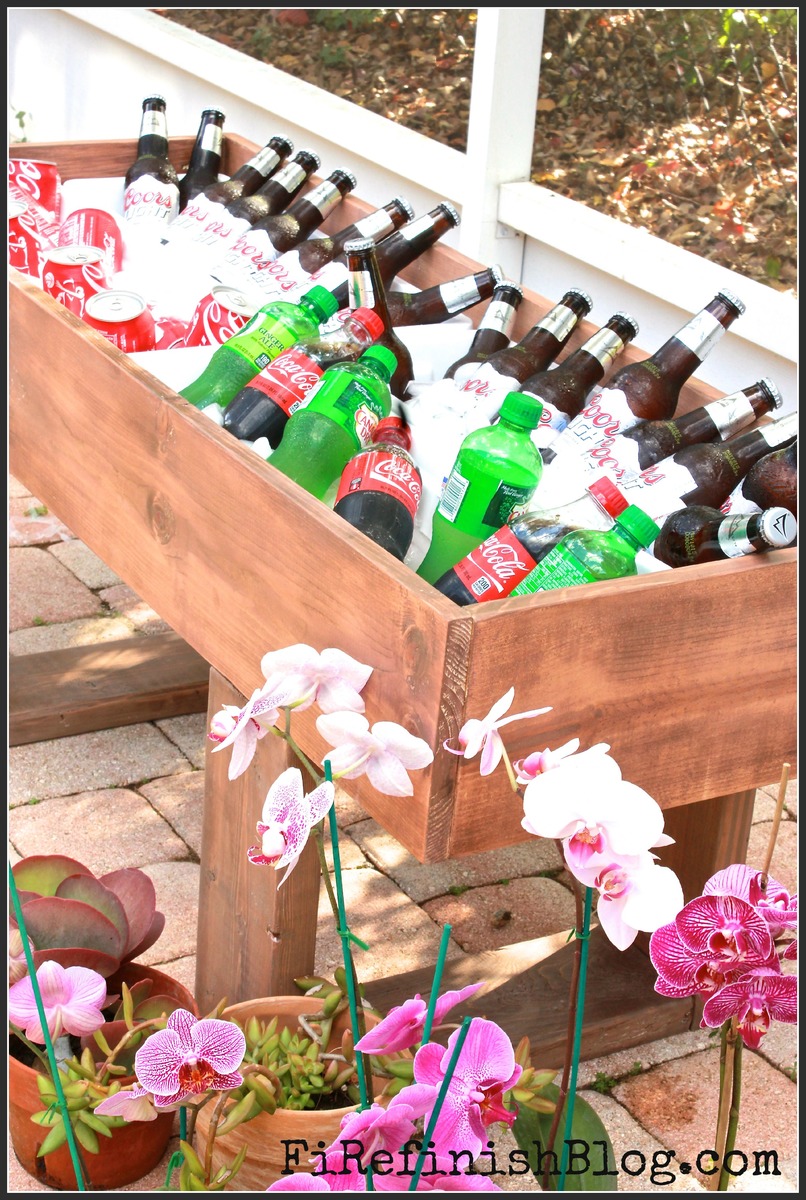
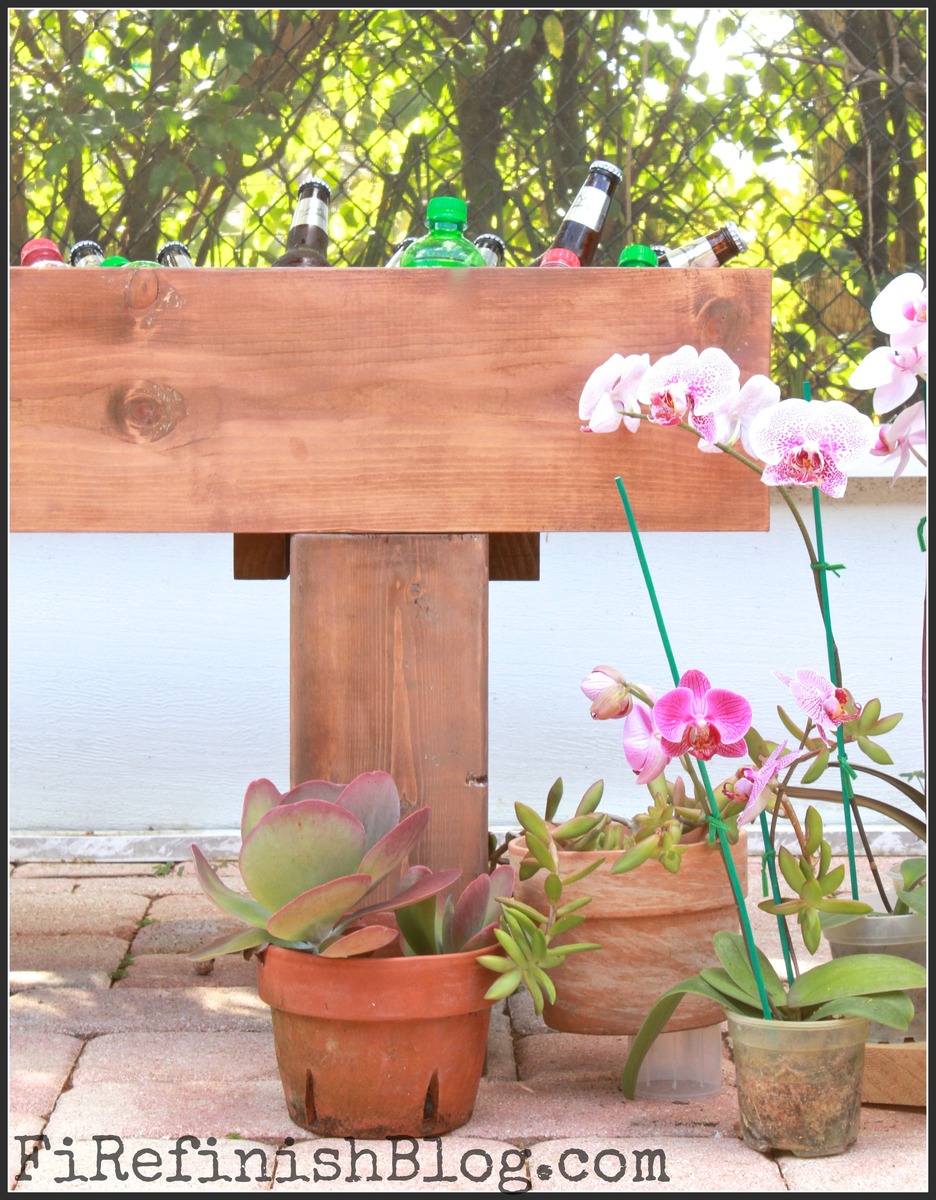
A client/friend asked for a rustic cooler she could use for her 30th birthday party. Thats what we came up with.
We have full plans on the blog: http://firefinishblog.com/2015/03/18/diy-rustic-cooler-with-plans/
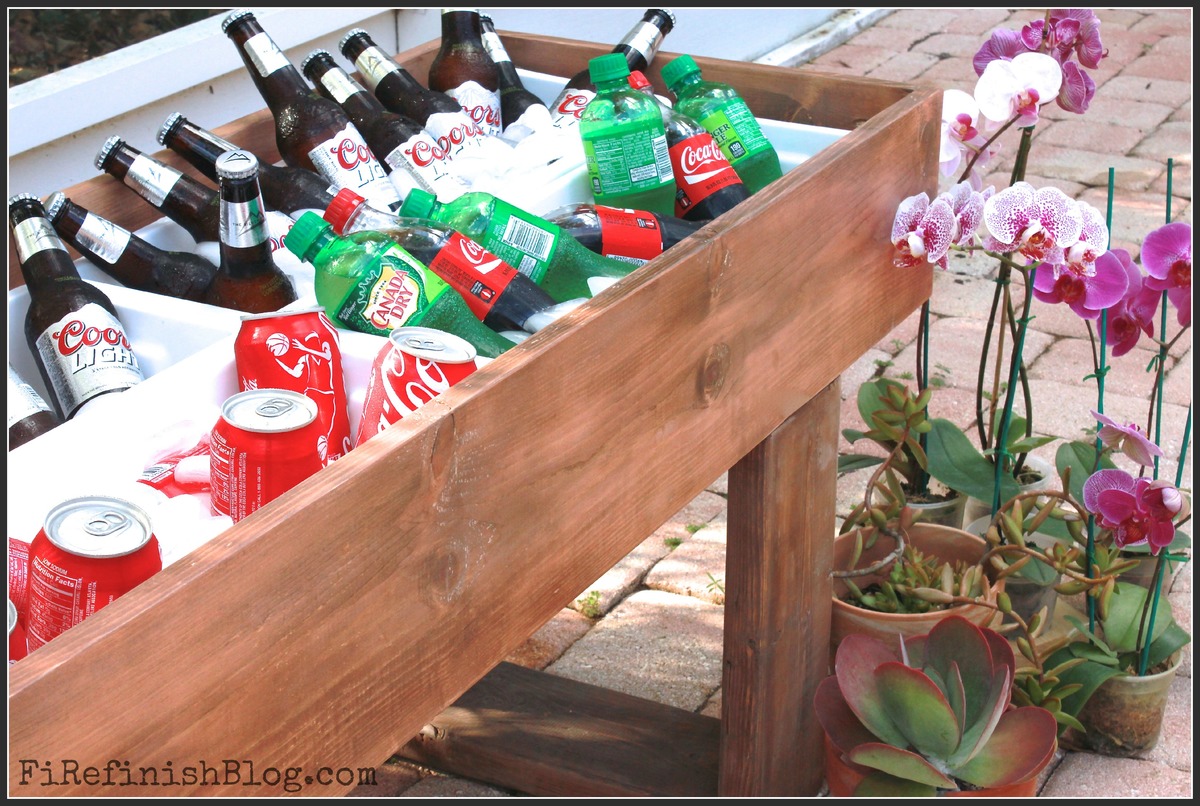
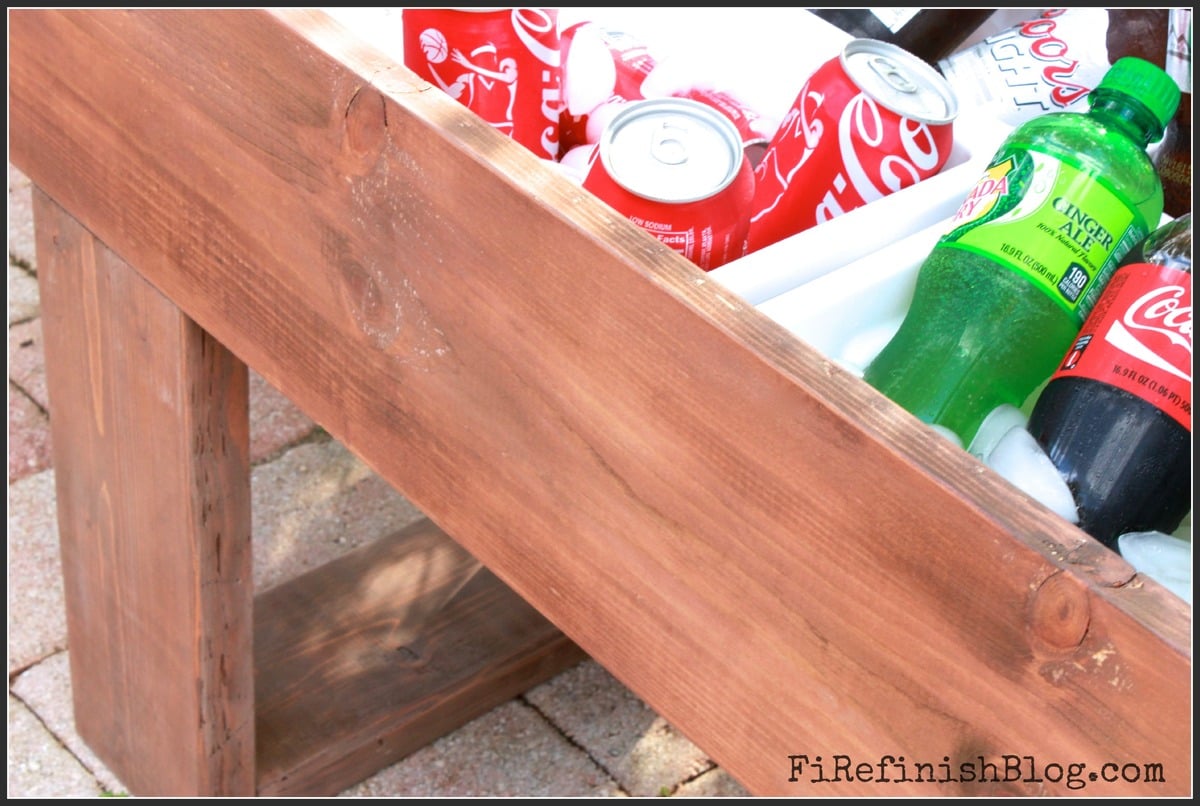
This is my first piece of furniture to build. I love love love it!!! Now I can't wait to build something else! You may have created a monster in me. Thank you for the great plans!!
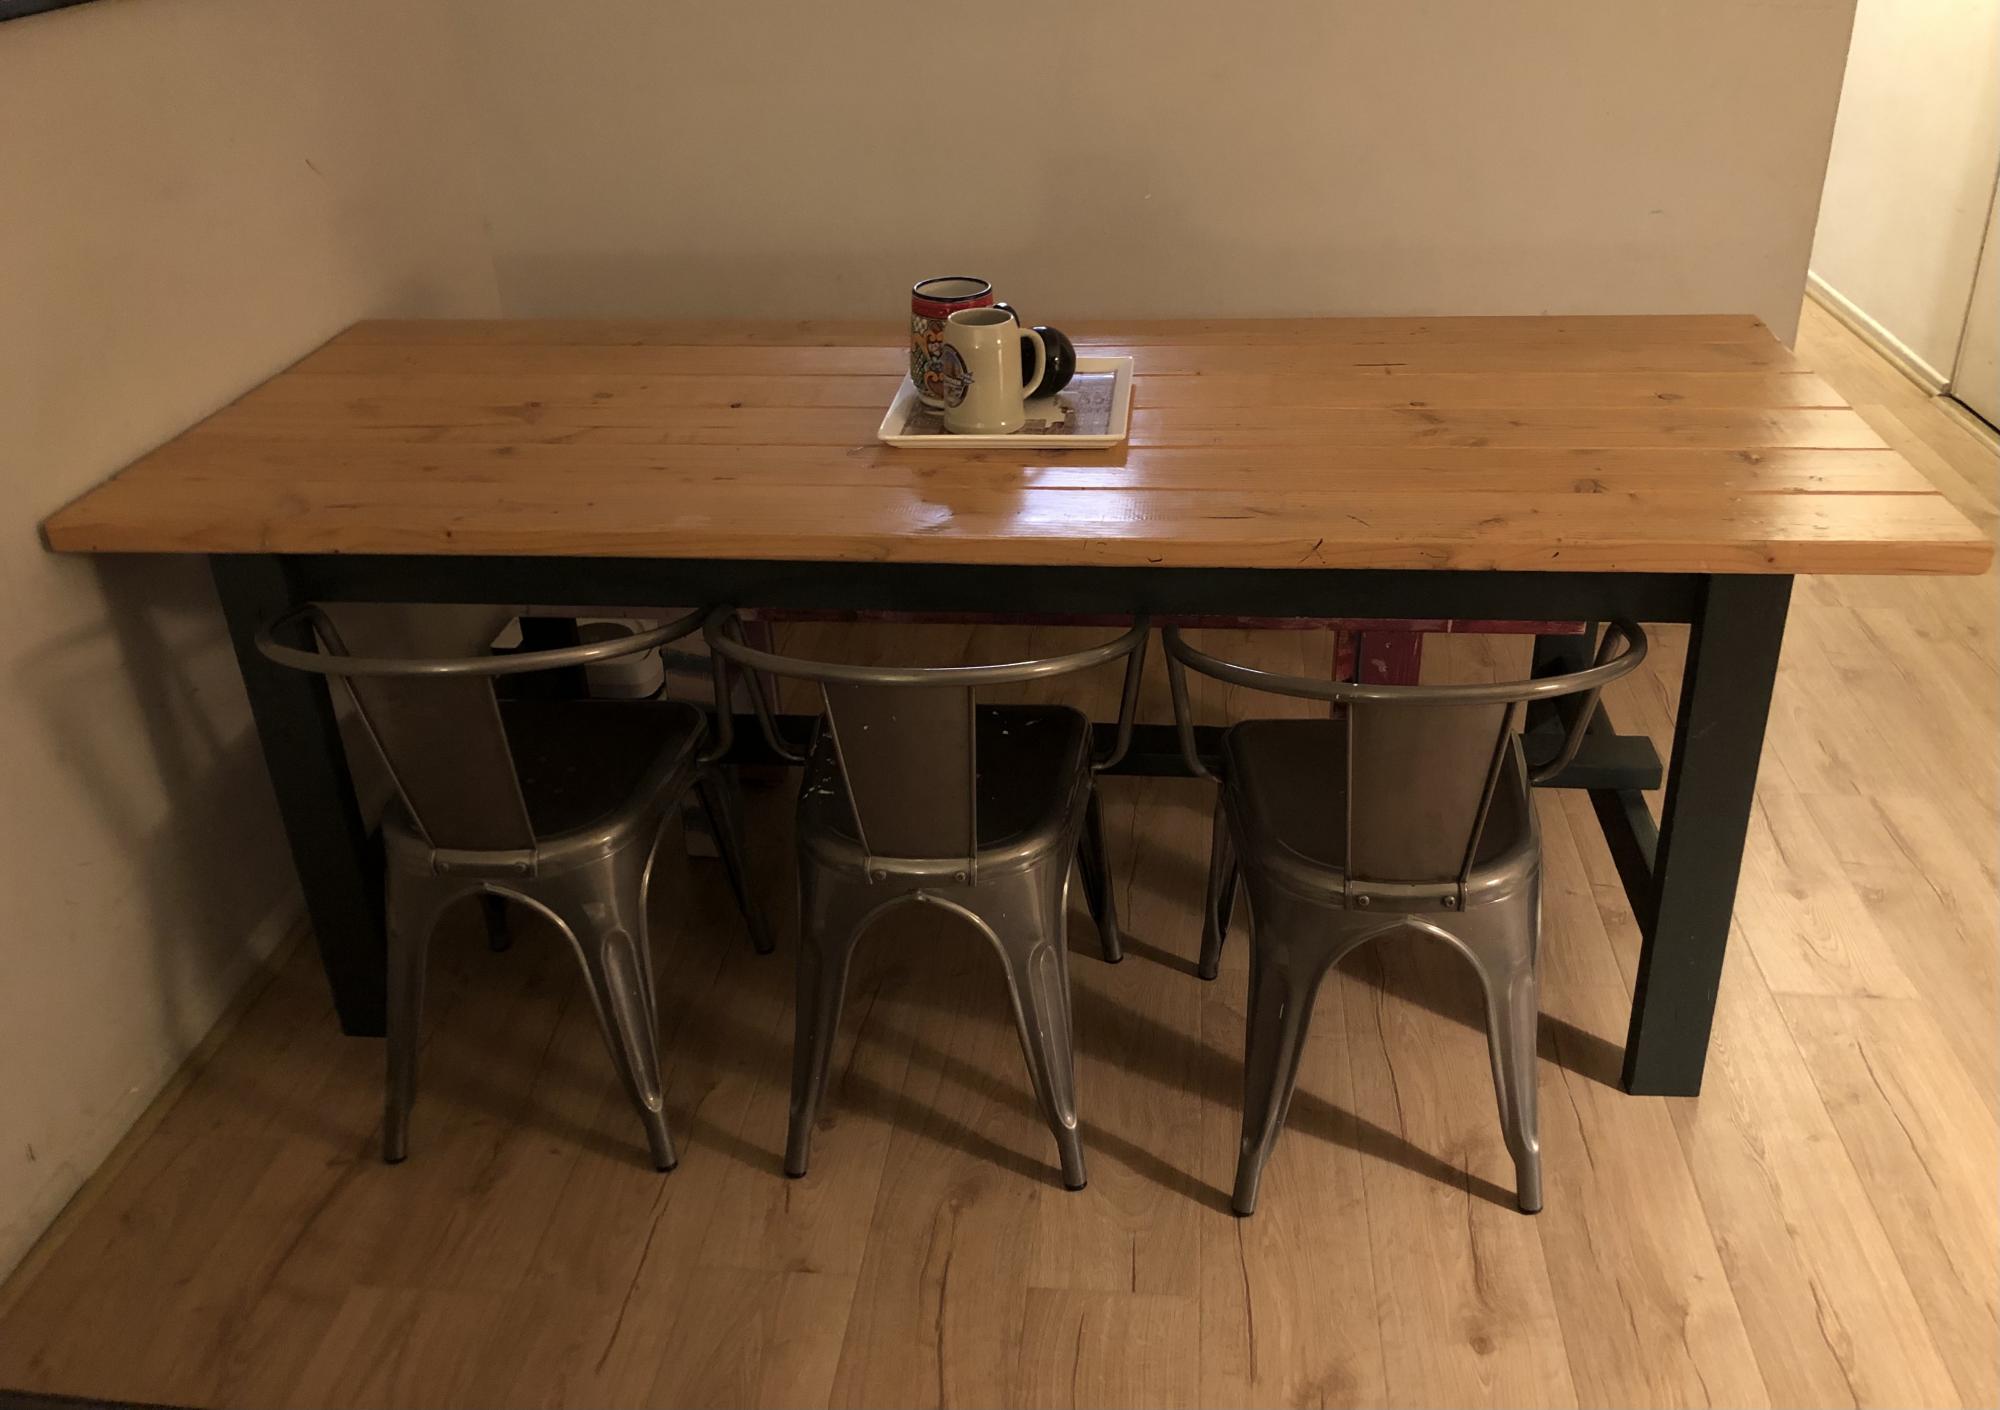
Absolutely love how this table turned out! I slightly modified the length to accommodate our space. Definitely a beginner friendly project. I used farrow and ball studio green for the base and just poly on the top.
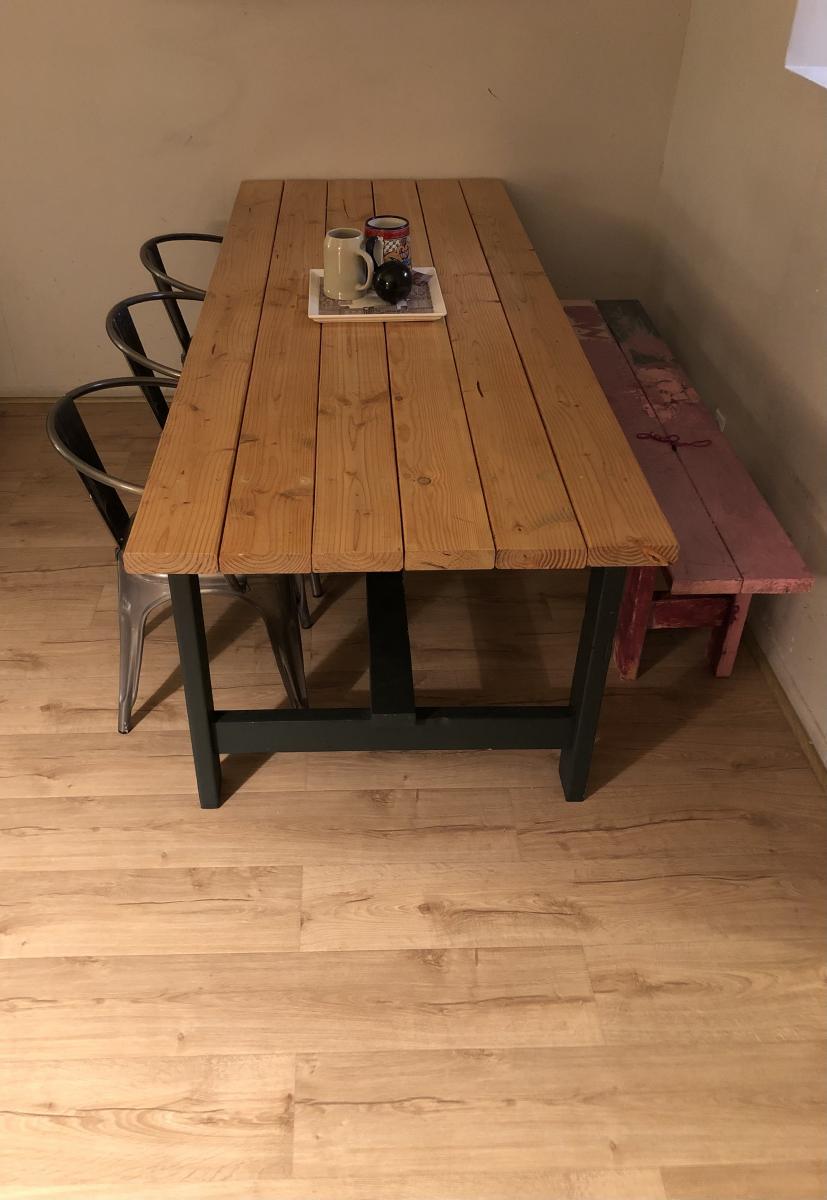
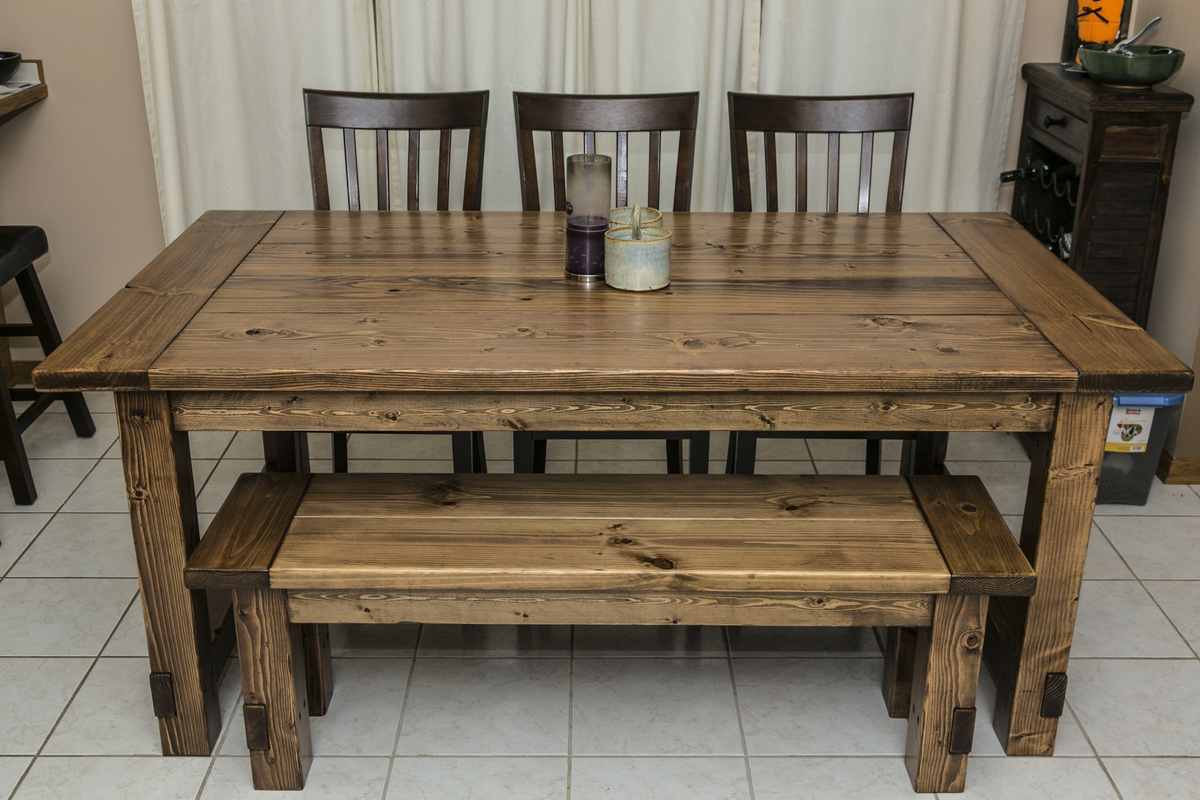
I found the table here, but ended up using the modified plans for the 72" table from this site - http://tommyandellie.com/index.php/2012/01/13/new-and-improved-farmhous…
I haven't built anything out of wood for 20 years and I had no problems building this table. I also built the bench and two 15" extensions.
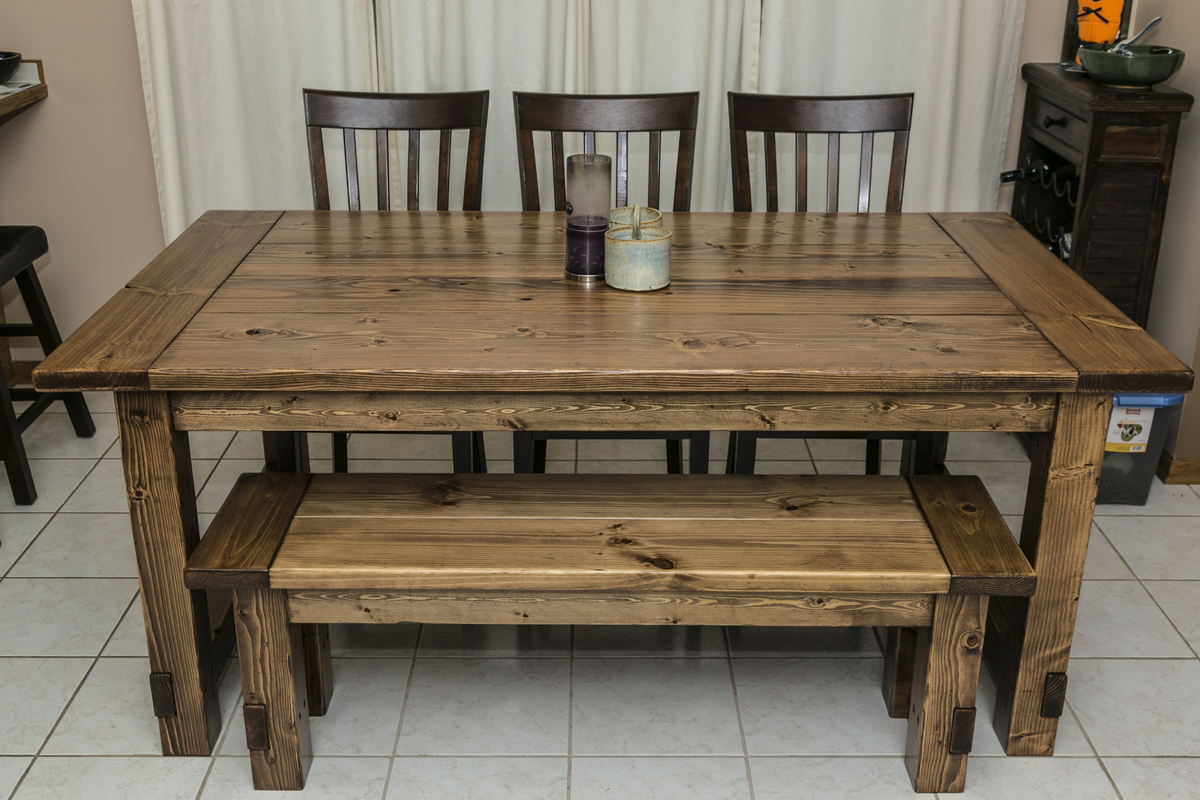
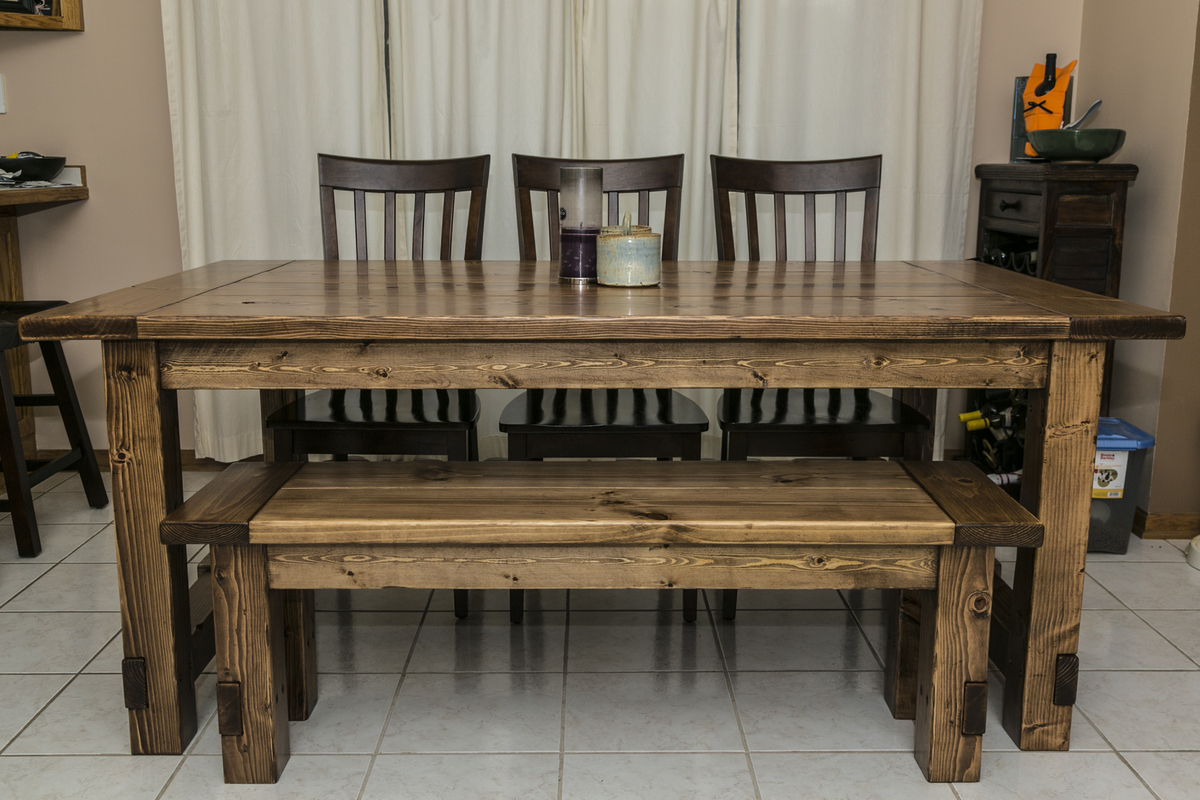
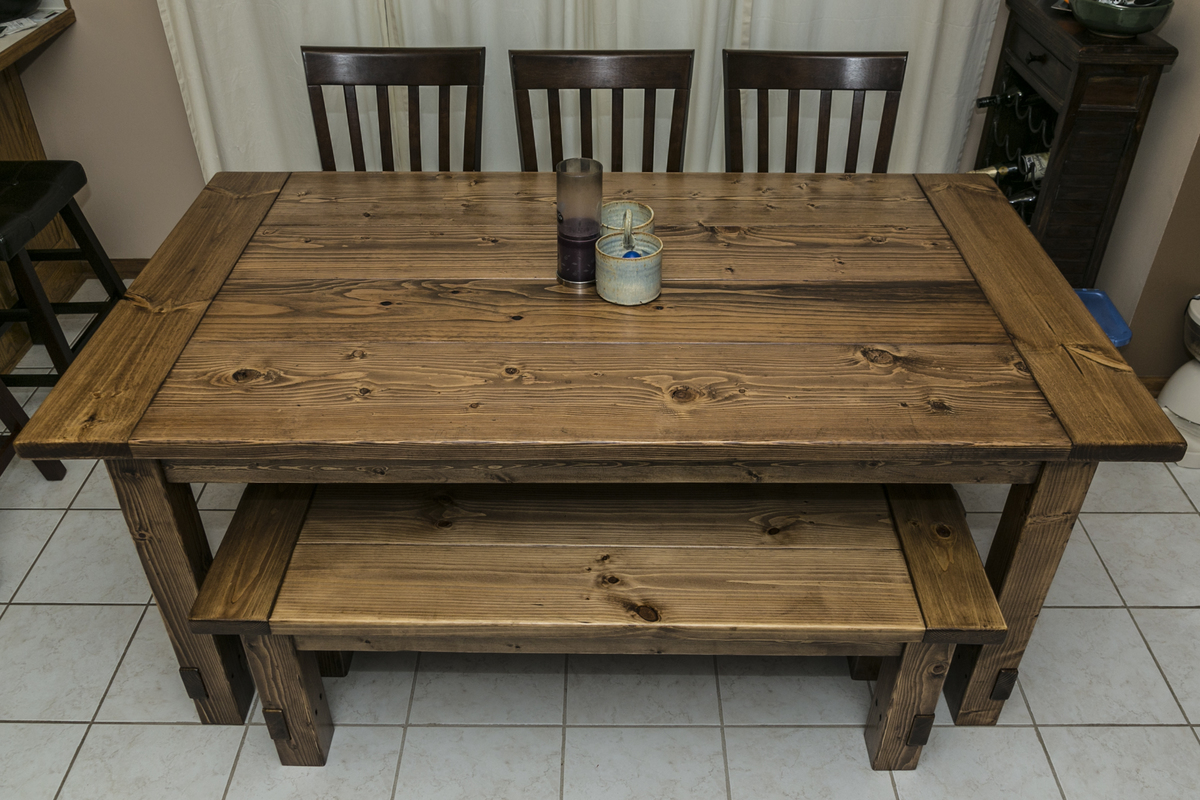
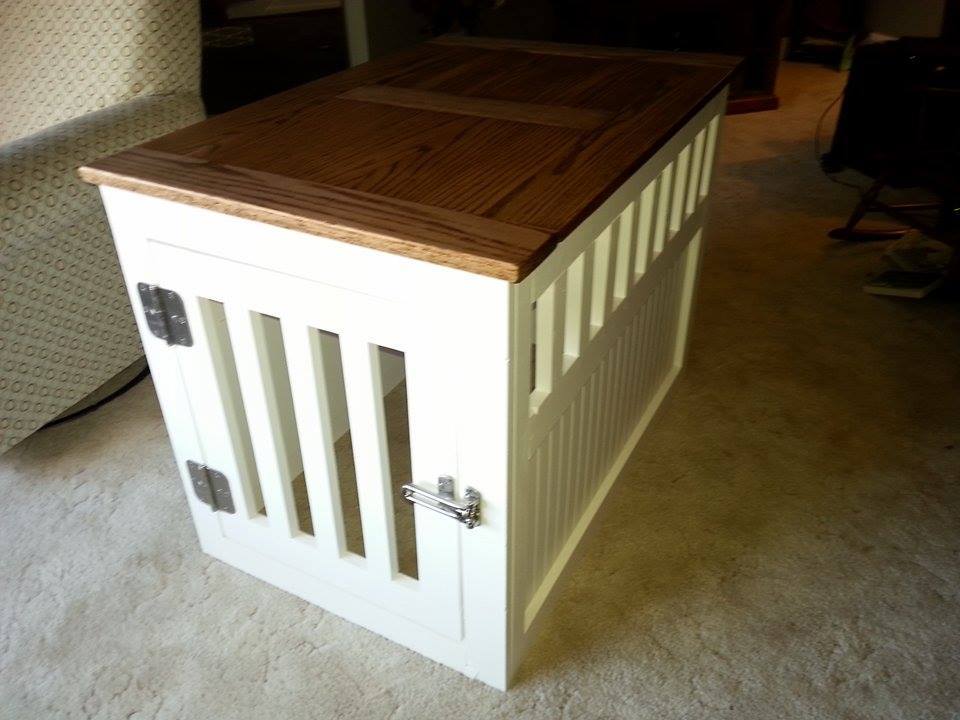
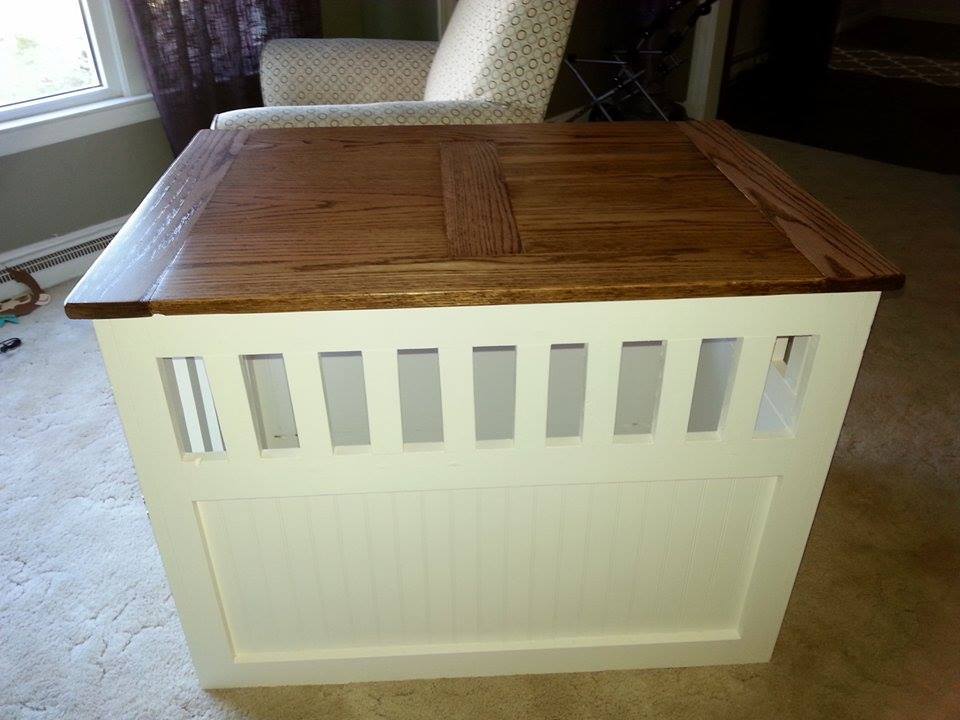
Made this for a animal rescue charity dinner auction. The bottom is made out of all scrap pine i had laying around. The top is made from 1x4 oak.
Painted the base with an off-white and the top was finished with Early American Minwax and topped with a water based poly.
