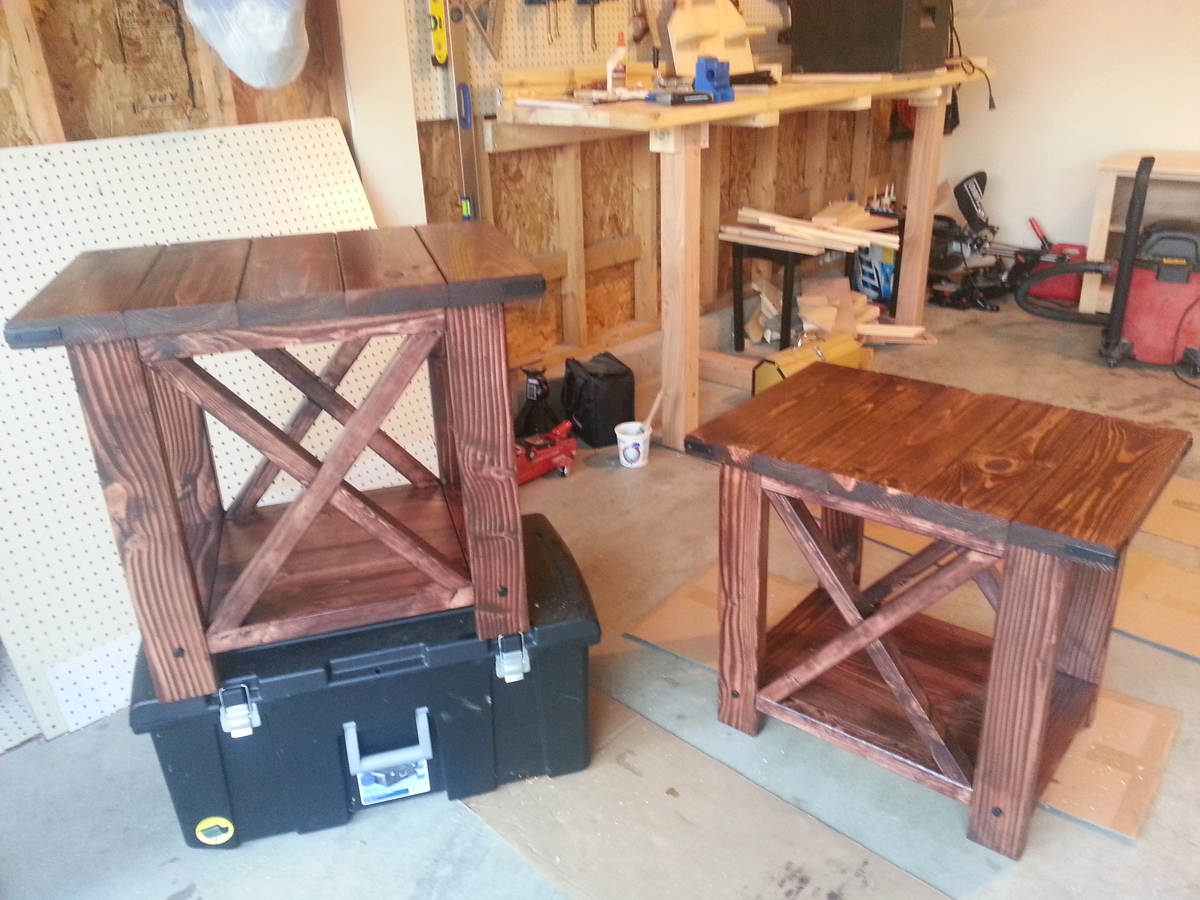
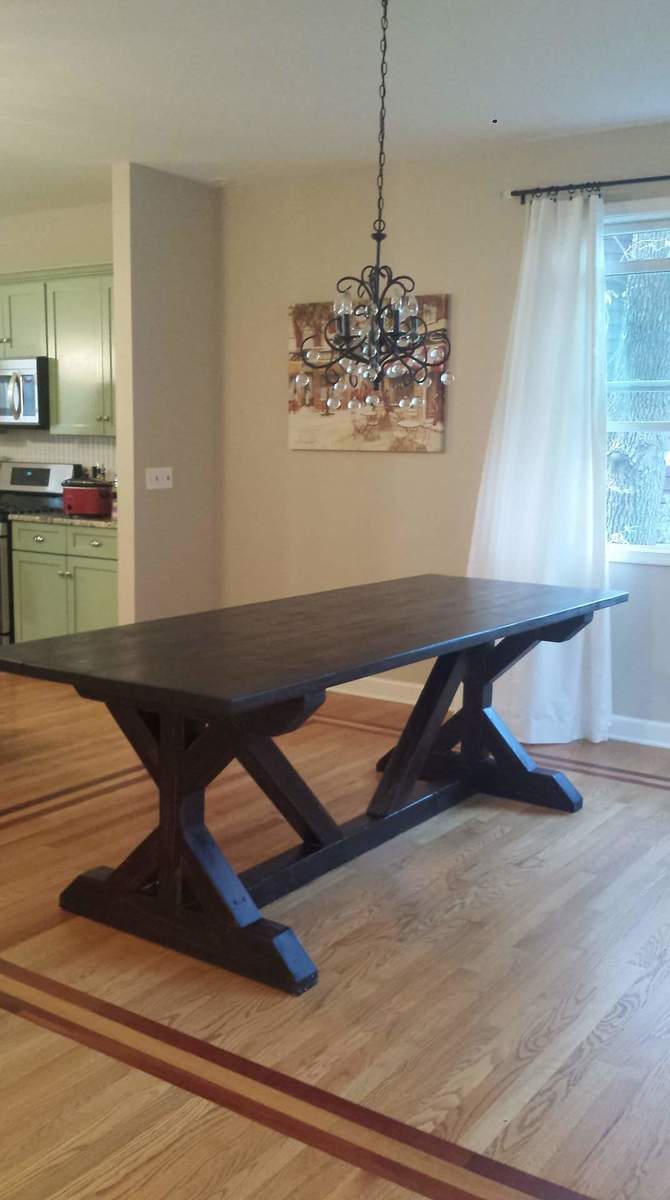
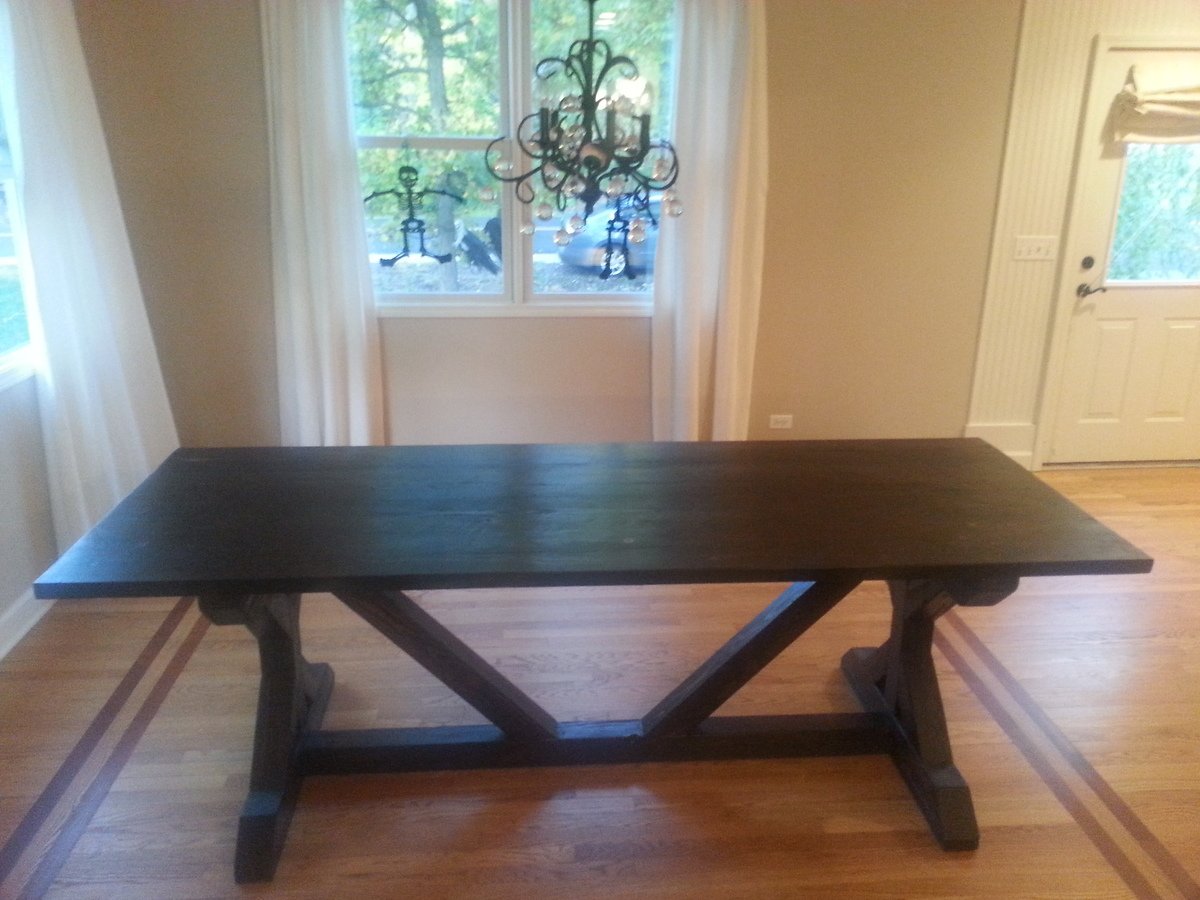
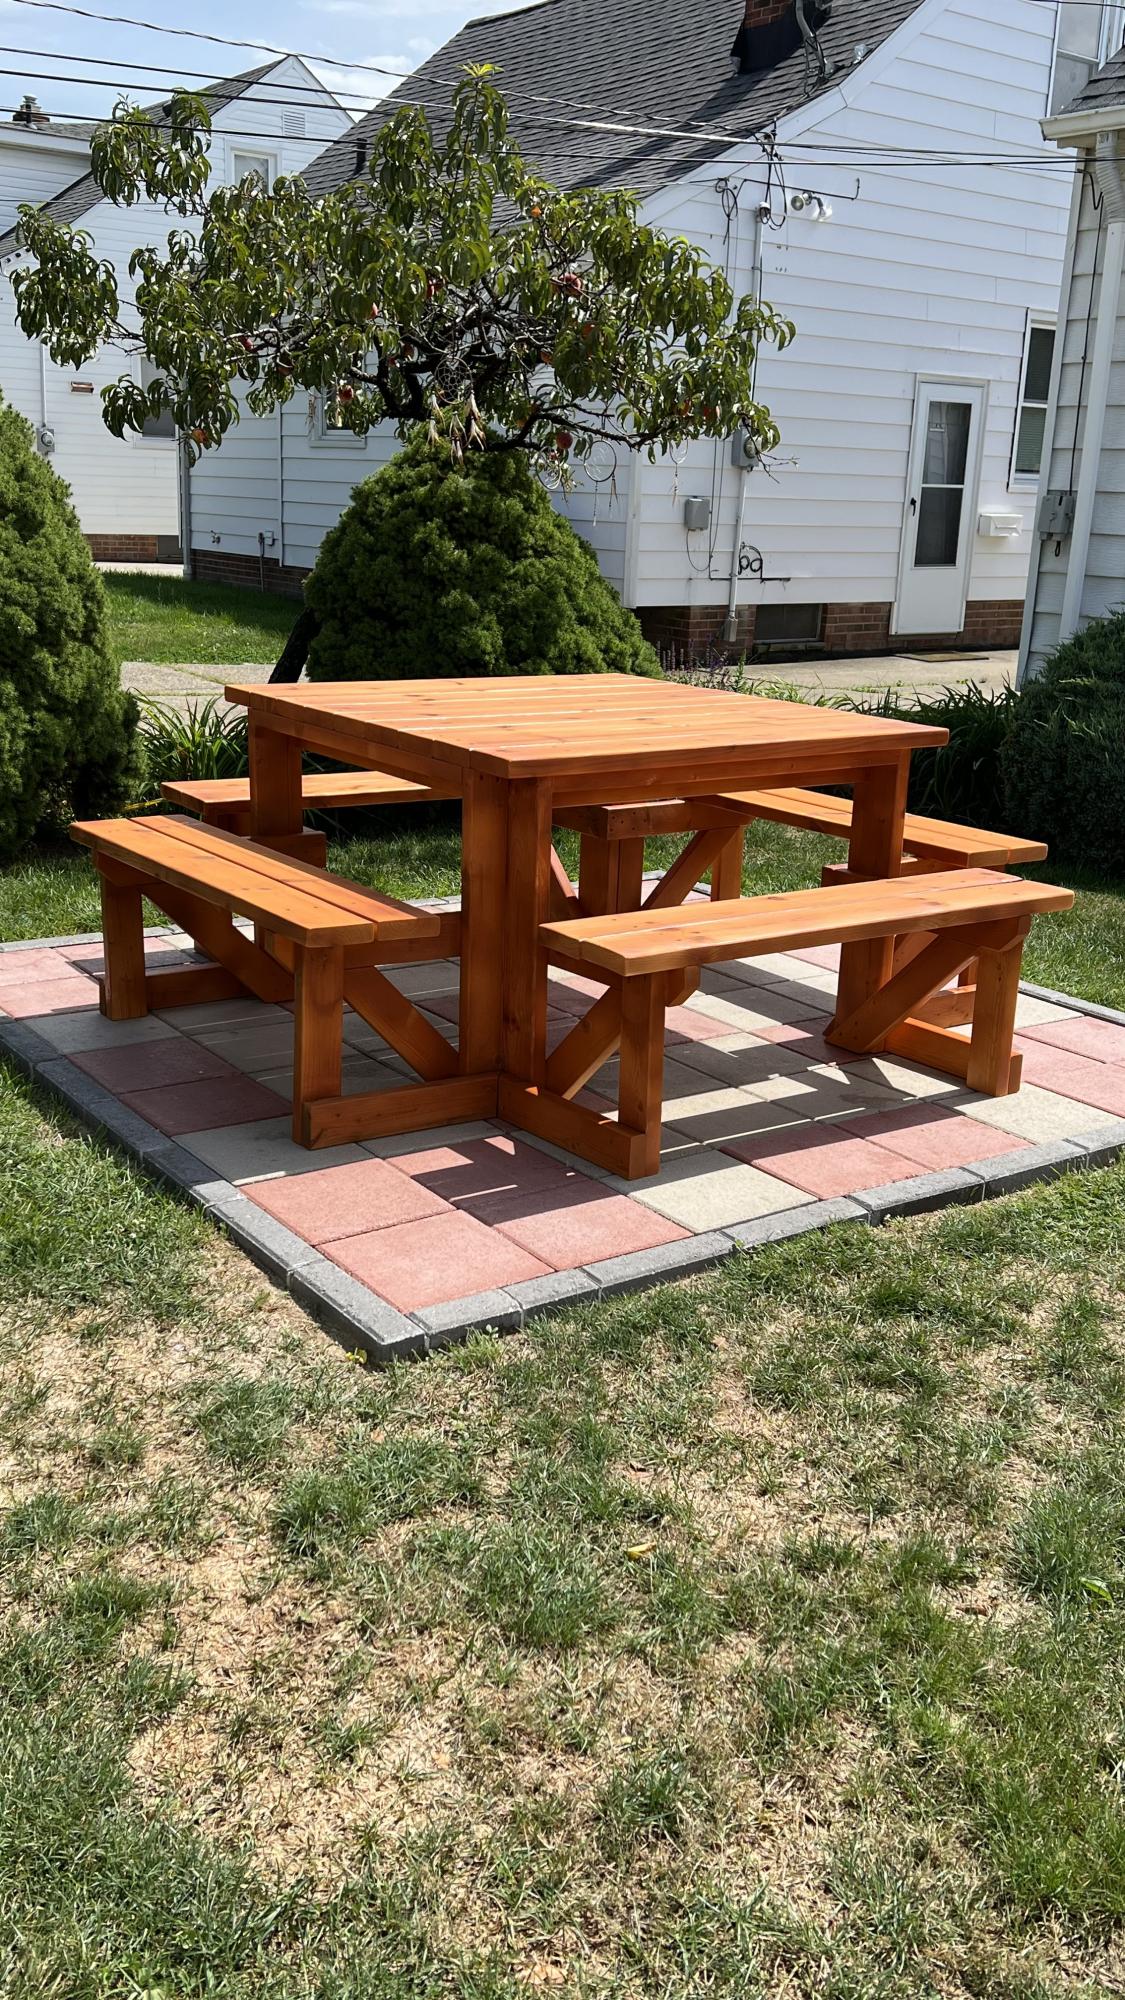
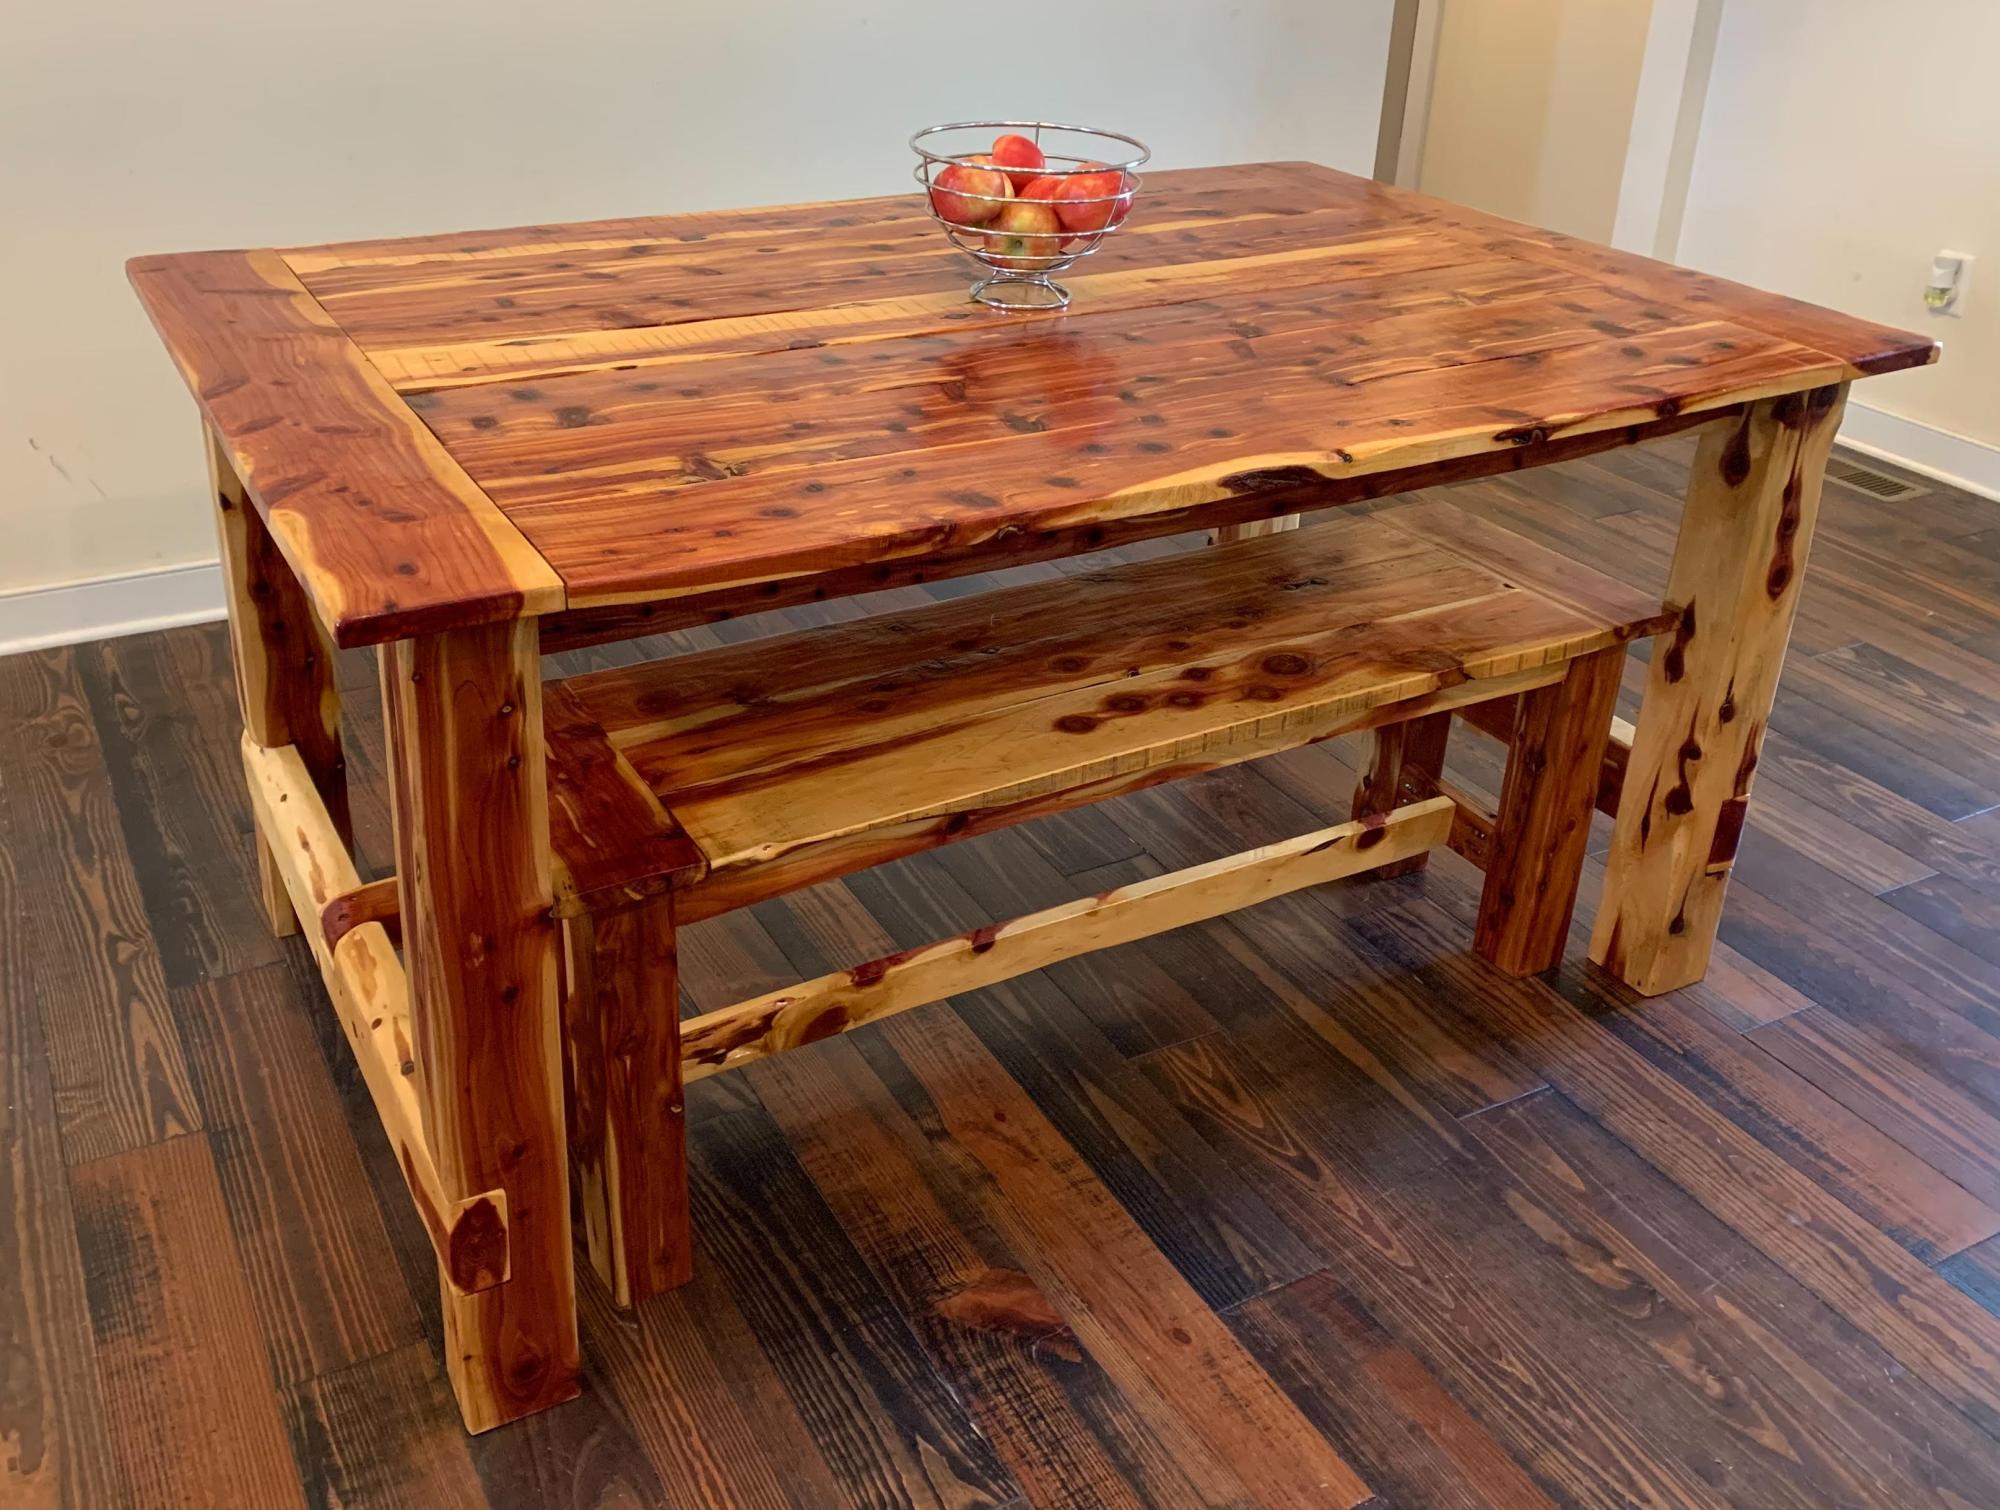
Made a couple modifications:
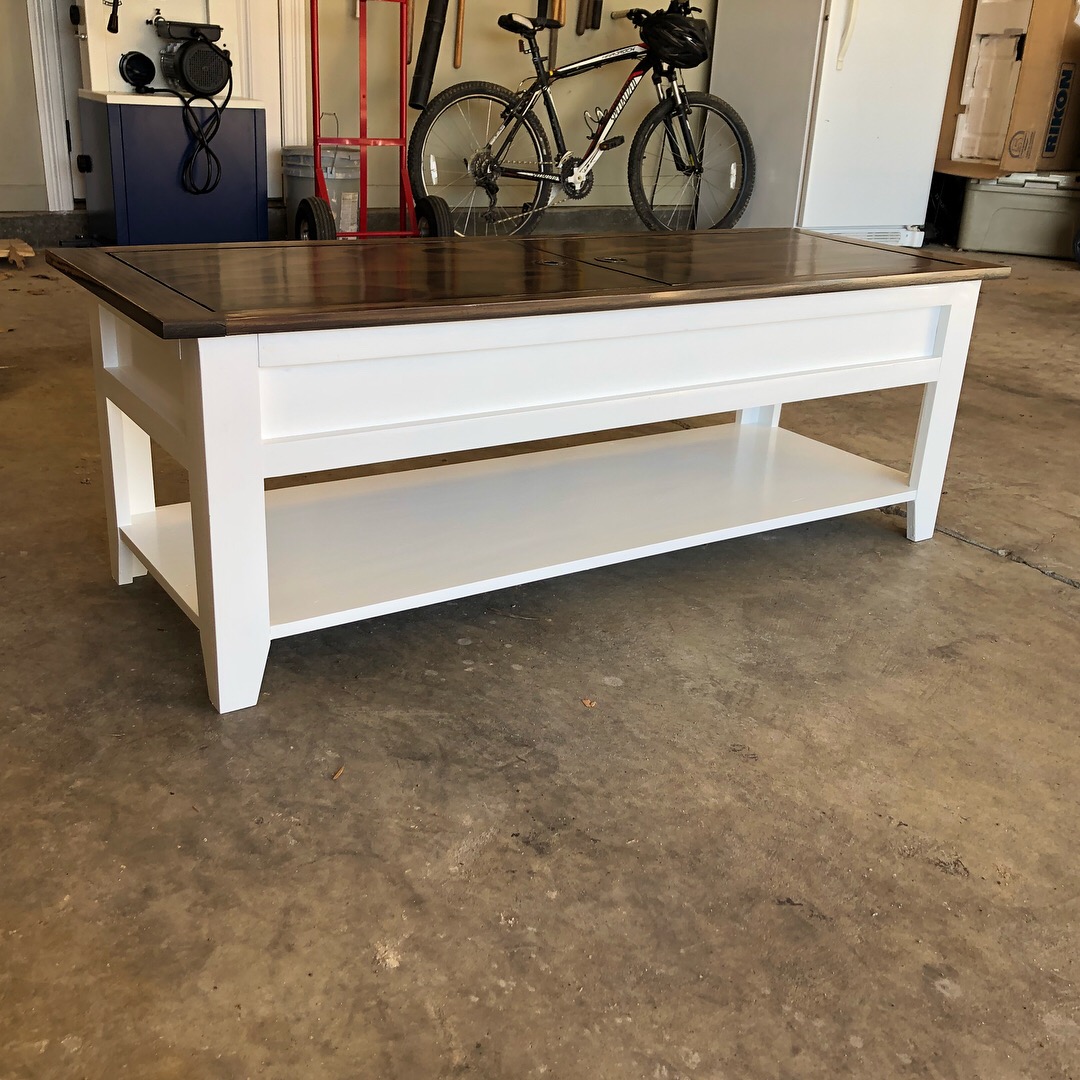
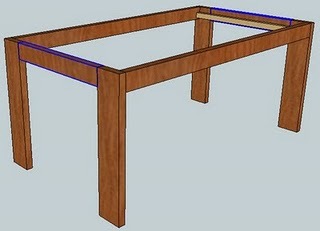
- Used 4x4 for the cross beams instead of 2x4.
- Used 4x4 anywhere there were (2) 2x4s together.
- Used a dowel jig to attach the (4) 45 degree pieces on each post
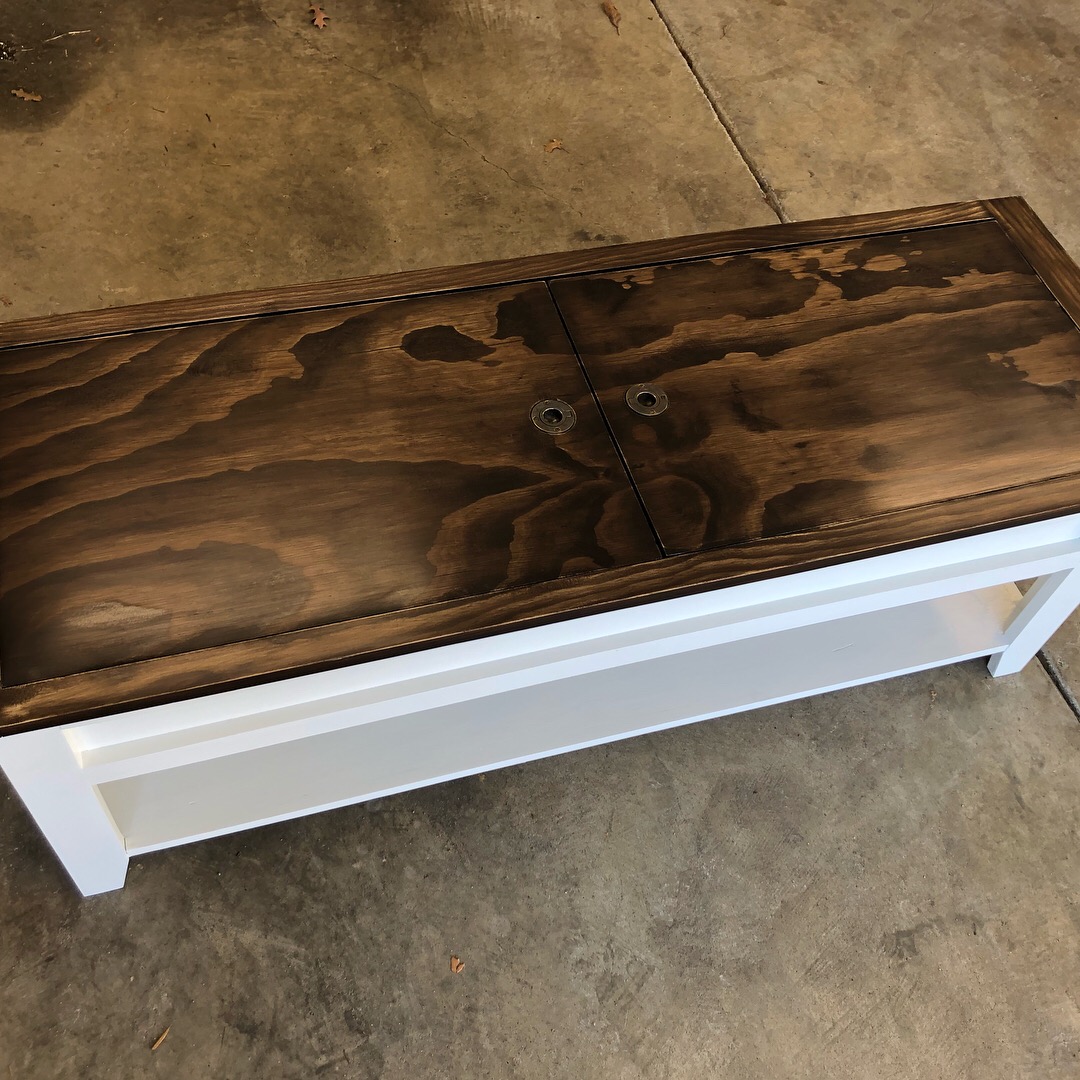
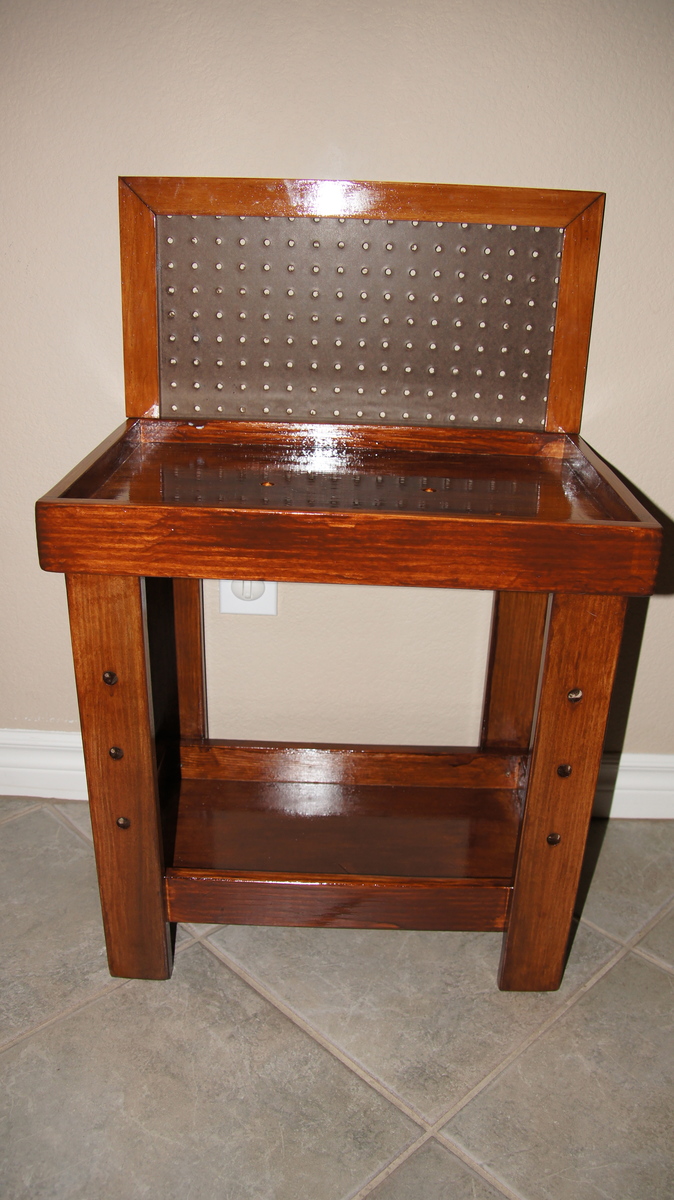
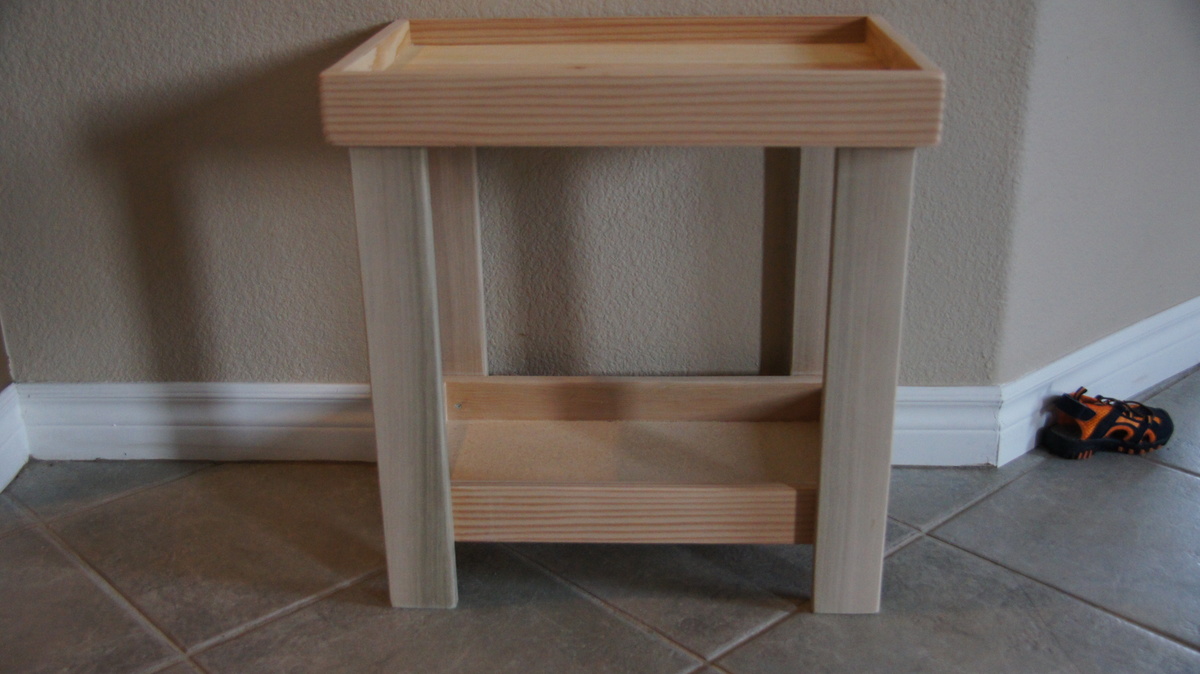
- Sanded down the table top until the seams disappeared. Thank you, belt sander!
That last bullet was super-important to the Mrs. She was adamant that the table should not have spaces in between the boards, yet she did not want any seams for crumbs to collect. The result was that I had to sand down the table top about an eighth of an inch... but the seams disappeared.
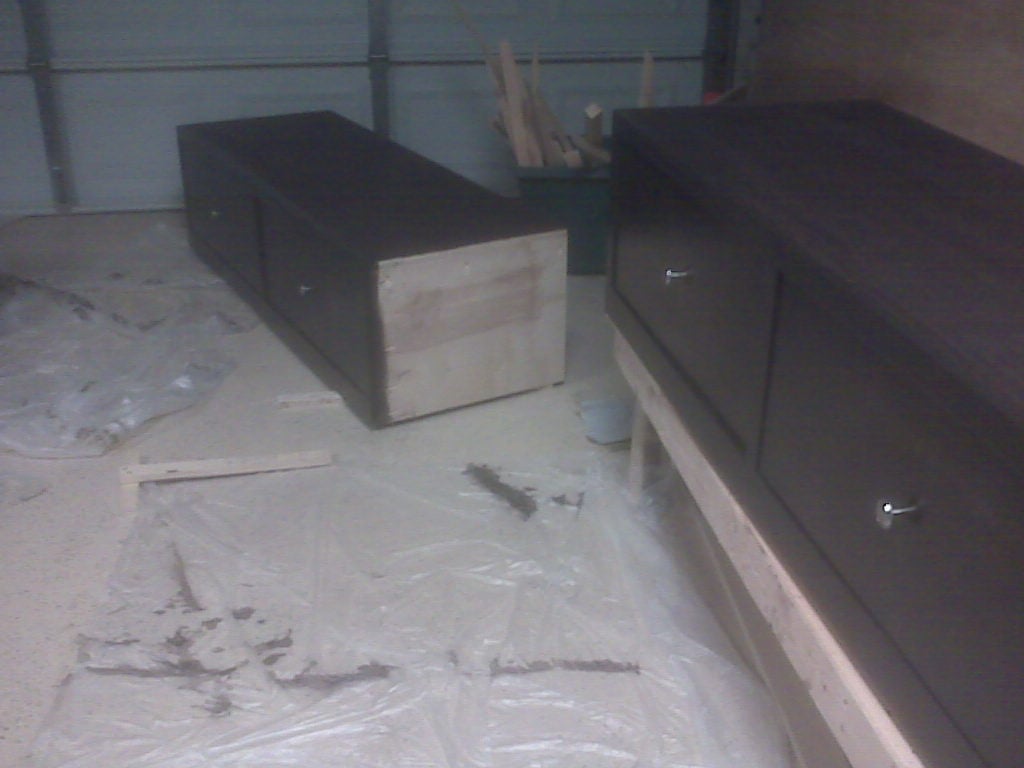
Also, we initially used Ebony stain... until we realized it was too dark. Sanded that down a bit, then went over top with the Kona stain. Result was a dark brown with some black detailing. Finished with some minwax wipe-on poly. Turned out really nice!
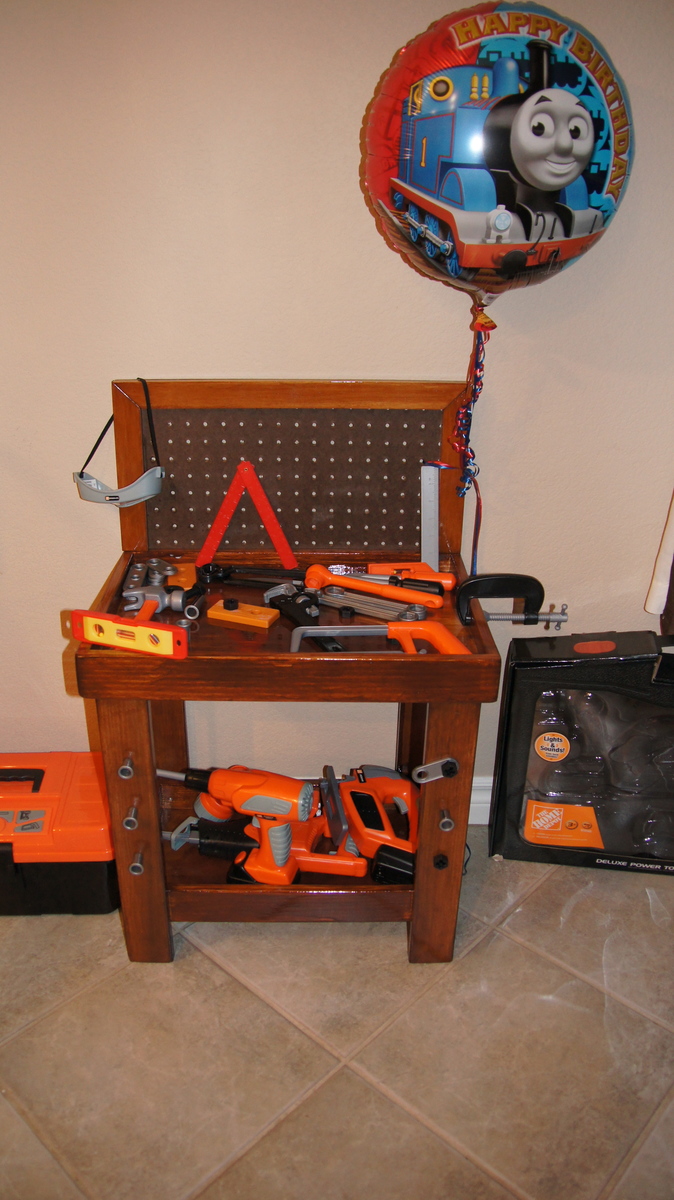
Thank you, Ana - This project was a ton of fun, challenging, and ultimately, very rewarding!


Comments
Ana White Admin
Thu, 07/28/2022 - 11:02
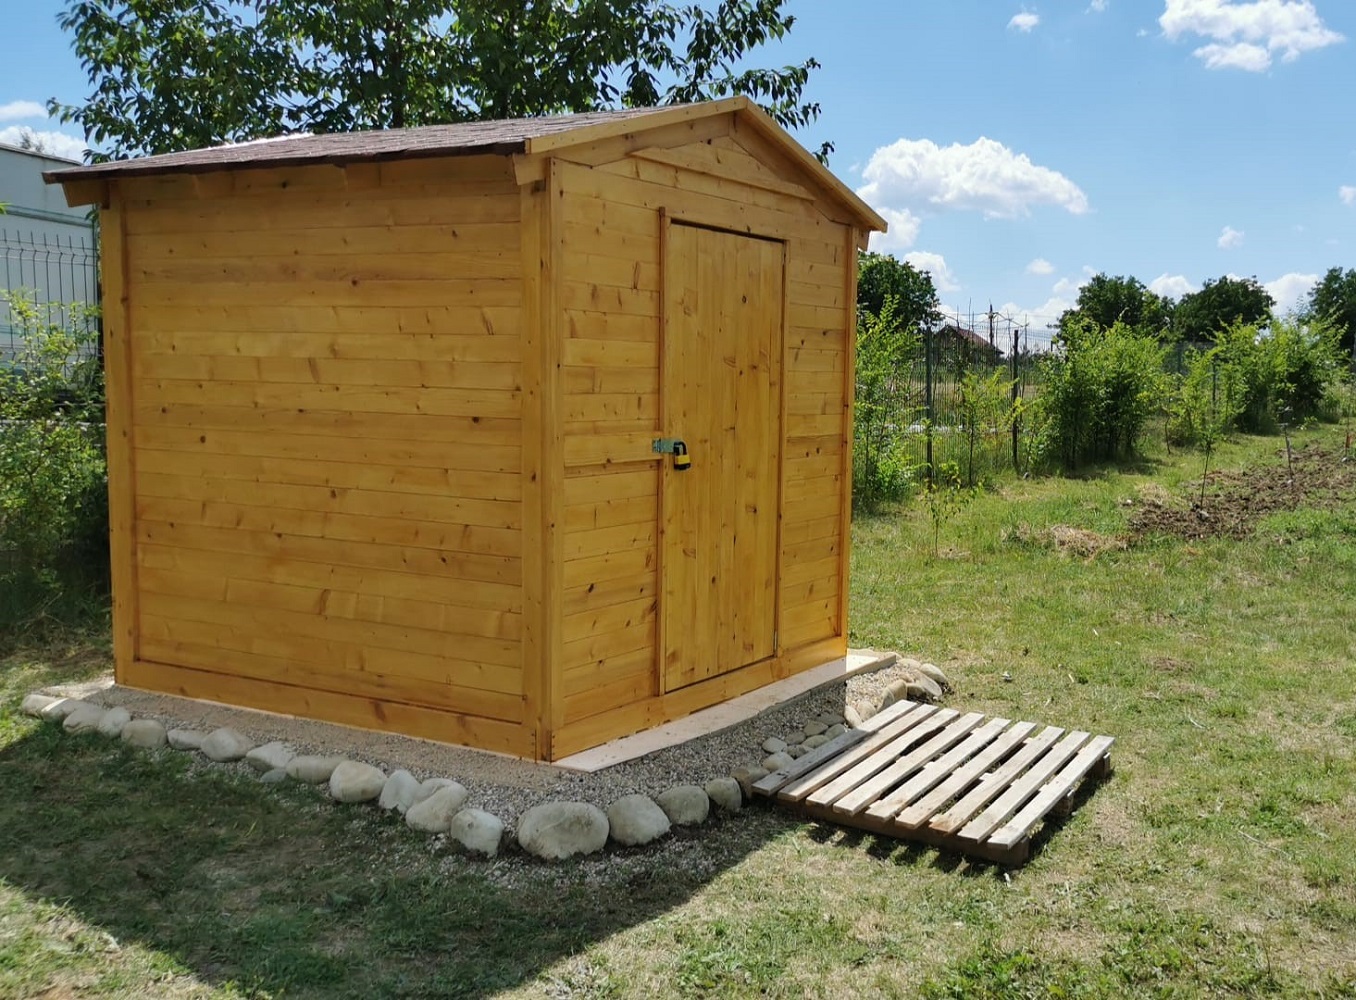
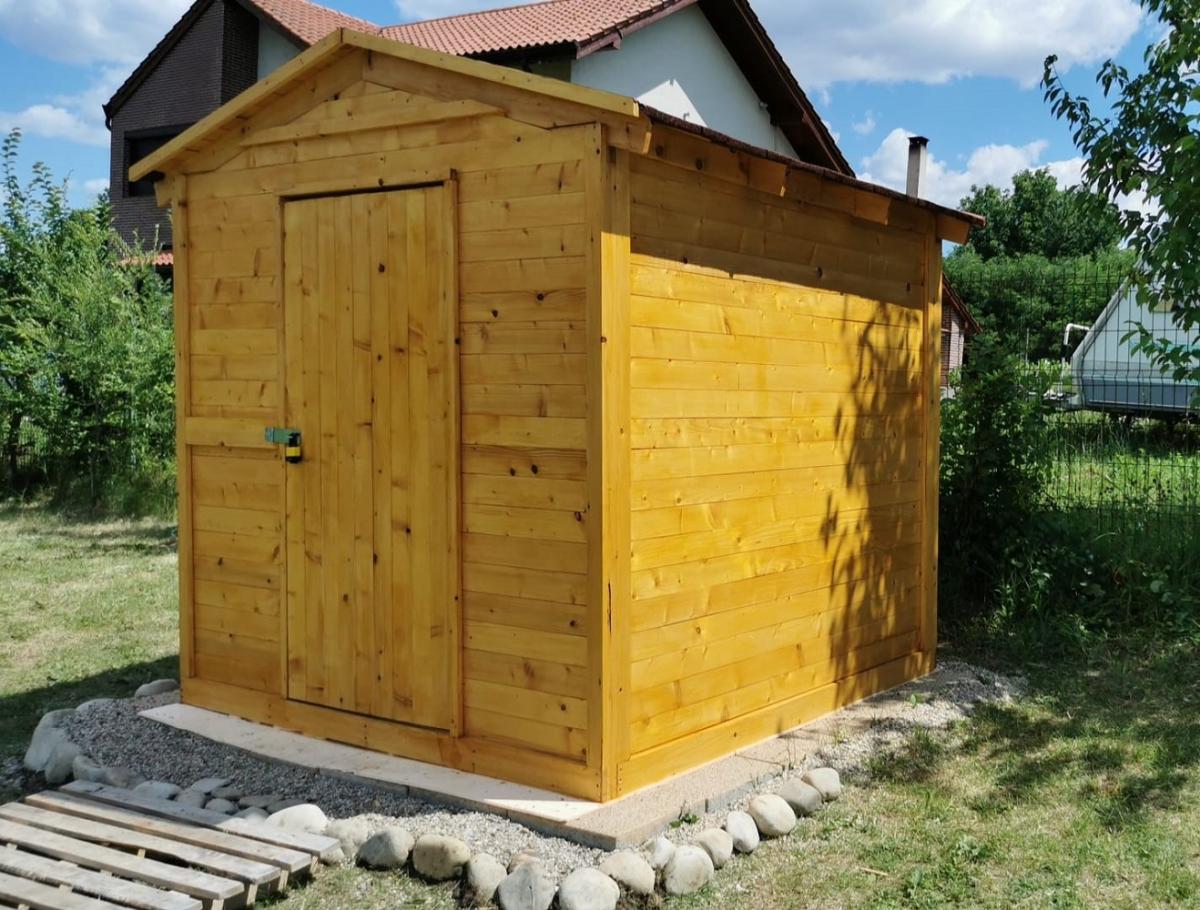
Awesome shed!
Great work, such a nice outdoor addition!