Super Easy Bench To Make!
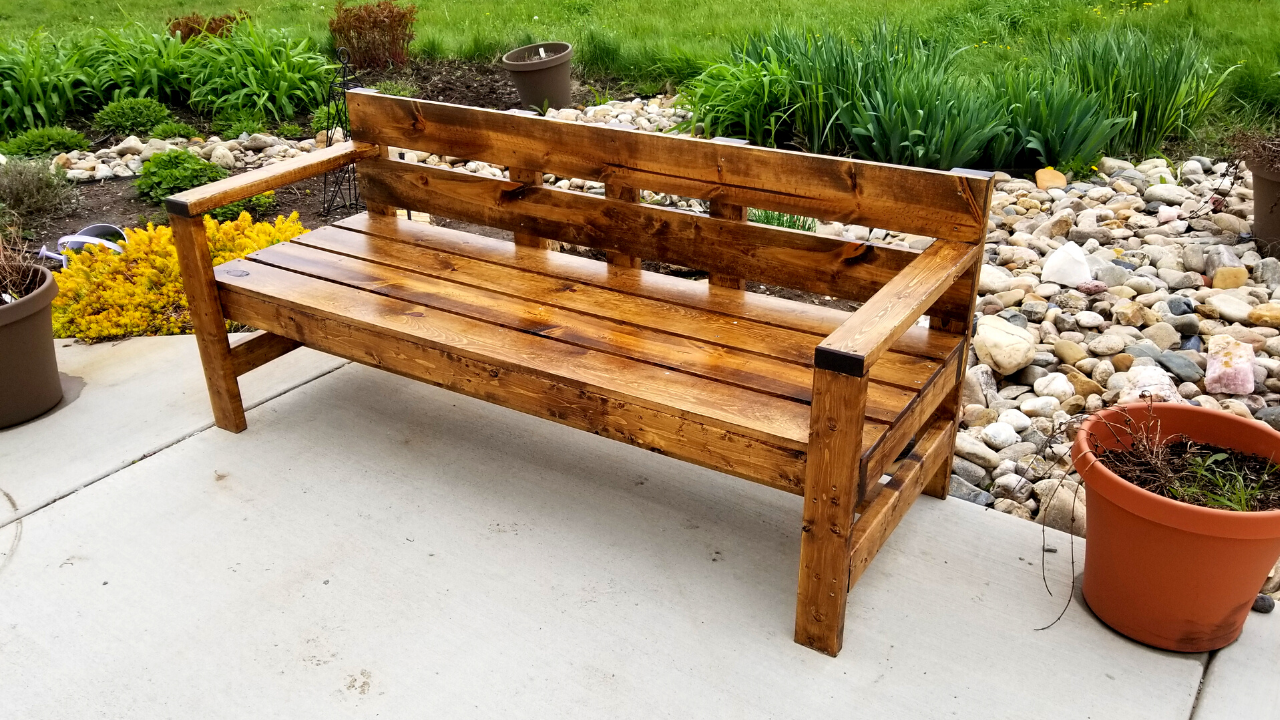
We built this bench for the church that lets us use their facilitys for our home school group.

We built this bench for the church that lets us use their facilitys for our home school group.
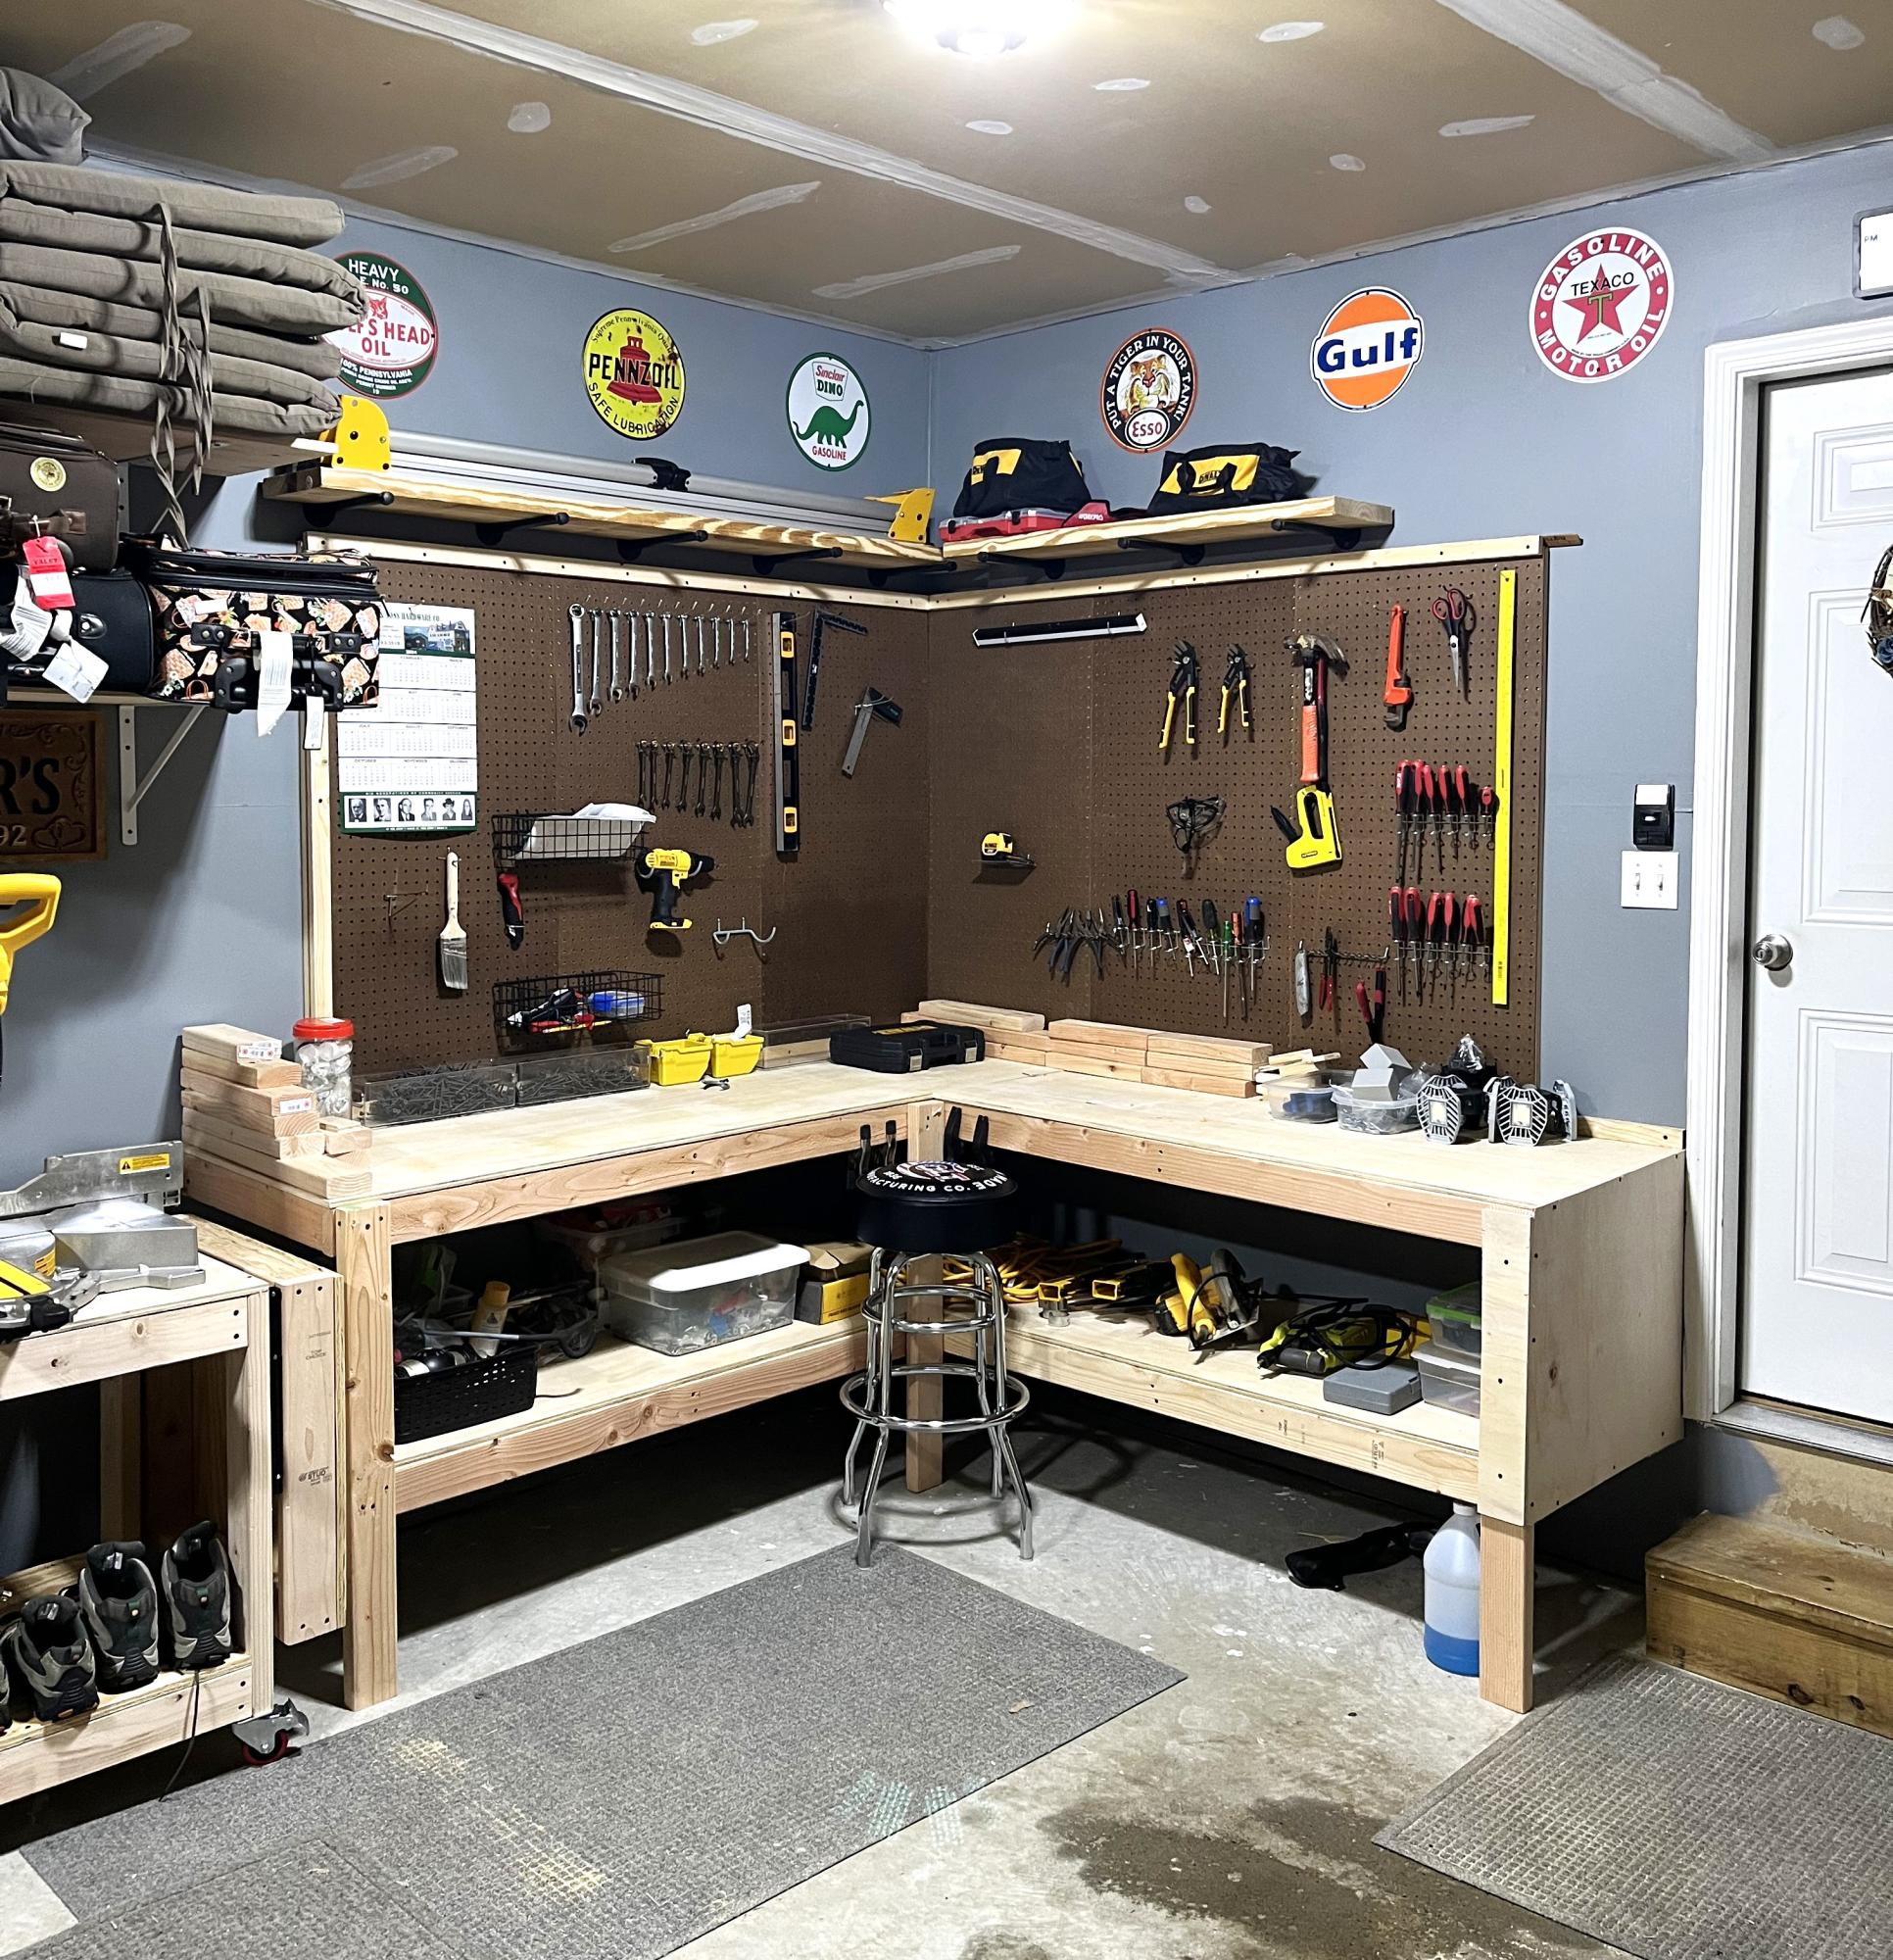
I wanted to clean up my garage and tools when I saw your work bench idea. Fun project and great organizer.
Mark Roessler
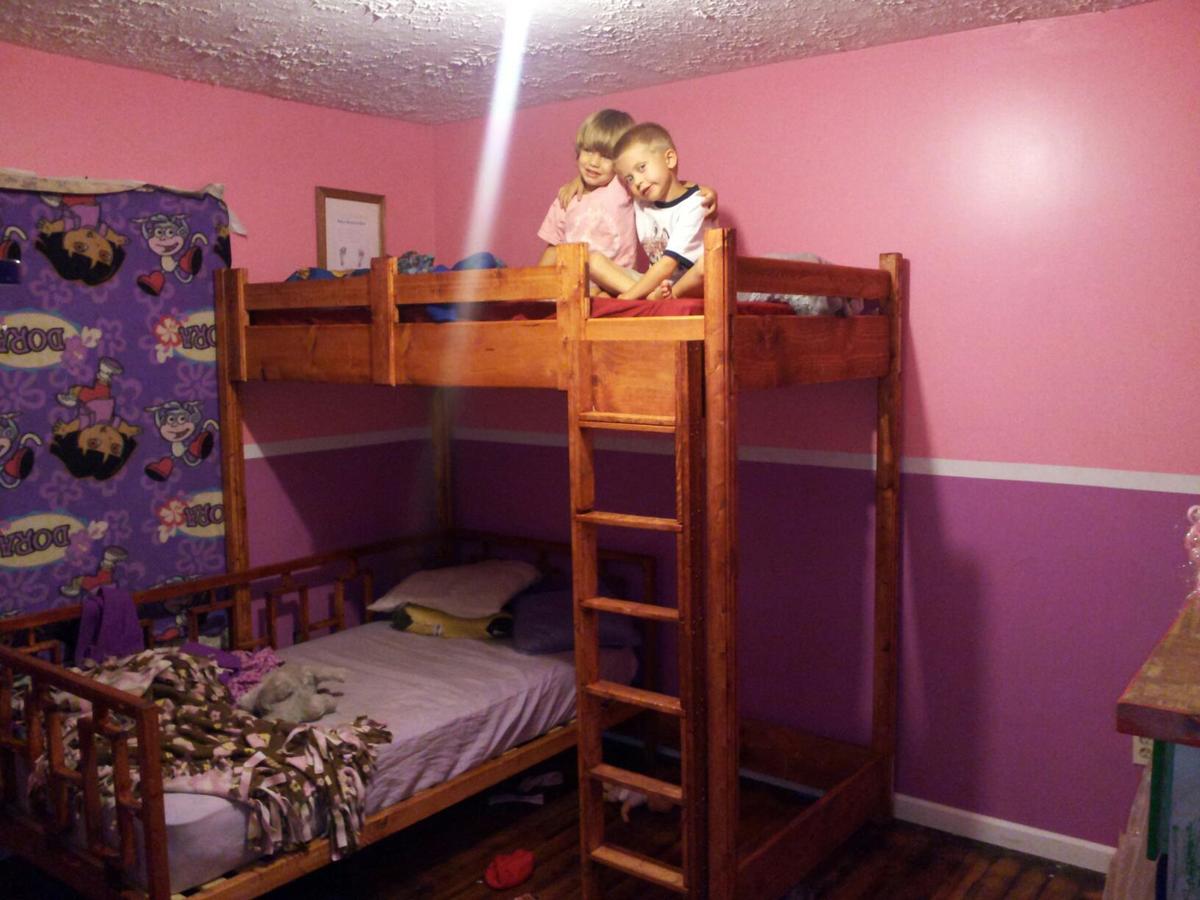
Built my daughter the day bed, and my son needed his own bed. But with a 2 bedroom house they have to share a room for now. So I seen the loft bed and well this is what I came up with. I stained it cherry, and routed the edges to give it a little touch.
Fri, 12/20/2013 - 07:57
This looks great! I like the way you kept it simple yet more rustic type appeal without adding the top board (laying flat).
Fri, 12/20/2013 - 07:57
This looks great! I like the way you kept it simple yet more rustic type appeal without adding the top board (laying flat).
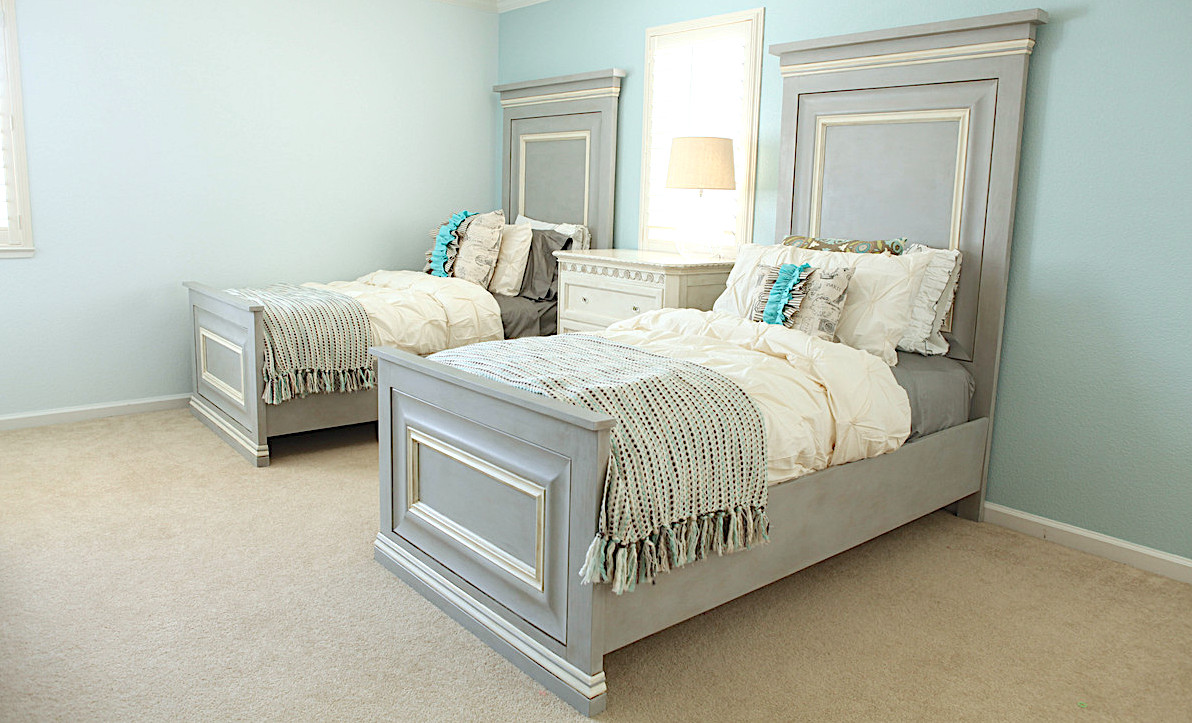
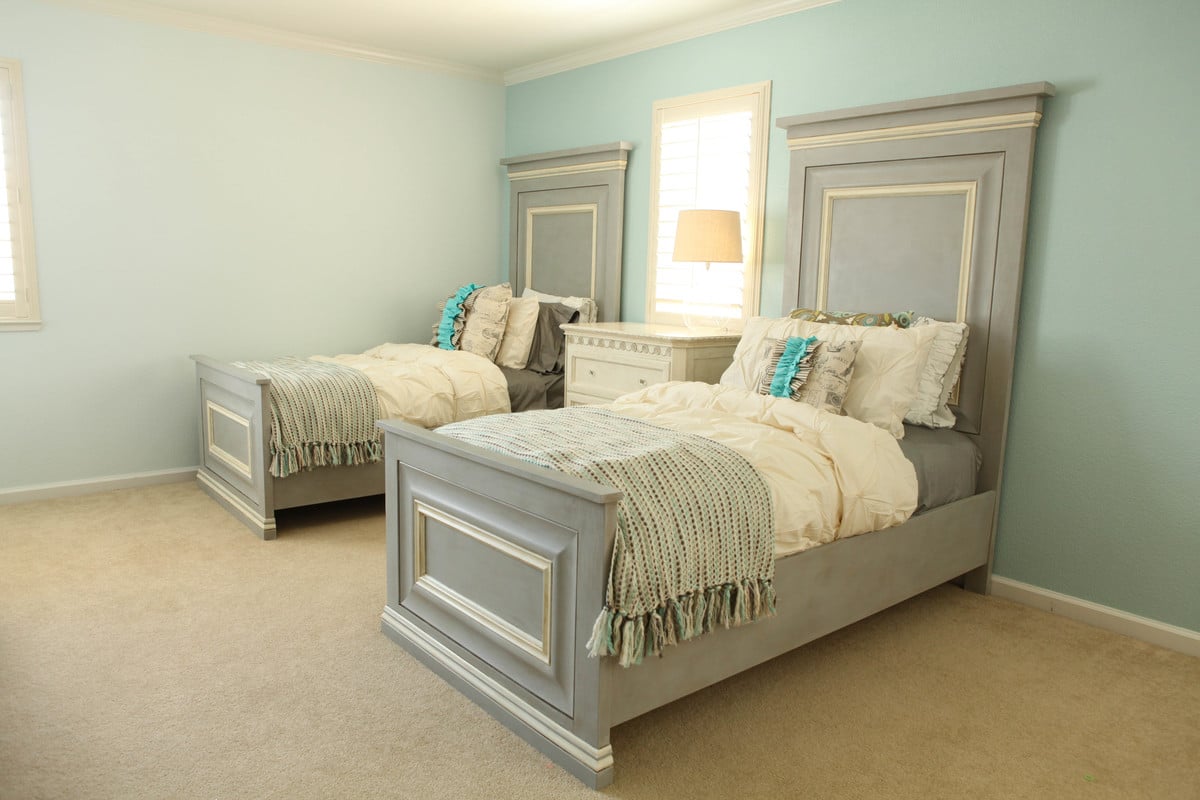
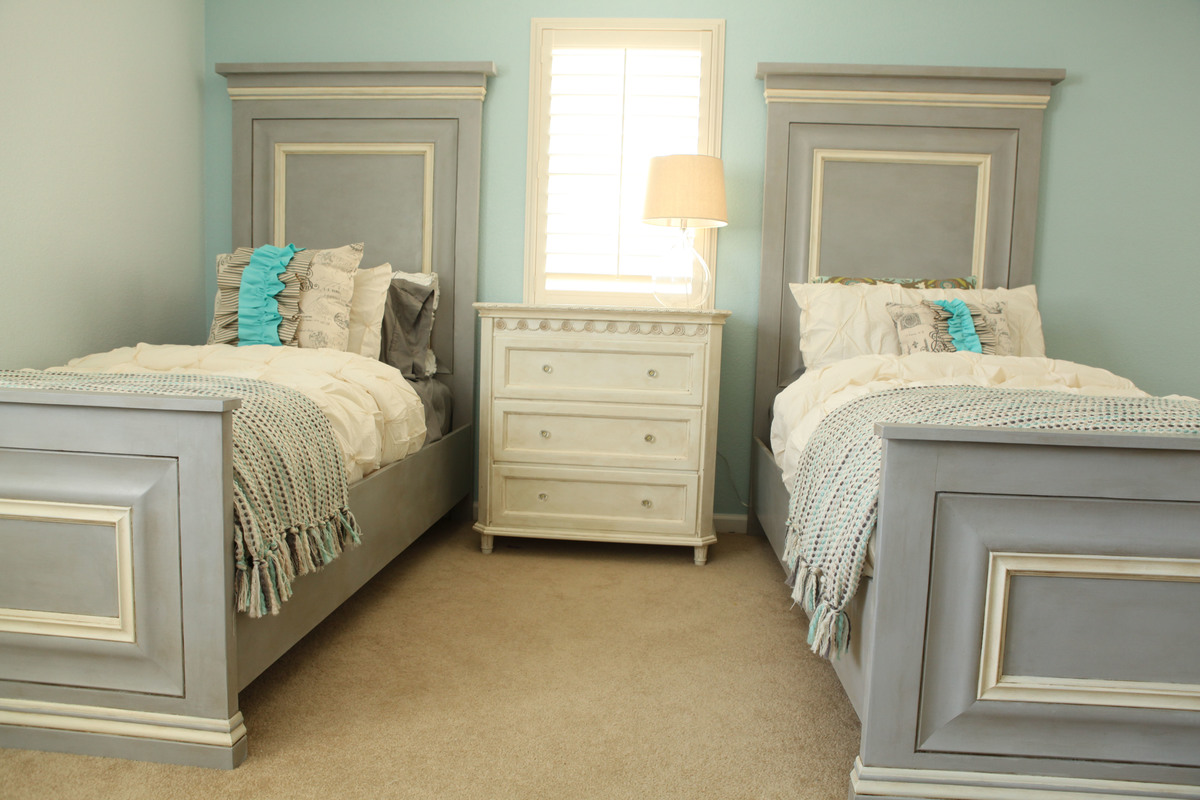
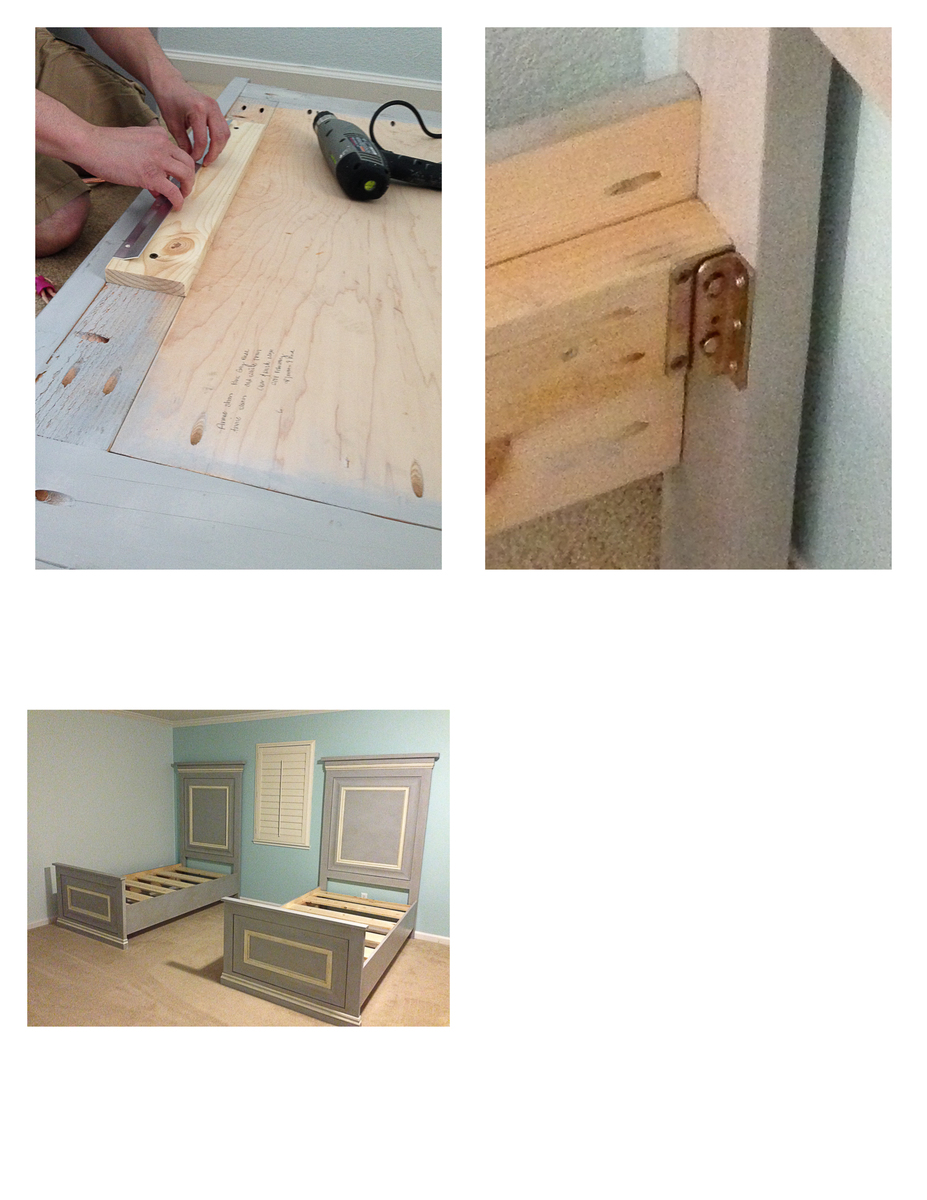
Thank you so much for these awesome plans. When I saw the original twin panel bed, I knew this was exactly what I wanted to build for my two daughters. I love super high head boards, and these are exactly that. I am in love. I did make some changes to the plan. I went with taller side rails, and used metal bed rail brackets. The brackets were super important. We move every few years being in the military, and I wanted something that would with-stand time and moves. I am also quite impressed how solid these beds are. I could never find anything this amazing in a store. I would also like to thank my husband for his help. It was our first build, but definitely not our last. Thank you!
Wed, 06/11/2014 - 17:27
Thank you for your very nice comments:
Here is some info, let me know if I can help further more.
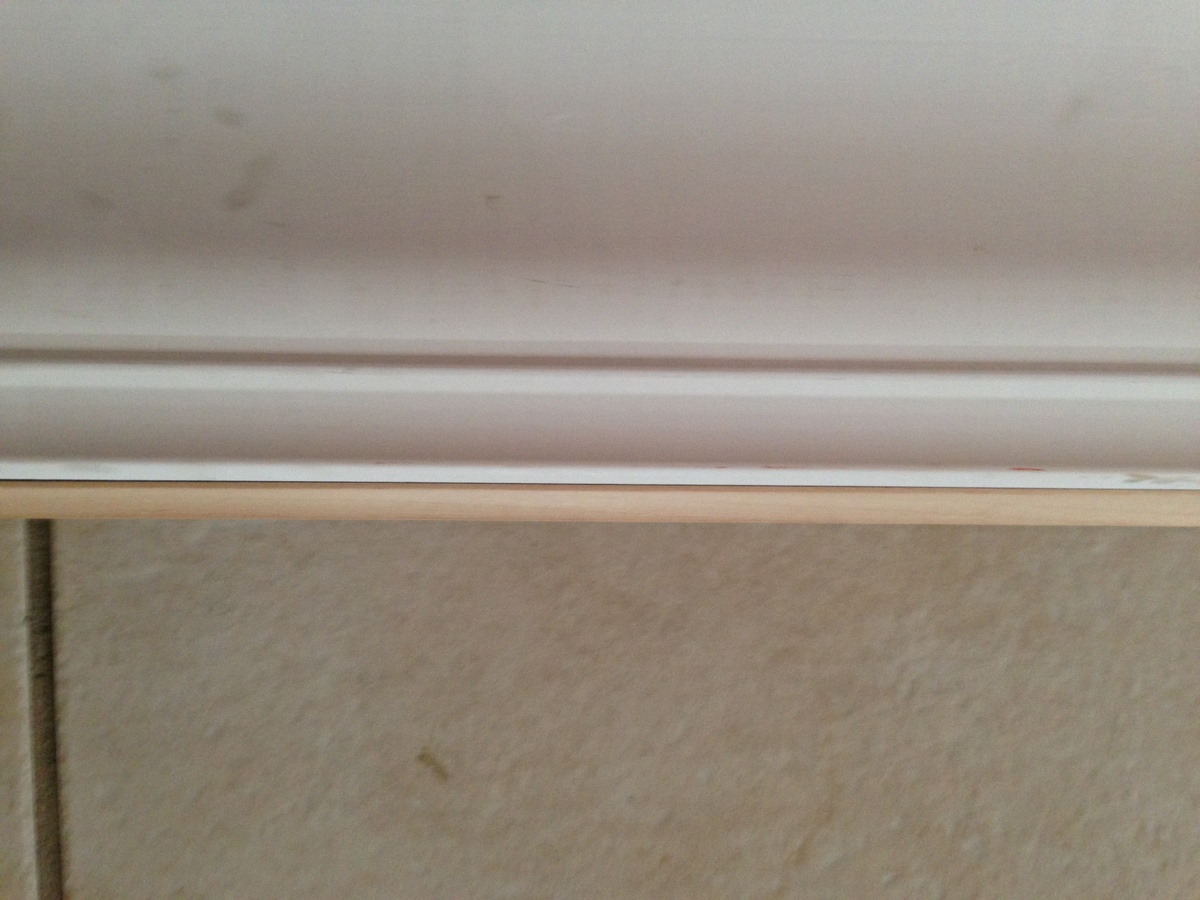
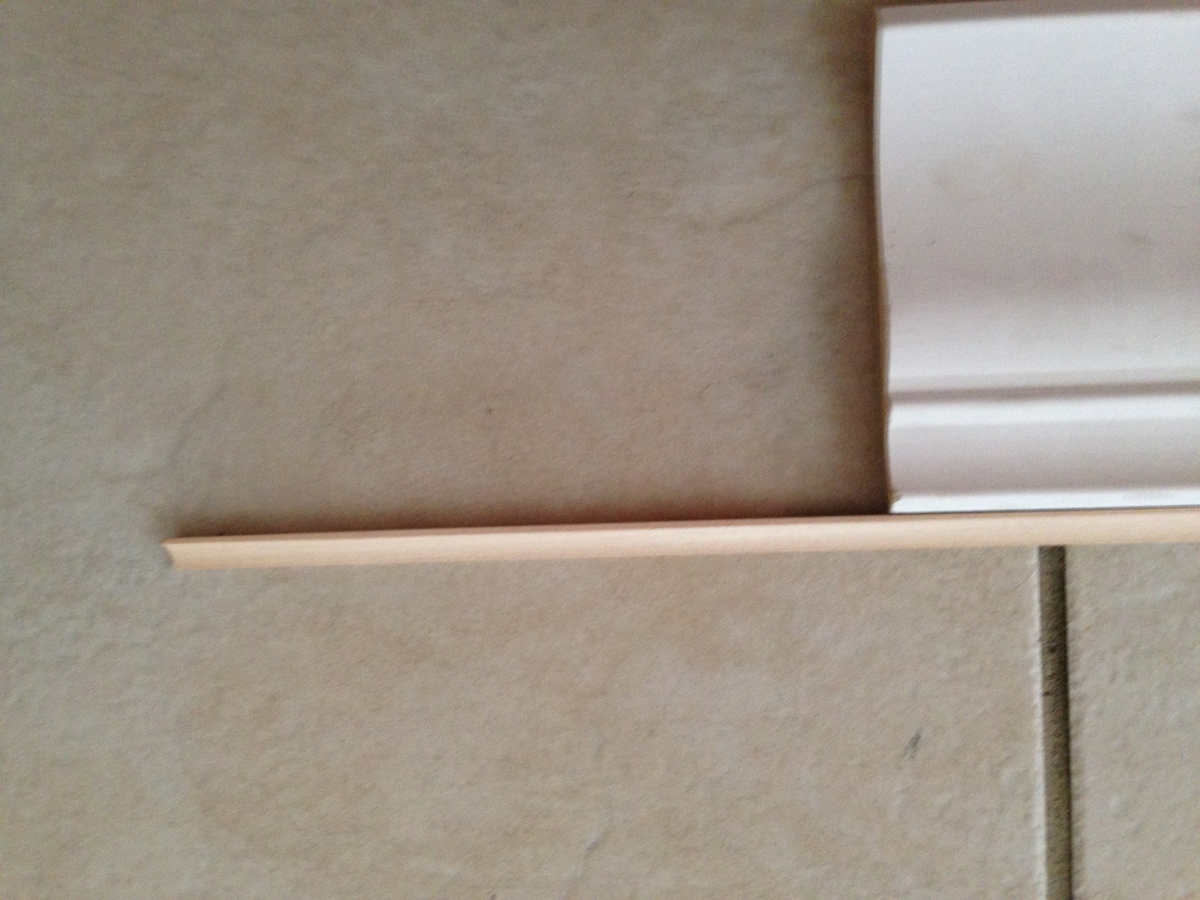
This is what we used for the base molding and the headboard molding at the top. http://www.homedepot.com/p/House-of-Fara-5-8-in-x-4-in-x-8-ft-MDF-Base-…
For the the inner molding we used two pieces of molding: This is the style (link below) we used, but ours was a little bigger, 5 1/4 inches. Couldn't find it on the home depot website, but this is exactly the same style.
The addition molding below is a finishing molding that we had to use since the above molding was not flush to the back board. It finished really nice. Glad we added this addition dimension. You can easily skip using it with different "above" molding.
http://www.homedepot.com/p/American-Wood-Moulding-LWM47-9-16-in-x-4-1-4…
http://www.homedepot.com/p/American-Wood-Moulding-WM100-11-16-in-x-11-1…
For the side rails we also used 10 inch boards. I thought it made the bed look more proportioned. I will add additional pics of the molding, so re-check pictures. Again, let me know if you have further questions.
Mon, 07/20/2015 - 18:51
I'm in awe!! Thank you so much for sharing, I just saw your beds and had to comment and say thank you for sharing and beautiful job! Ana
In reply to Your Bed is Beautiful!!! by Ana White
Sat, 11/28/2015 - 15:53
Thank you! You are the one made it possible. We truly feel inspired when we look at your page. Thank you for sharing all your plans. You are the best.
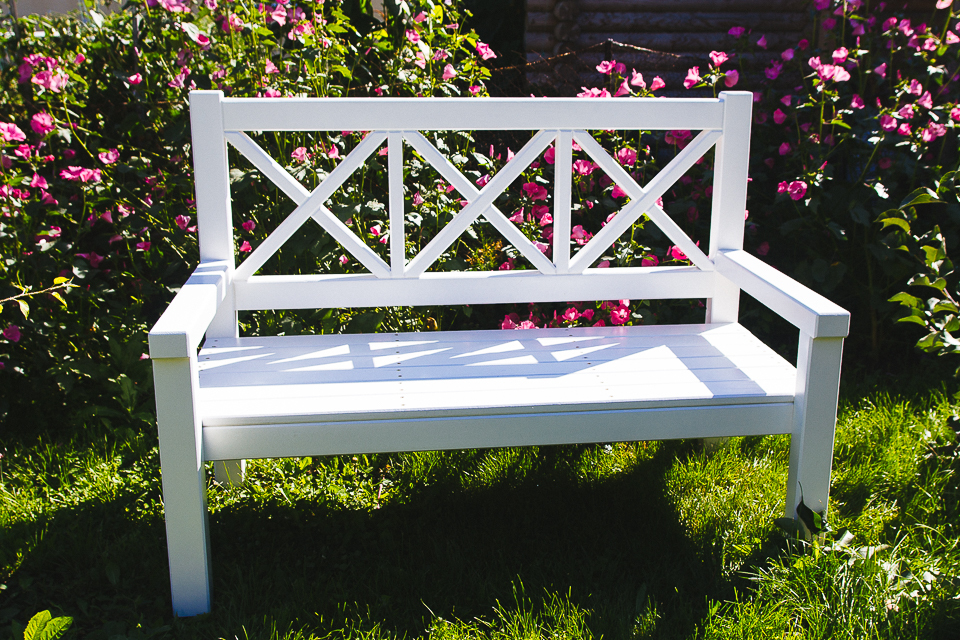
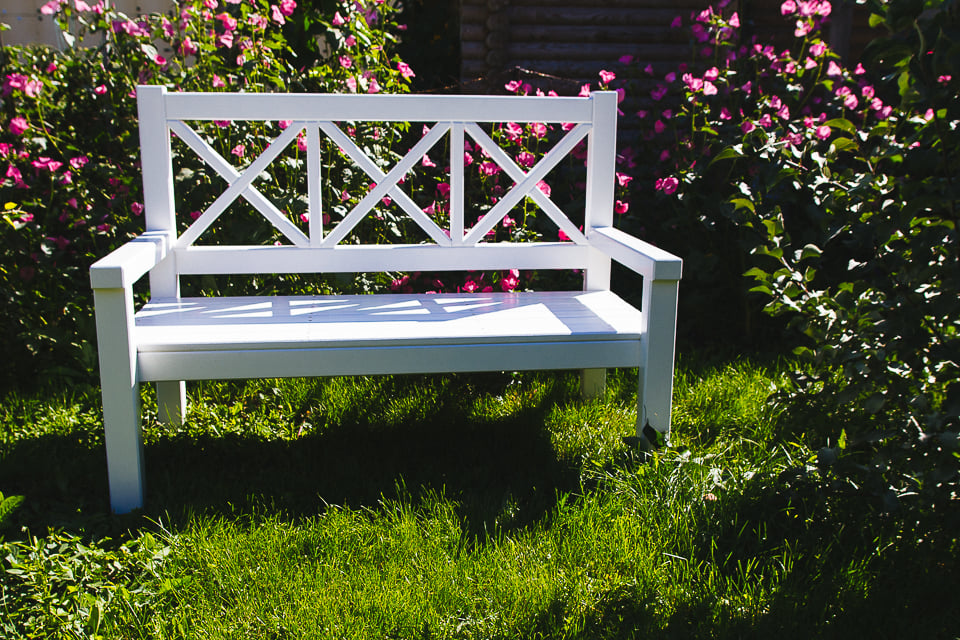
Inspired by Ana White project, but assembled with tencions and mortises, without screws.
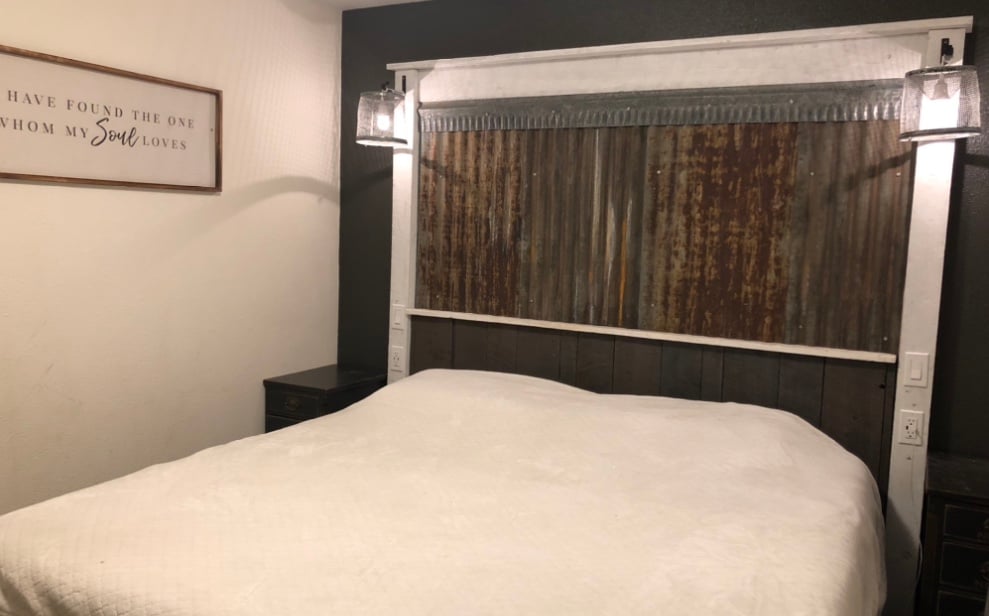
Fellow Alaskan here!
Wood and screw Materials costed $320
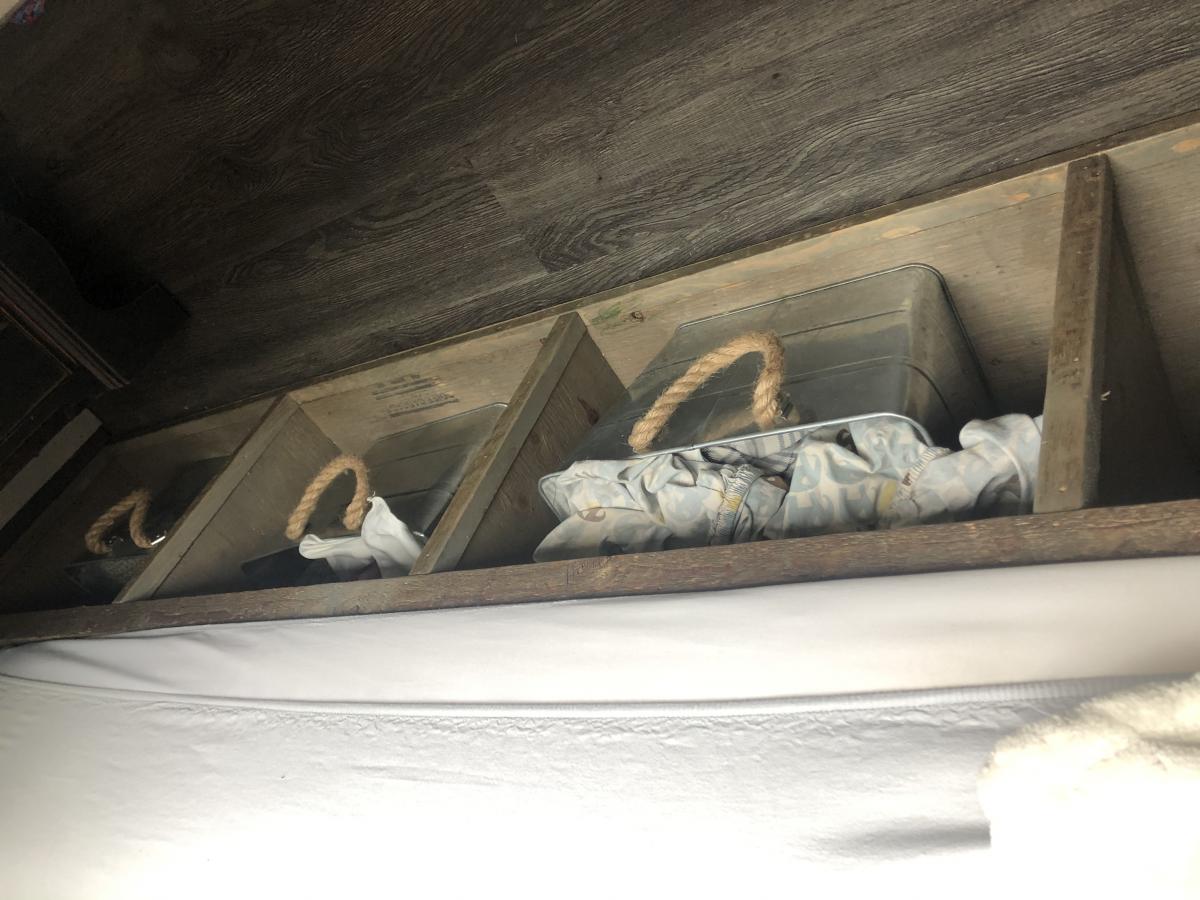
The metal storage buckets are outdoor drink buckets from Home Depot $200 for 8 of them!
There are 4 storage buckets on each side! We took this from your farmhouse plan and altered it for king size. And in after thought he made a baby co-sleeper to match, 30$ to make!

We needed a solid queen-size bed for our rental cottage, and Ana White had the perfect plans! Easy to follow, fun to make and such a beautiful big solid bed! We are so proud of ourselves. I can't believe we made this! I am really looking forward to my next project. Thank you Ana!

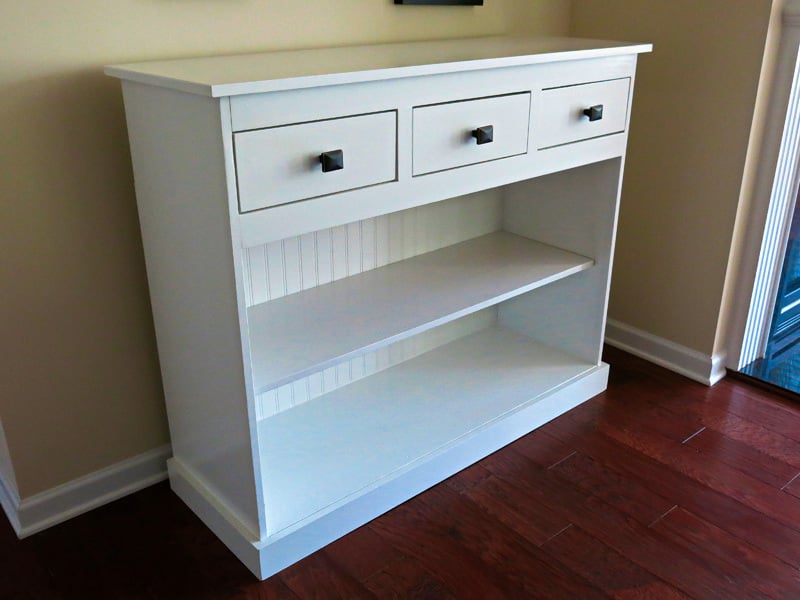
I modified the plan slightly to make it longer and higher to fill the space I wanted it to fill.
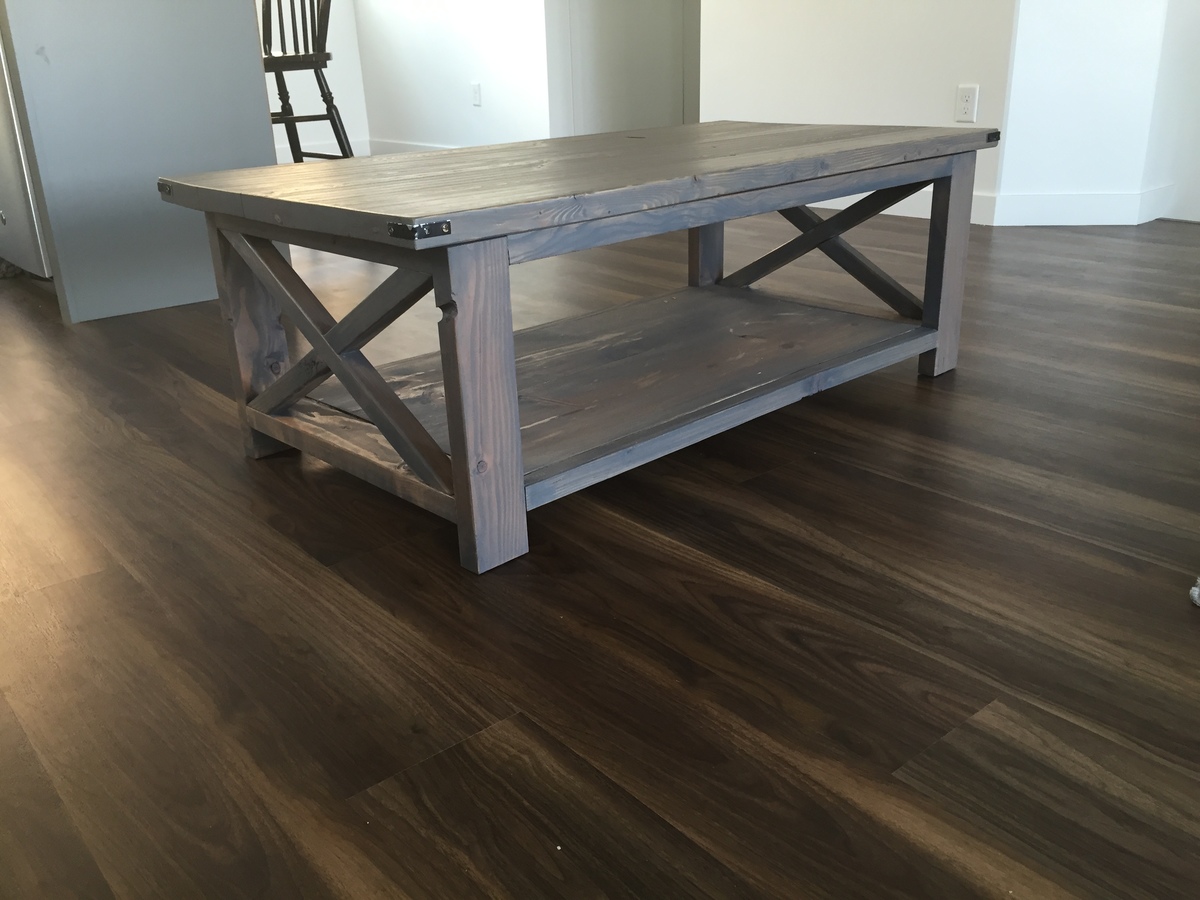
I really love this table! Thanks for the plans!
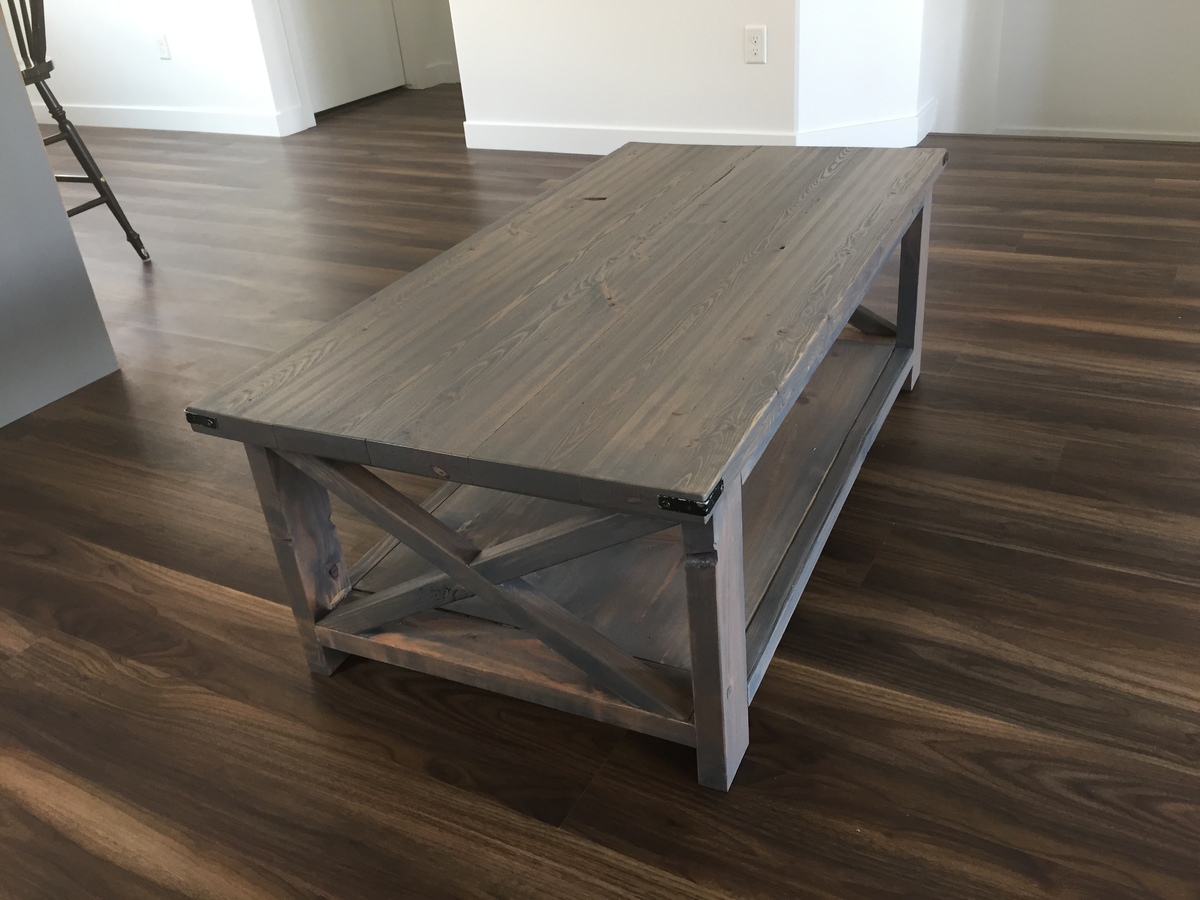

I built this for my wife, she loved the design and it was something we were able to do together. I did use 2x6 instead of 2x4 that the plan called for, it really made the bench extra sturdy.
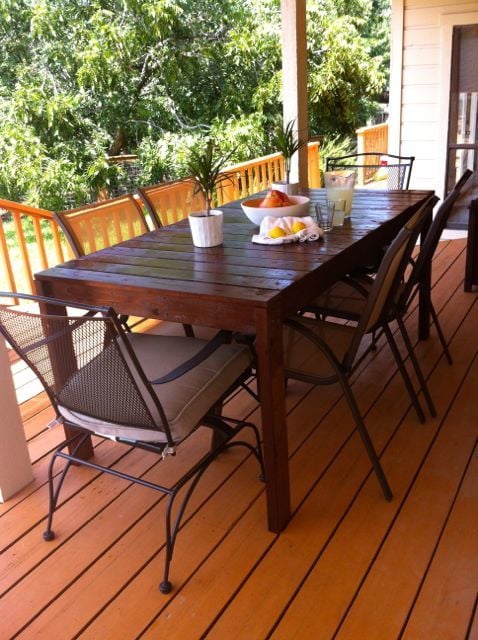
I built this outdoor patio table in about a weeks time working on and off. There are mistakes, it's uneven in places and it is not perfect! That being said, the plans for this are very forgiving and nobody would ever know without looking for these things.
You can get the breakdown on the build, the finish I used, chair solutions and other suggestions here:
http://legosecretagent.blogspot.com/2012/07/outdoor-patio-table.html
This beautiful table only cost around $60 total to build!
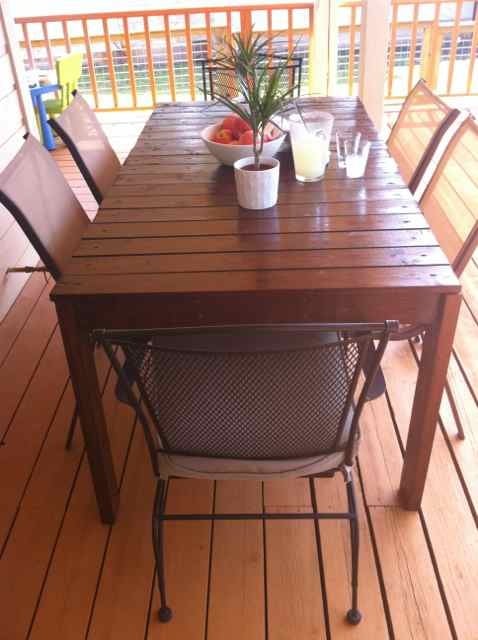
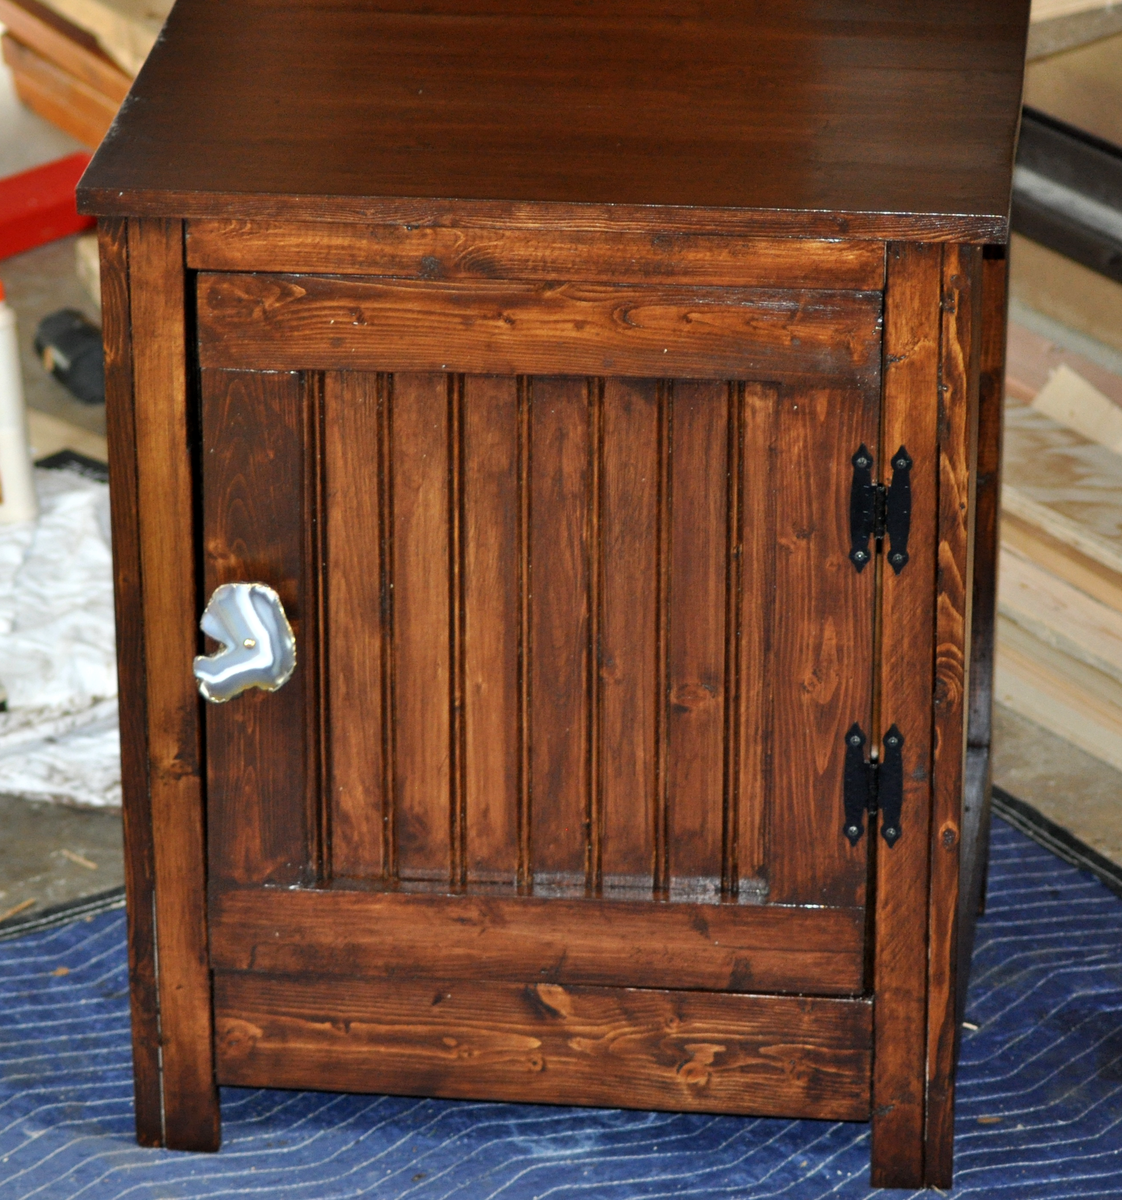
I DO NOT have a Kreg Jig. If you don't have a Kreg Jig, I recommend purchasing small mending plates. I got mine at Walmart, they were $1.77 a 4 pack. I do not recommend using 3 inch nail screws and trying to get them in super straight. While it worked for 3 face frames, the last frame I just could not get to work (maybe I was getting tired). Speaking of tired, I mostly build in the middle of the night while my family is sleeping. If you look closely, I put the 1x2 26 1/2 inch pieces on the front and back frame. Wah wah.... I had to add an extra 1x2 across the top and re-size the 3/4 inch plywood on the bottom.
I'm pretty sure everything went wrong for me with this build but I wasn't going to let a nightstand beat me!
In case you are wondering, the cabinet pull is from Anthropologie. I haven't decided whether or not it's too fabulous for this piece.
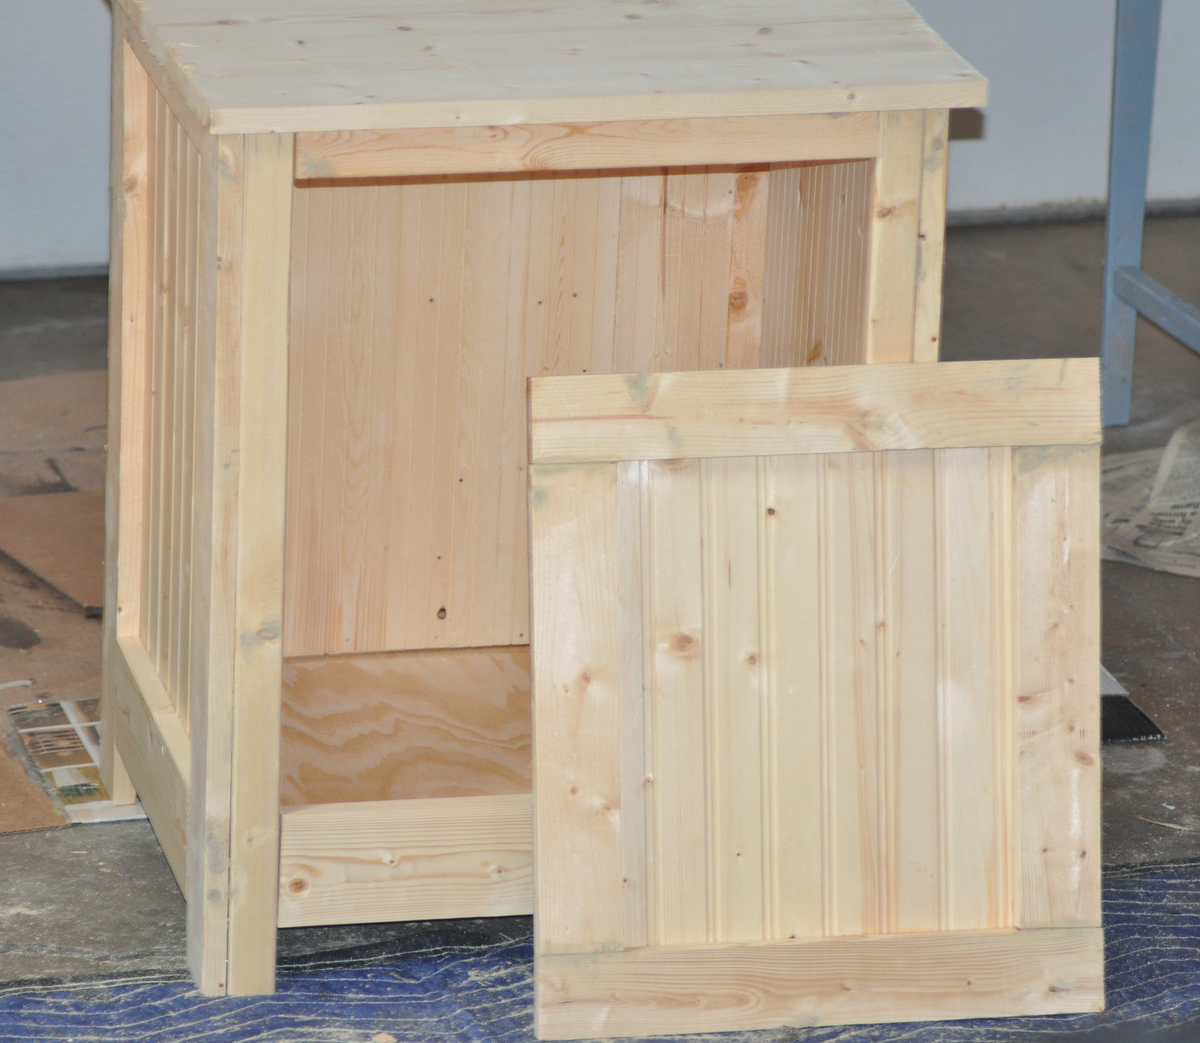
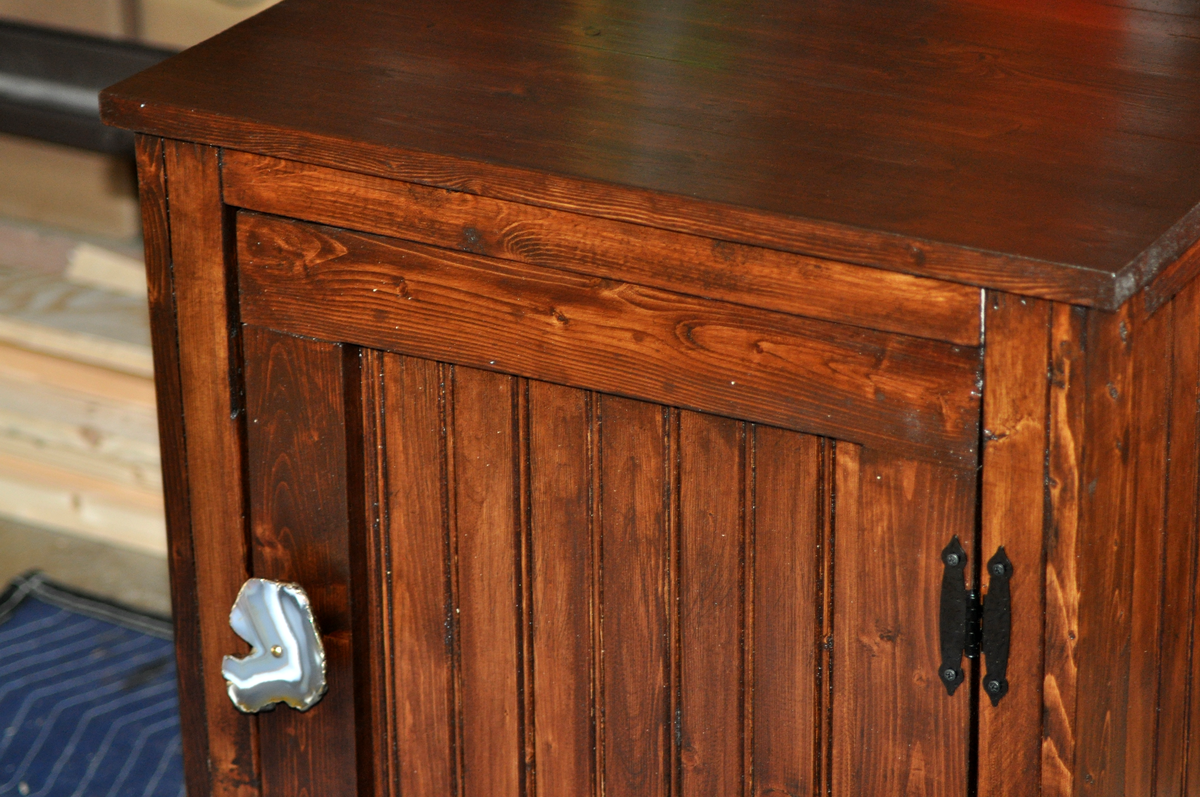
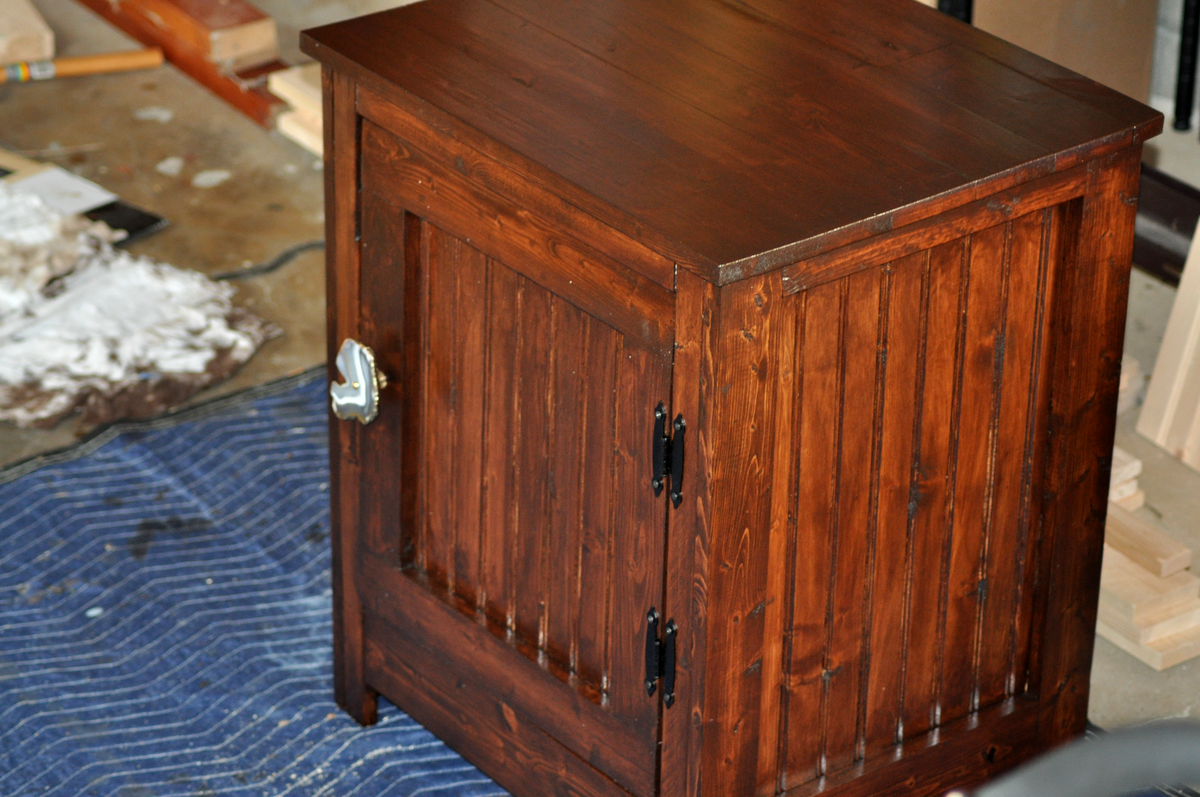
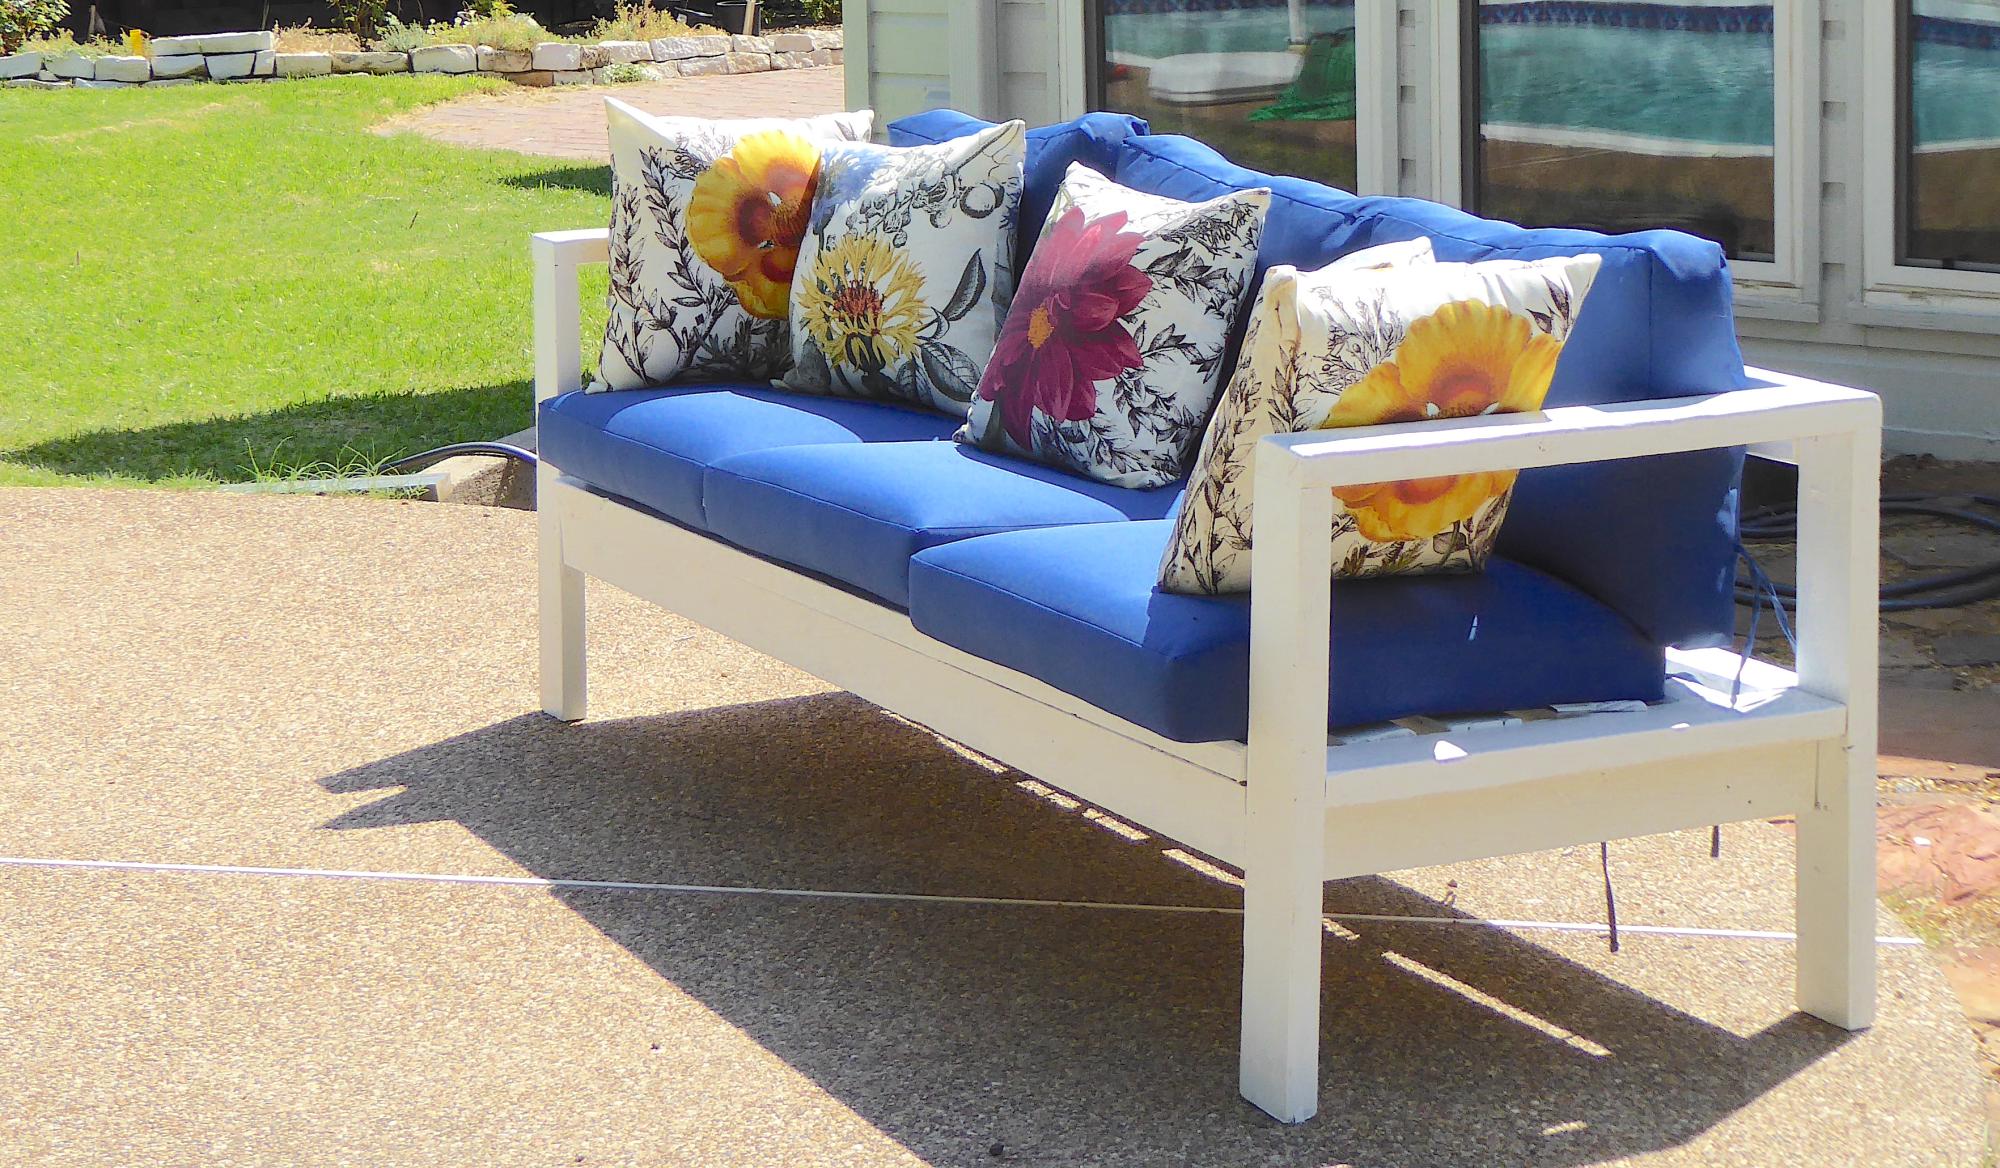
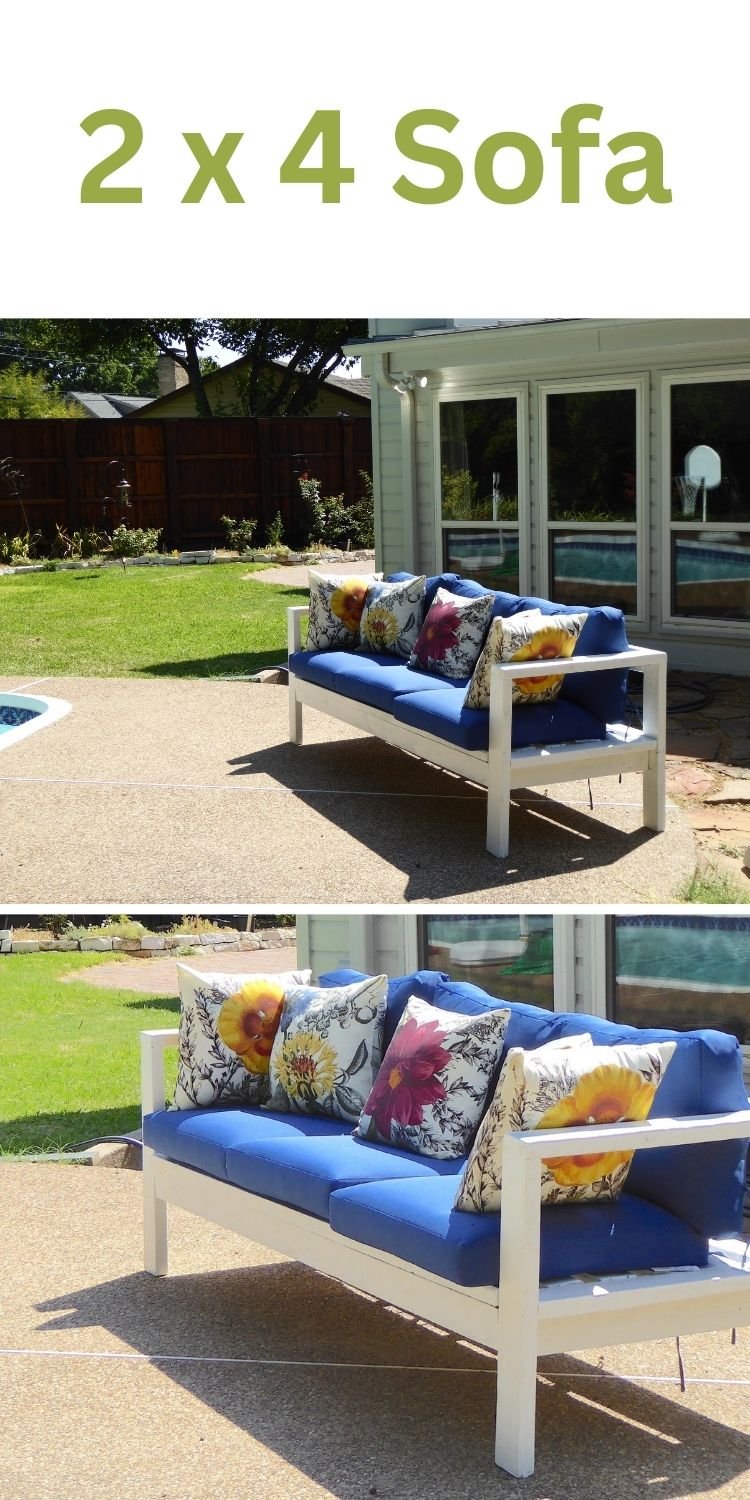
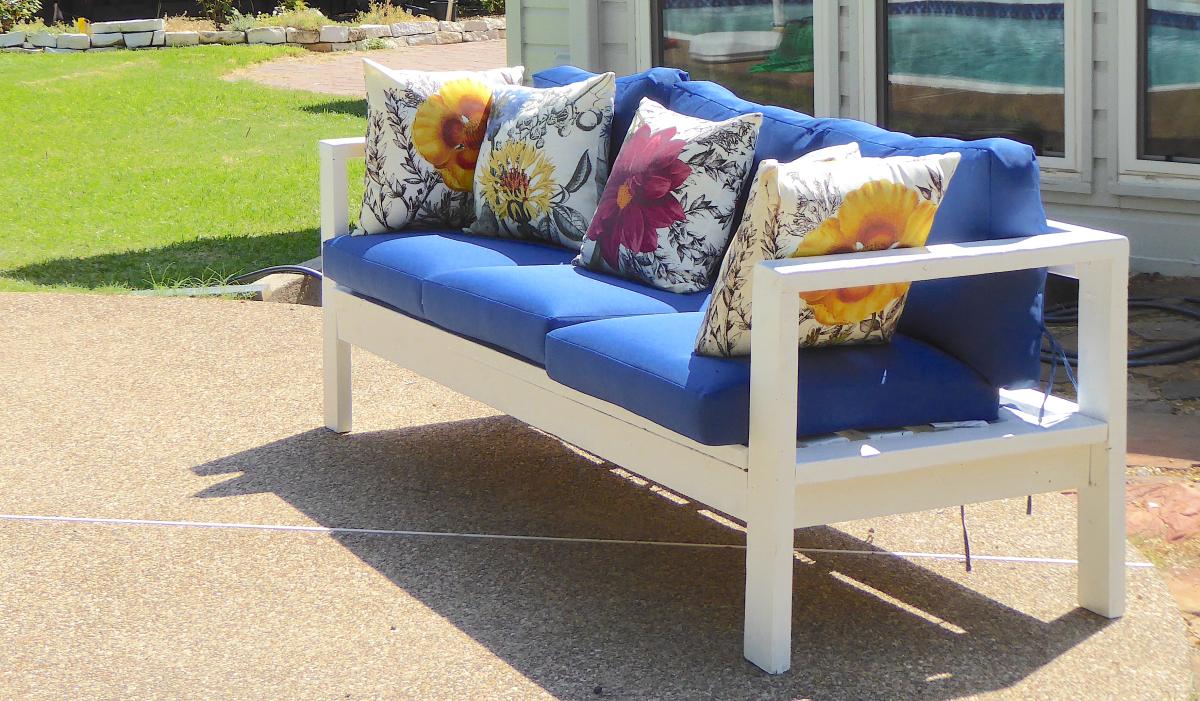
Made from wood salvaged from a renovation. Cushions from Improvements Catalog and Target.
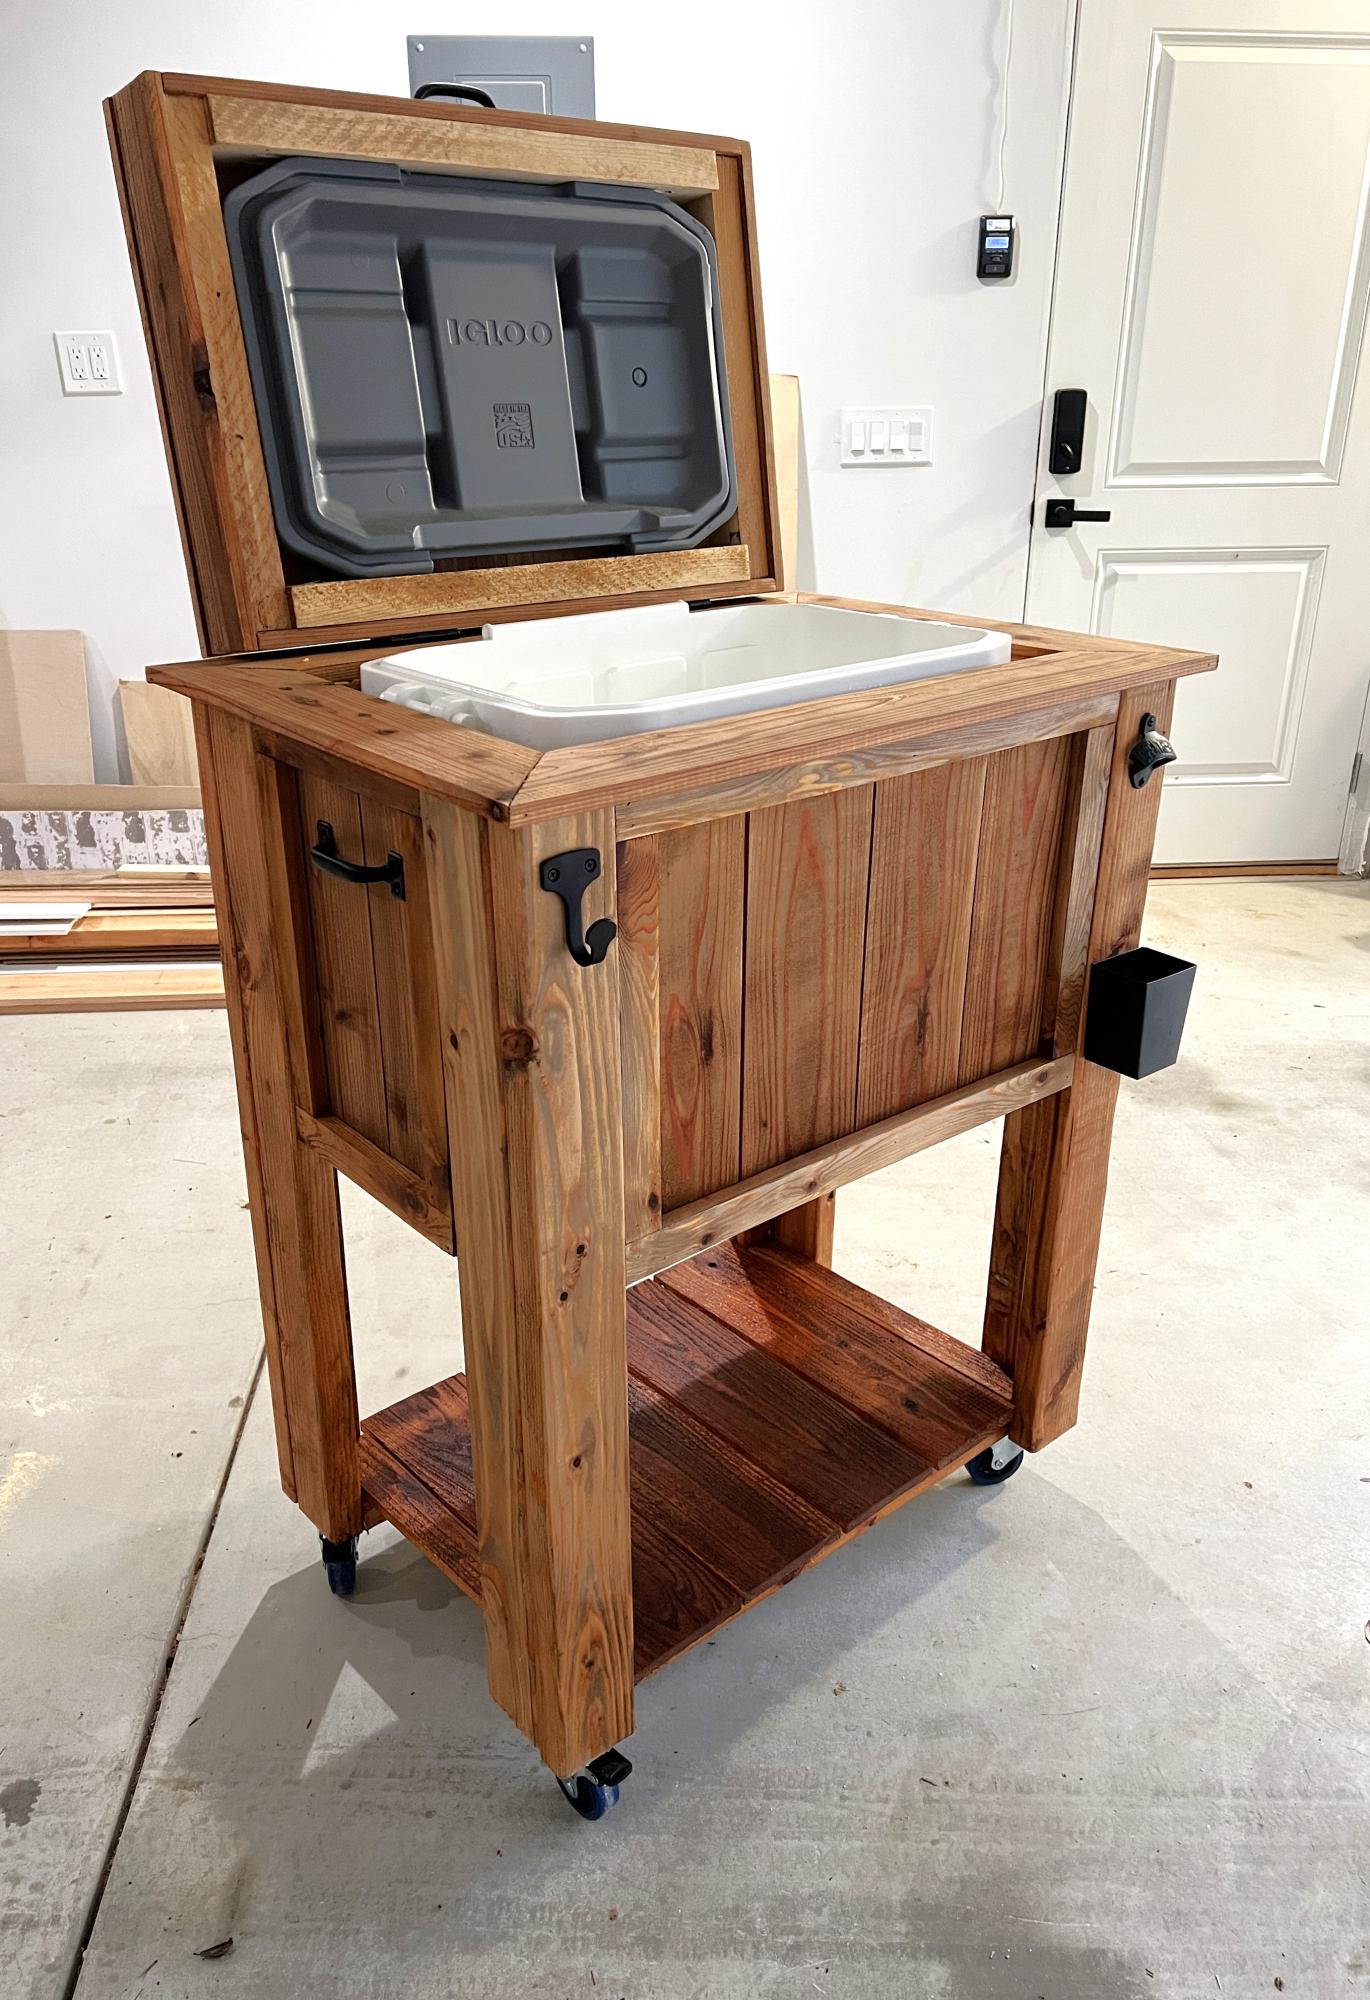
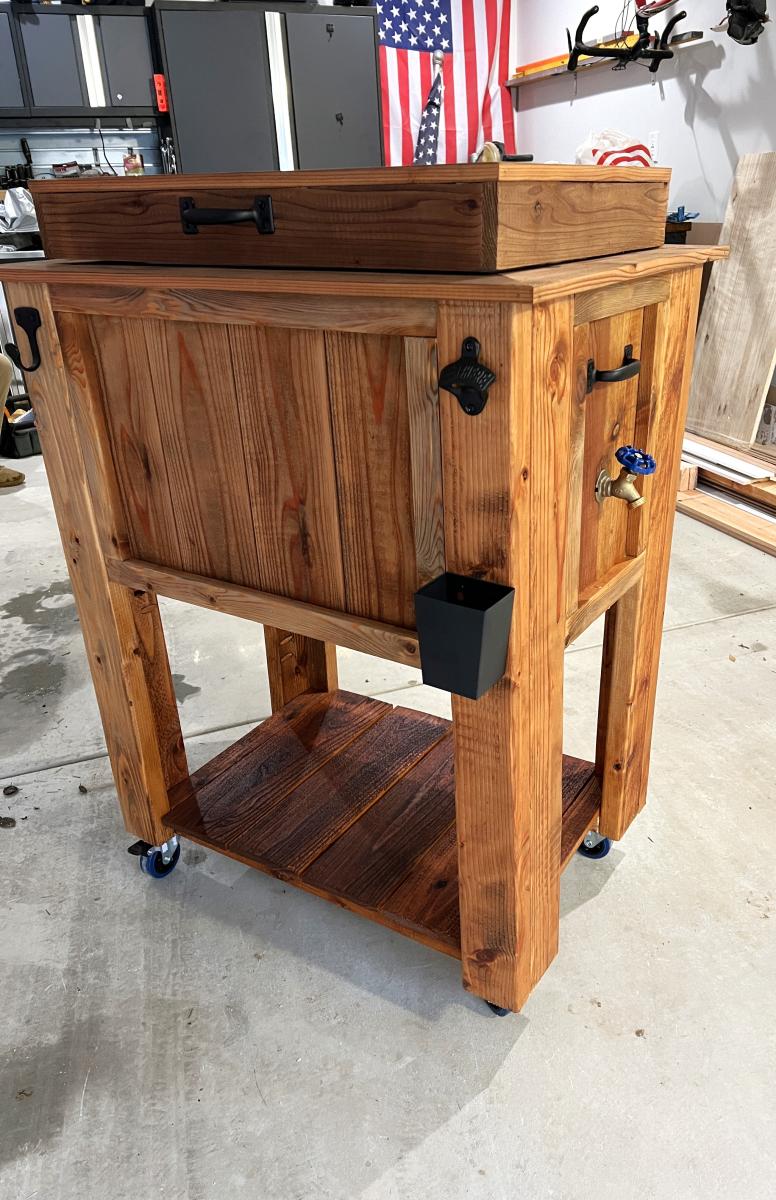
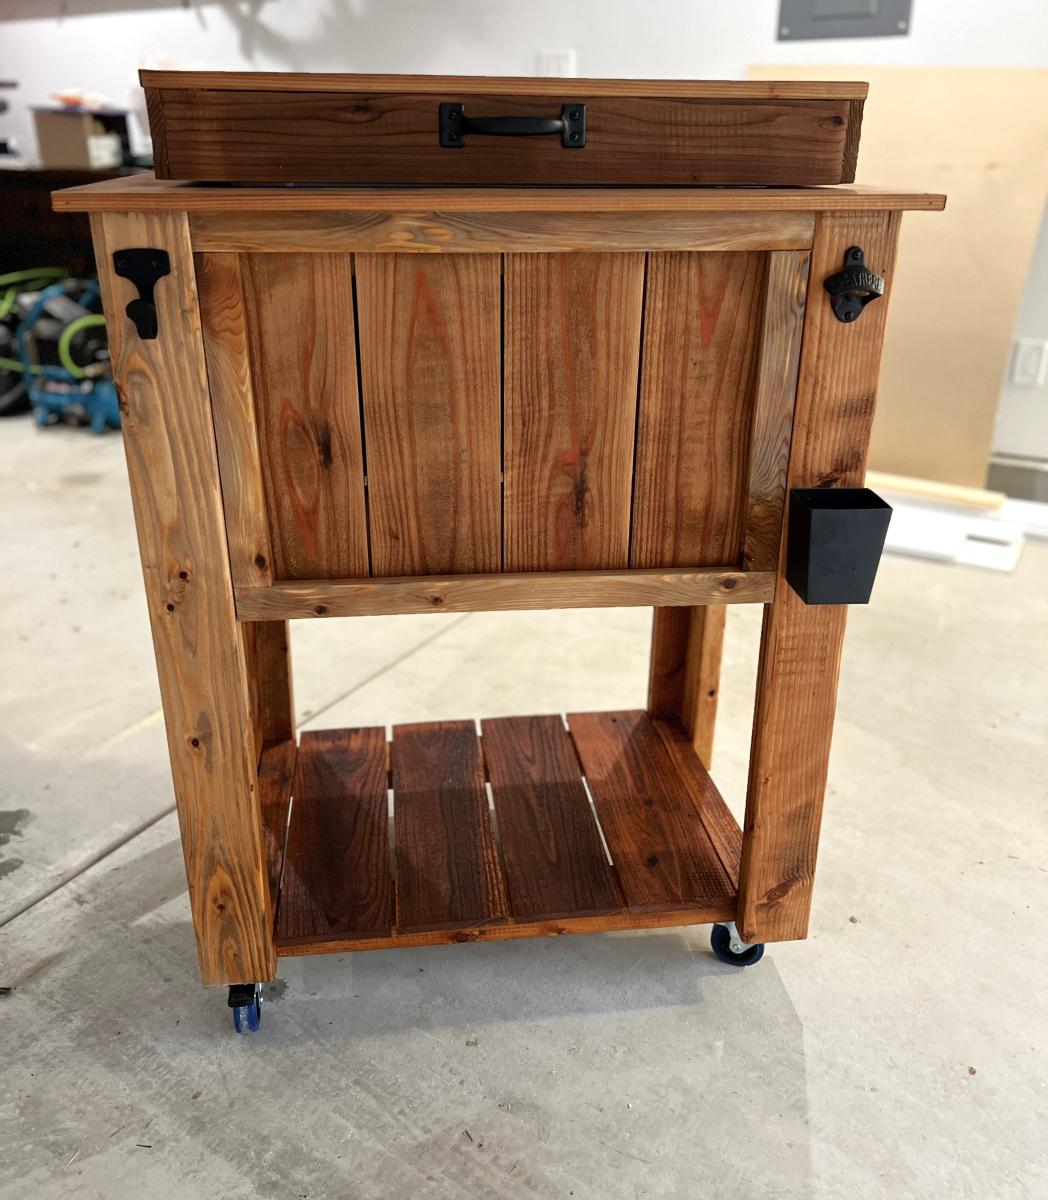
I made this cooler stand for my son’s schools silent auction.
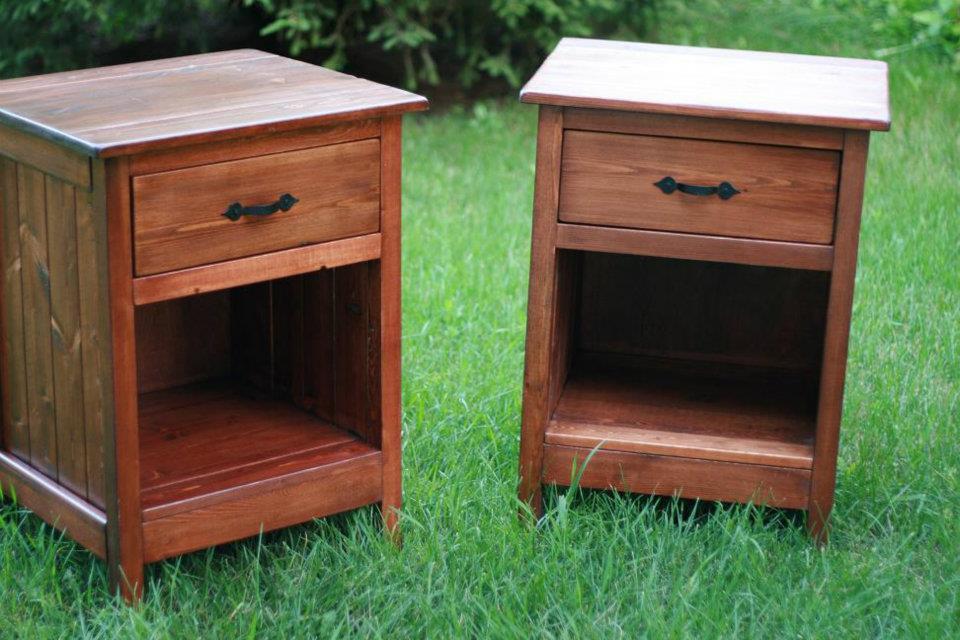
I used the plans for the Reclaimed Wood bedside tables but I didn't want to make all those drawers (being a beginner) so I settled on one. It took me fairly long to complete but really it should have been only a weekend project. I love the way they turned out.
Fri, 07/20/2012 - 20:16
I too fear drawers.
Your bedside tables have turned out beautifully!
This is my second project. I based it on the "simple easy storage bench". I made this for my wife, she requested an entryway bench as you enter the house from the garage. I'm glad I was able to finish it just in time for Mother's Day :).
I learned a lot by doing this project (e.g. hiding nails, wood fillers, warped wood, sanding, to name a few). There's still a lot of things to learn, I'm hoping to be able to practice more.
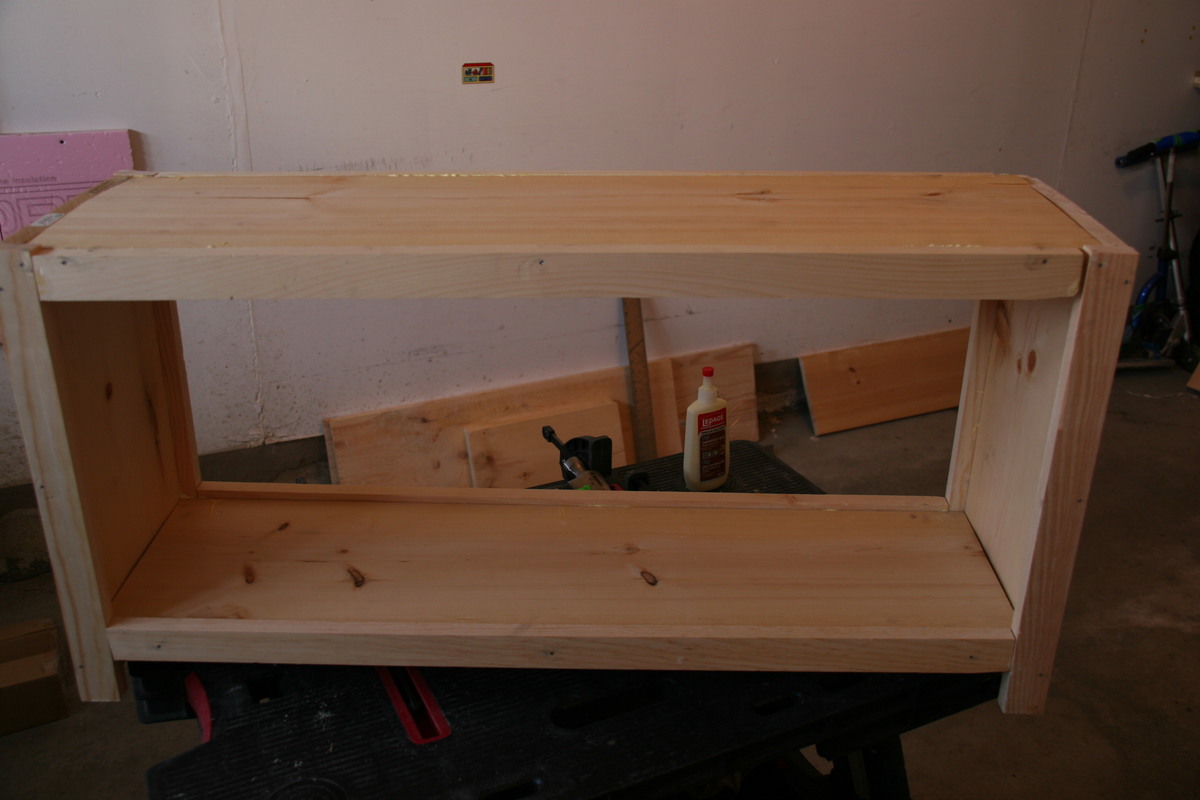
I was inspired by Handymommy's set, using the arm chairs instead of the standard ones, so thanks to you!
The wood I had was all rough cut 1 x 6's so I had to adjust the plans a bit.
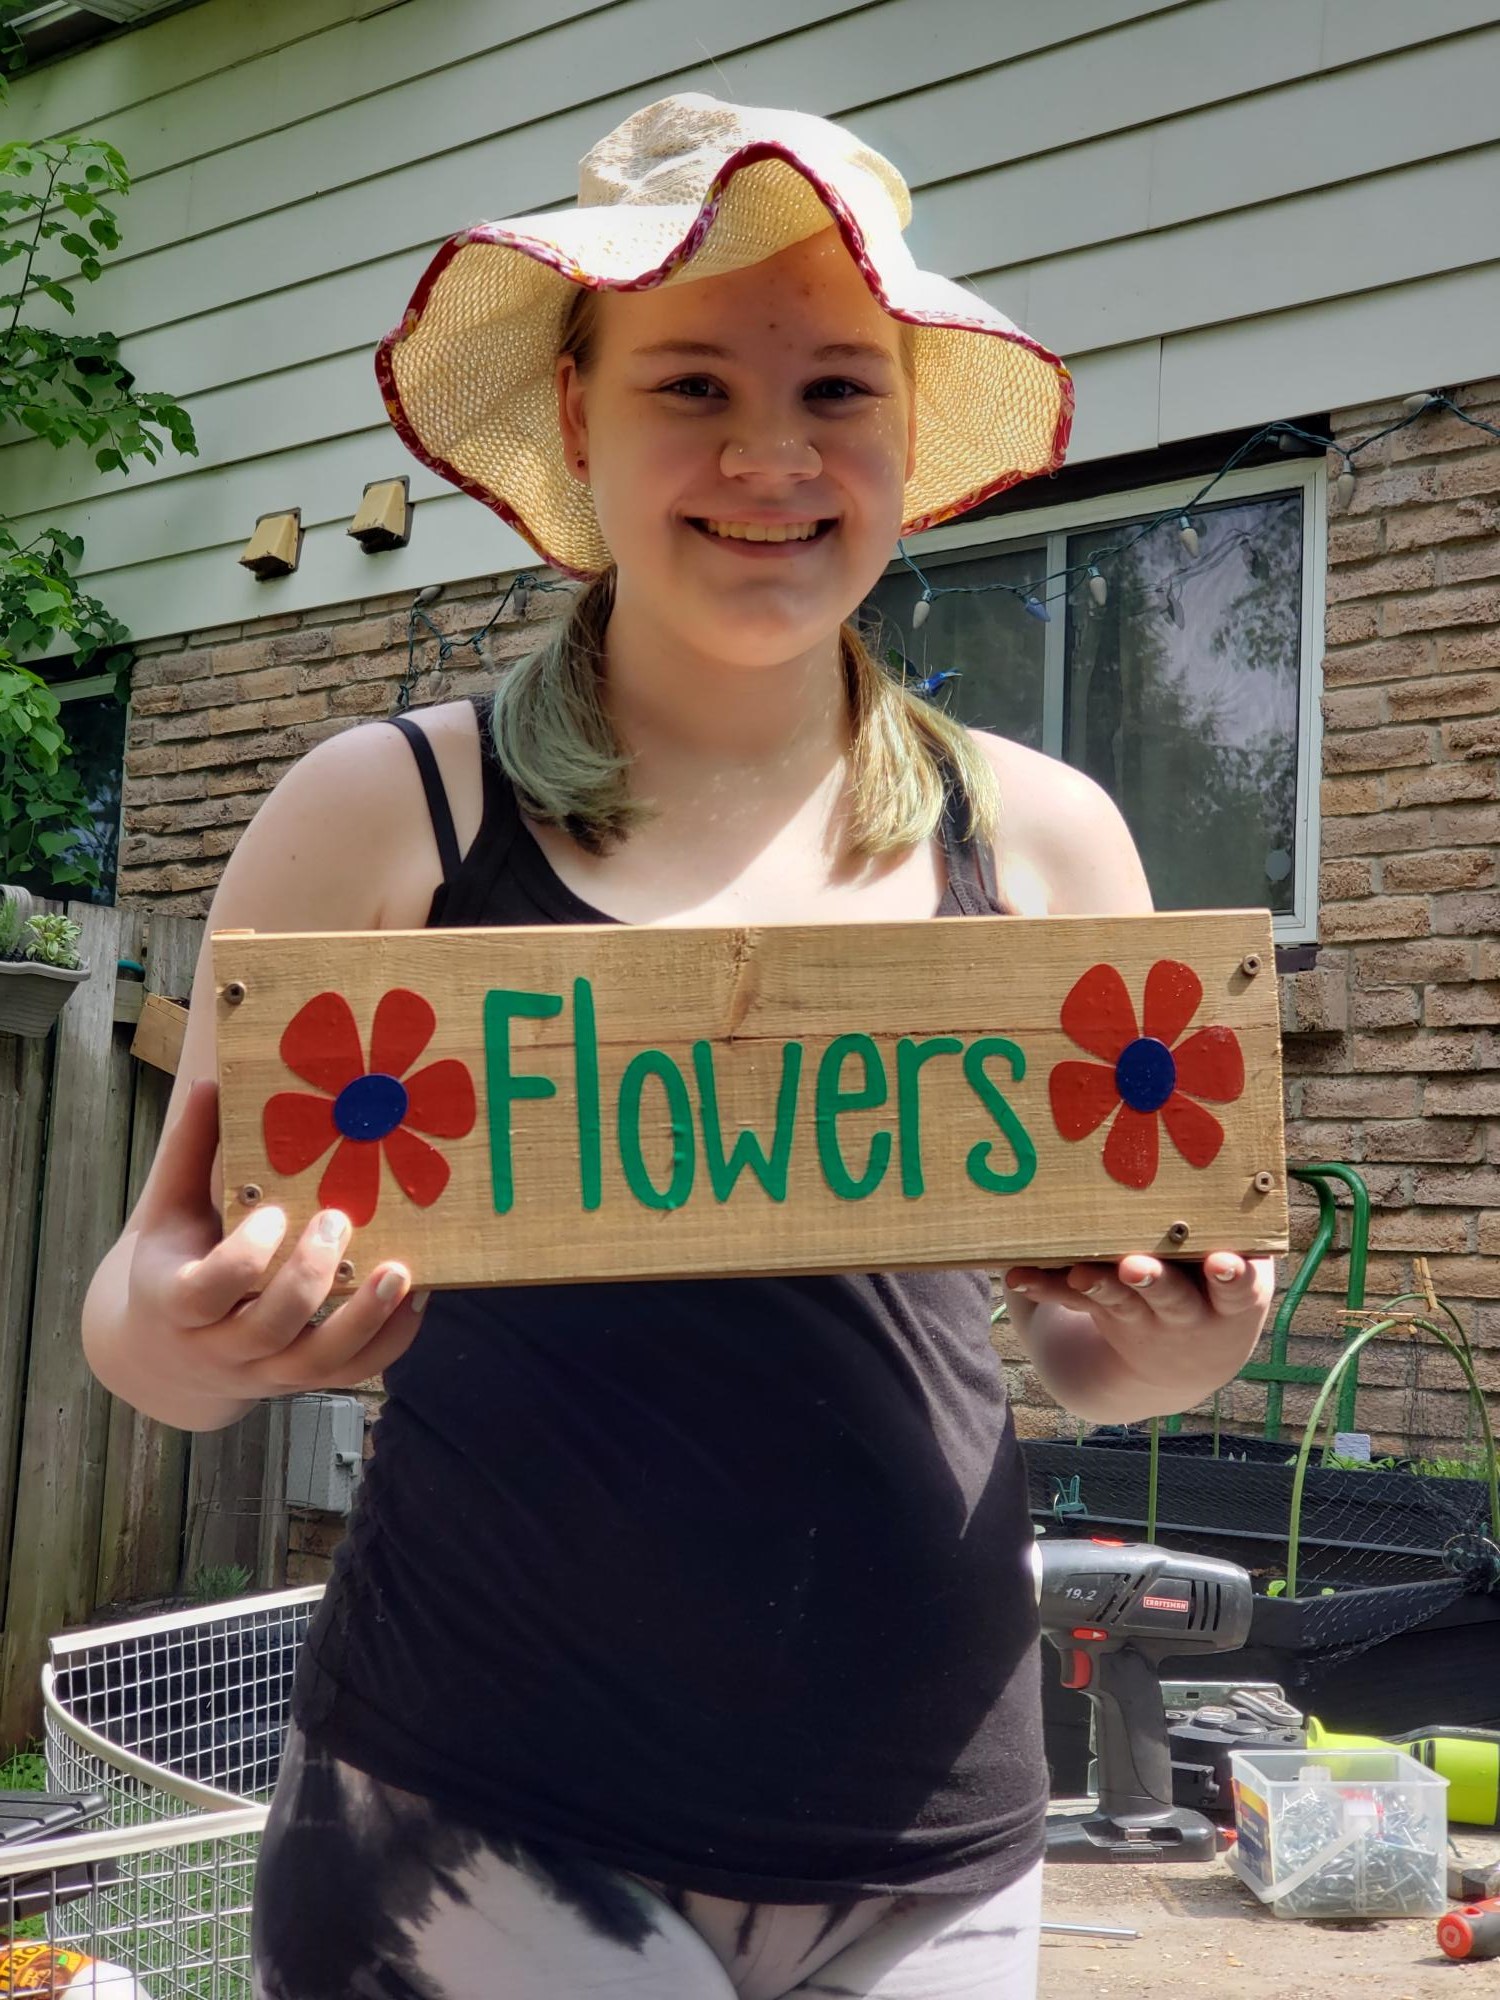
Used the flower box pattern from the $10 Cedar Tiered Flower Planter, and added hanging loops and wire to make planters to hang on our fence !
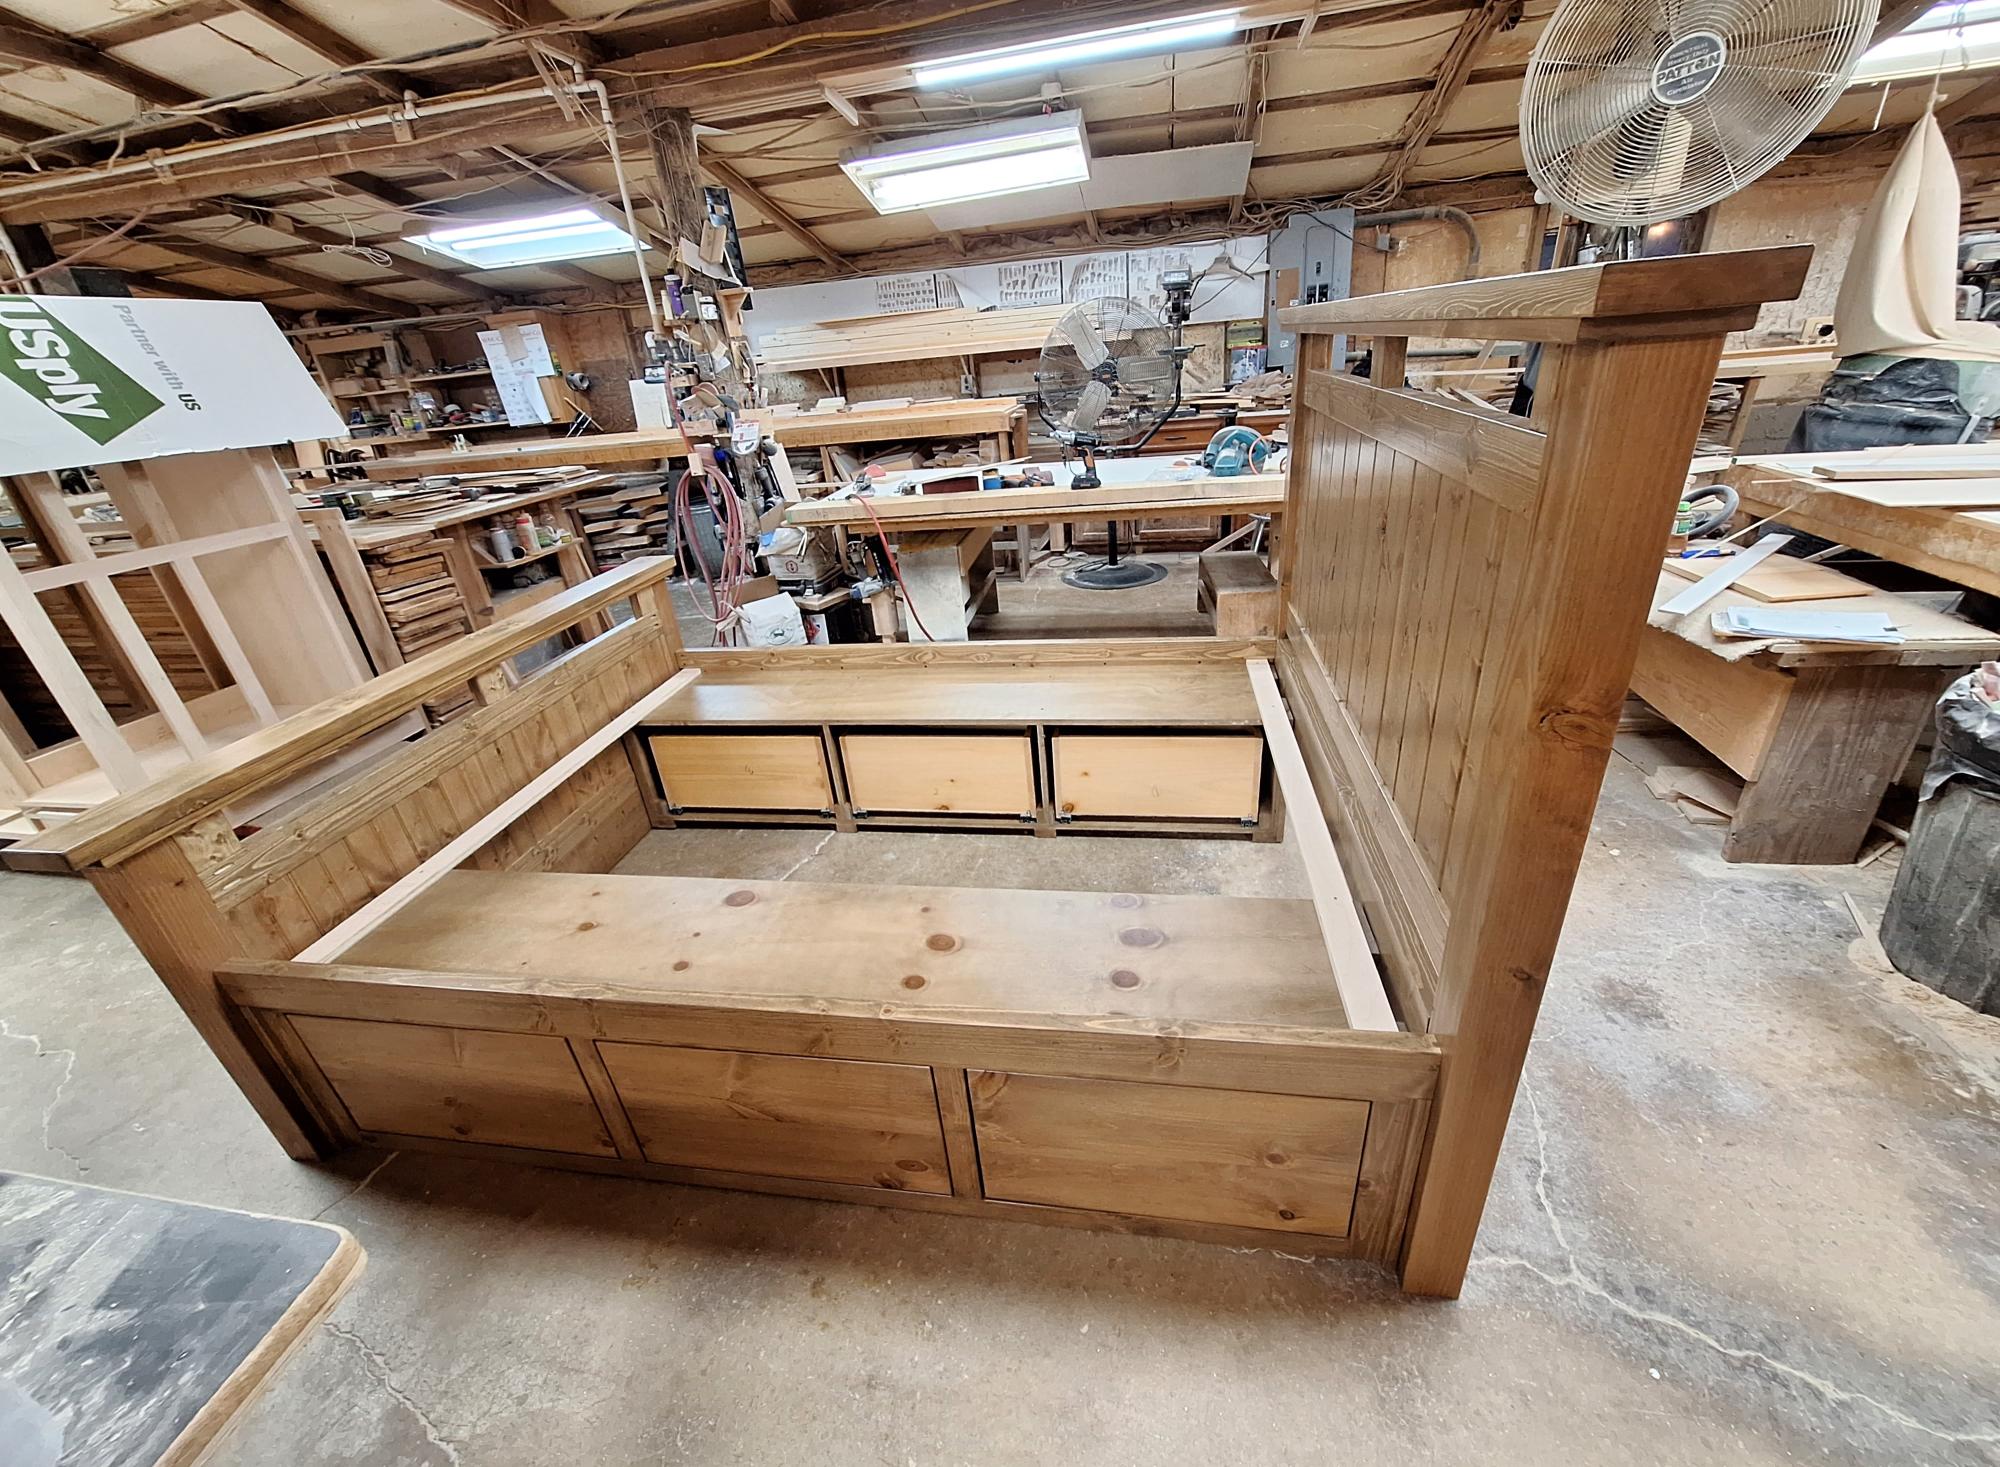
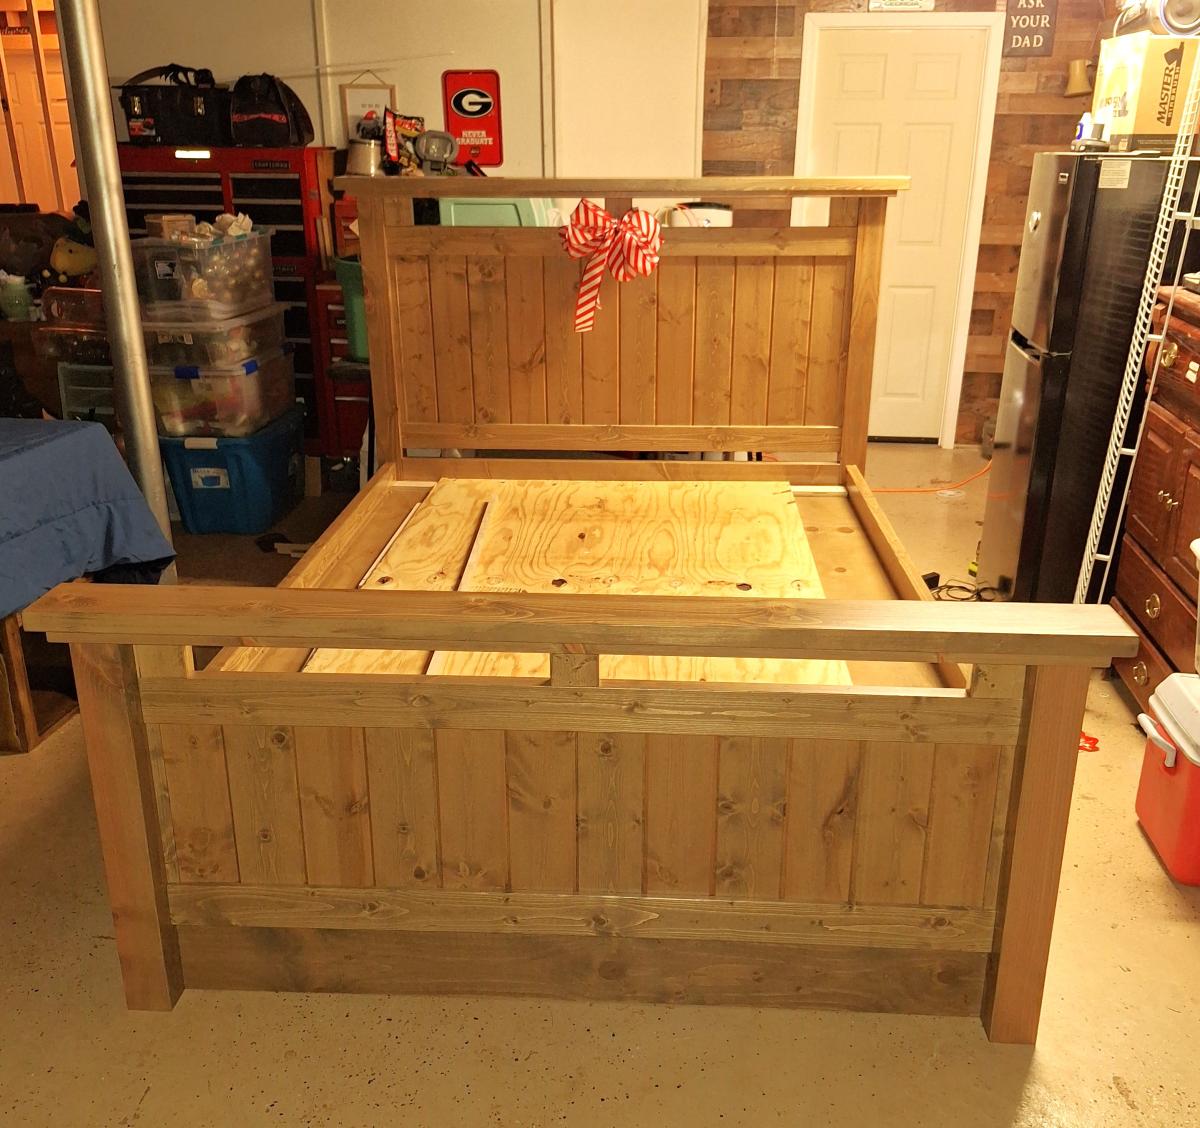
I took a couple of ideas and made this queen size storage bed.
Carol Hicks
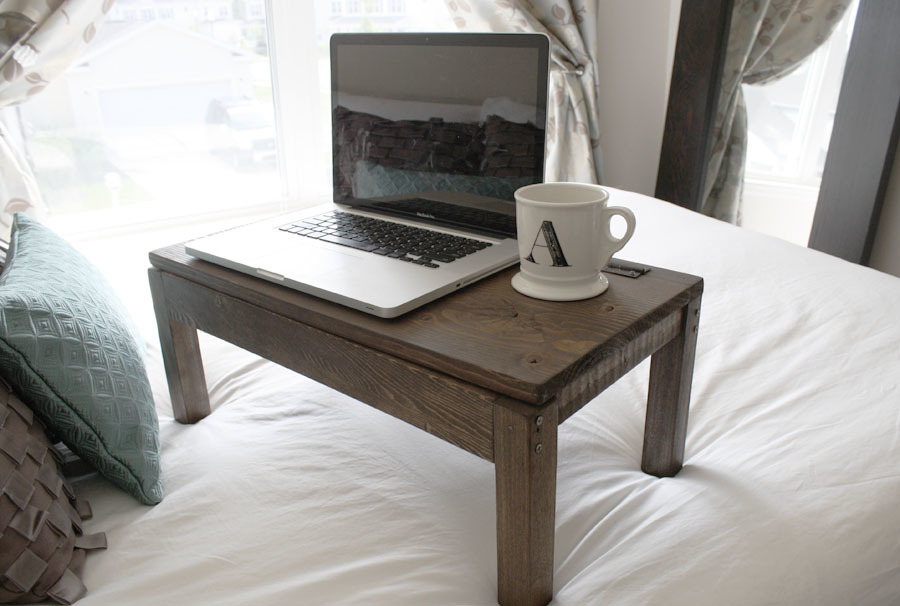
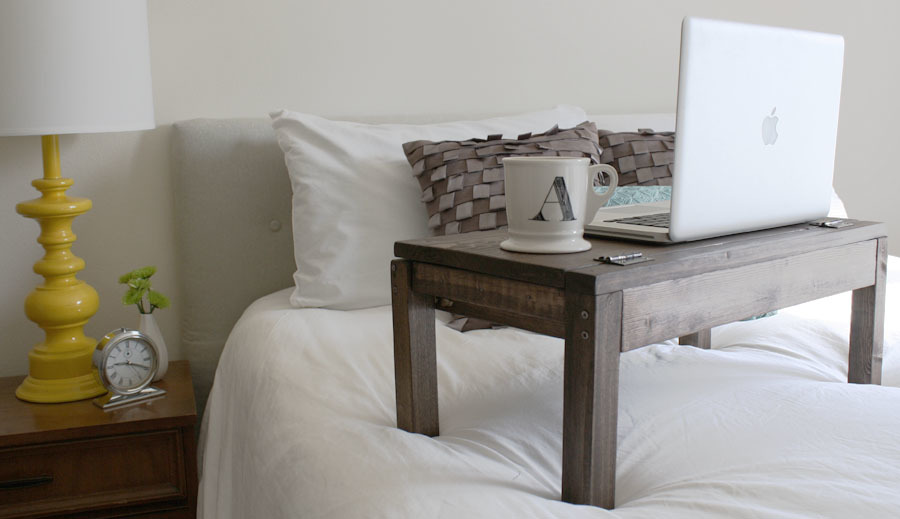
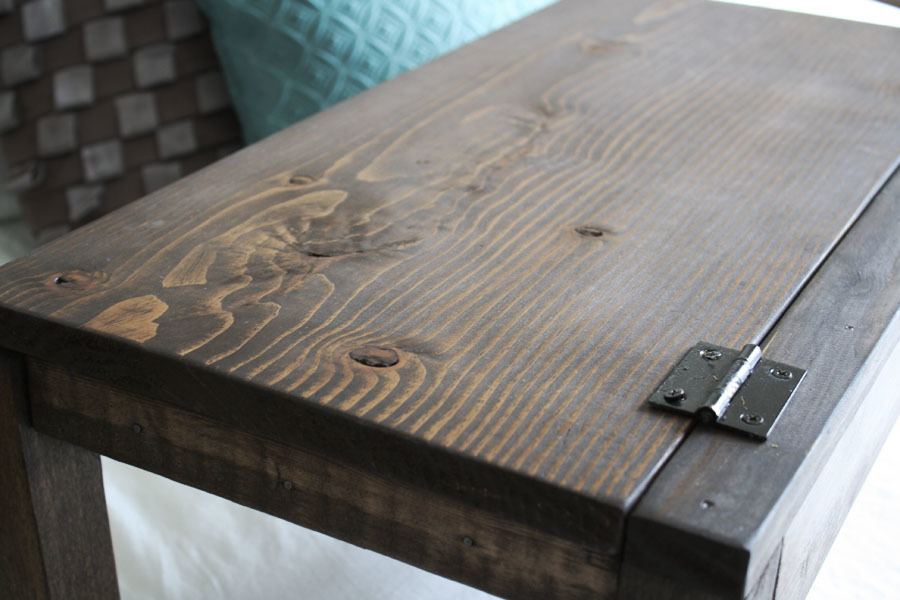
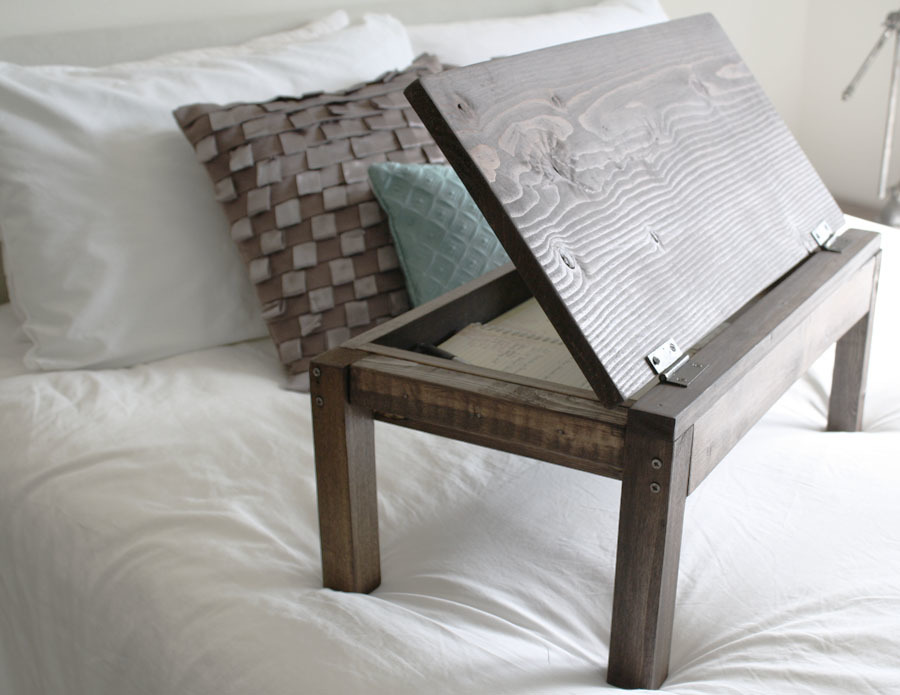
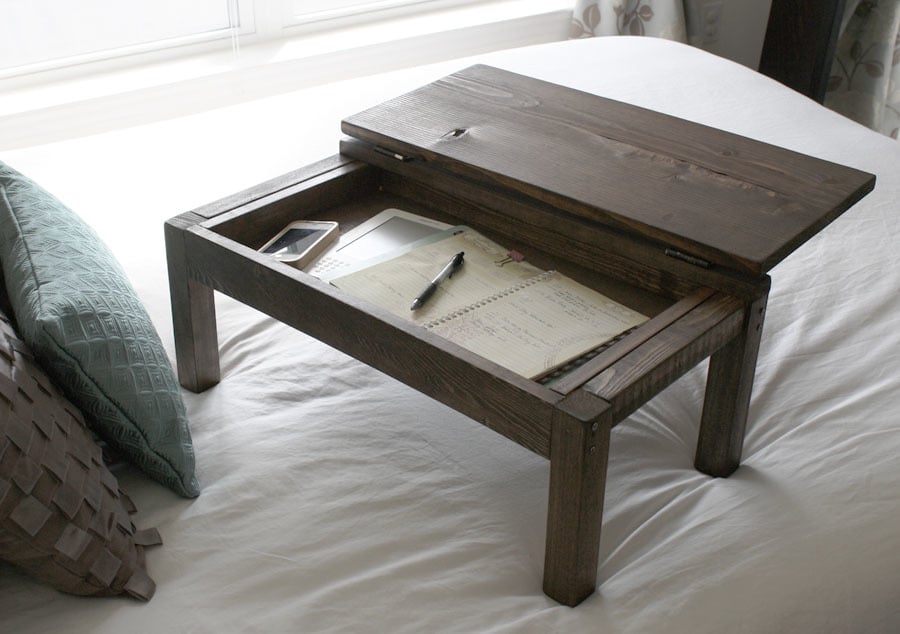
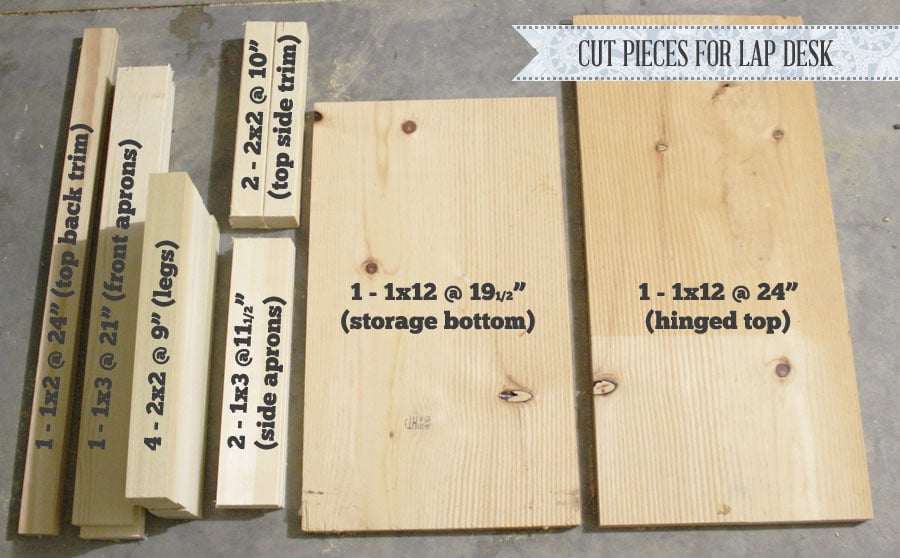
This was a really quick and easy build. I built it with two bucks and two hours with some scrap wood I had laying around. The only thing I bought was a package of 2 standard hinges ($2). Also, I deviated from the plan a little by not including the lower storage compartments (didn't want it to get too heavy), making the legs 4" shorter (so it's more comfortable to use in bed), and not building the storage dividers under the flip-top lid. Check out more info by clicking my blog link!
