DIY Rustic Cooler
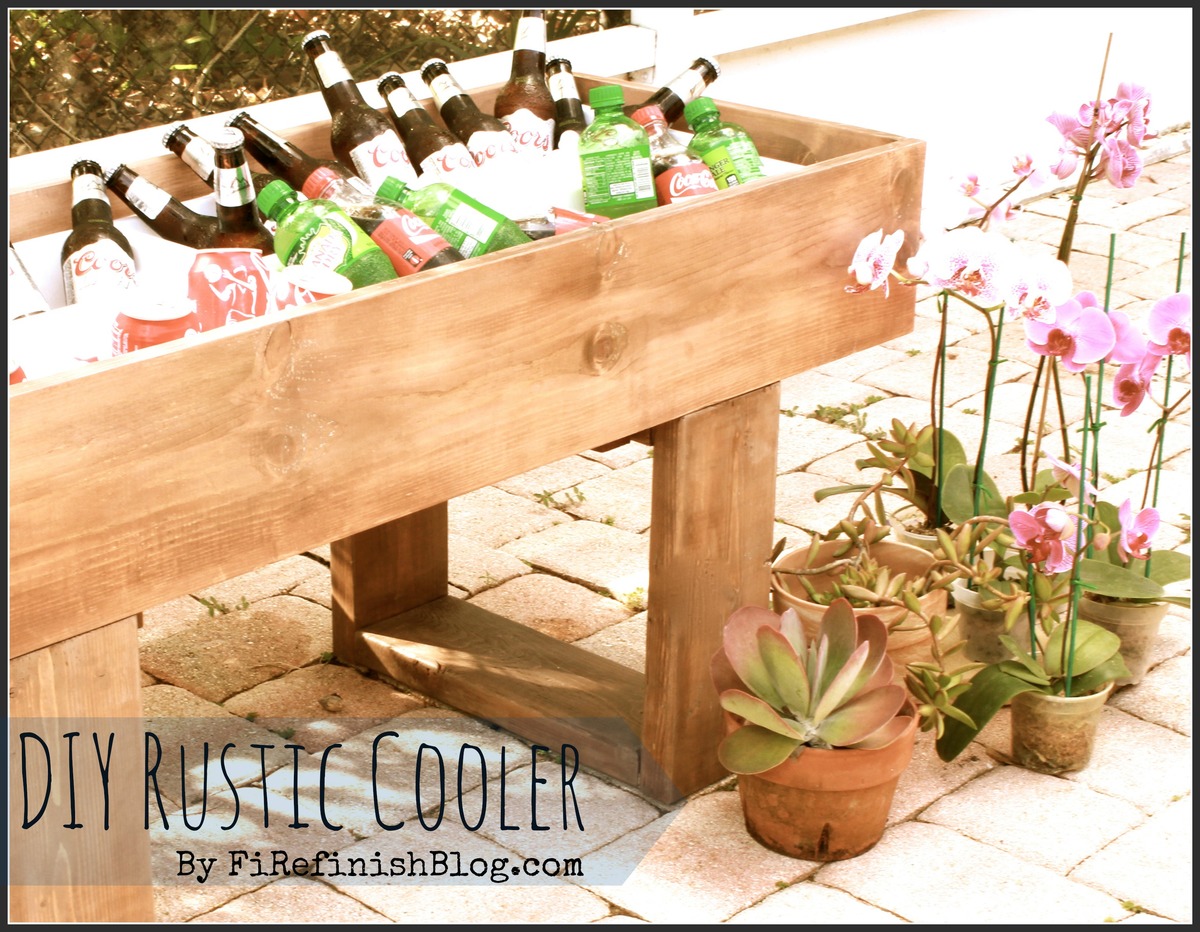
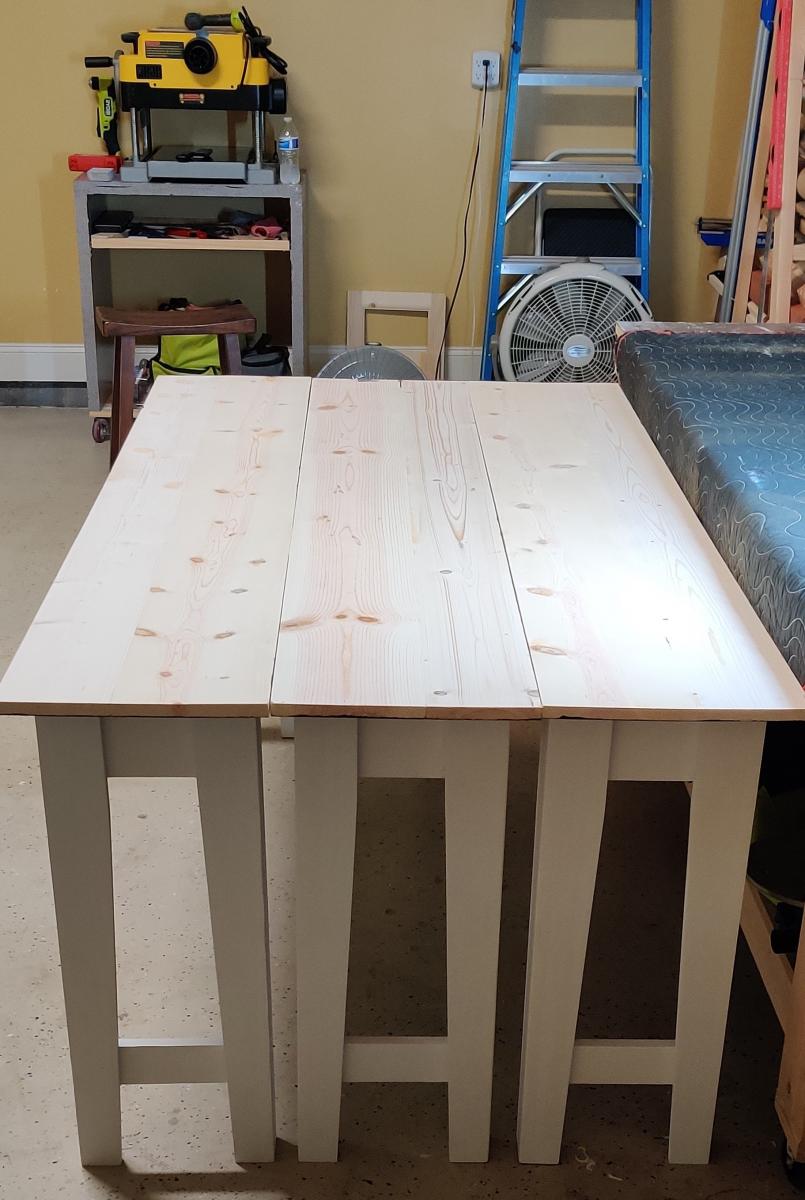
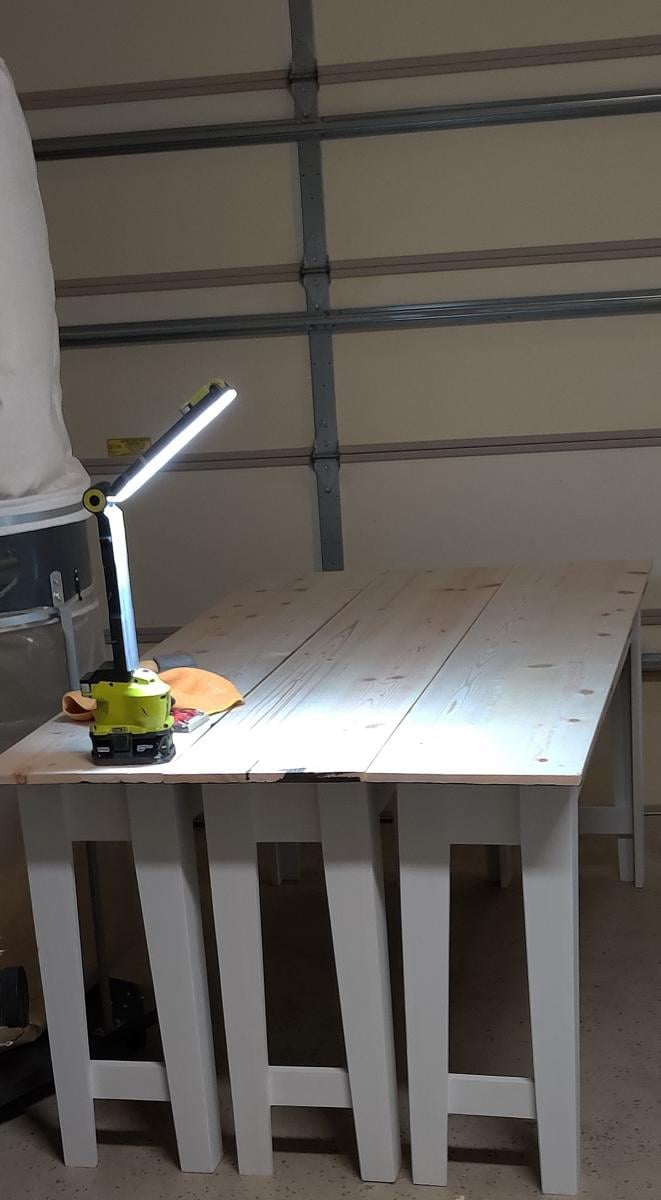
A client/friend asked for a rustic cooler she could use for her 30th birthday party. Thats what we came up with.
We have full plans on the blog: http://firefinishblog.com/2015/03/18/diy-rustic-cooler-with-plans/
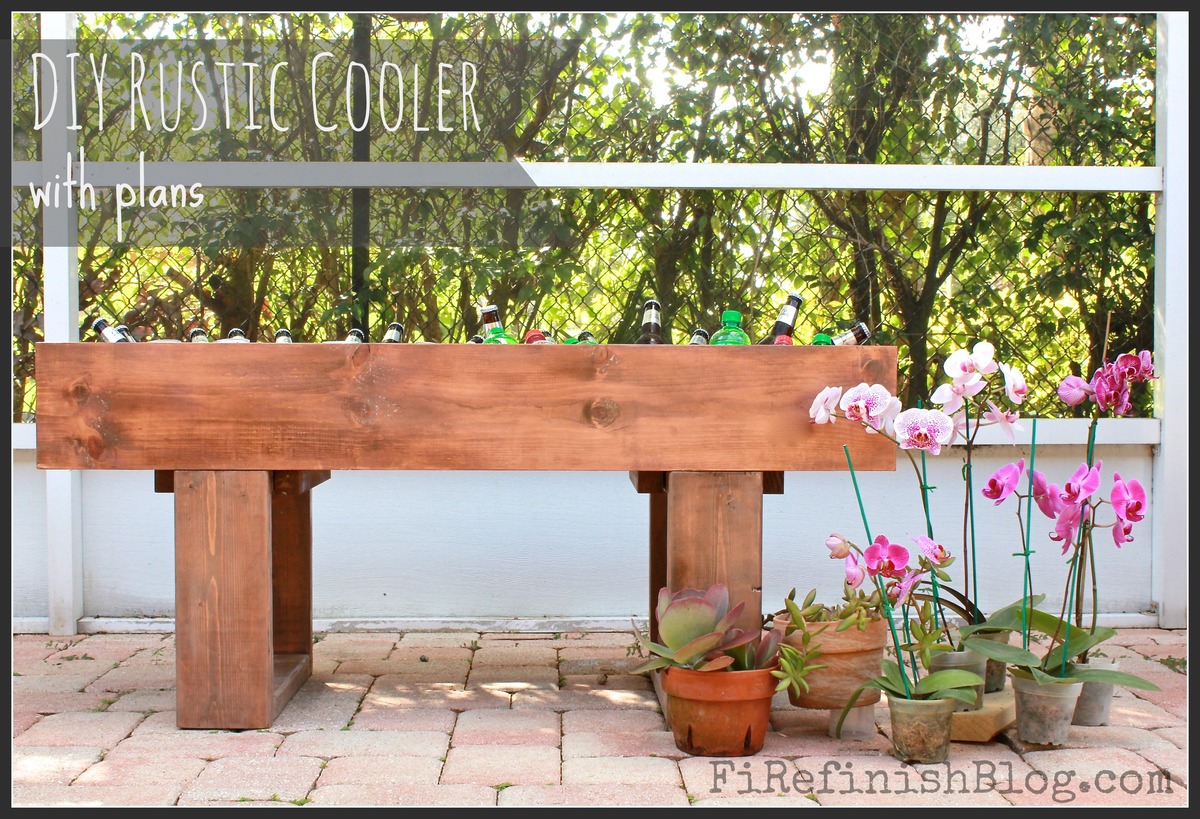
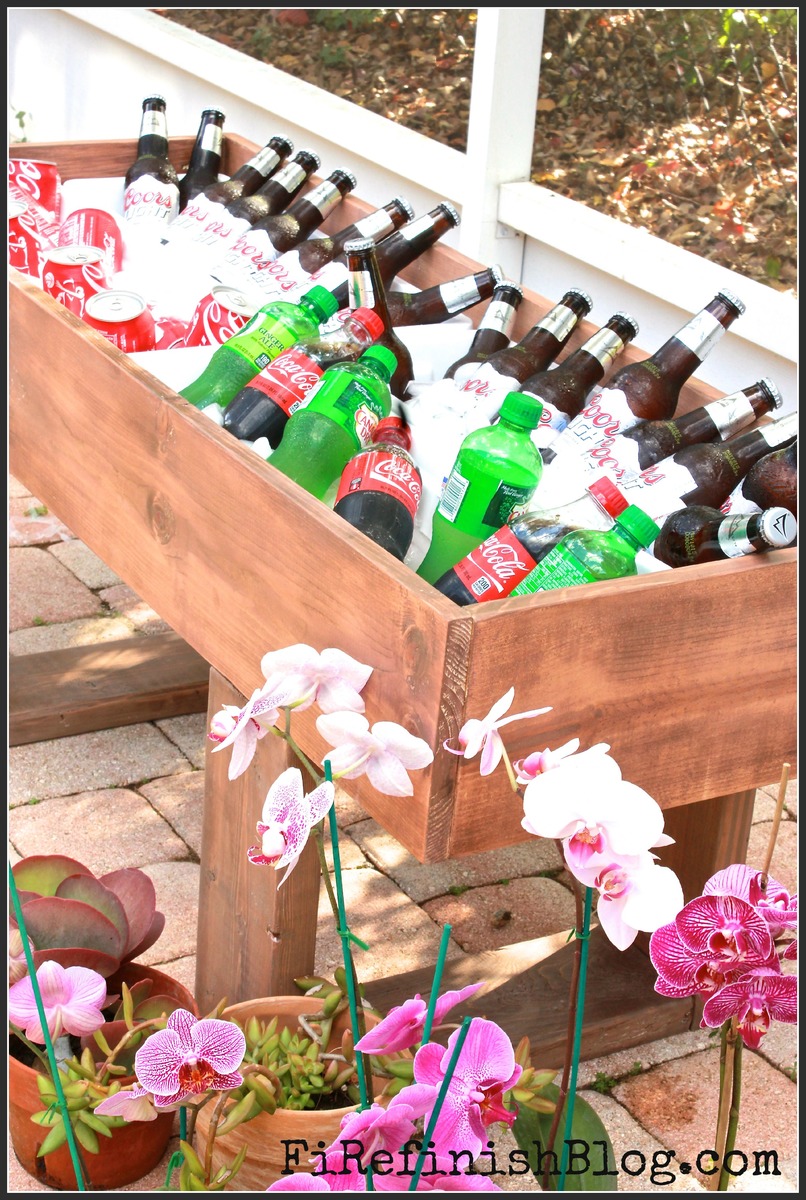
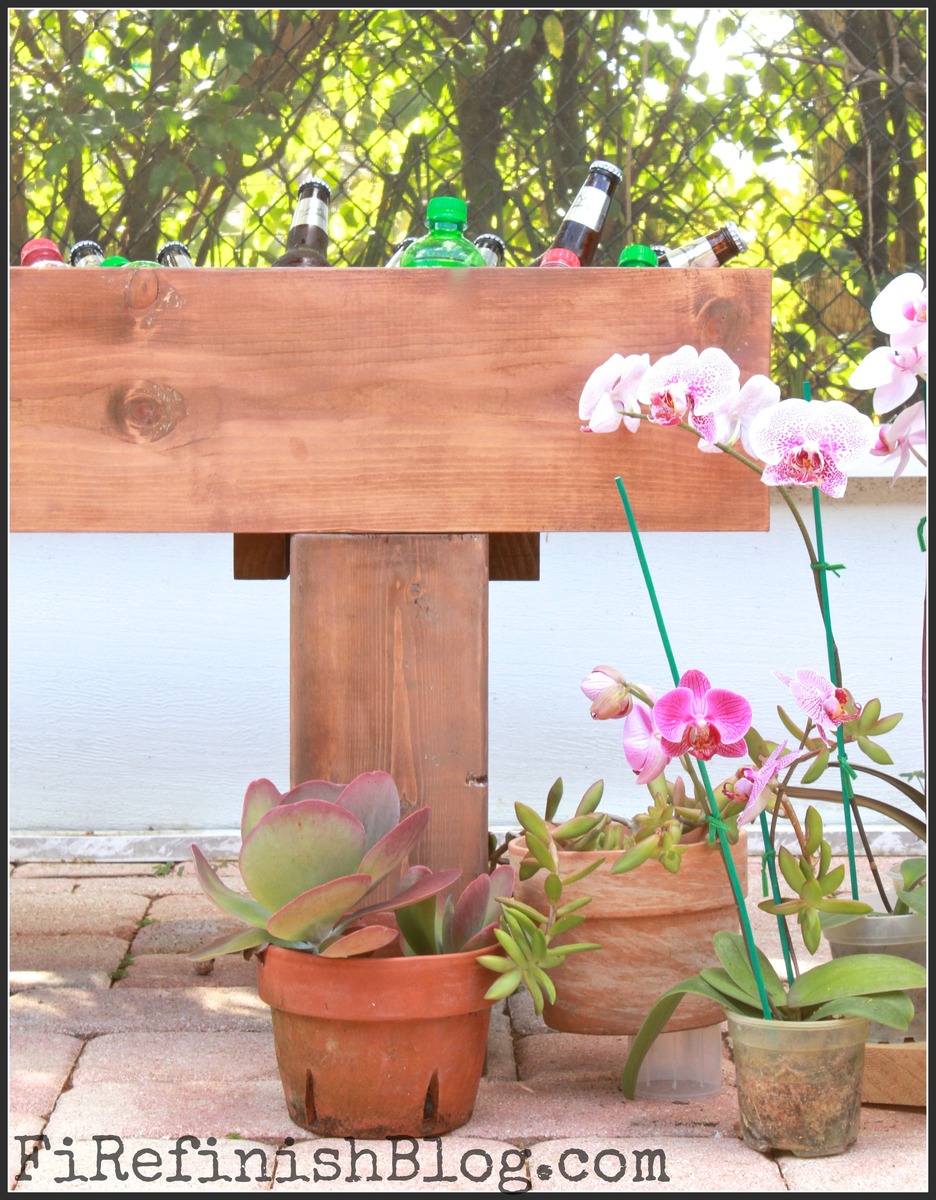
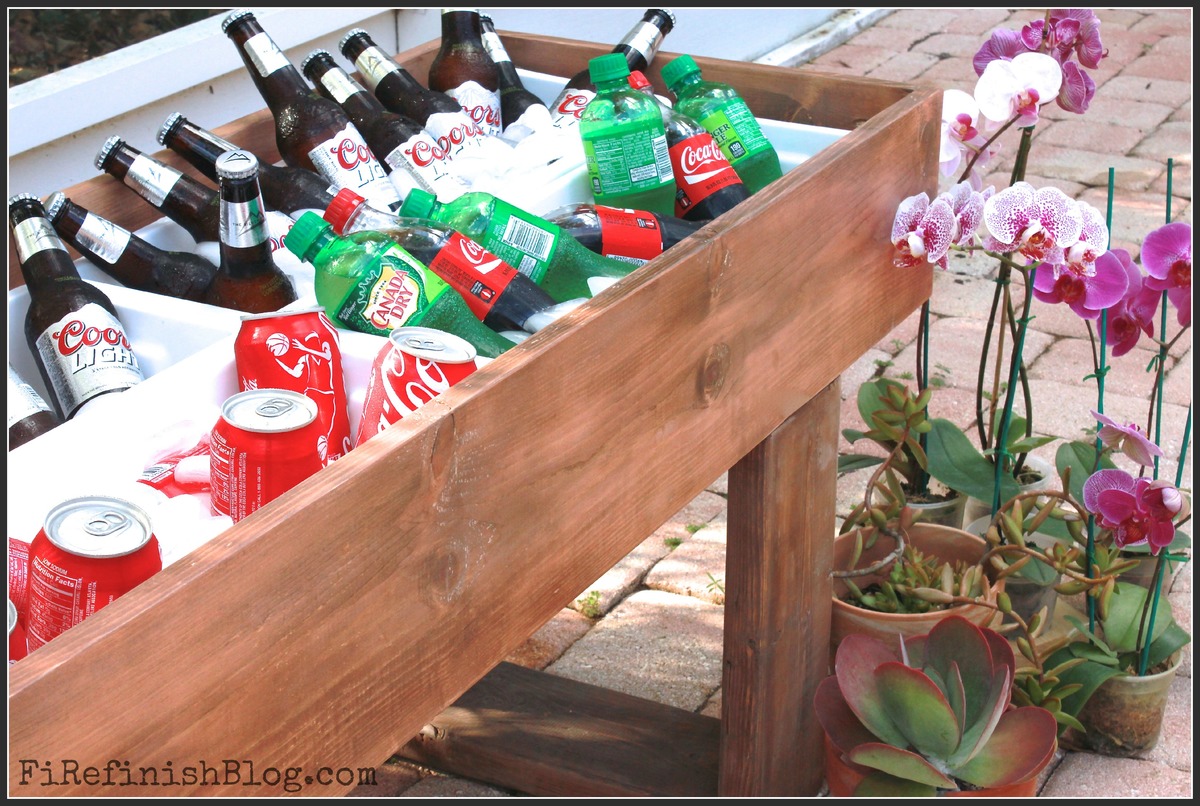
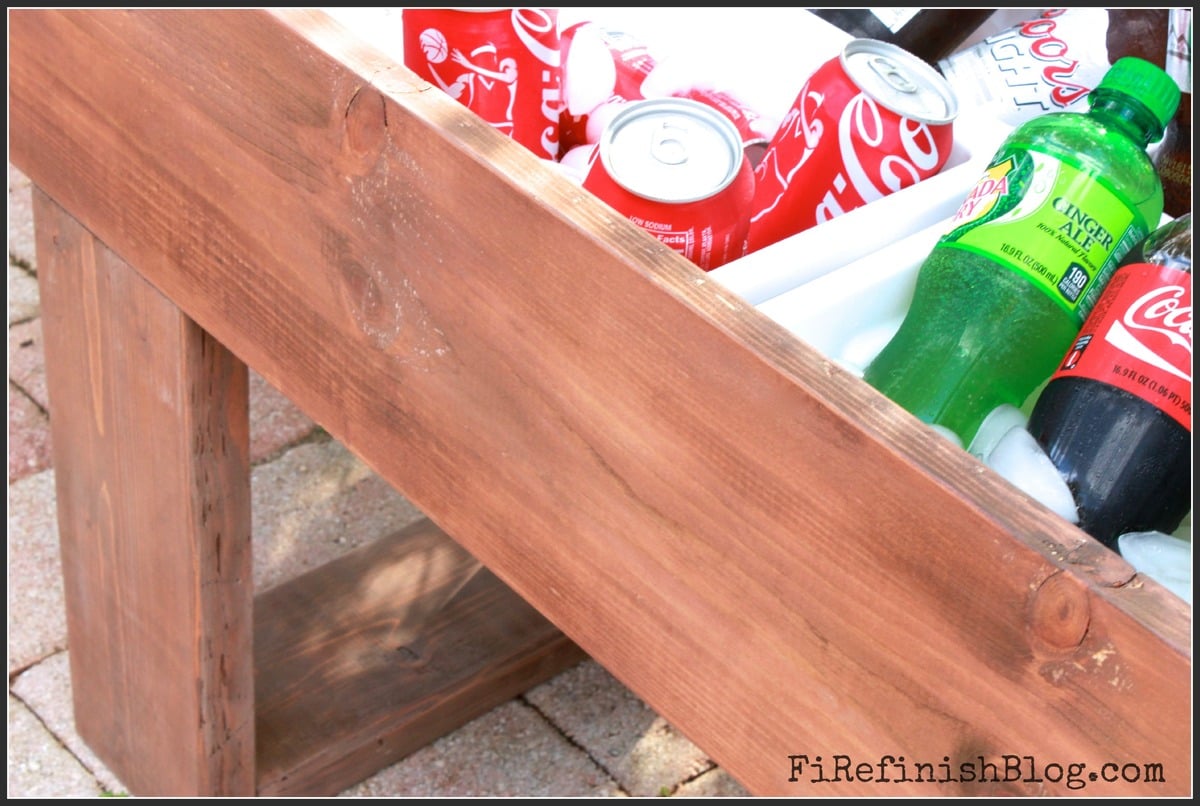

A client/friend asked for a rustic cooler she could use for her 30th birthday party. Thats what we came up with.
We have full plans on the blog: http://firefinishblog.com/2015/03/18/diy-rustic-cooler-with-plans/


This is my first piece of furniture to build. I love love love it!!! Now I can't wait to build something else! You may have created a monster in me. Thank you for the great plans!!
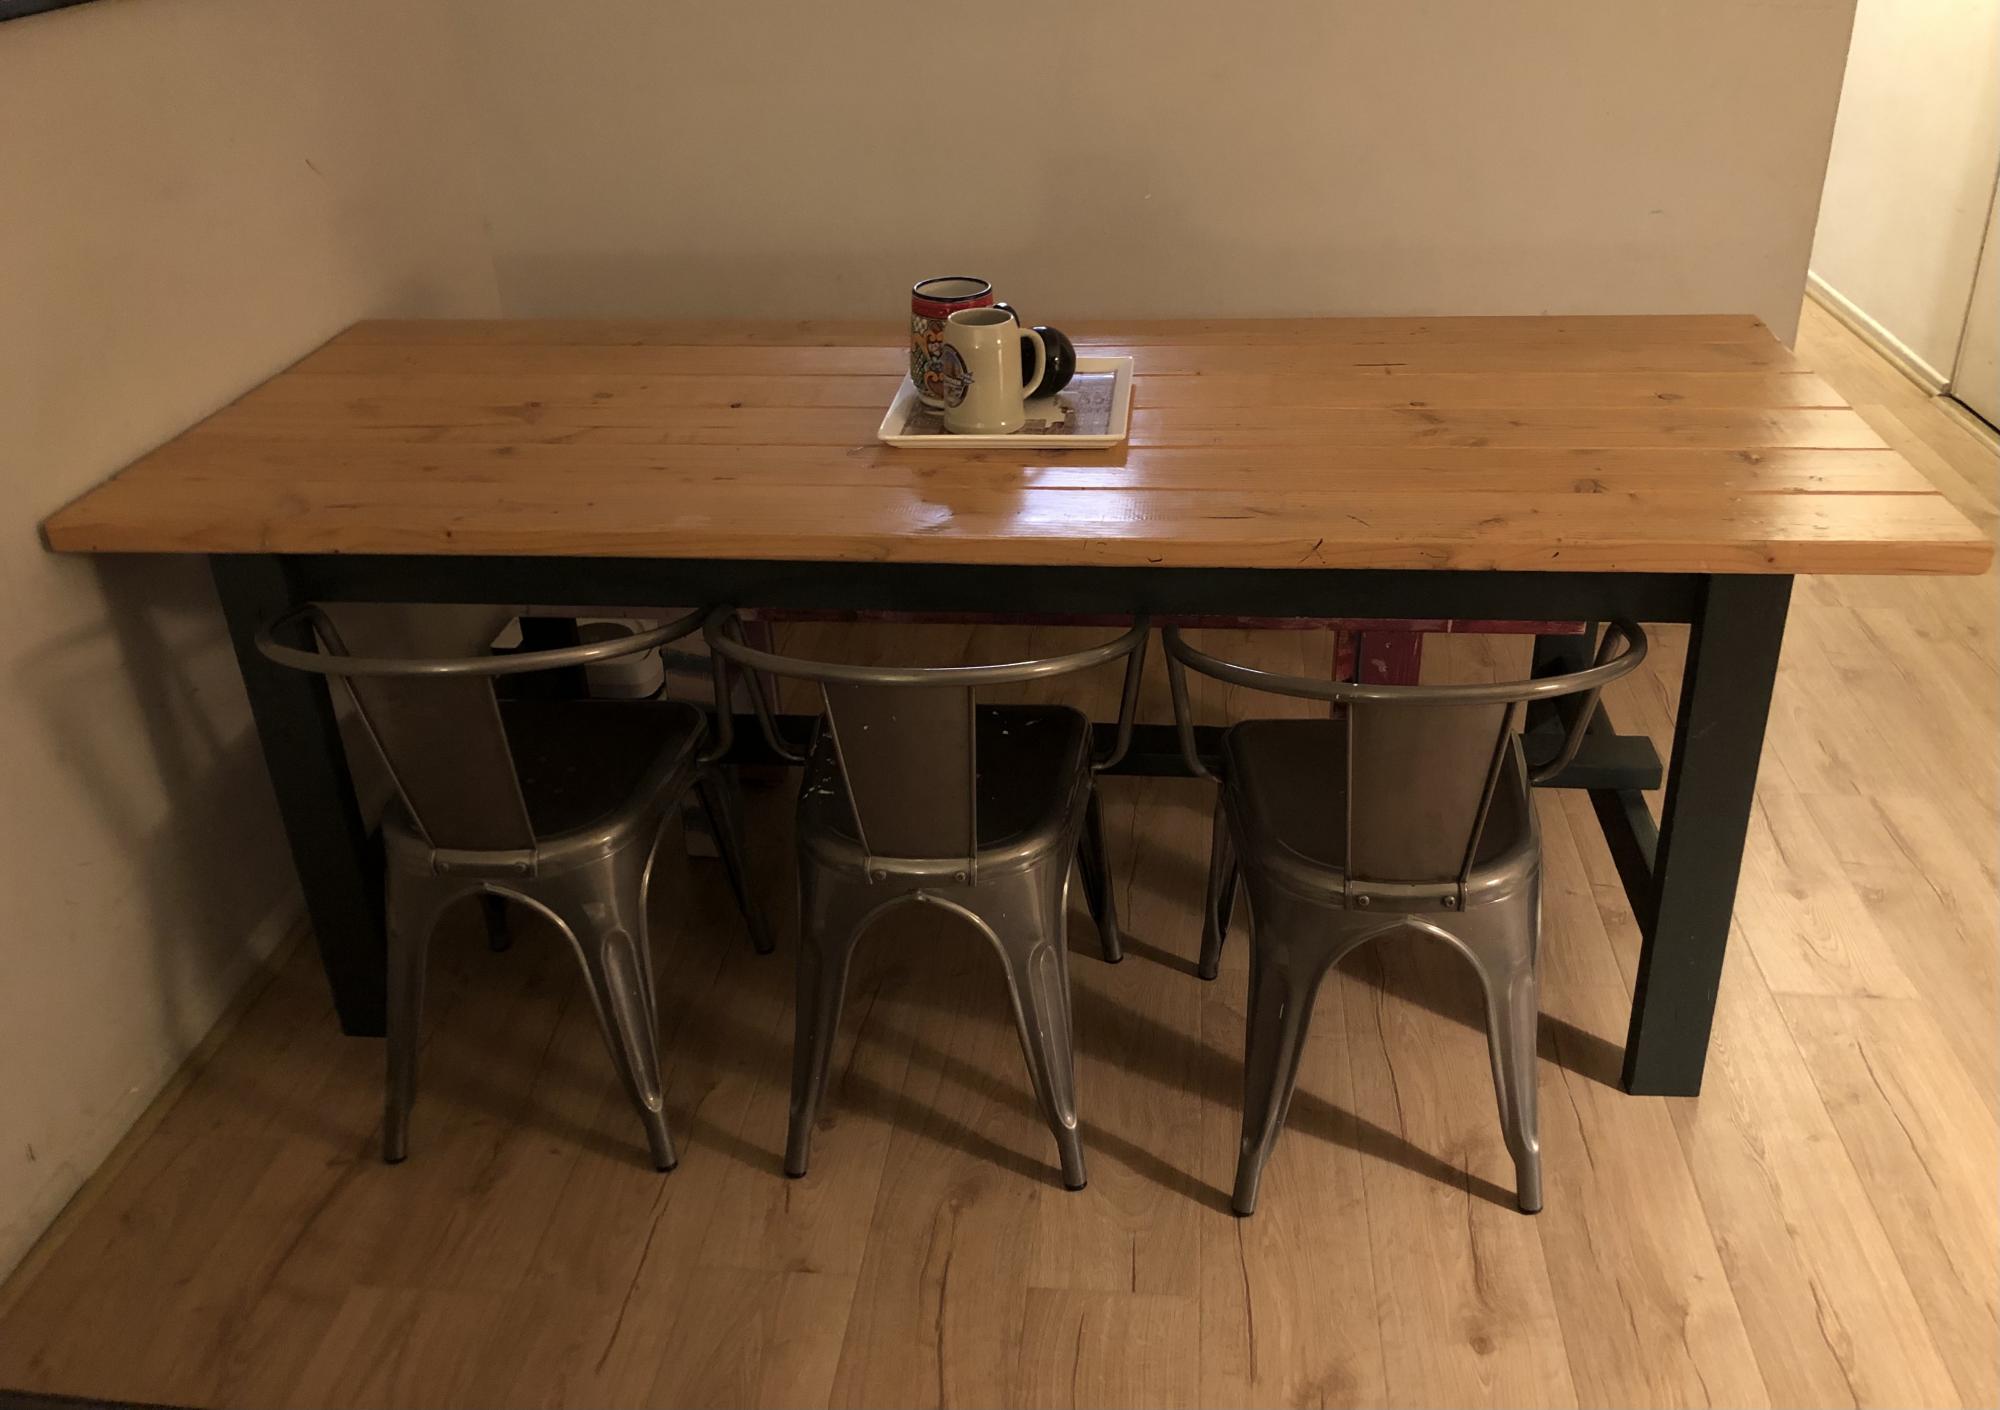
Absolutely love how this table turned out! I slightly modified the length to accommodate our space. Definitely a beginner friendly project. I used farrow and ball studio green for the base and just poly on the top.
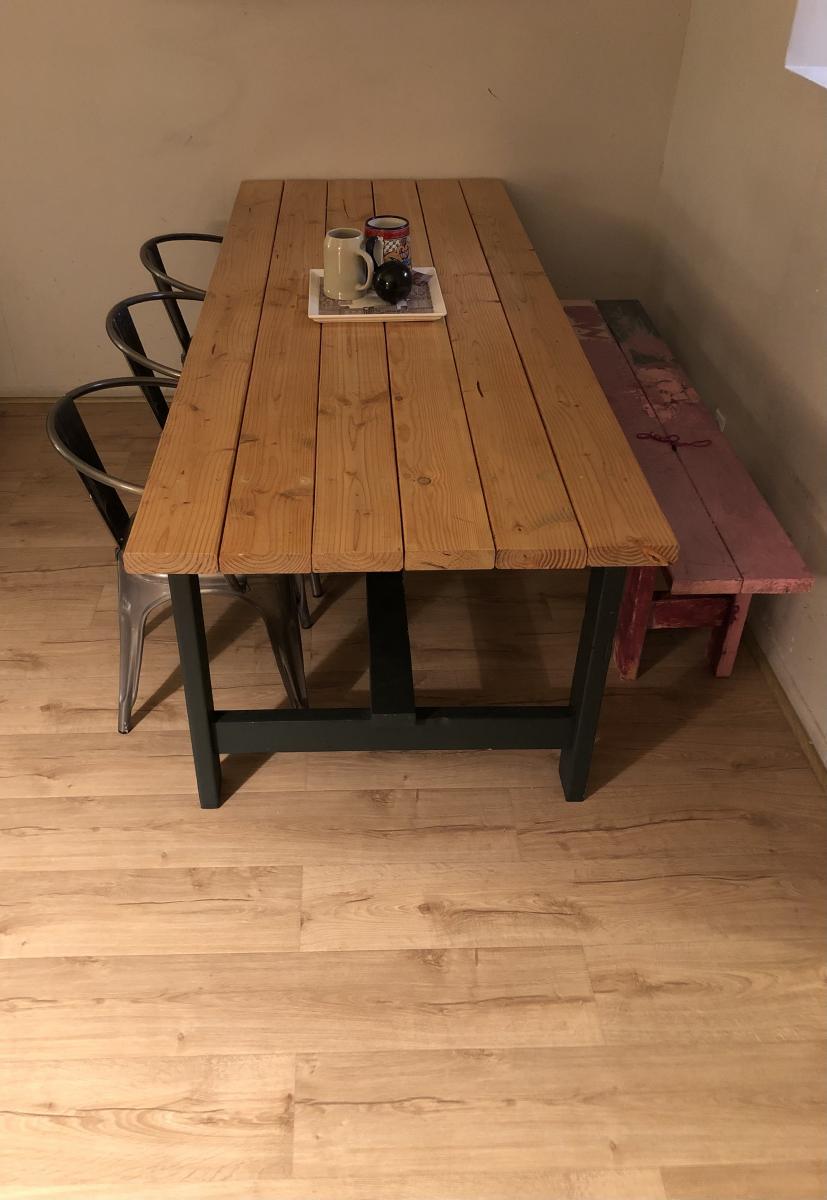
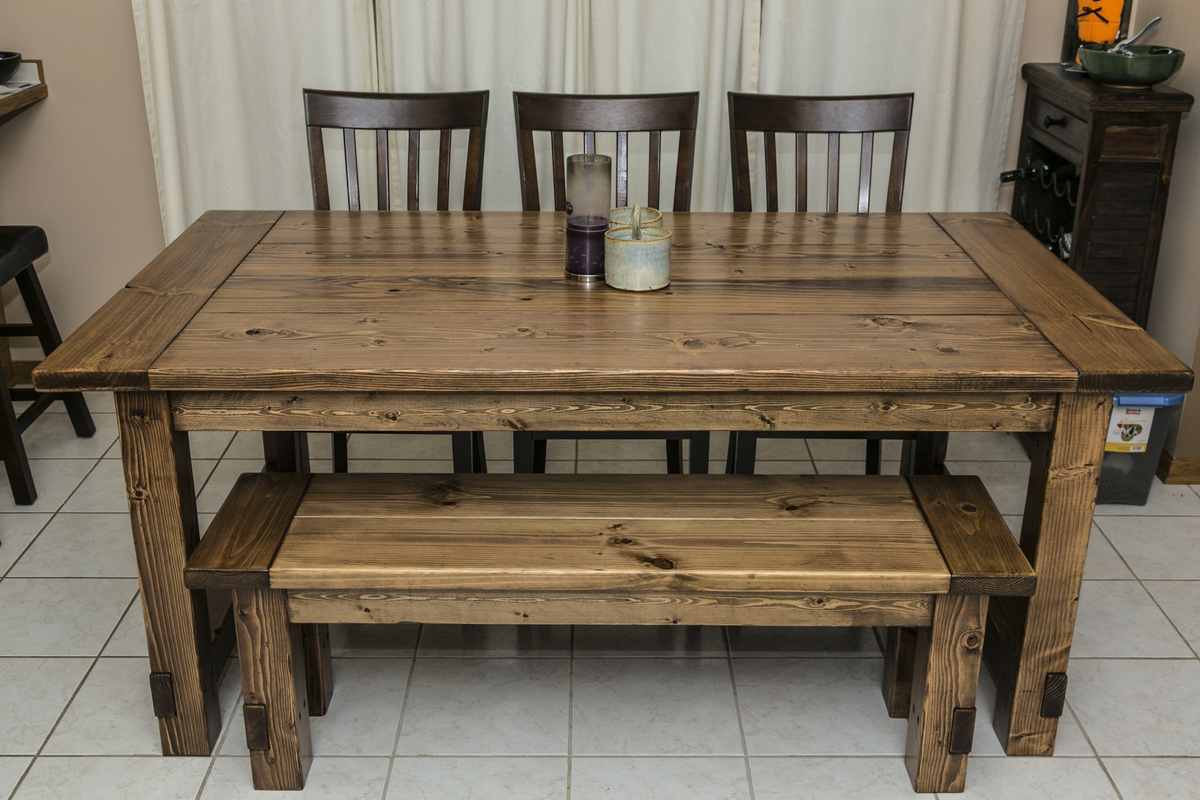
I found the table here, but ended up using the modified plans for the 72" table from this site - http://tommyandellie.com/index.php/2012/01/13/new-and-improved-farmhous…
I haven't built anything out of wood for 20 years and I had no problems building this table. I also built the bench and two 15" extensions.
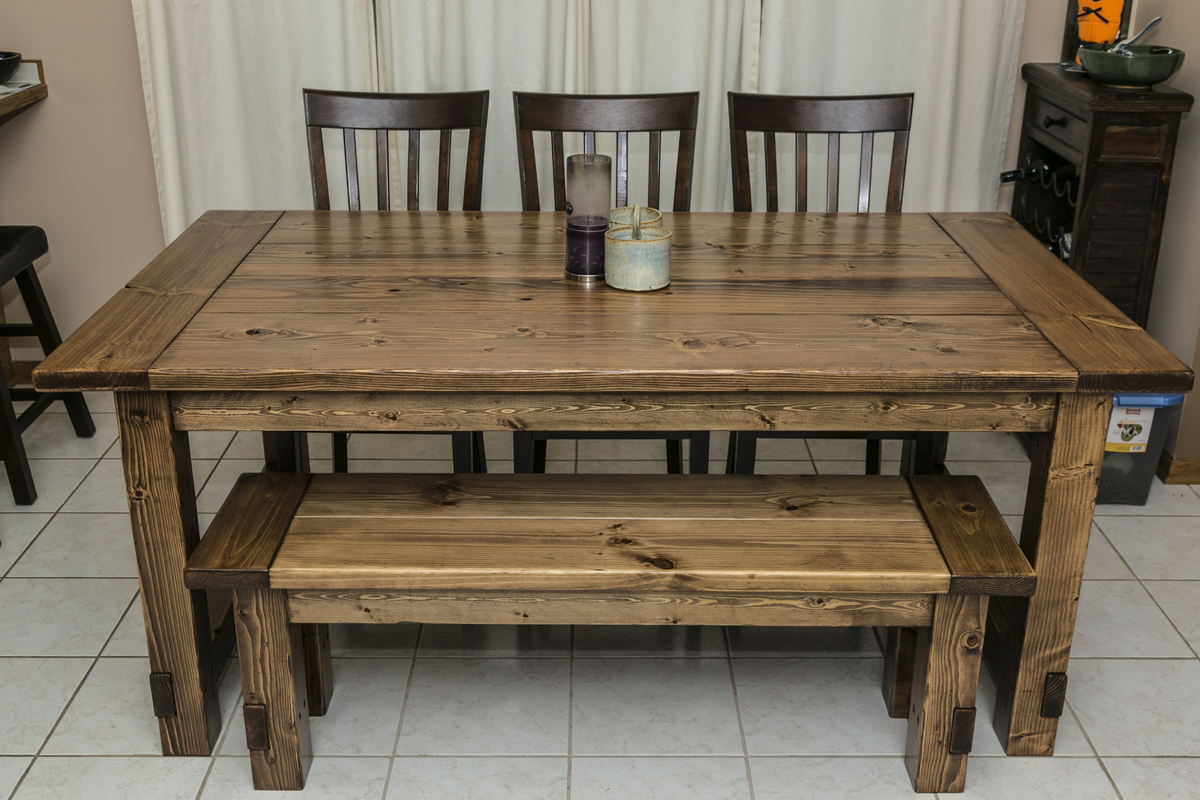
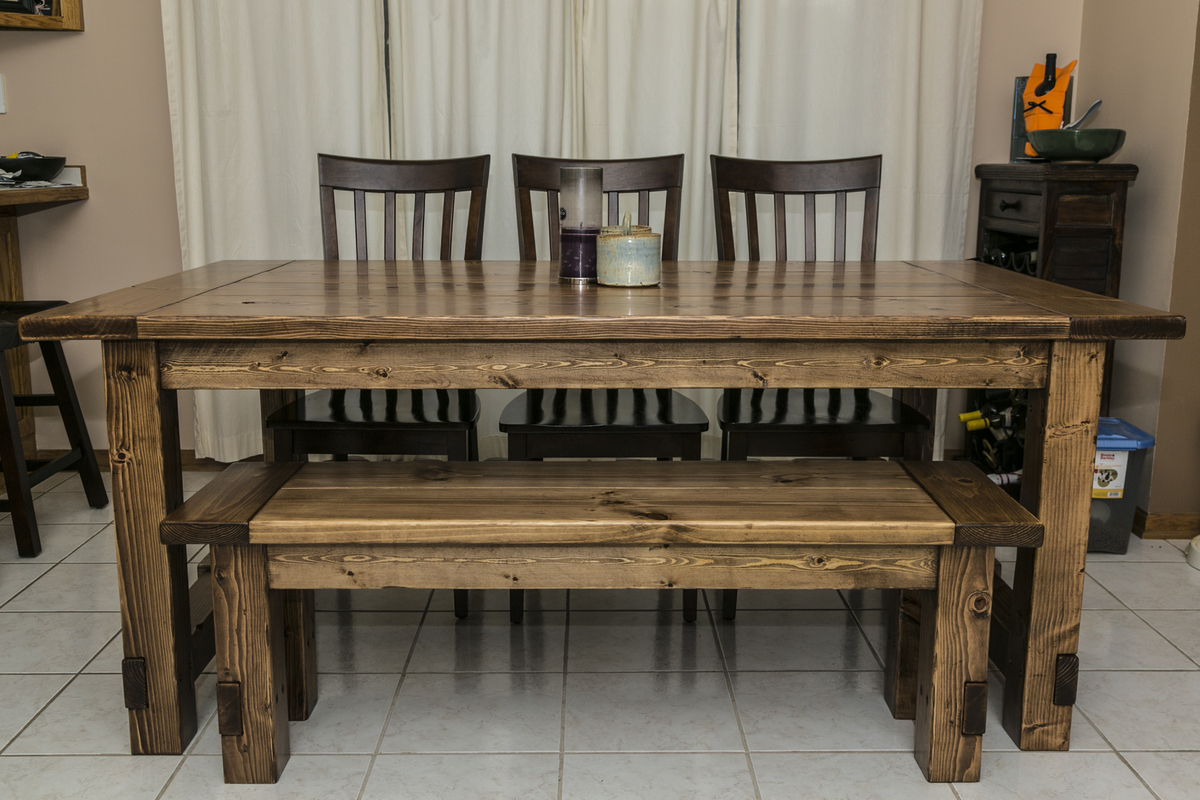
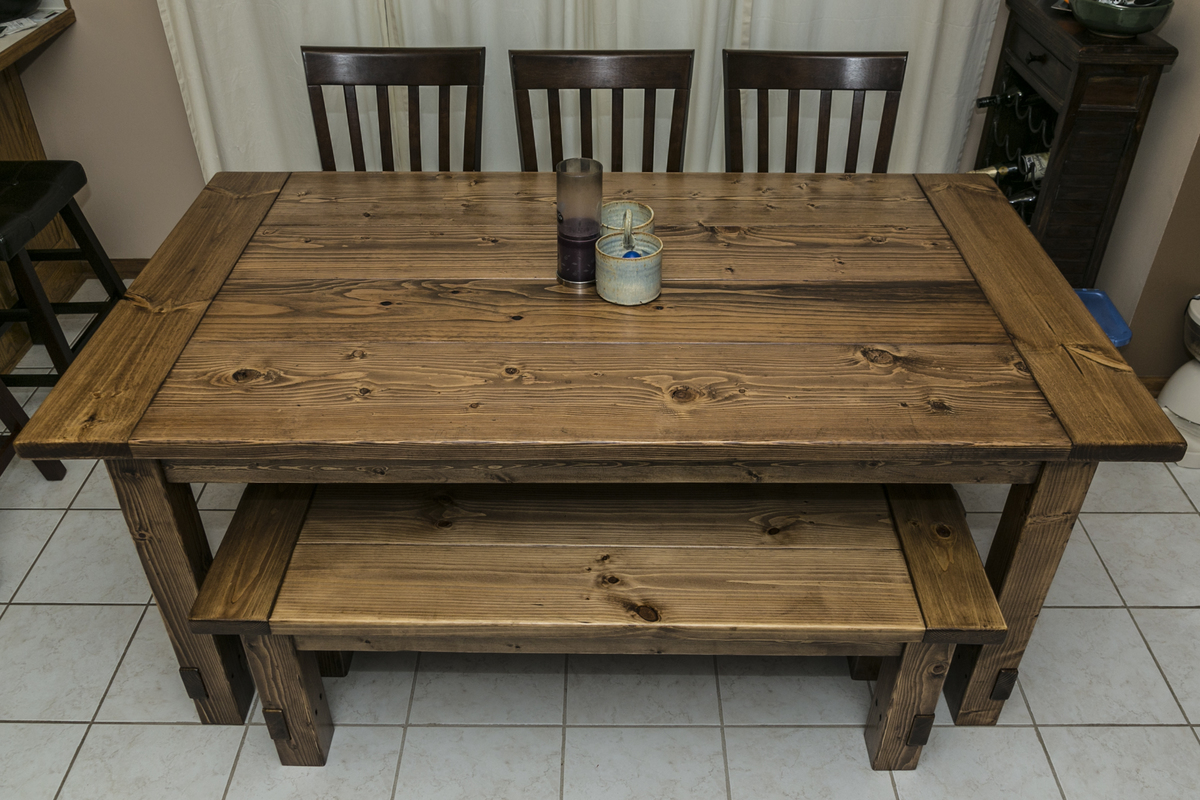
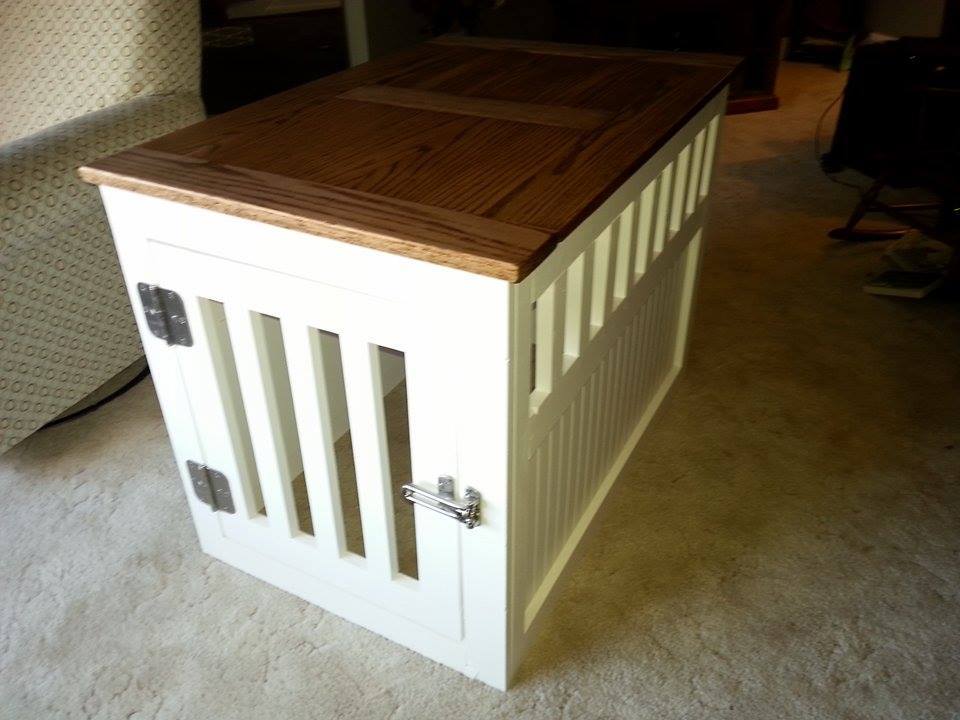
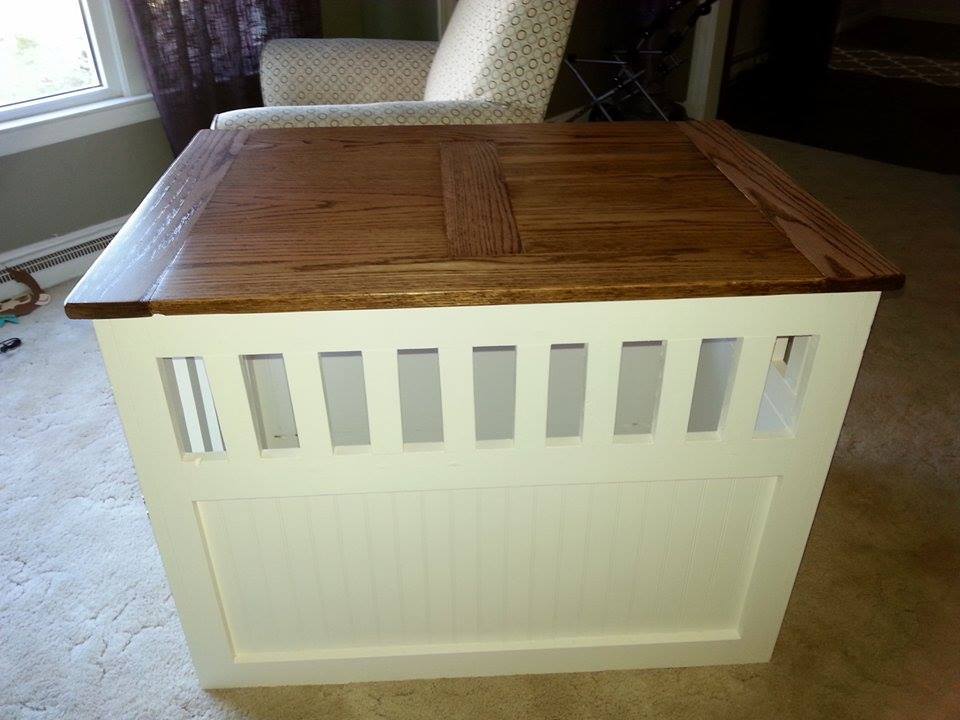
Made this for a animal rescue charity dinner auction. The bottom is made out of all scrap pine i had laying around. The top is made from 1x4 oak.
Painted the base with an off-white and the top was finished with Early American Minwax and topped with a water based poly.
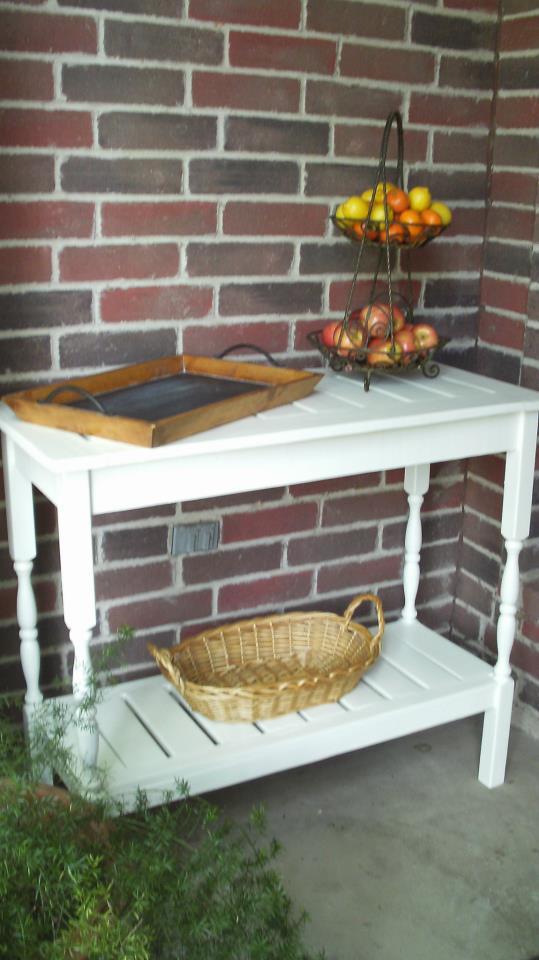
I have a small booth at a local Outdoor Market & a client asked if I had any outdoor tables - she needed some for an upcoming party. I tried convincing her that a potting bench would be perfect (since Ana already had plans for that), but she wanted something a little different. She shared a picture of a "Faraday" console table by Pottery Barn, so I used that as my inspiration. I opted for a counter-height table vs. a table height, but both can be easily achieved using the same size balusters, just cut accordingly. I did have a hard time finding "chunky" balusters with a "flat" section on both the top and bottom. I didn't want to use pre-made legs because they are too pricey. At both Orange and Blue they had "skinny" balusters, but at the Orange near my home I found 1 thicker baluster. I had to go to another store to find more in stock, so supplies may vary in your area. The balusters were less than $3 each. Ana was so kind to create plans and I hope you enjoy your table as much as my client enjoyed hers!
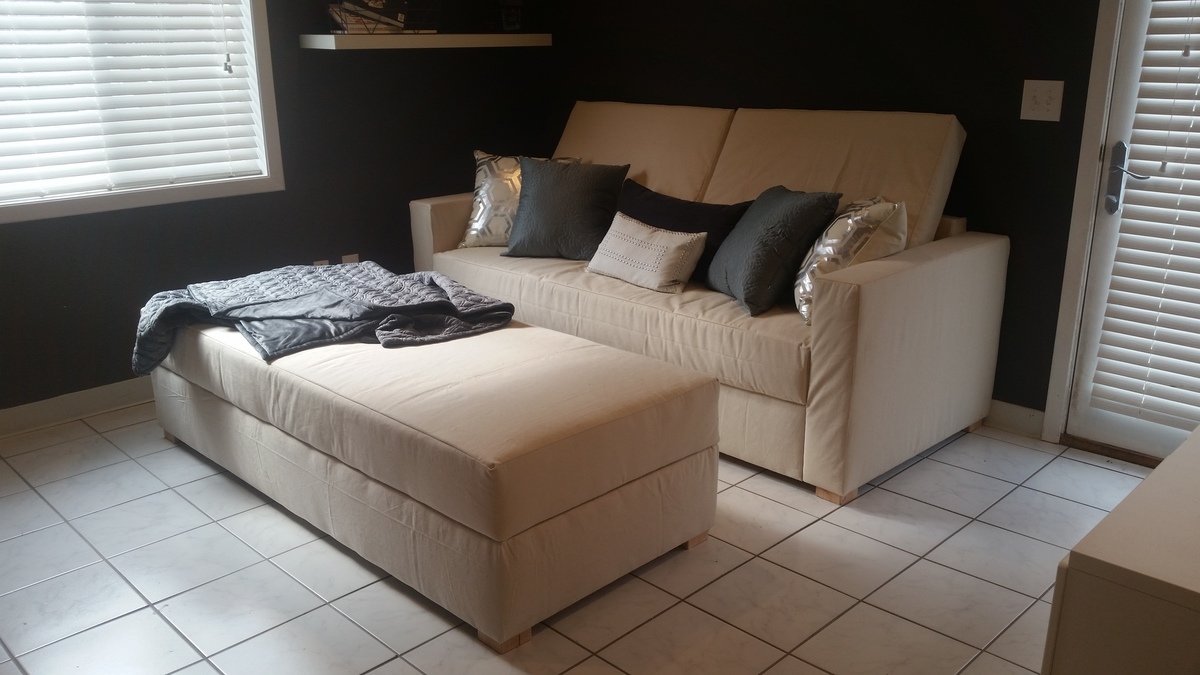
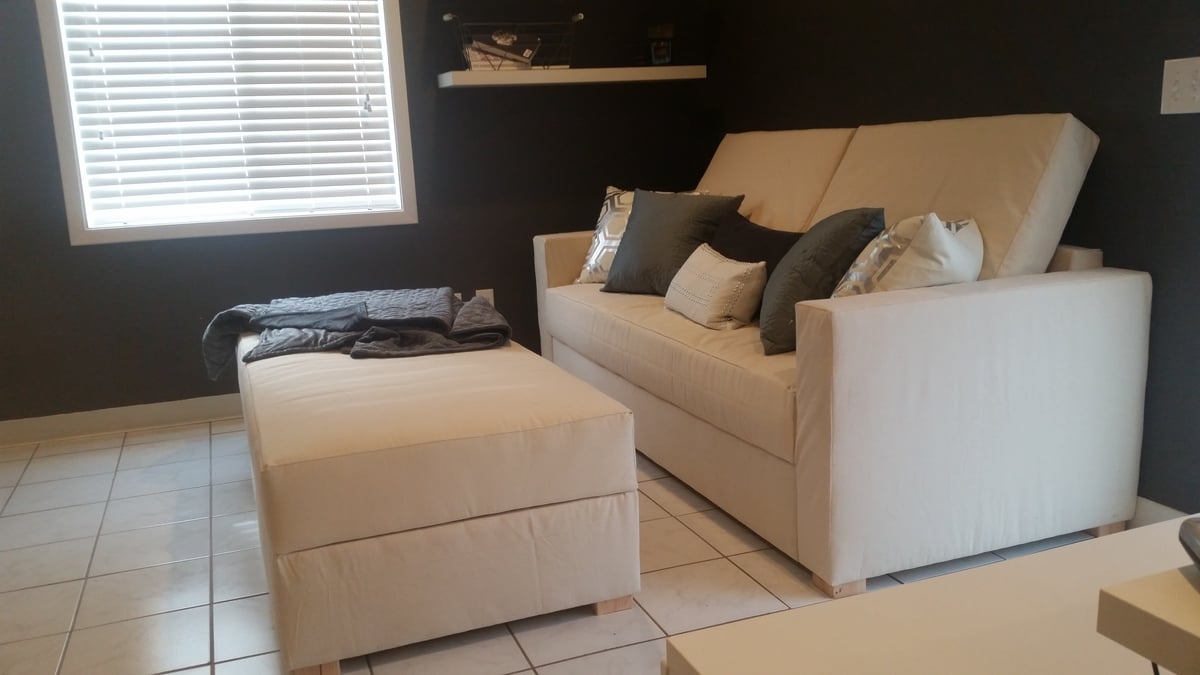
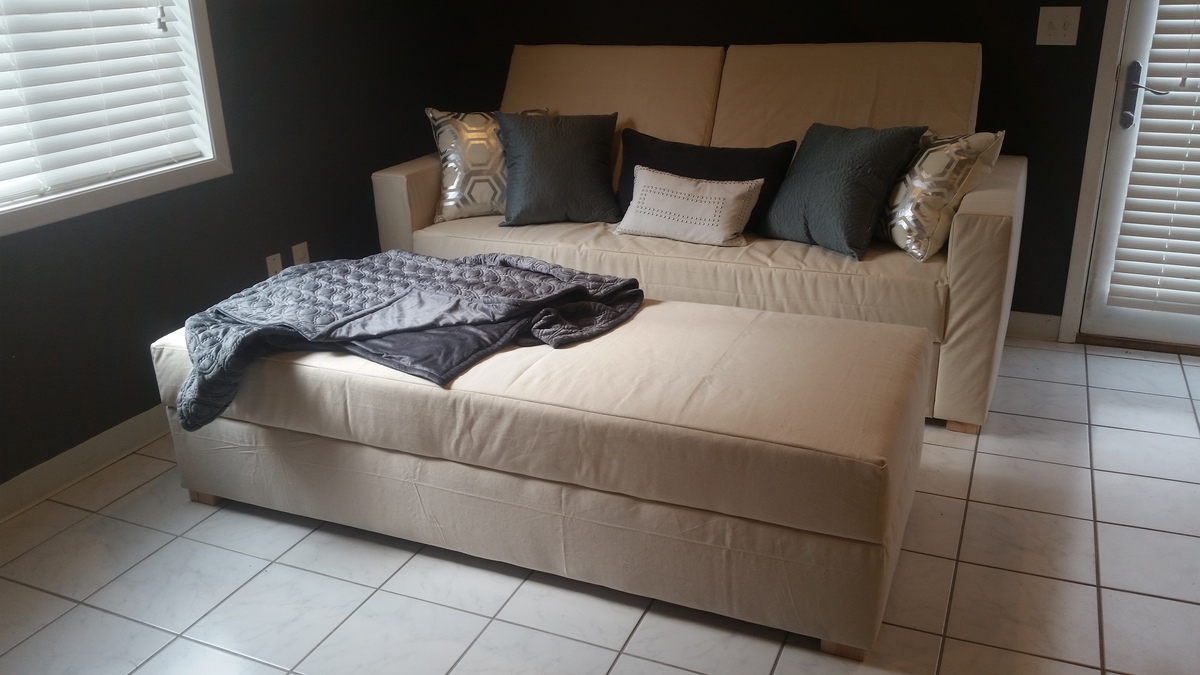
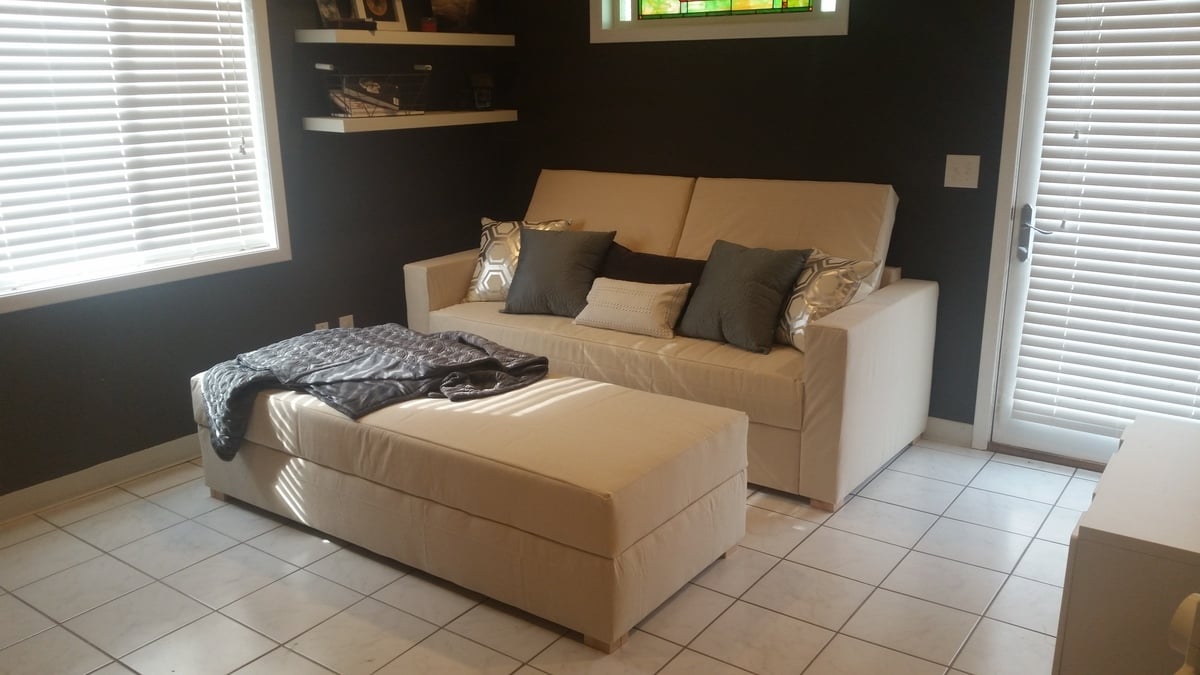
I used the plan for the base idea for my sofa. I decided I'd prefer arms to curl up in and also to add a convertible feature turning an ottoman using the same base plans into an extension option for using the set as a bed or lounge area. Twice the storage, twice the function!
Fri, 07/23/2021 - 19:33
I was planning on building your storage sofa, but when I saw the one with the arms; I thought that I would rather build that one. In the spot where the plans should have been; it refers you to the storage sofa. The problem is; it doesn't tell you what you need for or how to build the arms. If they are somewhere else; could you tell me what heading that they are under.
Sandra Cahoon
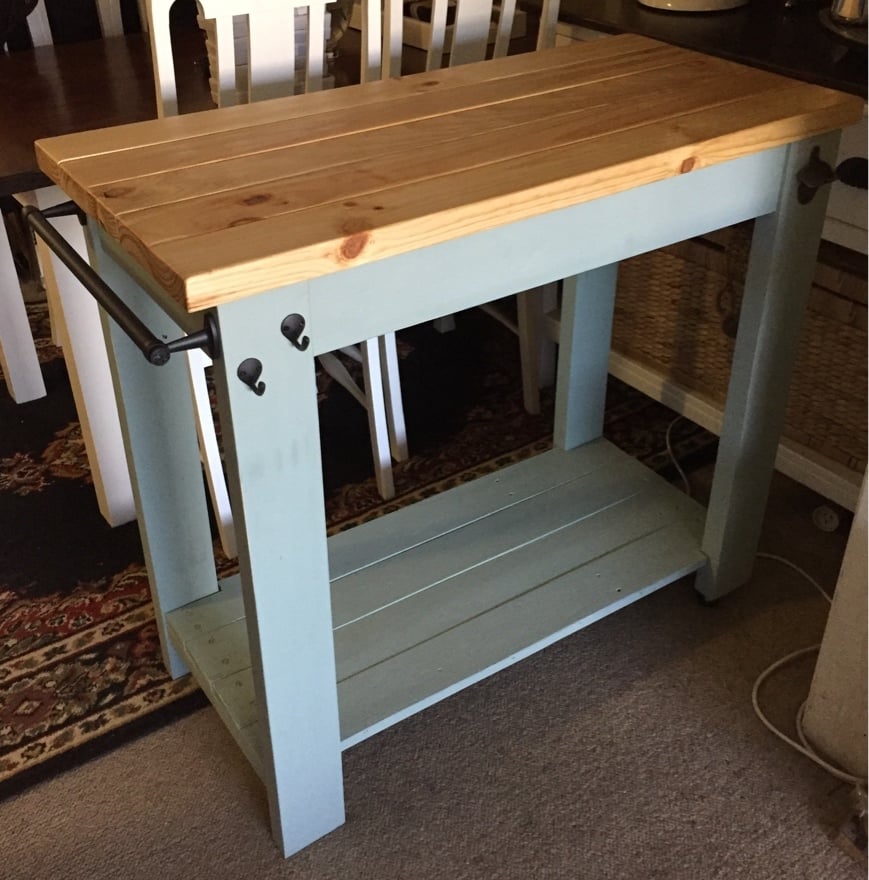
Kitchen Island Trolley.
Base was made from recycled timber and the top was made with new pine.
The rails were made from curtain rails.
One end has wheels for easy moving.
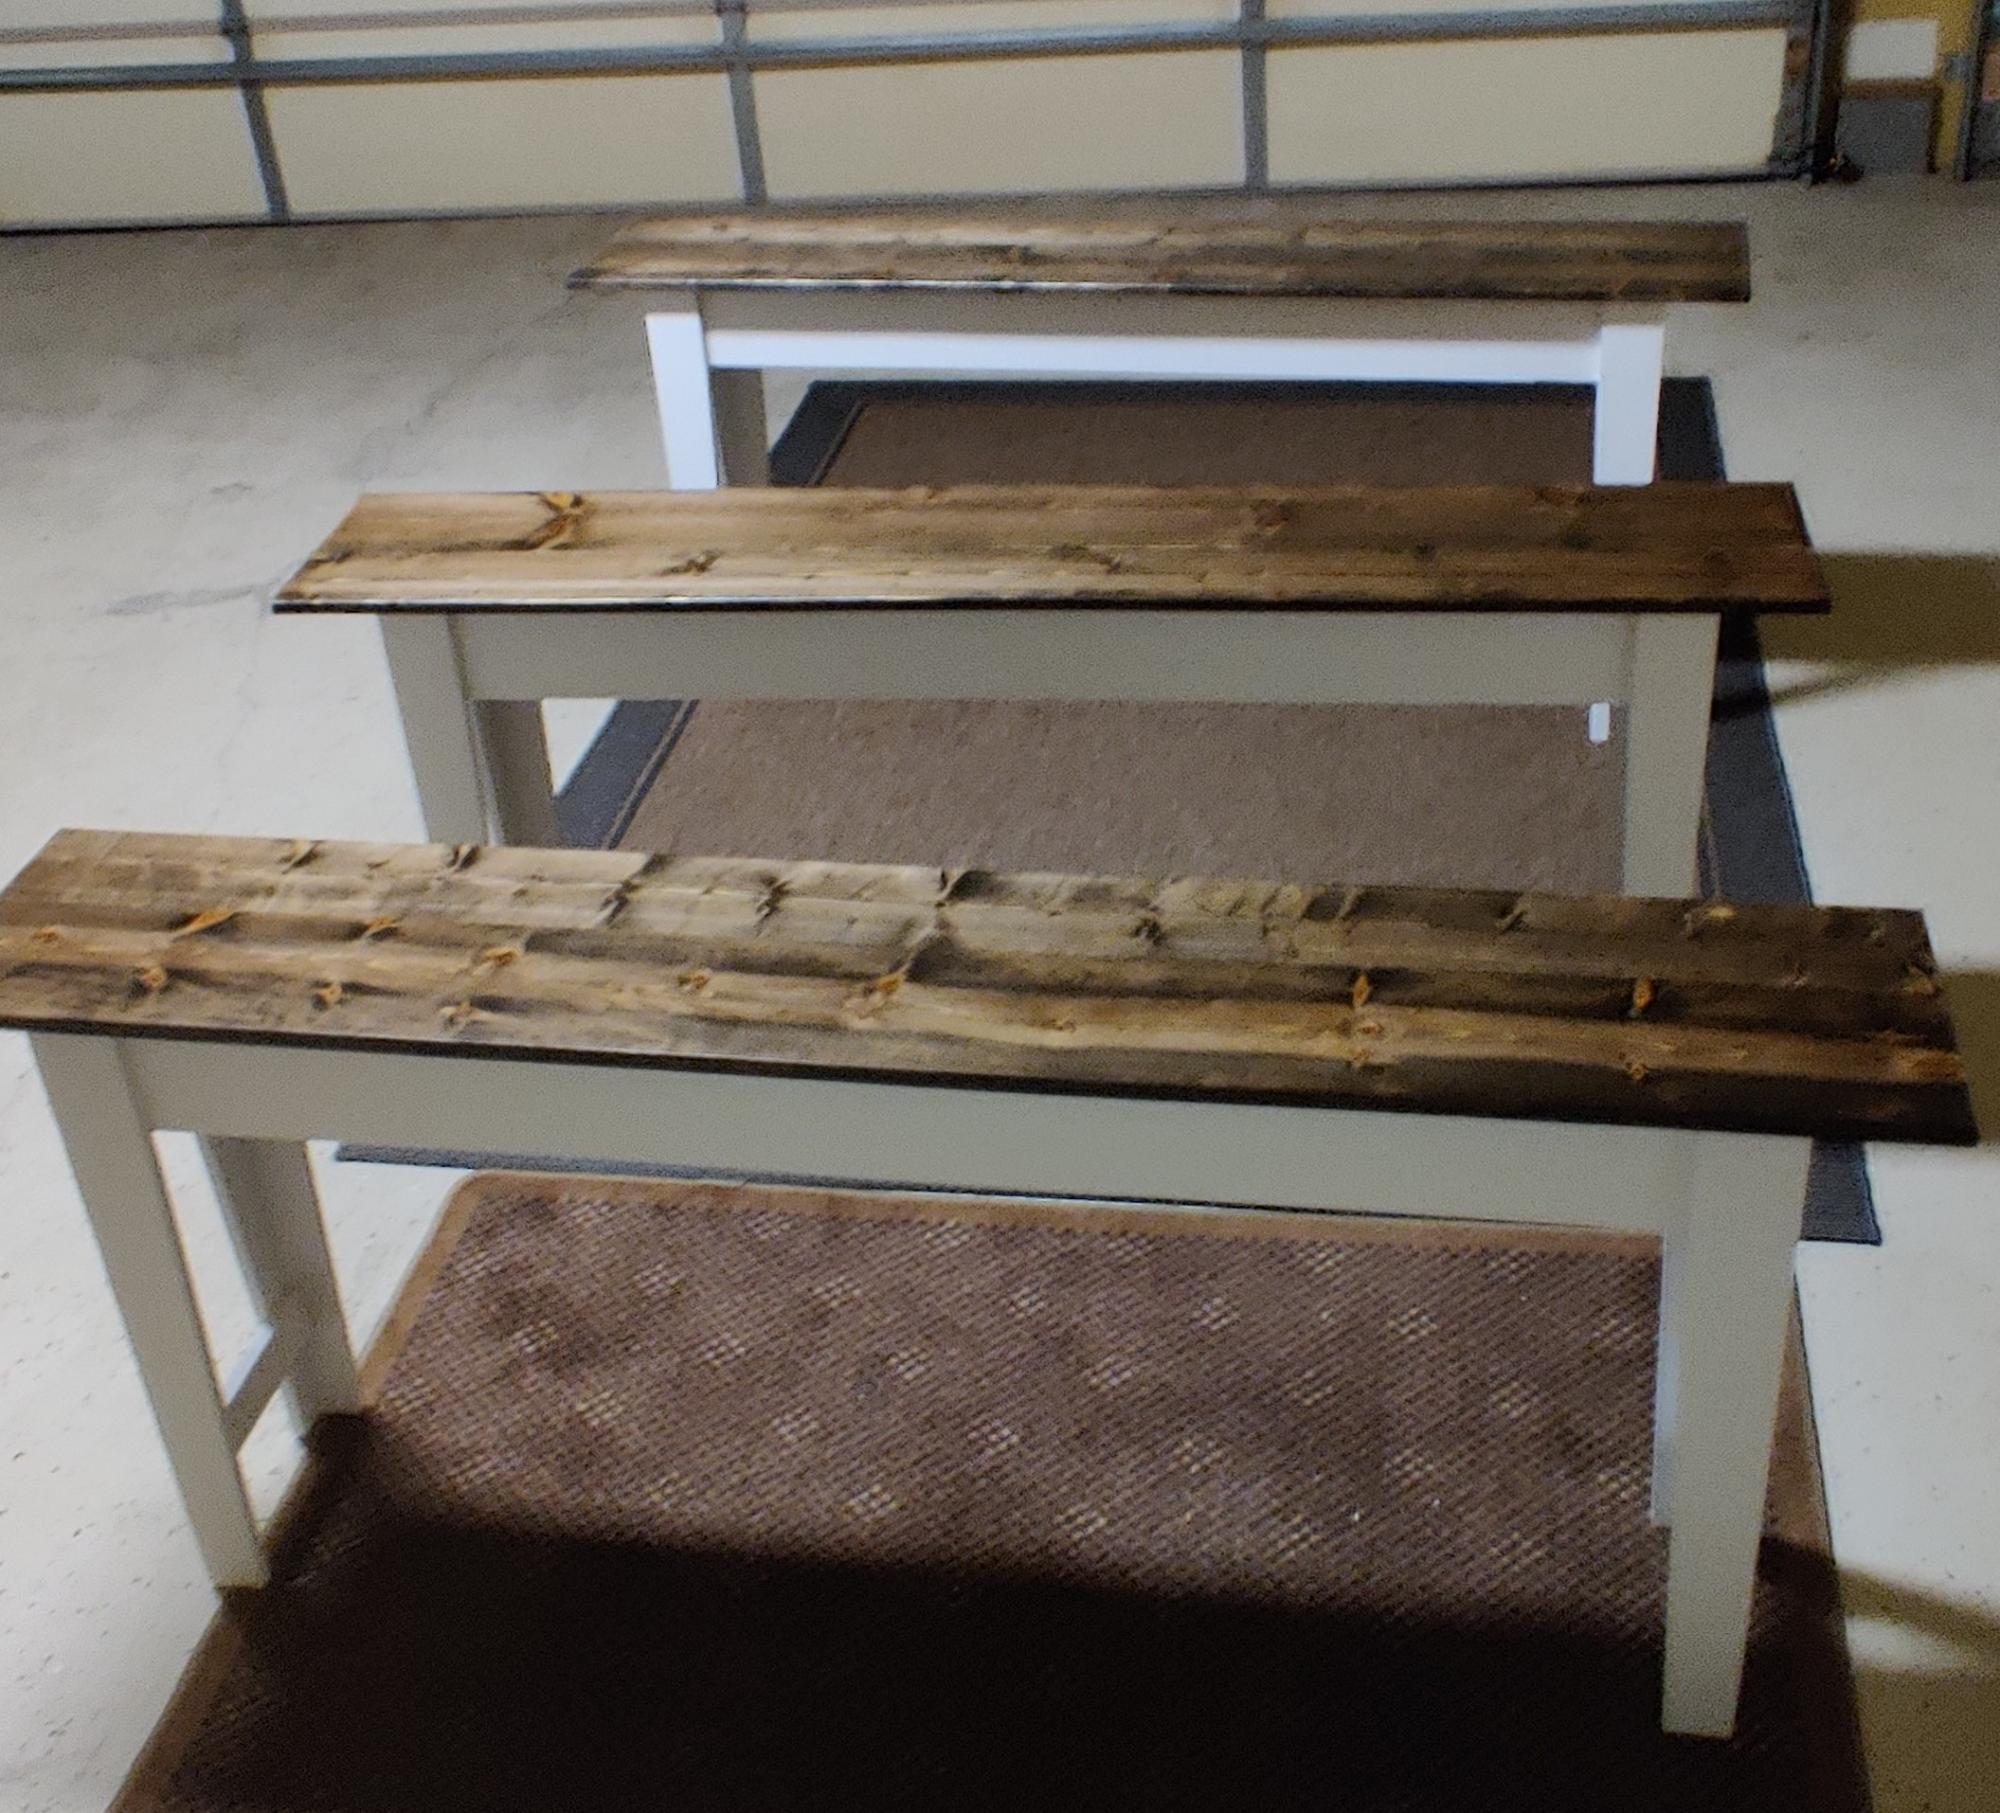
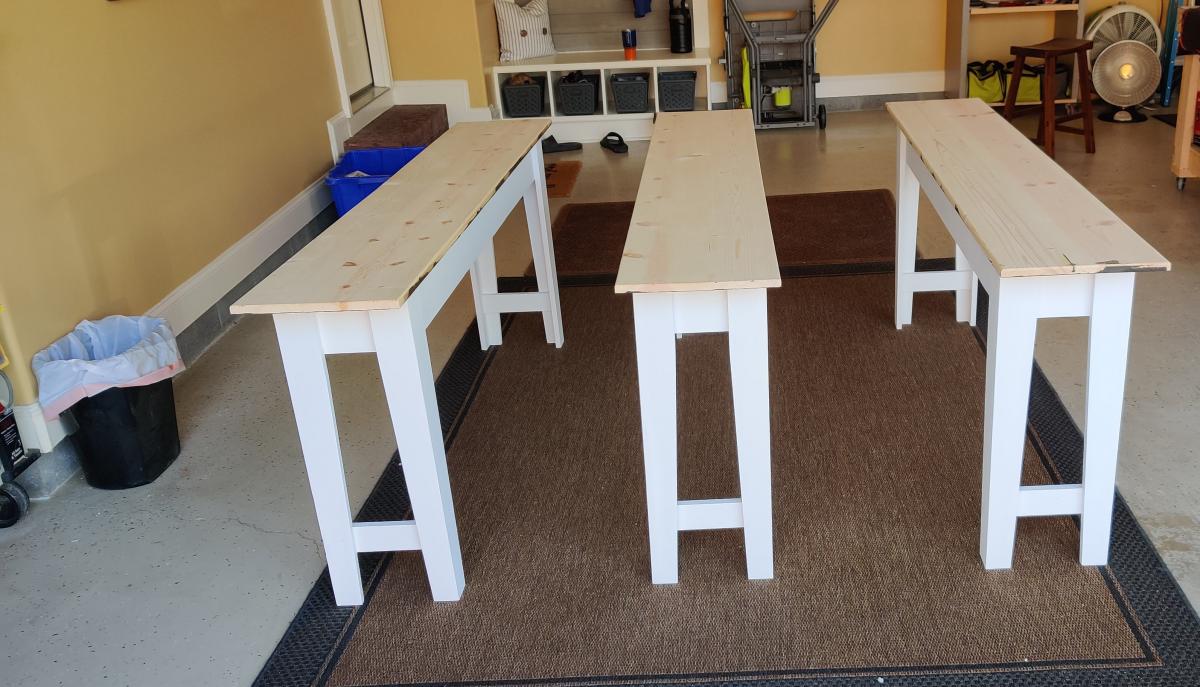
I built a couple of farmhouse tables per the plans. However, I had person who wanted three narrow, 15", display table for her craft store. I followed the plans but just changed the width to 15".
These are my triples!
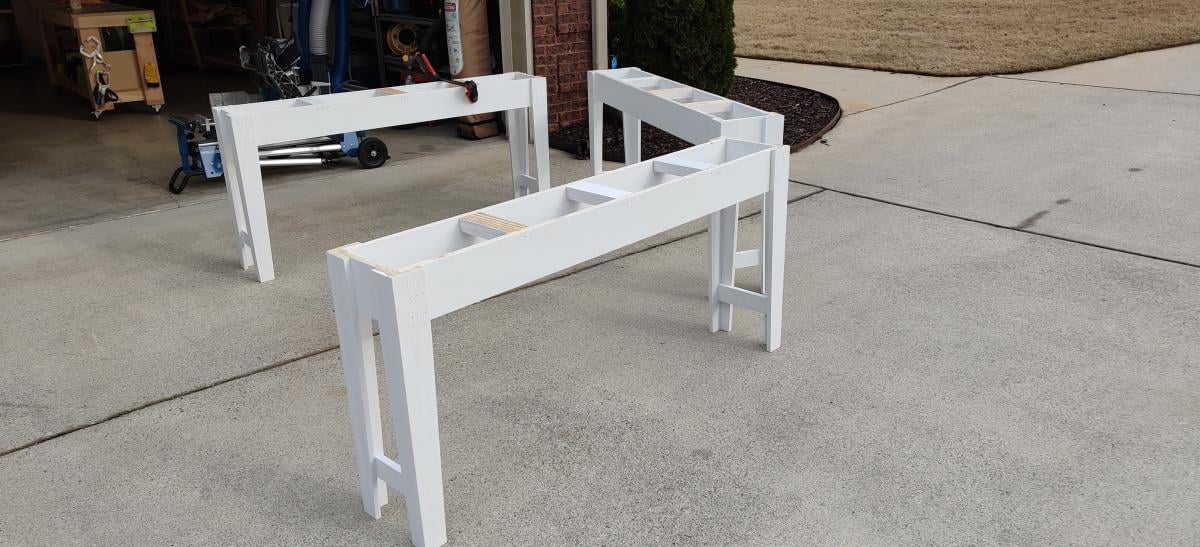
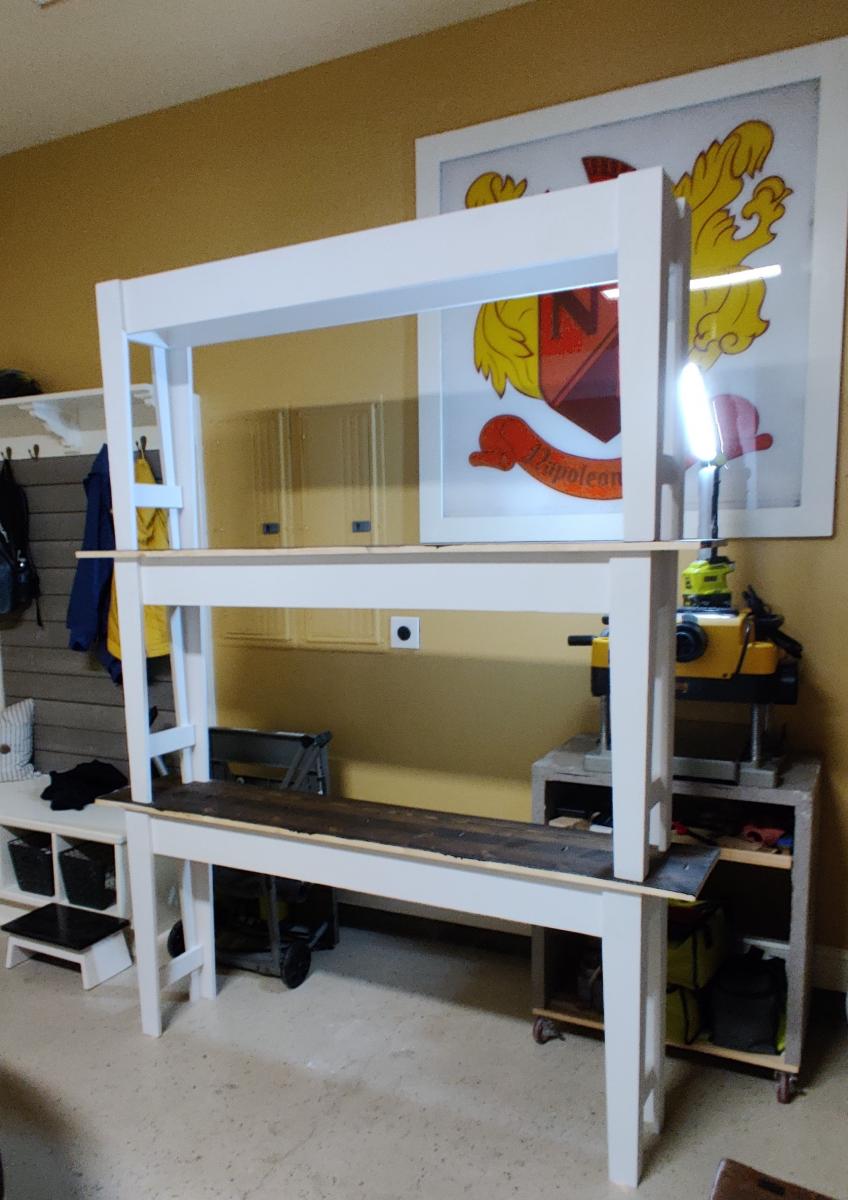
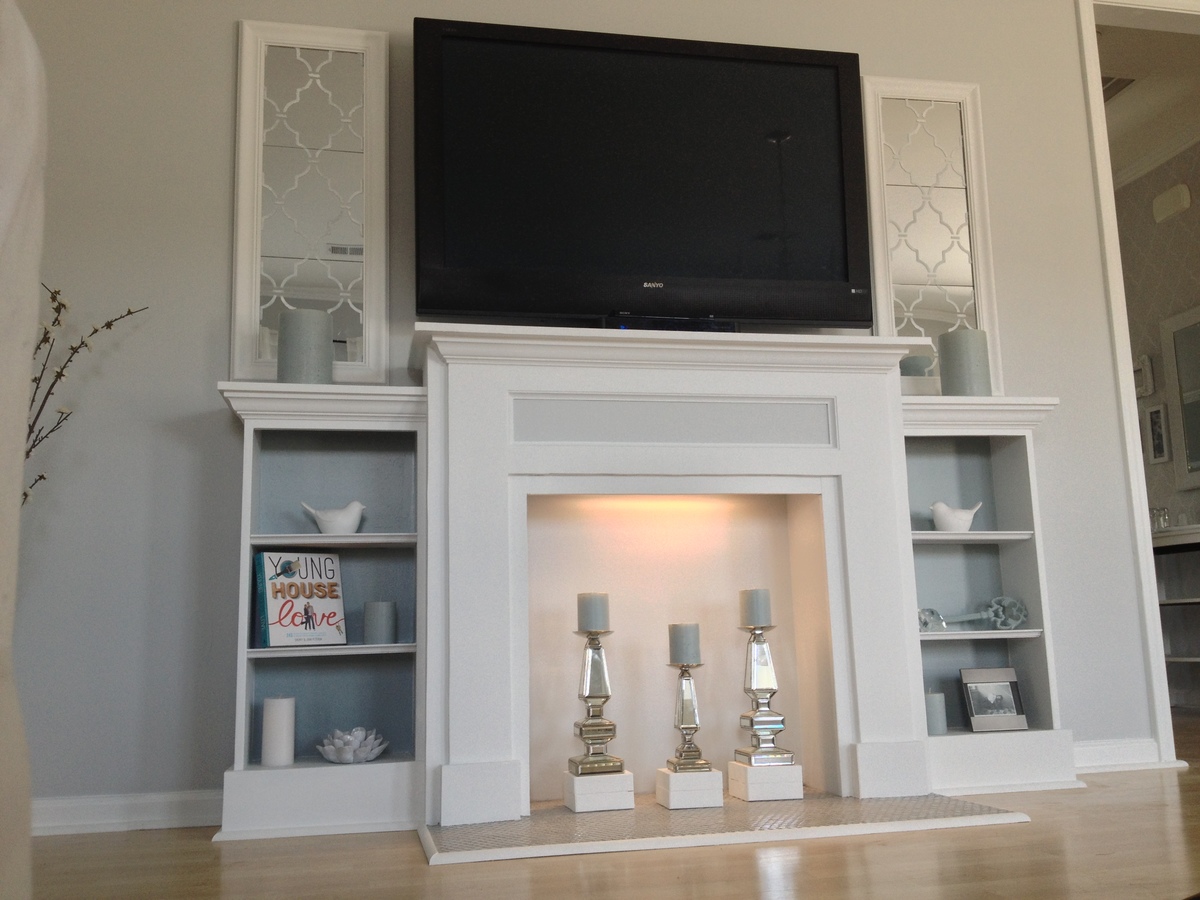
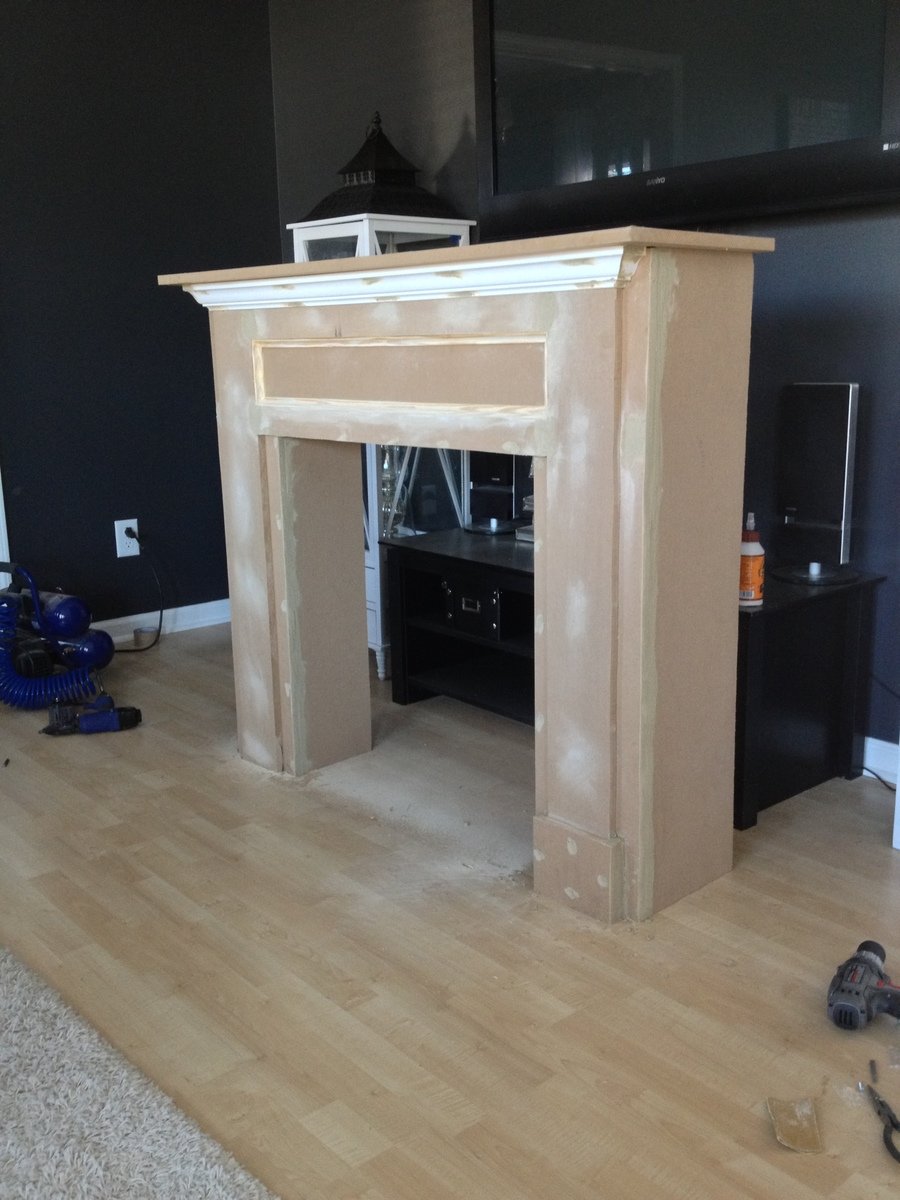
Finally Completed!!! Thank you rainy Saturday! So I wanted a new entertainment center of sorts... couldn't find one that was just what I wanted..... so why not just build what I want! Just DIY it. ;)
I used the faux fireplace plan and modified it to have attached shelves on the sides. I also added an extra strip at the top of the fireplace opening so I could mount an LED bar light.
I used 1/4 plywood to make a tile base, penny tile, and 1/2 quarter round to finish out around the entire bottom.
Total project cost was less than $200 including the tile and light!
Best part is the whole thing is movable!
Thanks Anna White for such an awesome plan to start with!
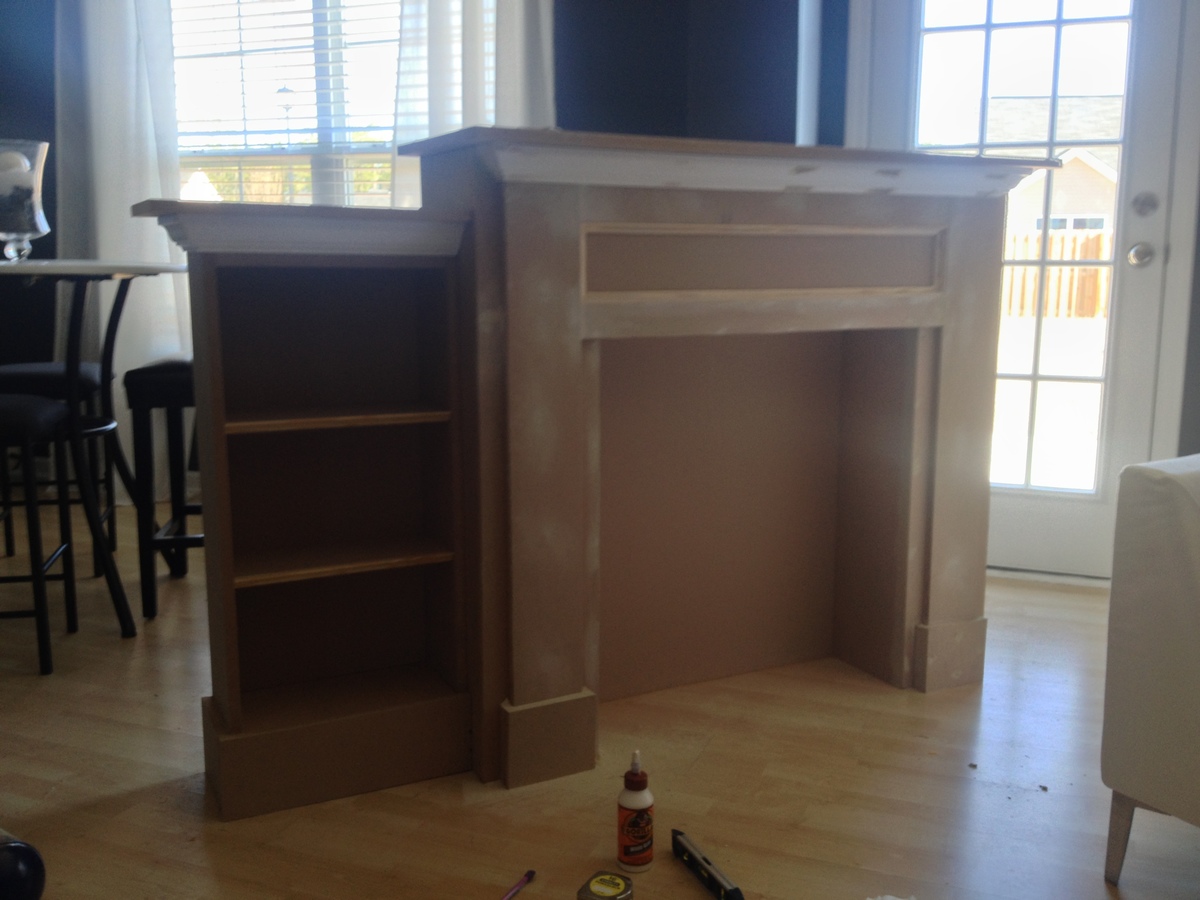
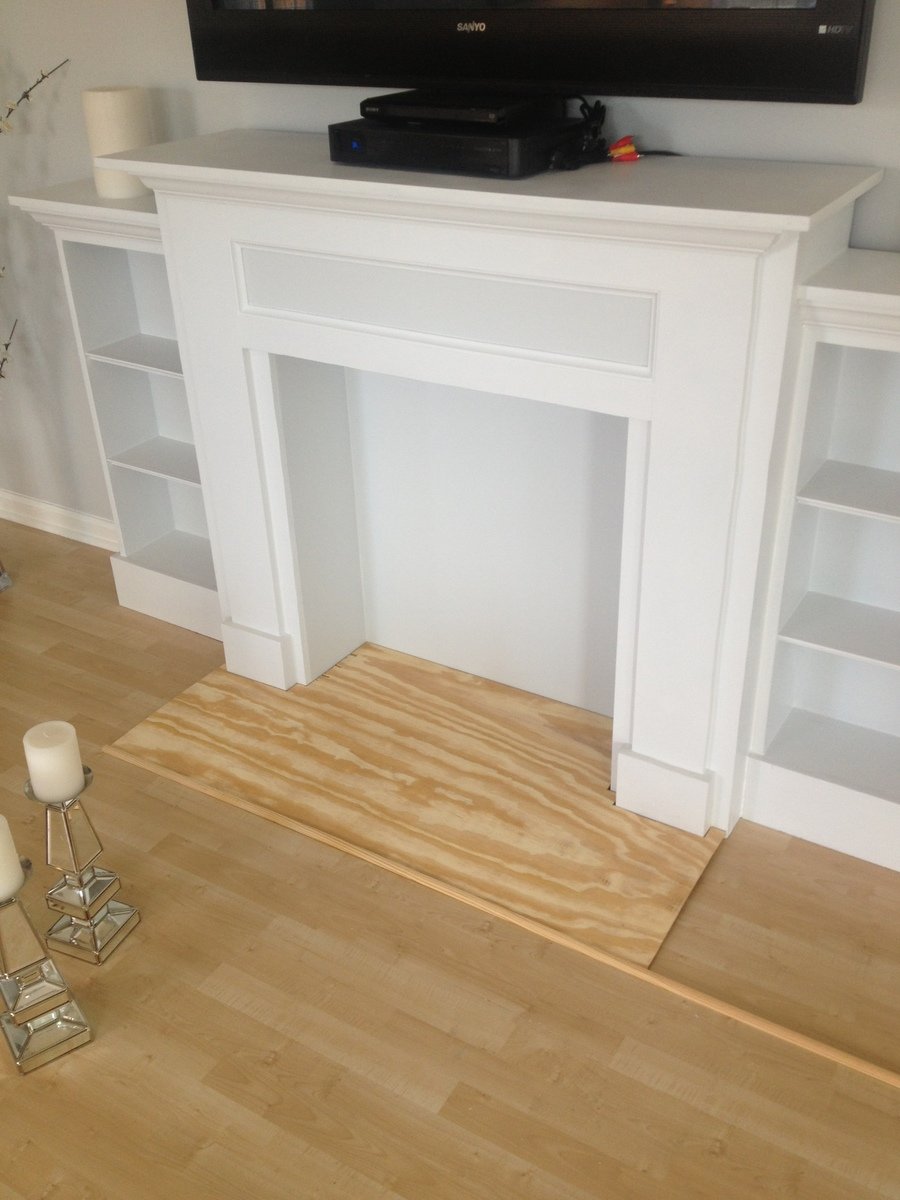
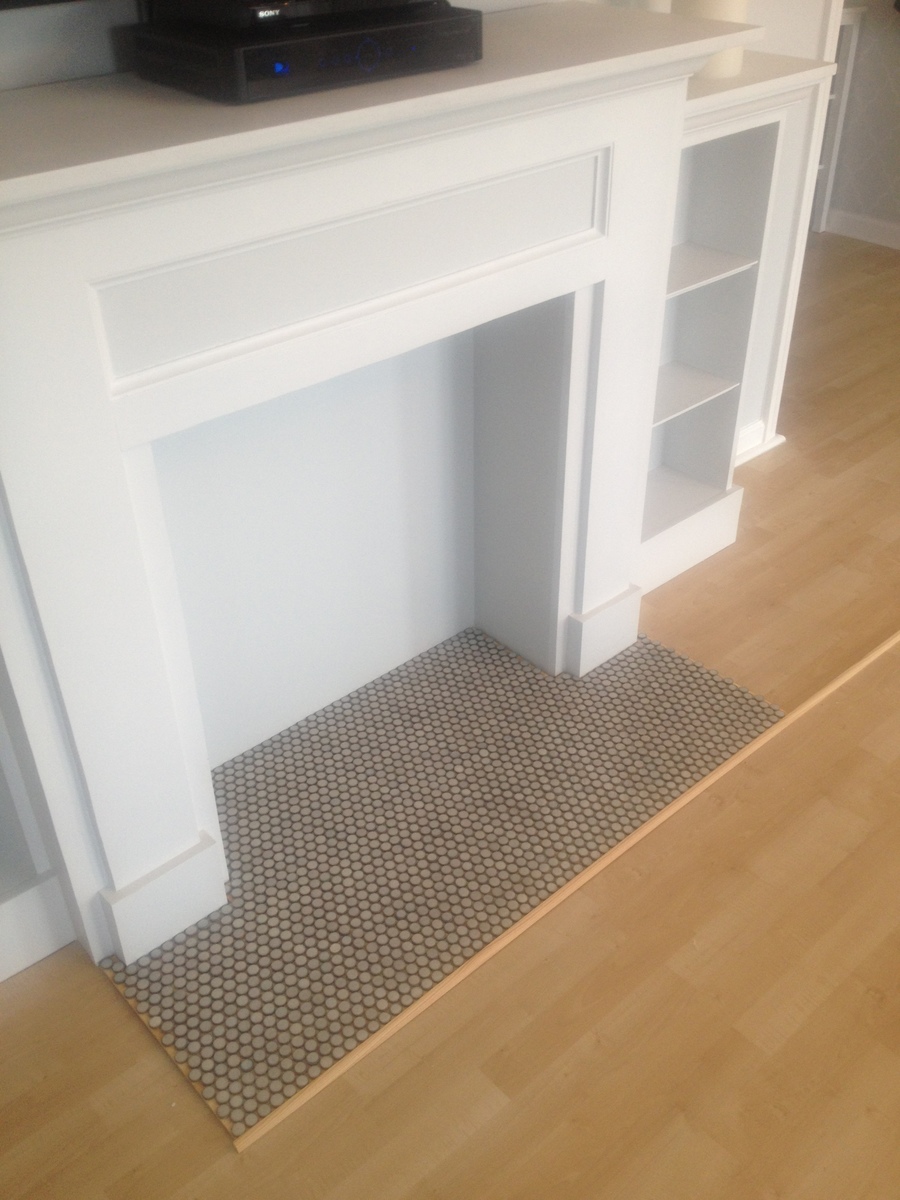
Wed, 07/03/2013 - 10:24
This whole unit is great. My wife LOVES it, which means I will be building it! Did you purchase the two shelf units or build them yourself? Did you use a pattern or plan? Thanks!
Sat, 08/03/2013 - 18:25
I did make the depth of the fireplace deeper so I could have room for the halves on the side. I just sketched out the dimensions I wanted the side shelves and built them along the same lines as the fireplace. Wasn't hard to figure out and just made it to fit the size I needed. The inset of the fireplace does not go all the way back to the wall either, that way the power strip can fit on the floor behind it. Glad you like it and thanks for the compliments!
Wed, 07/23/2014 - 14:54
Hi Celeste 808, What a wonderful faux fireplace WITH the bookcases, especially. I'm hoping I can try this in our space challenged bedroom. Did you by any change reply to the chap who asked if you had some kind of dimensions or plans you could pass along to us? I would love to see if we can make it work in the space we have available.
Thanks again for the inspiration,
e
Mon, 10/28/2013 - 18:25
I absolutely love what you did with this. I am going to have my fiance help me make this for our house. If you still have the dimensions and details of how you built the whole unit I would greatly appreciate it if you could post it.
Tue, 10/29/2013 - 05:36
Love it. I wasn't going to build the side shelving unit, but changed my mind. This is beautiful... I really love the base.
Sun, 04/13/2014 - 13:00
This is gorgeous & I can't believe it's your 1st project. I would love to build this too. Did you use any particular plans for the side units? If you have any tips or information to share, that would be great! I've actually been trying to make up my own plans using Sketch Up, but that's not working too good, lol. Again, great job & thank you.
Lynda
Sun, 02/08/2015 - 12:31
I'm dying to know the dimensions you added to the width. Also, the dimensions of the book shelf. I have been trying to draw up plans for the last week and I'm stuck with trying to figure it out by looking at your pictures.
PLEASE HELP!
Thanks!!
Mon, 07/27/2015 - 09:15
Do you have the blue print of how you built the mantel and side book shelves? I am wanting to go buy supplies to build this tonight!!!
Thank you!
Sun, 11/15/2015 - 13:19
im having a hard time with the site. LOVE this and want to build it. how do i get the plans for it?
Sun, 11/15/2015 - 13:19
im having a hard time with the site. LOVE this and want to build it. how do i get the plans for it?
Mon, 07/18/2016 - 12:19
Hello! I love the design! If you have the dimensions or blue print for the shelves please forward along!!
Sat, 12/31/2016 - 18:06
Hi there! Love this look! Just wondering where you found the mirrors shown on either side? Thanks!
Tue, 12/19/2017 - 21:55
How wide is this? From the end of one bookshelf to the other? Also, how deep is it?

I loved the look of the farm table that Anna has posted. I created my own with a few small modifications. I bought the legs of the table from my local Lowes store instead of ordering online. It was more cost affective for building this table which was mostly for staging purposes, but I love the table so much, it will be going in my new house (if the real estate agent or the new home buyers don't talk me into selling it to them)!
Thu, 03/26/2015 - 04:54
Sorry that was supposed to say mahogany not magazine!! Autocorrect issues...
In reply to Sorry that was supposed to by AndyH
Wed, 04/01/2015 - 17:55
I wasn't sure if you received the email response regarding stain color, so I thought I'd repost here just in case.... The mix was 1/2 and 1/2 of the walnut and the mahogany stain done ant the same time. This is the same combination that we used on our home made walnut headboard with stacked stone. Love this color combination!
In reply to This is gorgeous and I love by Ana White
Wed, 04/01/2015 - 17:57
Thanks... and thank YOU for the inspiration to do this project. I plan on doing many more when we move into our new home. :)
I love this design and I constantly get people requesting tour of the house just to see this table. Simple and beautiful.
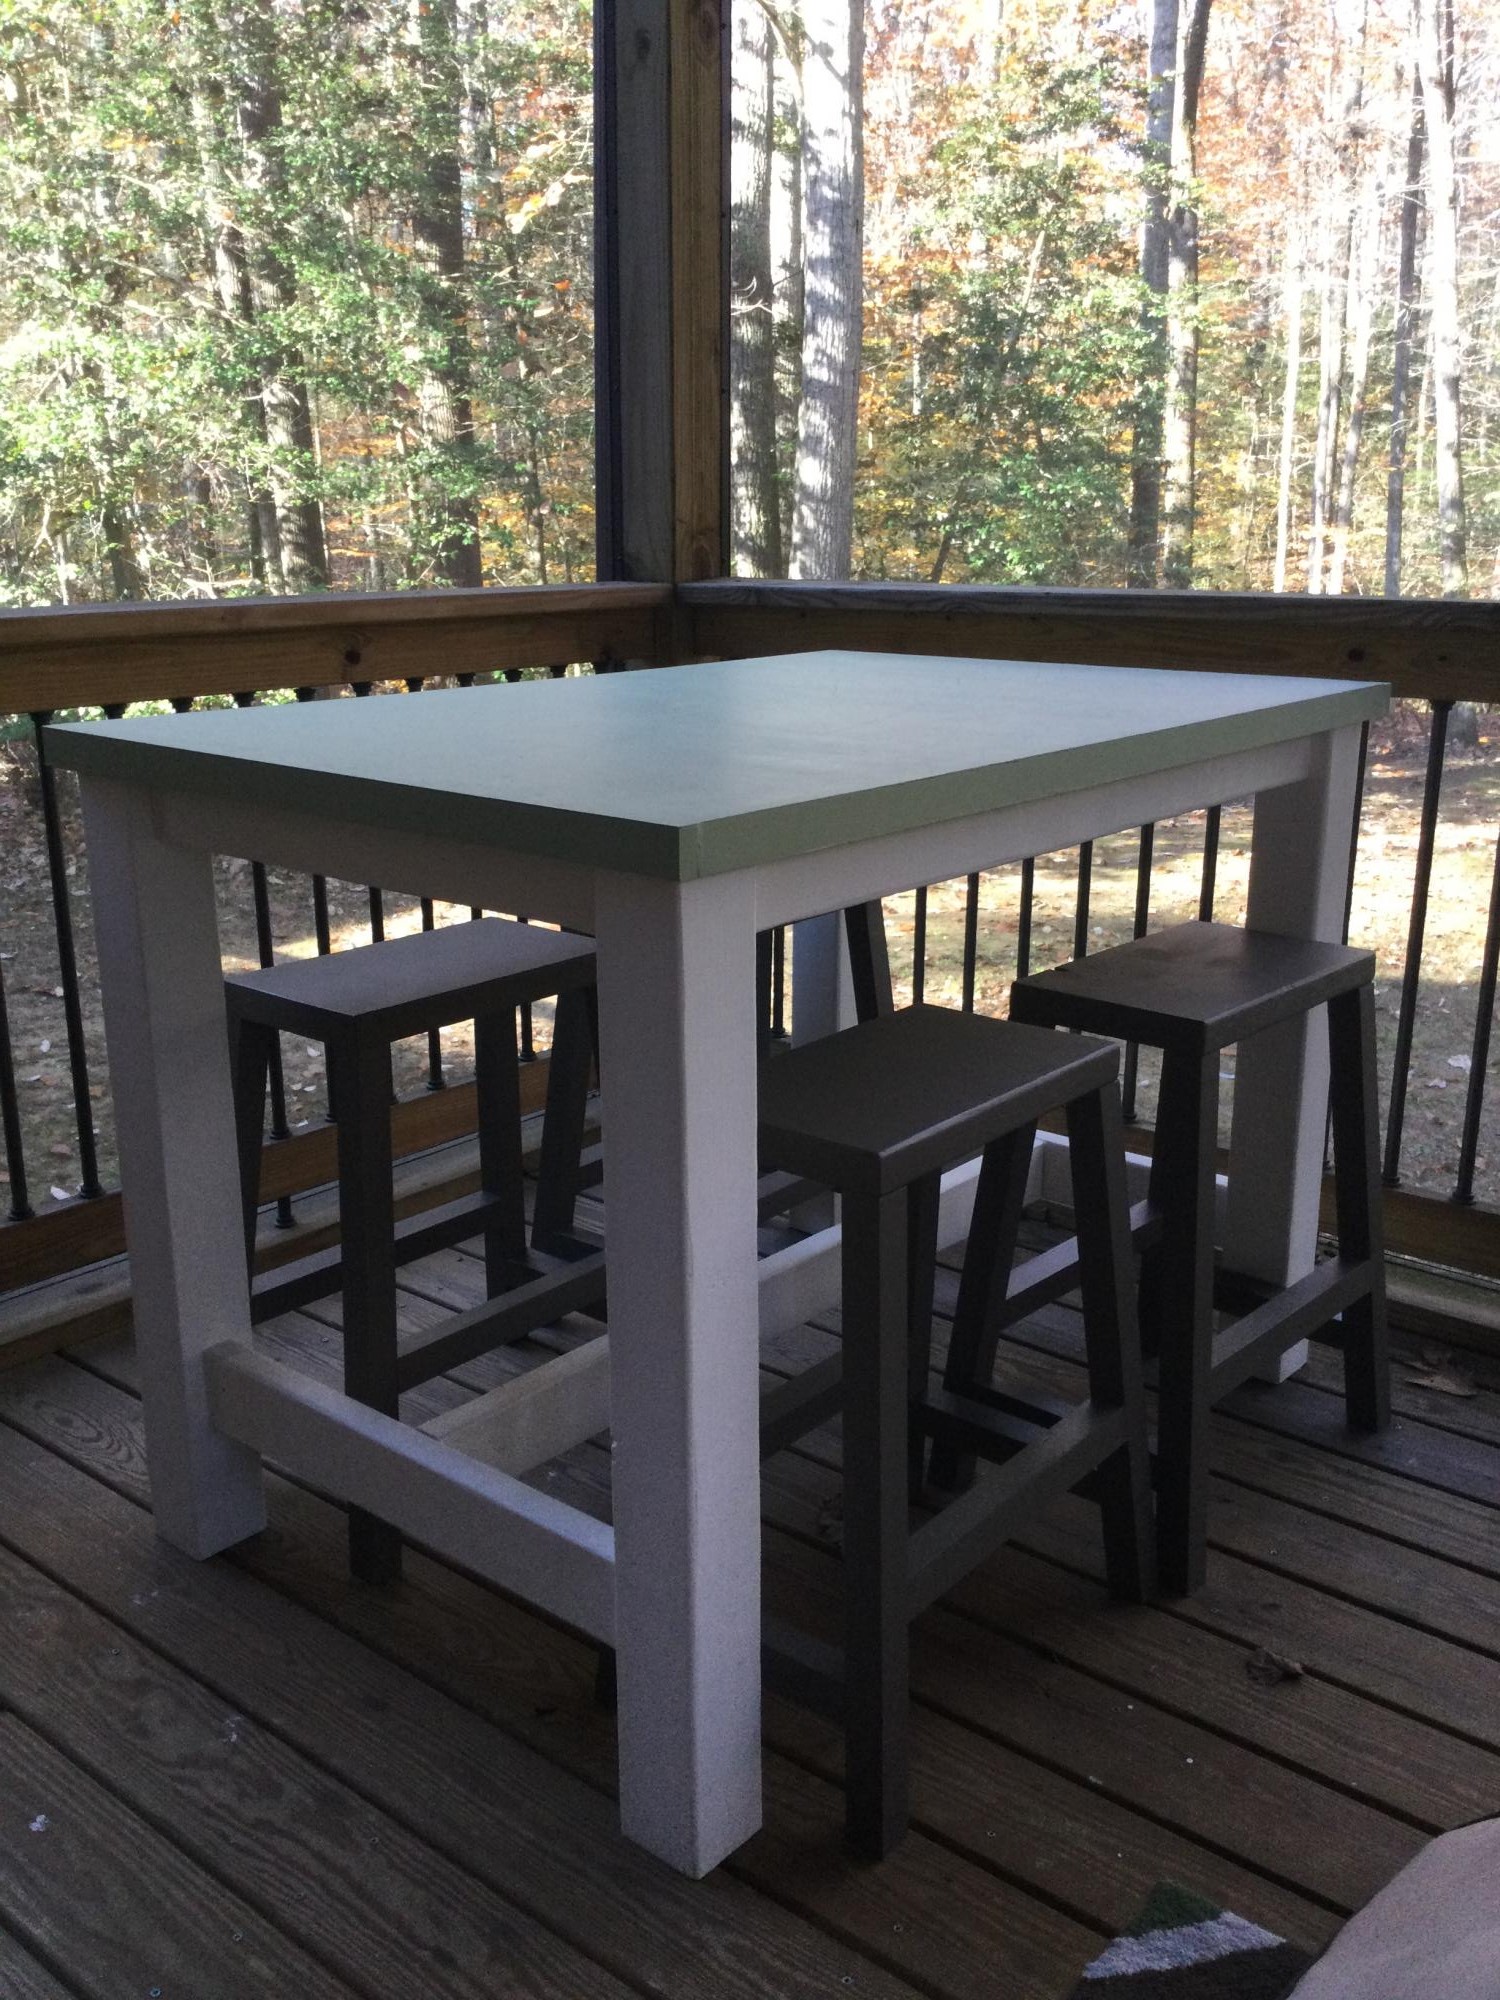
My husband and I made the table and chairs for our screened porch. We really like how the project turned out. Many more Ana White projects on the our list!
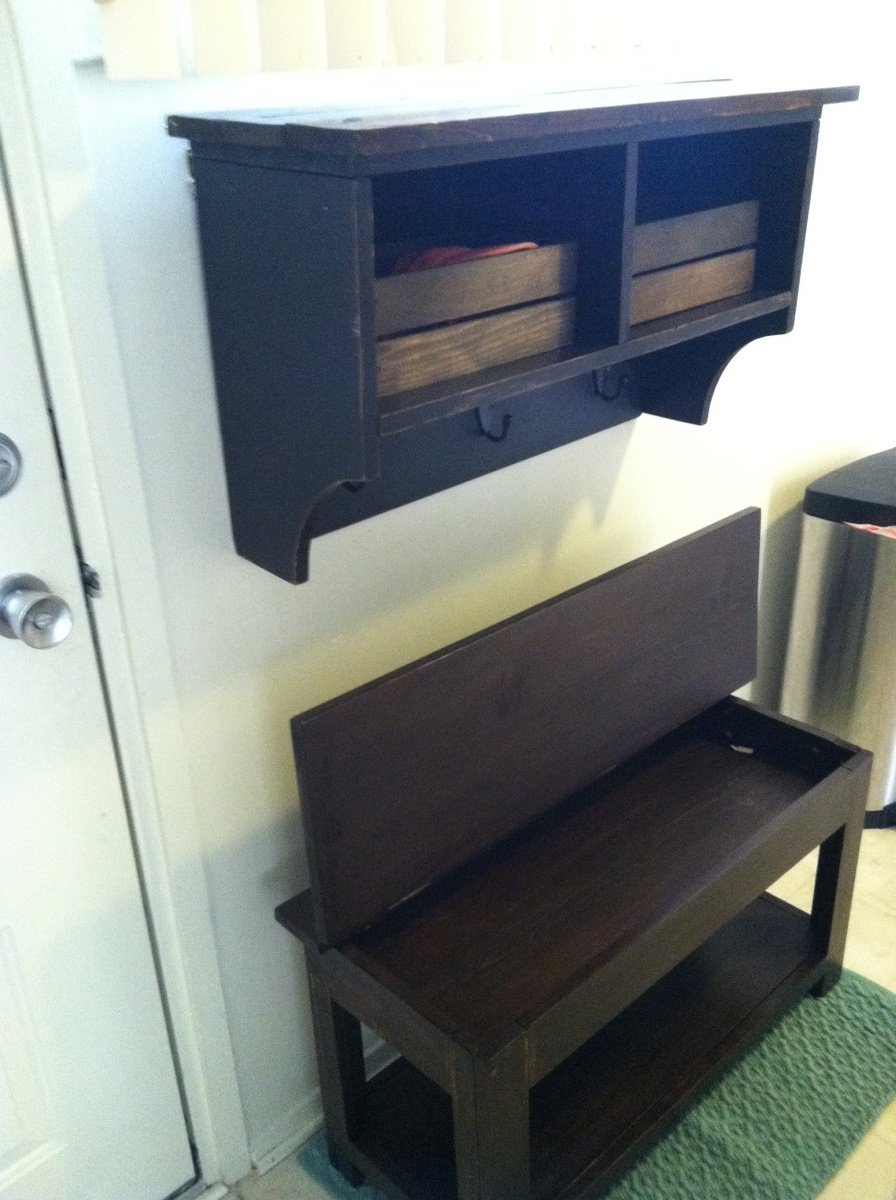
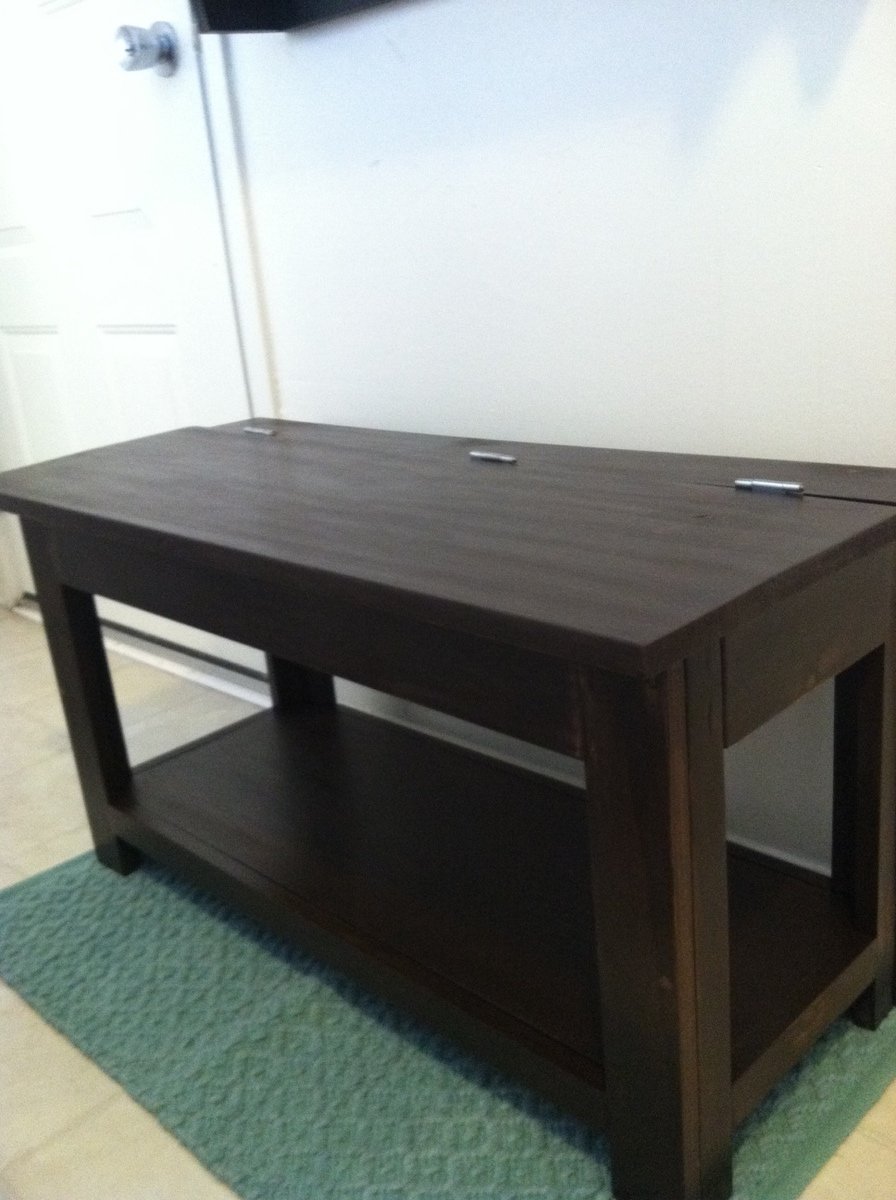
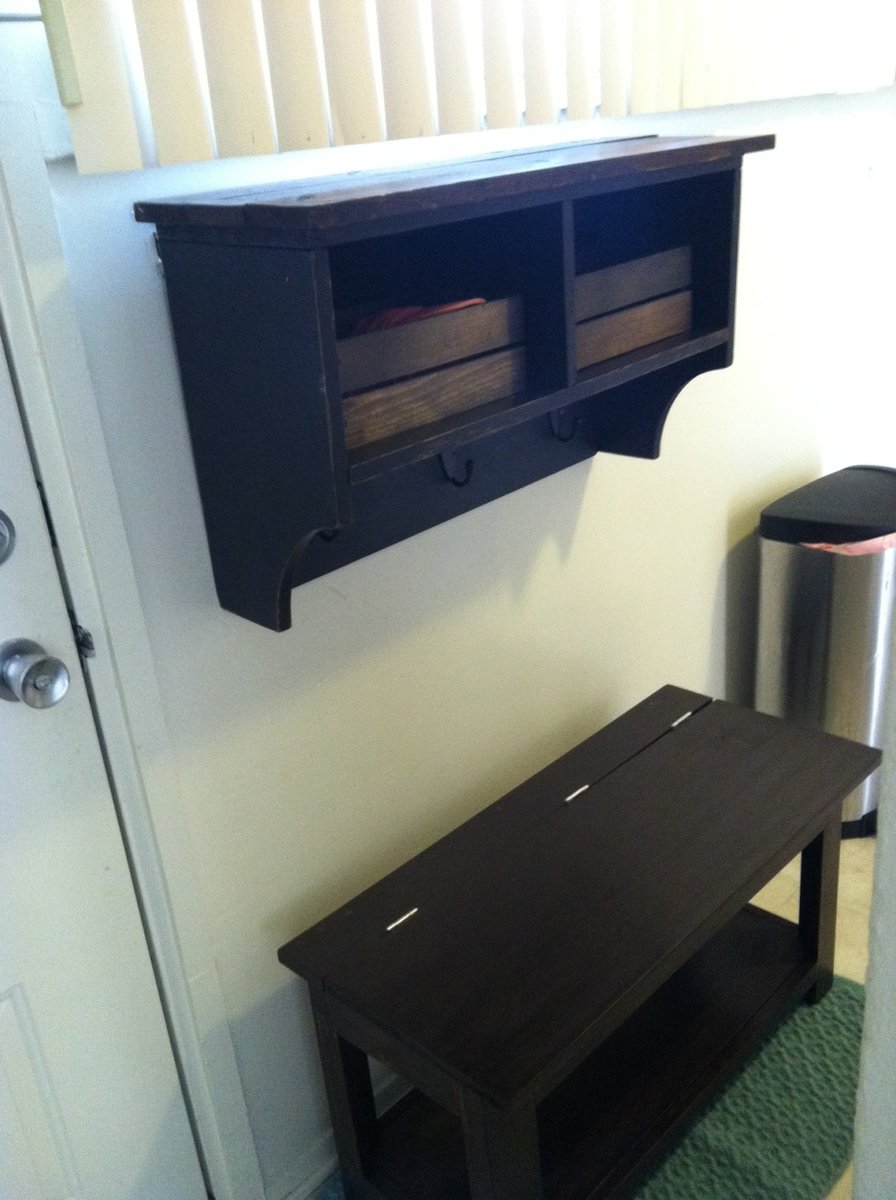
I made the entryway cubby from the book and finally couldn't stand the pile of shoes (3 year old) in the front entryway any longer! So I made the bench and my son is thrilled that he can open and close it and put things in it. I have a few touch-ups to do yet from the pocketholes and countersink holes, but I love it! It was really easy to do. I did modify the plans to fit my entryway, so it's about 36 inches long.
I love it!
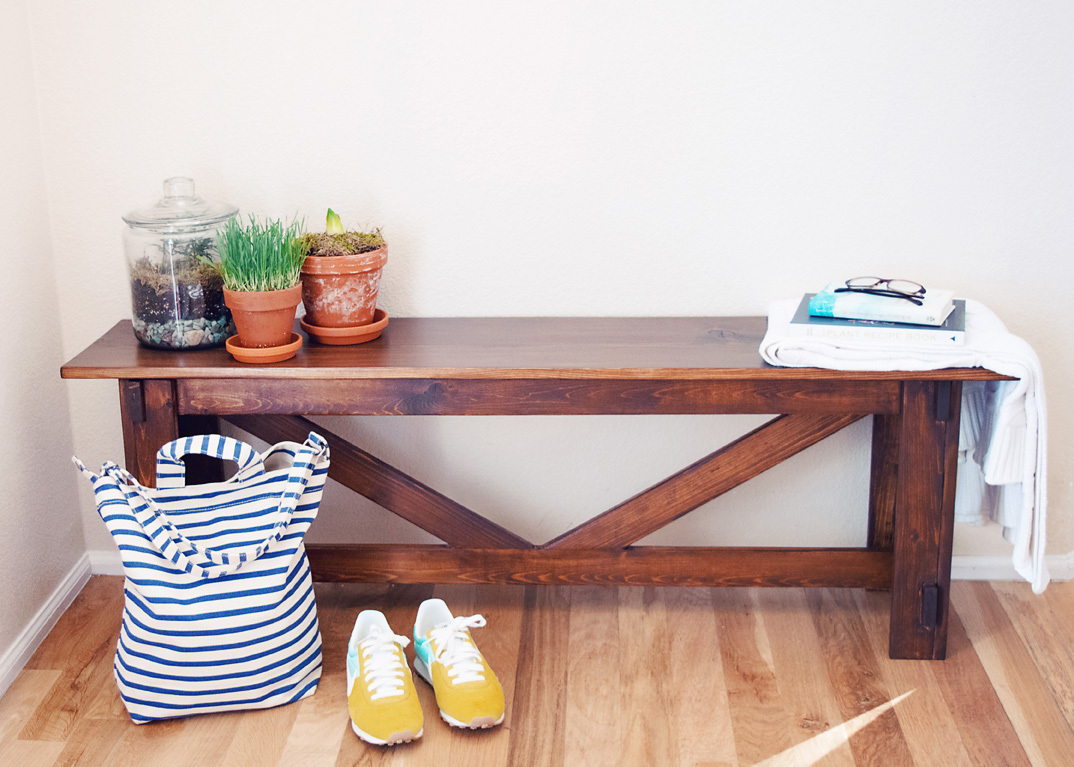
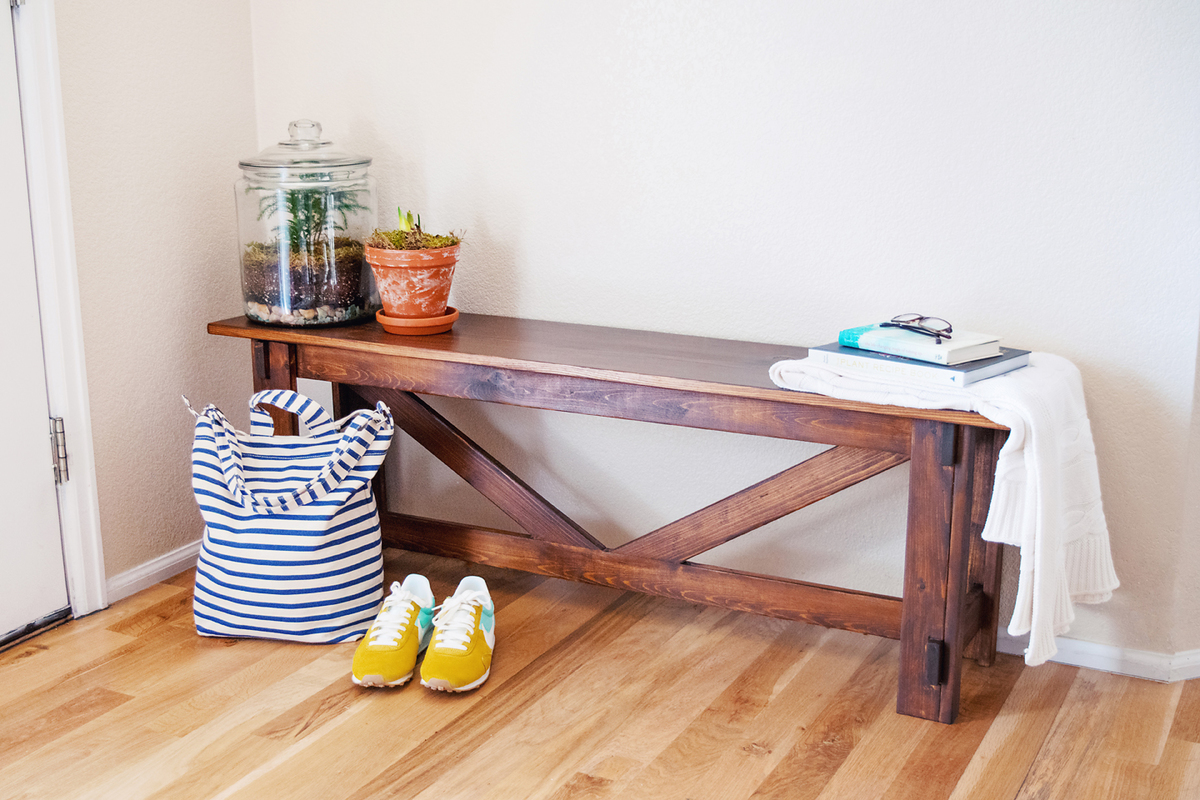
I love how this bench turned out! It's one of my favorite builds so far. It's simple but really beautiful to look at. I have a few pictures of the process and the stains I used to finish it up on my blog. Thanks, Ana, for another great plan!
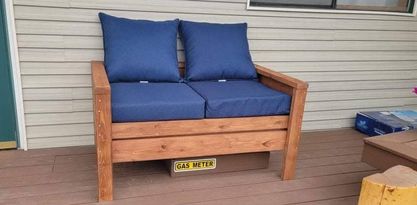
This took me about a month to build. Ana's plans were great. Installing drawers was the toughest part.
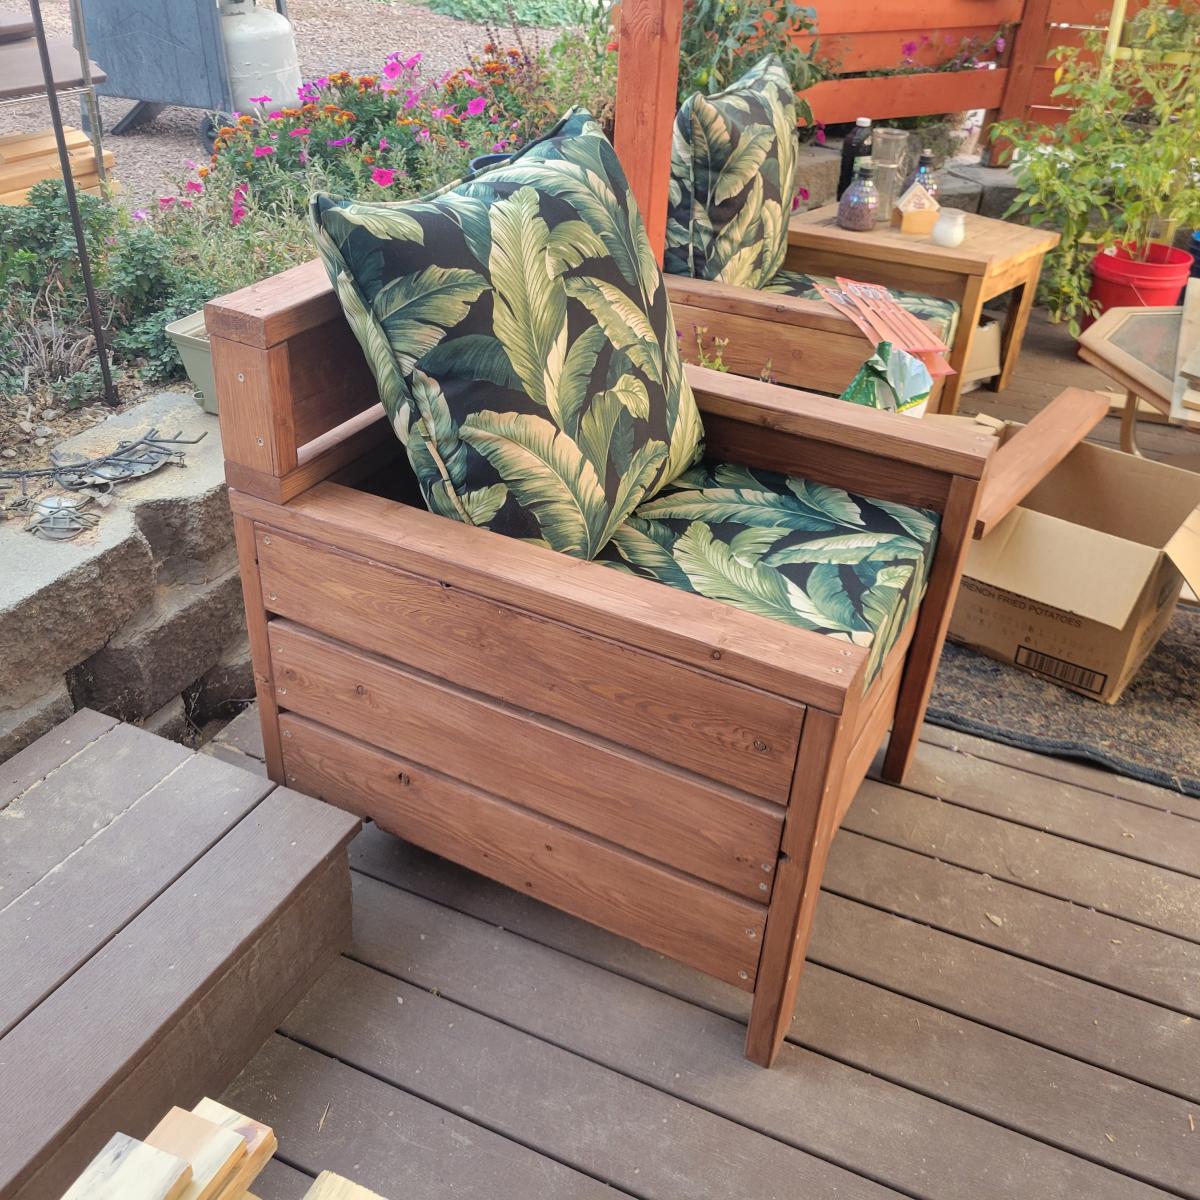
Love, love, love your projects. I have made 3 of the modern 2 x 4 chairs, with a modification. I had purchased both seat and back cushions for my chairs and the back cushion had nothing to lean back on, so I added some height and personality to the chair.
Your plans are easy to follow and make very nice, heavy furniture that I know will not blow away and end up in the field next to my house. Keep those plans coming!
We made this for my husband's Granny who has a bright green thumb, campared to my slightly black one. It turned out great.
This is also the project I learned how to use a Kreg Jig. Amazing. My husband is hooked.
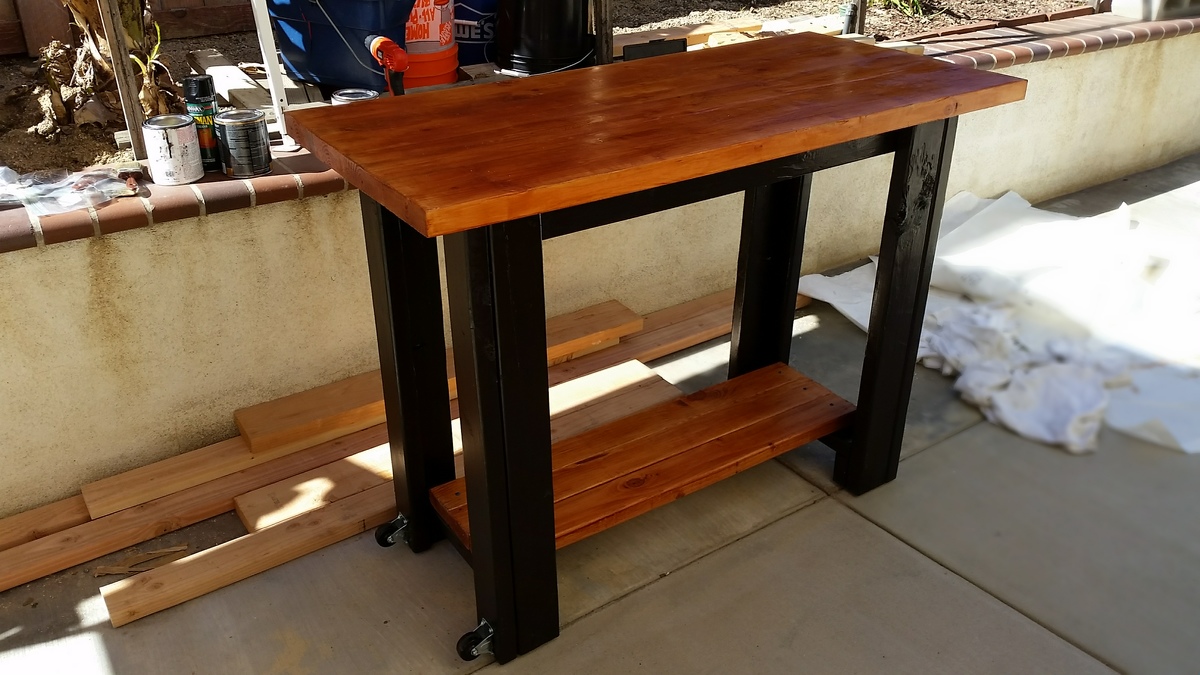
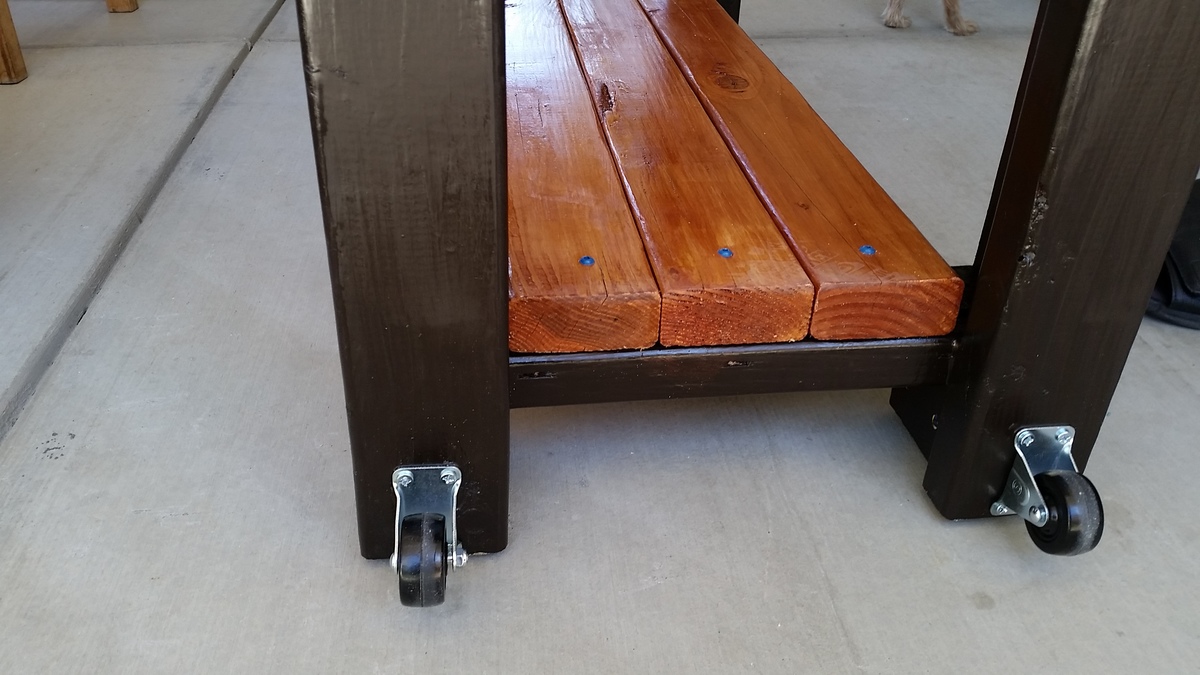
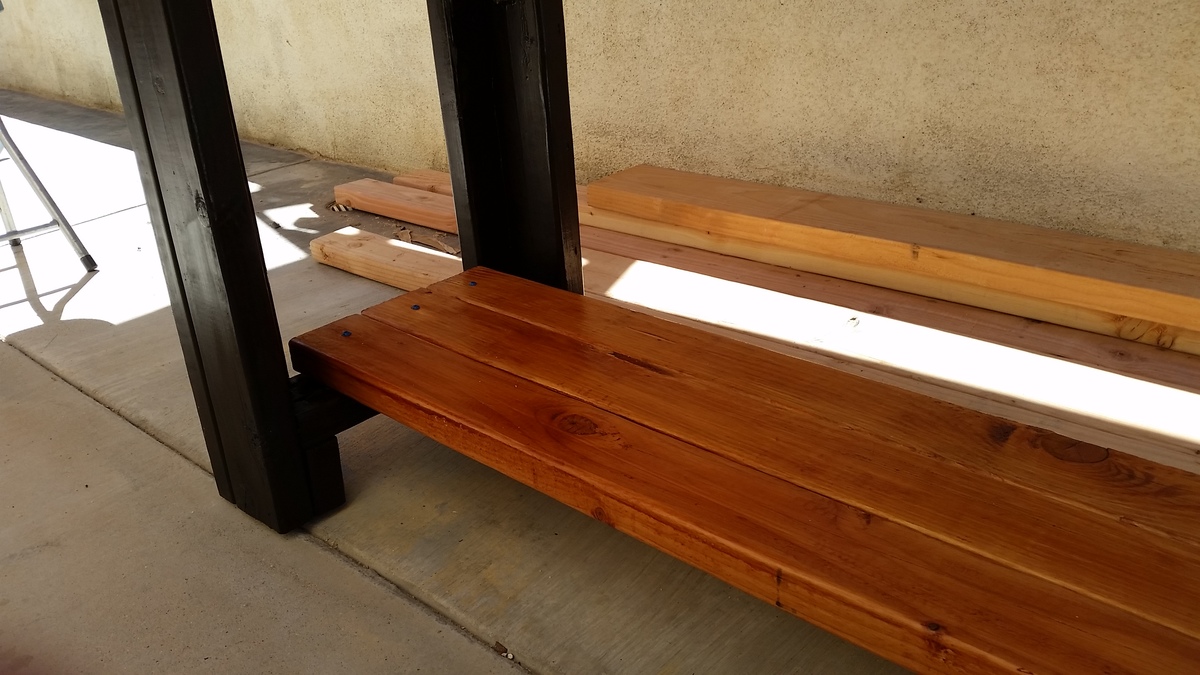
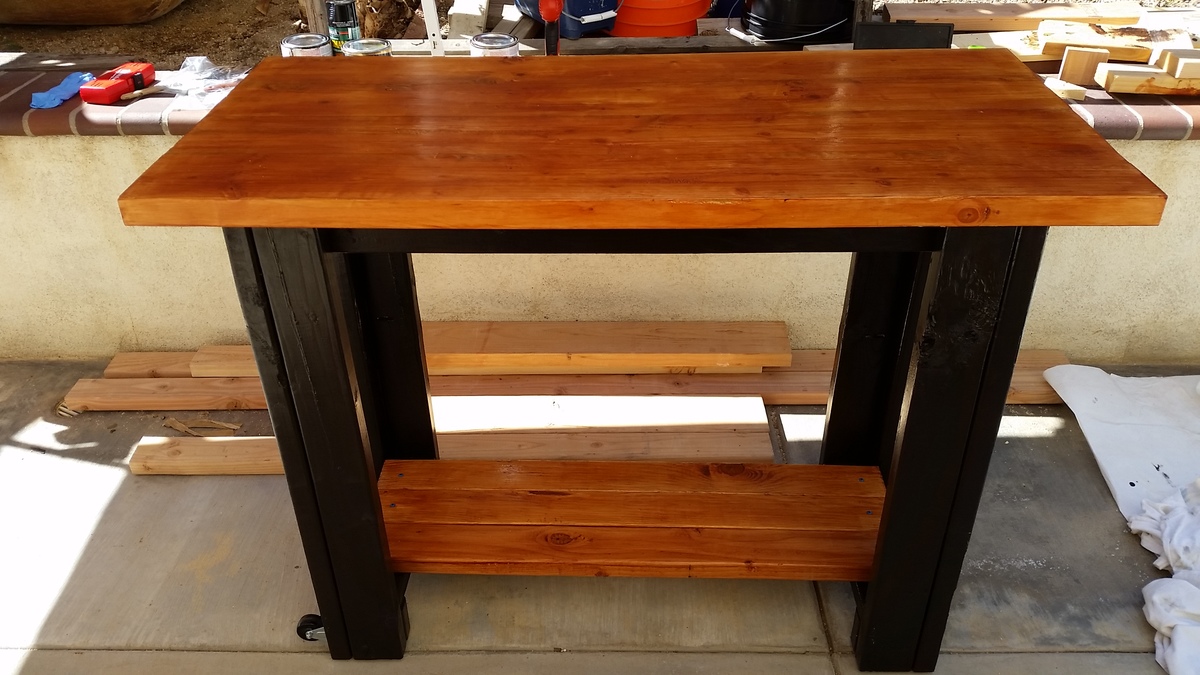
Built this over a week because the table top needed to dry and harden. I decided to paint the whole thing to make it look decent. I Kreg jigged four 2x6's together and added wood hardener to the table top. It was pretty weak because the wood was still wet so I had to dry it out for a few days. I also filled in the gaps with wood filler and then used a belt sander to smooth everything out. Everything else were just 2x4's. I knew it would be heavy so I added wheels to move it around and as a final touch I am adding 90 degree iron accent brackets to the table corners but I haven't got those delivered yet. I also added rubber screw-in feet so that the bottom doesn't chip when you move it around. Got those from Home Depot for $3
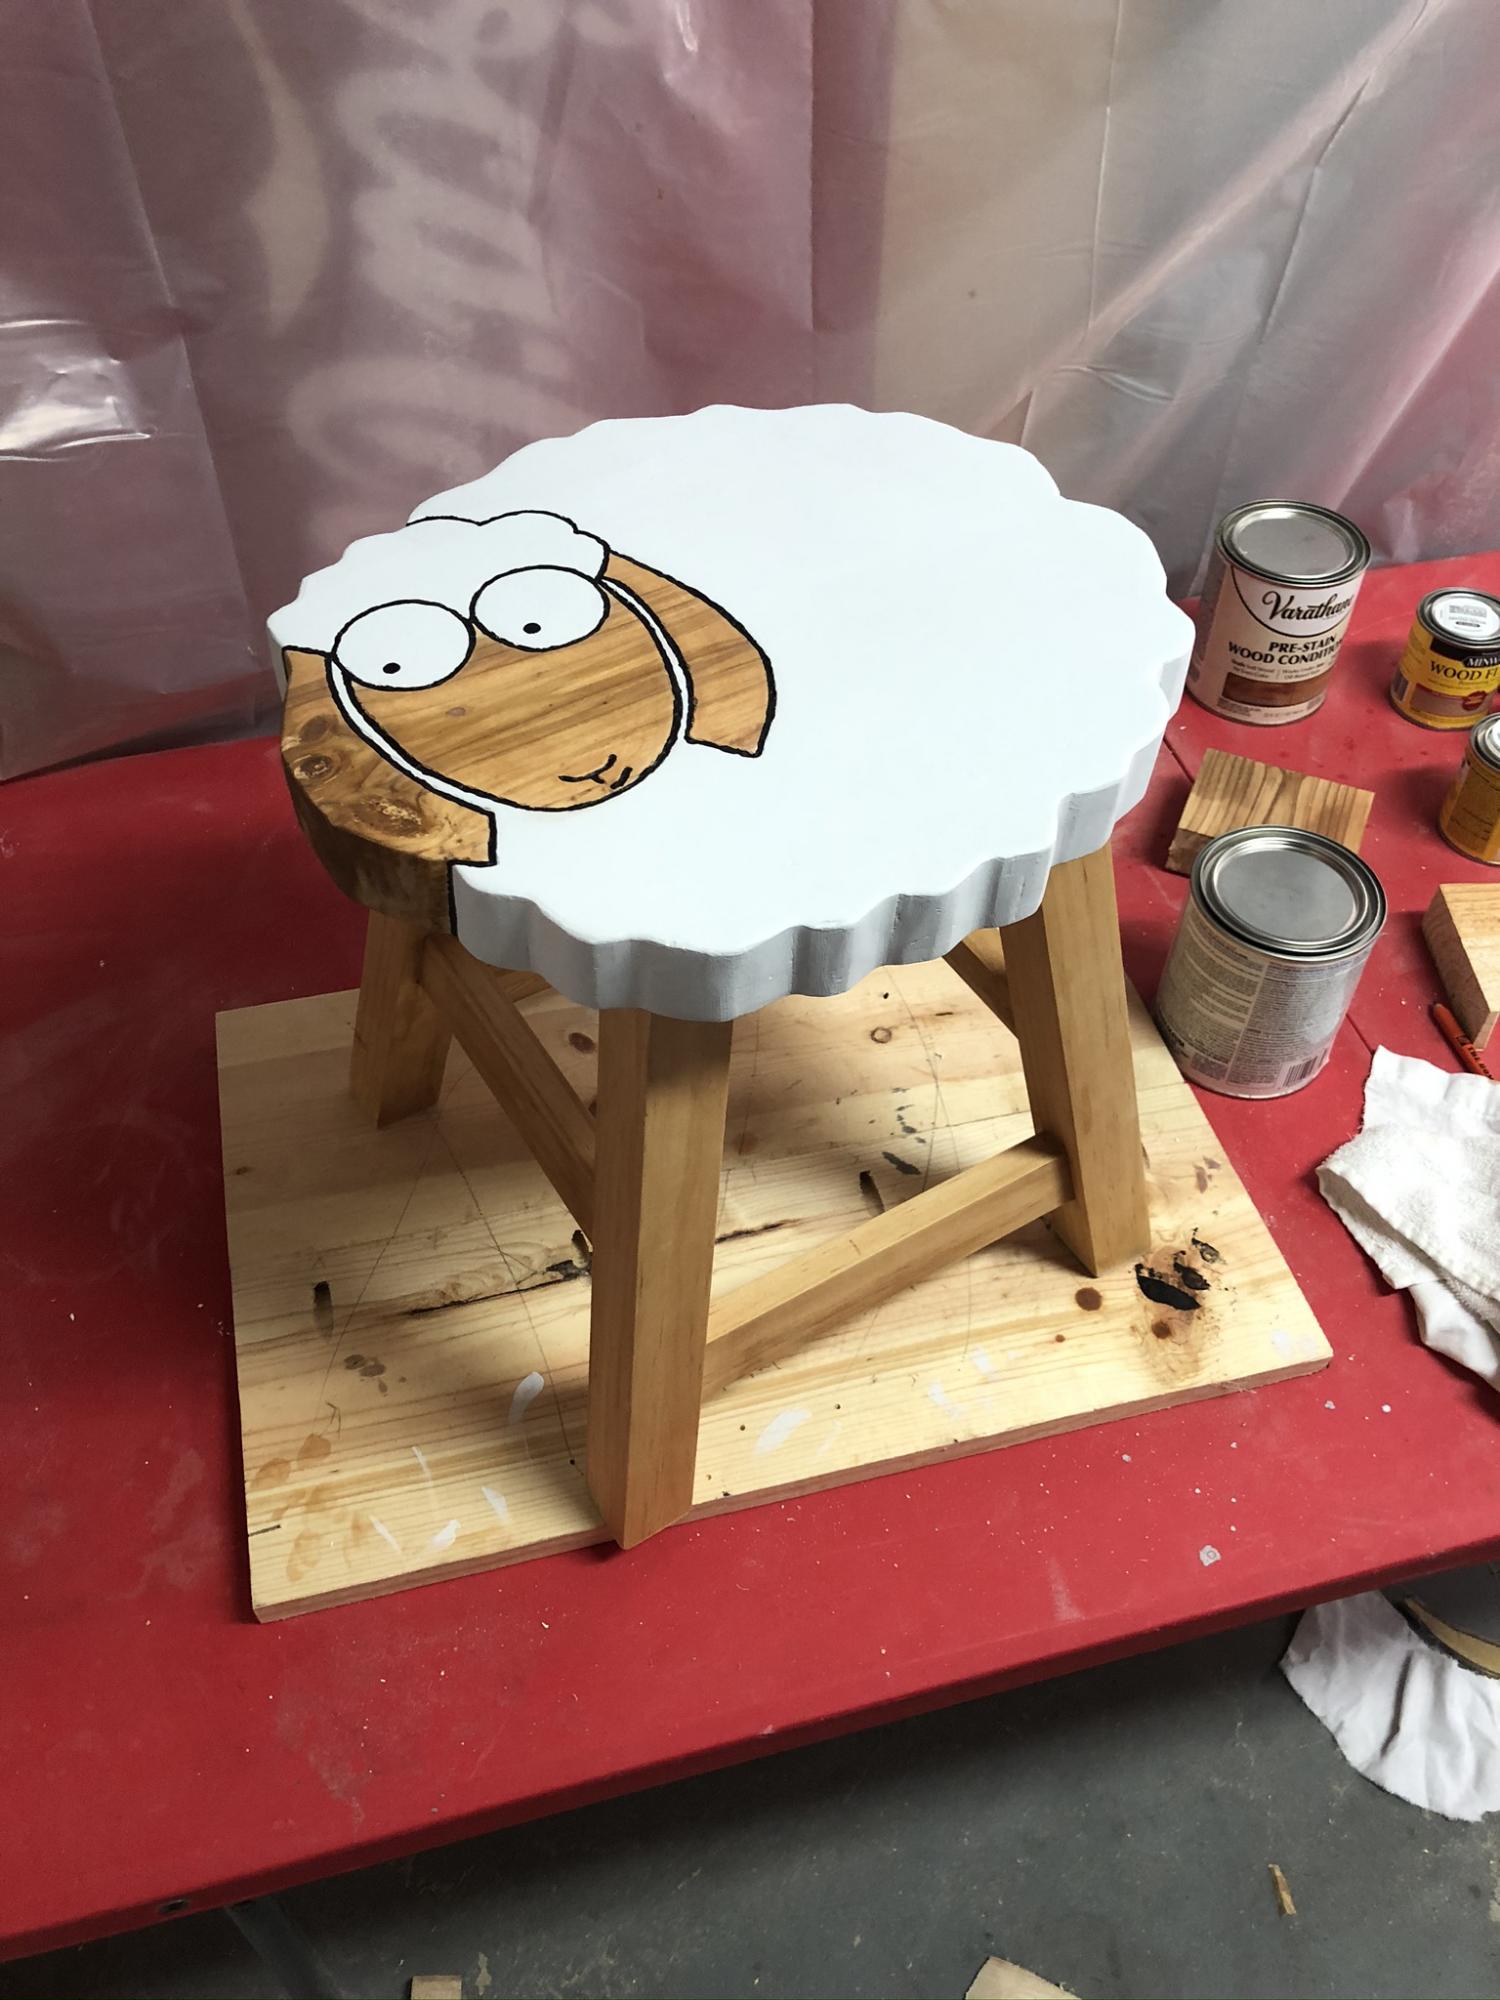
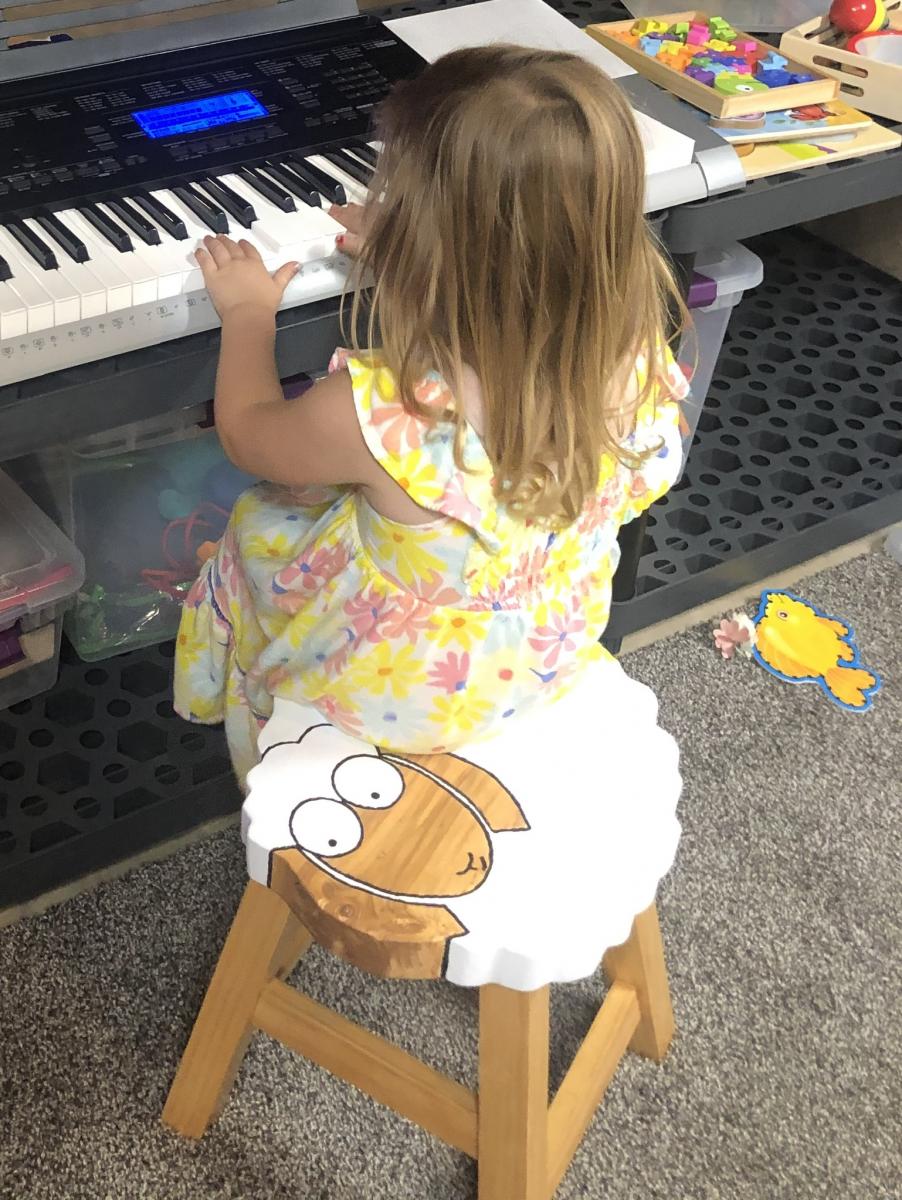
This was a gift for my goddaughter along with a keyboard for her third birthday! I love the way it turned out, and it fits perfectly in with the animal theme in their playroom!
Comments
Ana White Admin
Thu, 03/19/2015 - 10:43
Nice!
That is a great design and build! Thanks for sharing!