Community Brag Posts

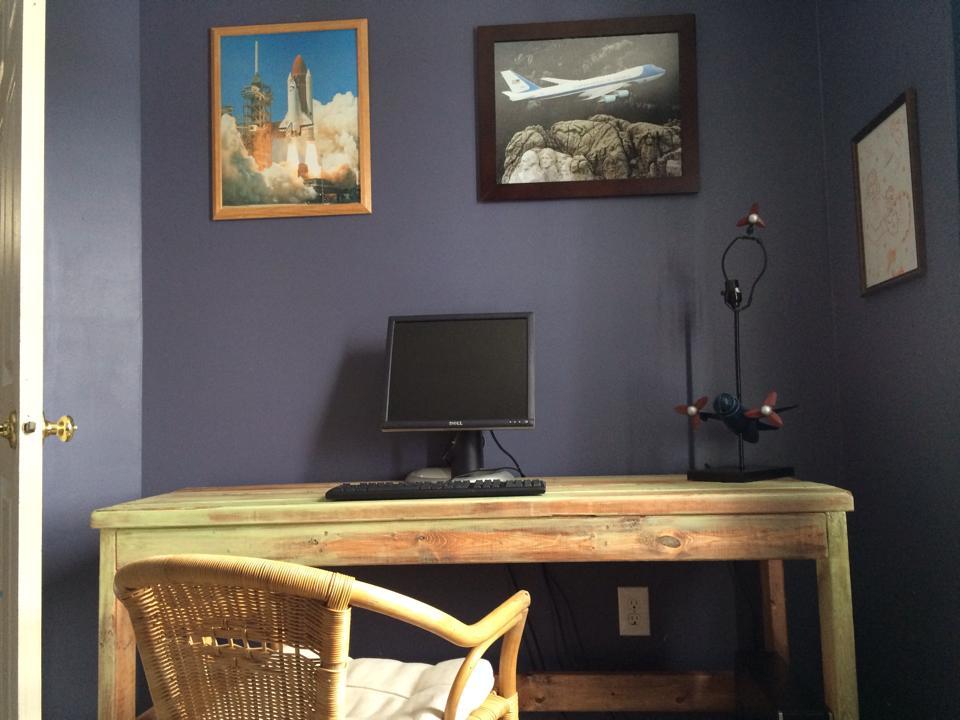
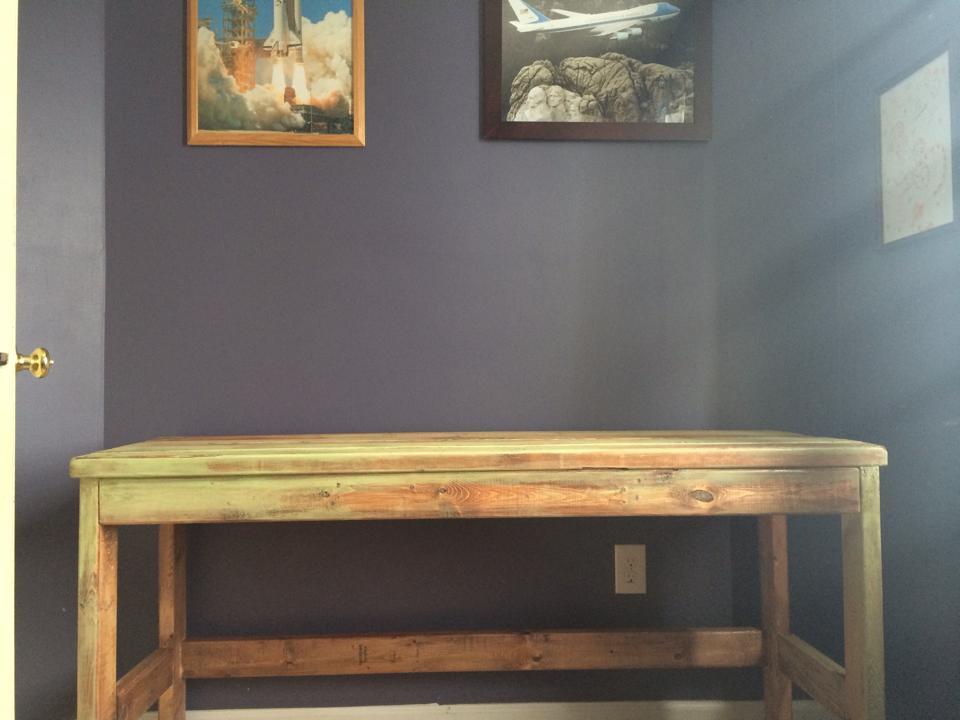
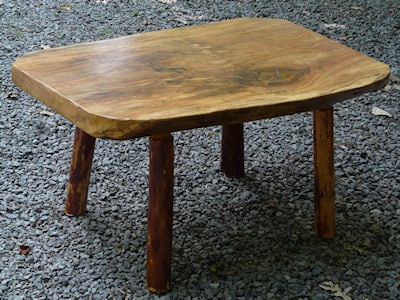
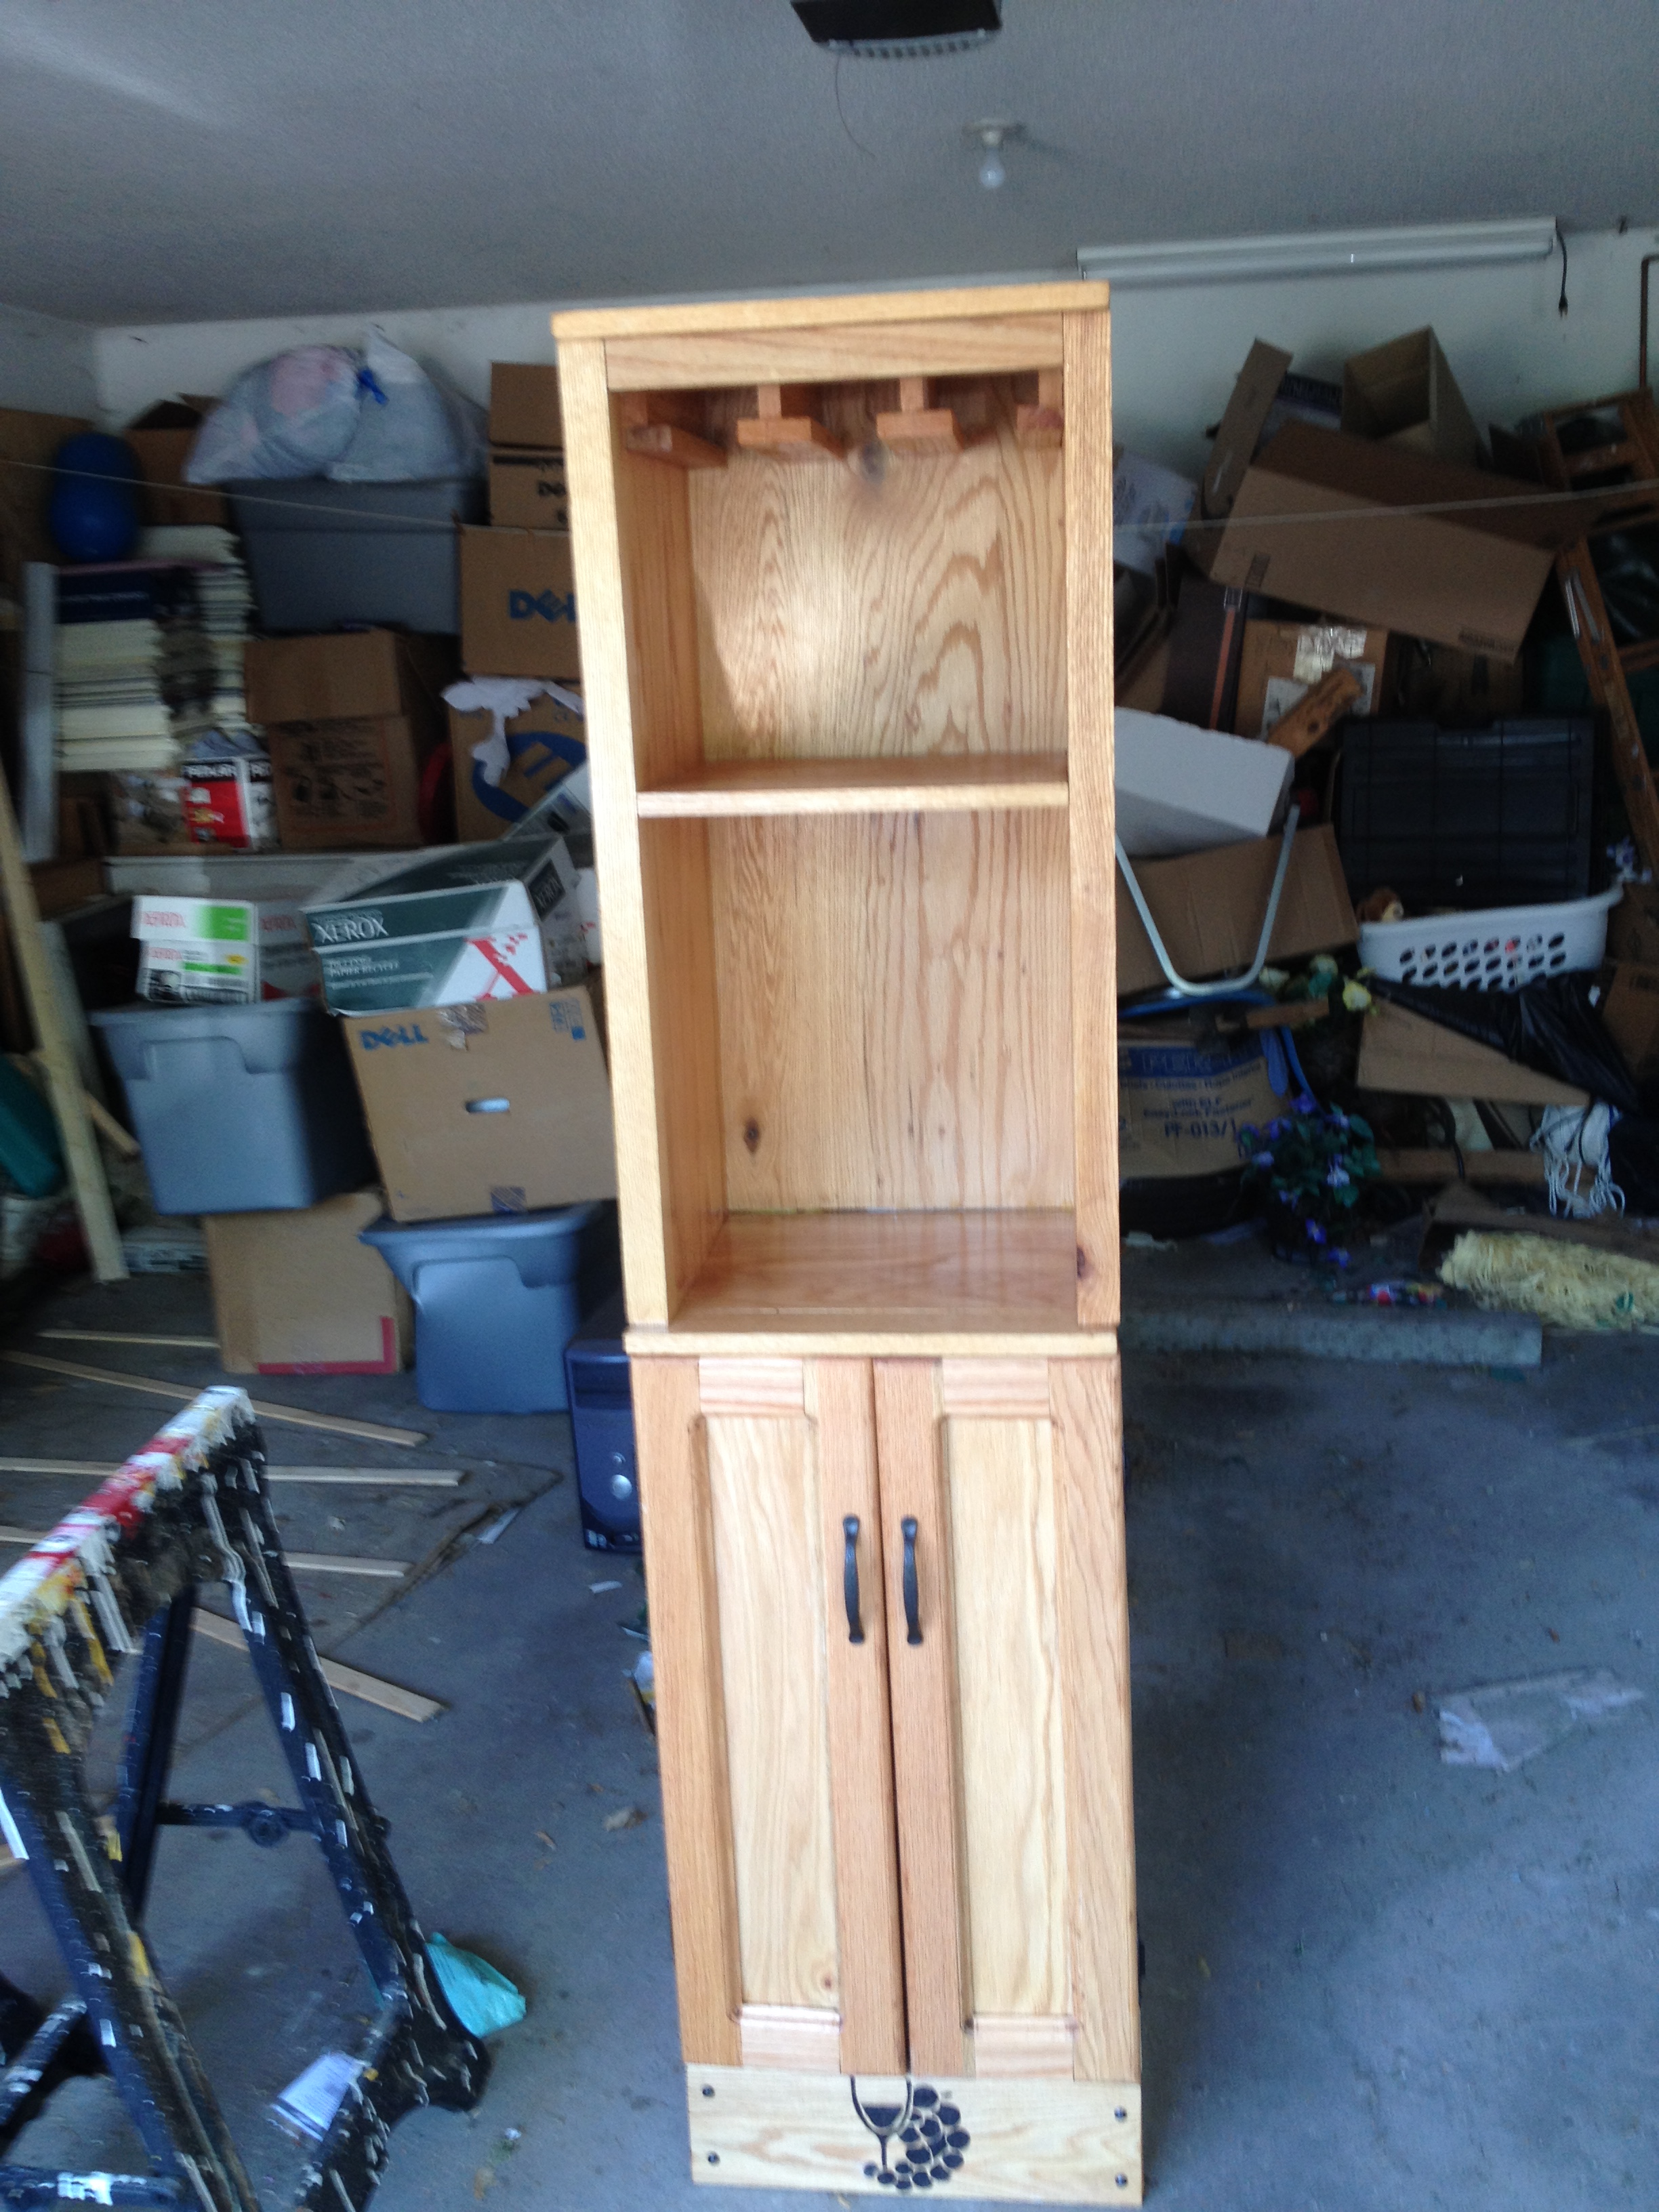
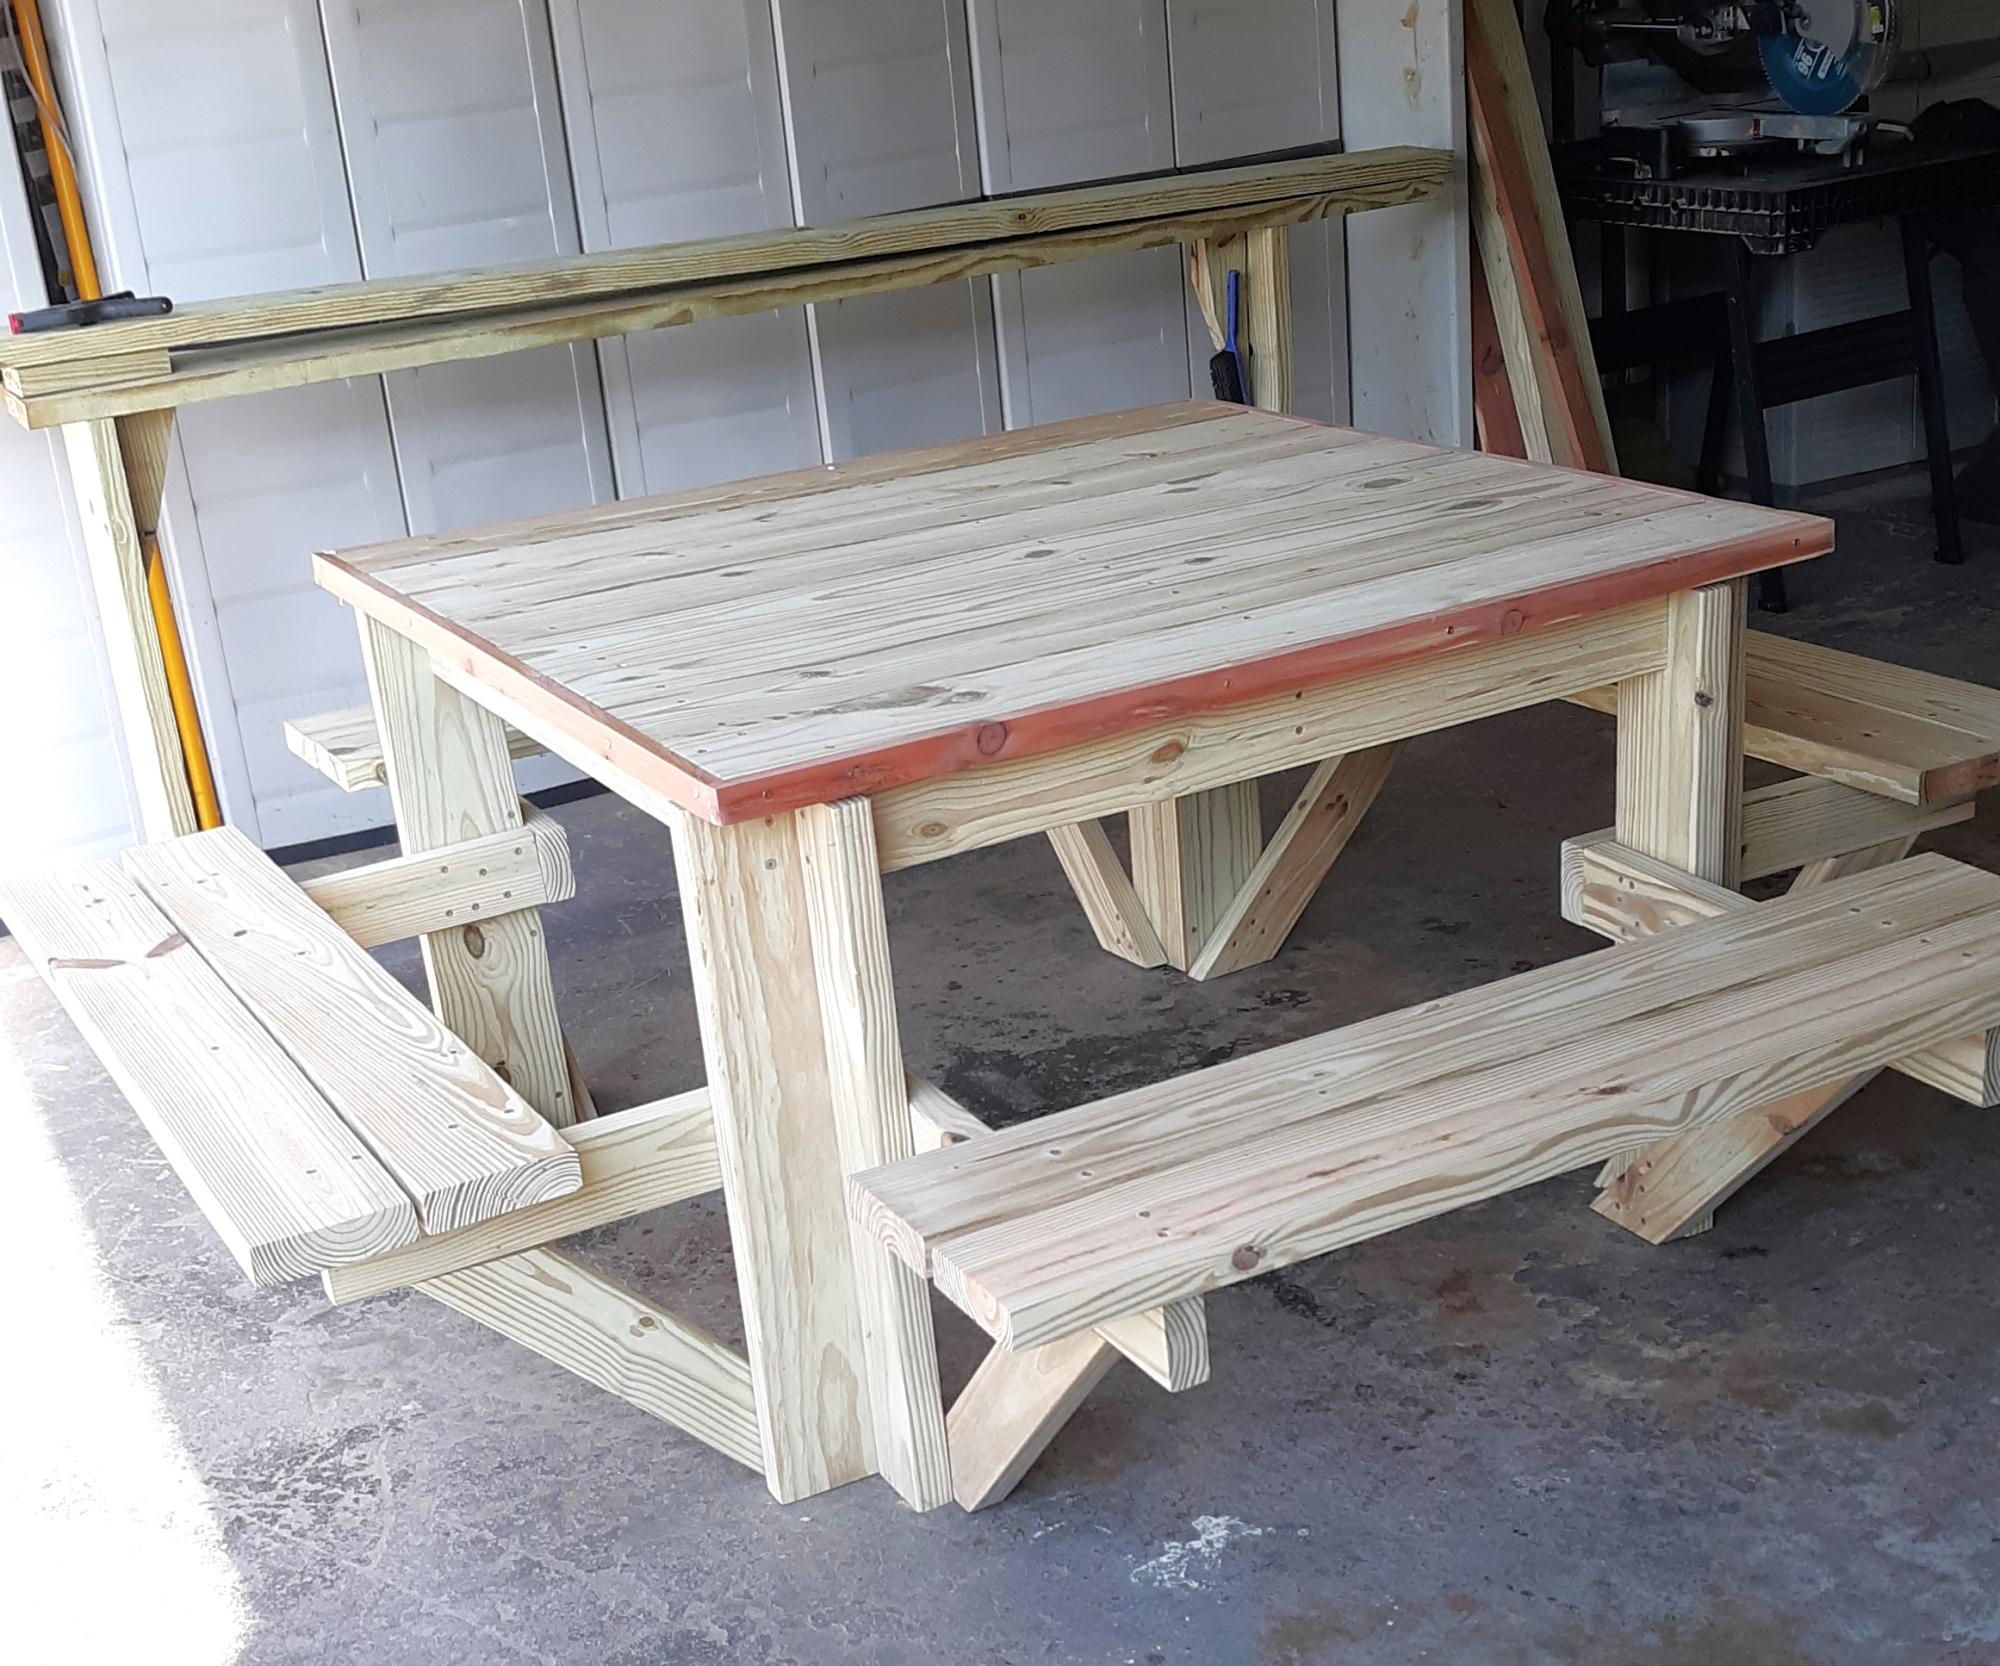
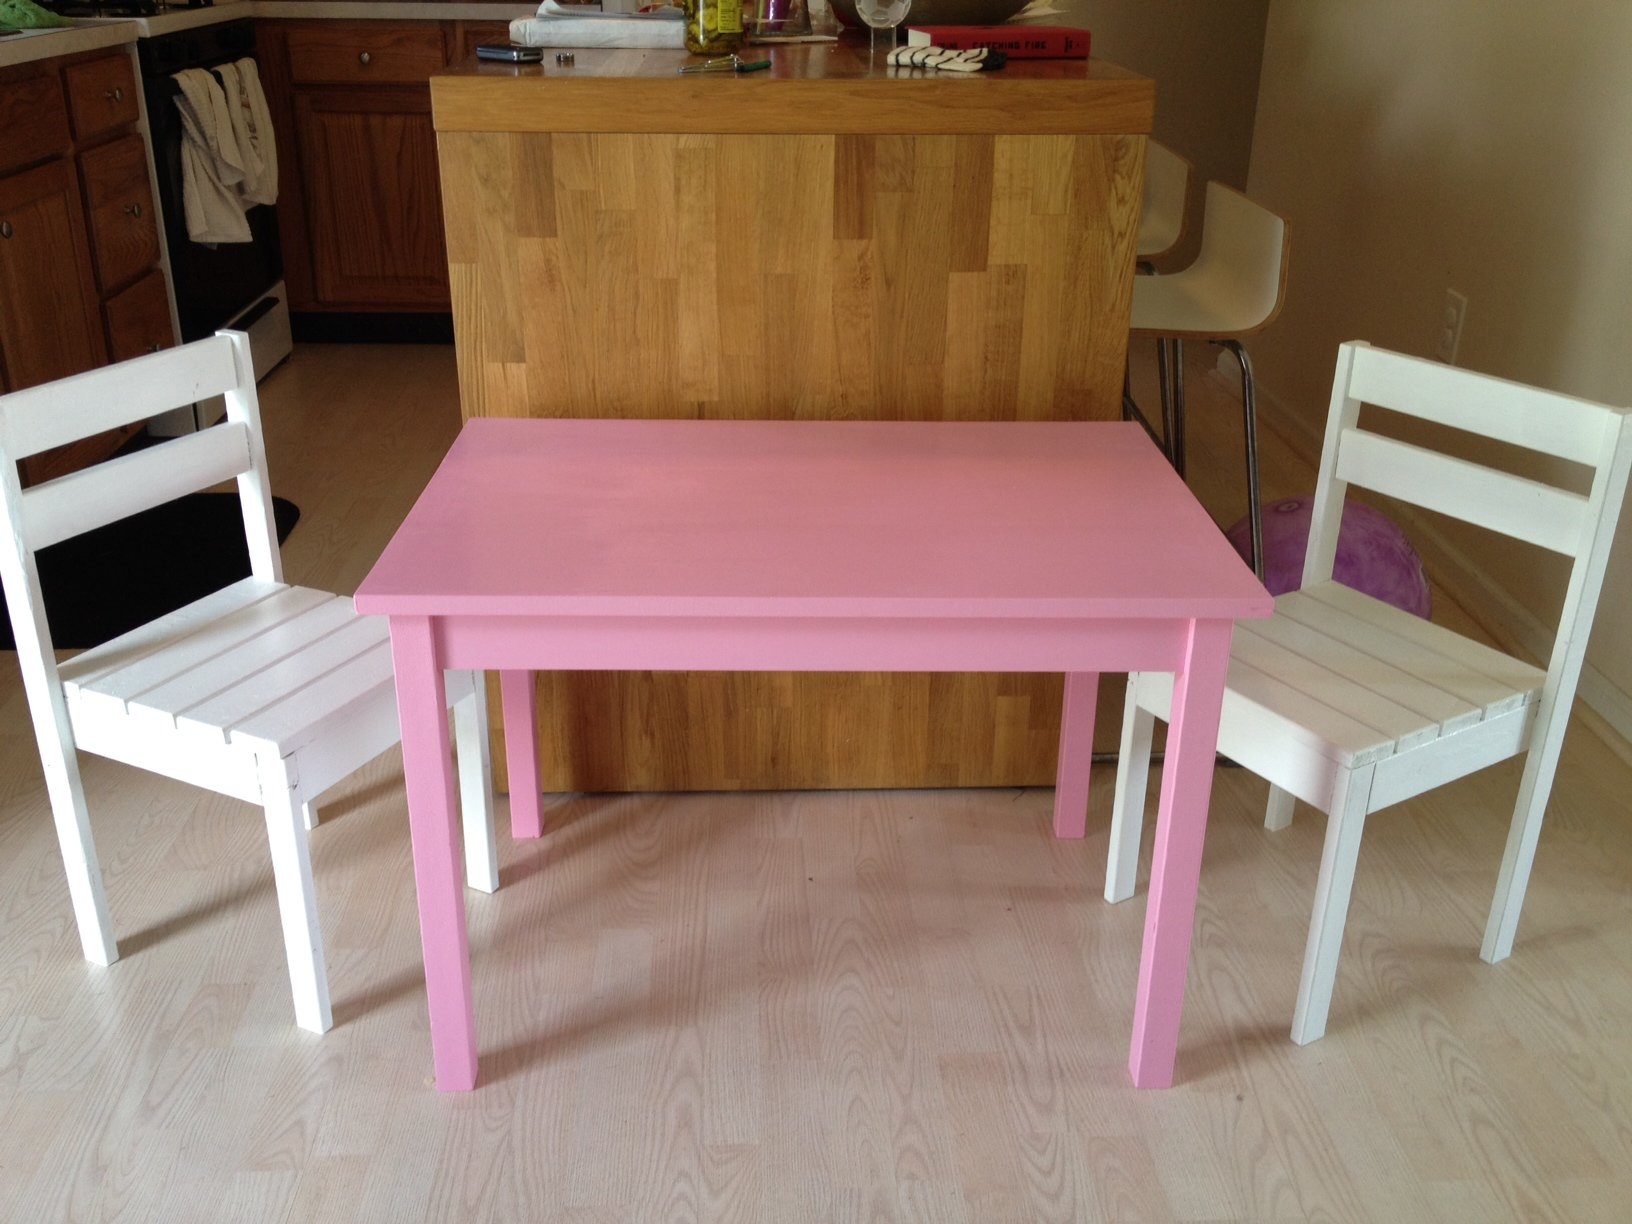
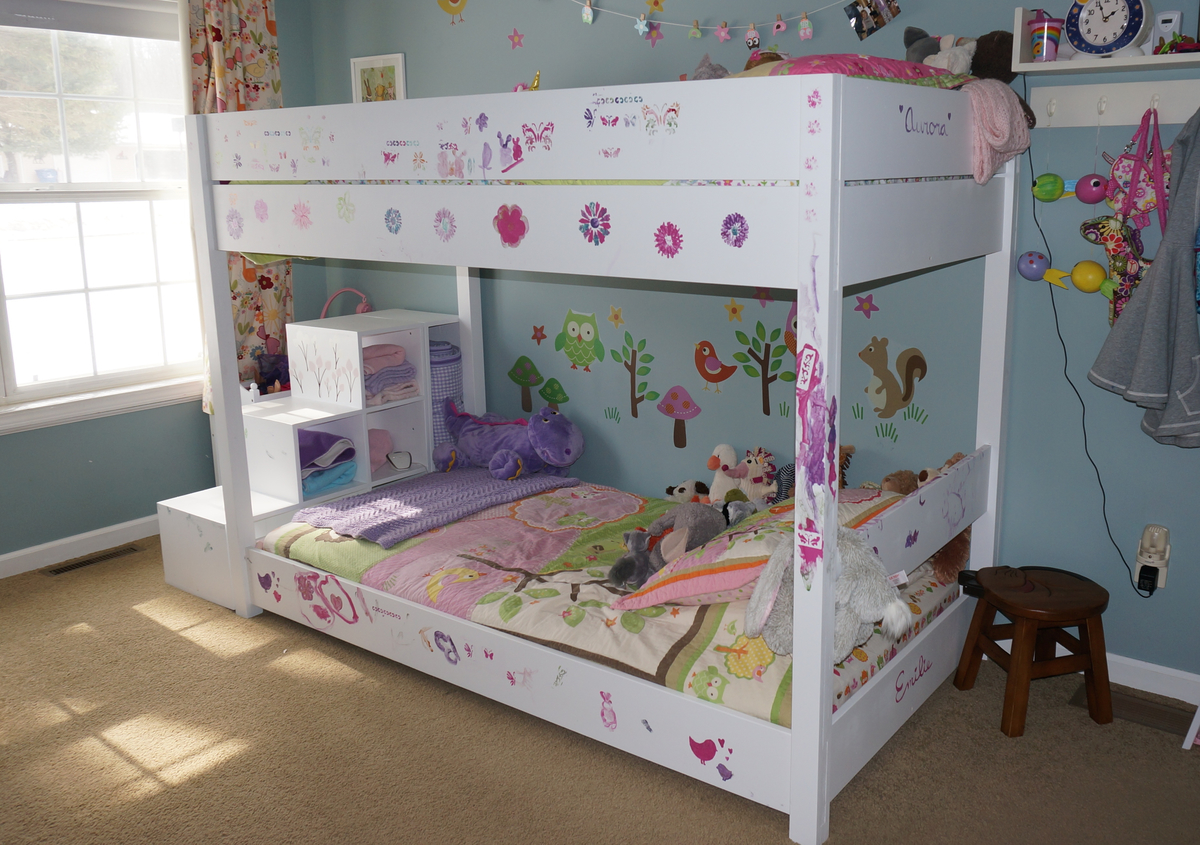
DIY Rustic Coffee Table with Custom Finish

Submitted by Anonymous (not verified) on Sun, 10/29/2023 - 19:41

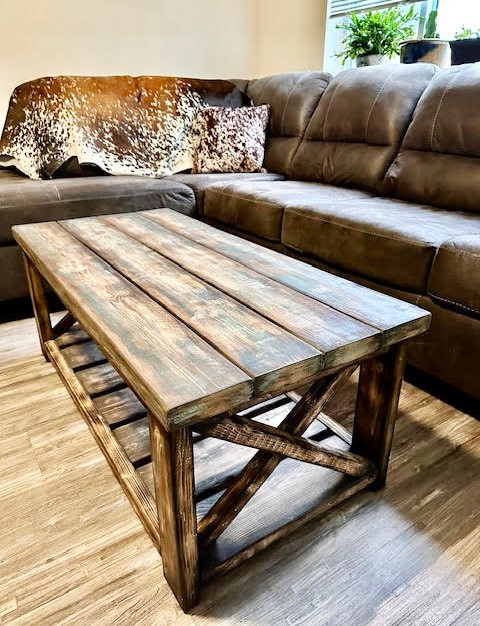
Great coffee table by April!
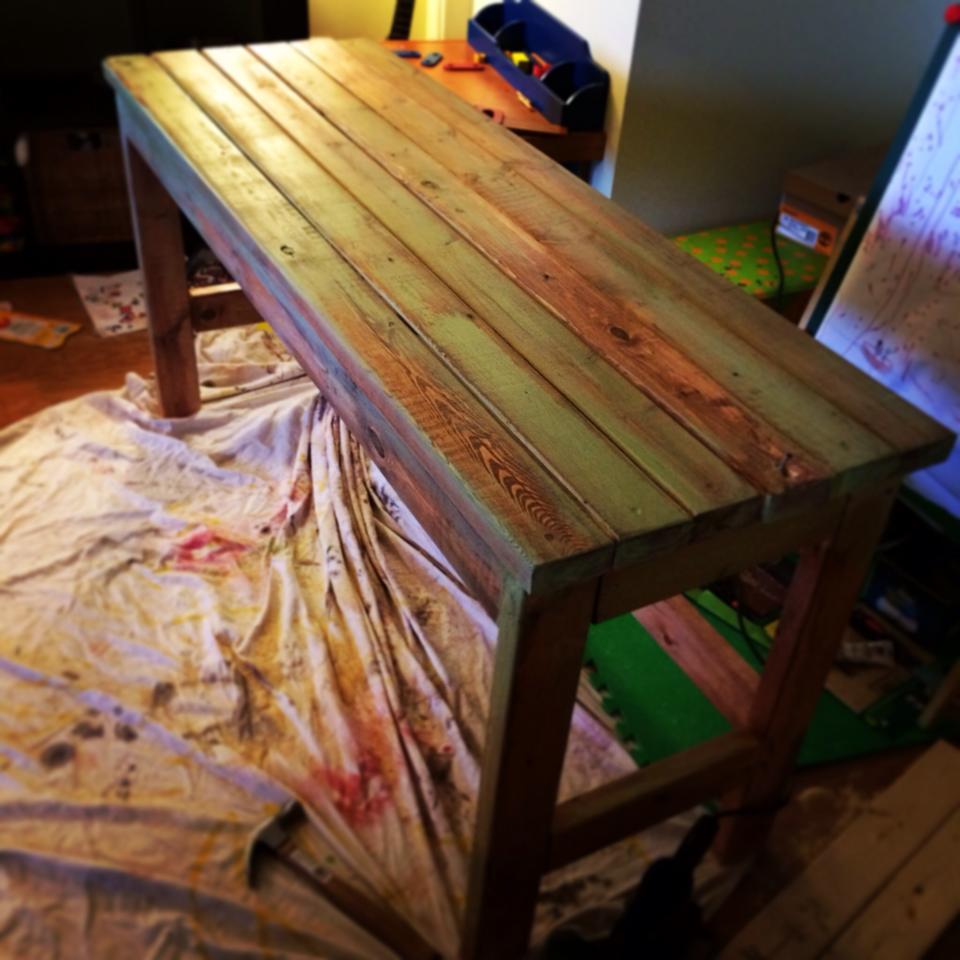
For the Finish:

First I lightly burnt the wood. The base is minwax in ebony. I actually sprayed water on the wood and used a damp cloth to apply. 

The top I used random spots of regular satin paint in grey, a couple shades of blue and an olive green and a chalk paint white. Then sanded it down removing most of the paint and stained it with minwax provincial.  And went over some of the edges with the ebony. 

Miter Saw Cart

Submitted by Rennie82 on Fri, 05/18/2012 - 12:12

Coped the design almost to the "T." I loved this design because I only have a small shed to work out of and this stand for my miter saw was much needed.

The major difference between the original and my design are the folding arms. I was working within a very small budget and couldn't afford the fancy folding arms so I was able to do a little creative thinking and decided to go with a removable piece of 1x3 that is wedged under the arms with a block installed on the "leaf" and the main table. I used the old pythagorean theorem to figure out how to make it a level 45 degrees. With a little playing around I have both arms completely level and the stand is perfect!! I am excited to get some other projects on the way now that I have somewhere other than the ground to work with my miter saw.

I didn't use any pocket holes, but am picking up a Kreg jig set from someone this upcoming week and am looking forward to putting that into some use on my next projects!

Built from Plan(s)
Estimated Cost
30 bucks or so
Estimated Time Investment
Afternoon Project (3-6 Hours)
Finish Used
None
Recommended Skill Level
Beginner

Comments

stephanier (not verified)

Fri, 05/18/2012 - 19:04

I would like to see a close up too if possible. I am wanting to make the saw cart plus two more carts with the middle flush with the top so I can push the two together to use for a workbench. How much weight do you think your sides can hold the way you set them up?

In reply to by stephanier (not verified)

Rennie82

Sun, 05/20/2012 - 11:28

I honestly am not too sure how much weight it would hold. I havent seen any bowing or pushing yet. I have used this so far to cut a piece of 4x4 12ft long made of cedar for my next project and didnt have any problems. I think if I need more weight holding strength, I think I would just change out the 1x3 and maybe use a 2x4 in there. I am also not a 100% sure how much weight the hinge can hold, maybe someone else reading these posts can be a little more helpful as far as that goes.

2x4 Desk

Submitted by Livvyhill on Mon, 03/03/2014 - 18:40

I had fun with this project. I needed a long and narrow desk for my son's room, and this was perfect. It was sooo easy. I used countersink drill bit and filled in with wood filler. I sanded to smooth it out and make soft edges. I stained first with a black cherry stain, then spread teal paint around (was inspired by a lot of rustic wood and teal pieces that I saw at homegoods), then coated it with kona miniwax stain to darken it up. I put a clear polyurethane finish on it to protect it. Super easy and I love it. Got all of my wood for under $30.

Built from Plan(s)
Estimated Time Investment
Afternoon Project (3-6 Hours)
Finish Used
Black Cherry miniwax, Teal paint, Kona miniwax, polyurethane finish.
Recommended Skill Level
Starter Project

Garage Shelving

Submitted by Anonymous (not verified) on Thu, 06/02/2016 - 10:16

I used Anna's shelving plans from this video https://youtu.be/cTxRBckenI4 and it was super easy.    I also made a cut out for the mini freezer on the far end and also cut the ends closest to the garage door track at a 45 degree.    The shelves are 24 inches and the run is 16' long.   The cost was right at $100.    We are building more of the same shelving in the garage very soon.  


Thanks Anna for the design!

Ron from Houston

Estimated Time Investment
Day Project (6-9 Hours)
Recommended Skill Level
Intermediate

Comments

DIY Pantry Shelves

Submitted by Anonymous (not verified) on Sat, 11/04/2023 - 14:49

Built in 5ft x 5ft pantry using pine panels as they were available in the widths we needed. Inspired by your pantry build video, thank you.

Rob Worsnop

Built from Plan(s)

Rugged Outdoor Table

Submitted by cdrum89 on Thu, 03/06/2014 - 06:05

Ok I decided to construct my very first project - a small outdoor table that would look a bit ancient mostly because the need for it in my house has been screaming since I could remember. I would selfish to say that I did it alone but I got a bit of help from my hussy. I'm happy that the kids love it and all struggle to have lunch on it.

Built from Plan(s)
Estimated Cost
$50.00
Estimated Time Investment
Day Project (6-9 Hours)
Finish Used
Coated with a transparent paint/thinner as I wanted to keep it a bit raw.
Recommended Skill Level
Beginner

LV wine case

Submitted by Anonymous (not verified) on Sun, 06/05/2016 - 13:09

I built this wine case for my for my daughter and her husband. I couldn't done it with Ana"s great plans.

Built from Plan(s)
Estimated Cost
$200
Estimated Time Investment
Week Long Project (20 Hours or More)
Finish Used
Daughter and son-in-law will use it to store the many wine bottles they receive as gifts.I think natural Oak is beautiful and just use a poly finish.
Recommended Skill Level
Intermediate

Table for the little one

Submitted by Rennie82 on Fri, 05/25/2012 - 05:36

Got my new Kreg Jig, picked up a brand new master kit on craigslist for half the normal price! The table went together beautifully and the chairs were simple as well!

Built from Plan(s)
Estimated Cost
about 25 dollars for all the lumber
Estimated Time Investment
Afternoon Project (3-6 Hours)
Finish Used
Valspar latex semi gloss
Recommended Skill Level
Beginner

Kids Bunk Bed with Storage Stairs

My husband and I searched at least a hundred plans to find a simple bunk bed for our girls and Ana's Loft bed was a perfect base plan with a few changes. We wanted a lower bunk, top and bottom, since our girls are young (ages 5 and 2.5). The youngest just moved from the crib so by putting the bed lower we are able to skip the side rails. Overall we cut 10 inches off the height of the original loft bed plan and still have plenty of room in the lower bunk. I can sit up comfortably on the lower bunk and the youngest can even stand. We went with another 8 inch board for the top bunk rail, it was simpler then the rail with cap but achieved the same overall rail height. We knew we didn't want a ladder in their room because our 2 yr old is fearless. So for the stairs my husband just ended up winging it, loosely basing them on the Storage Stairs plan, creating basic cubes so we can still let light in and have storage. We also didn't want the steps to be high up in case the girls fall from them, which is more common then them falling off the top bunk. At 32 in. high (the bunk is 61 in) both of them can still climb in the top bunk without issue. At first the steps didn't have the tall "cube" at the back but the platform just wasn't that big so the long cube was an add on and gave it the perfect size and heft. We couldn't be happier with how it turned out. Thanks Ana for your awesome blog and the great plans that you post. My husband also built the original play kitchen and it is amazing! I'll have to do another post with pics of that.

Estimated Cost
$300
Estimated Time Investment
Weekend Project (10-20 Hours)
Finish Used
Valspar white primer and top coat in one in satin finish. Decorative paint is Martha Stewart craft paint, our 5 year old chose stencils, the 2.5 year preferred to free hand her art ;)
Recommended Skill Level
Beginner

Comments

Octagon Picnic Table

Submitted by Anonymous (not verified) on Thu, 06/09/2016 - 04:59

Was a good project that I built for my son's new home.

I found a few errors in the instructions such as:

A) 2 - 2x4 @ 30 1/2 should be 30 1/4

B) 8 - 2x6 @ 32 15/16 both ends at 30 degrees off square, parallel to each other) should be cut at 34 15/16 blank sizes then cut the angles to acheive the finish size of 32 15/16

C) 8 - 2x6 @ 36 3/4 (both ends at 90 degrees off square, parrallel to each other) should be (both ends at 22 1/2 degrees off square, NOT parrrallel to each other)

Built from Plan(s)
Estimated Cost
$120
Estimated Time Investment
Week Long Project (20 Hours or More)
Finish Used
Dark Walnut Stain, Urethane Top Coat
Recommended Skill Level
Intermediate
Back