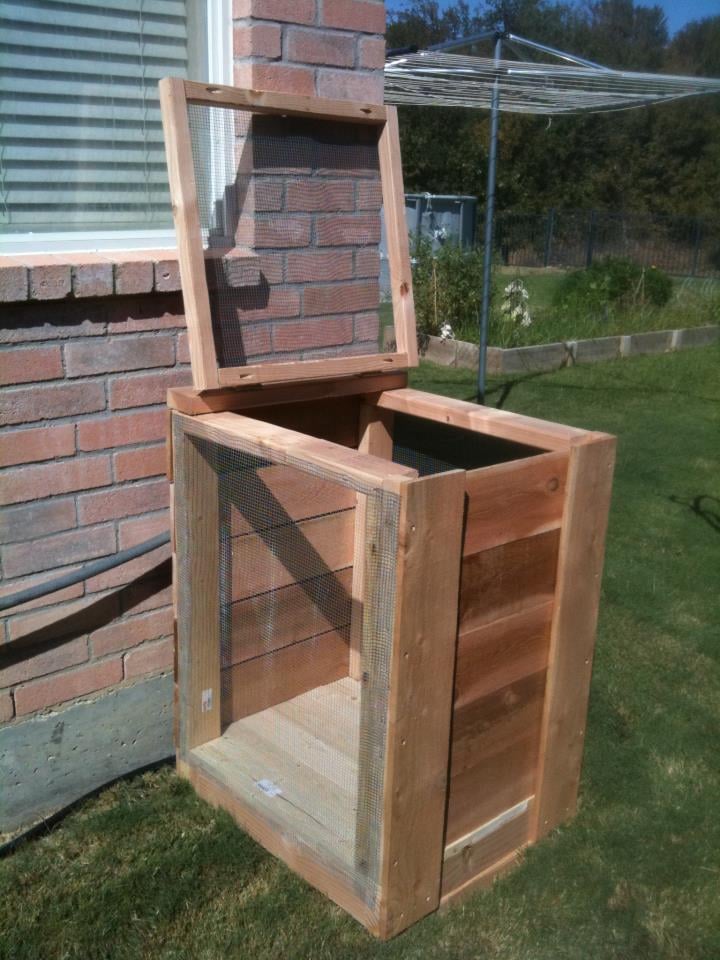
In my endeavor to be more green and self-providing, I started a backyard garden this past Spring. Thanks to the Texas heat, it was not as fruitful as I would have liked. I won't just blame the weather, but my novice status. I kept thinking I should have done more to amend the soil. So, I have been tossing around idea of composting to make my own nutrient rich soil and have a better experience with my garden next year. So, I found these plans online and I modified them down to a single 2'x2' sized bin. It also had to be mobile in that I could move it around my yard if I need to find a better place for it.
From Plan: Build A Compost Bin www.lowescreativeideas.com
http://lowescreativeideas.com/idea-library/projects/Building-a-Compost-…
Estimated Cost: $20 for Lumber $13 for Hardware Cloth $14 for Galvanized Hinges
Estimated Time Investment: 3 hours
Required Skill Level: Intermediate
Type of Wood: Cedar and Pine
Finish Used: Natural/Matt Finish
I was able to use some left over wood for my project, but the estimate above would represent all wood being purchased. I was not really happy on the price of the galvanized hinges and I used two of them at $7 each.
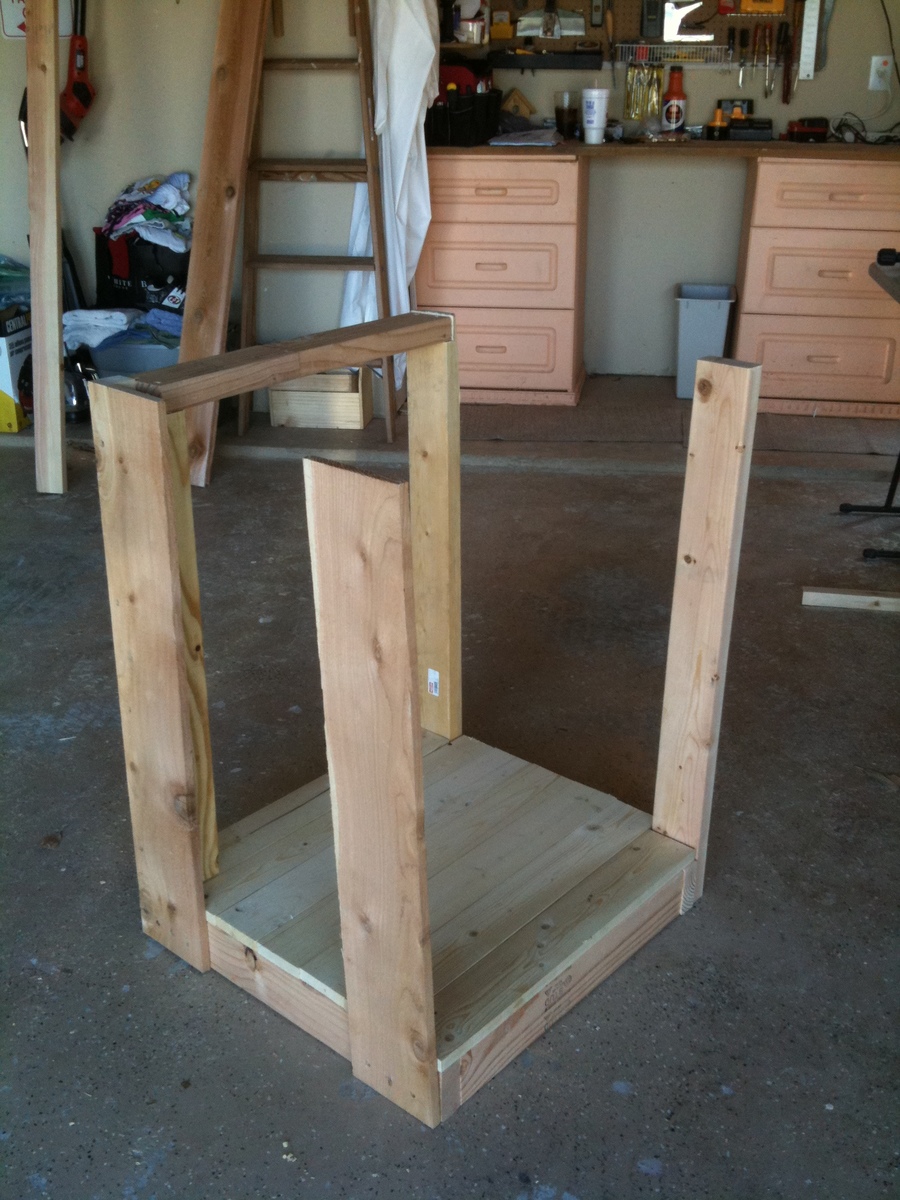
The plans also called for 2x6's for the bottom, but that sized plank would have made it very very heavy and to me the whole point of having a bottom to your compost is so that you can move it if need be... so I use 1x4's
Since I didn't want my compost to come into contact with pre-treating chemicals, I did not use pretreated wood. Instead, I put a light coating of a matte finish on only the wood that would stay in contact with moisture. Otherwise, I want the cedar to mellow and age.
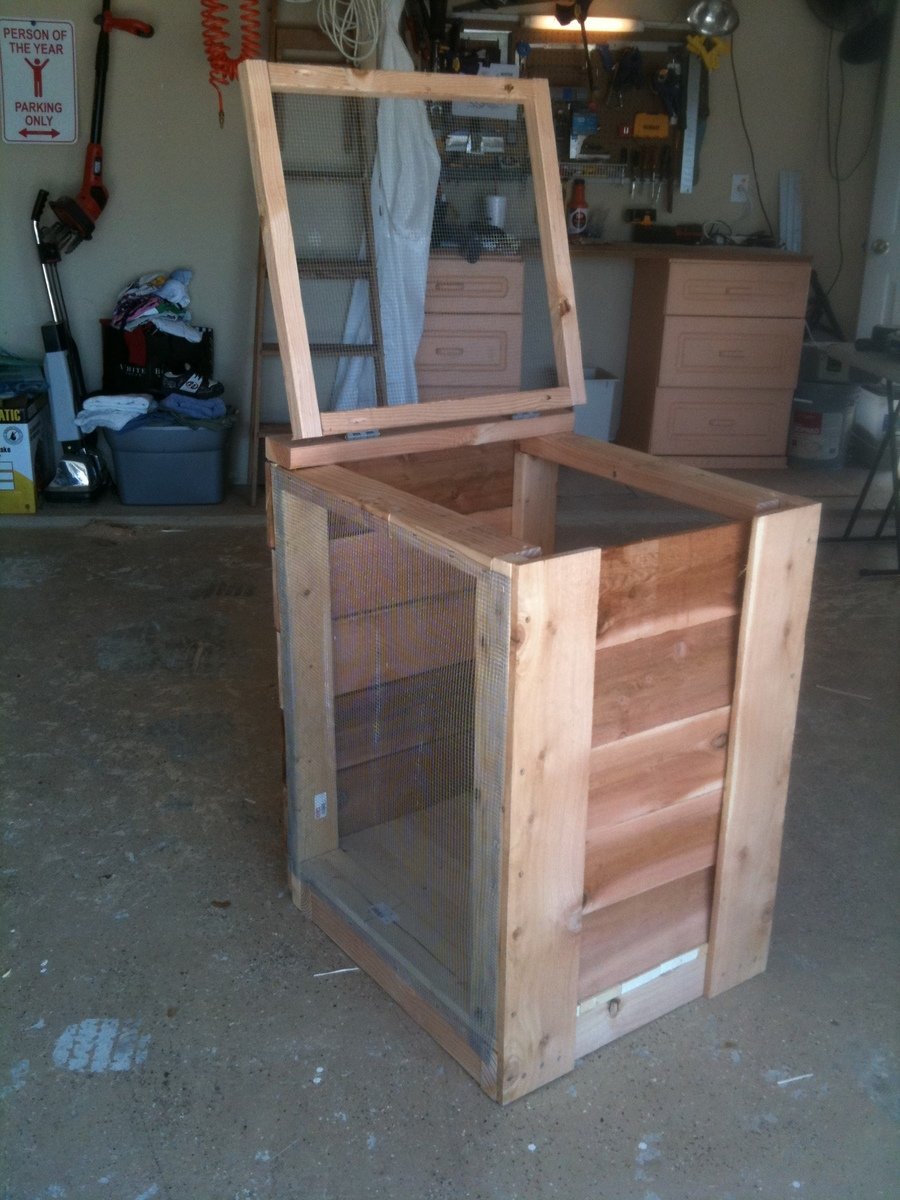
My final cost was about $40 using some left over wood. In one case, I actually used my Kreg Jig to create a 2x4 of appropriate length with some of my scraps. Worked beautifully. Also used it on the lid, as you can see in the picture.






Comments
Margaret Kubiszyn (not verified)
Mon, 11/28/2011 - 13:57
Amazing!
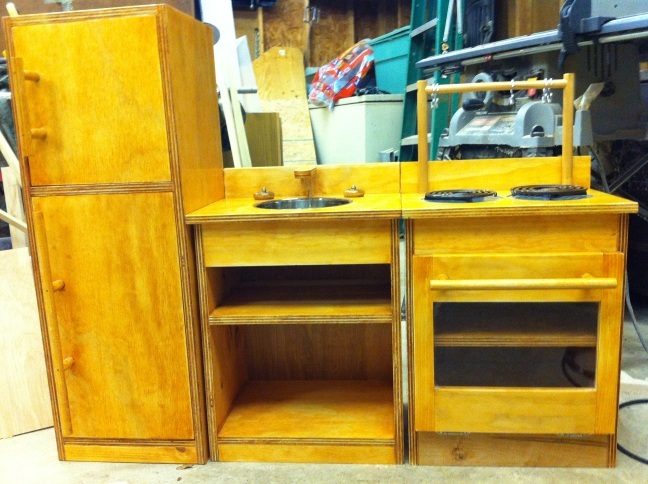
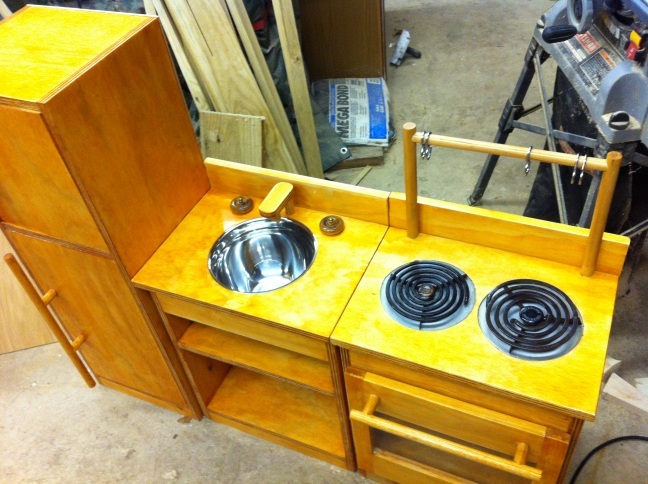
Great job - love that you recycled the old stove elements!
claydowling
Mon, 11/28/2011 - 14:51
Nice project
Like the kitchen, and glad to see a fellow lover of amber shellac on here. Just a bit of advice, you don't want shellac as your top coat for a child's item. It tends to pick up dirt, and it's damaged by water.
Either an oil based or water borne polyurethane would be an ideal sealer coat. The water borne has the advantage of drying very quickly, especially if you wipe it on. Both finishes are non-toxic once dry (as are nearly all finishes). I recently had excellent luck with Varathane's products, which are available at Home Depot. It's sold as a floor finish (at which it excels), but it's generally useful. The floor finish has Aluminum Oxide added in, which is the grit on sand paper. Tough stuff, and it will stand up to whatever your kids do.
kpcrash
Tue, 11/29/2011 - 14:22
Thanks!
I typically do finishes for guitars and have had great success with waterborne lacquers such as KTM-9 or EM Coatings products, and highly considered using one of those on here.
thewoodbuilder
Mon, 11/28/2011 - 21:15
Very Nice
Are there plans for this project?
kpcrash
Tue, 11/29/2011 - 14:23
I found everything starting
I found everything starting on this page - http://ana-white.com/2010/11/inspiring-play-kitchens-and-a-smaller-frid…