2 Matching Farmhouse Bedside Tables
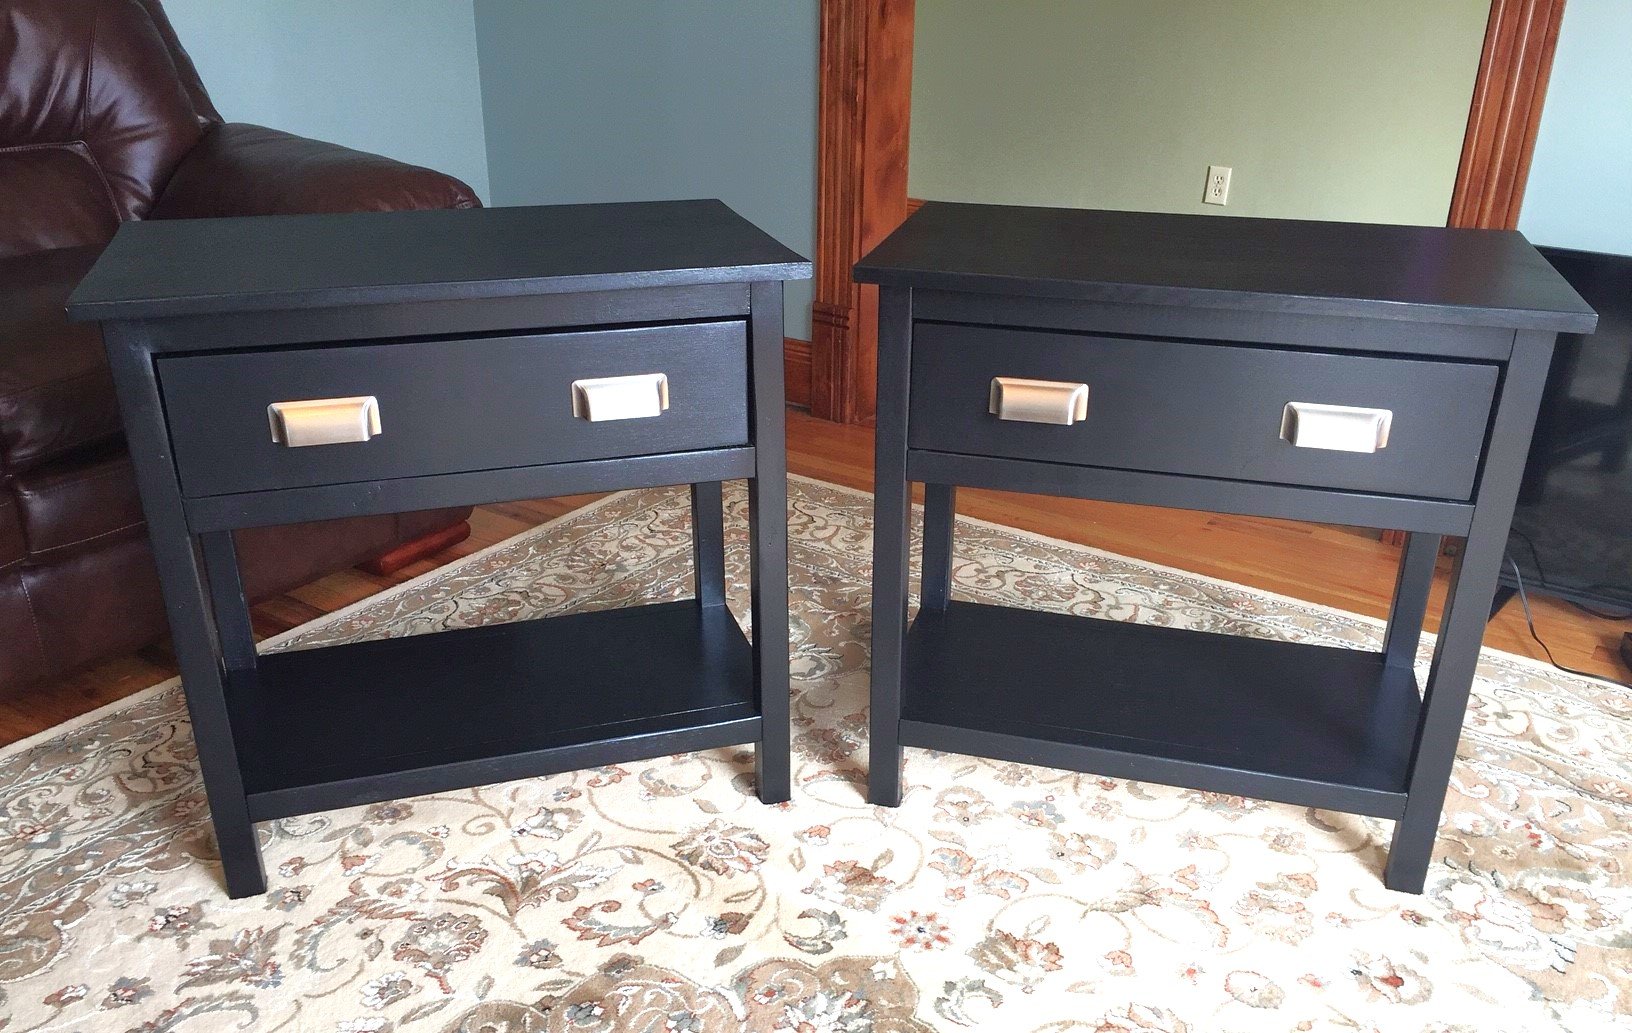
2 nightstands built from Farmhouse bedside table plans.

2 nightstands built from Farmhouse bedside table plans.
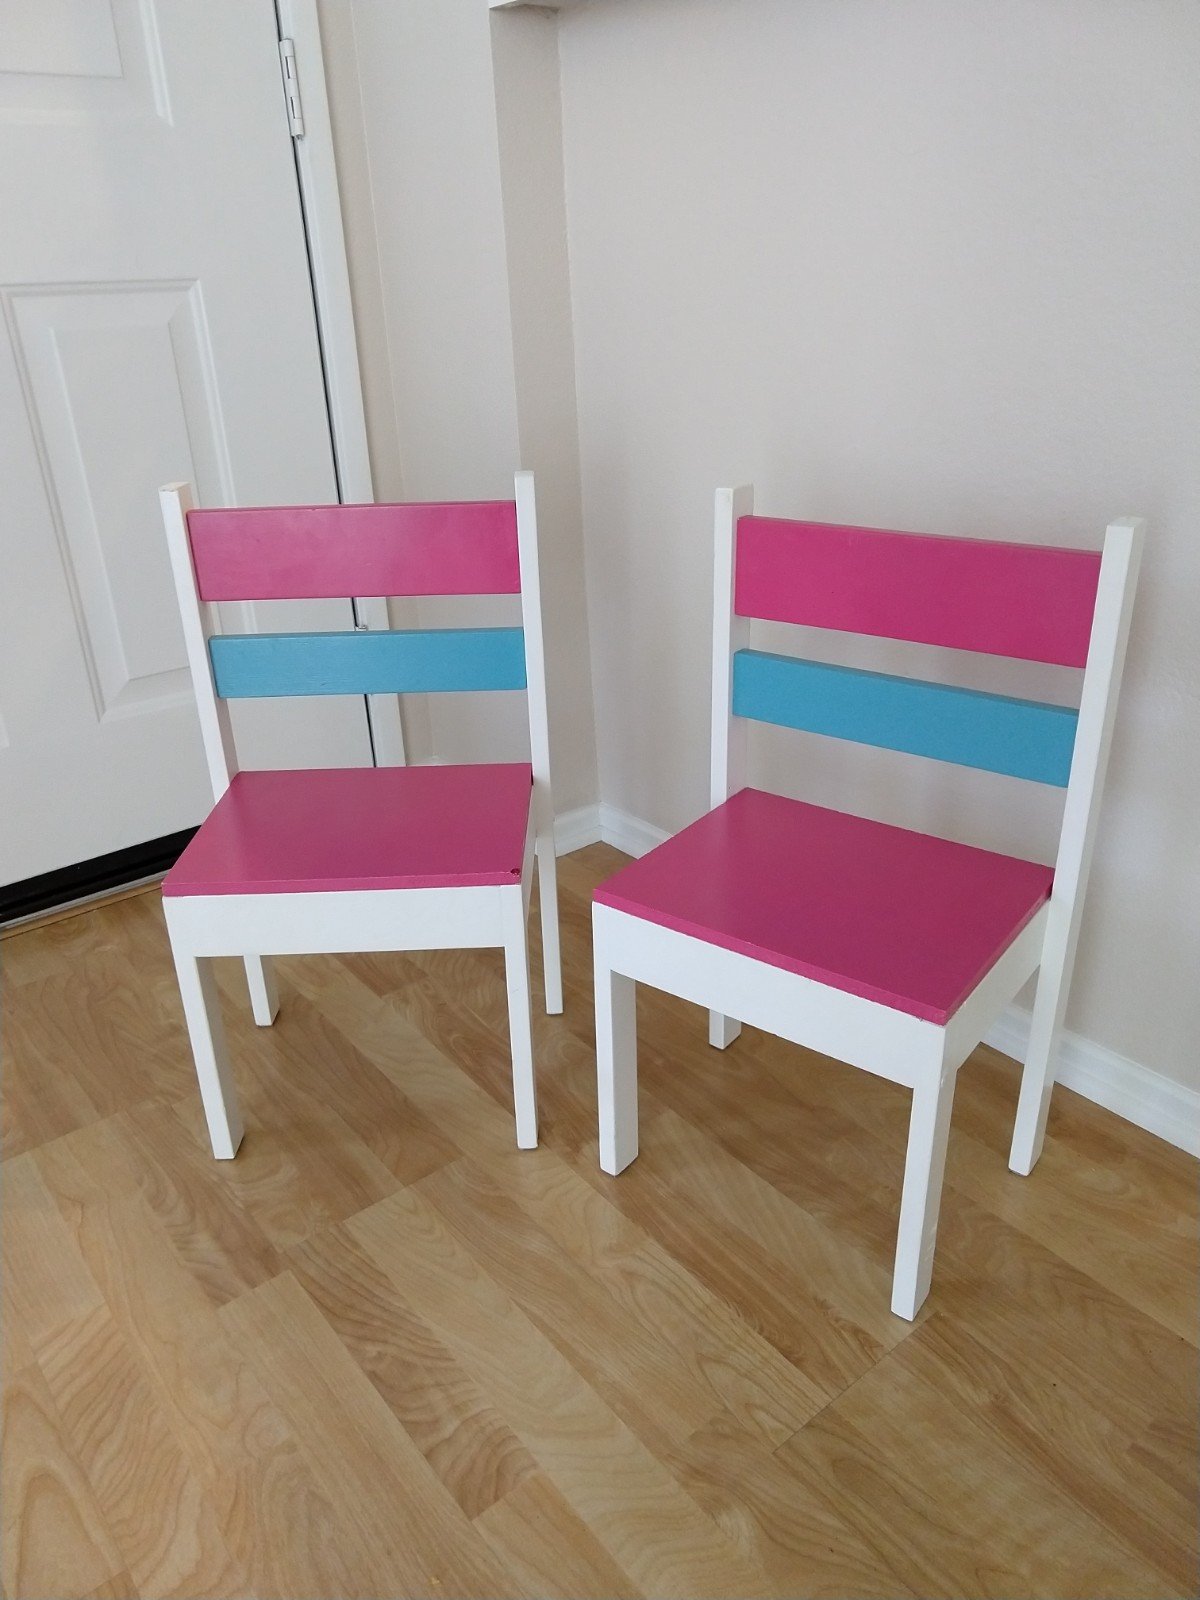
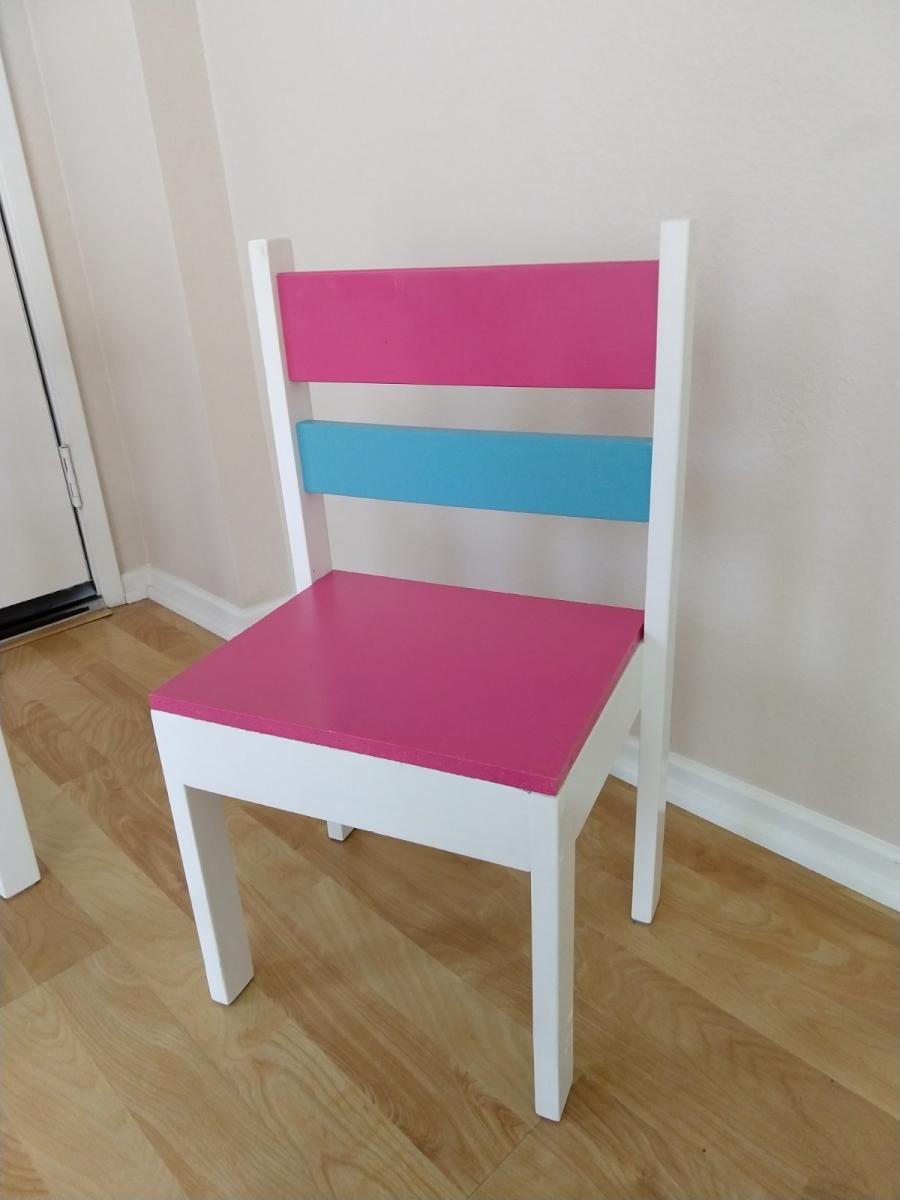
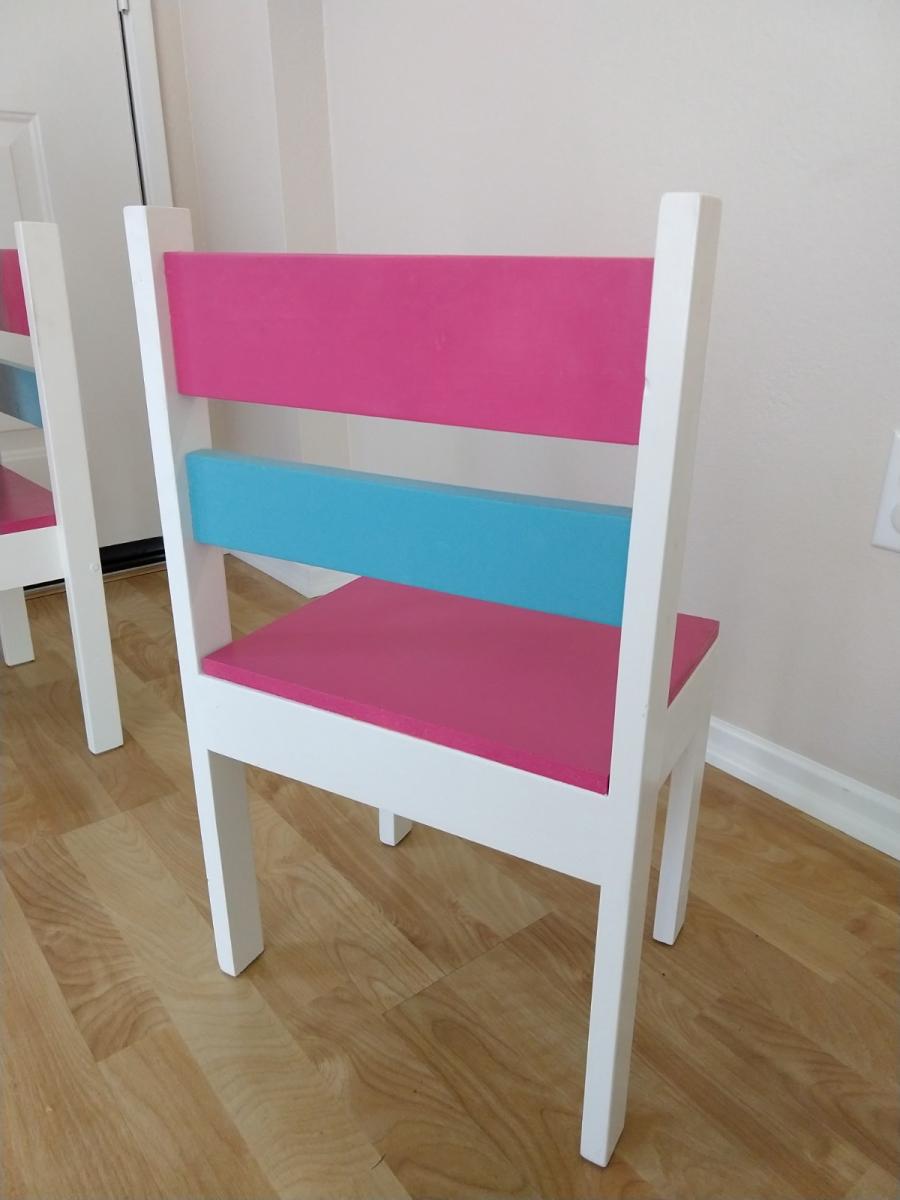
Chairs are hard.... when you don't use plans.
I used Ana's plans for round 2 of these chairs. I actually feared for my children's safety with the first set I made using no plans at all. With plans in hand, these turned out excellent and were actually quite easy to build.
I used 1x2s for the legs, 1x3s for the side supports and for the turquoise back panel, a 1x4 for the pink back panel, and scrap MDF board for the seat base.
I regret using the MDF board, it chips easily. In hindsight, I should have used 1x3s for the seat bottom.
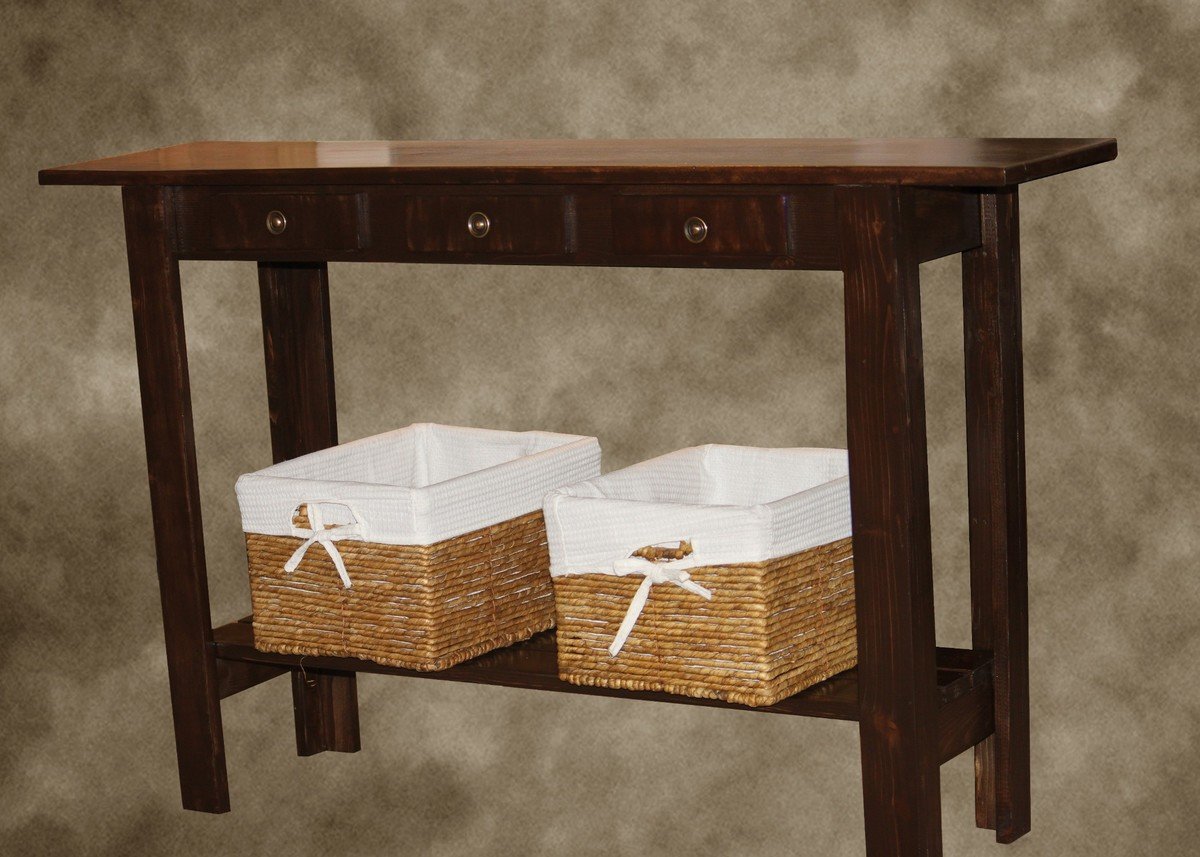
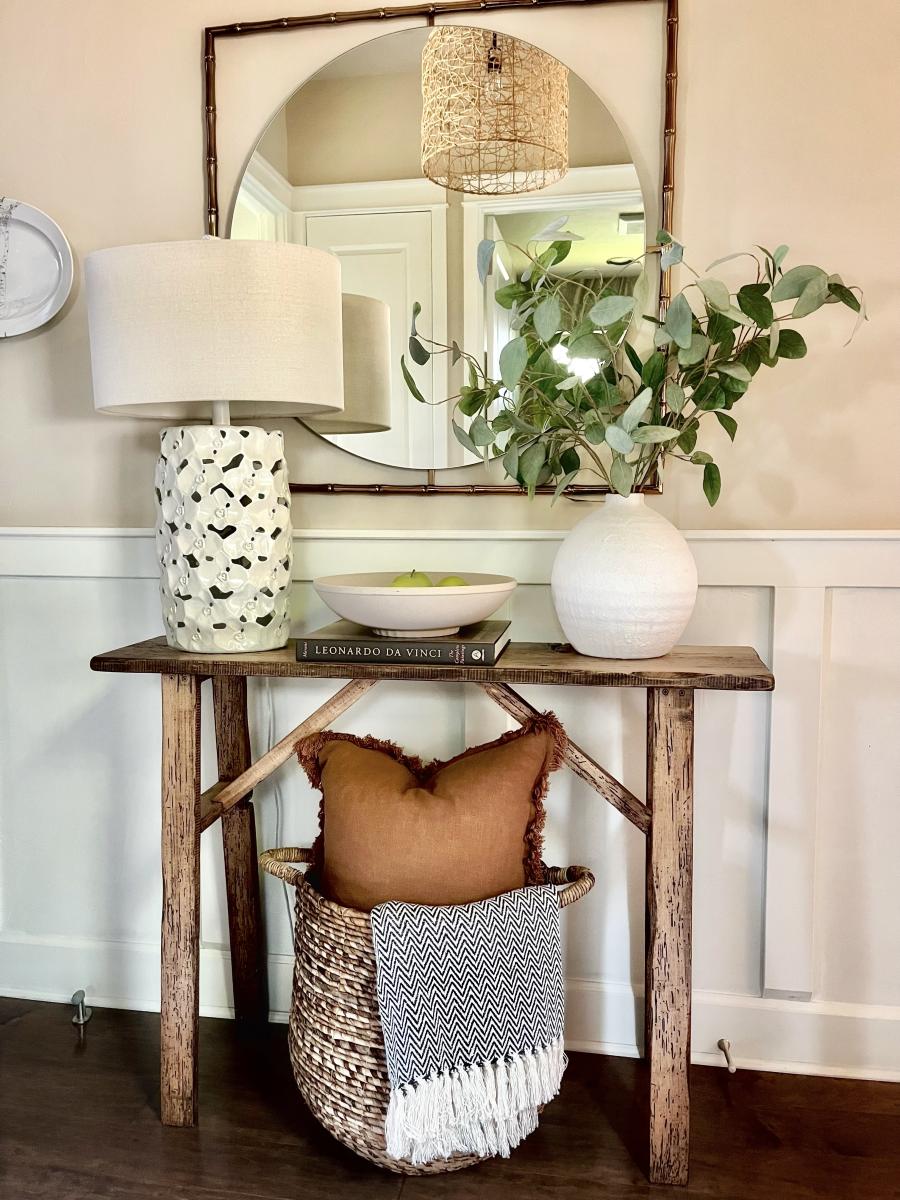
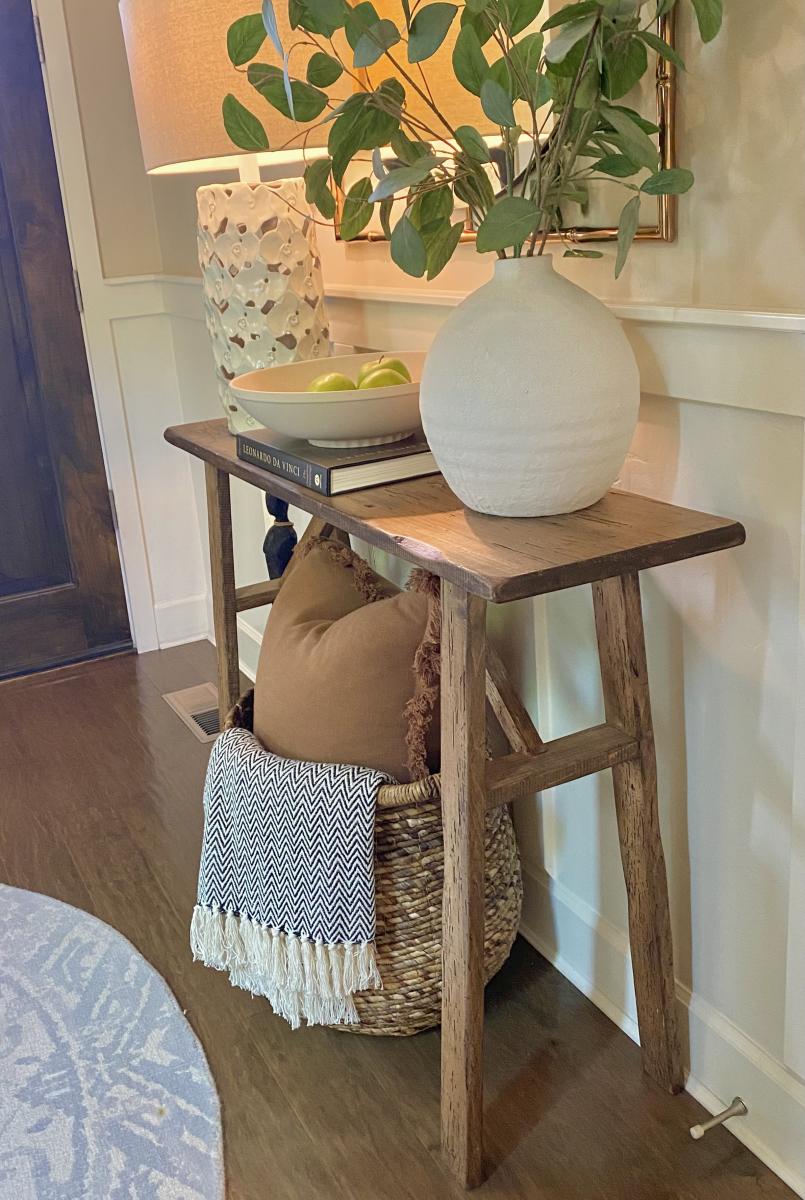
A friend needed an entry table, so I went with the Cheap and Easy Console plan and found the baskets at Ross. I modified to include lower shelf and did a single board top because I was trying to avoid buying more wood.
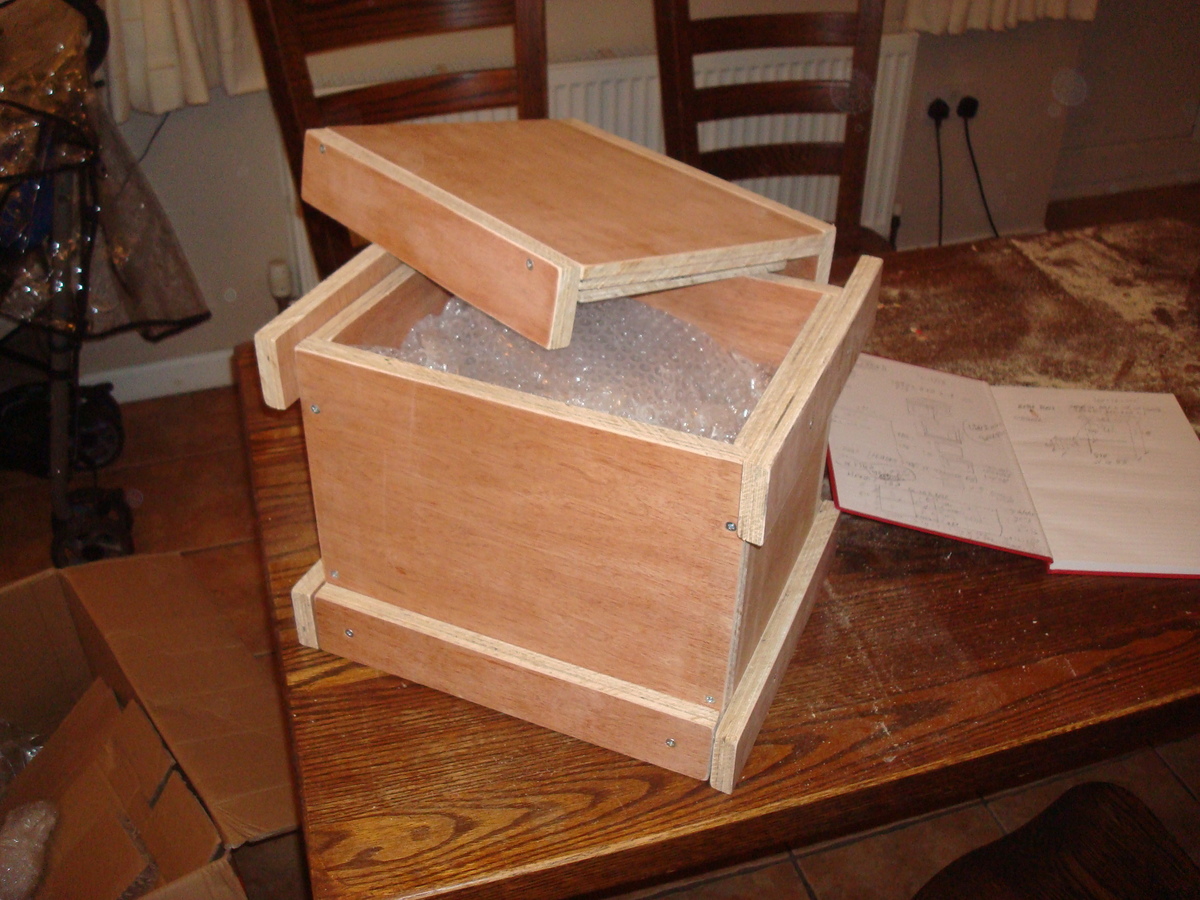
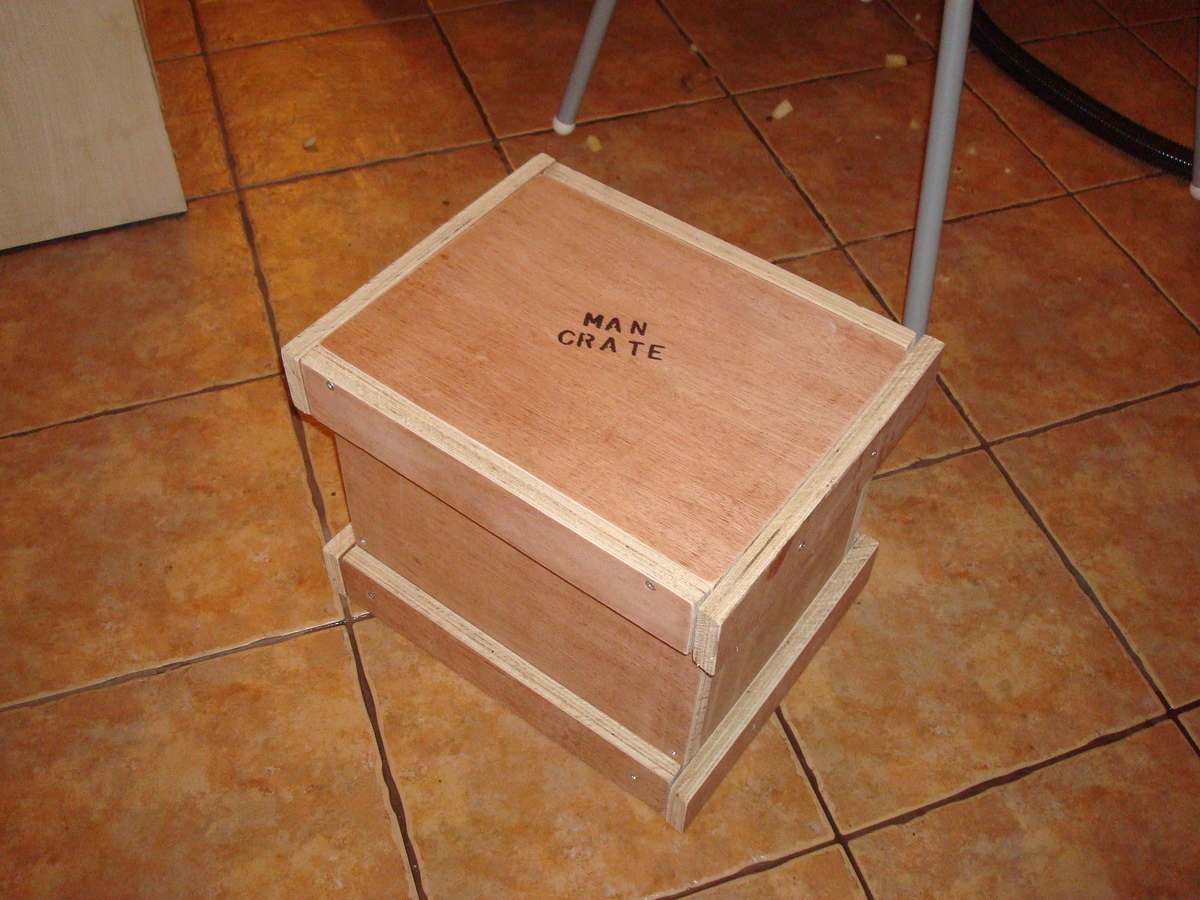
Men come in crates - who knew?
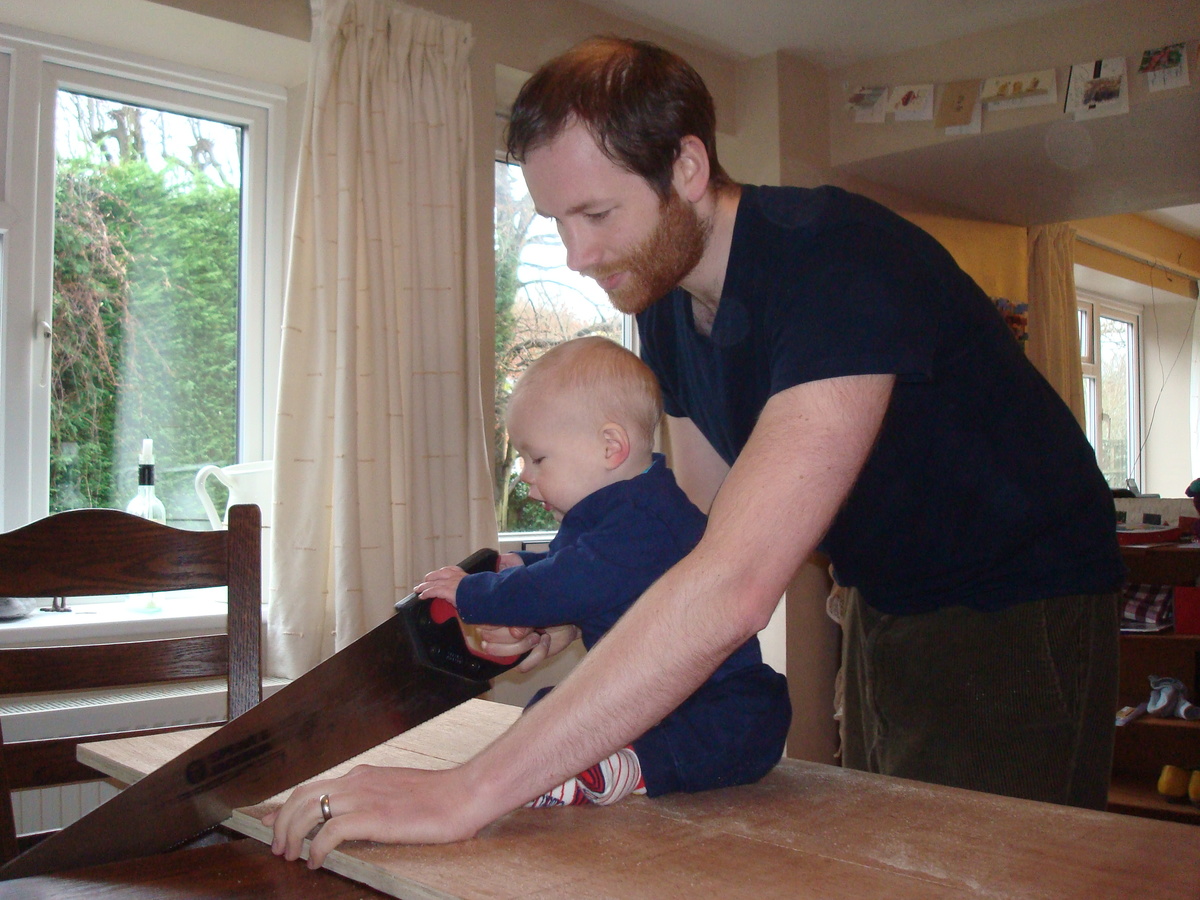
My crate is a gift for a friend, to be filled with manly foodstuffs, but in the mean time, the little 'un loved trying it out.
I didn't follow the plans rigidly, but I absolutely loved the idea and was inspired by all the great photos on this site. Mine looks the same from above and below, but the front and back side slats are attached to the lid while the left and right ones are attached to the box. Also, everything uses the same 18mm ply (what I had available!) which means you can easily lift it using the side slats, but lift the lid off with the front and back slats.
Enjoyed this project - will more than likely make others in the future. Maybe even spend a bit of time on the finish next time - the 'rough 'n' ready' look works well enough for this kind of project though, so it plays to my strengths!
Thu, 01/02/2014 - 11:04
Your man crate looks great! You can definitely say your little guy has "man tested" it as well! (super cute pictures with him, by the way) The idea of using the top side trims for handles is super! Thanks for sharing this build! :)
Joanne
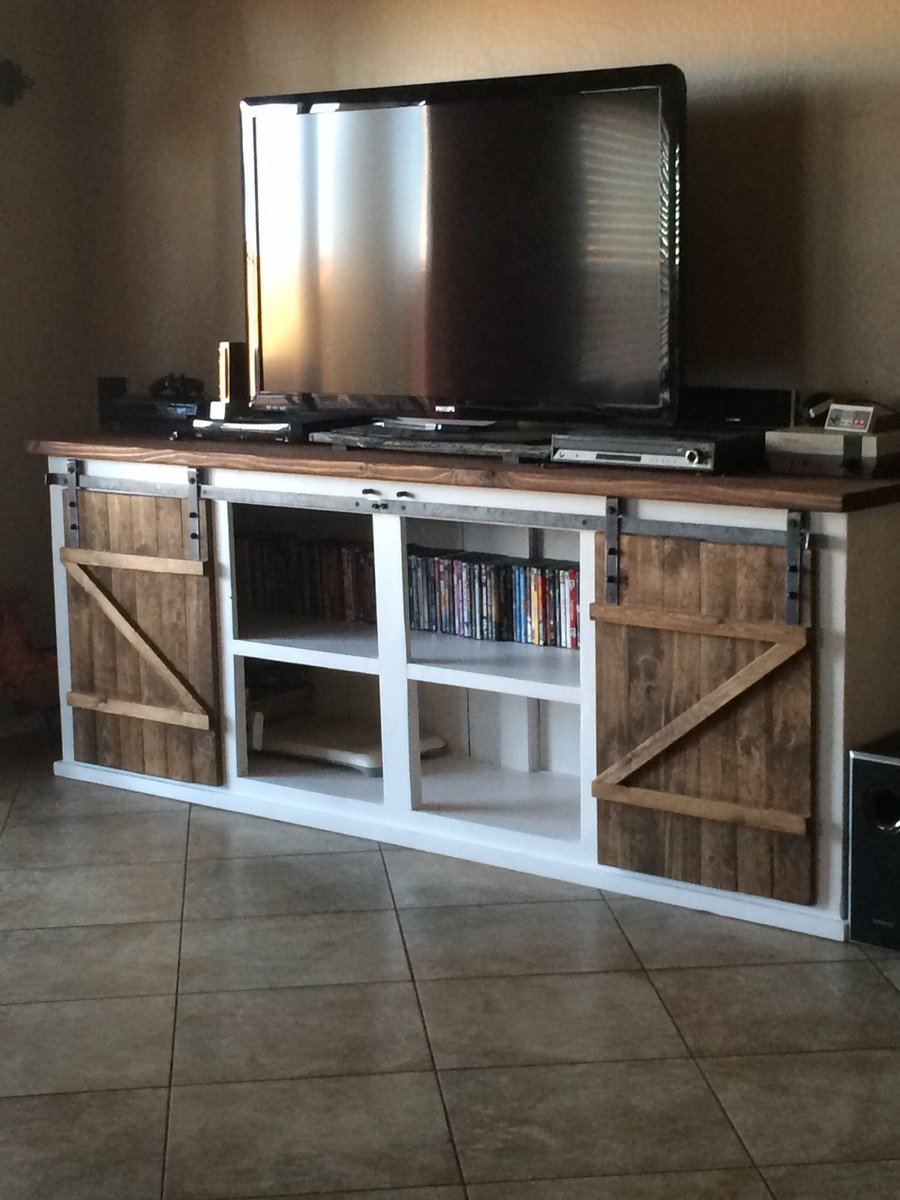
Handmade by Frank. He saw a pic on CL and figured it out without any plans.
Mon, 03/21/2016 - 09:46
may I ask where you got the sliding door hardware? Thanks in advance!
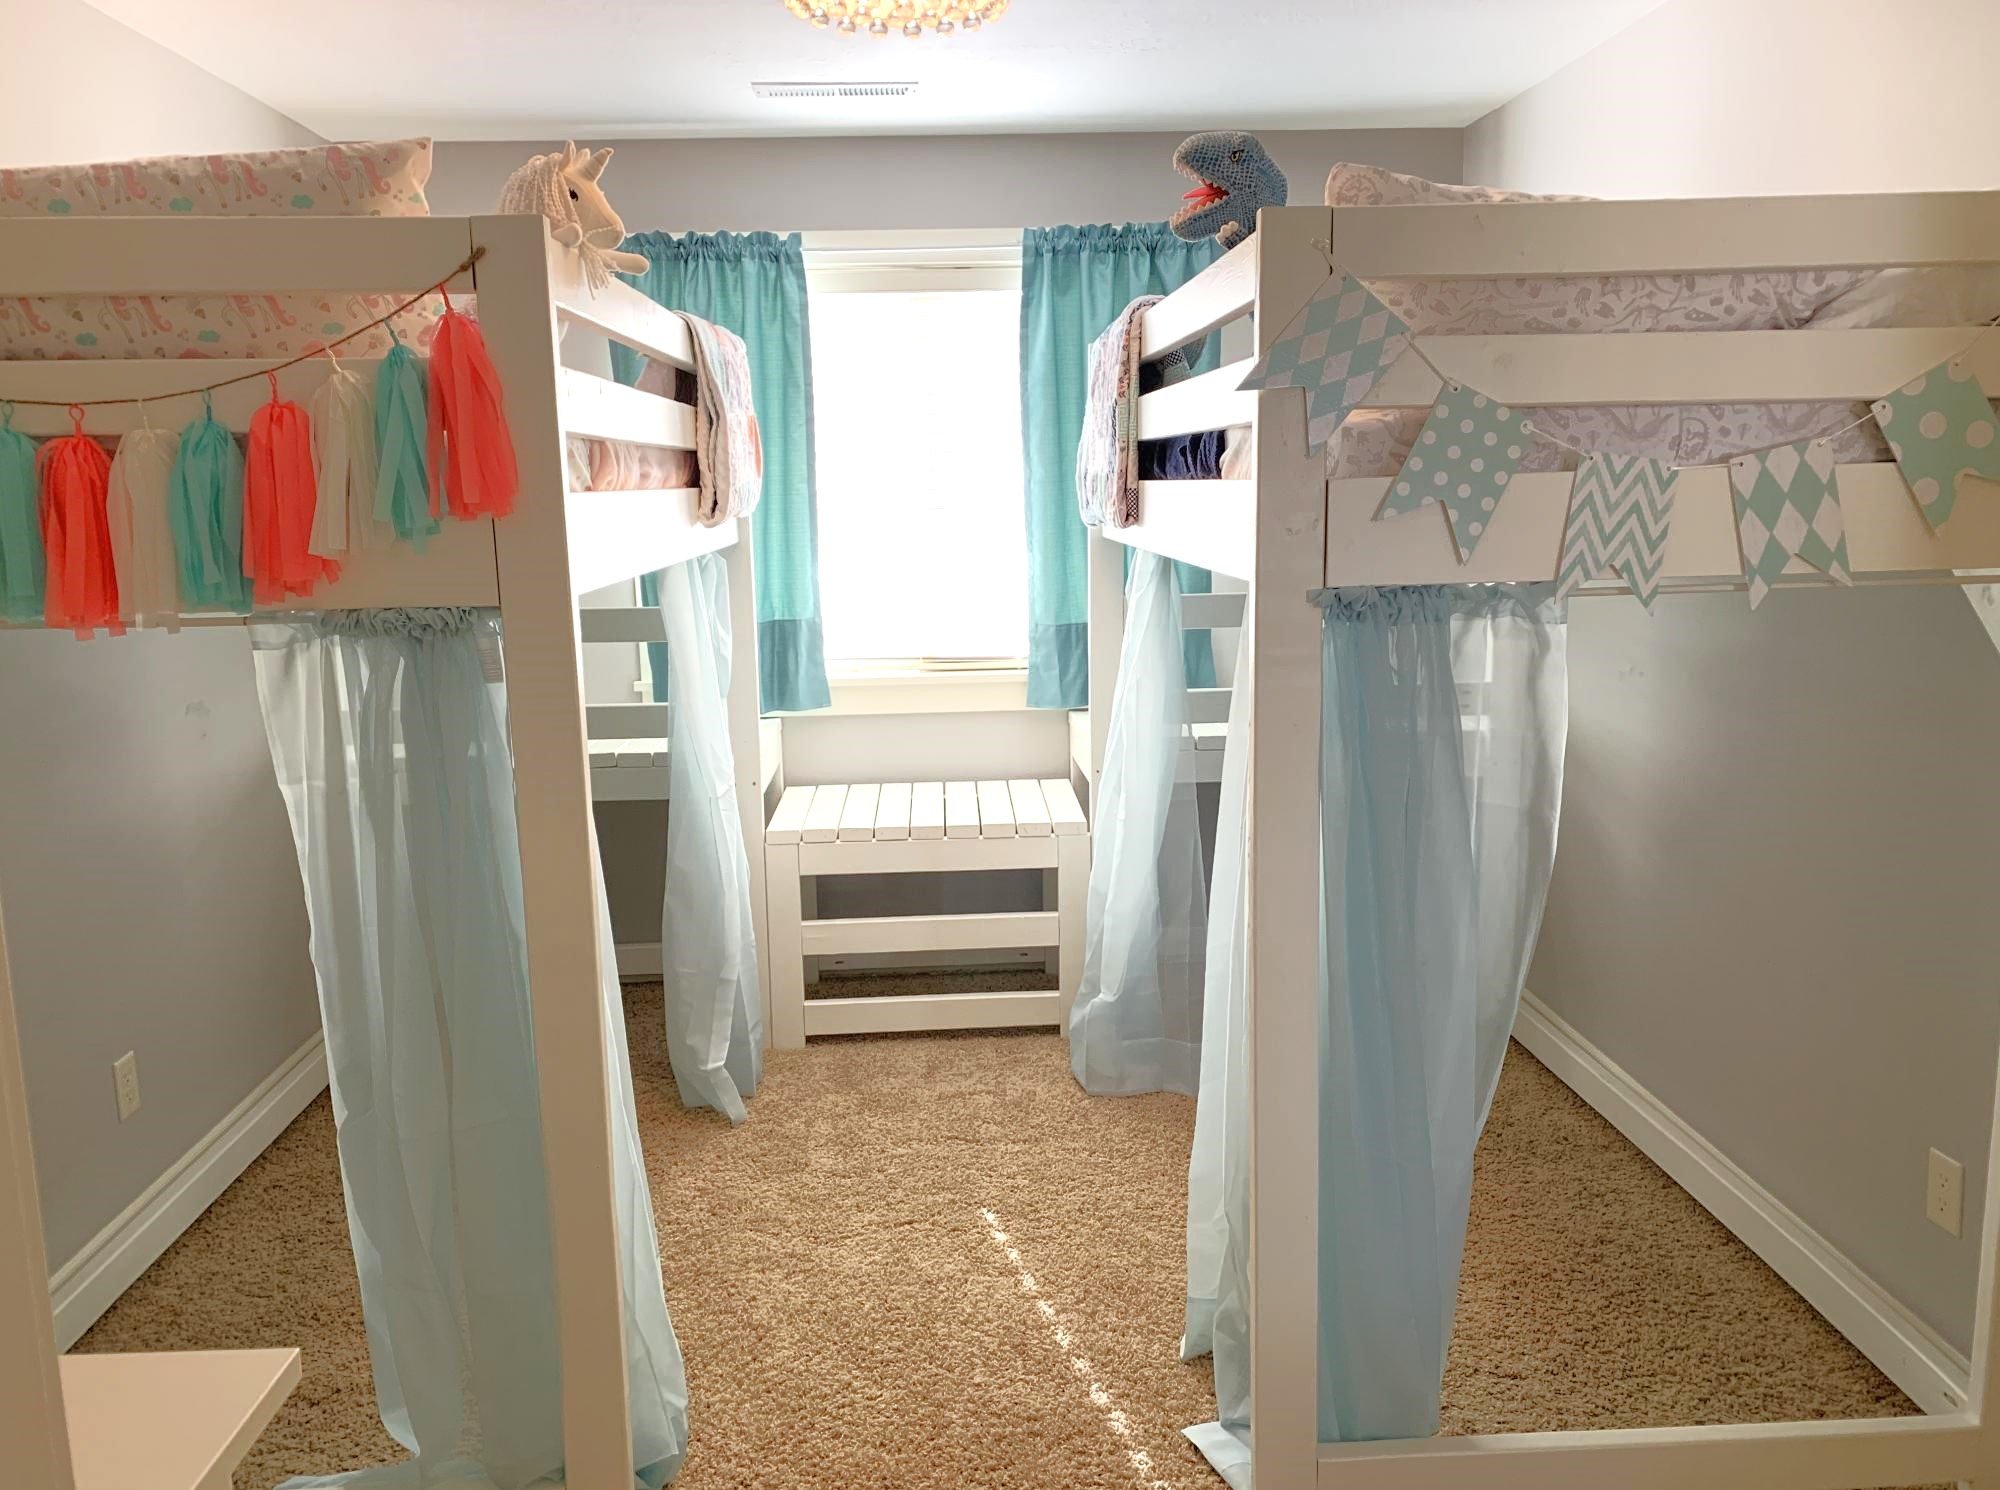
My twins just turned four and were still sleeping in their toddler beds, so it was time for an upgrade. They still want to share a room so we knew we needed to maximize space and open up some room for them to play. We chose the Camp Loft Bed but raised the height to 72" (with 53" of headspace) so we might be able to add a desk underneath when they get older.
Essentially, we made two loft beds with the platforms but omitted the stairs. Then we built a slightly lower platform to put between the two beds, which acts as a step down. Then instead of making stairs that jut out into the room, we added two 2x4s as ladder rungs to the lower platform. This also acts as a tunnel for the twins to crawl under to go between each other's play spaces. This also makes it so the beds can be easily separated if we ever need to put them in separate rooms.
When it was complete we noticed one of the beds was a little wobbly, so we added diagonal braces in the corners and another 2x4 across the length of the bottom to help stabilize it. We also chose to use 1x4 pieces of pine as the slats for the mattress to lay across, but they didn't feel like they would support our weight if we wanted to read to them in bed. So we added two more 2x4s underneath the slats the entire length of the bed, which has added a ton of support.
We stopped keeping track of exactly how much it cost, but it was close to $400 for both beds combined. And it took most of my husband's free time for two weeks, but most of that was painting two coats of paint on every piece before assembling. First he cut all the pieces to size, drilled the holes with a Kreg Jig, and then painted. To make the painting more efficient, he put a bunch of screws into boards so he could paint all the exposed sides of the lumber, flip, and leave them to dry. Then we assembled the beds in their room.
The twins love their new beds, and we love how much more space they have to play in their room! We were worried the room would feel too crowded but with the openness of the plan and the space that was opened up underneath, we think it turned out great! Now we can move in a bunch of their toys and reclaim some of our house! Thanks for the great plans!

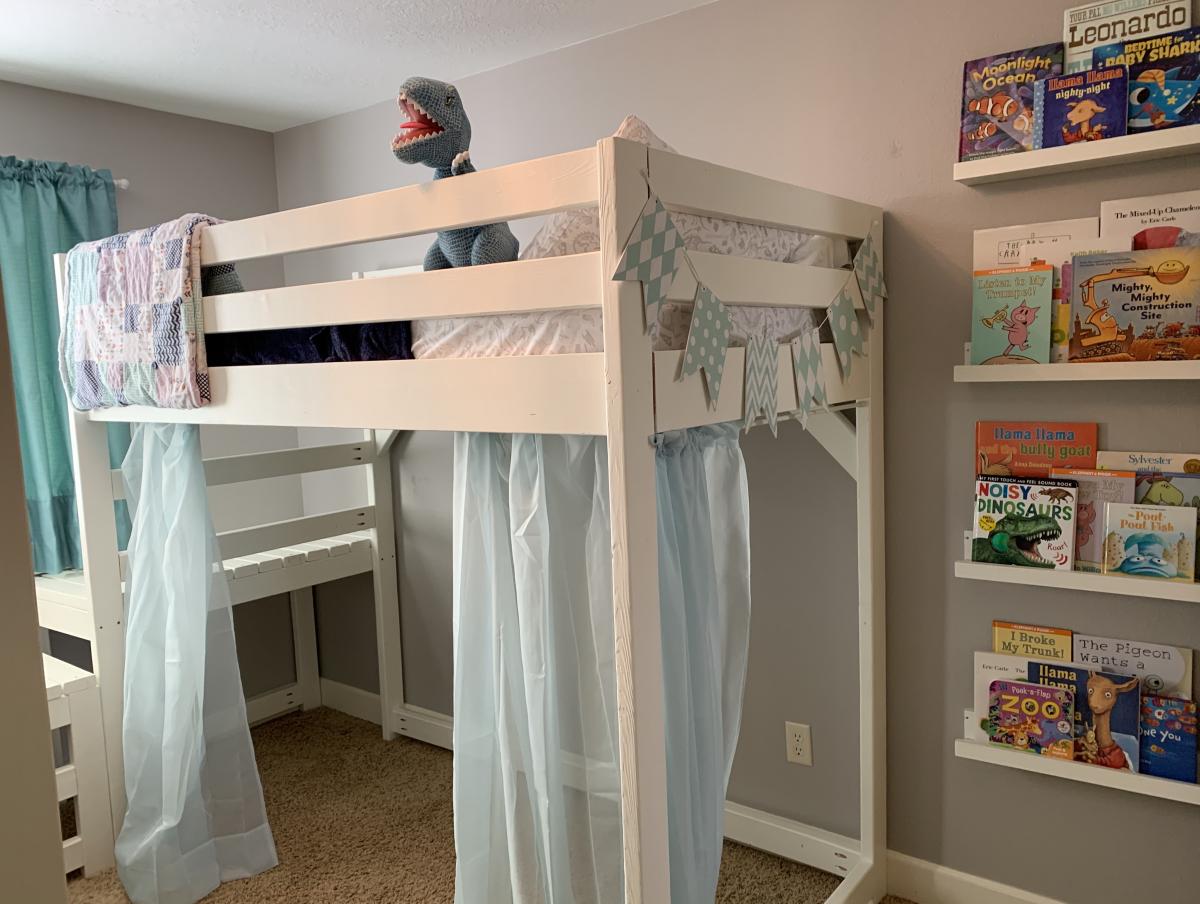


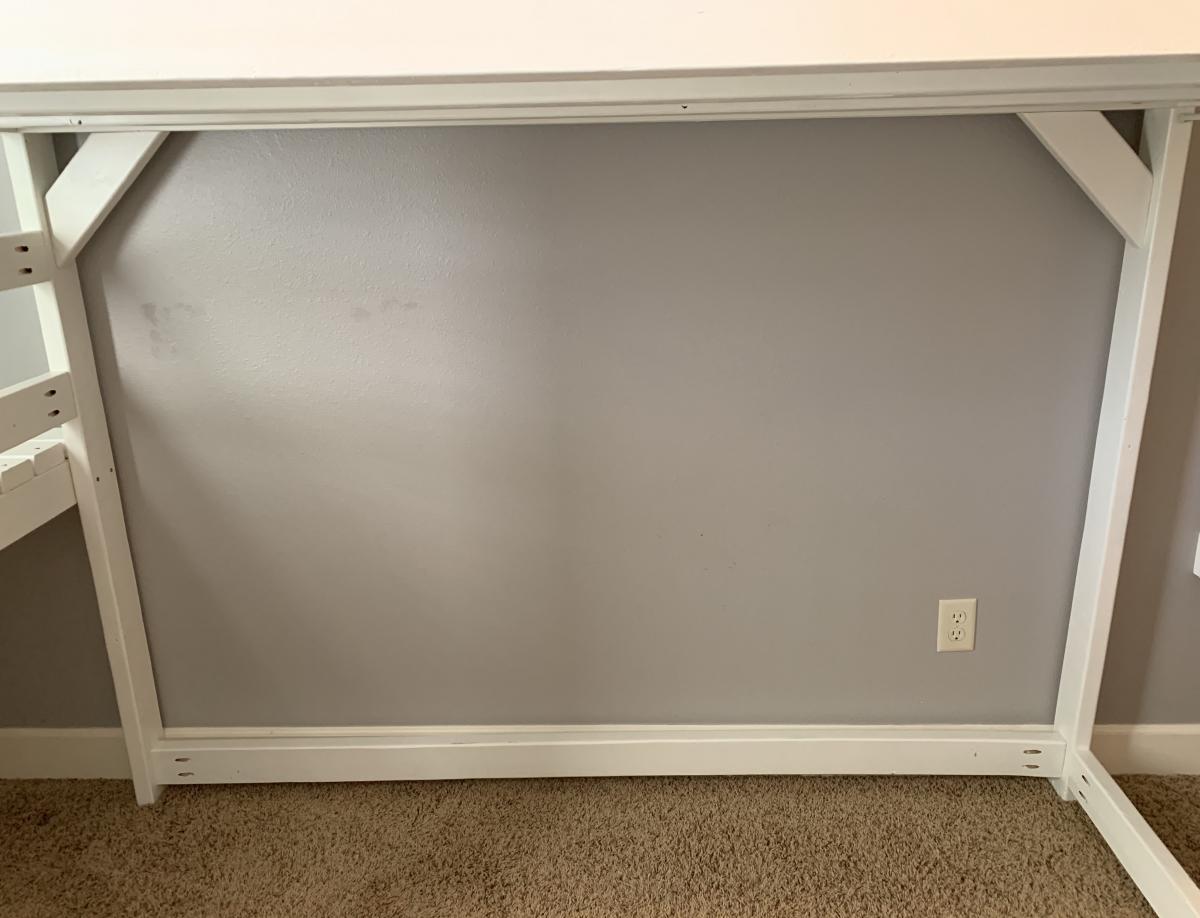
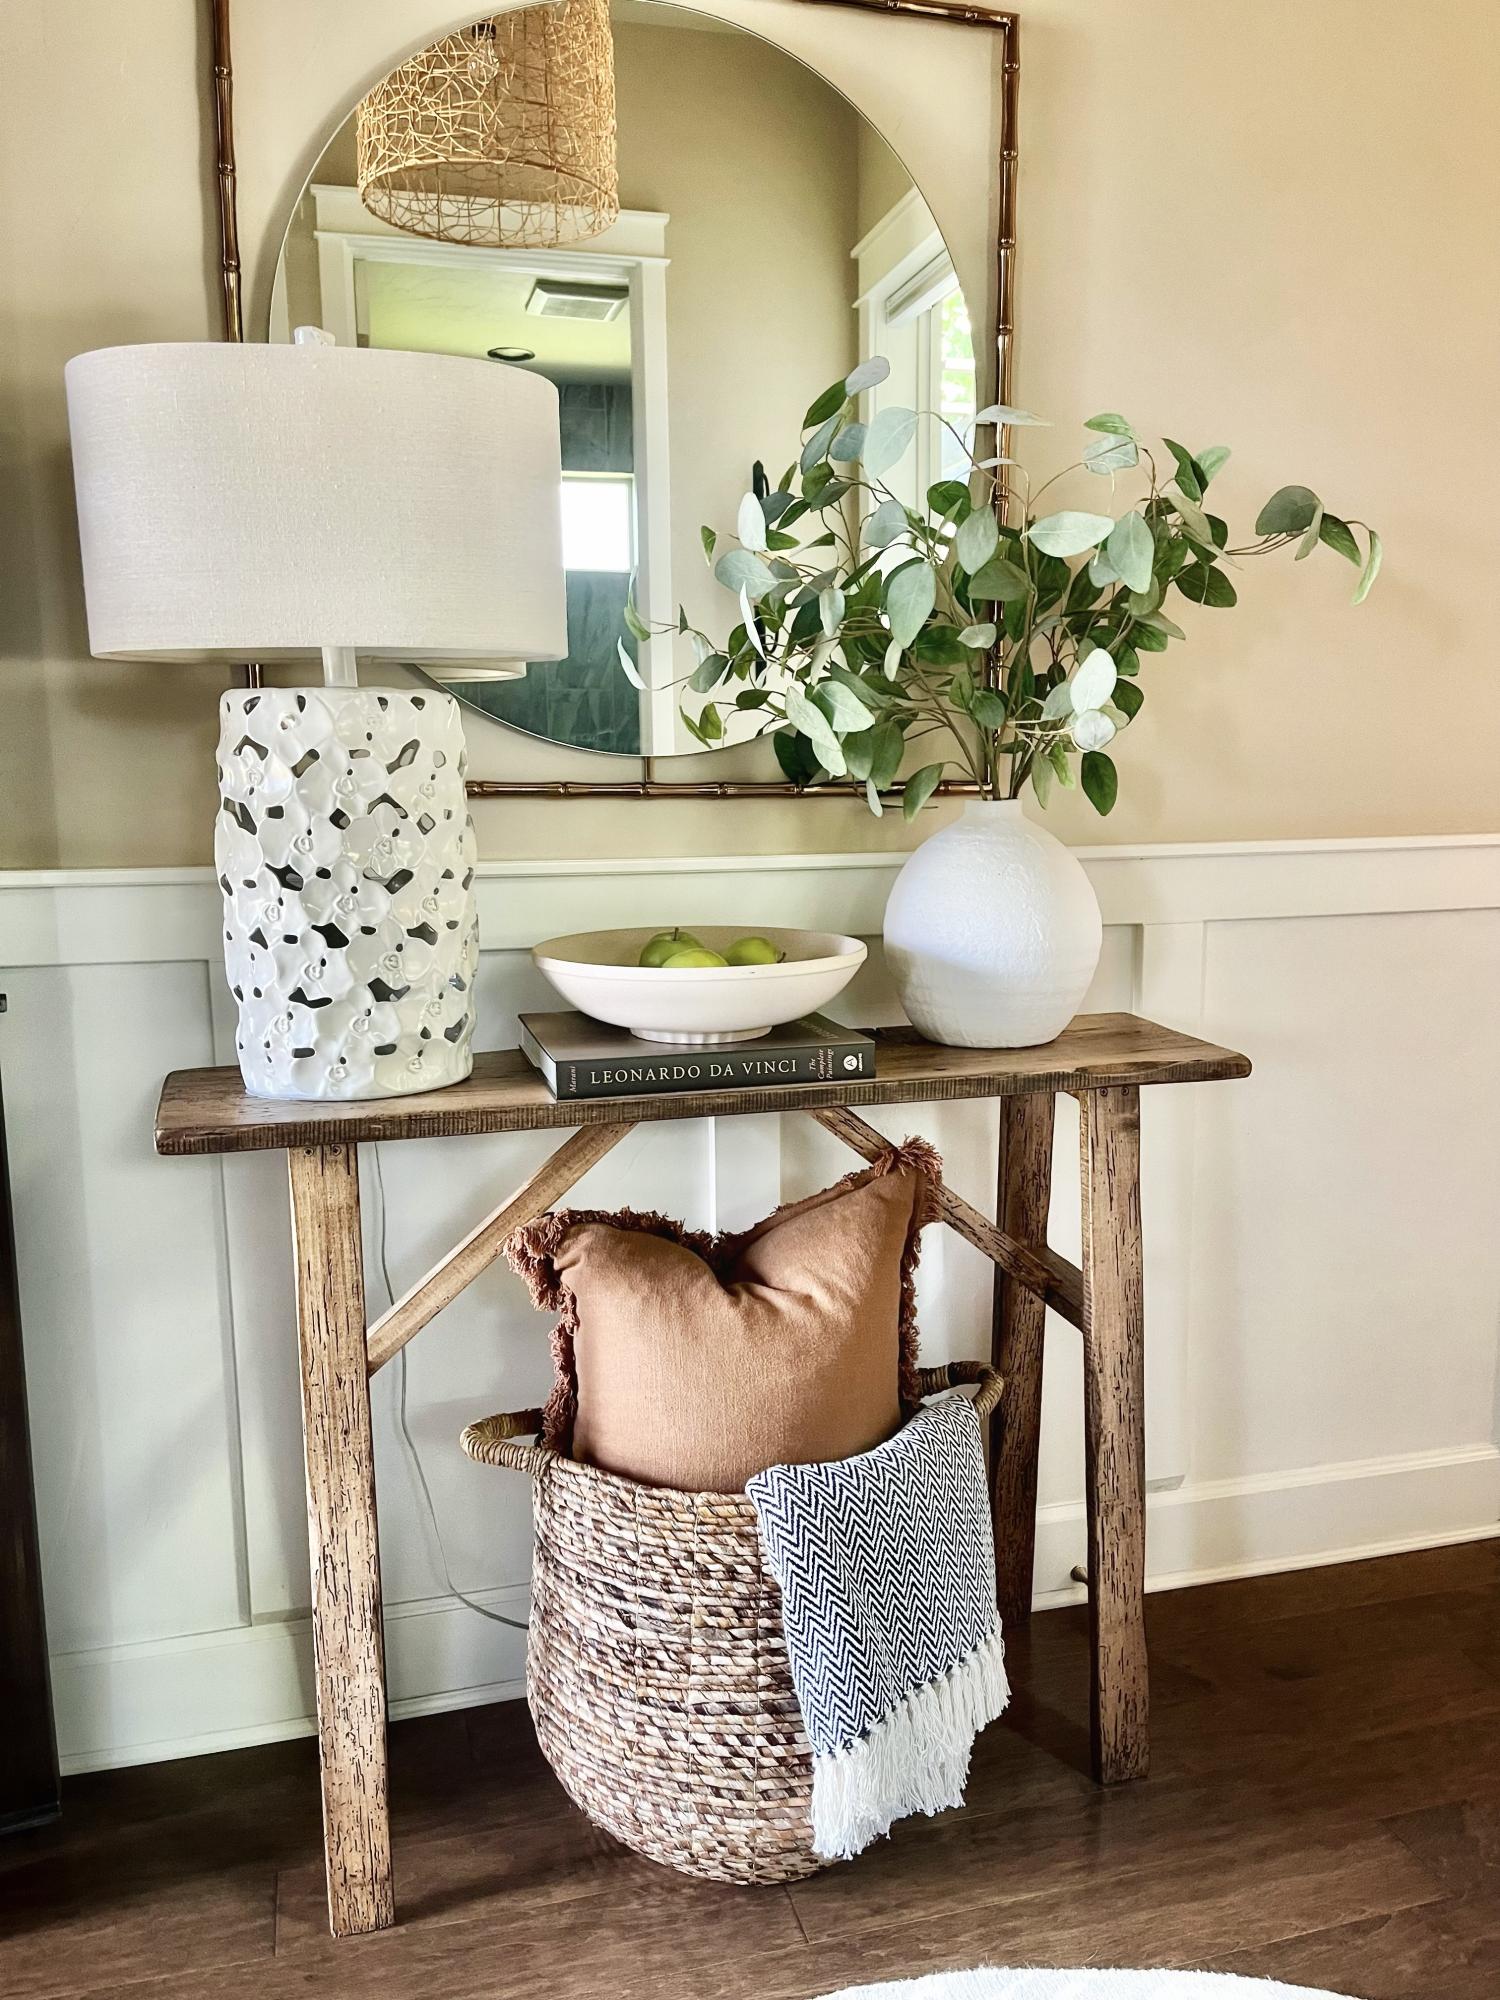
This entry table I made from wood I got from a recycle center of wood products. It’s been in our entry now for several years. I have only basic tools-no planers and jointers, etc. I do have a fold up table saw that I use once in awhile. I enjoy working with natural /live edge and or construction grade materials. Always impressed with the items Ana has built. Good job Ana😁👍
Our extra long living/dining room was just begging for a little definition. So I scoured all of Ana White's plans for some inspiration for the perfect-for-us table. I have never built anything, so I enlisted the help of my genius dad and we got to work!
We ended up using elements of the Modern Outdoor Patio Table and the Farmhouse Table. We sized the patio table down to six feet long and used the board layout from the farmhouse table for the table top. We also changed up the table legs a bit to add some visual interest.
After tackling the table, we built the banquette and beadboard wall. I never thought I would learn so much about power tools. Ha! This project was so much fun. Thank you for the free plans!! I can't wait to work on our next project!
You can read more about our table here: http://www.becomingwhitney.com/dining-area-progress/
here: http://www.becomingwhitney.com/it-is-finished/
and here: http://www.becomingwhitney.com/christmas-cheerin-it-up/
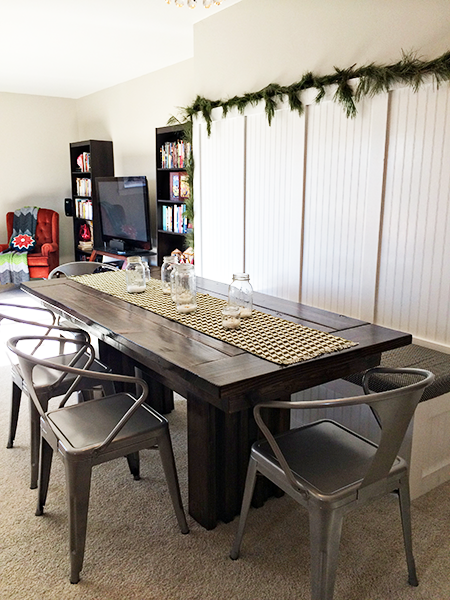
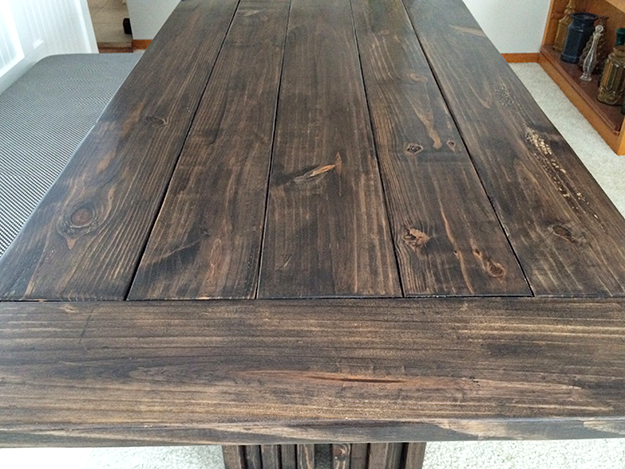
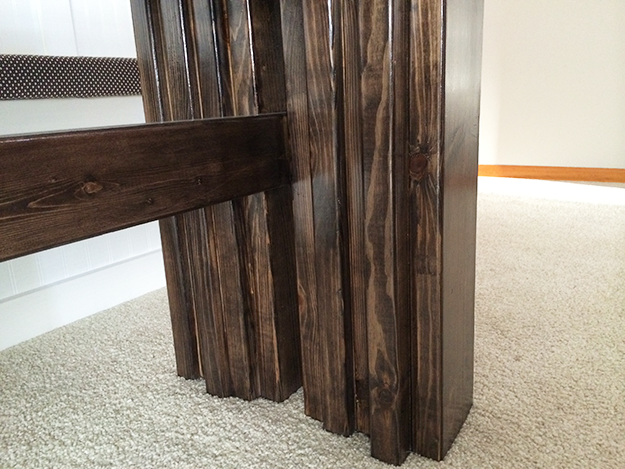
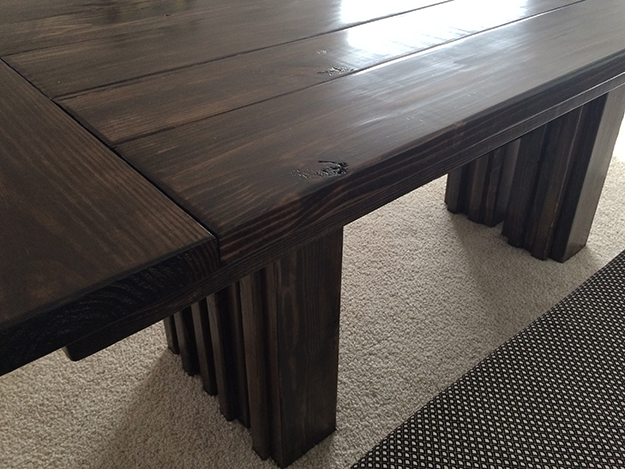
Tue, 01/07/2014 - 10:15
The fabulous thing about DIY is how you can modify a plan to suit your needs. You and your dad have built a one-of-a-kind that can be handed down to future generations. Love the style and finish. Keep up the good work!
Tue, 02/18/2014 - 19:39
can you share the cut list and measurements for your beautiful TABLE?
BIG STEVE
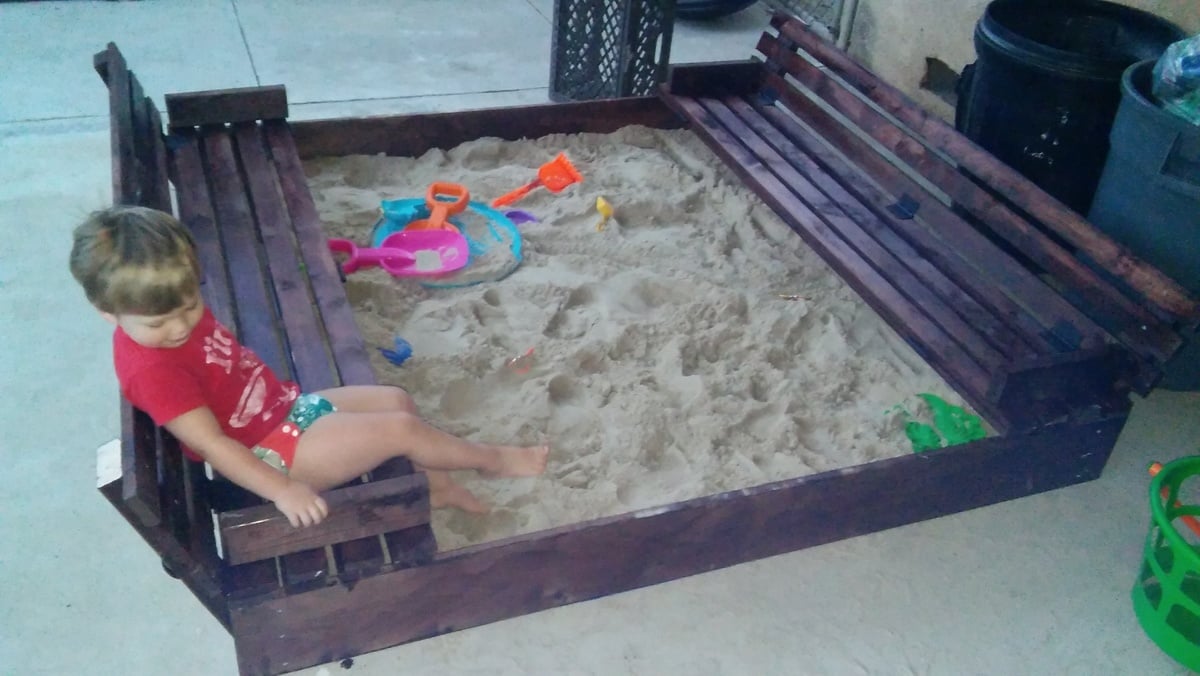
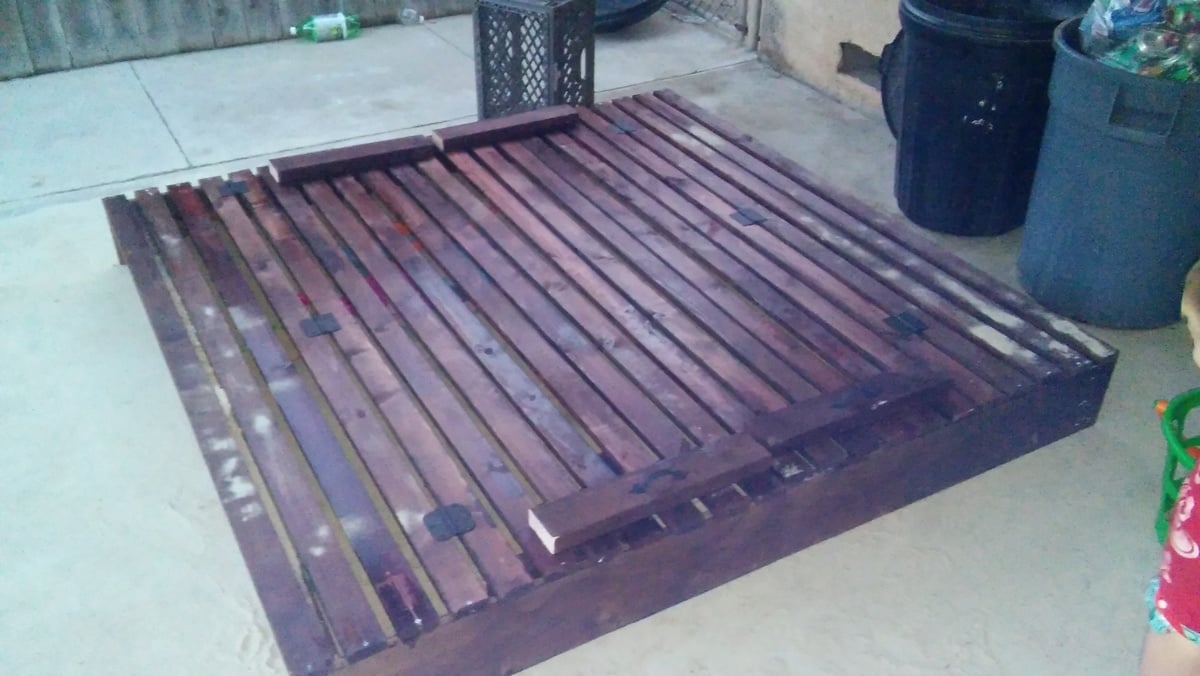
This was our first attempt at making a woodworking project but knew it had to be done to save our plants from our son digging in them. It took us all weekend (mostly because of the staining) but we completed the project in 2 days. We went a little bigger (made a 6 x 6 box) to give our son some room and allow for friends. I loved putting the project together and look forward to many years of use from this box. Thank you for such simple plans!
Loved building this for my daughter. The plans were simple to follow and everything came together easily. So happy with how it turned out. Thank you, Ana!
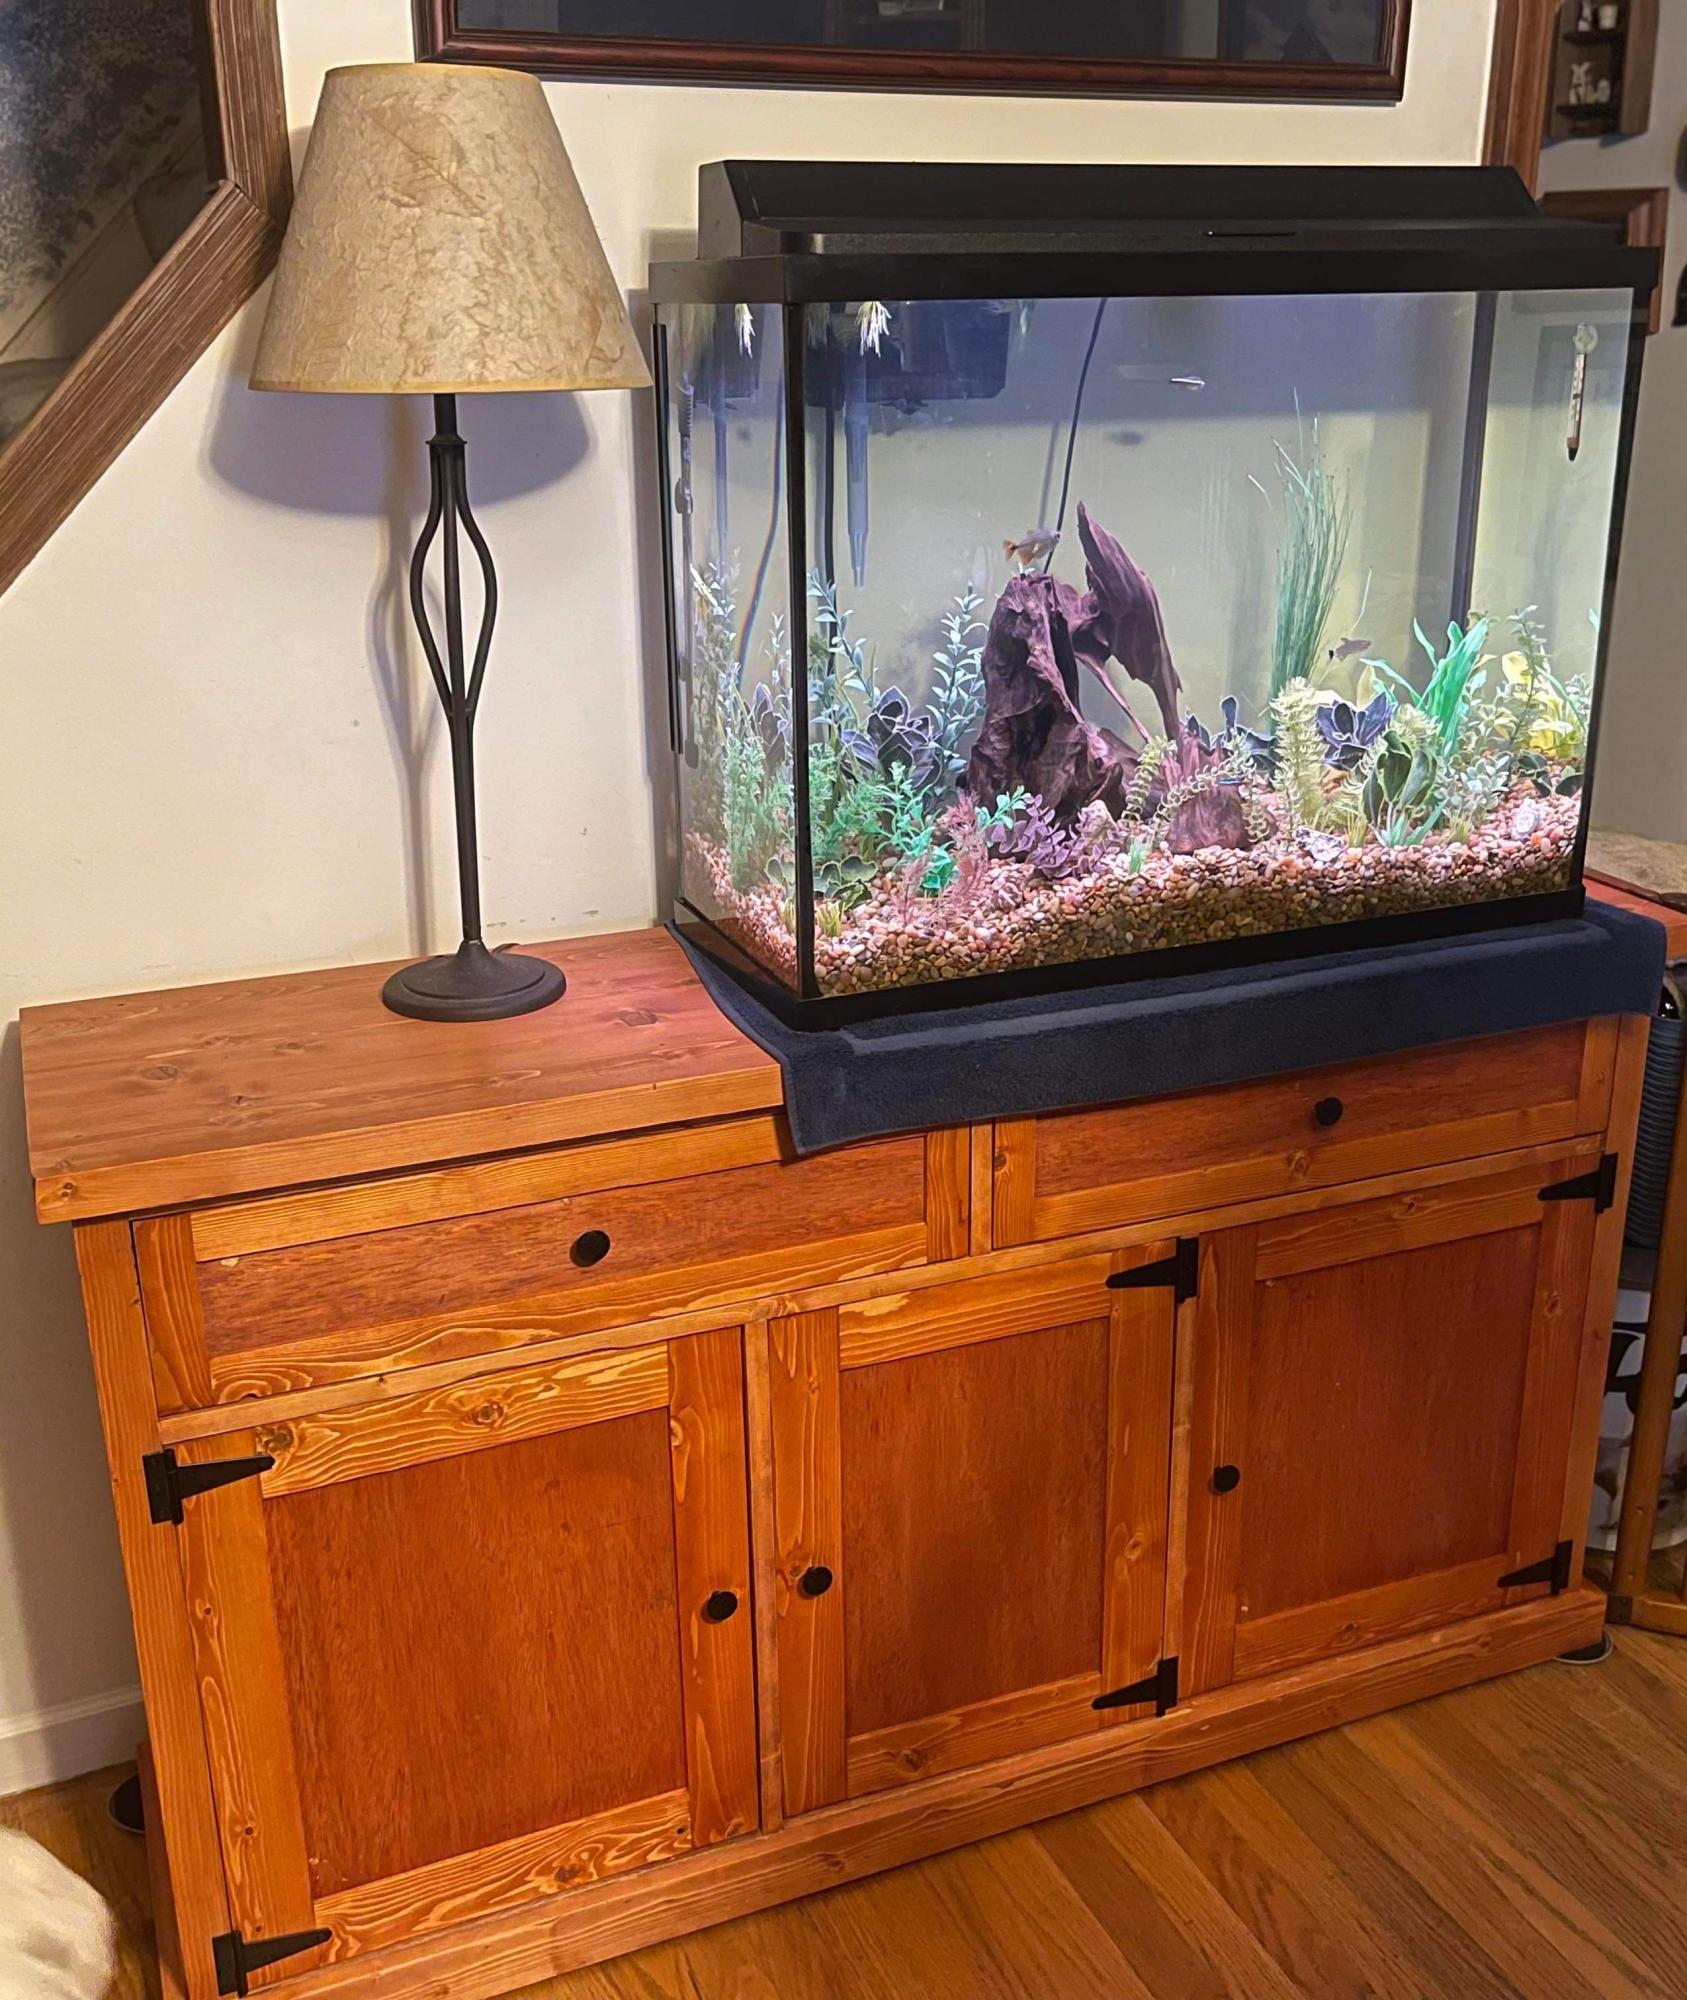
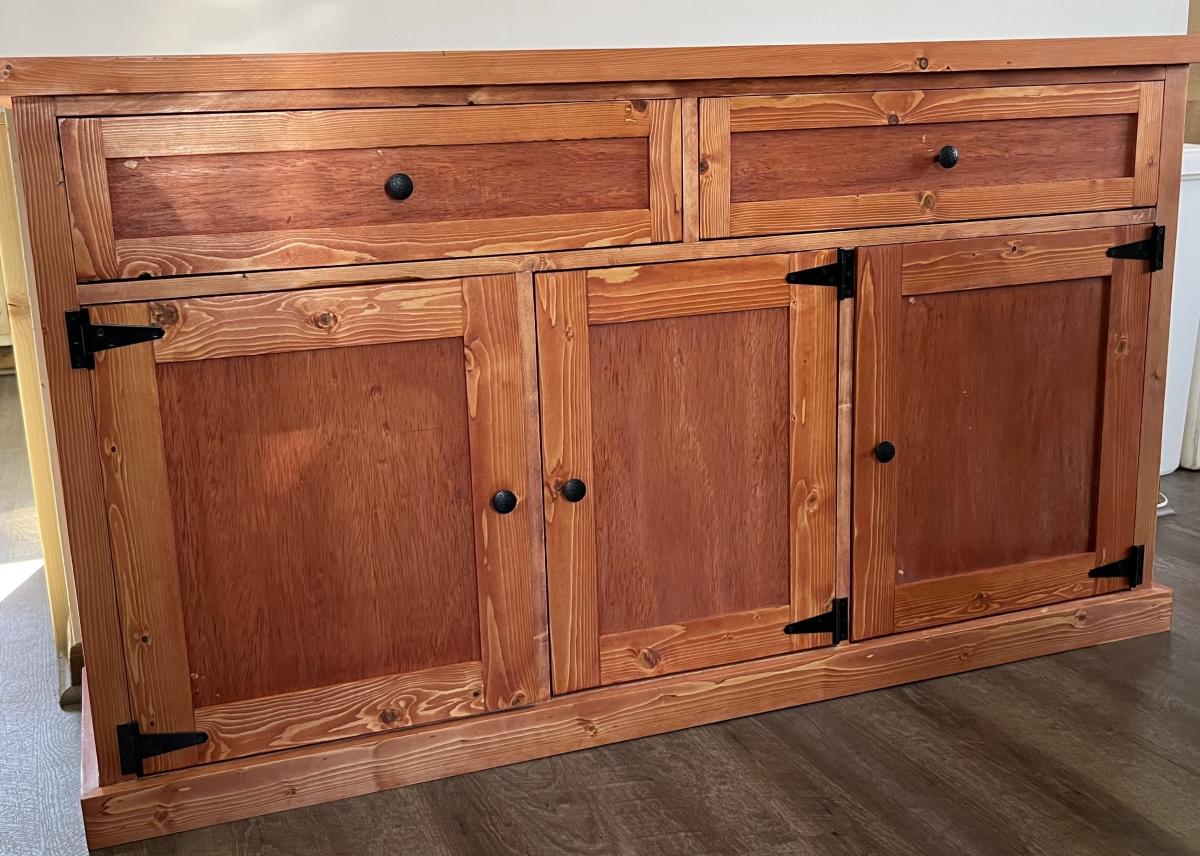
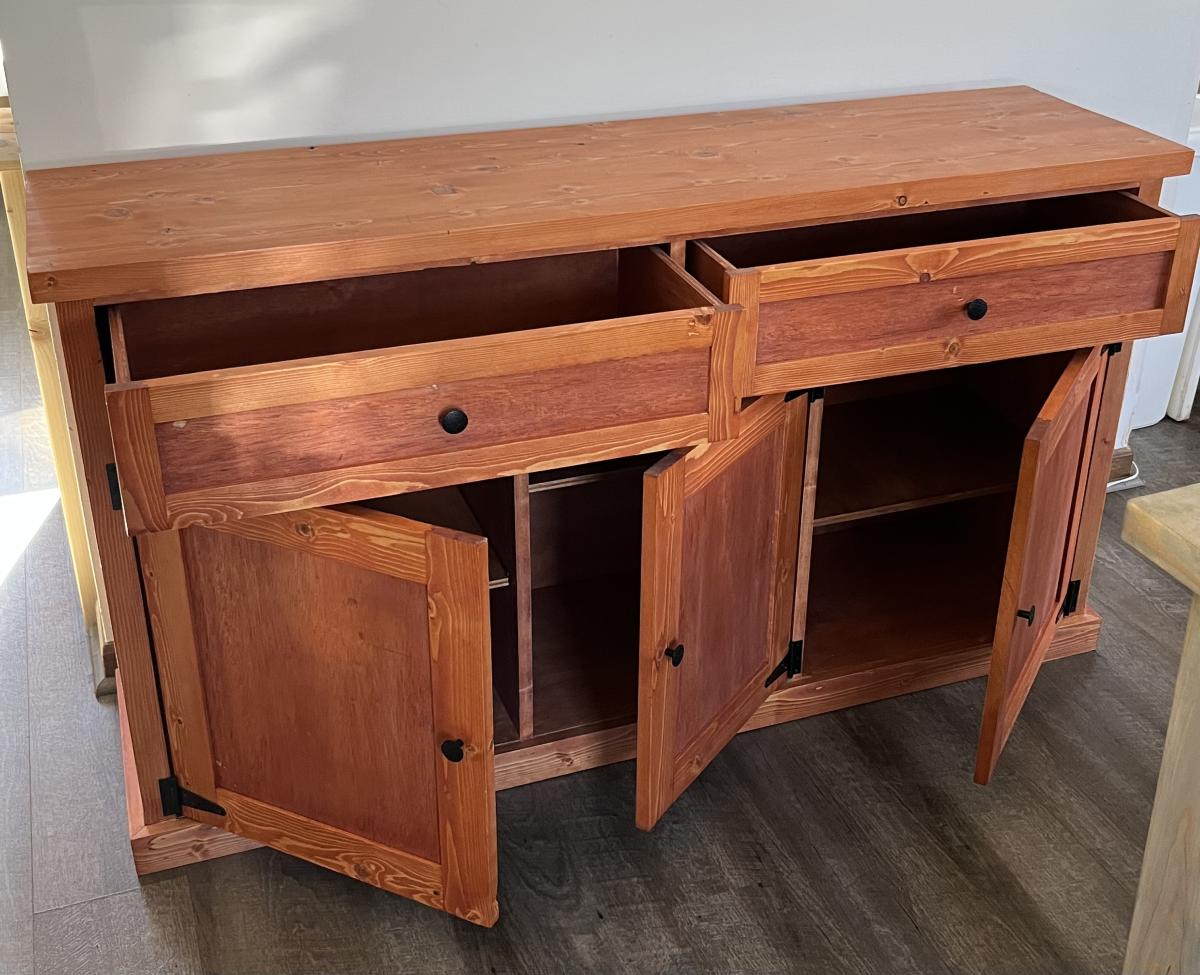
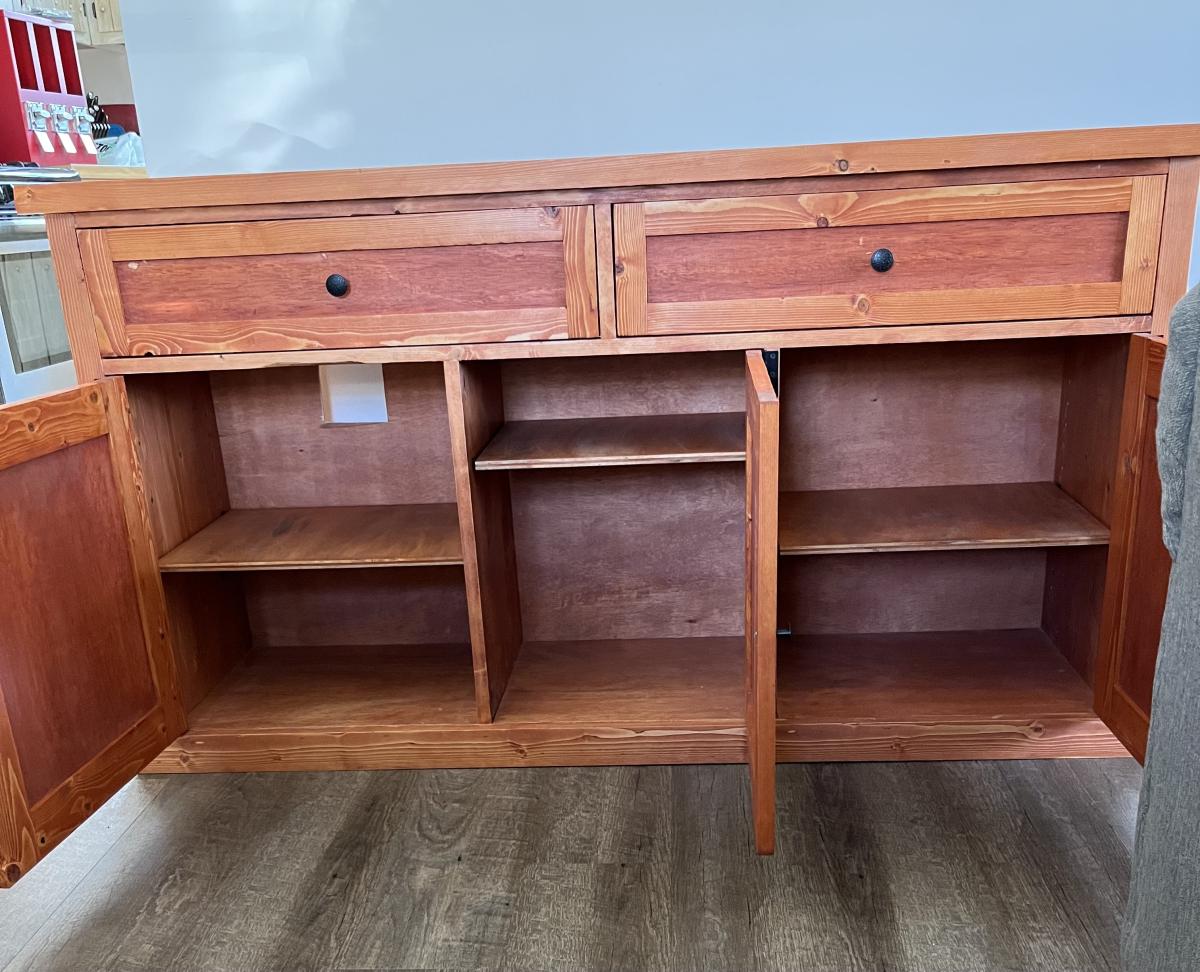
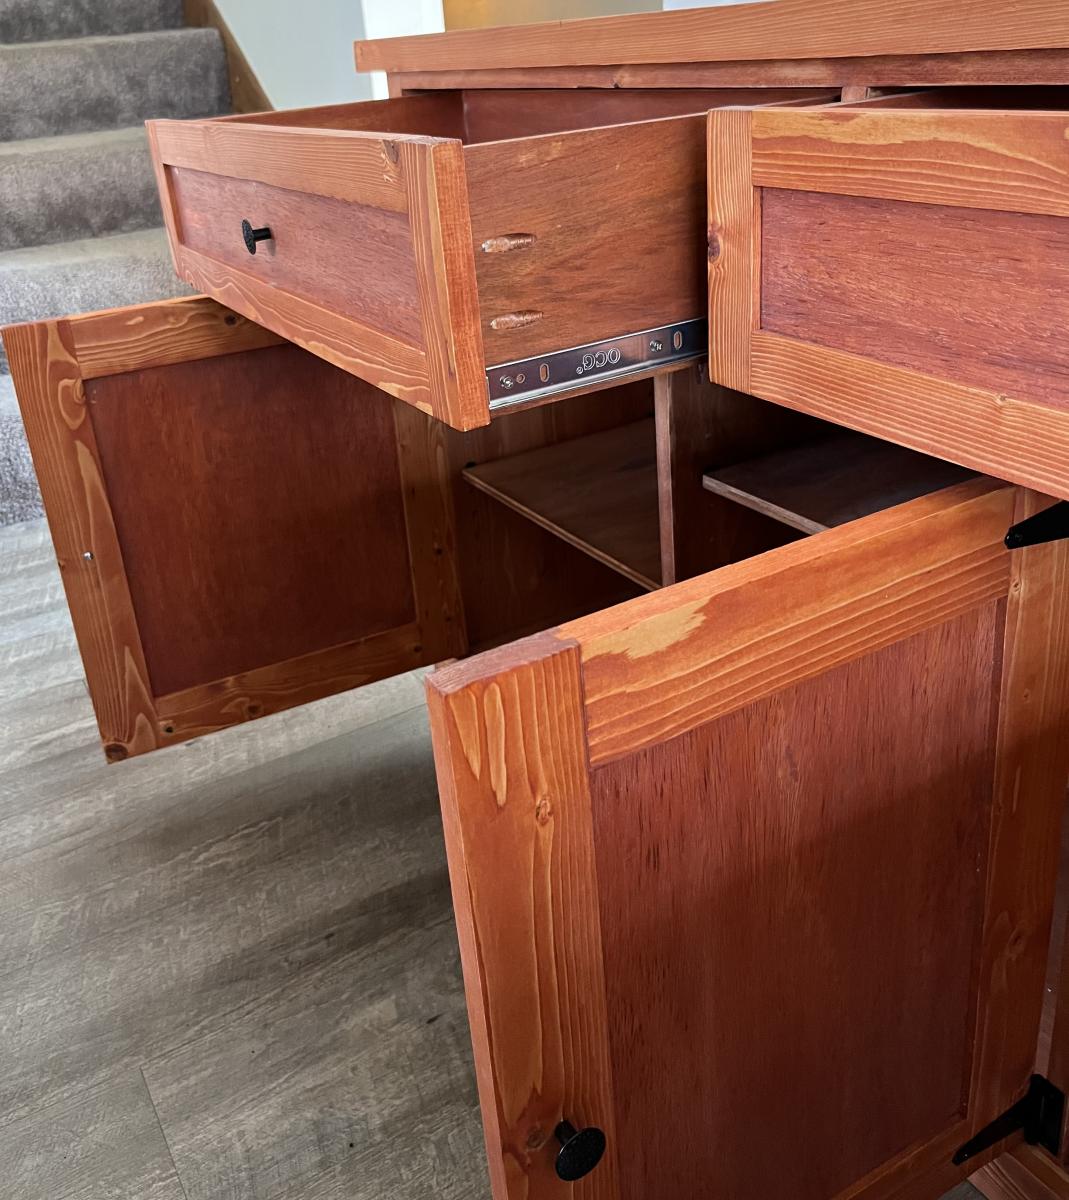
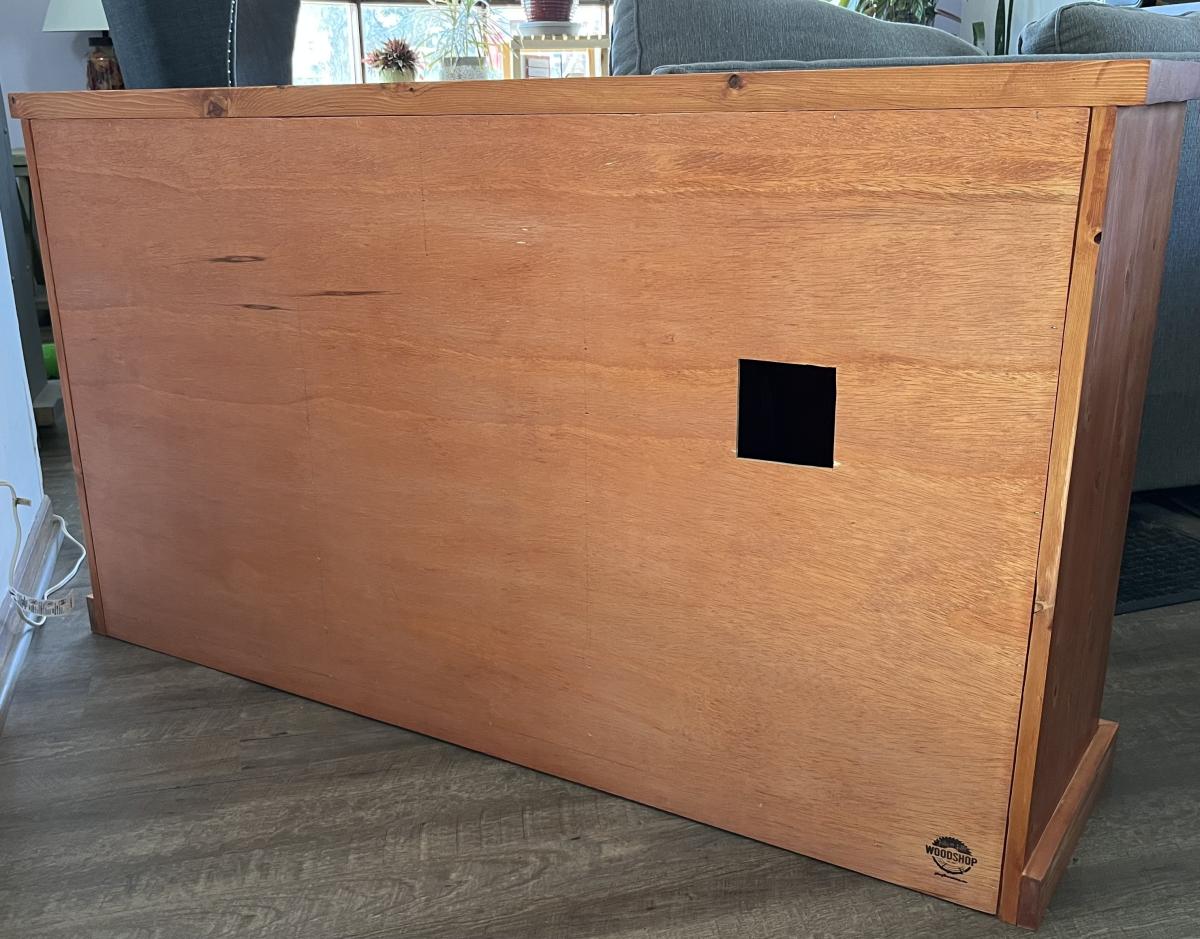
I designed and build this cabinet that is being used to hold a fish tank. It’s made from 2”x6s” for the sides and top and most of the rest of it is made from 3/4” plywood with extra support underneath to account for the extra weight of the tank with water. The stain is gunstock and looks absolutely amazing! The black hardware really makes it pop. (My new favorite combo)Thanks for taking a look and have a great day!
Jake from Jake N’ Jill’s Woodshop LLC
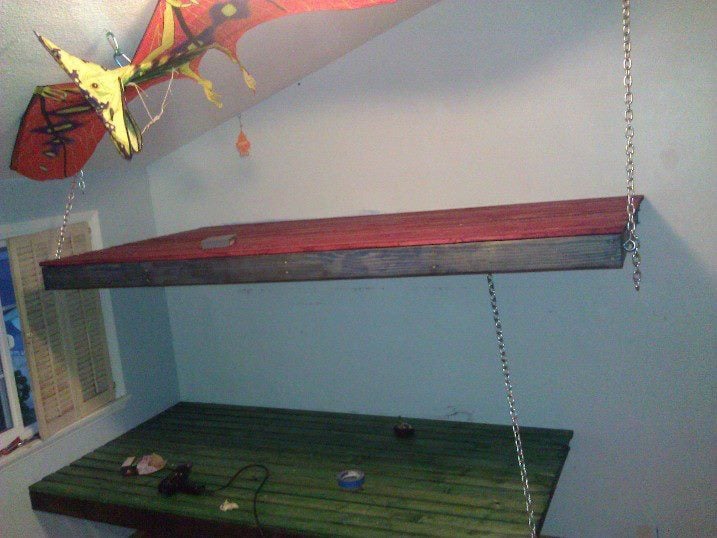
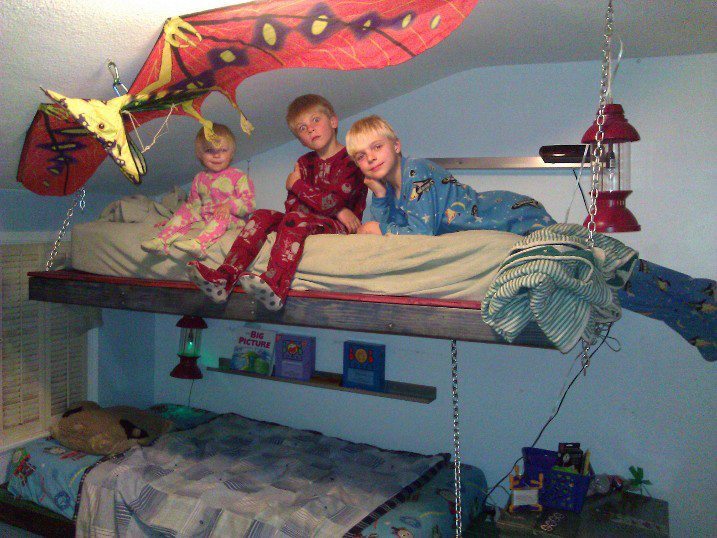
My hubby and I took the weekend to remove the loft and twin bed that was squeezed underneath it to give our boys more space in and around their beds. Thanks for the idea Ana, we like wood, but we also like color so the beds where stained two colors one for the frame and one for the slats. The boys chose red and blue, and green and black. We decided to hang the beds with chain from a stud in the ceiling. They were so exicited to sleep in their new beds that i believe bedtime will be much easier! Thanks Ana
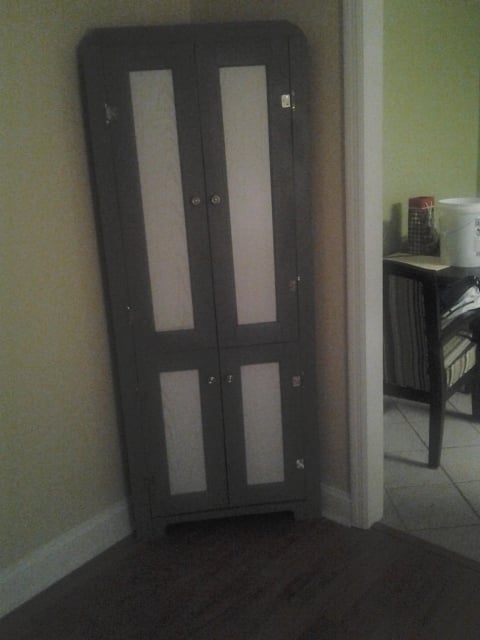
This was such a fun project. I had been shopping for a corner cabinet for months before I decided I either couldn't afford what I liked and didn't like what I could afford. So I built it! I added the top doors... I didn't need one more thing to dust.
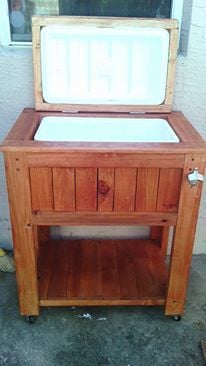
This was my very first project I did. Very proud of how this turned out. Now my sister has one and I am building another one with Mickey Mouse on it for my other sister. I build it in a day with lots of breaks due to 4 teenagers.
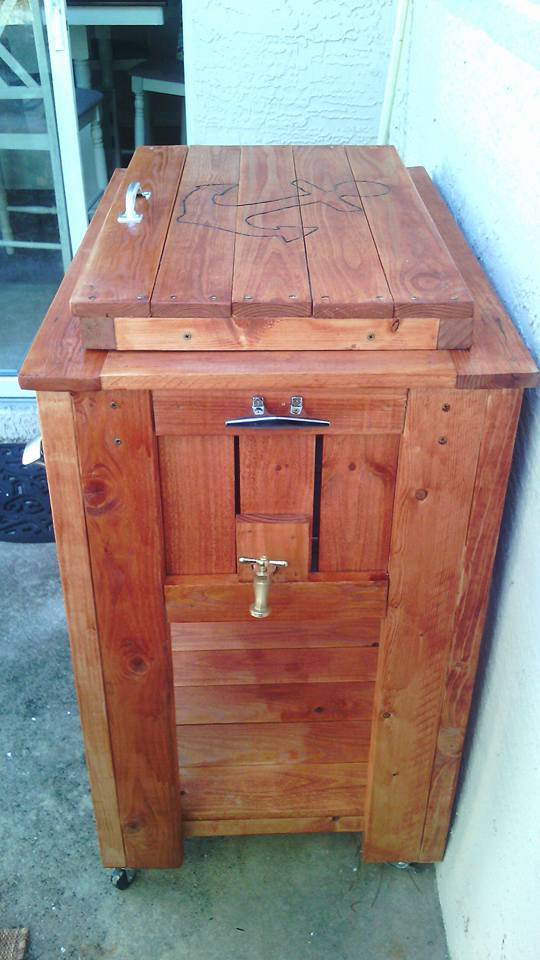
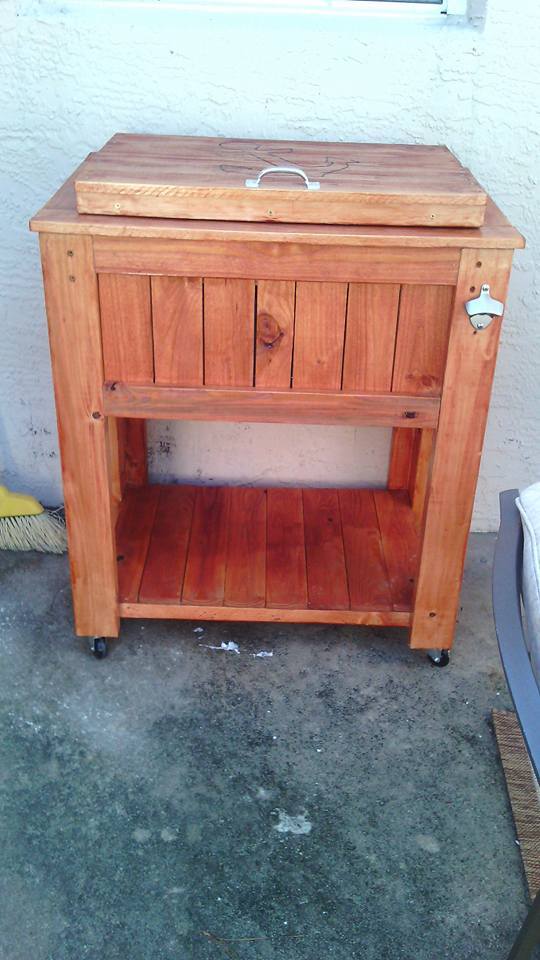
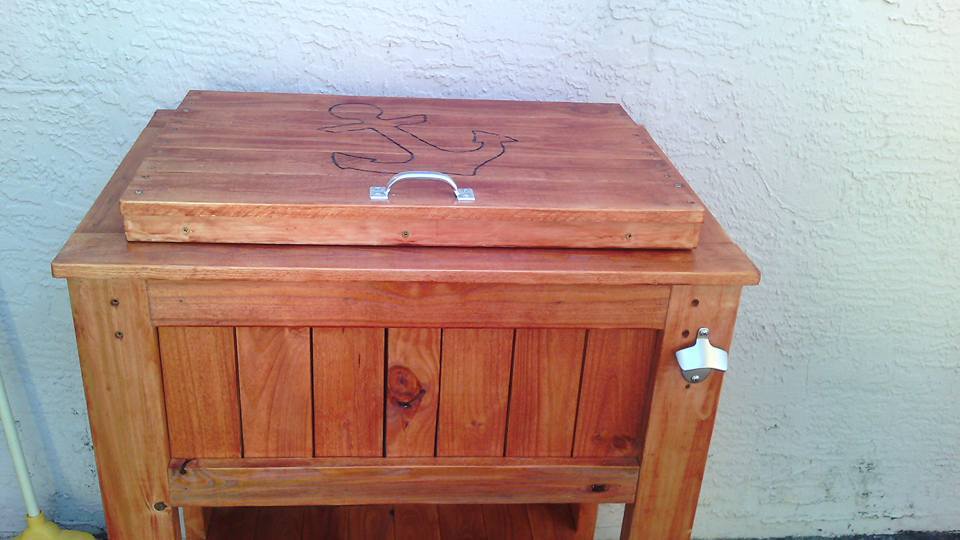
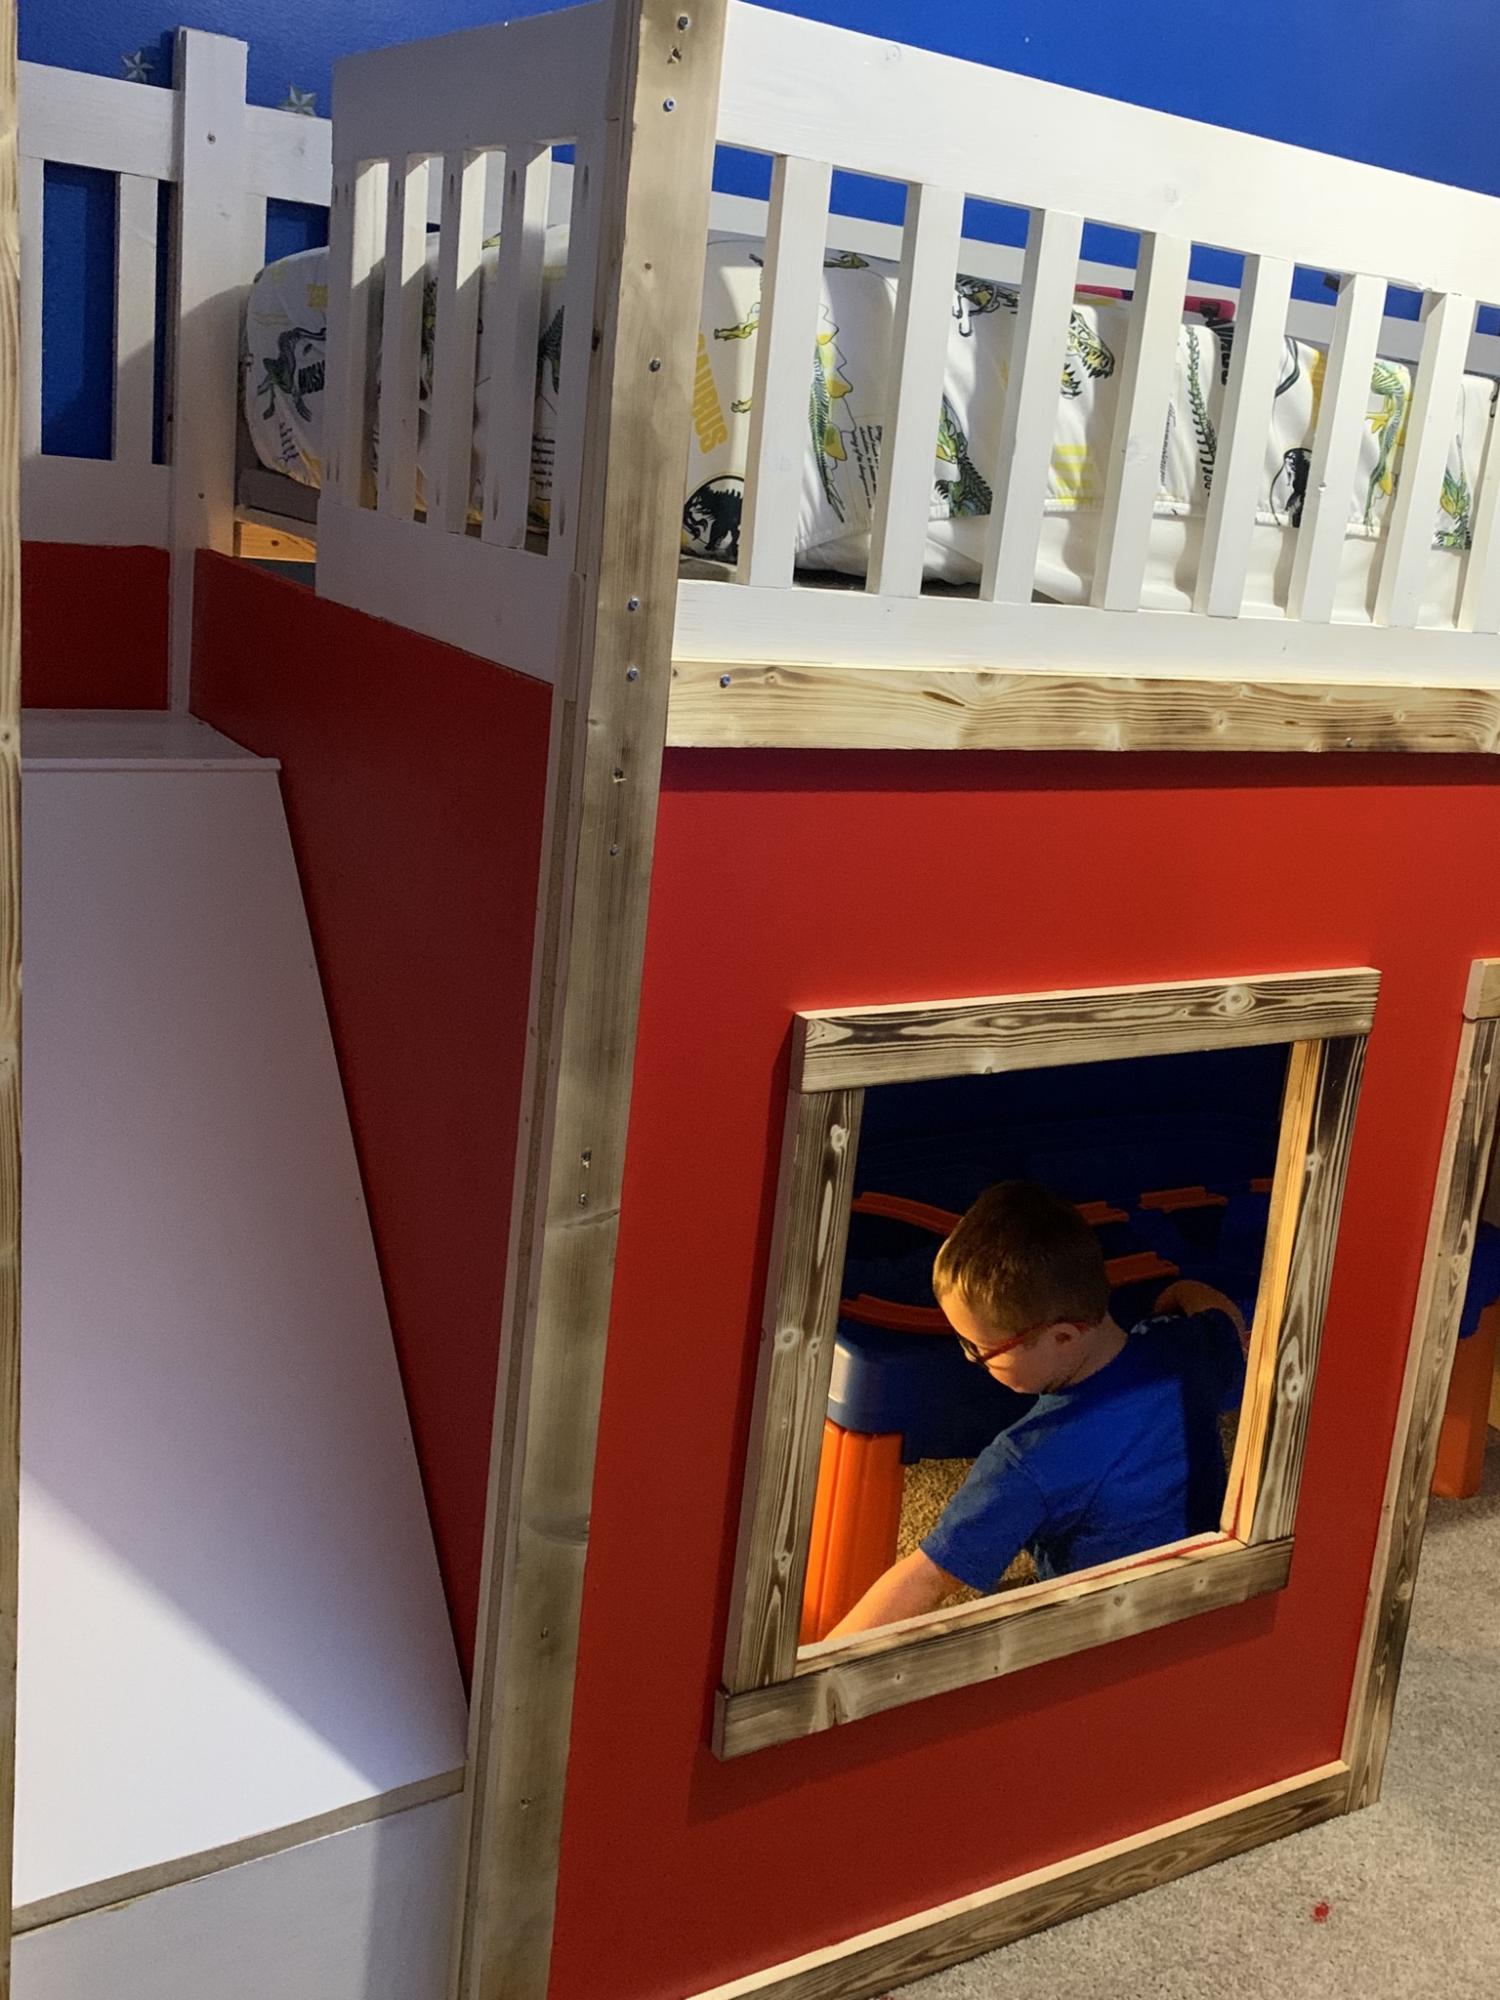
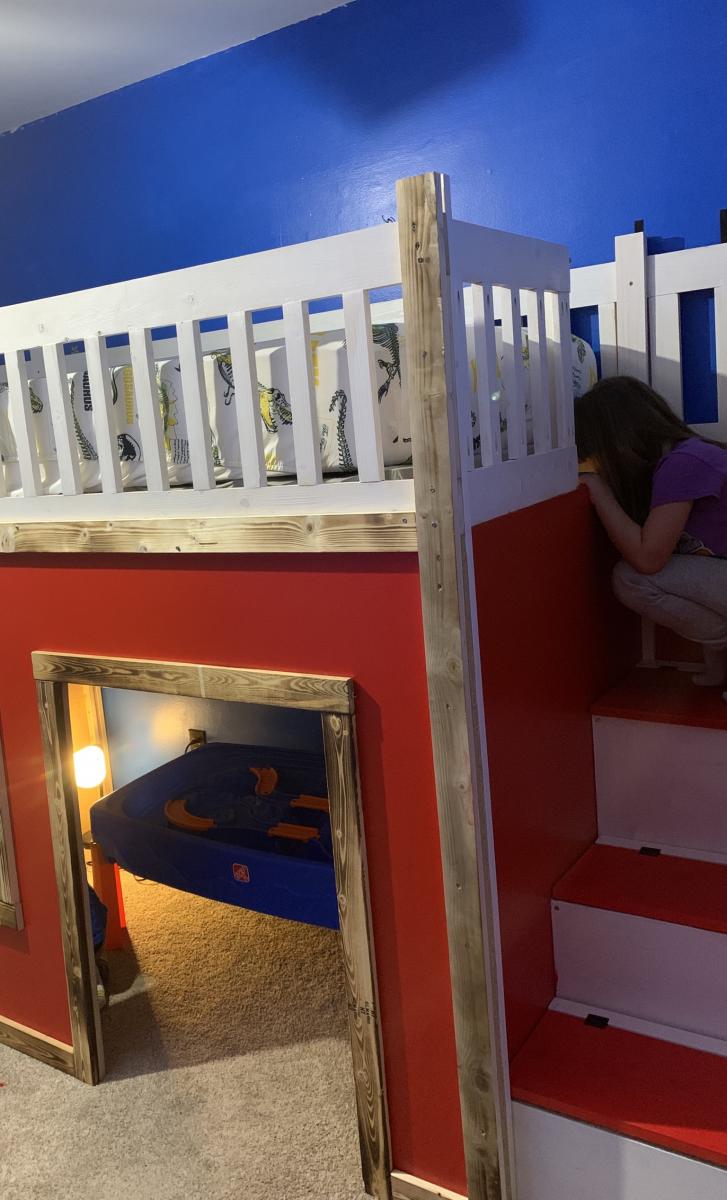
This was a 3 weekend project that I hope my son loves.
I used both plans and made adjustments as needed. Read everyone’s post to see what works best for what you are trying to accomplish. I know that my slide is steep and I would of made it more gradual If I did think my kiddos could not handle it. I would say this bed is perfect for my 5 year old and my 7 year old has been in the room playing on it also all day.
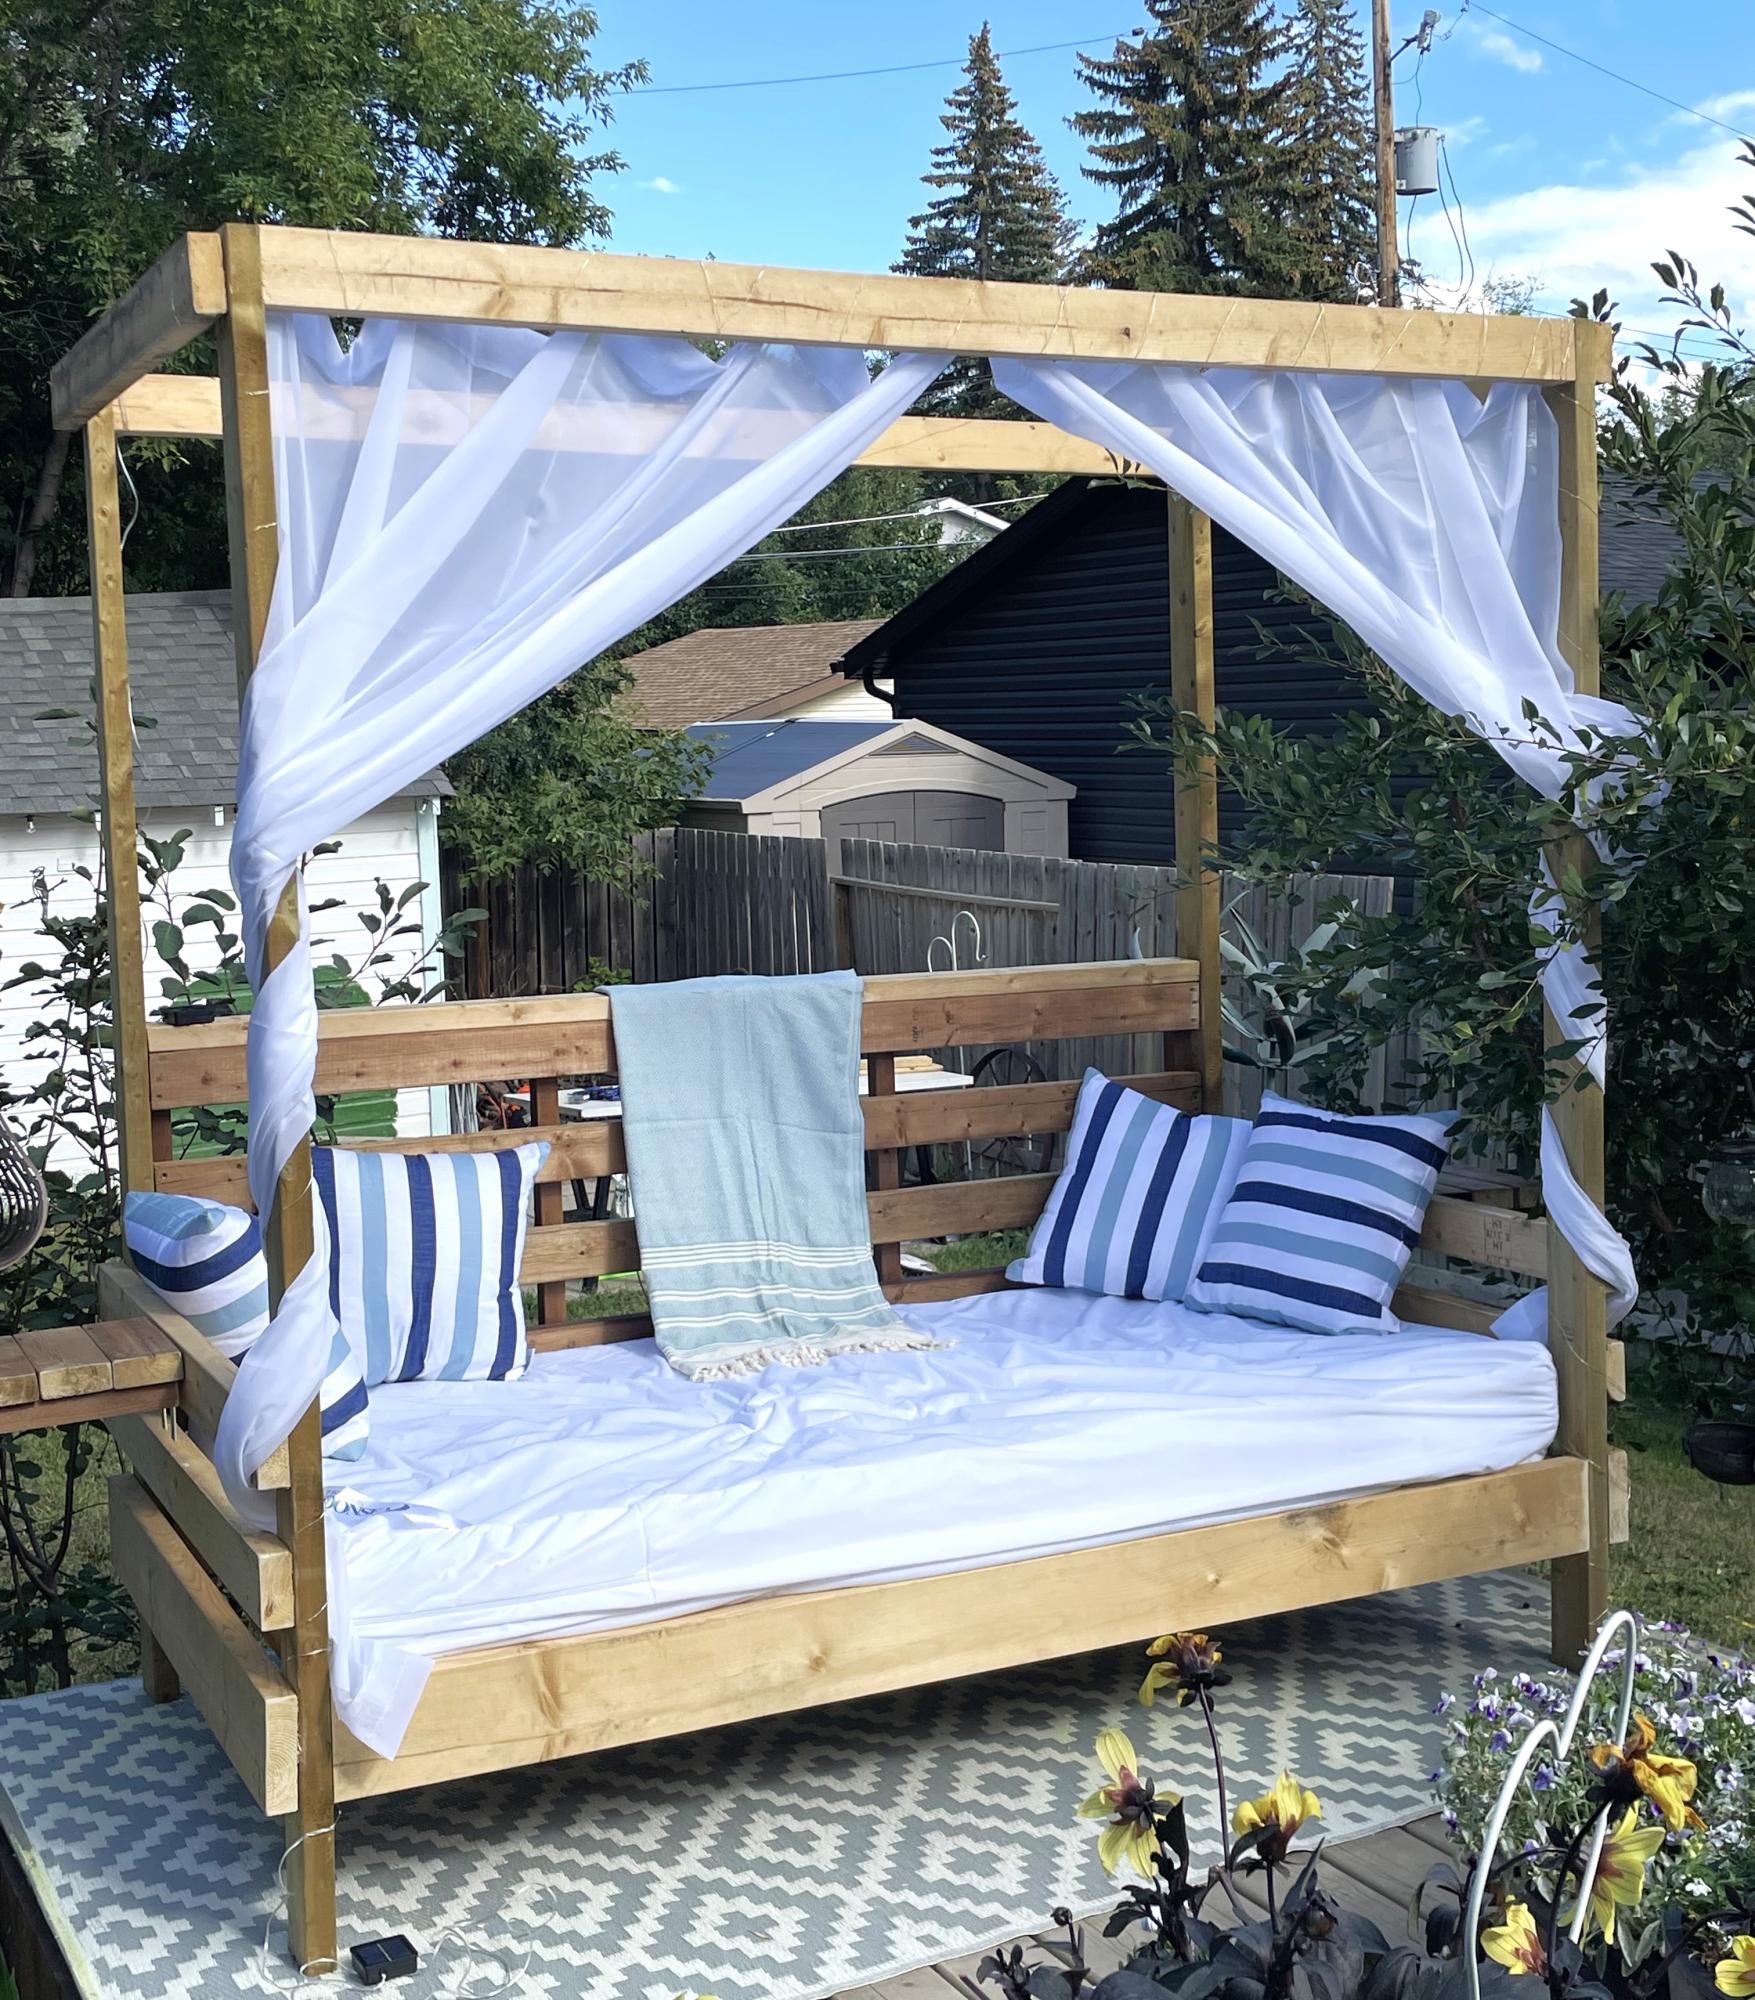
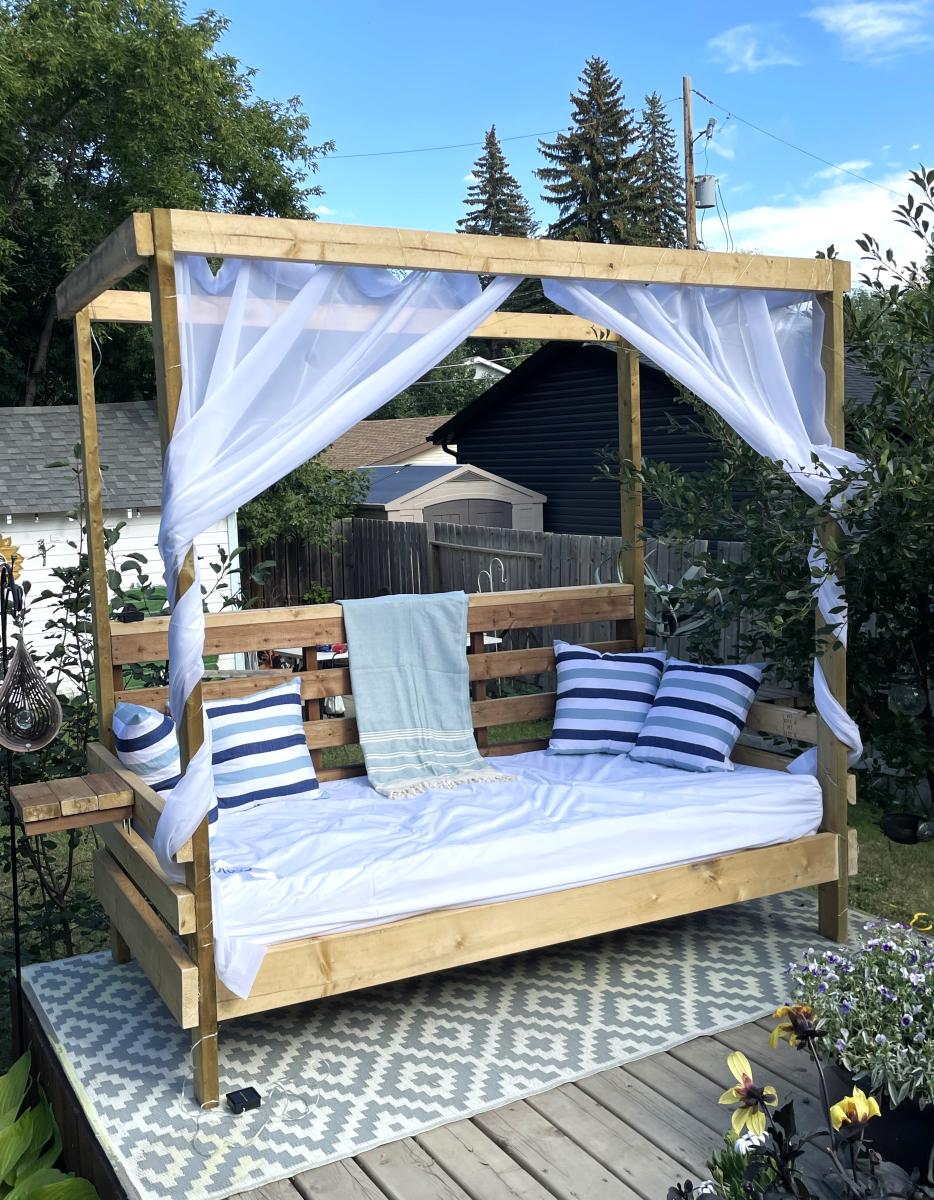
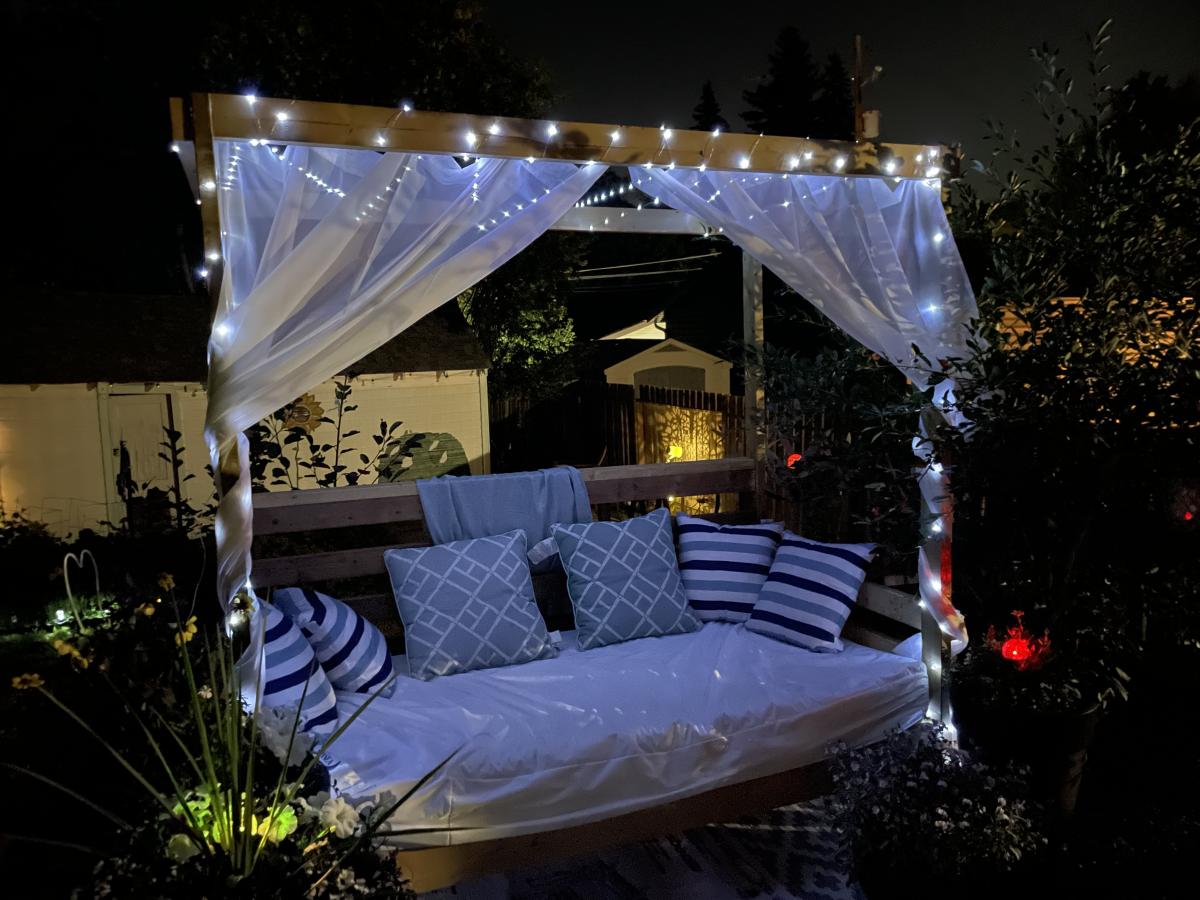
This was the first time I ever built anything - before this is hardly used a drill. It was big for a first build, and I did it entirely alone aside from a few text messages with questions. I added a couple little end tables to it for a book and a drink, and it’s now my favourite outside summer spot.
Facebook user @robyn.marie.3572
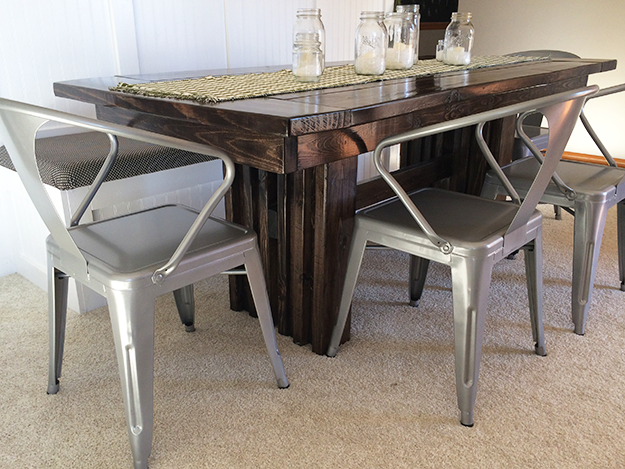
I used the basic construction of the turned leg coffee table, but used 2x4s screwed together for the legs, added a couple of supports, and made the dimensions larger (38.5" x 62" for a dining table that seats 6). I used pocket holes for all the joints and it came together pretty easily. (One day, though, I am going to build a project without drastically altering the plans. One day.)
Sun, 07/22/2012 - 02:00
Where are those chairs from??
Ps. The room looks great.
Tue, 08/21/2012 - 05:29
The chairs are from Overstock. Here's the link:
http://www.overstock.com/Home-Garden/Steel-Silvertone-Side-Chair-Set-of…
Thanks!
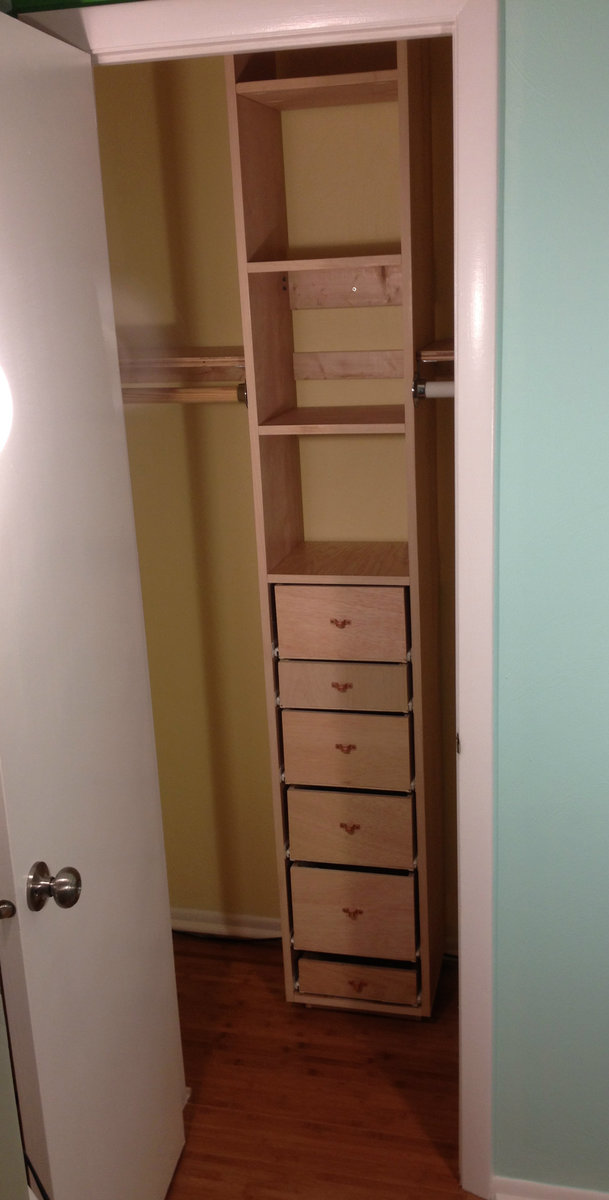
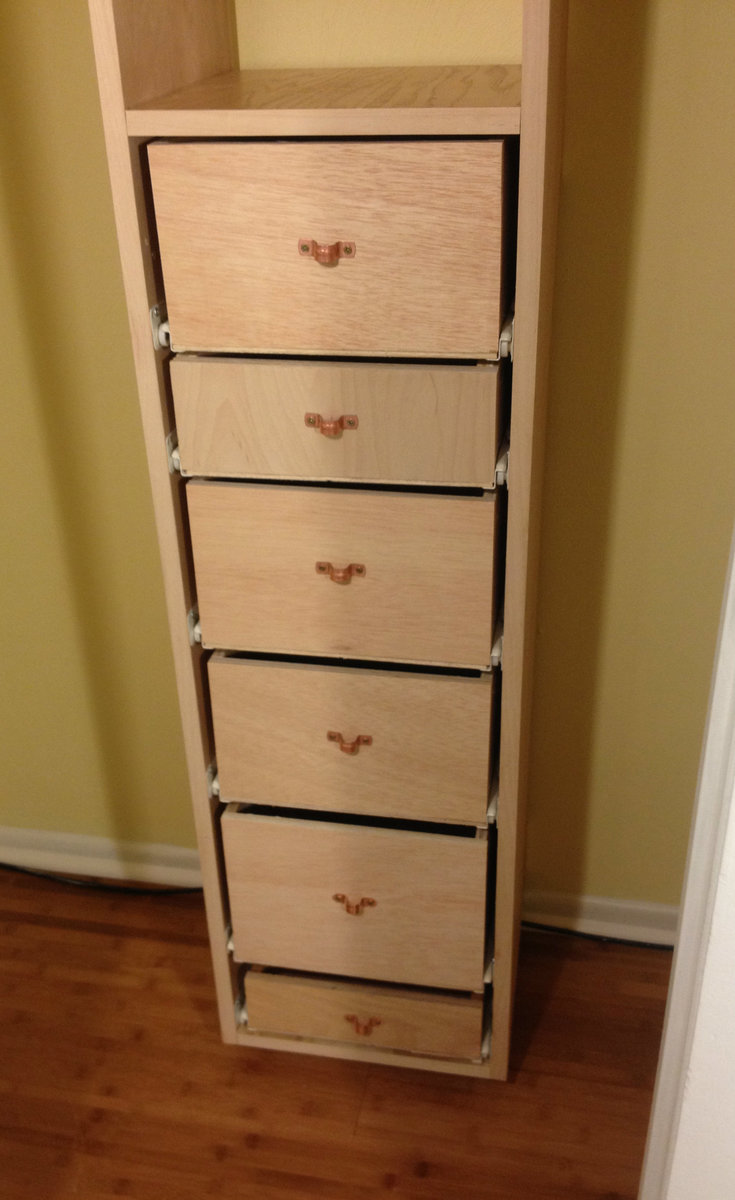
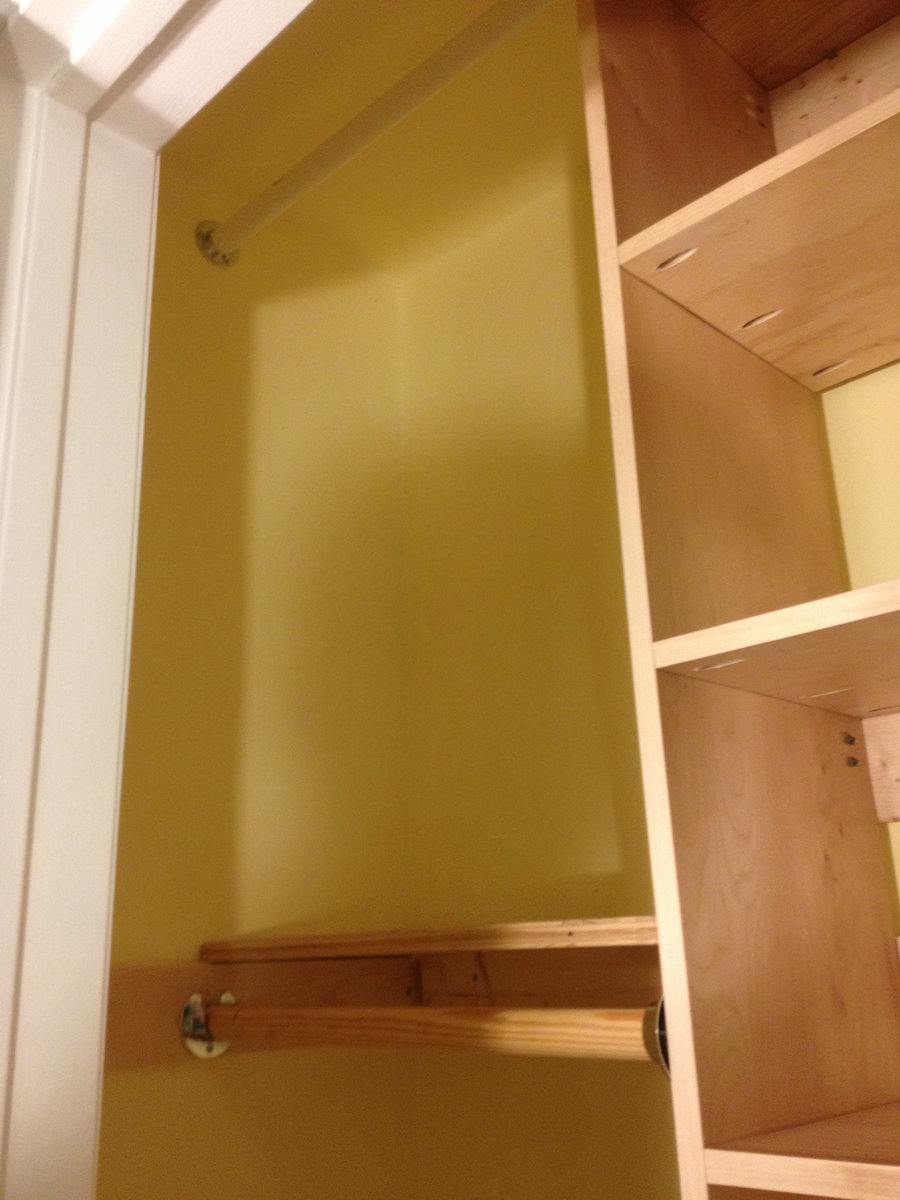
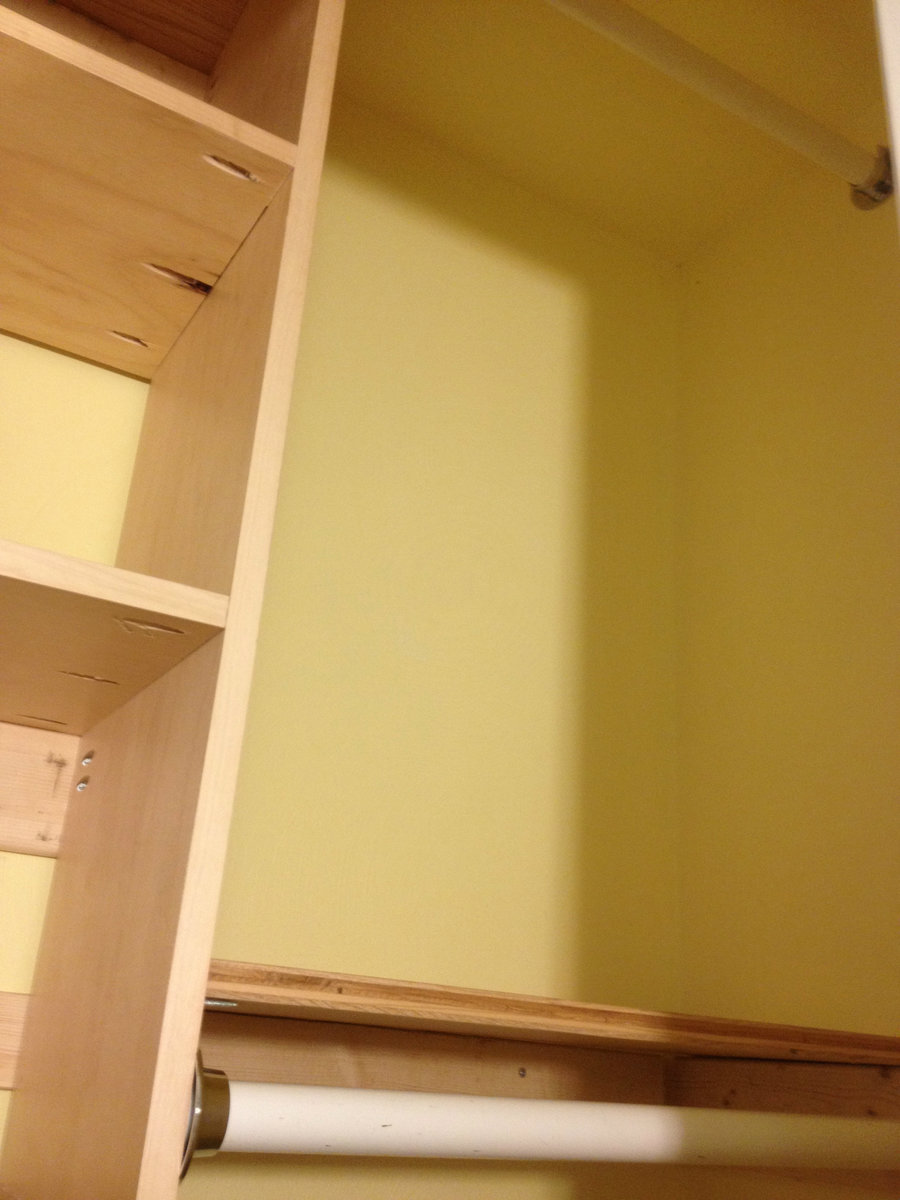
I needed some organization in my small closet, which originally only had one rod and one shelf. This is what resulted, and I made it from scraps from other projects, which is why the closet rods are mismatched...they'll be covered up with clothes hangers soon anyway. I had to buy the drawer slides and one more set of closet rod holders. I had some copper pipe straps and decided to use them as pulls on the drawers. I plan to make some crates out of cedar fence pickets to fit the shelves.
I just got the Kreg Micro Jig and used it on the drawers, which were made out of 1/2" plywood. I prefer to make drawers by using the table saw to create overlap rabbets and then use the nail gun to put them together, but it was 15 degrees outside today so I opted for the micro drill. It went pretty well...definitely caused less splitting in the 1/2" plywood than the regular kreg jig.
Fri, 08/22/2014 - 21:34
I just wanted to give you props on your organizer! It's so cool! I love the drawers and are those casters on the bottom? I looked at yours before I did mine and your comments helped!Thanks for posting this!
Wed, 08/27/2014 - 16:43
I love projects made from scraps - yours is awesome! You did a great job on all those drawers, and the idea to use the copper pipe straps as drawer pulls is so creative!
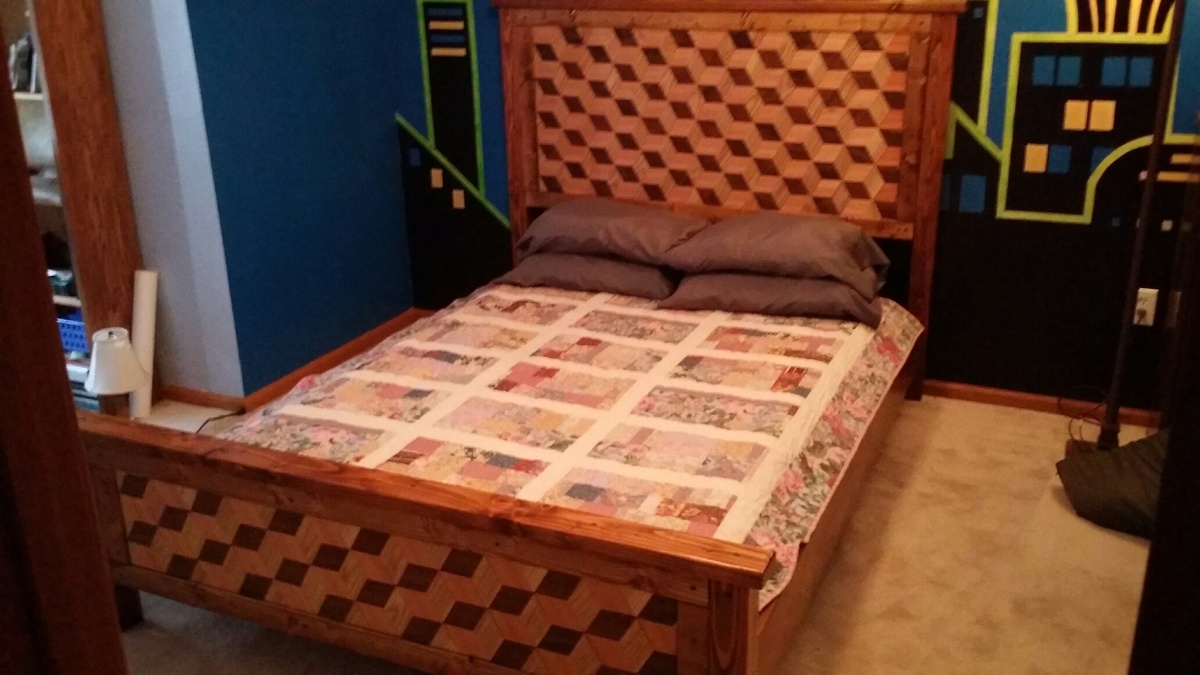
My wife is an avid quilter and I've just begun woodworking, so when we needed a bed for our spare bedroom, we combined my love of woodworking with her love of quilts to come up with this bed, modified from your plans. We couldn't be happier with the way that it turned out!

My dad and I built this for my mother in law. Her apartment gives them the option to decorate the area outside the door, so needed a specific size. Love the way it turned out!
M Banks
New dining room with a board and batten, farmhouse table and six parson chairs.
Thanks Ana!
Mon, 03/19/2012 - 18:15
This room is absolutely gorgeous! You did an awesome job- love all the finishes and colors, and the fantastic chairs!
Tue, 03/20/2012 - 23:19
Agreed! Huge accomplishment! I can't believe you made 6 chairs! And they all look so nice and well made! Thanks for sharing, it's a lovely room!
Wed, 03/21/2012 - 01:54
I love the painted chandelier! This is a cool room, and you made the whole thing. wow.
Wed, 03/21/2012 - 09:16
Thank you for all these compliments. I don't speak English very well because I'm french but I will try to make me understand. I built a chair with the modifications to see the result, then, I made all the cuttings with my miter saw for the 5 other chairs, then I made every chair within half an hour. I cut all that it was necessary foam and fabric in one step and I sewed everything for covers. To make covers, I made a paper pattern, then I sewed them in 10 minutes.
I am very happy I found this site with all that wonderful projects. It's my favorite site . Thank you Ana, you changed my life!
Thu, 12/13/2012 - 17:48
The covers of the chairs come out. I used ana's plan to make chairs and covers. I modified the cover's plan to fit the chairs because I made them taller. It is very practical because I have a four-year-old girl even if I have no cat and no dog =)
http://ana-white.com/2010/11/plans/drop-cloth-parson-chair-slipcovers
Thu, 07/18/2013 - 12:37
I love your chairs and especially like the extra height. How tall did you make the backs of the chairs?