Community Brag Posts

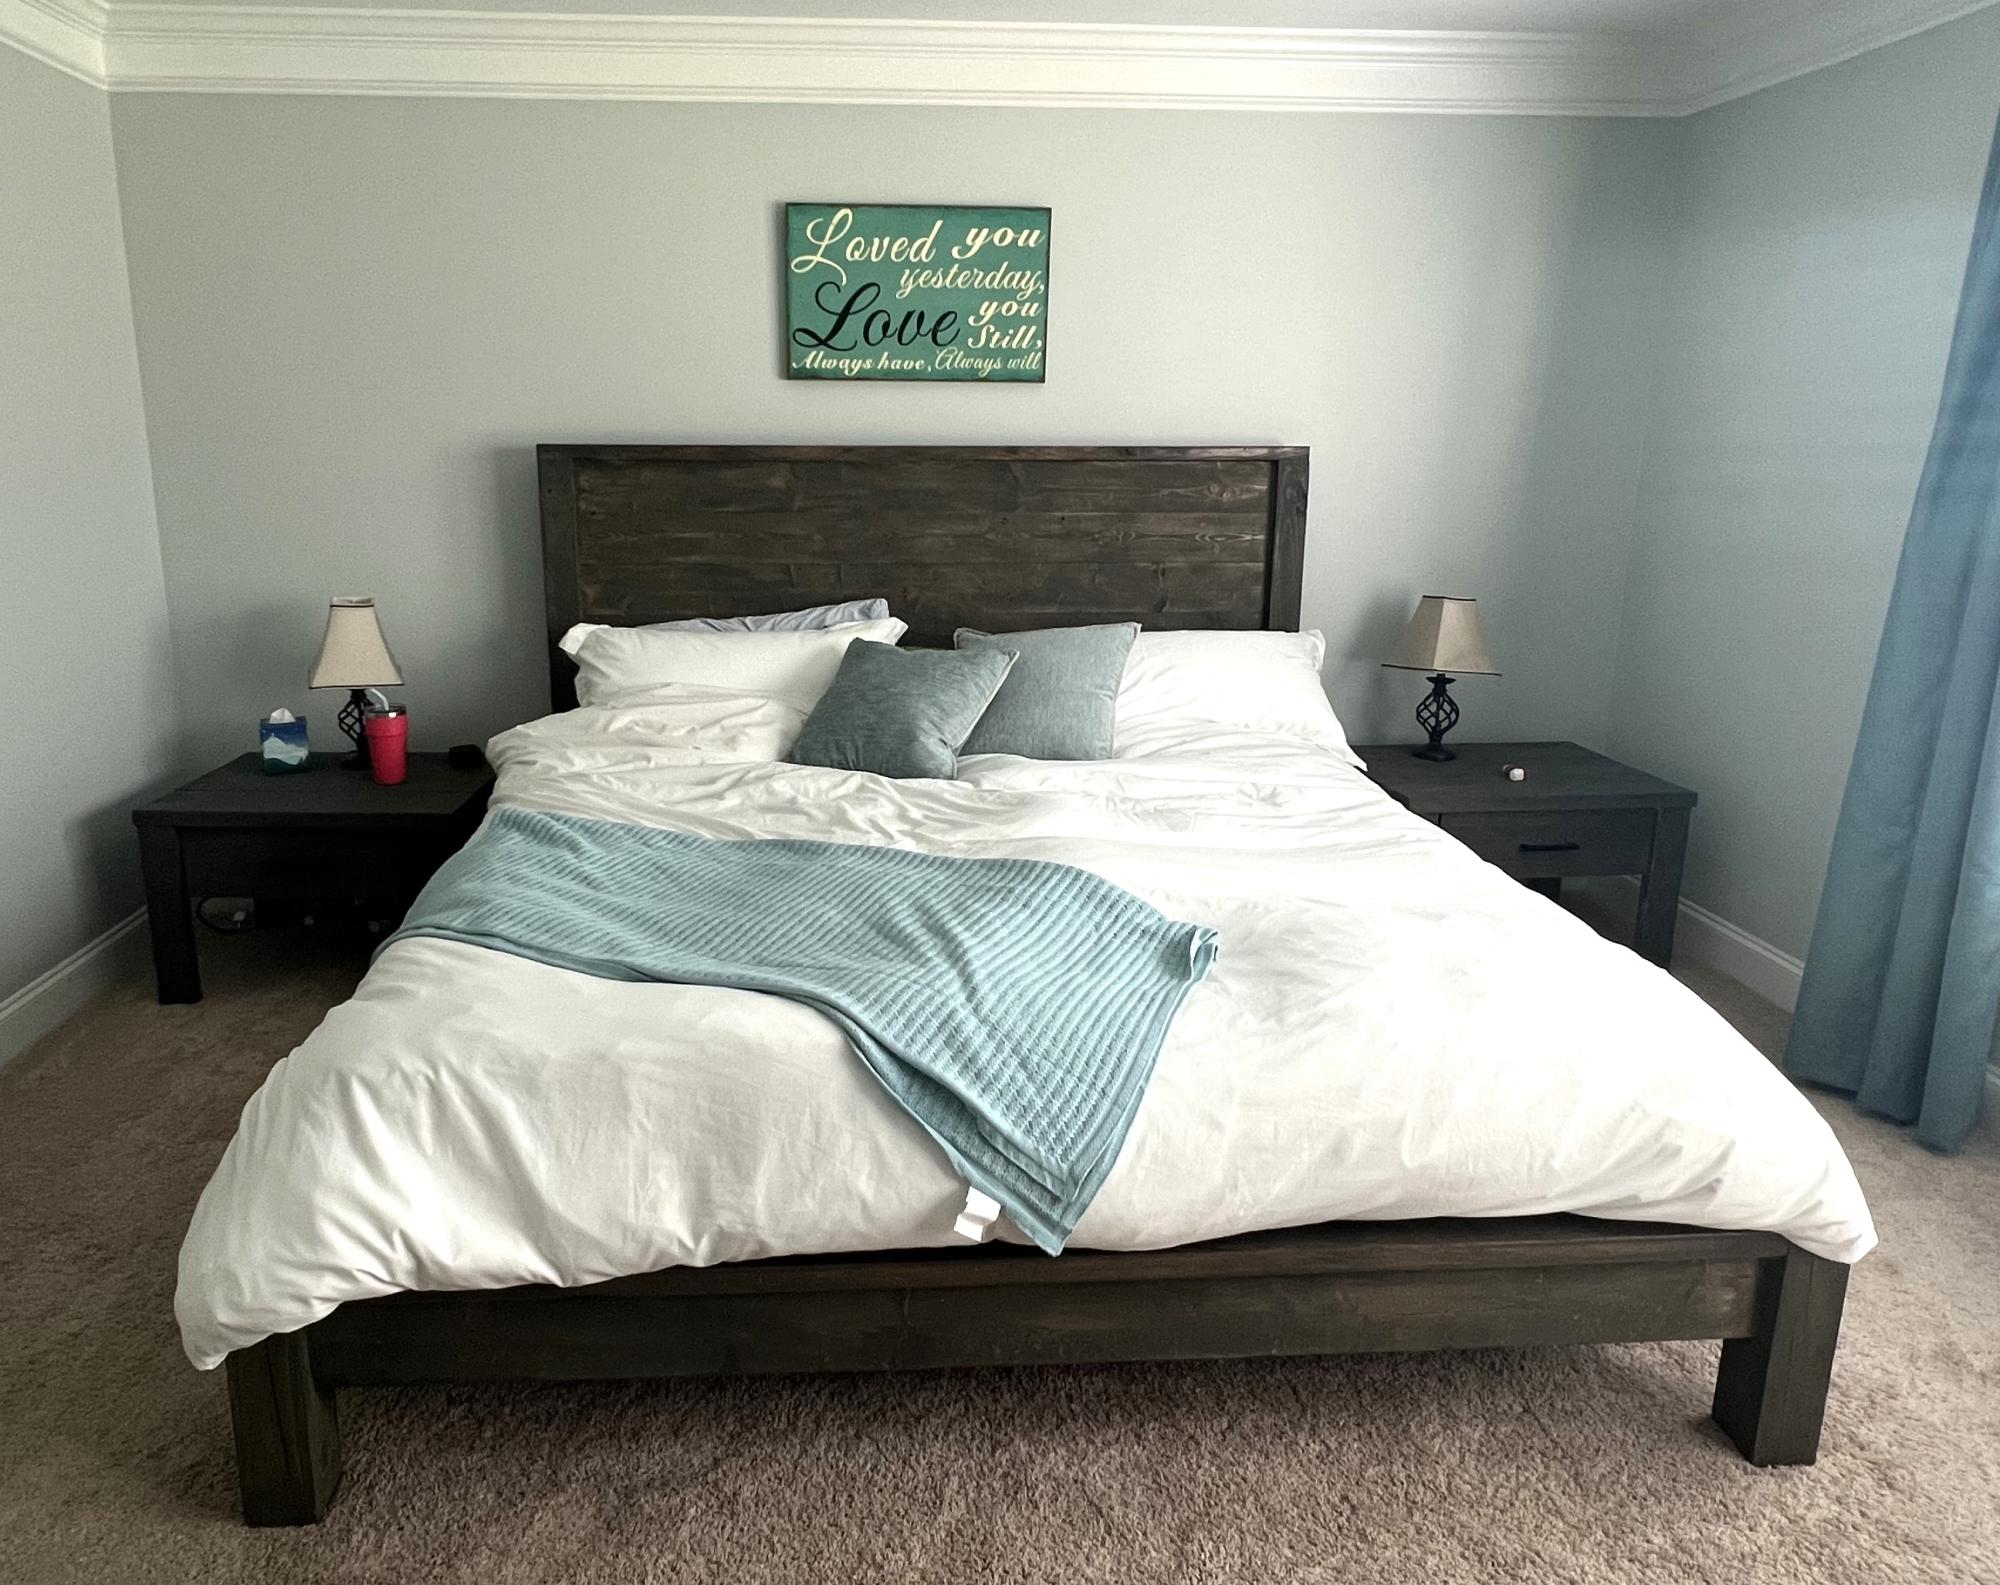
Farmhouse Bed

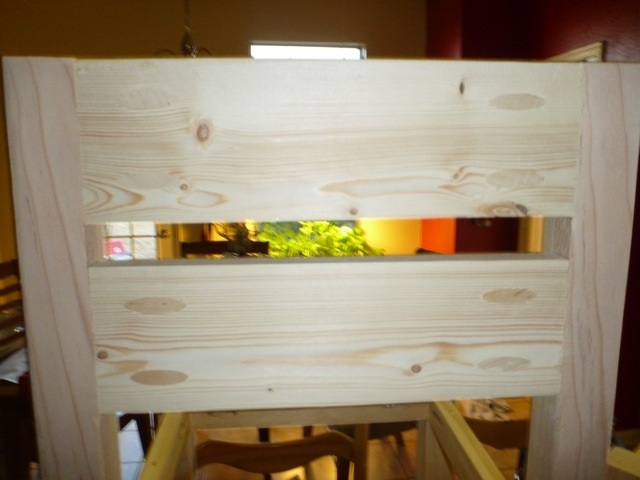
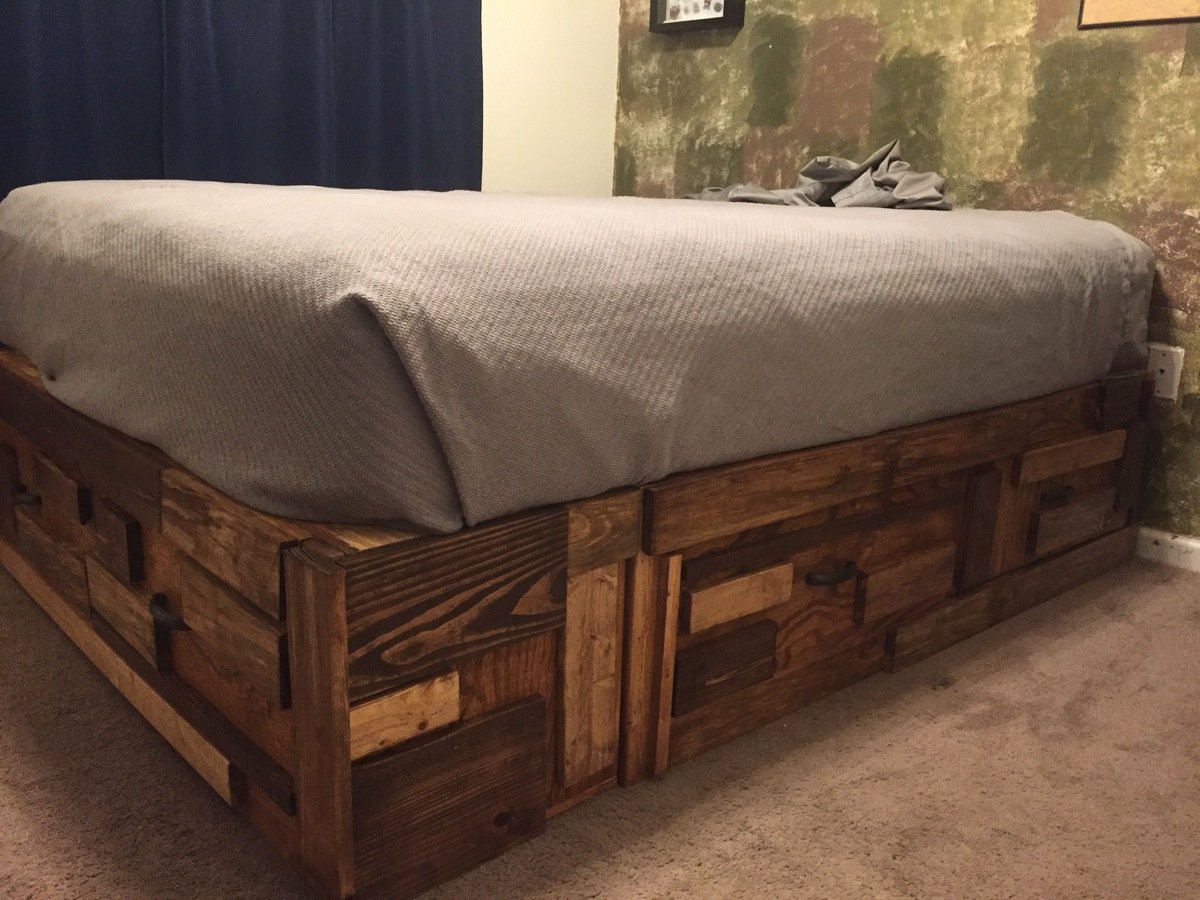
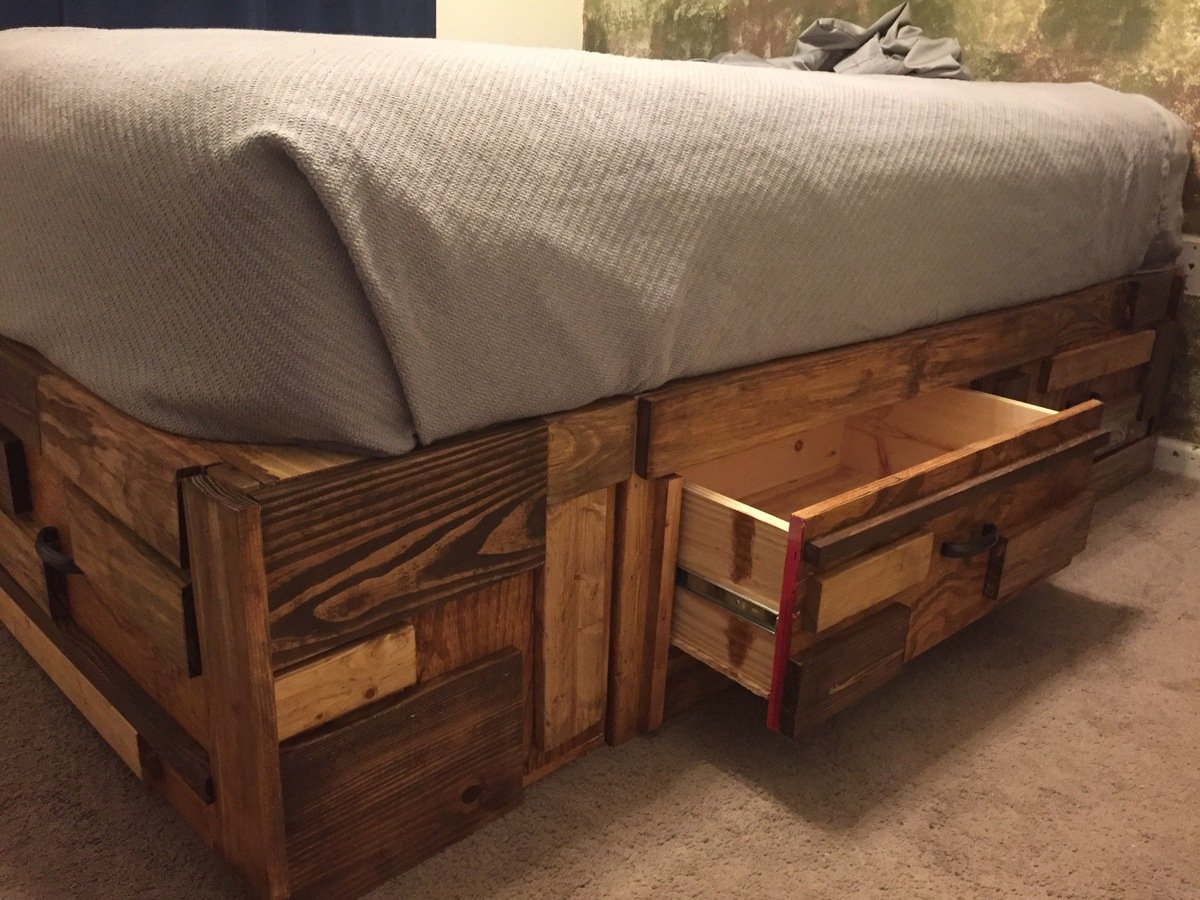
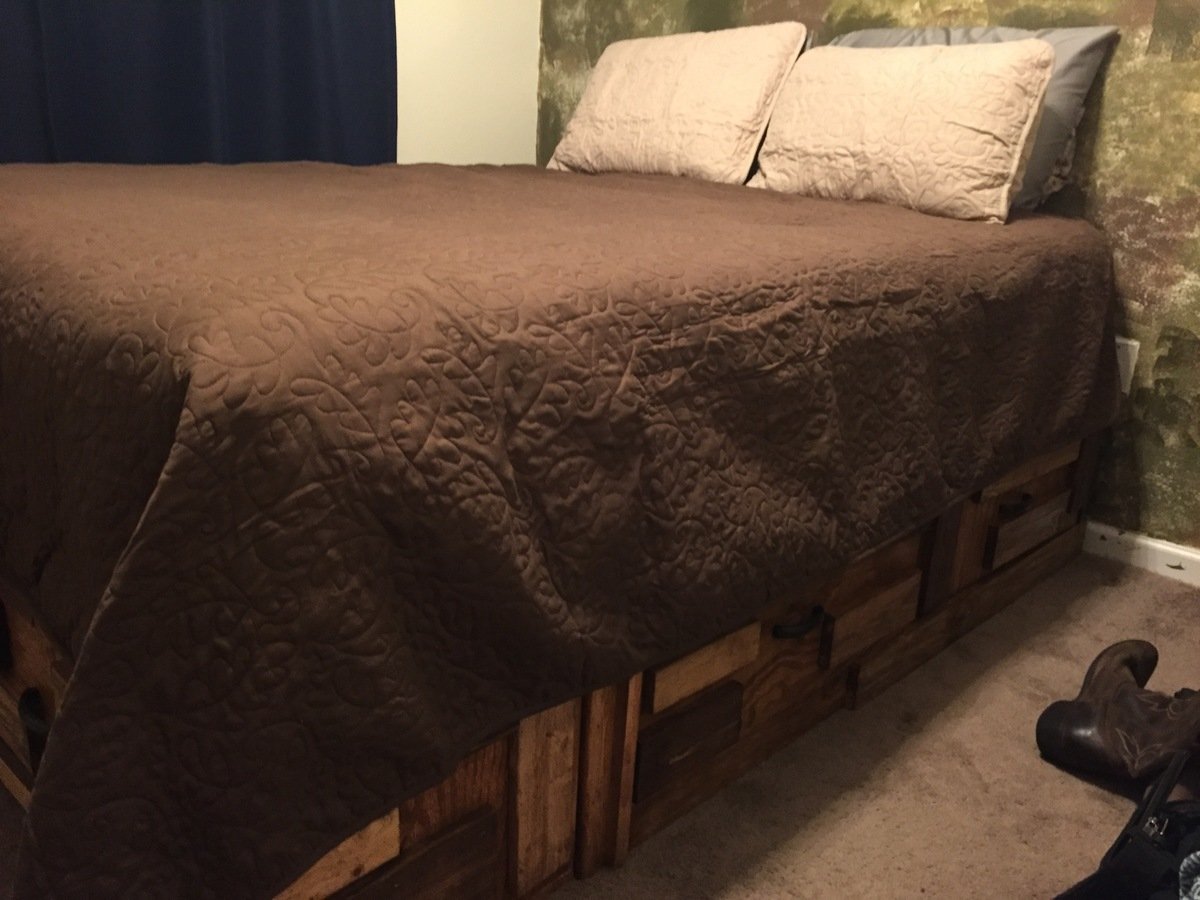
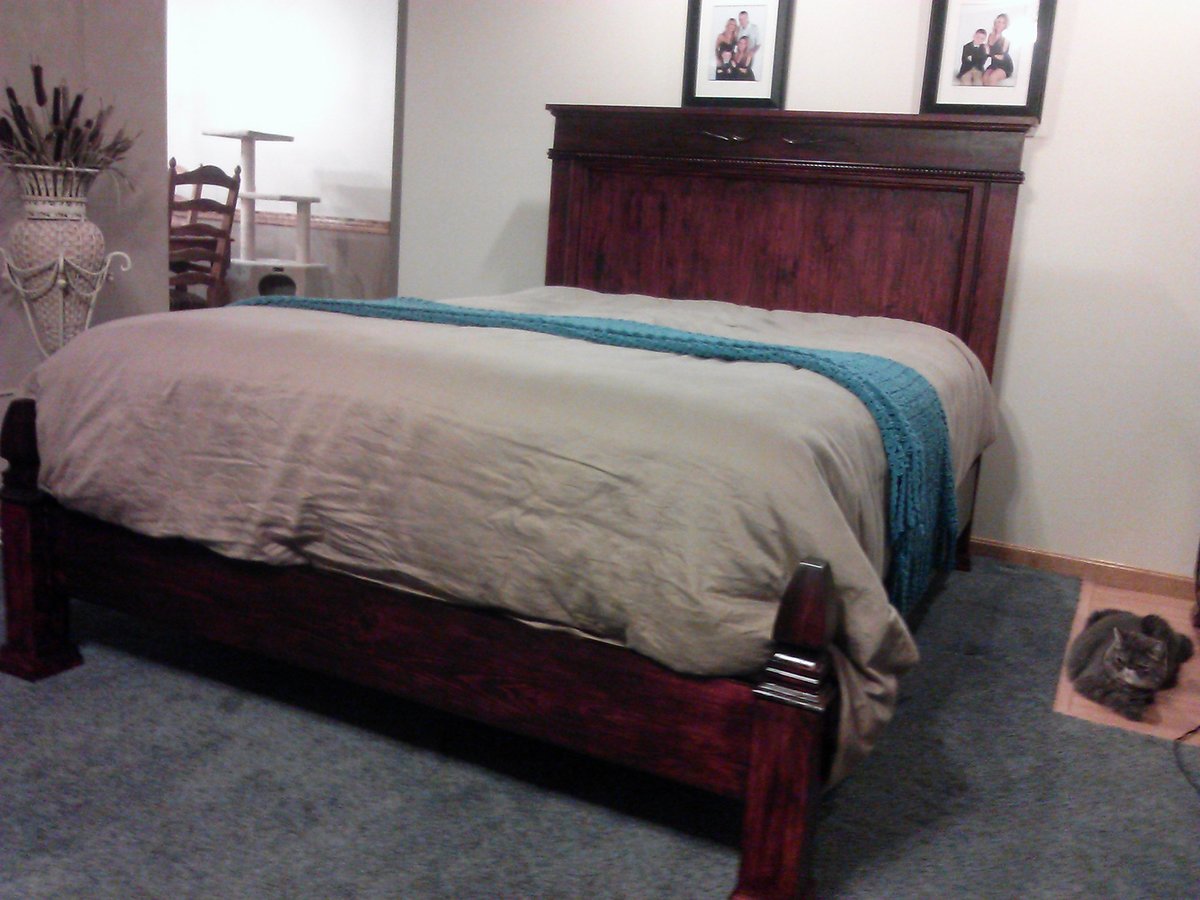
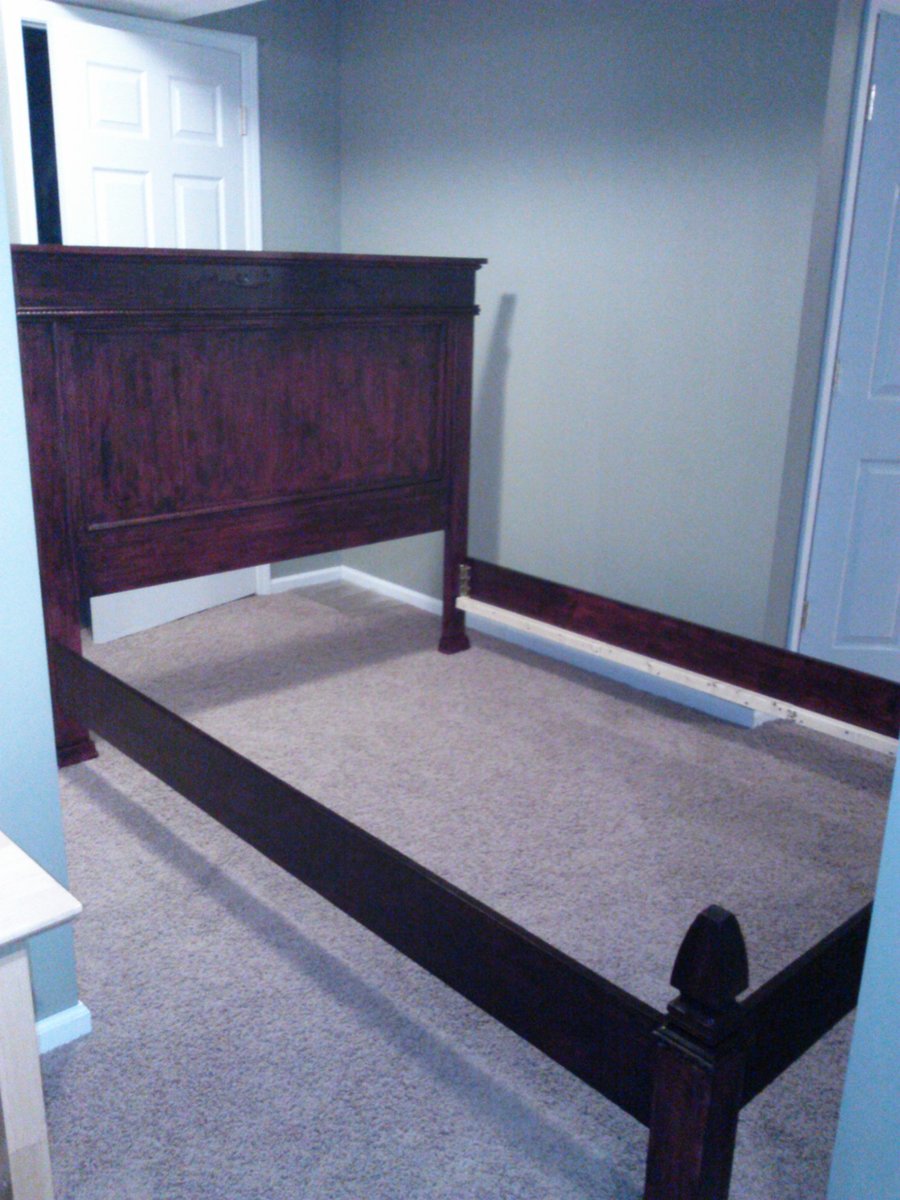
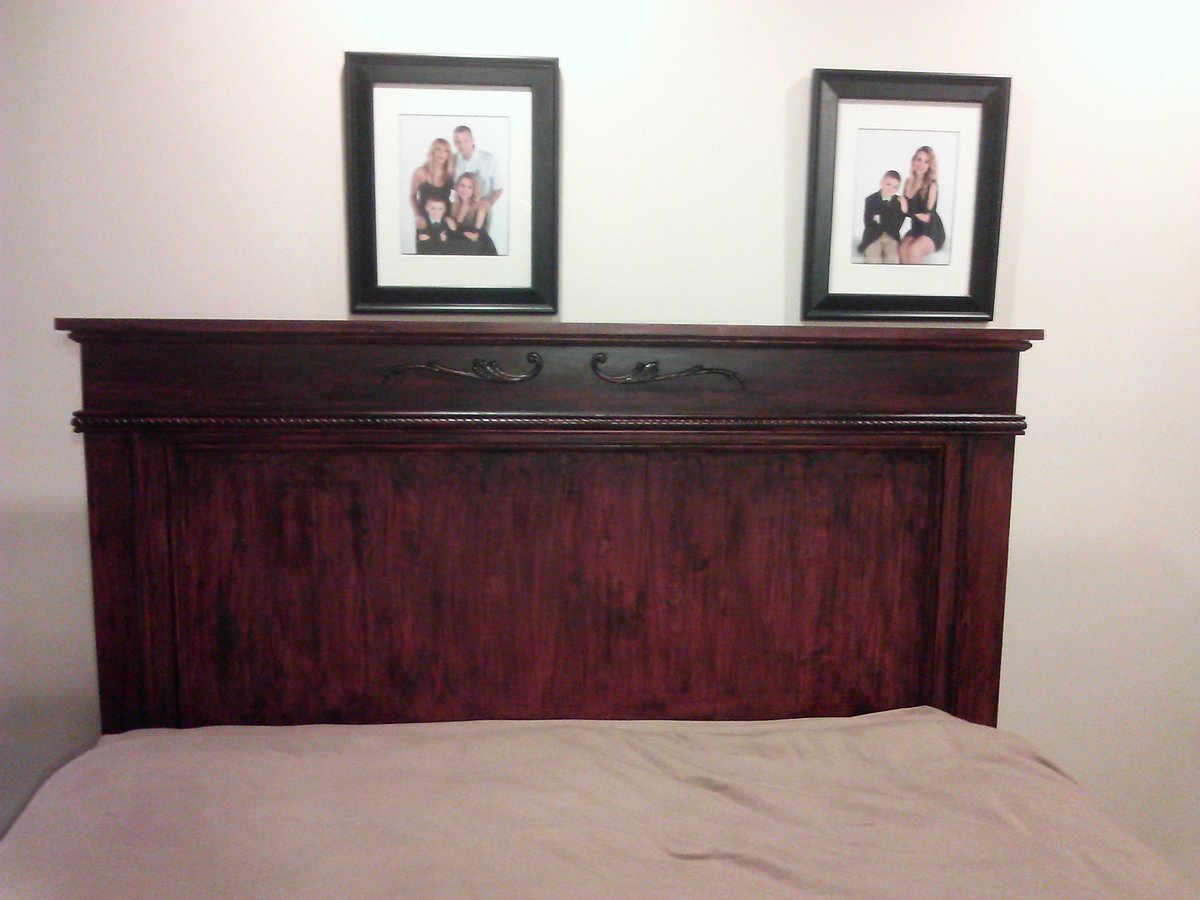
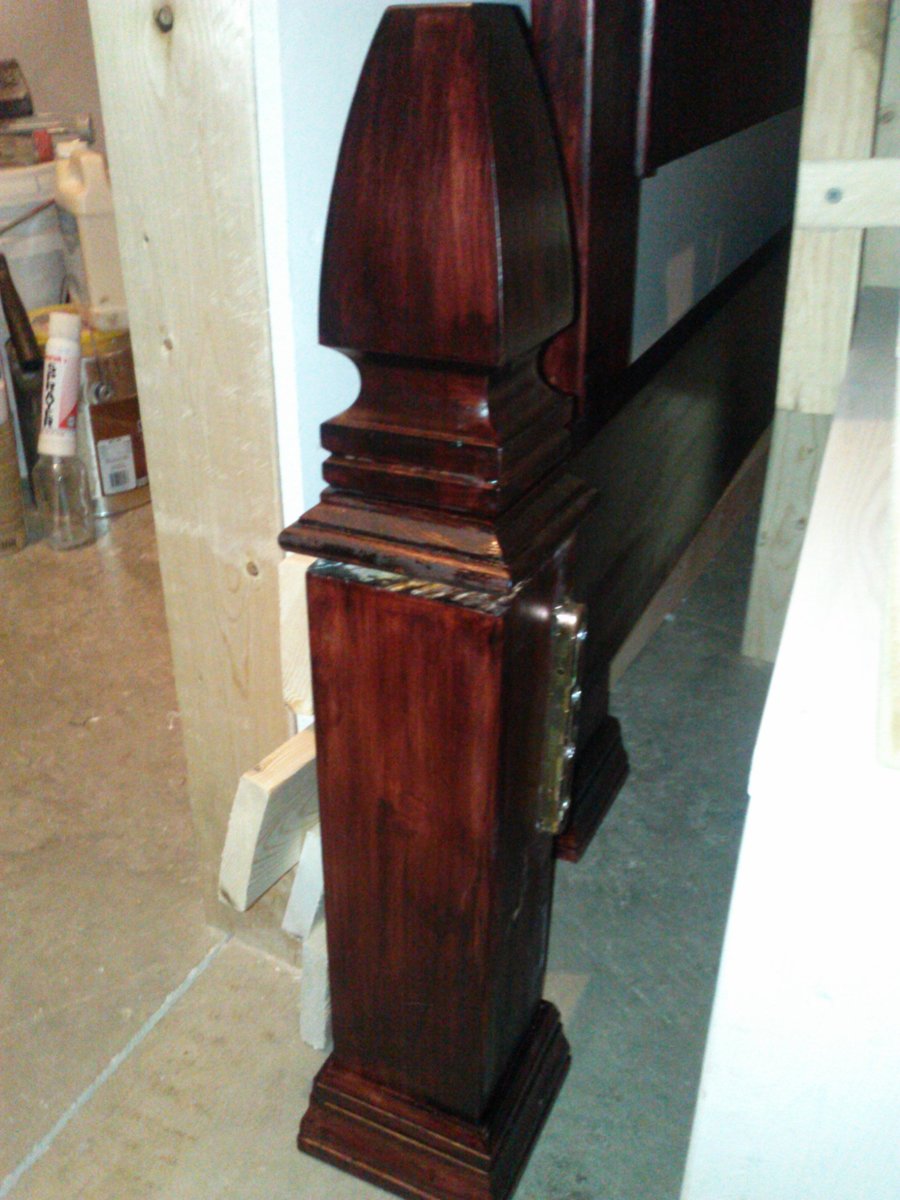
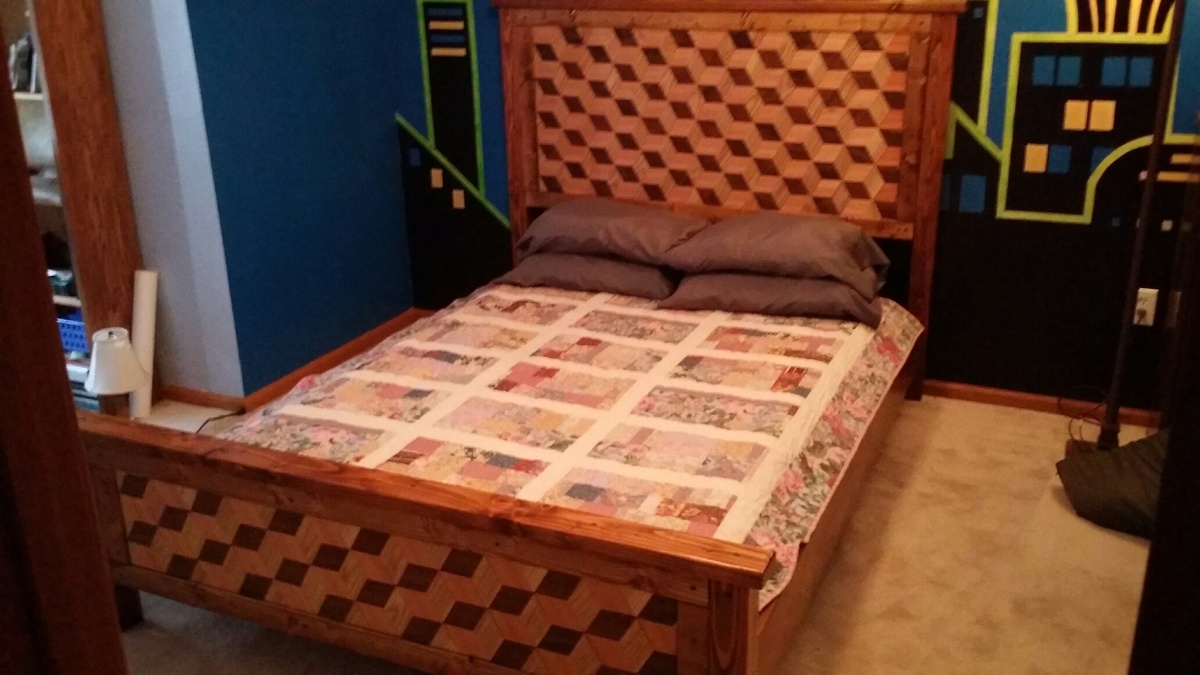
My wife is an avid quilter and I've just begun woodworking, so when we needed a bed for our spare bedroom, we combined my love of woodworking with her love of quilts to come up with this bed, modified from your plans.  We couldn't be happier with the way that it turned out!

Built from Plan(s)
Estimated Cost
$150
Estimated Time Investment
Week Long Project (20 Hours or More)
Finish Used
Provincial Stain covered by polyurethane (3 coats).
Recommended Skill Level
Intermediate

New Dining Room

New dining room with a board and batten, farmhouse table and six parson chairs.
Thanks Ana!

Estimated Time Investment
Week Long Project (20 Hours or More)
Finish Used
wengue stain and white paint.
Recommended Skill Level
Beginner

Comments

JoanneS

Mon, 03/19/2012 - 18:15

This room is absolutely gorgeous! You did an awesome job- love all the finishes and colors, and the fantastic chairs!

Cindy from Indiana (not verified)

Tue, 03/20/2012 - 12:43

Wow! This room turned out great - really fantastic job!

claydowling

Wed, 03/21/2012 - 05:14

I'm with Ana on the chairs. That's really amazing. The last time I made a chair it took a very full and tiring day to build the frame, and another evening to build the seat. Do you have tips for speeding the process up?

alamanda973

Wed, 03/21/2012 - 09:16

Thank you for all these compliments. I don't speak English very well because I'm french but I will try to make me understand. I built a chair with the modifications to see the result, then, I made all the cuttings with my miter saw for the 5 other chairs, then I made every chair within half an hour. I cut all that it was necessary foam and fabric in one step and I sewed everything for covers. To make covers, I made a paper pattern, then I sewed them in 10 minutes.
I am very happy I found this site with all that wonderful projects. It's my favorite site . Thank you Ana, you changed my life!

Milca (not verified)

Fri, 06/15/2012 - 07:44

Je suis impressionnee :)

kaytrishjr

Tue, 08/21/2012 - 13:16

I'm totally amazed, talk about getting busy! Your room is beautiful!

Angela Kempf (not verified)

Thu, 11/29/2012 - 14:24

Does your slip cover come off? I would like to make a couple of these to use as accent chairs in my living room. Yours look amazing.
I have one little boy, two cats, a large dog and a ferret. I need something that is WASHABLE =)

sugarhigh1605

Thu, 07/18/2013 - 12:37

I love your chairs and especially like the extra height. How tall did you make the backs of the chairs?

Bathroom Vanity I did for my mom Based on the Momplex vanity

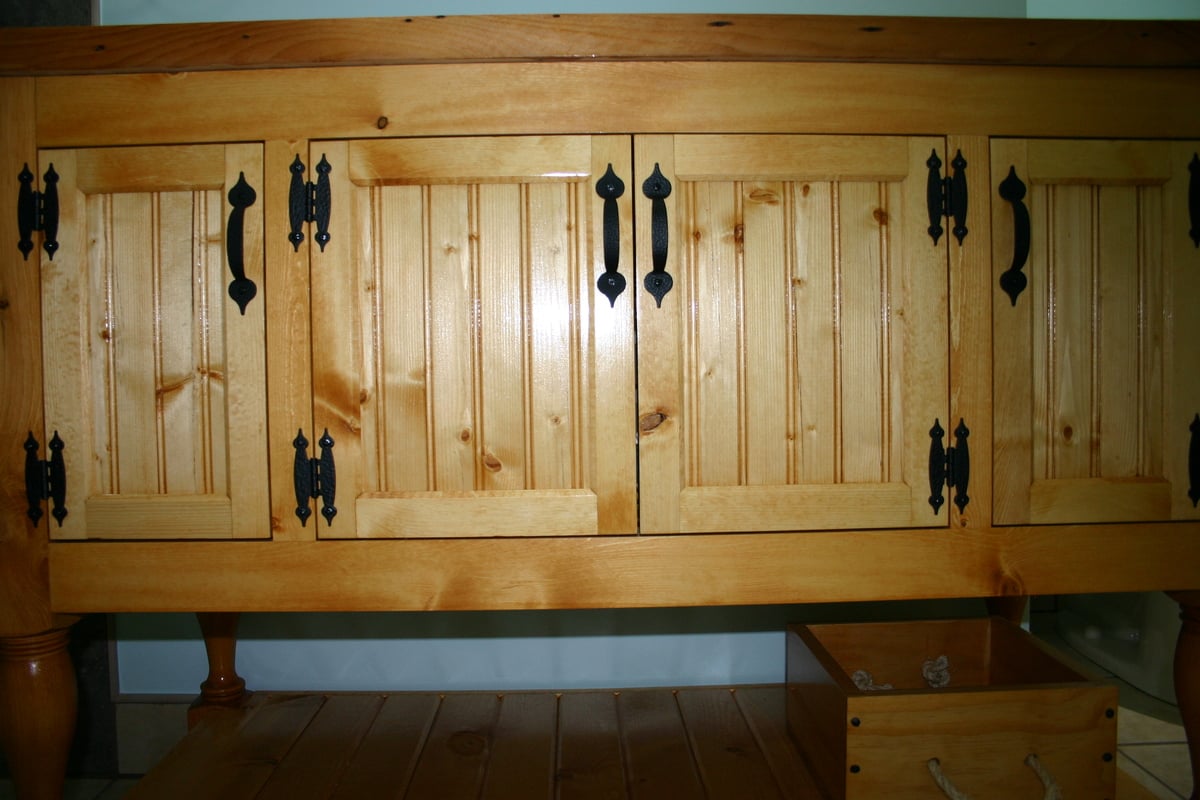
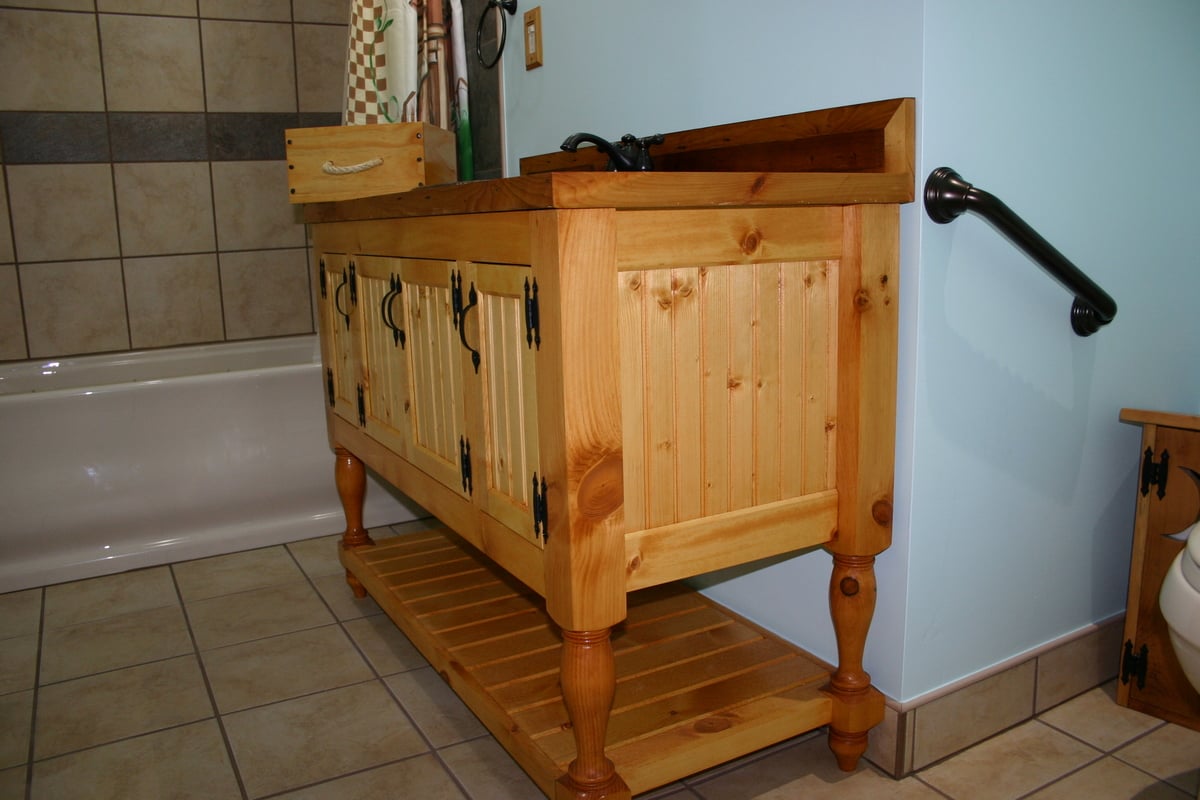
I remodeled the main floor bathroom for my parents. My mom had seen a vanity she like at a home center. Then she thought about doing an open vanity. Then I showed her the one Ana did for the Momplex (48" Turned Leg Vanity). and she loved it. This is what we came up with.

It has bead board panels on the ends and the doors. V-grove planks for the bottom shelf.

The top is made from 100 year old ship lap siding from my brother house. The sink is hand hammered copper with a venetian bronze faucet.

Built from Plan(s)
Estimated Time Investment
Week Long Project (20 Hours or More)
Finish Used
The vanity was finished using Rust-o-leum Ultimate wood stain in summer oak with several coats of a marine varnish to protect it in the bathroom. The top was only finished in the marine varnish.
Recommended Skill Level
Intermediate

Comments

Media Console

Submitted by Anonymous (not verified) on Thu, 03/31/2016 - 18:57

I built this console from the Grandy Sliding Door Console. I modified the plan slightly and lowered it to about 30 inches high, and have since hung the TV on the wall. I made the sliding door hardware at a local metal fabrication shop, and used patio door wheels for the hardware. It is stained with Rustoleum Dark Walnut stain wiped on with a cloth to ensure a non-uniform stain for a distressed look. I used the Kreg jig for most of the connections, and added support of the mid shelf in the back of the piece.

Built from Plan(s)
Estimated Cost
$500
Estimated Time Investment
Weekend Project (10-20 Hours)
Finish Used
Rustolium Dark Walnut with satin wipe on poly.
Recommended Skill Level
Intermediate

Twin captain storage bed

Submitted by Anonymous (not verified) on Thu, 11/28/2019 - 15:08

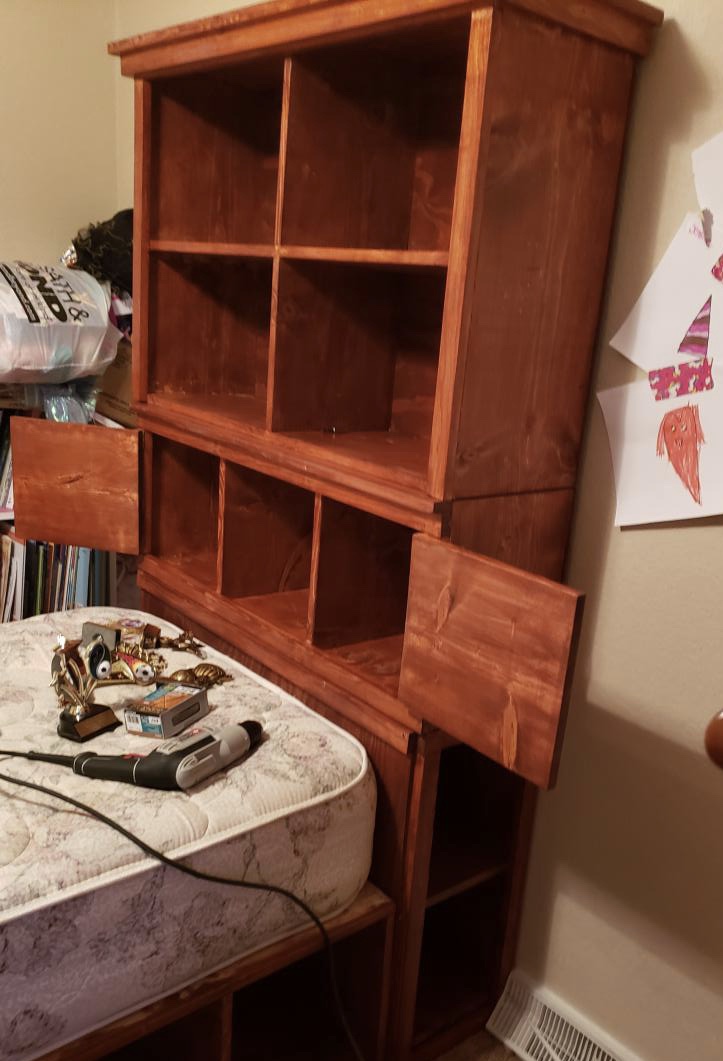
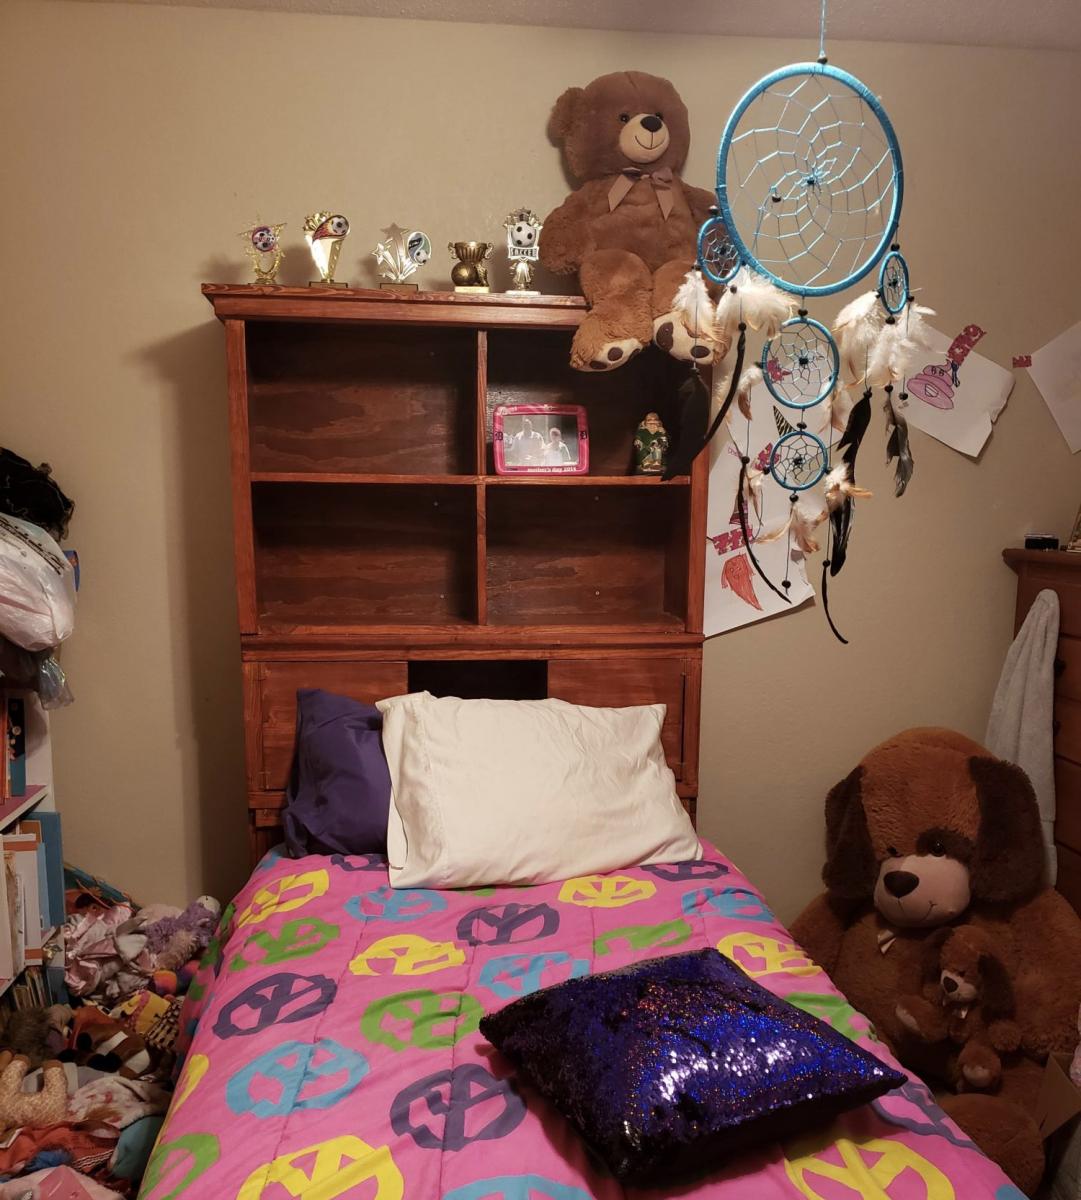
Our daughter outgrew her loft bed and wanted something closer to the ground. We didn't do the side storage towers, because we were concerned if there would be enough room.

Built from Plan(s)
Estimated Cost
450
Estimated Time Investment
Weekend Project (10-20 Hours)
Finish Used
Gun stock stain
Recommended Skill Level
Beginner

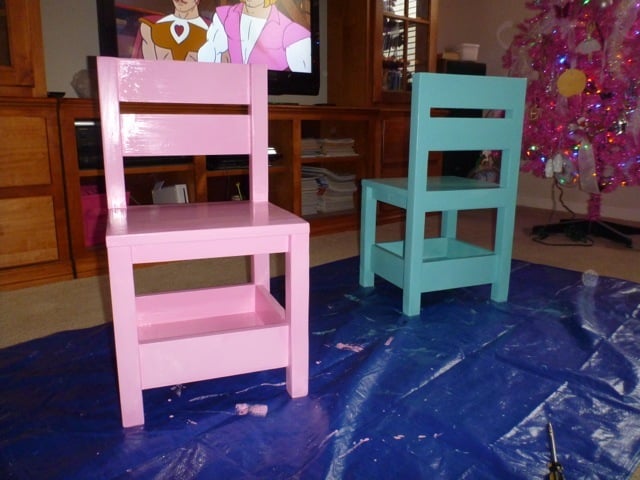
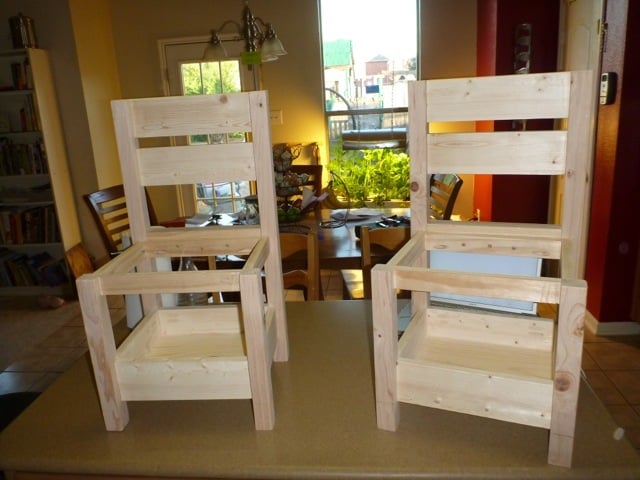
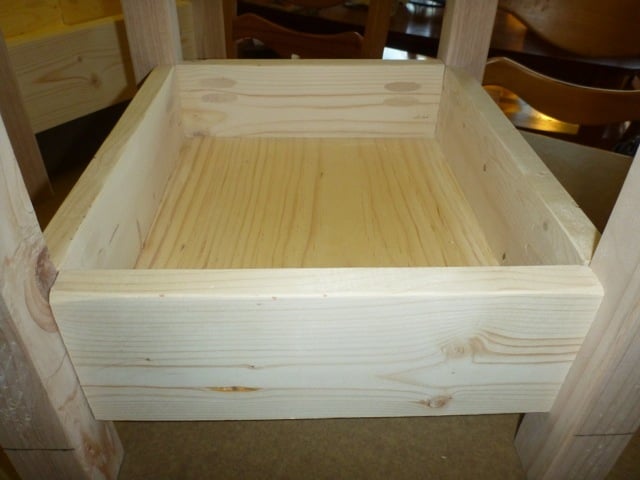
The girls storage chairs

Submitted by Spolitte on Wed, 03/21/2012 - 20:25

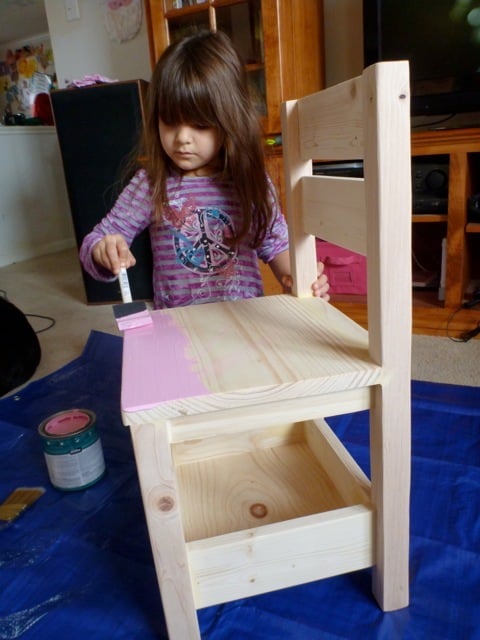
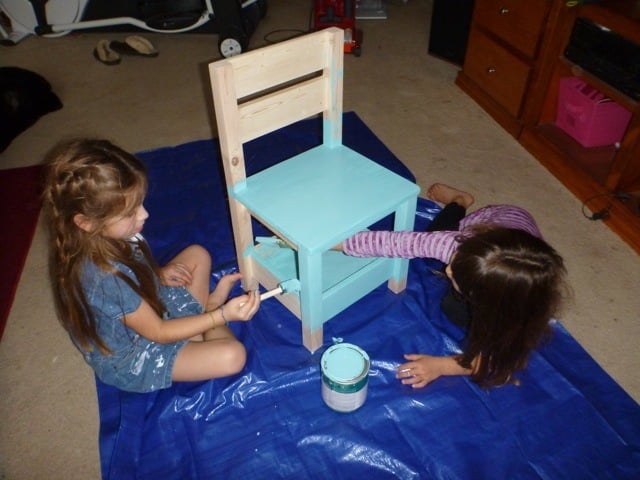
We have not added the final details but the chairs are already getting regular use. They are very sturdy so the girls use them for climbing as much as they do for sitting. I was a little worried that my chairs would not sit correctly but following Ana's "trick" for leveling them out worked like a charm. Now we just have to find the time to make two more so the girls will have room to accommodate friends when they visit... but there is that long list of other projects on my "to do" list... Thanks Ana! we are growing more confident every day! ;-)

Estimated Cost
30ish
Estimated Time Investment
Weekend Project (10-20 Hours)
Finish Used
No Voc semi gloss for easy cleaning...
Recommended Skill Level
Intermediate

Comments

Rustic X with turqoise x's

Submitted by crock on Sat, 01/11/2014 - 15:56

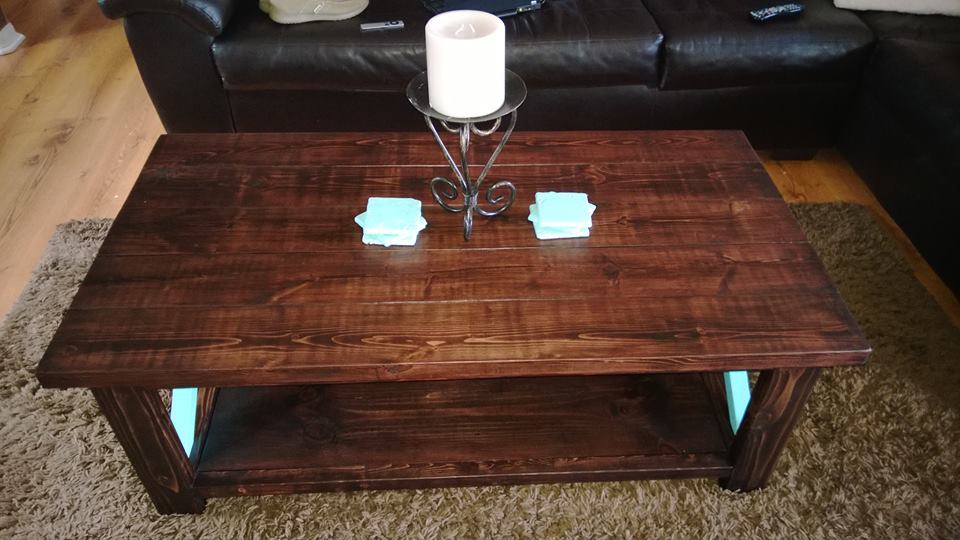
Put together this rustic x table in about a week of spare time. I finished using Ana's espresso finish tutorial with the red elm gel stain but it was too red after three coats. I bought some regular black stain and put two coats of that on the project and it turned out great.

My wife wanted to incorporate some turquoise into the project. I did not. :-)

We compromised with the turquoise x's. I think the colors go well together.

I spent about $50 on wood and $40 on new stain, spray poly and paint. But that stain and paint will last the next 3-4 projects. So I'd say the total cost for this actual project was around $70.

This was my first ever project I put together. Now I have a list of about 8 things I'll be building in the next few months.

Built from Plan(s)
Estimated Cost
$70
Estimated Time Investment
Day Project (6-9 Hours)
Finish Used
Minwax Red Elm Gel Stain, Minwax Black Stain, Turquoise Glidden Indoor Satin Paint, Minwax Spray Polyurethane (Satin)
Recommended Skill Level
Beginner

Comments

jkeenan2929

Tue, 02/18/2014 - 15:10

Great looking balance beam! My daughter wants one so bad haha. Oh, and the table is gorgeous too...haha

Son's new bed.

Submitted by Anonymous (not verified) on Sun, 04/03/2016 - 07:26

This bed came out beautiful! Thank you for the plans. 

Estimated Cost
$300.00
Estimated Time Investment
Week Long Project (20 Hours or More)
Finish Used
Provincial, Dark Walnut, Golden Oak
Recommended Skill Level
Intermediate

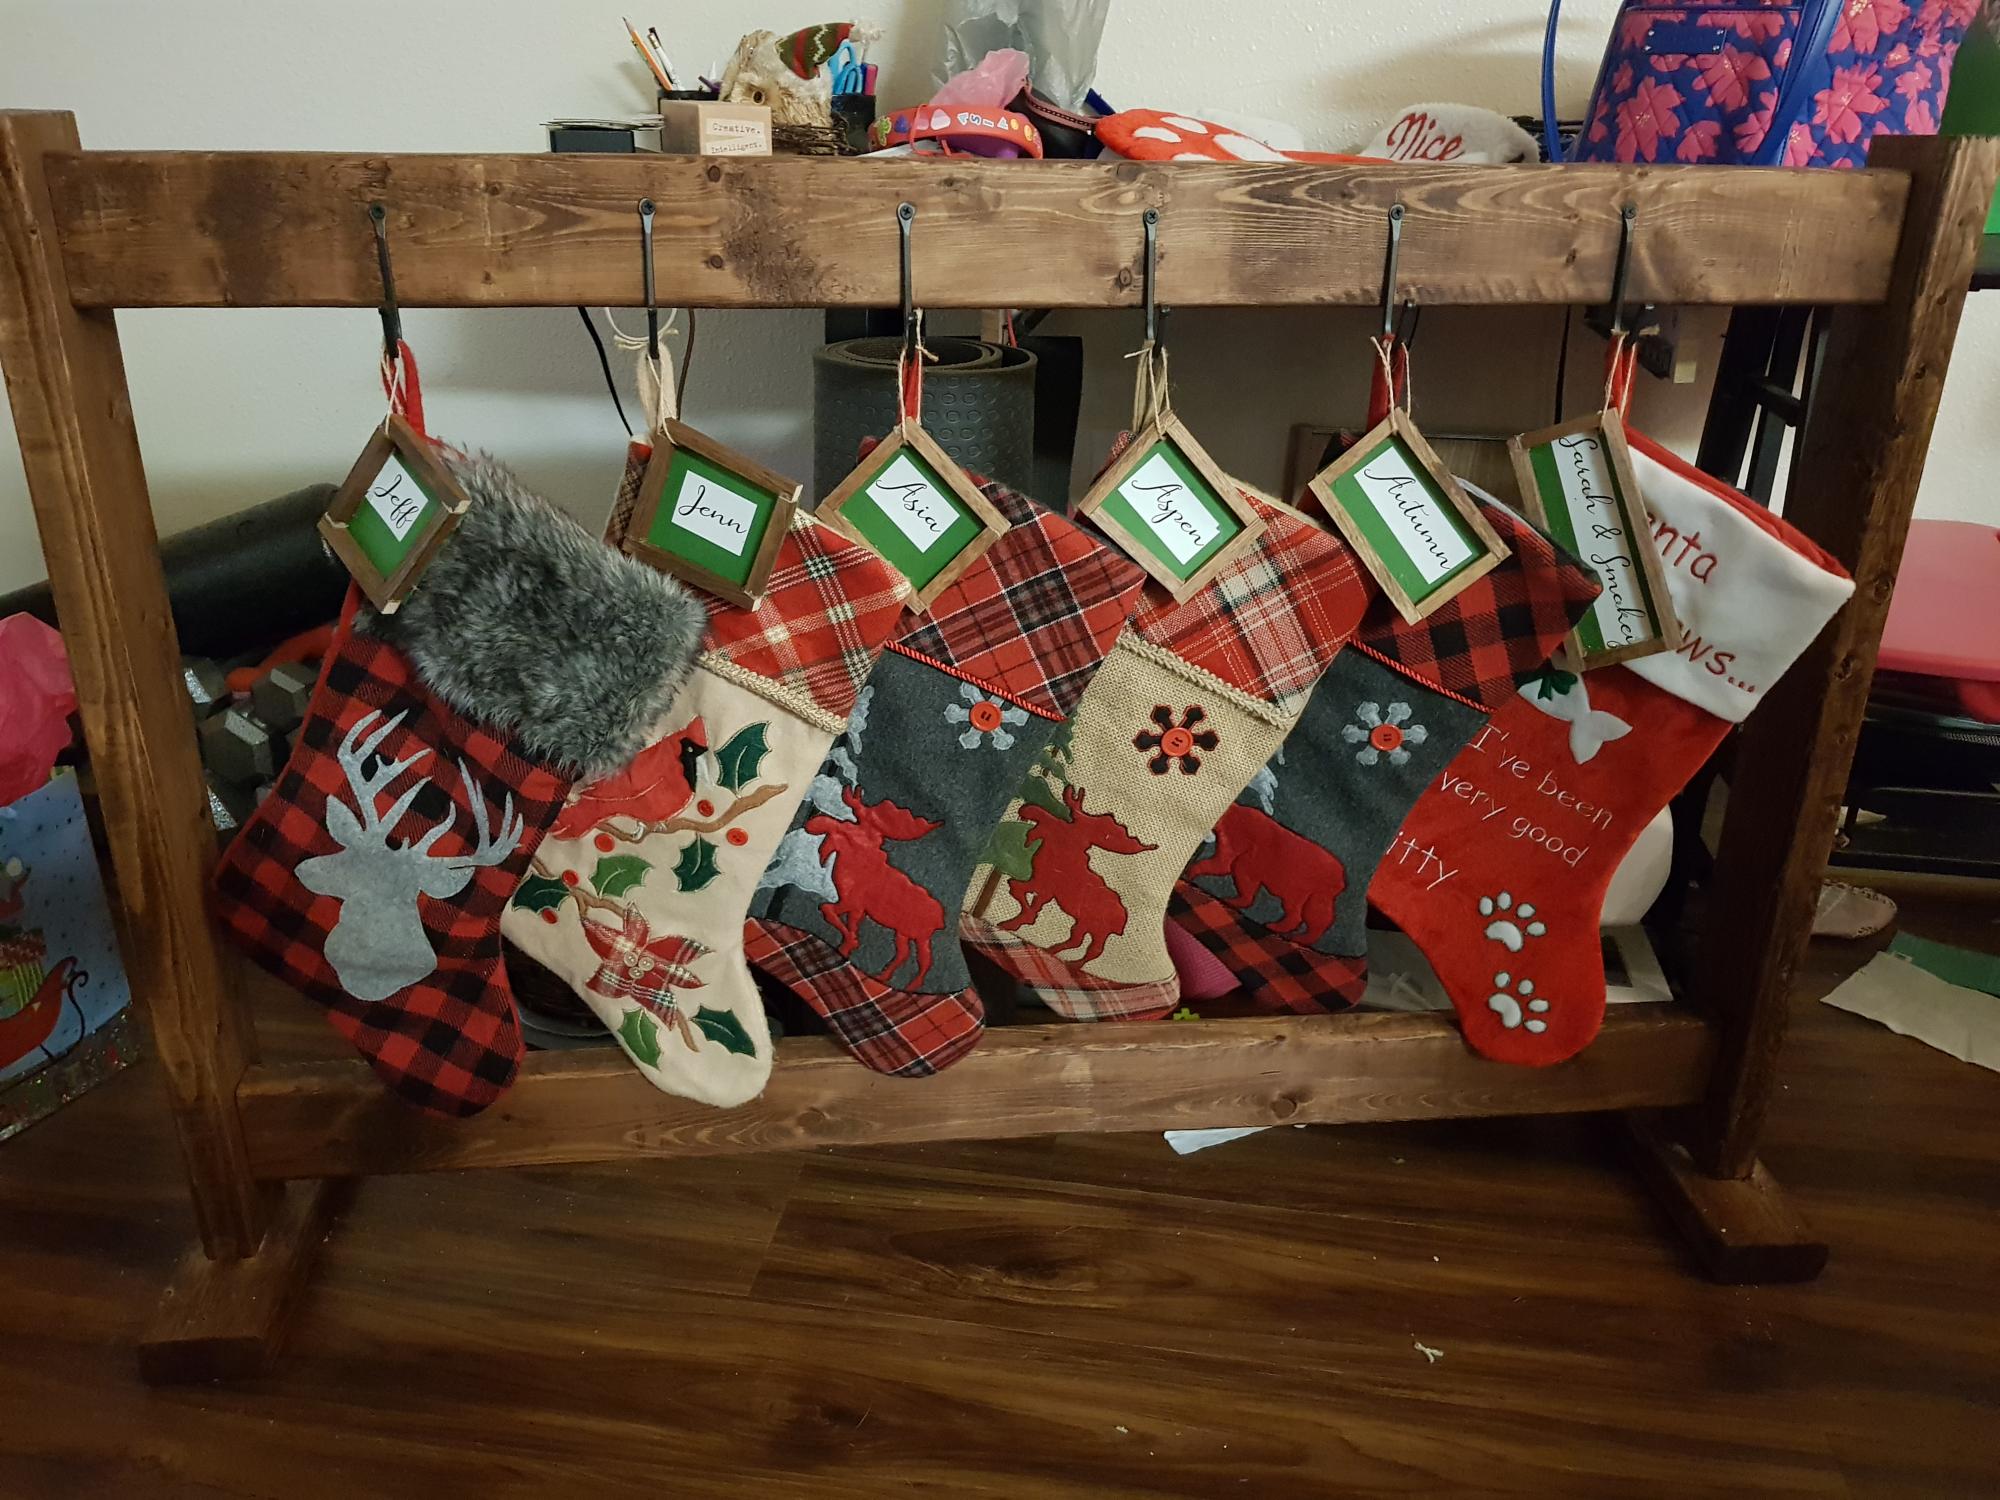
Stocking Holder

Submitted by Anonymous (not verified) on Sat, 12/07/2019 - 13:32

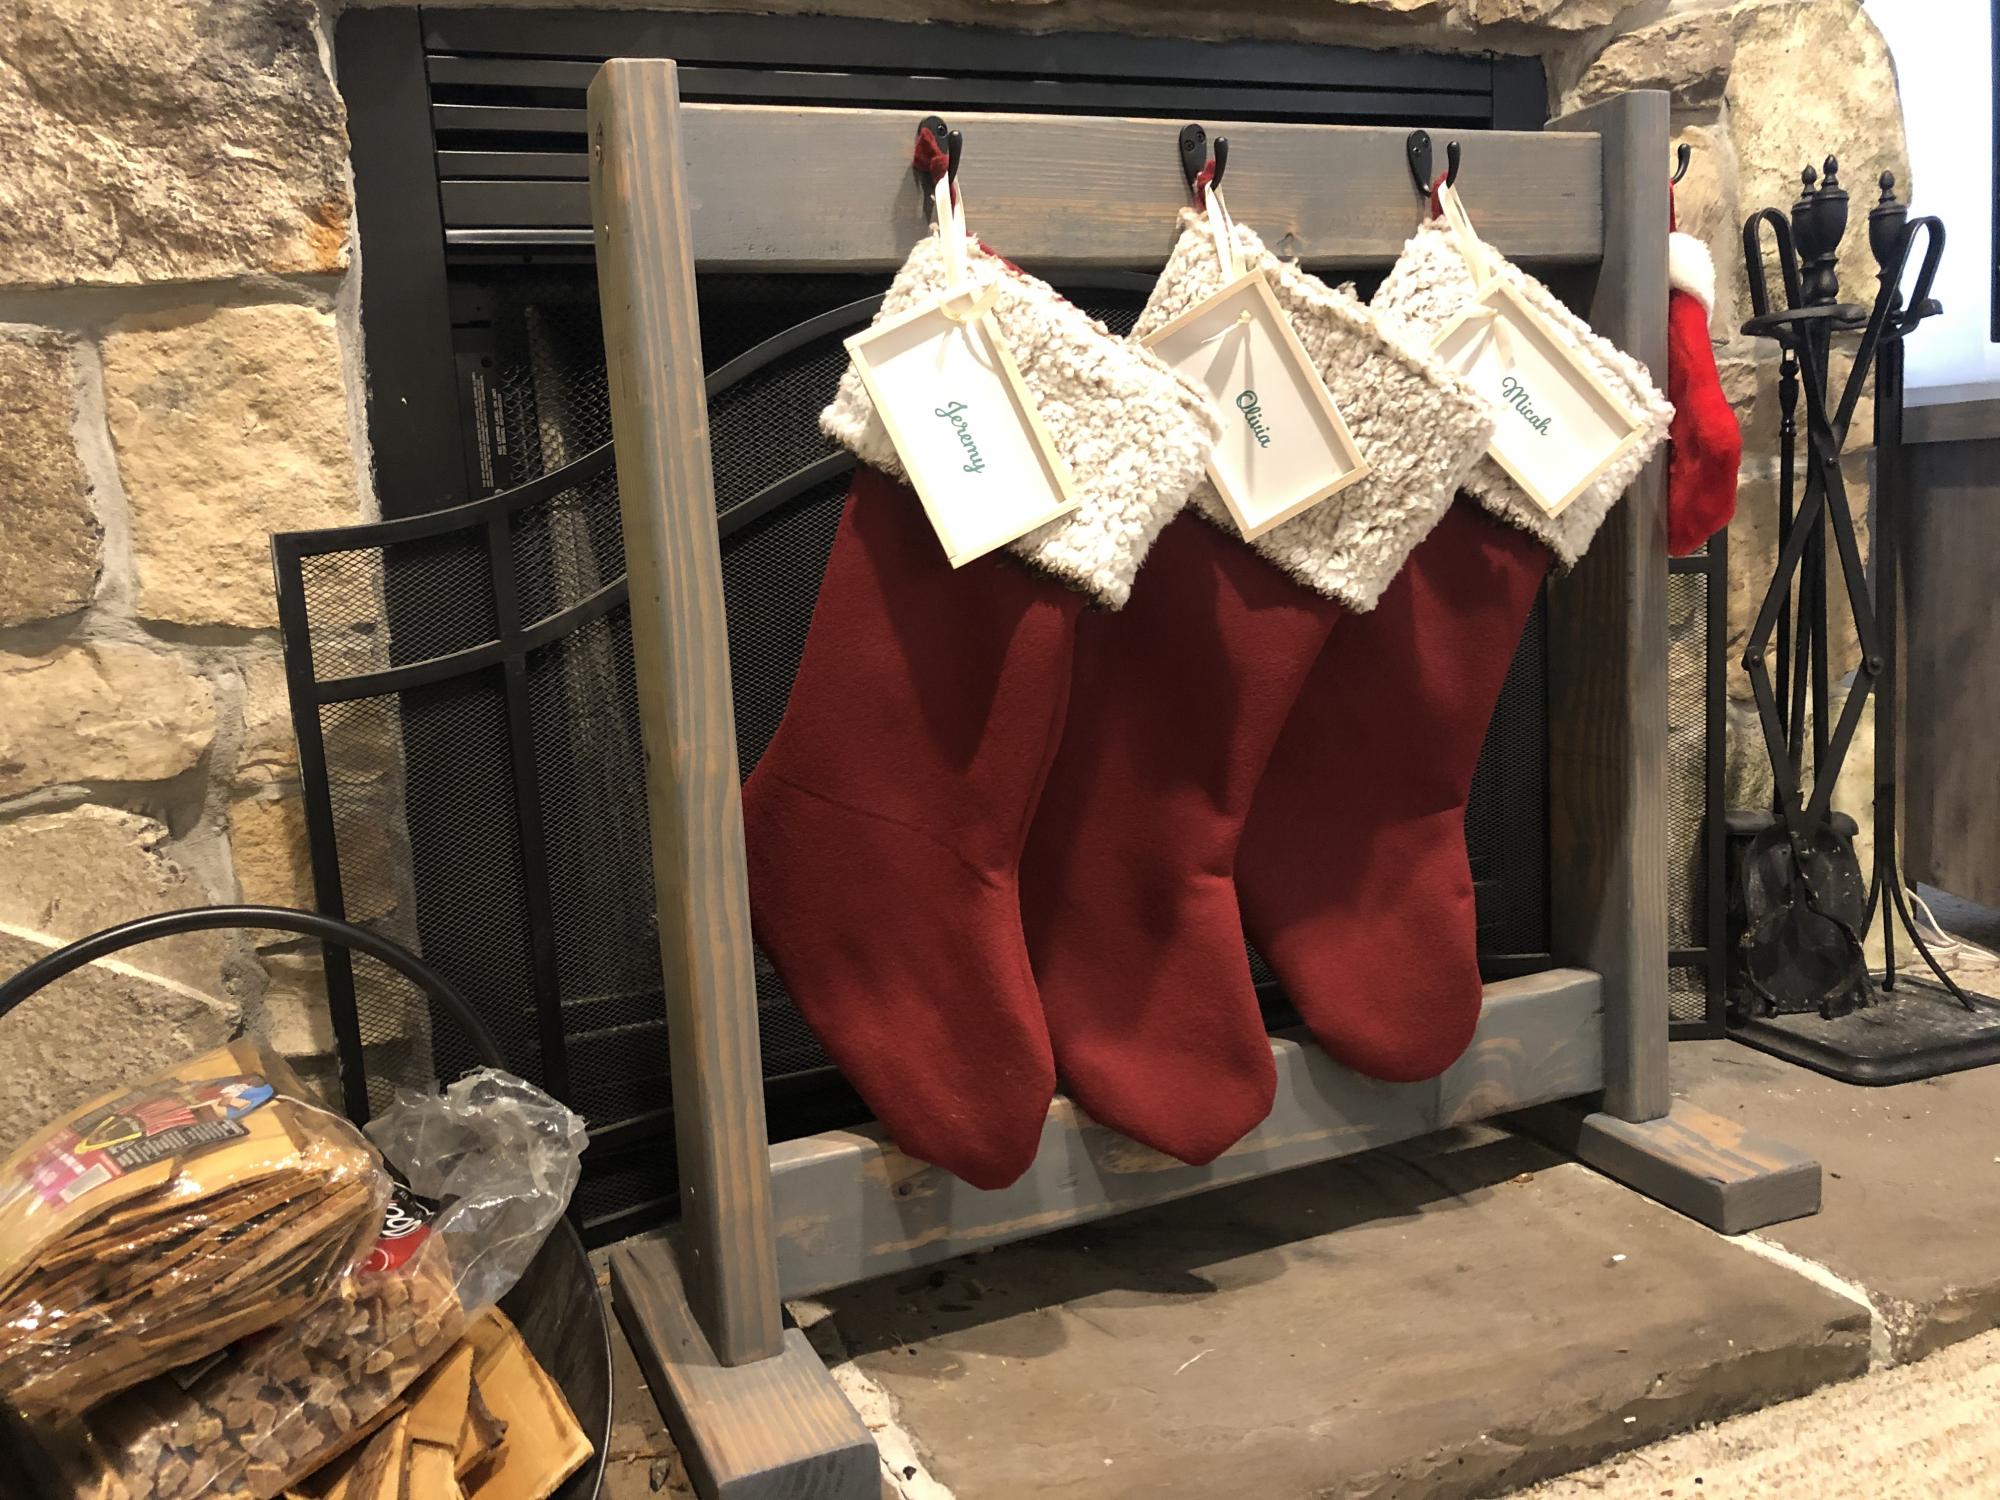
We usually place our stockings on the mantle. Last year, a full stocking fell down and toppled some of our nativity.

This year we used up some of our scrap pieces to build the stocking holder. We also made the stockings.

Absolutely love it! Super easy to scale down to our family of three (+one on the end for our dog 😂). It’ll be nice to double as a winter coat drying rack.

Built from Plan(s)
Estimated Cost
$0
Estimated Time Investment
An Hour or Two (0-2 Hours)
Finish Used
Weathered Grey
Recommended Skill Level
Starter Project

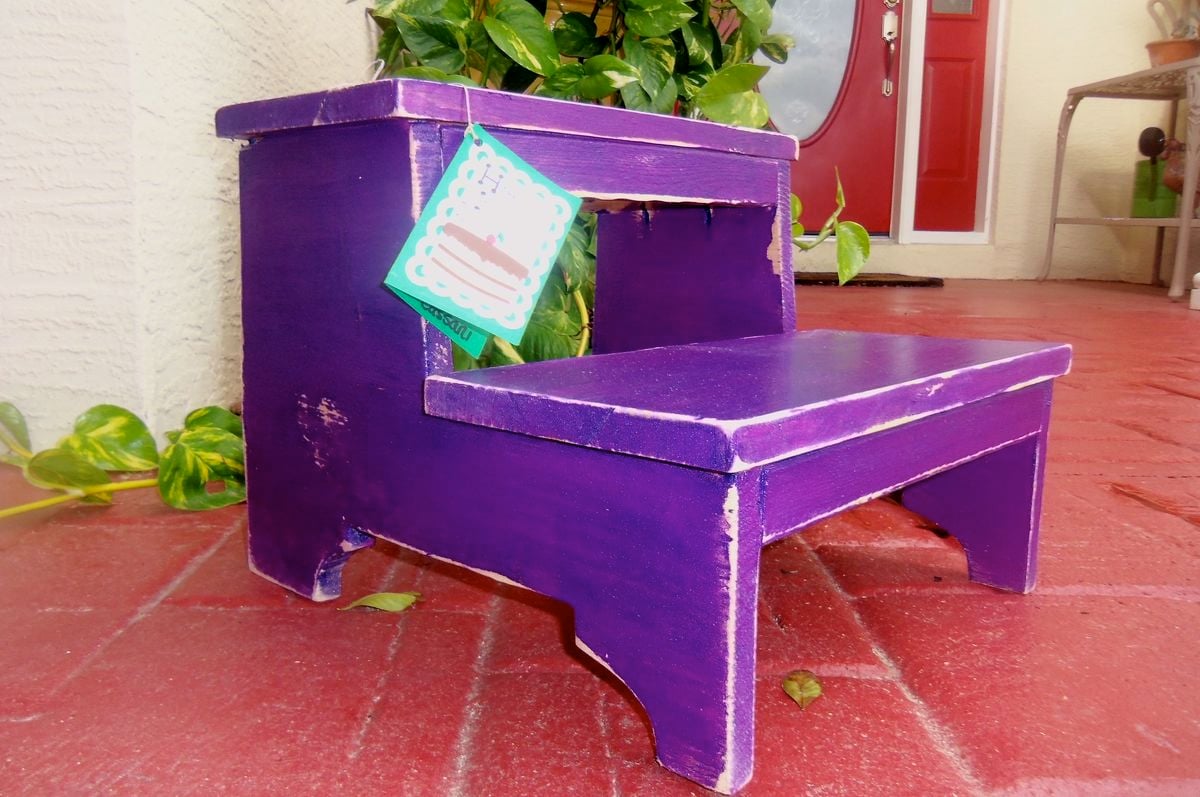
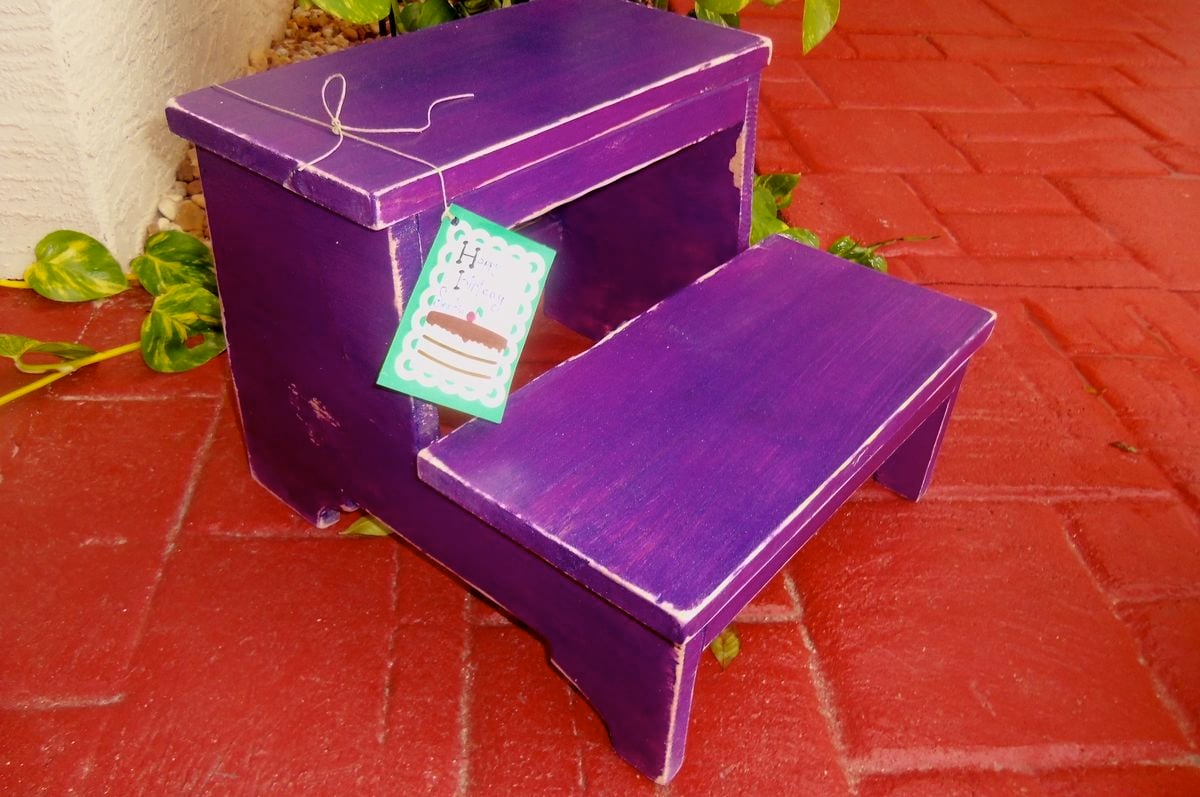
Step Stool for Birthday Present

Submitted by doorcrazy on Sun, 03/25/2012 - 07:35

Loved this project. I bought a jig saw, and I had so much fun. I bought the black and decker one it was around $25.00 and works great for small projects like this one. Another birthday present for a beautiful girl who is turning 5 and I know there is always space for a step stool in the house with young ones. Hope she likes it.

Thank You Ana I have been having so much fun!!

Built from Plan(s)
Estimated Time Investment
Afternoon Project (3-6 Hours)
Finish Used
Purple paint and Martha Stewarts Purple Glitter paint. Use Glitter paint over a base color or else it looks streaky and takes way to much time. Also sanded lightly to keep it vintage like I like at http://chippedandcrackled.blogspot.com/
Recommended Skill Level
Beginner

Learn the Router -- Build a Box

Submitted by Jake on Mon, 01/13/2014 - 11:47

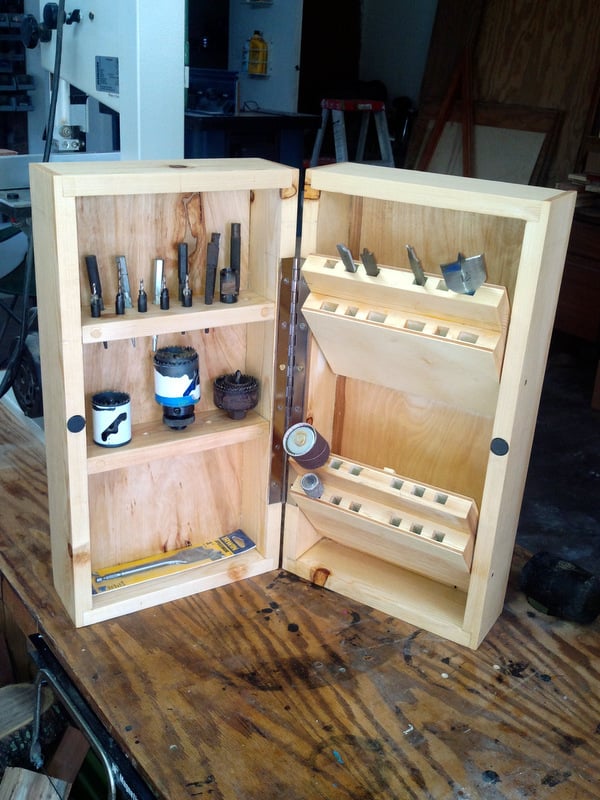
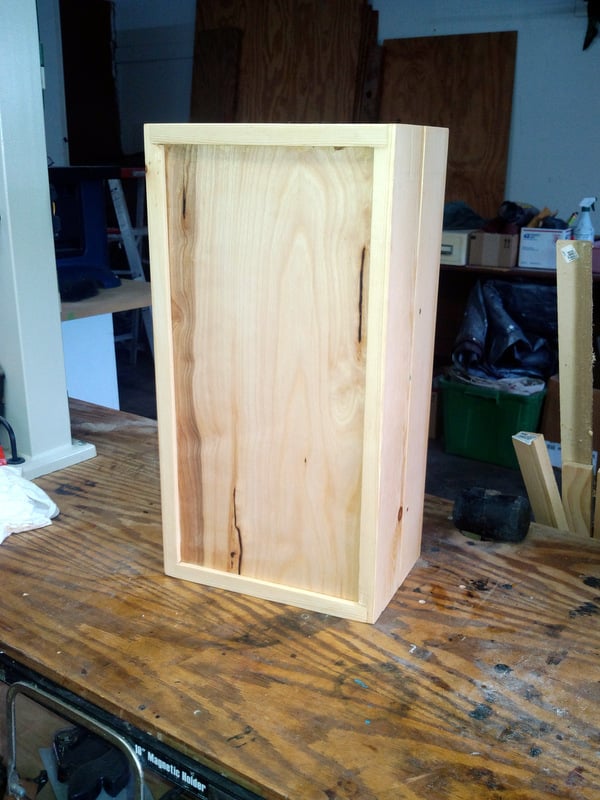
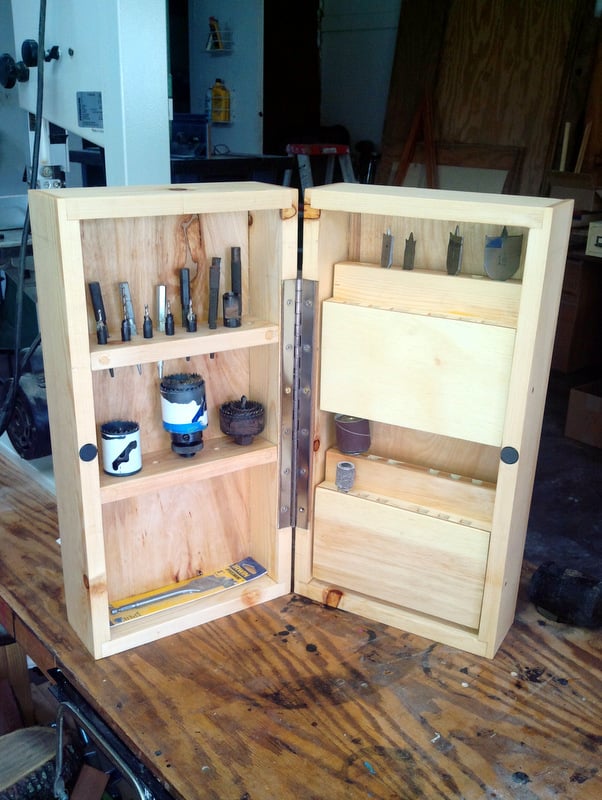
About six months ago I got my first router. I tore up a few boards with it experimenting but mainly used it for basic round-overs. I wanted to learn more so at Christmas Santa brought me the router table. My first real project was to build a project that would be a learning experience as well as produce something useful so I chose the Drill Bit Cabinet. You can see the plans at

http://ct-web2.unh.edu/lee/drill-bit-cabinet.pdf

This project requires cutting rabbet and dado joints. Basic joints but also requiring accurate cutting. There are no nails or screws holding the box together. I countersunk screws into the shelves for stability. The final result is what you see in the pictures. I learned a lot. A great starter project for novice router users. I took two days to complete the project but a knowledgeable worker could do it in a day.

I also deviated from the plans somewhat out of a desire to make the build easier and less expensive:

1. The plans called for cutting boards from a 1x8 but I chose to stay with the full size 1x8s I had in the garage. So the final dimensions became: Height 19-1/2 inches, Width 10-1/8 inch (closed or 20-1/2 inches open), and Depth 3-1/2 inches (open or 7-inches closed).

2. I could only find 30 inch and 12 inch piano hinges so I went with the 12 inch. Works fine. I must say I really need practice installing hinges. Took me two tries to get this one right.

3. The instructions call for cutting the box in half with a table saw but I don't own a table saw. So I cut the box in two pieces using a straight bit on the router table advancing about 1/8 inch at a time until I was within about a 1/16 inch from breaking through. I used a regular saw to finish the job and the sander to remove the little bit that was left. Worked fine.

4. The plans call for screws to act as the pivot for the two tiltable bit carriers. Instead I just inserted 1/4" dowel. Works fine.
Estimated Cost
Fairly inexpensive. The hinge cost about $8. Magnets about $1. Birch plywood about $6. The remainder I had sitting in the garage and I would put the cost at about $10. So the total cost was about $25
Estimated Time Investment
Weekend Project (10-20 Hours)
Finish Used
Sanding to 120 grit and then one coat of Cabot Natural Wood Stain.
Recommended Skill Level
Intermediate

Comments

bhoppy

Tue, 01/14/2014 - 17:12

I love this. My father just gave me his router and all his bits at Christmas and I have yet to use it... Thanks for sharing the plan! What kind of router table did you get?

In reply to by bhoppy

Jake

Tue, 01/14/2014 - 17:38

Santa brought me a Bosch router table. It was on sale for $148 and free shipping. It has most of the extras and appeared to get good reviews. It also fits my router without drilling new holes. Finding a router table that fits your router without serious adjustments is important so ask before buying. Also use all of the safety equipment and follow all of the safety advice. Have fun.

bhoppy

Fri, 01/17/2014 - 12:23

I will keep all that in mind when looking for one. The router is about a 1980's model craftsman brand. I have a friend that found a manual for it online and he also suggested that a table would make it easier to use. Have you seen the plans on this site for 'Patrick's router table" It is so nice!
In reply to by bhoppy

Jake

Fri, 01/17/2014 - 12:45

You are right it is awesome. I considered building a table from scratch but with a limited background with the router and the great deals around Christmas I felt that the safest route was to go commercial.
givehugsprn

Sat, 01/18/2014 - 00:36

Santa brought me a new router and router table too! This may be a great plan to learn how to use it. Thanks for sharing.

givehugsprn

Sat, 01/18/2014 - 00:36

Santa brought me a new router and router table too! This may be a great plan to learn how to use it. Thanks for sharing.

Jake

Sat, 01/18/2014 - 04:17

Please follow all of the safety rules. That little bit is spinning at 20,000 rpm and when something bad happens it happens at the speed of light. Use eye and hearing protection as well as all of the guards provided. Feed in the correct direction otherwise you will produce a bullet that can penetrate a door. By the way the router produces an enormous amount of sawdust so plug in the vac.

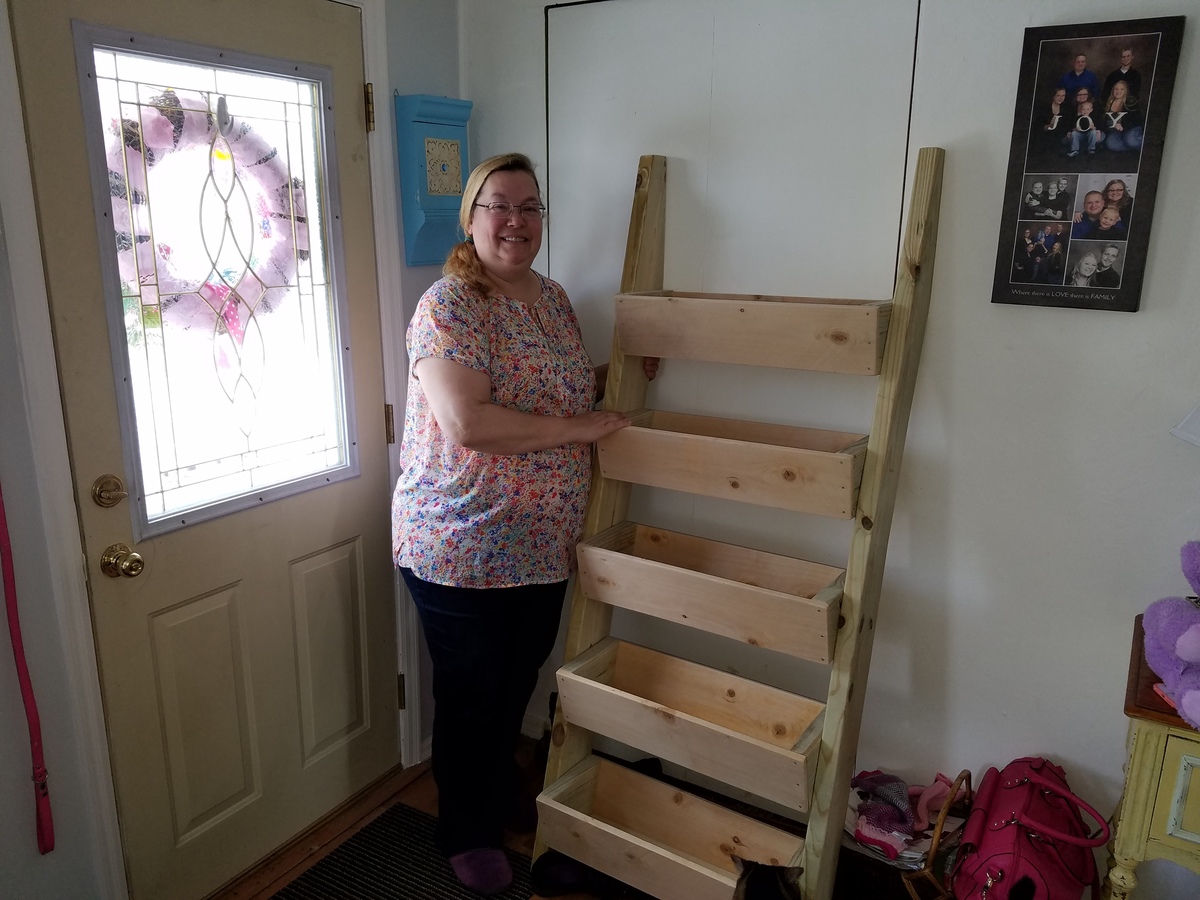
Ladder planter

Submitted by Anonymous (not verified) on Tue, 04/05/2016 - 15:26

Had a blast building this for my mother. Only problem now is everyone in my family wants one!

Estimated Cost
$20
Estimated Time Investment
Afternoon Project (3-6 Hours)
Recommended Skill Level
Beginner

Outdoor lounging

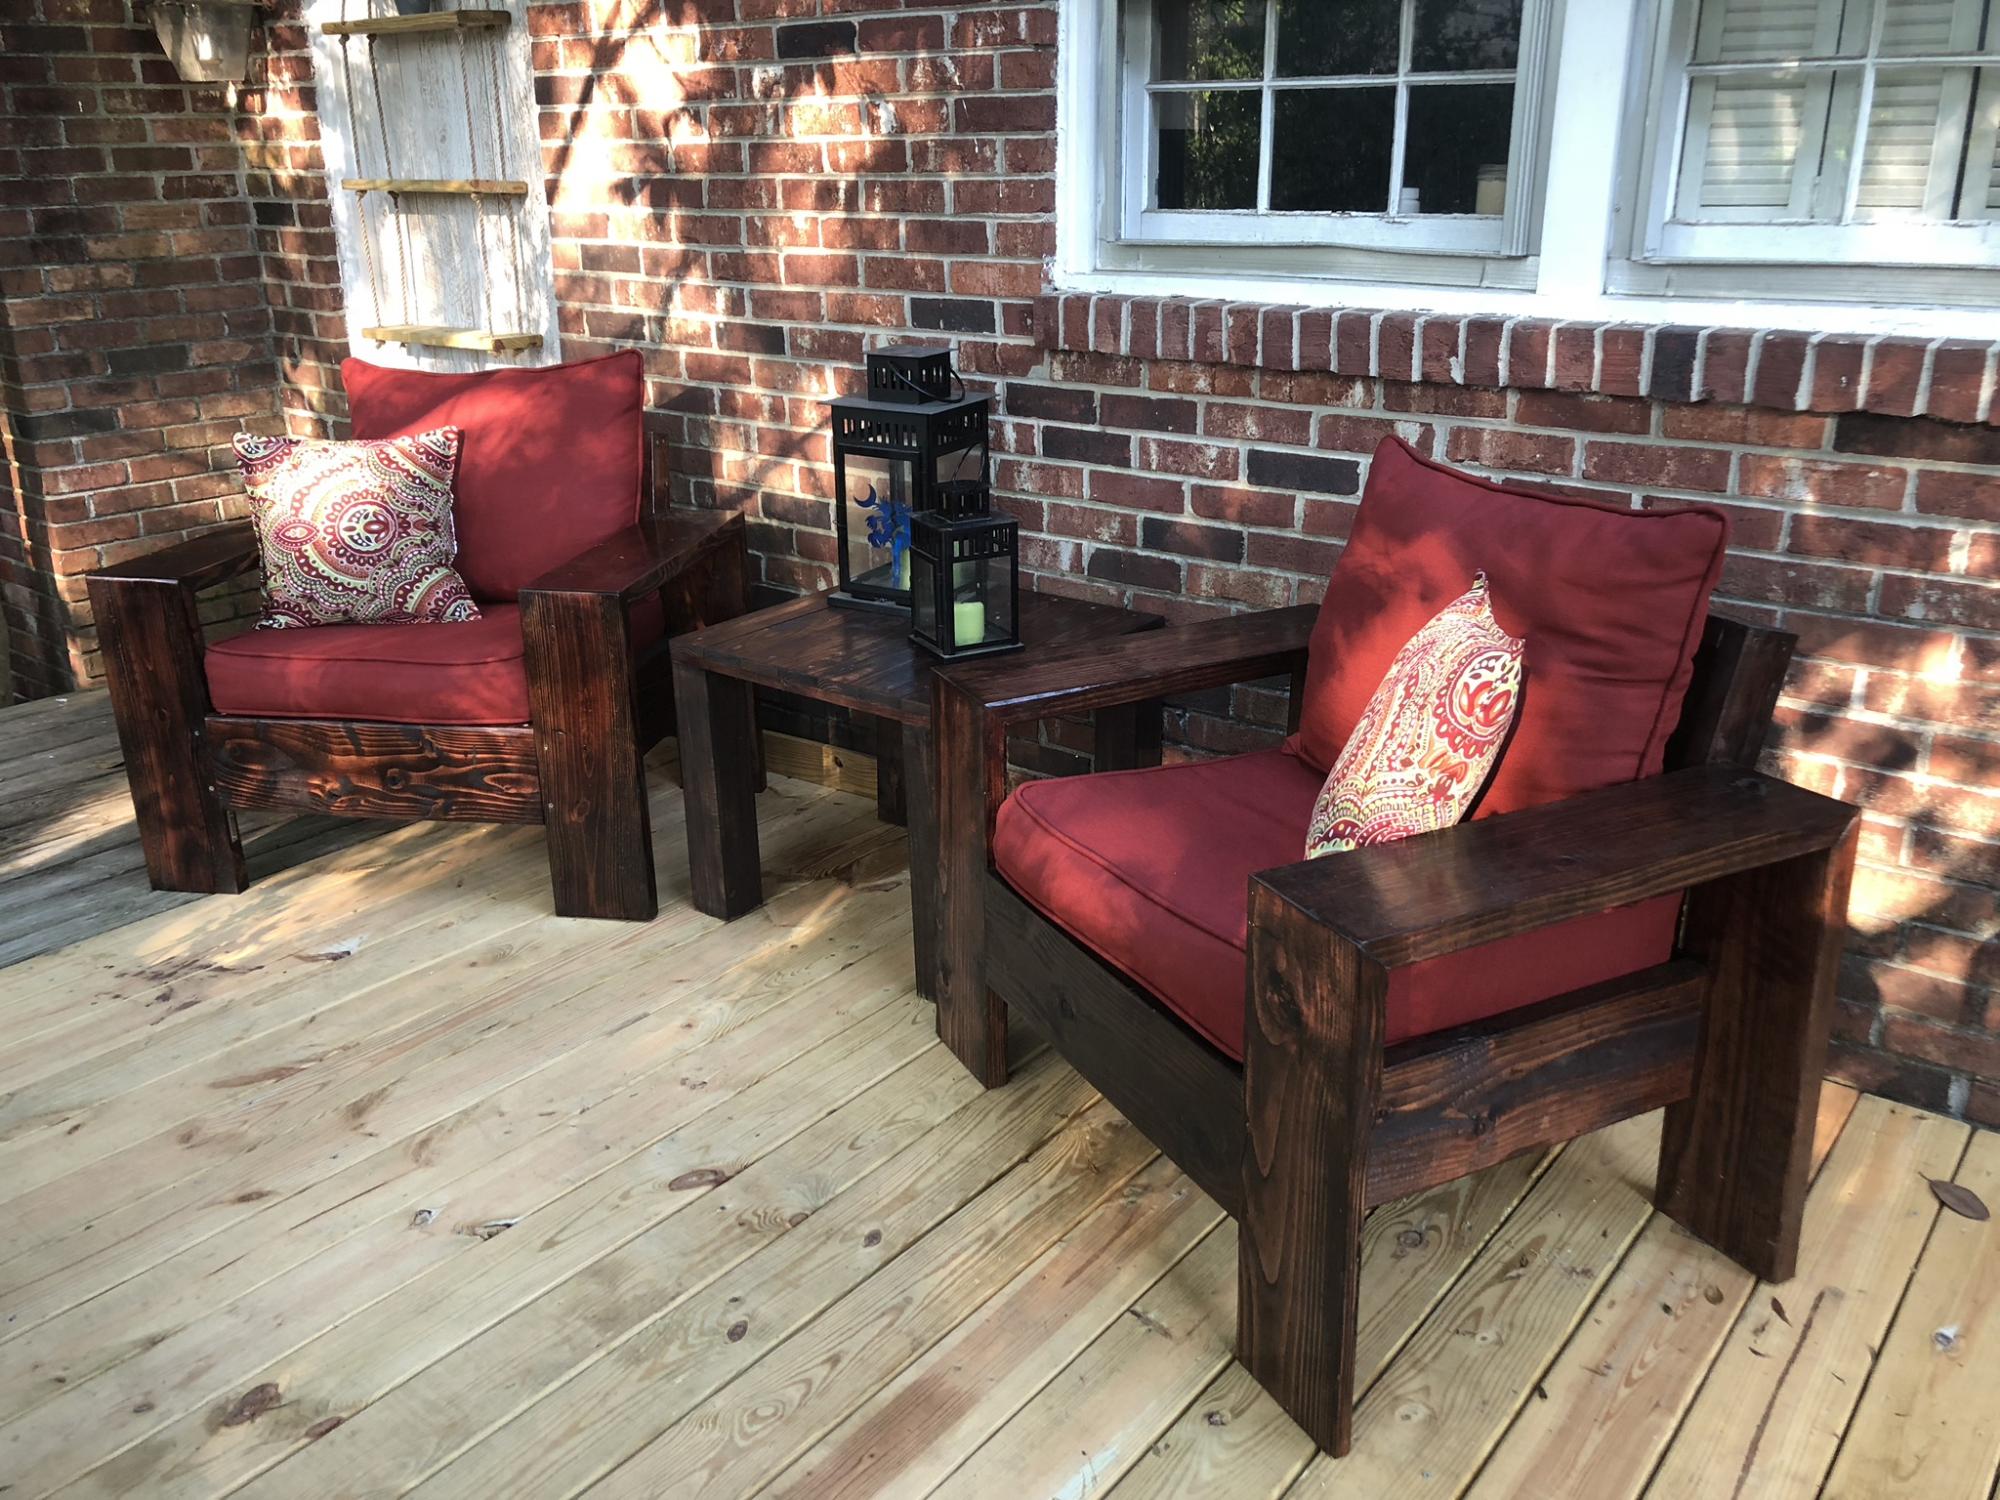
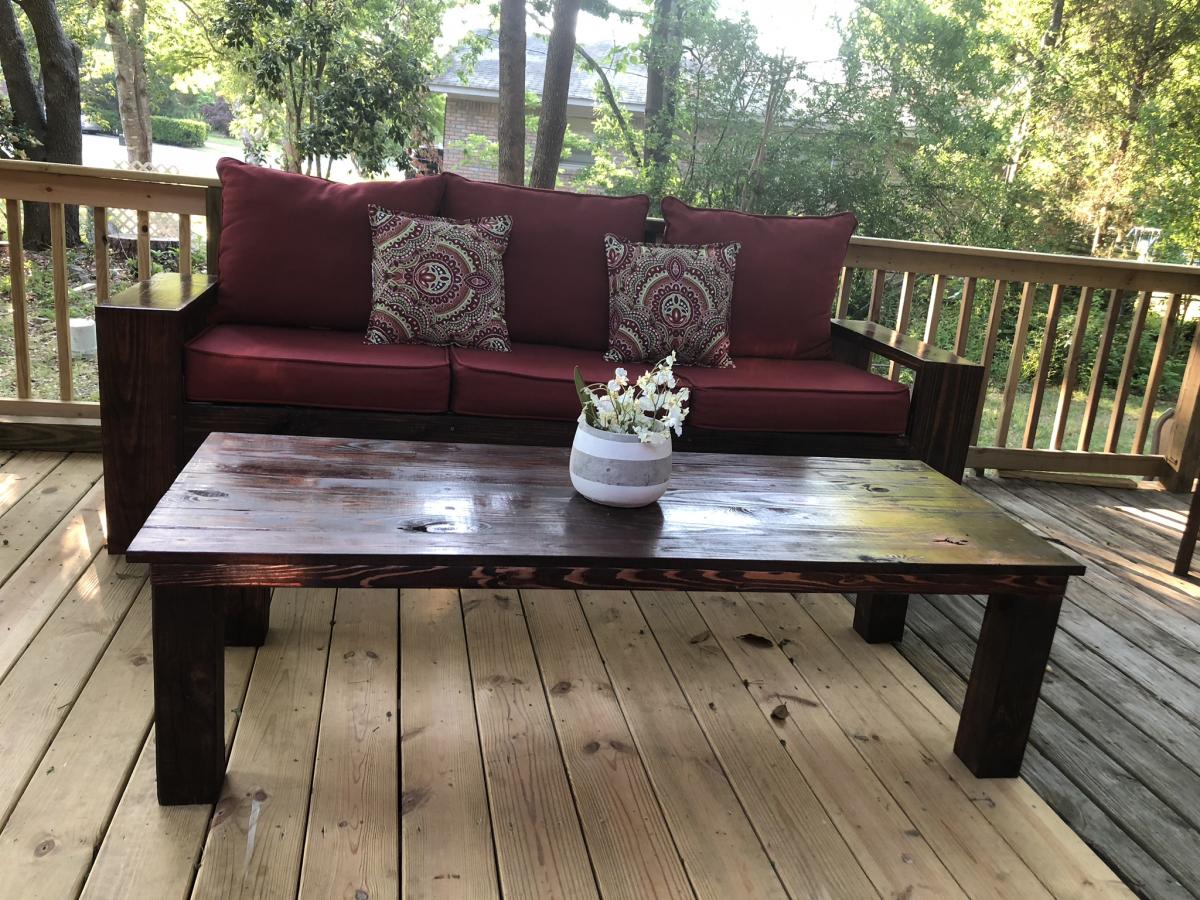
I used the plans for Simple Outdoor Lounge Chair with a few modifications.  I used 2X8’s for a chunkier look.  I also adjusted the seat position slightly for more of an Adirondack seating feel.  It is finished with Cabot stain and seal (gold moon light). 

Built from Plan(s)
Finish Used
Cabot stain and sealer - Gold Moonlight

Outdoor adirondack side table

Submitted by Elishia82 on Thu, 03/29/2012 - 11:32

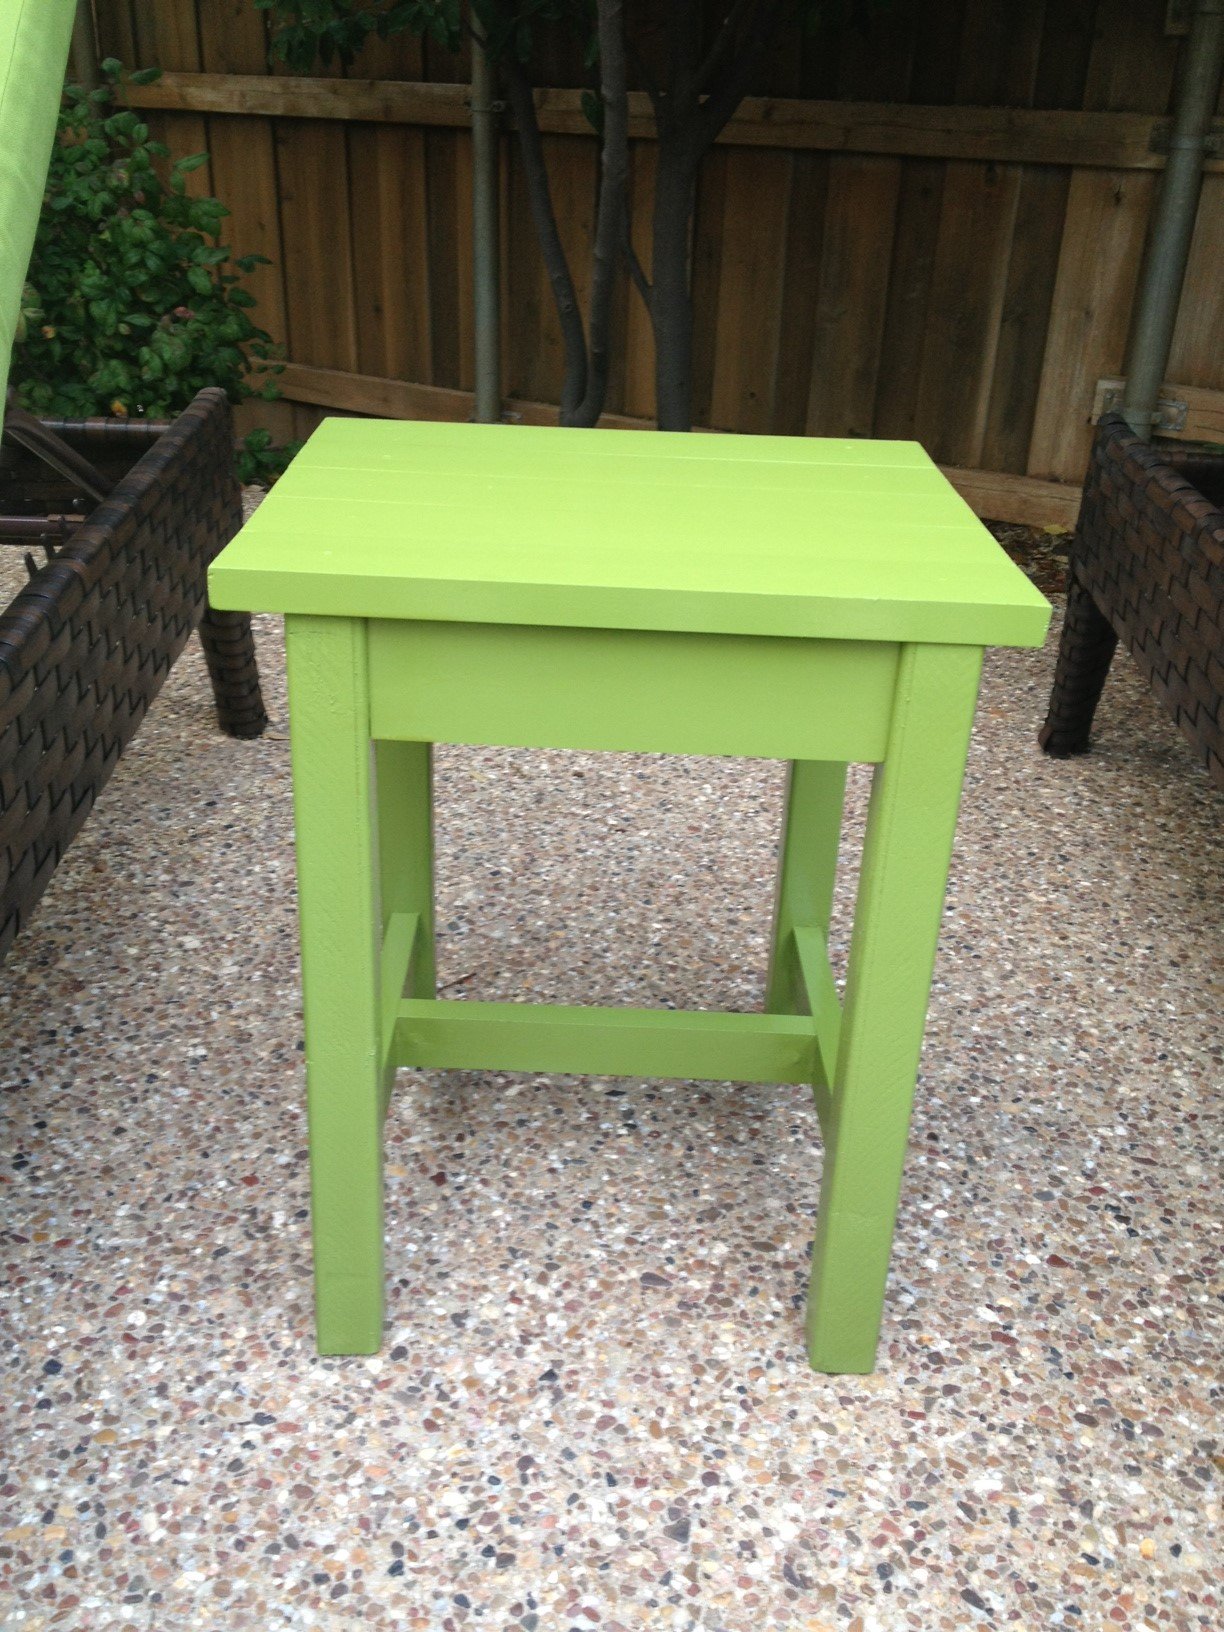
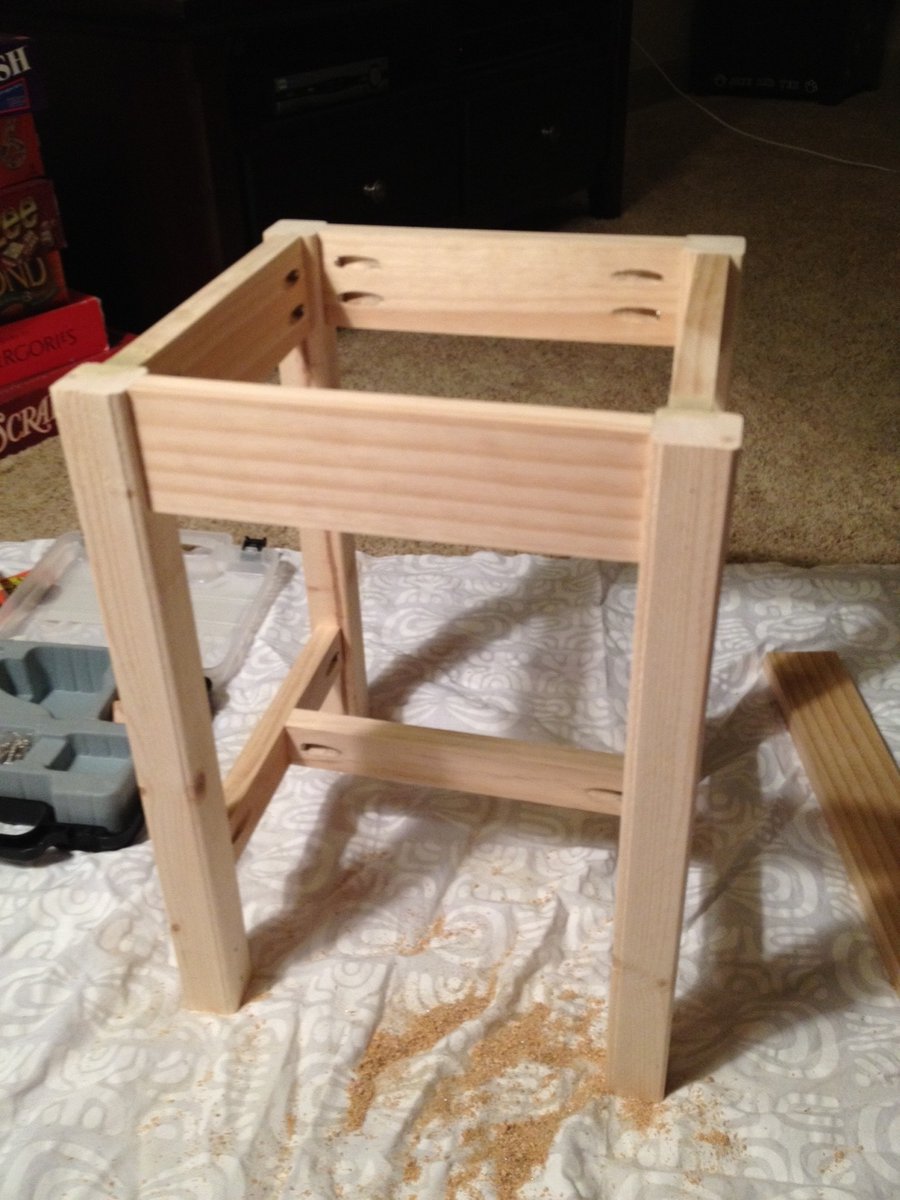
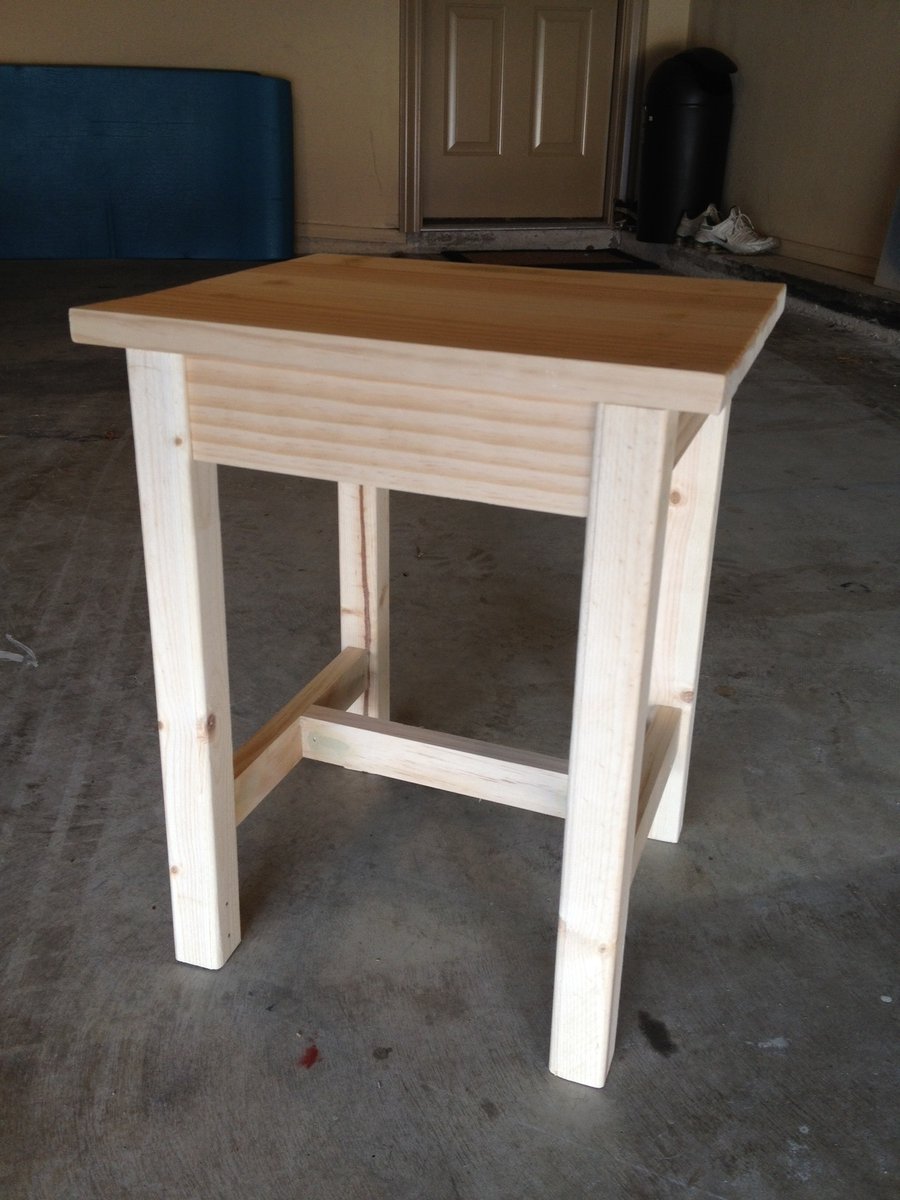
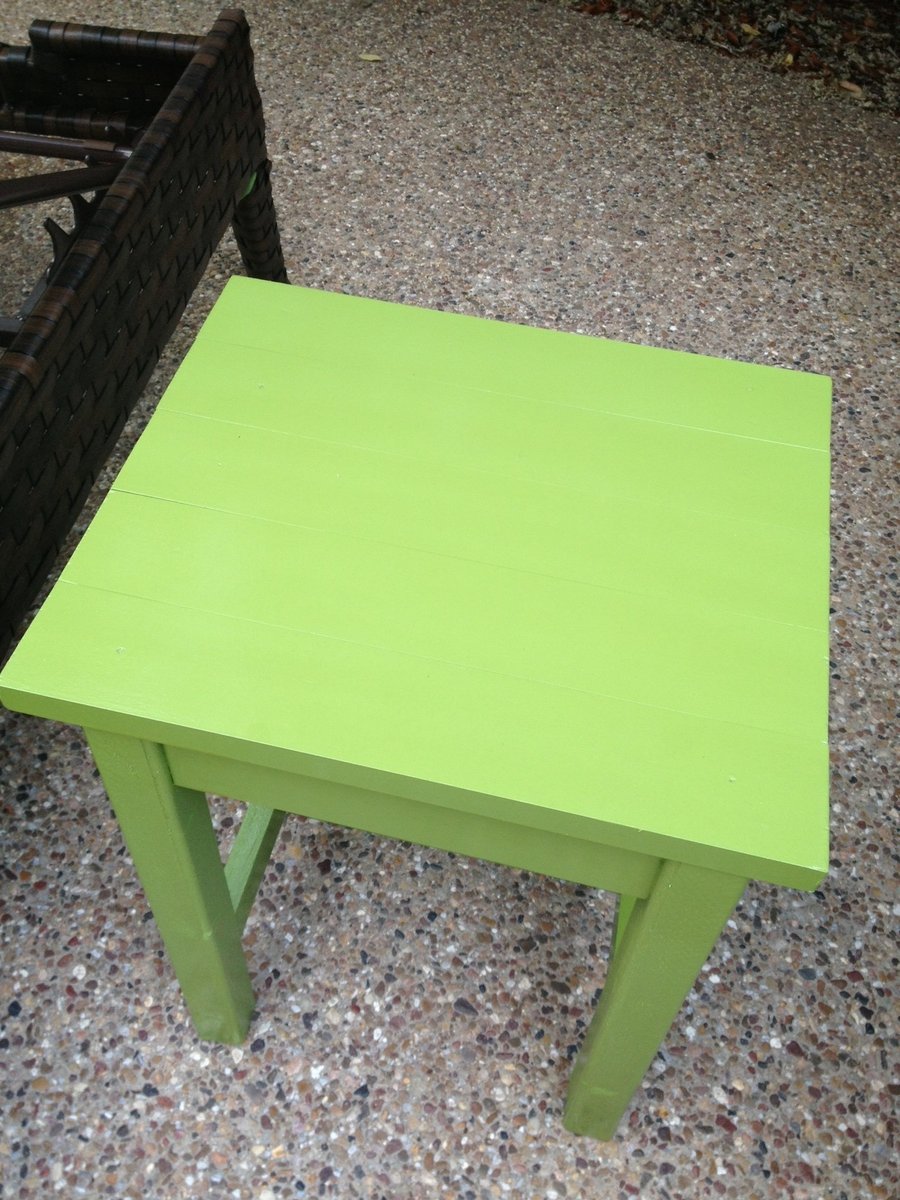
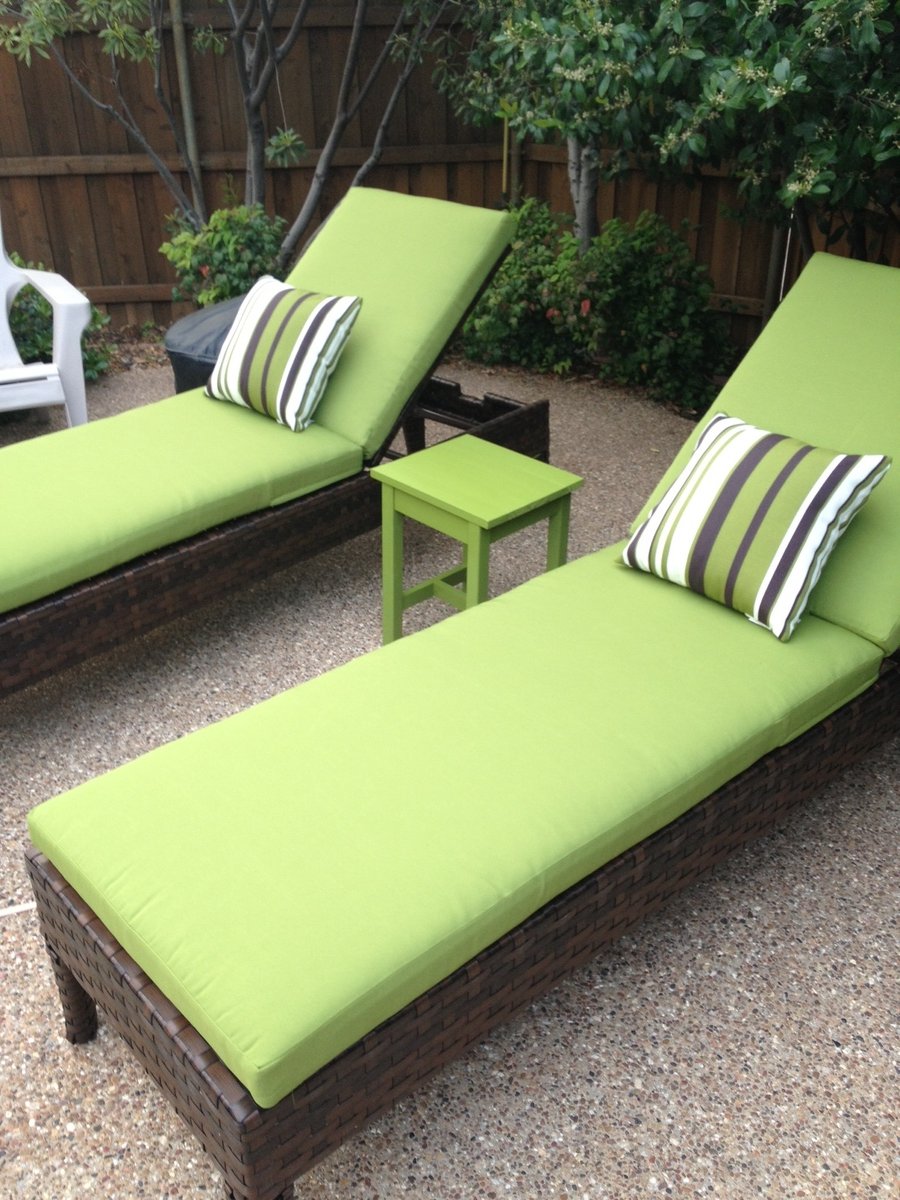
This was my very first furniture-building project. I was pleasantly surprised with how it turned out! It's definitely not perfect, but with some practice I plan to try bigger projects! It was a little more expensive than I would have liked because I had to buy a pocket hole kit that was $40, but hopefully I will be able to use the kit for future projects.

Built from Plan(s)
Estimated Time Investment
Afternoon Project (3-6 Hours)
Finish Used
Rustoleum white spray primer (1 can, 2 coats), Rustoleum satin eden spray paint (1 can, 2-3 coats), and Minwax helmsman spar urethane clear gloss spray (1 can, 2-3 coats)
Recommended Skill Level
Starter Project

Debbie's Fancy Farmhouse Bed

Submitted by Debbie440 on Thu, 01/16/2014 - 05:50

I followed the plans exactly except I used 4X4's for the "footboard' legs. I added molding to all the feet. I also added screw in fence top posts to the footboard legs. I had a small blemish I wanted to hide on the headboard, so I added wooden appliques to cover the mark.

To make the bed easy to move and store, I bought bed rail fasteners from this site http://www.wwhardware.com/wood-technology-bed-fittings-wt8056.

Built from Plan(s)
Estimated Cost
$200.00
Estimated Time Investment
Week Long Project (20 Hours or More)
Finish Used
Minwax Polyshades Bombay Mahogany
Recommended Skill Level
Beginner
Back