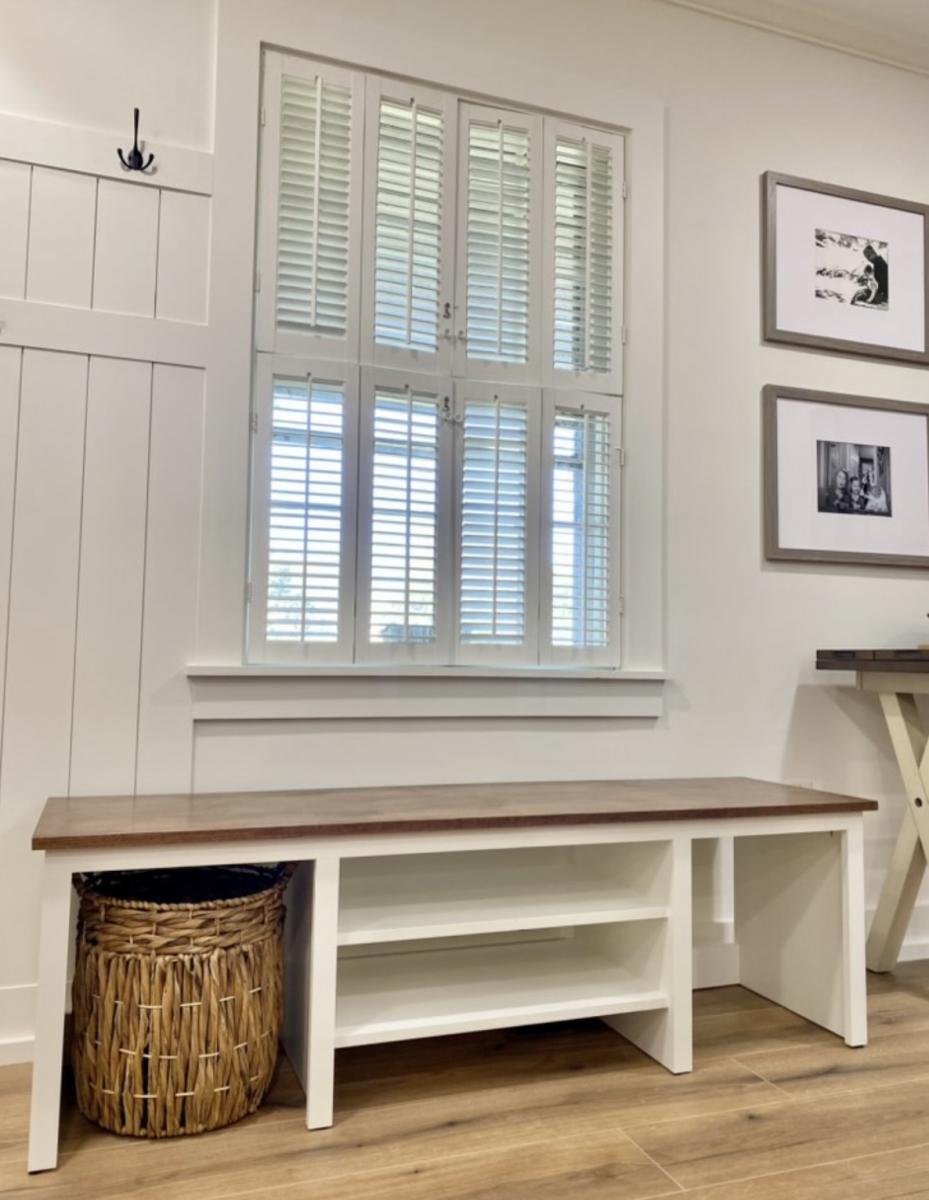
Bench
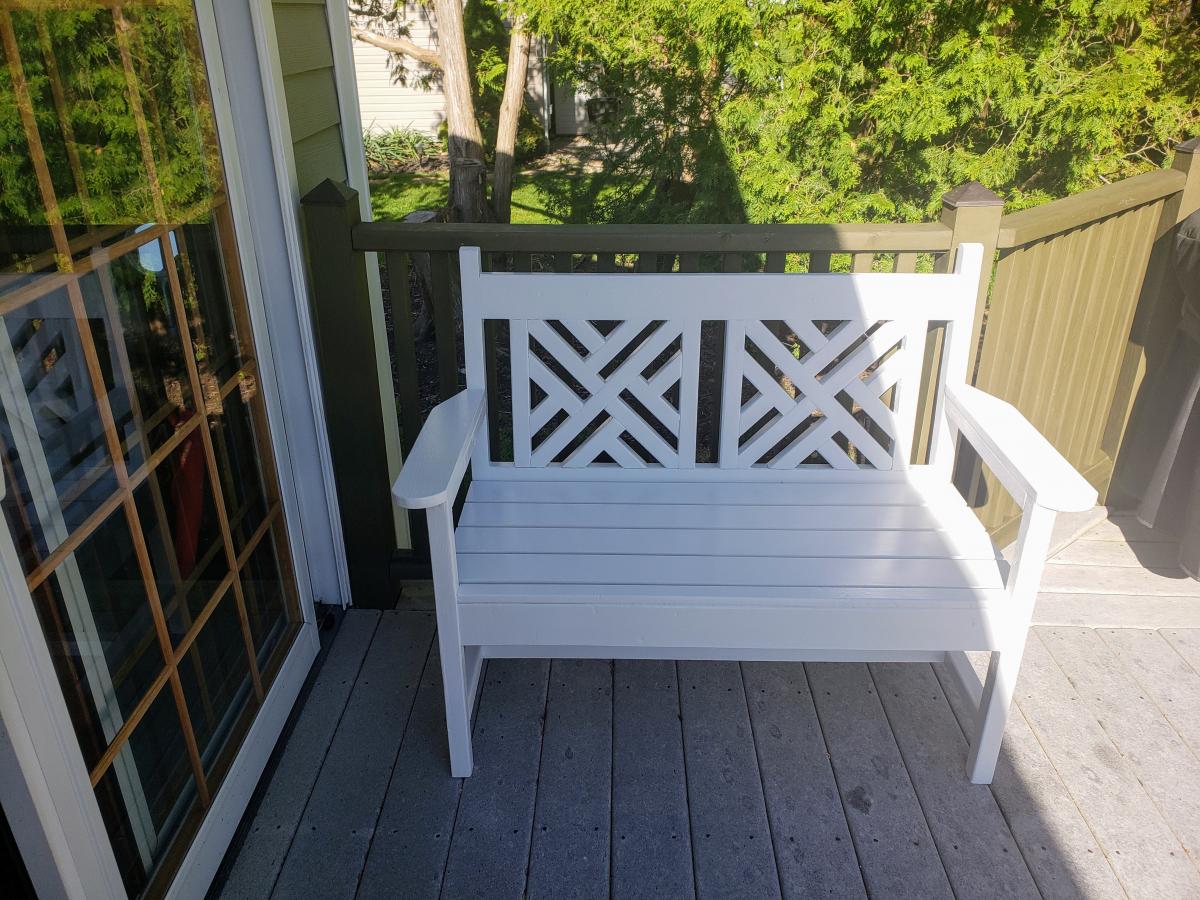
Lot of fun just purchased a pocket jig and first project can't wait to make another. Thanks for the plans

Lot of fun just purchased a pocket jig and first project can't wait to make another. Thanks for the plans
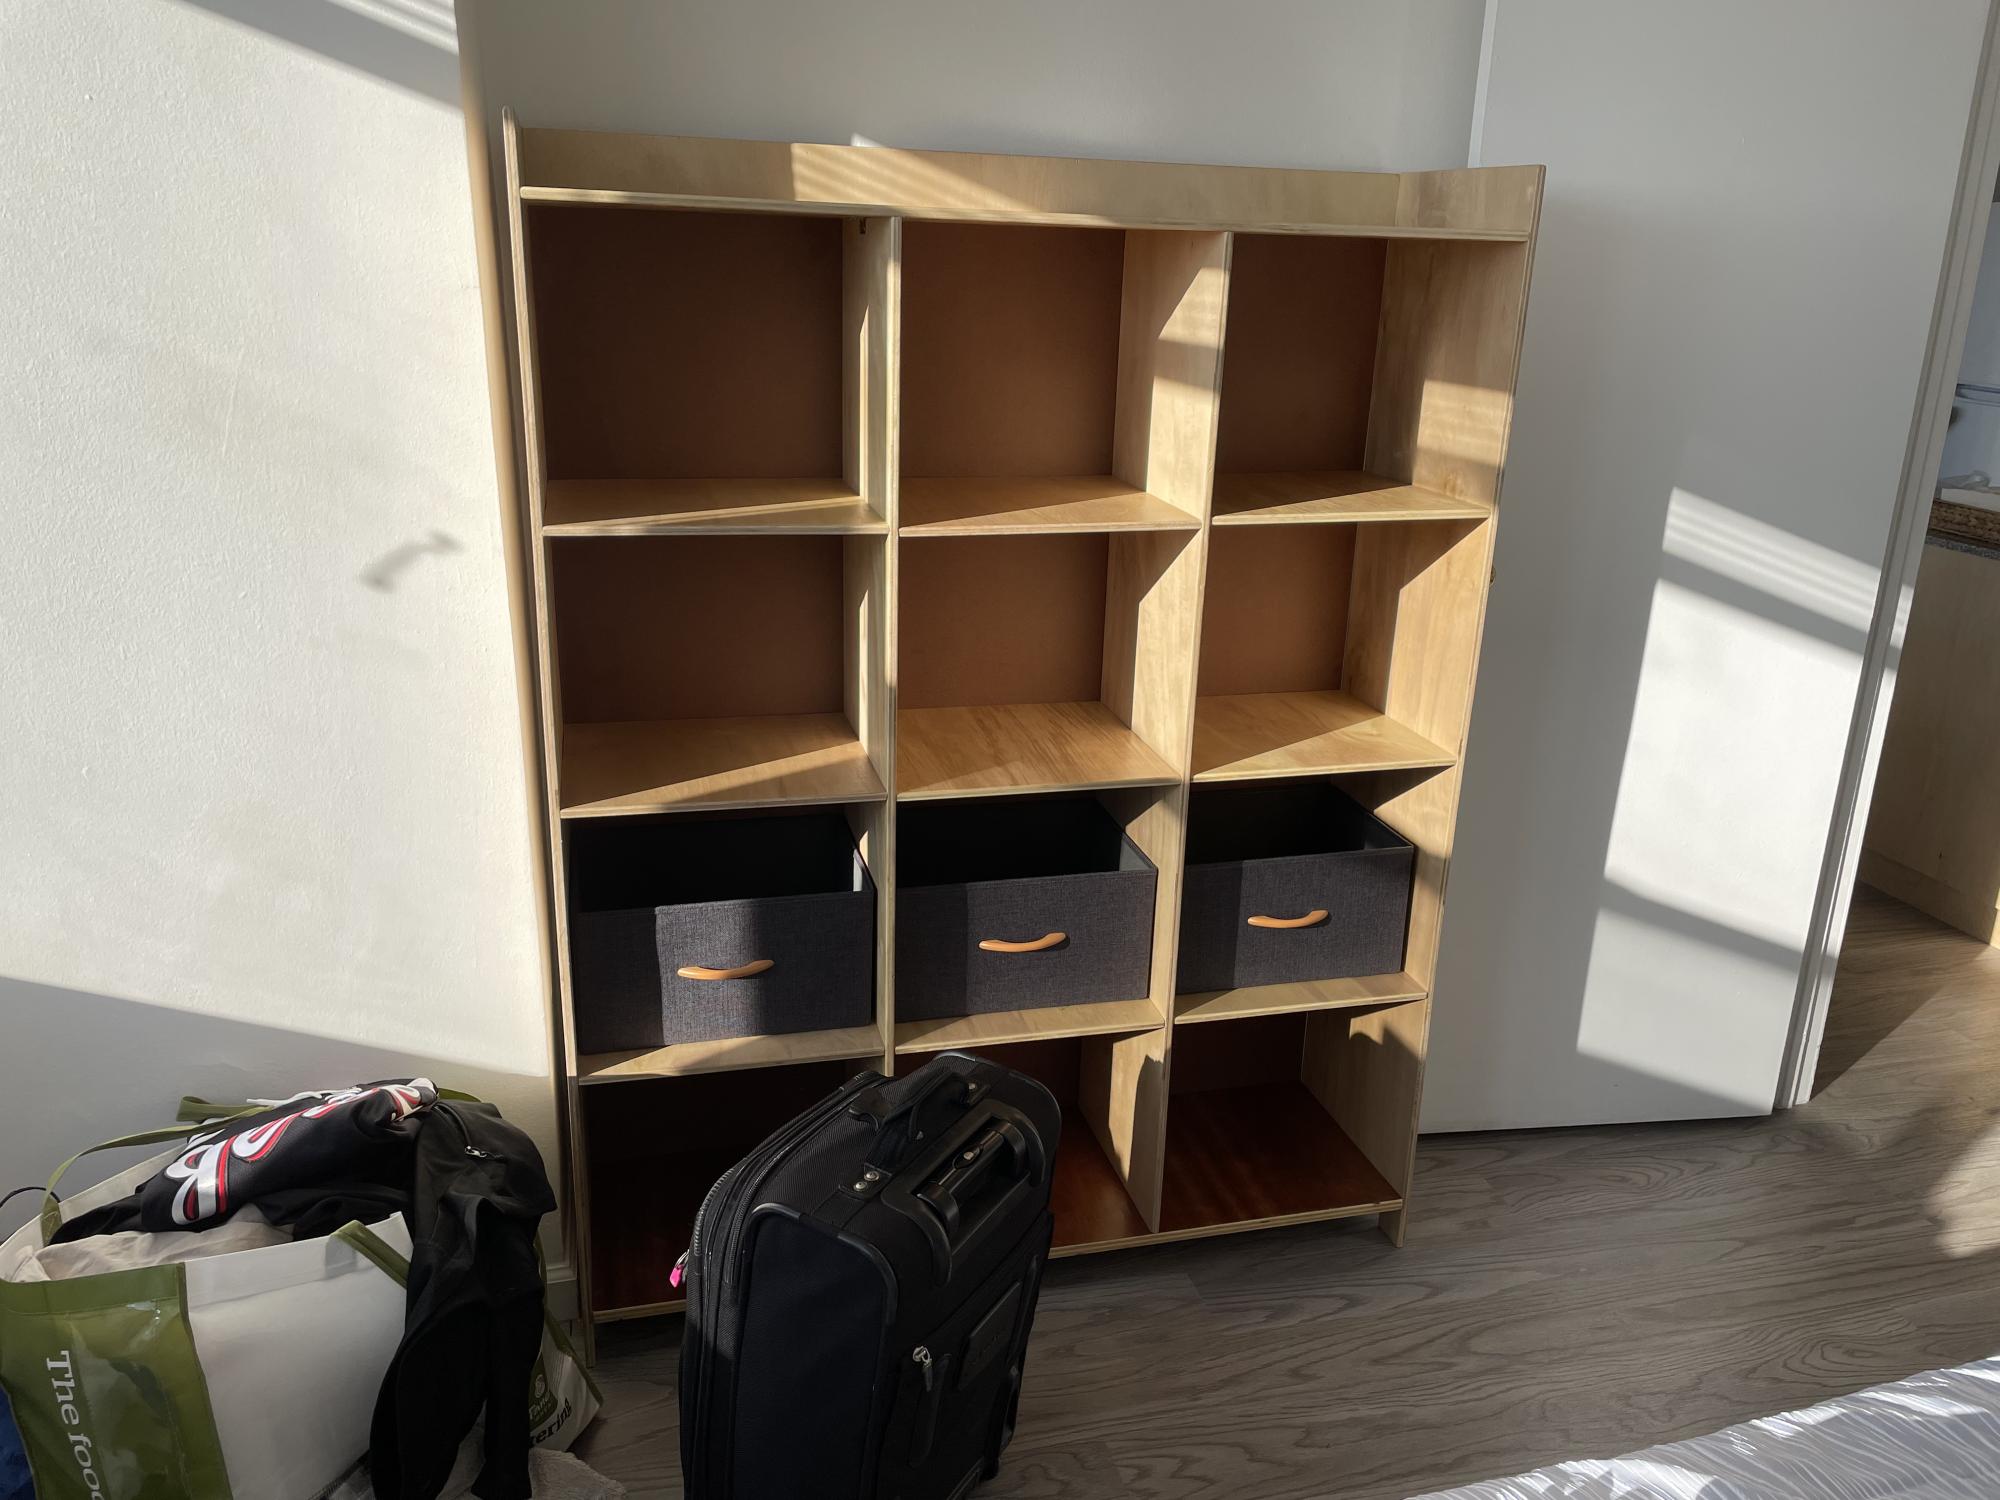
My son moved into his first very small apartment and wanted a cubby array rather than a dresser. I made this following your plans and it came out great! It’s 4x4 cubbies as you can see. I used 1/2” plywood to keep the weight down. It was a little flimsy, so I put 1/8” tempered sheet on the back, which made it completely stable. He loves it! Thanks Ana!
Sat, 03/25/2023 - 09:21
Very exciting for your son and this is a great addition! Thanks for sharing.
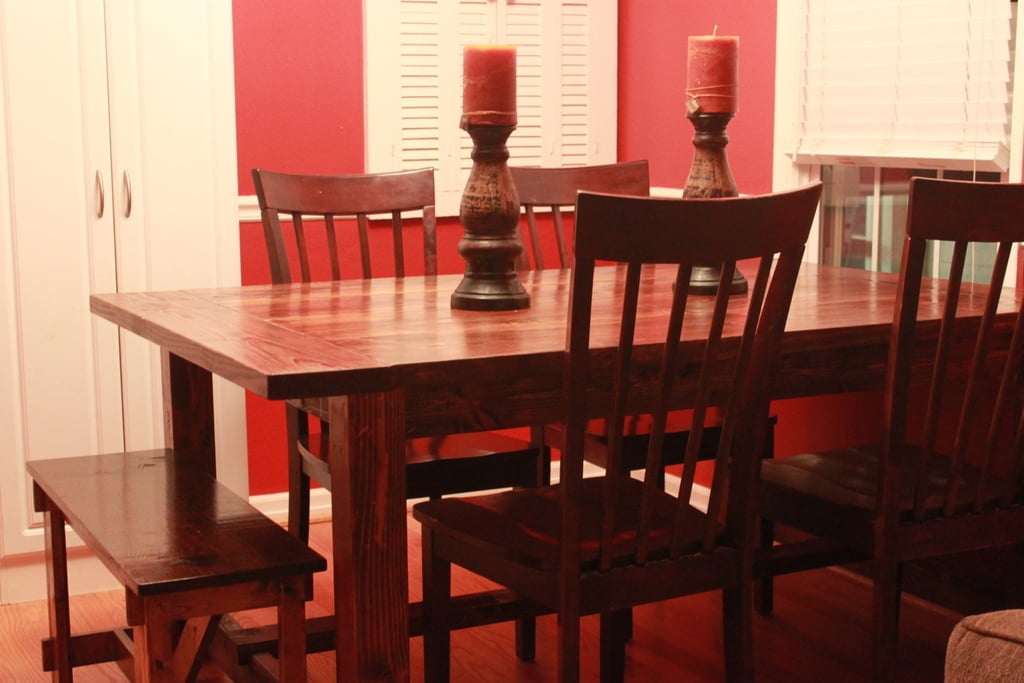
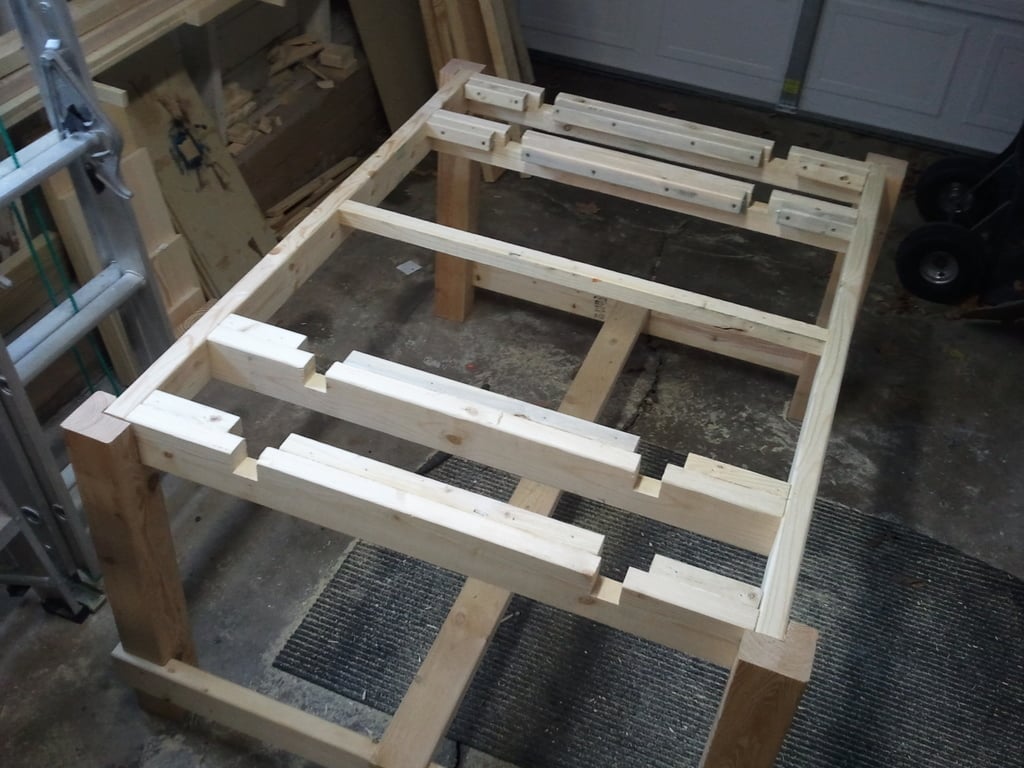
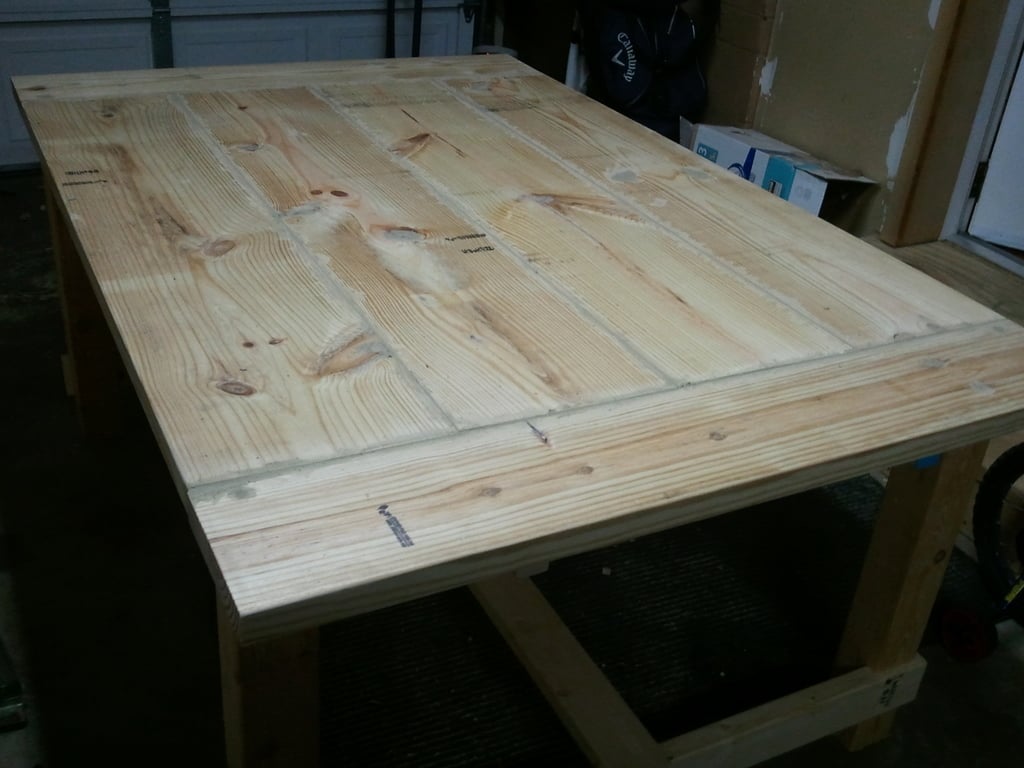
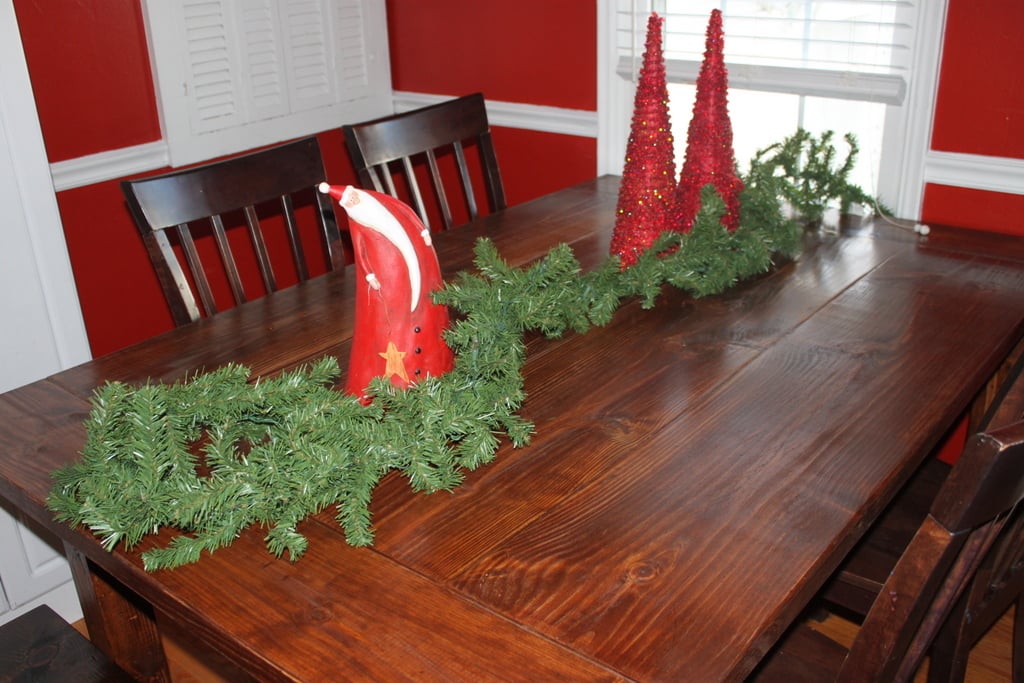
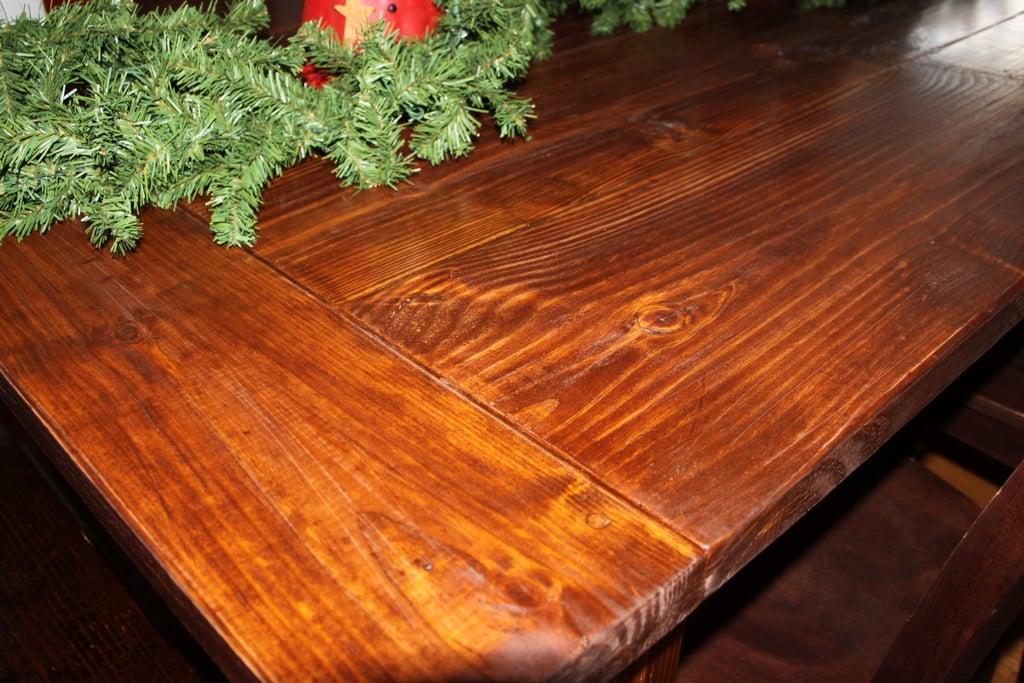
Ive been wanting to make this table for at least a year, but our dining room was just too small for the full size table. I love customizing things and am overly confident sometimes so I decided to try and customize this. It turned out great, but required a bit more work. I really liked the Restoration Hardware table and the one posted by tsibiga (Farmhouse Table : Restoration Hardware Replica link below) so I followed those plans somewhat.
Mon, 12/12/2011 - 17:36
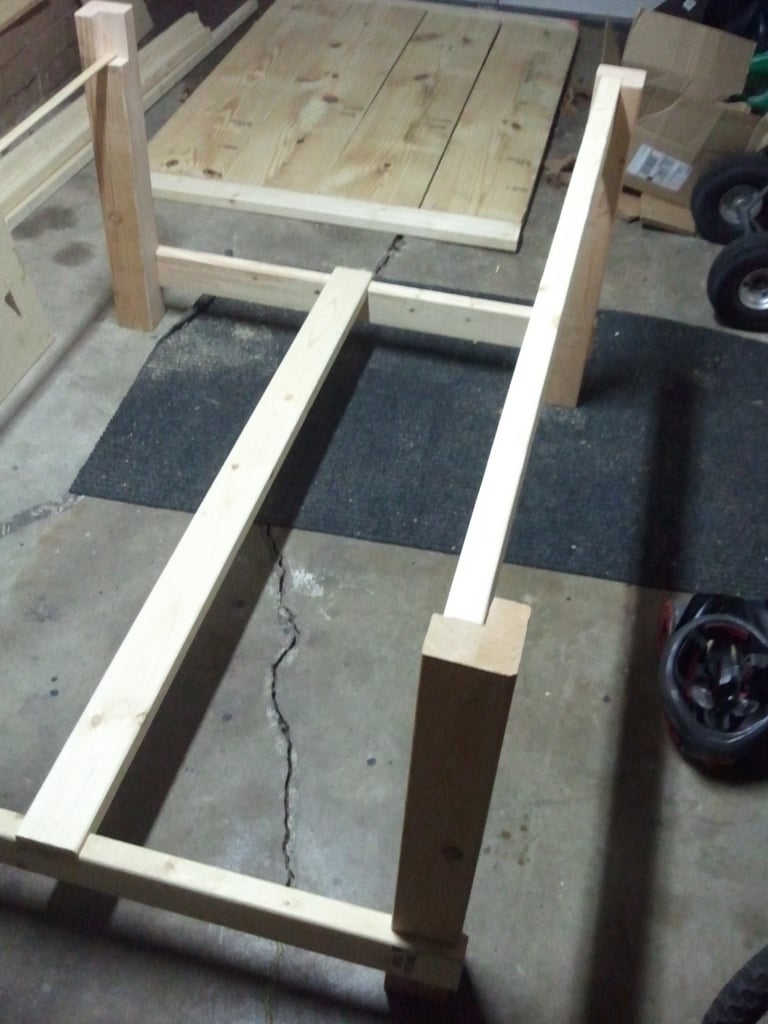
After seeing your pics and the plans that you used I really want to build this table. Just wondering about the setup of the frame to support the table top. Why have you put 2 lots of 2x4 and why are the pieces on the inside shorter?
In reply to Inspirational by Guest (not verified)
Thu, 12/15/2011 - 17:26
If I understand your question correctly the 2x4s (2 on each end) are notched out so that you can slide 2 2x2s in each end (not shown in pictures). These 2x2s are attached to leafs that are used to extend the tabletop. It is how the original restoration hardware table is extended. I have not made the leafs that slide into each end that is why it is not pictured. If you look here http://www.restorationhardware.com/catalog/product/product.jsp?productI…
you will see what I am talking about.
The pieces on the inside (the 2x2s attached to the 2x4s) are shorter so that they do not block the 2x2s on the leaf from sliding in. I added these 2x2s so that I could attach the 2x12s (main table boards) from underneath. I did not have drill bits or screws long enough to go through the 2x4s and into the 2x12s.
I hope that made sense.
Here is another builder and his pictures, he has the same design: http://web.me.com/tomsibiga/Site/Home/Entries/2011/8/4_Farmhouse_Table_…
Please let me know if you have any other questions. Good luck with the project!
Jon
Wed, 12/21/2011 - 07:14
Wow! Your table is amazing! We are about to start this and I really like the 4x4's for the legs. Where did you find yours? I found 4x4 Fir at Lowe's, but it says "green" which I think means fairly freshly cut so still has a higher moisture content. I'm worried this will be a problem (splitting, warping, etc) Any suggestions there? Thanks!
In reply to Wow! Your table is amazing! by Karl (not verified)
Wed, 12/21/2011 - 22:12
Yes I noticed that the 4x4s were not as dry as the rest of the wood, but it would be very difficult and very expensive to find dried 4x4s. I got mine at lowes also. I am actually more worried about the shrinking and swelling of the table top its self and what cracks and voids will occur there. I have not heard anyone's experience here with this and am curious in the coming months and years what will occur. Come what may, I only paid $100 or so for the table and am pleased with it for now.
Good luck on your build, you will be very happy with the results.
Thu, 12/22/2011 - 09:14
Yay! Thank you! I think we will go ahead with them. I talked to a few guys at Lumber Yards and they said although there is no guarantee there will be no warping, it most likely will be fine. And you are right - for only $100 it's worth a shot!
Thu, 12/22/2011 - 11:04
If you get Douglas Fir (sometimes called Doug Fir), your 4x4s should not have any significant problems. It's an amazingly stable wood. With pine, especially if the center of the tree is included, you should expect warping.
Thu, 12/22/2011 - 15:27
I agree that there will probably not be any significant problems. Especially with what we are all doing here. The majority of us are all novice wood workers (if you could even call us that) that arent expecting perfection with these "reclaimed" and "farmhouse" style tables/furniture. Many people will even go so far to add extra dents and scratches to try and make it look 100 years old. The best part about it is the description from restoration hardware for this $2000 table; "unsealed salvaged wood planks may be somewhat uneven, and may cup or bow slightly over time, further enhancing their rustic one-of-a-kind character; cracks may be present."
So yes, go with the 4x4s Karl and enjoy the imperfection!
Also, good luck notching out the top of those 4x4s!
Mon, 01/09/2012 - 08:04
This is an odd question but where did you get the chairs to go with the table... My husband is going to me this table for us (can't wait) but the thought of paying $100 a chair at a furniture store makes the project (making it to save money) seem like a waste.
In reply to Chairs? by Guest (not verified)
Mon, 01/09/2012 - 09:30
Yes the chair problem does plague a few people. Fortunately for me I was able to use the existing chairs from our old table that matched pretty well. Here is a link to our old table we got I think from target: http://www.target.com/p/Dolce-5-pc-Dining-Set/-/A-522699#?lnk=sc_qi_det…
Like you said though this would obviously defeat the purpose of saving money by building your own table. There are a couple of chairs on Ana's site, but I am not particularly fond of them. You could try what claydowling suggests below and either buy a lathe or build your own to make some very nice custom chairs, but the store bought lathes will run you $500 on up. The build-your-own lathes (while pretty cool) will require more work/time/space than I think you or your husband is looking for. You will find that the majority of people here that are building these tables do one of two things: use their existing chairs, or build benches to use. Some people like me will do a combination of these and build a bench and use their old chairs. Here is a link to the bench I built: http://ana-white.com/2011/12/rustic-x-bench These are actually very simple and look quite good with the tables because you can stain and finish them together.
There are a few different styles of these benches to choose from on the site, but after building a table you may have the ability to design your own and make it look how you want - dont be afraid to modify plans!
Good luck with the build and let me know if you have any other questions.
Jon
Mon, 01/09/2012 - 12:29
Thanks for the ideas. Yeah, my husband is already grumbling about the table so lathing chairs is NOT something i think i could get him to do (*grin*). I wish i could find a local "Bare Wood" store. When we were stationed in Hawaii they had one and i bought a dresser from them for $65 -- just had to stain and finish it myself... as it saved me $300 from ones i would have purchased from furniture stores it was a steal.
Thanks again for the ideas!
Mon, 01/09/2012 - 12:32
The first time you or your husband tried turning on a lathe, the grumbling would end and you'd be trying to cram another chair in there. Turning is easily the most addictive of woodworking activities.
In reply to Lathes and addiction by claydowling
Mon, 01/09/2012 - 12:36
I agree! If I had the time and/or the money for a lathe I would be addicted too!
Sat, 03/31/2012 - 06:40
can someone explain how to get to the "how to section" so i can see how to notch out the 2x4's?
In reply to how to notch 2x4? by Guest (not verified)
Sat, 03/31/2012 - 08:08
Not sure where Ana's How-To section went, but here is Ana White herself notching out boards: http://www.youtube.com/watch?v=r8LP0jQfQls
Be sure to read the two comments below the video as far as safety goes!
Good luck!
Thu, 05/10/2012 - 19:46
In the first of the build pictures I see the base of your table and it looks like you are using 4x4s rather than 2 2/4 screwed together. How did you create the hole to rest the 2x4 side boards? Did you use a router or a chisel or something else?
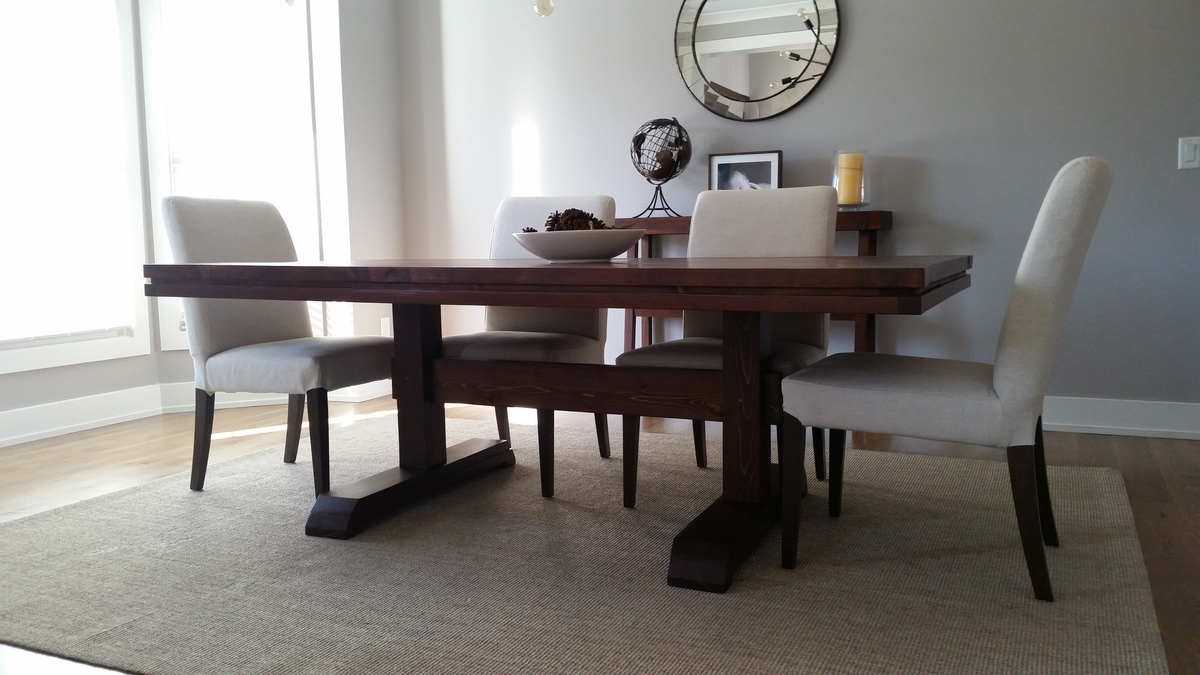
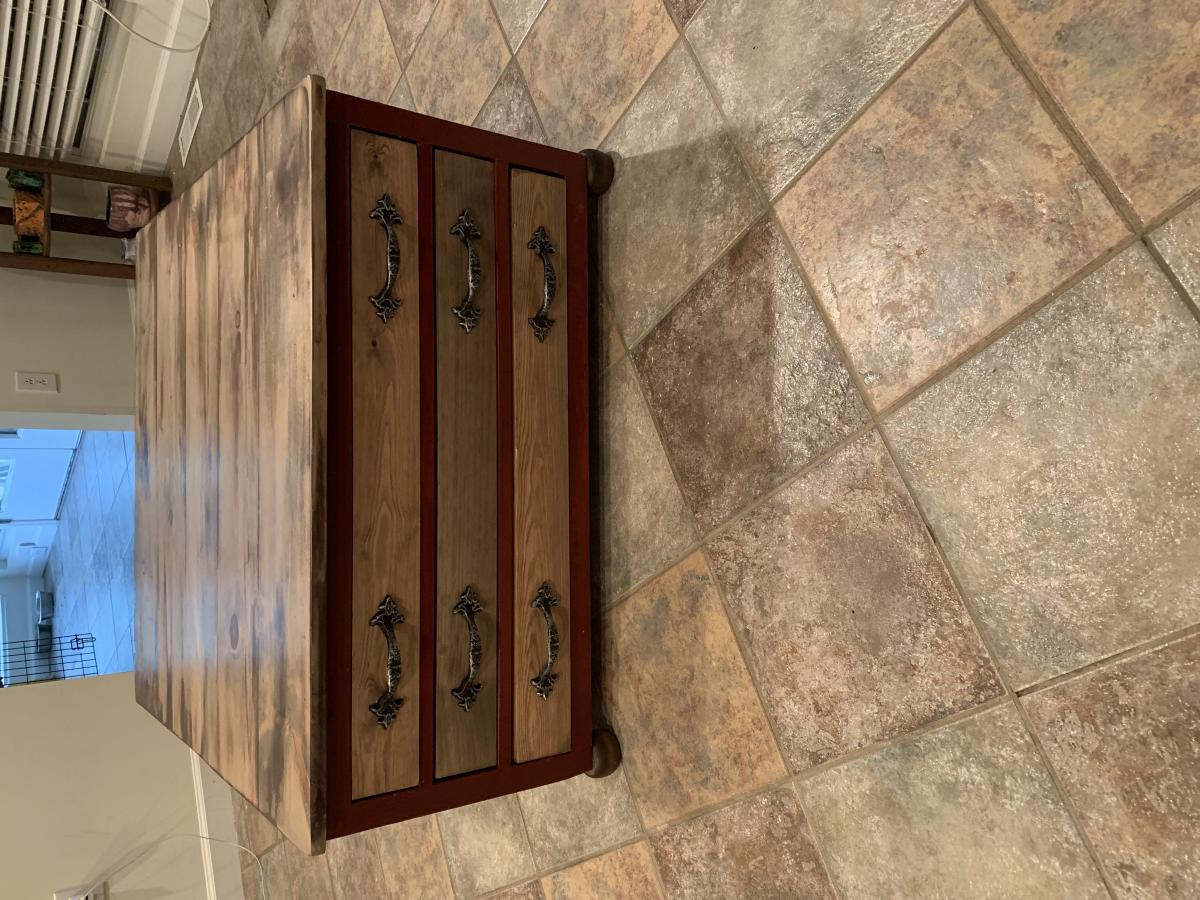
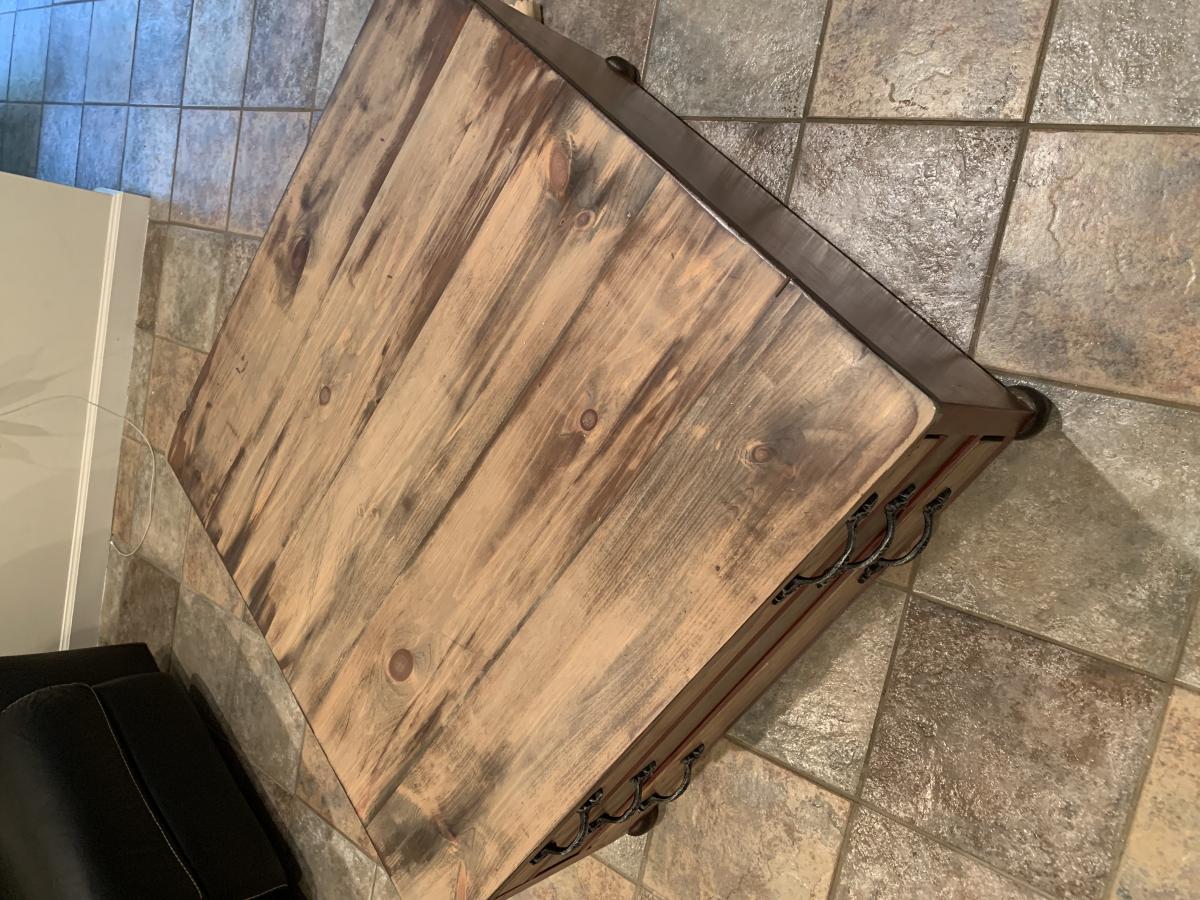
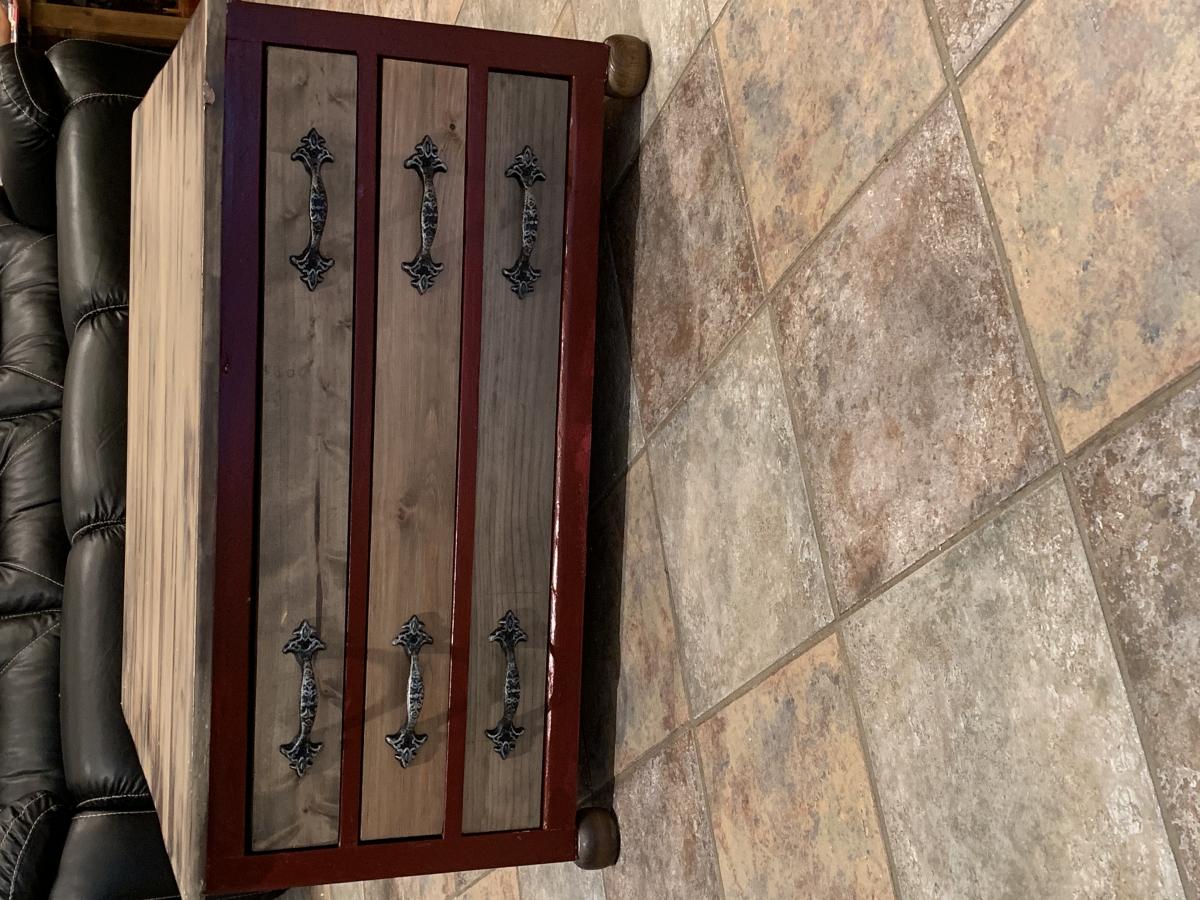
Modified slightly to include just two legs and excluded the decorative pieces for a more streamined look.
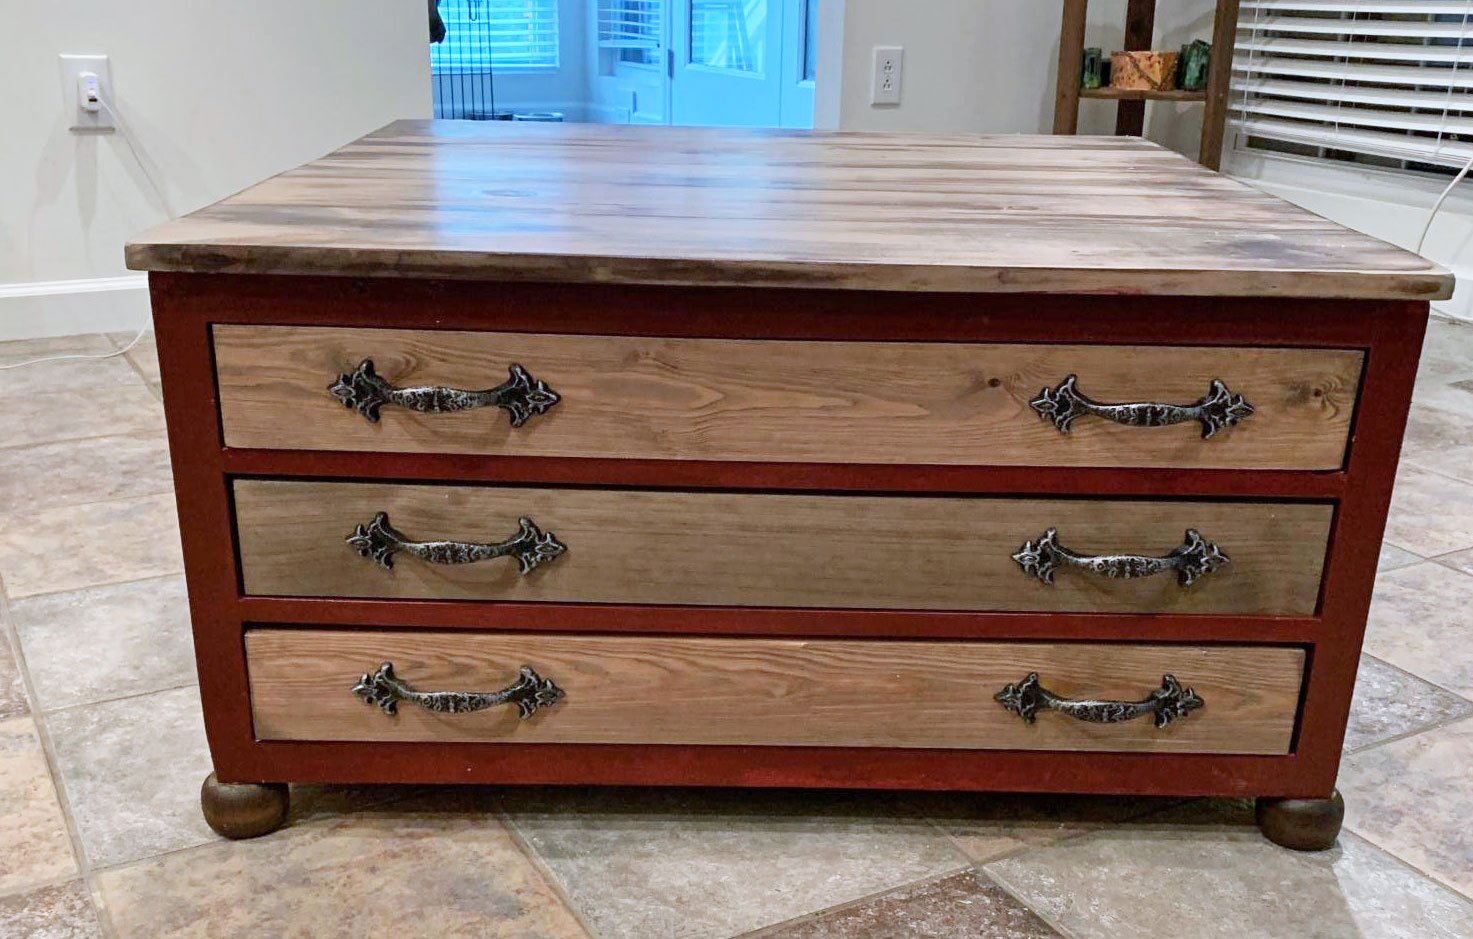
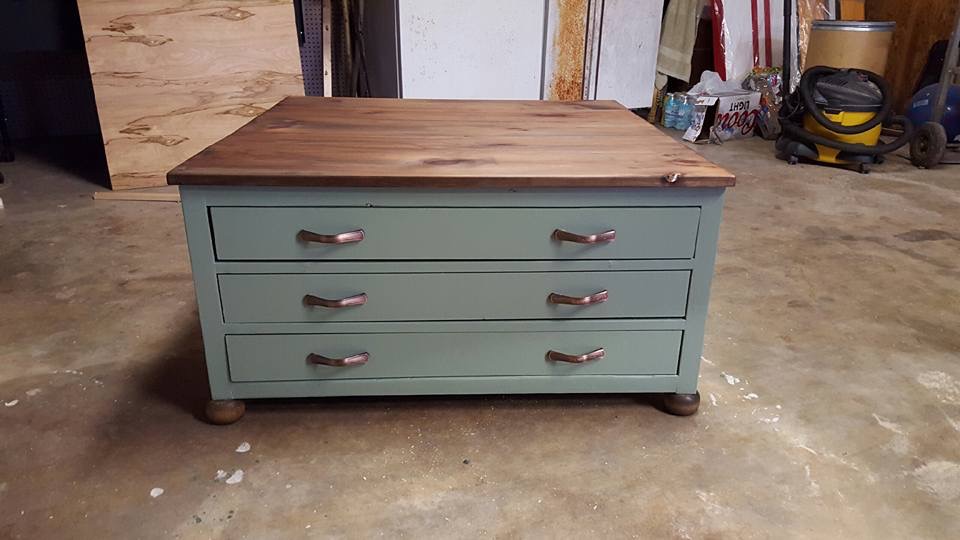
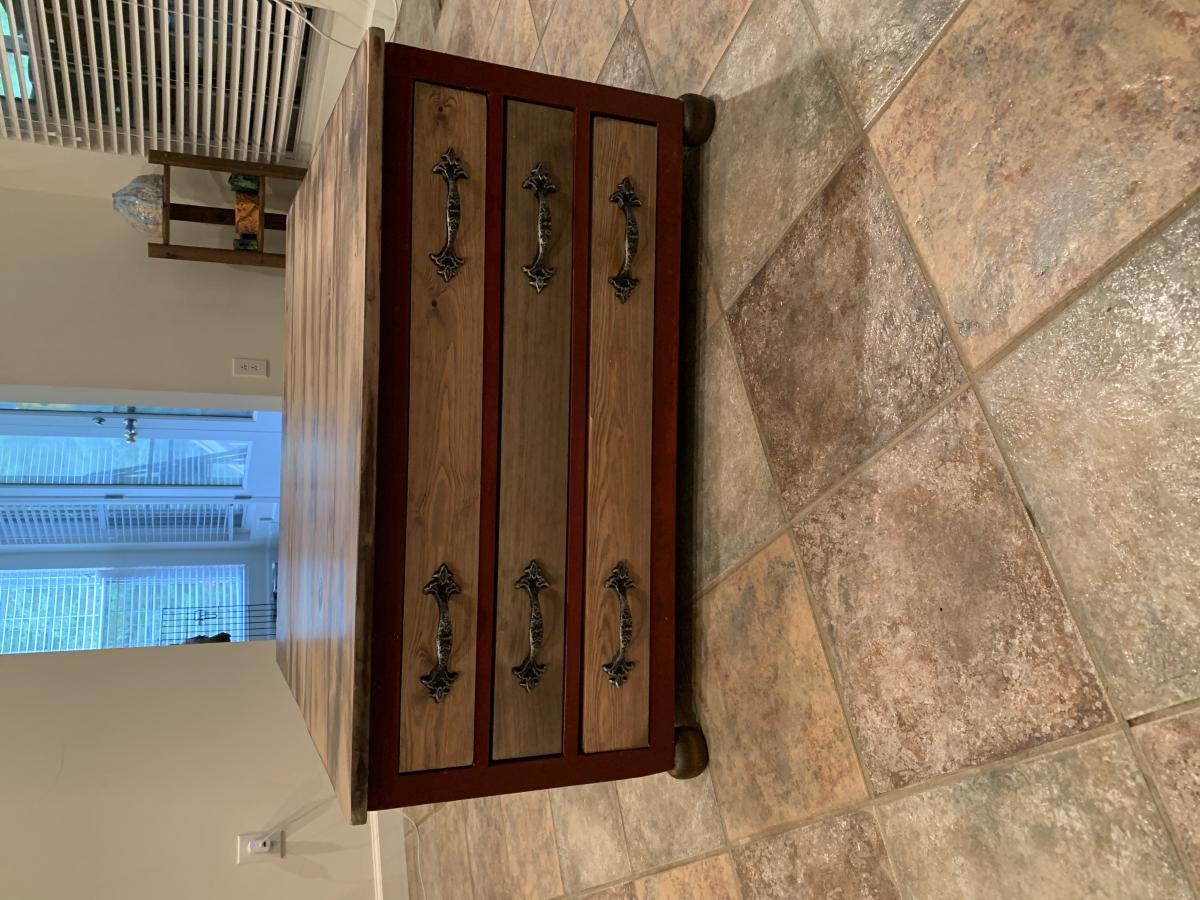
The green one was the original built 3 years ago. The red is a recent makeover. I have loved this table since it was built and I love it even more now. This was my first project and I am so happy with it.
Wed, 06/19/2019 - 10:43
Very beautiful! Thank you for adding a brag post!
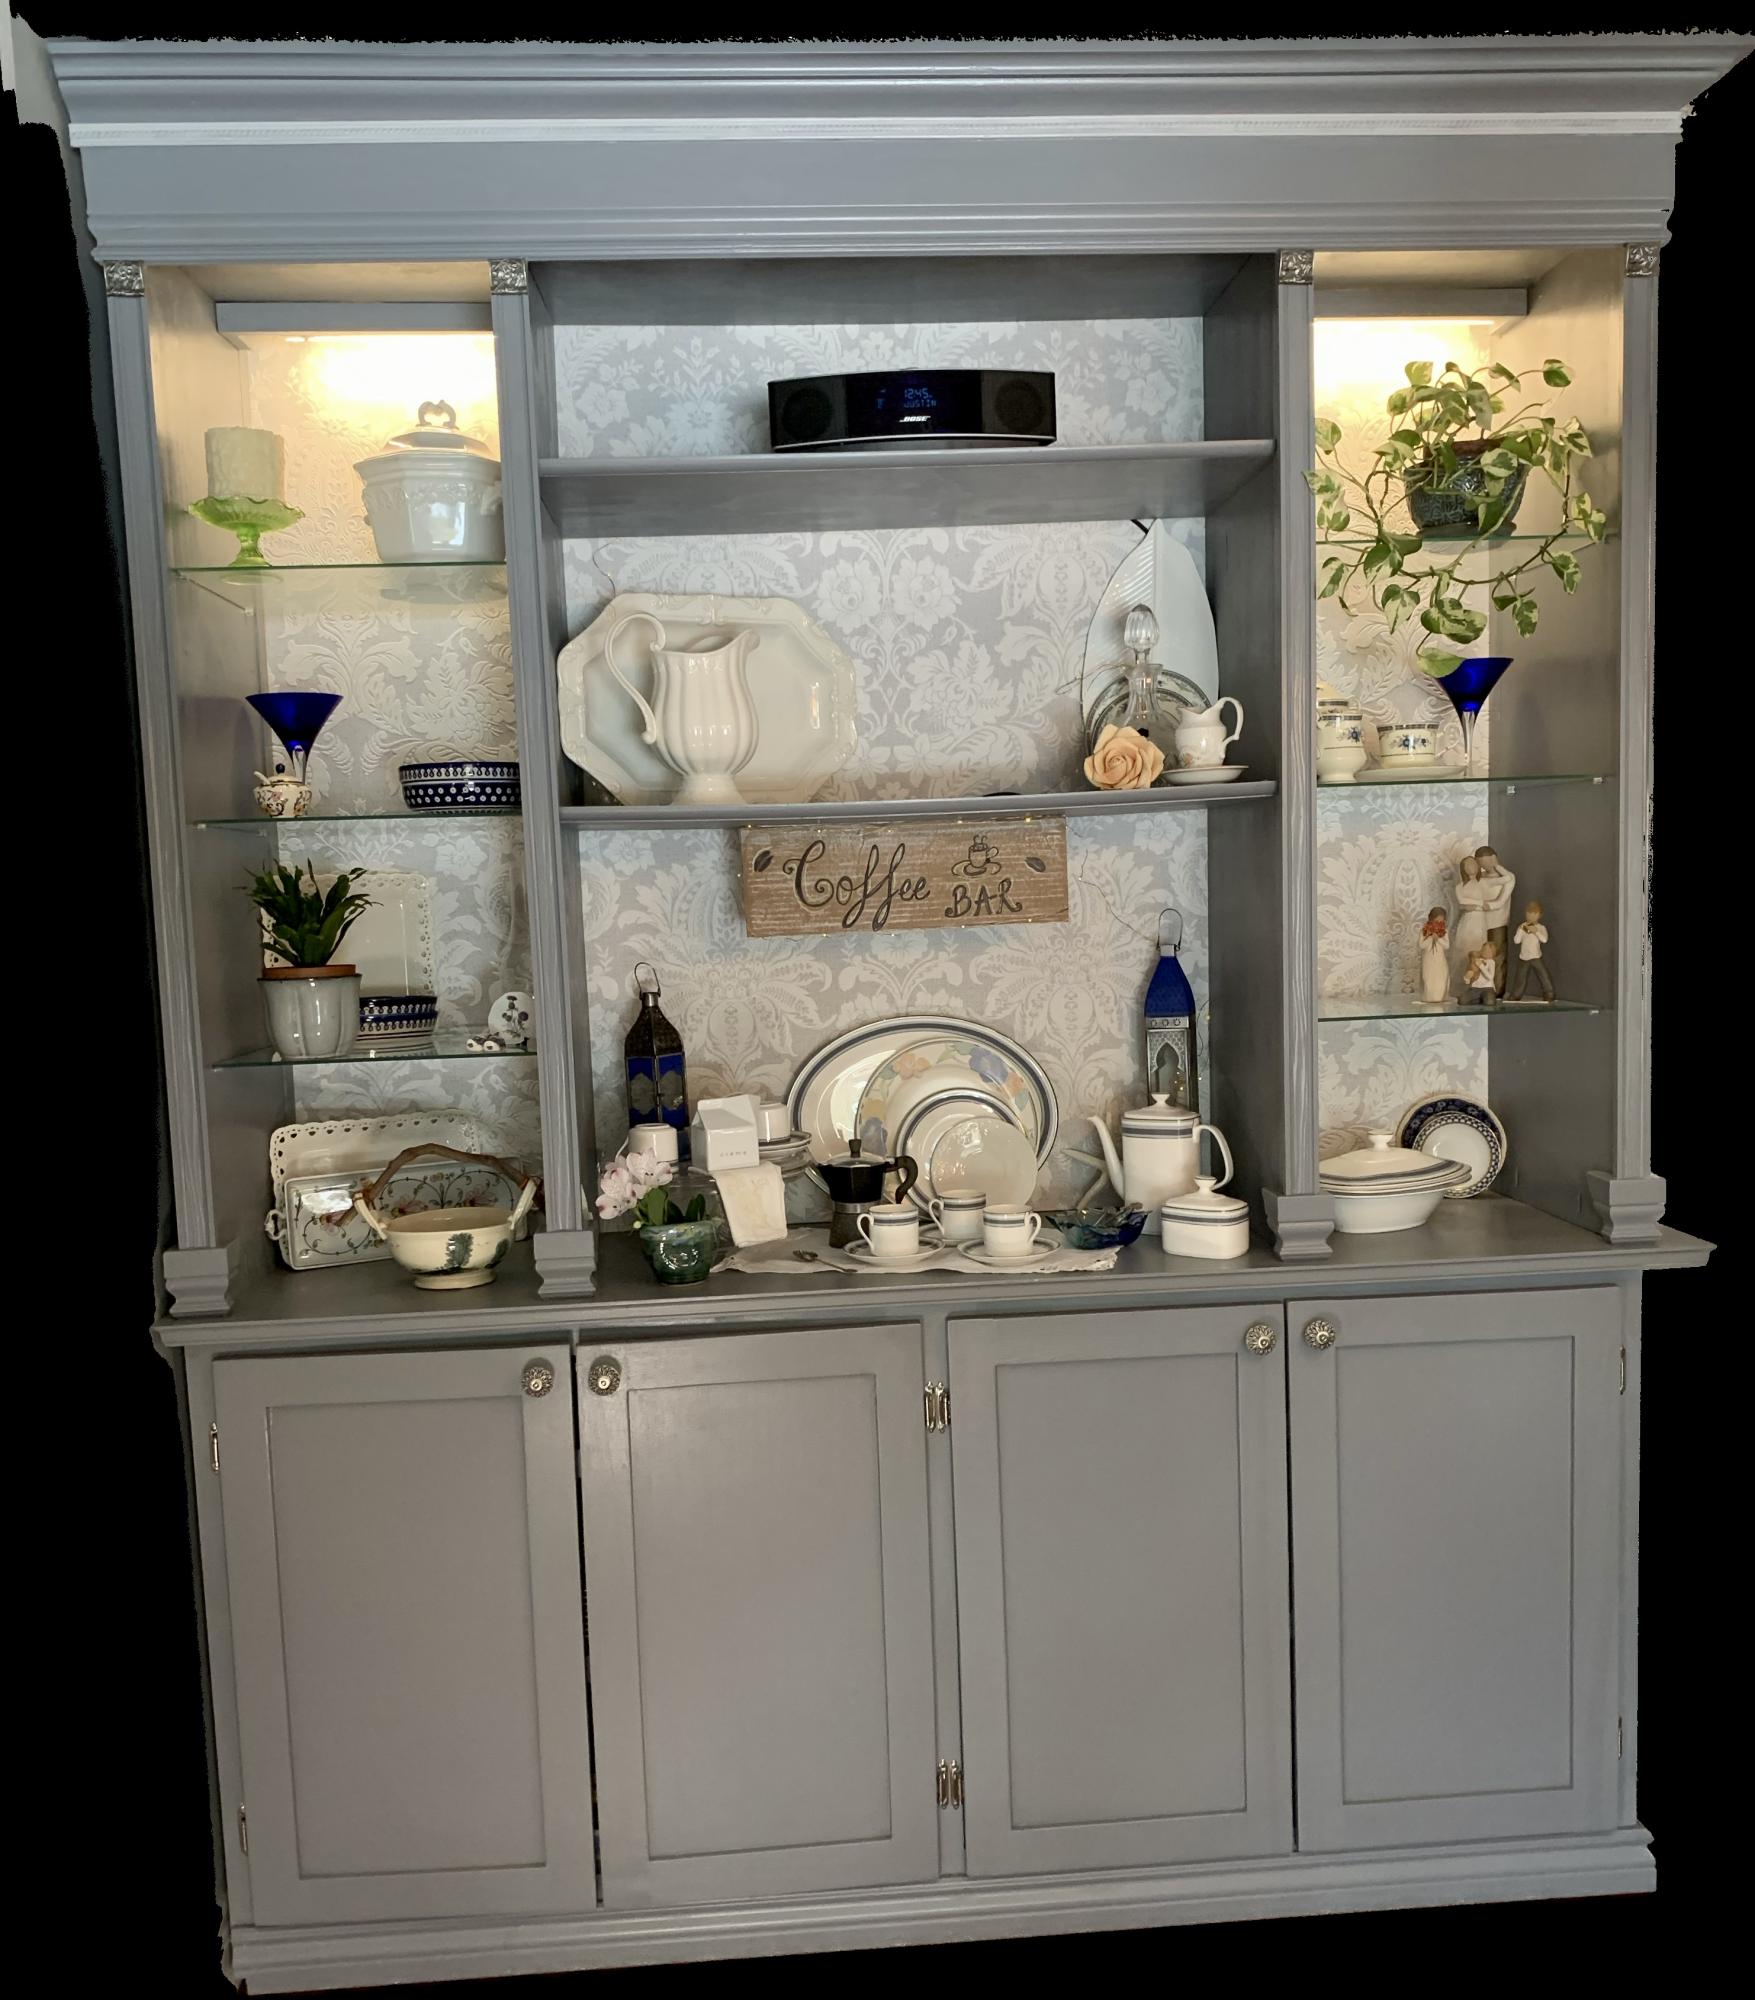
This floor to ceiling Buffet and Hutch was to house a large crockery collection. The upper hutch portion had to have open shelving to display some larger pieces of crockery.
I also wanted a section to convert to a coffee and tea station/ Wine/ Dessert serving section as part of the hutch, when I had parties
Glass shelves and lights were added to give this massive unit a lighter look. To give it a truly unique look, handmade door knobs, pewter accents and a textured backdrop was added.
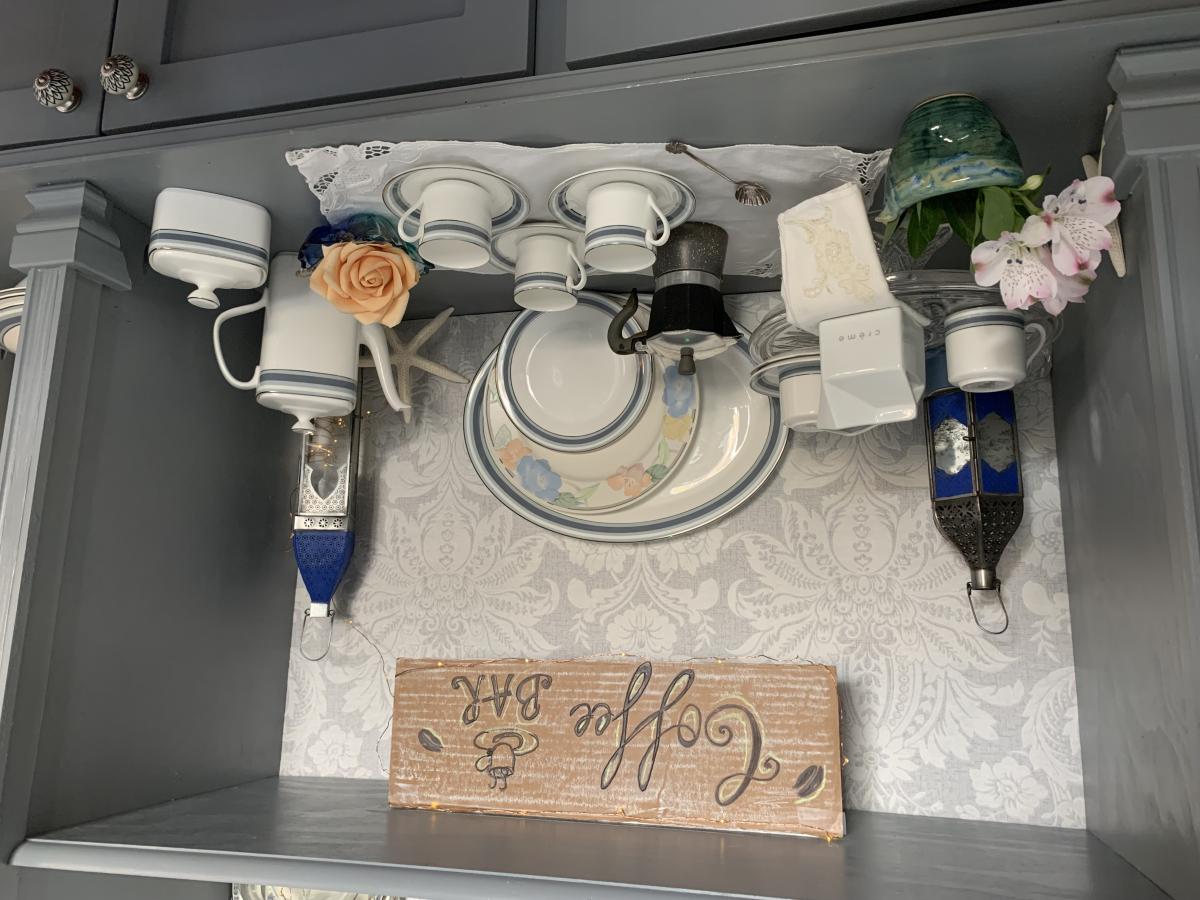
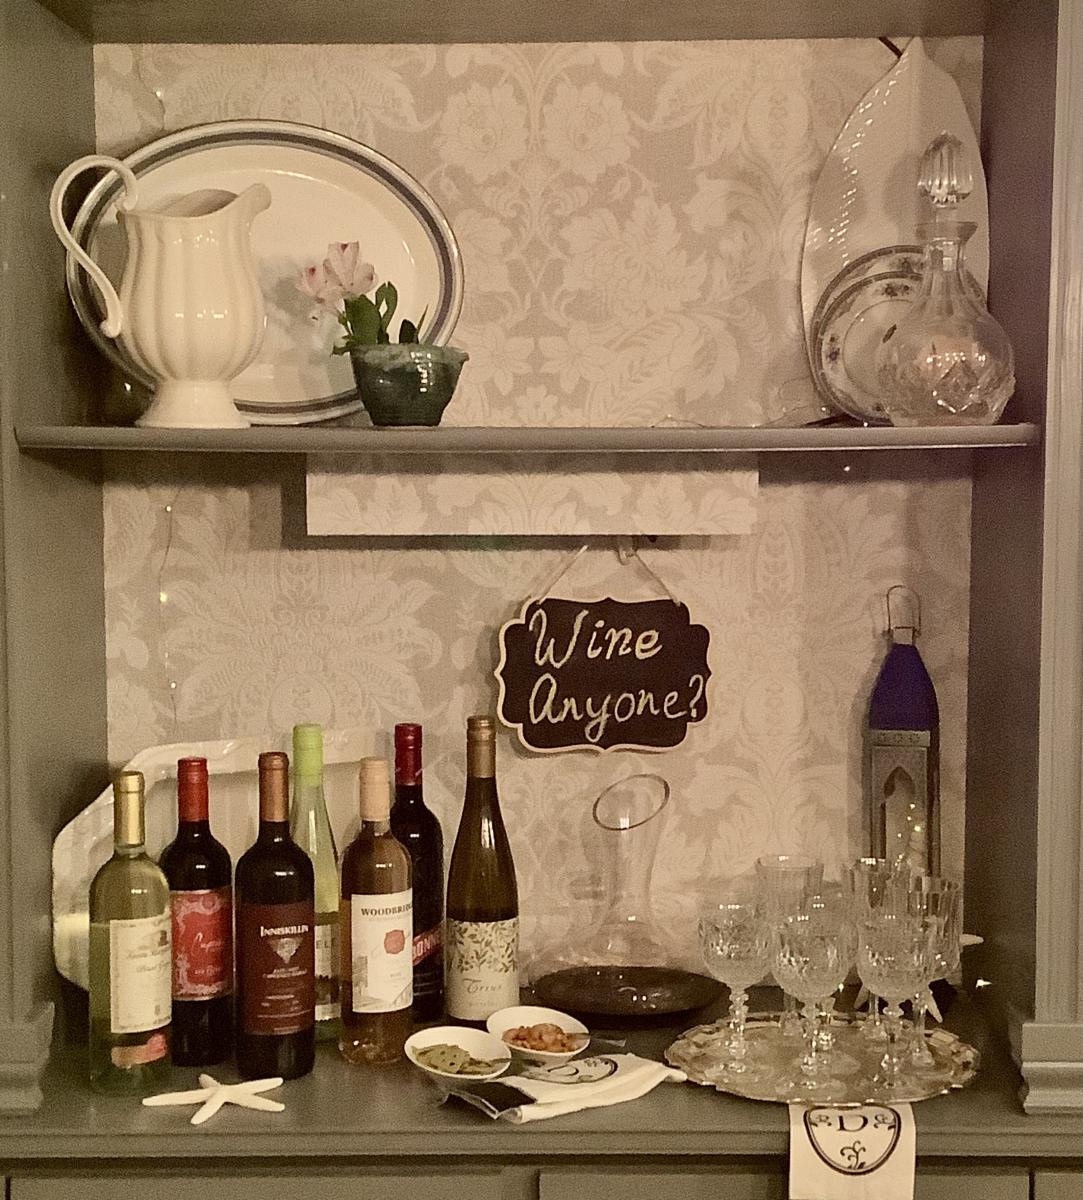
Fri, 03/31/2023 - 10:34
All the details and lighting are gorgeous! Thanks for sharing.
So these were the first things I built from the site. Will say the table took me around 2-2.5 hours and it felt like the chair took alot longer. I think the pocket hole way for the table was much faster IMO then all the screws for the chair. Anyways, just wanted to say thank you Ana for the plans and the wonderfull site! I feel like I could knock these tables out without blinking an eye now, great step by step process.
Thu, 12/15/2011 - 08:49
Looks so awesome! Can't beat $30 for a kid table and chair especially since it's made out of great wood and handmade!
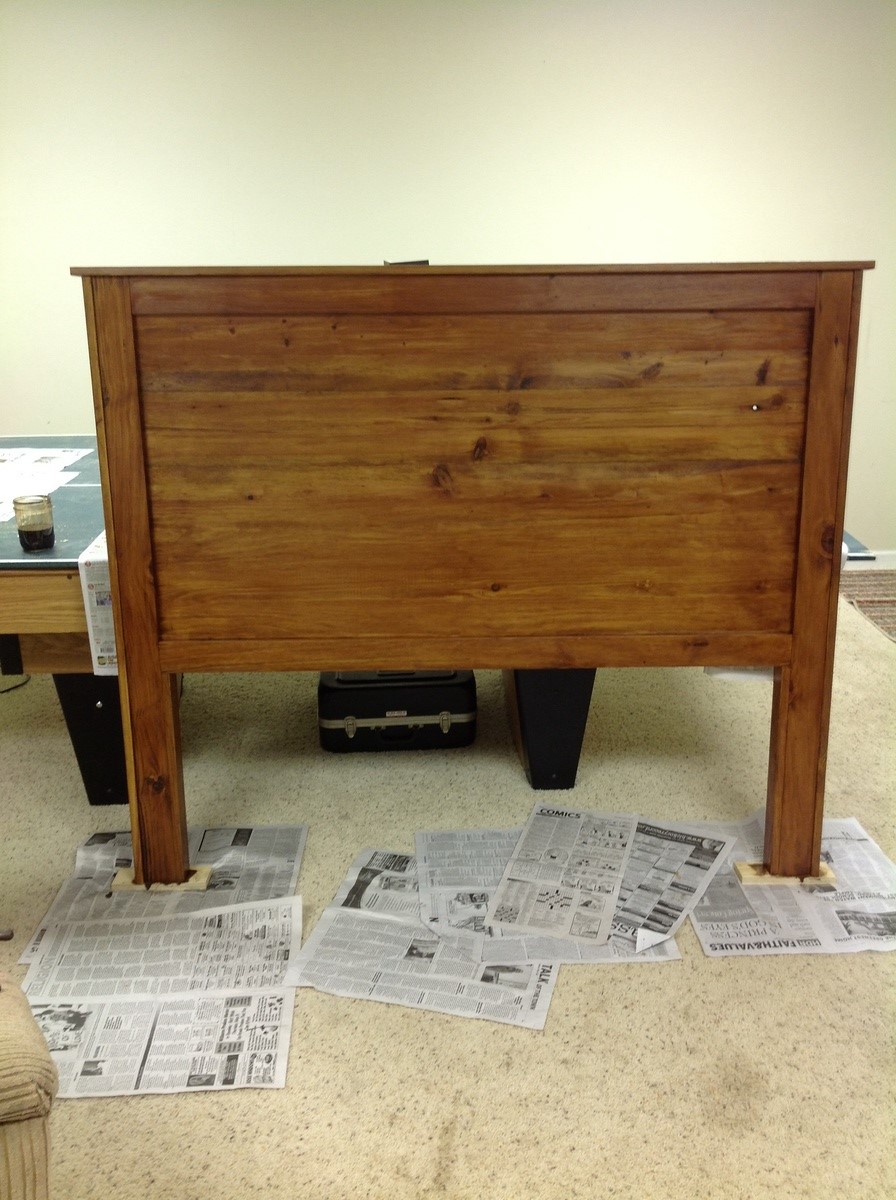
Made from leftover antique heart pine flooring. I used a biscuit jointer for tight joints. Glue up takes some time, but I think the results justify it.
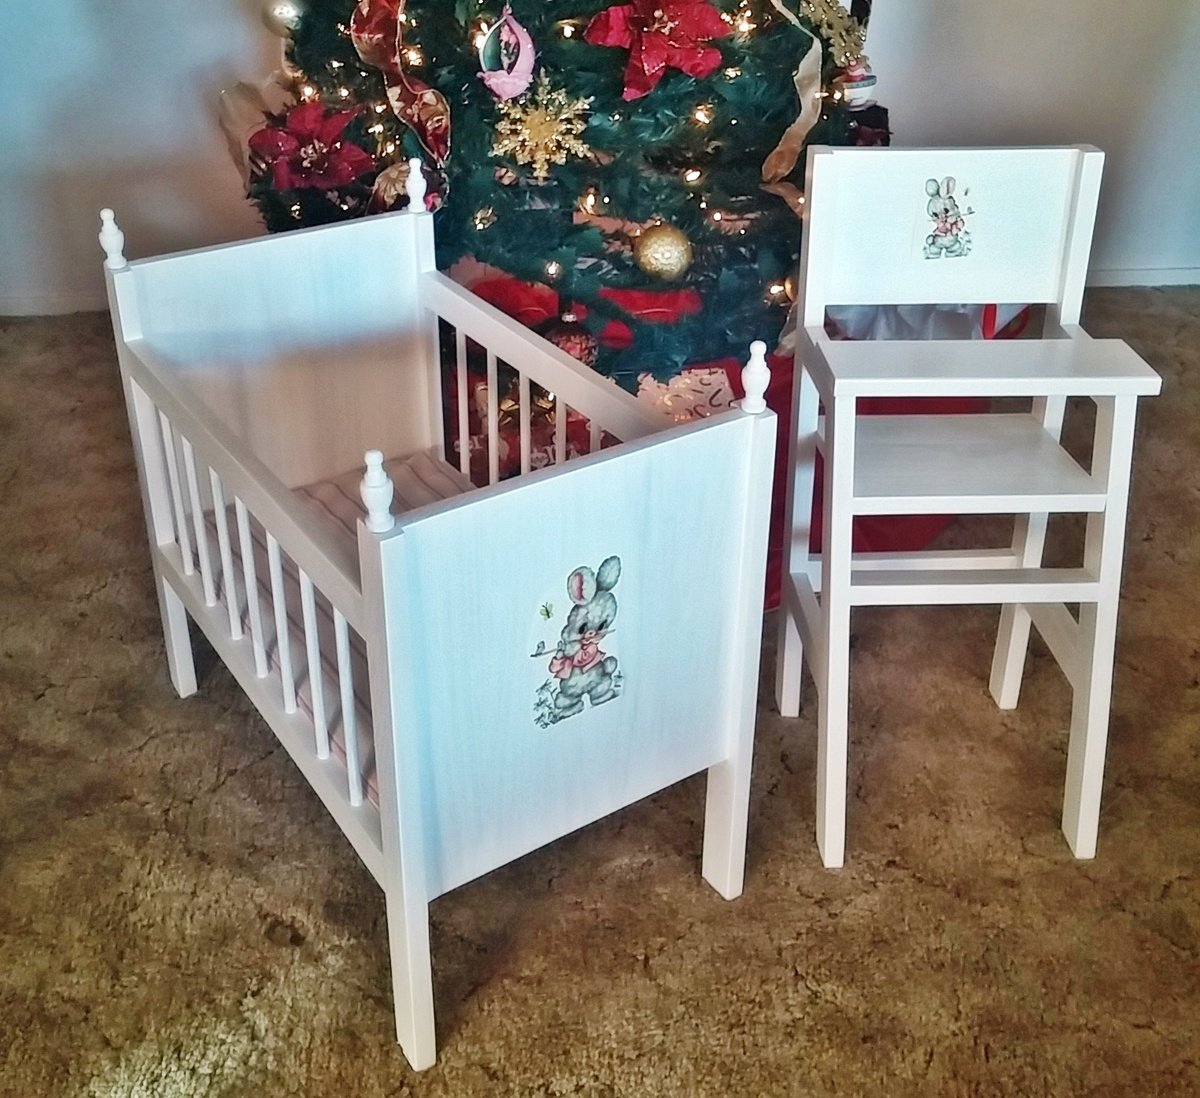
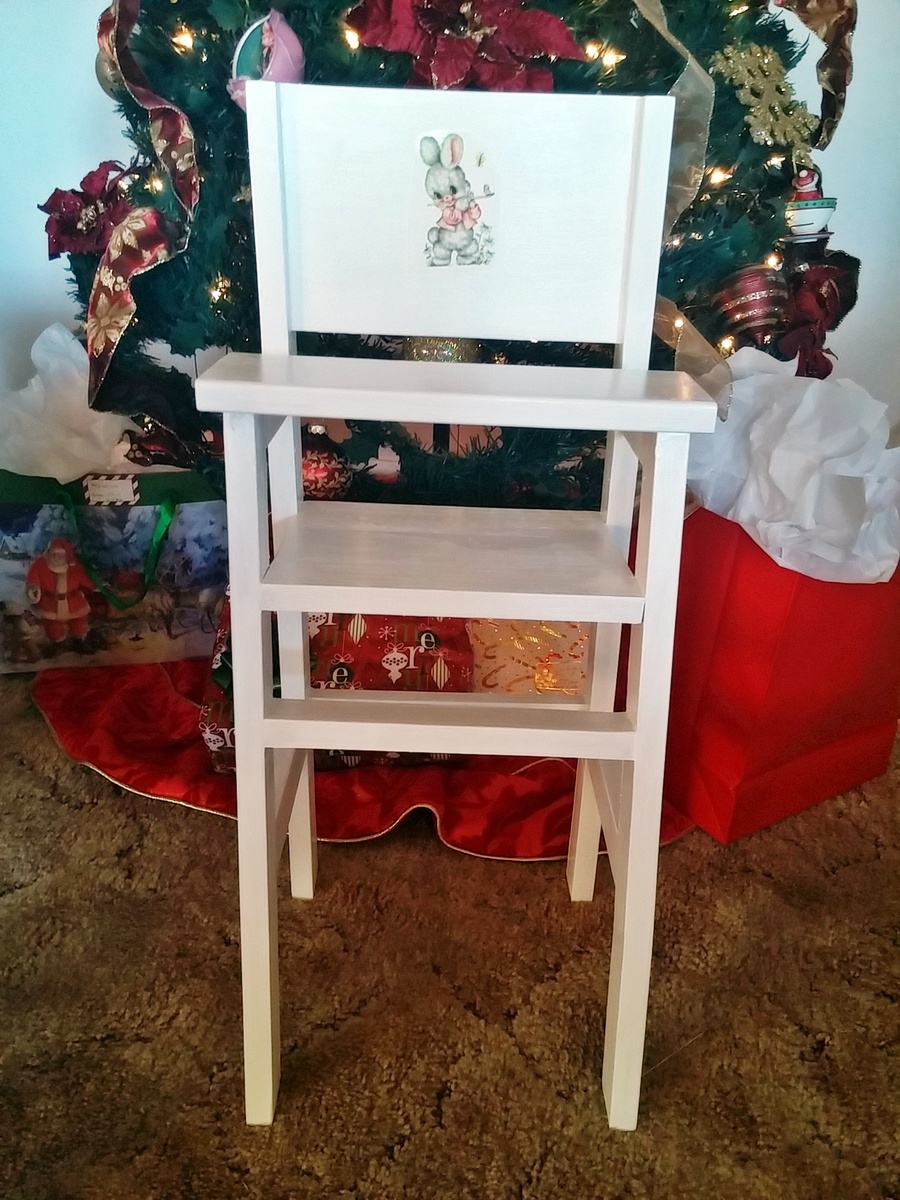
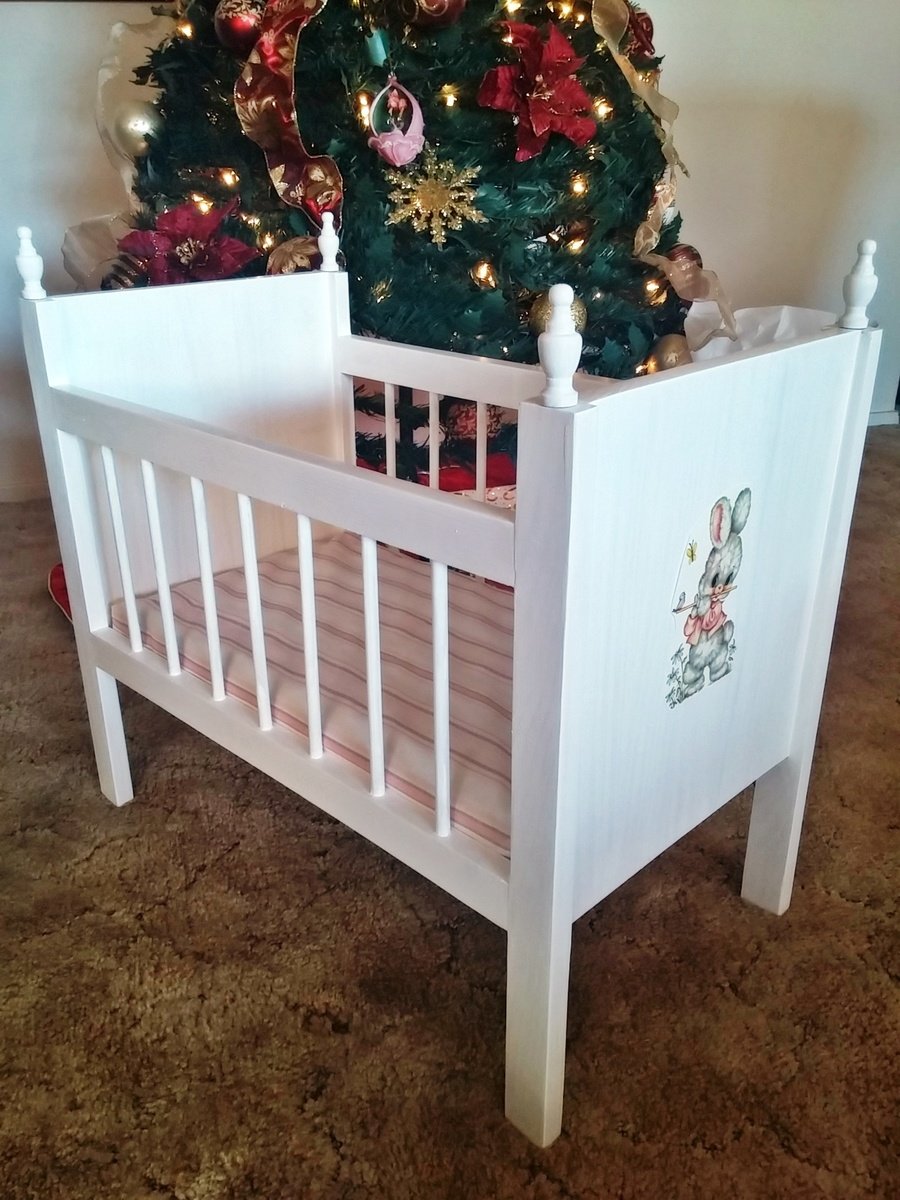
This was a Christmas gift for my youngest grandniece. The doll crib is made from the Fancy Doll Crib plans, slightly modified to be taller and longer. The high chair is made according to plan, except I substituted a 1" x 6" board for the back.
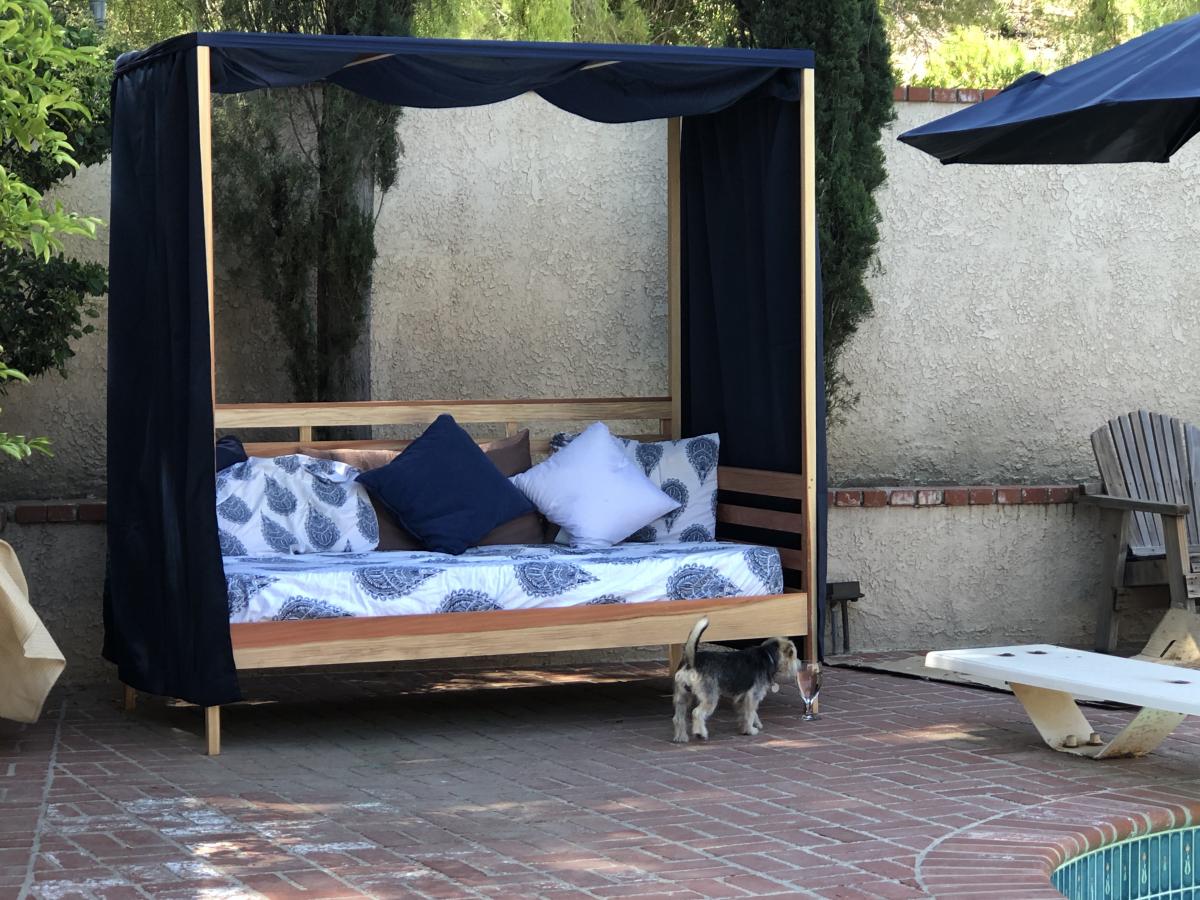
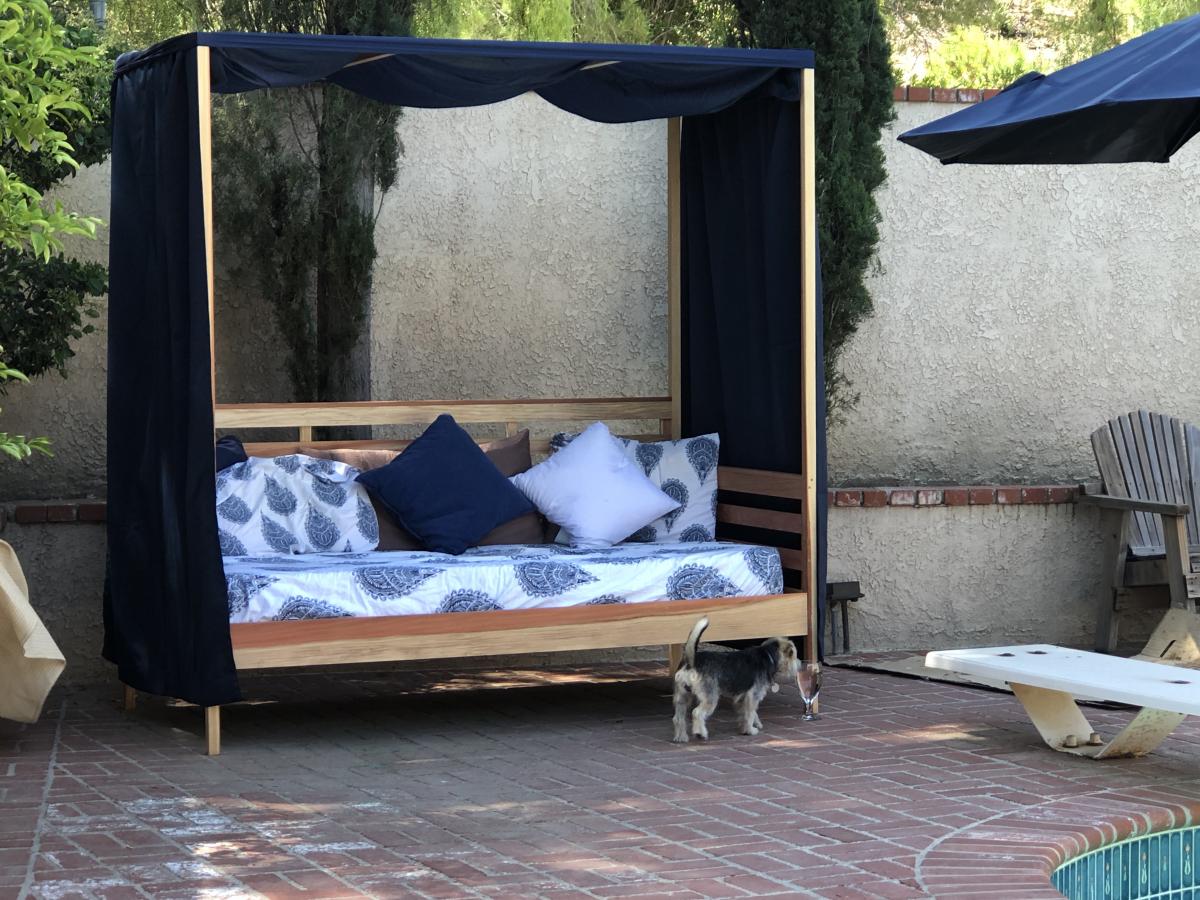
Loved making this. Used old sun curtains and a sheet for extra splendor.
Wed, 07/03/2019 - 11:19
This is beautiful! Thank you for sending in a brag post, we very much appreciate it!
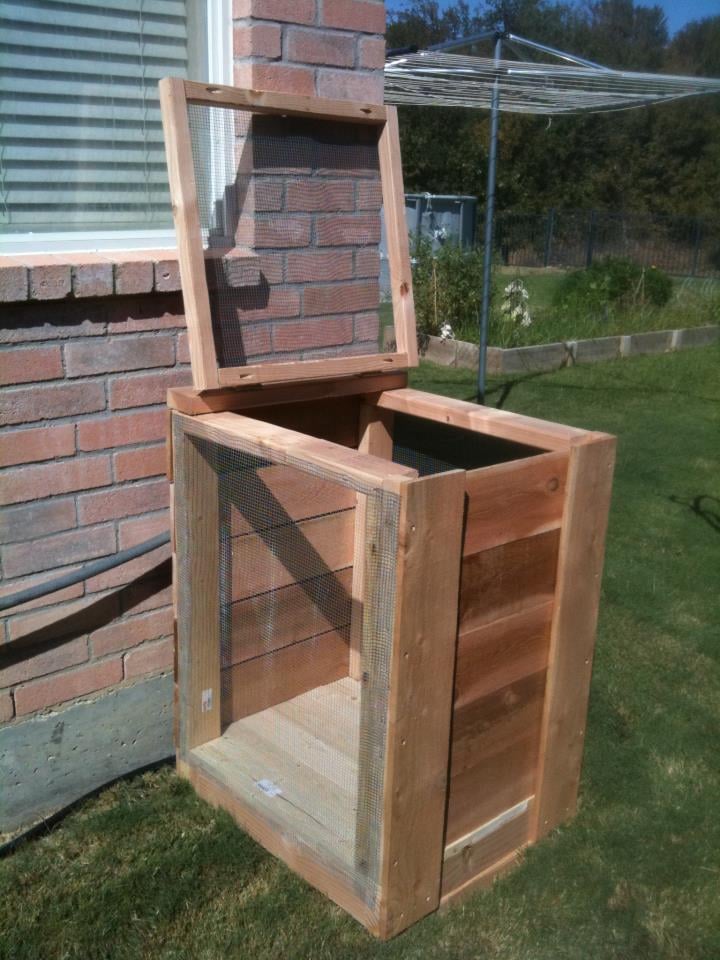
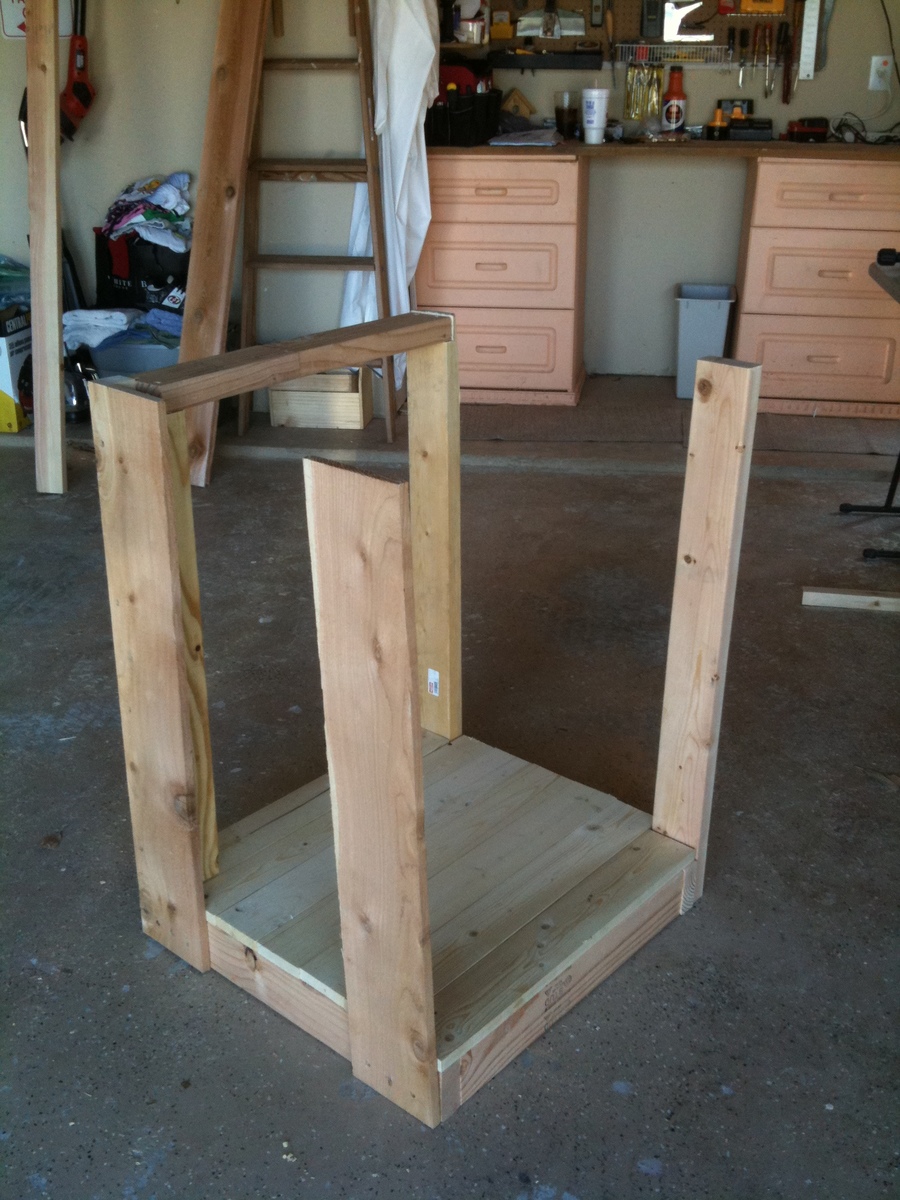
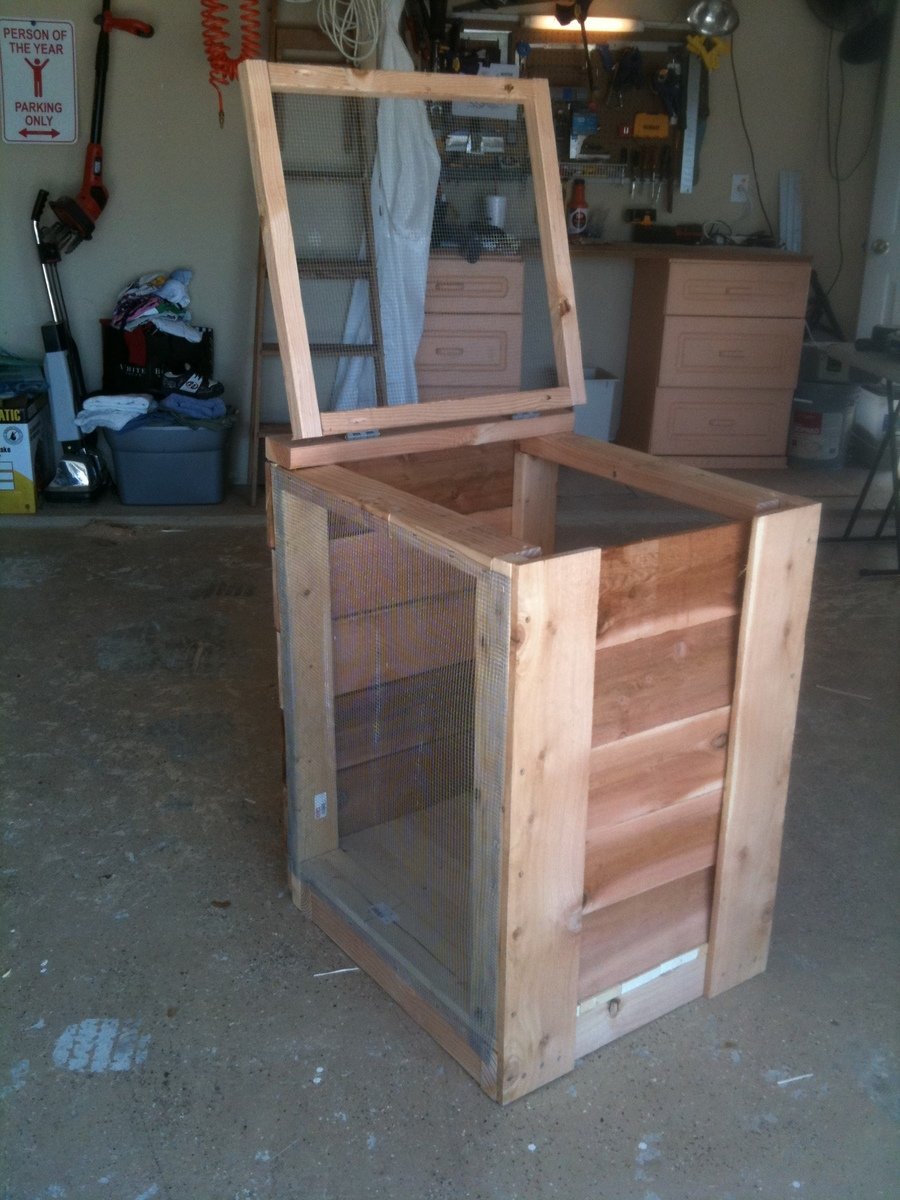
In my endeavor to be more green and self-providing, I started a backyard garden this past Spring. Thanks to the Texas heat, it was not as fruitful as I would have liked. I won't just blame the weather, but my novice status. I kept thinking I should have done more to amend the soil. So, I have been tossing around idea of composting to make my own nutrient rich soil and have a better experience with my garden next year. So, I found these plans online and I modified them down to a single 2'x2' sized bin. It also had to be mobile in that I could move it around my yard if I need to find a better place for it.
From Plan: Build A Compost Bin www.lowescreativeideas.com
http://lowescreativeideas.com/idea-library/projects/Building-a-Compost-…
Estimated Cost: $20 for Lumber $13 for Hardware Cloth $14 for Galvanized Hinges
Estimated Time Investment: 3 hours
Required Skill Level: Intermediate
Type of Wood: Cedar and Pine
Finish Used: Natural/Matt Finish
I was able to use some left over wood for my project, but the estimate above would represent all wood being purchased. I was not really happy on the price of the galvanized hinges and I used two of them at $7 each.
The plans also called for 2x6's for the bottom, but that sized plank would have made it very very heavy and to me the whole point of having a bottom to your compost is so that you can move it if need be... so I use 1x4's
Since I didn't want my compost to come into contact with pre-treating chemicals, I did not use pretreated wood. Instead, I put a light coating of a matte finish on only the wood that would stay in contact with moisture. Otherwise, I want the cedar to mellow and age.
My final cost was about $40 using some left over wood. In one case, I actually used my Kreg Jig to create a 2x4 of appropriate length with some of my scraps. Worked beautifully. Also used it on the lid, as you can see in the picture.
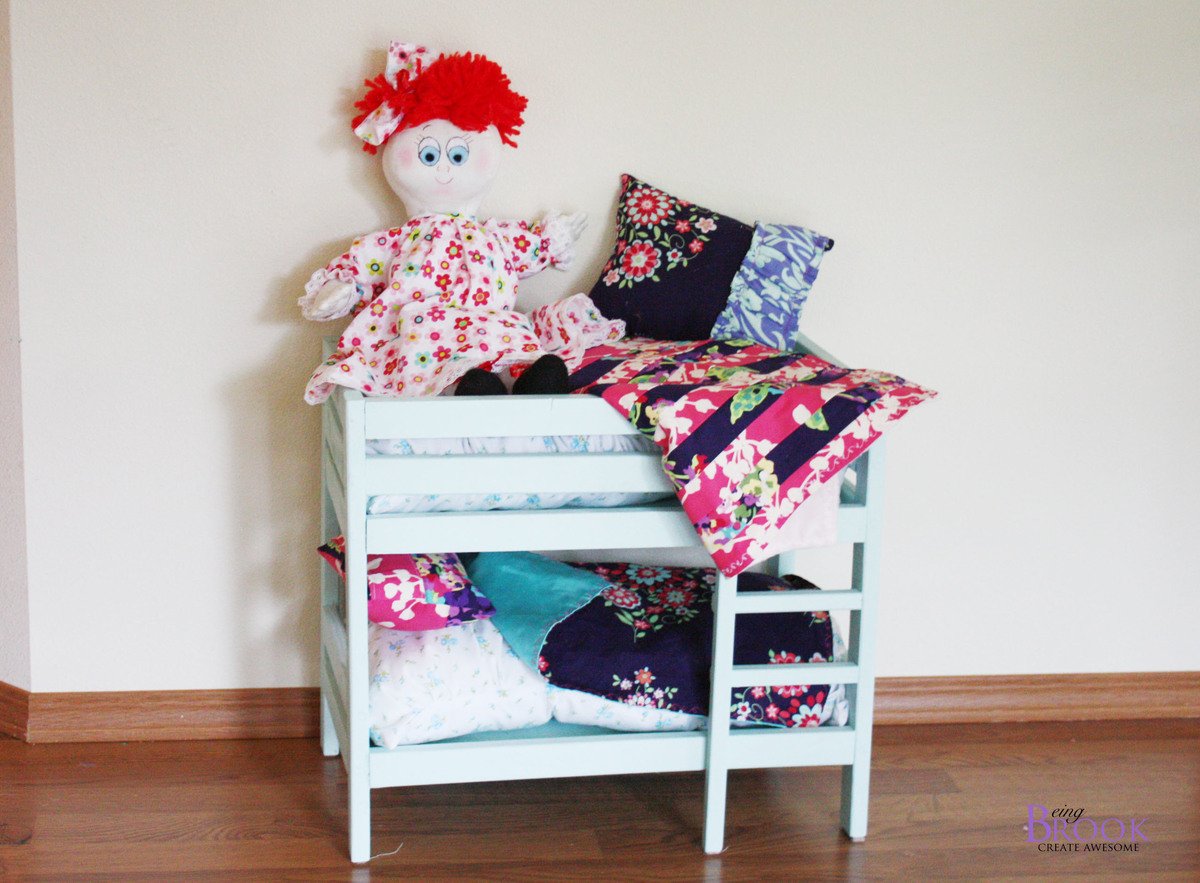
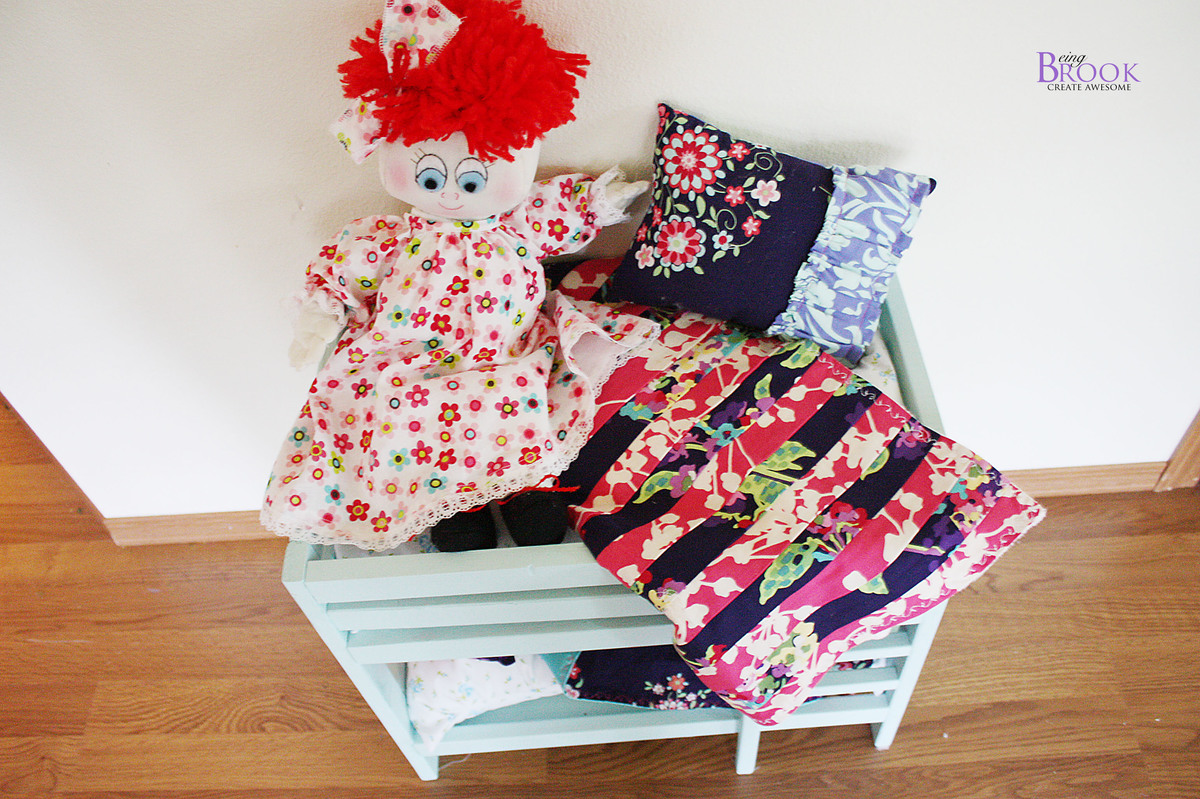
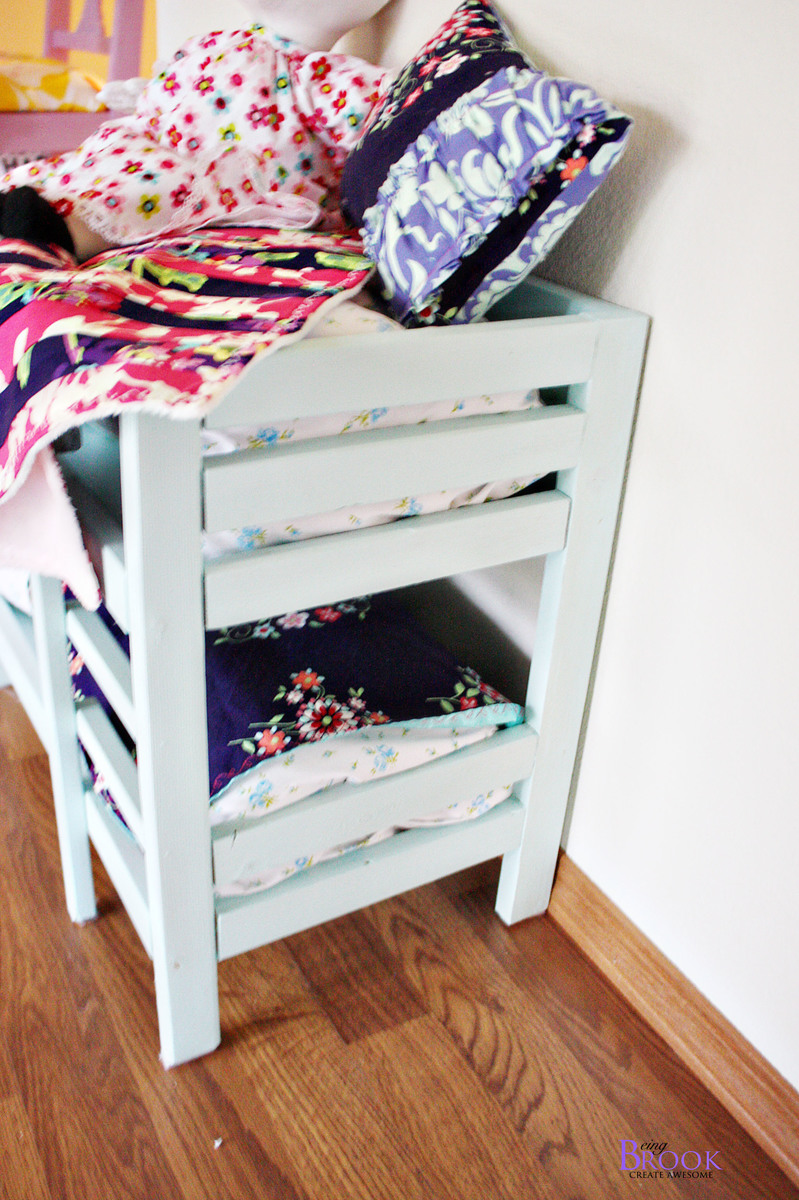
We made the doll bunk bed for our daughter's Christmas gift. We didn't modify the plan at all and the bed is a great way to use scraps since many of the wood pieces are pretty short. If I made another bunk bed I think I would paint the boards before assembling the bed because I think we spent twice as much time painting as we did building!
Mon, 12/19/2011 - 10:03
I totally agree with you. I made several of these for my nieces for Christmas. They went together so fast....until the painting. I will definitely pre-paint next time. I have enjoyed many of your brag posts. You do excellent work!
Merry Christmas!
This project was for a garage entry and is perfect for what was needed. As described in the plans, it took about 9 hours. We chose to use Home Depot instead of Lowe's for materials. Some cuts were not done correctly and some missing. Went back once to complete. Rented a Nailer which was huge! Well worth it. The plans did not include how to attach the lockers to the benches, so we used 'L' brackets. May have missed those directions somewhere? We had orignally planned to make 3 benches and 4 lockers. Decided to use an existing bench in place of the middle Braden bench and worked just fine. Would not use pine again, but only plywood. Many pieces were warped and difficult to get lockers square, and we picked out the lumber! We chose not to add the drawers to the benches, but will add canvas bins for shoes.
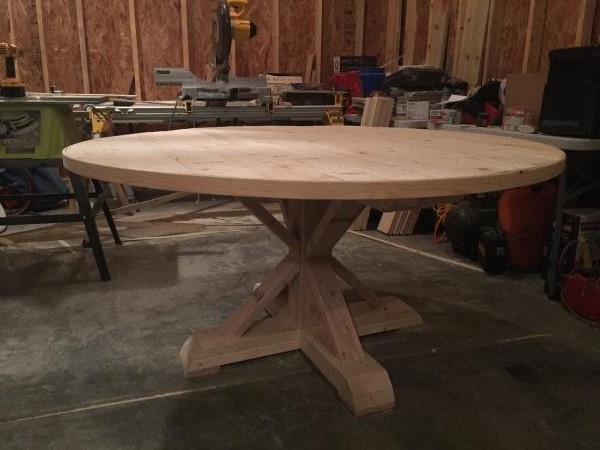
Made a round top 61" from 2x6 ripped to 5" wide so I deviated slightly for a wider bottom (42") and top (58") base. Used the cross pattern instead of the decorative supports. Thanks for the inspiration!
looking to whitewash whole thing or gray stain bottom and dark stained top.
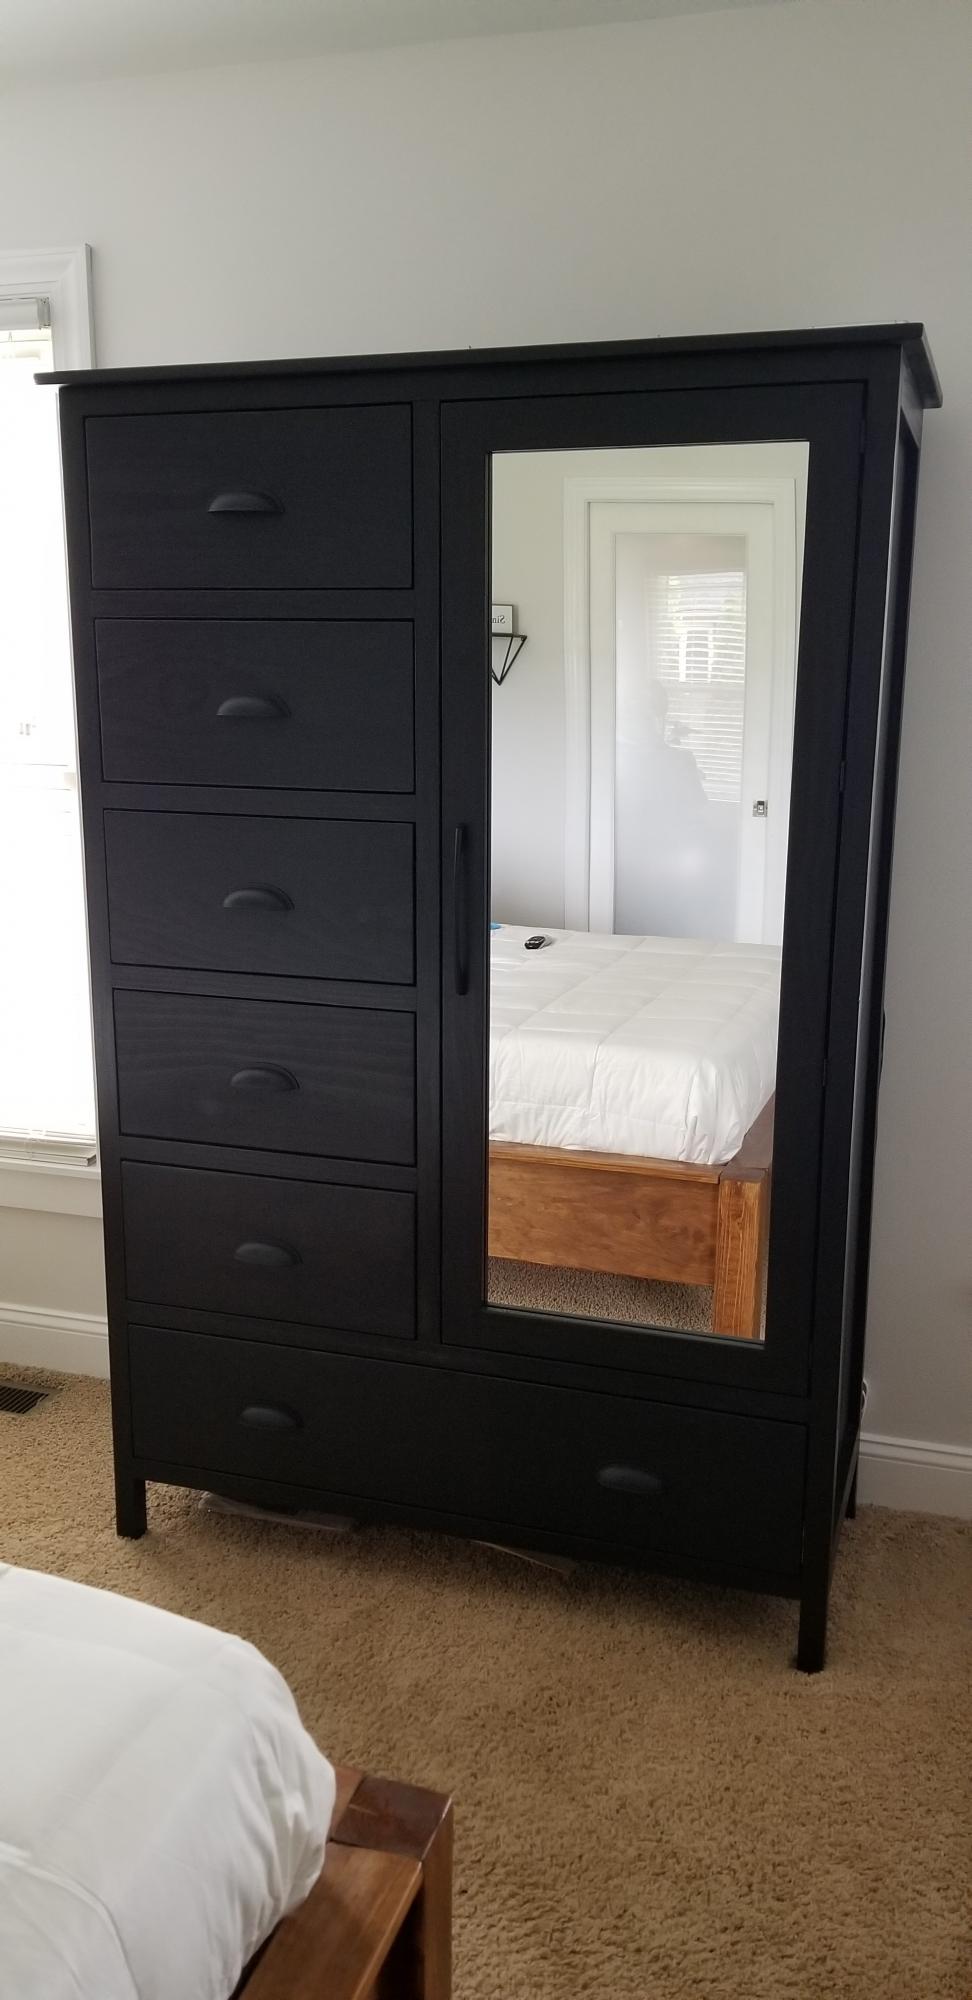
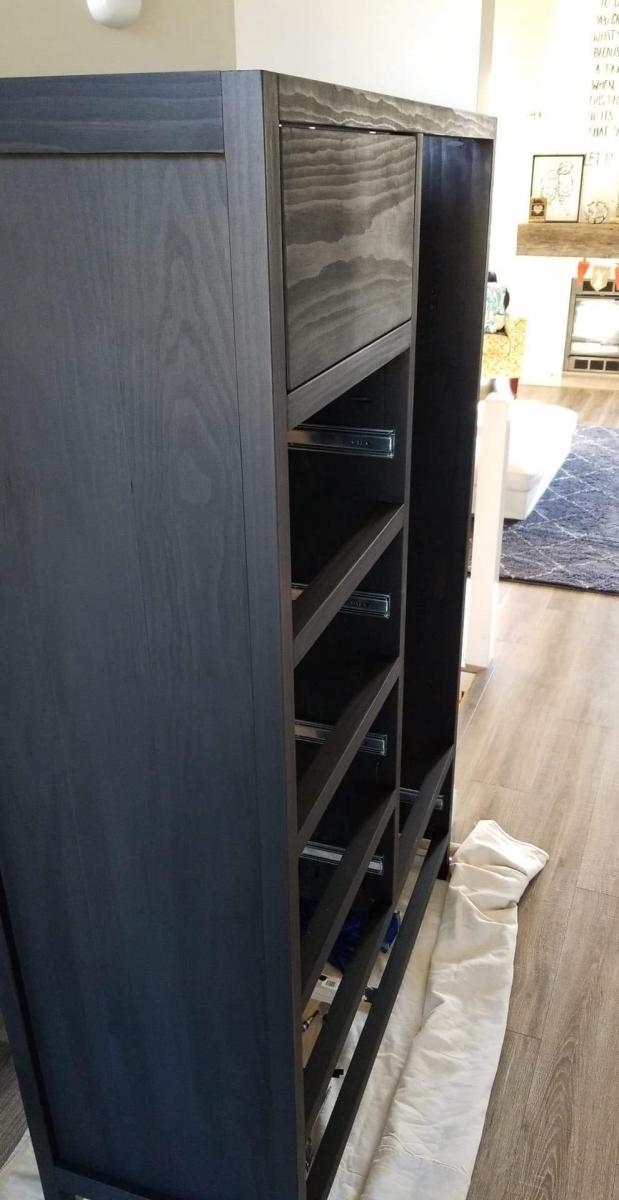
I didn't find plans that I liked on this site but I took what we had and modified it to be taller and wider. Drawers are also a lot deeper. This was a really tough one for me as there was so much going on but in the end, this came out absolutely amazing!
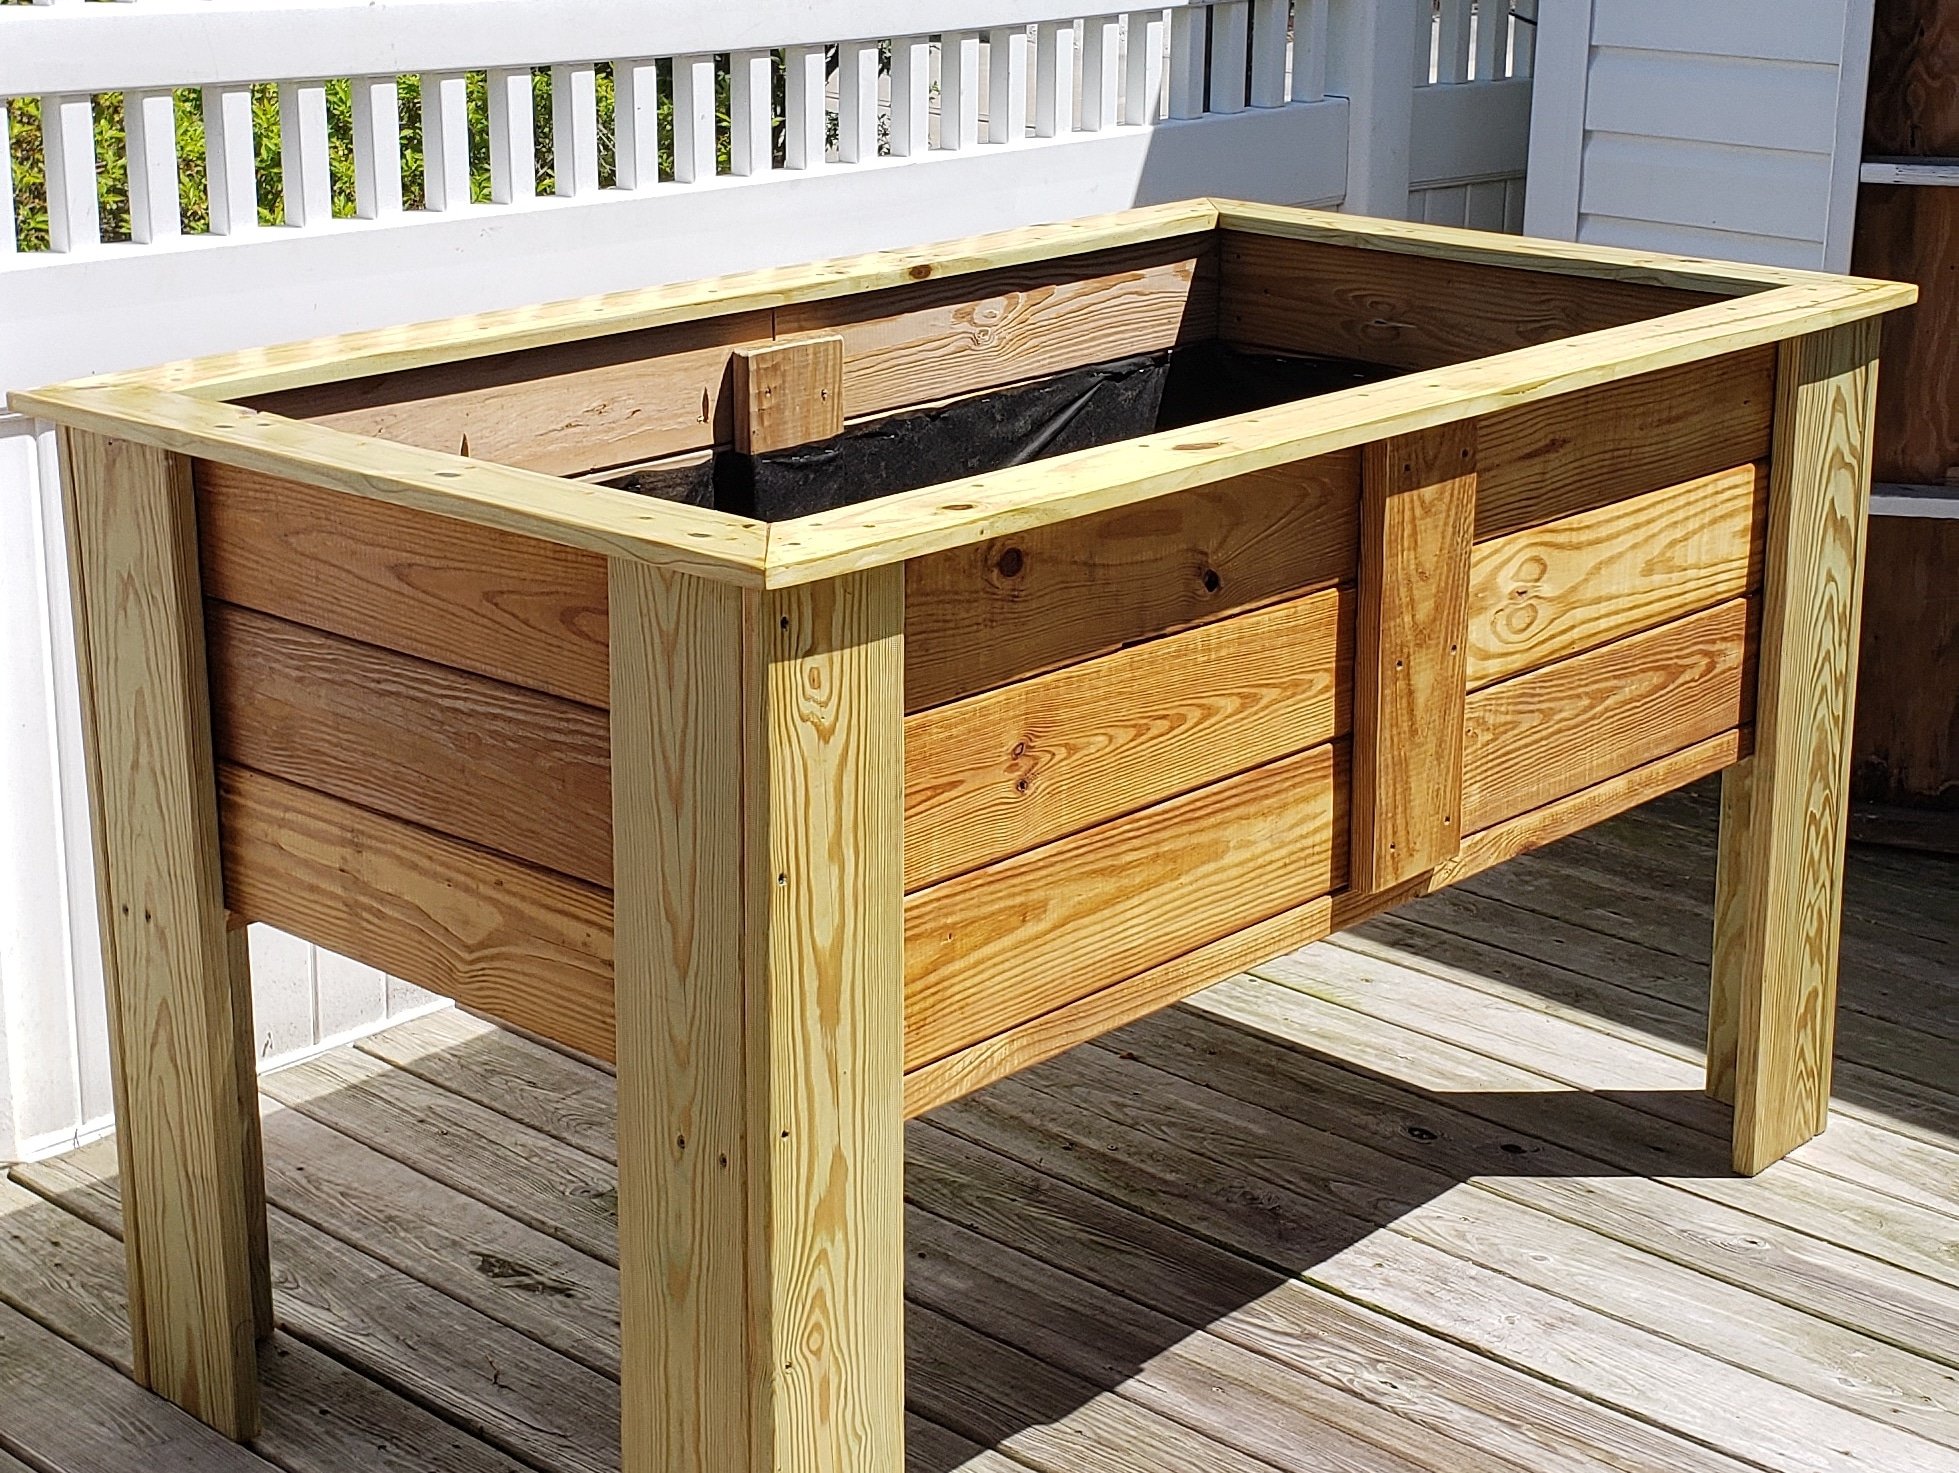
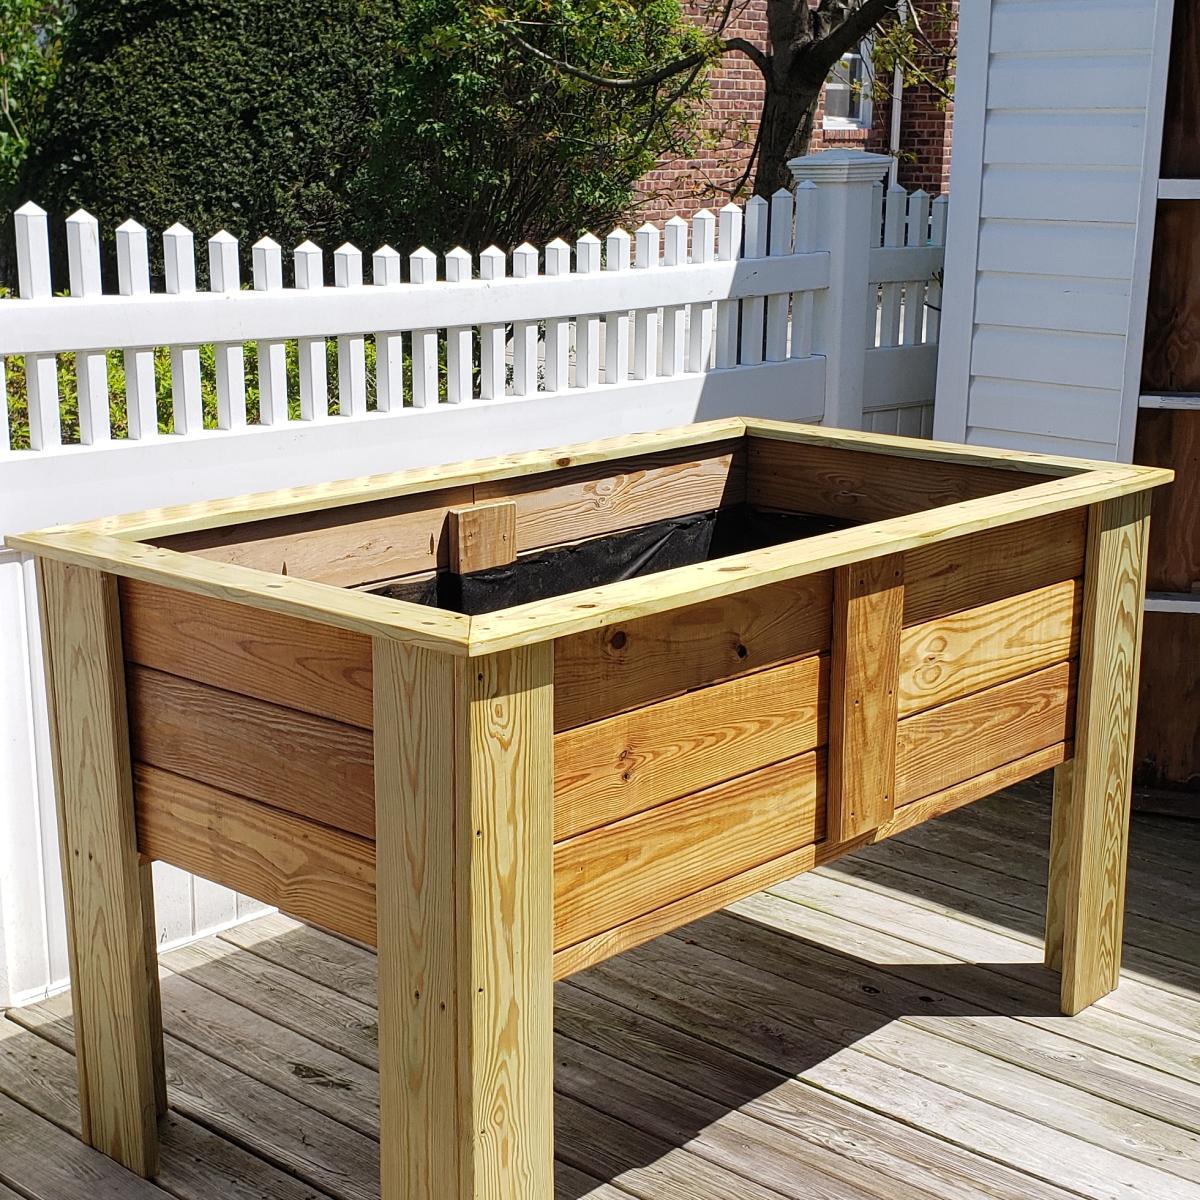
A friend of mine has issues with her knees but loves gardening so I built this to allow her to continue gardening. She loved it.
I didnt follow any particular set of plans I watched several you tube videos and combined different ideas from the videos to develop my own plan.
I used the plans for the cfaft table top and shelf but changed a few things. On the left side table i made a shelf/cubby hole for wrapping paper and some small shelves I think it came out good!
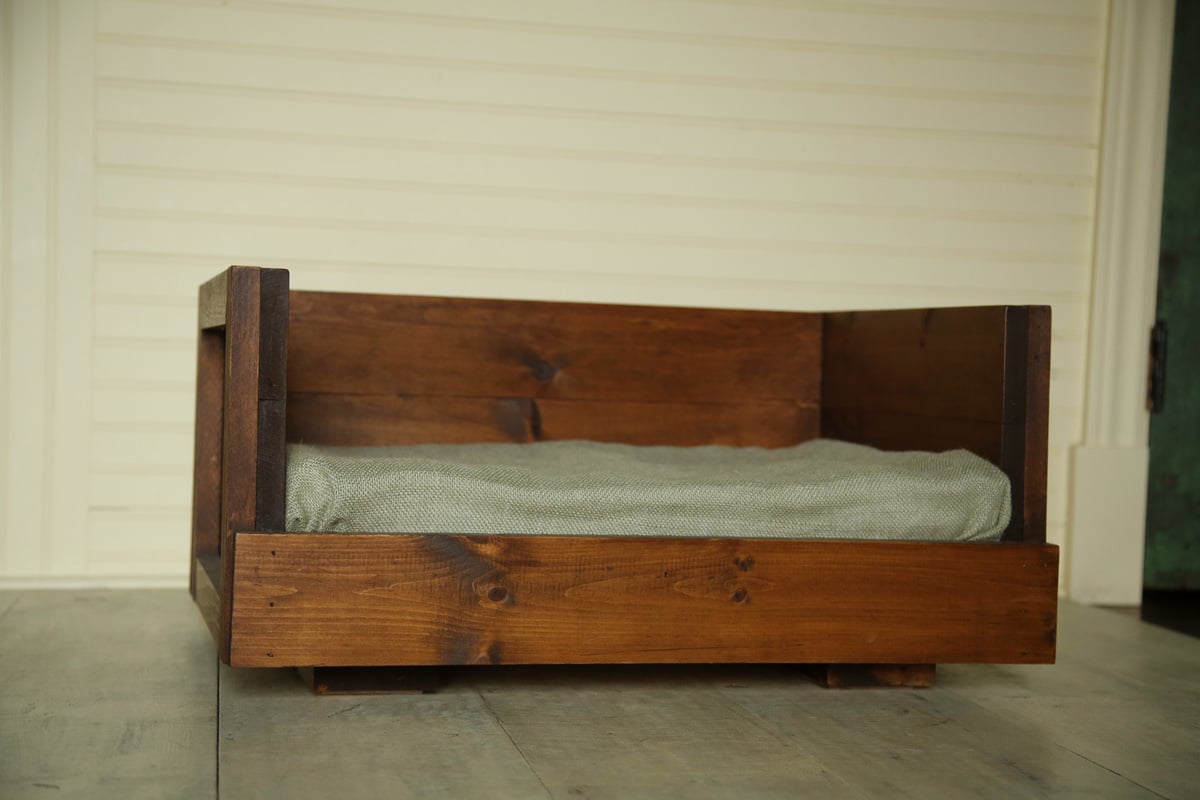
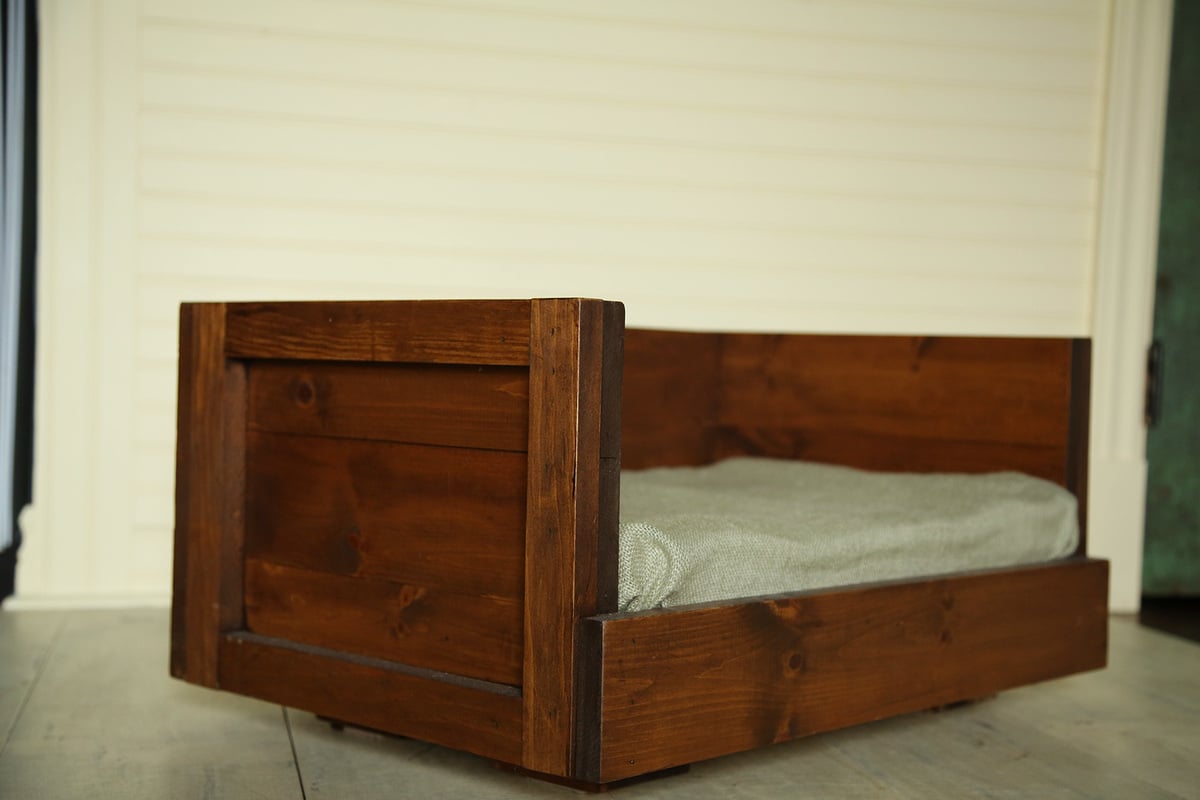
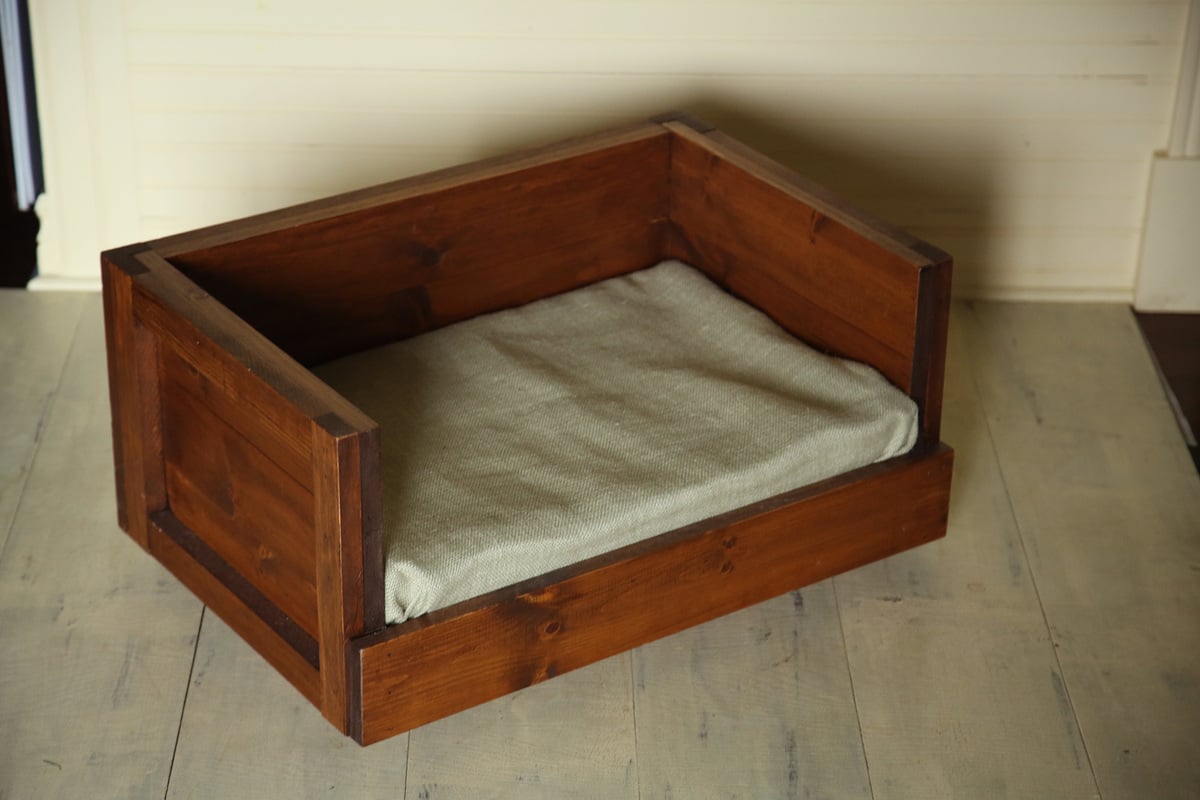
I used the farmhouse doll bed as inspiration, and ran with it. Mostly I made it up as I went along- but it's sturdy, and cute. I still need to finalize the cushion, but I'm happy with it overall.
I love this table! On cool winter mornings we fill it with warm water. The built in umbrella stand will be essential once the Texas sun comes out.
Hopefully it buys me some free time to finish some projects! ![]()
I already have lots of requests to build more of these for friends and family. I have some edits in mind to make it a little faster and easier next time.
Many thanks to Ana and all the contributers for all the inspiration and tips!
I love how this console turned out I made a few changes > Made it taller at top to fit the larger hardware and changed the top.
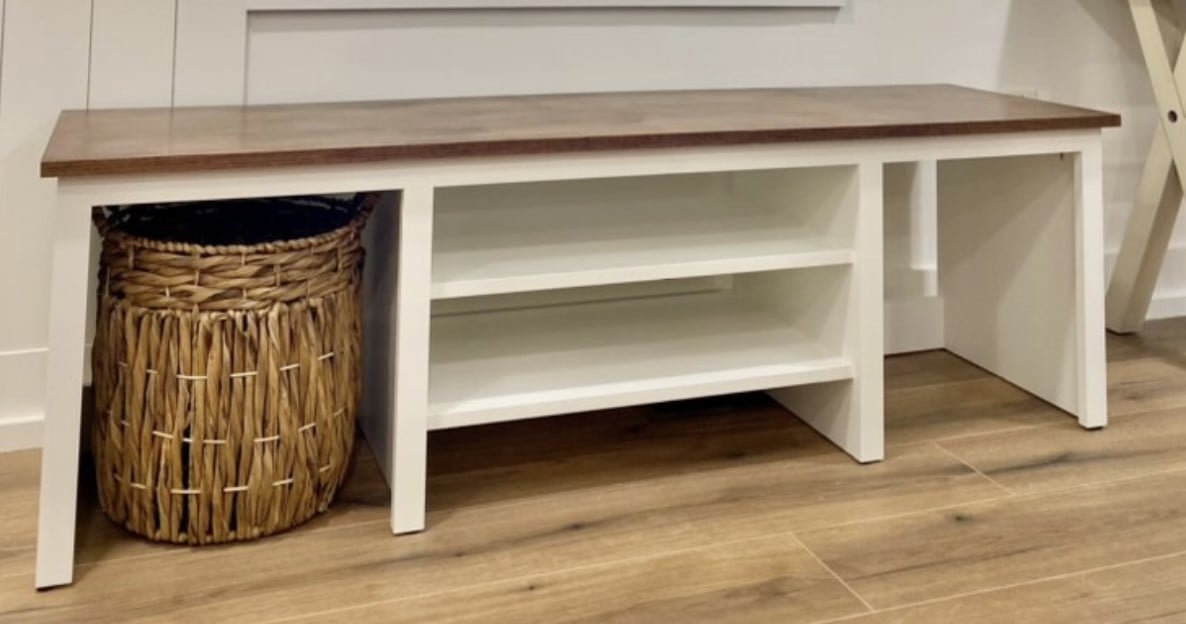
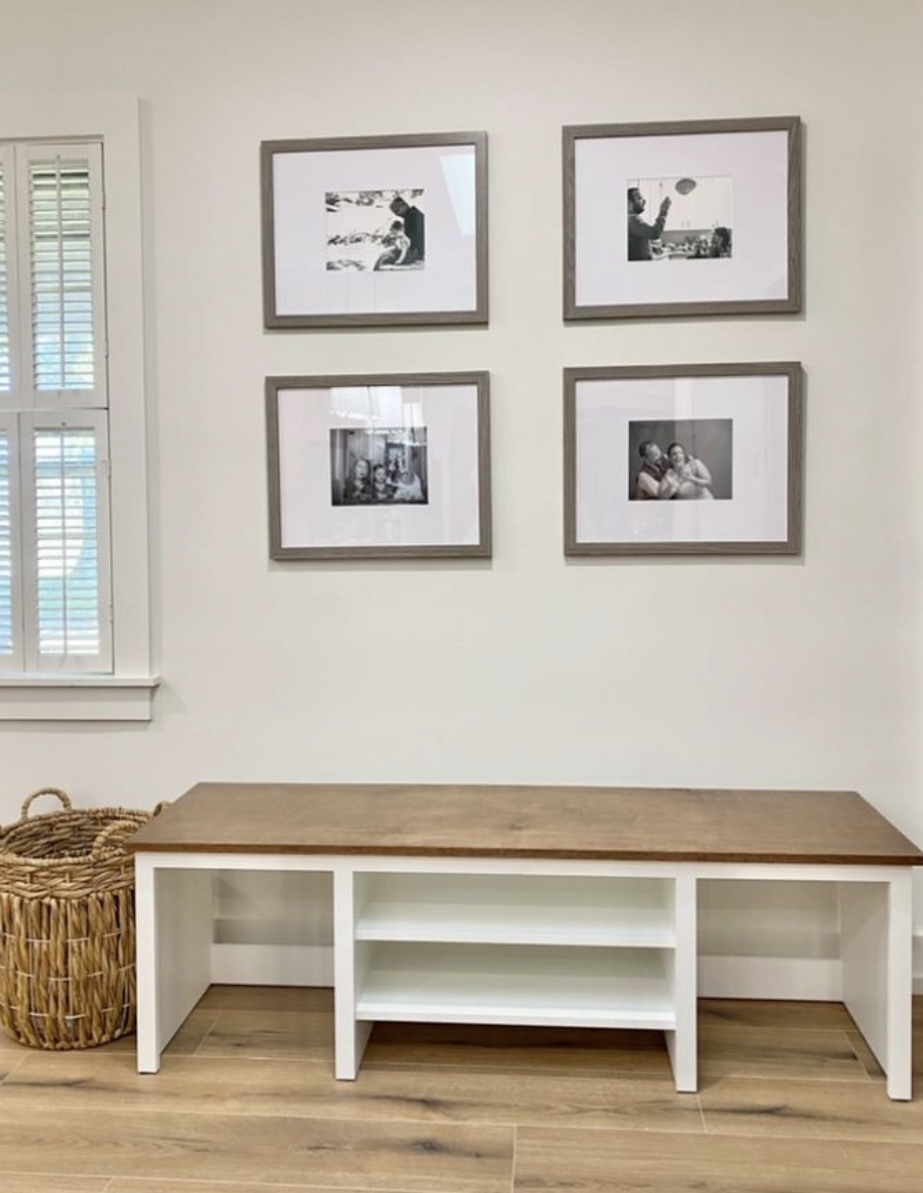
Storage bench using Shelf Help by Judith Noffz
"What can I say … we love Ana White’s Shelf Help Now.
We both love the quality of the wood. You just can’t find that around here. I love that I can create what’s in my mind with a drawing and rob can take her template and build!!!"
Comments
Ana White
Fri, 06/07/2019 - 10:52
Beautiful bench! Thank you…
Beautiful bench! Thank you for adding a brag post!