Planter, Lemonade Stand and Home Projects!
Lot's of fun projects!
by Rob
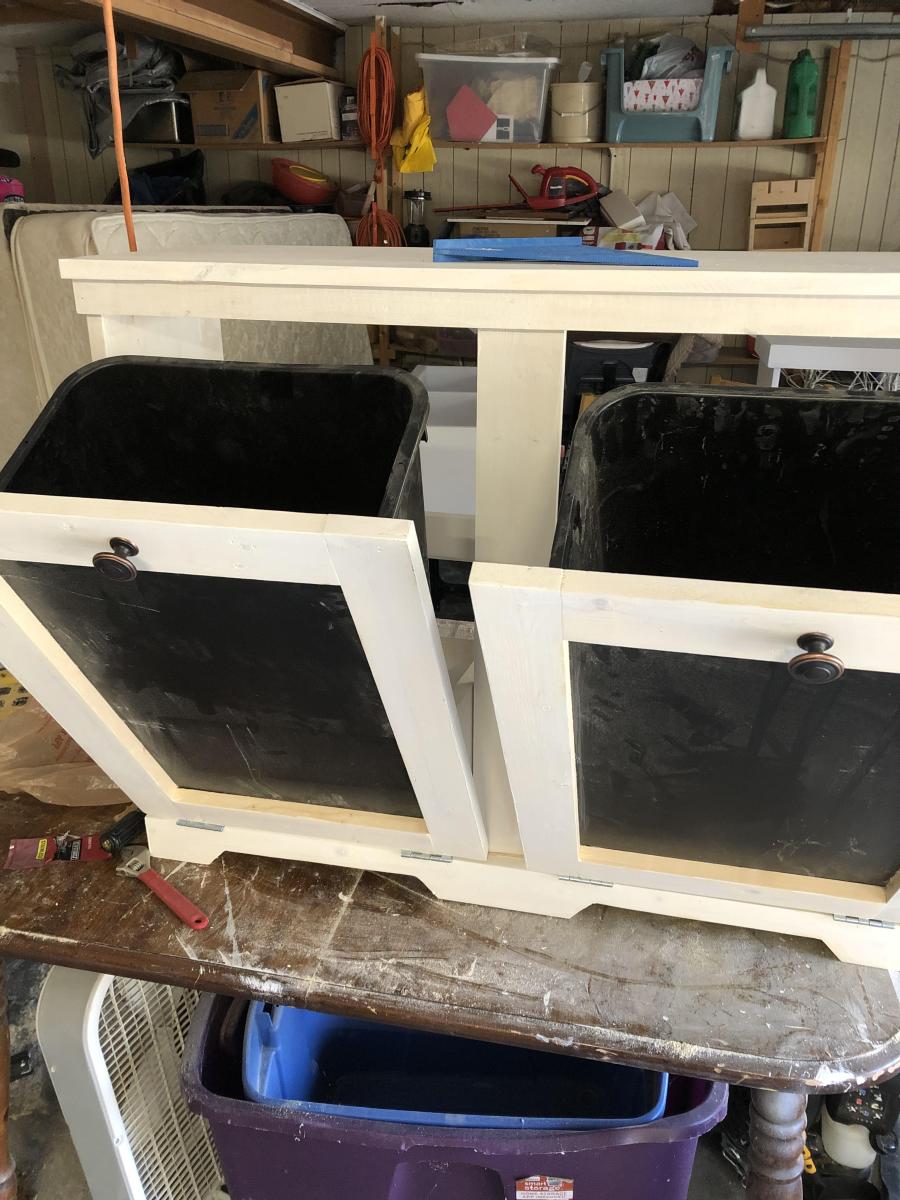

Lot's of fun projects!
by Rob


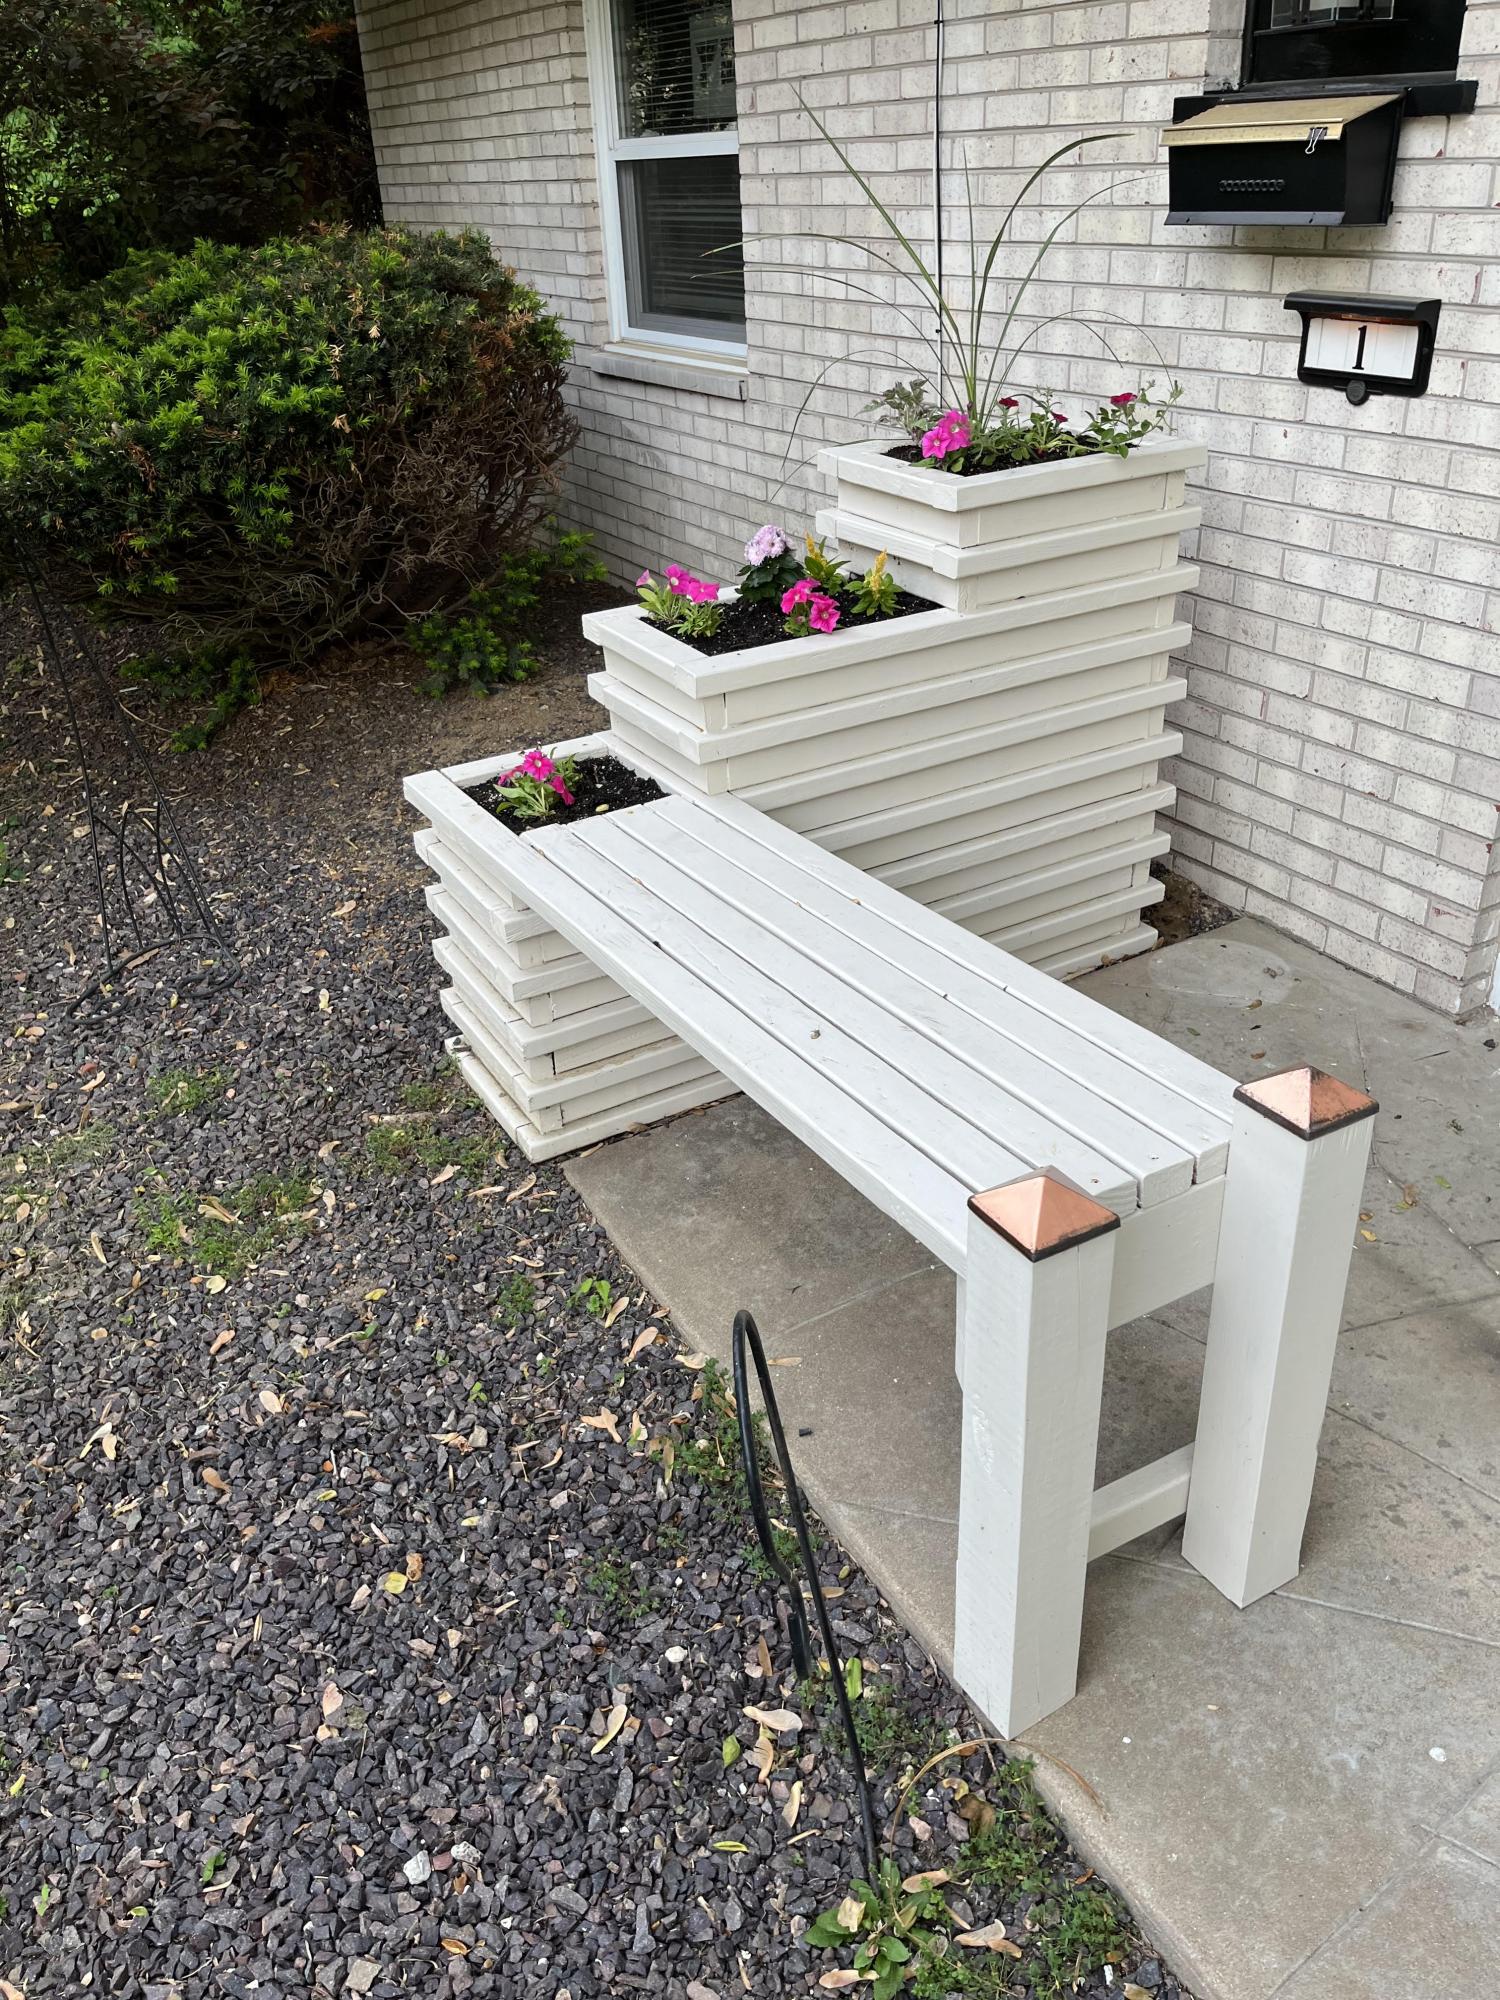
I am close to completing an outdoor set with only the table to go. My parents are going to love this at their new house they are building!! I found the cedar 1x4's at home depot for about six dollars a piece. I painted the base a basic semi-gloss white before I built the bench. It's so much easier to paint first and build later. I have a few more touch ups but I am happy with it. I used the Kreg Jig Jr to screw in underneath($40), which made this project and every project I've done so far that much easier.
Tue, 07/26/2011 - 15:28
Looks great! Love the two toned wood look. I wondered whether you added an extra support in the middle... sort of seems like there's one at least in the last picture. Also did you build the top completely separate so it was one piece? Sorry for all the questions. I really want to make this bench for a friend and I would like it to look better than the last outdoor table I made with my kreg jig. Thanks
Tue, 07/26/2011 - 16:42
Thanks! The bench had a little flexibility when I sat in the middle of the bench. I added the extra support in the middle which made no difference at all. It turns out that cedar is a naturally light and flexible wood. If I had it to do over again I would use treated pine for the white base and keep the top cedar. The 1x4 cedar from home depot I used is actually .625 x 3.3875 not .75 x 3.5. So as you can imagine, it threw off the whole slat configuration. Best thing to do is use 28 or so .25 inch spacers to place in between the 14 or so slats on level ground. Once you space the slats like you want, then you can maneuver the frame freely until its even on both sides. Once it looks even on both sides start screwing kreg screws at one end and continue until the last one is done. FYI - I highly recommend drilling the pocket holes first before building the frame in Step 1. Hope that helps!!
Tue, 07/26/2011 - 17:05
Almost forgot. I did add 2x2's in between the blue and green boards on each side of the frame to add more support. The middle board I added as you can see in the last picture did nothing structurally speaking.
Fri, 08/05/2011 - 10:11
Thanks for the tips. I finished cutting all the wood and am going to start putting it together tonight... After reading through the comments I think I'll join the 14 slats together with the side 52 1/4 boards before attaching it to the frame. Did you use an extra 1x3 for the second leg board?
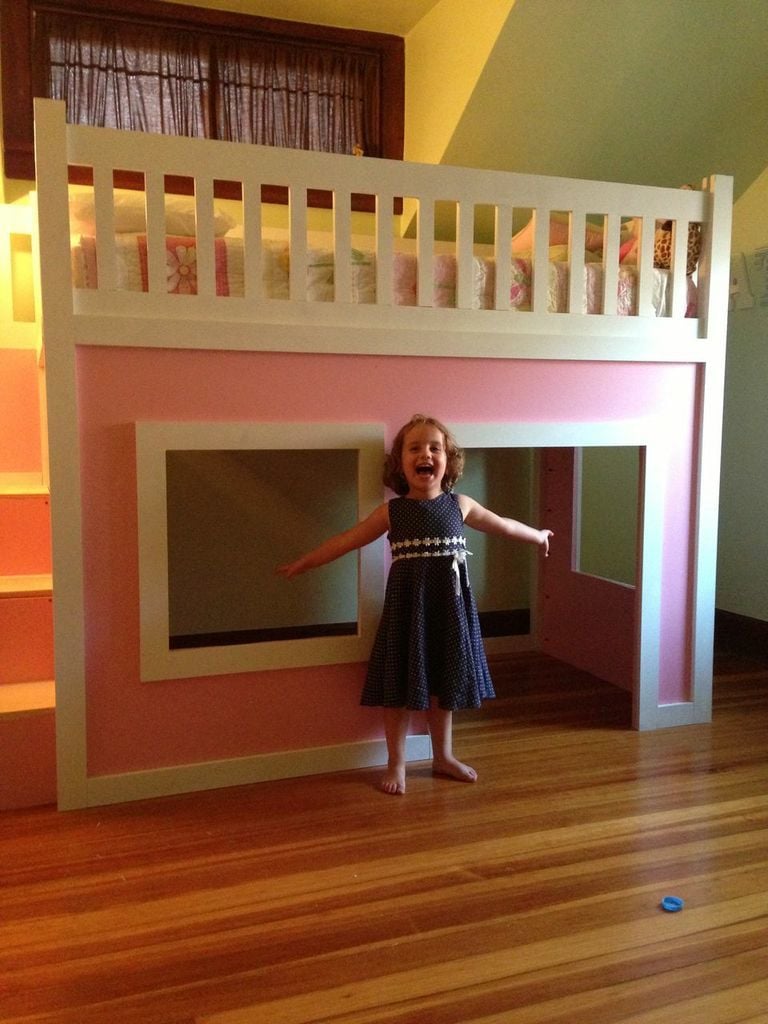
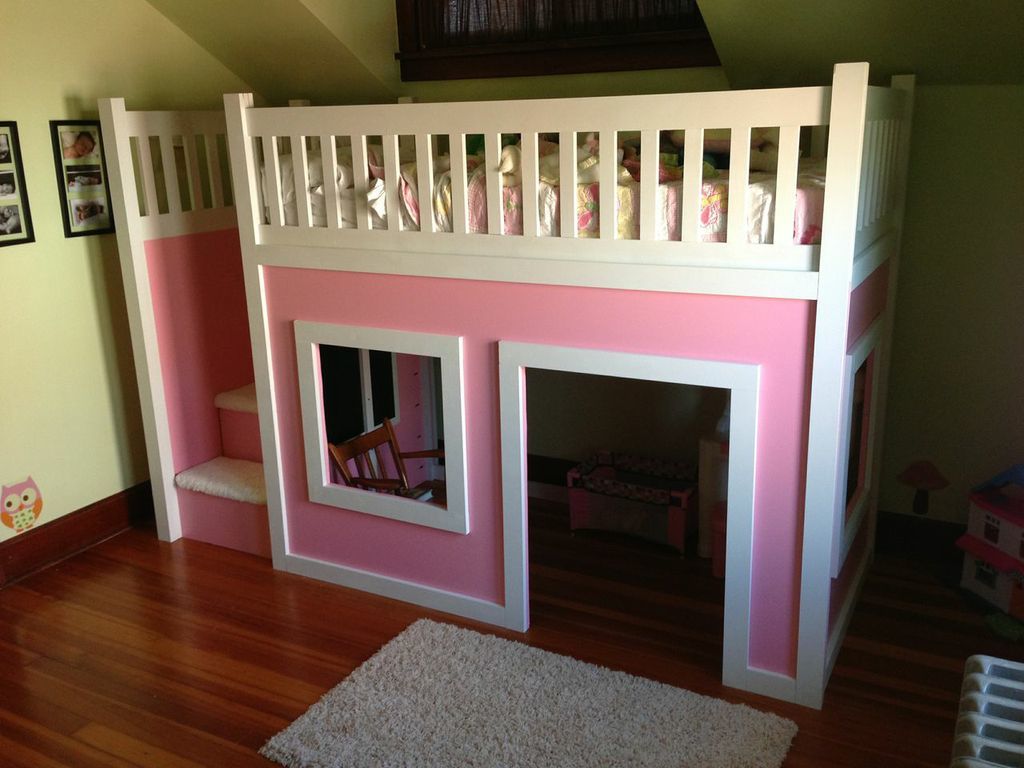
This was my first "real" project other than making a small bench to hold my miter saw in order to make this project! :)
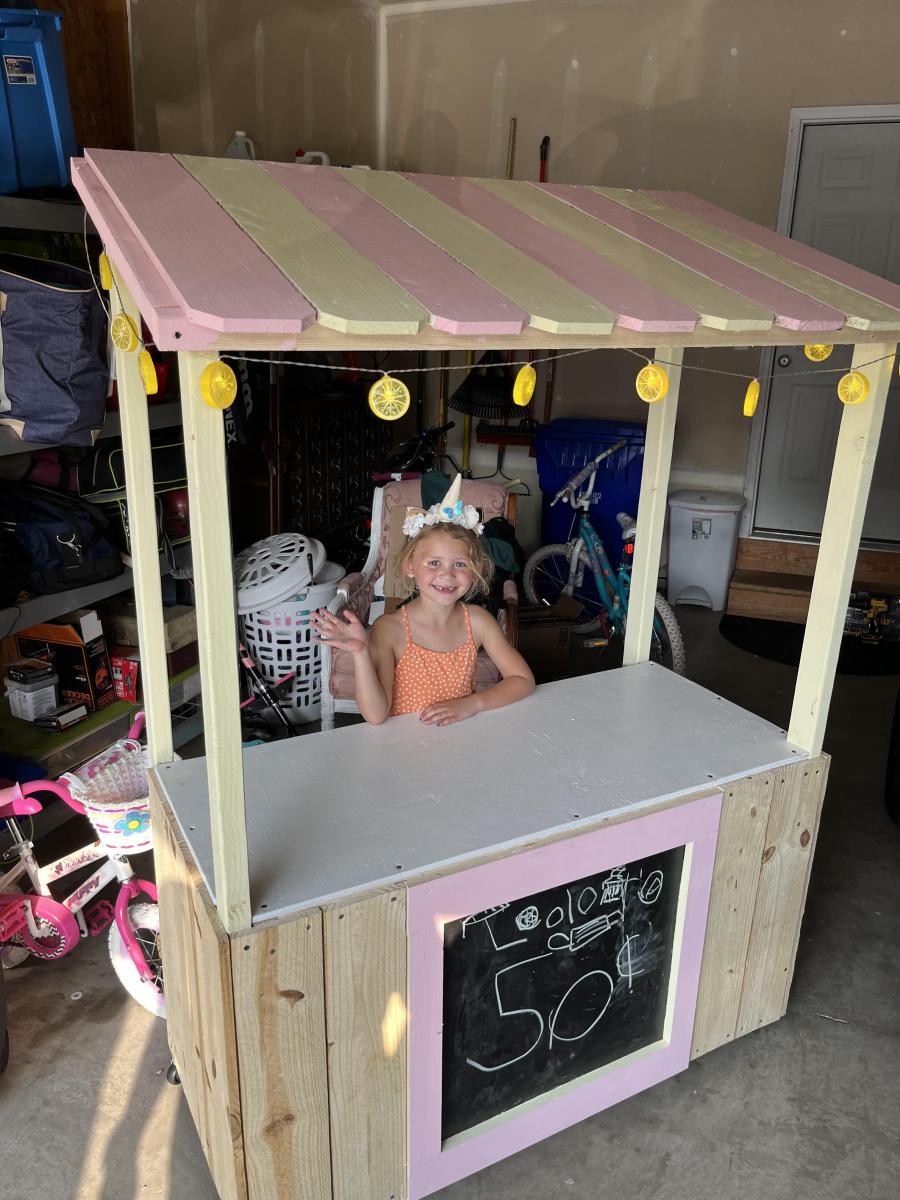
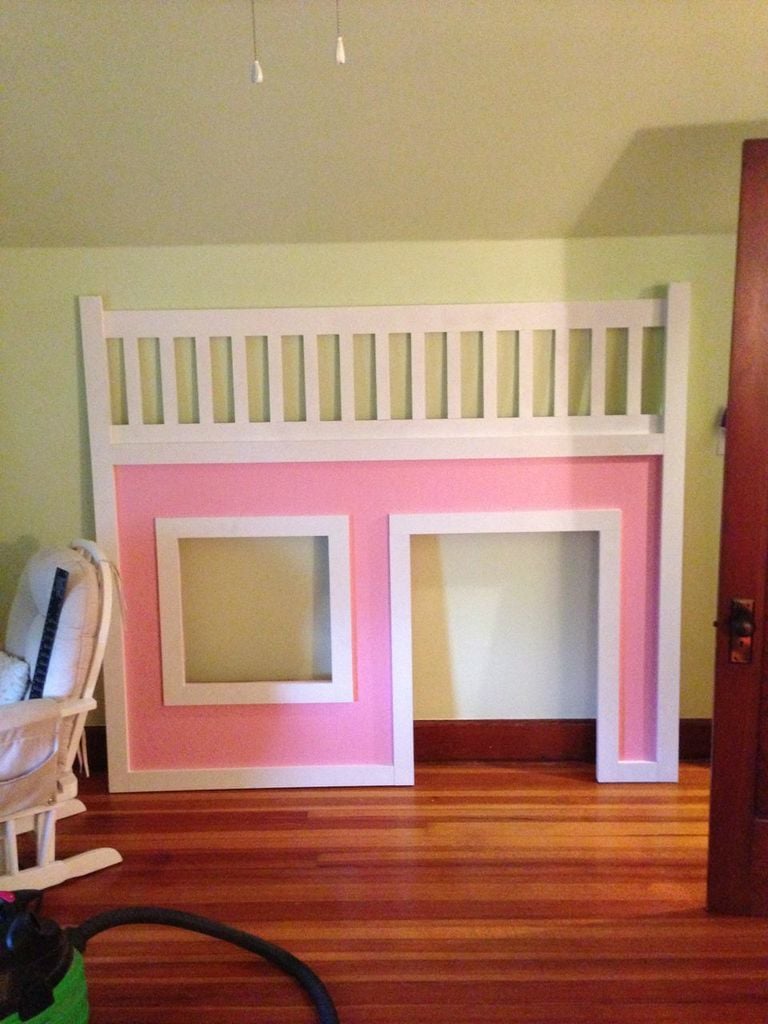
Saw these plans and instantly fell in love. I knew my daughter's birthday was coming up soon (she turned 4) so I got to work!
I used Poplar wood that had different nominal dimensions than the standard making this project not nearly as easy as what it should be. A lot of headaches, but seeing Tatum's smile on her face when we revealed her surprise made it ALL worth it!
I mostly used my Kreg Jig and Kreg screws. Used my nailer to tack up all trim. used wood screws to secure all of the walls together through the legs.
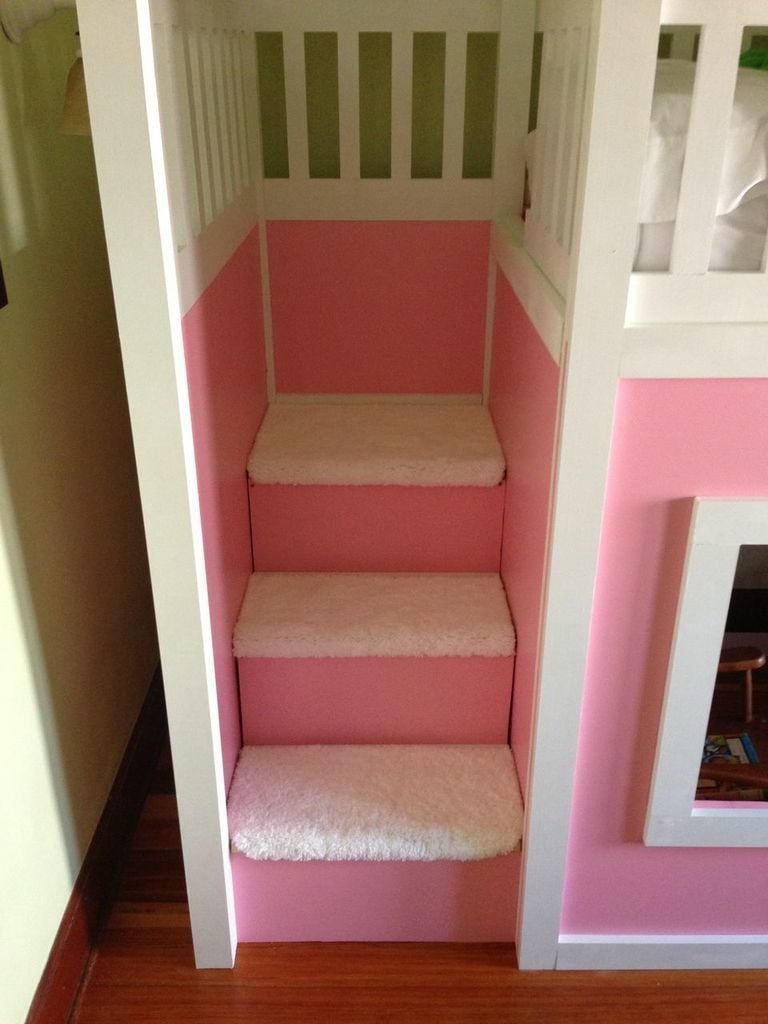
For the stairs, I purchased a large bathmat from Walmart and cut it to fit each step. I tacked it down with some staples and adhesive. I used 12" continuous hinges for the stairs and they worked perfectly.
Keep in mind other expenses, as the bill can increase rather rapidly!
My total wood bill was $398...but I used Poplar. If you go with pine, it will cost you less. $40 for primer and paint. $100 for new twin mattress. $30 for protective mattress cover. $75 for pottery barn quilt set (eBay). $13 for carpet on stairs. $24 for hinges ($8 each)!! $28 for 2 sets of sheets...bringing the grand total to a whopping: $708!
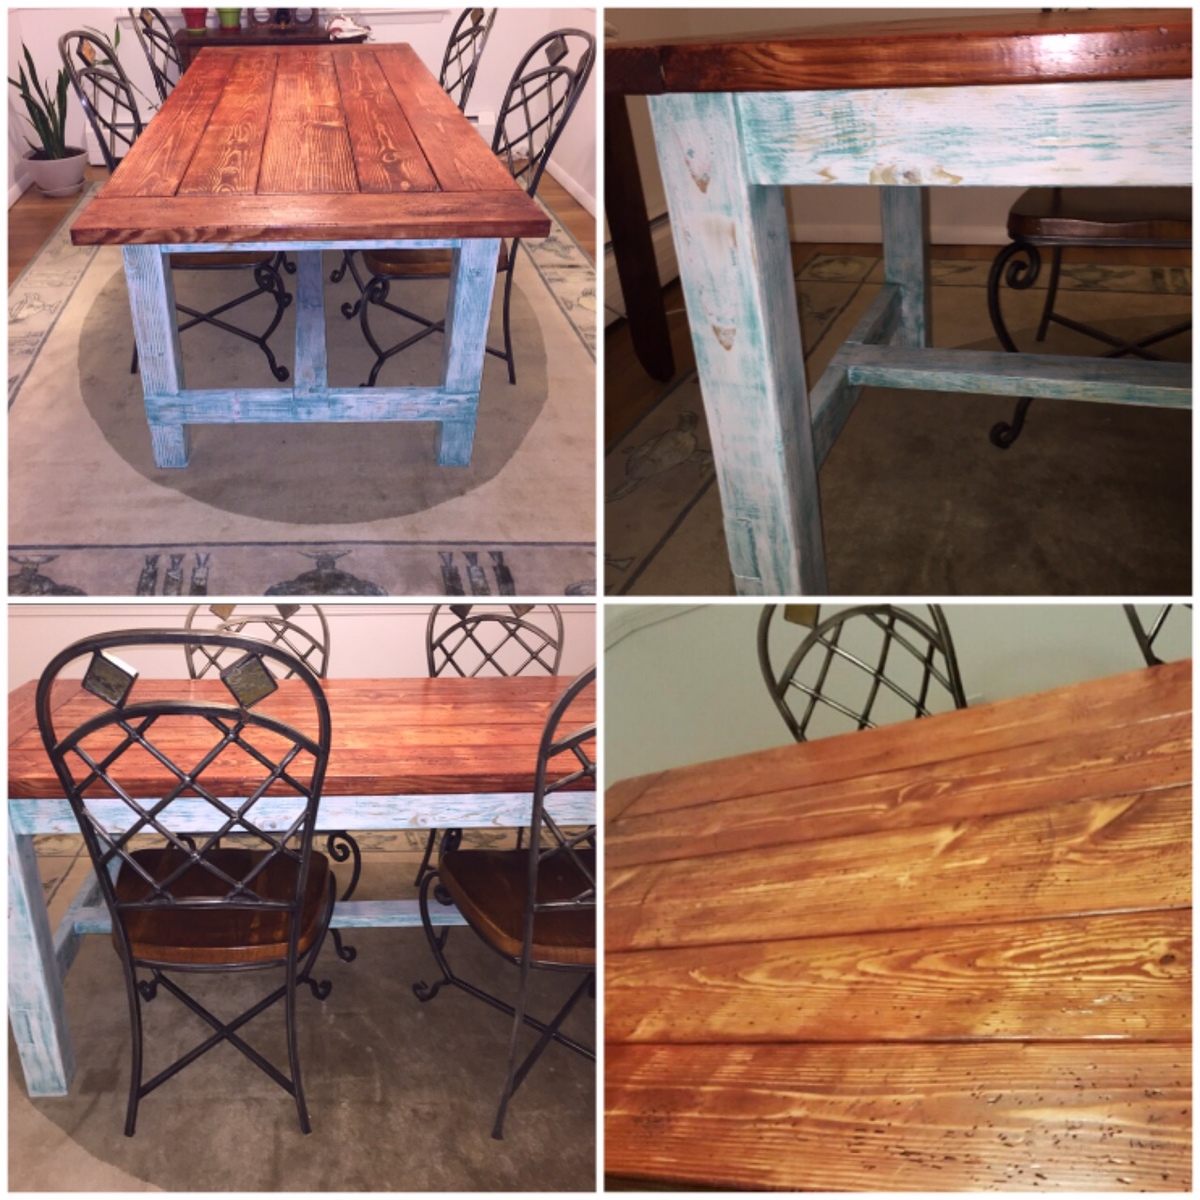
This is my 2nd built and it was a fun one. I built this table for a friend of mine and she wanted a different look to the table. She picked Patina Green and Snow White paint for the base and legs. First I applied the white paint, let it dry and then applied a very small amount of the patina green and dry brushed it in. After it dried I used my sander to blend it in and have some of the wood grain to show. On the table top, I applied the stain and let it dry over night and then sanded down (lightly) so the grain would pop. She loved the different colors and look of the table. She had the perfect chairs to match the rustic look. Excellent project!
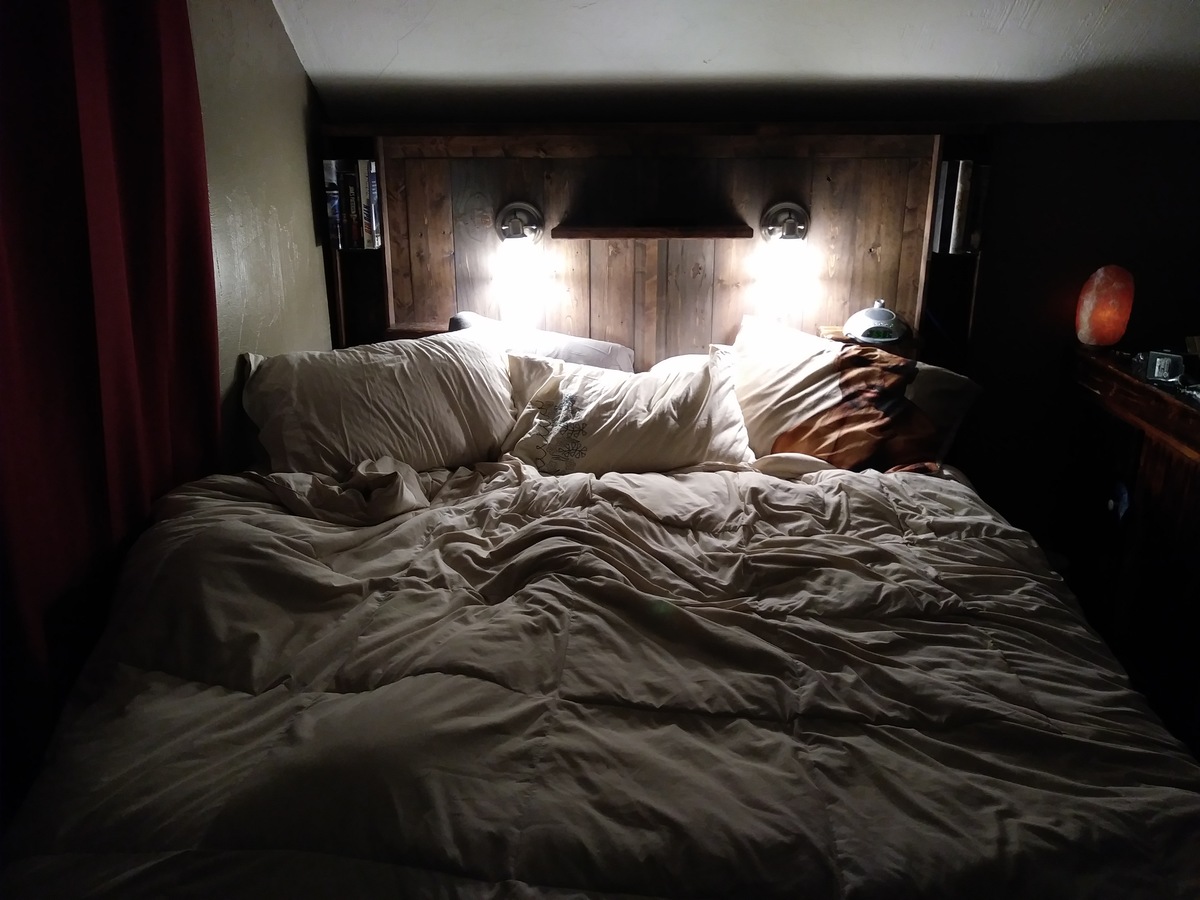
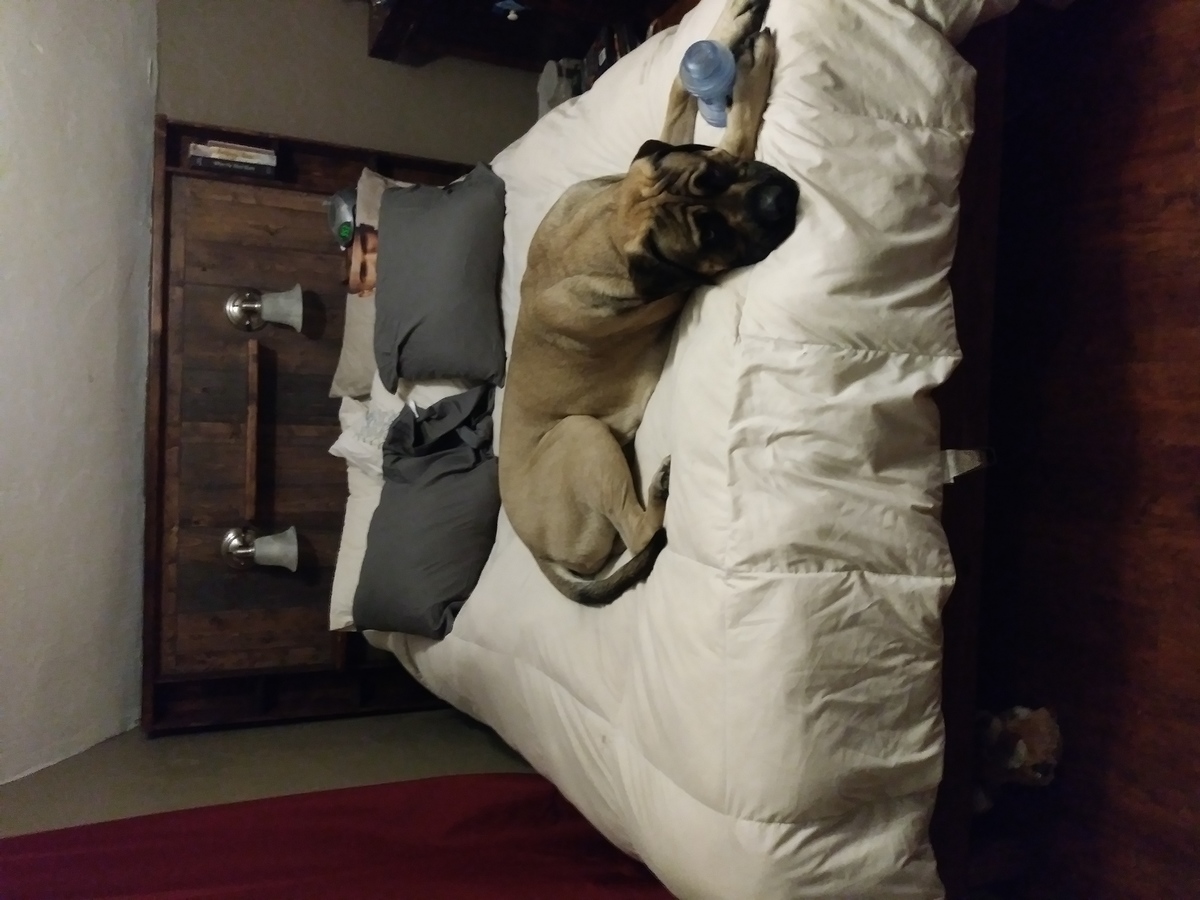
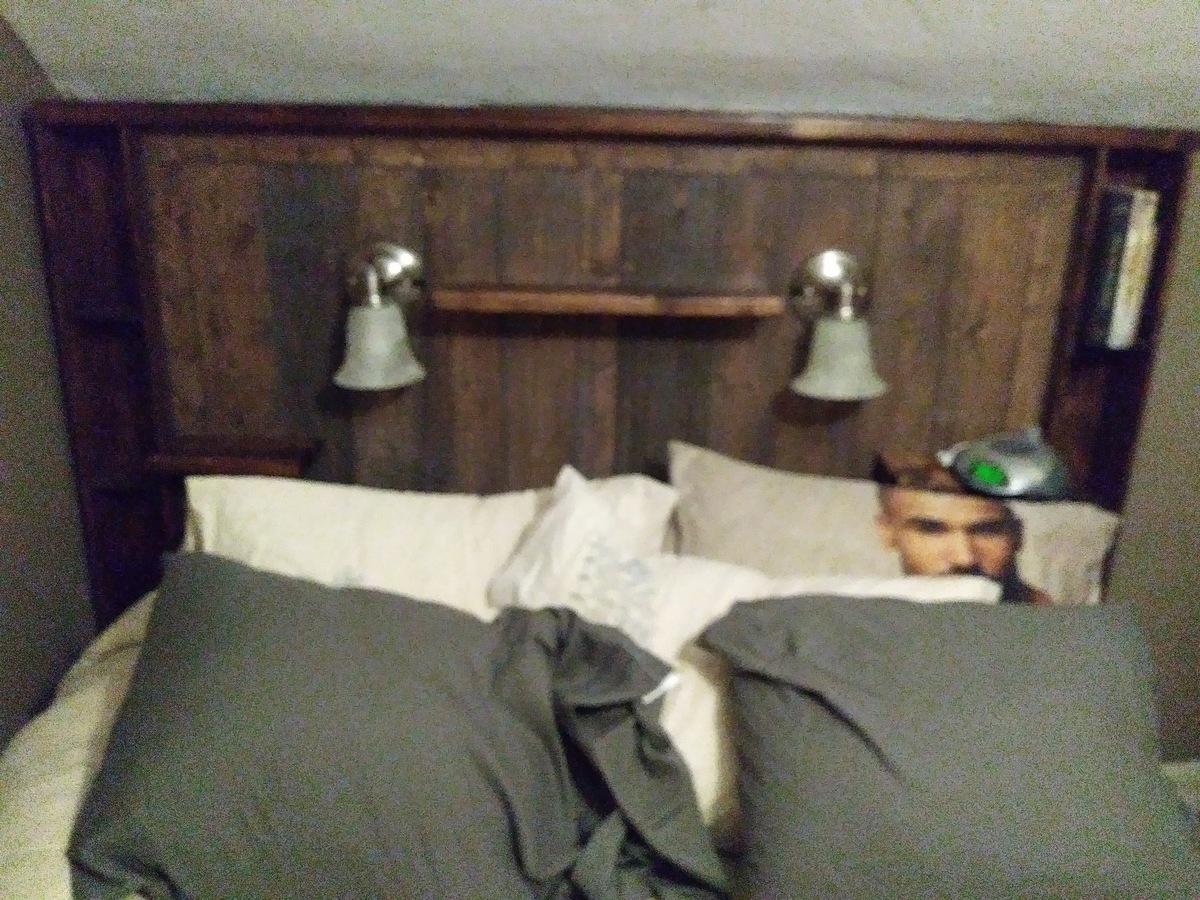
I wanted a new bed that was a little taller that the irobot vacuum could get under and the dog could not. Altered the modern queen sized farmhouse bed using mostly pallet wood to come up with this. Overall cost about $65 with the lights and all.
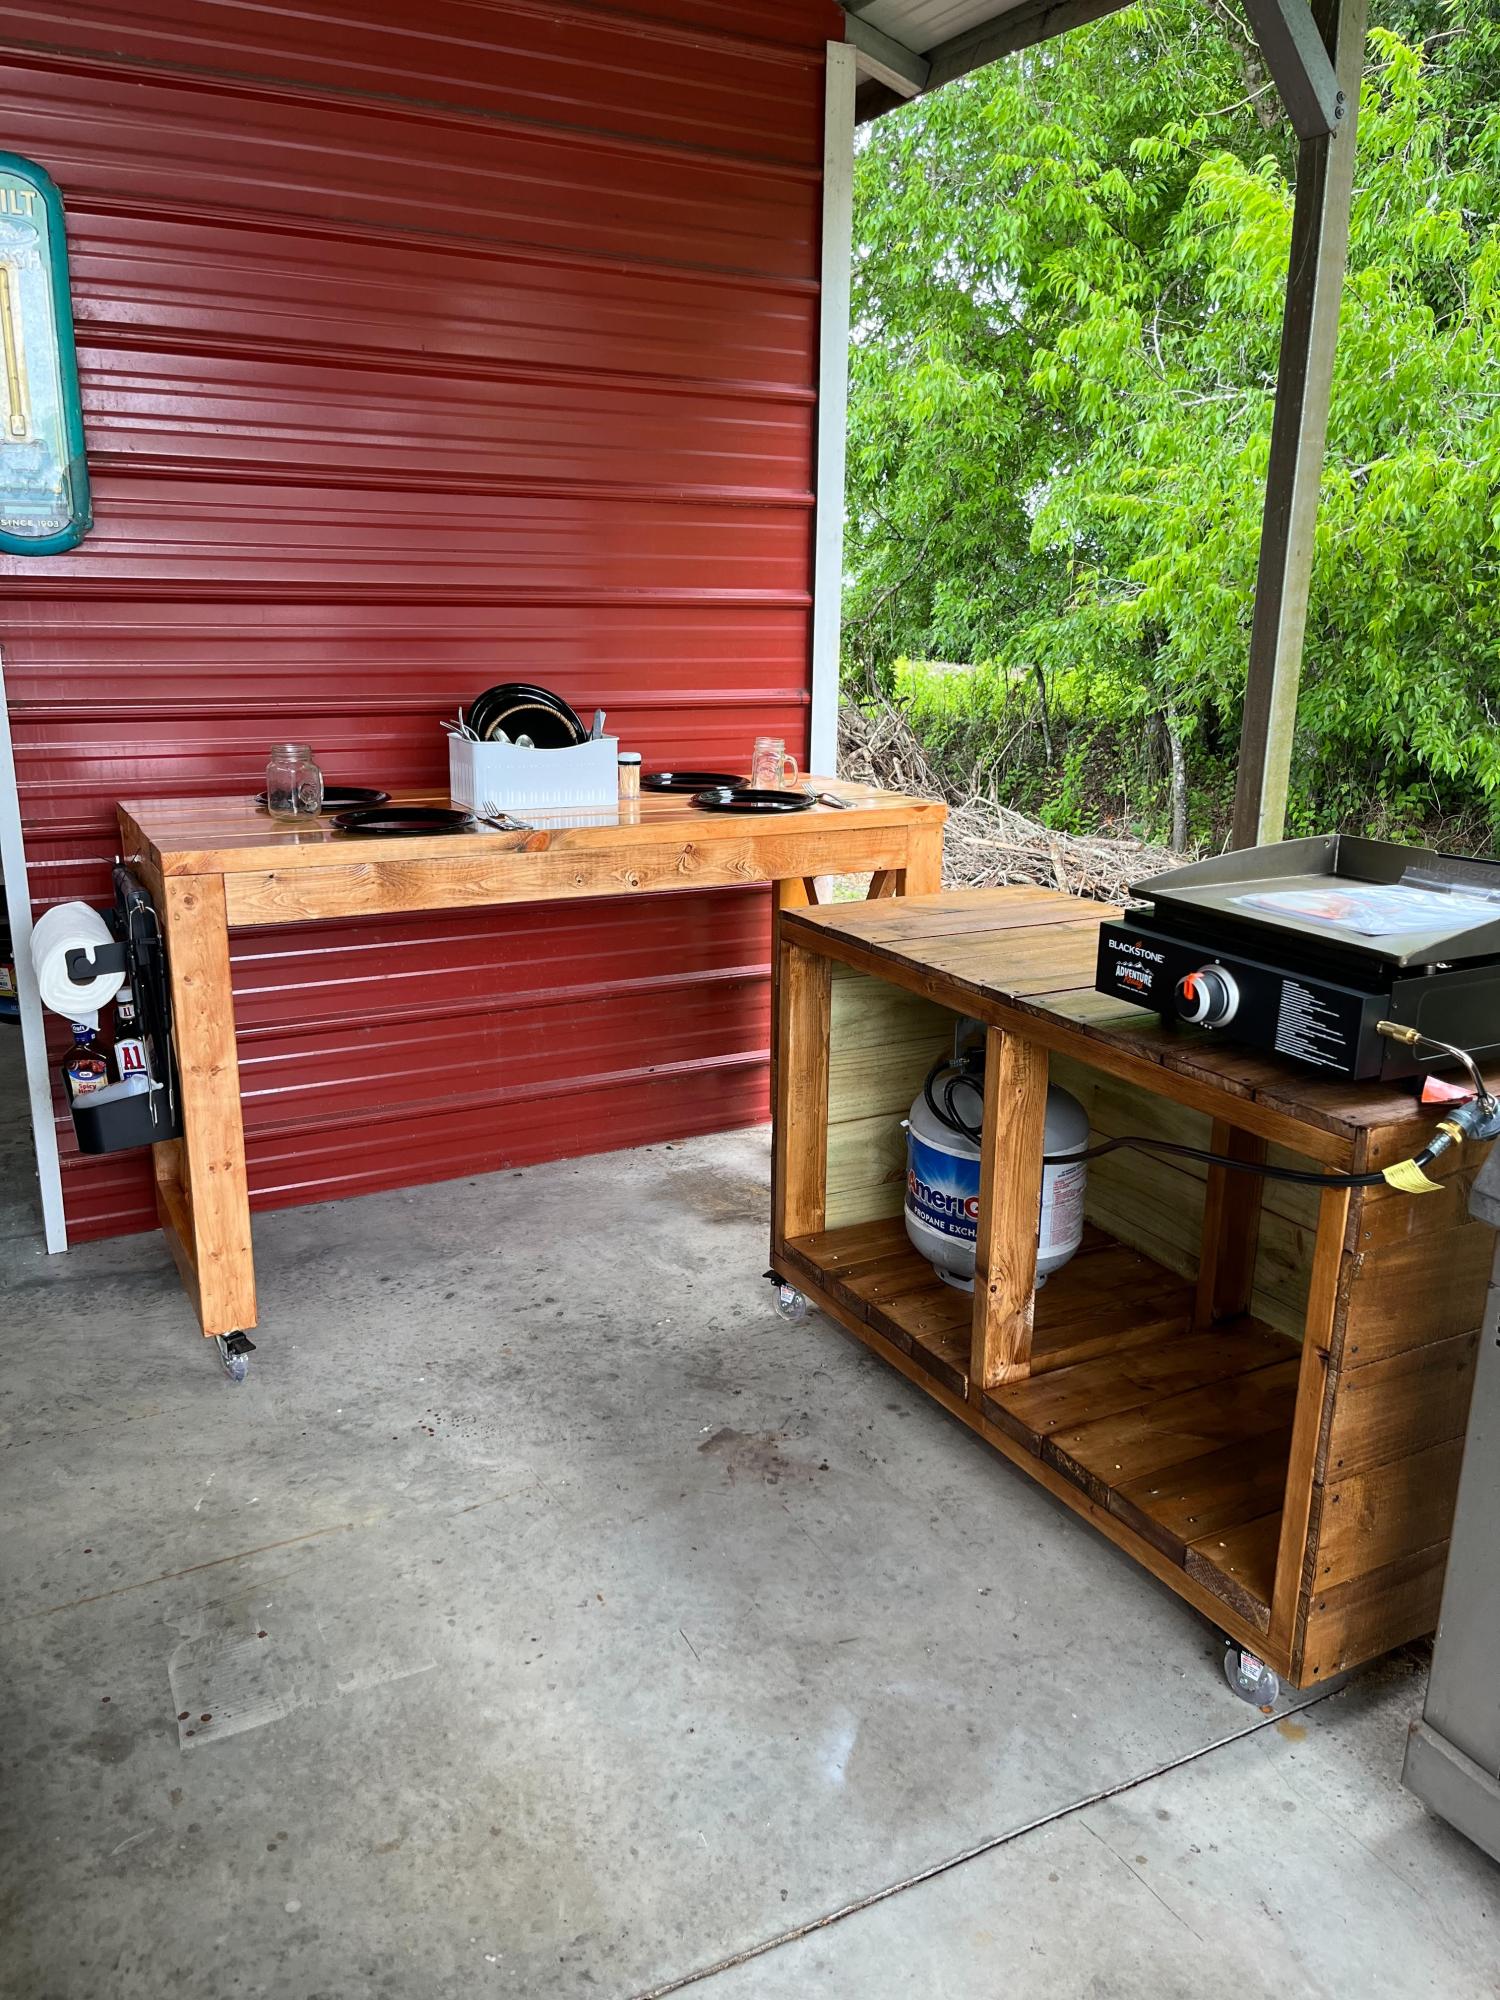
I recently built this for a fundraiser for a friend, who suffered from a stroke, people loved it.
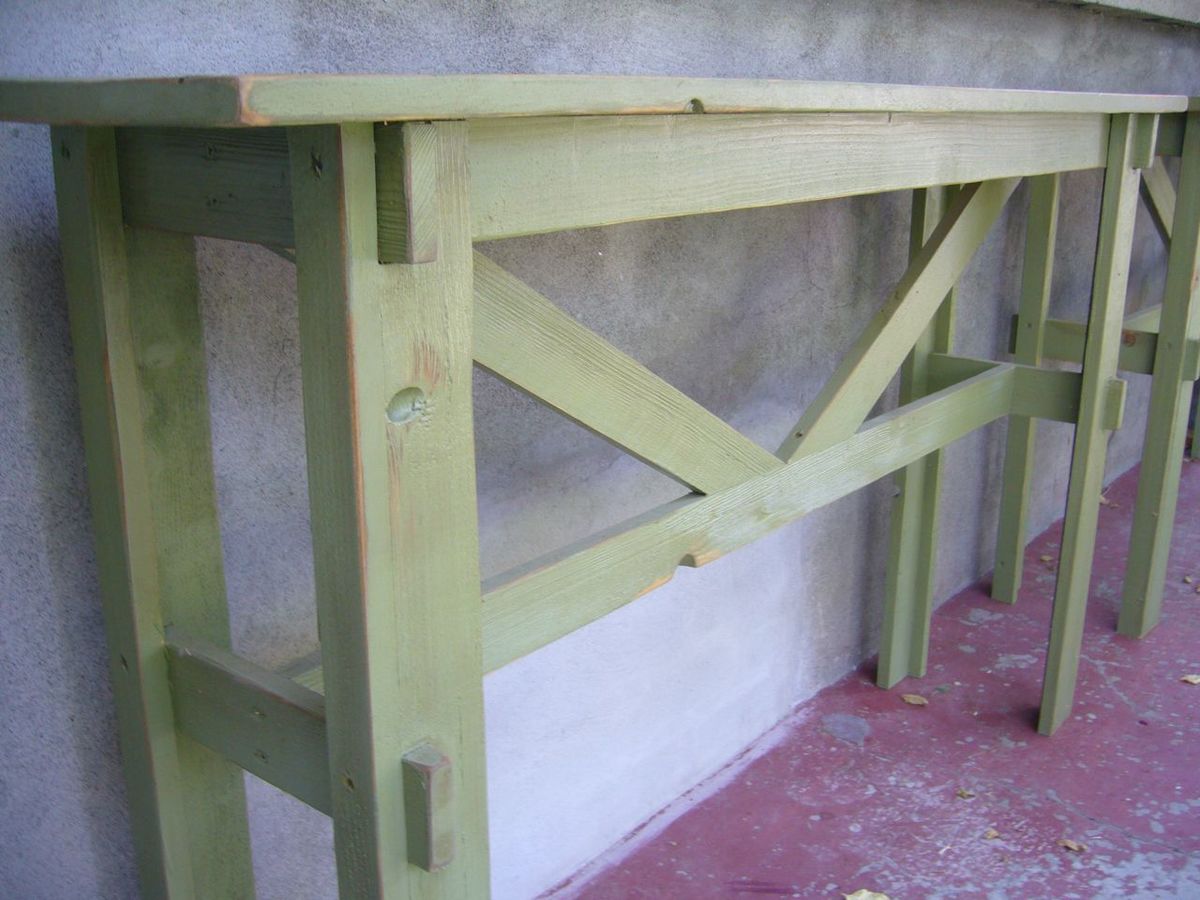
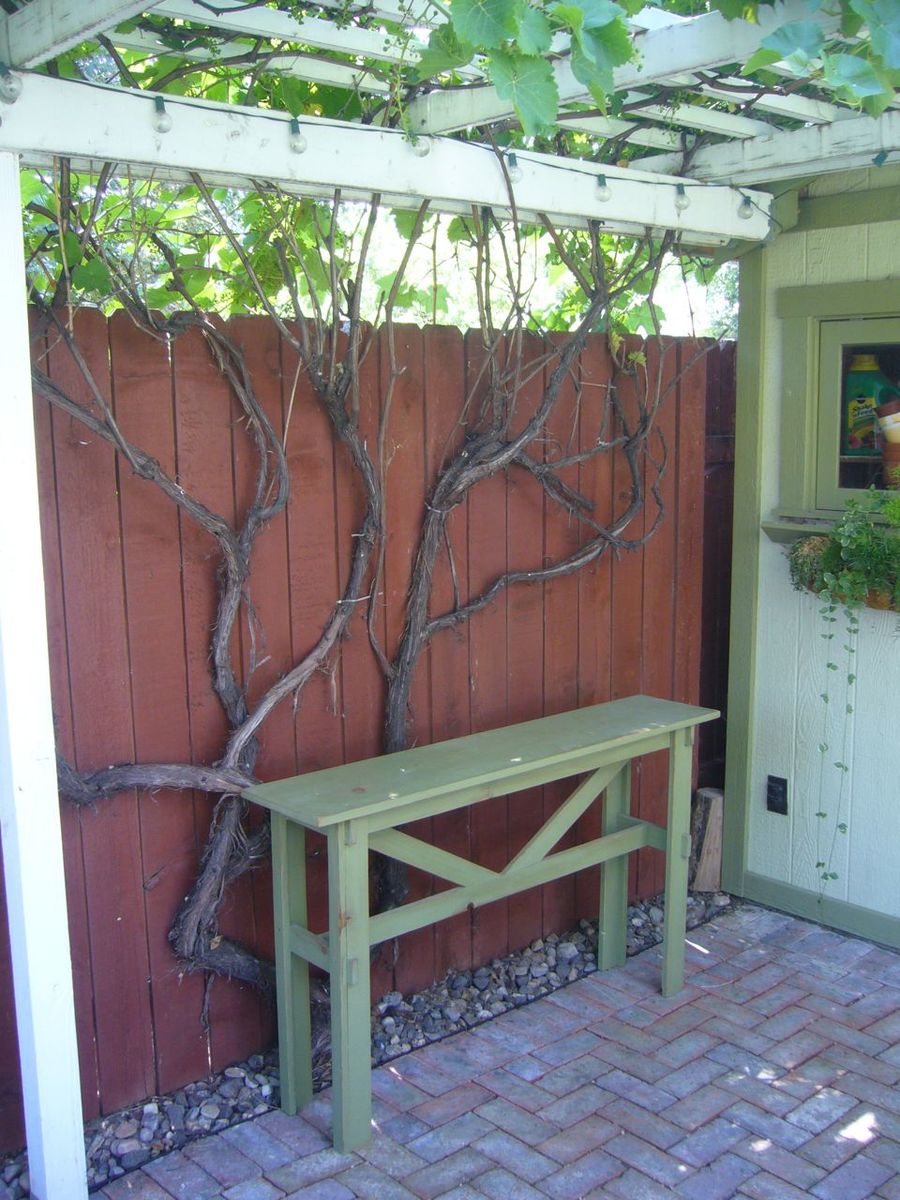
Problem: I want a serving table. I love the Rustic X Bench. Solution: Longer legs! This was made from the Rustic X Bench plans. We built two. And they serve us well. We love them. They are small enough to move around and use for all kinds of purposes from serving outdoor meals to holding the screw gun while I clamp the next ana-white inspired project (it was my tool holder/work bench when I built our chicken coop). Easy project made super cheap that works perfect for every outdoor serving table need.
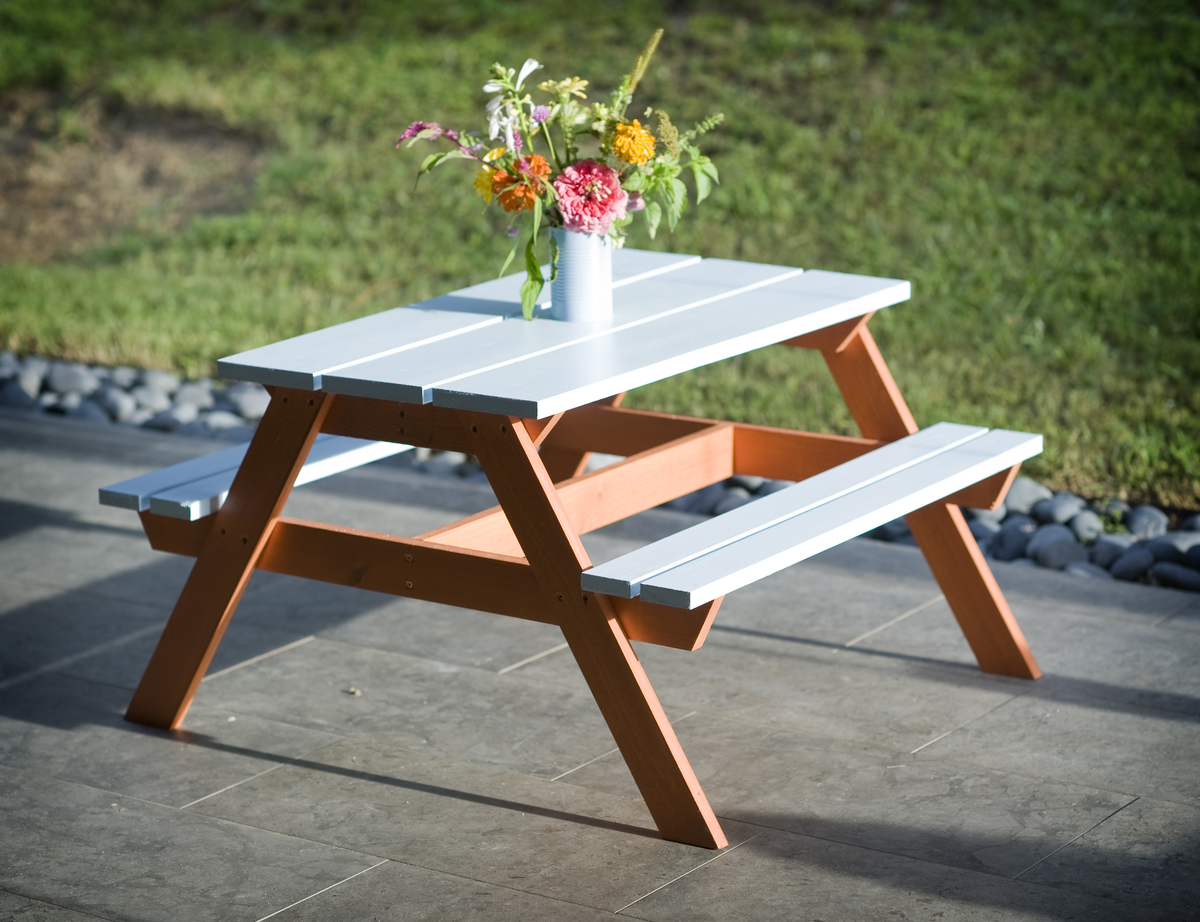
My husband and I made 2 of these for my 3 year olds "Picnic Birthday Party", and they worked out great! We will definitely be using them for a while! They took about a week off and on since I just had a little time each day to do them, but I could have gotten them done in a couple easily. Very fun, easy project! We ended up staining the bottom support pieces and painting the top pieces a light blue, I love how it turned out!

Mon, 08/19/2013 - 19:13
This little table is just darling! The picture of your girls at the table is just the cutest thing! Thank you for posting this!
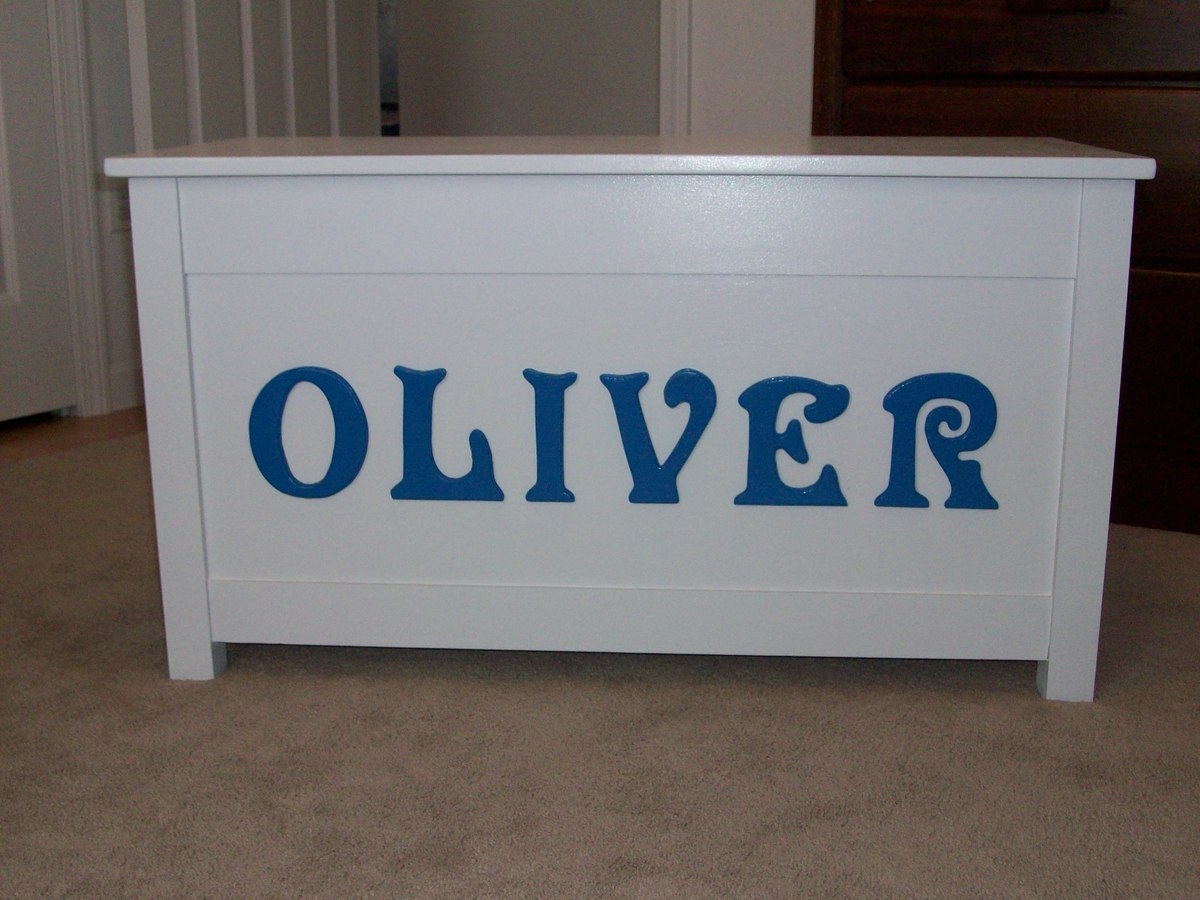
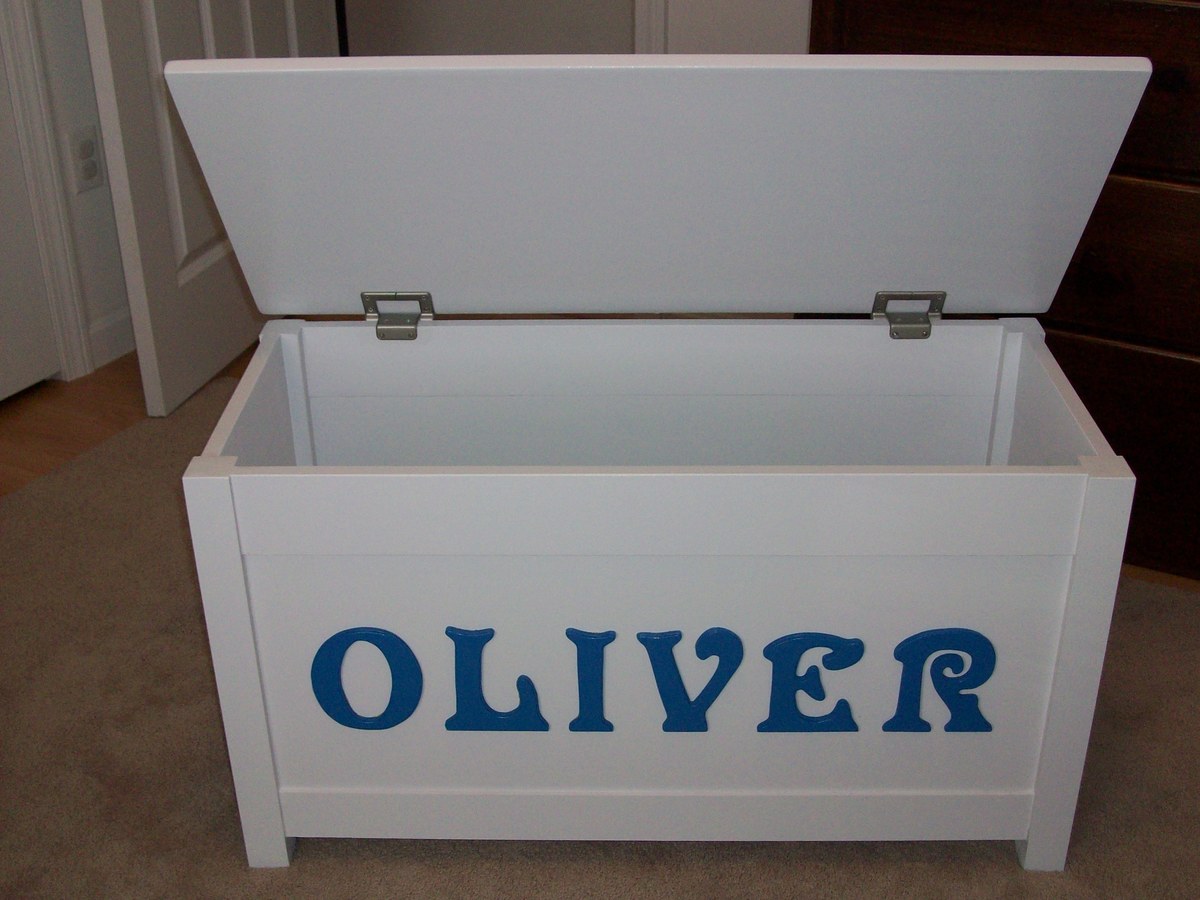
I found these plans and told my husband he had to make it for our grandson's 2nd Christmas. So.....he did! I was so happy with the outcome. We didnt put in the groove on the front & we used the Rockler torsion hinges. I chose the letters and painted them for his name. We are now beginning a new one for our new Granddaughter for this Christmas!
It gets lots of use and will be a treasured gift from Grammy & Grampy for years to come!

It took me till the end of the summer but I finally finished my awesome wood cooler project! Check that one off my to-do list.


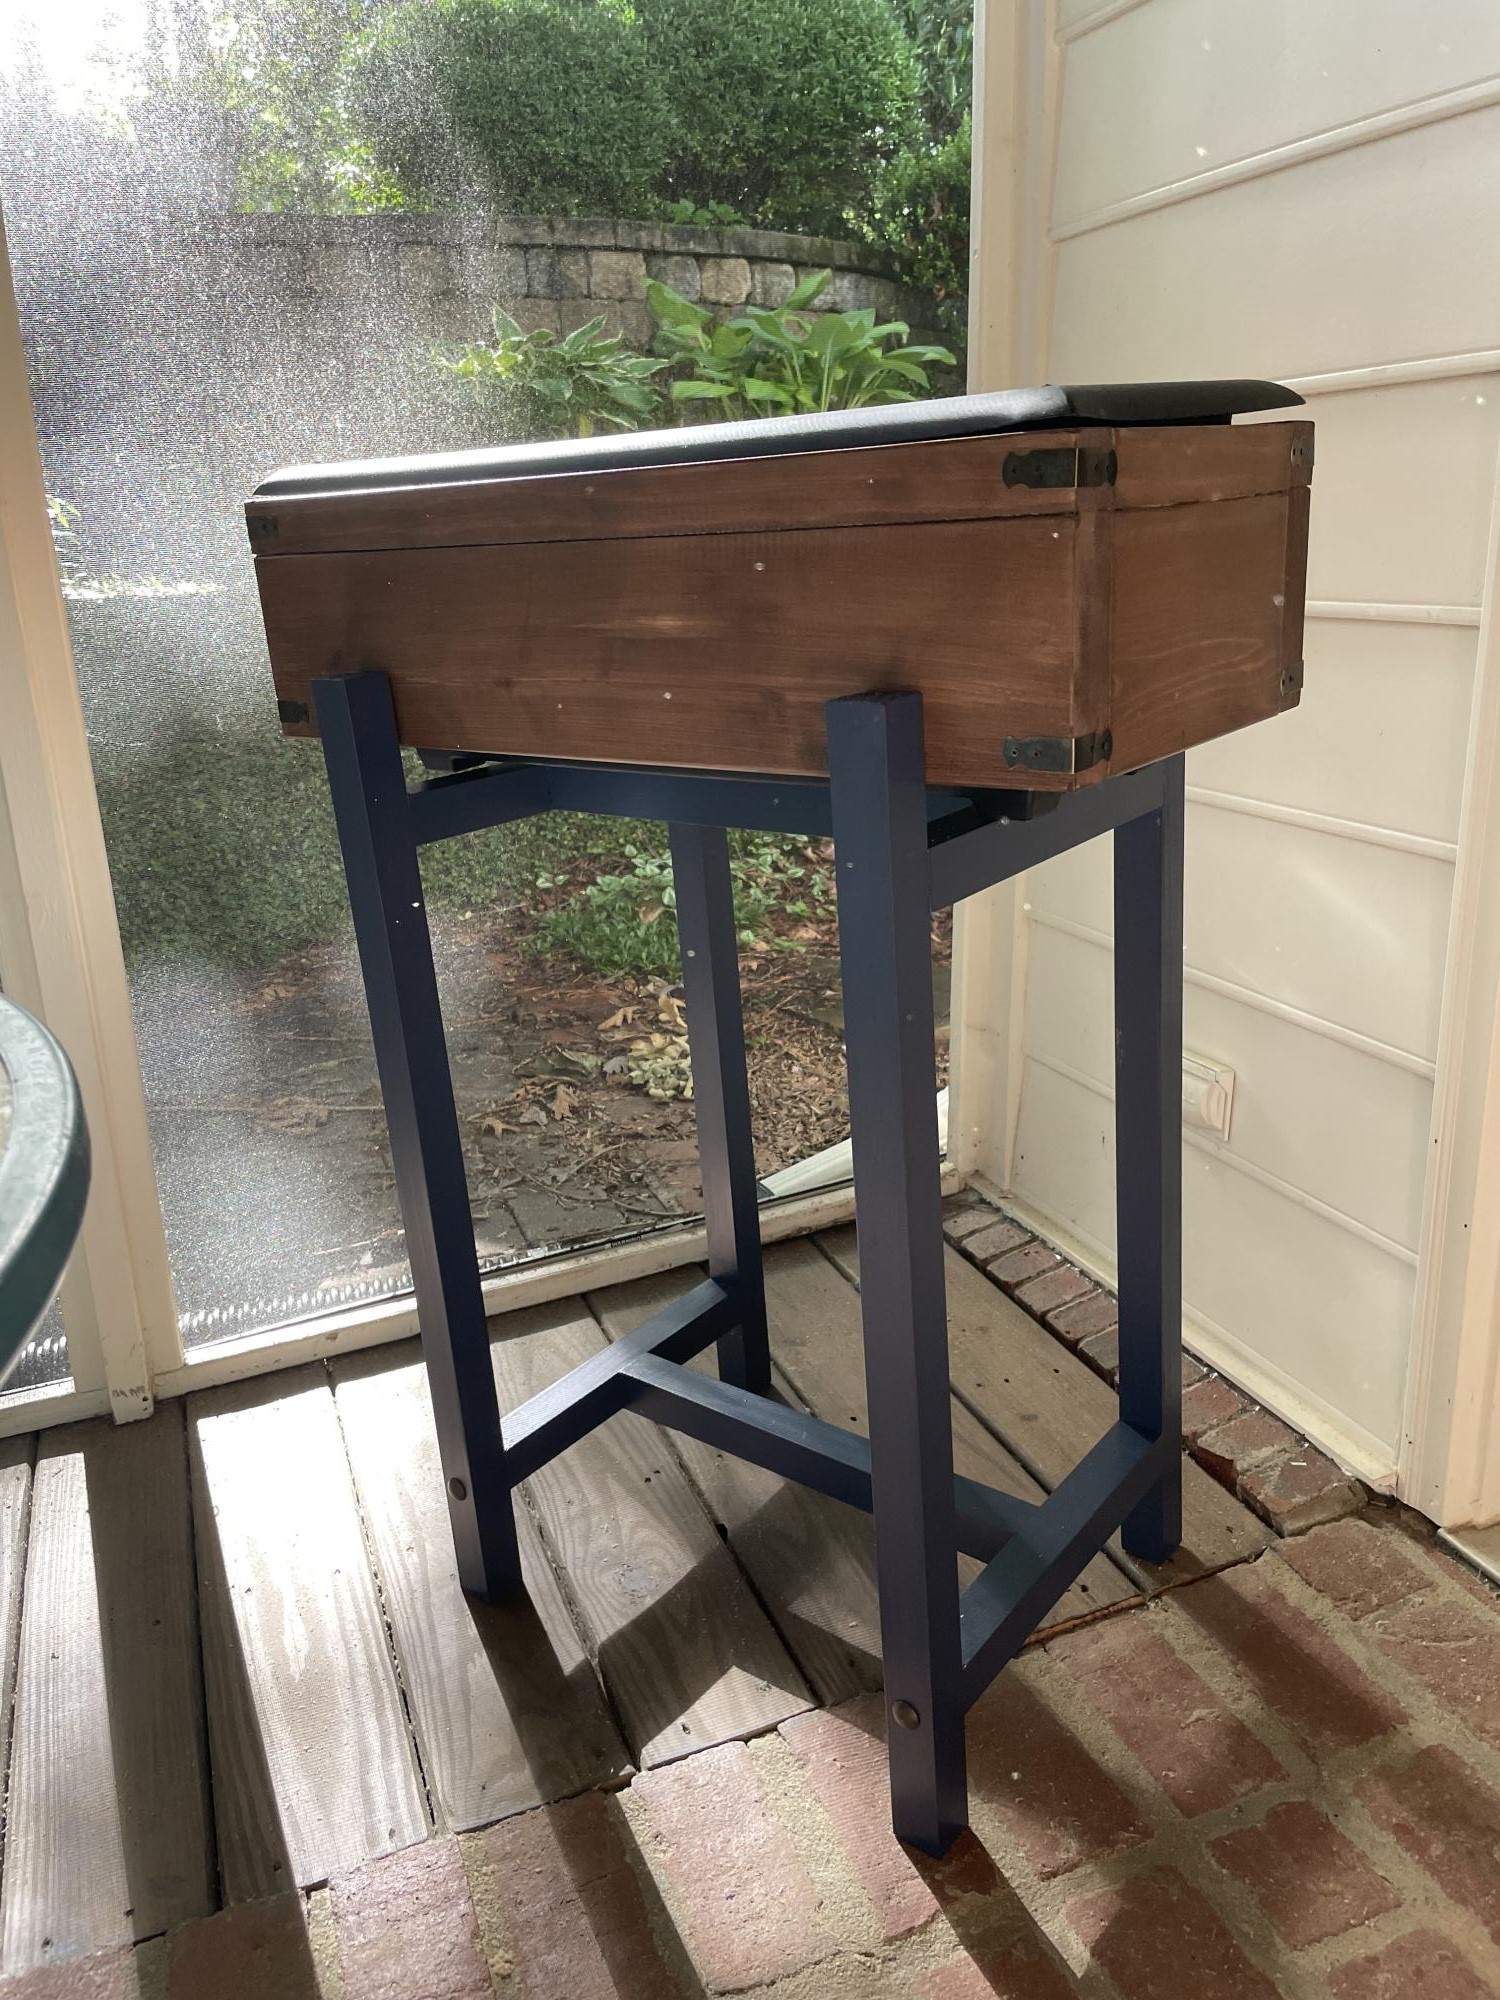
Plan to use as a cooler :) adjusted dimensions to fit a bigger planter box and added some decorative details. It came out great!
I've now made two Simple Outdoor Lounge Chairs and can't get over how sturdy they are! I also modified mine to have a 1x6 arm rest, but I ripped the back part of the arm rest so it tapered down to the 4" on the back side. I also made the chairs an inch taller on the legs since my family and I are tall.
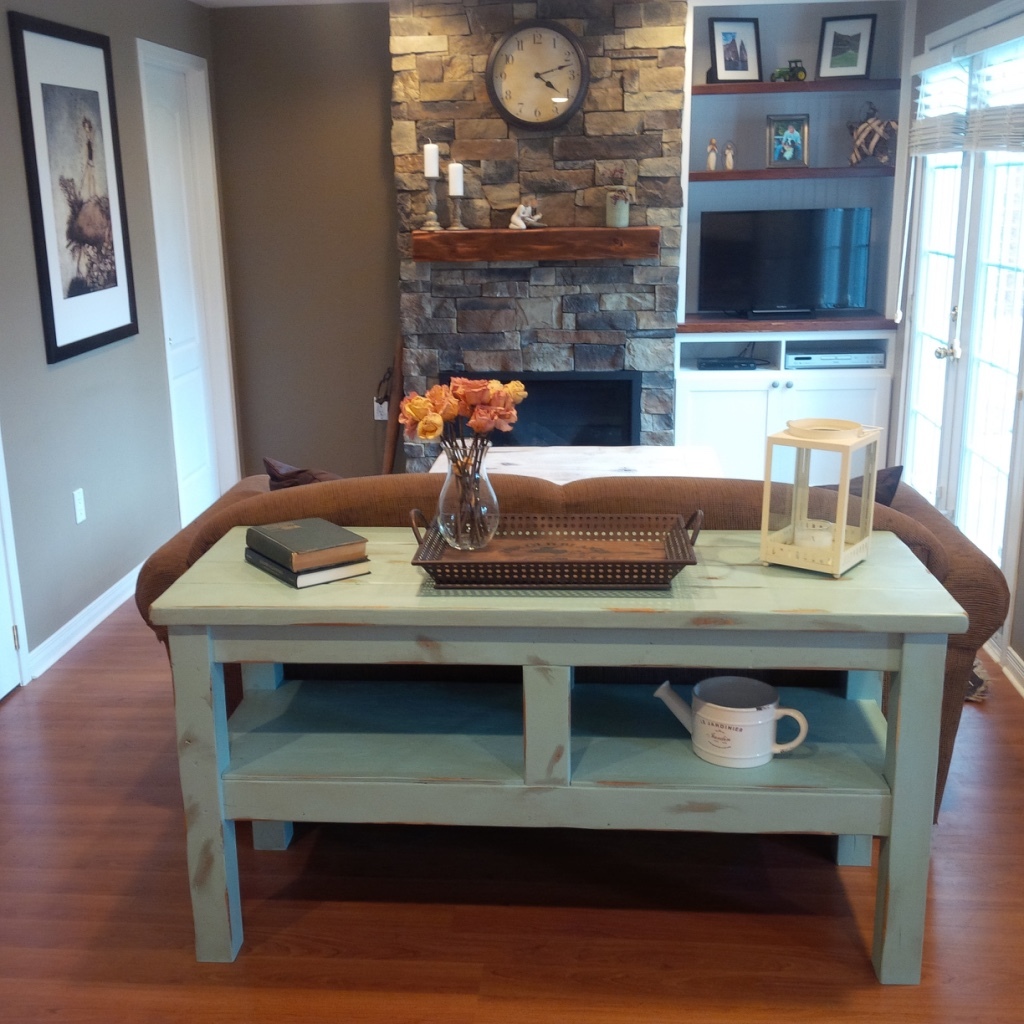
Our recent Taylors Console project. A nice, easy project. We're very pleased with how it turned out!
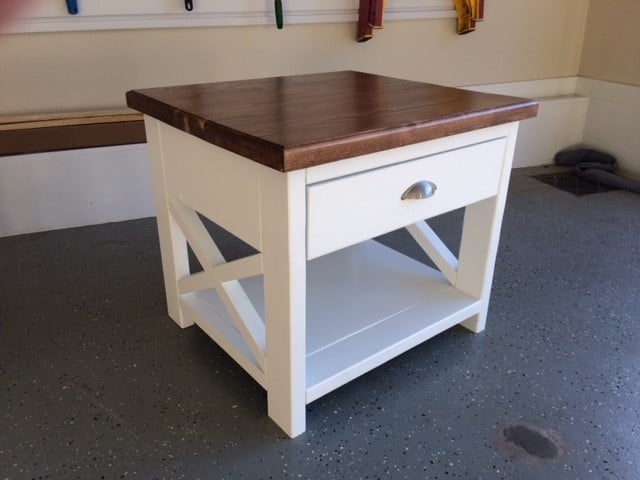
I used the rustic end table plans from ana-white.com, but modified to include a drawer for additional storage.

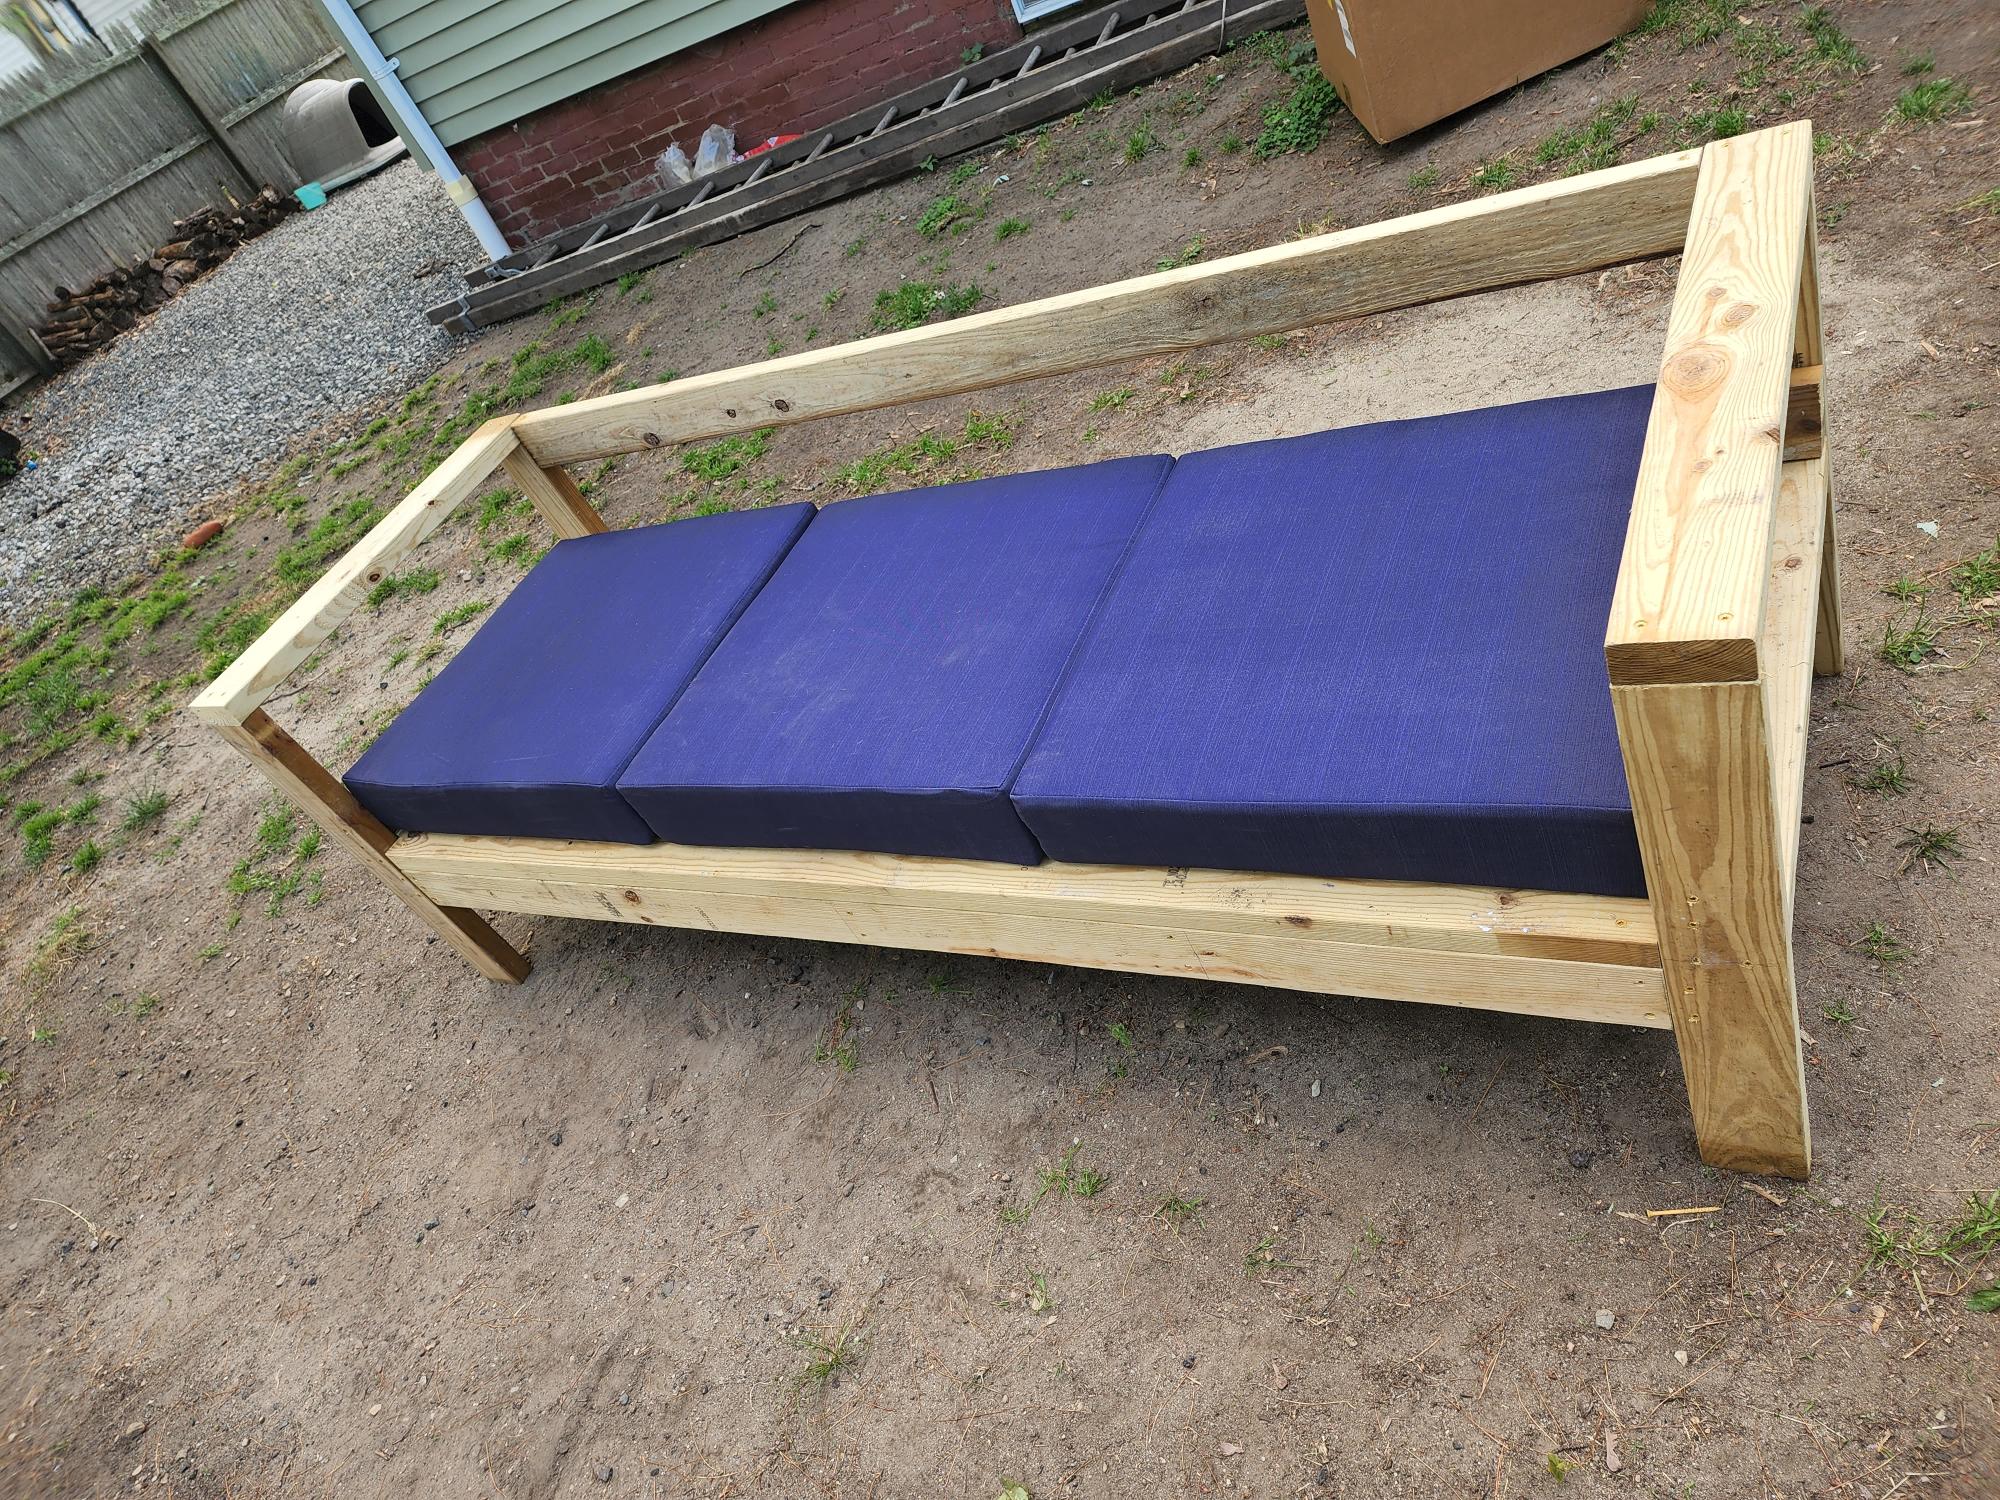
We built the outdoor sofa from 2x4 collection, me, my dad and my kids. Didn't take too long to put together, maybe 2 and a half hours from start to finish. It's my dad's gift for Father's day and we had a great time doing it together! We used pressure treated wood and sanded at the end. Just needs to be stained and get some throw pillows.
We did use an extra 10x2x4 (cut to fit of course) to box in the cushions. Which were 24x24 inches. Great project. 👍🏻 Thanks!
I so wish I had taken a before picture! Last summer we did a lot to make over this bathroom. Previously the cabinets were a birch color with a white door (gross). The faucet was one that came with the house, cheapo builder's grade, a tacky medicine cabinet, and that oh so attractive Hollywood lighting. So we painted the cabinet black, replaced the medicine cabinet with a nicer black mirror, replaced the faucet and lights. That had it looking pretty decent, but the wall above the toilet had 3 small pictures hung rather oddly to hide some poor patch jobs from a busted towel bar. So when I saw the plan for the bathroom shelf I was thrilled! I made a few adjustments to the size to meet what I wanted and got started. I also had an extra 30 minutes before a birthday party we were leaving for and had some scraps already the right size for a simple step stool.
Thu, 03/07/2013 - 23:28
Oh! Your bathroom re-do projects sounds cool and abrupt. Myself being a bathroom lover usually spend times in Bathrooms. Besides always avid to observe the interiors. As you have done up with the black fixtures and cabinet, I guess it looks pretty stunning. Your ideas and the layout looks good to me and for sure I'm going to utilize my next afternoon.
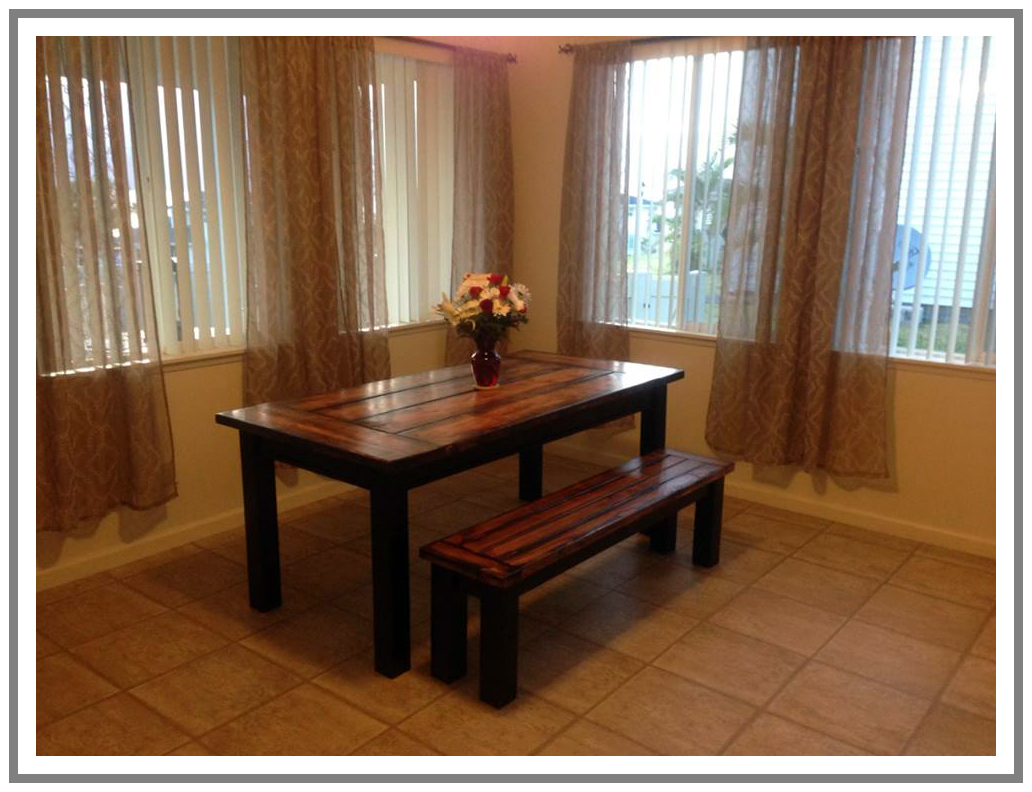
Slightly based on Ana White's husky farmhouse table, this table has 4x4s as legs and a nice, thick planked top with breadboard ends. It will easily seat 6 and will seat 8 in a pinch! I also build a bench to match, using the same concept, just smaller dimensions.
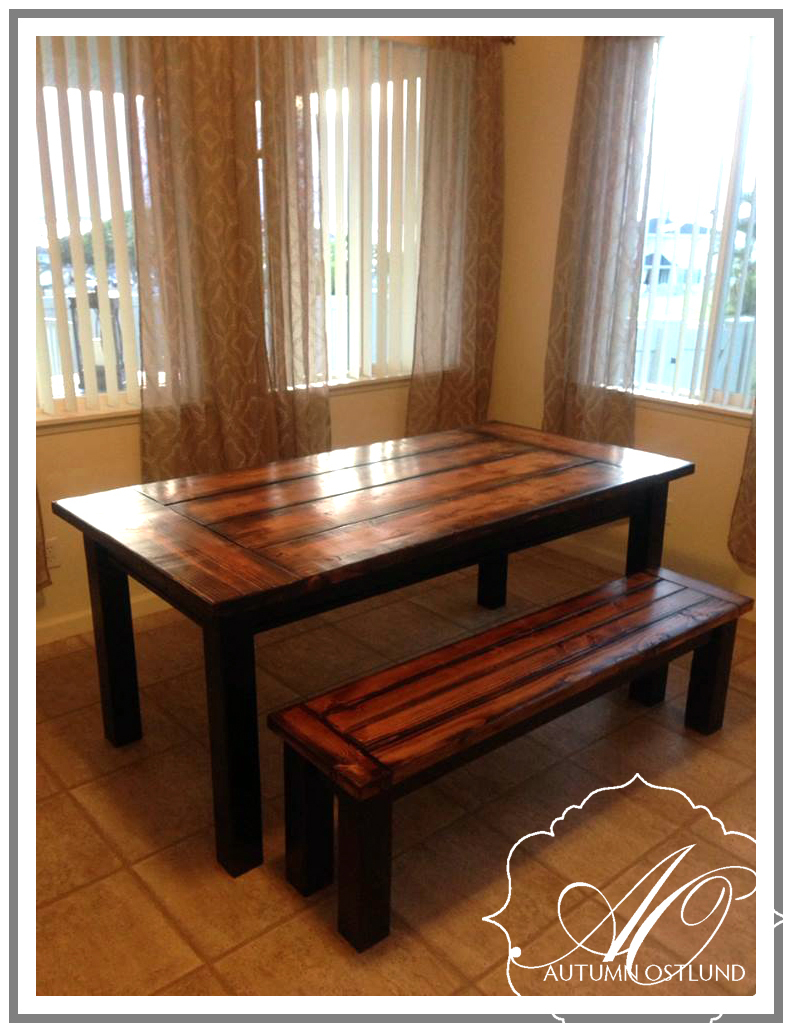
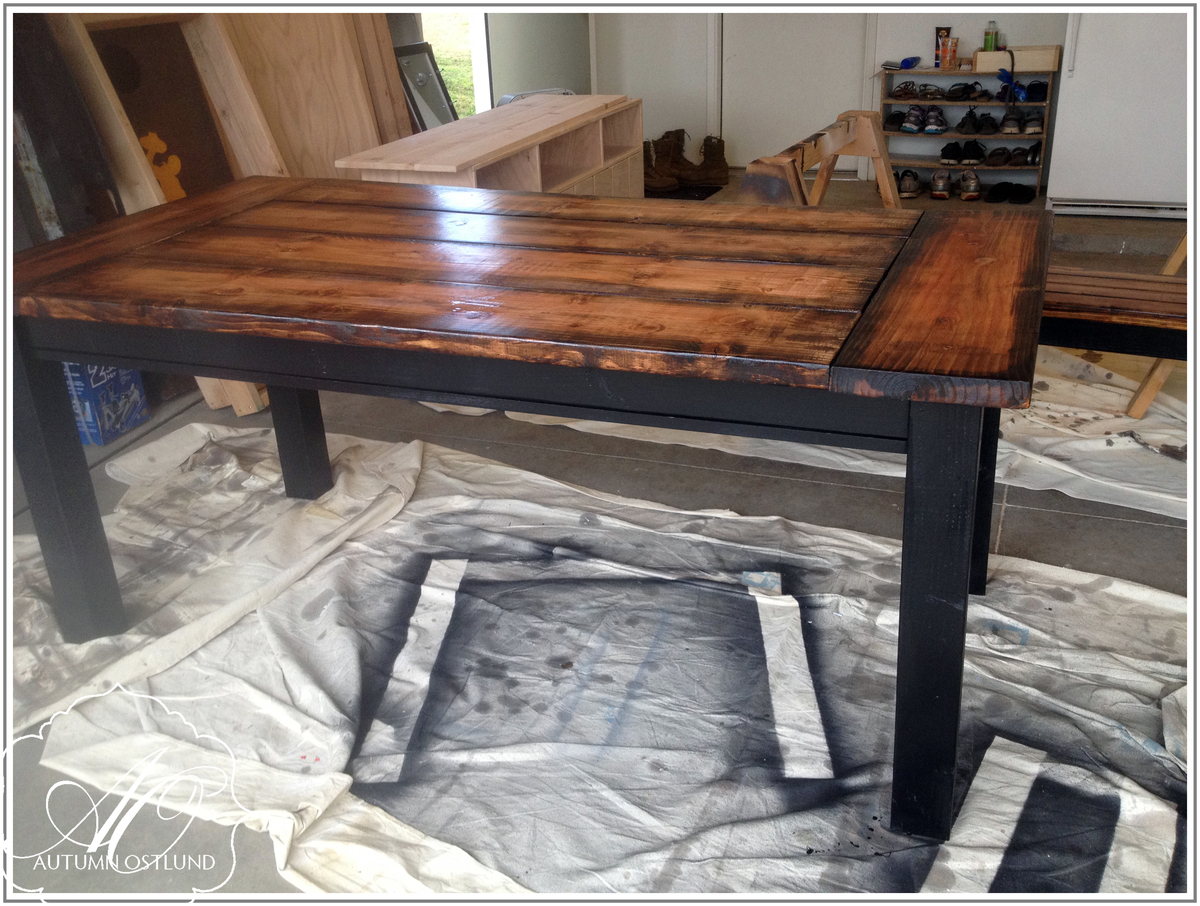
Fri, 08/23/2013 - 02:49
Love the stain you did on the top, looks awesome! It's a very beautiful set!
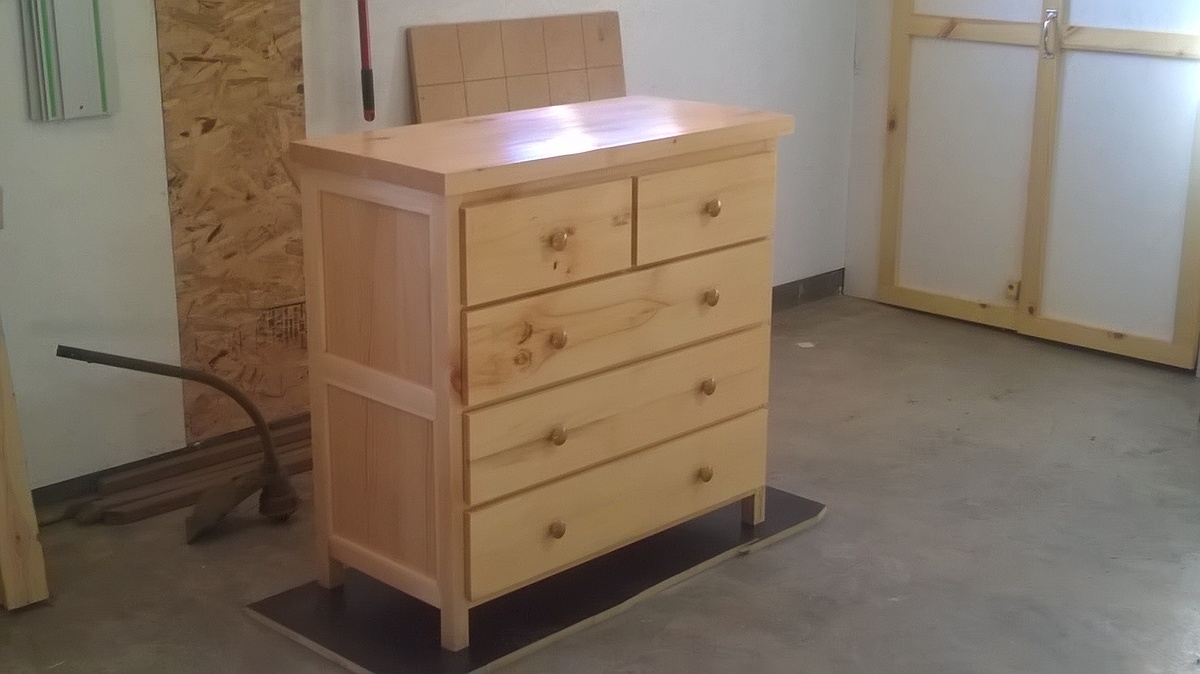
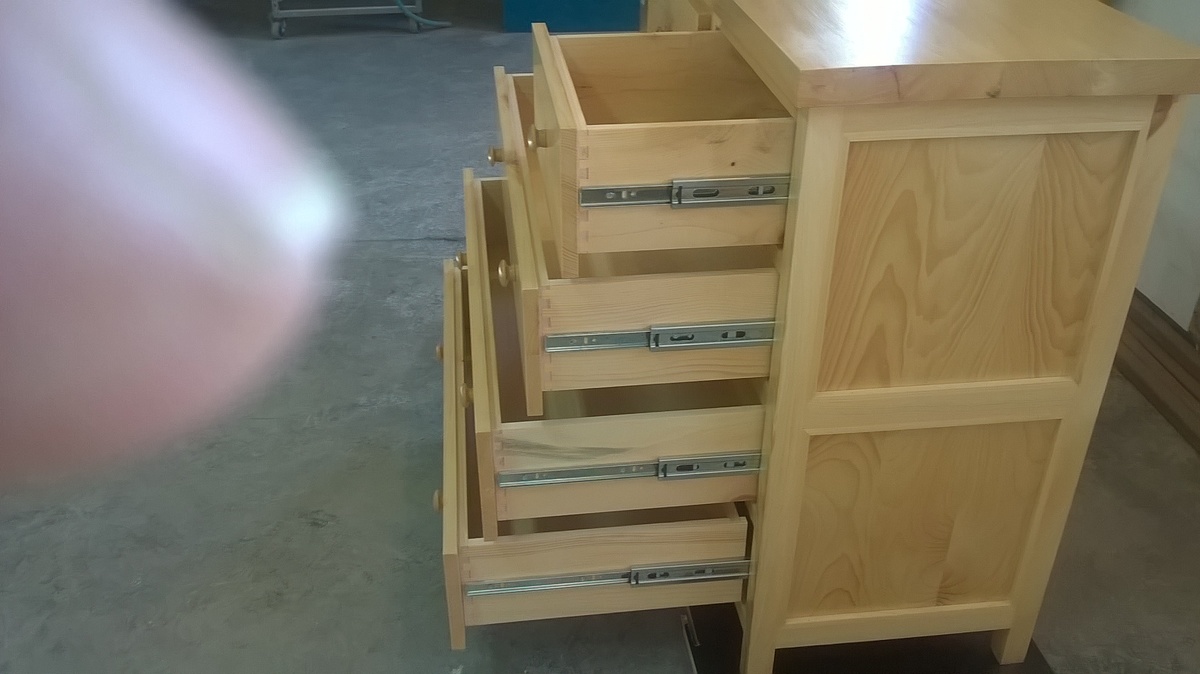
In need of outfitting the spare bedroom for overnight guests I came upon this site and found the storage bed plan we liked. After building the bed of course a dresser was in order. My sawyer has some northern white pine that came from the Wisconsin Northern State Fair grounds in Chippewa Falls. Having never worked with white pine before I found it rewarng and was happy with the finished product. Hope our guest enjoy it as much I had building it

My husband built my son’s bed using plans of this website before (we didn’t post to brag chat but almost two years later and a move the bed is still holding up!) so we were very happy to find plans for a kitchen table here too! My husband did all the wood work and I painted and stained. It’s perfect for our dining room. Now on to the benches!

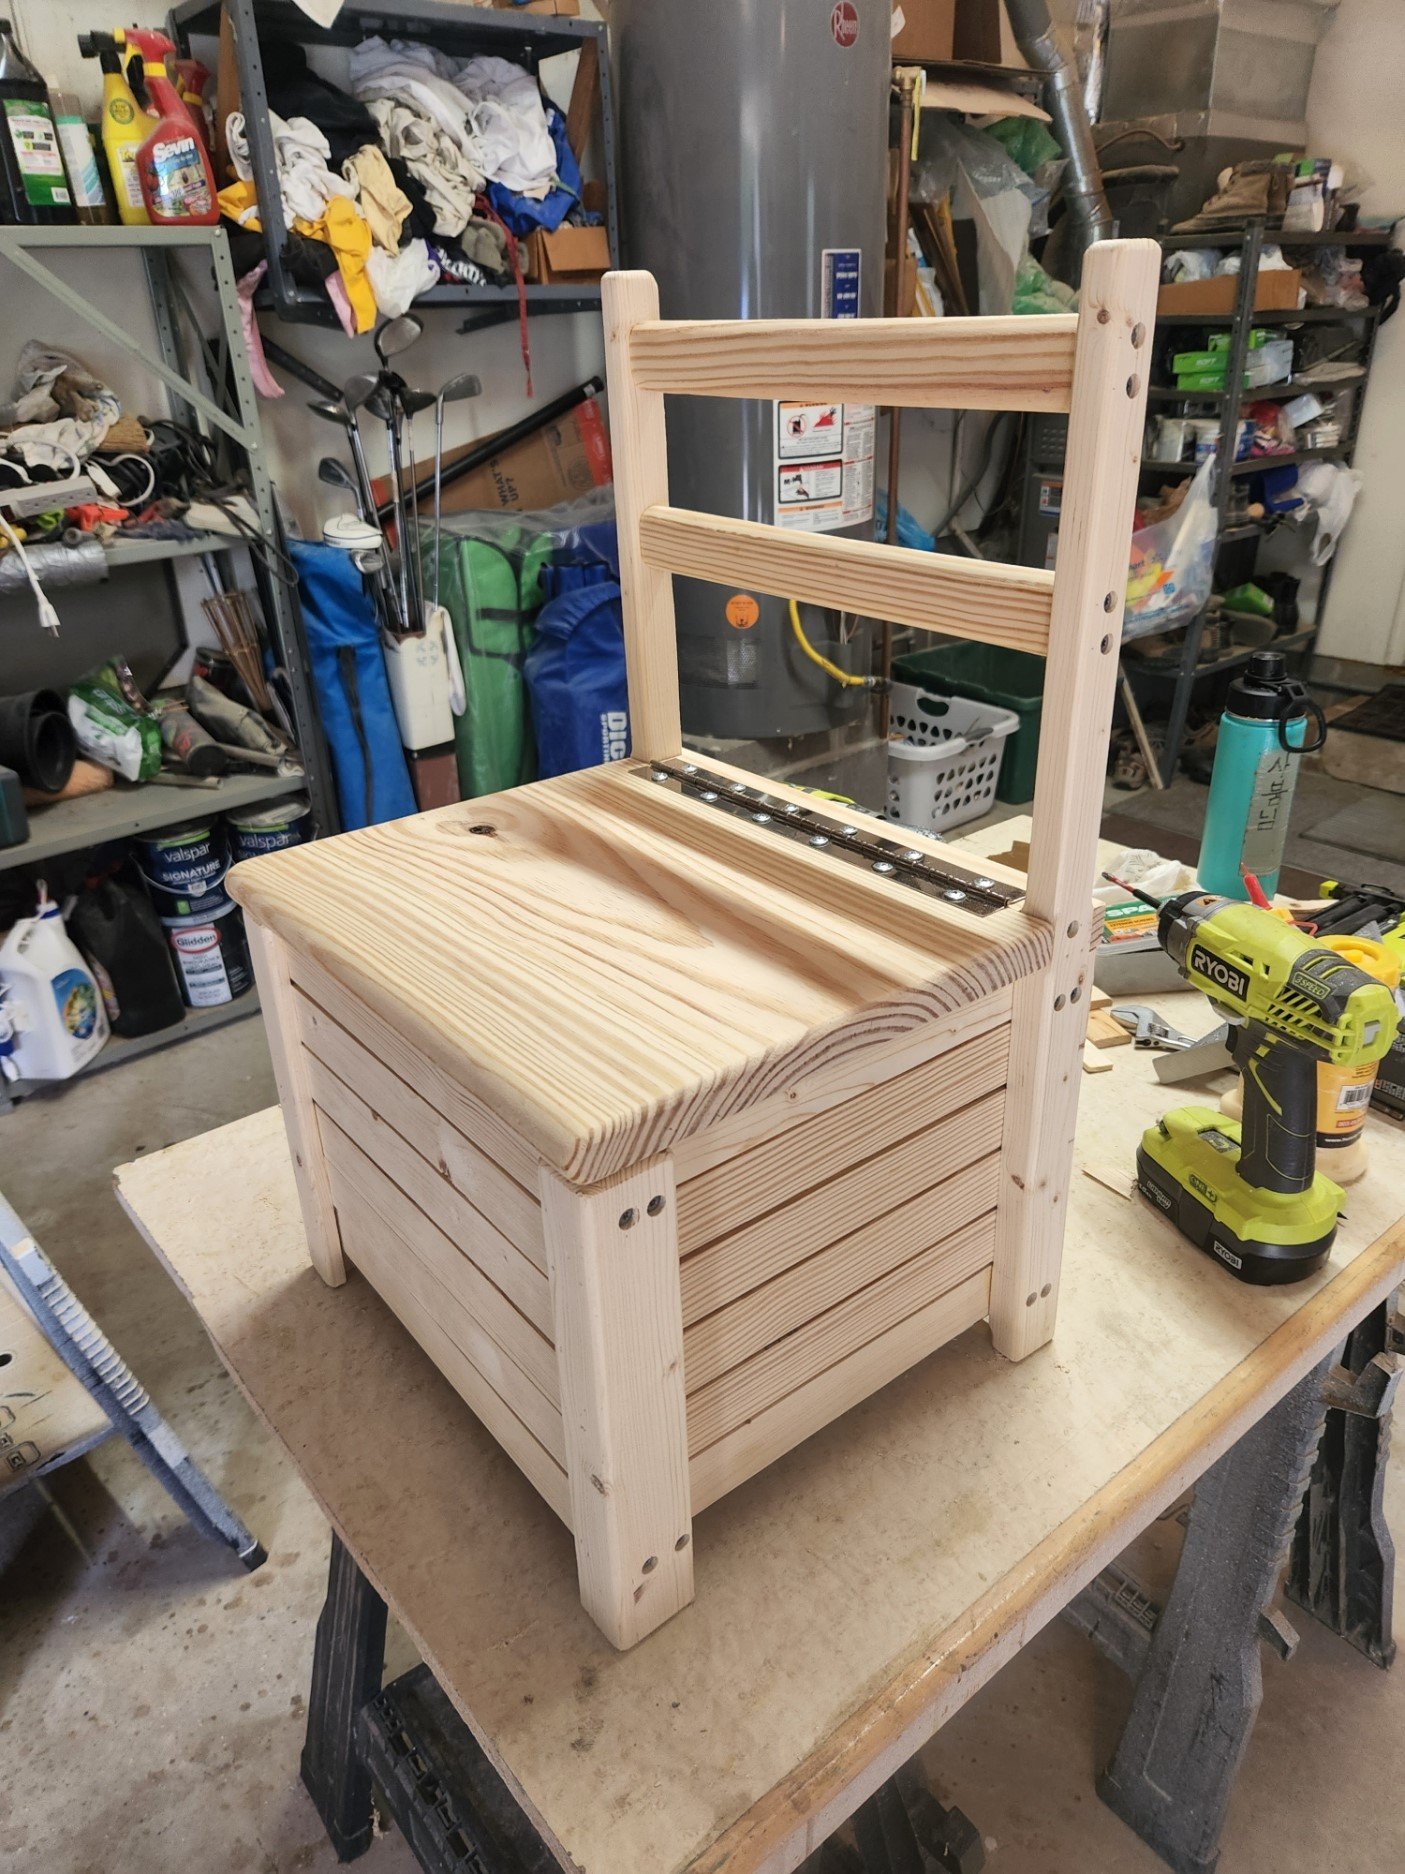
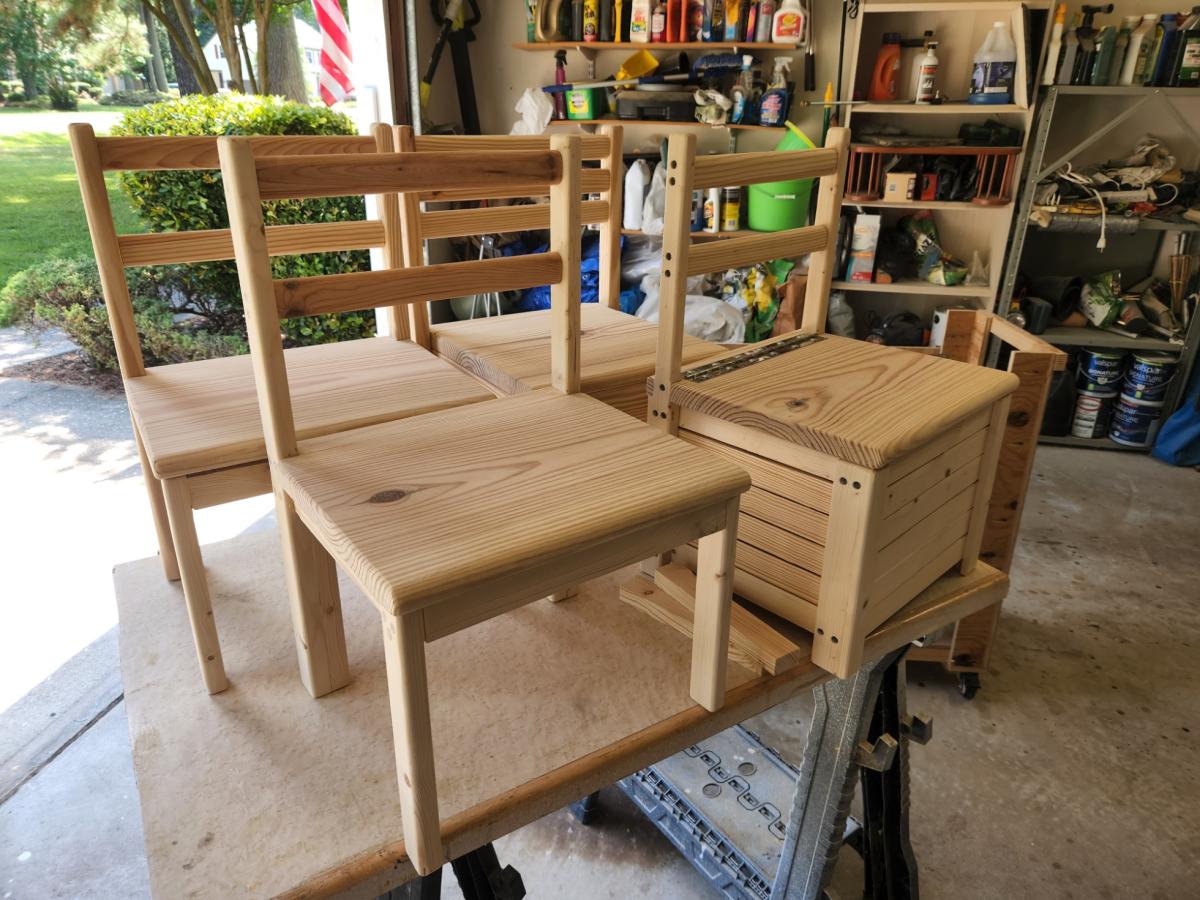
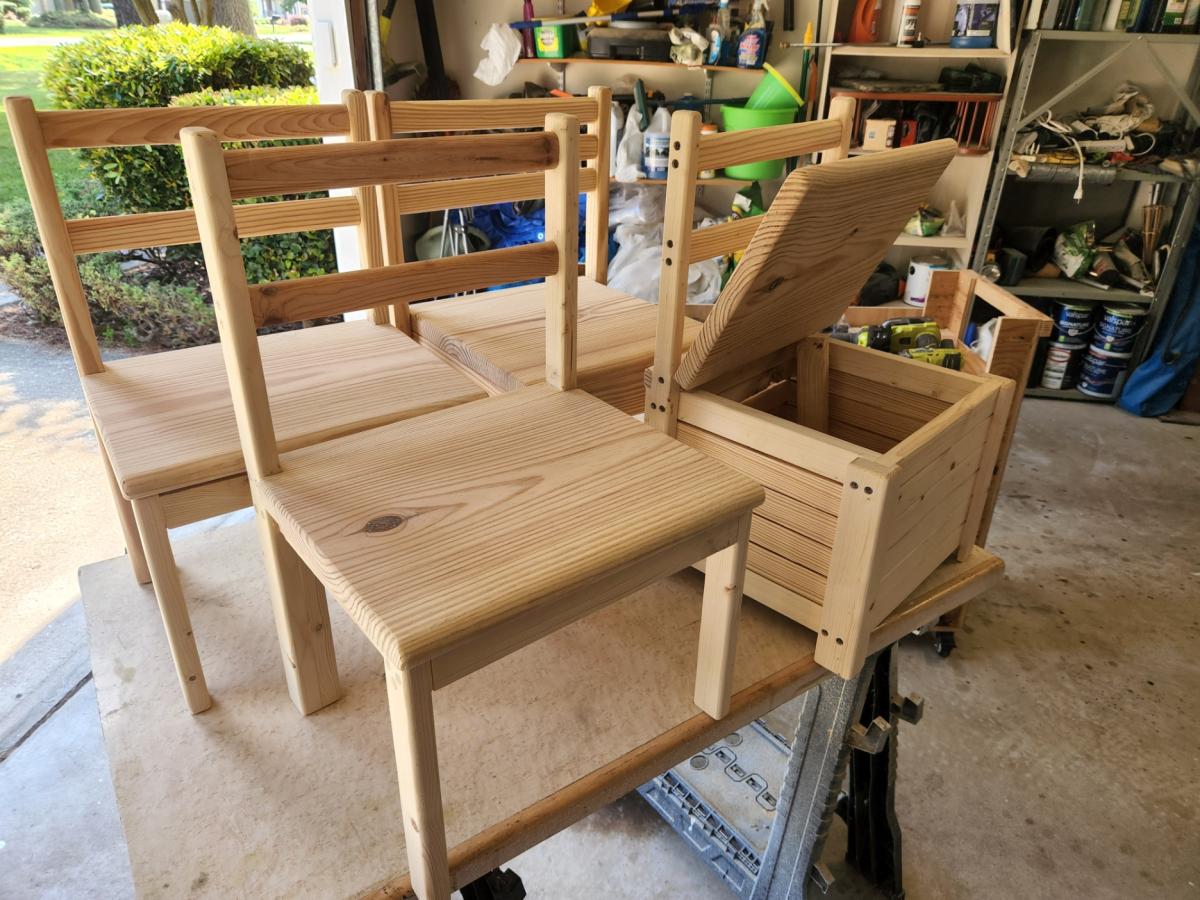
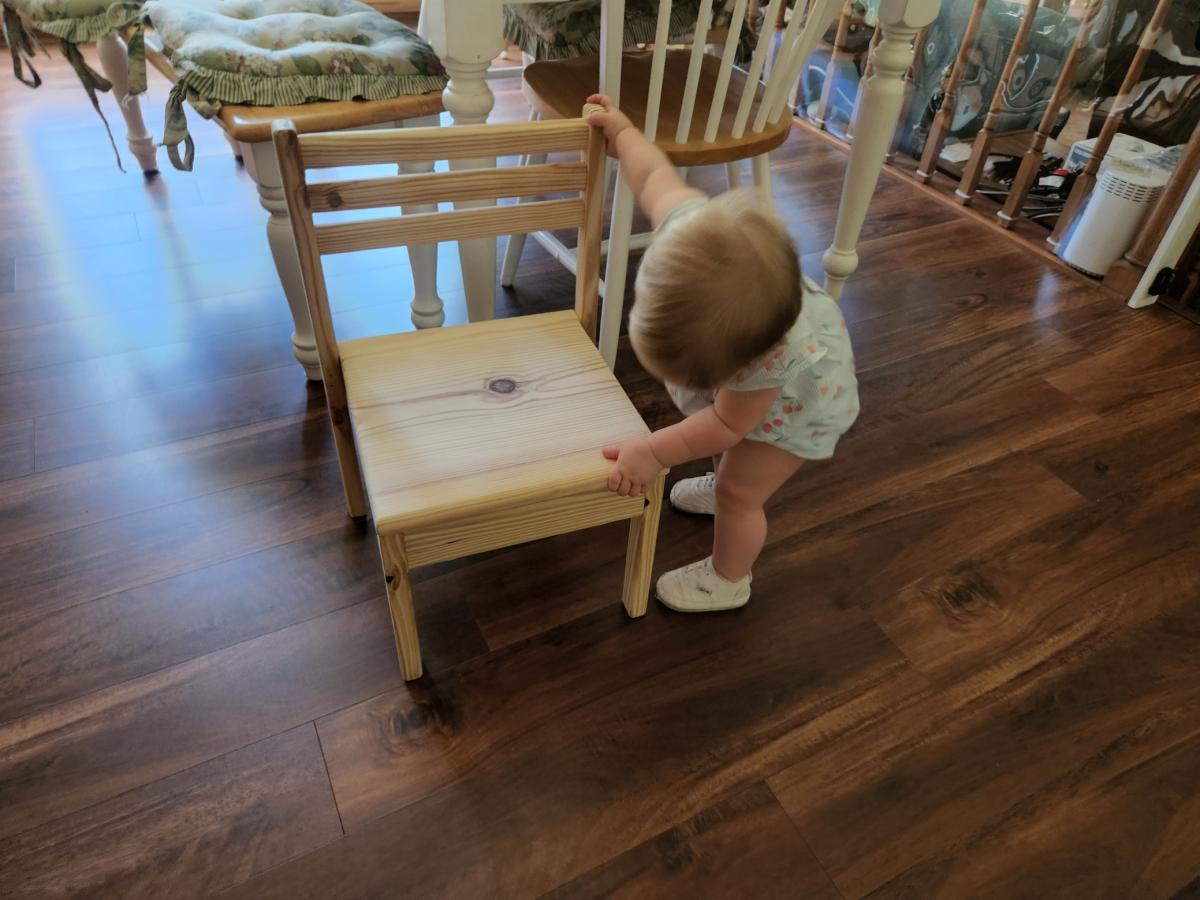
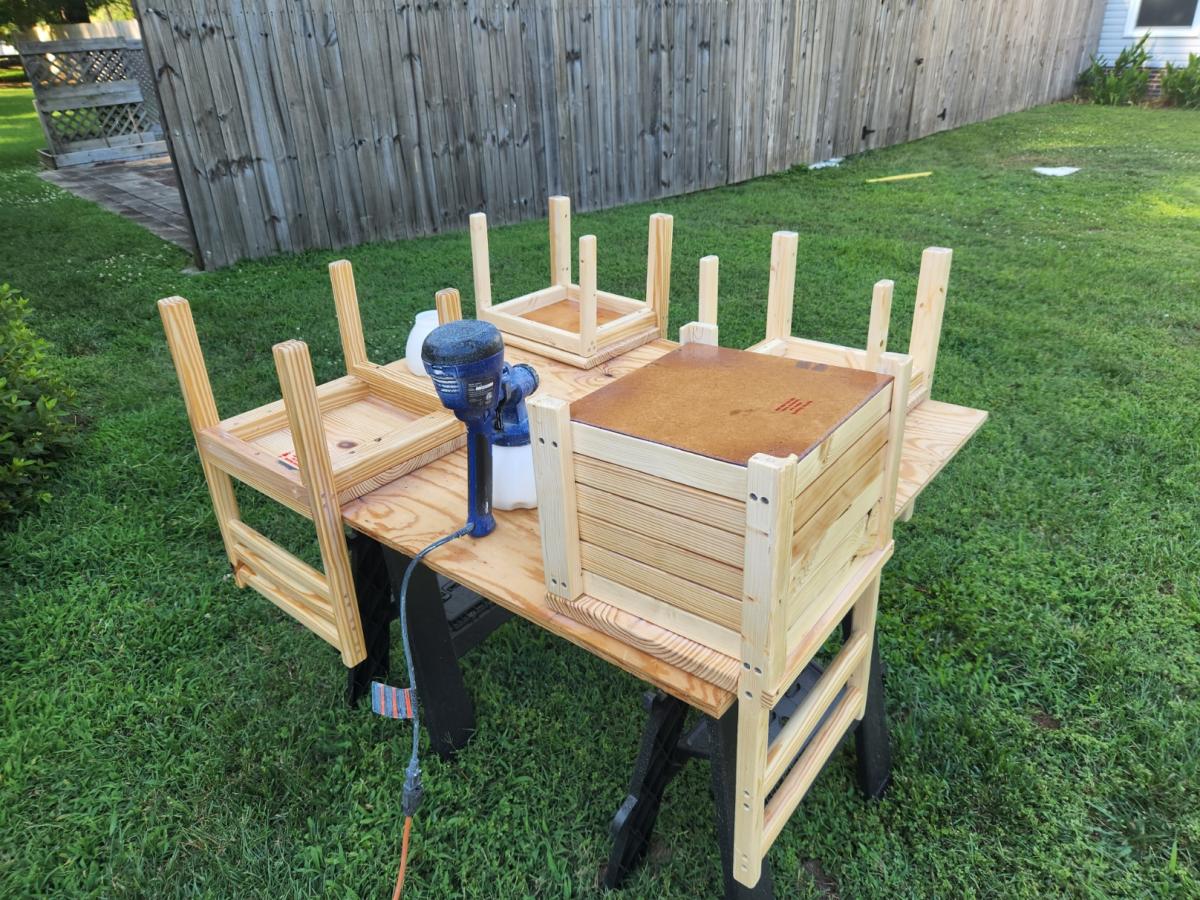
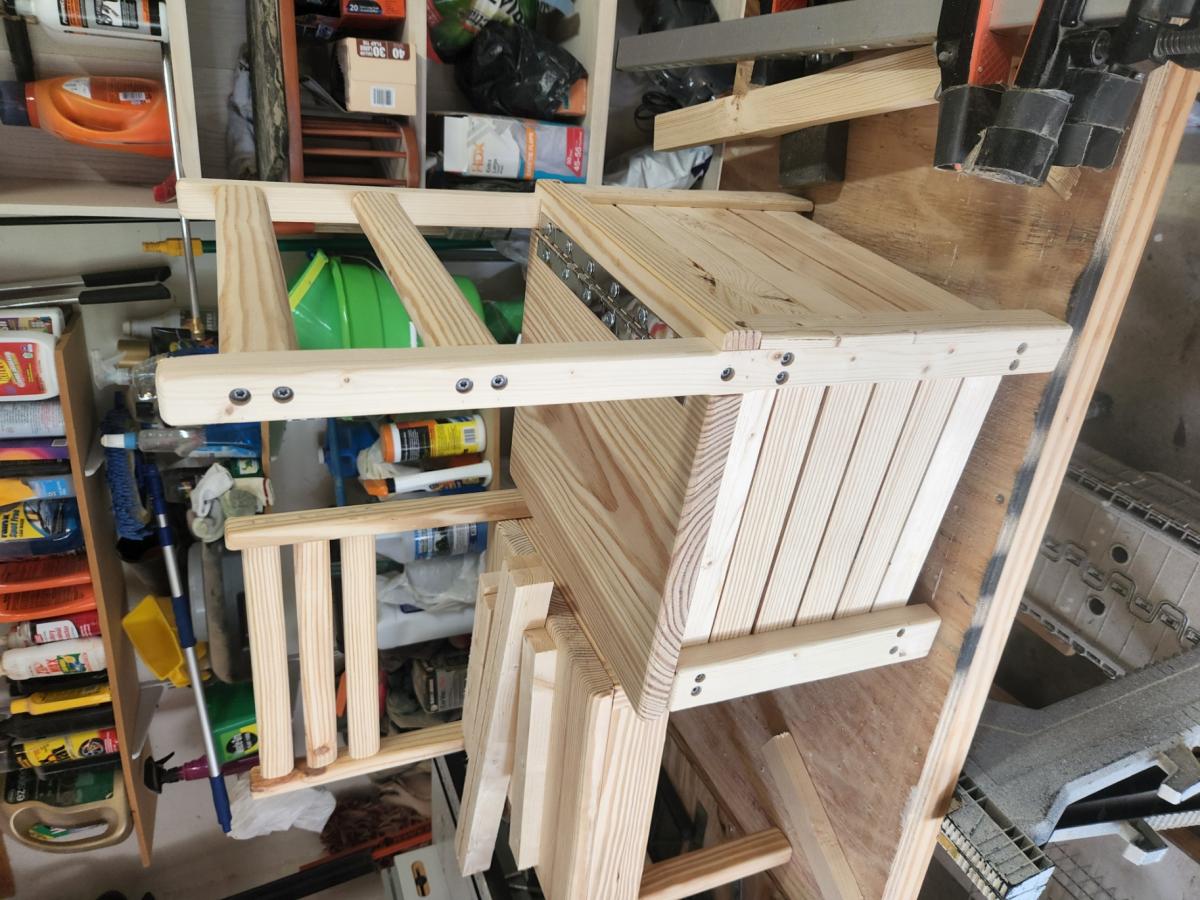
Made from Ana's Kids Chair with Storage. Love these little chairs. I riped up some 2x4's to 7/8th and used a 1 x 12 stair tread for the seats. glued with screws, then removed the screws and replaced with glue and dowels. Made for kids, strong enough for adults.
Mon, 07/04/2022 - 18:26
Built up the storage shelf with some laths and added a piano hinge to the seat. Nice little toy box.
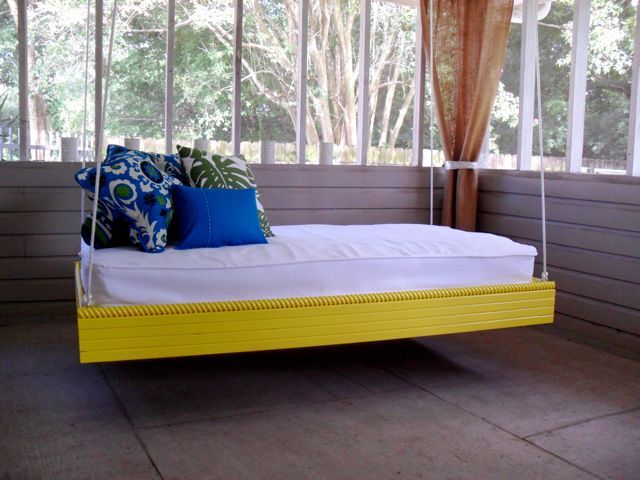
I made this hanging outdoor bed for our screened in porch using Ana's plans. This was one of the first things I've built, and the plans were very easy to follow. I wanted all of the outside trim to be decorative but it was much more expensive, so I settled for just the top piece. I love this web site and am about to tackle the Board and Batten project. Thanks Ana!!
Sun, 04/15/2012 - 19:58
I love this plan! One question, does anyone have any suggestions for how to add arms or a back to it to lean against? Or what types of arms/back would look best? I can't figure out where to put them so that the ropes/chains wouldn't rub against them.
Sun, 07/29/2012 - 00:25
I really like this as it is so great as a relaxation element for a tranquil space.