Toddler bunk beds
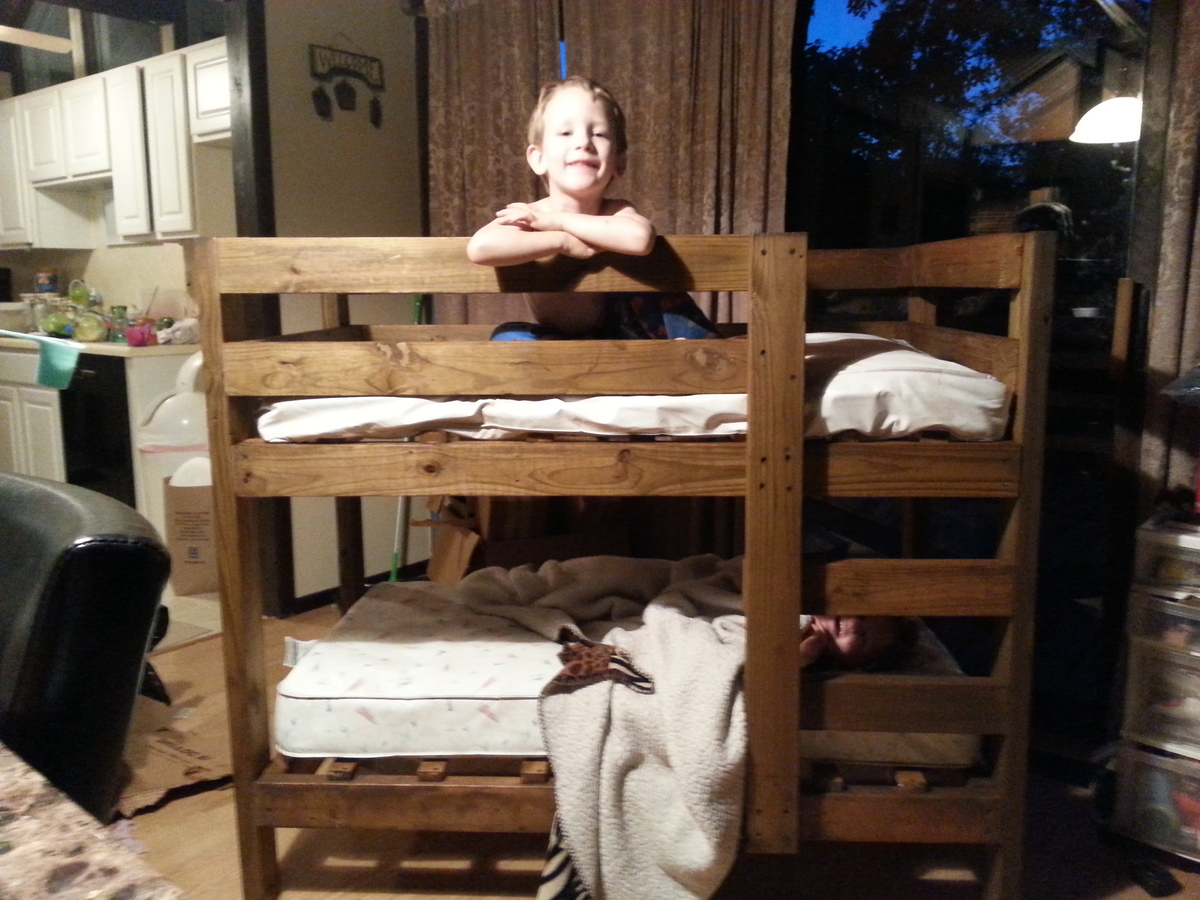
well after I made my daughters bunk beds my toddlers were begging and begging me to make them a bunk bed so this weekend I decided to make a toddler bunk bed. So here it is and I'm here to share with you all.
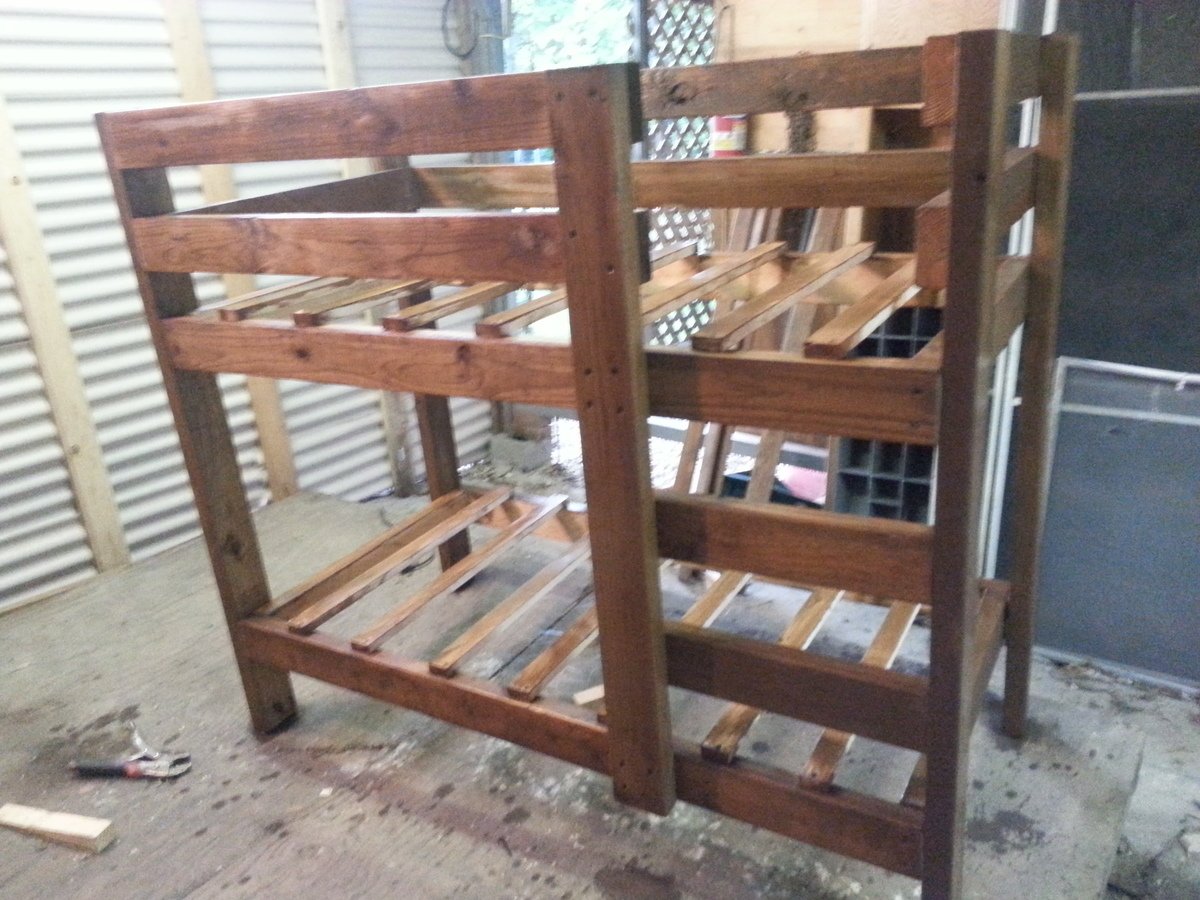

well after I made my daughters bunk beds my toddlers were begging and begging me to make them a bunk bed so this weekend I decided to make a toddler bunk bed. So here it is and I'm here to share with you all.

Hi Ana,
Here are a few more pics of some tables I've built! I would love to know what people think!
Thanks!
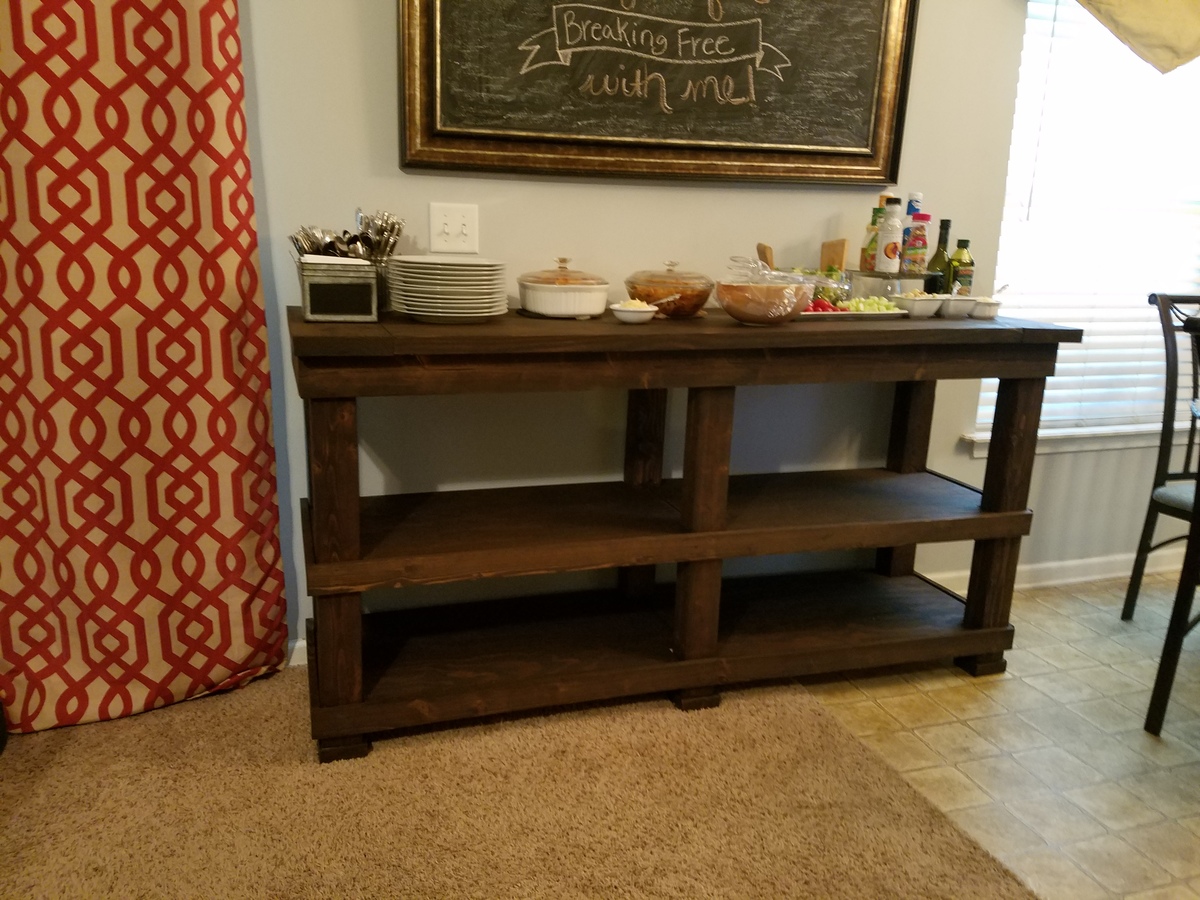
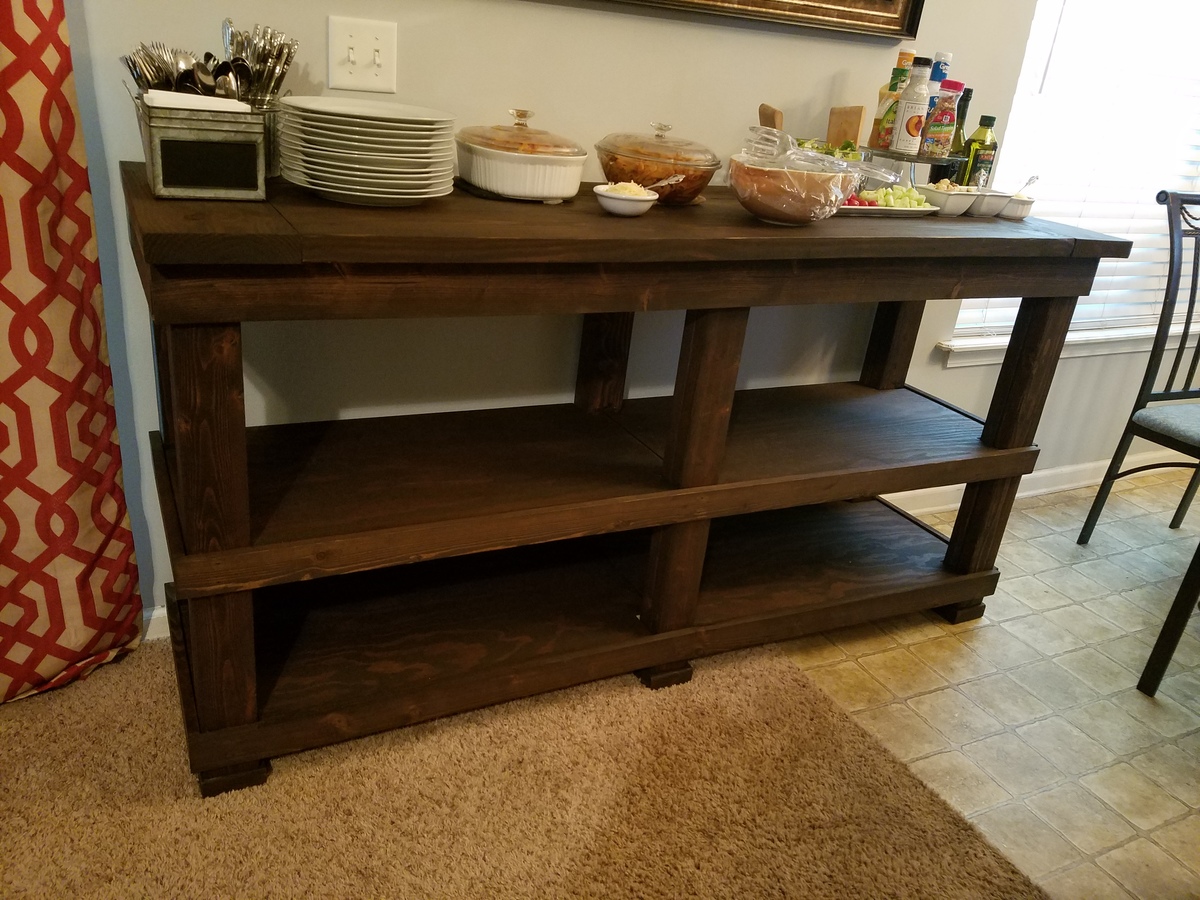
I made this buffet, serving table to go with a large gathering farmhouse table I made. I loosely used the farmhouse table plans but did some designing of my own based on a picture my friends had of what she wanted.
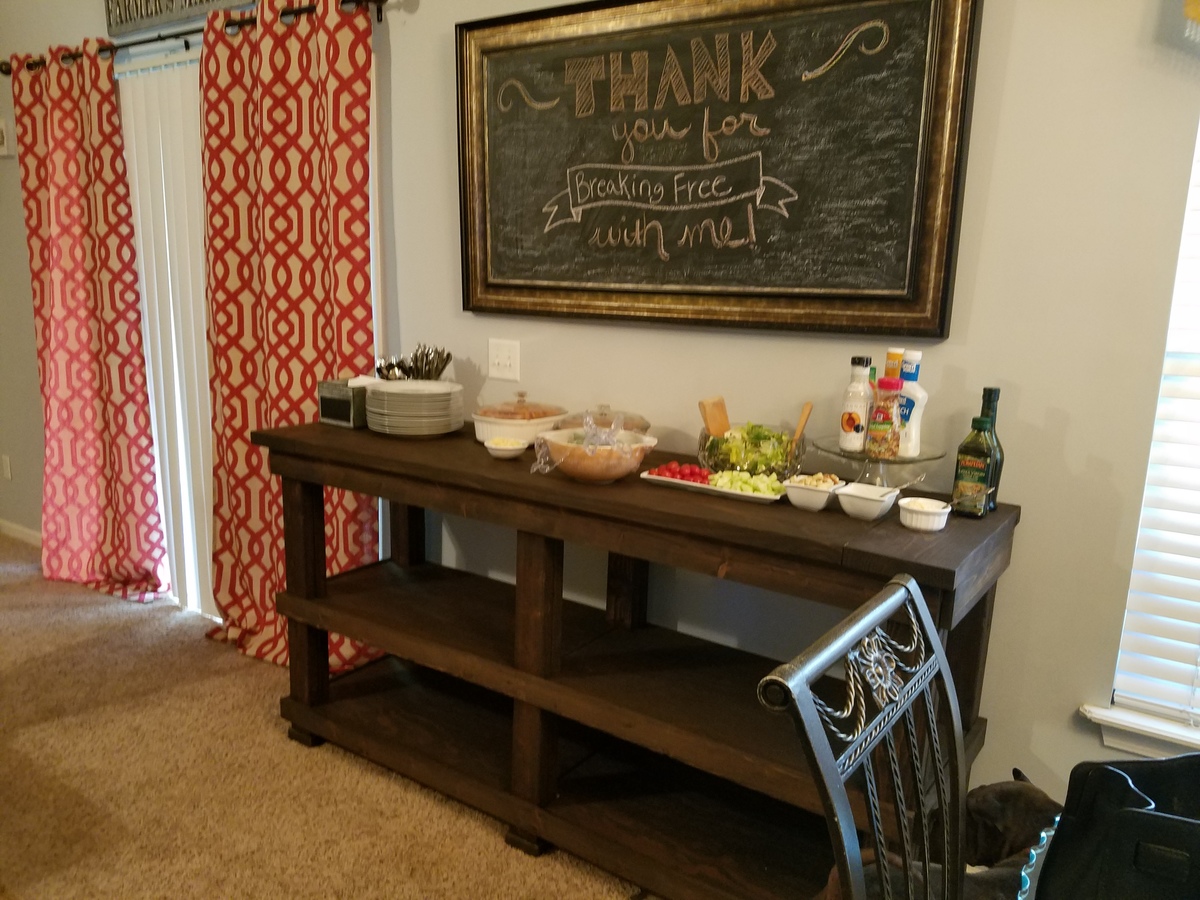
i made this a while back, but just got through painting it. Saw it was a great table for drinks, will serve a double purpose.
Tue, 06/28/2011 - 08:00
...being a side table because I don't like how not sturdy it turned out (my fault in building)! =) Yours looks great!
Tue, 06/28/2011 - 11:24
I was surprised at how sturdy it is, although my husband is still scared to sit on it, but it's sturdy! :)
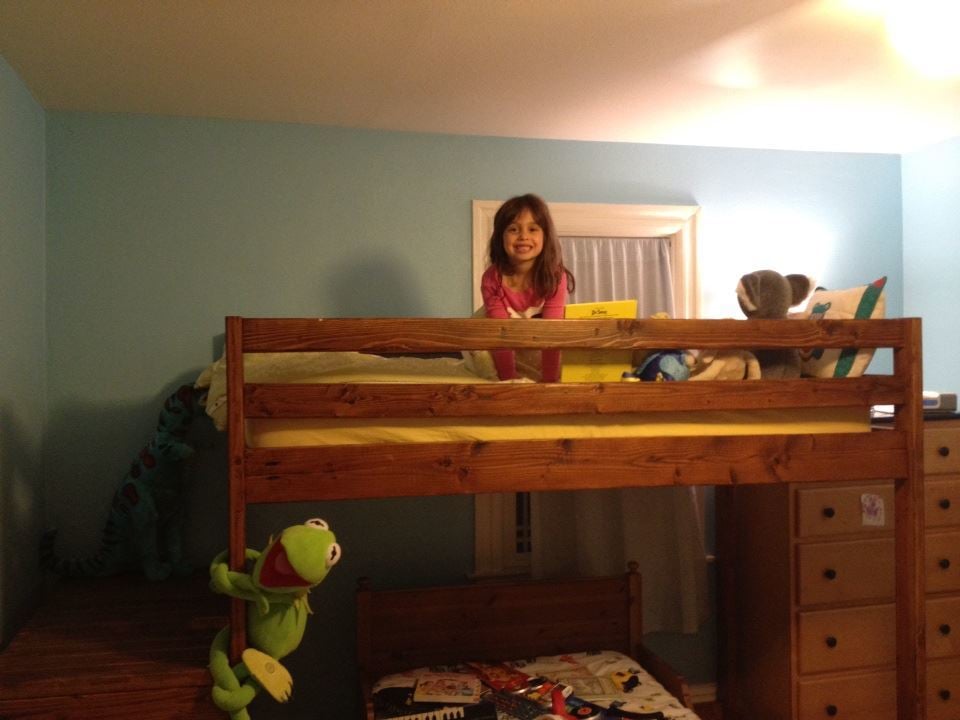
Well, one thing's for sure. Follow Ana's plans and everything will come out just right.
Oh. And another thing. I can't get my kid out of this bed! It's awesome. And really simple to make.
Thanks, Ana!
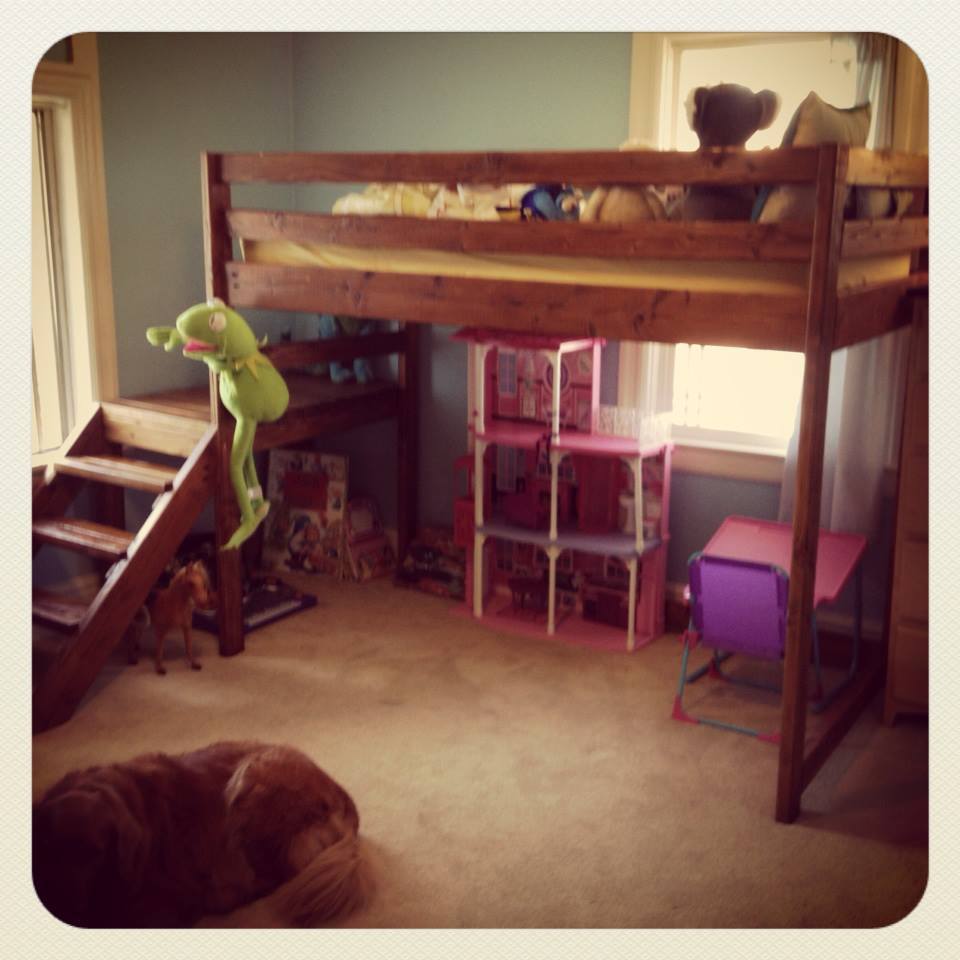

This was produced from the Queen version by adding 16 inches to the width of several of the pieces of wood.
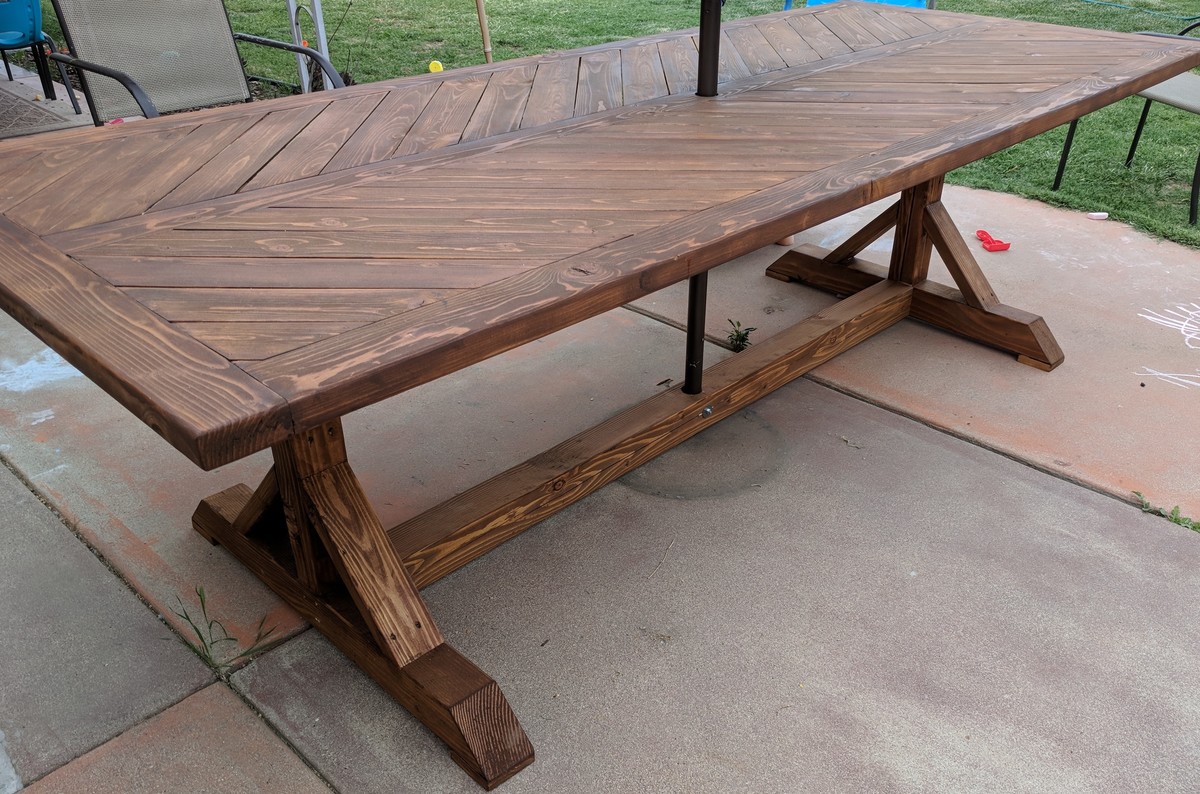
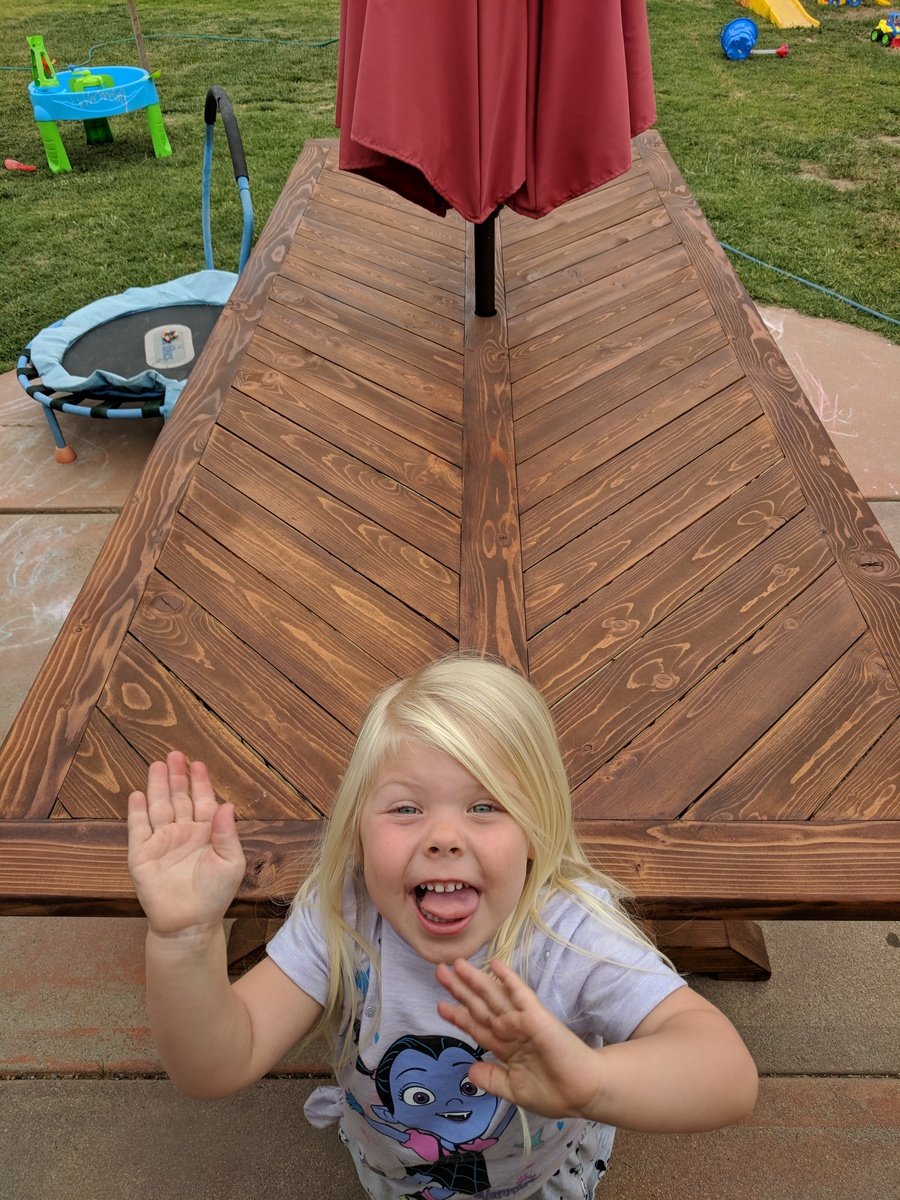
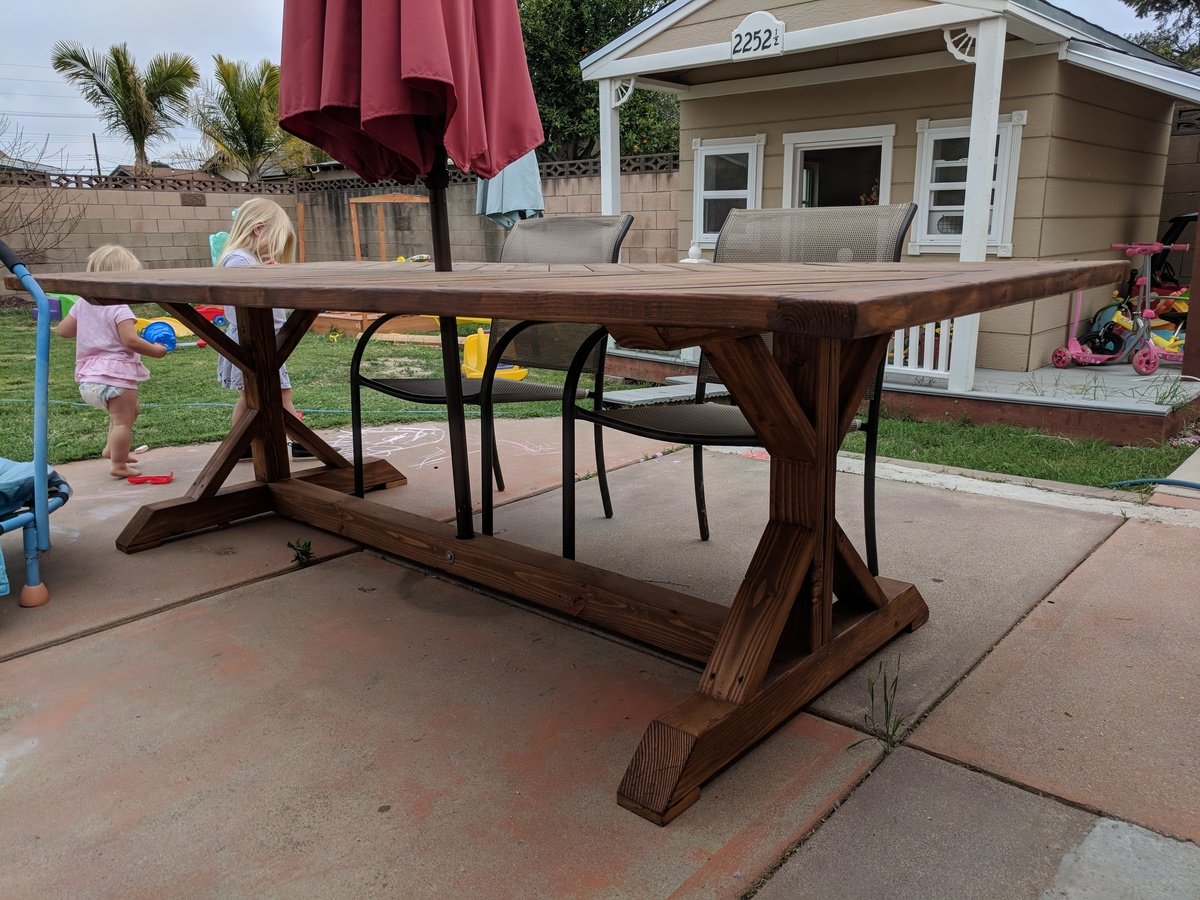
I followed the X-table plans for the base and then went a little nutty on the table top. I also beefed up the bottom stretcher on the base as I felt it complemented the 4x4s used for the feet well. I left off the diagonal braces as I liked the contrast of the beefy legs and stretcher and the open airy appearance between the base and tabletop. There were several blogs/ideas on Pinterest about a Chevron style table top. I took pieces from all of them for my design. The table measures 99.75 inches long by 41 inches wide. I thought being a quarter inch under 100 was a bit quirky and did it merely for that reason. Oh and please forgive the photo bomb by my daughters. I could not take a picture without getting at least one of them in the frame. My oldest is being a little silly in the pic trying to show the detail of the Chevron design--or split Chevron as I'm calling it.
Sun, 04/29/2018 - 07:22
your table looms beautiful. I hope your finish holds up on this one.
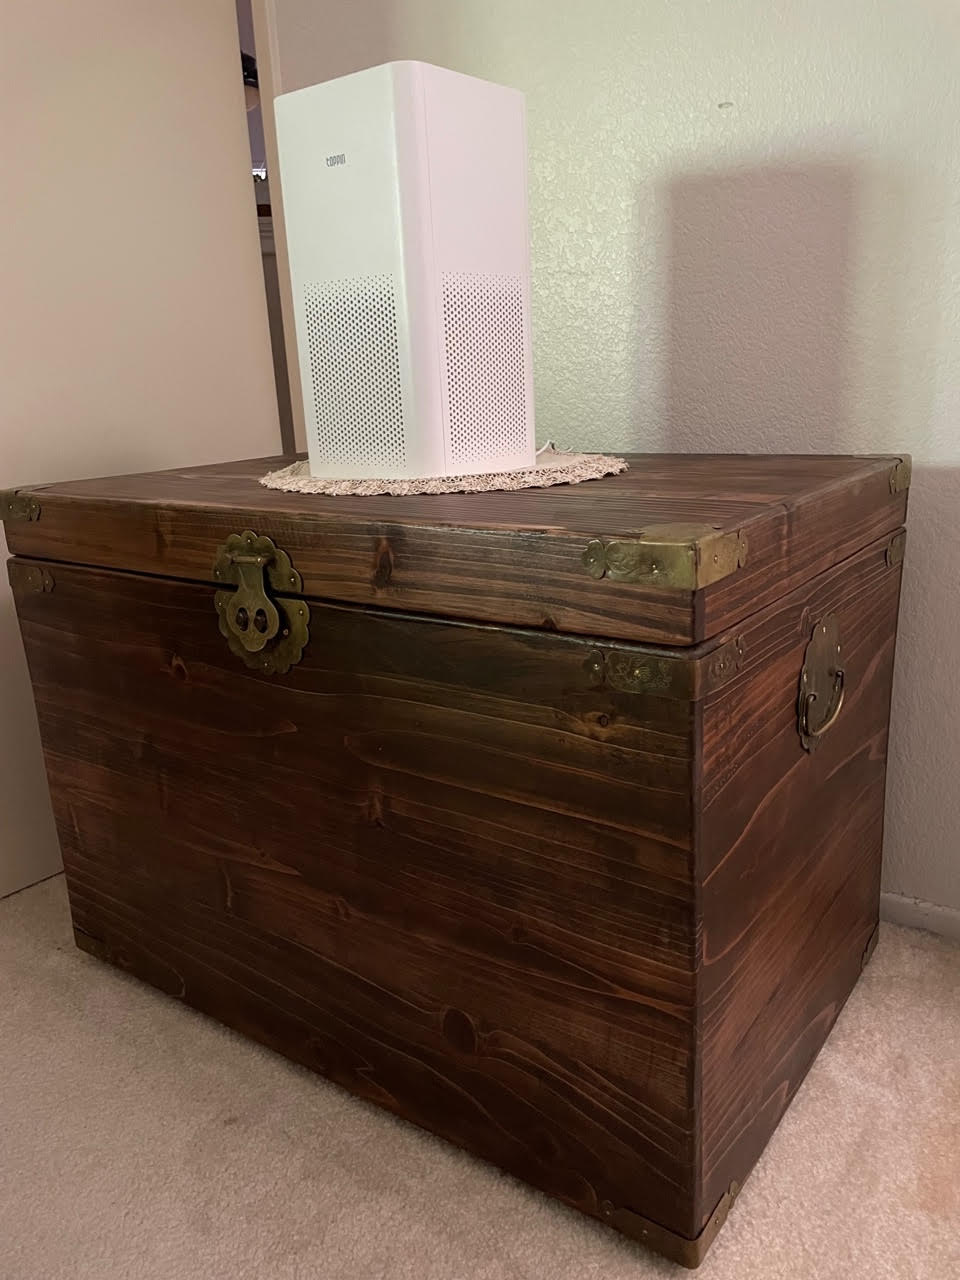
Wooden chest built by Daniel!
Sun, 04/24/2022 - 20:40
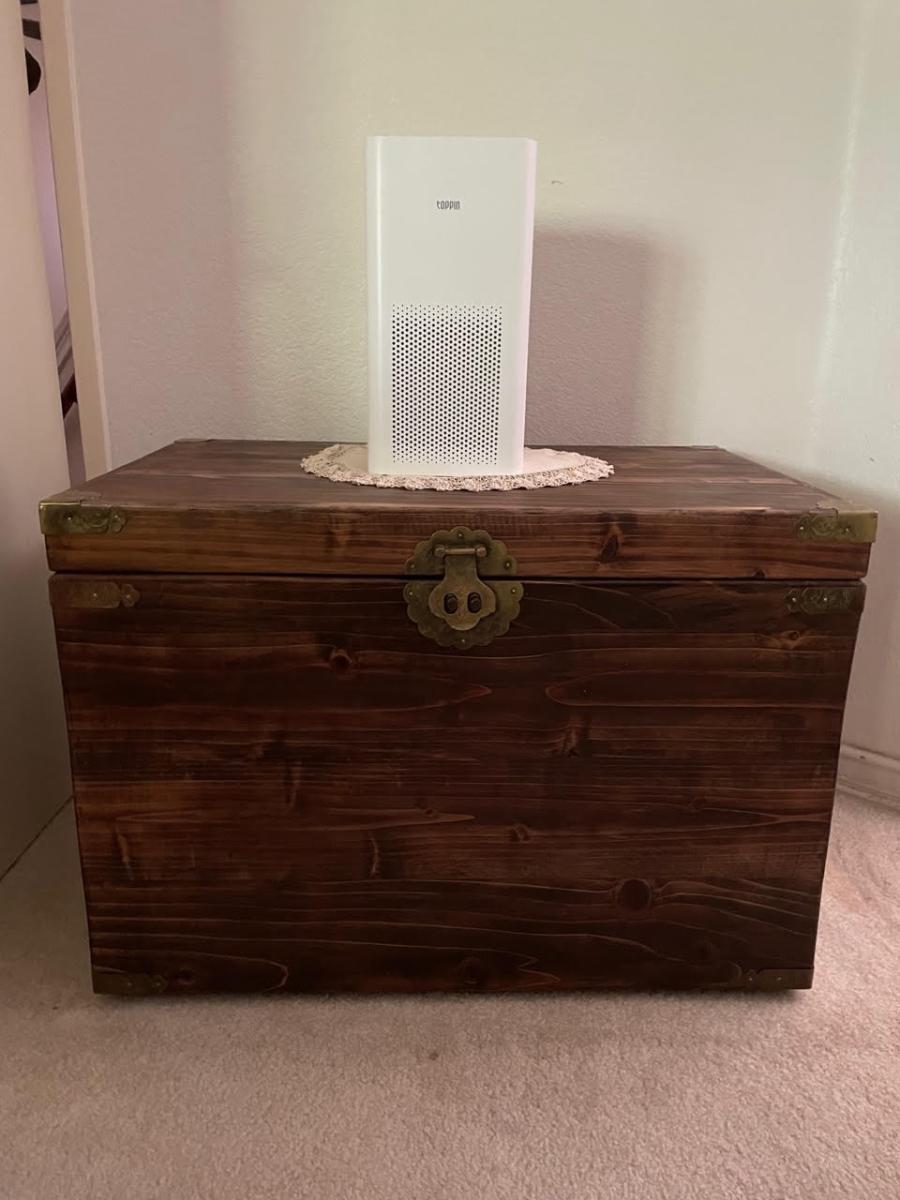
My wife's old chest fell apart, so I took the hardware from the old one and a few cedar fence pickets.
This is the end result.
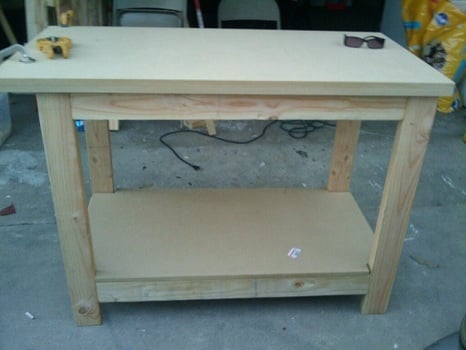
I wanted to start building right away....But had nowhere to build! Anna suggested the Kreg Jig, and since my birthday is when I found the site, "suggested" this as a gift to my daughter, who passed it on to the big guy...and viola, Master Kreg Jig. Happy Birthday to me! I got the plans from the Kreg Jig Community....super helpful site, answer all questions, and a great resource to beginner builders.
The worktop is made of 2 pieces of MDF, which is SUPER durable. Loved working with it. This took a day, and not a day goes by that I don't use or get some kind of compliment on it. What's really neat is there is a utube video to follow as you build geared towards the just starting out builder, which shows layout, cuts, jigging, very easy to follow. Plan is on Kreg Jig Community, free if you register, as well as lots of cool free plans....not quite as cool as Anna's :)
Very reasonably priced about $70 inc 100 ct Kreg screws
This is a wall ornament I made for my daughter for their get away home on the golf course at Canadian Lakes, MI. "No animals were hurt in the mounting of this moose head" The only thing to suffer was a few pieces of scrap wood that I had laying around.
Fri, 08/09/2013 - 06:14
Very cool! Did you come up with this idea on your own or are there plans for this?
Fri, 08/09/2013 - 08:24
My daughter say a small one on a shelf in a little restaurant in Stanwood, MI and told me that she would like one, only larger. That was as large Asia could make it wit the scrap wood that I had laying around.
Fri, 08/09/2013 - 08:29
My daughter say a small one on a shelf in a little restaurant in Stanwood, MI and told me that she would like one, only larger. That was as large as I could make it with the scrap wood that I had laying around.
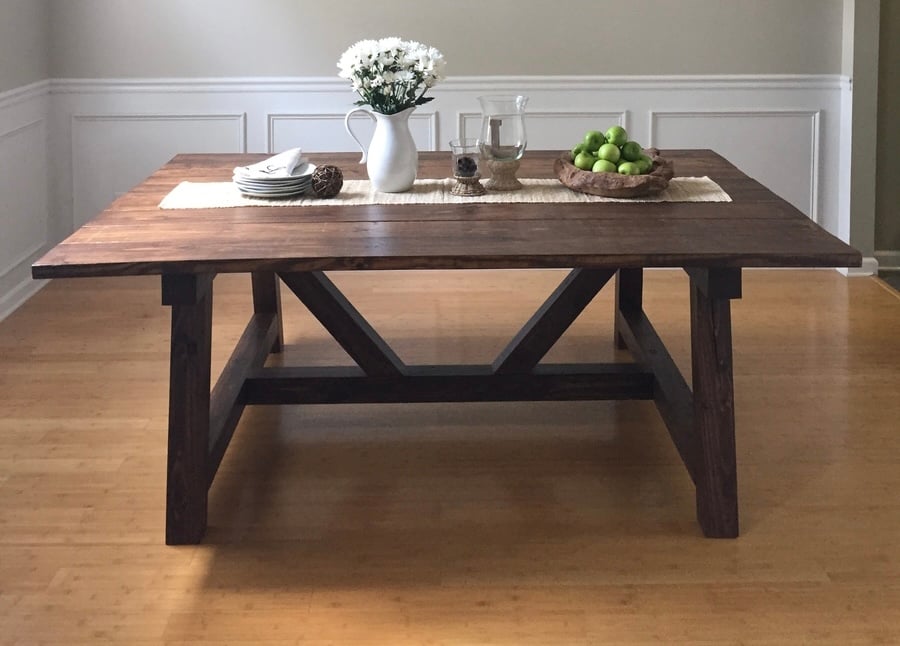
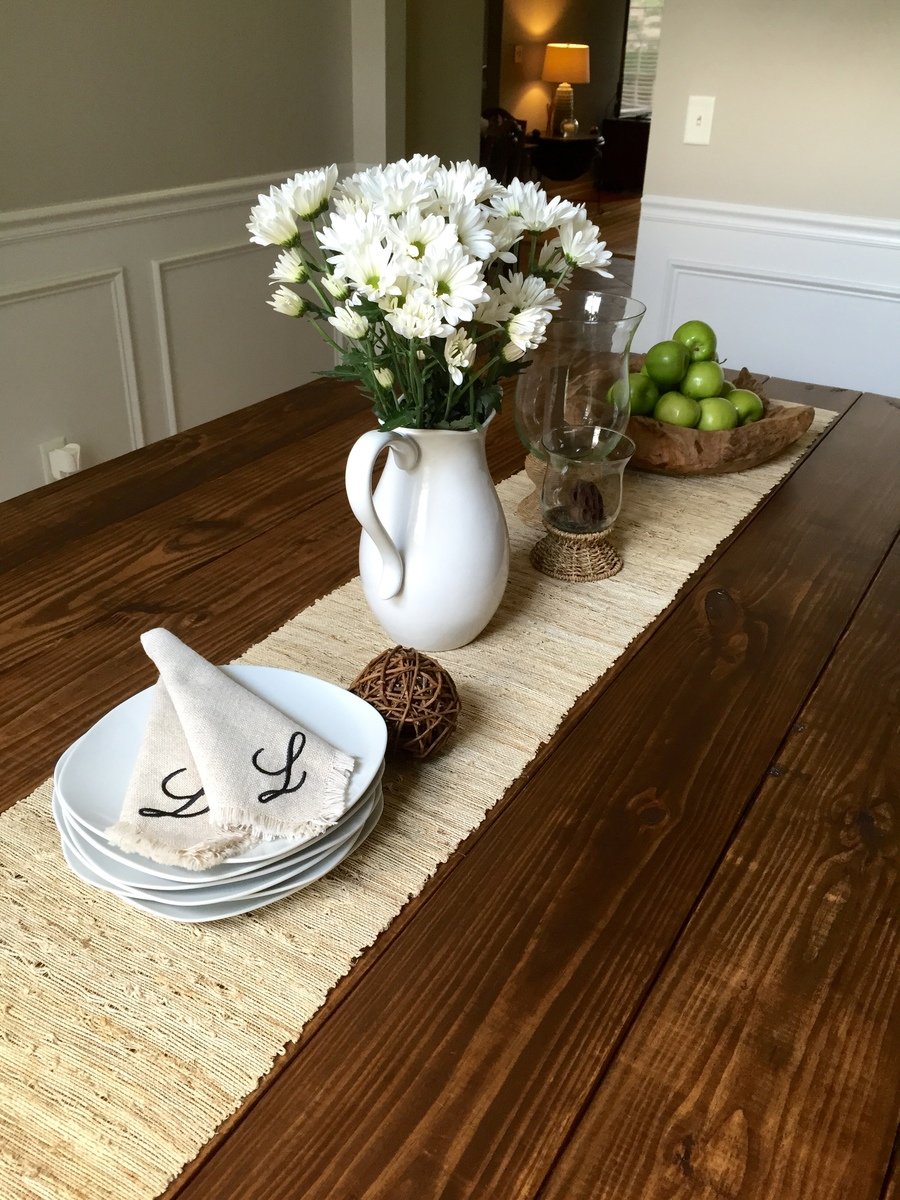
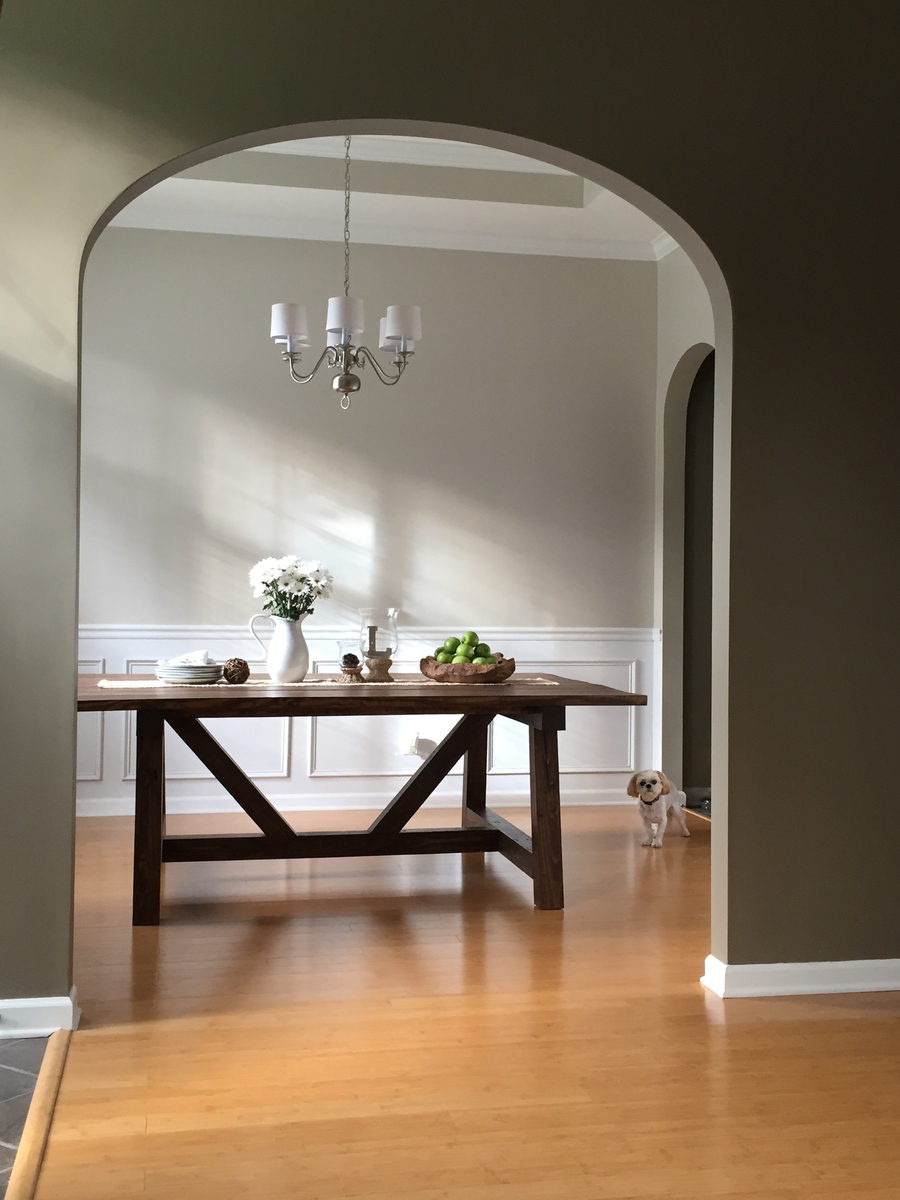
My husband and I moved in to our new house last fall and we needed a dining table that would seat at least 8. We picked this plan from Ana's site because I love the look of the 4x4 beams. I used Adobe Illustrator and my math skills to modify the size and scale to fit our dining room with exact spacing all the way around. We had difficulty finding untreated 4x4 beams but were able to special order some for a reasonable price from a local lumber company. It is more expensive than combing 2x4s but I did not like the pieced together look of the 2x4s. We stained with Rustoleum Dark Walnut and Matte Poly just like the blog post from Ana's site. We also used the Kreg Jig HD which is SO AWESOME! We love the table. Now we just need to decide: chairs vs. benches. I hate to block the beautiful truss design of the base. Its so gorgeous!

Mon, 08/31/2015 - 14:18
I love this table. The finish came out great by the looks. My wife and I are moving into a house soon and I think this is going to be the design for our table as well.
Mon, 09/07/2015 - 06:21
What a beautiful table! Is this table square? We are also looking to build a table to sit 8 and love the look of yours. Could you share your cut list or dimensions?
Mon, 08/29/2016 - 06:08
Thank you for all the kind comments! I did not know that I had gotten any and had not checked back over the past year. The jump drive with my dimensions on it got damaged last year shortly after the build and I lost all of my home decor files including the AI with my cut list and dimensions. I know it had been a while since several of your comments but I will see if my husband can help me measure the table and figure out what the dimensions are and post them on here for you. Happy Woodworking!
Tue, 11/15/2016 - 18:01
This table really looks great! I'm about to start making one and would love to know the dimensions you used. I also noticed that you didnt use the bread boards on either end. How many people does this table fit?
Thanks!
Mon, 02/27/2017 - 08:51
No, we did not use bread boards. It seats 8 with plenty of room.
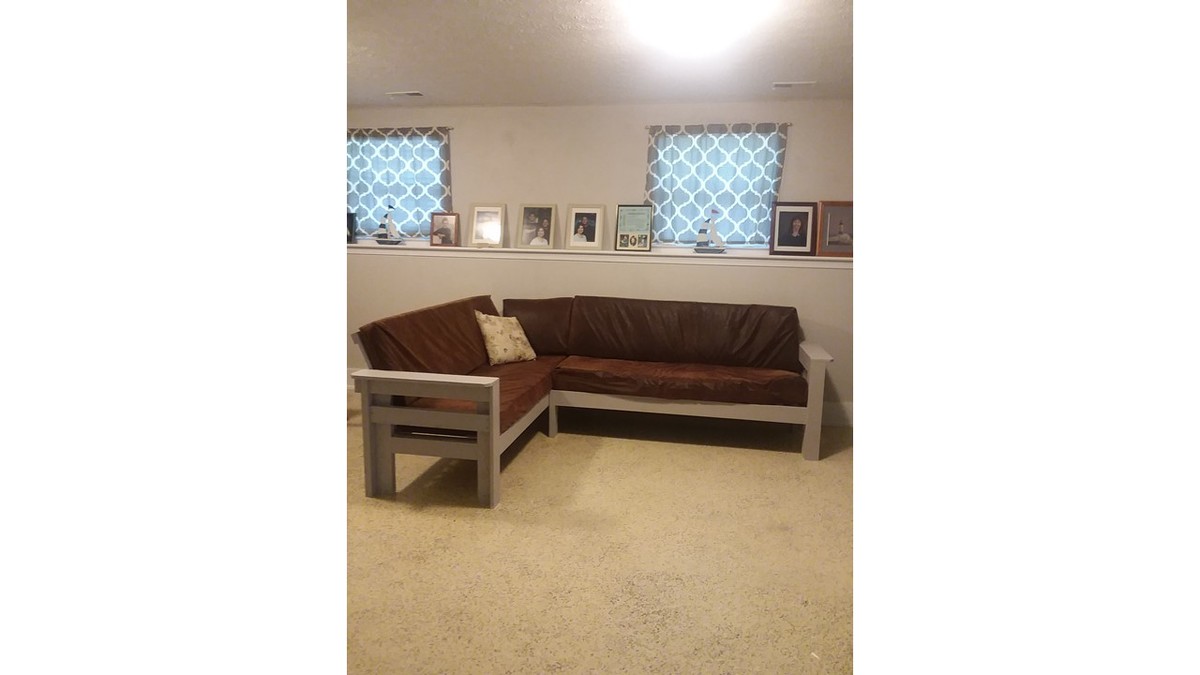
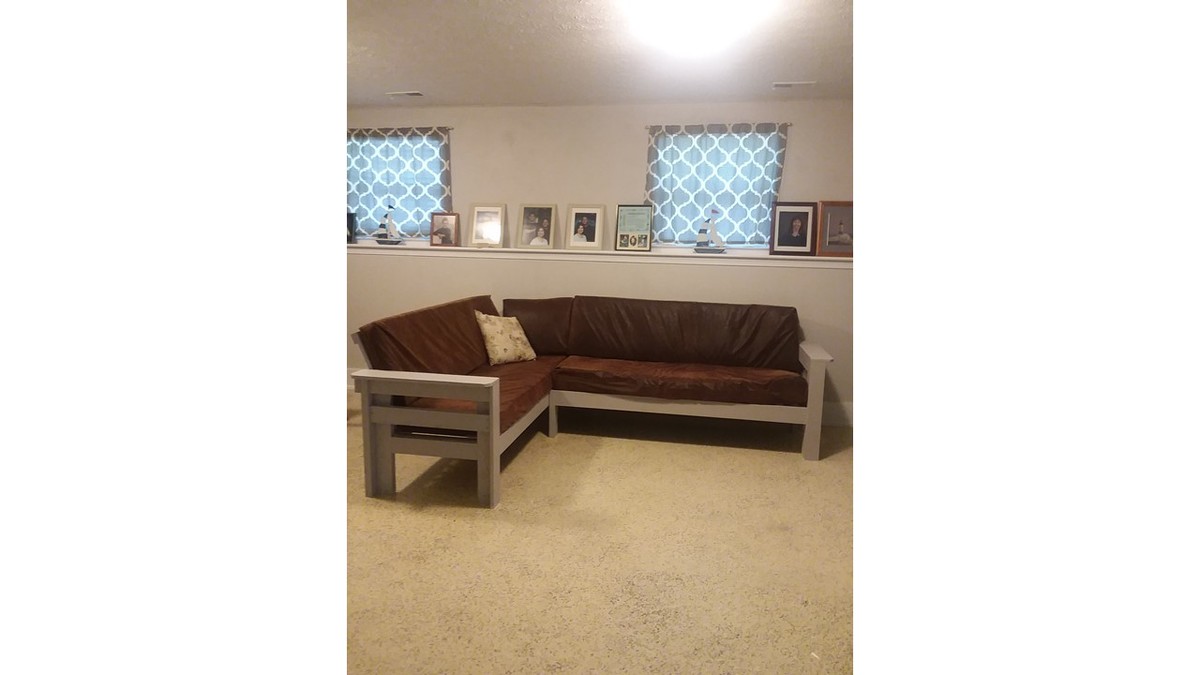
This project evolved from us purchasing the wrong foam to go under 4 area rugs. After it didn’t work for the first rug, we had 3 more rolls of the stuff that we couldn’t take back to the store (we had waited too long to do a return). I originally had intended to buy an inexpensive sectional sofa for the downstairs family room, but with all this foam staring at me, I decided to put it to use and make sofa cushions. There was enough foam to do a whole sectional!
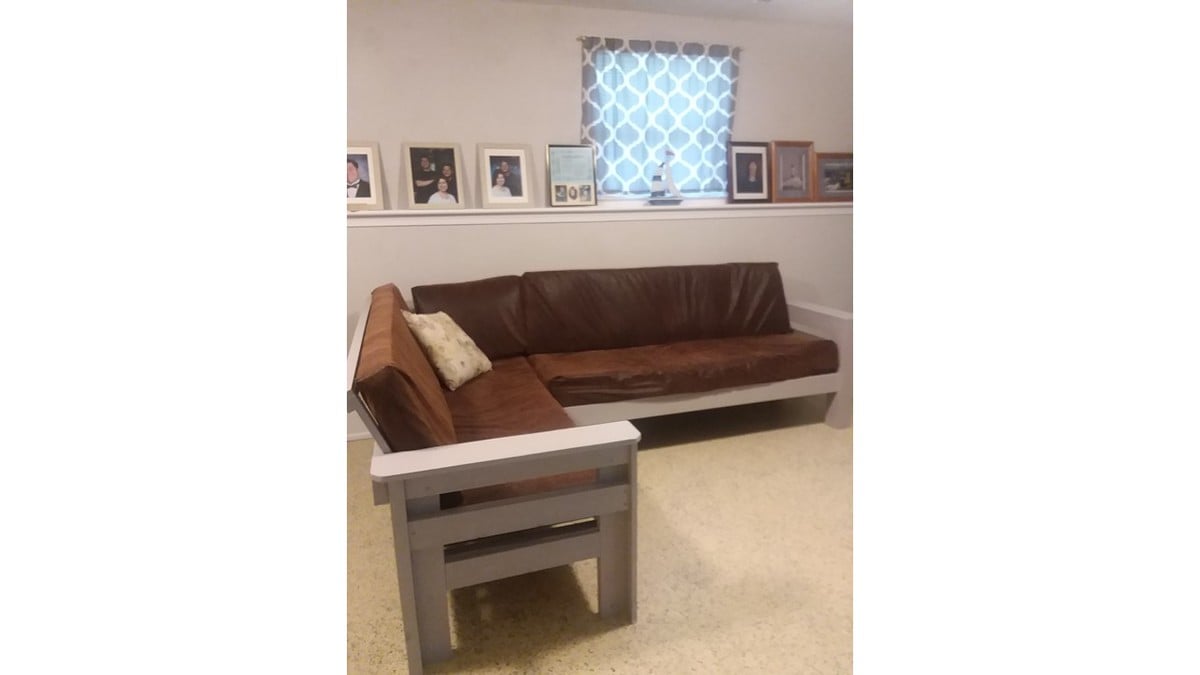
The sofa frame is based on Ana’s Outdoor 2x4 Sectional sofa. I adjusted the size, because the fabric I wanted to use was 54” wide, and that would fit nicely around a 22” deep x 4” thick cushion. Each cushion is 11 layers of the foam (seat cushions: 67 x 22 x 4, backs: 67 x 18 x 4). That length for the cushions fit exactly into the 8 yards of fabric available on the bolt. The next week I ended up going back for some more fabric for the corner cushion and an ottoman that's in work.
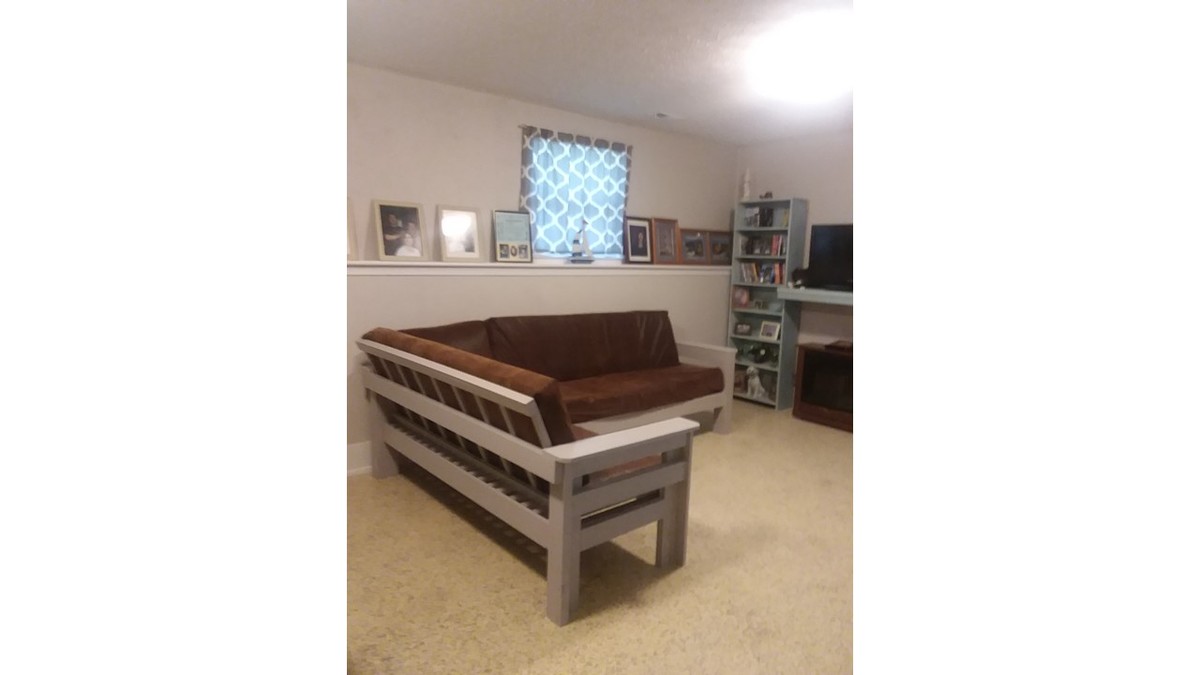
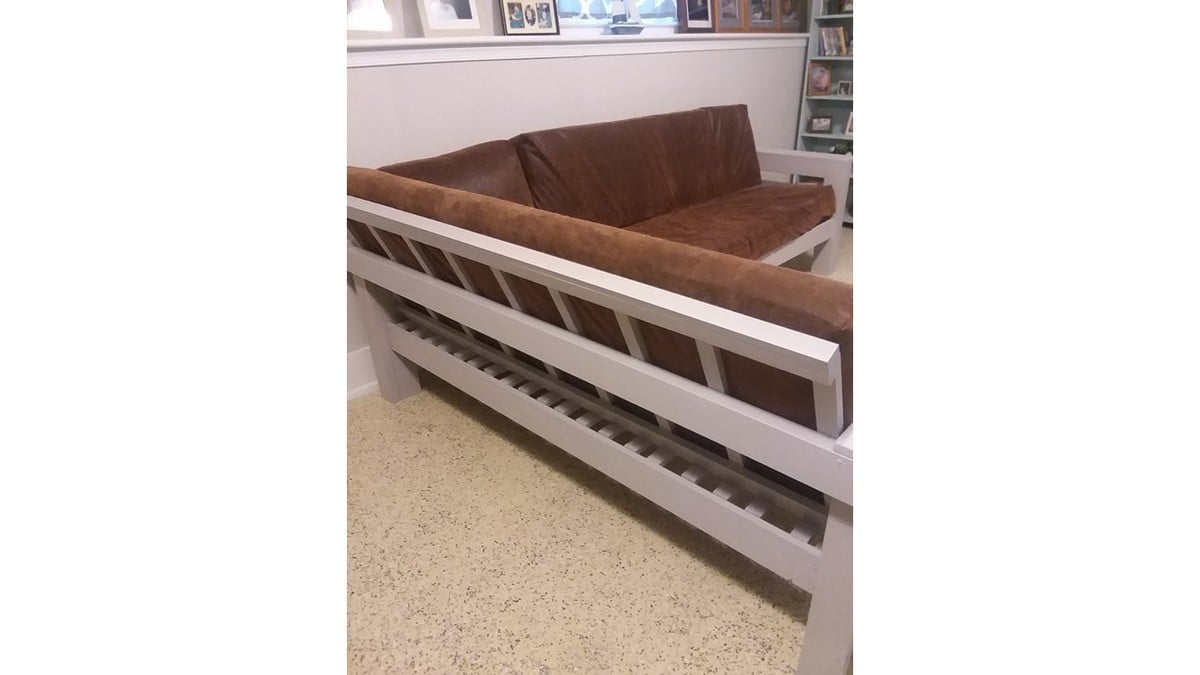
I had the frame assembled and was ready to add the final upper back pieces, when Hubby suggested we give it a slanted back. That required a little re-engineering and a couple of extra boards on the back and armless end. Instead of using 2x4s the full length for the seat, I had used some 1x2 furring strips reclaimed from another project. Also used some of those for the upright pieces for the backs. Added some 1x6 to top the arms and ½ x 3 ½” craft boards to the front to hide the cut 2x4 ends.
The cushions are covered in a polyester faux tooled suede (fabric from Hobby Lobby). The cushion covers are slightly loose on purpose, to give the nice worn squishy look that a real soft leather sofa cushion would have.
It’s surprisingly comfy and we love the look!
Tue, 06/05/2018 - 14:47
You are so resourceful! Love how this turned out! Thanks so much for sharing such detailed instructions, much appreciated!
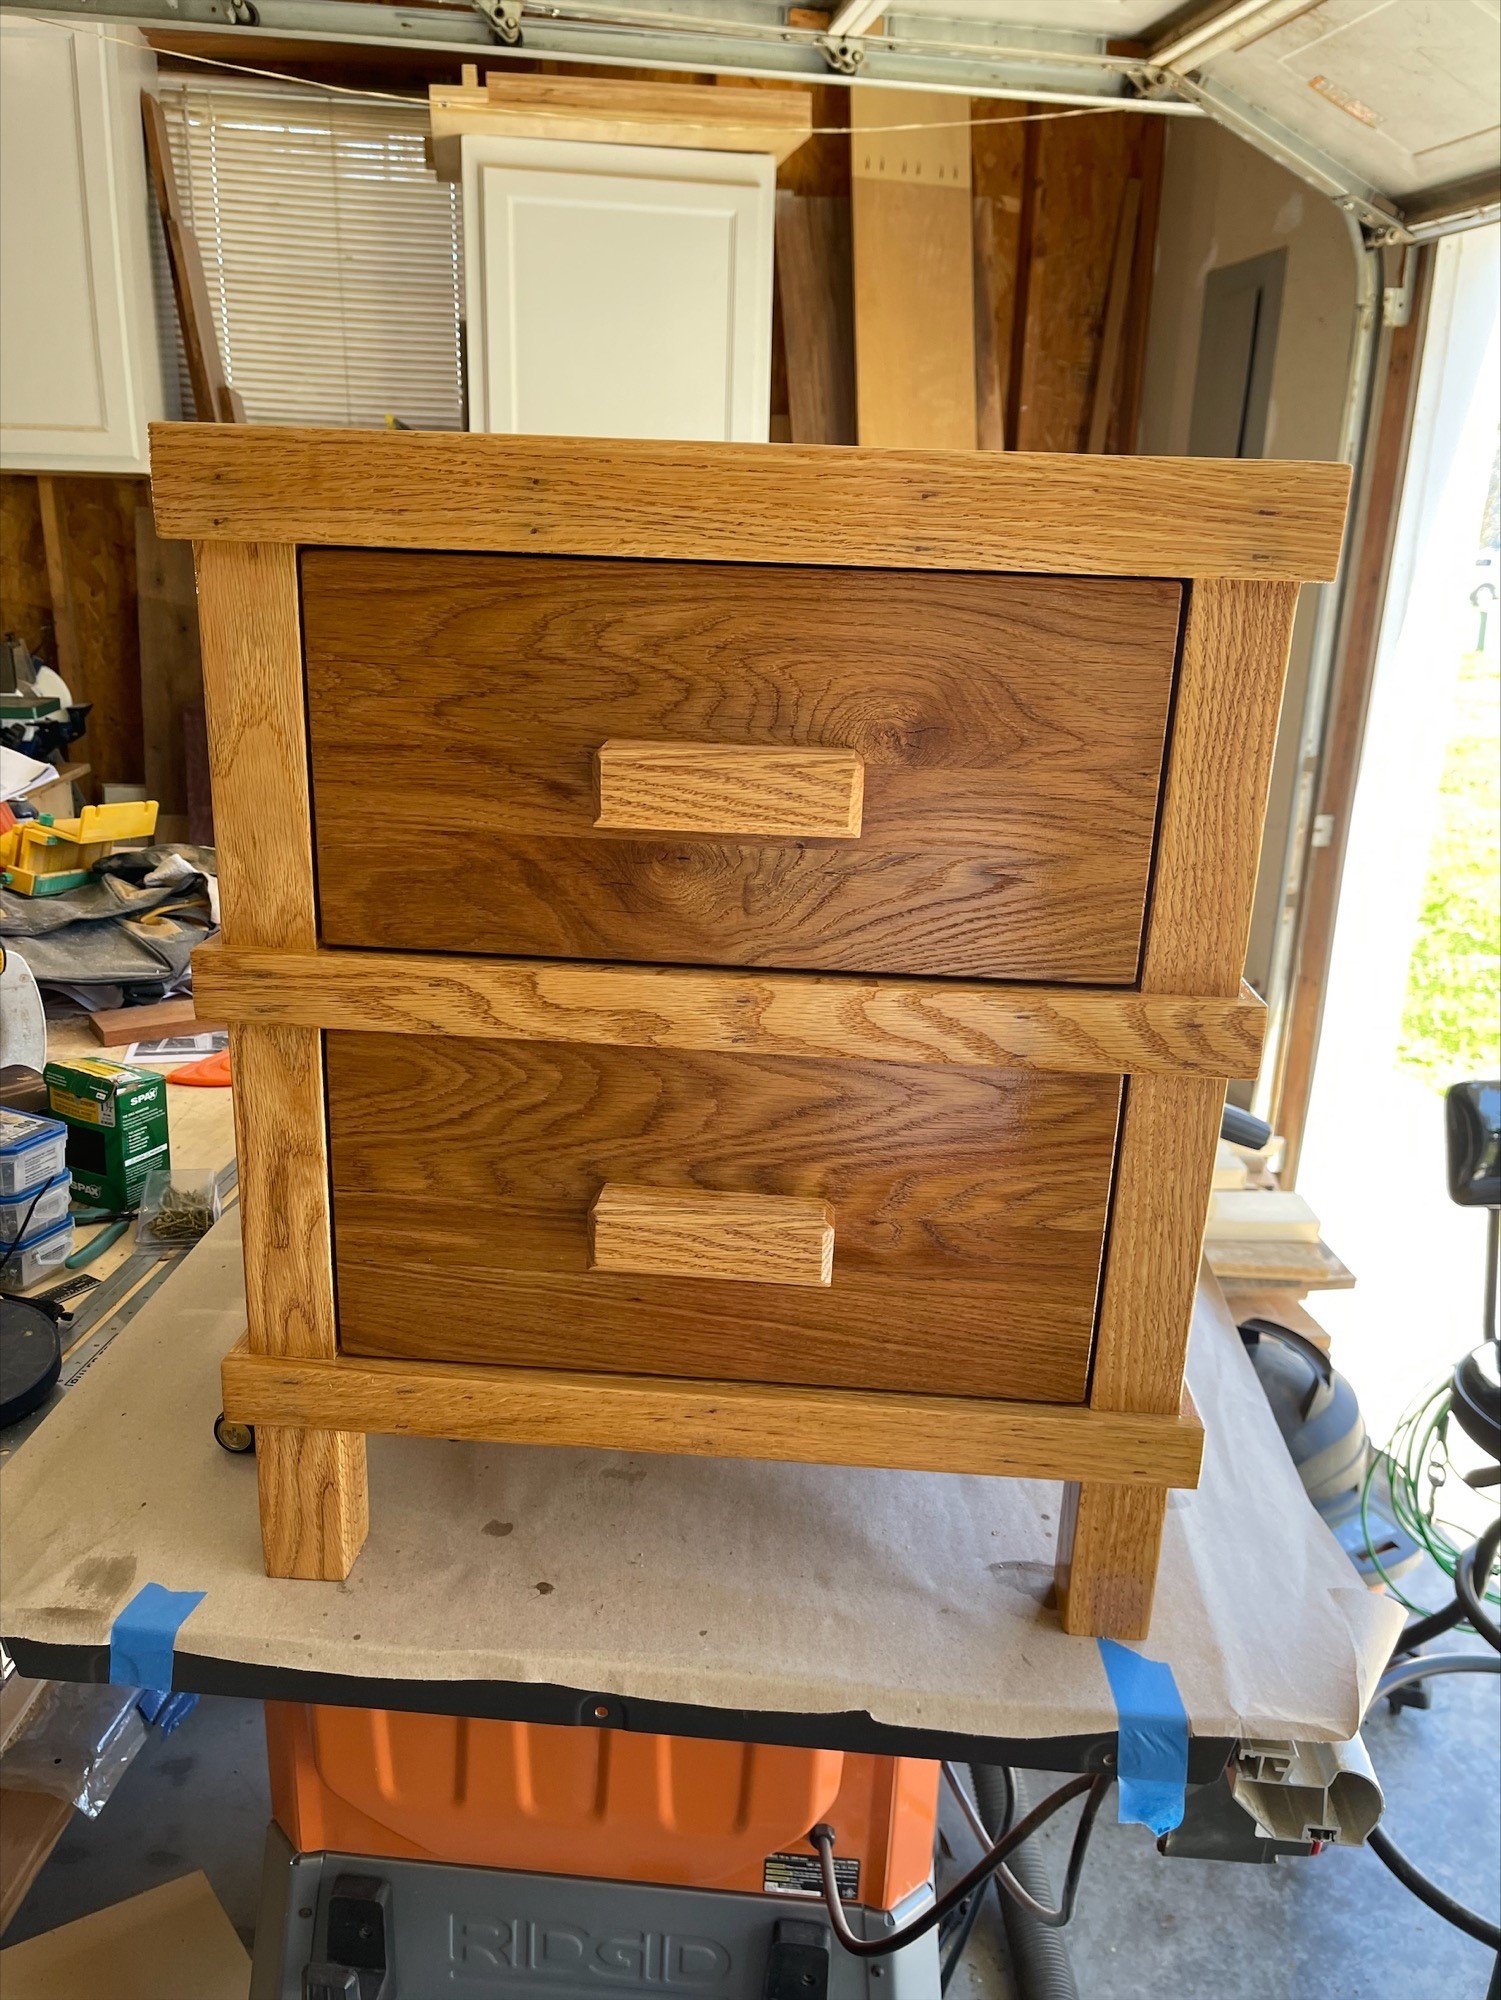
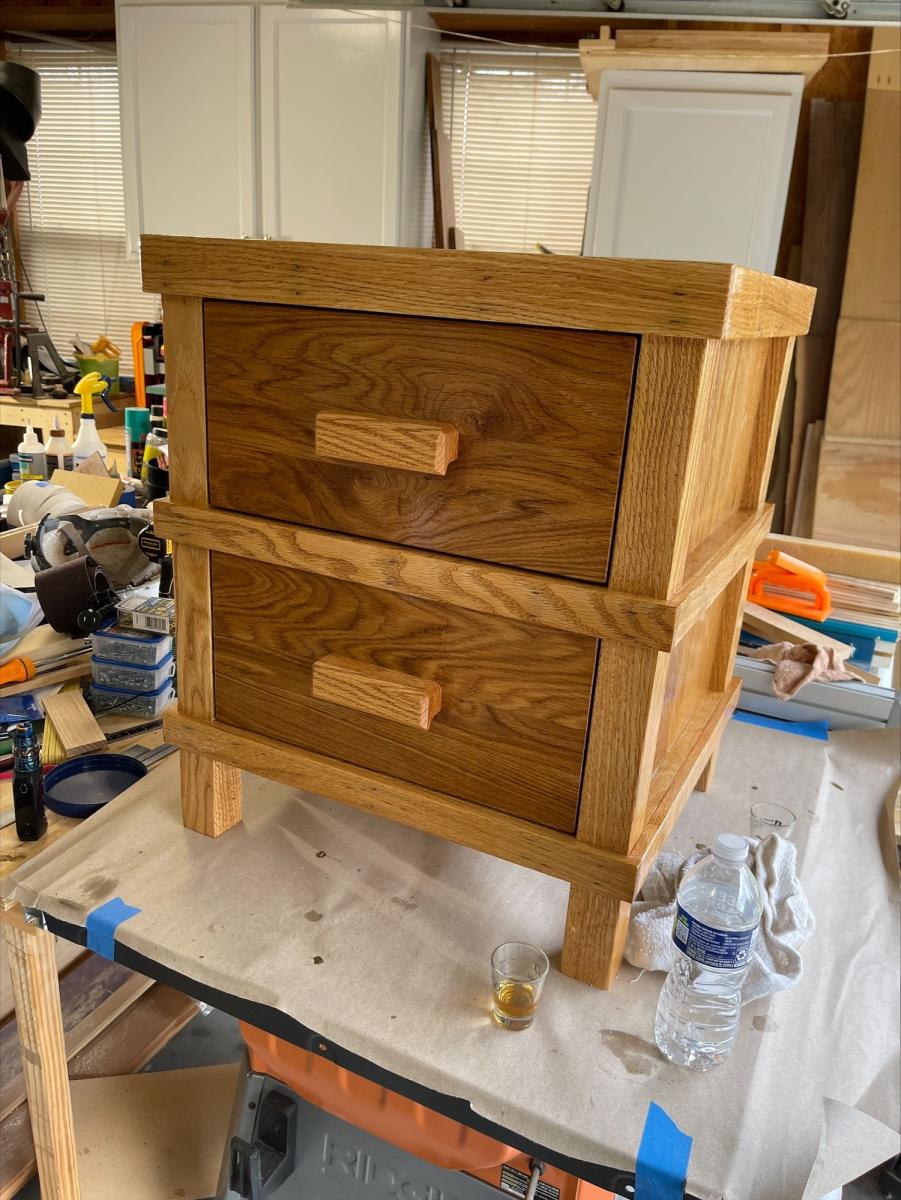
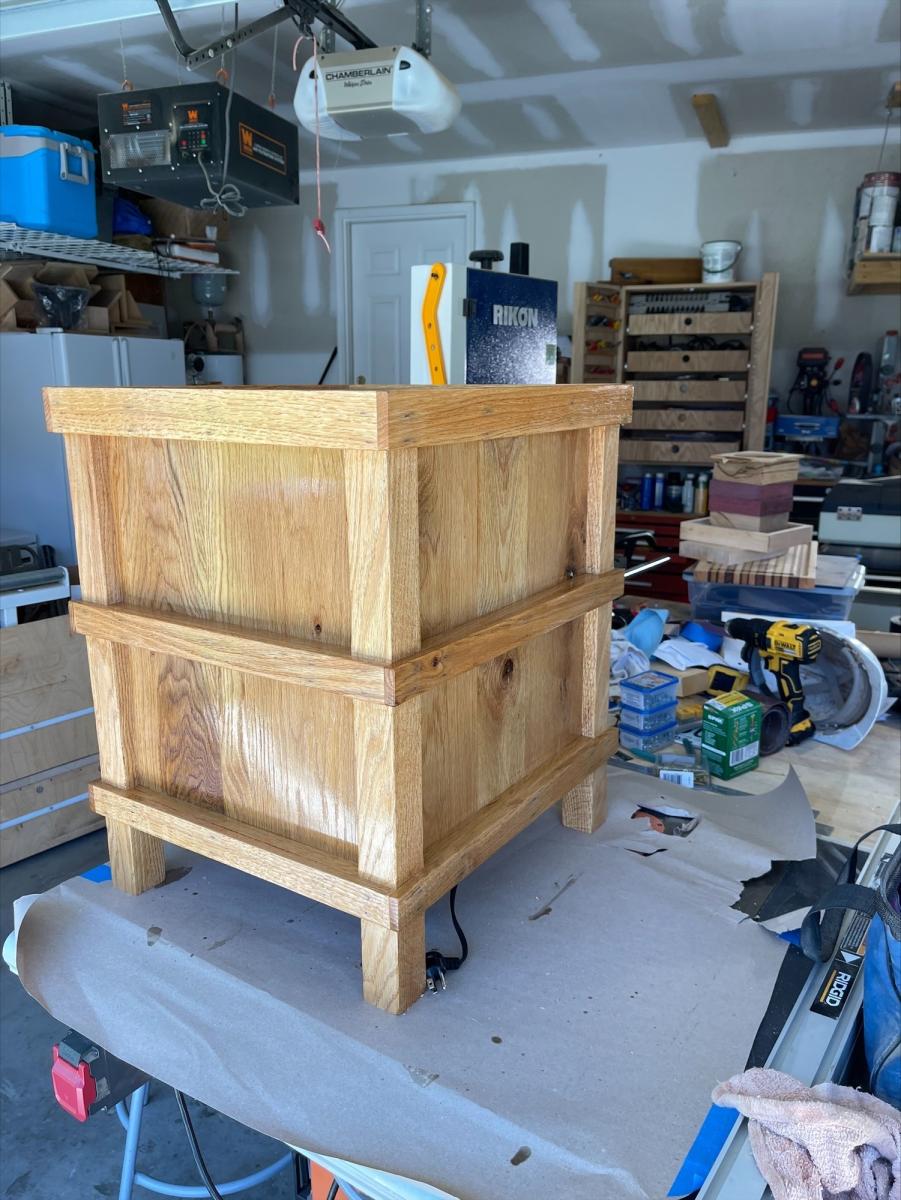
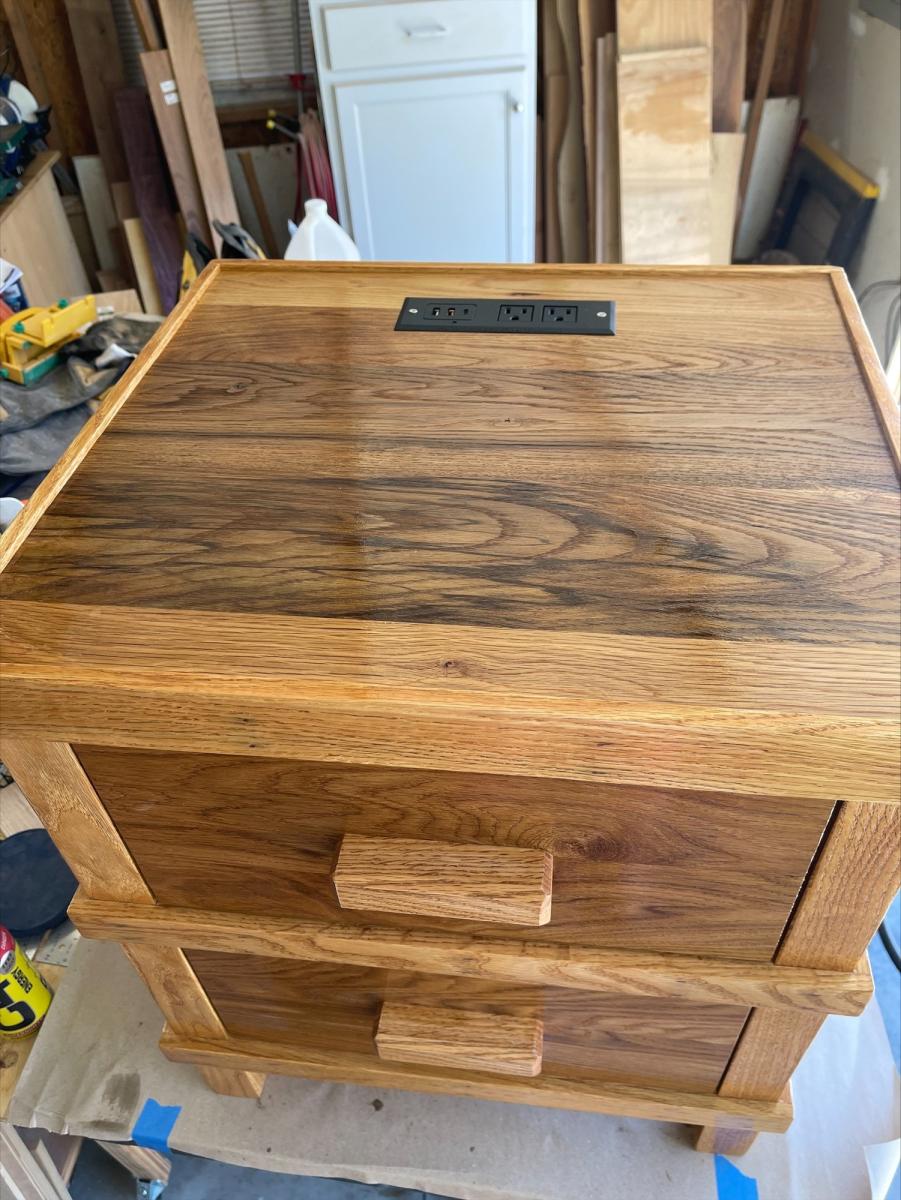
My take on the Pottery Barn nightstand. With the exception of the drawer boxes it's all oak. I used red and white oak to provide some contrast.
Wed, 04/27/2022 - 18:39
This looks great. I really like the contrasting stains.
Just a personal preference, but I think I'd have put the outlets on the back or rear of the side. Dust, spills, etc can get into them (I learned this from having SAABs where the ignition is between the front seats on the floor).
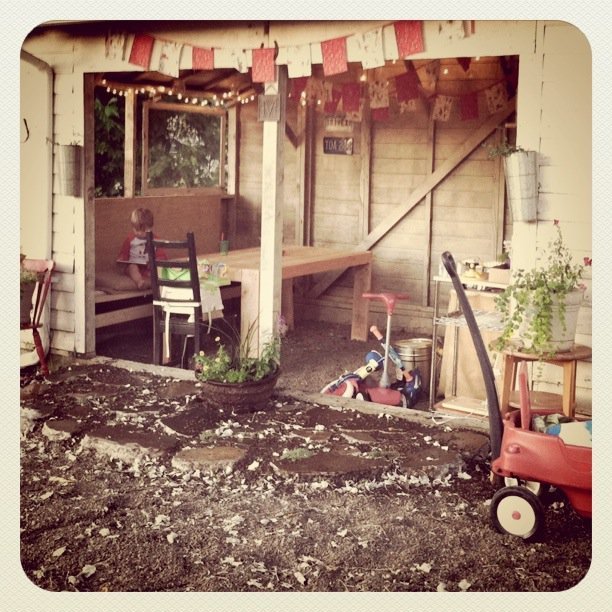
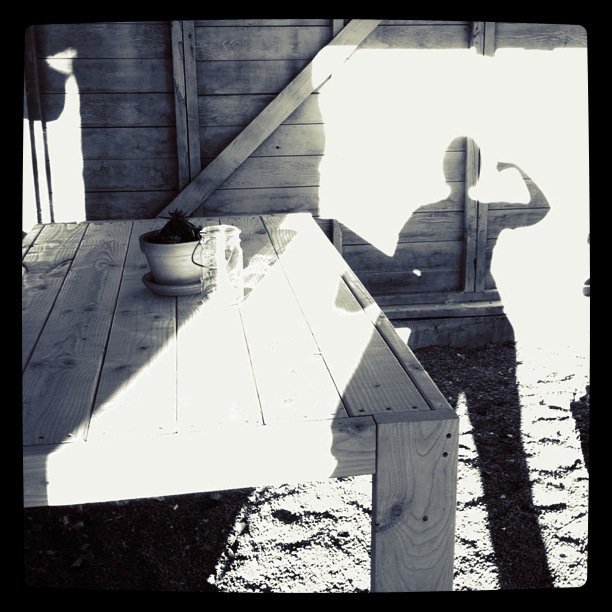
I have a rustic outdoor room made out of our garage. We started the project last summer but it took until this weekend to get a table built. I was skeptical that I would be able to build a table myself, but I knew this table would fit in my backyard decor and I had to do it!
Using the plans from the site, I was able to build this almost entirely by myself. I got help for flipping it and adding the side aprons.
I started around noon with a trip to Lowe's and was done by about 7:30. The wood and screws cost around $50. I still have to finish it and am thinking of staining it dark brown.
Also, the guy at Lowe's recommended that I used deck screws. So that is what I used. I did not pre-drill all the holes. I also put the 2x6s in the table top, then flipped it over and added the 2x2 supports and screwed them in. I think that saved some time and seemed to work out okay.
Thanks for a great project, Ana! I am so proud of myself that I did this! Now I am off to make a bench to match.
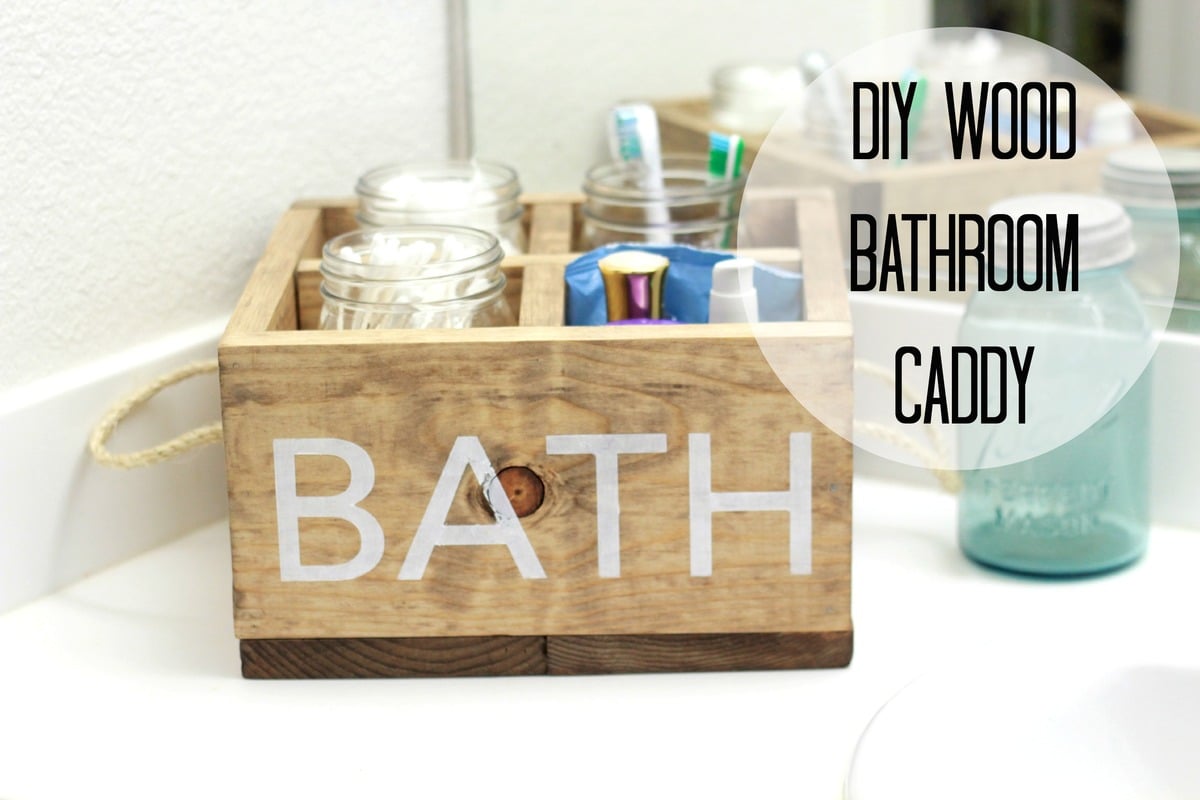
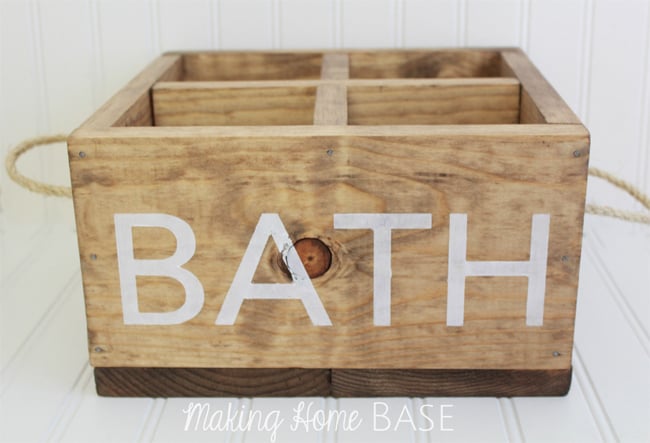
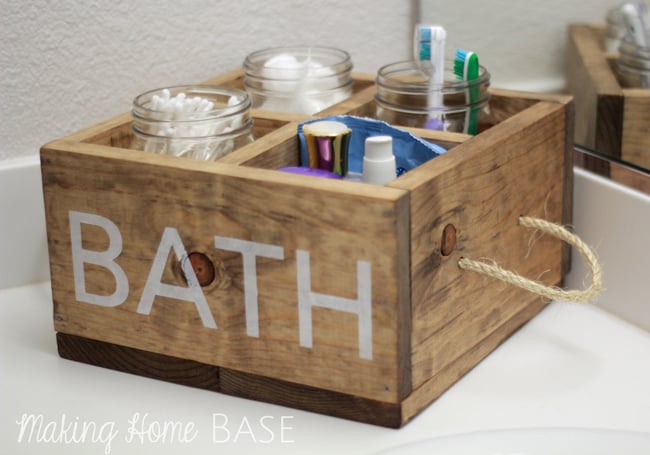
Using Ana's great Reclaimed Soda Crate Caddy plan I built the perfect wood caddy for my bathroom by just adding rope handles and stenciling "BATH" to the front.
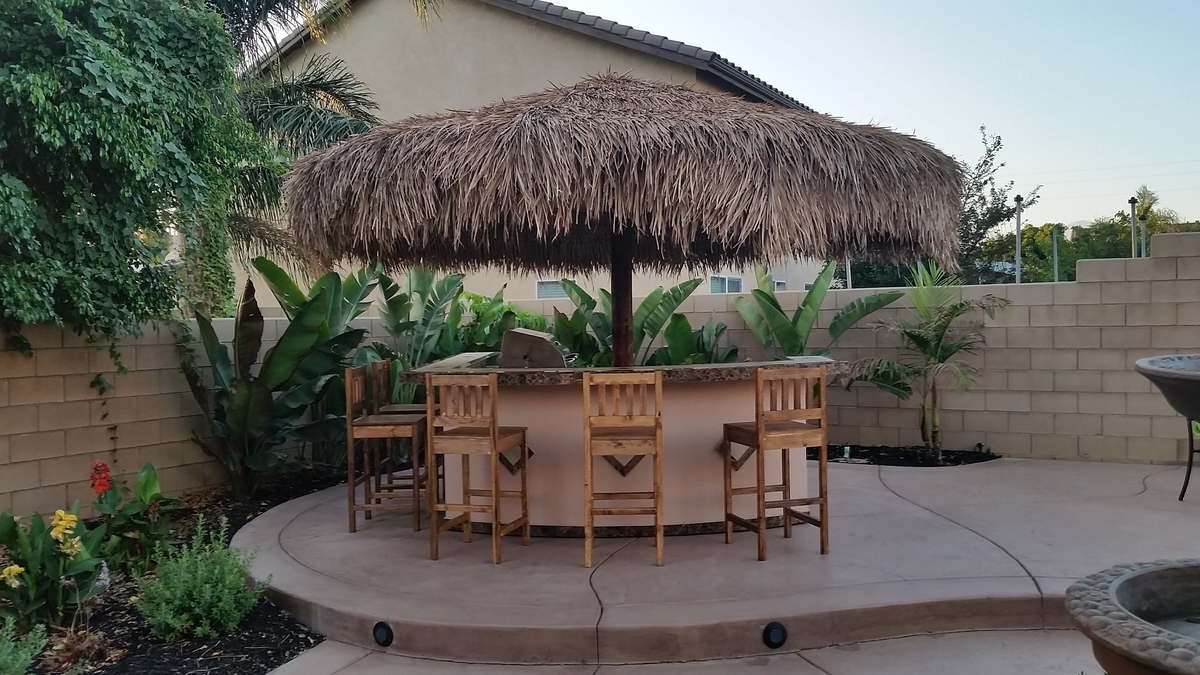
This was a fun and very rewarding project. Thank you Ana for sharing your talent with us. I got tired of stores wanting too much money for cheaply built bar stools, so I turned to the internet and found Ana. These stools are quality built, and at a fraction of the cost. The only thing I altered in Ana's original plan was the backrest. I tried to build the horizontal braces but kept damaging the wood. So I just built them vertically.
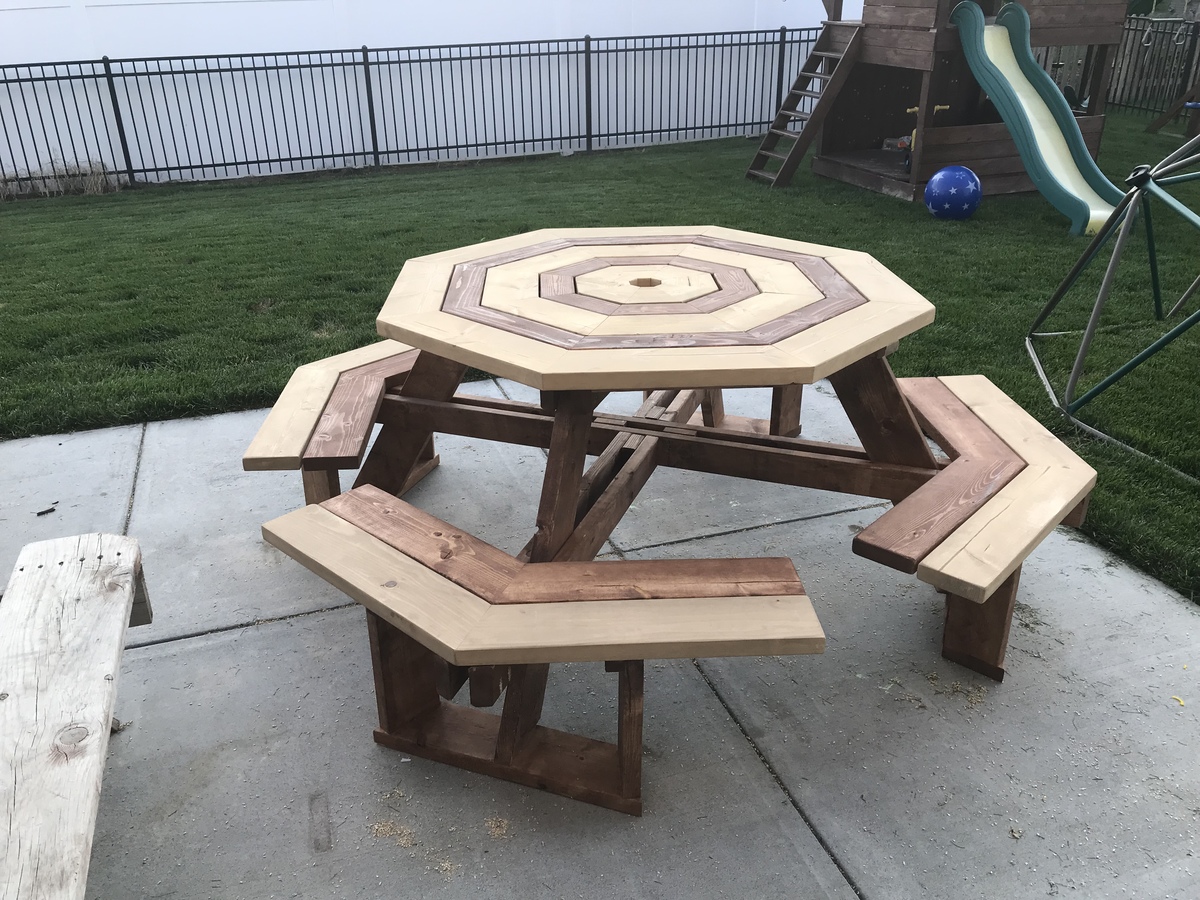
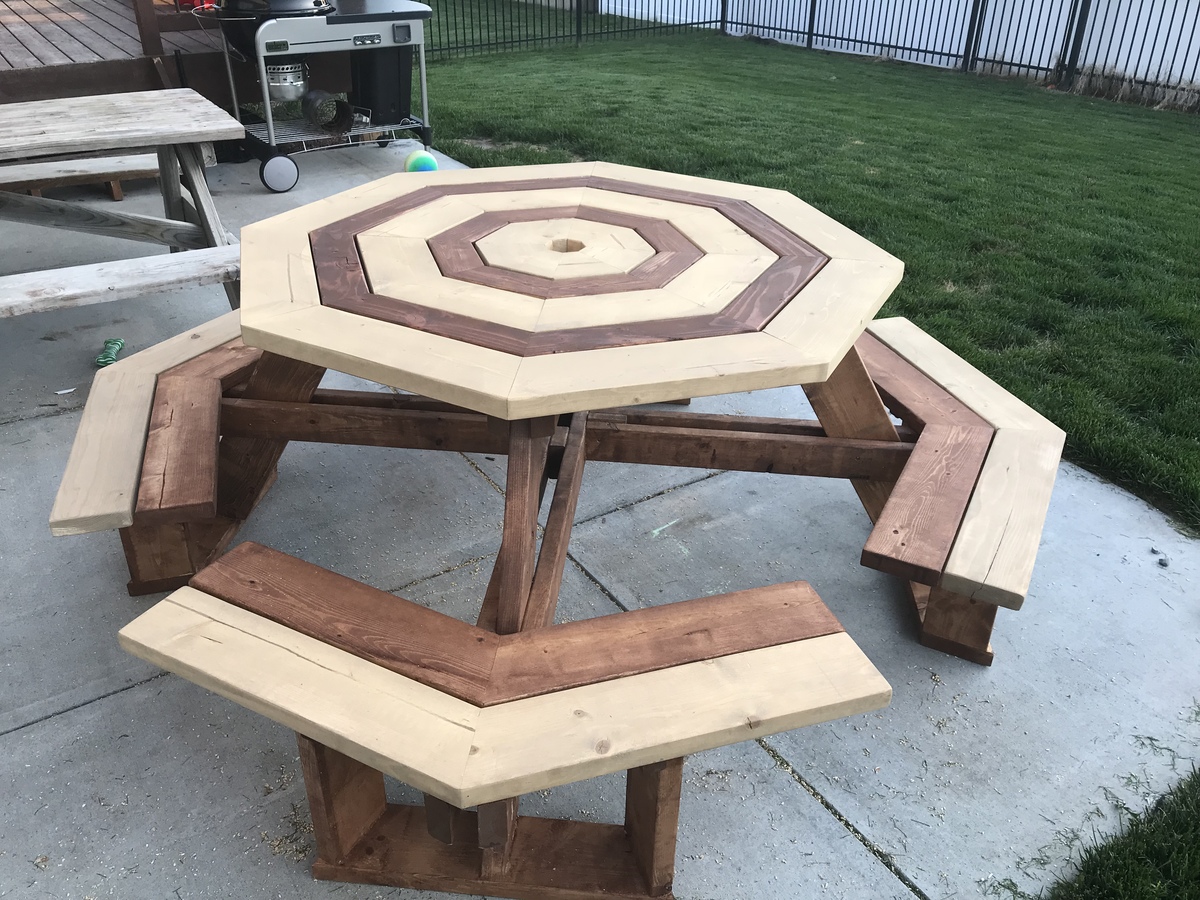
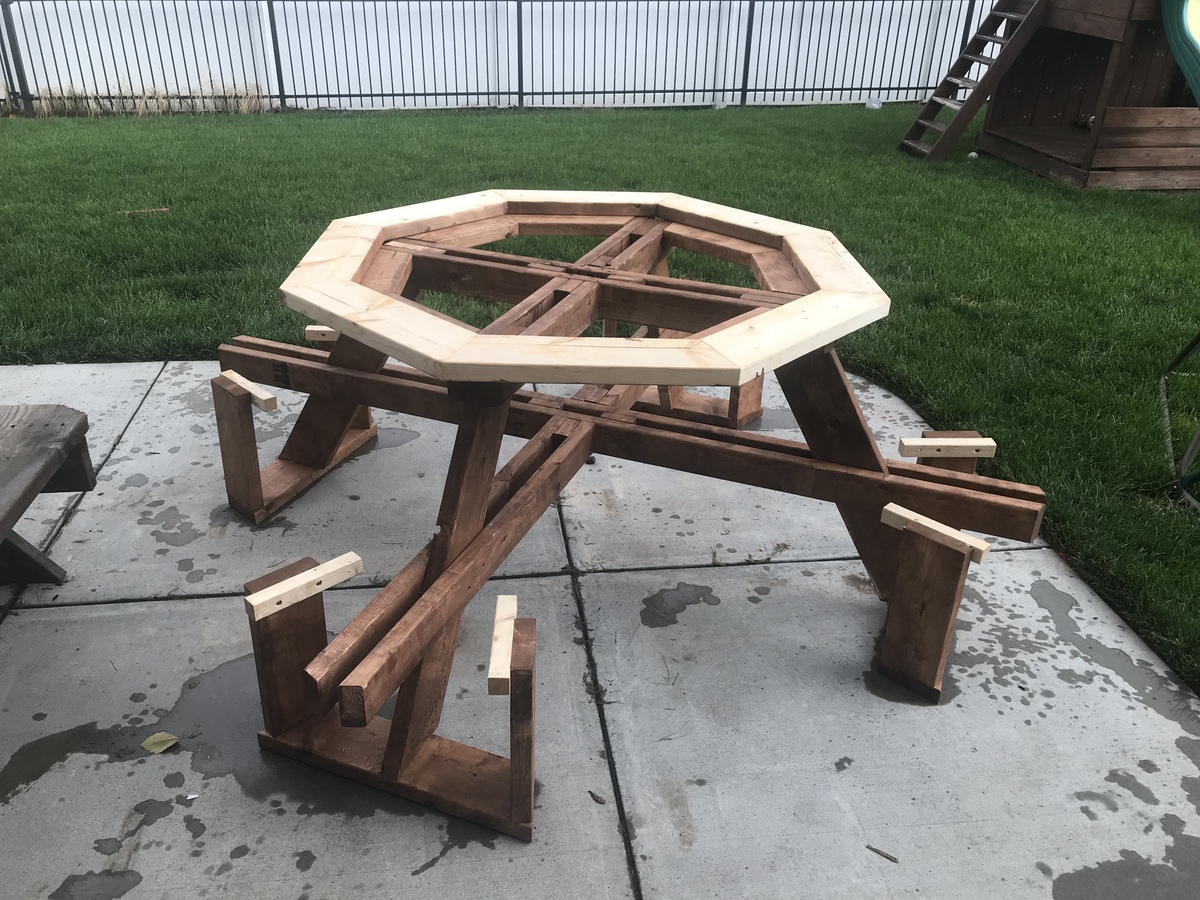
Picnic table is built of non treated pine. 2x6 and 2x4 only. I did stain as I went with outdoor stain just so everything would be protected. I don’t have the exact amount of wood bought but I think it is around 11 2x6 and 6 2x4. I used plans off of YouTube from A Simple Design of Ocalala. https://m.youtube.com/watch?v=WlprN_rUiJg
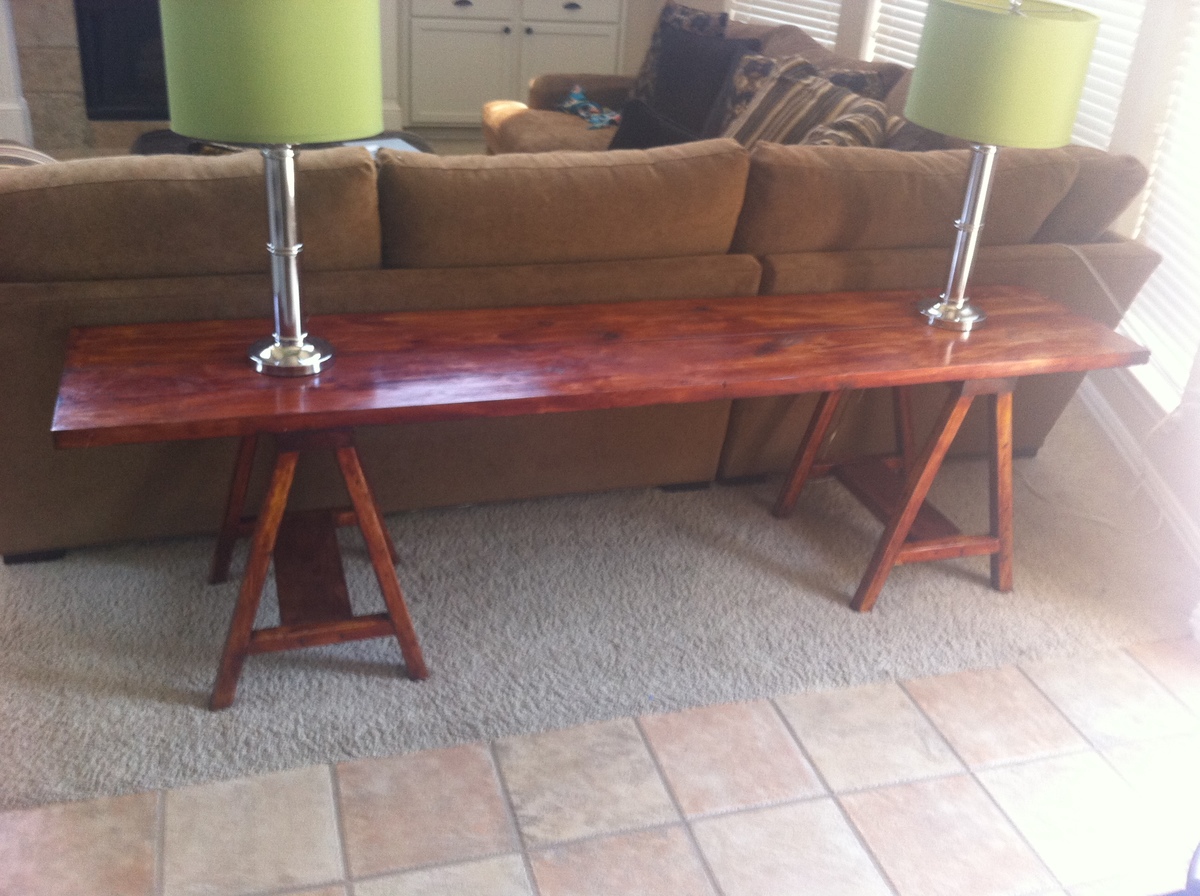
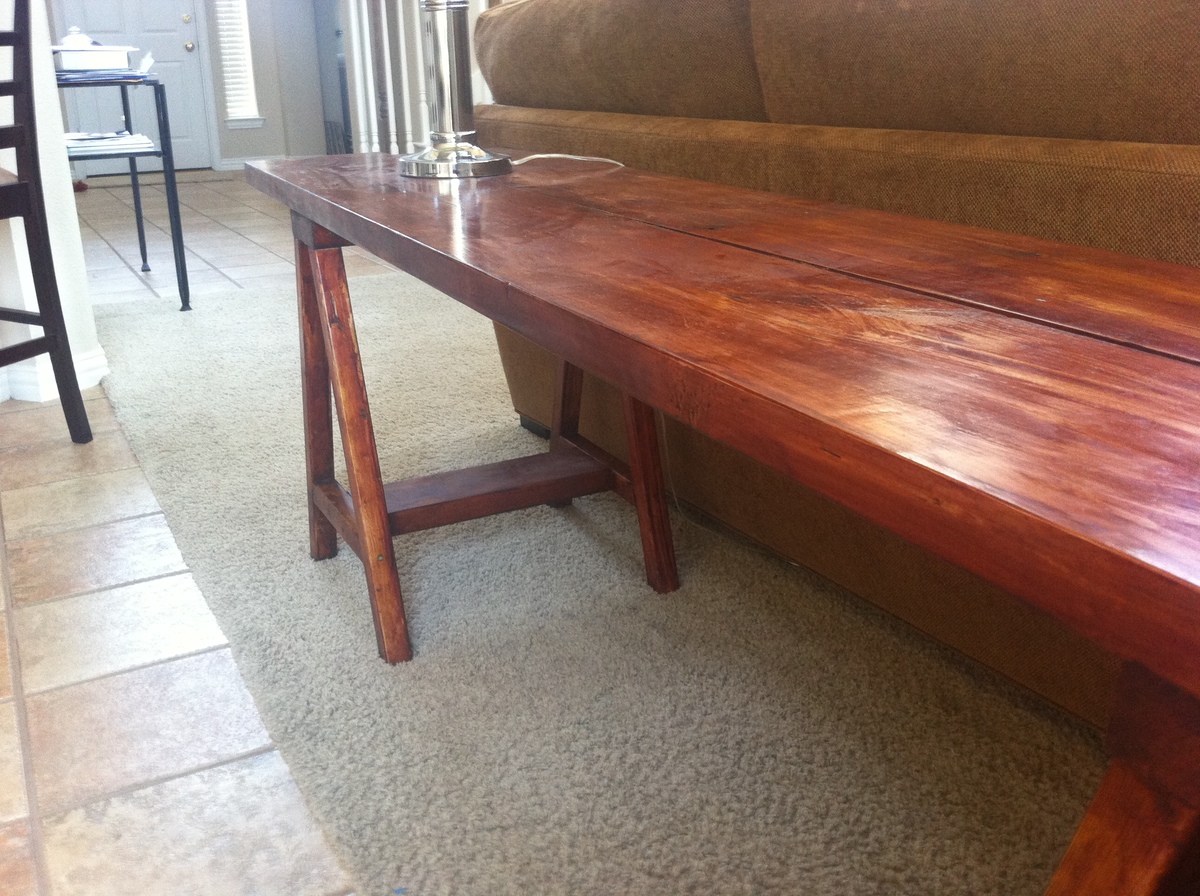
This was my first project that I took on from this site, and I was very happy with the result.
I used the plans from the Simple Sawhorse Table, and adjusted to our needs.
The only real adjustments were instead of using a solid top, I used 2 2x10's. I also made the total length 90" on top.
Very great site, and hope to be building more soon.
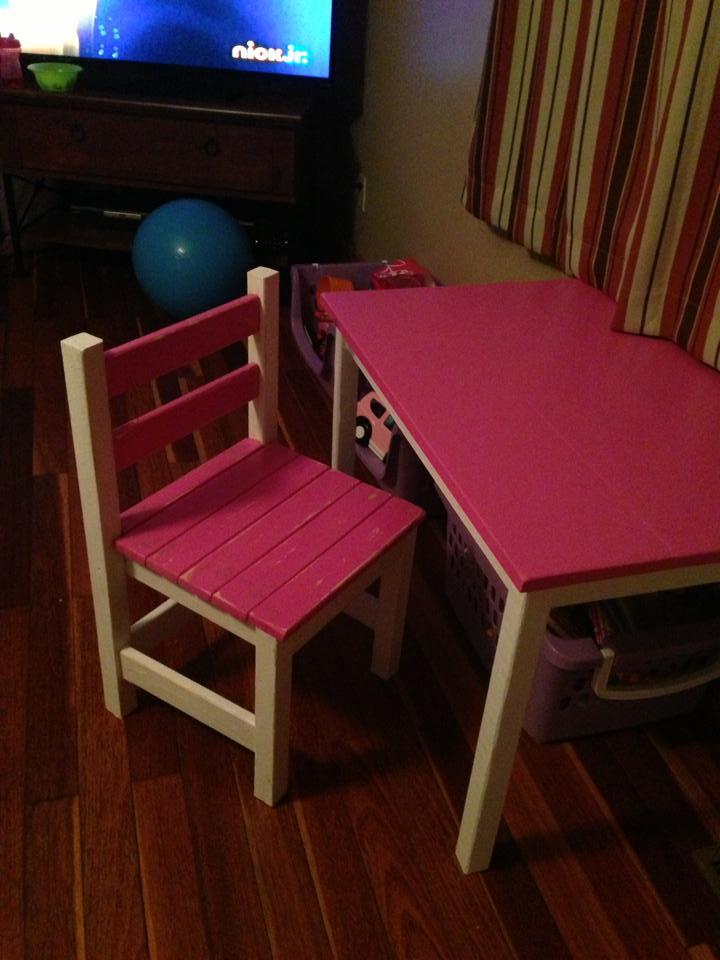
I made the $4 dollar chair and Ana Table. For the chairs I used 2x2's for the legs to help sturdy it up and because of that my seat slats are closer together. It's a very sturdy chair. I can sit on it and it doesn't budge.
The table was easy to do.
Sun, 08/11/2013 - 20:35
This is just so cute! =D Now I want to stop what I'm doing and build one too; infectious! Haha.
Comments
CreativeChaos
Sun, 08/04/2013 - 16:20
Adorable!
That is absolutely adorable! We know all about the little ones wanting to be like the big ones. Great job!
RMoultrie20
Tue, 01/07/2020 - 12:23
We will be making this for…
We will be making this for our toddlers. I love this.
jarsofclay
Mon, 08/05/2013 - 15:57
adorable
Thankyou very much! Yeah it was every day every time I'd go into my work shop they asked if I was making their beds
herrejon
Sun, 10/13/2013 - 17:48
Plans
Hi! it's just what we're looking for!
do you have plans or something like instructions por dummys :)
i'm a begginer
jarsofclay
Sun, 10/13/2013 - 18:07
plans
http://ana-white.com/2010/09/classic-bunk-beds-cleverly-designed.html
Use these plans but scale ut down to size for a toddler matress or crib mattress
plans arent available for the toddler size because its not standard compliance. Retarded I know ...I used the classic bunk. Bed plans and modified them....they are perfect for a beginner
herrejon
Sun, 10/13/2013 - 19:11
Plans
Thanks a lot! It looks so easy! Can't wait to start! I'll share with you our happy little faces when it's done :)