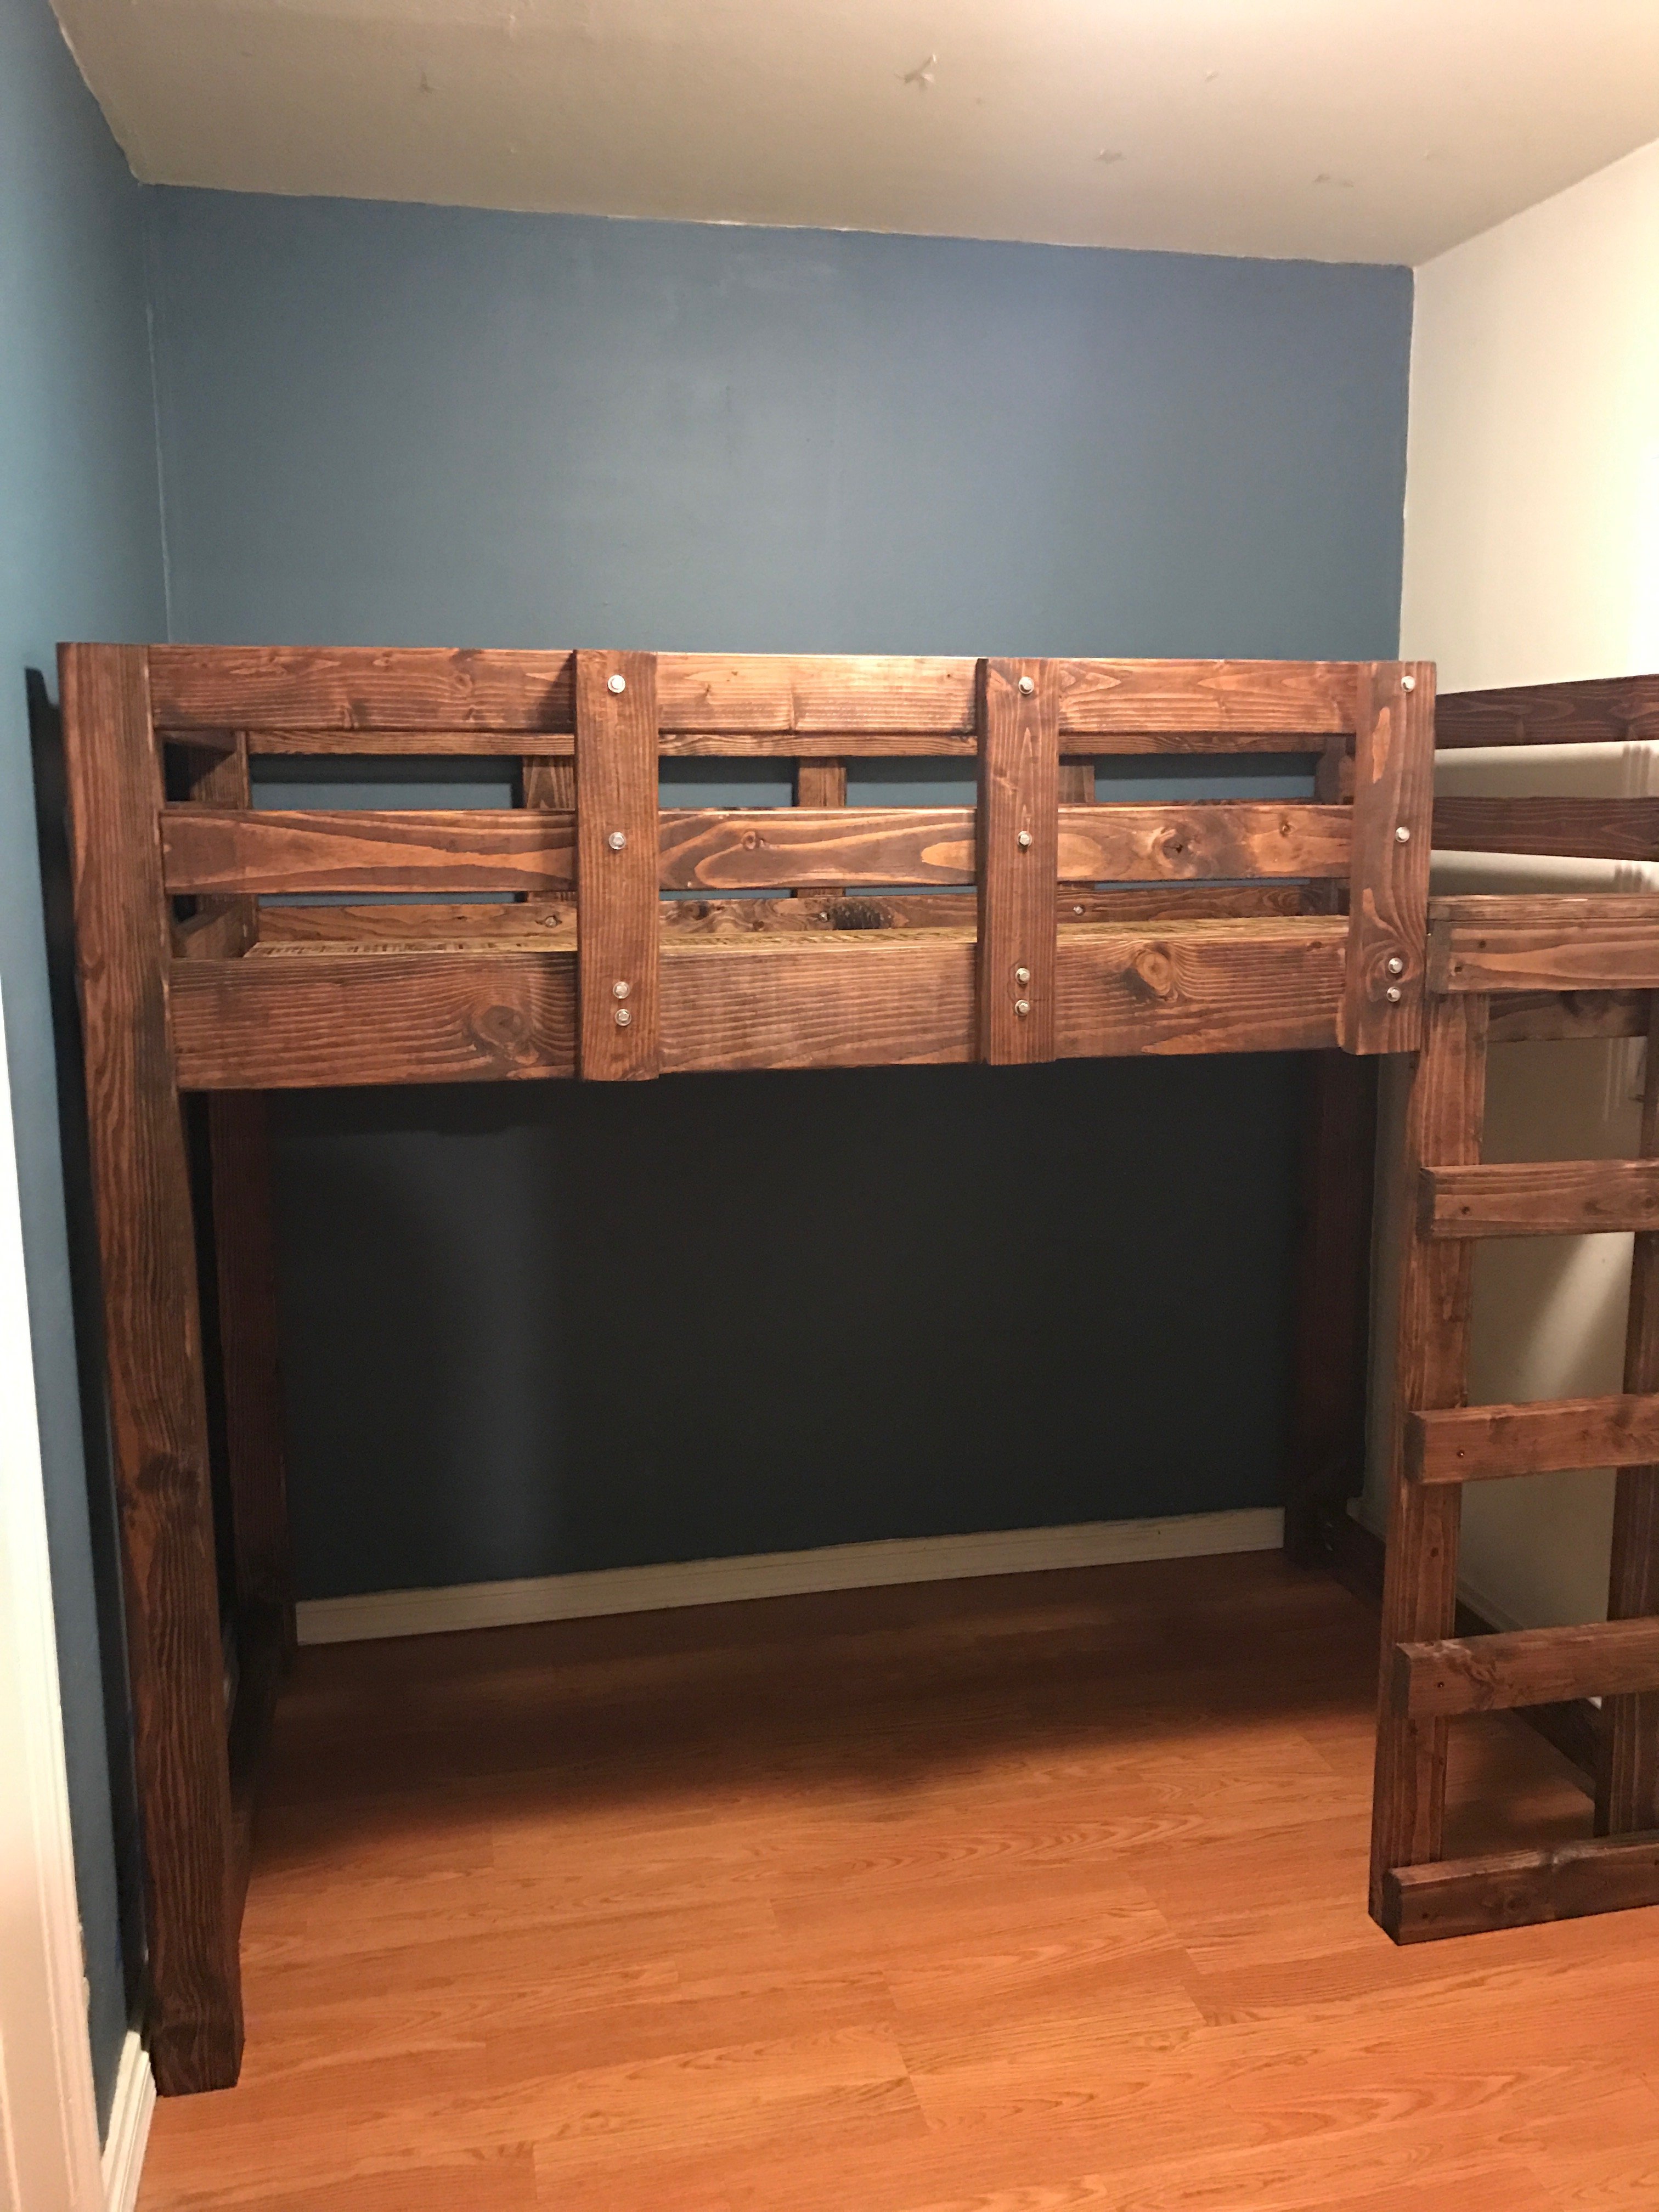
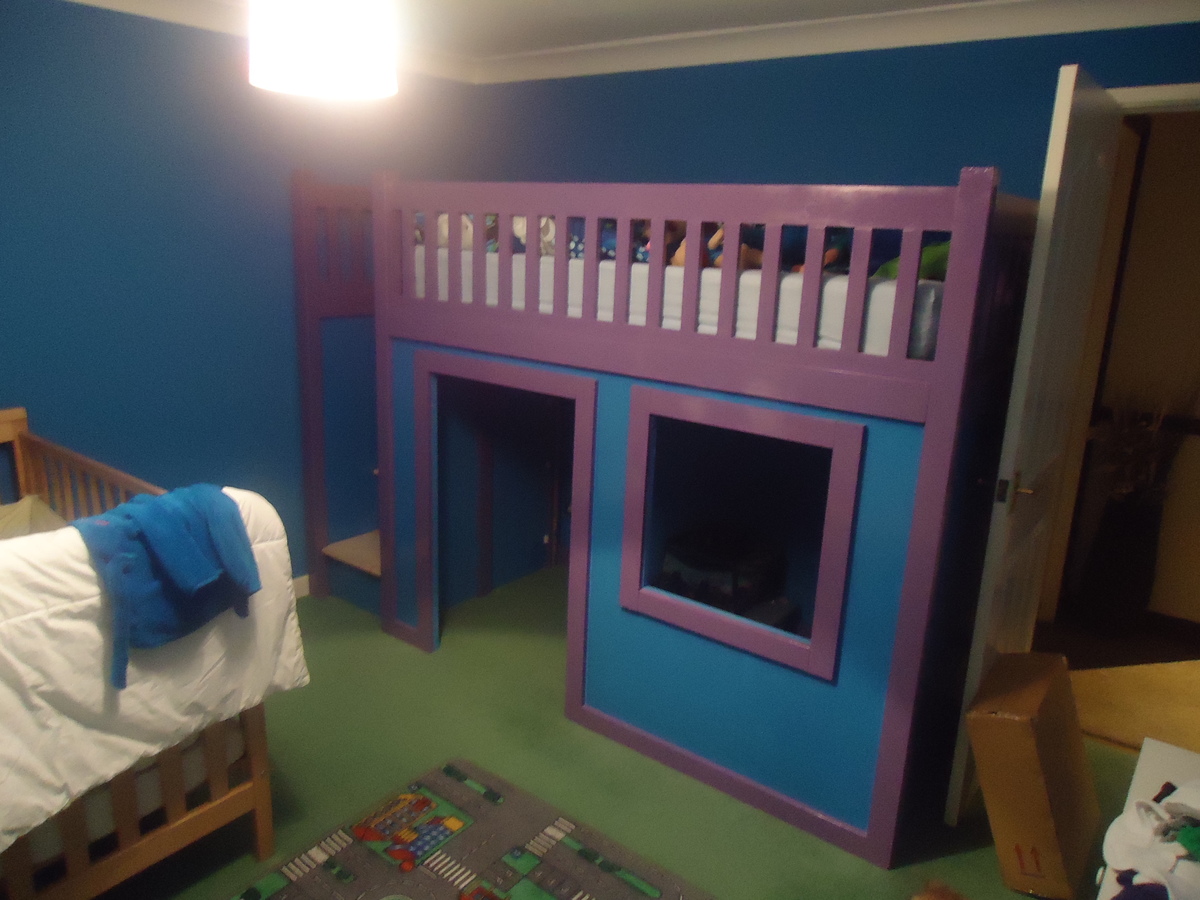
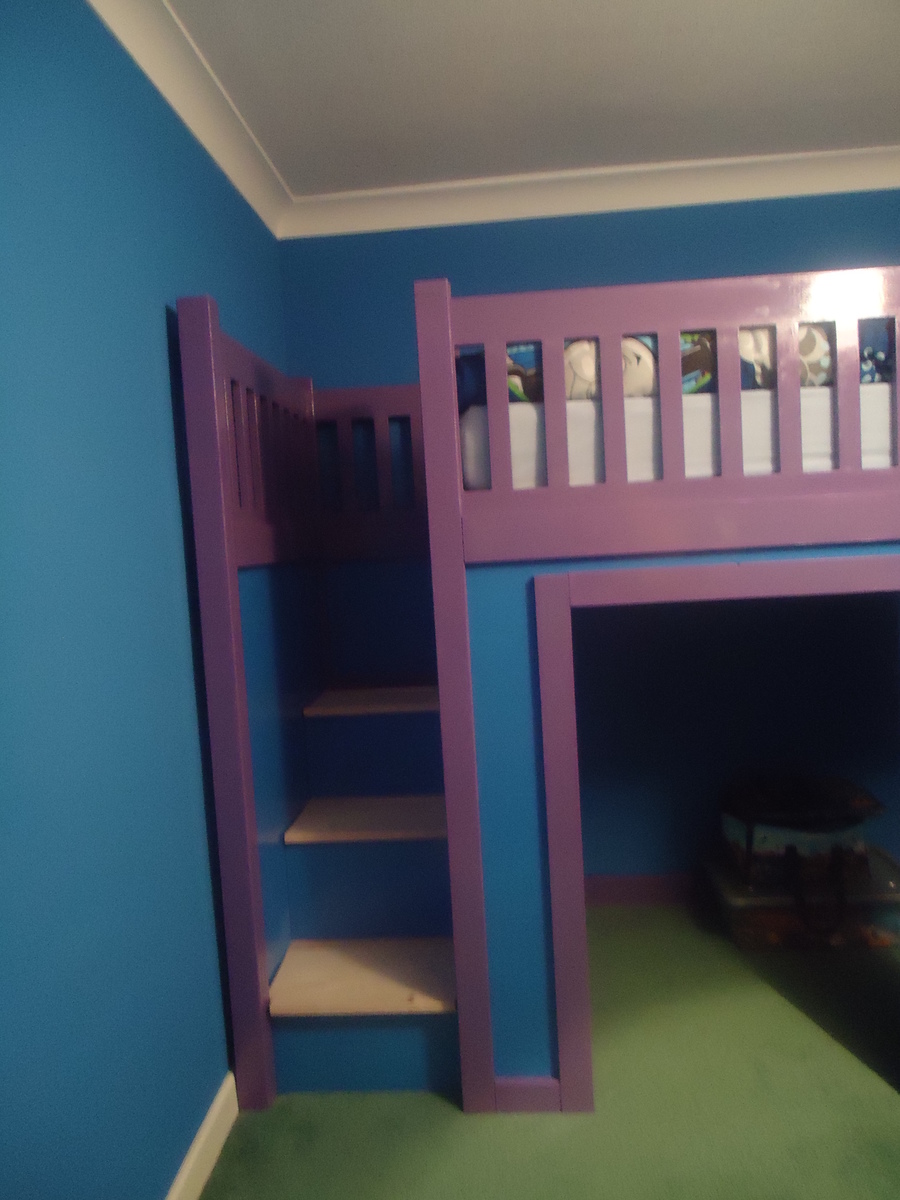
Community Brag Posts

Bunk Beds for 4 to 6

Submitted by Judianne on Thu, 07/02/2015 - 10:32

We used the Build a Simple Bed plan and the Bunk Bed from Simple Bed. I modified the plans to build a double bunk bed. We needed a way to fit up to 6 small children in a long, narrow room. Although we haven't built the trundle beds yet, each bunk will also have a trundle bed. The kids especially love their "privacy" curtains!

Built from Plan(s)
Estimated Cost
Under $300
Estimated Time Investment
Weekend Project (10-20 Hours)
Finish Used
paint
Recommended Skill Level
Beginner

farmhouse table and bench

Submitted by Don123 on Fri, 01/19/2018 - 09:28

I built this table and two simple benches, inspired by the farmhouse table plans. I modified the plan slightly, in that I didn't add the center 2x4 on the bottom, or the two 2x4's between the legs. I also added a second "bread end board," and customized the corners with some "L" bracket accessories. It took me a week to build everything, then add the finish. It would have gone quicker, had I had time to do it all at the same time, but I had to make time after work to do everything. All, in all, this is probably a weekend job, at most. 

Estimated Cost
approximately $100.00 for everything
Estimated Time Investment
Week Long Project (20 Hours or More)
Finish Used
For the table, I stained with a dark stain, then sanded with a fine grit sand paper, then lightly painted with a light colored paint to give the wood that weathered and worn appearance.

For the bench, I whitewashed with a white paint, then rough sanded, to expose the wood in places, then where the wood is exposed, I added dark stain, then wiped clean to give that worn, paint flaking appearance.
Recommended Skill Level
Beginner

Modern Farmhouse Bed Frame

Submitted by SofiaTaz on Thu, 01/06/2022 - 23:15

I love how this bed frame turned out! Everywhere that has stain is cedar and the rest is all scrap spruce. Thanks for another great plan Ana!

Built from Plan(s)

Comments

Our Closet (and first build!)

Submitted by Alaskagirl on Mon, 05/16/2011 - 14:10

Our master bedroom unfortunately had no closet, so for almost 2 years we had been using 4 store bought (cheap) racks that would break under the weight of the clothes and keep having to be replaced. There was however, a big nook in one wall of the room that could definitely be some kind of closet. I sat down and drew up a plan of what I thought would fit, but then had no idea how to go about building it. The plan sat in a drawer for months until after asking a friend about a shelf her husband built she sent me a link to this site and told me that's where she got the plans. I found the closet system plans and they were so close to what I had drawn up I was blown away! IT was no problem modifying the measurements to fit our space. I am SO happy with the results, all I need to do now is wait for some dry weather so we can paint!

Estimated Time Investment
Afternoon Project (3-6 Hours)
Recommended Skill Level
Beginner

modified kids Adirondack

Submitted by jrh413 on Wed, 07/10/2013 - 09:27

Modified back to match my adult chairs. Armrests are also cut out like adult chairs you just cant tell in picture. Also put an arc on faceplate. Then i couldn't resist routing her name into it. Enjoy!

Built from Plan(s)
Estimated Time Investment
Afternoon Project (3-6 Hours)
Finish Used
Just some exterior pink paint.
Recommended Skill Level
Beginner

Farmhouse table

This table was inspired by the pocket screw table. only I did not use pocket screws. it is constructed using loose tenon construction and dowels. Notice the middle stretcher  and the wooden nut and bolt that holds it together

Estimated Time Investment
Day Project (6-9 Hours)
Finish Used
minwax jacobean stain and Minwax clear satin finish
Recommended Skill Level
Beginner

small bed large bed project

Submitted by Anonymous (not verified) on Mon, 01/17/2022 - 08:03

After seeing your knee wall project I decided I could modify it to work for me. first I insulated the angular wall to provide a conditioned environment. (wife wanted to store Christmas decorations. Then removed existing sheetrock, removed every other vertical 2x4 and had the opening size I wanted . Currently working on sheet rocking the interior and will then begin to work on the doors. Waiting on hinges. I think my wife likes it so far. I'll upgrade with photos when done. thanks

the small bed was from one of your plans (american girl bed) and then we just changed dimensions and made our master bed (Queen). That was a fun project.

Thanks for sending plans, we look forward to them.
George, Mechanicsville, Virginia

Comments

Playhouse loft bed with stairs and slide

Submitted by alminter on Wed, 07/08/2015 - 21:29

This is by far the biggest project I've completed yet. It actually surprised me how easy it was to complete. It did take me about 4 days to build the project and an additional week to sand and paint the project.

I followed the playhouse loft plans and the storage stairs plans, adjusting only the back to allow for the additional length of the slide. I didn't add the windows to the sides (I didn't see any point in having them there). I also used the castle loft plans for the slide. When I first started this project I was planning on making the slide completely separate. I changed my mind mid project after I had the side wall cut to length at Lowe's, so I just added that small piece to the left of the slide to make up for the gap. I also made this project in 4 separate pieces (stairs, slide, front wall, back) so I could put it together in her room in one evening and not have to kick her out. Once we moved it to her room all I had to do was screw the four corners in and attach the back wall and bed slats.

I definitely recommend not using particle board. I had no idea what the difference was between particle board, mdf and plywood when I started this project. Particle board was less then half the cost of plywood, but looking back I would pay the extra for the plywood. I don't feel like the screws hold well in the particle board and it also chipped on the bottom some. I actually had a chunk come off in the corner where I must of screwed to closely to the edge. I'm sure this is basic knowledge for most, but for those newbies (like me) just a little tip.

I had a lot of fun building this bed (not so much sanding and painting) and learned a lot. Now off to browse for my next project :)

Estimated Cost
400-500
Estimated Time Investment
Week Long Project (20 Hours or More)
Recommended Skill Level
Beginner

Comments

Distressed Bed Side Tables

Submitted by Ryan in NH on Mon, 01/29/2018 - 07:38

This was a really fun project. I altered the dimensions slighly to fit my space. I also used a piece of 1/4" ply for the bottom shelf instead of thicker common board. You can keep the cost way down if you rip 2x6's into 2x2's. A single 2x2 is about $10 whereas a 2x6 is $6. You get three 2x2's out of the 2x6, so you're basically getting triple for half the cost. Pick REALLY straight 2x6's though! 

Estimated Time Investment
Day Project (6-9 Hours)
Finish Used
Ipswitch pine on distressed top
Recommended Skill Level
Intermediate

Wood Push Car & Truck

Submitted by Sue Hill on Wed, 01/26/2022 - 07:15

These are fabulous little vehicles that I made for my 18 month grandson when he visits. After making the car and truck, I decided to add a simple bus with round windows.
I used scrap wood, cut out the truck wheels with a hole saw but purchased a package of wheels for the others. My little cars aren't perfect but that adds to the charm.

Comments

Sturdy Work Bench - First project completed!

Submitted by kmatt55 on Sun, 05/22/2011 - 16:04

My first project from Ana's website! I figured in order to make more furniture I'm going to need a sturdy work bench to help me along the way. I cut my legs at 36" instead of 33". The 3 added inches brings it to a standard kitchen countertop height (I think, at least mine is). Thanks for the inspiration and plan pericles49!

Built from Plan(s)
Estimated Cost
$65
Estimated Time Investment
Day Project (6-9 Hours)
Finish Used
Water based clear semi-gloss polyurethane.
Recommended Skill Level
Beginner

Clip strip art

This was a great way to keep my five year old daughter busy on a rainy afternoon. I had a scrap piece of 1x4 and bought some clothes pins and 10 cents clearance wooden figures at Joann. We also used some left over acrylic paint and some glitter nail polish. Thanks for a other great idea Ana!

Built from Plan(s)
Estimated Cost
$5
Estimated Time Investment
An Hour or Two (0-2 Hours)
Recommended Skill Level
Starter Project

Tall Corner Media Console

Submitted by sully777 on Mon, 07/13/2015 - 10:17

Easy excellent project for That odd room you may have that needs a corner tv stand.

I use pre made 16" wide 3/4" MDF shelving from Home Depot for the Shelves, Used 1" x 3" for the top, and sprayed it all with Rustoleum Industrial flat black which dries in 15min, was the large size cans for $5.40 and and only useds 3.25 cans to paint the whole thing. 


TV is a 55" Class so it actually works perfect, because the tv stand is two legs and not the typical center mounted ones. so  put the tv toward the front of the console and the console is as far as you can go into the corner.

I have two power strips screwed to the back of the console, along with a cable amplifier, my wireless router for the house sits right behind the TV and you can see the blue status lights under the bottom of the TV.

Have  my speaker bar in the added shelf #1 below the tv, comcast cable modem in the right side square, TIVO in the center top, DVD Player in the center bottom, and loads of extra shelf space for whatever else I can think of....

Built from Plan(s)
Recommended Skill Level
Beginner

Barn door cabinet

7.5' long cabinet, made with pine boards. Hardware purchased on Amazon.

Built from Plan(s)
Estimated Cost
$400
Estimated Time Investment
Weekend Project (10-20 Hours)
Finish Used
This was made to sit under our new wall mounted 75" tv!
Recommended Skill Level
Intermediate

Comments

Slightly modified corner cupboard

My wife worked with a lady that wanted an extra tall corner hutch. She couldn't find one that would fit her requirements that was also within her budget. Naturally I got volunteered to make it since I'm pretty handy. It stands 7 feet tall. The shelving is made from birch plywood. She wanted a drawer in the middle and glass doors on top with lighting. Personally I would have chosen a lighter color but she wanted all black.

Built from Plan(s)

Comments

Outdoor Daybed with Canopy turned indoor bed with custom trundle...

The daughter was whining (since that's what teenagers do) for a new bed(room) and a daybed was a requirement. After searching for the perfect one, we couldn't find one that worked with MY budget! When I came across these plans, I was thrilled (especially after I took a few minutes to calculate the cost)! Needless to say, I made some alterations to 1) the mattress height to accommodate the 2) trundle unit I designed. A custom ordered bedskirt (not shown) provided the perfect camouflage for the trundle and the chandelier (not shown) suspended between the center of the top rails added the perfect French touch for my daughter's dream "Paris themed" room! Thanks for the great site, can't believe I have never thought to make one myself, lol!

Estimated Cost
Around $300
Estimated Time Investment
Week Long Project (20 Hours or More)
Finish Used
After ample sanding, filling, and more sanding, the bed was stained with "Ebony" by Min-wax with 2 solid clear coats on top.
Recommended Skill Level
Intermediate

"Ameri-shelf"

Submitted by omarNY on Tue, 07/16/2013 - 18:19

My 8-year-old and I built a shelf for his room, based on the Rolling Cubby Bench plans. (The paint job is all him. He originally suggested trying to paint a picture of an eagle on it, we ultimately settled on a partial flag.)

I'm fairly new to woodworking, and this was my second of four projects I've built using plans from this site so far. Cutting and assembly was just a couple of hours, but finishing stretched this out into a several-night project.

Built from Plan(s)
Estimated Time Investment
Weekend Project (10-20 Hours)
Recommended Skill Level
Beginner