Community Brag Posts
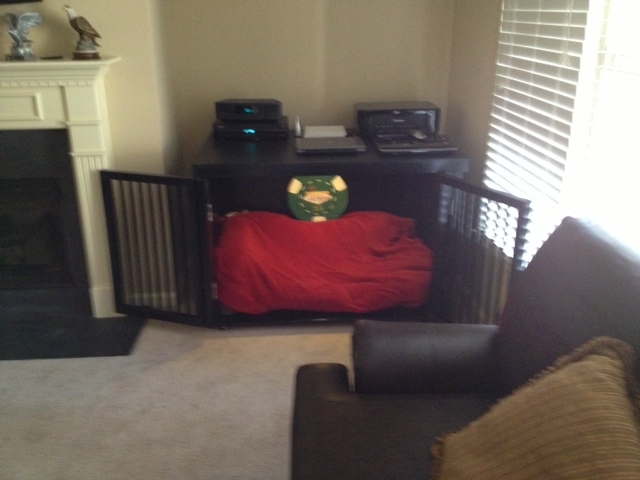
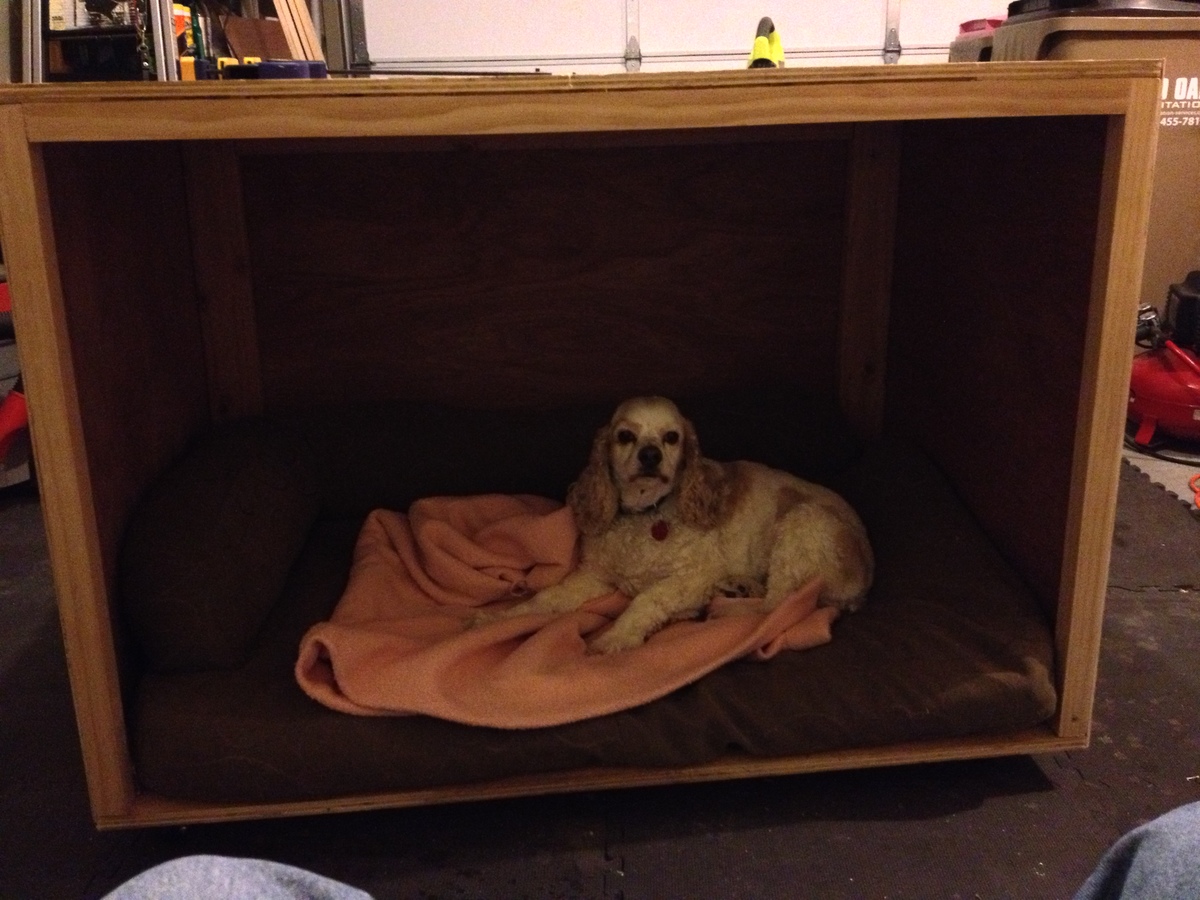
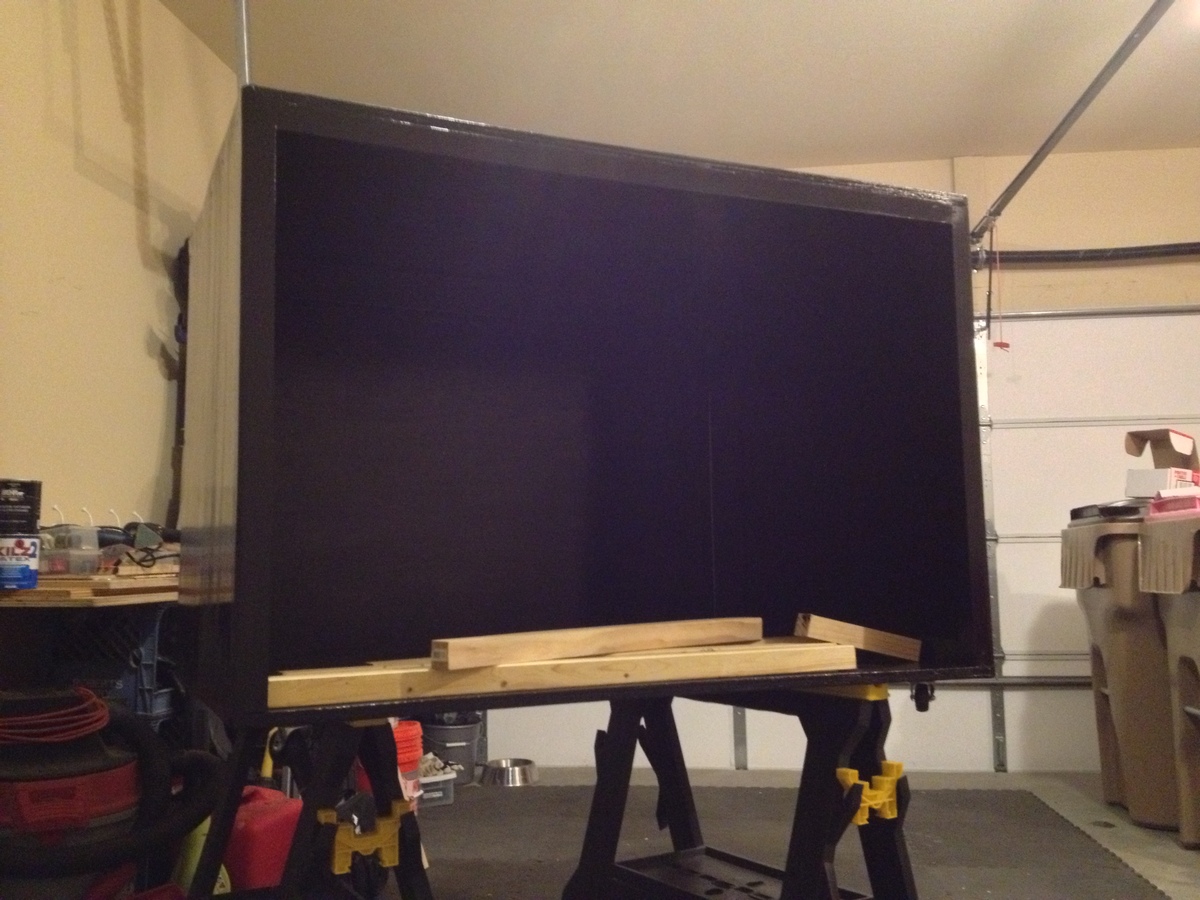
My Best Friends Crib
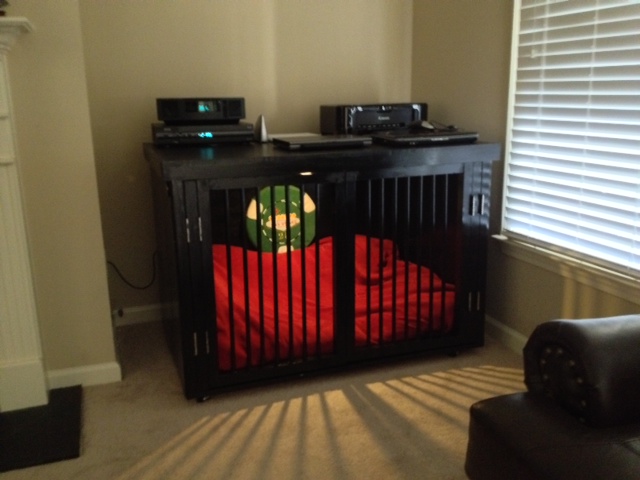
I had peformed internet searches on Pet Crates and decided to build my own. This one has a touch sensor small 1 watt light inside so I dont have to keep other house lights on when I am at work. The light has no heat and purchased at Rockler hardware. Shiloh's crib is on wheels and the only thing I screwed up is the width. I could not get it thru the garage door from the house. Had to take it thru the front door and had to take the door off the hinges. Either way I should not ever have to build another one. It has a kitchen cabinet black laminate on top purchase from a damaged piece at home Depot. Half the cost. Should be durable enough for my kids Printer, radio and Cable box. Doors have two hinges per door so they can fold back out of the way.
Estimated Time Investment
Week Long Project (20 Hours or More)
Finish Used
primer, paint and poly
Recommended Skill Level
Beginner
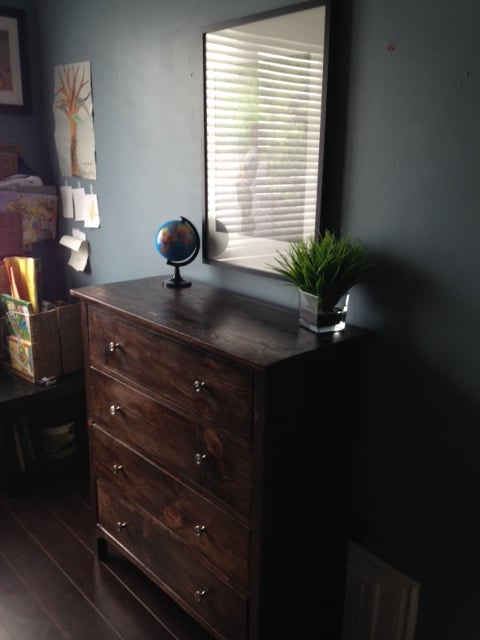
Small Dresser
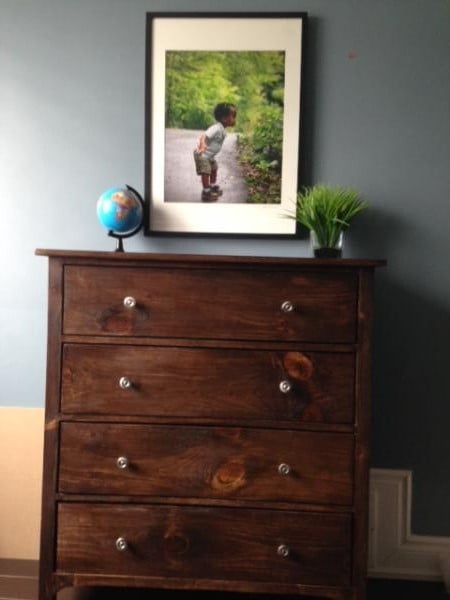
For my second project I decided to make a small dresser to match the Camp Loft bed we bult last week. I must say it was a great success. The only challenging aspect was installing the drawer slider properly. This took quite a bit of time to get it right. Everything else was a breeze. In the top drawer I added a little divider so I can seperate undies from socks.

Built from Plan(s)
Estimated Cost
$150.00
Estimated Time Investment
Weekend Project (10-20 Hours)
Finish Used
2 Coats Dark Walnut Stain followed by 2 Coats of Clear Shellac
Recommended Skill Level
Intermediate
How to Build a DIY Garden Arbor with a Bench
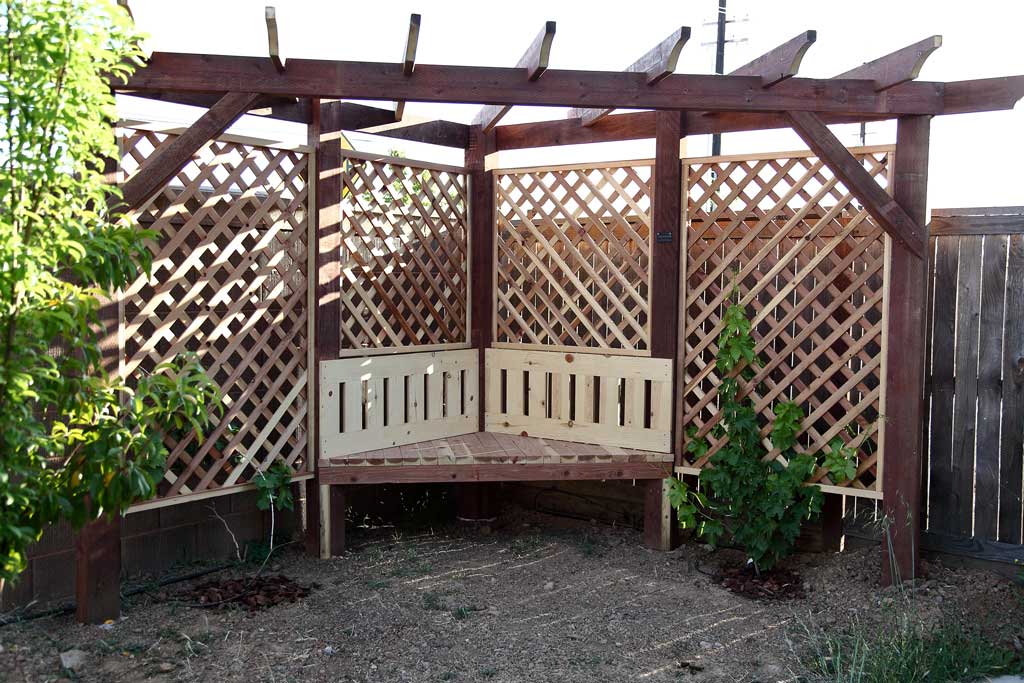
My brother-in-law planted a small grape plant in his backyard and wanted a trellis structure behind it for the grapes to climb on. He asked me to design and build it in the corner of his garden. After going through some designs, we decided to go with a corner arbor. When the project was complete, I created PDF plans on how to build a DIY Corner Arbor with a Bench that includes a trellis for the grapes to grow on.
See my website for additional pictures and how I've built it, TheDIYPlan.com
Estimated Cost
$850
Estimated Time Investment
Weekend Project (10-20 Hours)
Recommended Skill Level
Intermediate
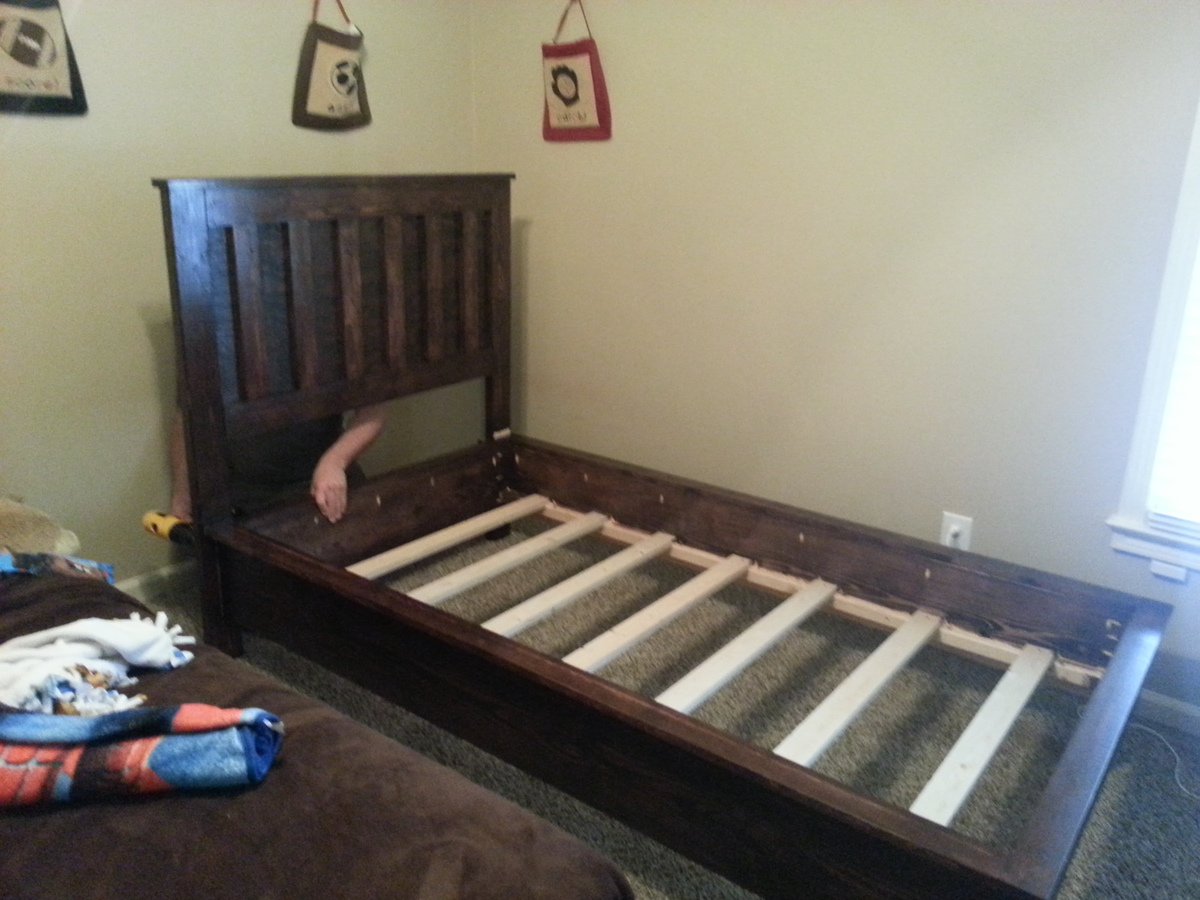
Kentwood Twin Bed
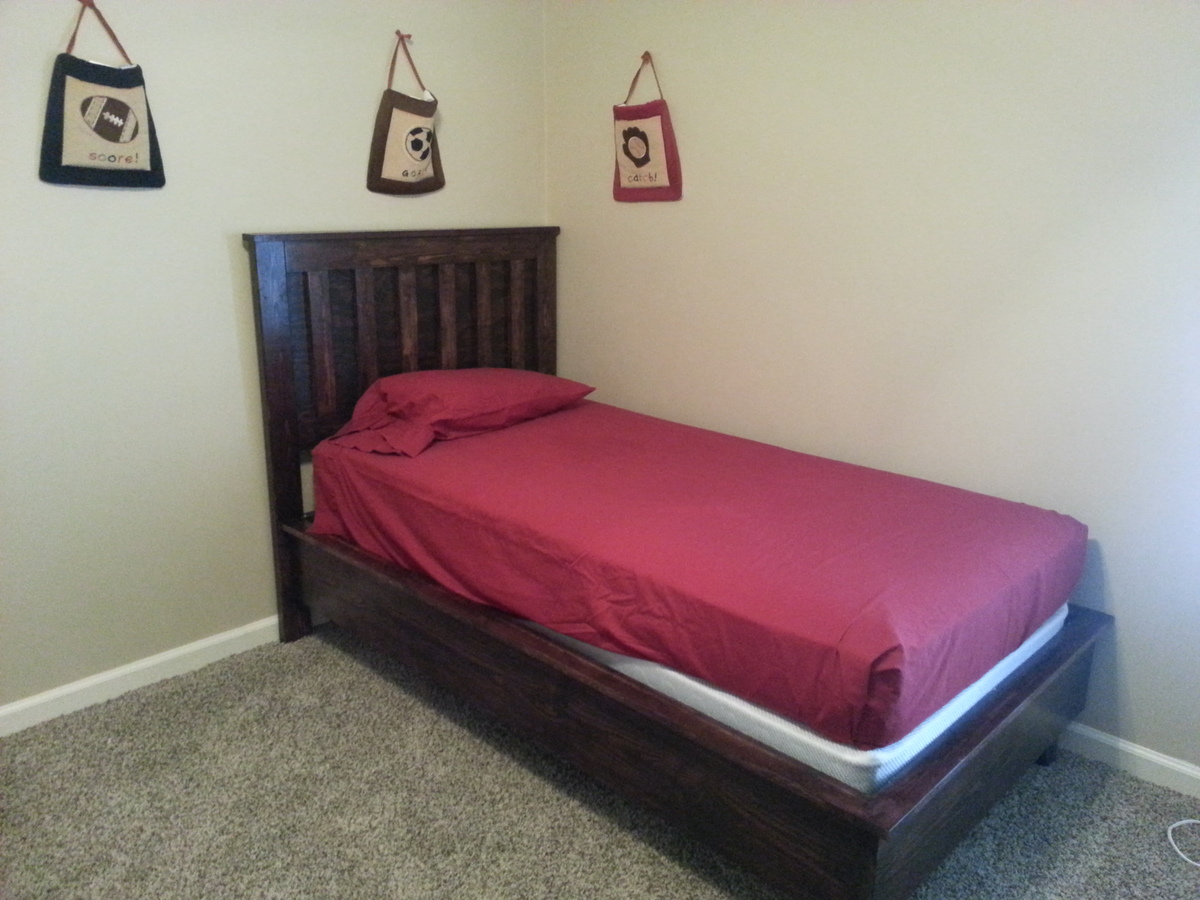
My boys are young, so I wanted to do this without a foot board (I'm always nervous while they play that they'll hit their heads or something). I modified plans from the Hailey bed for the frame, by making it deeper.
Built from Plan(s)
Estimated Cost
$100
Estimated Time Investment
Weekend Project (10-20 Hours)
Finish Used
I mixed dark cherry and dark walnut. The cherry was too purple.
Recommended Skill Level
Beginner
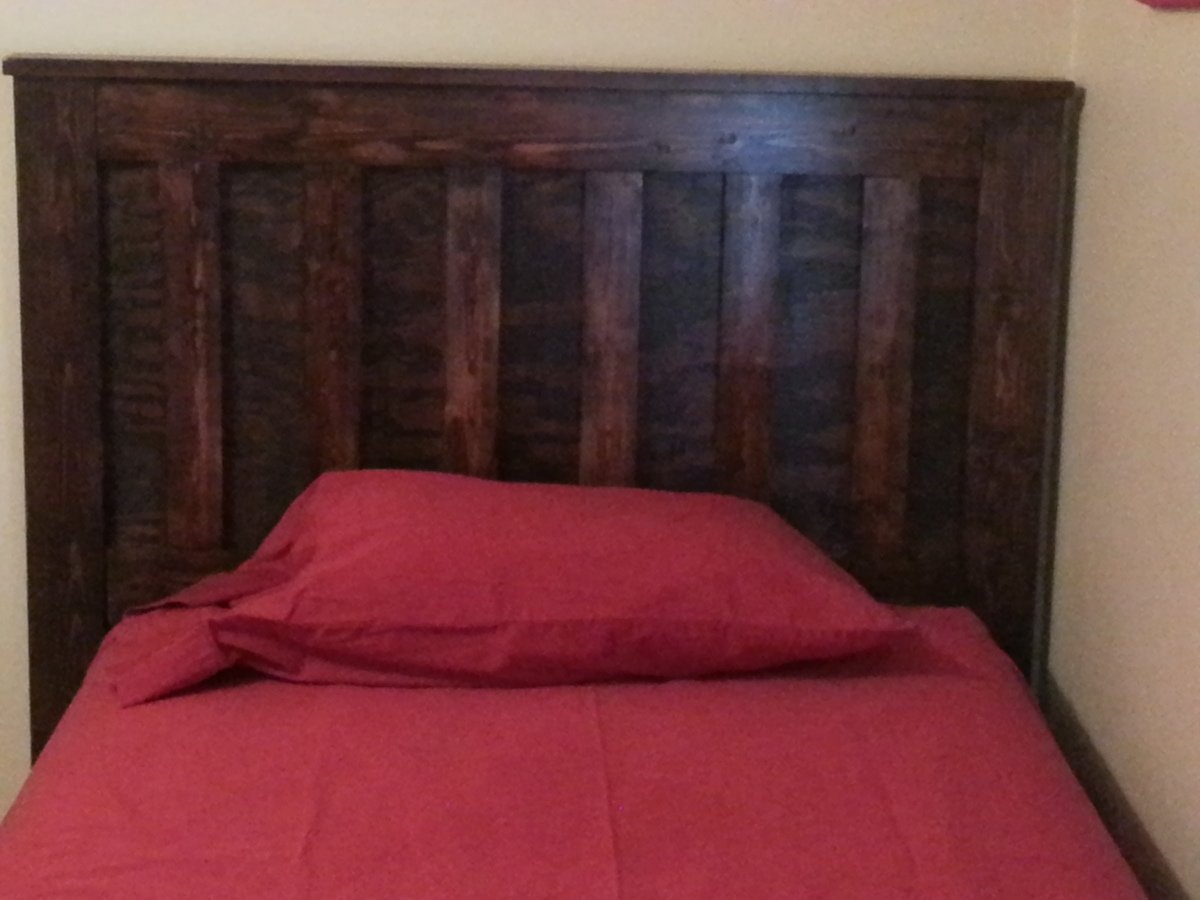
Twin Platform Bed
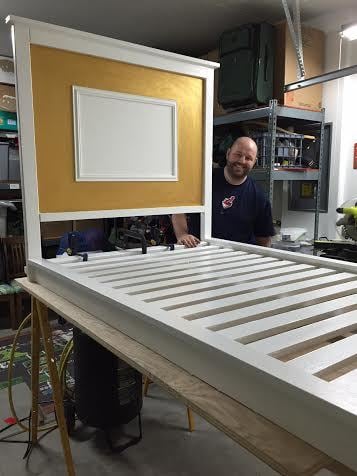
This is a great bed for todlers.
Built from Plan(s)
Estimated Cost
$100 Bed
$150 Matress
$150 Matress
Estimated Time Investment
Weekend Project (10-20 Hours)
Finish Used
Paint and gold primer
Recommended Skill Level
Beginner
Comments

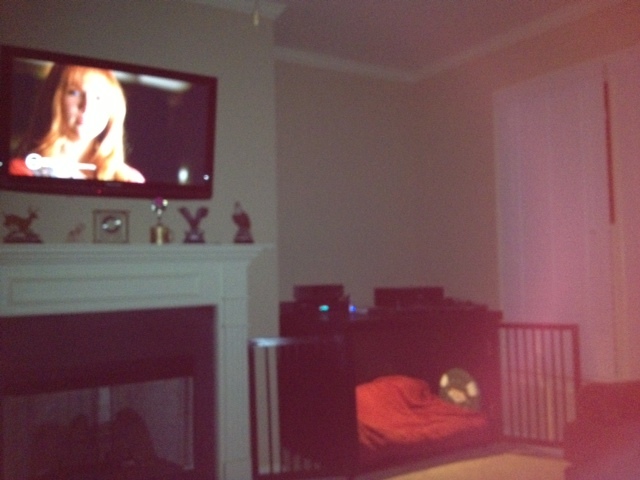
Tall Corner entertainment Unit
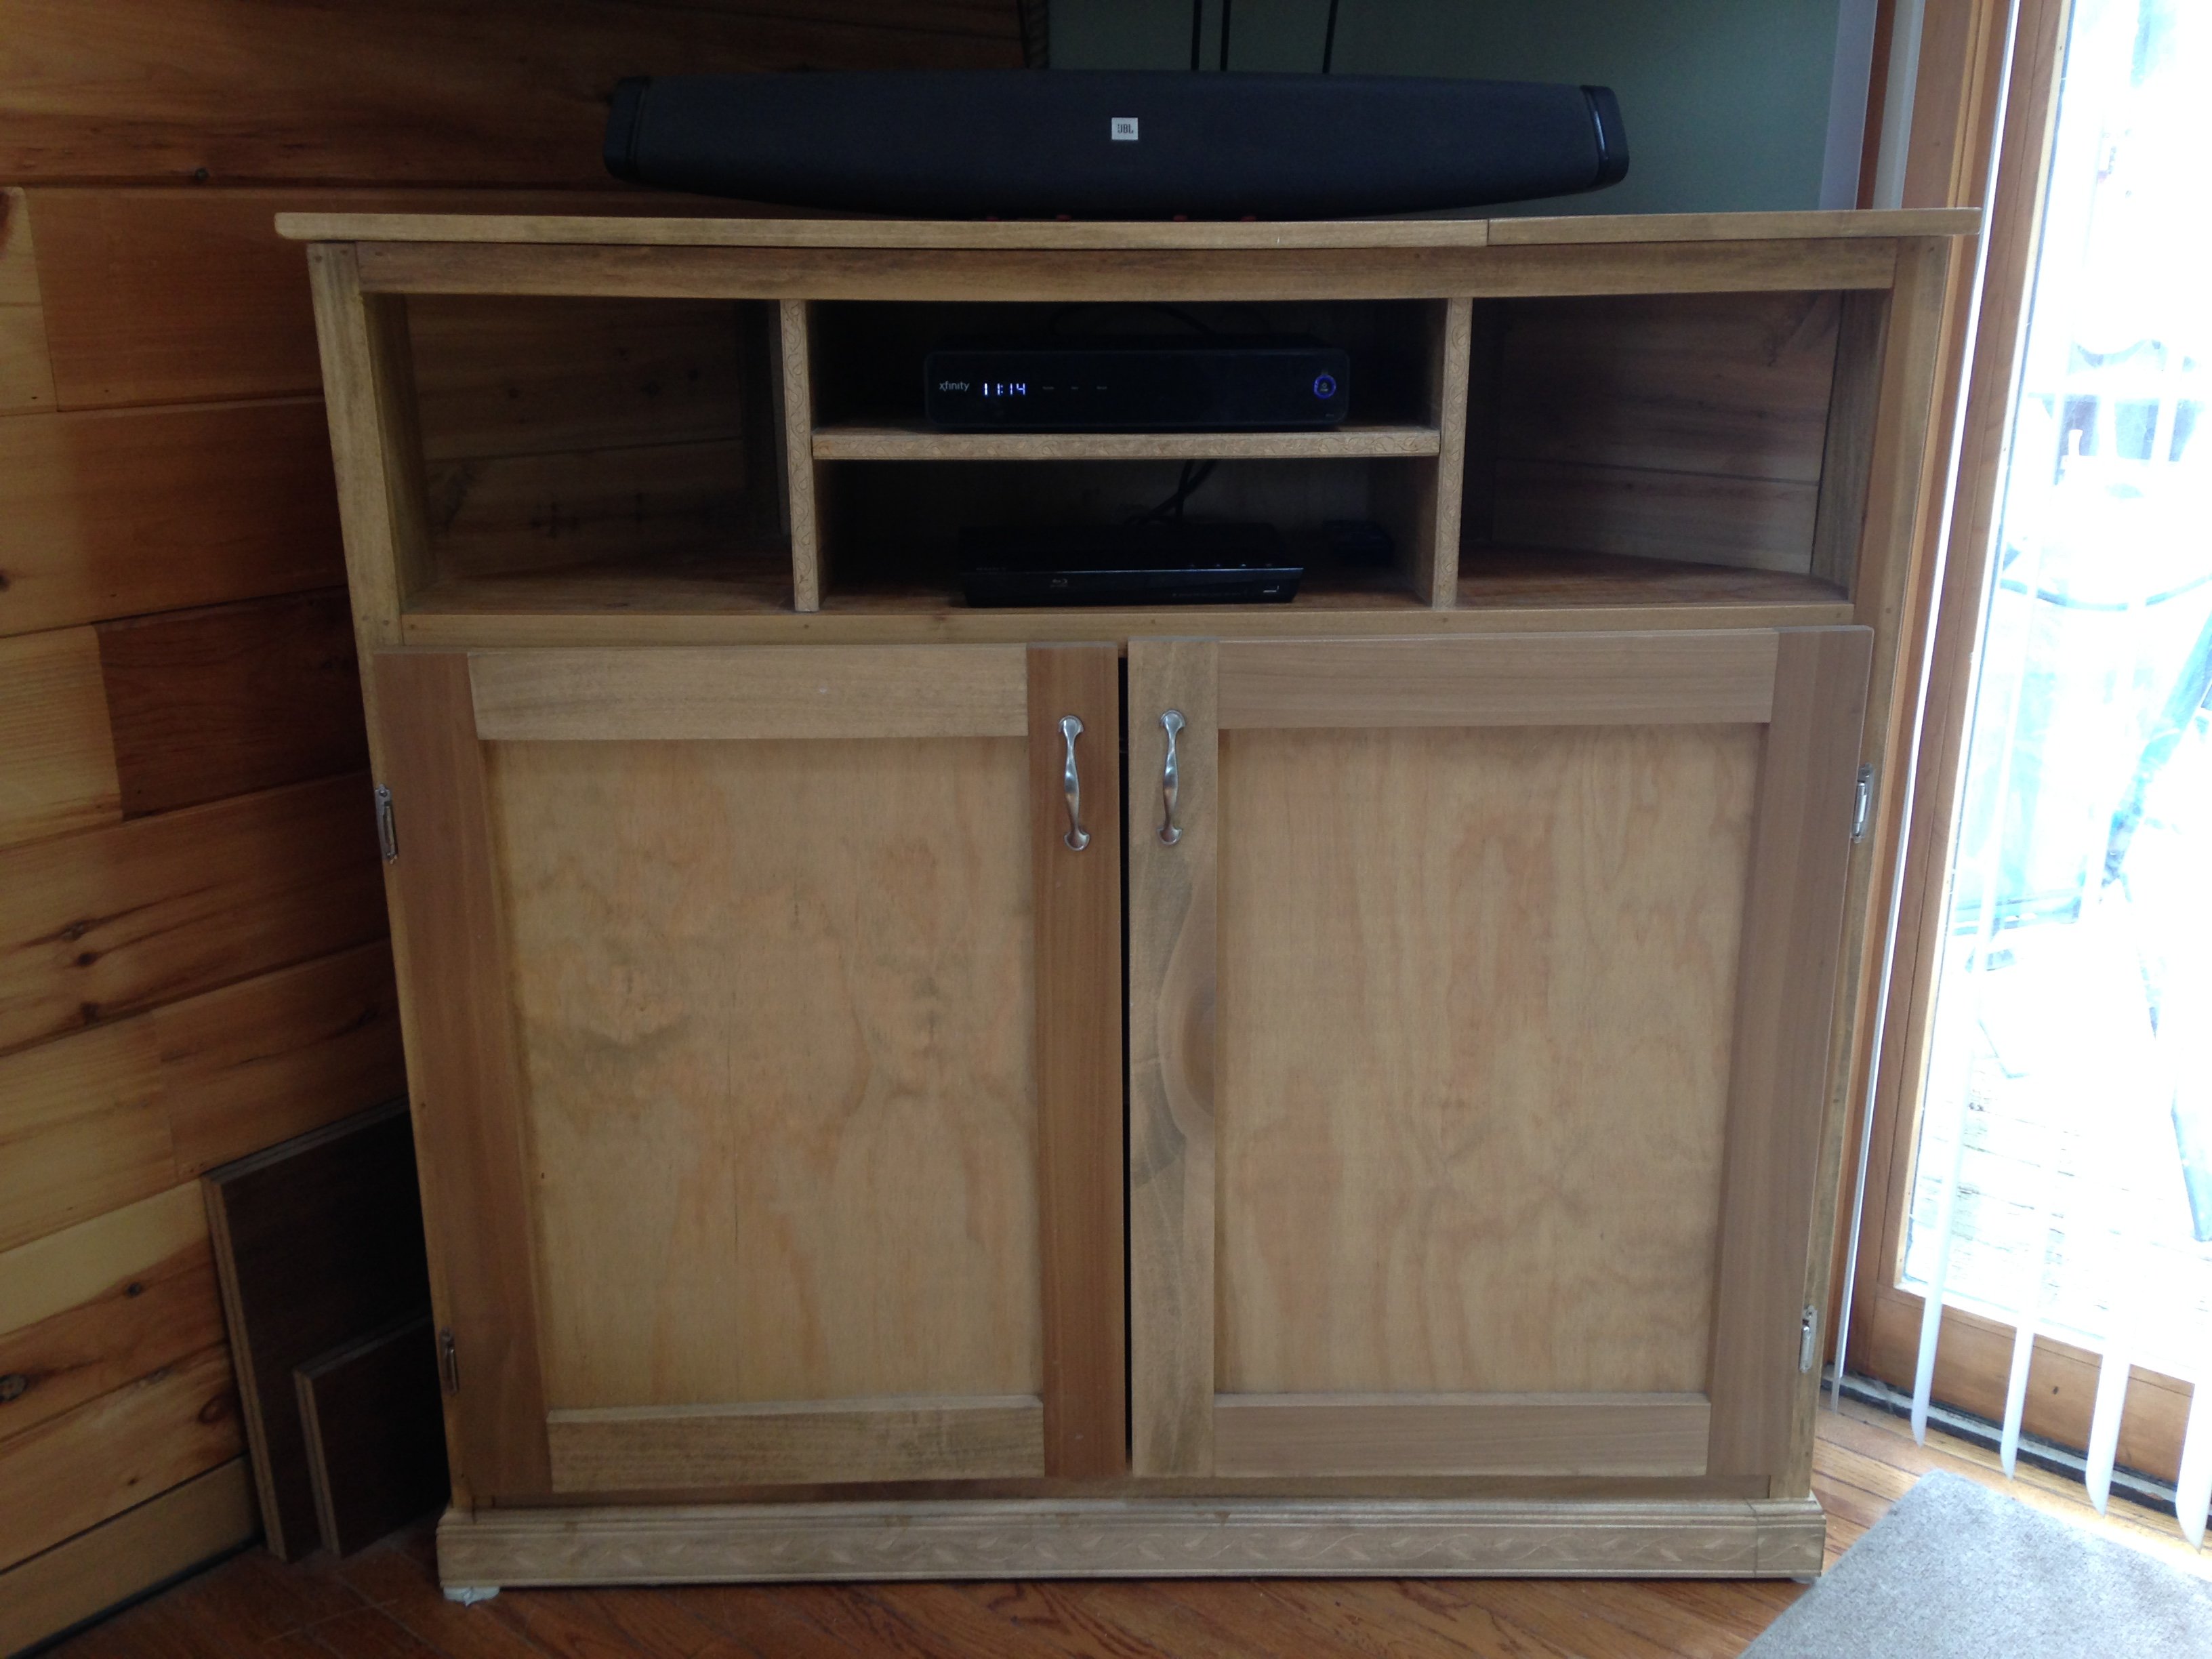
Loving this tall entertainment center to fit under my wall-mounted television!
The dogs cant knock over my photos anymore!!!!
Added some fancy trim pieces in the middle to match the trim on the bottom. So sturdy and hides all my junk!
http://www.ana-white.com/2012/06/plans/tall-corner-media-console
Built from Plan(s)
Estimated Time Investment
Weekend Project (10-20 Hours)
Finish Used
fruitwood minsax stain
Recommended Skill Level
Intermediate
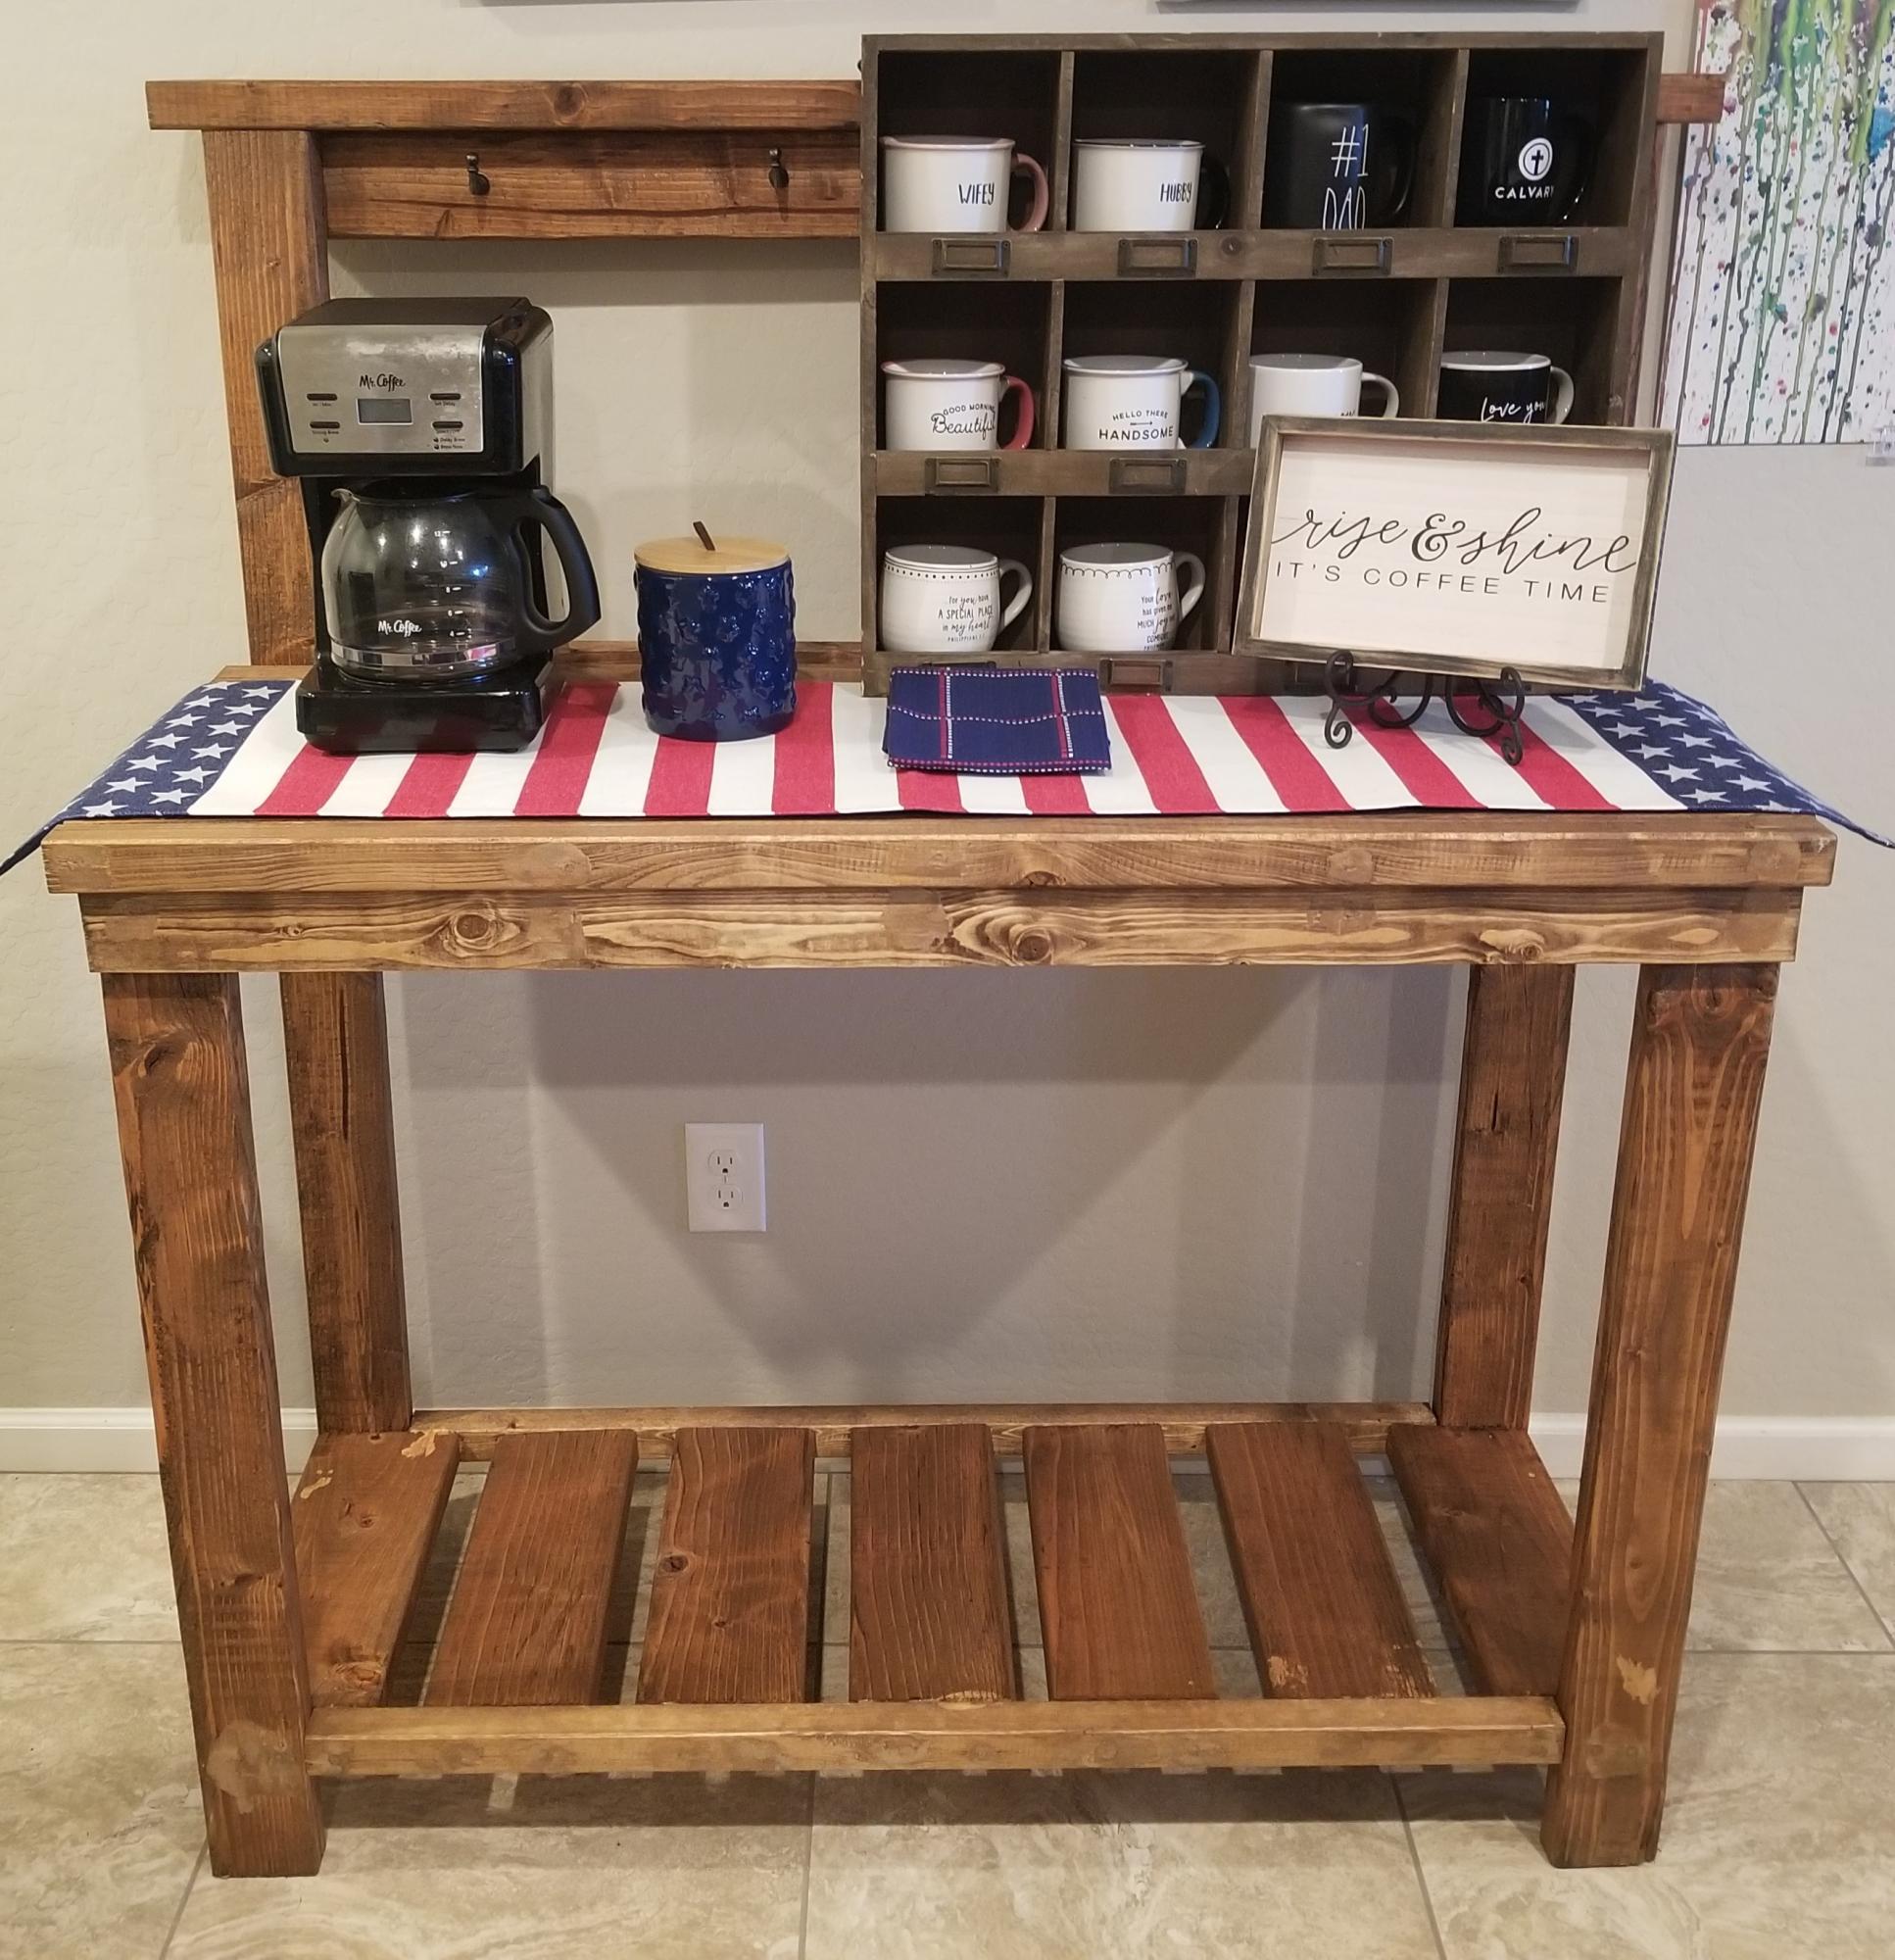
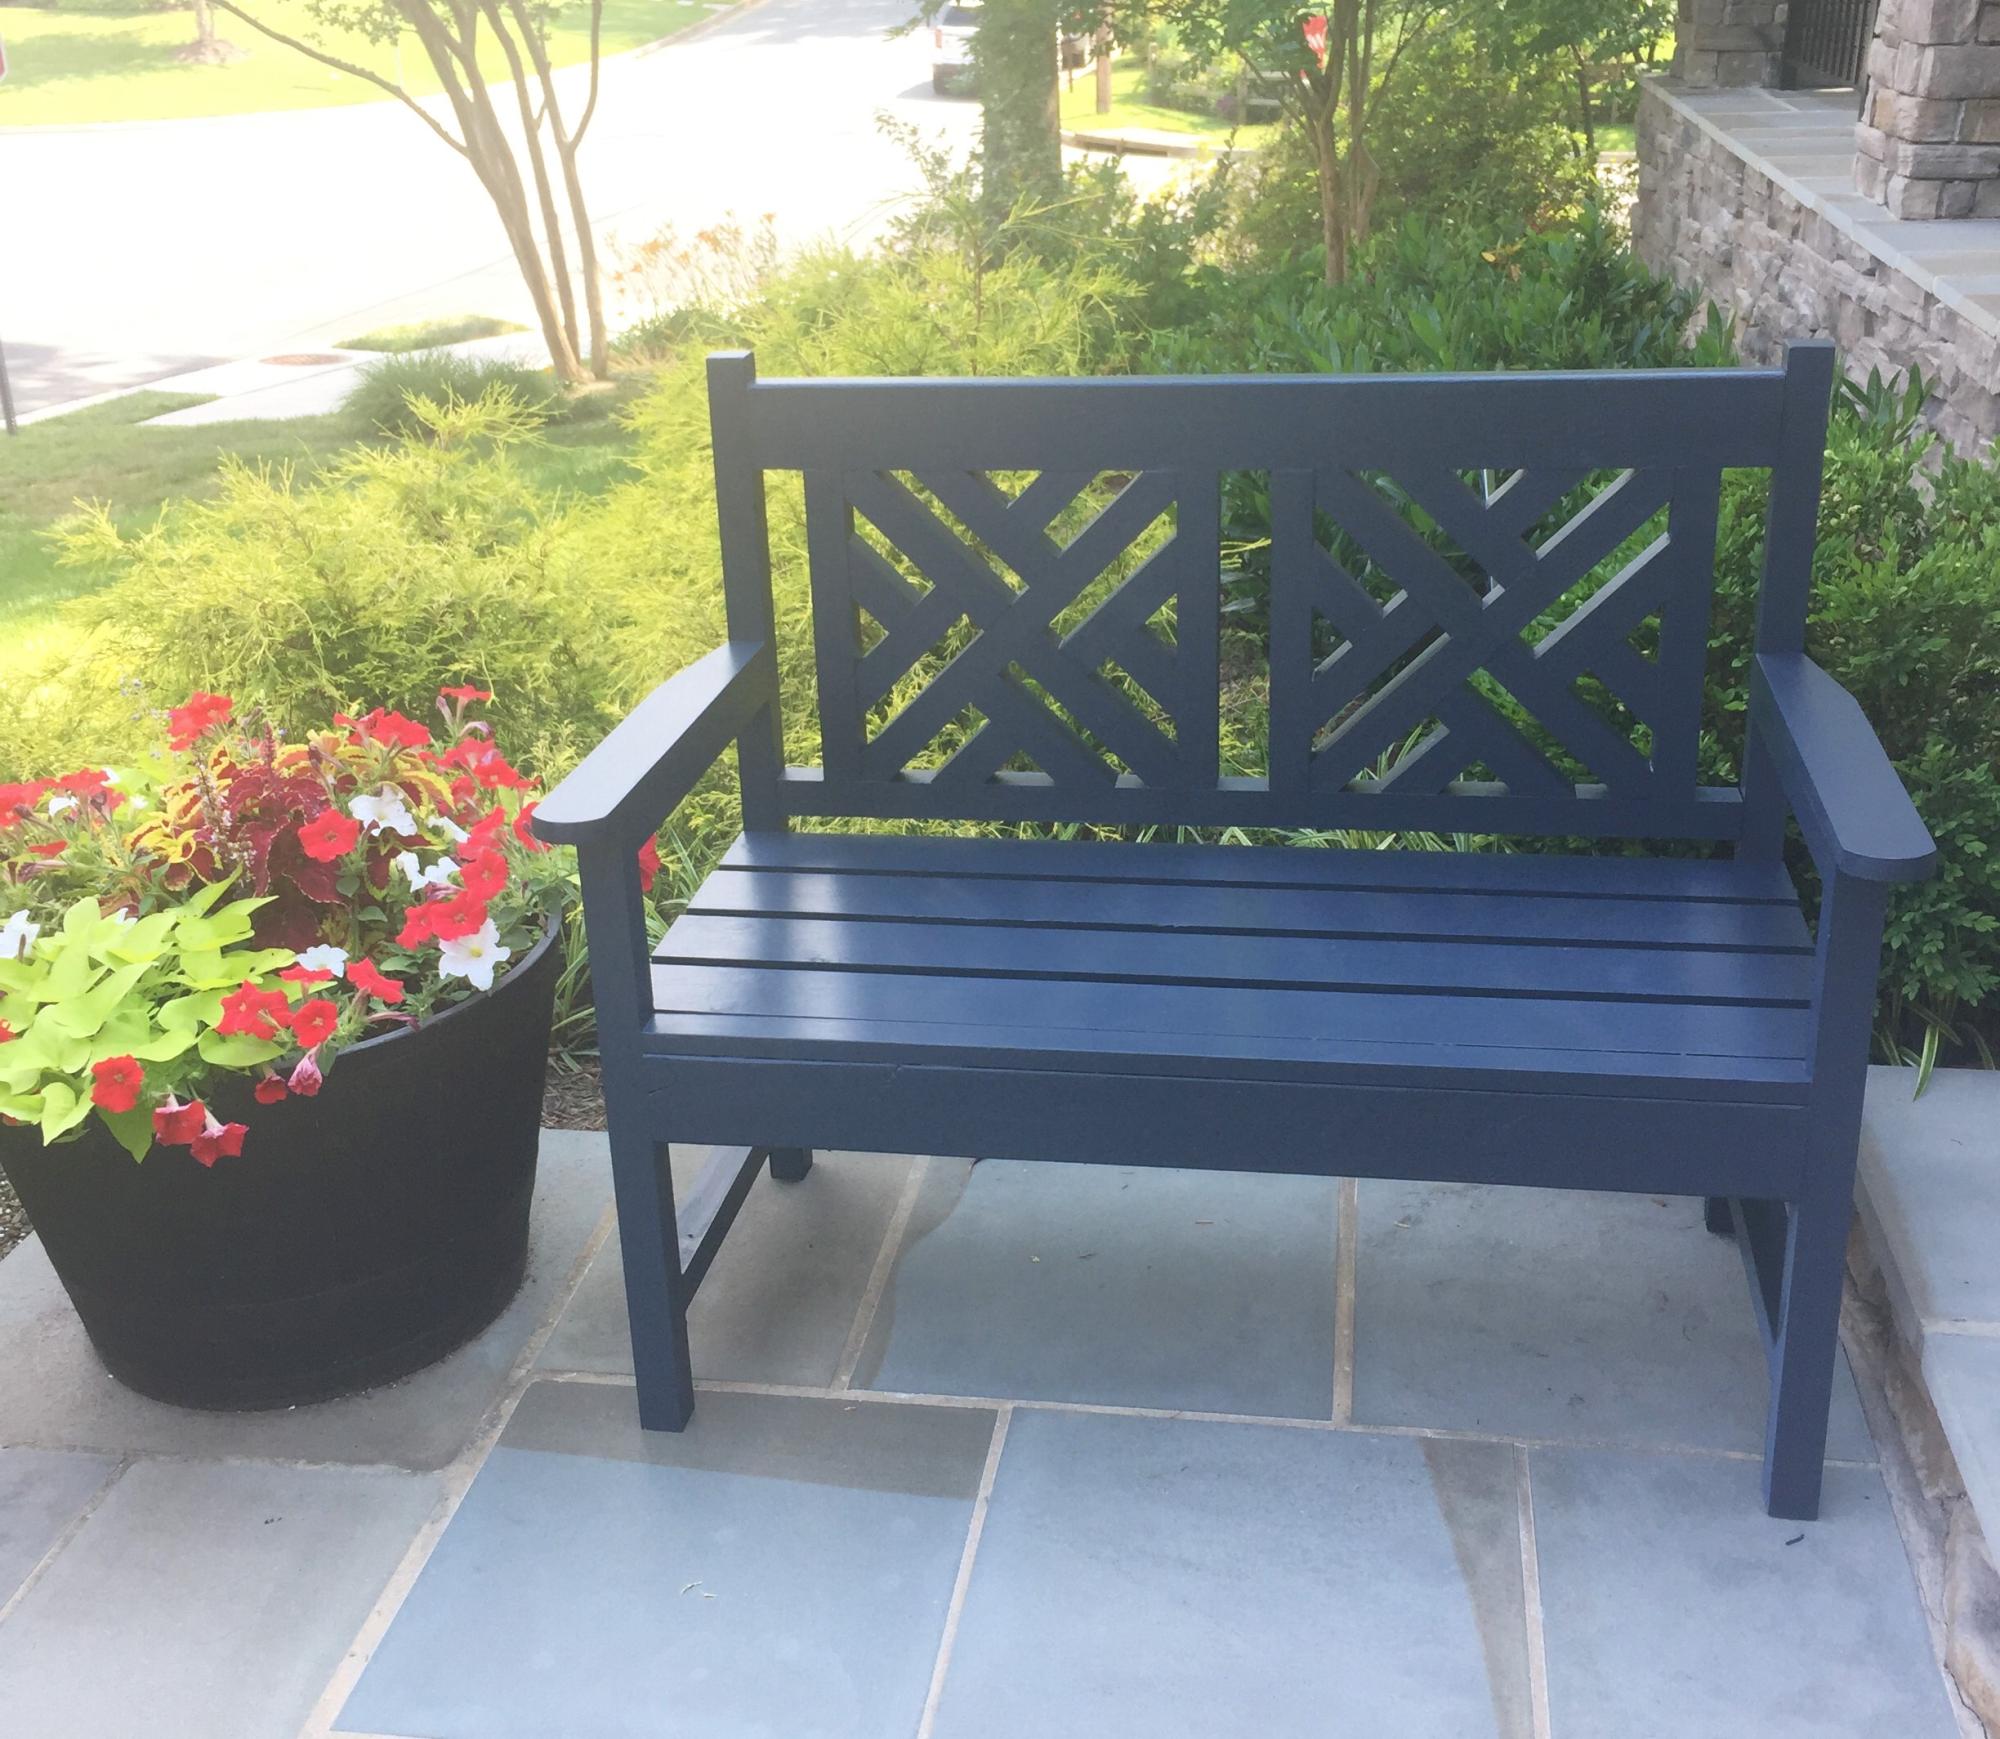
Entryway Bench and Storage Shelf with Hooks

My first project I made for someone else. My son and daughter in law needed this for their entry foyer. She knew I was making the shelf with hooks, but the bench was a surprise for her. Her reaction made it all worthwhile. She loves it!!
Estimated Cost
$120
Estimated Time Investment
Week Long Project (20 Hours or More)
Finish Used
Navy blue enamel
Recommended Skill Level
Intermediate
Comments
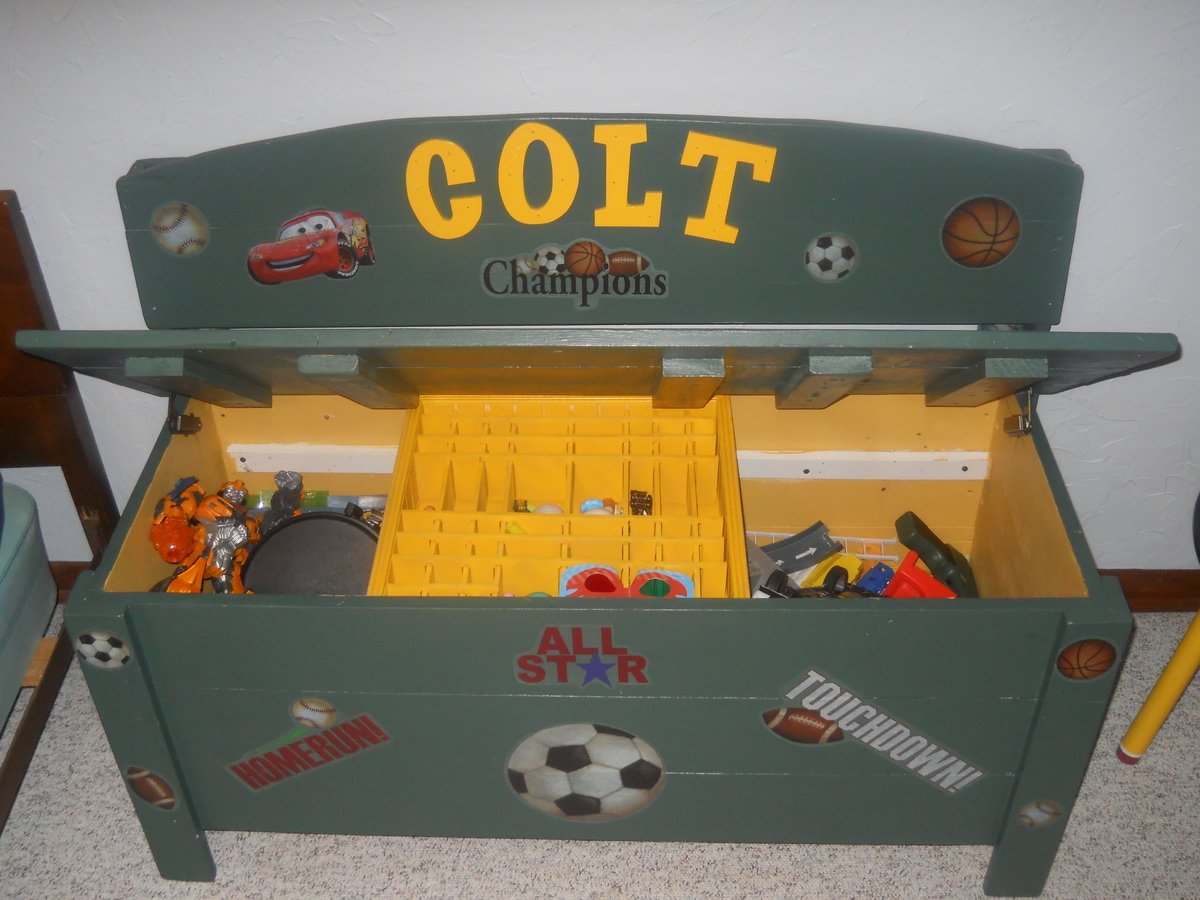
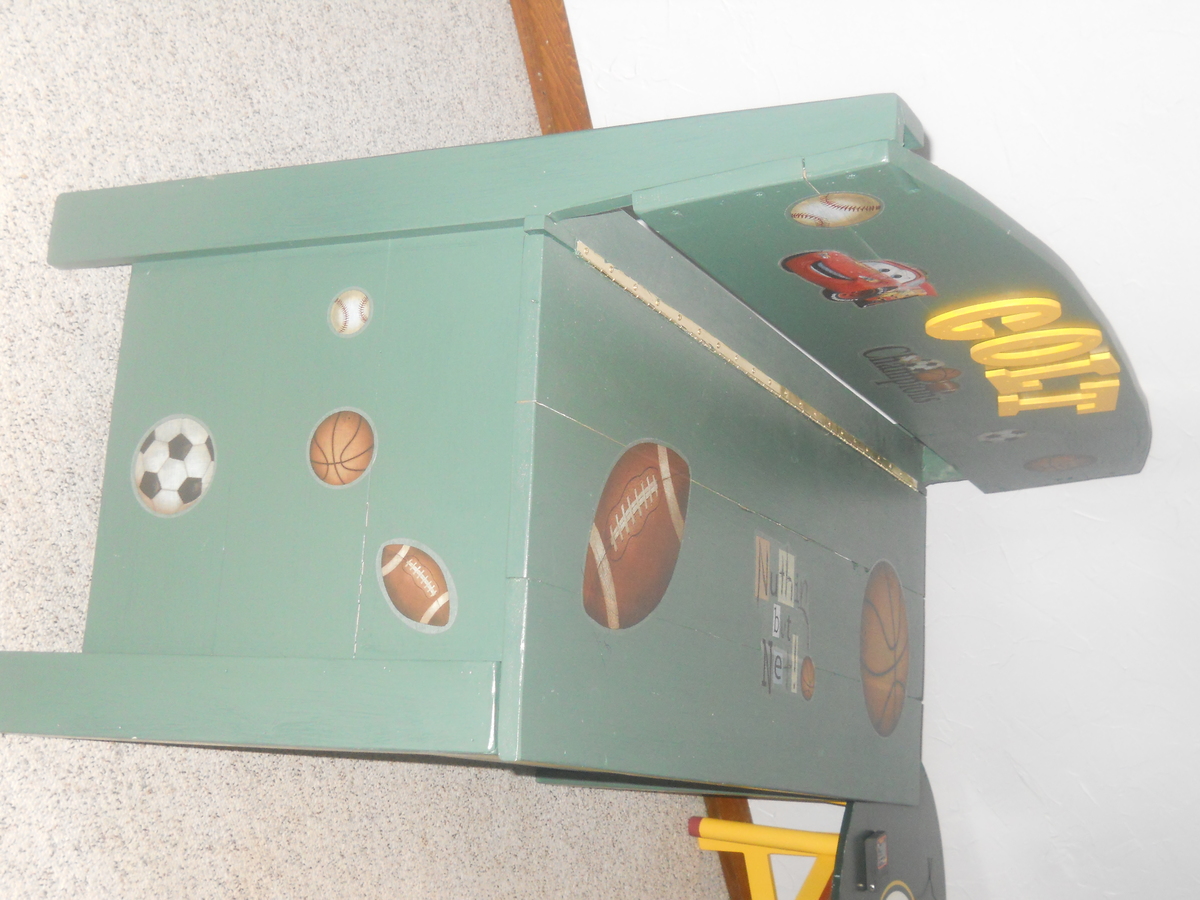
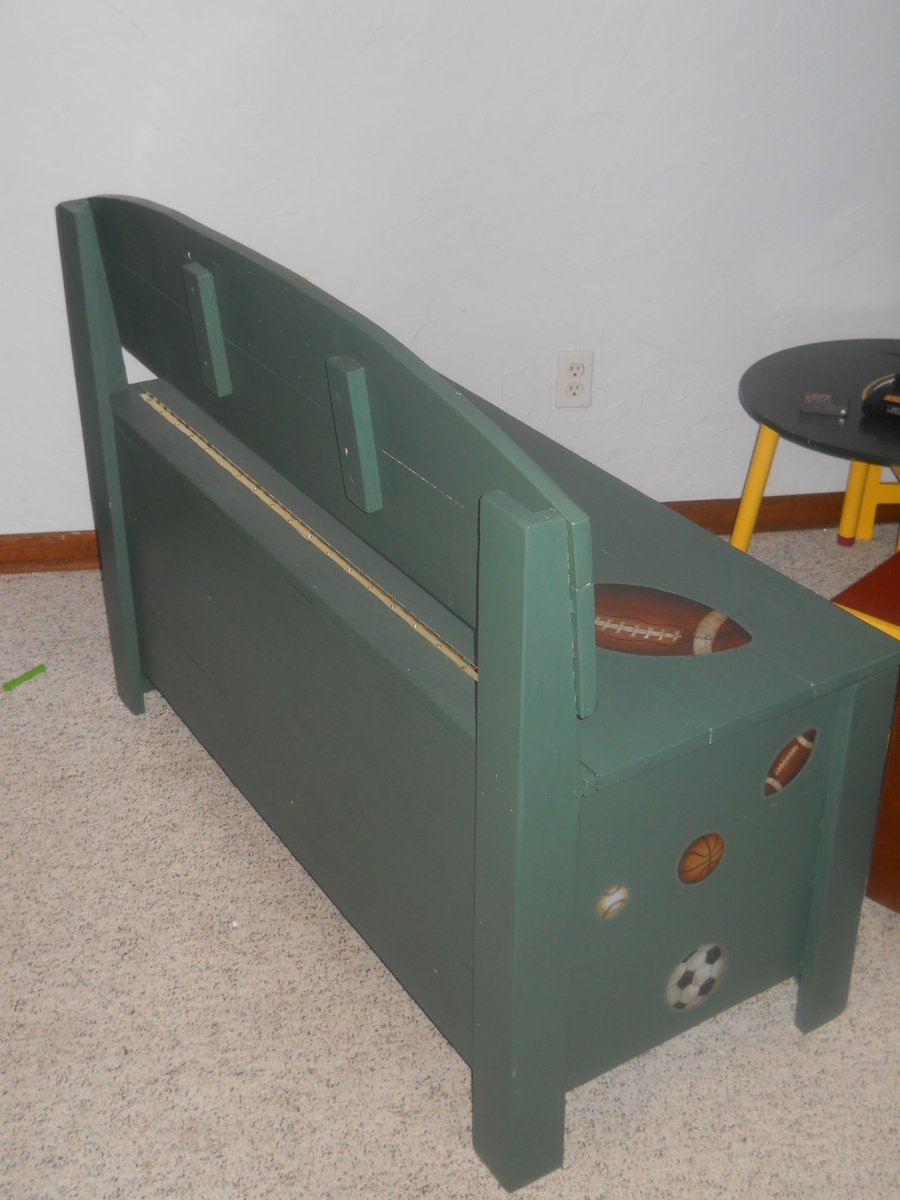
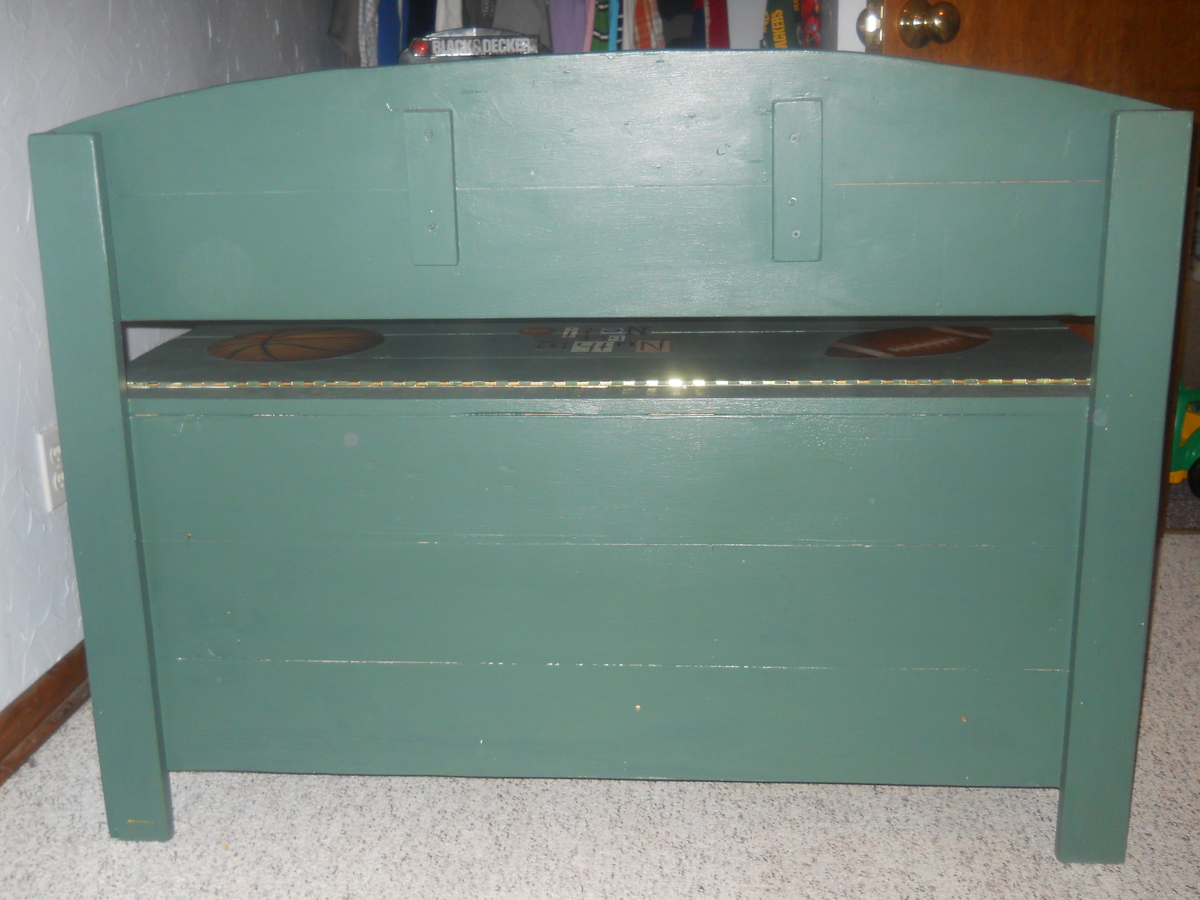
Toy Box
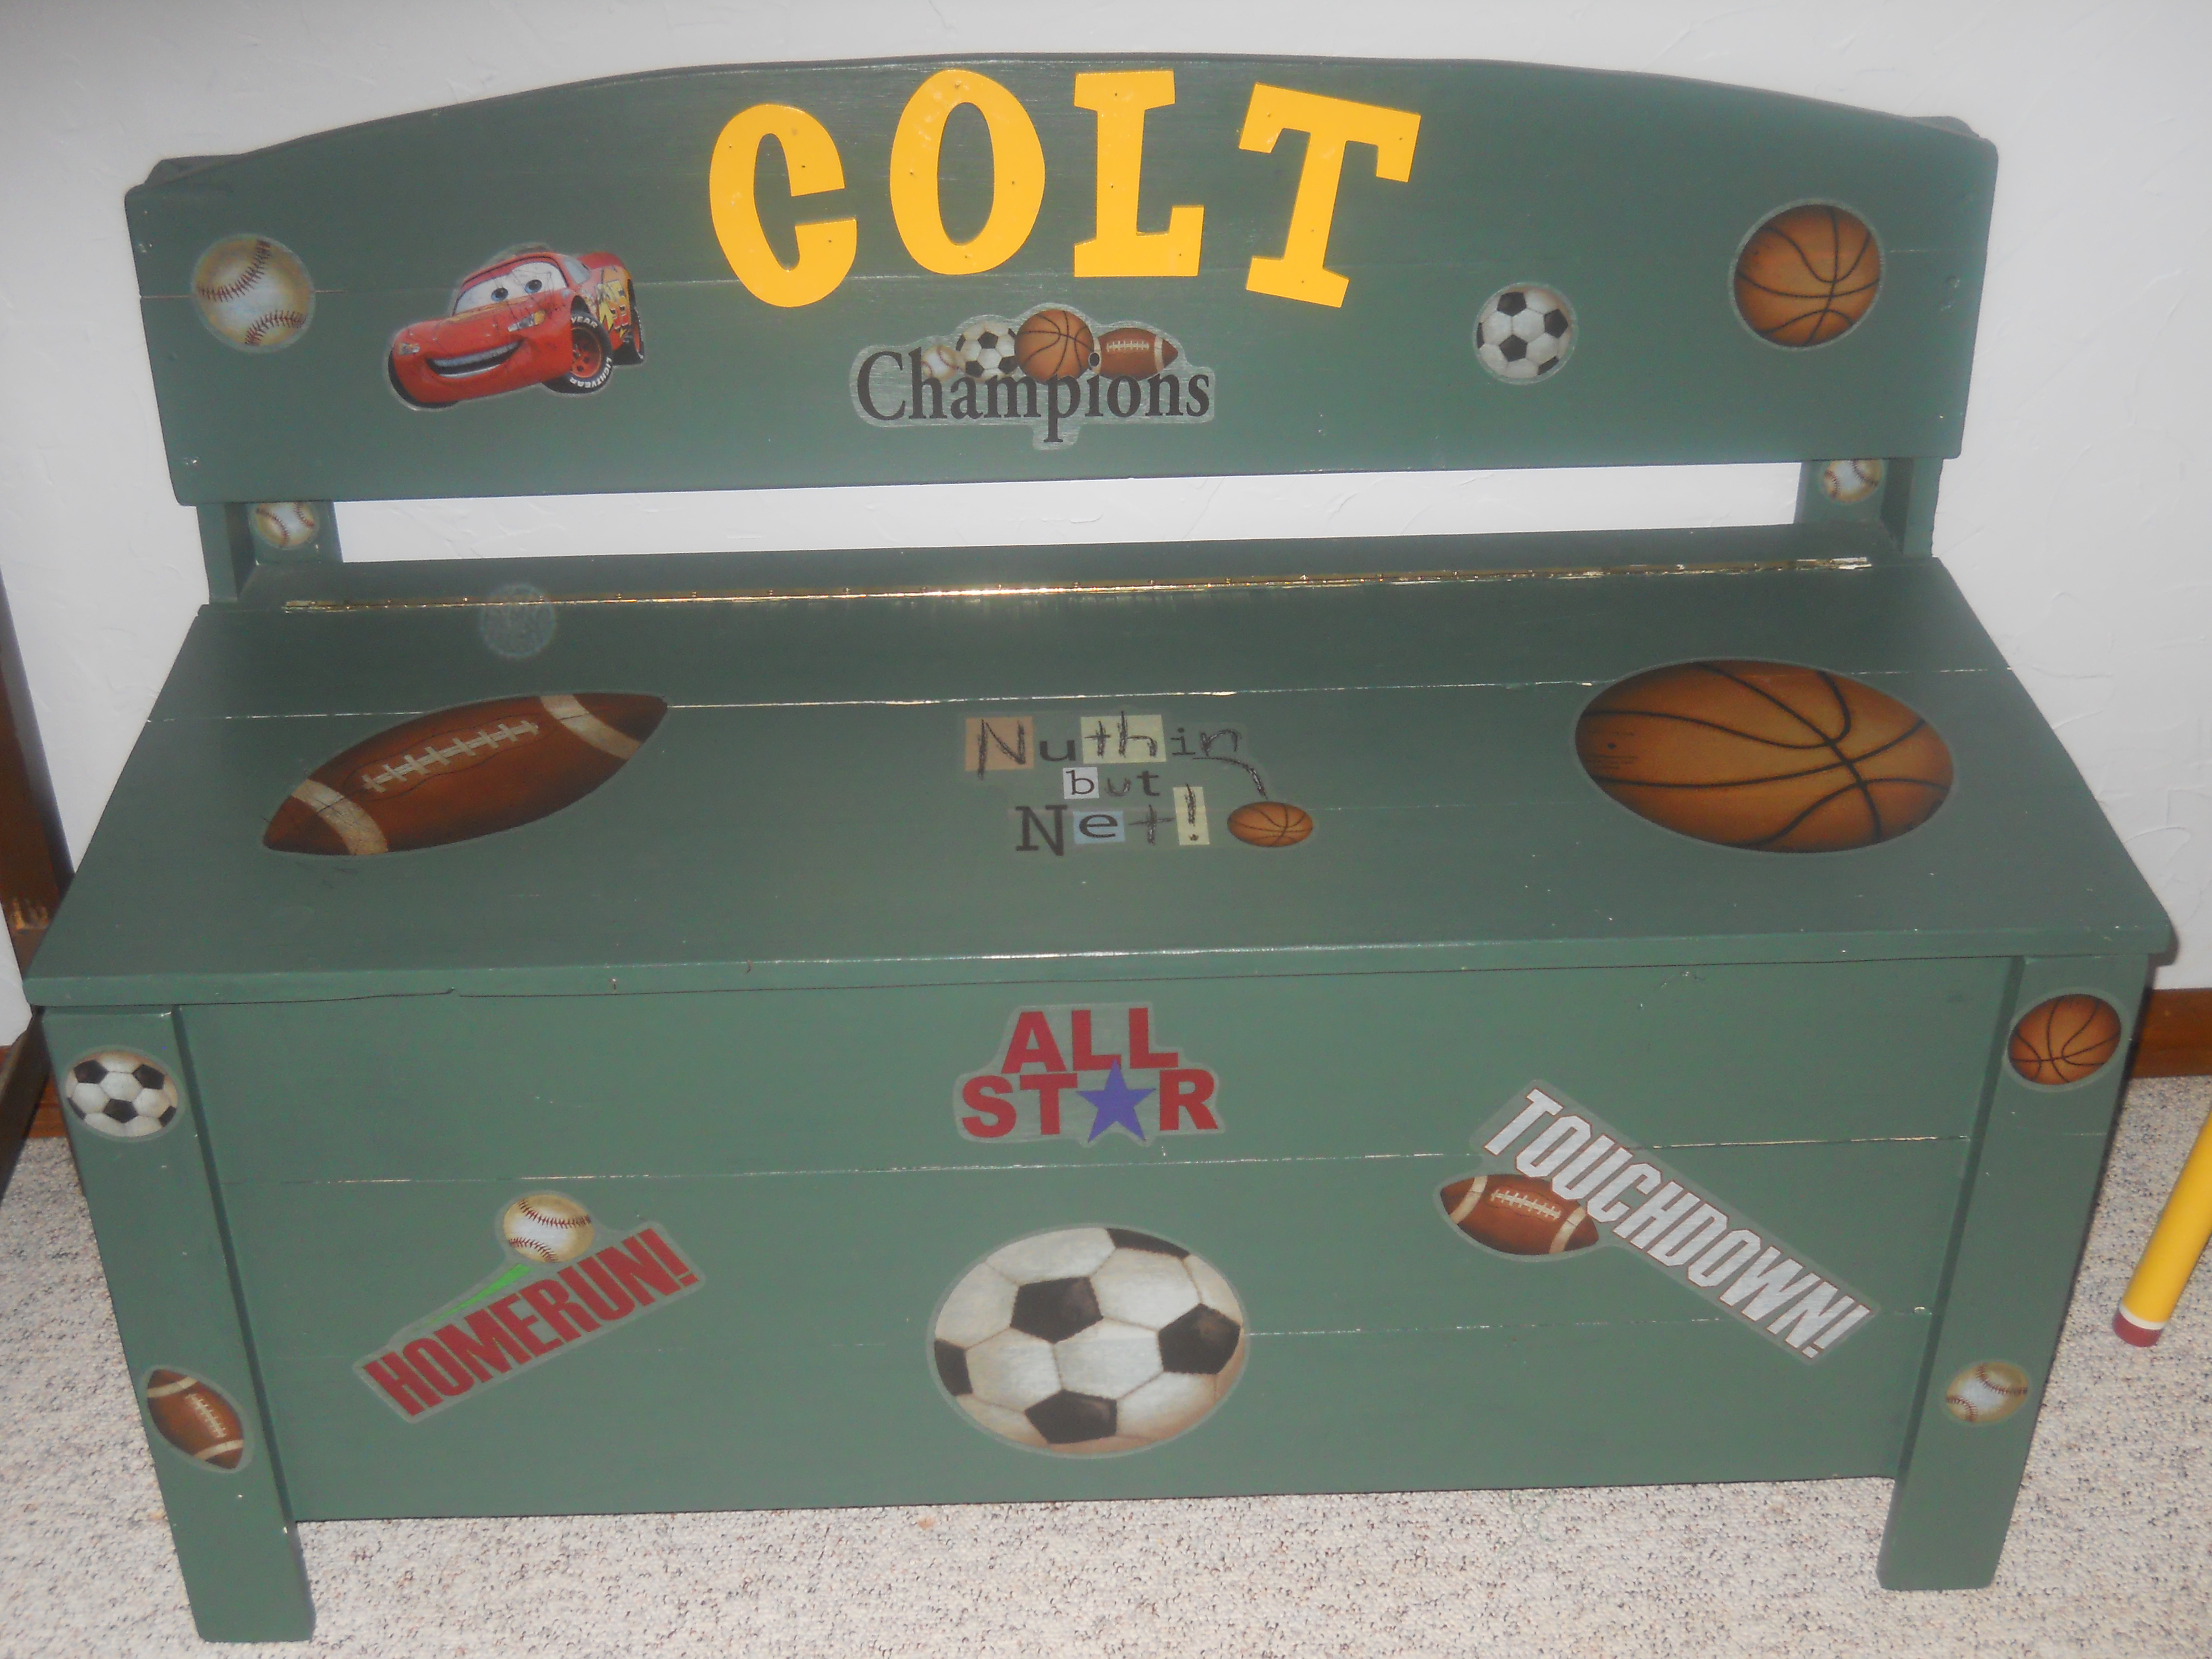
This was modified from a hose bench plan from Sunset Magazine website. I lengthened the front legs to 20 in and the back support legs to 36 in to accomodate a deeper box. It was made from 1x 6 scrap, a 36 in piano hinge, mdf pre-cut letters and two hinge supports. I painted the letters with yellow spray paint and the bench with two coats of exterior satin green paint. I also added a tray made from 1/8 in luan plywood timmed with 1x3 sides and screen molding sliding on a pvc 1x2. The seat was strengthened with additional cleats for sitting. Peel-n-stick decals
Estimated Cost
$42 -$14 piano hinge, $7 two hinge supports, $8 four letters, $12 for peel-n-stick decals all other materials and paint form previous porojects
Estimated Time Investment
Weekend Project (10-20 Hours)
Finish Used
Yellow gloss spray paint and exterior satin paint
Recommended Skill Level
Intermediate
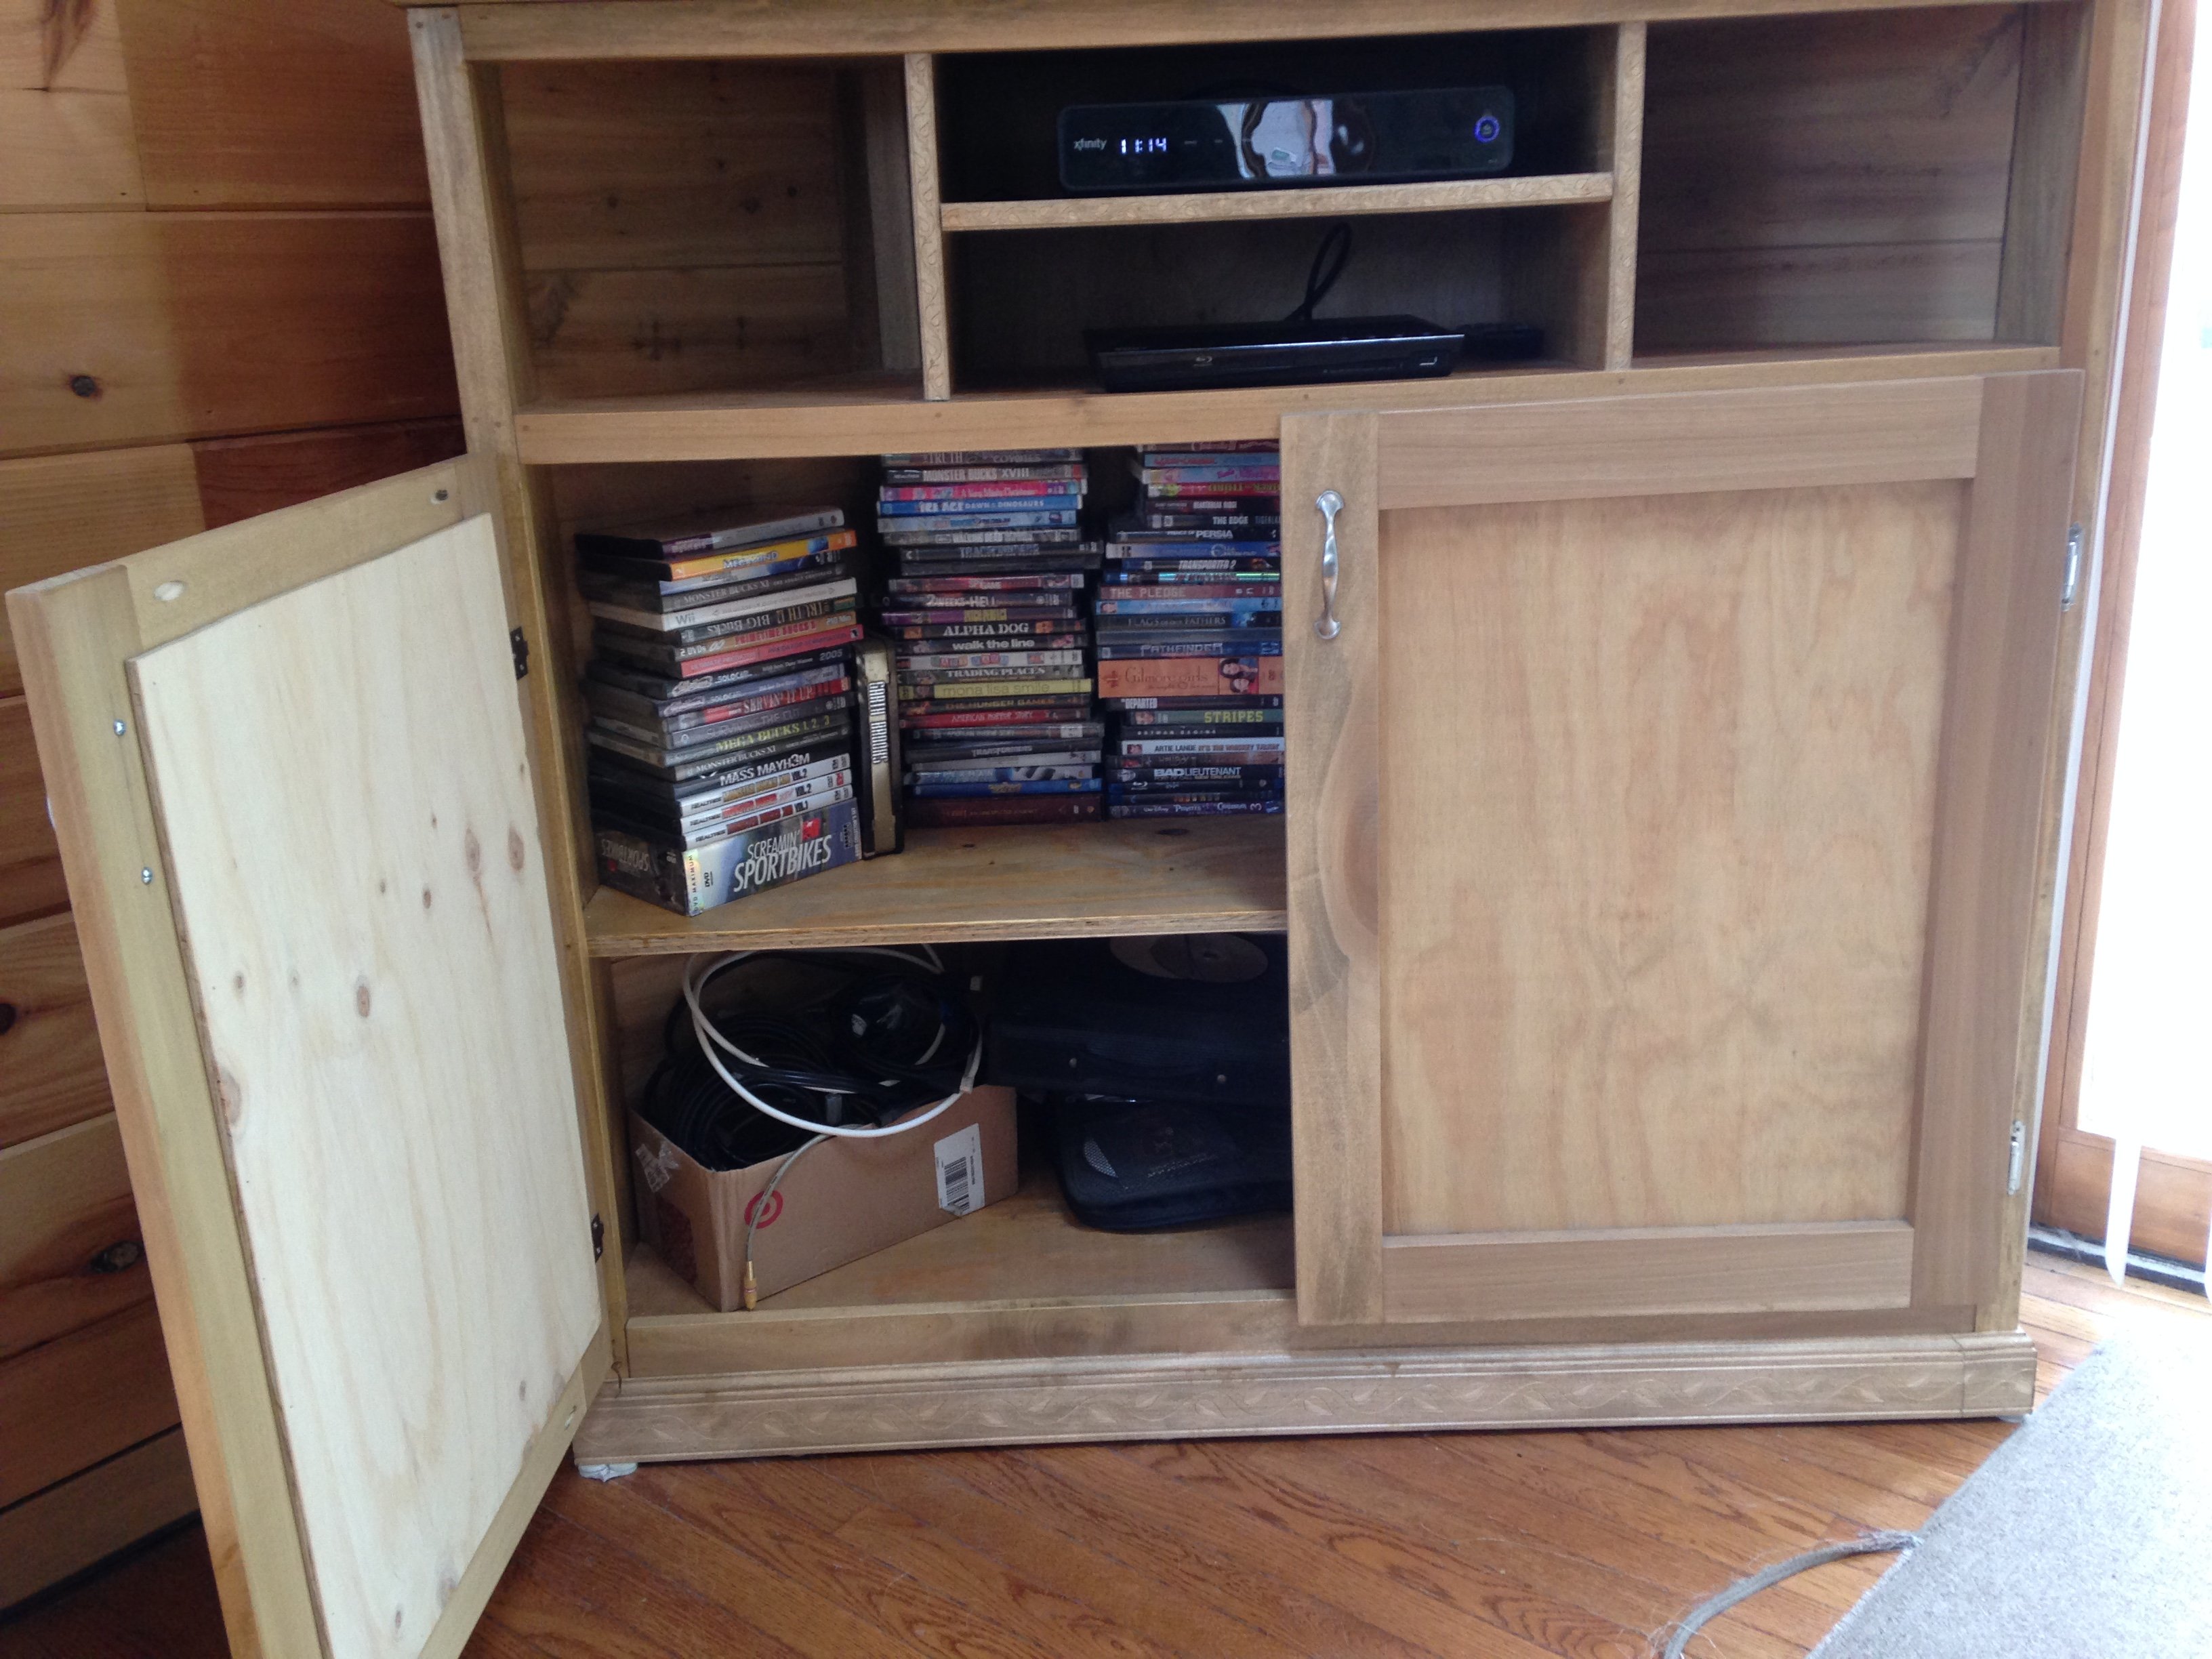
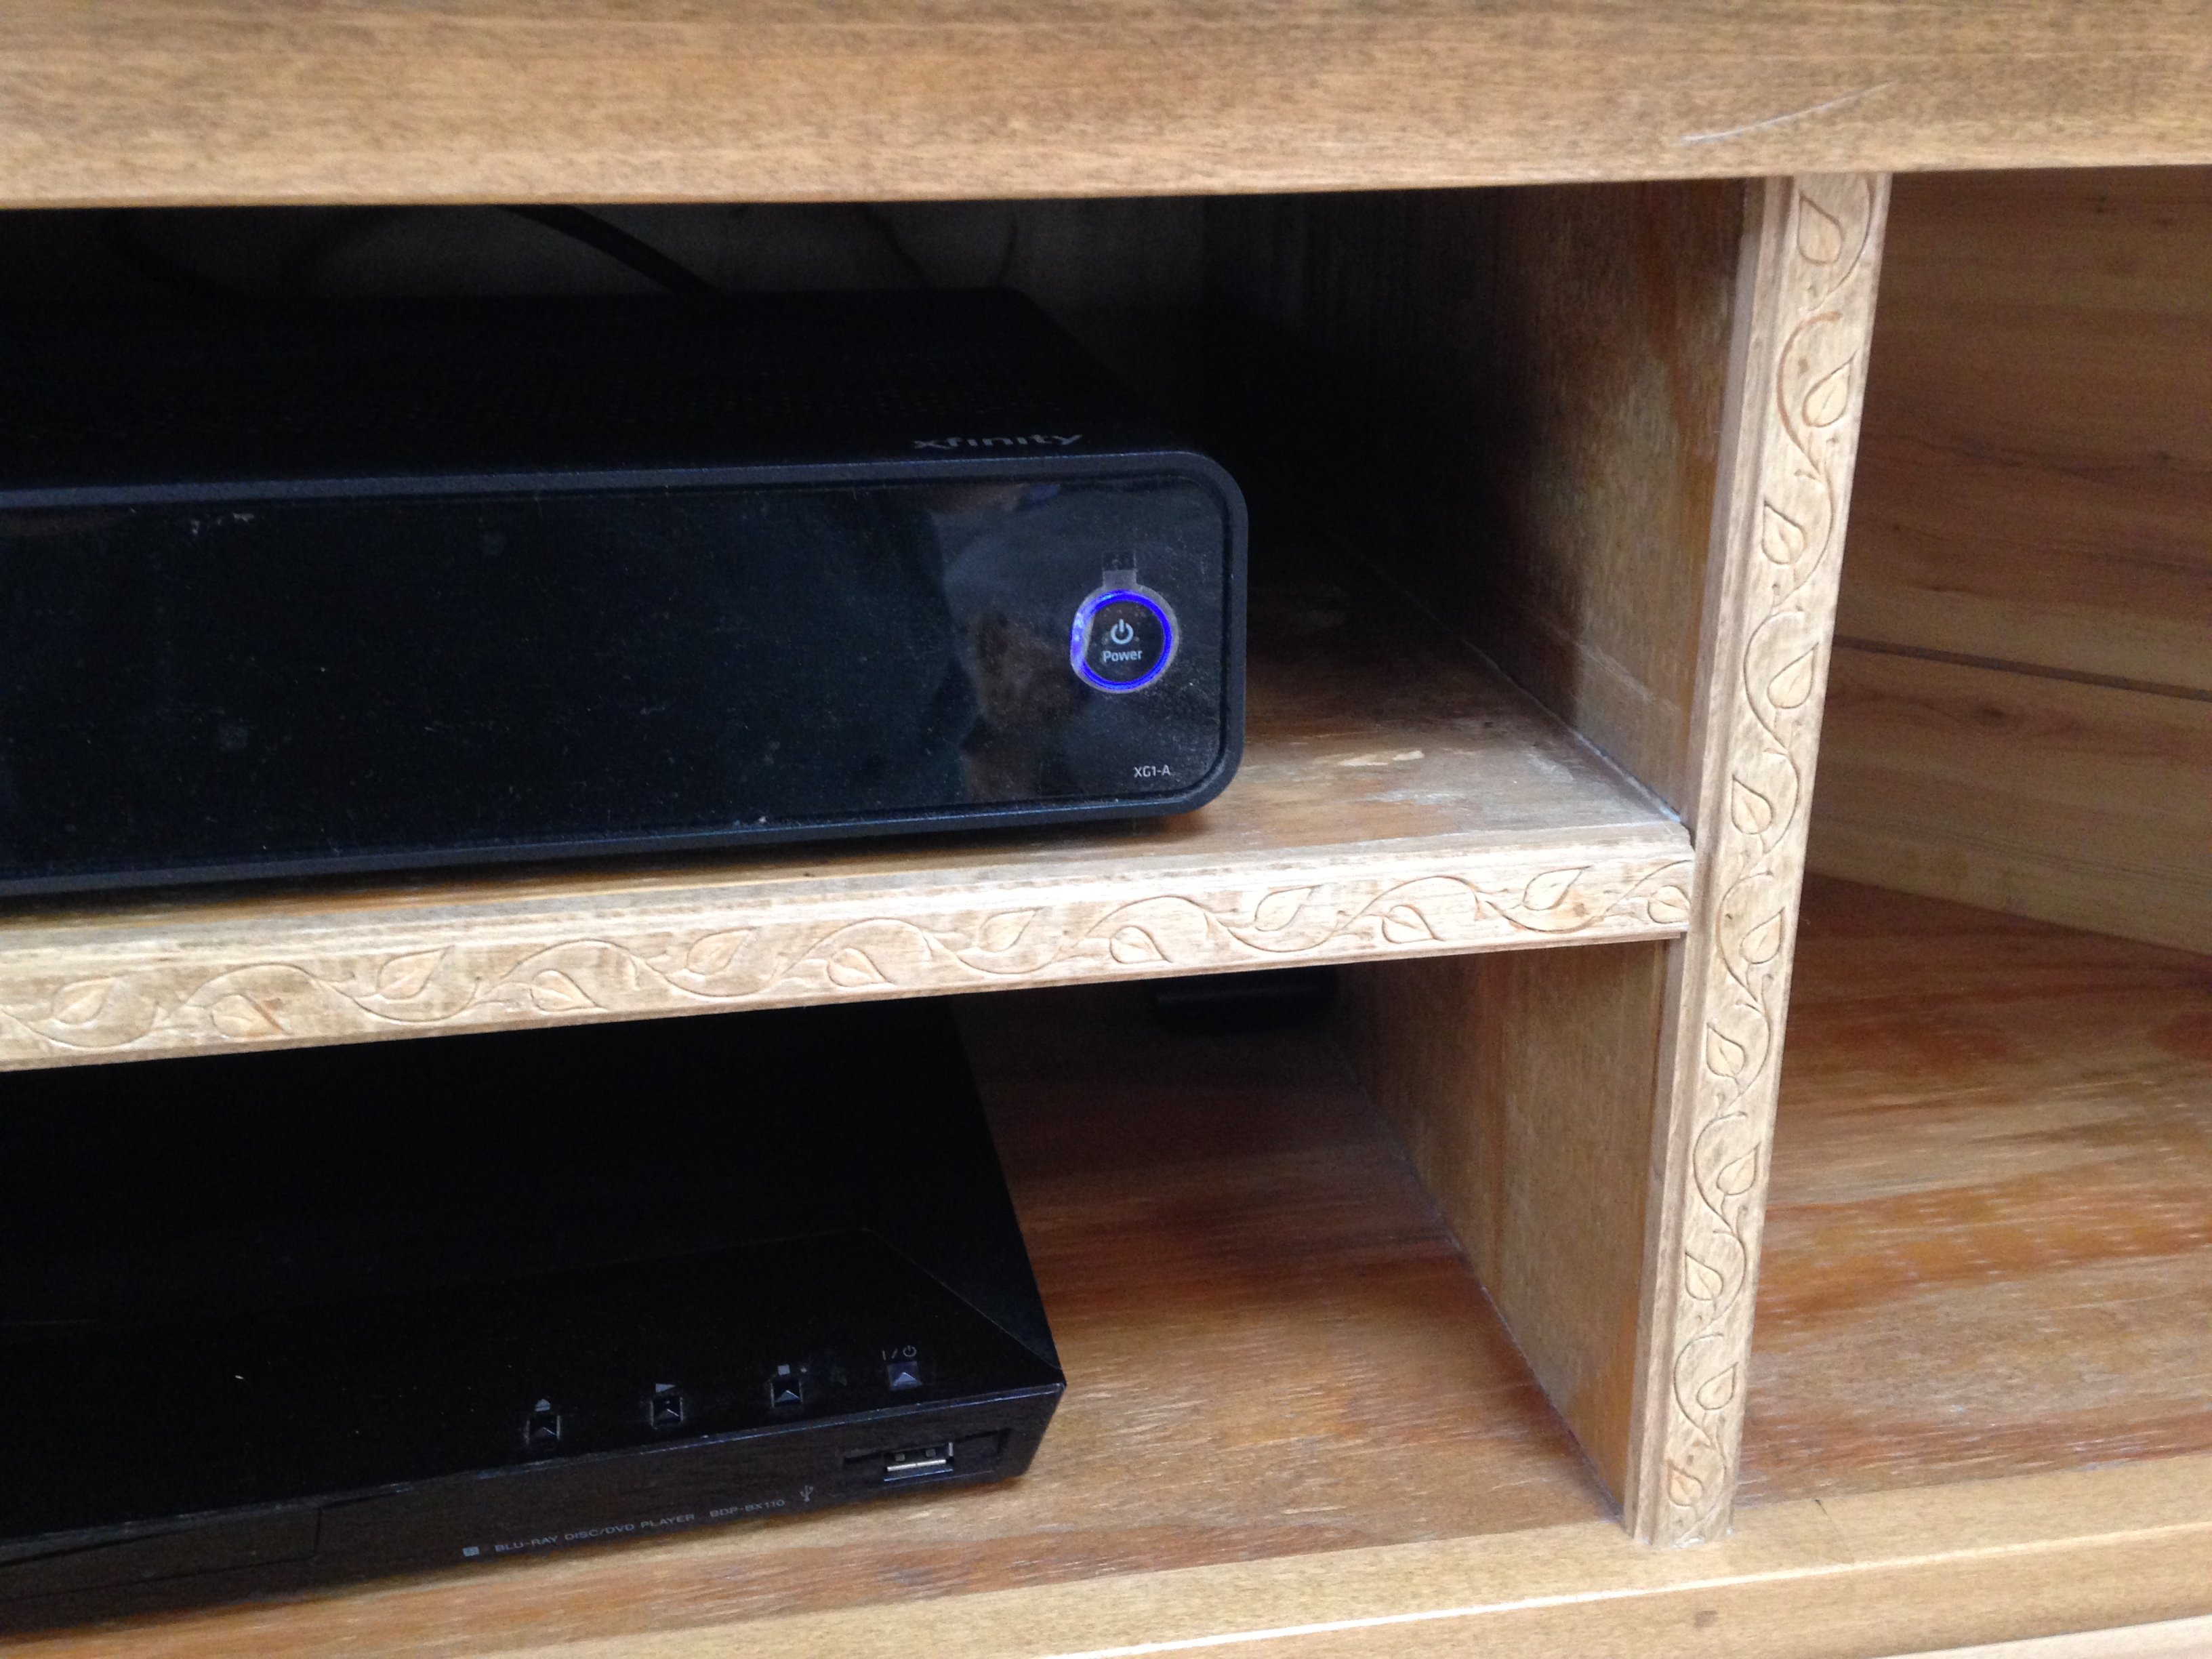
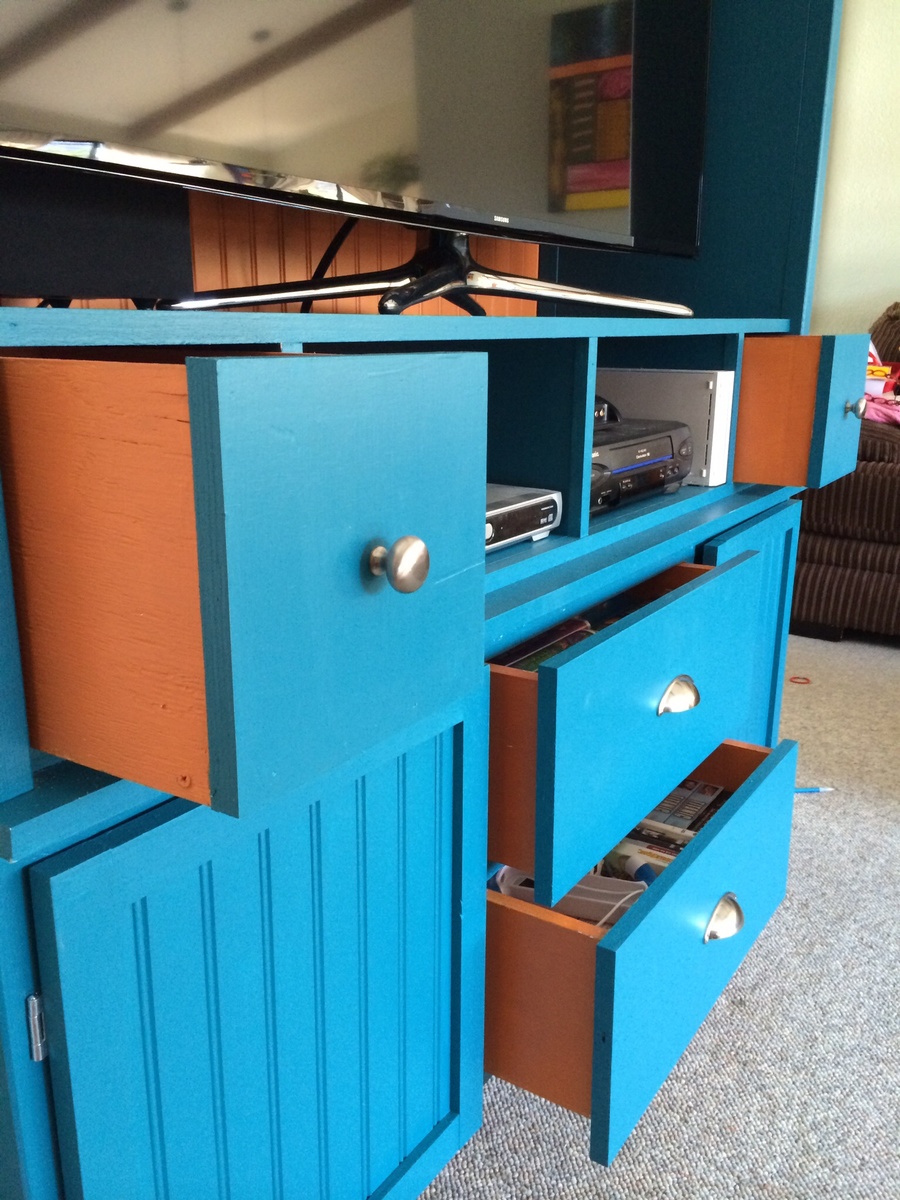
Entertainment center
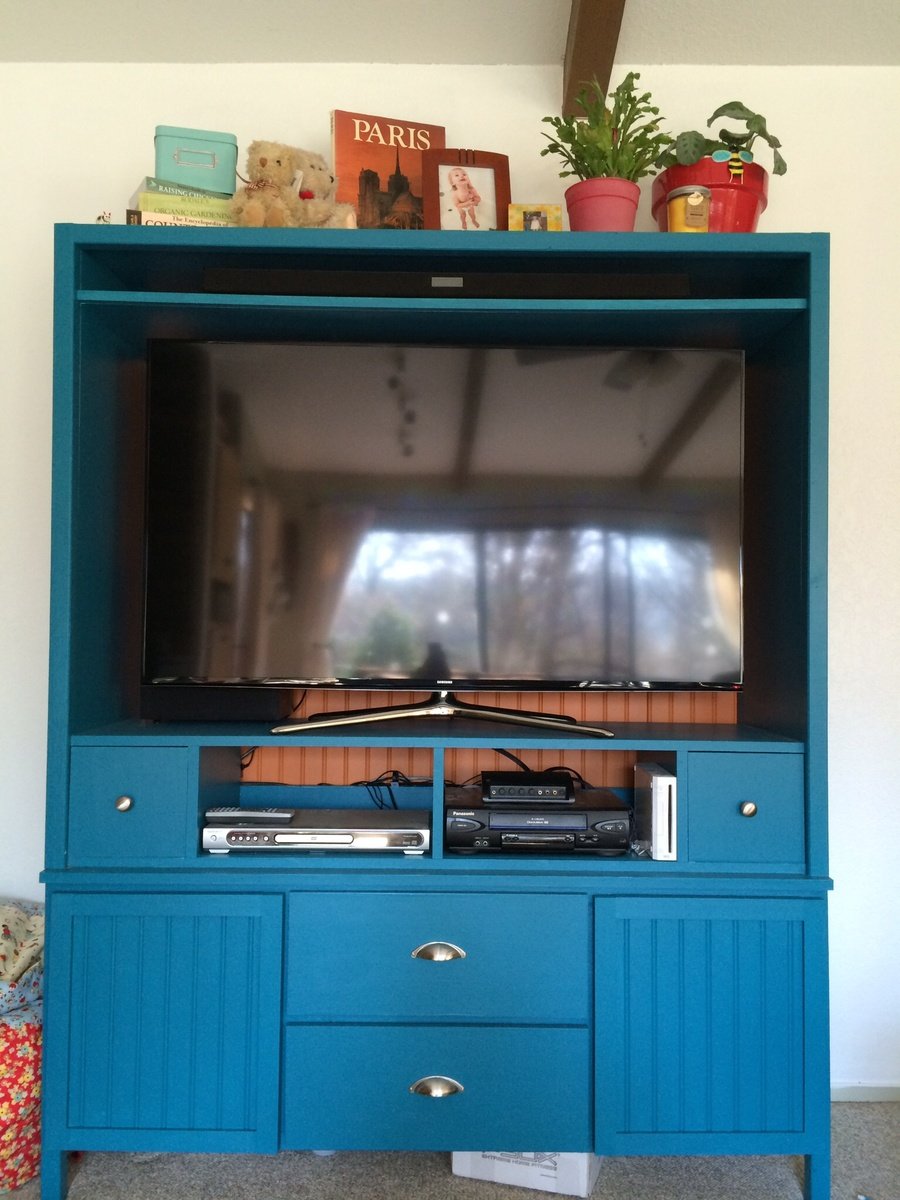
I decided to alter the plans to make it 15.5" deep 6' tall and the inside width @ 55" to accommodate a 55" TV. I used bead board as my wife recommended to give it a little more charactor. I also decided to have the drawers and doors on the bottom fit around the openings. Making this in different dimensions and tweeting it made it a much longer project and also having to paint it with 3 coats was time consuming. That being said I am pretty happy with the outcome. Now I just need to start on the side units. I also wanted to thank Ana for all of these wonderful plans. I have done many of these projects and hope to do so many more.
Built from Plan(s)
Estimated Cost
350
Estimated Time Investment
Week Long Project (20 Hours or More)
Recommended Skill Level
Intermediate
Comments
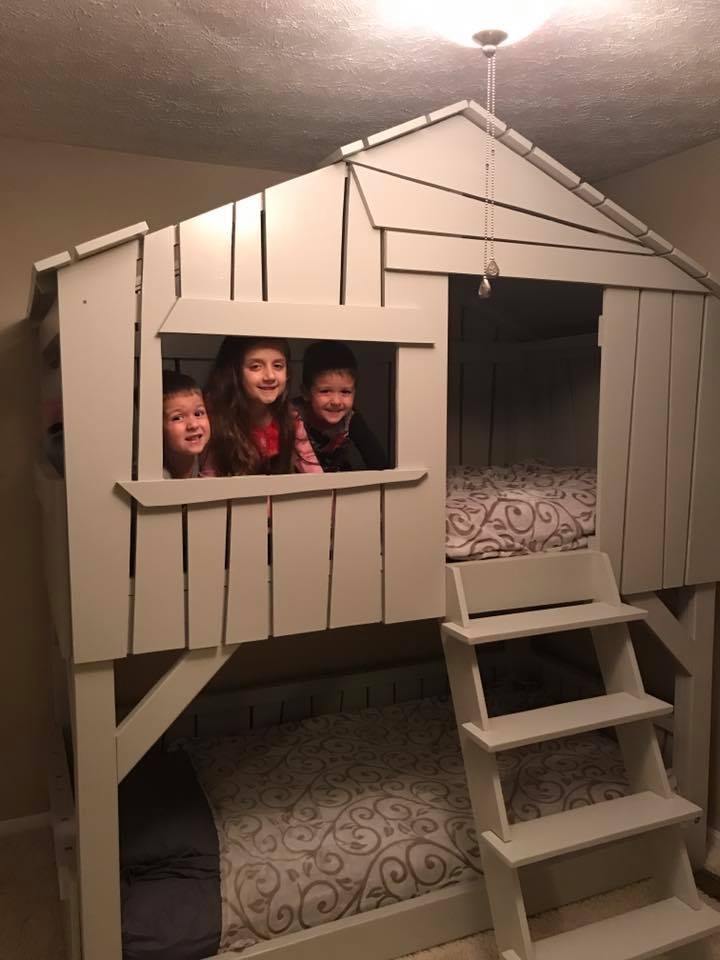
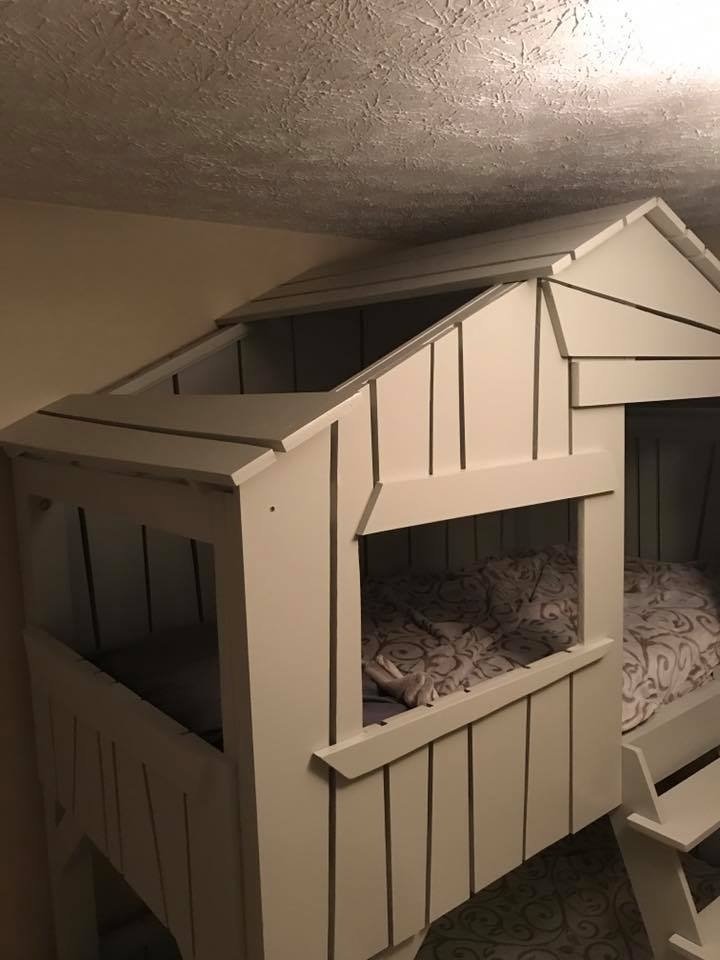
Modified Clubhouse Bunkbed
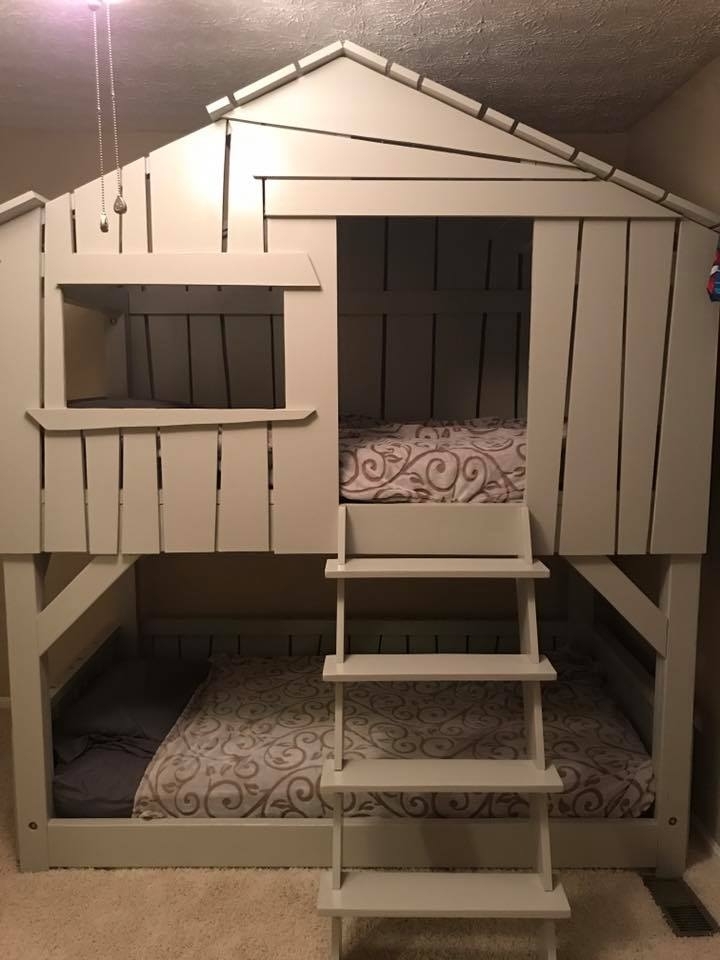
I used the plan from the Clubhouse bunk bed and modified to look similar to a Mathy-by-Boles Treehouse Bunkbed.
Built from Plan(s)
Estimated Cost
$450
Estimated Time Investment
Week Long Project (20 Hours or More)
Finish Used
Primer and kid friendly paint. oh yeah...sanding. Lots and lots of sanding!
Recommended Skill Level
Intermediate
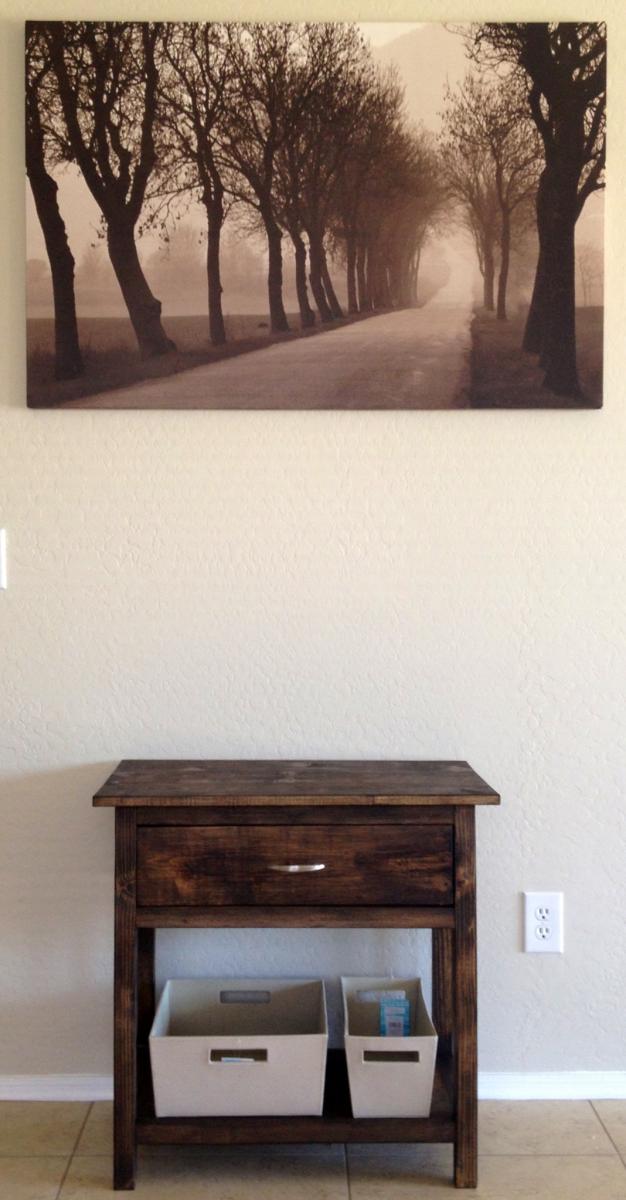
Pottery Barn Style Night Stand (thank you Ana)

Yesterday I built two of these for my wife and I's room, we just moved from Hawaii to Arizona. The plans were clear and simple, and the end product turned out awesome. Next I will tack the dresser/tv stand. Thank you Ana
Built from Plan(s)
Estimated Cost
$65 for two tables
Estimated Time Investment
Day Project (6-9 Hours)
Finish Used
MiniWax Espresso applied with a paint brush. I used an extremely thin coat.
Recommended Skill Level
Beginner
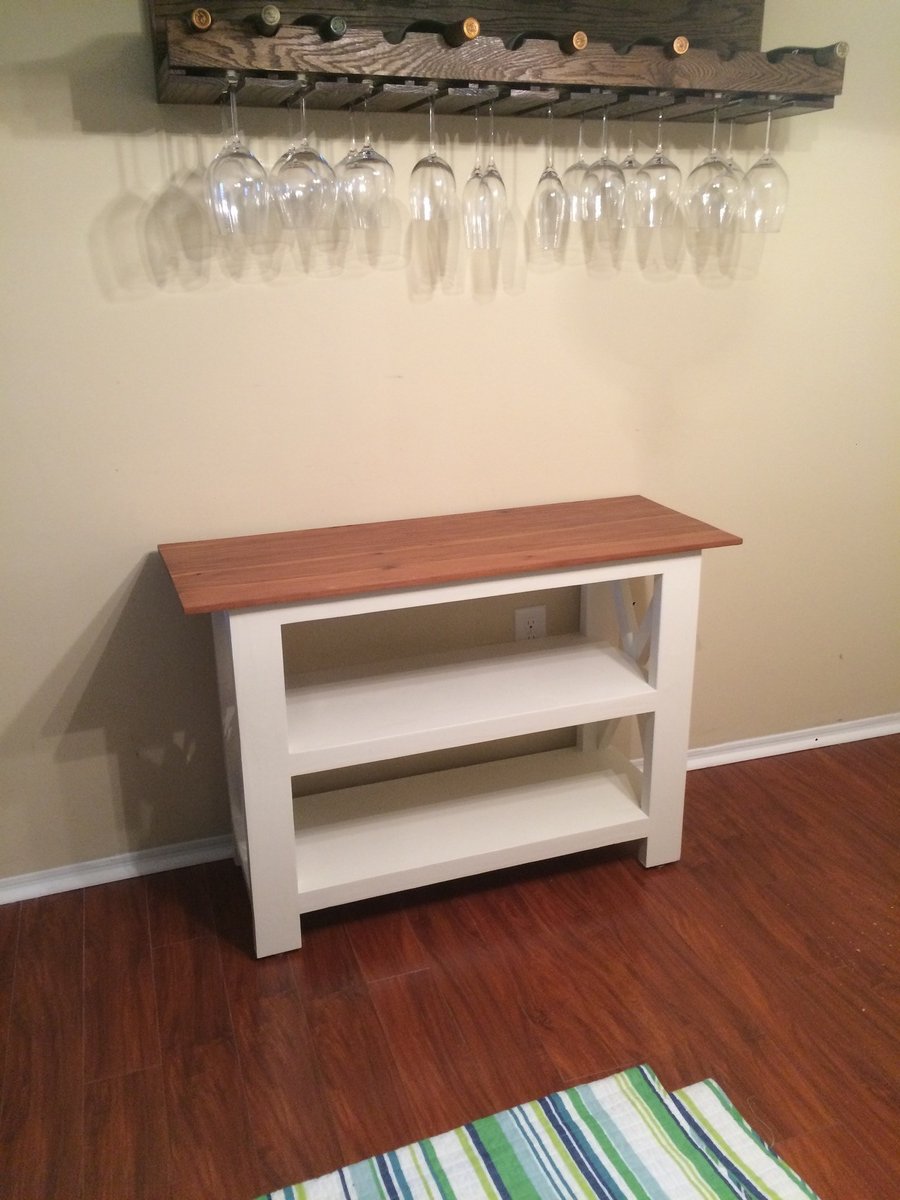
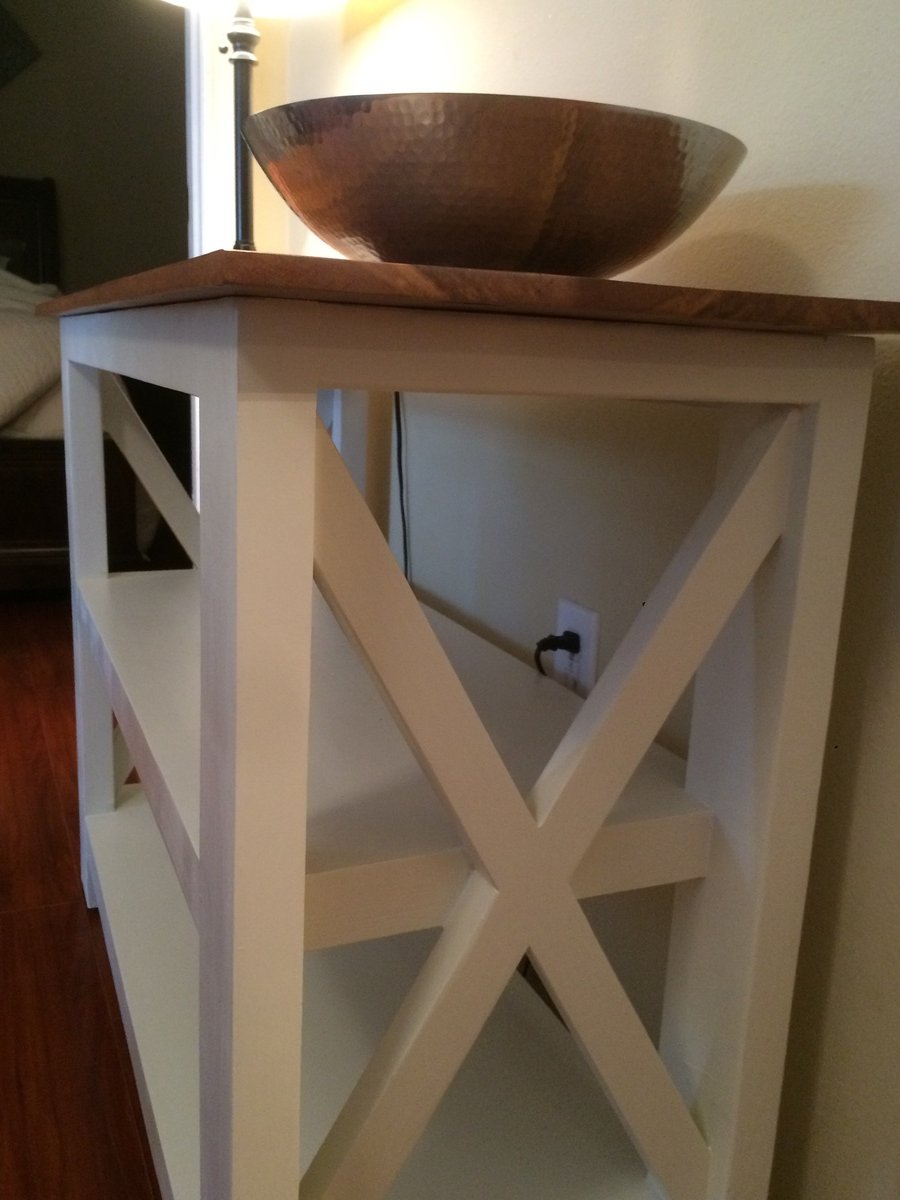
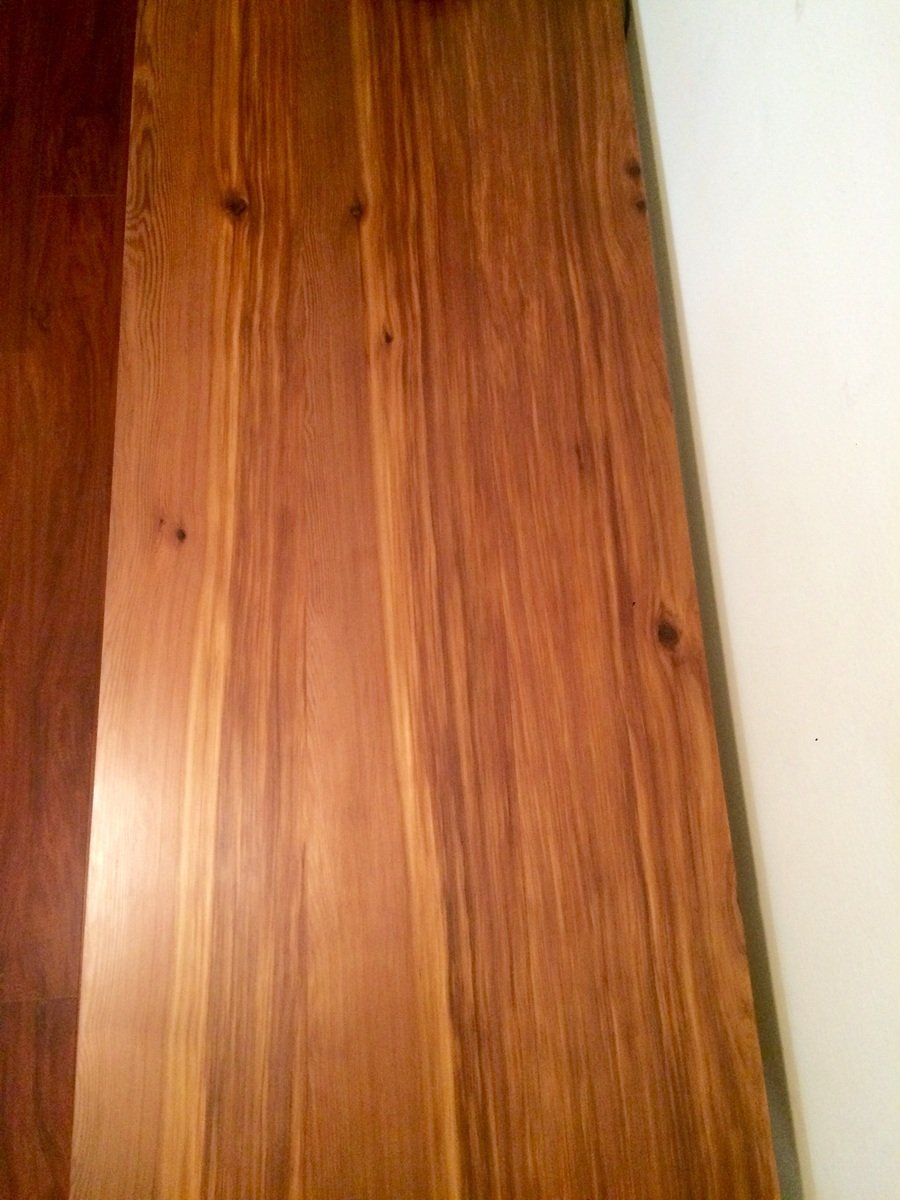
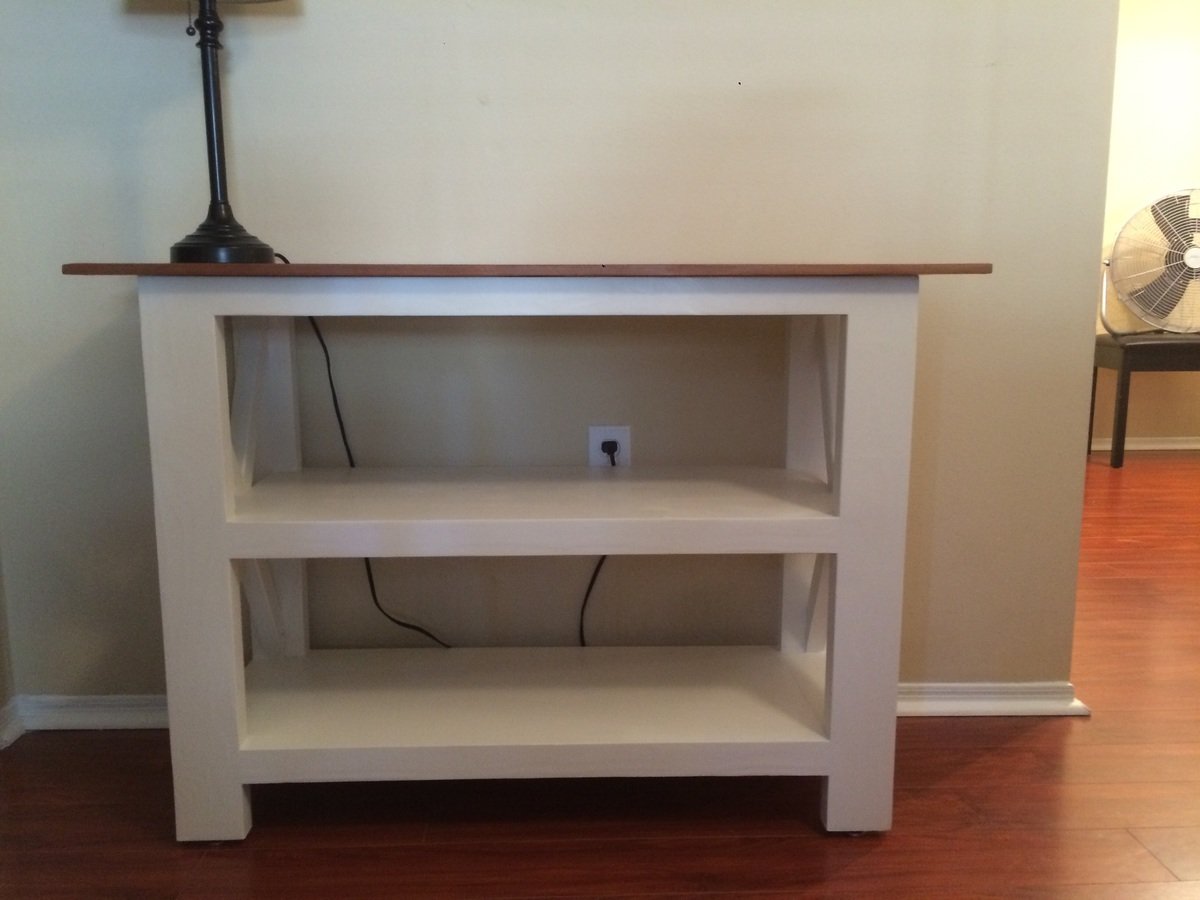
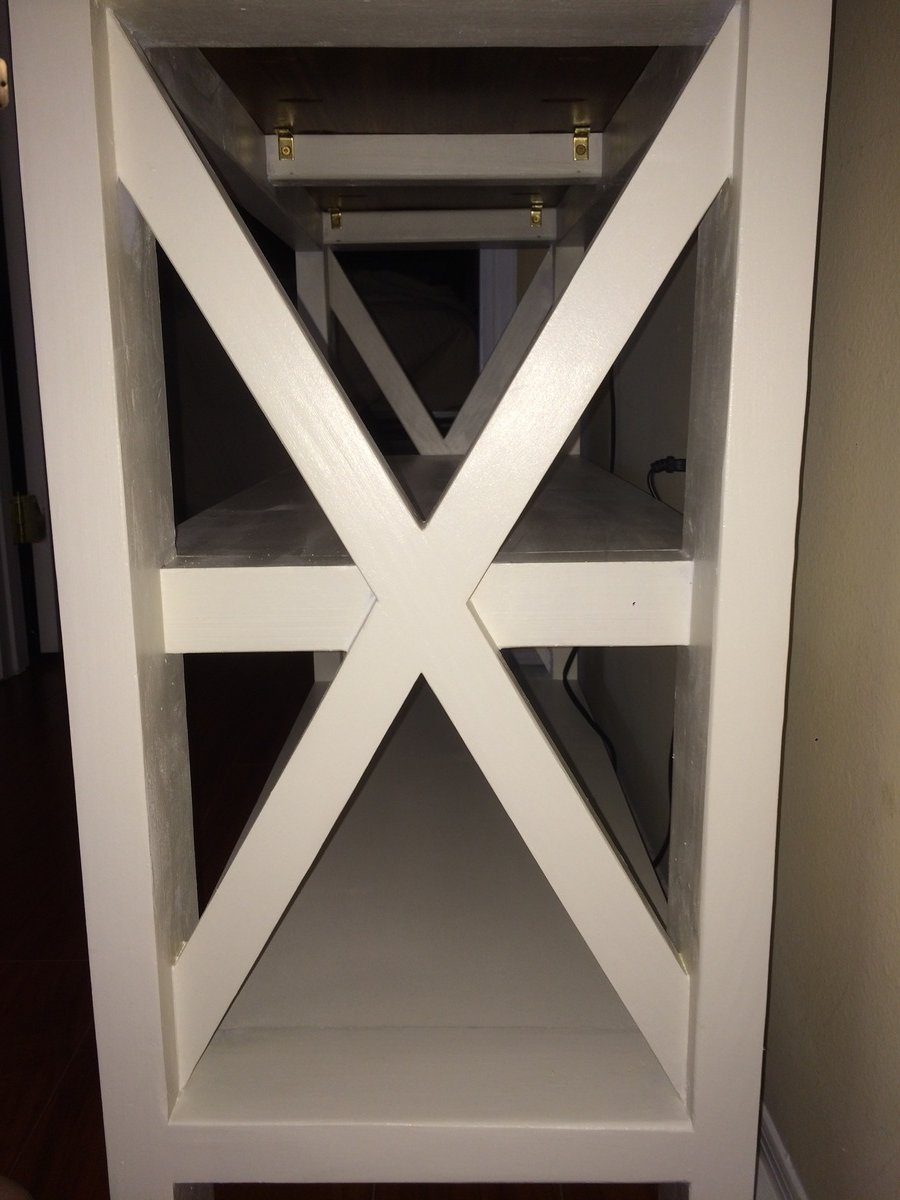
Half-size Rustic X Console
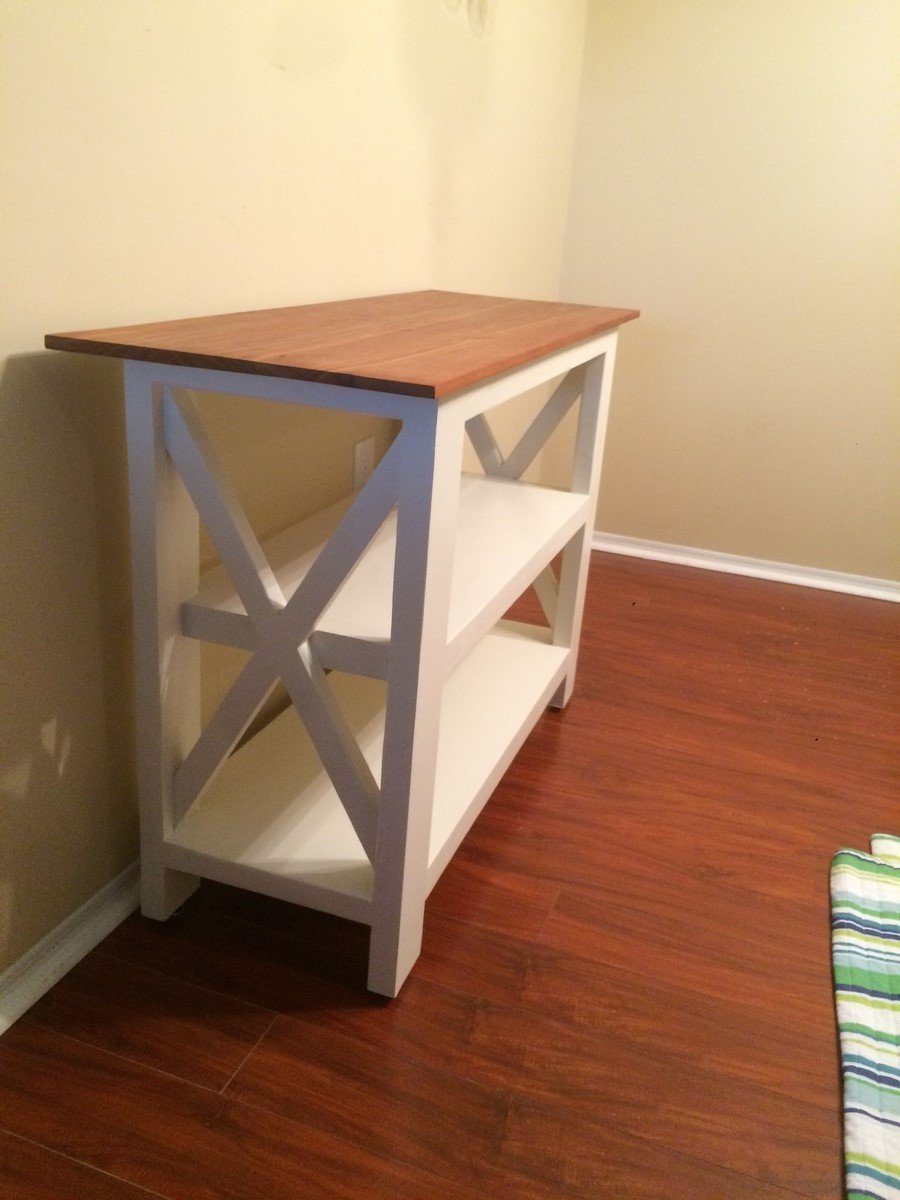
Essentially cut the original plans in half and modified a few things. The major change aside from the size is that is I used cedar plank for the top. I did this because I wanted a more professional look and I simply could resist the beautiful grain of the cedar. Pocket holed and glue cedar prices together after running them through the jointer. Also I connected the top to the frame via L brackets. Sealed the top with 3 layers of satin polyurethane. Apples poly with a 6 in microfiber brush dampened in mineral spirits. Also I painted the majority of the base with a foam roller. Put on slide plates on the bottom to adjust for slight unlevelness. Enjoy!
Estimated Cost
65
Estimated Time Investment
Week Long Project (20 Hours or More)
Recommended Skill Level
Intermediate
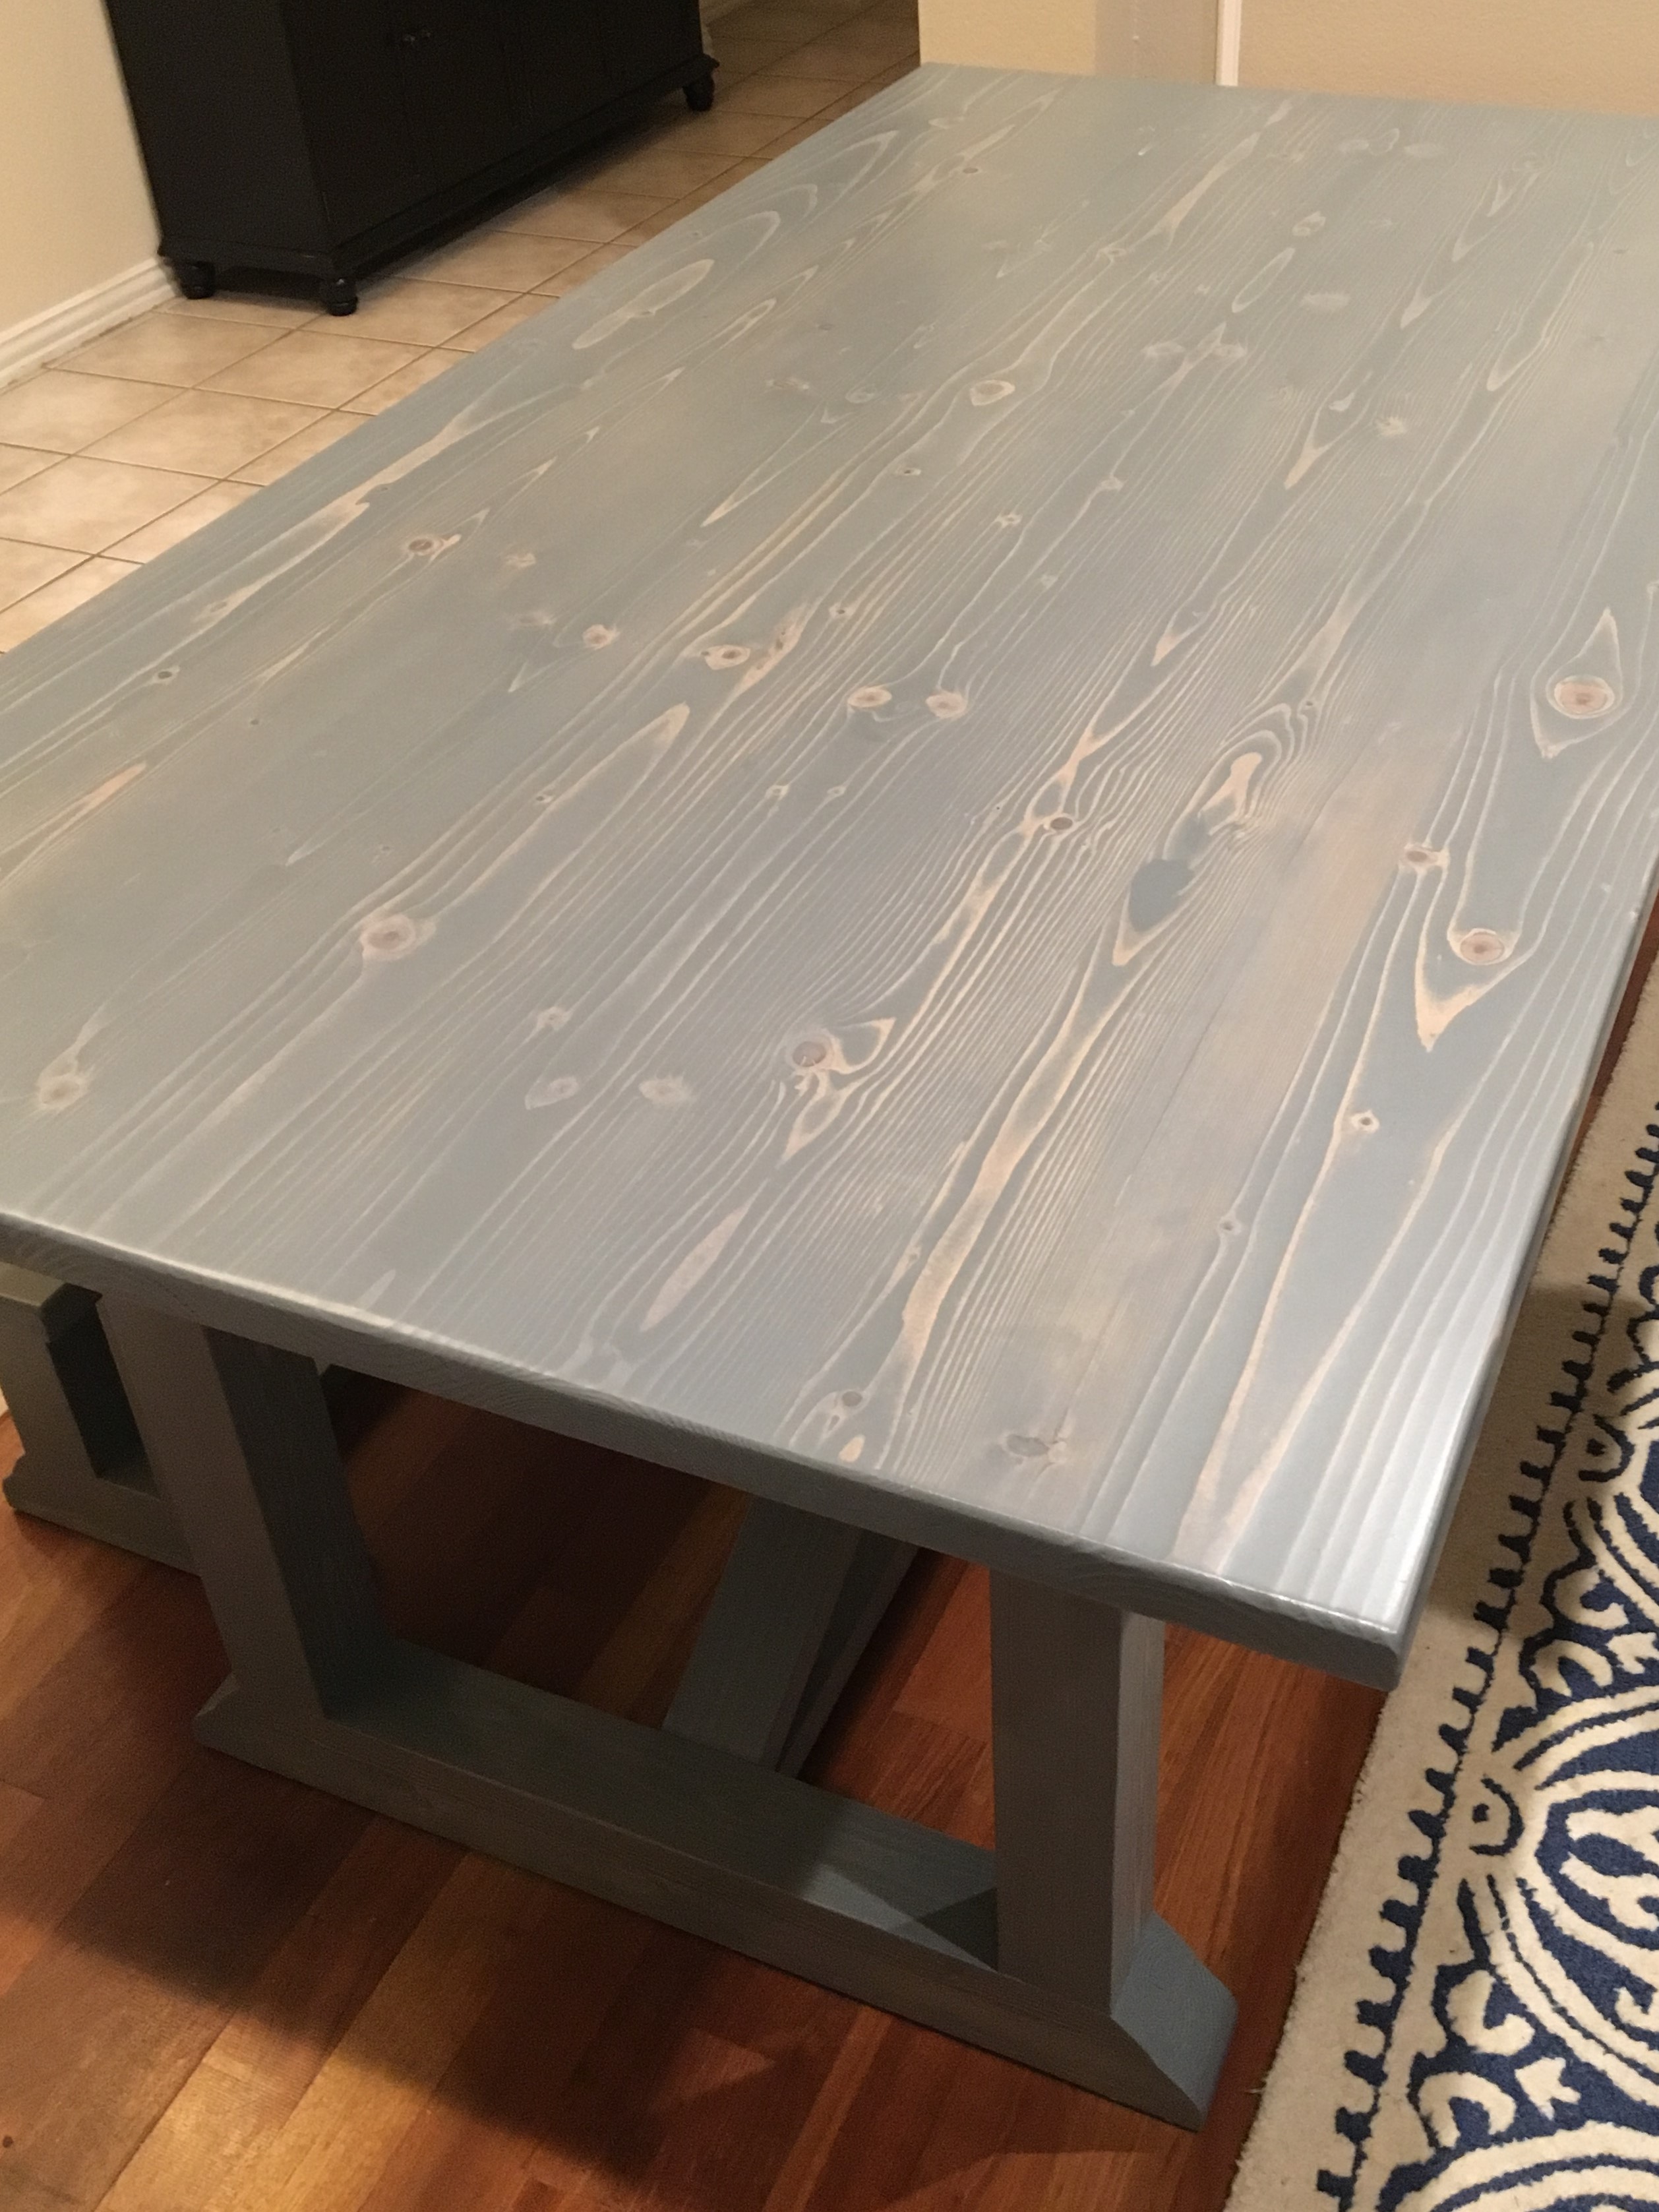
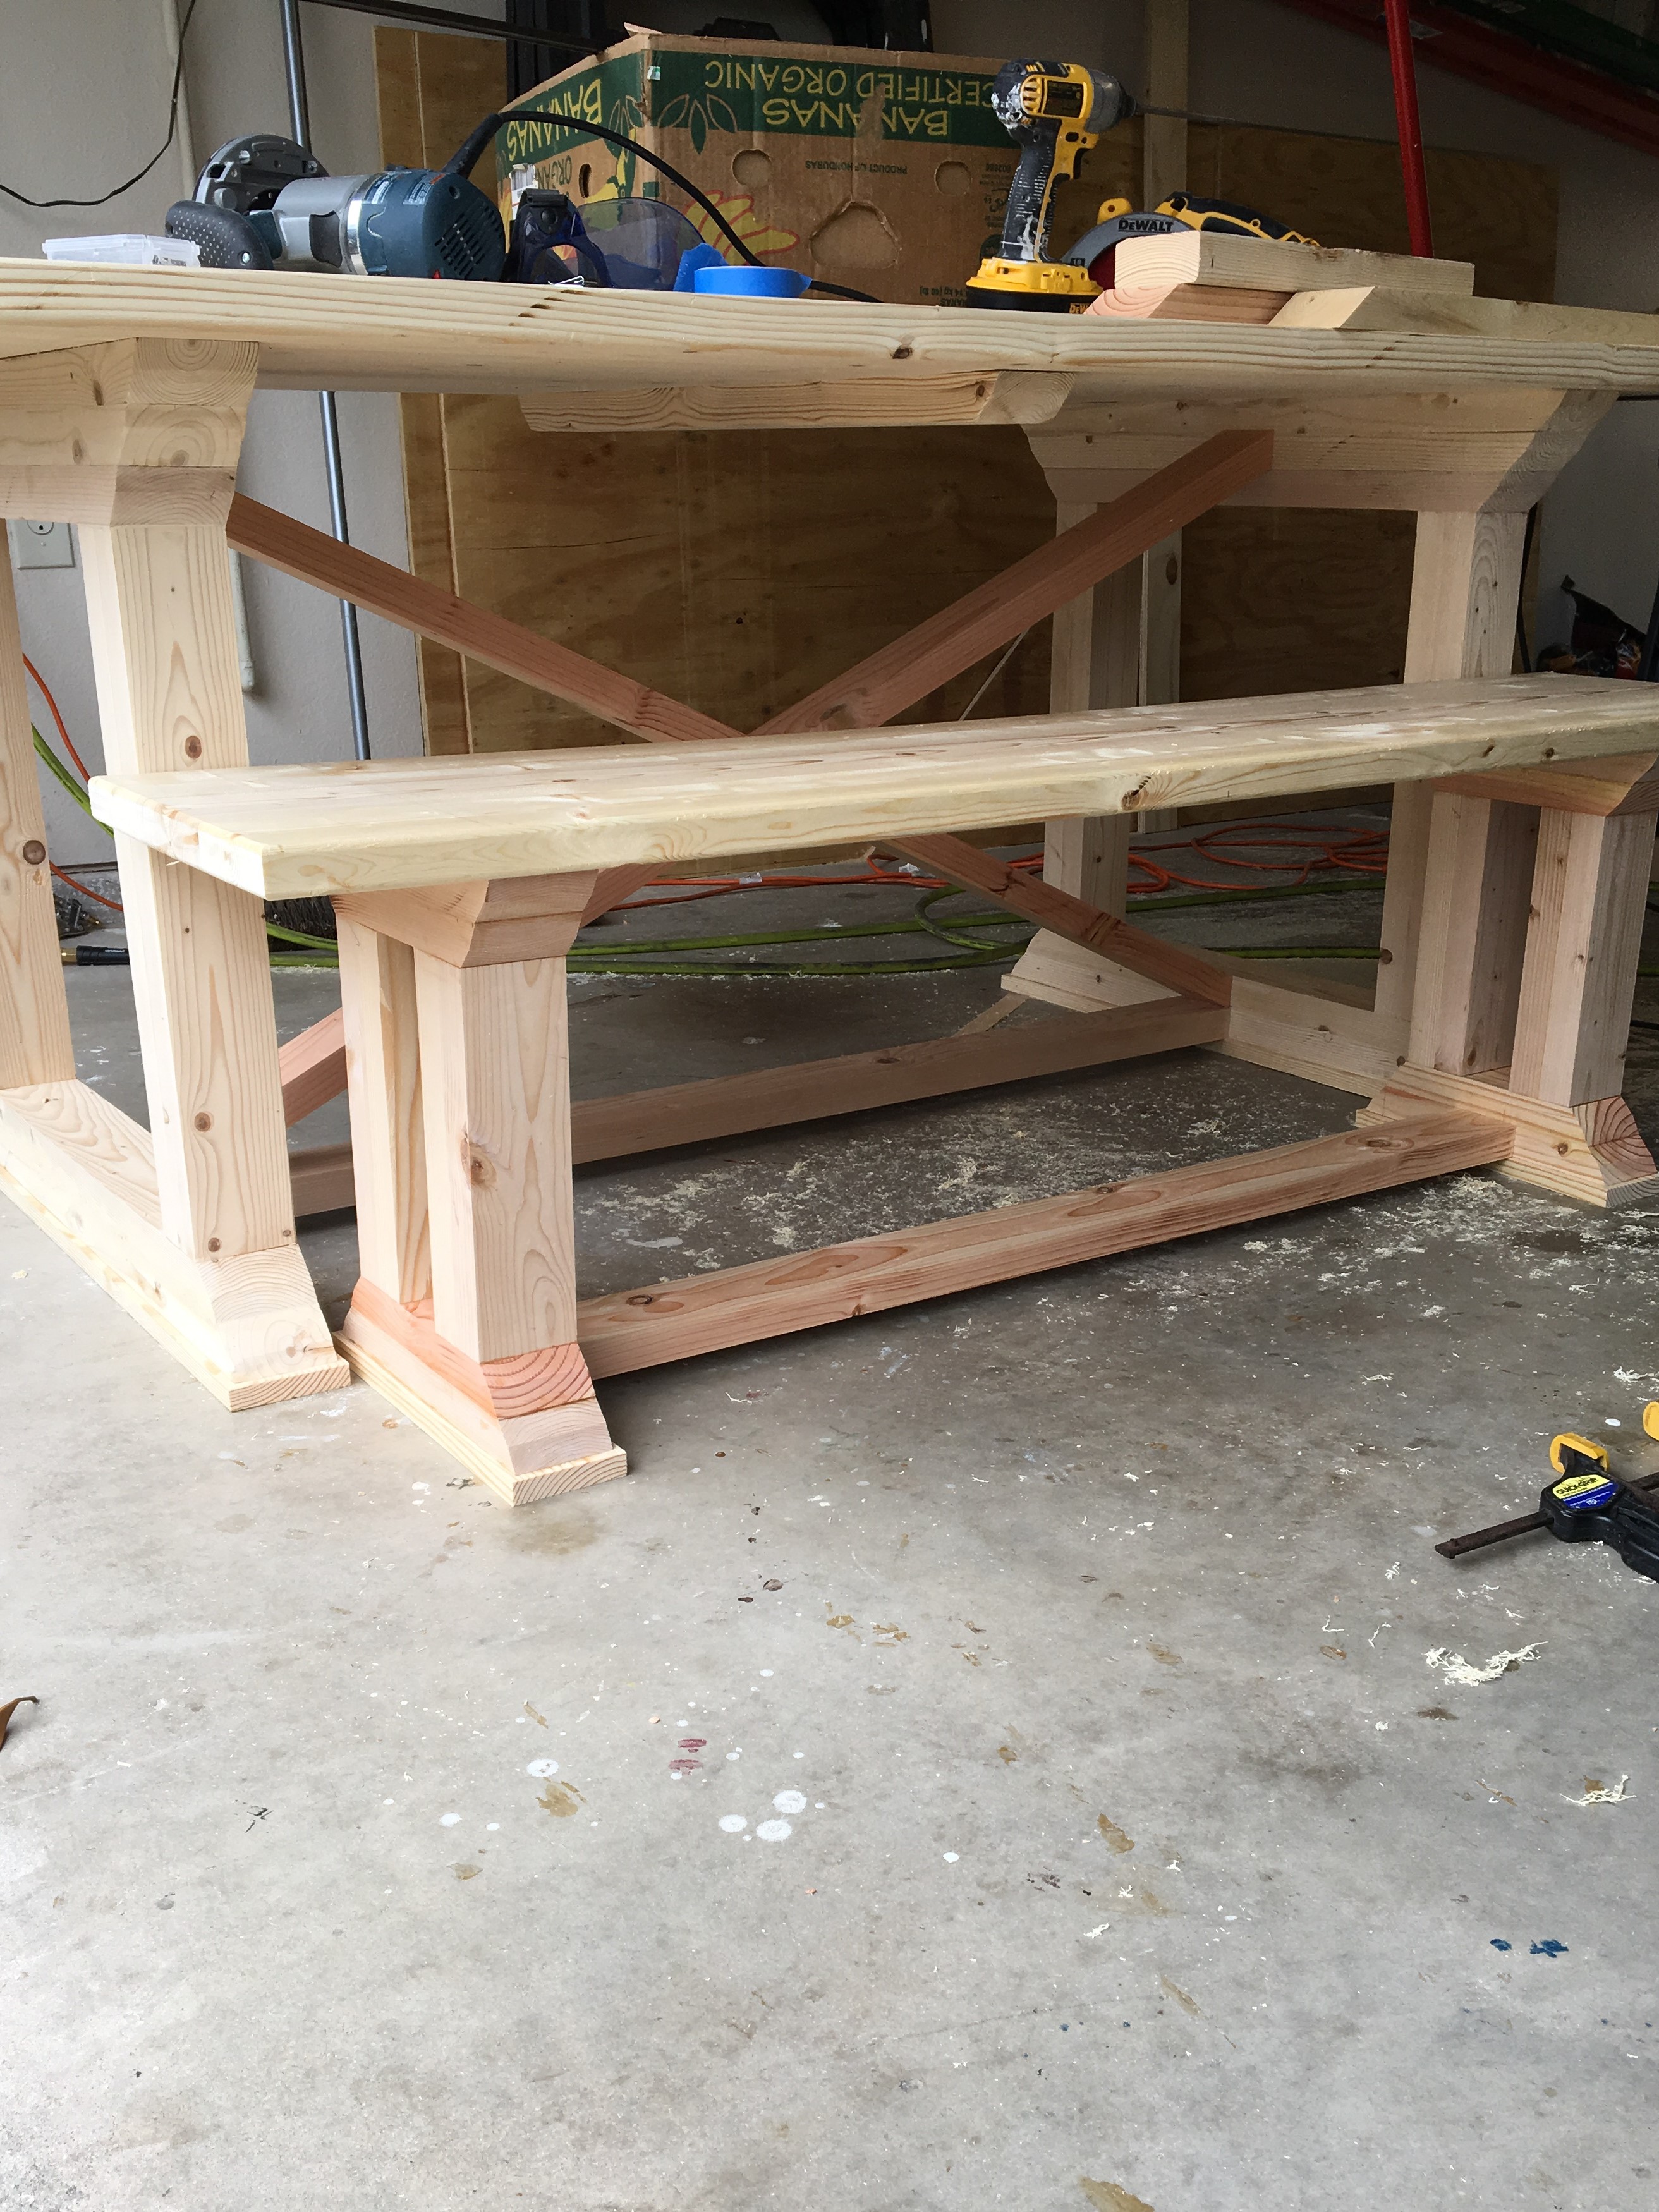
Modified version of Rekourt table and bench
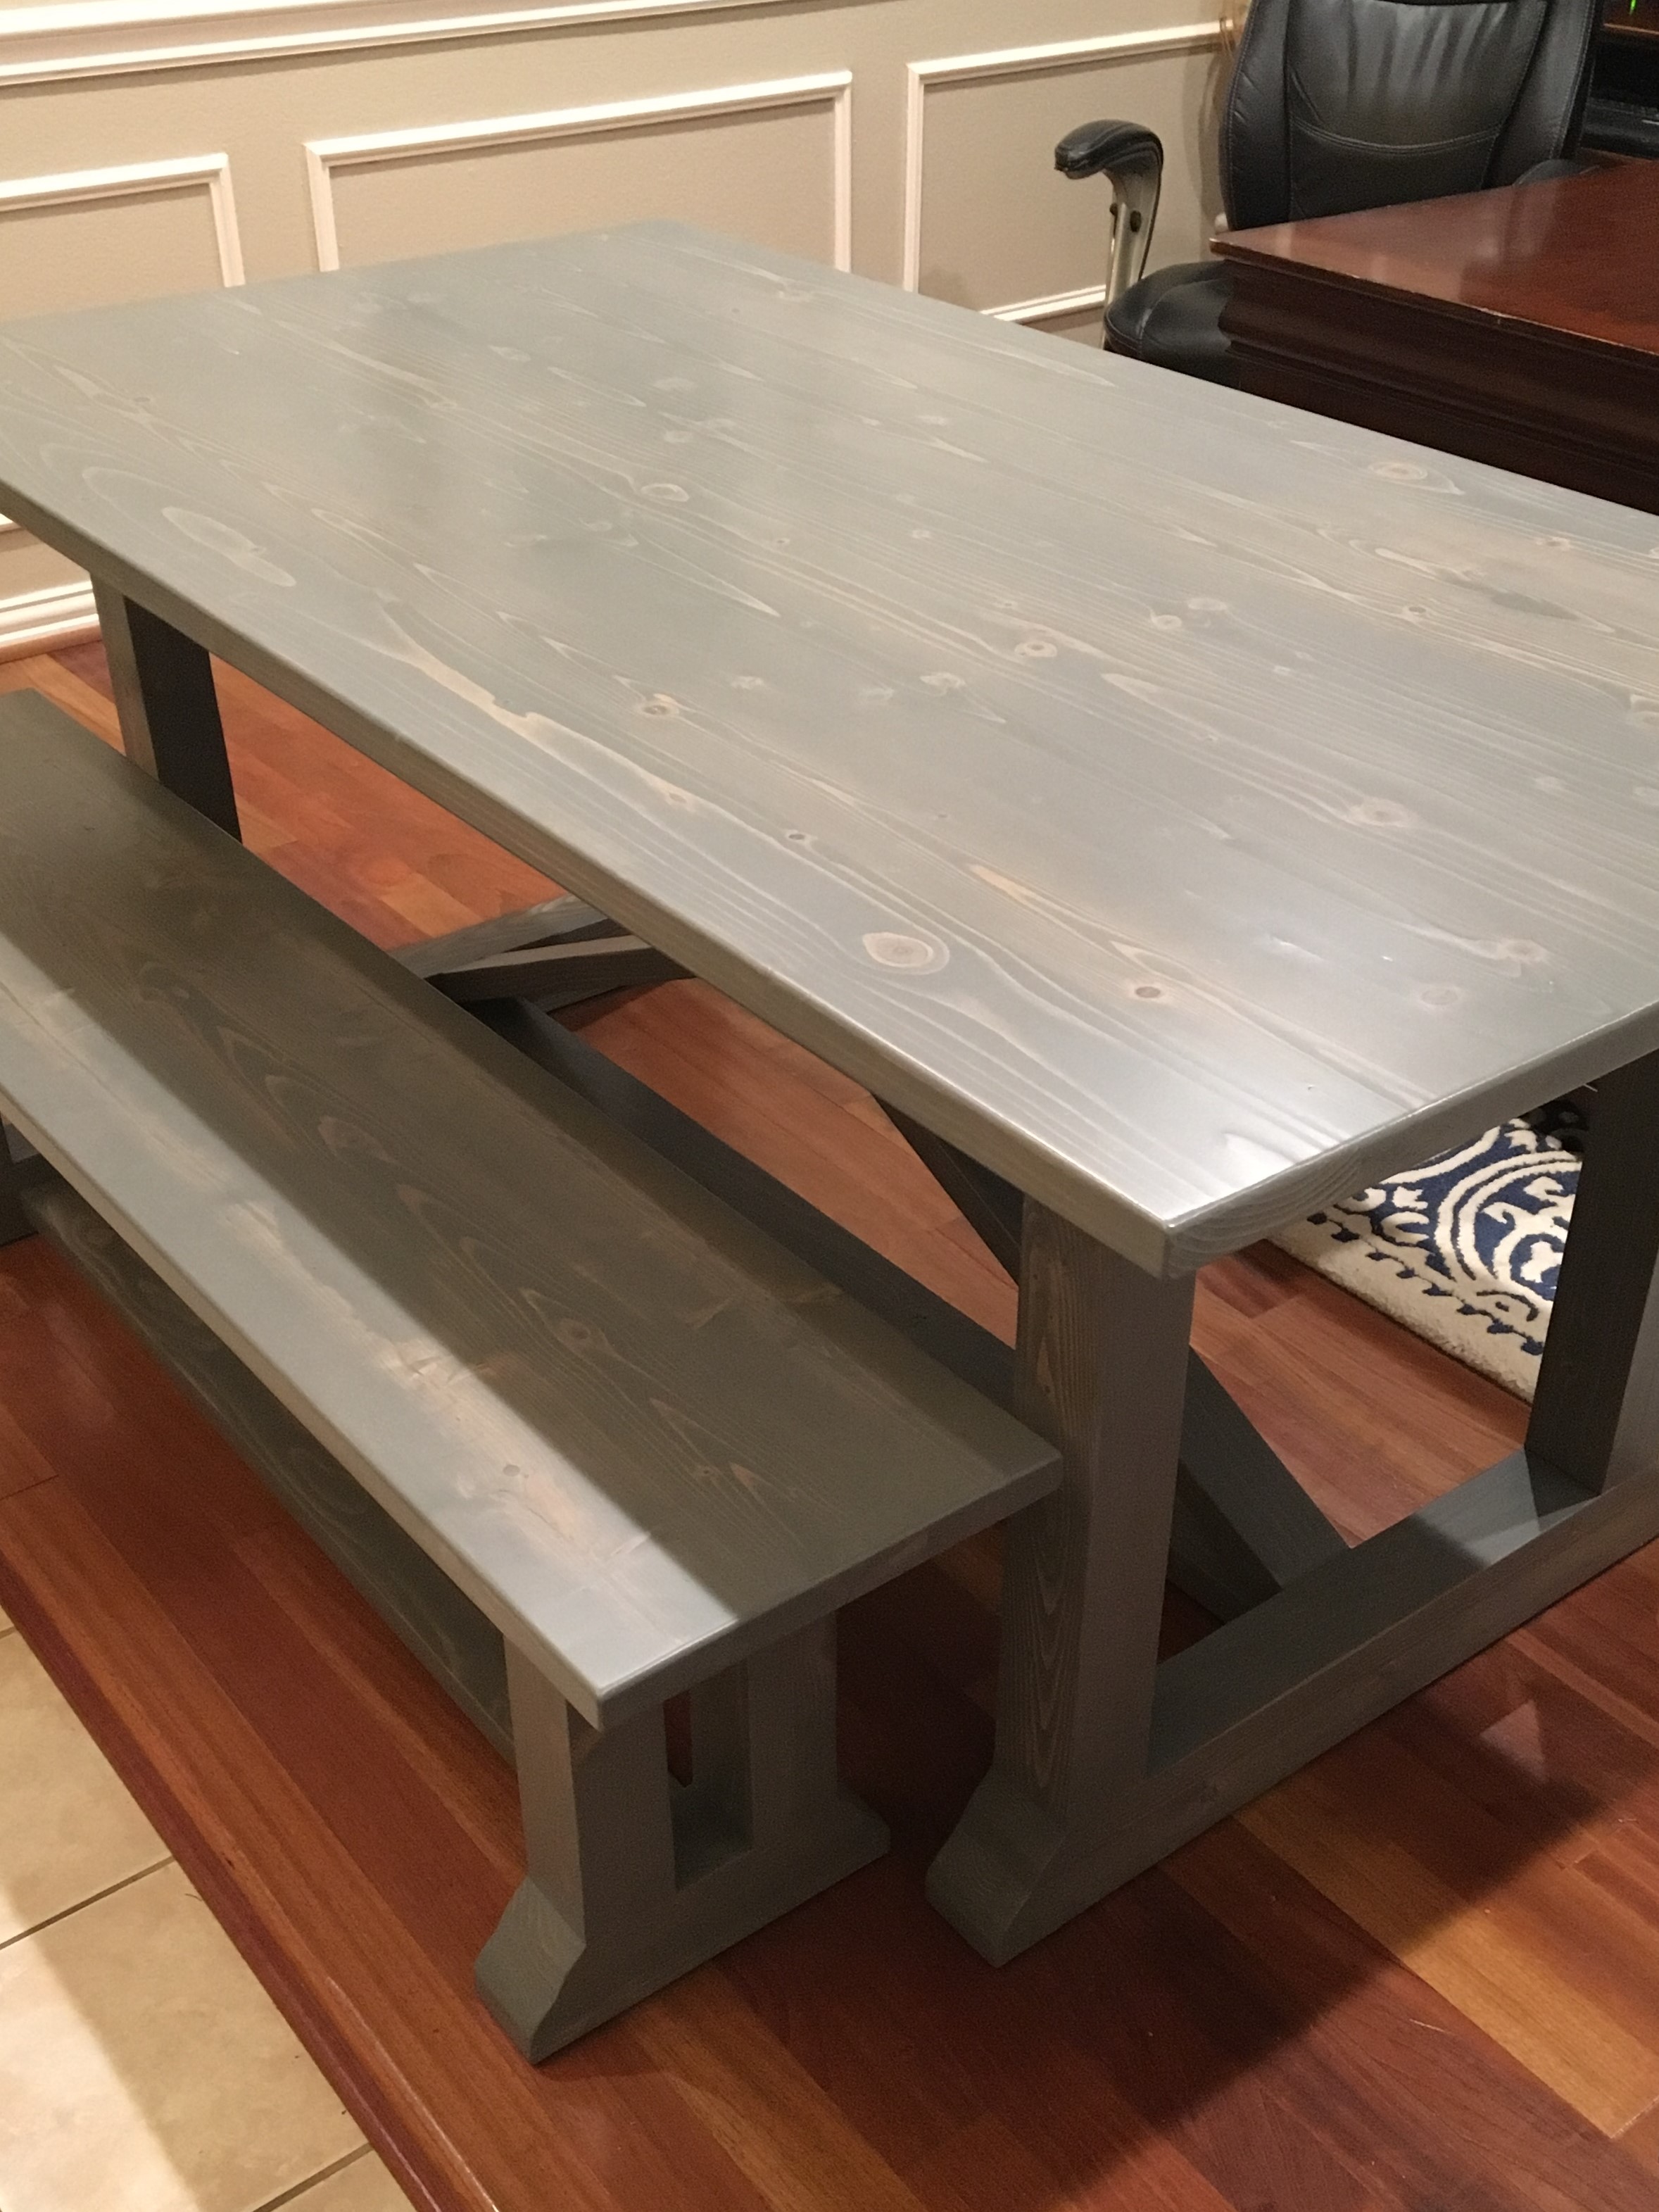
I'd built a table for my daughter and her roommates at college last year. One of them is getting married this year and asked If I would mind building one for them. They found a picture of this table someone had built and I tracked down your plans. They needed it smaller so this one is 72" by 39" and I built the bench in a similar style.
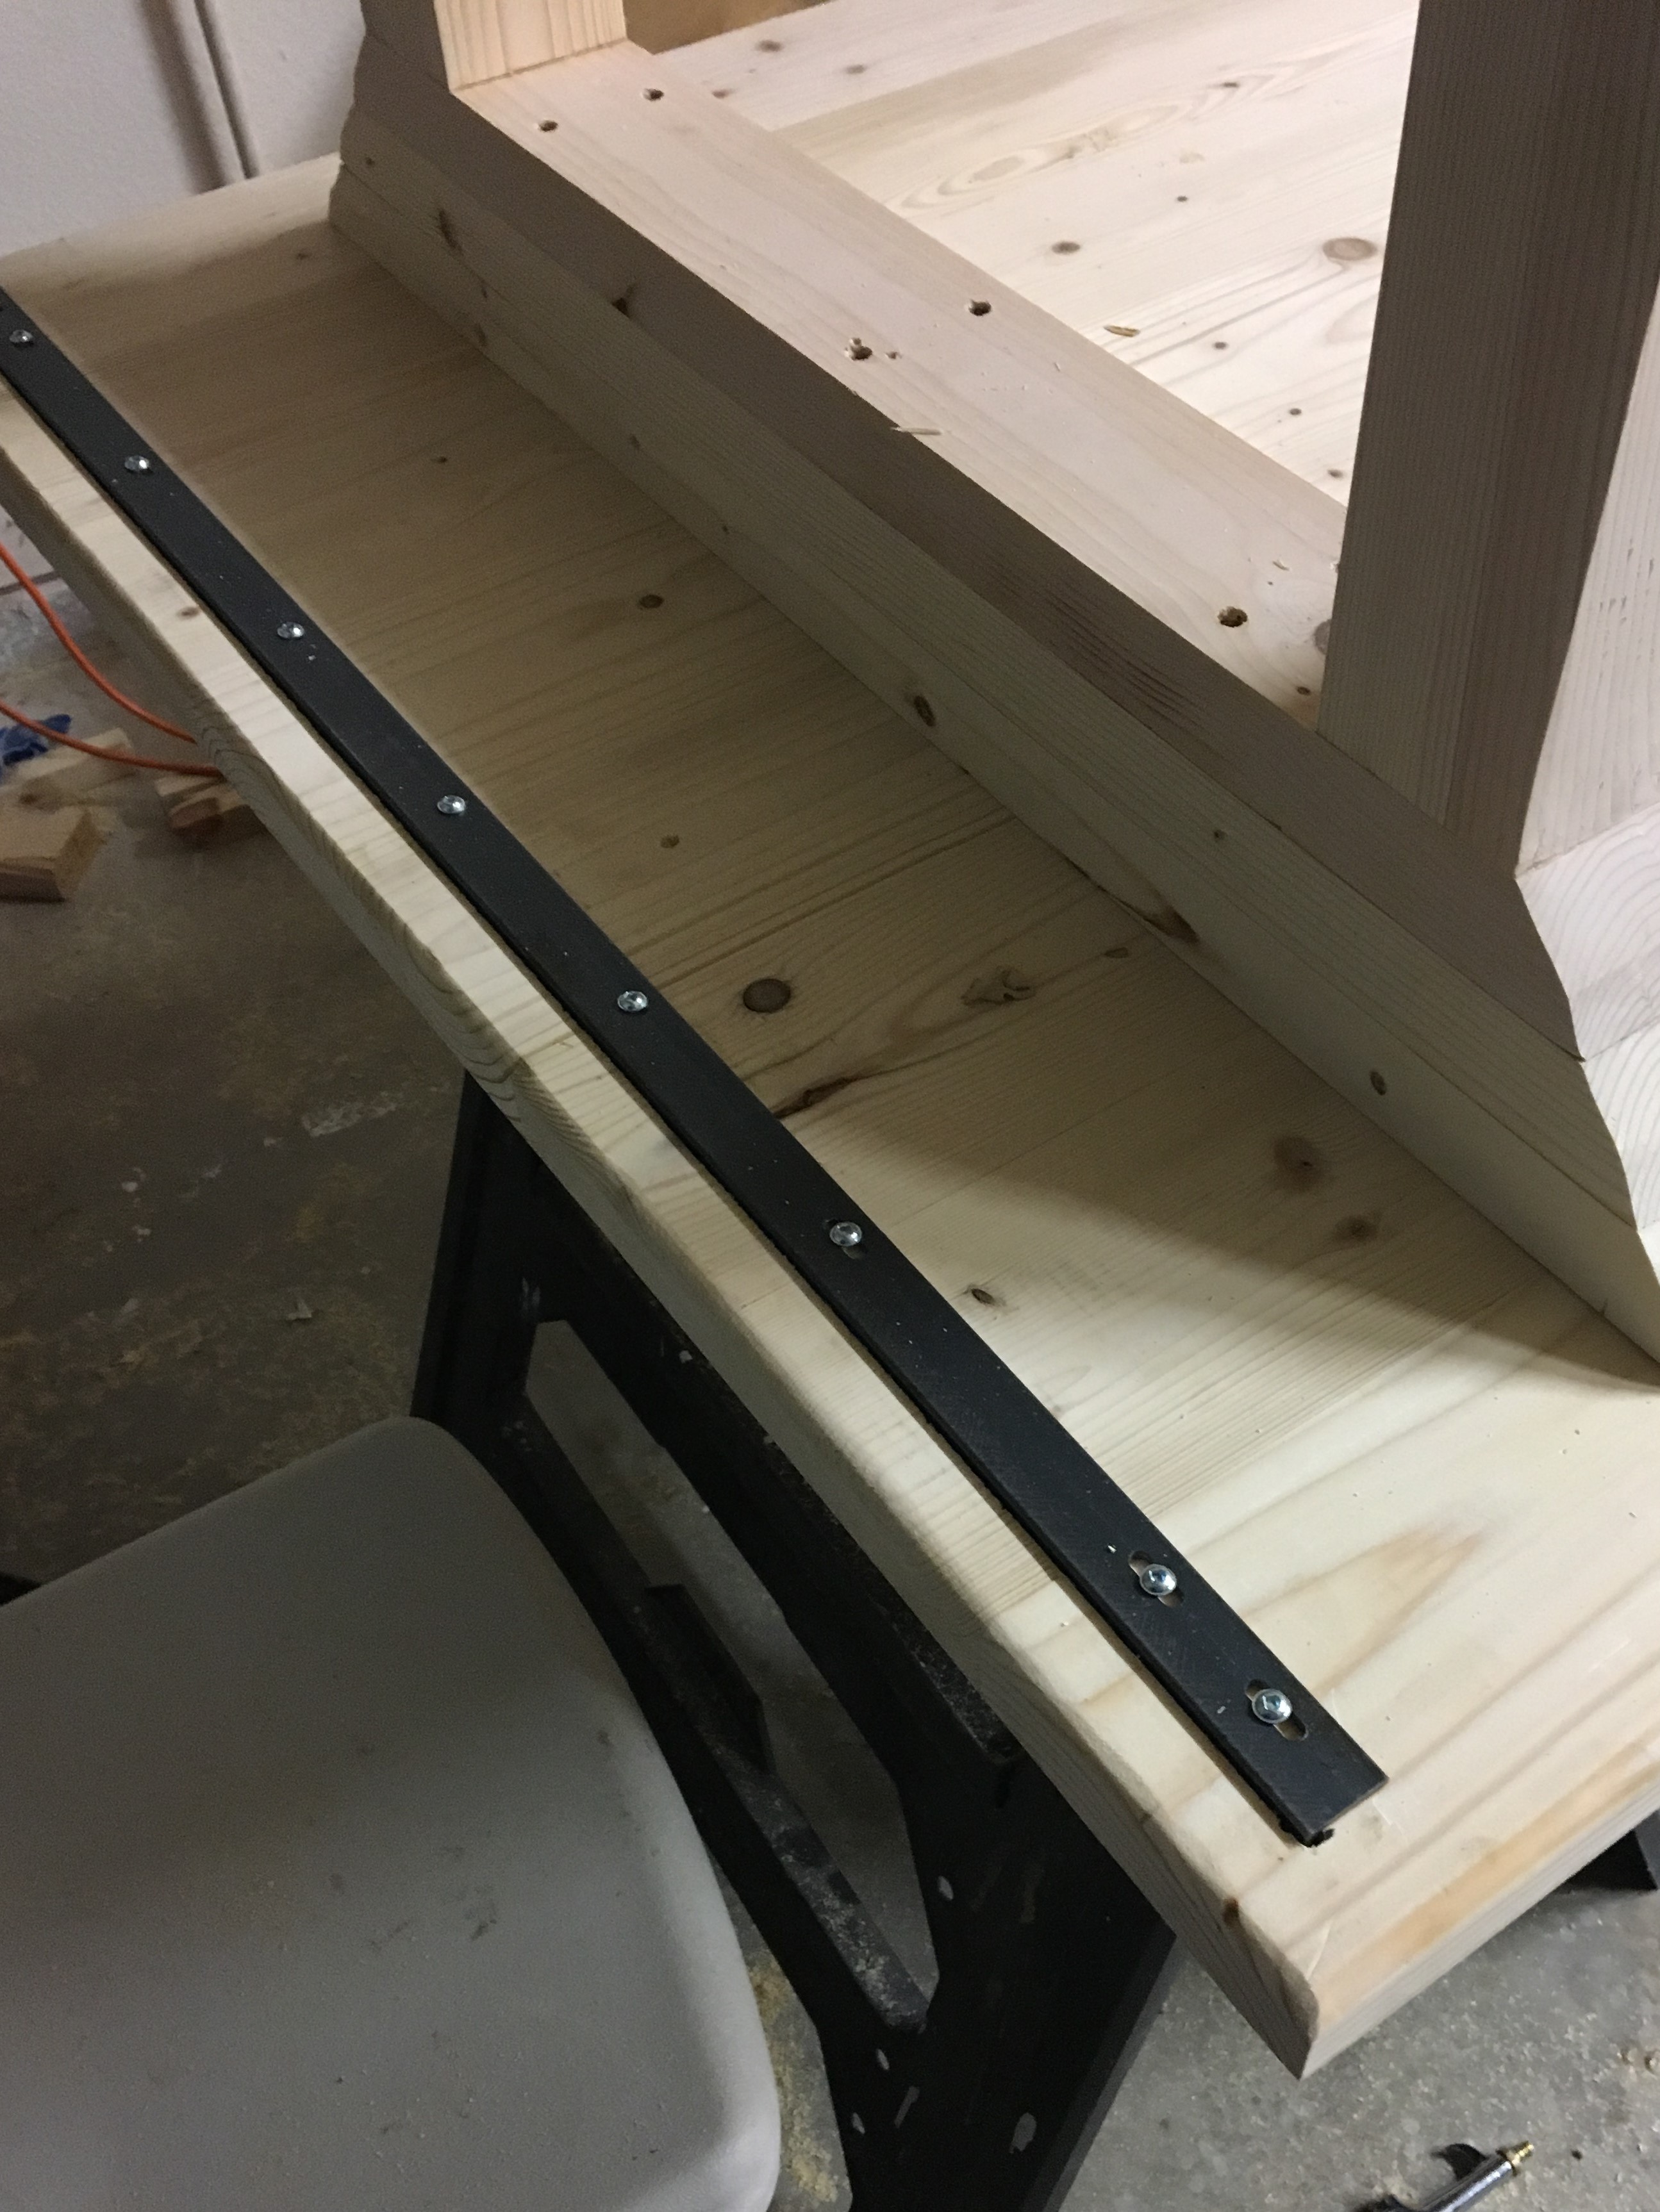
They wanted a smooth top (no grooves between boards) and no breaboard ends. The table top wanted to warp a bit at the corners without the breadboards, so I imbedded some angle iron to keep it flat.
Built from Plan(s)
Estimated Cost
$200
Estimated Time Investment
Week Long Project (20 Hours or More)
Finish Used
Weathered grey stain from Varathane.. Minwax polycrylic water based
Recommended Skill Level
Intermediate
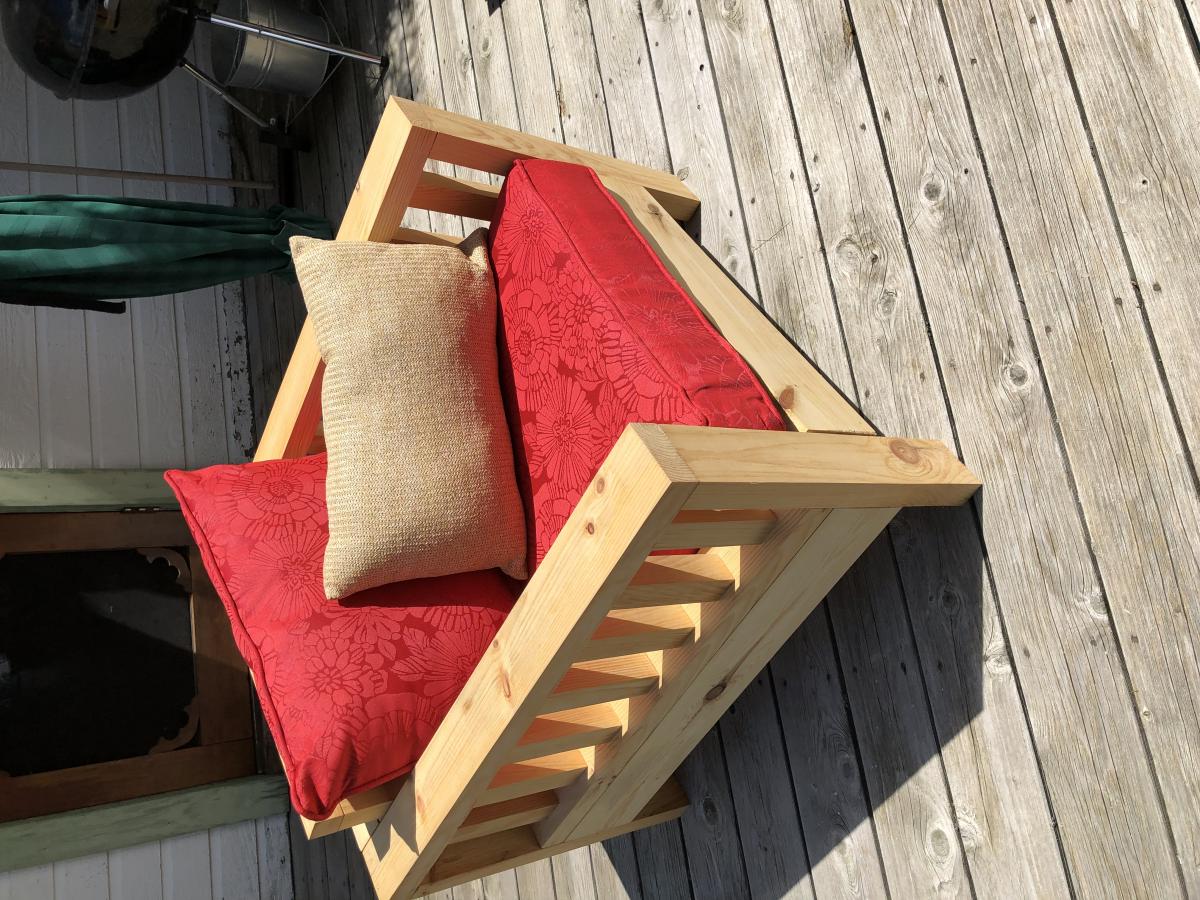
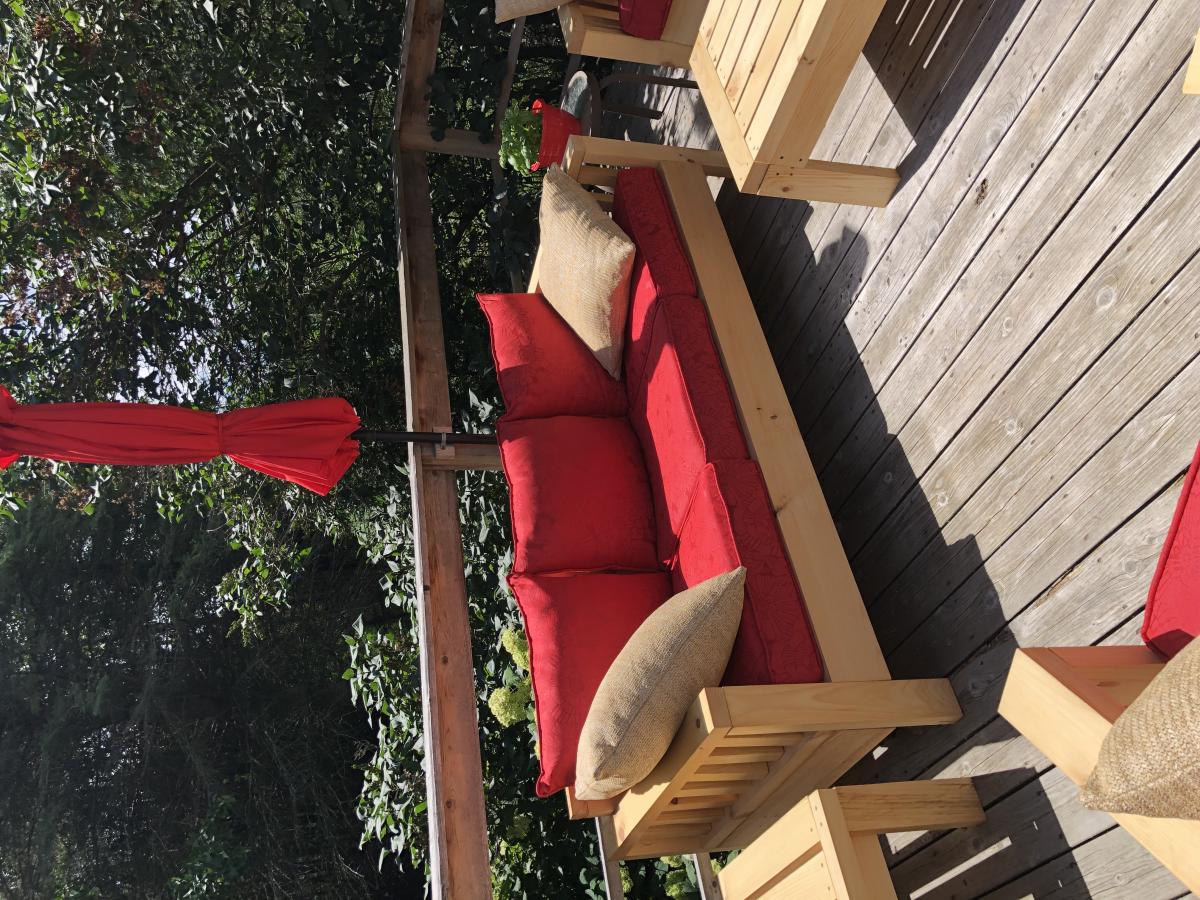
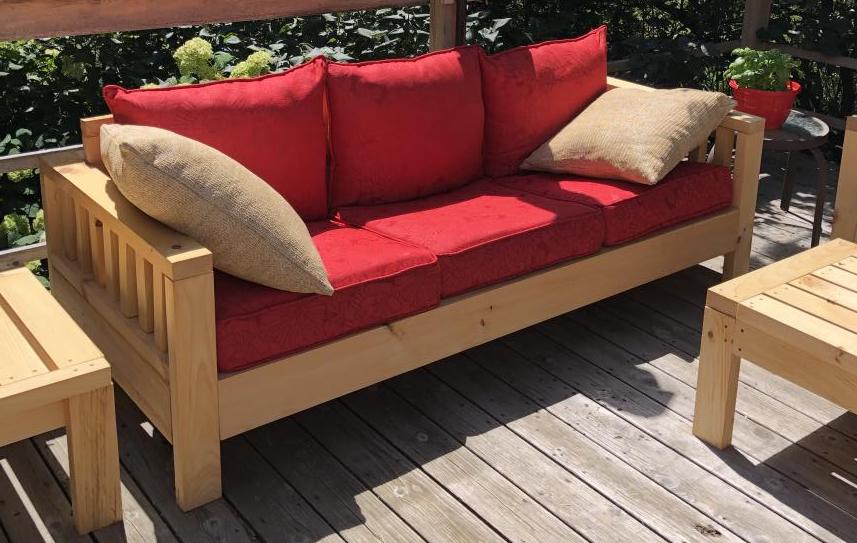
Outdoor Modern Sofa
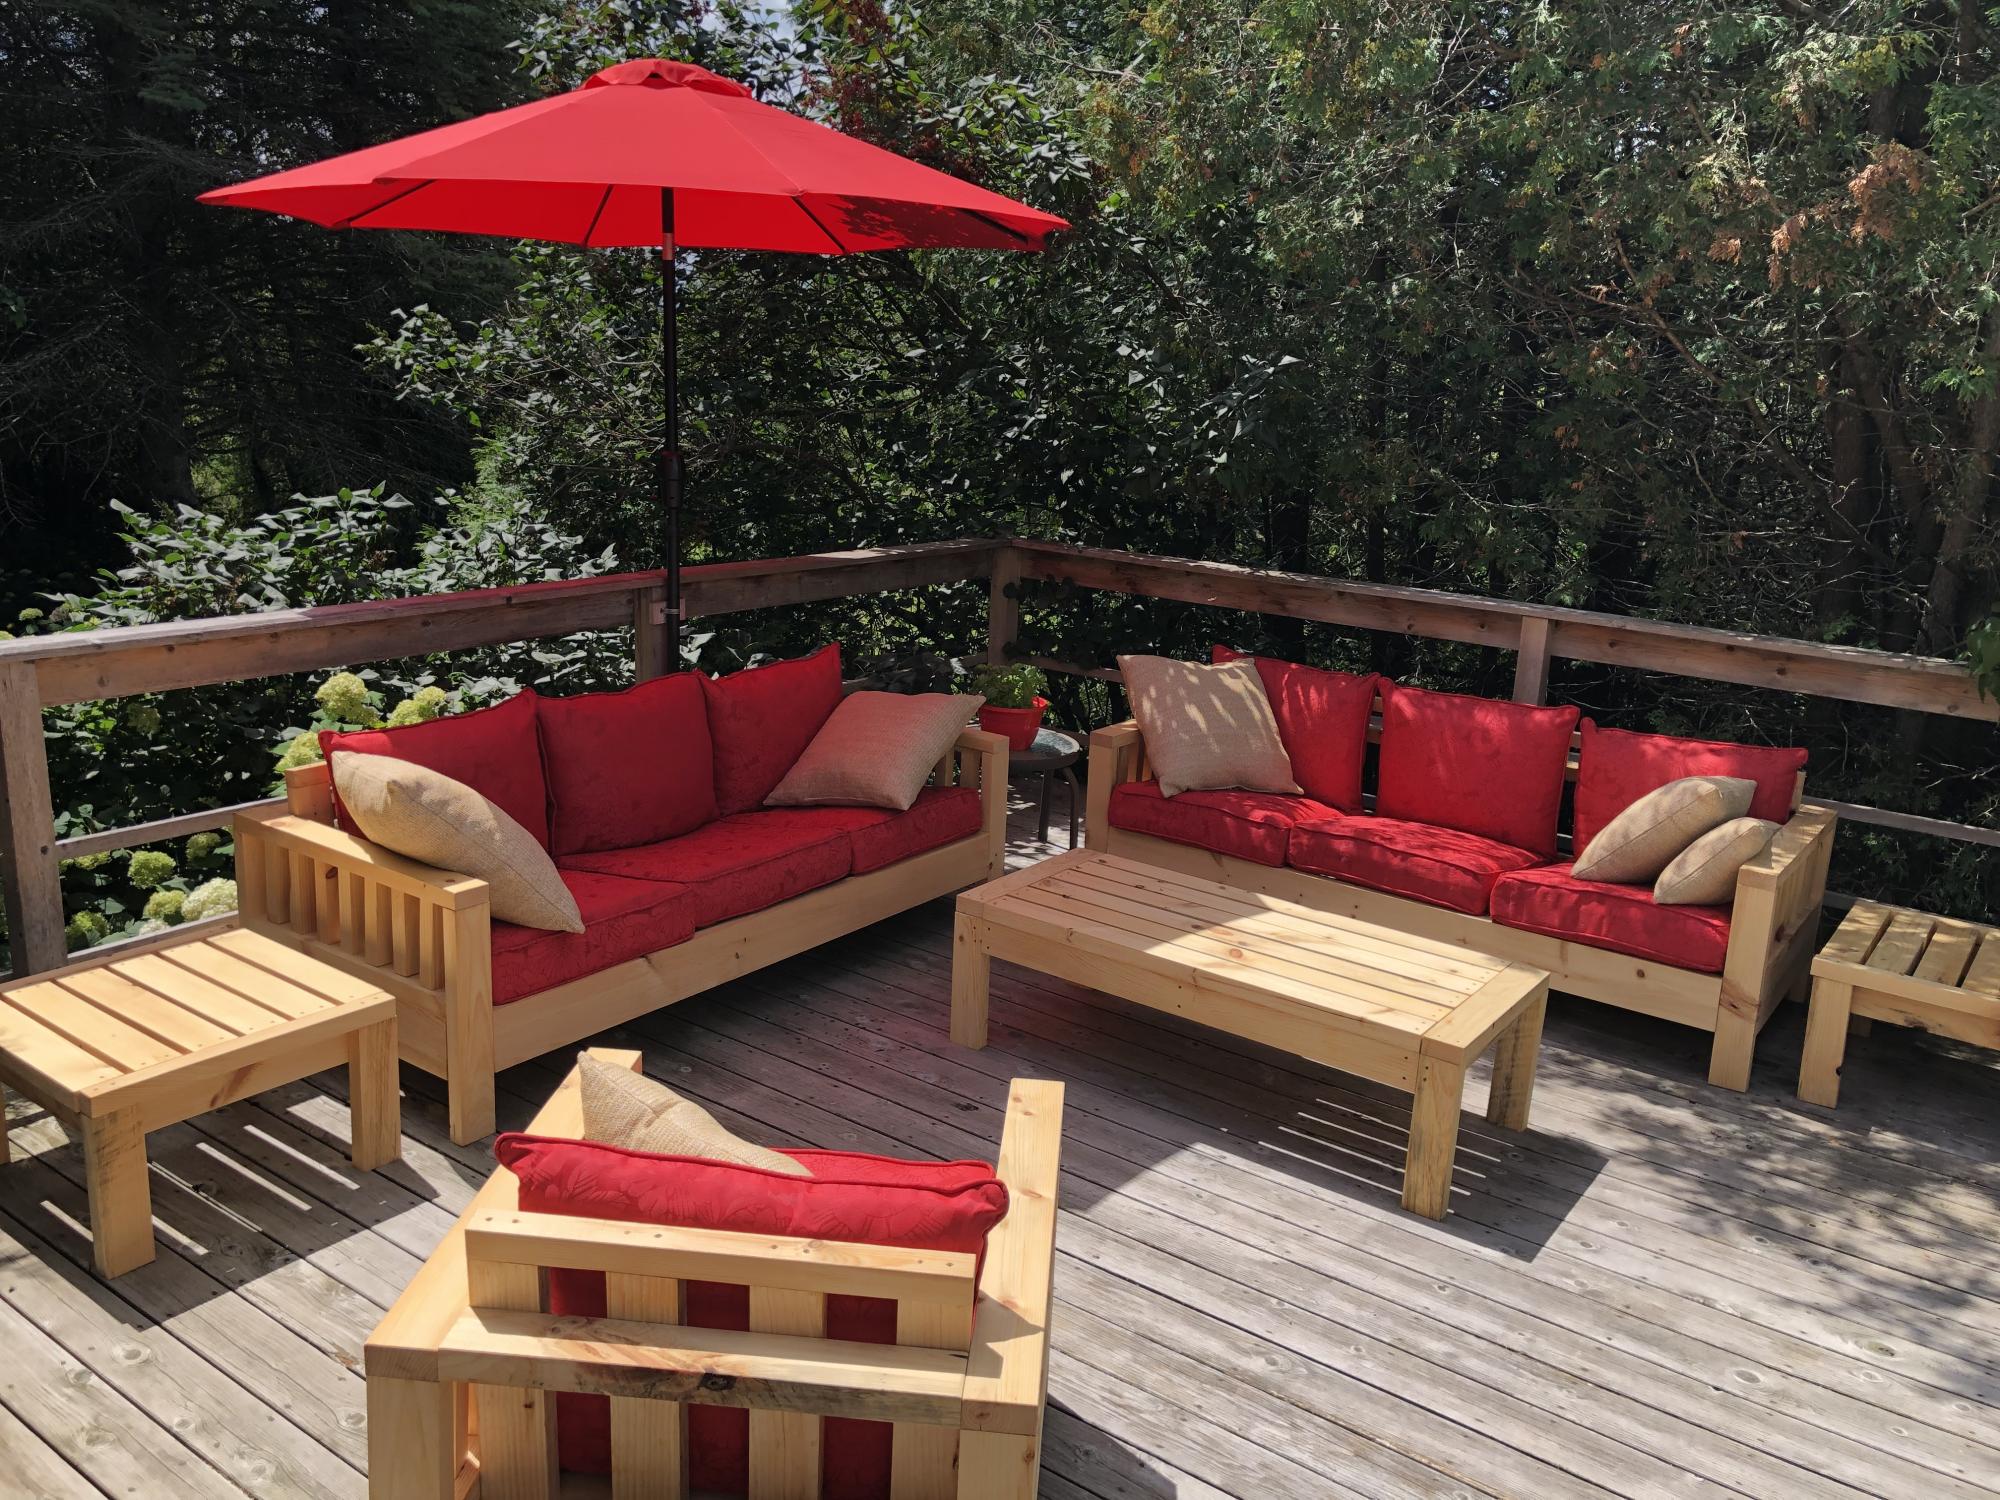
This was my first woodworking project. Ana made it look doable and I didn’t like any of the outdoor furniture offerings I could afford so I thought “why not”? I couldn’t find wood at any of the big box stores due to a severe wood shortage. Good timing on my part. As a result of the shortage the cost of the wood was higher (around $550 Canadian) but I did save around $200 by ordering from a local producer. And the wood I got was spectacular! I don’t think I’ll ever go big box again as there is no comparison. I ordered freshly milled pine which was air dried, from local Scierie Carson (Carson sawmill). I further air dried the planks in our barn, oiled them with boiled linseed oil and cut. I modified the plan slightly to add some posts in the arms and to lower the seat backs as the cushions I found were not as tall as Ana’s. I managed to find them on sale at Christmas time at a local Reno Depot (Quebec’s version of Rona, Lowe’s or Home Depot). The cushions cost $500 Canadian for 10 sets and believe me that was a deal. Over all it was not hard to do and I’m thrilled with the results. I have a gorgeous patio set that will adorn our farm deck for many years to come.
Built from Plan(s)
Estimated Cost
$1,000
Estimated Time Investment
Week Long Project (20 Hours or More)
Finish Used
Boiled linseed oil - easy to apply with rags. Repels water beautifully. Natural so not incredibly harmful to the environment. Brings out yellow tones in wood. Brings out fresh wood smell.
Recommended Skill Level
Beginner
Comments
Sun, 08/01/2021 - 11:20
WOW WOW WOW!
Impressive to say the least, well done! Love your can do attitude and I know you are enjoying the fruits of your labor with this amazing set up!
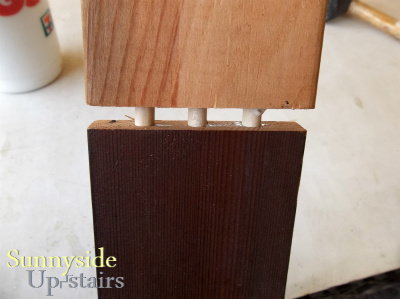
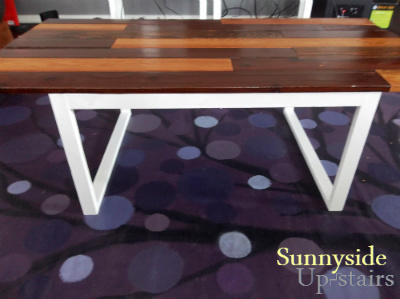
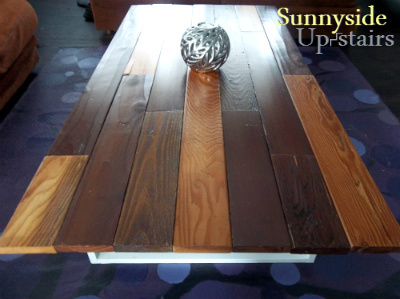
Reclaimed 1x4 Coffee Table
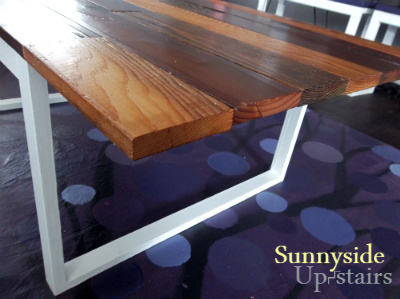
I purchased reclaimed 1x4s from a deconstruction warehouse called Re-Use Hawai'i for 20 cents a foot! I cut the lumber to make an un-ordered stagger pattern, experimented with dowel joints to join the cut pieces into 4 ft. planks and used pocket hole screws (hidden by the table legs and supports) to join the planks. I used old salvaged 1x2 window framing for the legs using pocket hole joinery.
Estimated Cost
$5 using reclaimed lumber, perhaps $35 from home improvement stores.
Estimated Time Investment
Weekend Project (10-20 Hours)
Finish Used
I left most of the wood natural, except for one 4 ft. 1x4 that I stained with one coat of Minwax Red Oak (on hand). The legs I painted with Behr Ultra Pure White (on hand). I sealed the top with 3 coats of Watco Wipe-On Poly.
Recommended Skill Level
Beginner
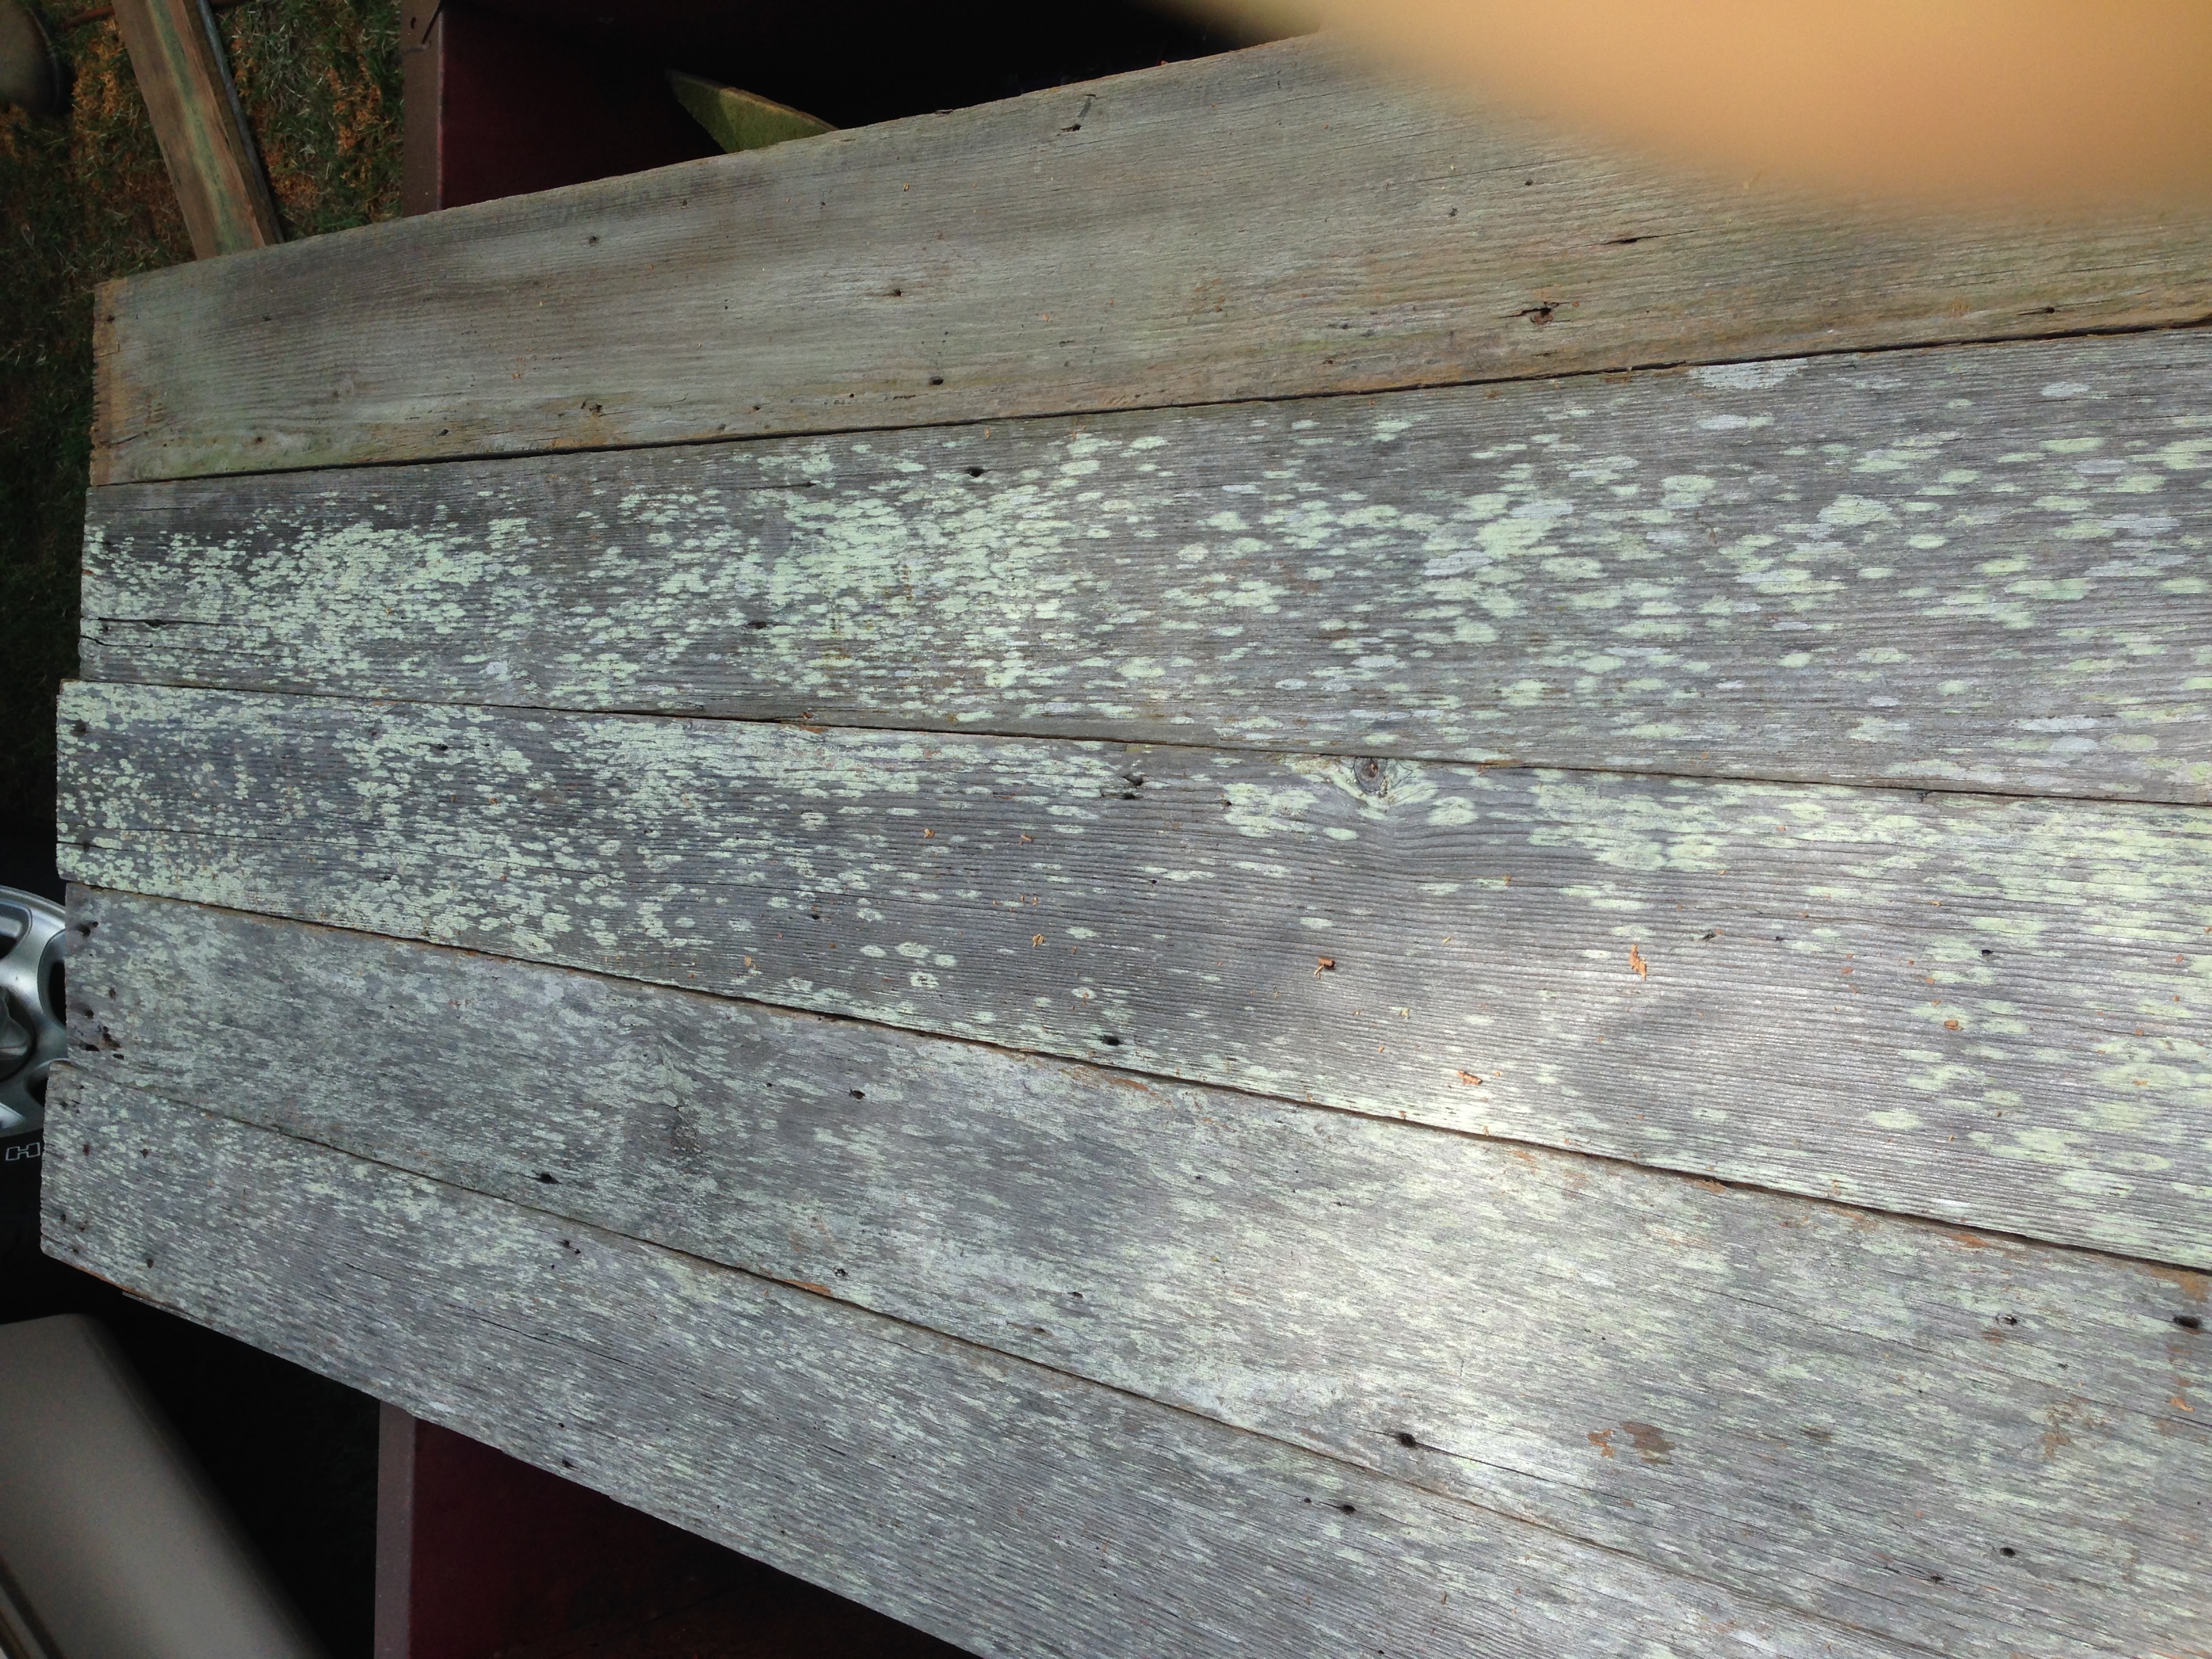
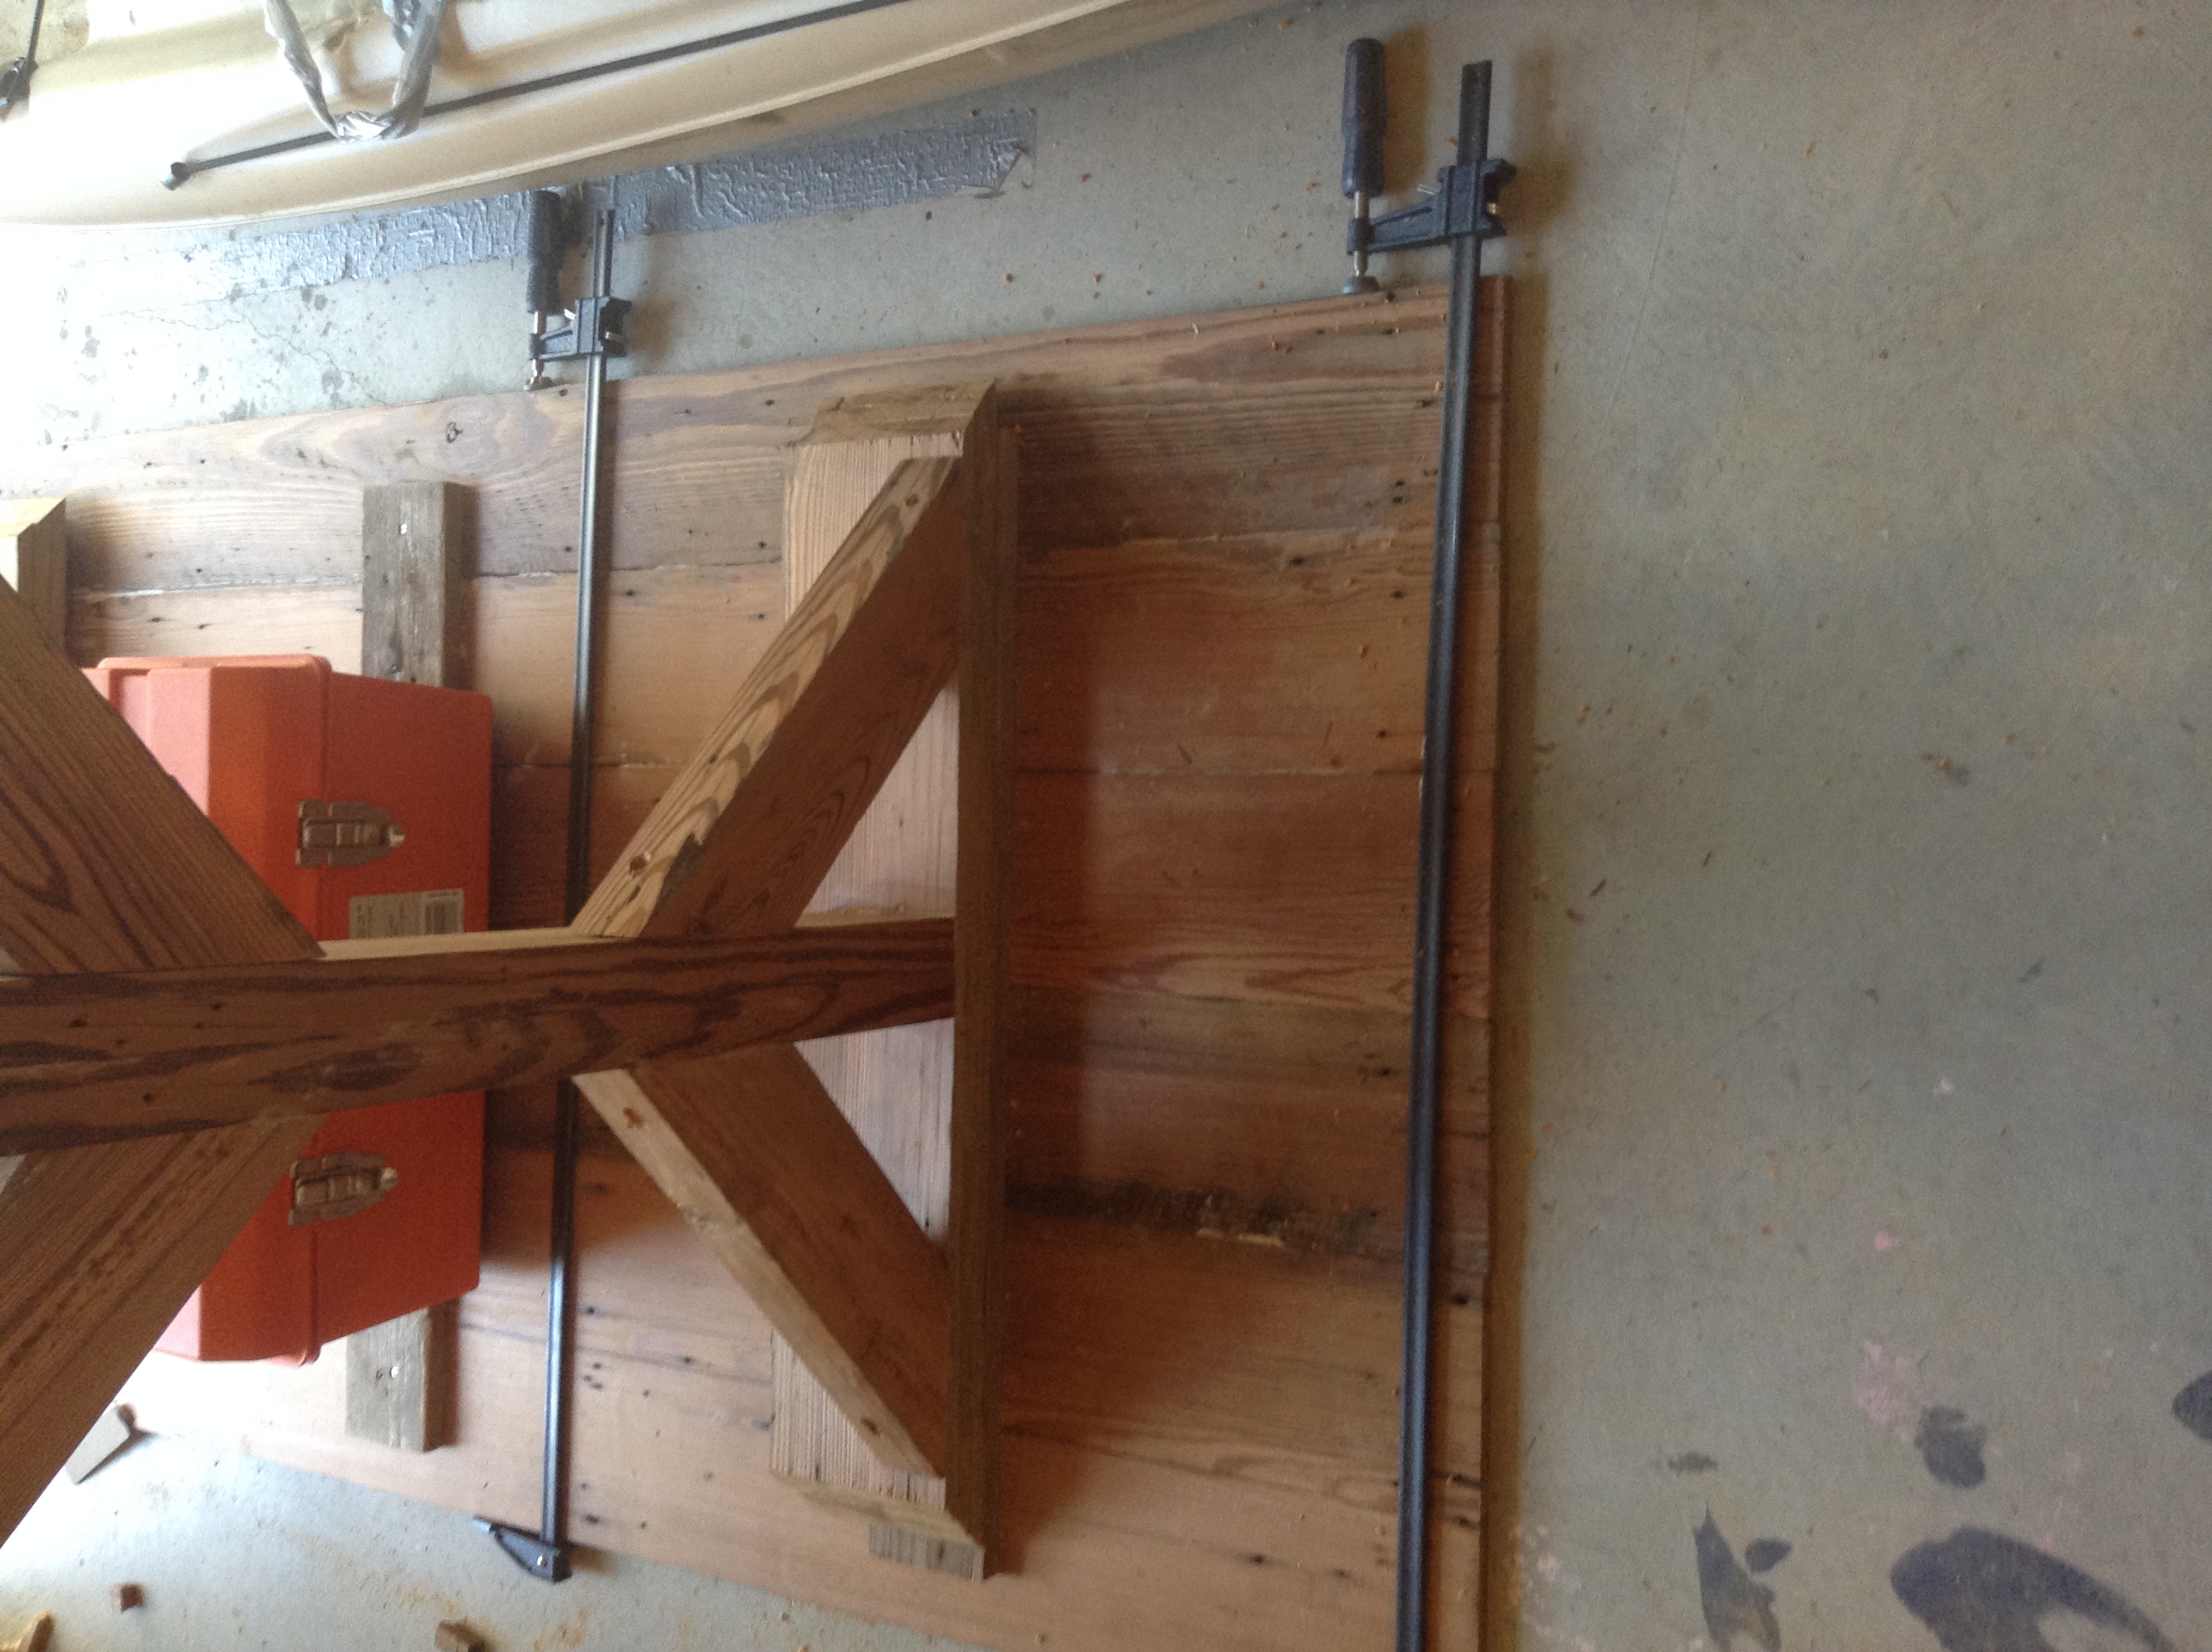
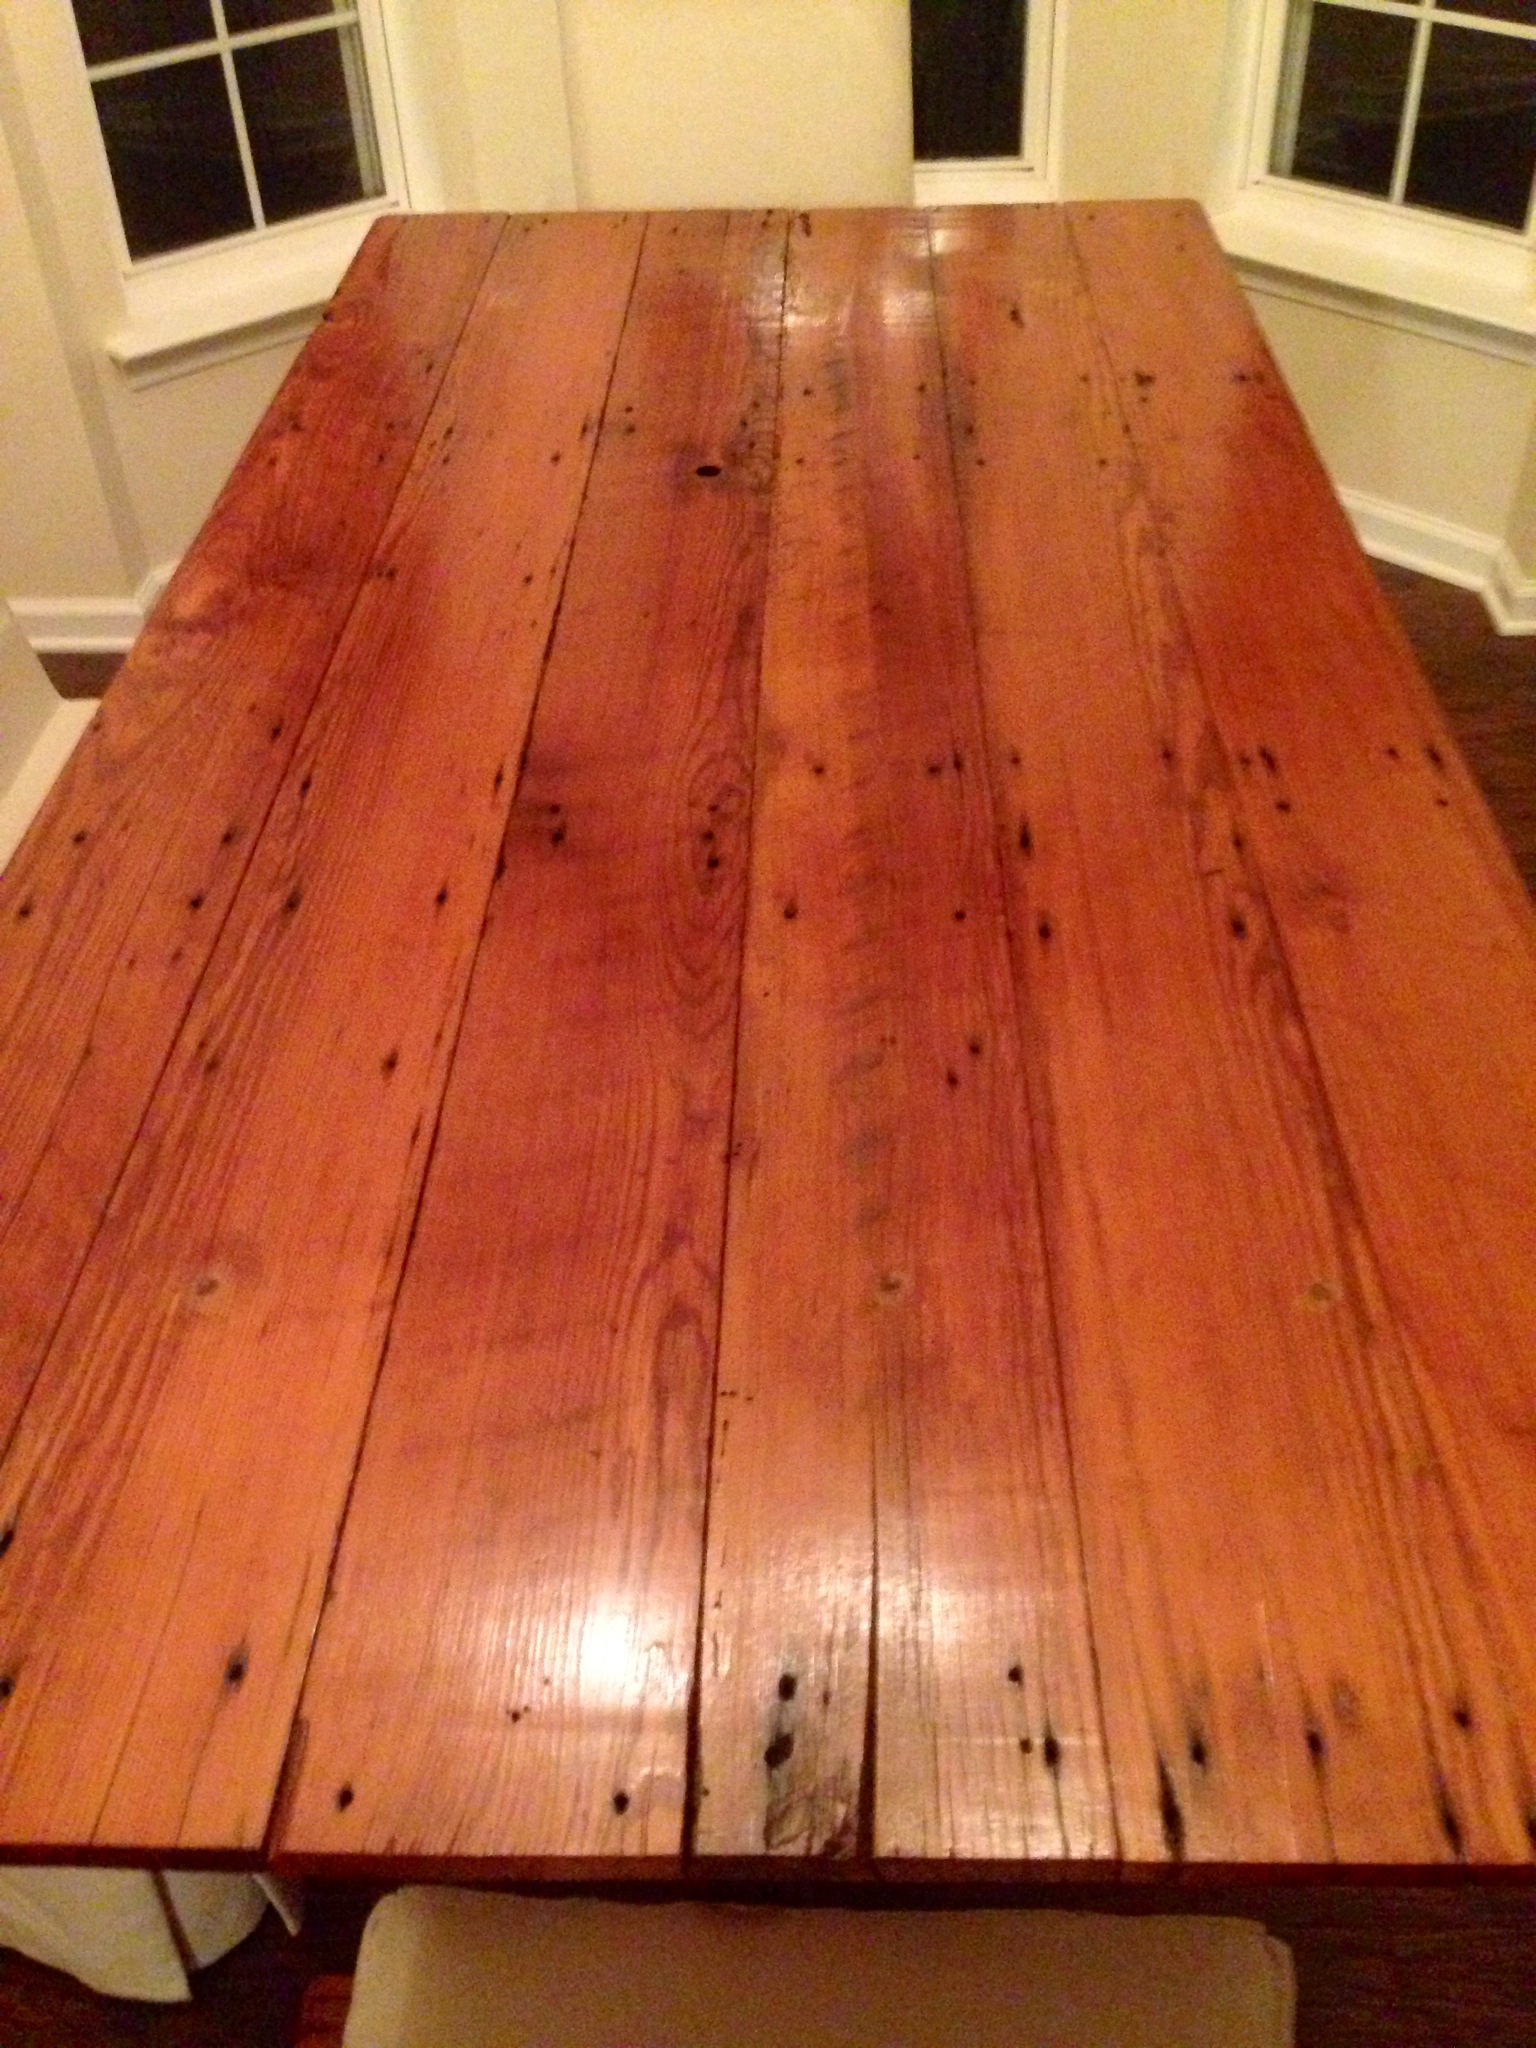
X-Frame Farm Table
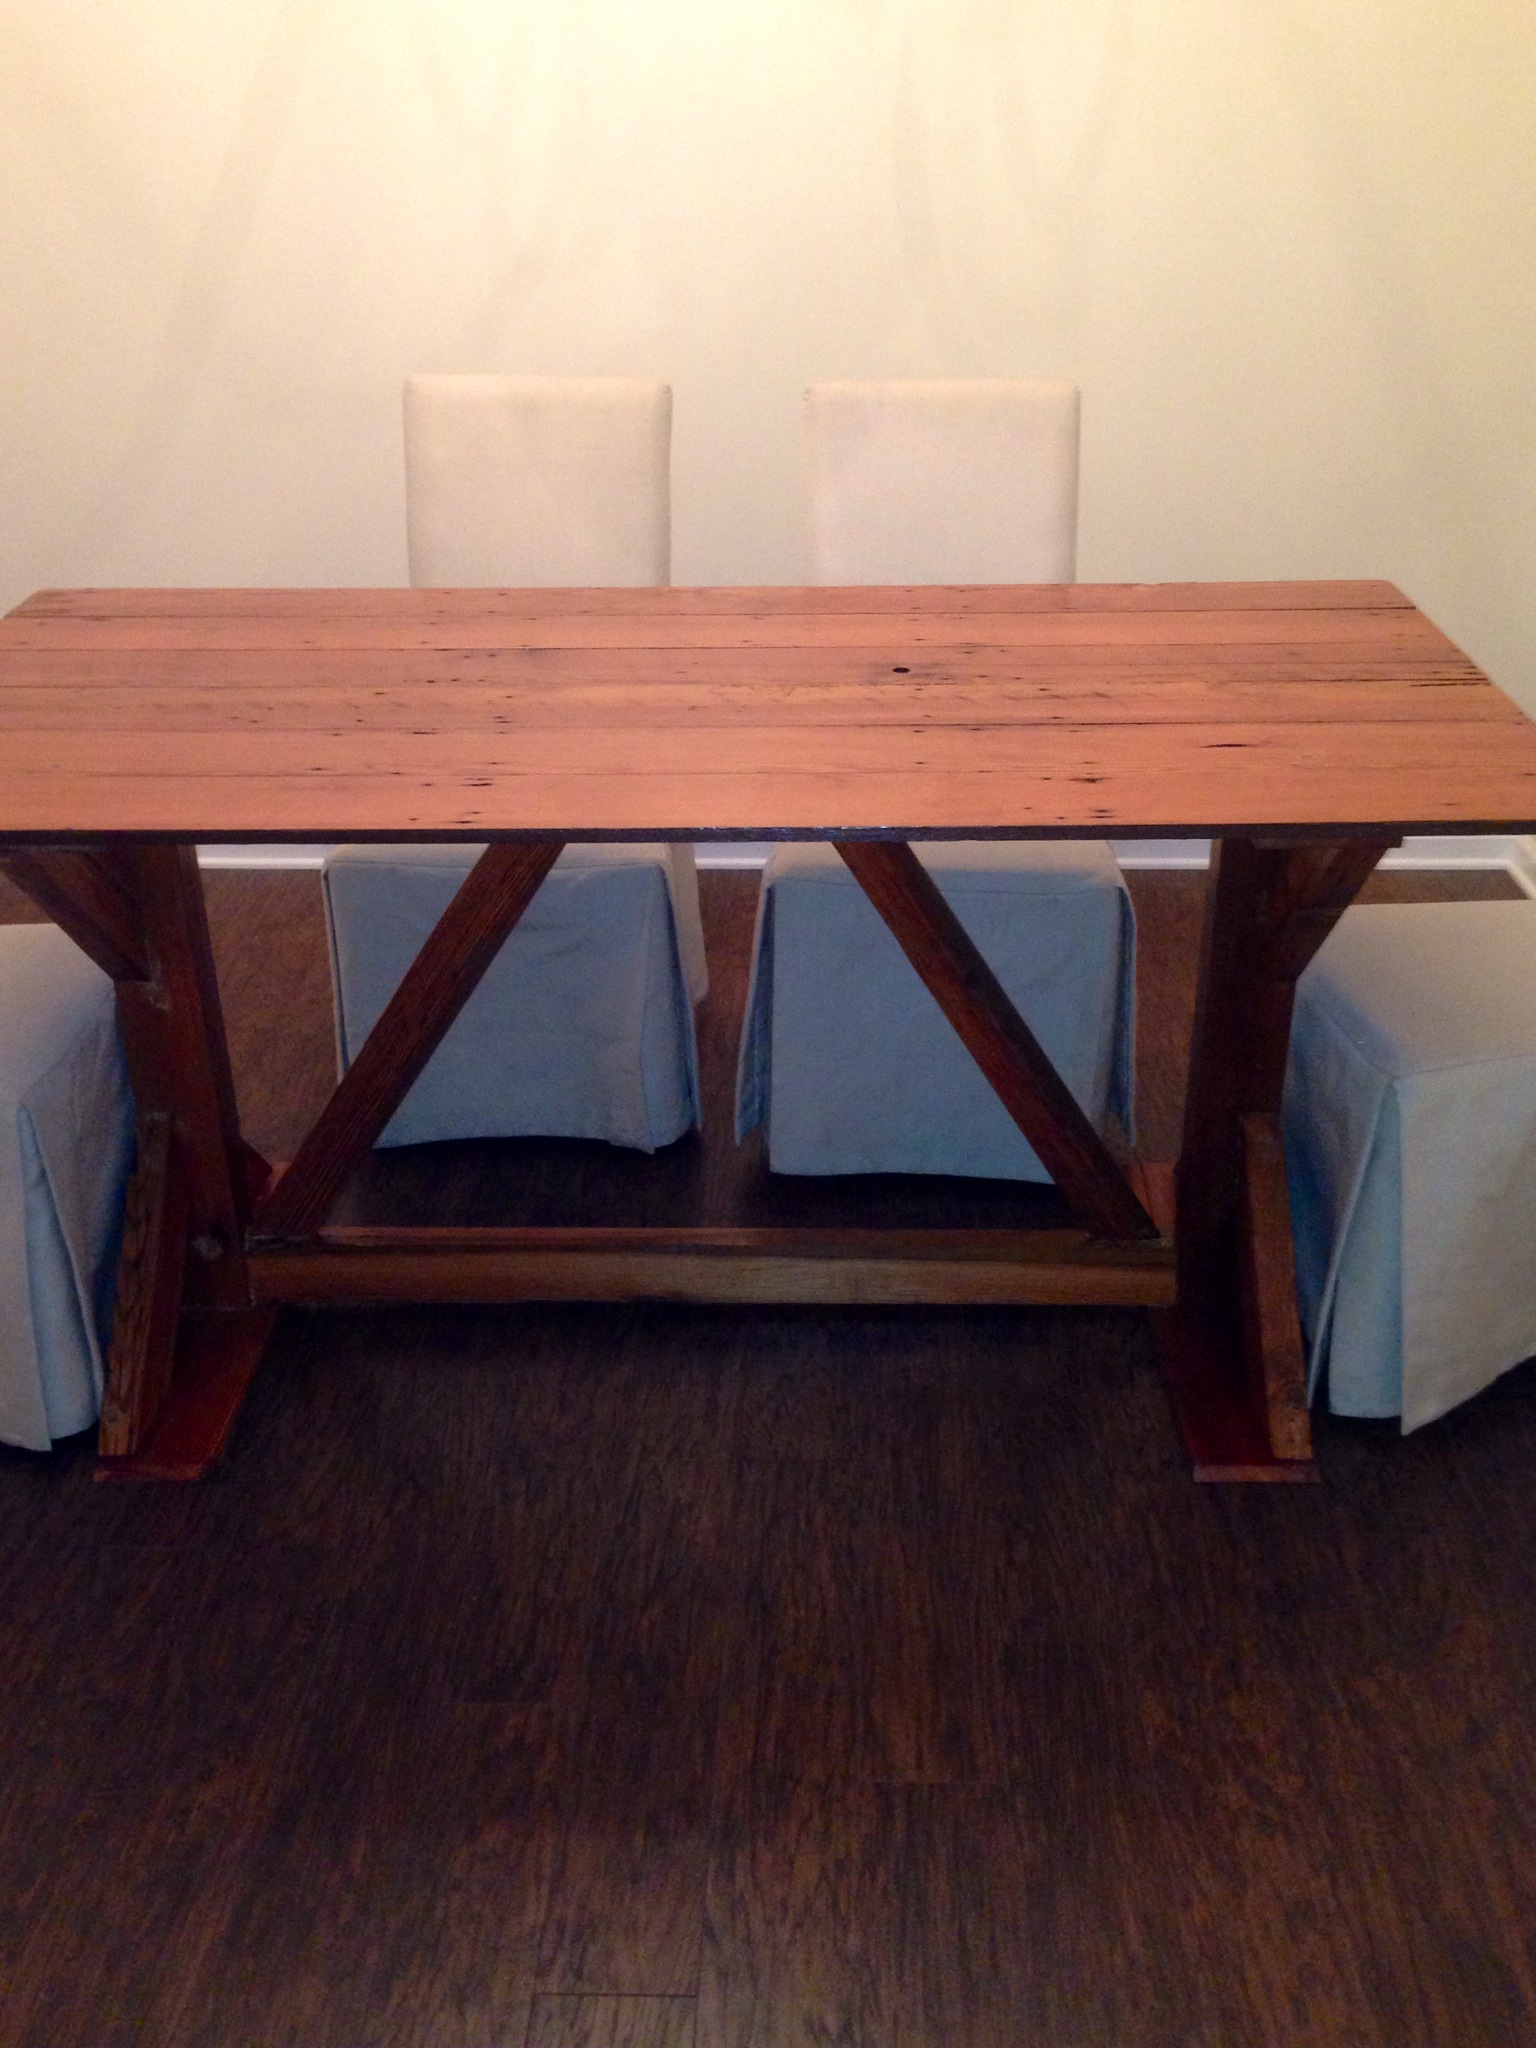
This was my first attempt at a farm table. I found the fancy x plan for inspiration. The length is 6ft. I had to modify all of the measurements. All of the boards came off my grandad's old barn. The posts are laminated together from guide posts from his corral. There is a lot of history and character to the table. I did have to make the bench to match it. I'll post pictures of that soon. Most importatnly, my wife loves it!!!! Happy wife, happy life!!!


Built from Plan(s)
Estimated Time Investment
Week Long Project (20 Hours or More)
Recommended Skill Level
Intermediate
Comments
Mon, 05/18/2015 - 12:00
Dimensions
Hello, awesome job on the table. Was wondering if you would mind sharing the table top dimensions. I have a smaller space and was thinking of modifying to make something in the 6ft range as well. Thanks
Brian and Stef
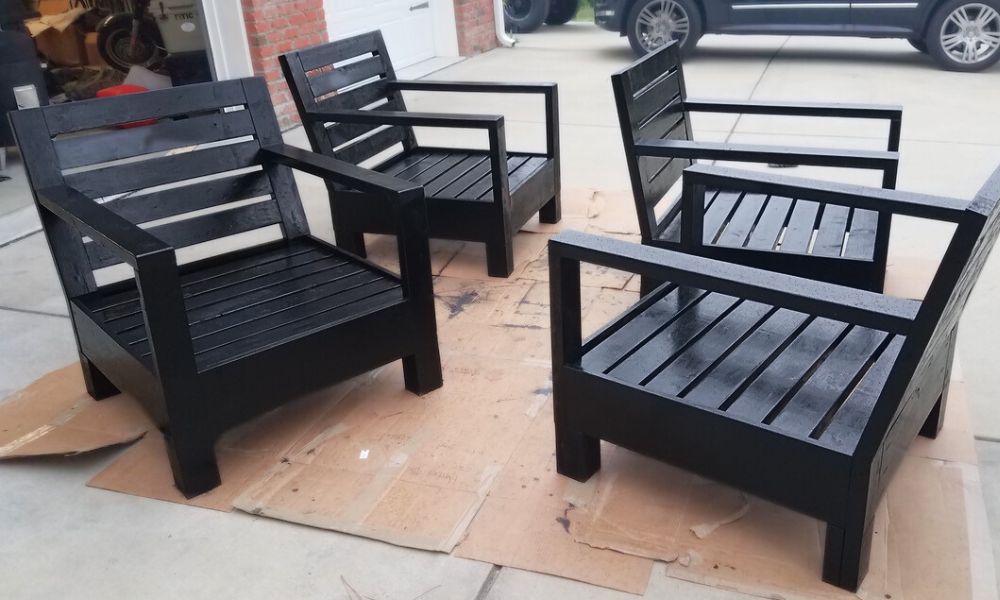
We used 2x4 to make the chair more sturdy. We also kept with the original plans and did not alter them to fit the cushions. We felt changing the dimensions altered the look of the chairs. And the cushions look perfect in the chairs. We were also building the chairs to sit around our fire pit, so we added 6" 4x4 legs to keep the bulky look. We used Ebony stain. We also made an 8'x3' planter box (see pic). We are beginners with no wood working experience at all and we nailed it! So, don't be intimidated by the plans. After the first chair, they all went together smoothly.

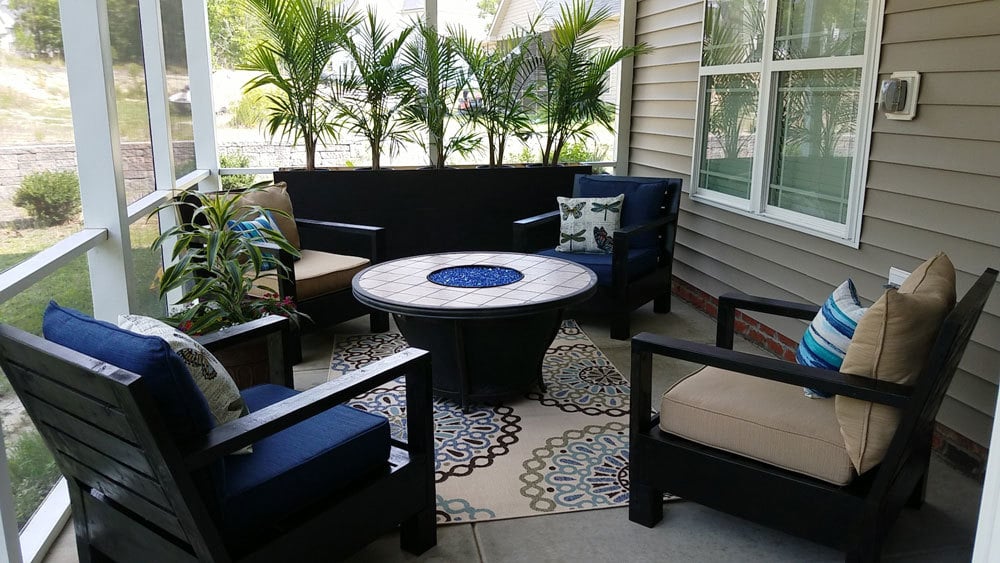
Built from Plan(s)
Estimated Cost
$50 per chair plus cushion cost. We got ours at Lowes for $65 each.
Estimated Time Investment
Weekend Project (10-20 Hours)
Recommended Skill Level
Beginner
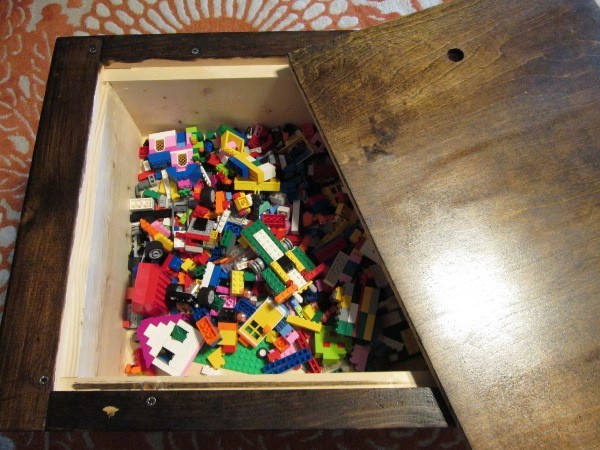
Lego/Storage Coffee Table

I built this lovely lego/coffee table for my son, 7 and my sanity at night! This is my 3rd plan I tried from Ana's wonderful plans. (I made airplane shelf and $10 wall ledge before).

Built from Plan(s)
Estimated Time Investment
Afternoon Project (3-6 Hours)
Recommended Skill Level
Beginner
Comments
Sat, 04/26/2014 - 11:57
Cost question
Your table is just beautiful!! Question-- do you remember about how much it cost for the wood materials? I am dying to make one soon!
(Also, I would be curious to know which stain you used, it's gorgeous.)
Thanks!
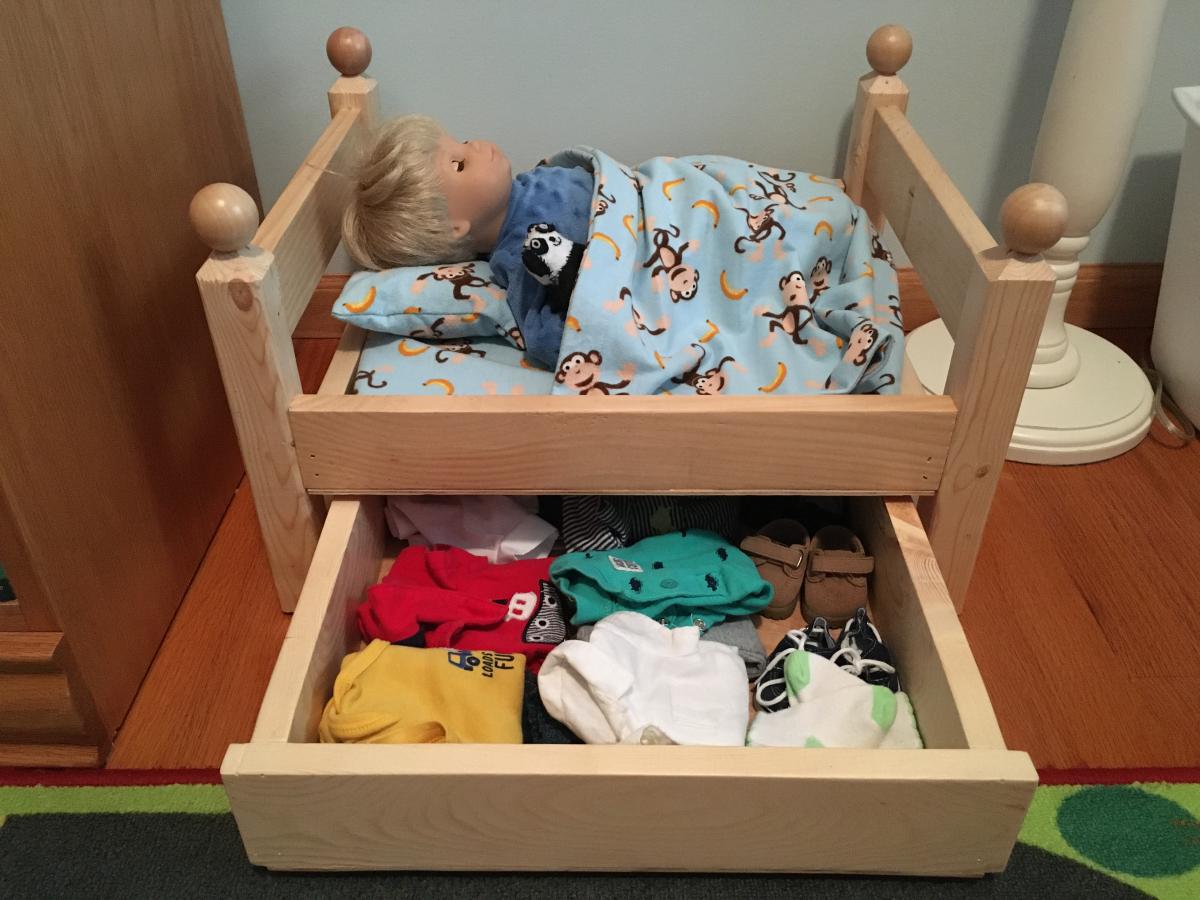
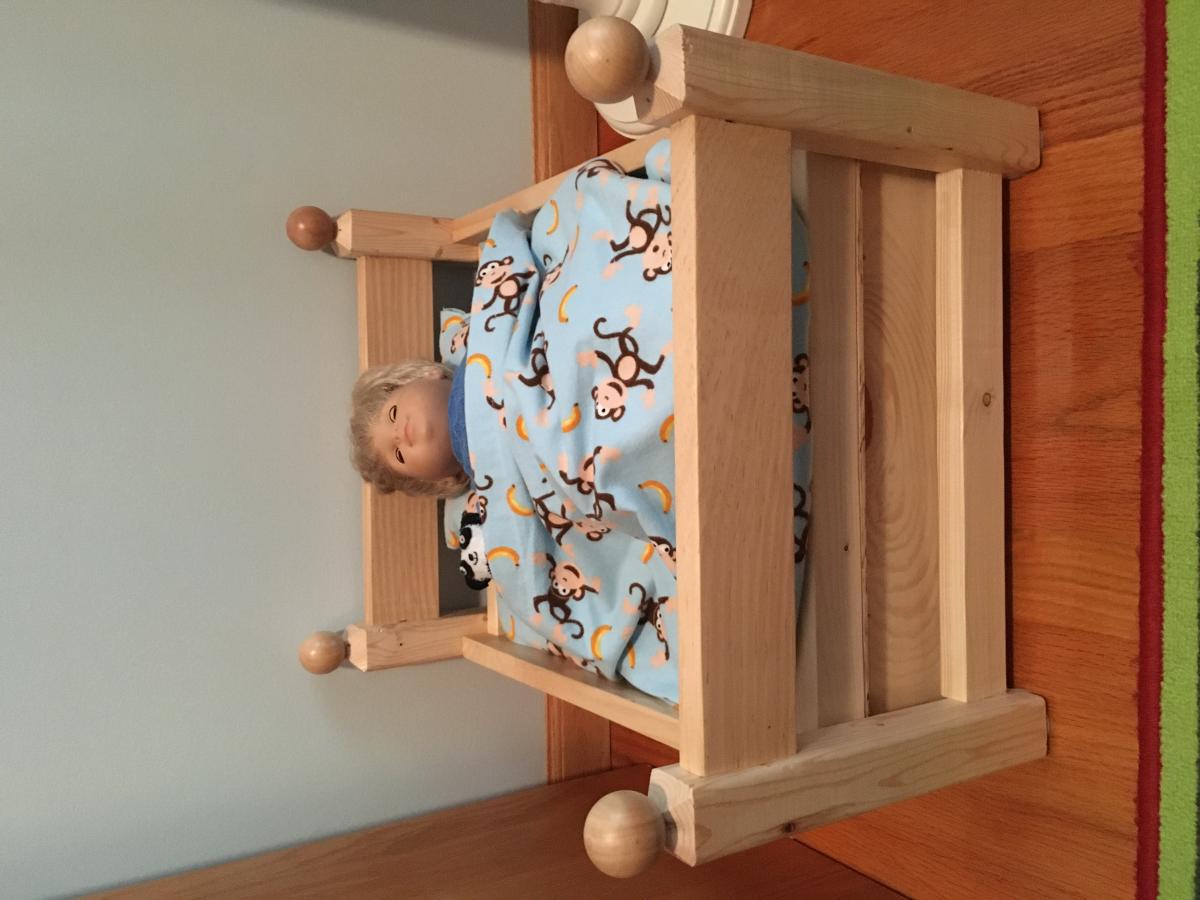
Modified Doll Bed w/"Trundle"
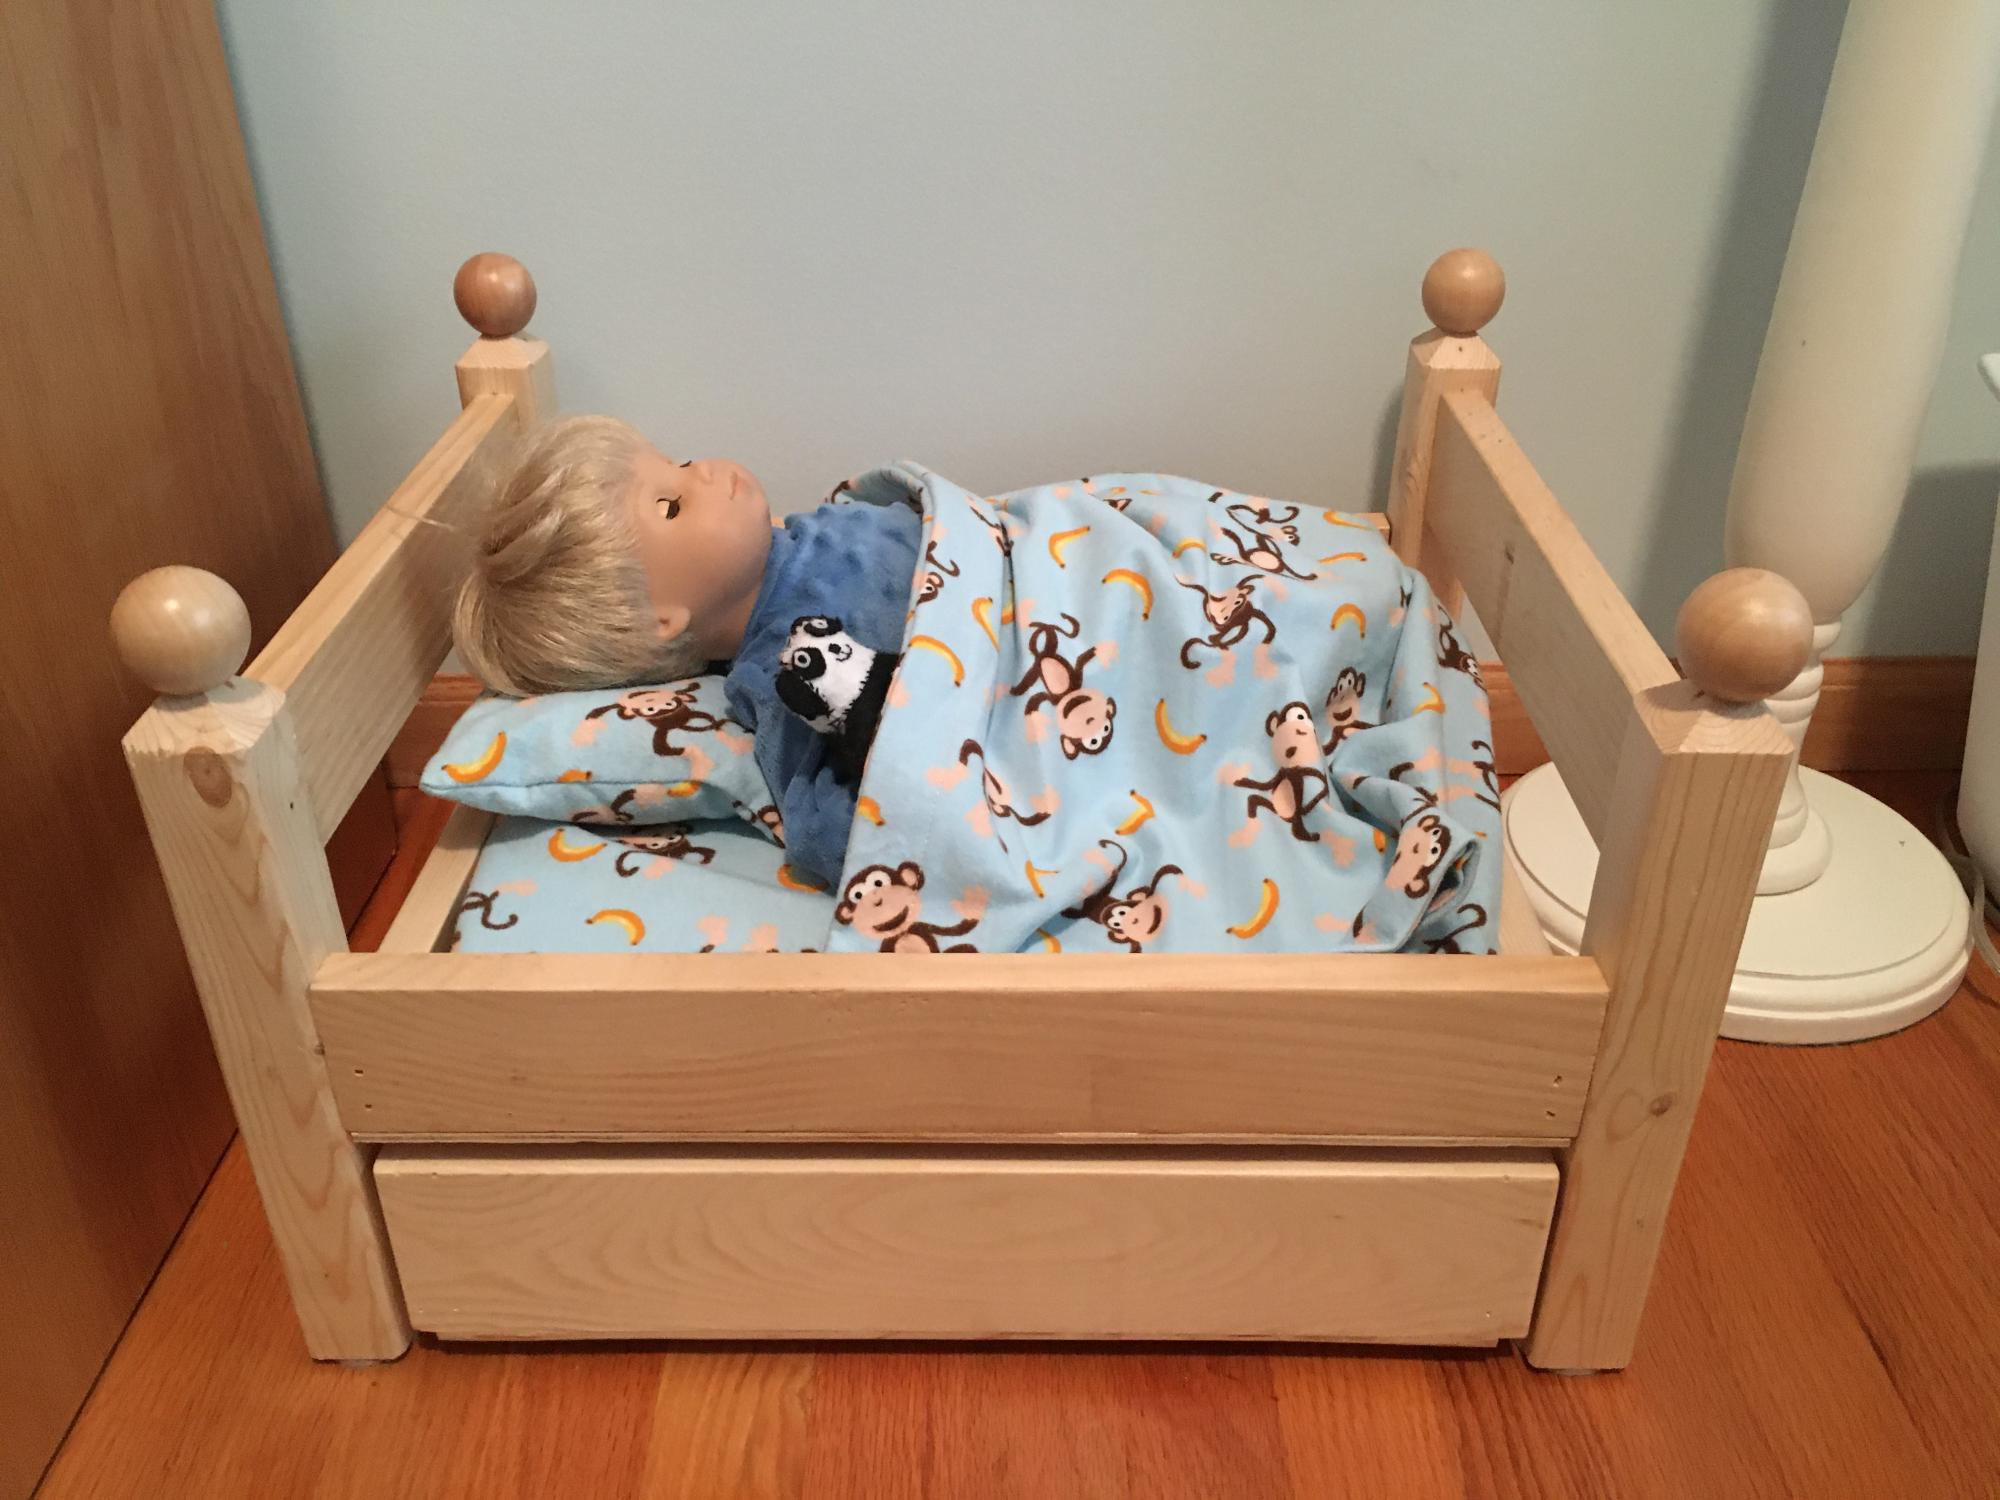
My son wanted a bed for his doll, Bobby John. We chose some plans for a bed to make and he helped me through the process. Instead of making this a trundle bed, we made the trundle more of a drawer. He can store clothing and some of the doll toys underneath instead of on the floor. ;) I modified the original plans by using drawer slides instead of the ball bearing casters, keeping is a single unit so that when it is moved around, it's only one piece. This also keeps it from banging around against the frame when pulling out or pushing in. Also added a few decorative elements like the ball post-tops and also used the Kreg Jig to hide the main fastening screws.
My wife made the mattress, bedding, and pillow and one of my daughters made a small, stuffed panda for Bobby to "snuggle". Turned out fairly well.
Built from Plan(s)
Estimated Cost
$20
Estimated Time Investment
Afternoon Project (3-6 Hours)
Finish Used
Varathane No Odor Polyurethane - Satin
Recommended Skill Level
Beginner
Comments
Ana White Admin
Sat, 06/12/2021 - 08:19
Super!
Thank you for sharing, it looks like a great project!