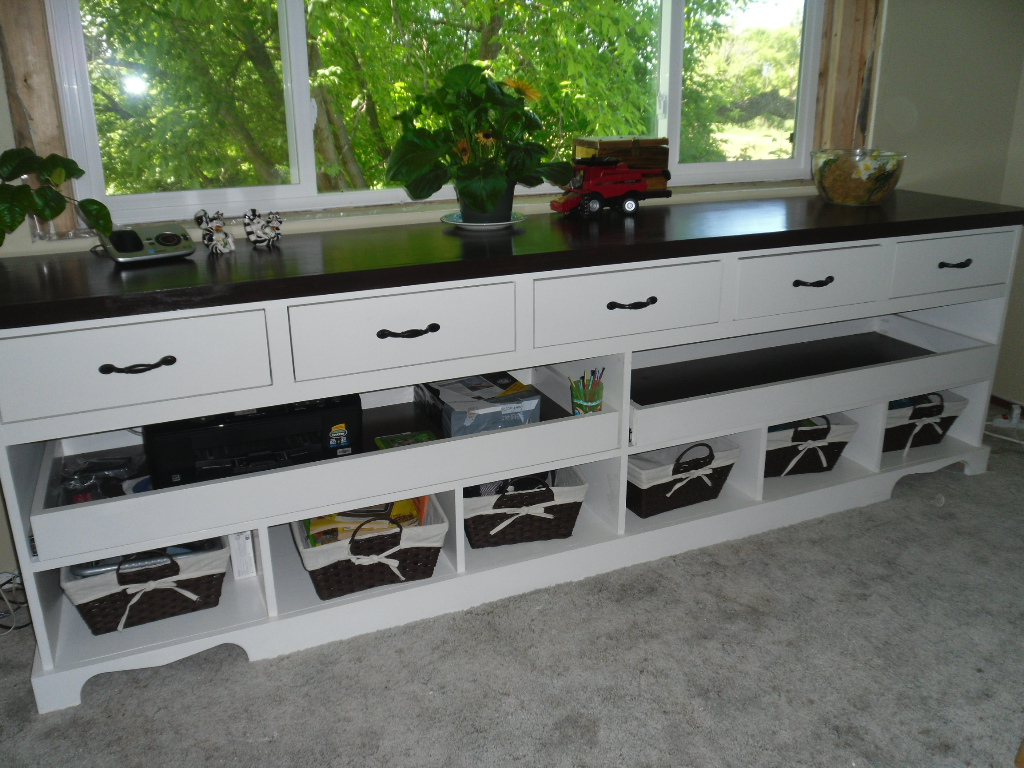
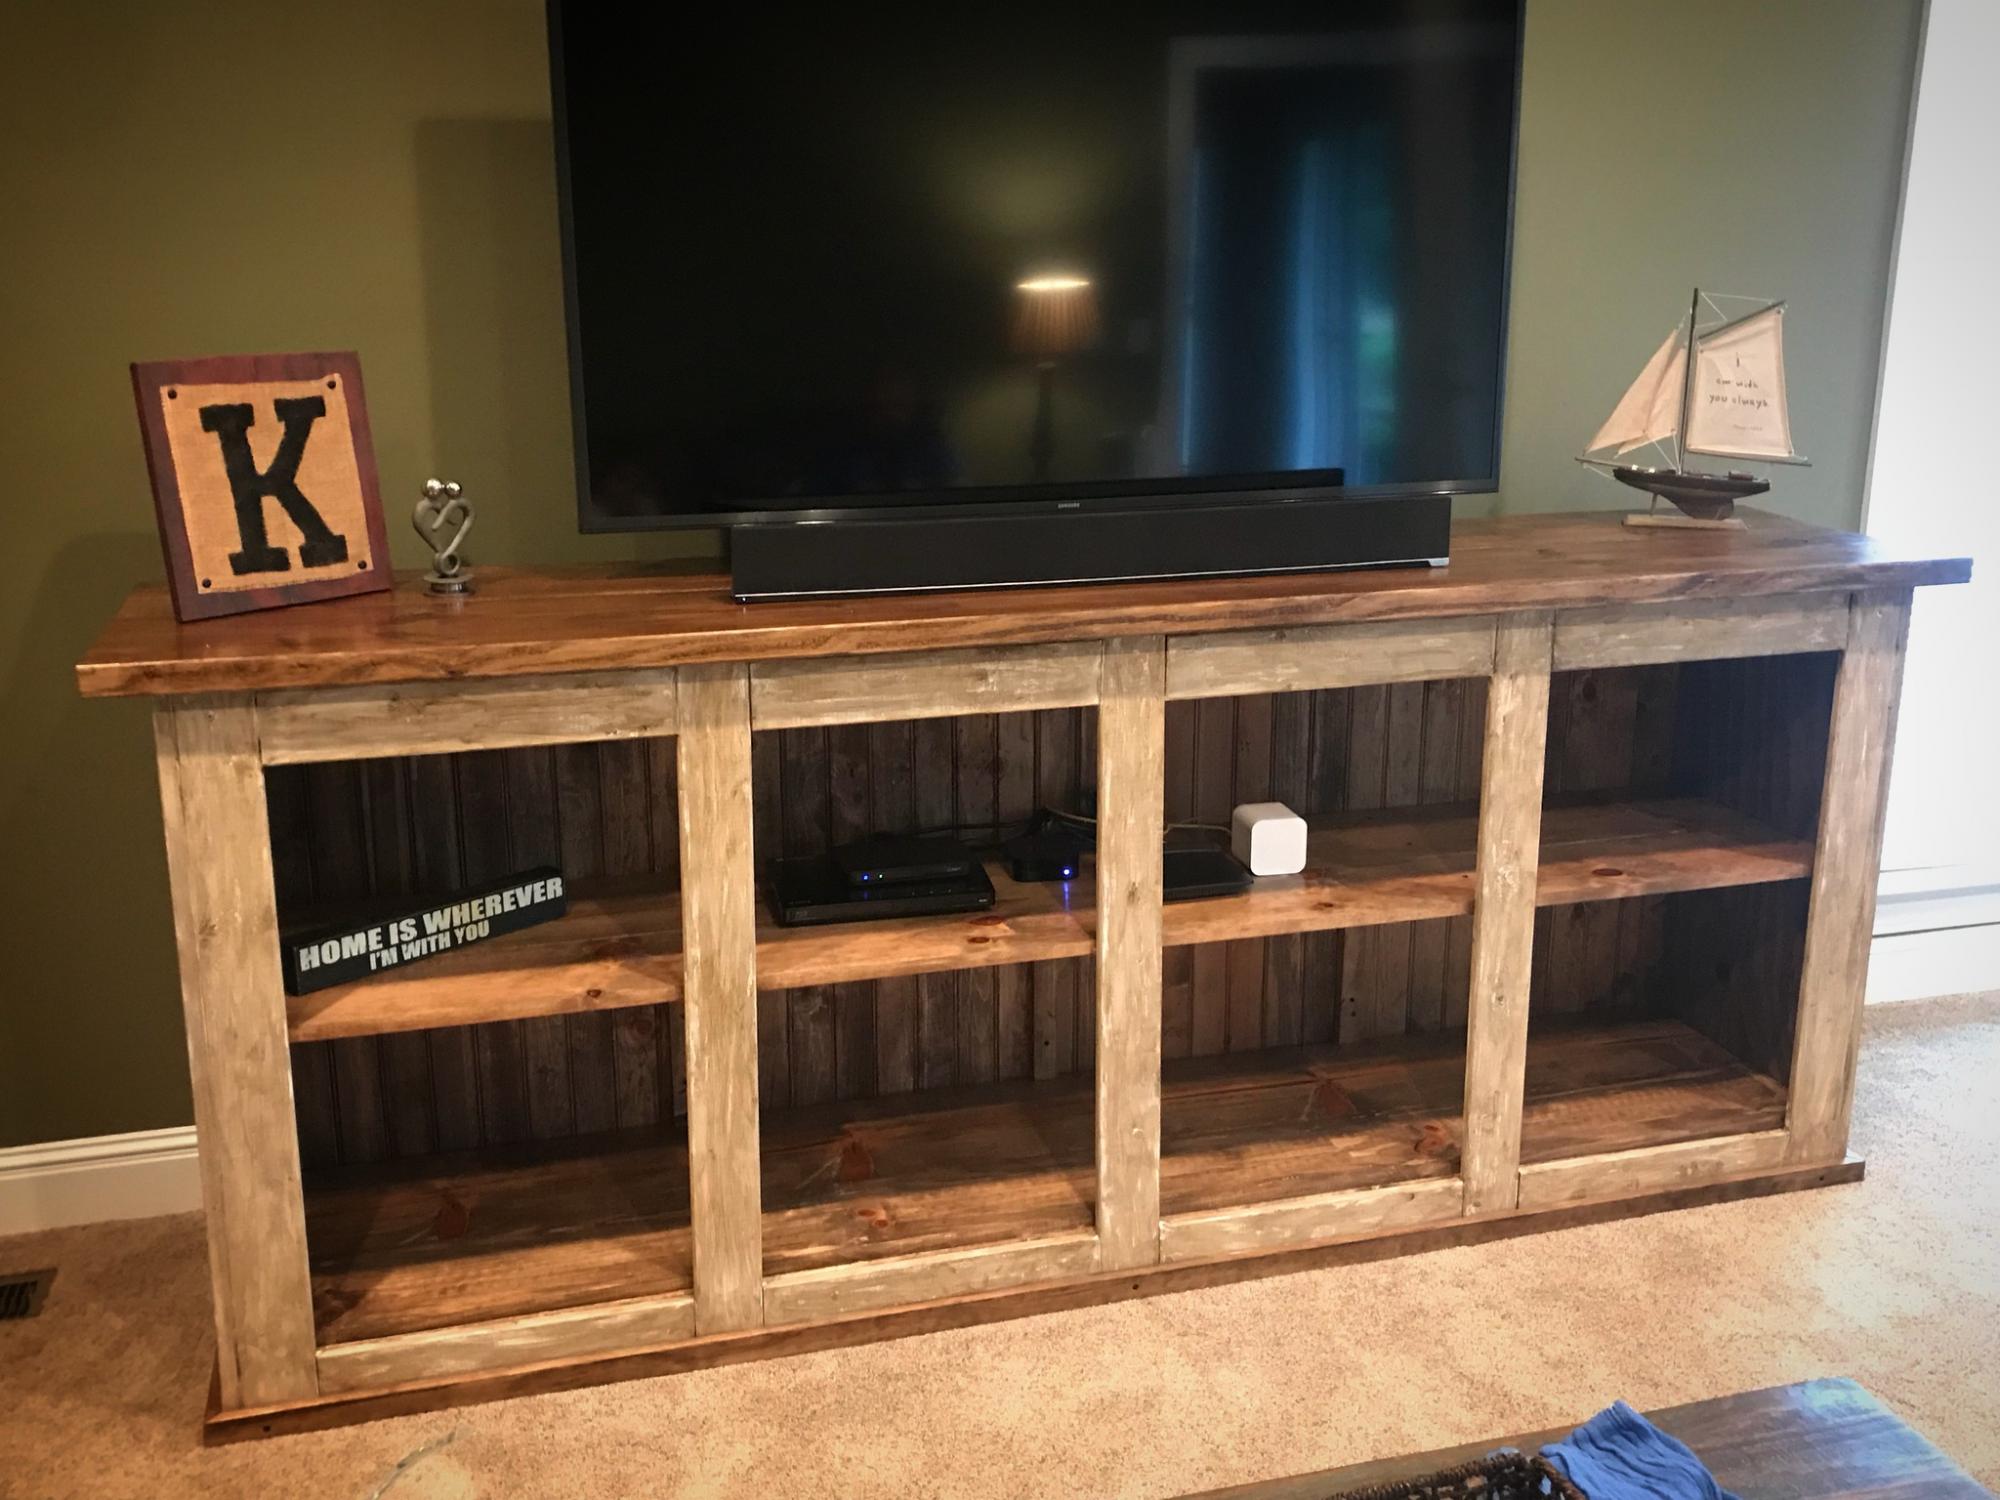
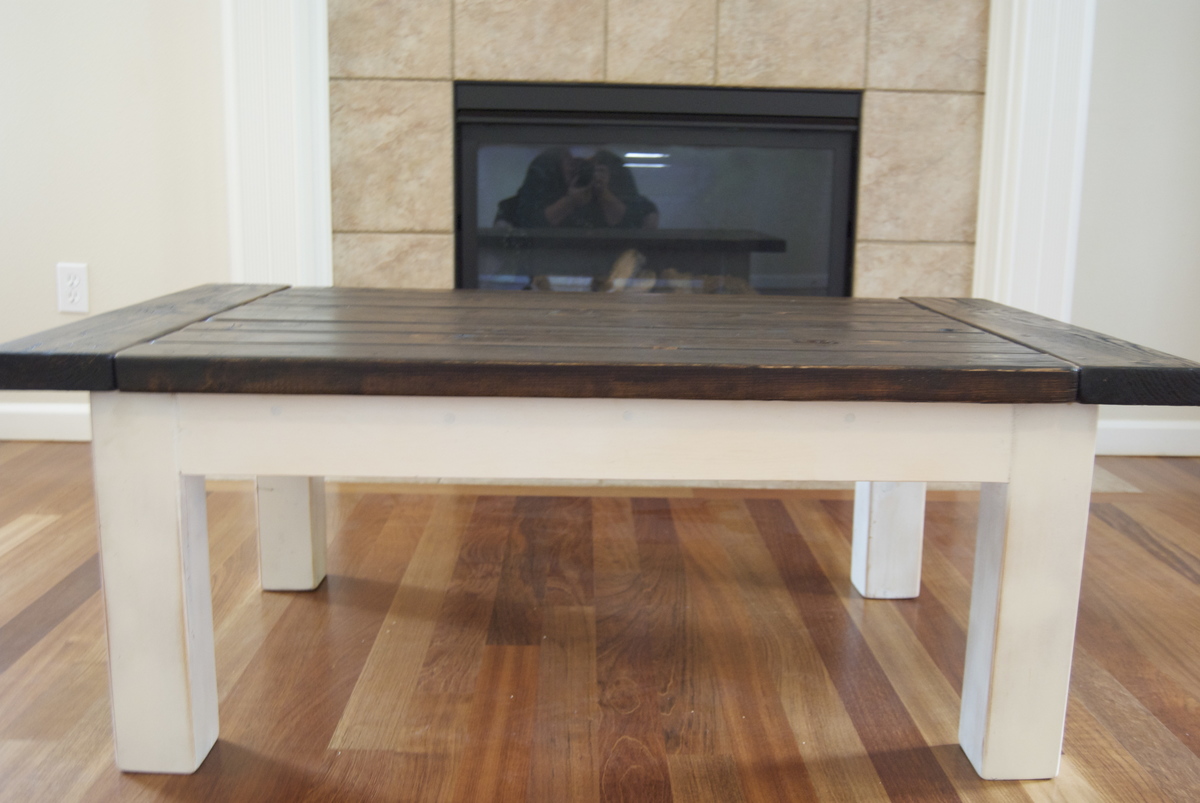
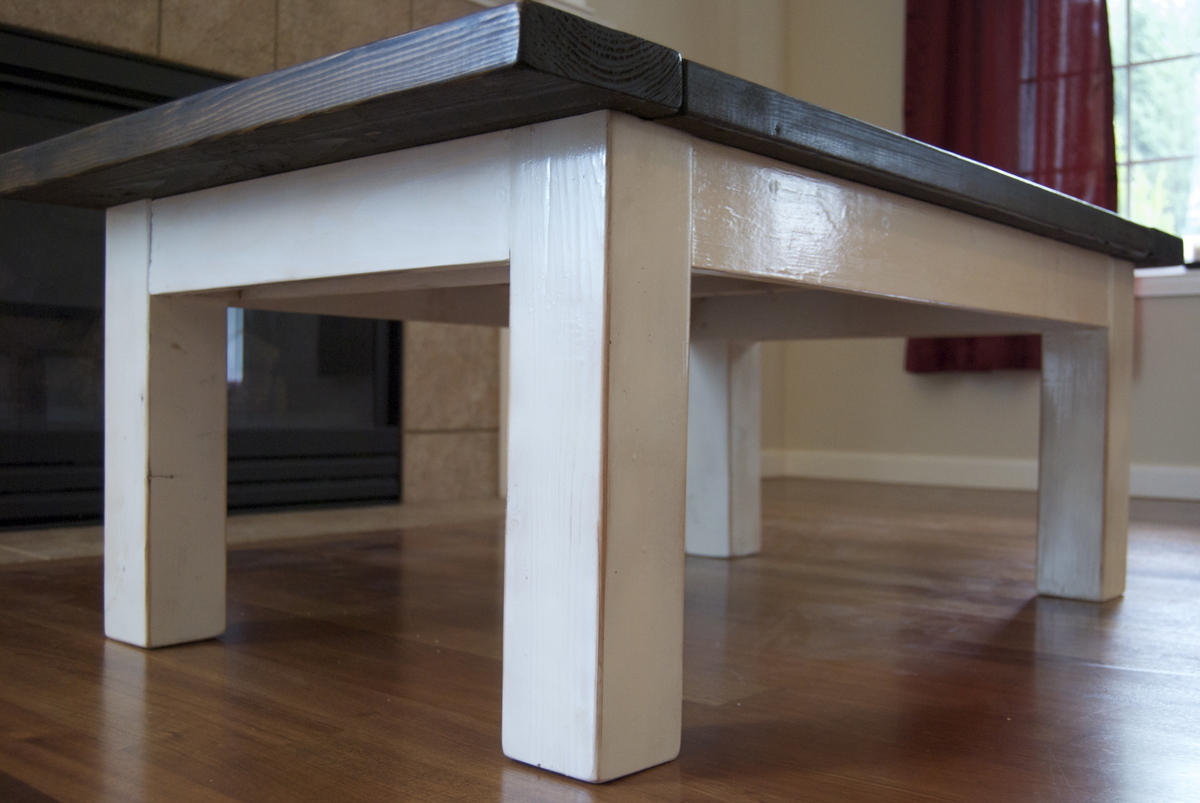
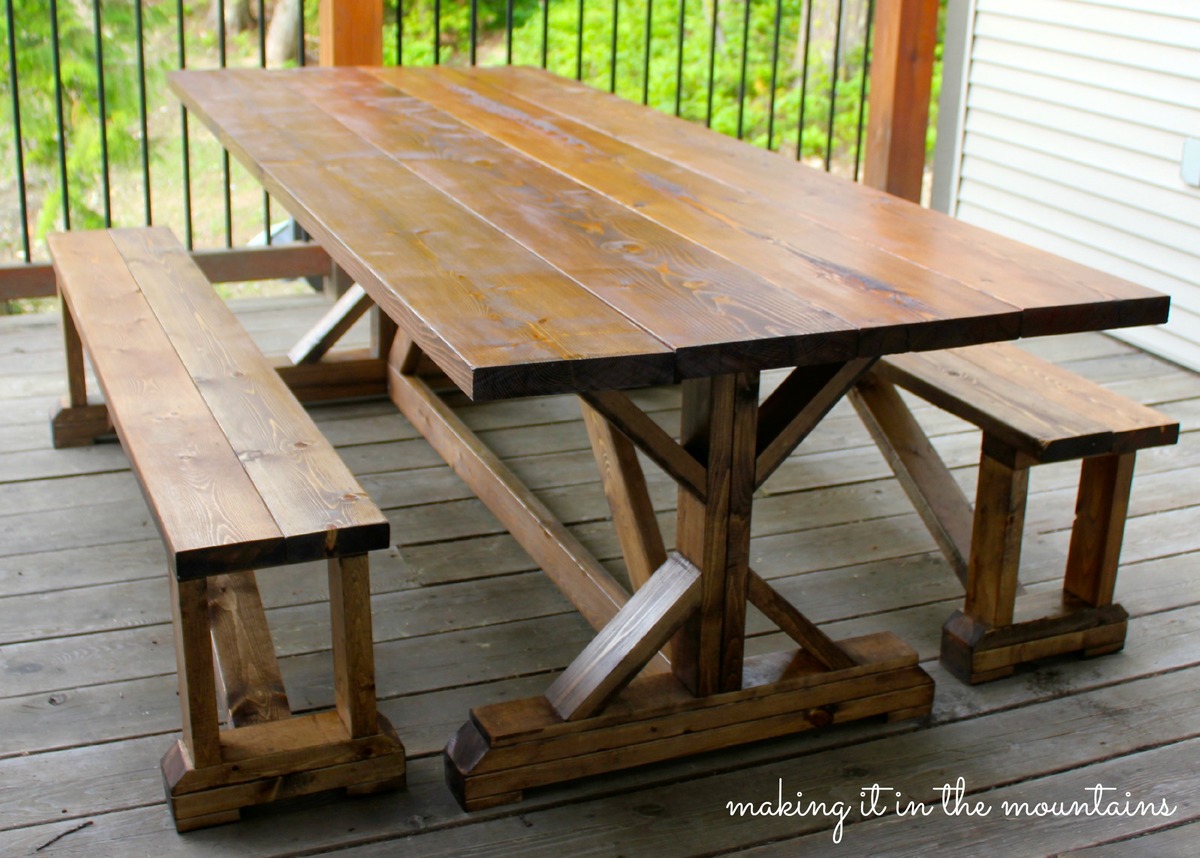
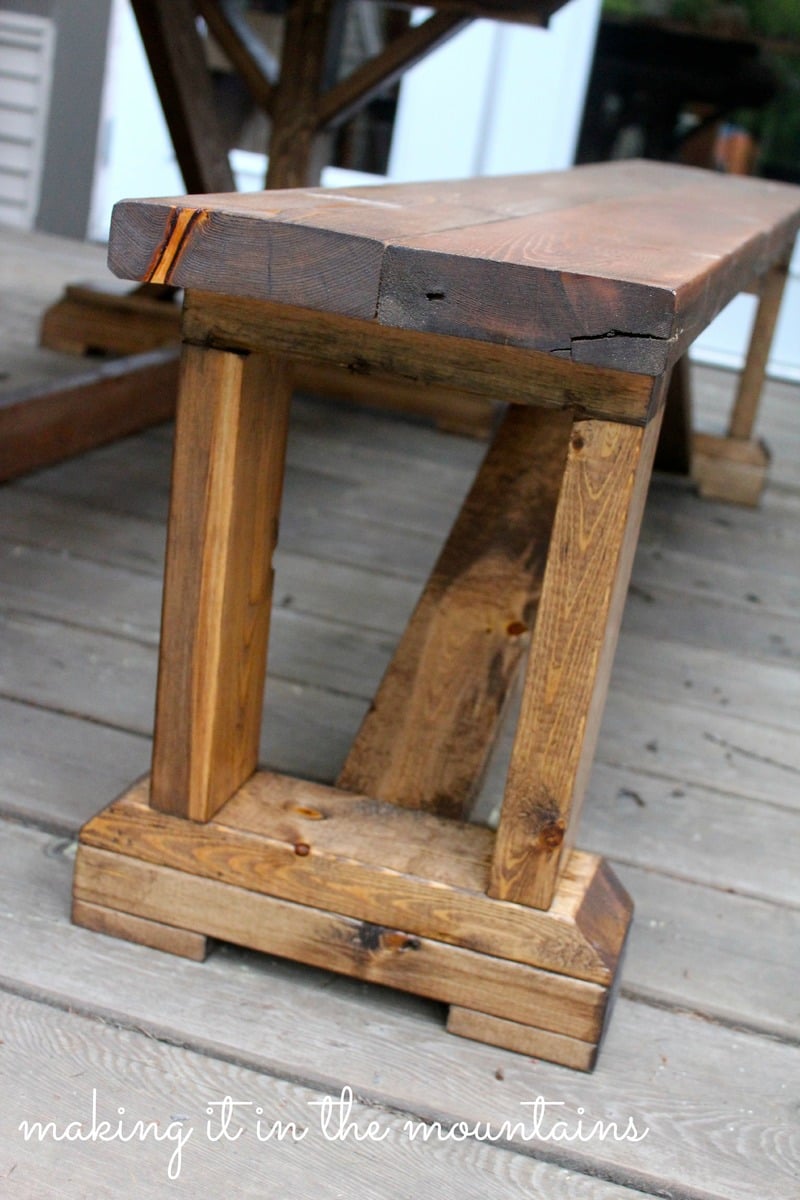
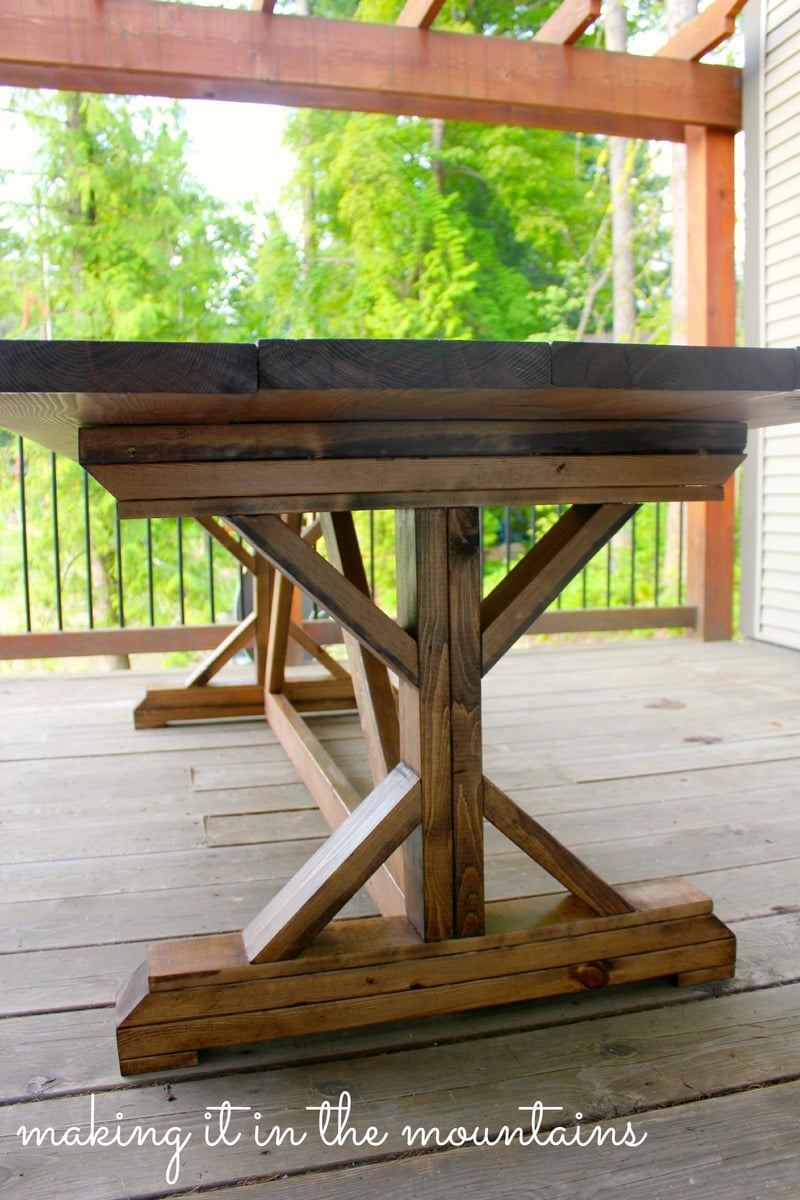
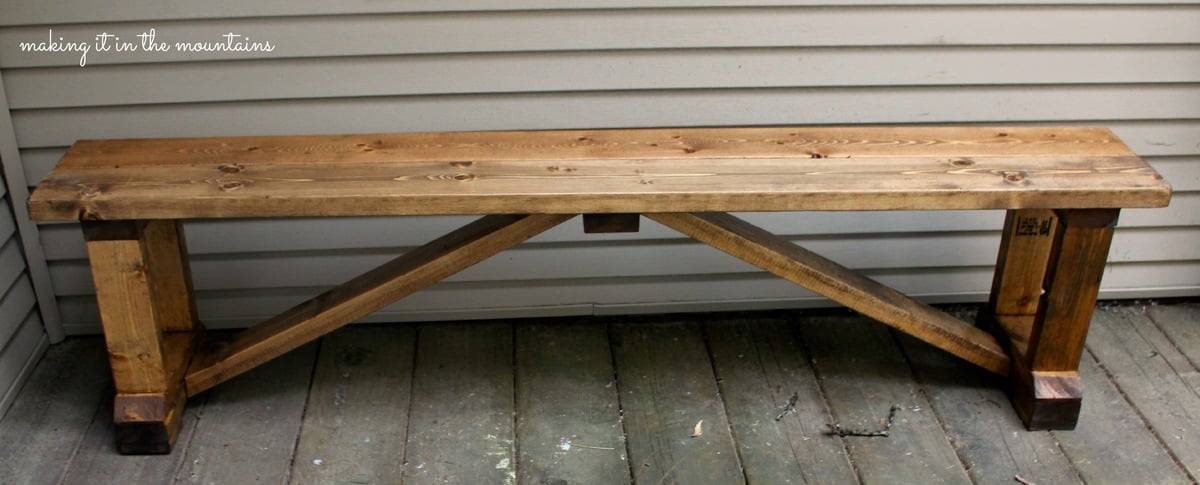
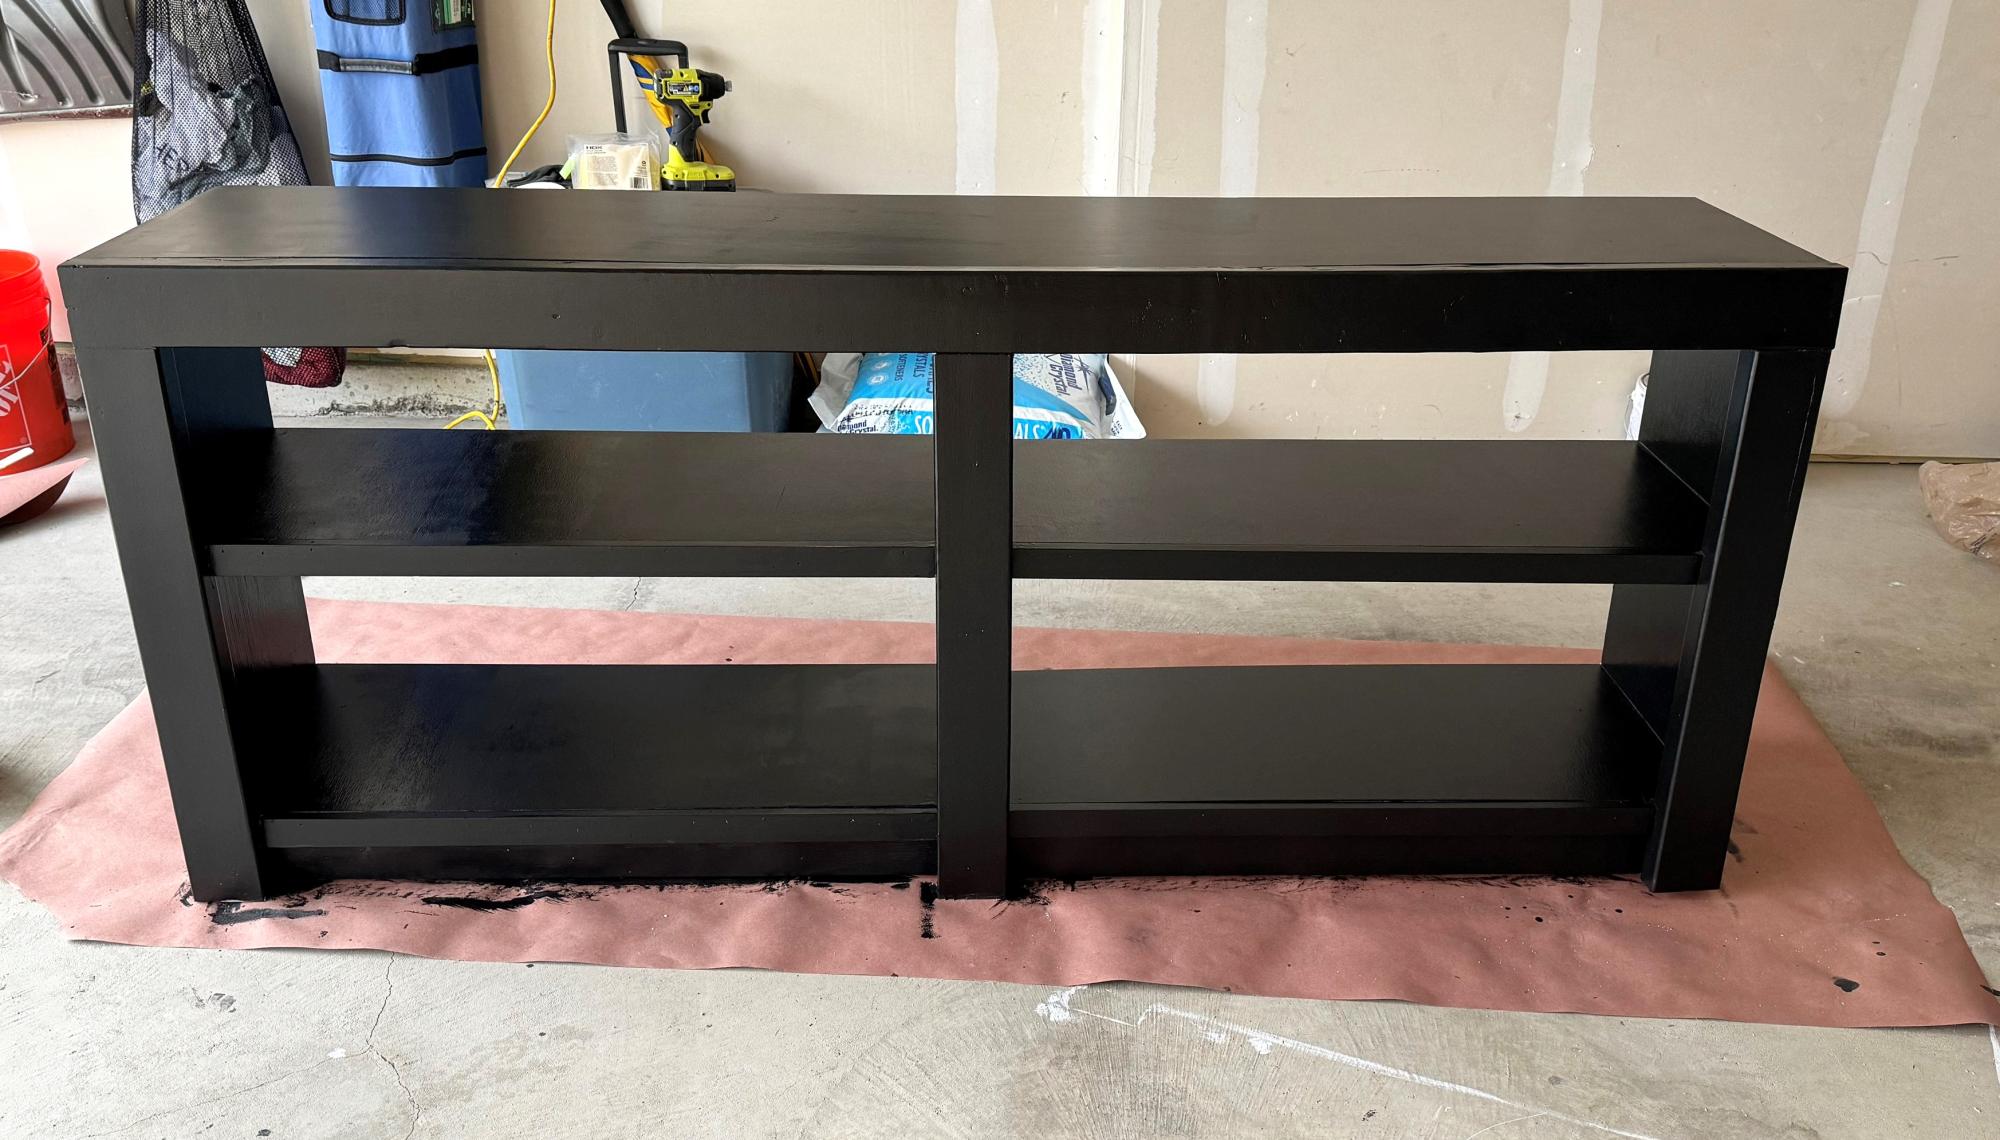
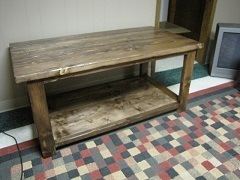
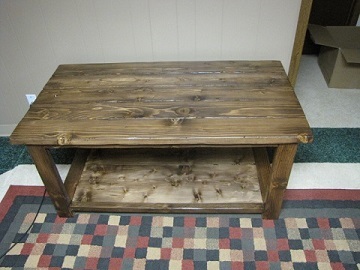
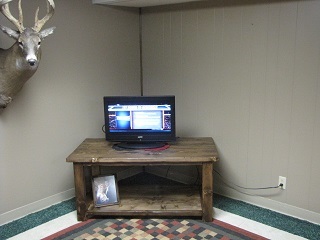
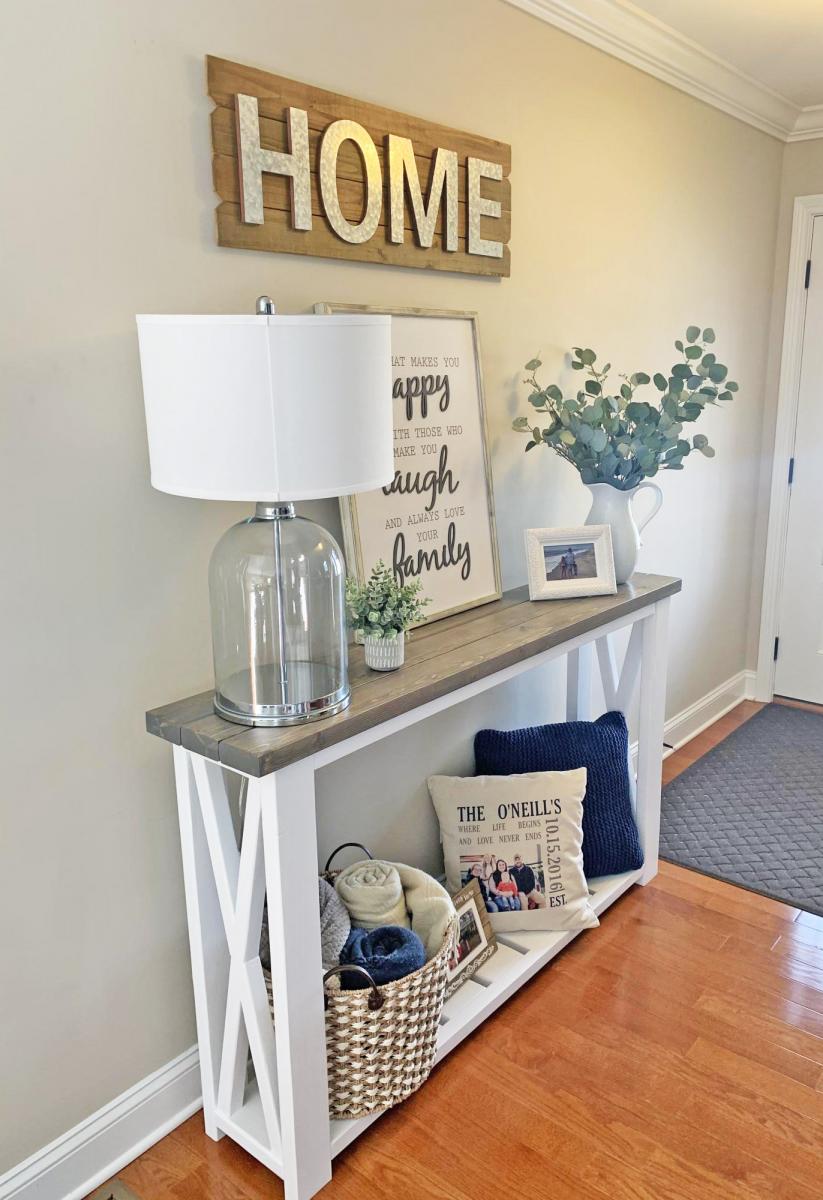
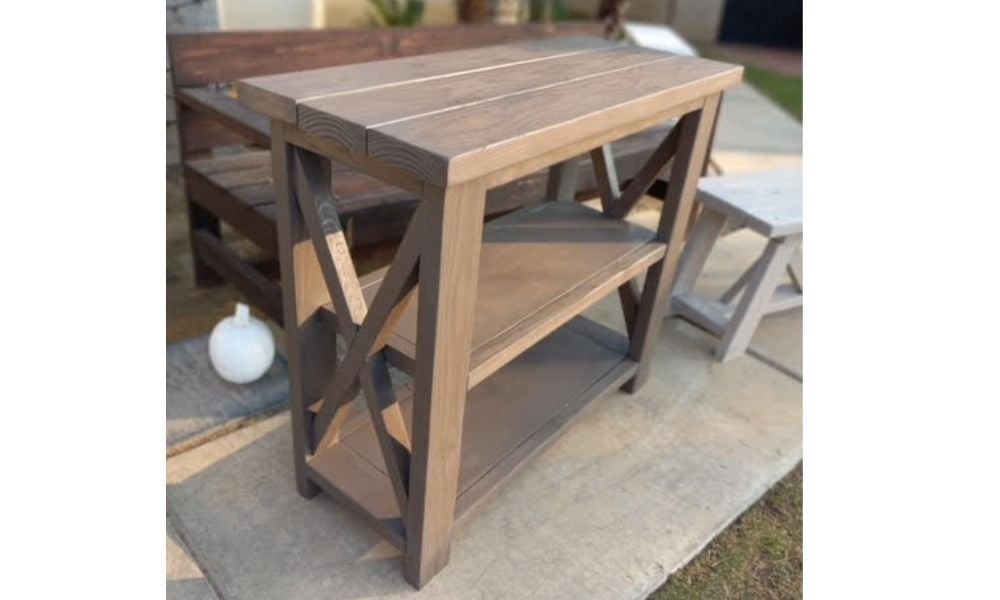
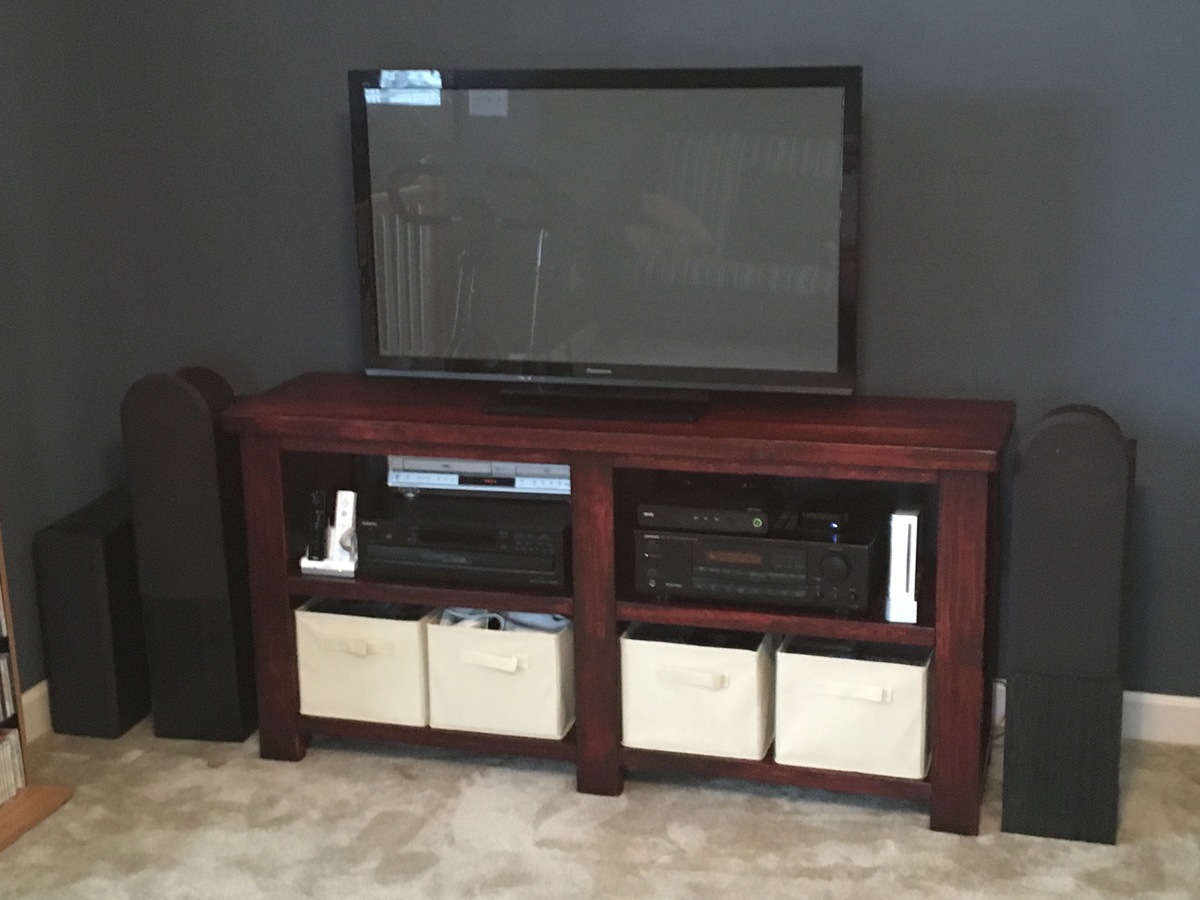
I modified the rustic x coffee table plans. I did not need a coffee table, but I loved the looks of this plan. I actually needed a TV stand for our basement, so I made this instead. I kept all of the dimensions the same except I made it 4" taller. I also took out the side "x's".
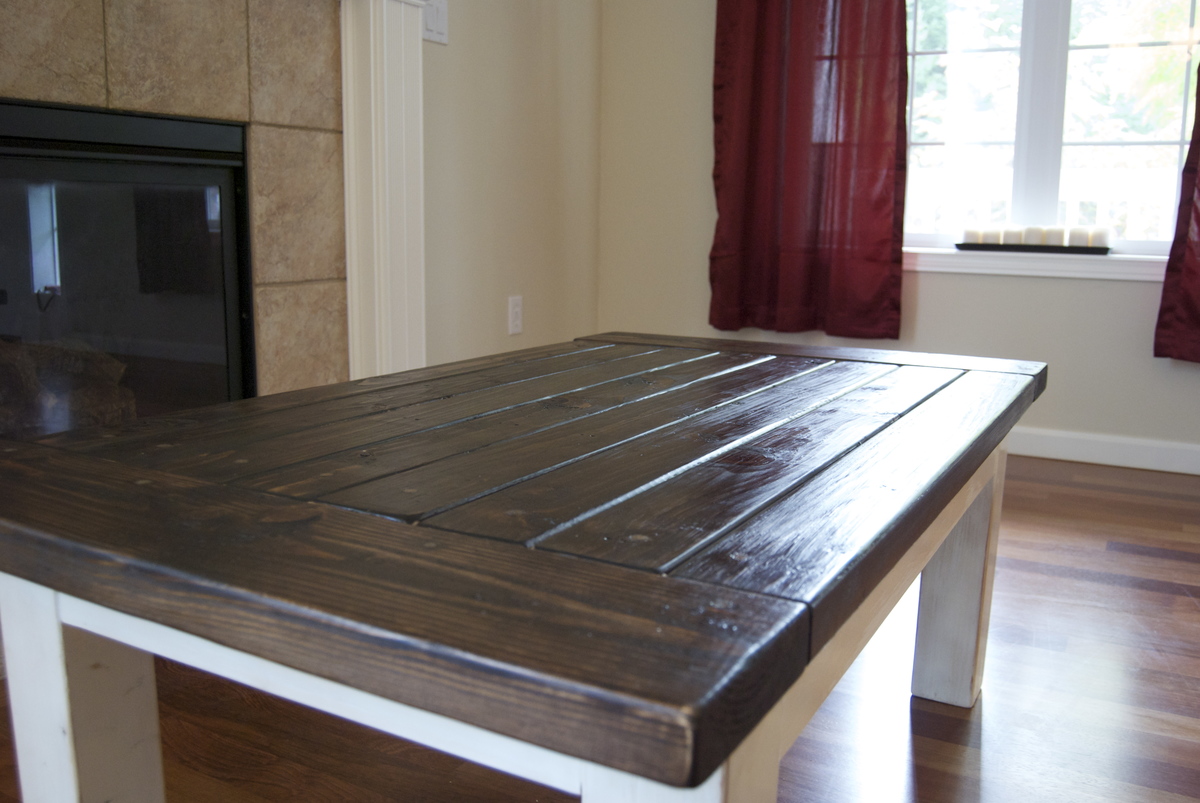
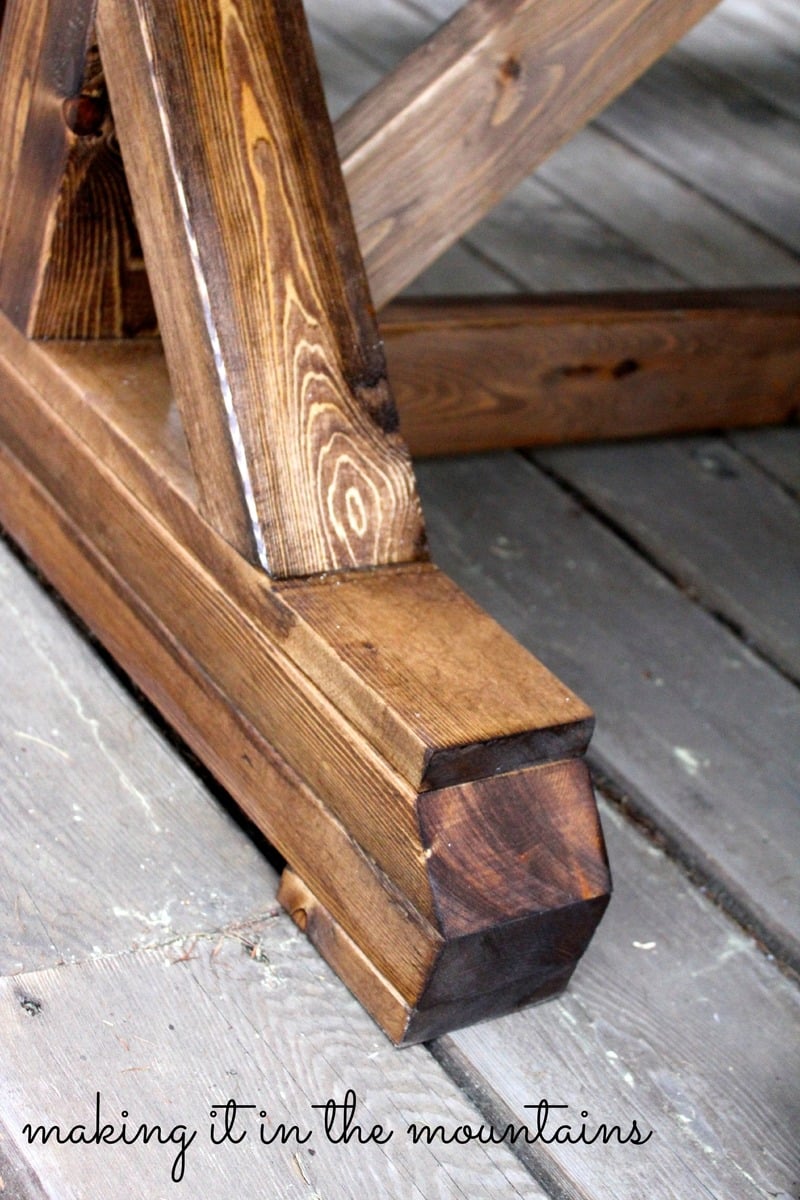
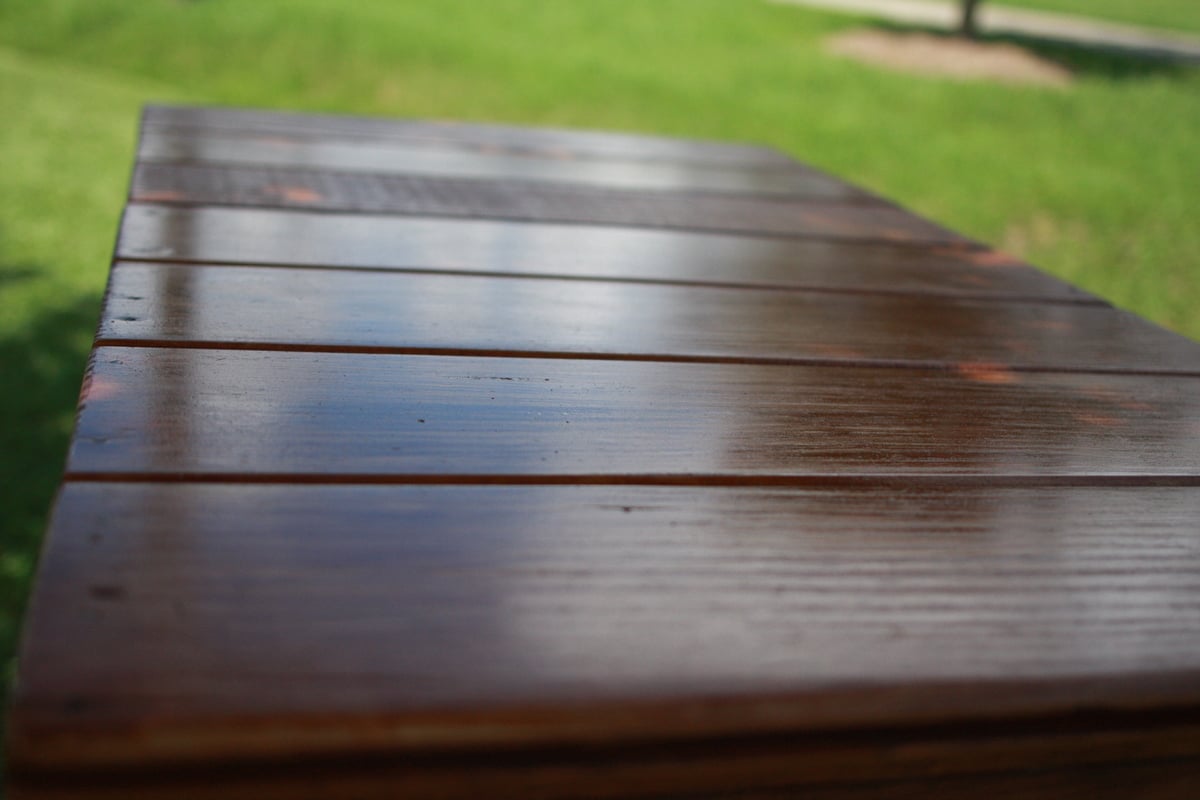
I used regular pine boards from Lowes. I bought a Kreg Jig, Kreg clamp and screws to get started, so my initial cost was pretty high just gathering all my supplies, as this was my first build.I wanted a rustic, worn look, so I chipped the wood, made fake cracks, etc.
I used Minwax Walnut Gel stain, and then went along the edges, over the cracks and knots with an Ebony stain. 2 coats of satin poly.
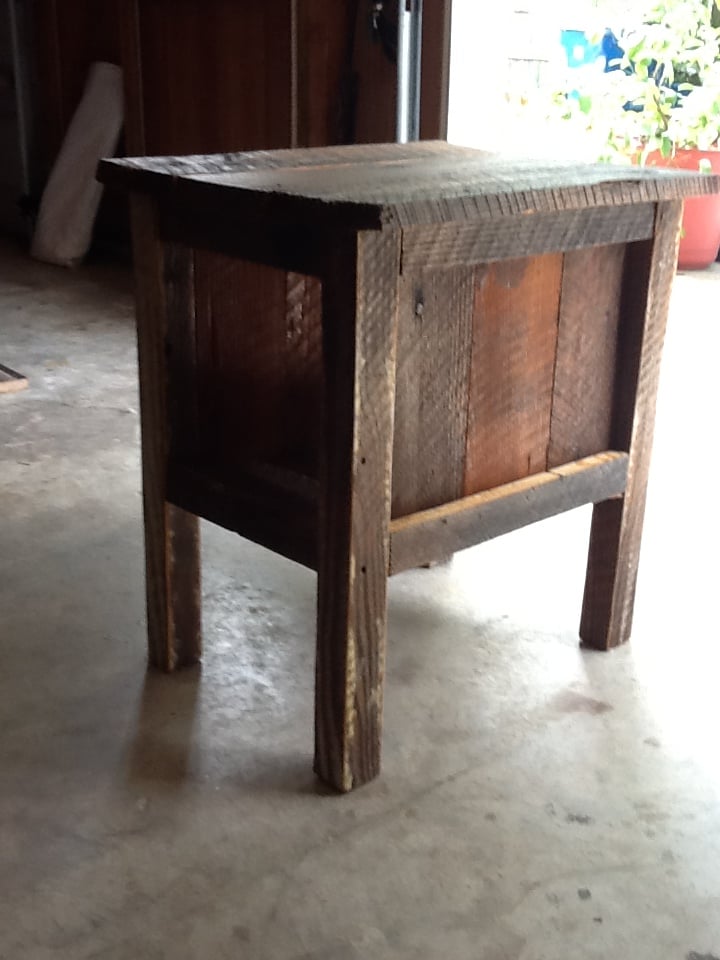
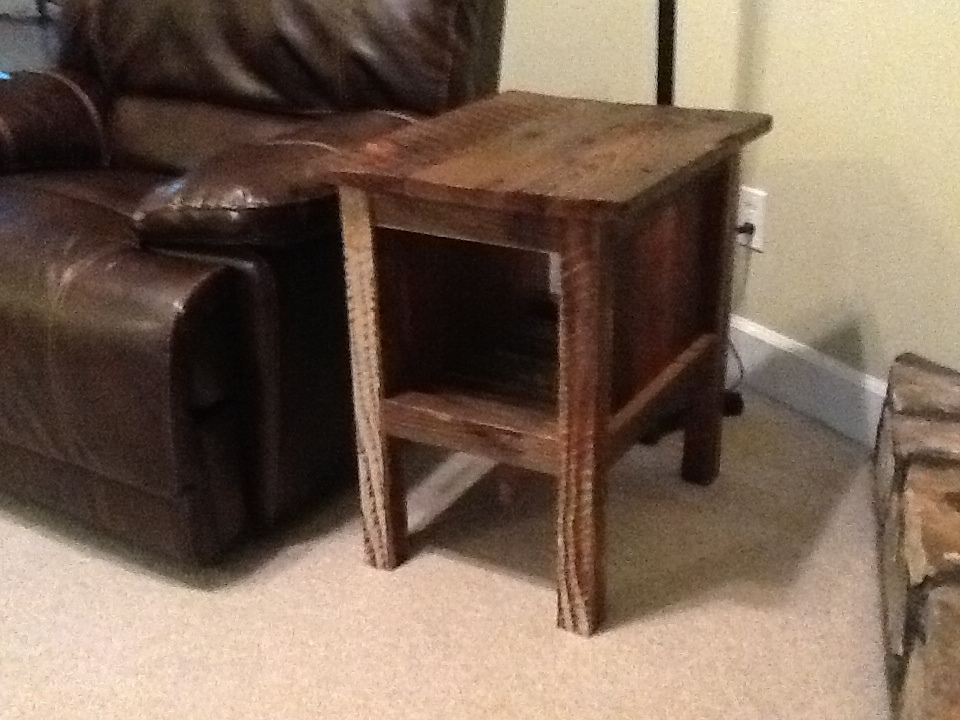
Can't believe how well it turned out. Next project is going to be the matching end table. Don't laugh at the size of the tv, it is all we have for the basement. We will be planning on getting an 55" for it and the kids to enjoy.