Computer Desk
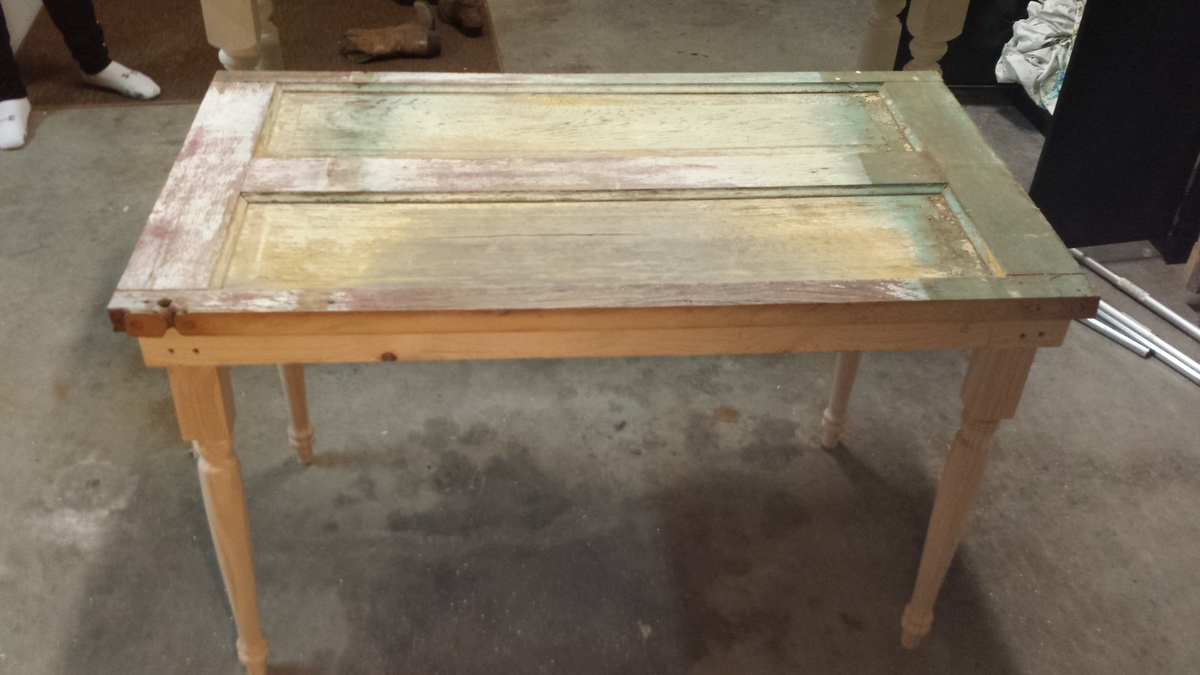
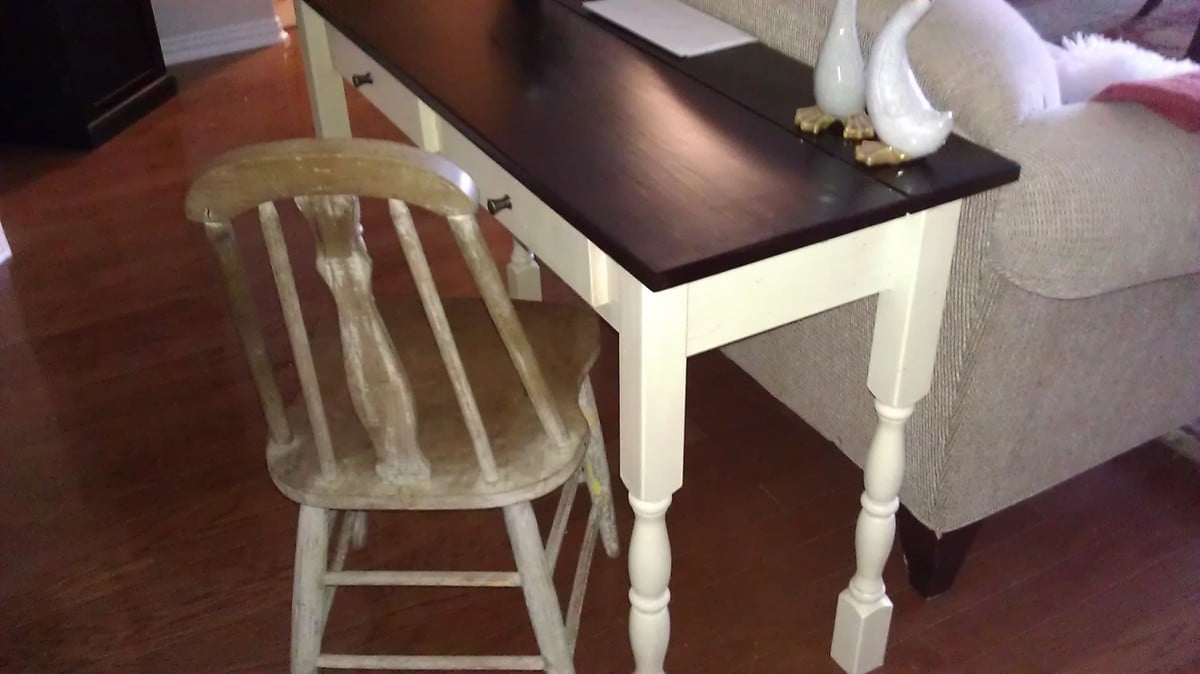
I made this computer desk for my college age daughter out of a 150 year old door that we got from her grandfather's homestead. I think it turned out fantastic. I need to add a glass top to complete.

I made this computer desk for my college age daughter out of a 150 year old door that we got from her grandfather's homestead. I think it turned out fantastic. I need to add a glass top to complete.
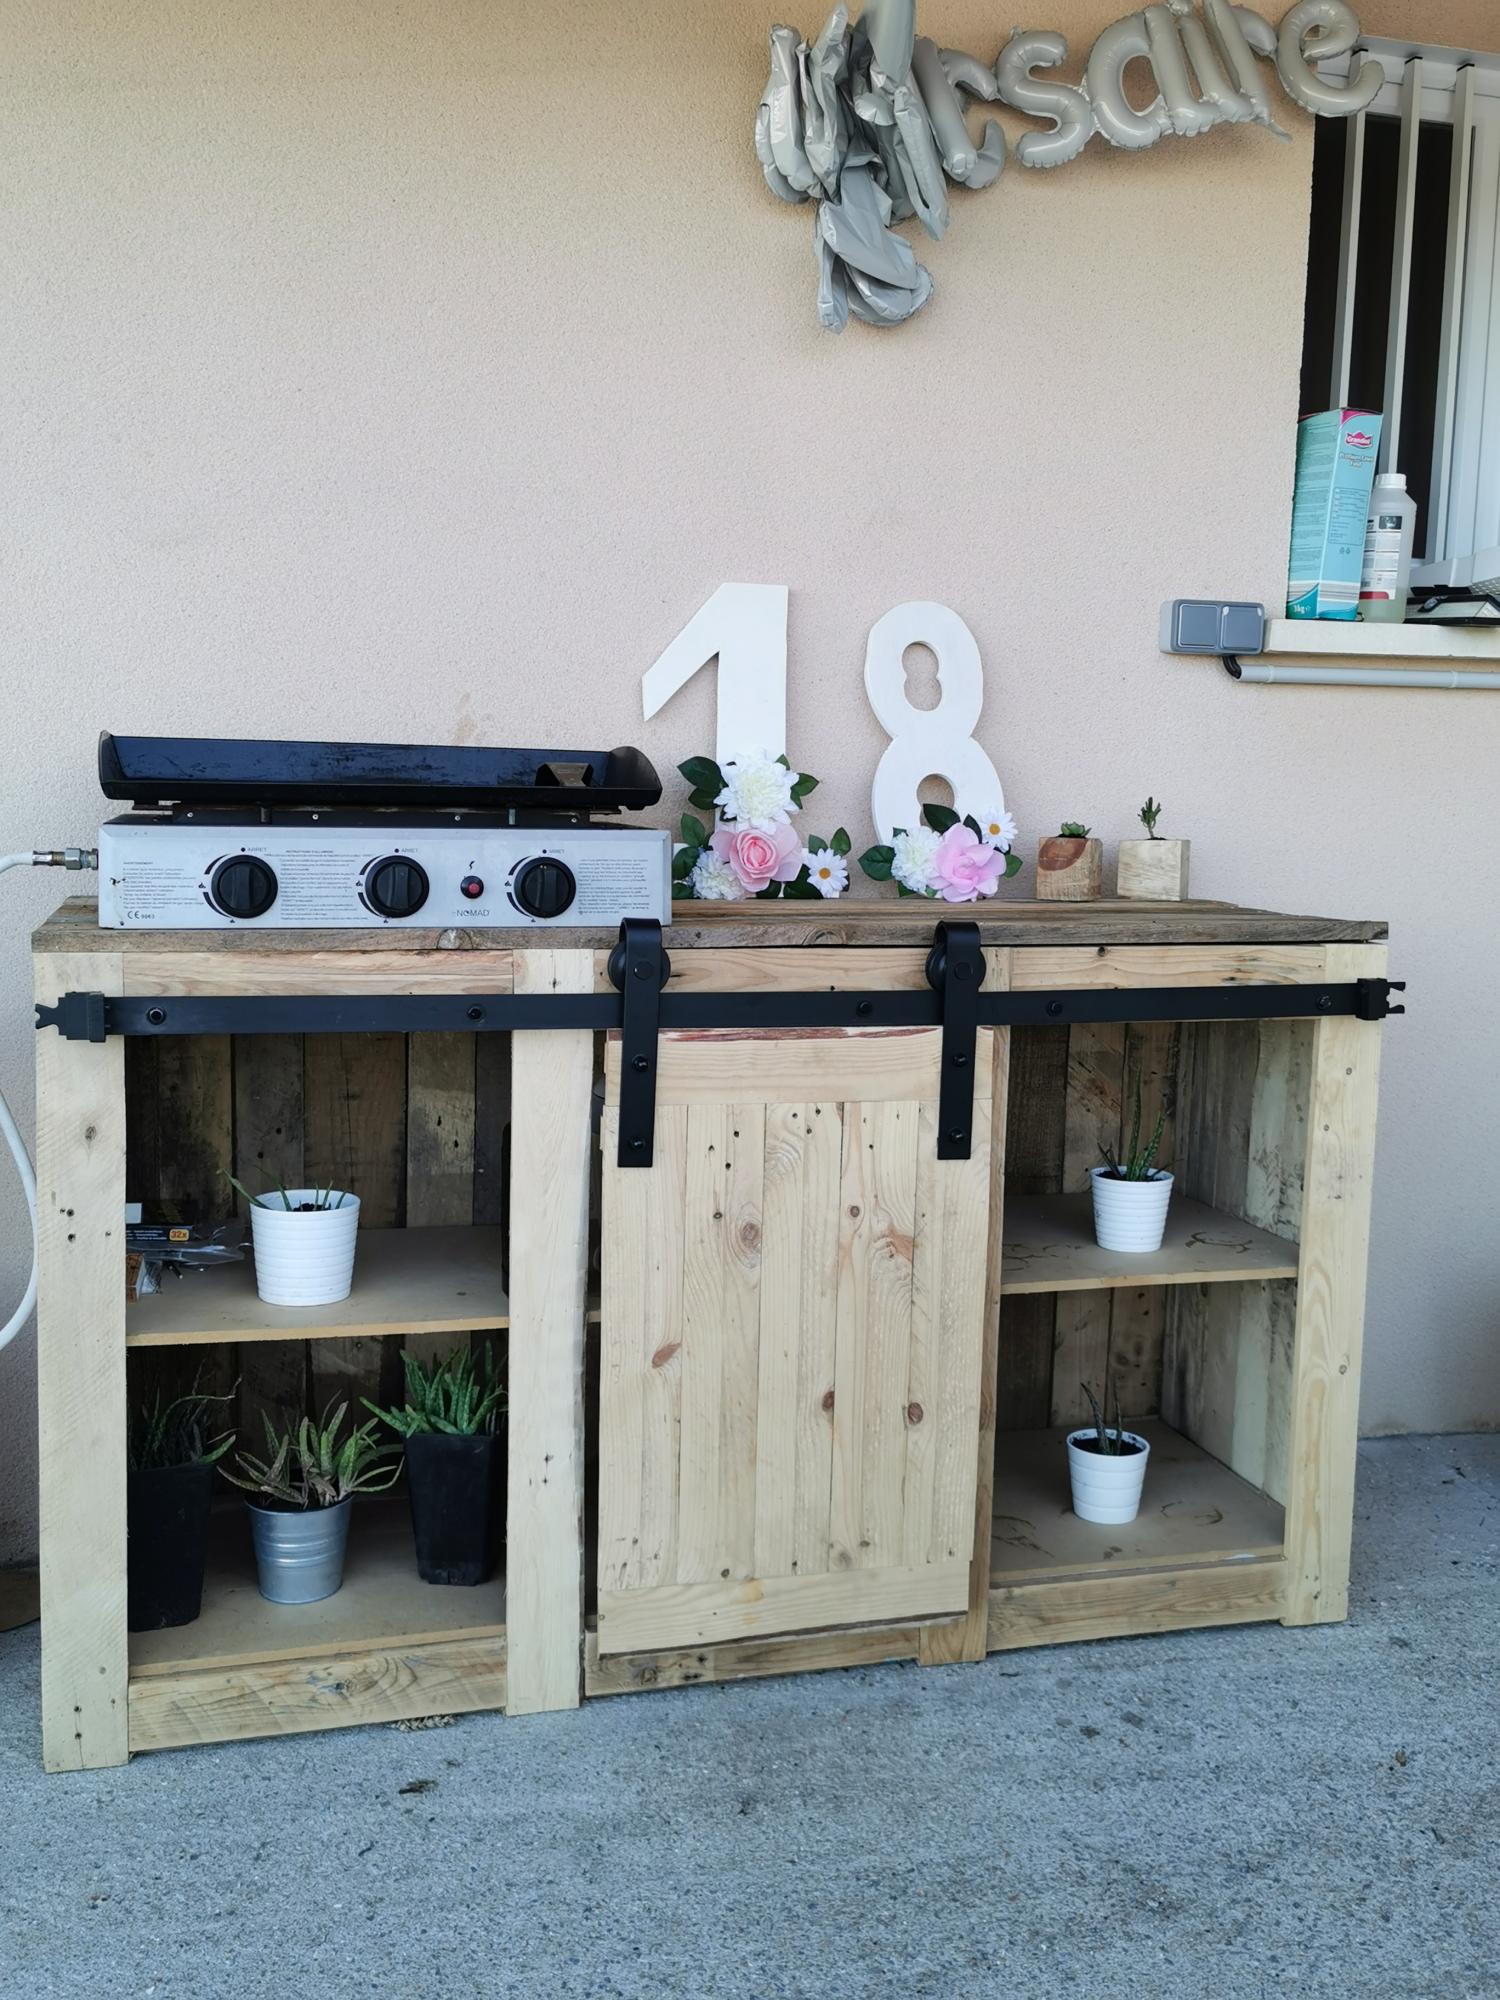
Réalisation d un meuble pour poser la plancha
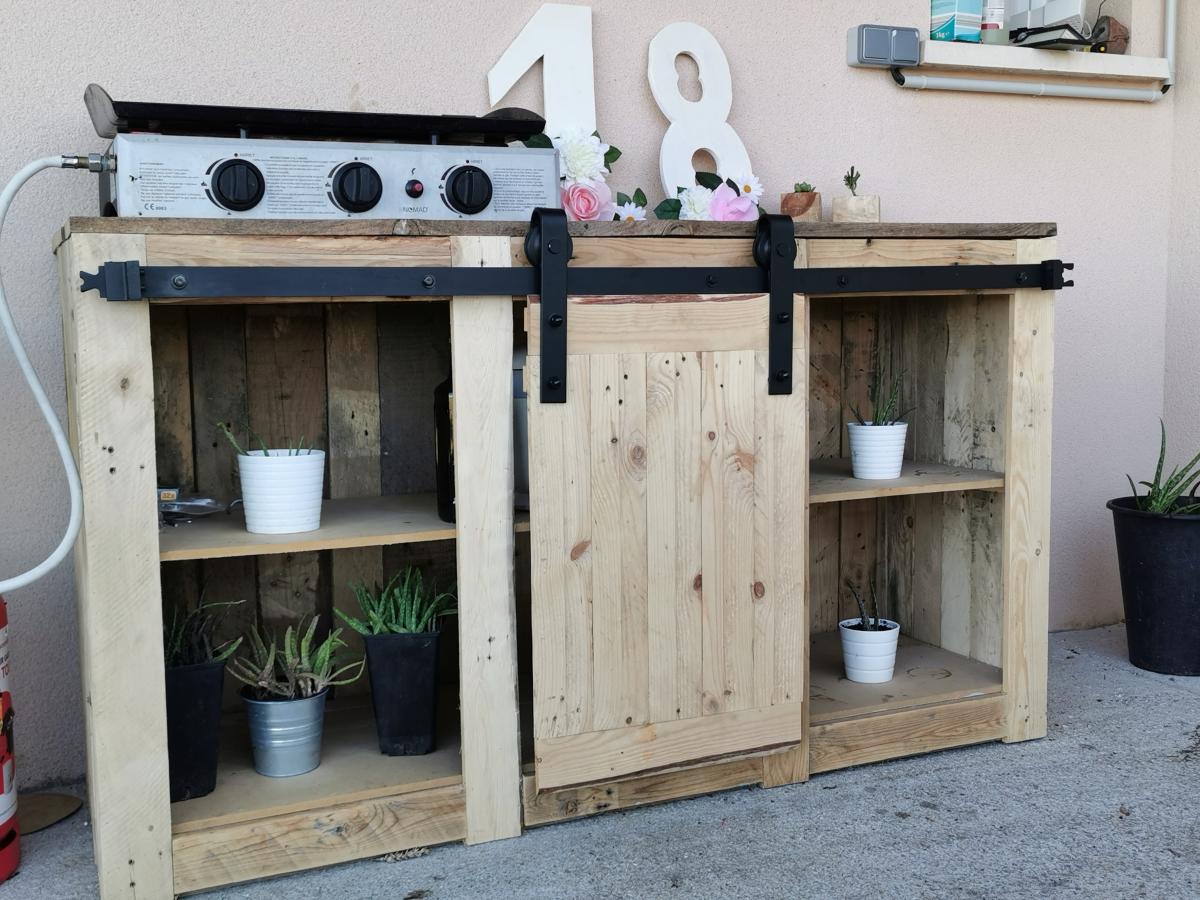
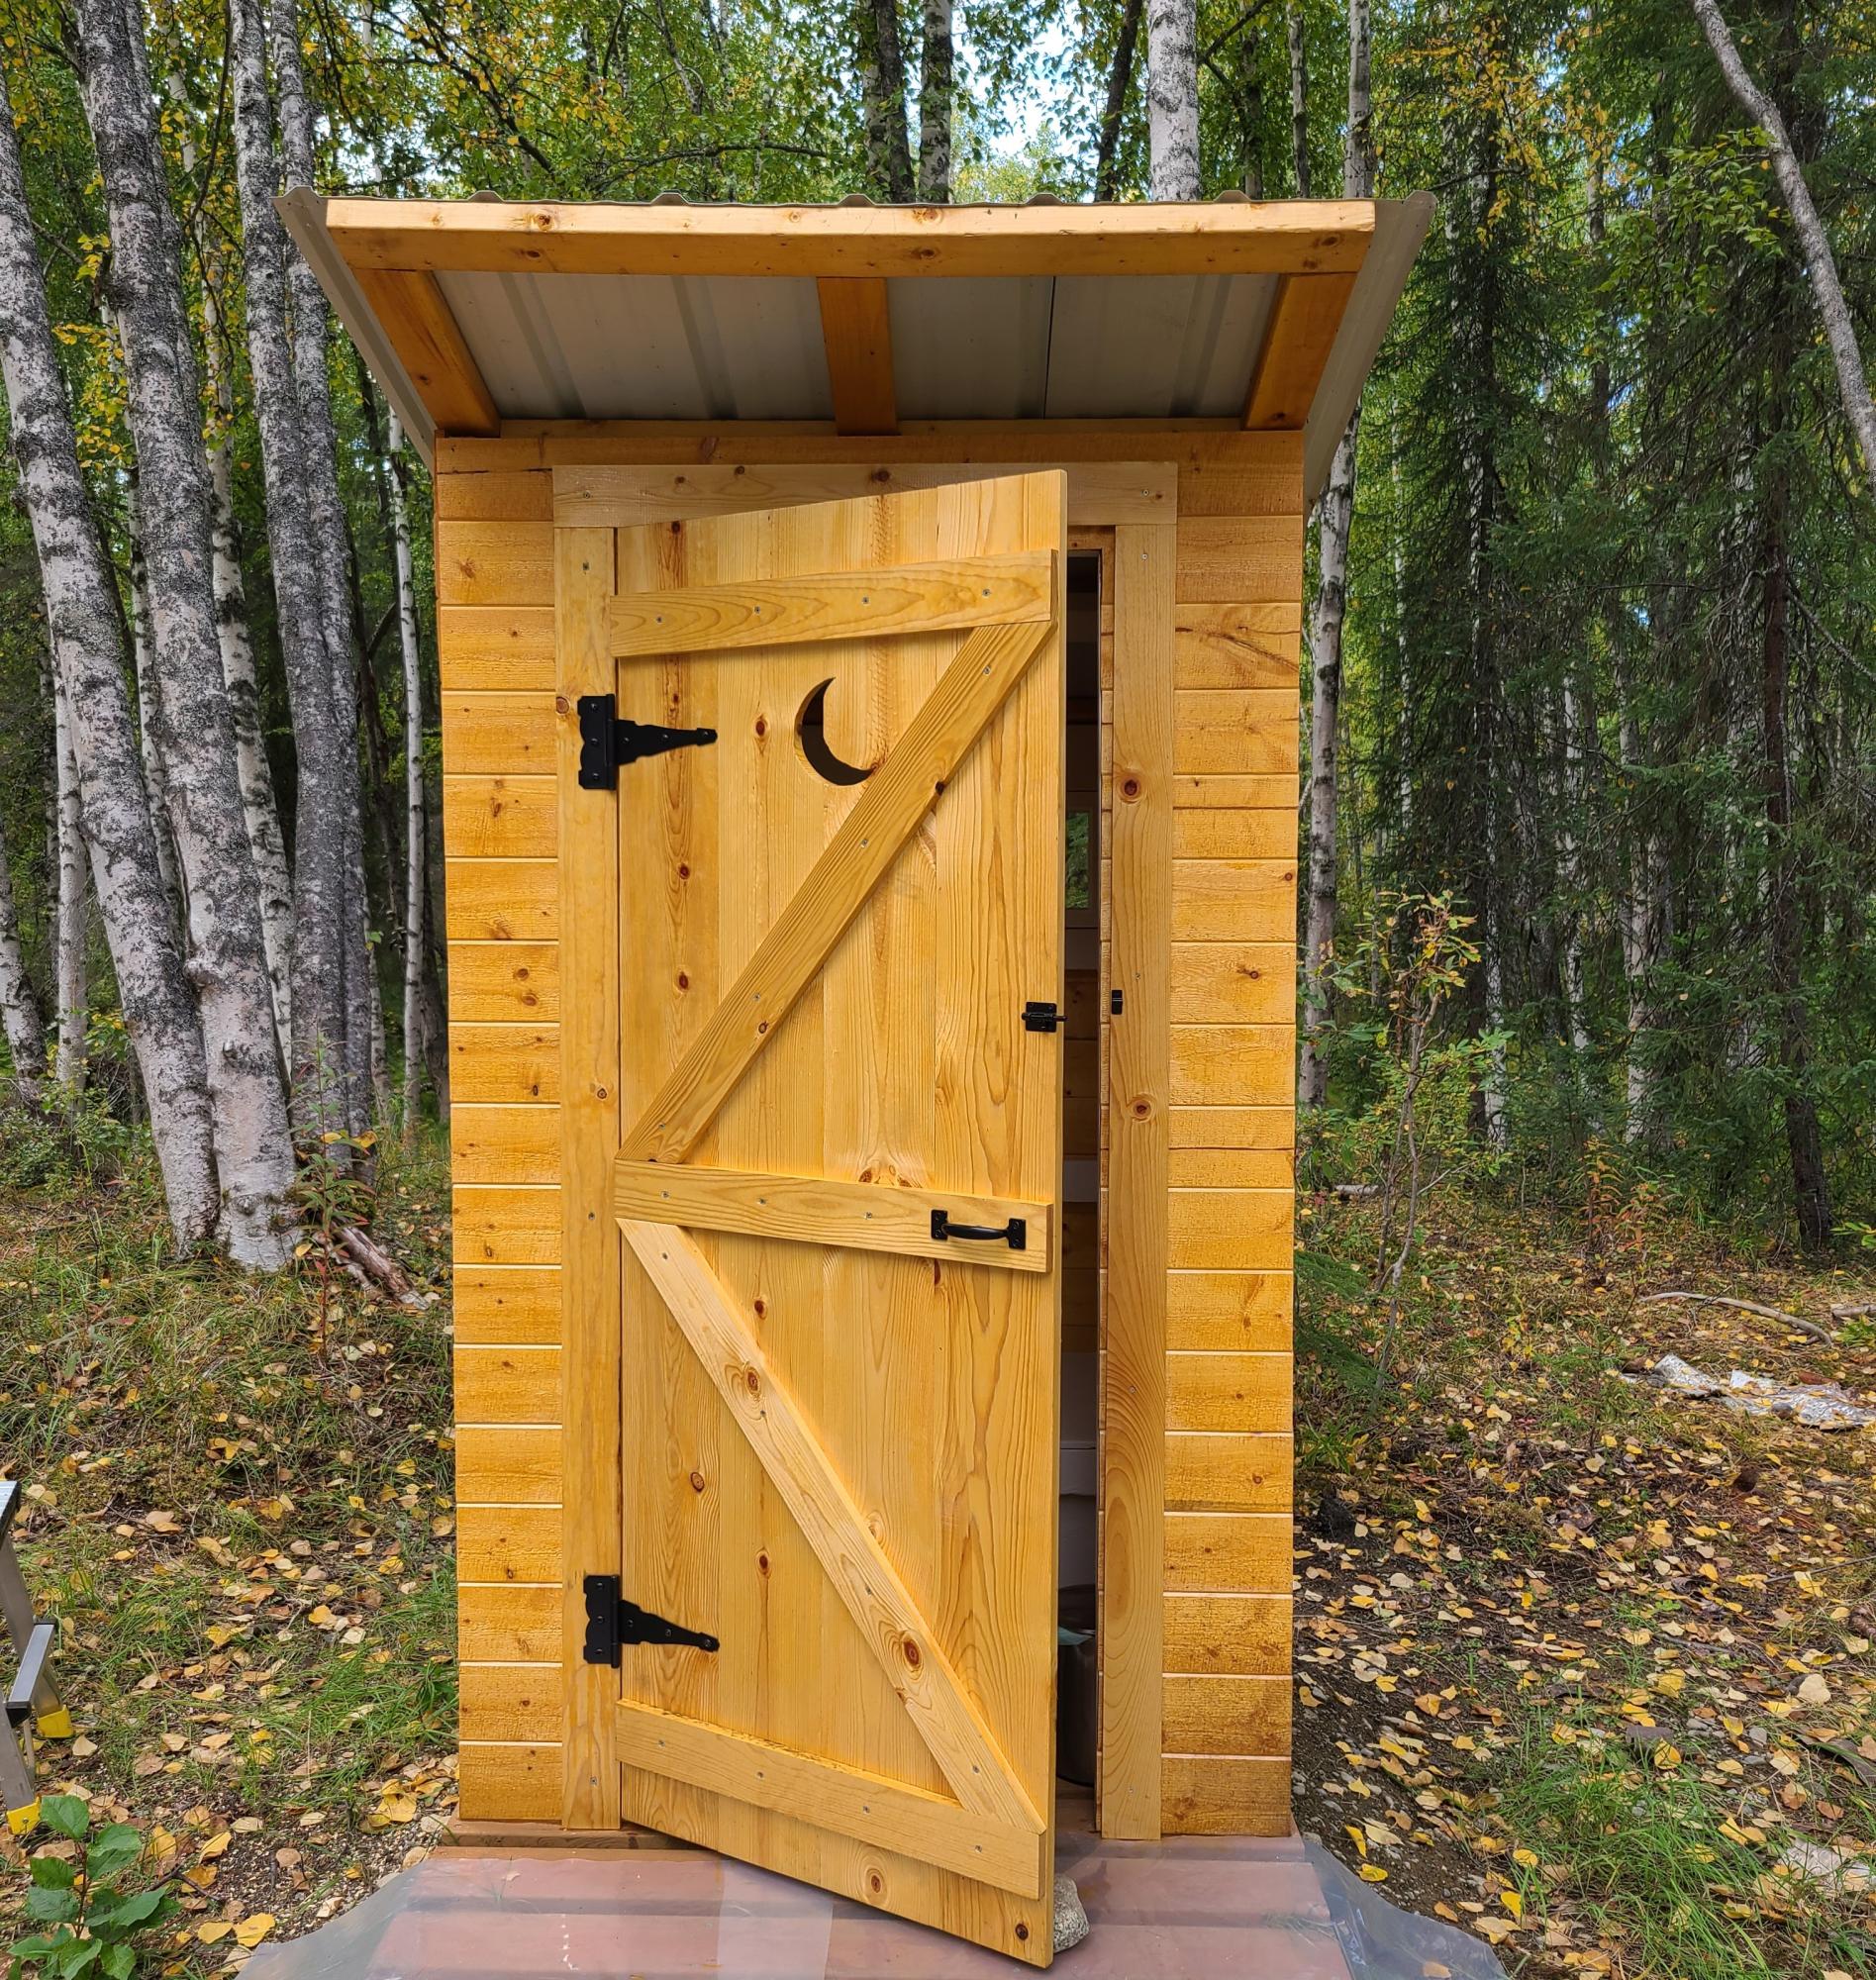
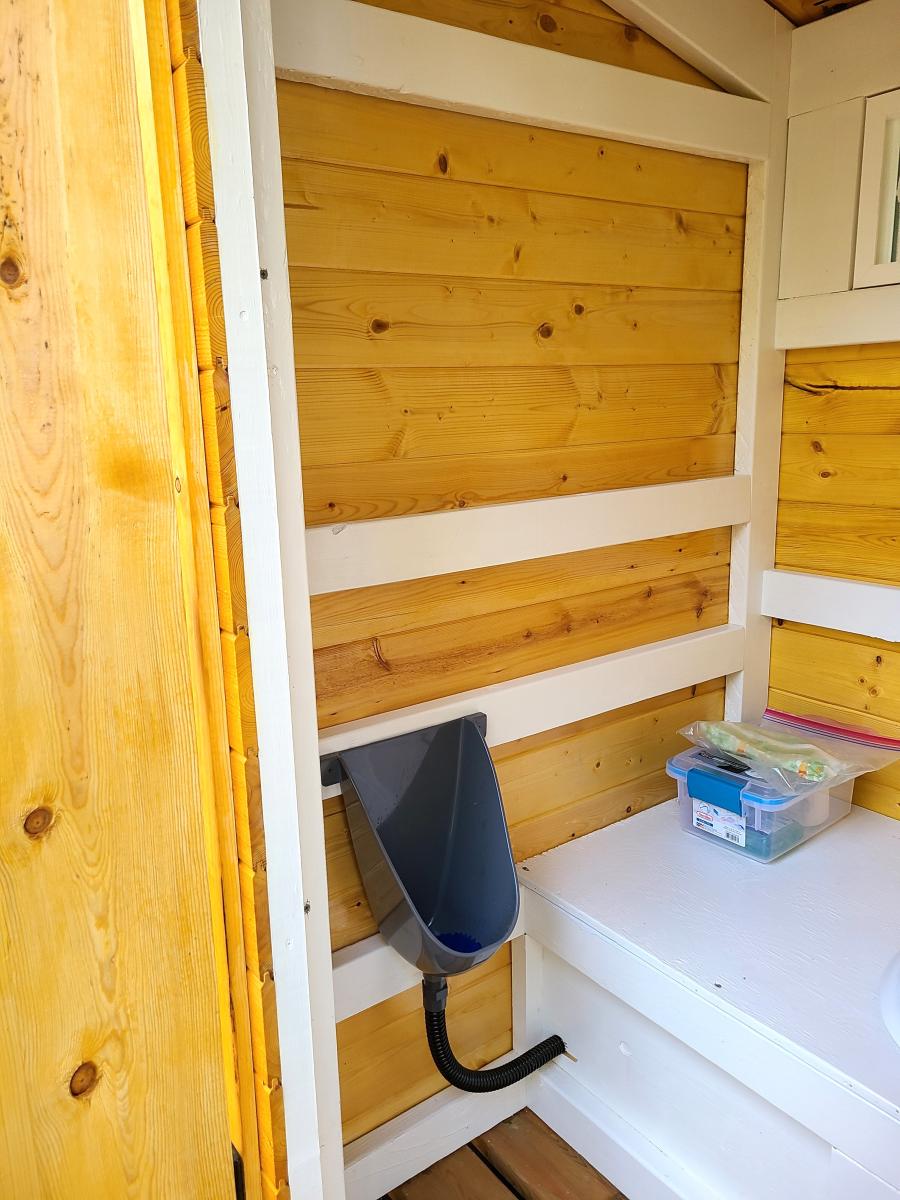
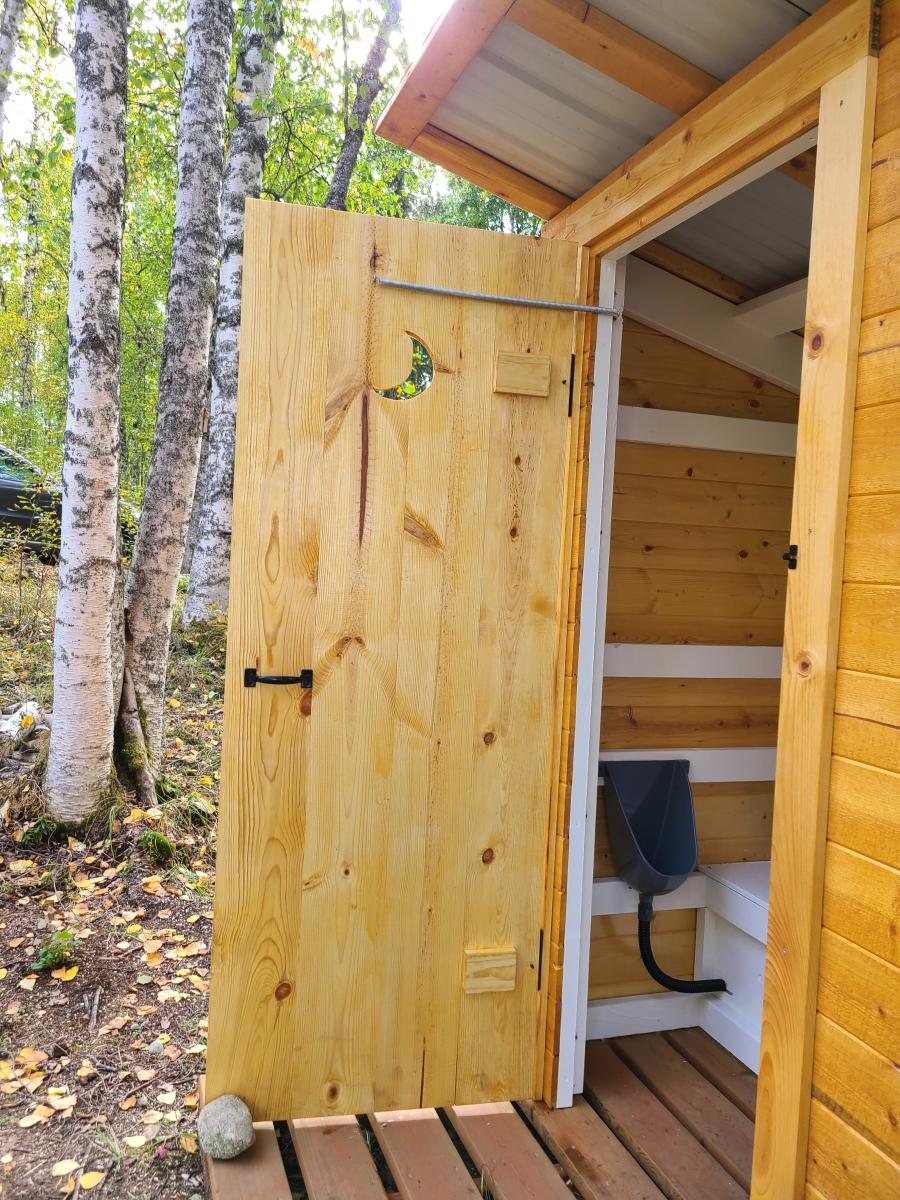
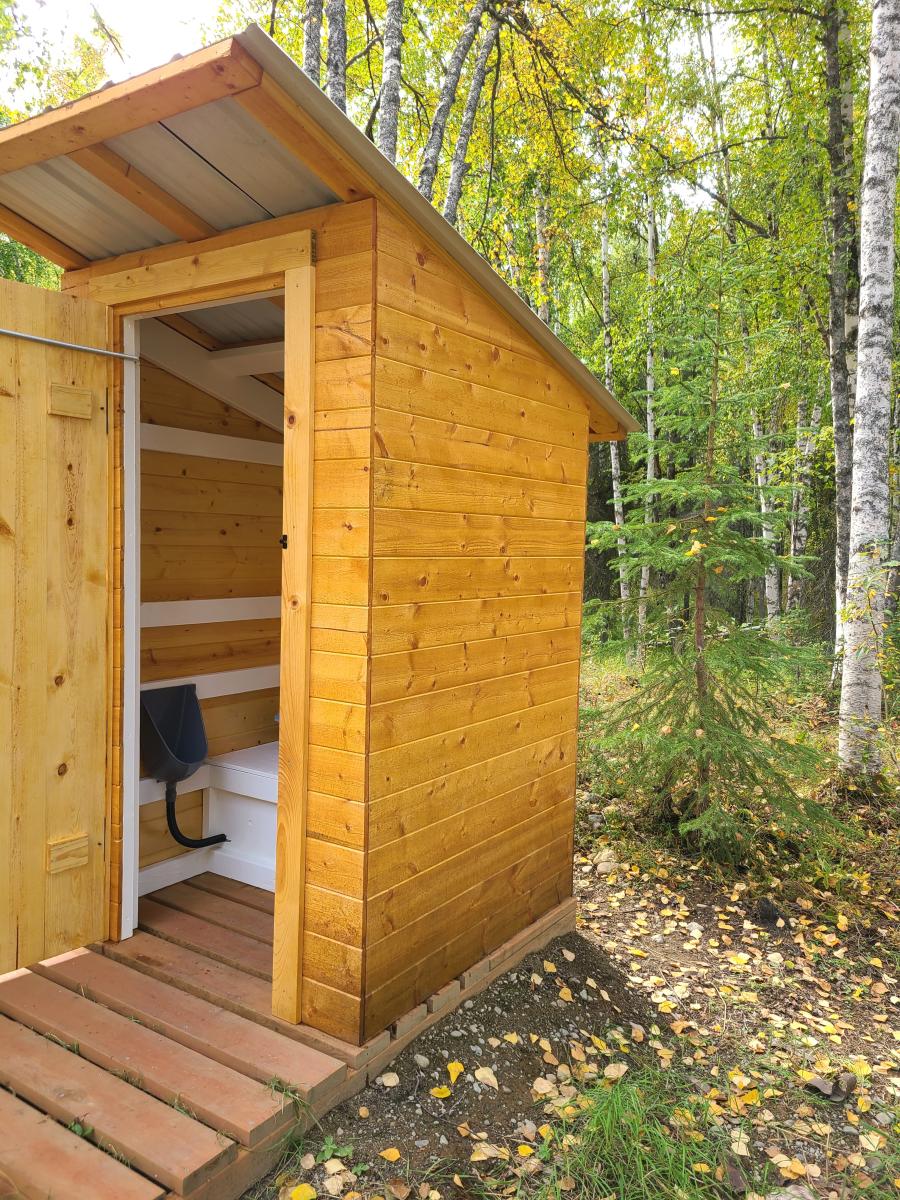
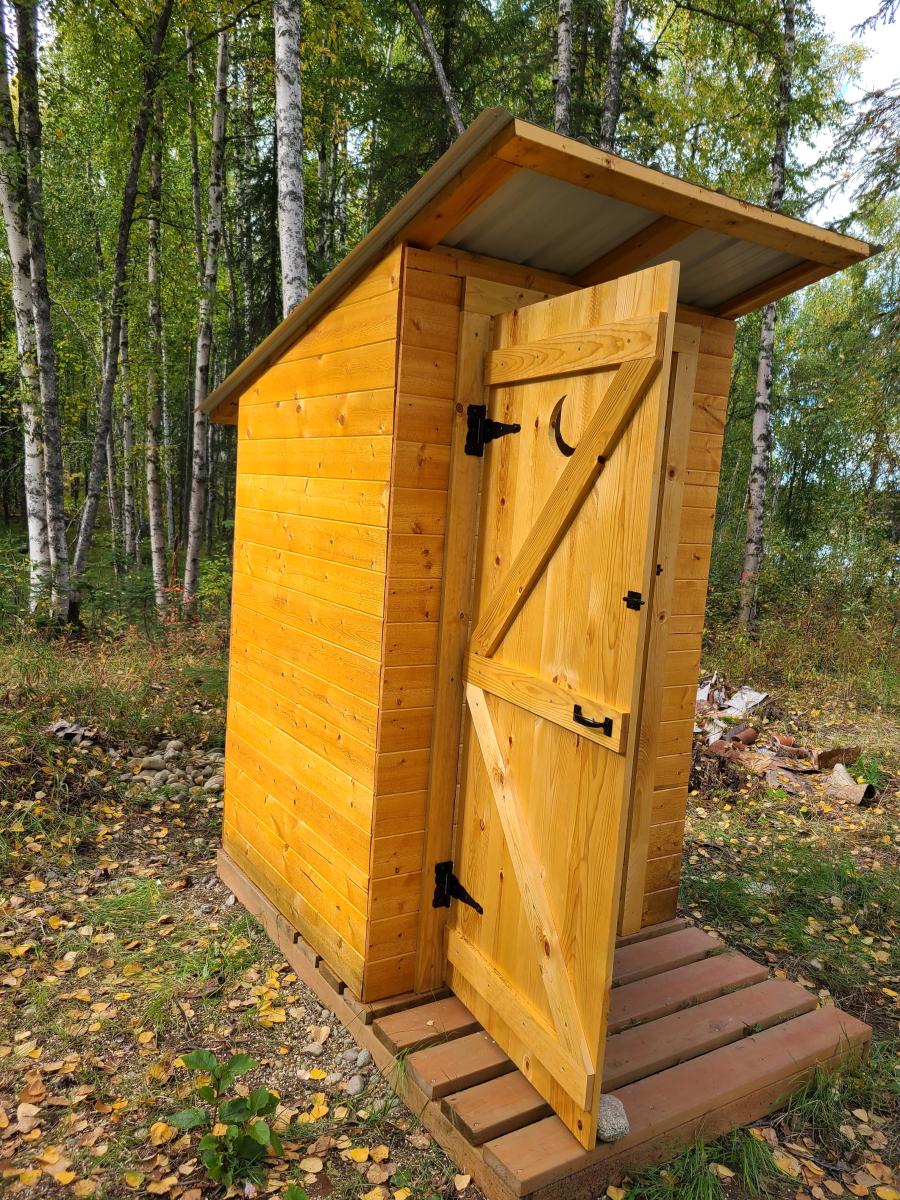
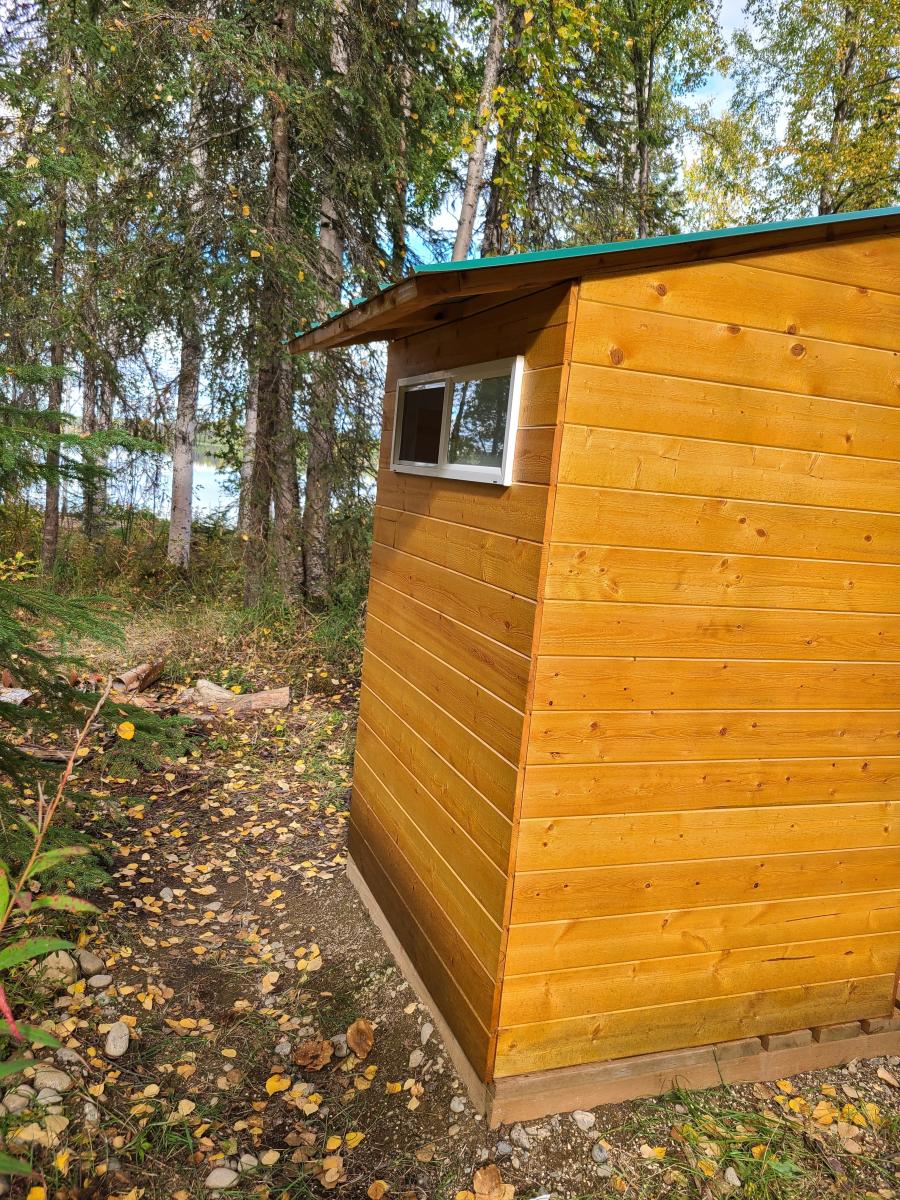
We took the Simple Outhouse plans and built what my 10 year old dubbed a "luxurious" outhouse for our property in Willow, AK. Slight modification to the door and roof, and we added a frosted window in the back. Love how it turned out!
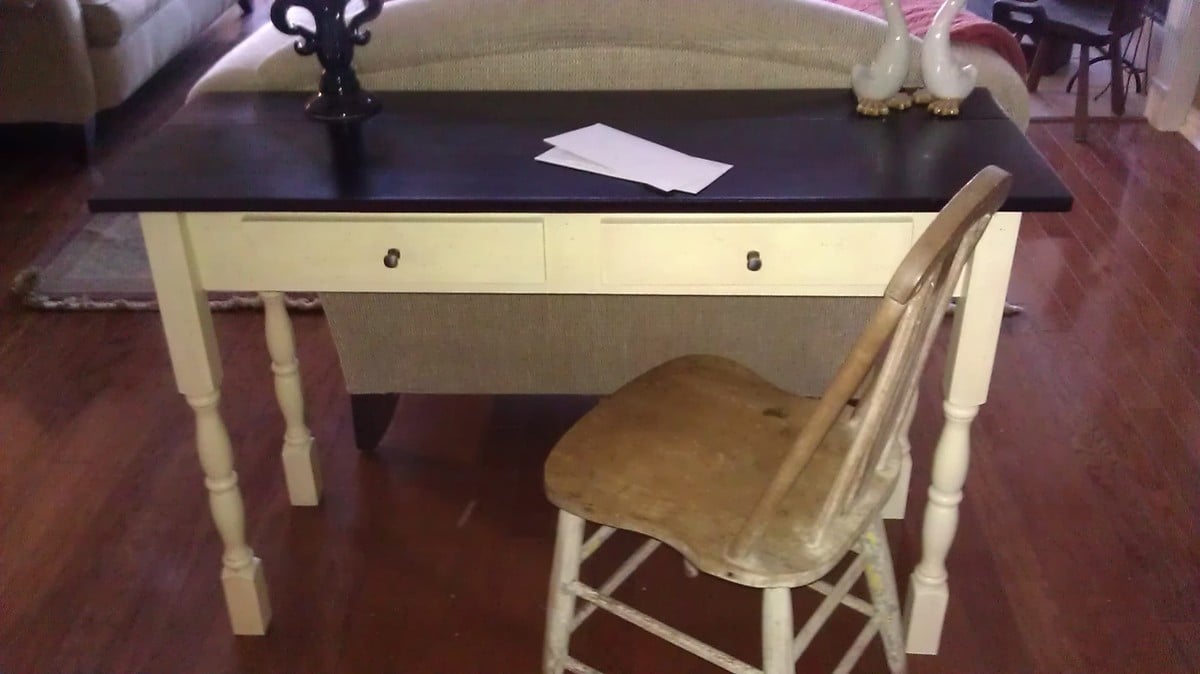
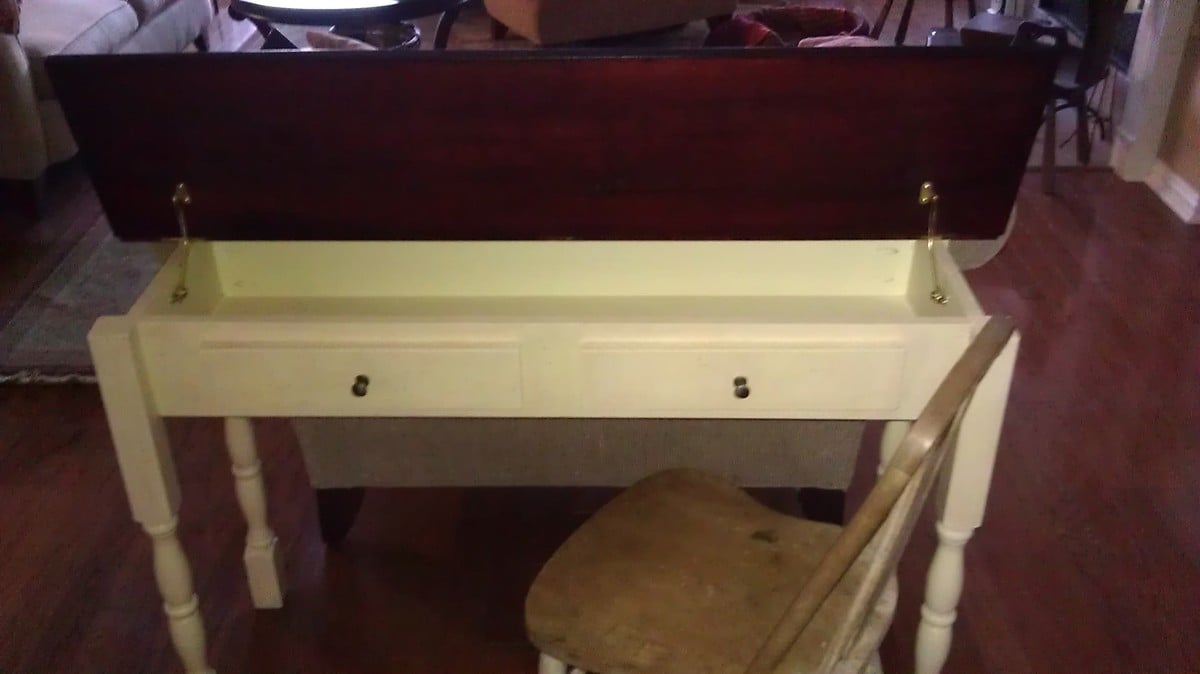
What a fantastic fun project. I spent more time on the finish than I did building this piece. I used outdoor rail posts for my legs because it's all I could find. These rails were larger than the 2x2 required so the back top board had to be a 1x6 to accommodate for this size leg. Besides the narrow hinges I also used some supports under the top so the top would stay up when opened. I didn't want any tiny fingers getting smashed.
I am thinking of doing this one again but altering it to be a sewing machine table. I'll post a picture if I am successful.
Thank so much for the fun project.
Janet
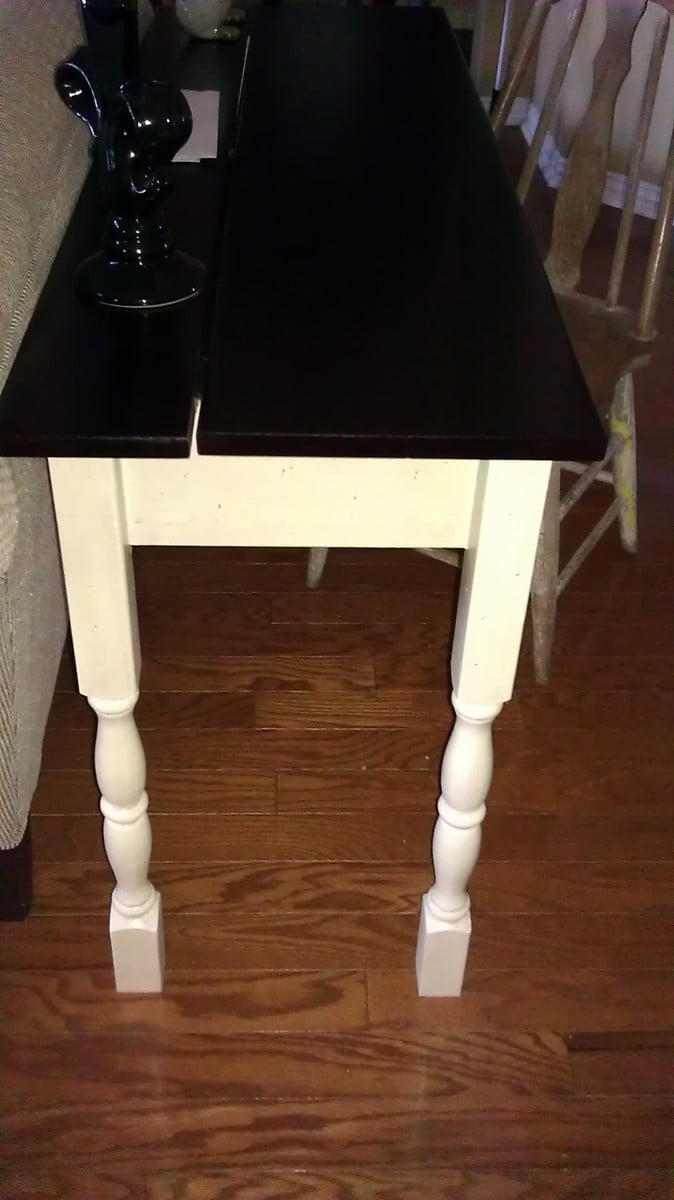
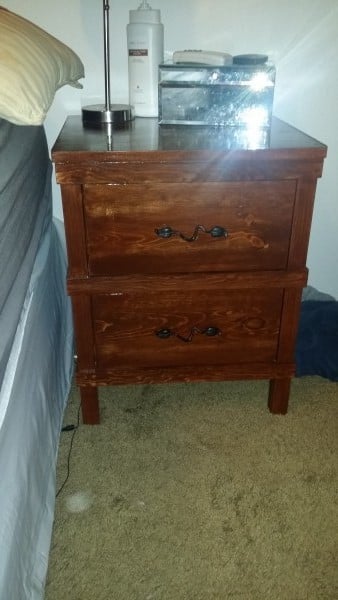
This piece came out beautifully! Took all of 6 hours to complete it. I used pine on this project.
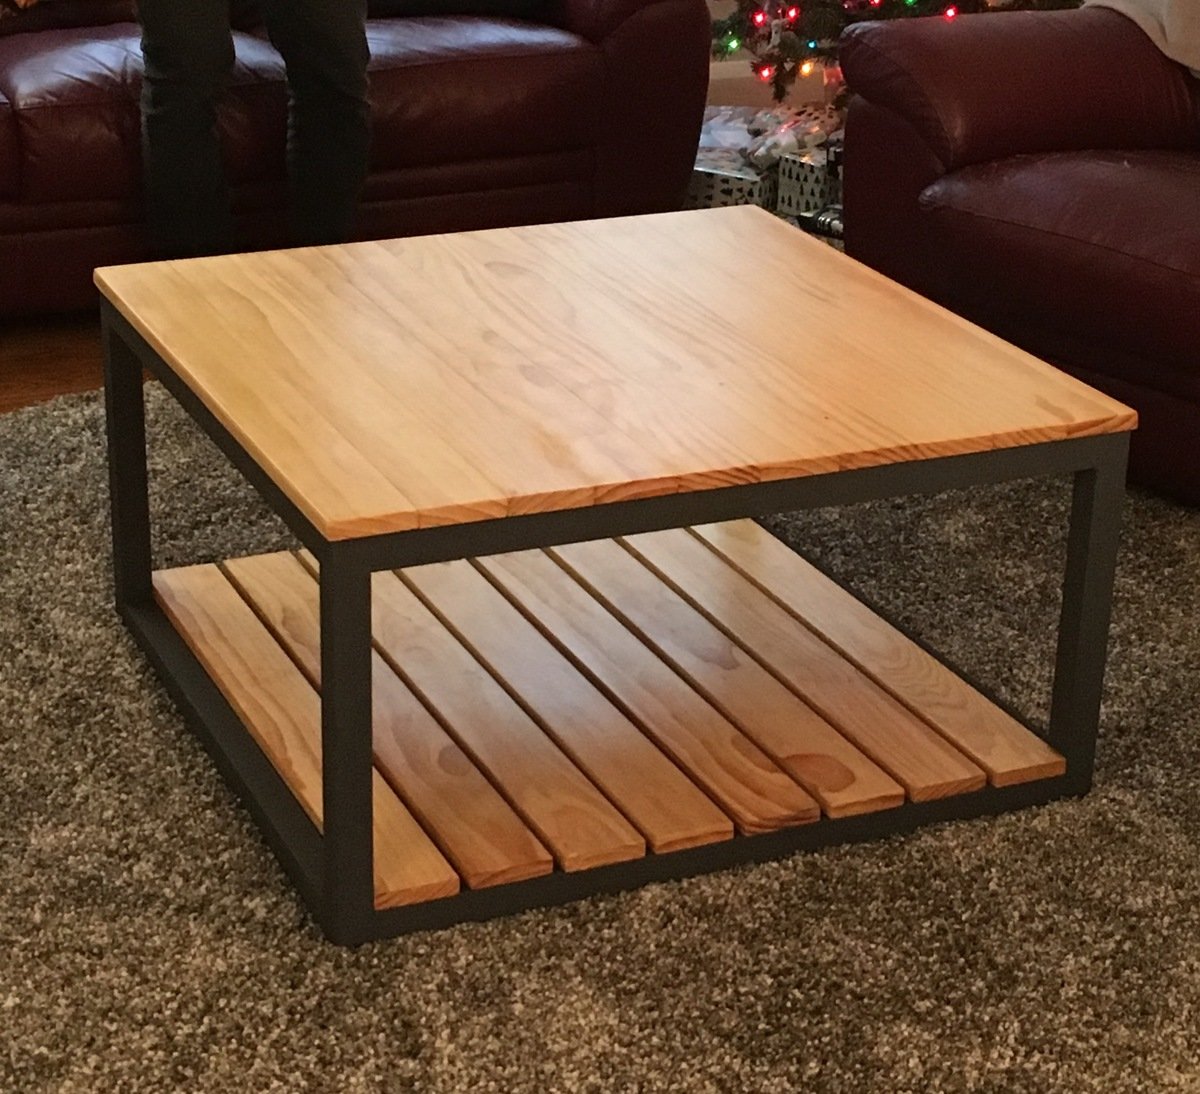
Our first project!
We used the "Industrial Style Coffee Table as seen on DIY Network" plans and simply added a bottom shelf. This required an extra 2x2 bracer (same cut as top bracer) and 8 more 1x4s, cut slightly smaller than the top 1x4s in order to have them sit flush with the bottom 2x2s. The table is all pine.
We spaced the bottom shelf boards roughly a half inch apart (give or take - it's "rustic"!) and screwed in from the bottom just like the top boards.
On the top shelf, we used 3 coats of Minwax Natural stain, and followed up with 3 coats of Minwax Satin Poly. We sanded these after attaching to the frame in order to achieve a level surface. We started with 80 grit, then 120, then 150. We then used 220 in between coats of poly. The result is a smooth, but not store-bought smooth surface, which we think works well.
We didn't spend as much time on the bottom shelf since they'll be mostly storing items, giving them just a quick 150 sand prior to 2 coats of stain and 2 coats of poly. Finally, we nailed in some plastic feet to keep it about a half inch off the floor.
All in all, being our first project, and going beyond what the original plans called for, it took us a few weeks to complete, working on it mostly on weekends and here and there in the evenings after work. We love the finished project and it works really well in our living room!
-Dan and Beth
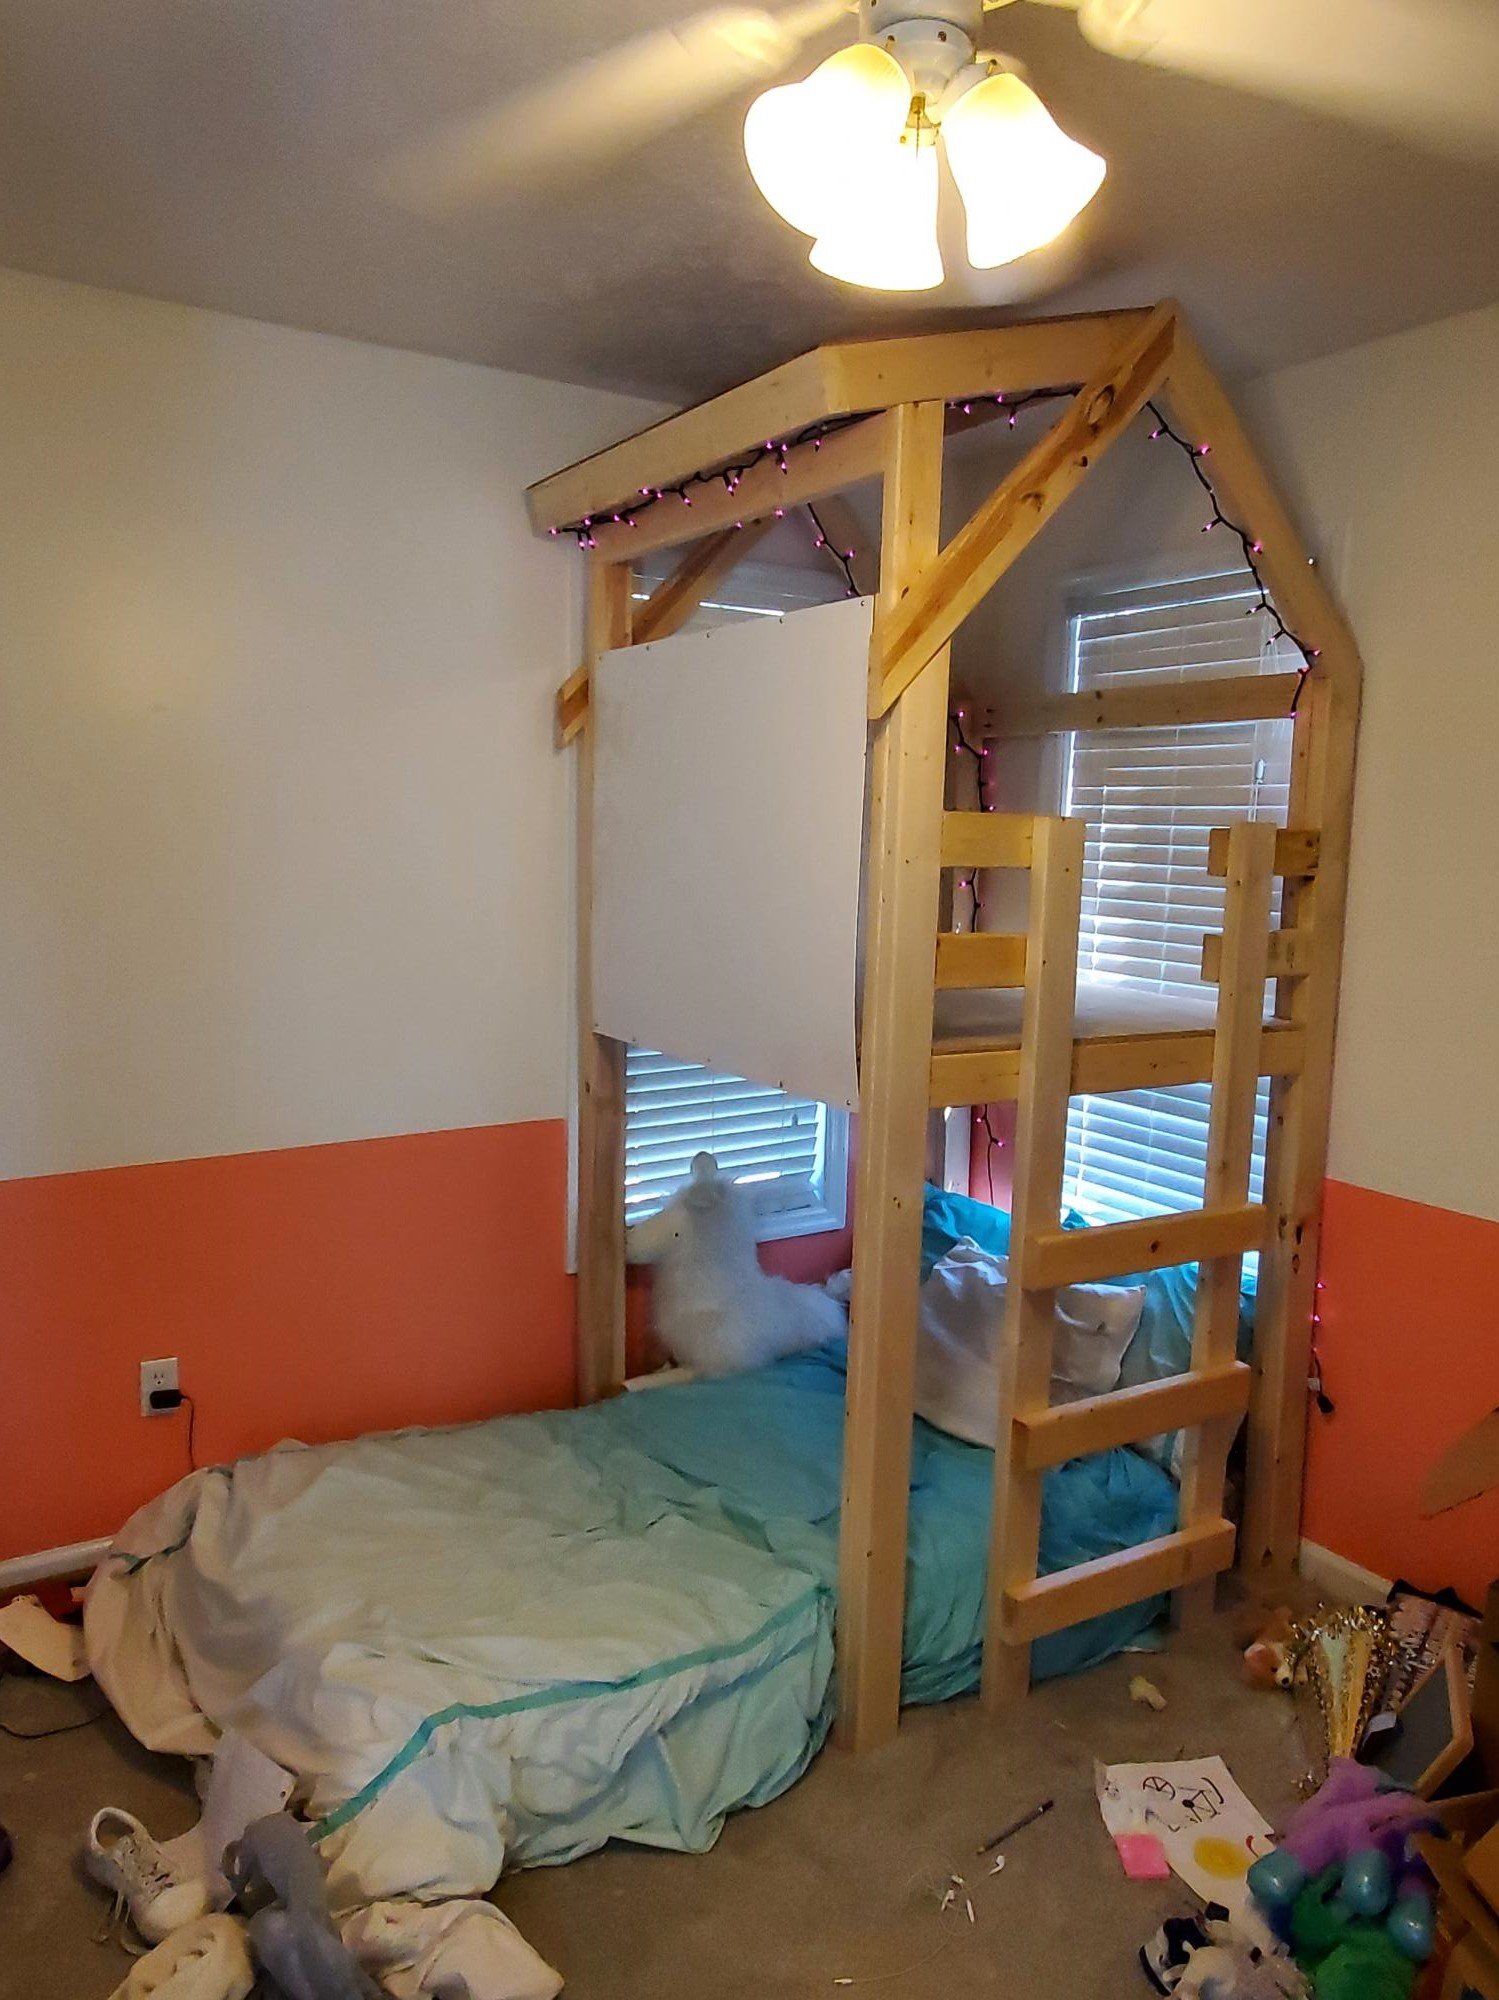
The directions on this aren't very clear and there's a few that I think are off all together. It came together fine with some adjustments and the kid like it so alls well that ends well, I guess.
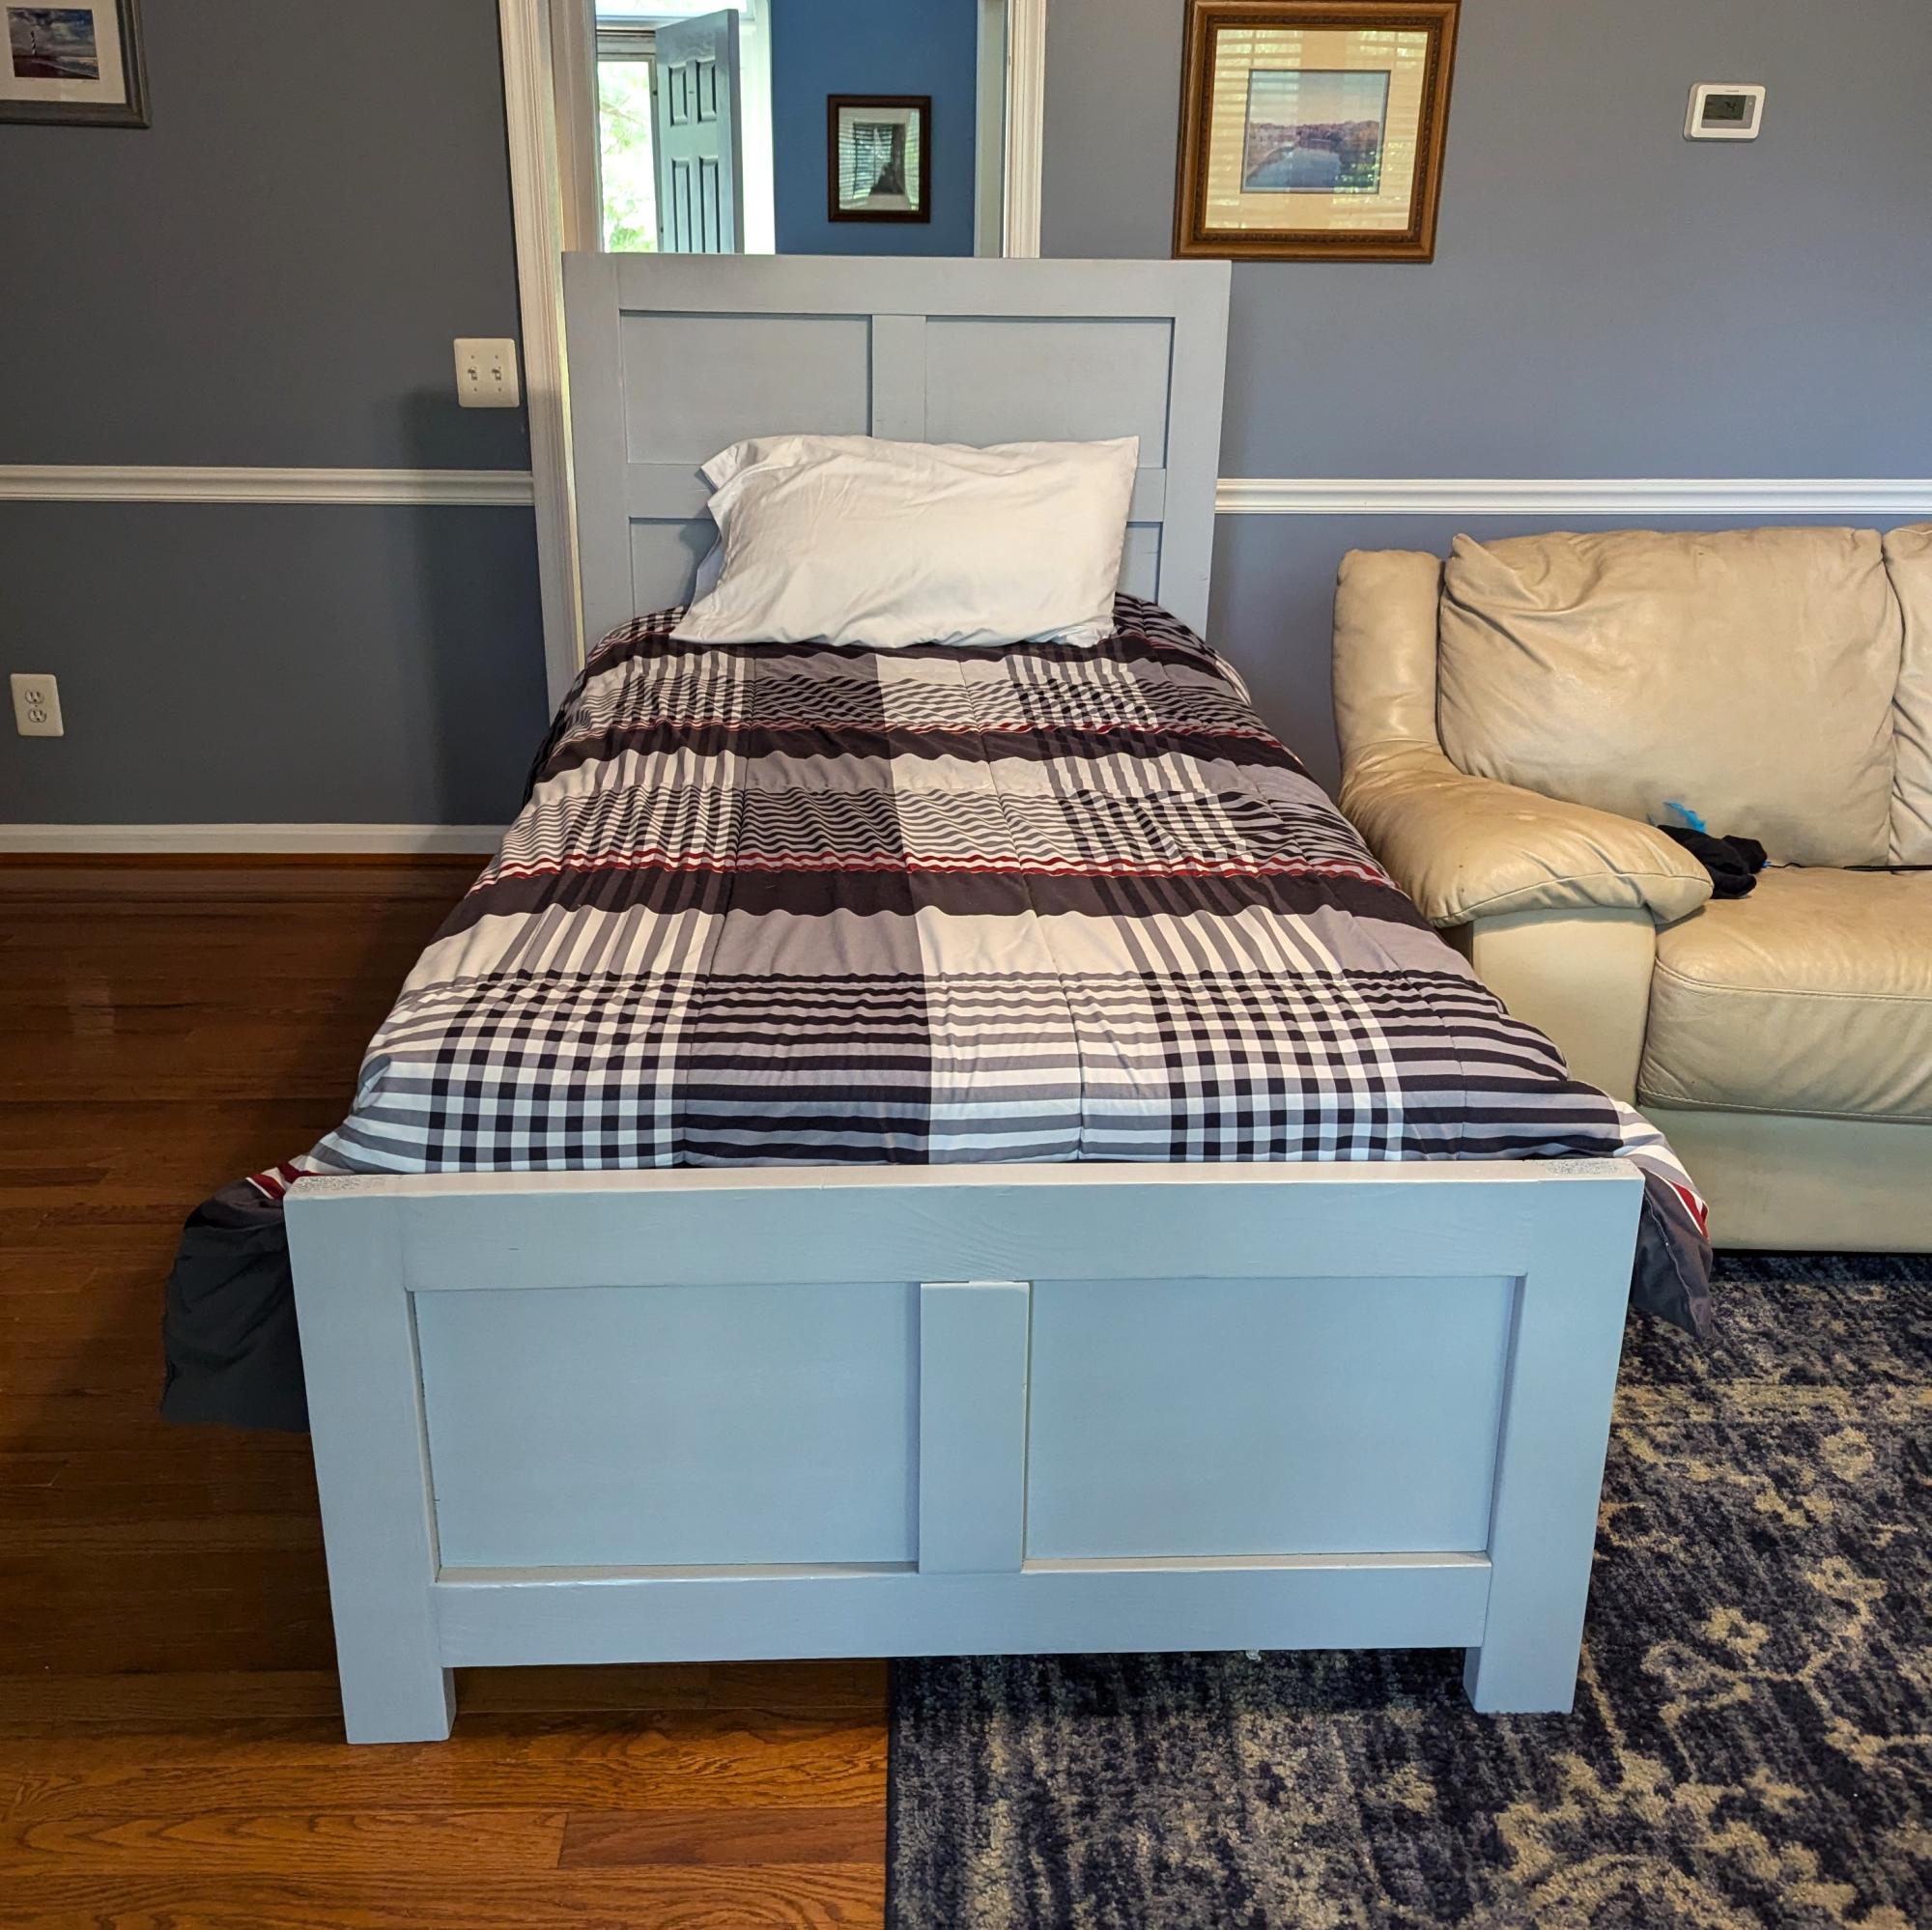
Panel Bed - SUPER easy build! I used bed brackets instead of screwing through from the back side so it can be assembled/disassembled easier. - Bonnie
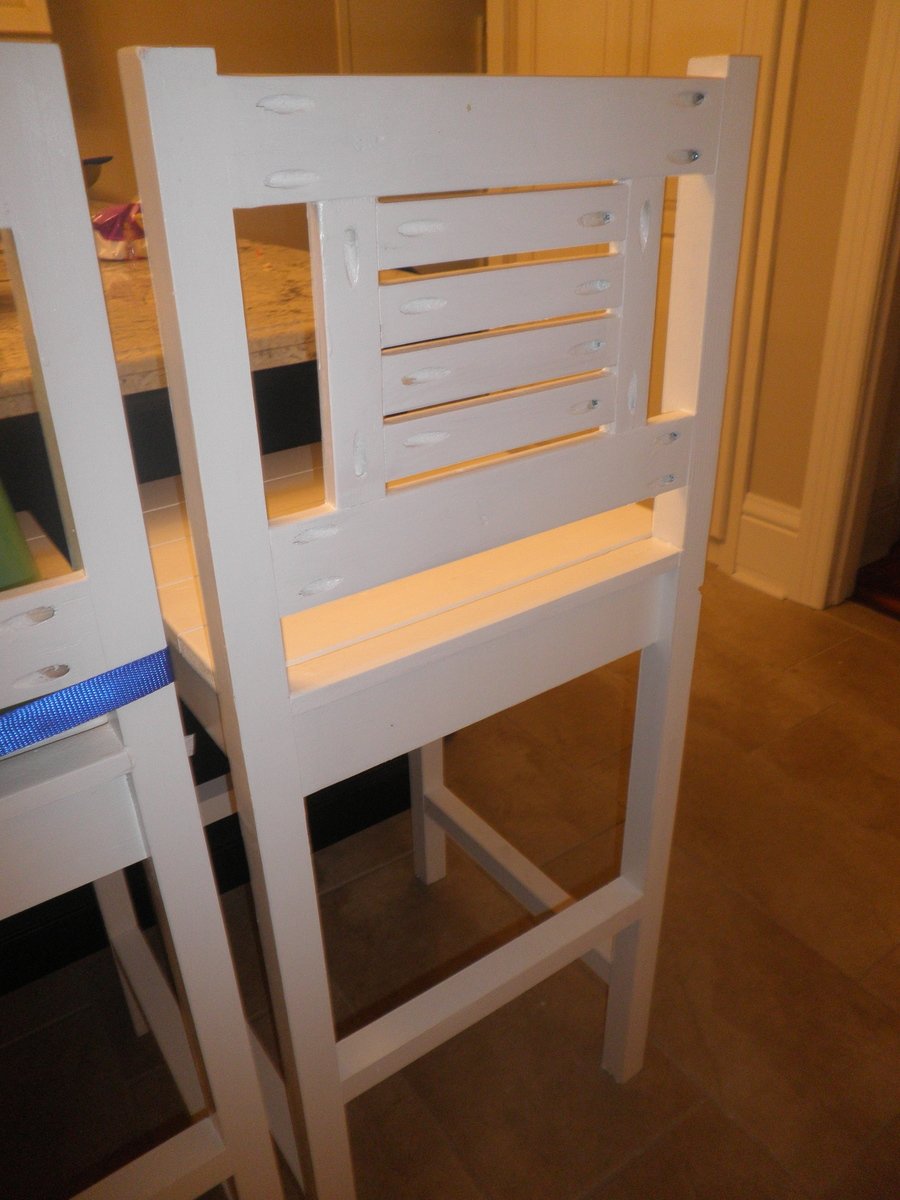
Vintage bars stools made for our kids ages 4.5,2.5, 1 (hence the reason they are high) the kids love them and I love the price tag! Around $15-20 each to make.
I left off the decorative corners.
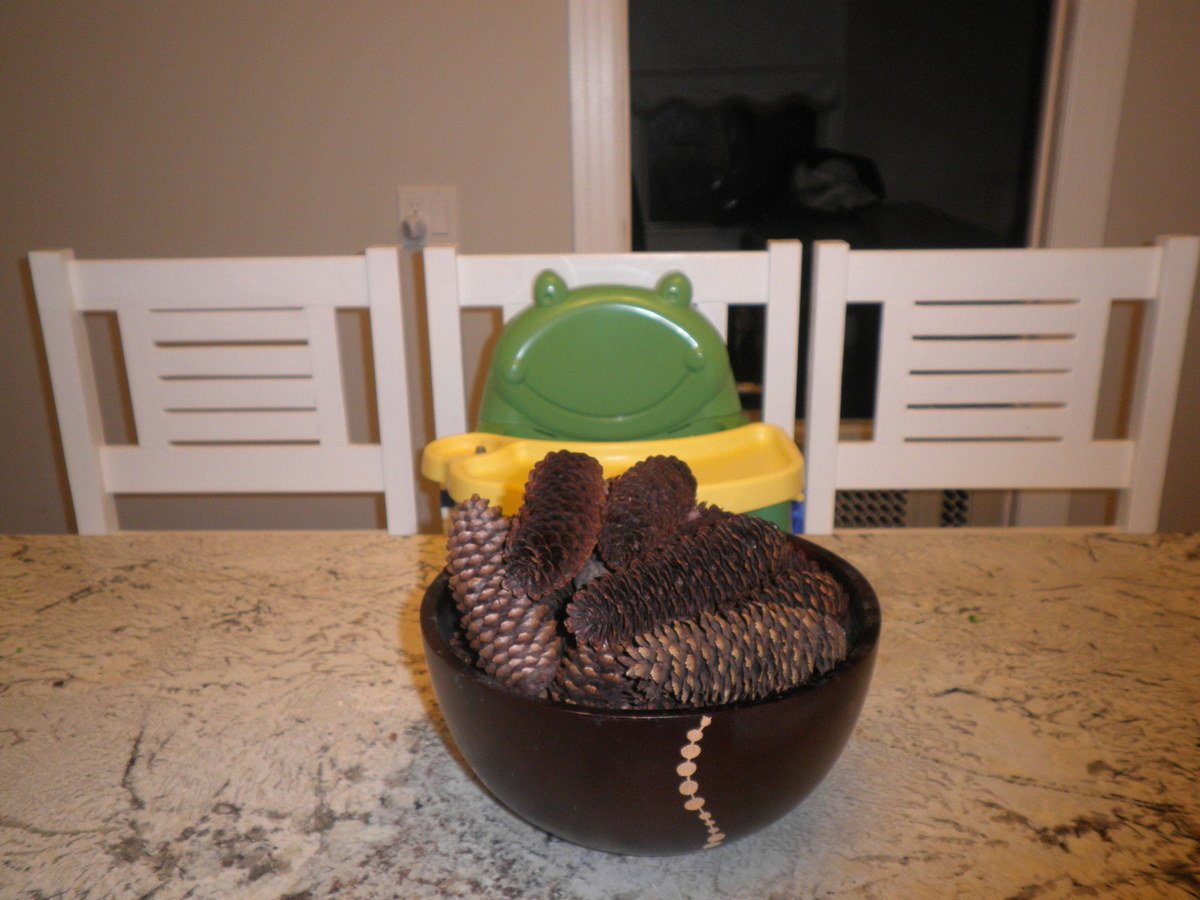
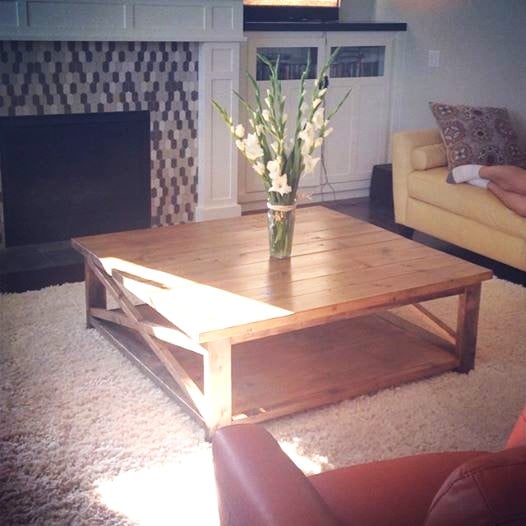
I loved this table so much but needed it to be a lot larger. It's 9 2x6s wide X 54in.There are also 4 1x12s as the bottom shelf. I used the steel wool and vinegar as a finish and had to paint on some black tea also to get it to change color and then finished it with a few coats of poly. This table fits so great in my space I am super happy I found this site!
Weekend project worked out well. Also made the tall bar stools also found on Ana White! Topped with a granite countertop. In the middle, I went with a double trash can sliding cabinet.
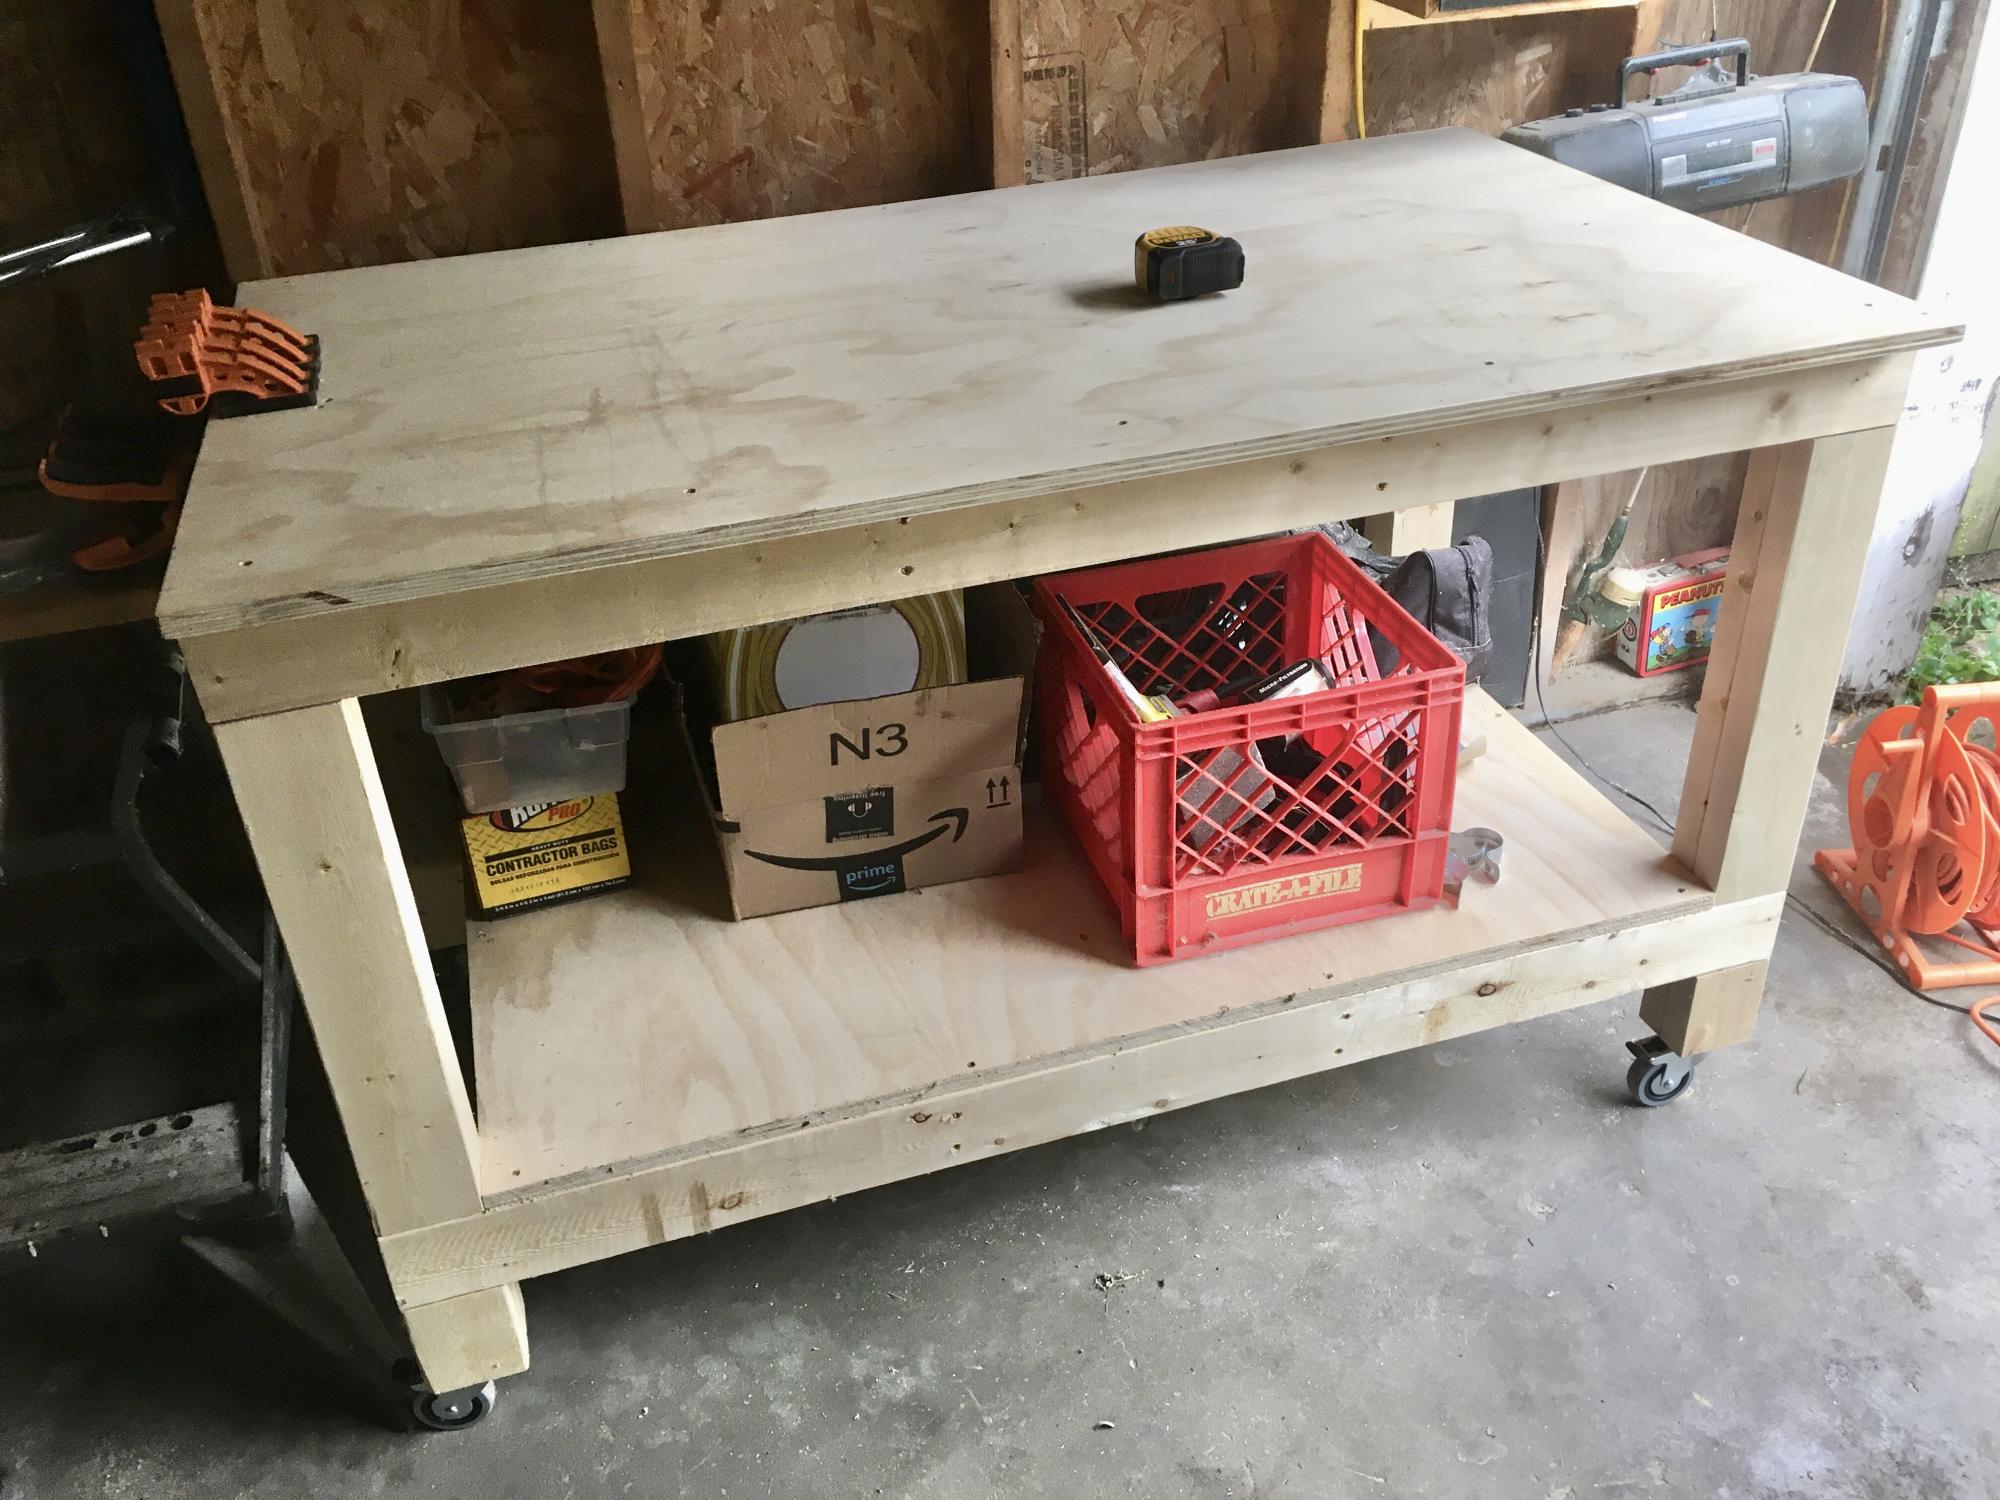
I needed a workbench and Ana's easy plans were perfect for what I needed. I have a small one-car garage that I do my projects out of. The garage also provides storage for bikes, kayaks, gardening tools, etc. I customized the dimensions a little, making the bench only 30" deep to better fit the space available, and to add wheels to be able to roll the bench out into the driveway if needed. The lower shelf provides some good storage for me as well.
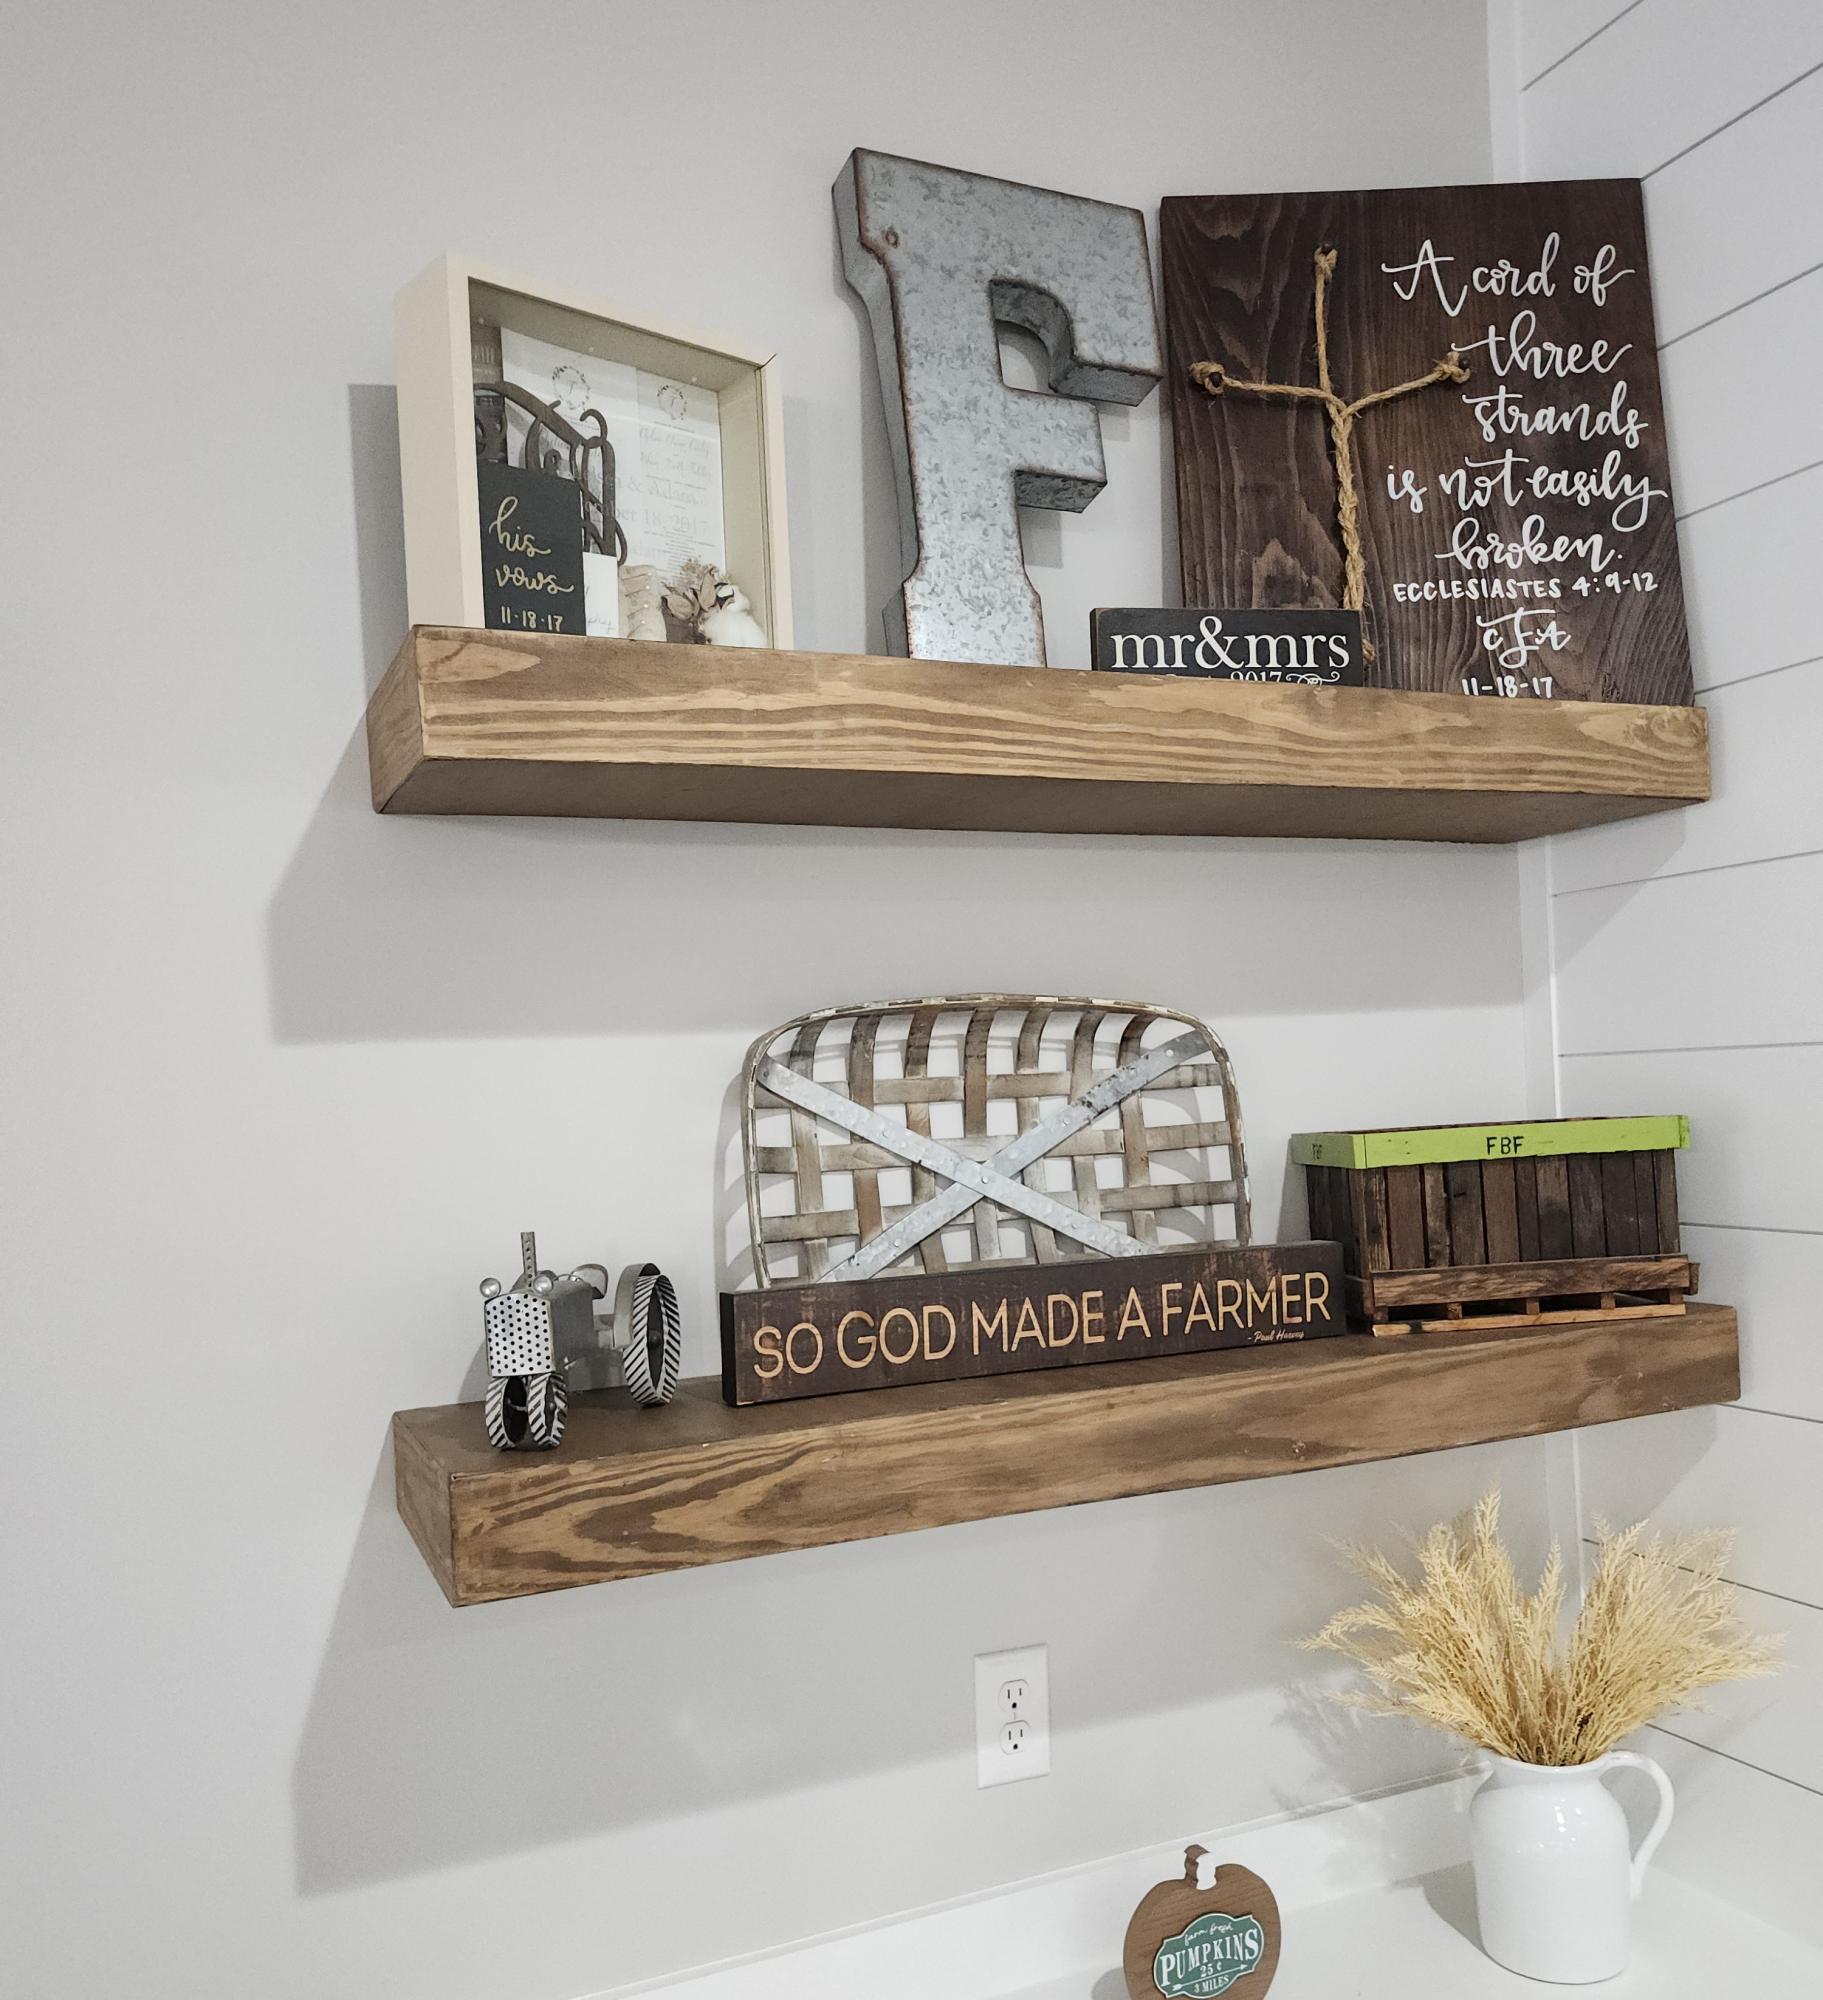
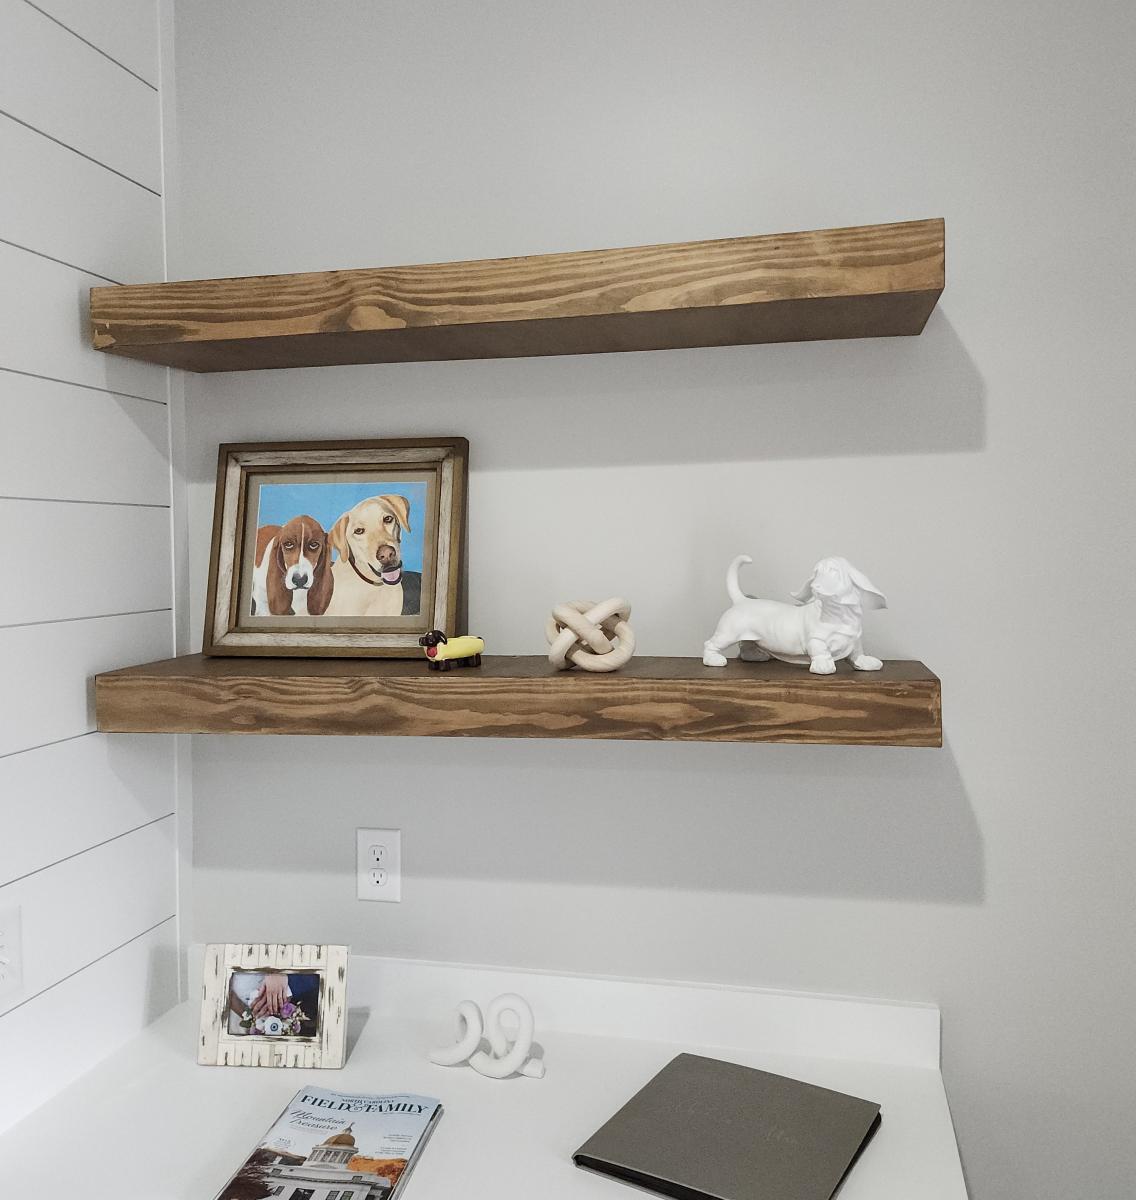
Floating shelves, used the plans Ana had with a few adjustments. - Sheila
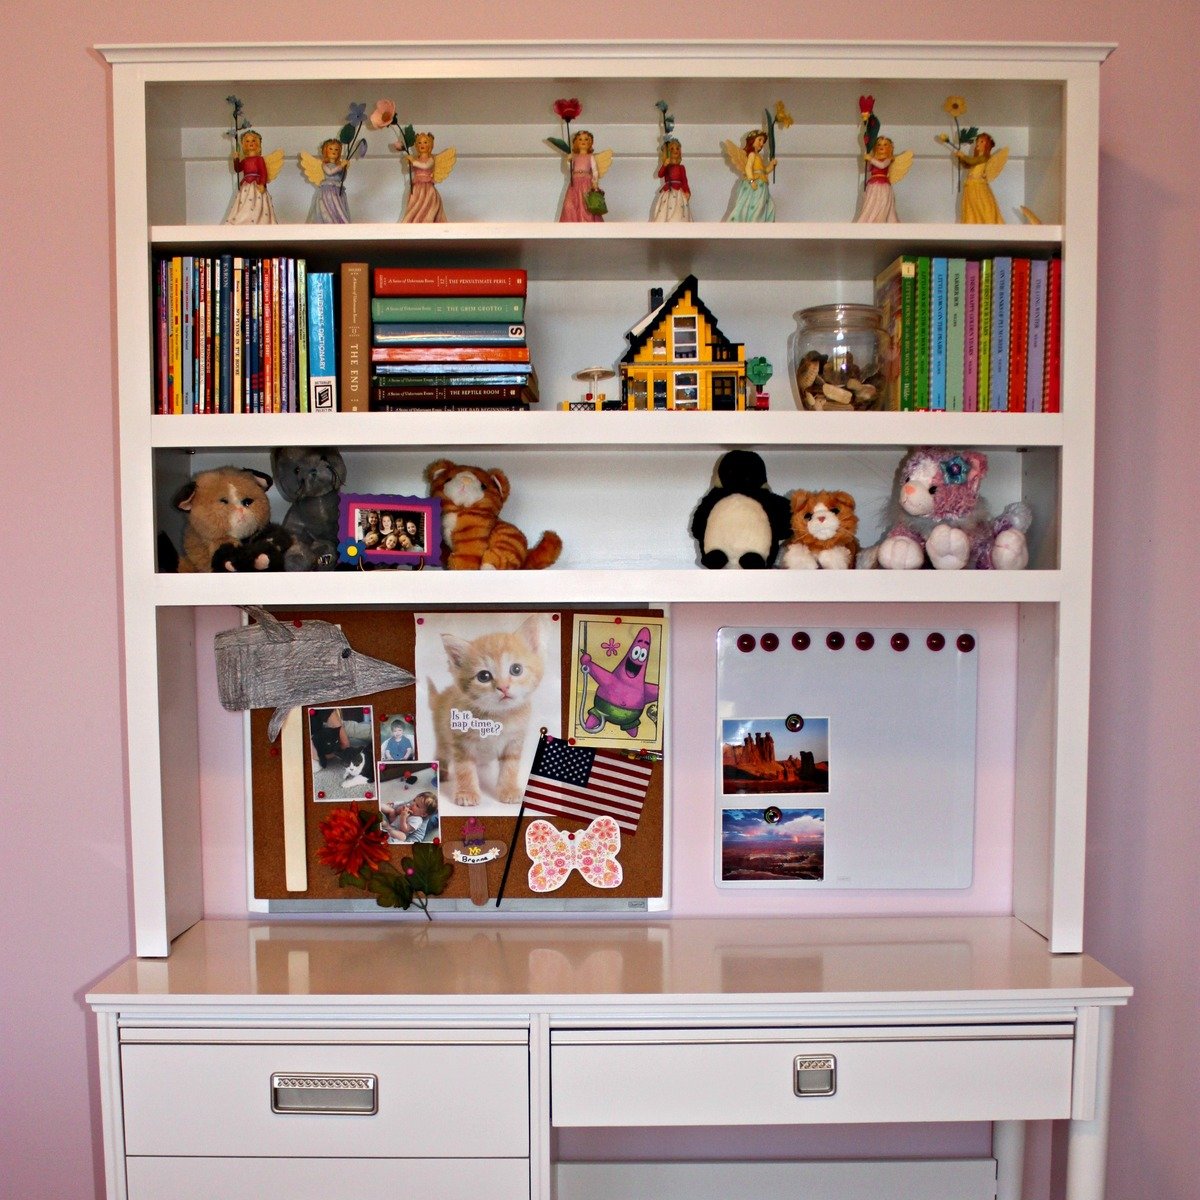
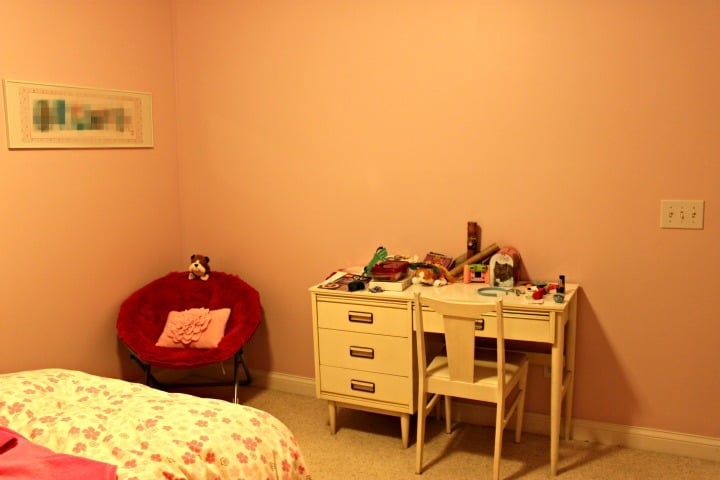
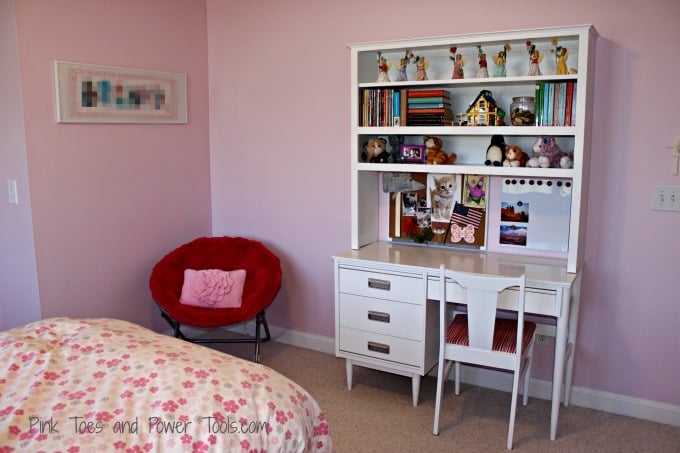
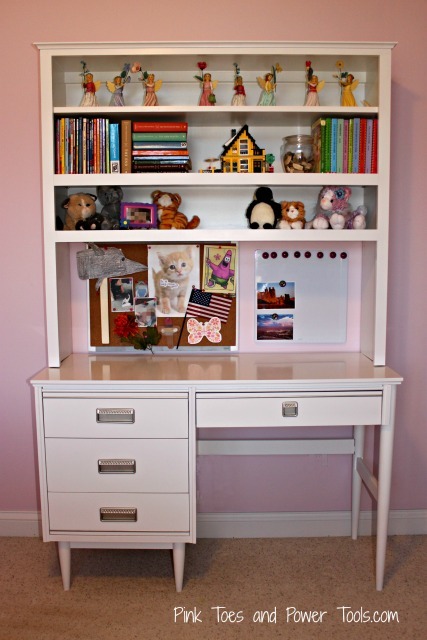
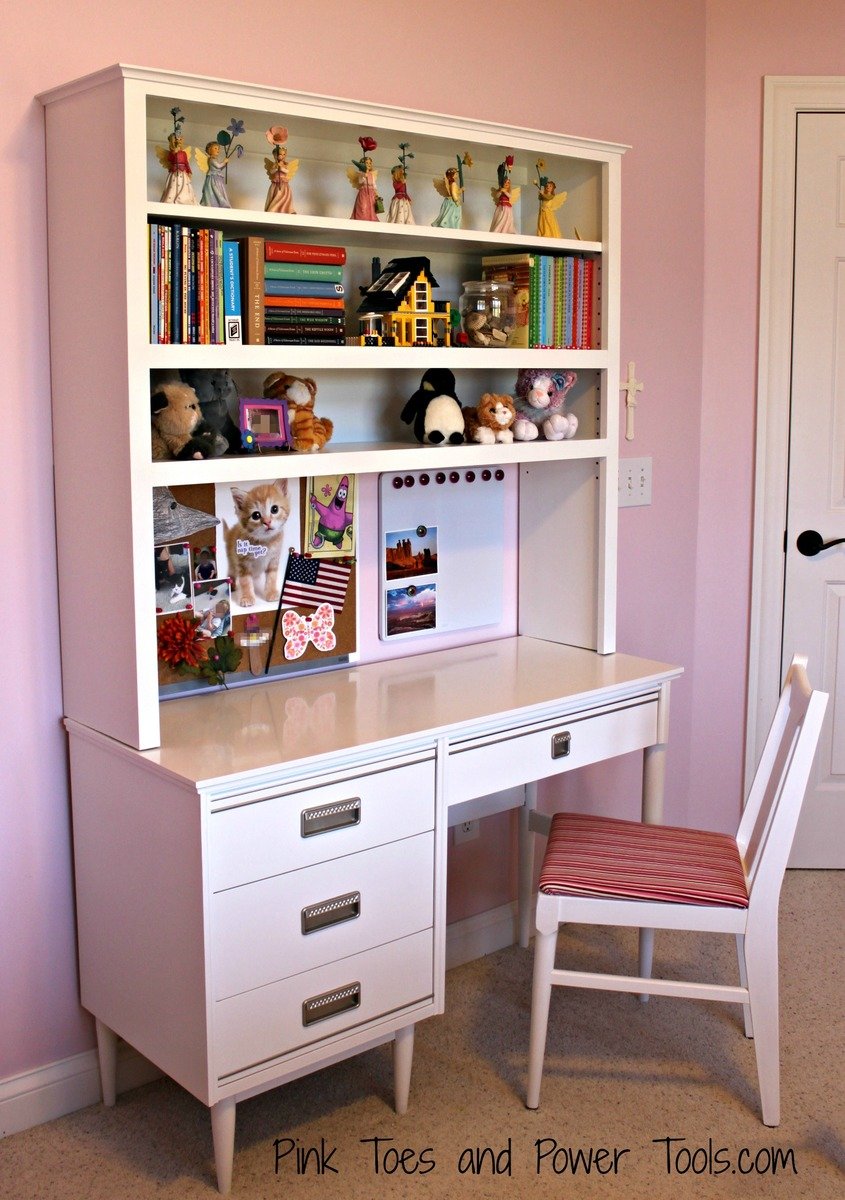
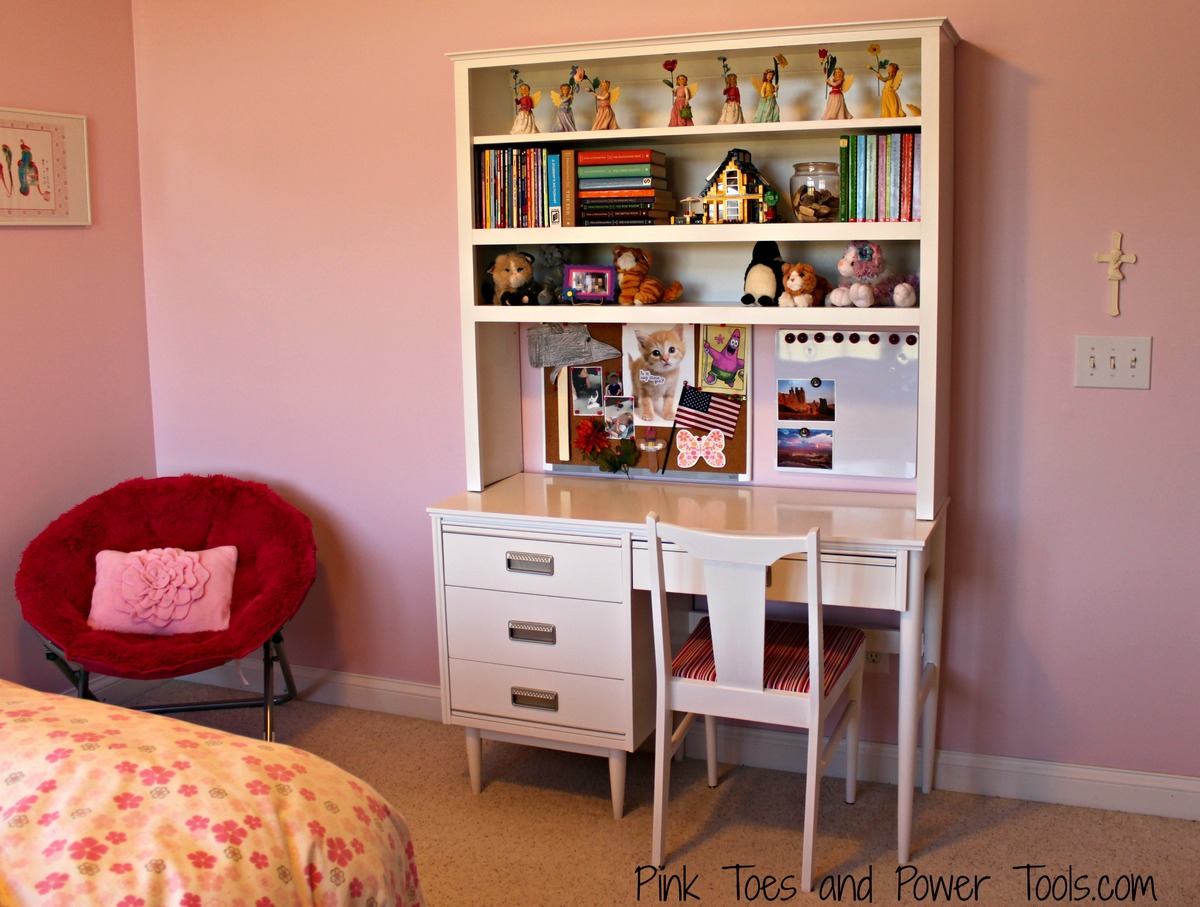
I bought a desk and chair for my daughter on Craigslist awhile back, but it did not include a hutch. I decided to add one and recently completed it...in addition to painting the desk a fresh white and then repairing the chair, painting it, and recovering the seat!
The hutch build was pretty straight forward and I used a Kreg Jig to assemble most of it. I built it to sit on the desk (not attached) but I included a cleat at the top to screw a couple of 3" screws into the wall studs to keep it in its place. It's nice and sturdy. I plan to add some puck lights under the bottom shelf soon.
The Lego house isn't quite up to Momplex standards :)
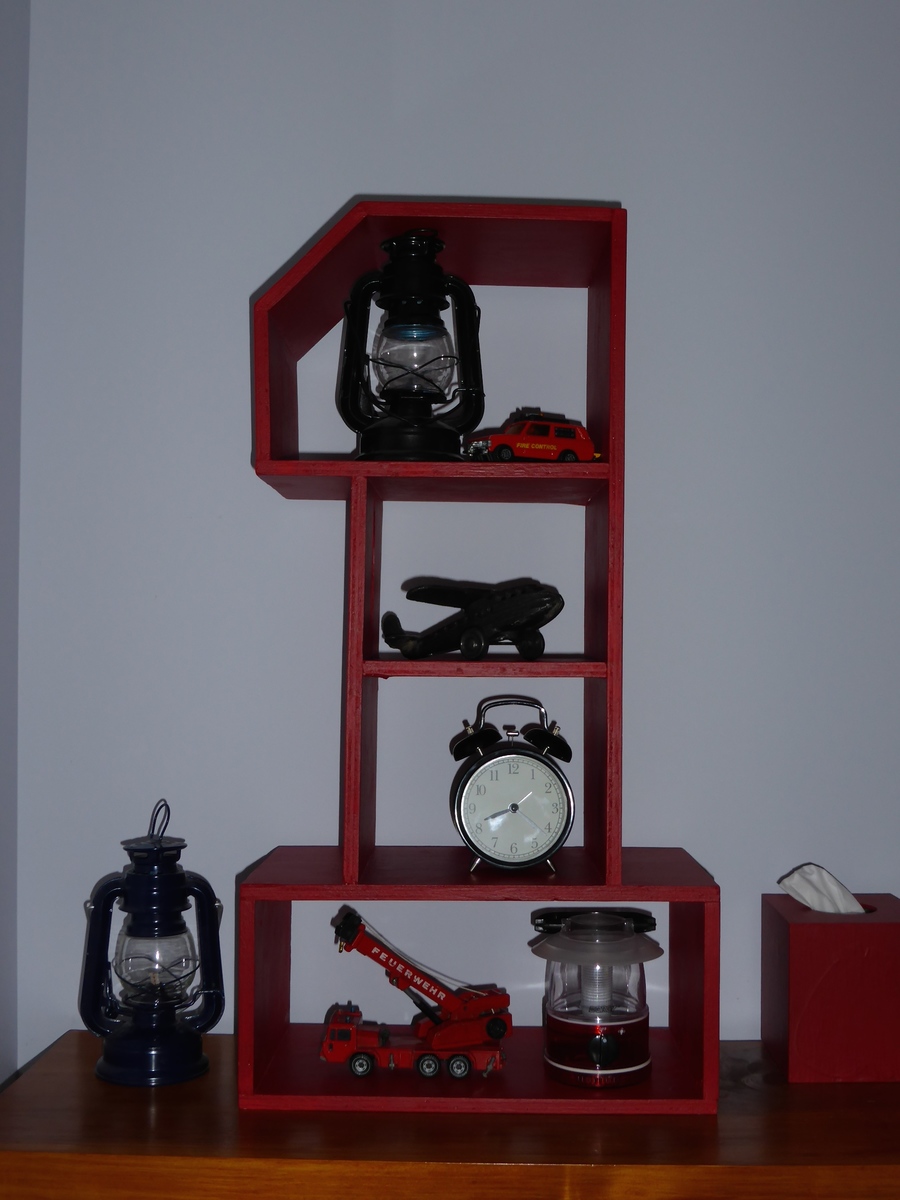
Great little shelf for a kids room. Love it.
Ana, Thank you so much for the plans for yoru Christmas Tree Shelf. My niece is a huge fan of the Christmas all year round and now that she has her own place it was a perfect fit. I edited the bottom area so it woudl be able to sit on a table, she is currently in an apartment and does not want to attach much to the walls. Added the boards in the back of the two compartments so it can later be hung, and also predrilled holes in the shelf bottoms in order to crew in eye hooks to hang ornaments from if she likes.
CtL
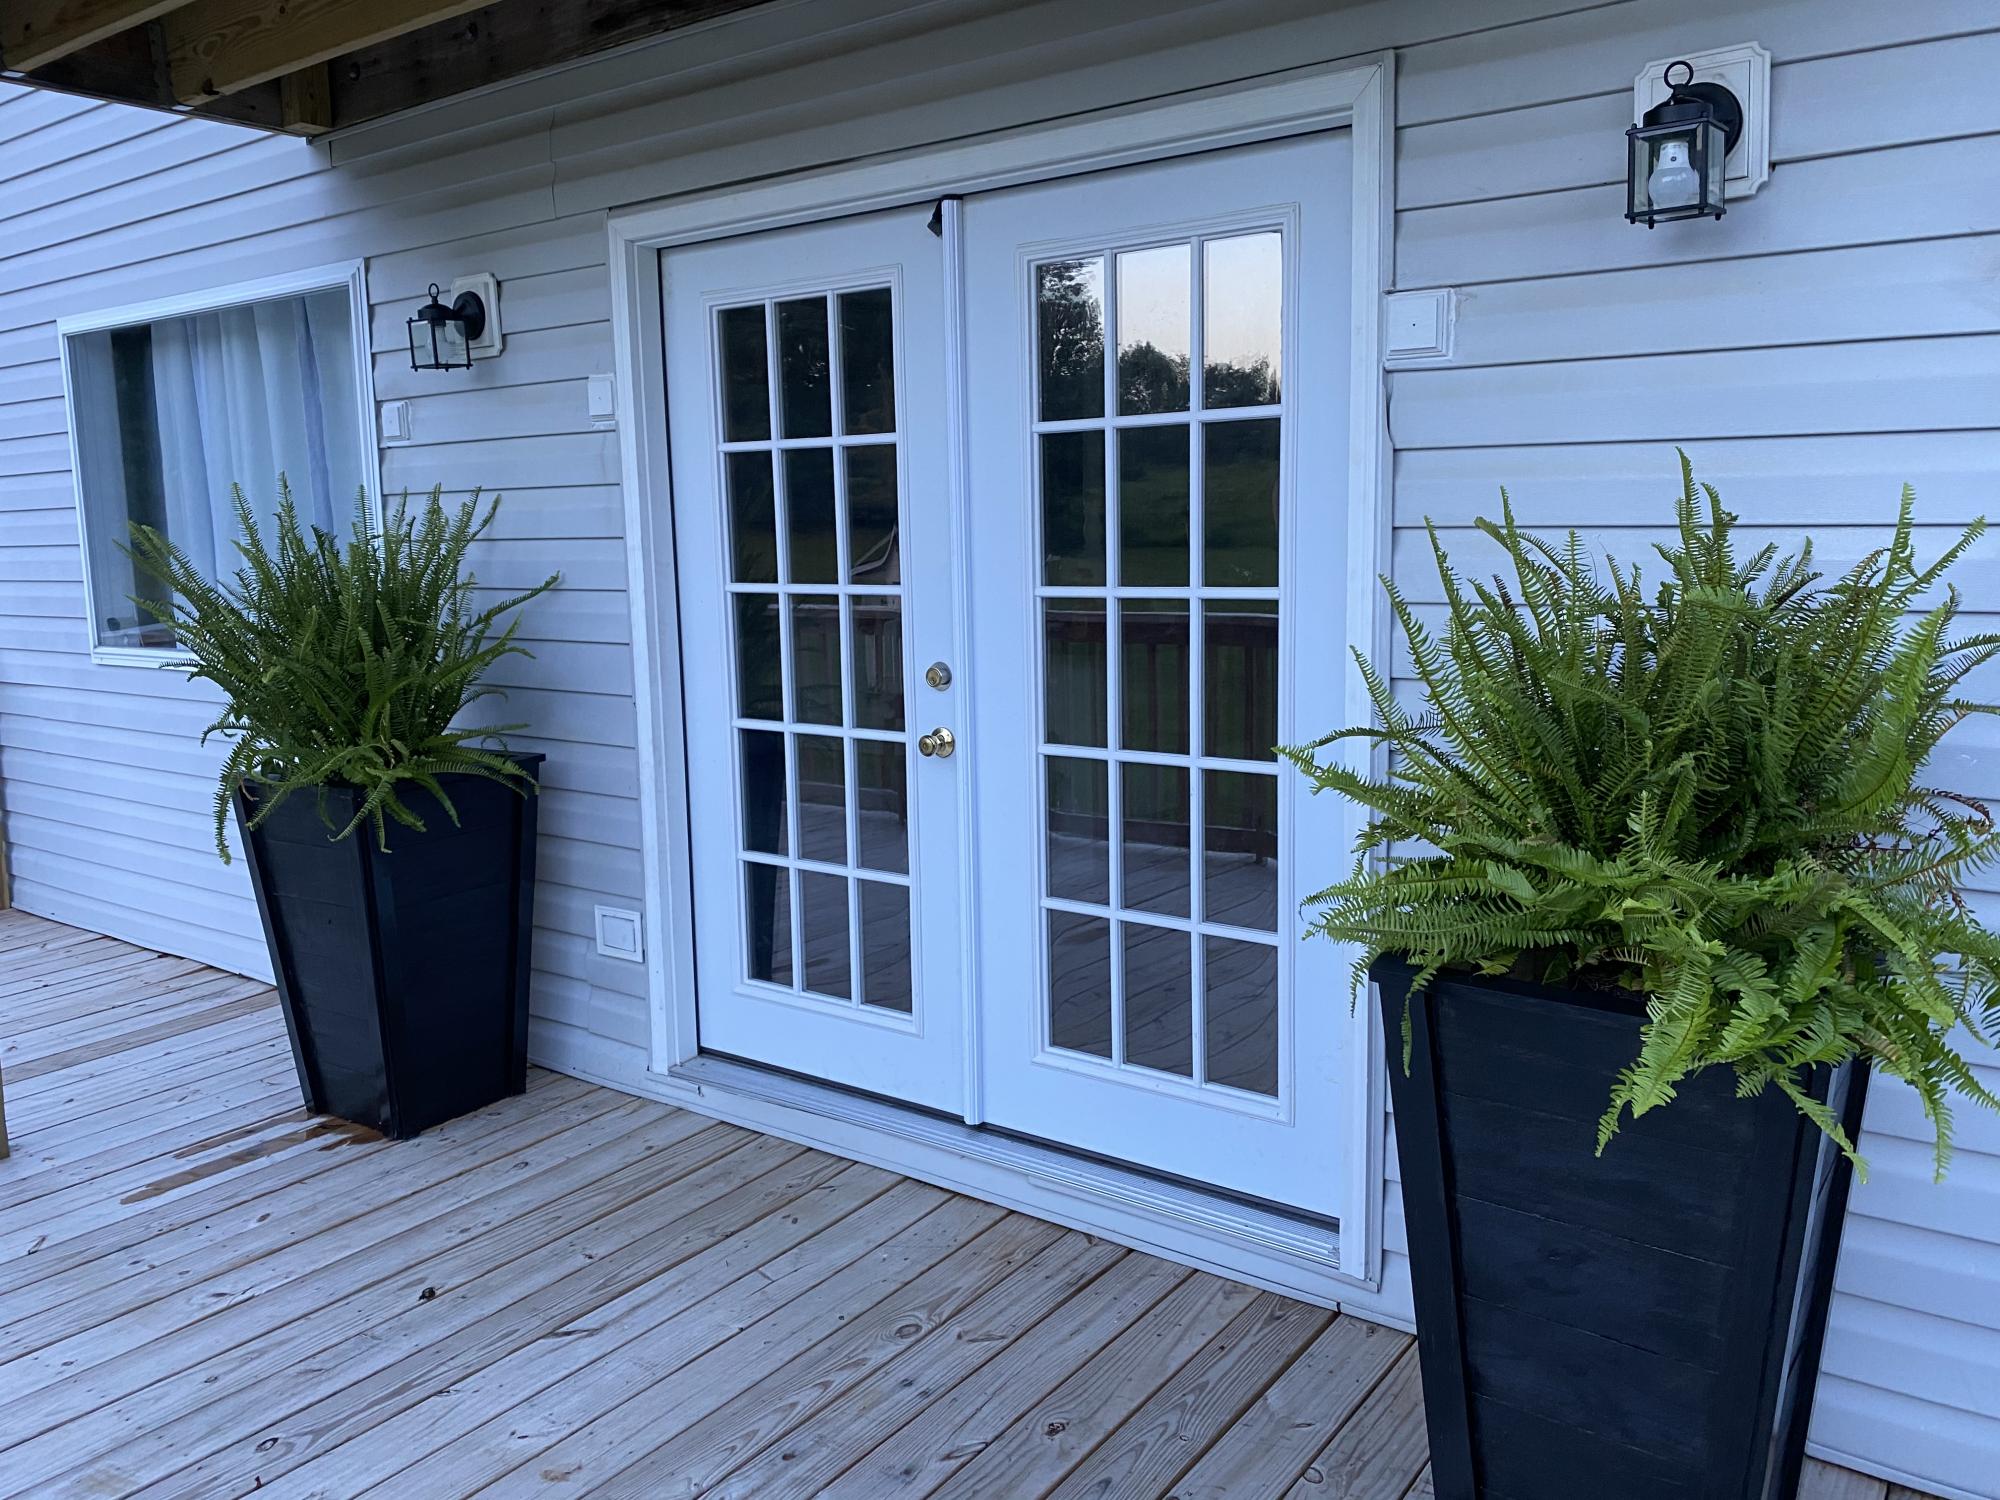
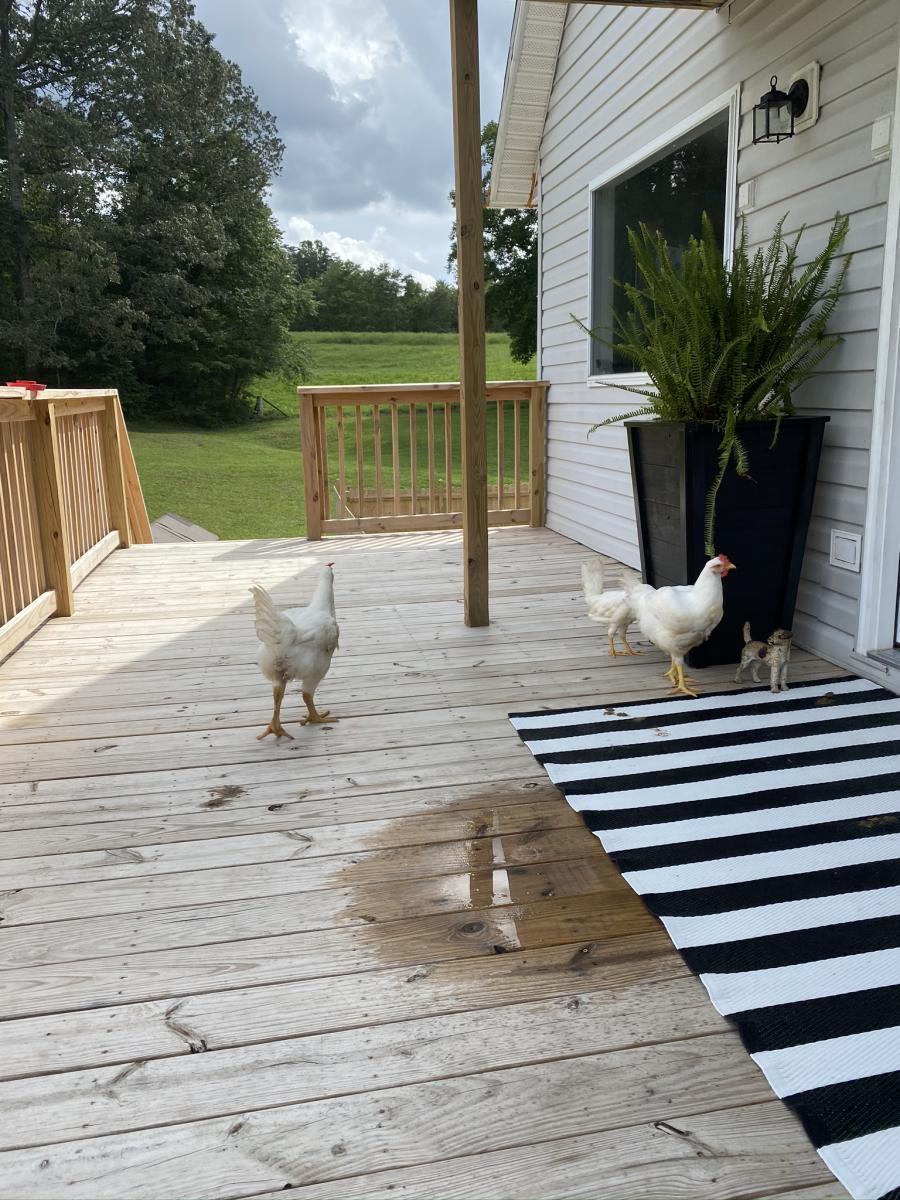
Easy to follow plans and make adjustments with materials I already had lying around. Love them! Thanks for the plans Ana!
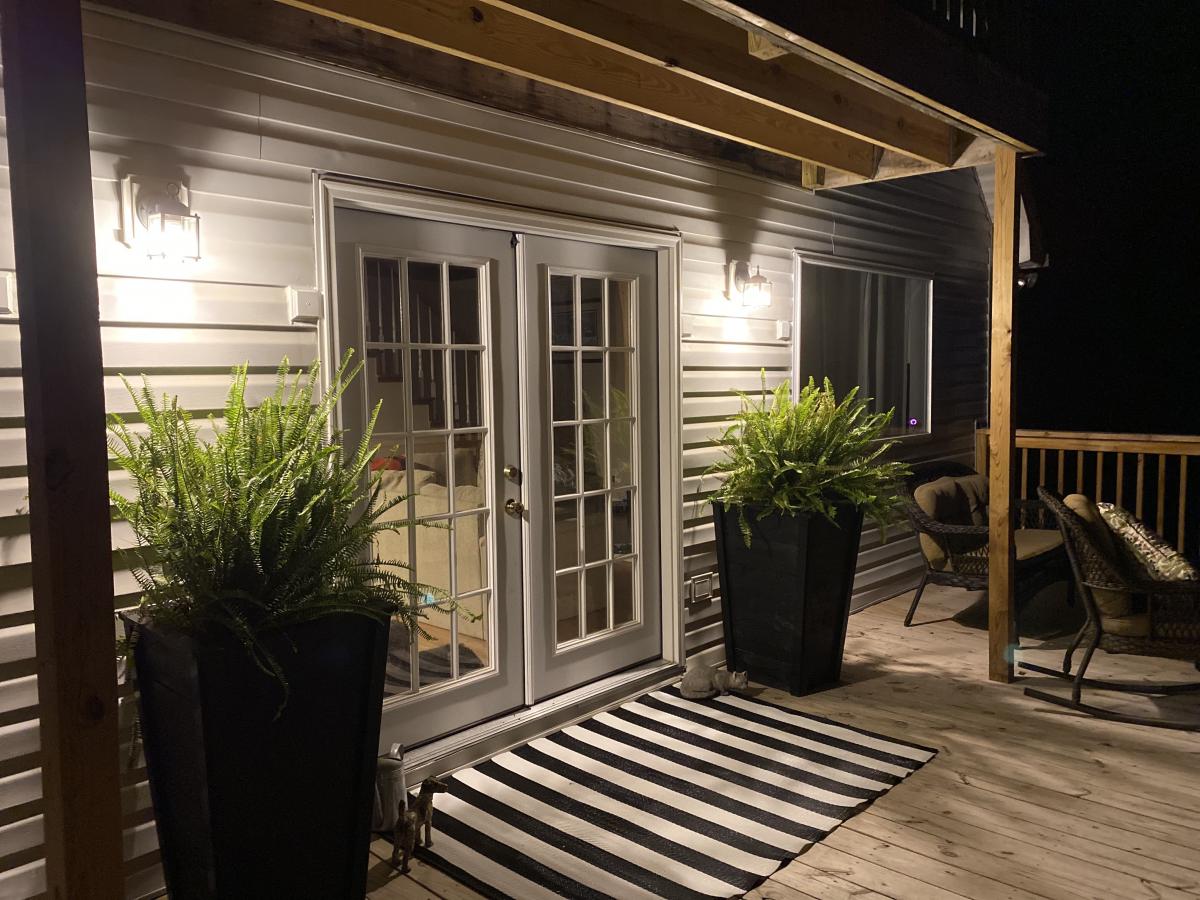
Sun, 09/13/2020 - 11:21
Great, job. Absolutely love the finish choice and greenery! Thanks for sharing:)
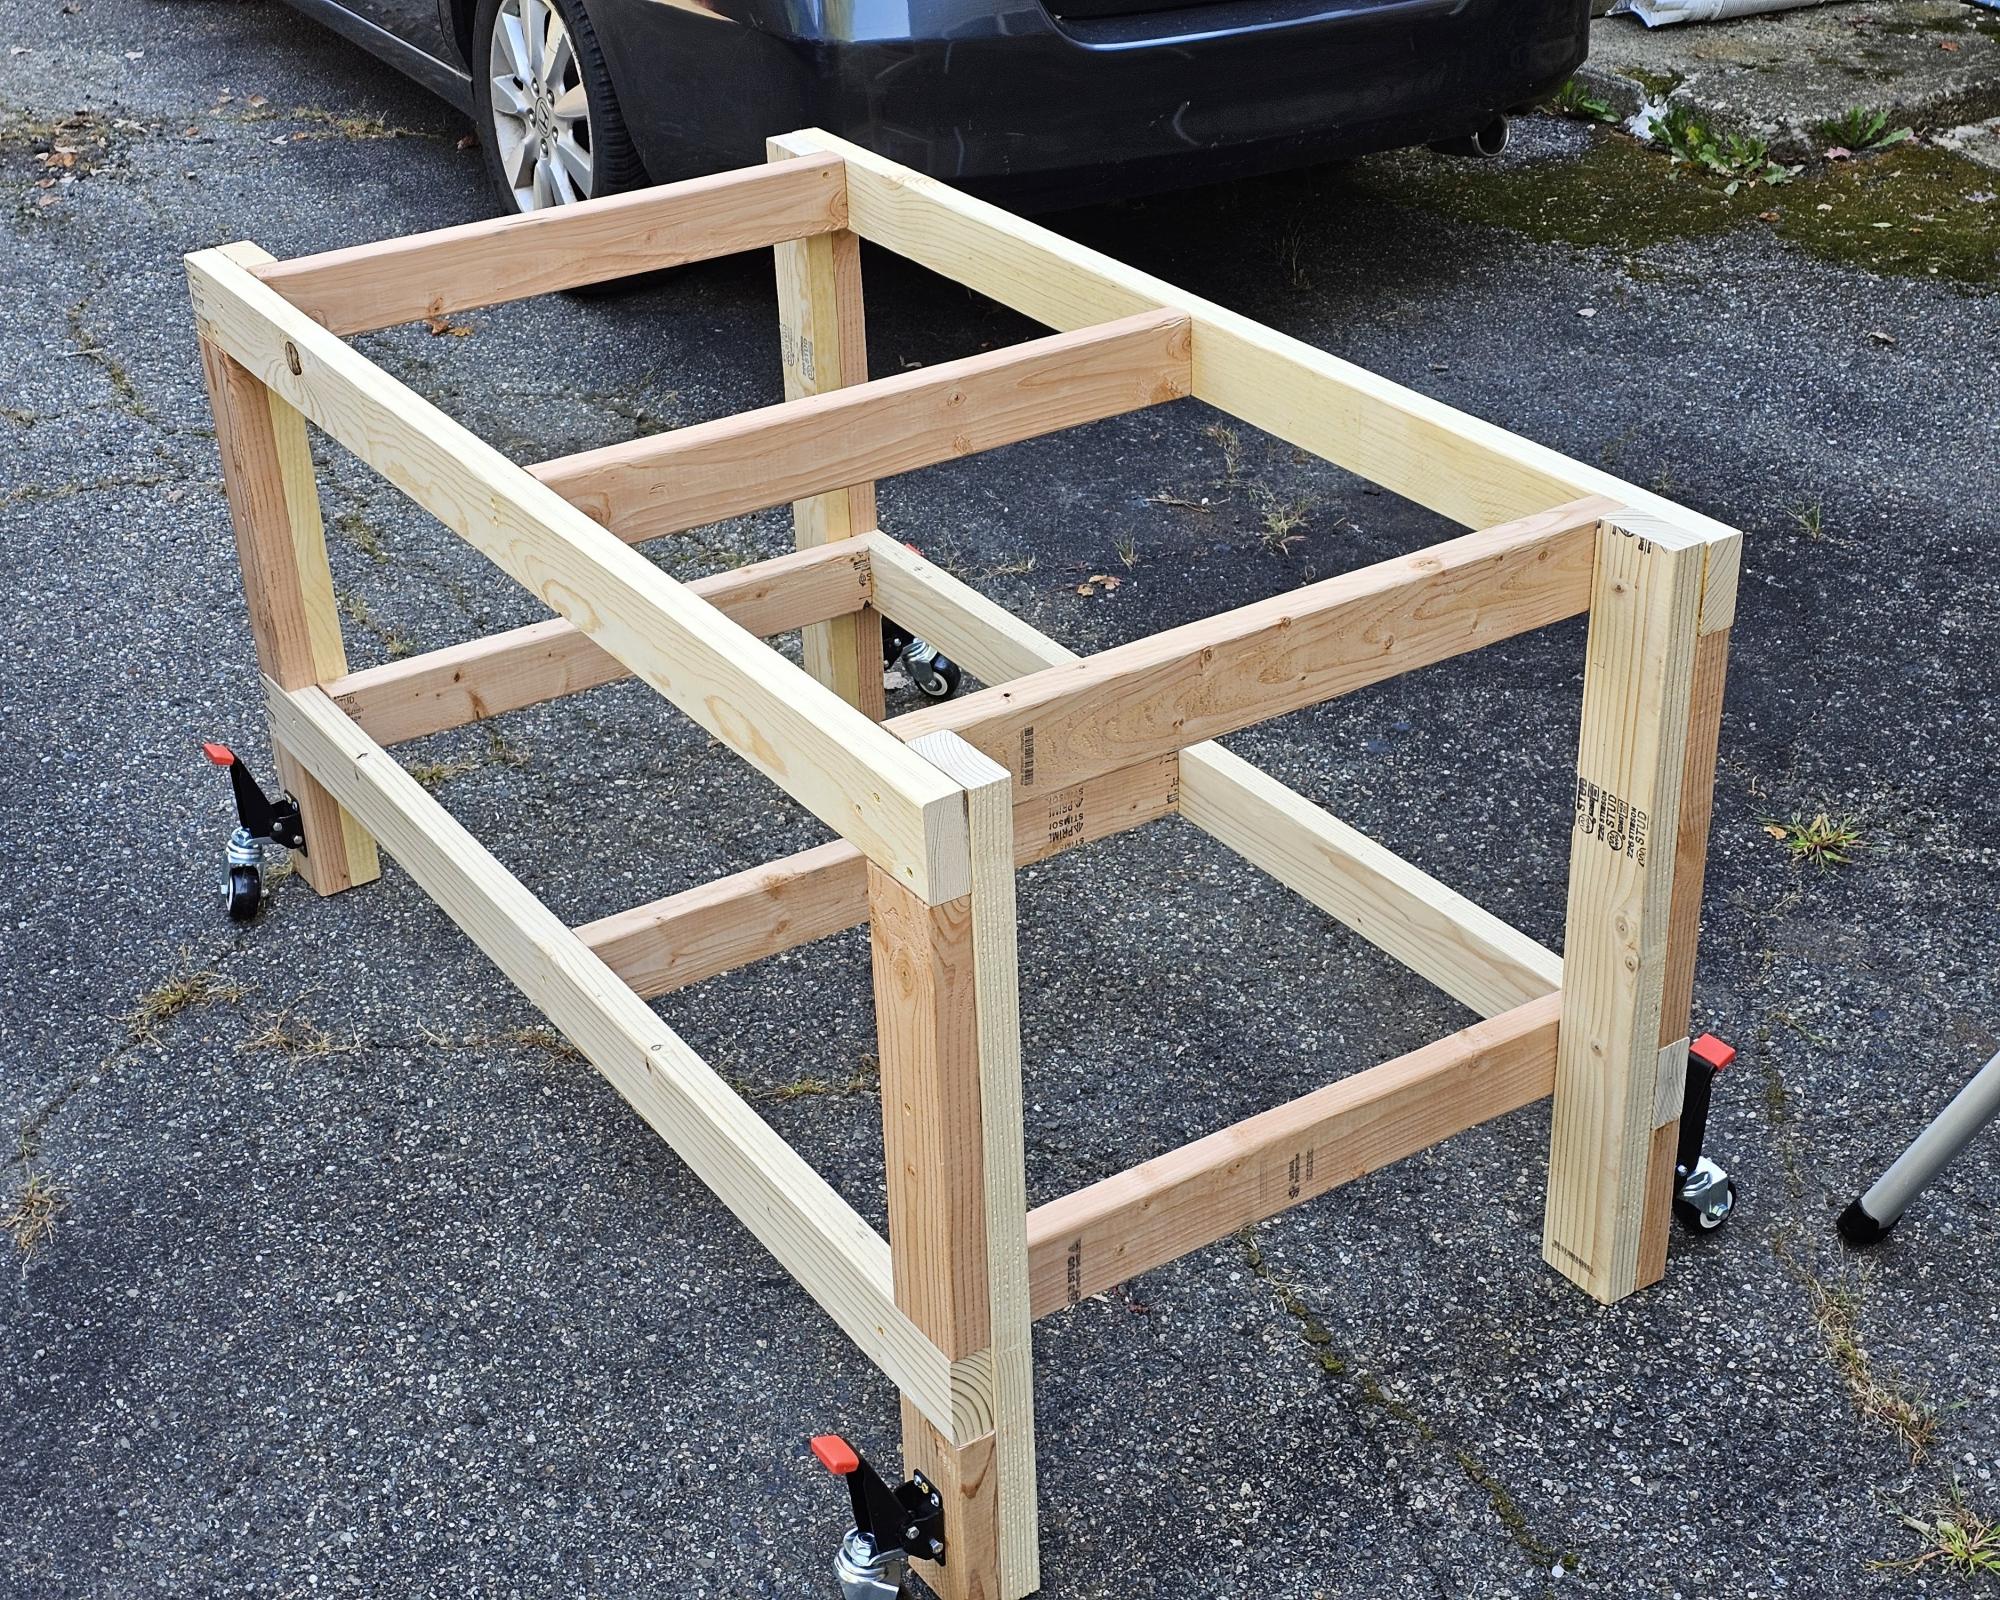
It was a fun project over two weekends. Thanks to this platform. - Teji
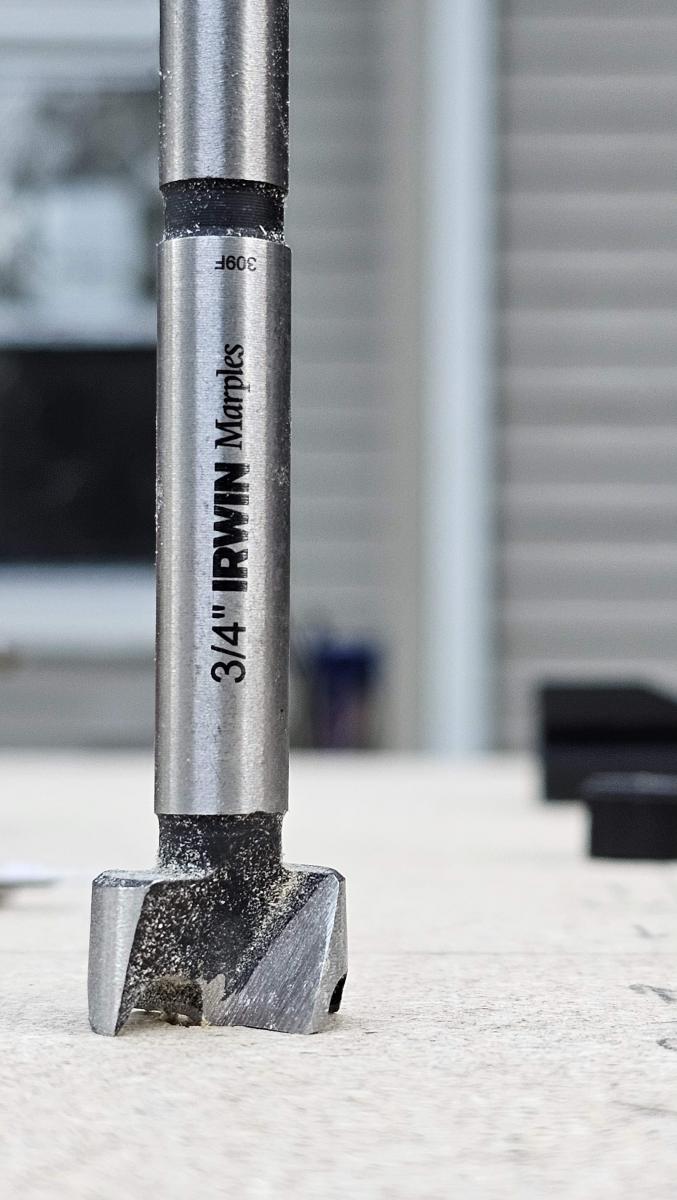
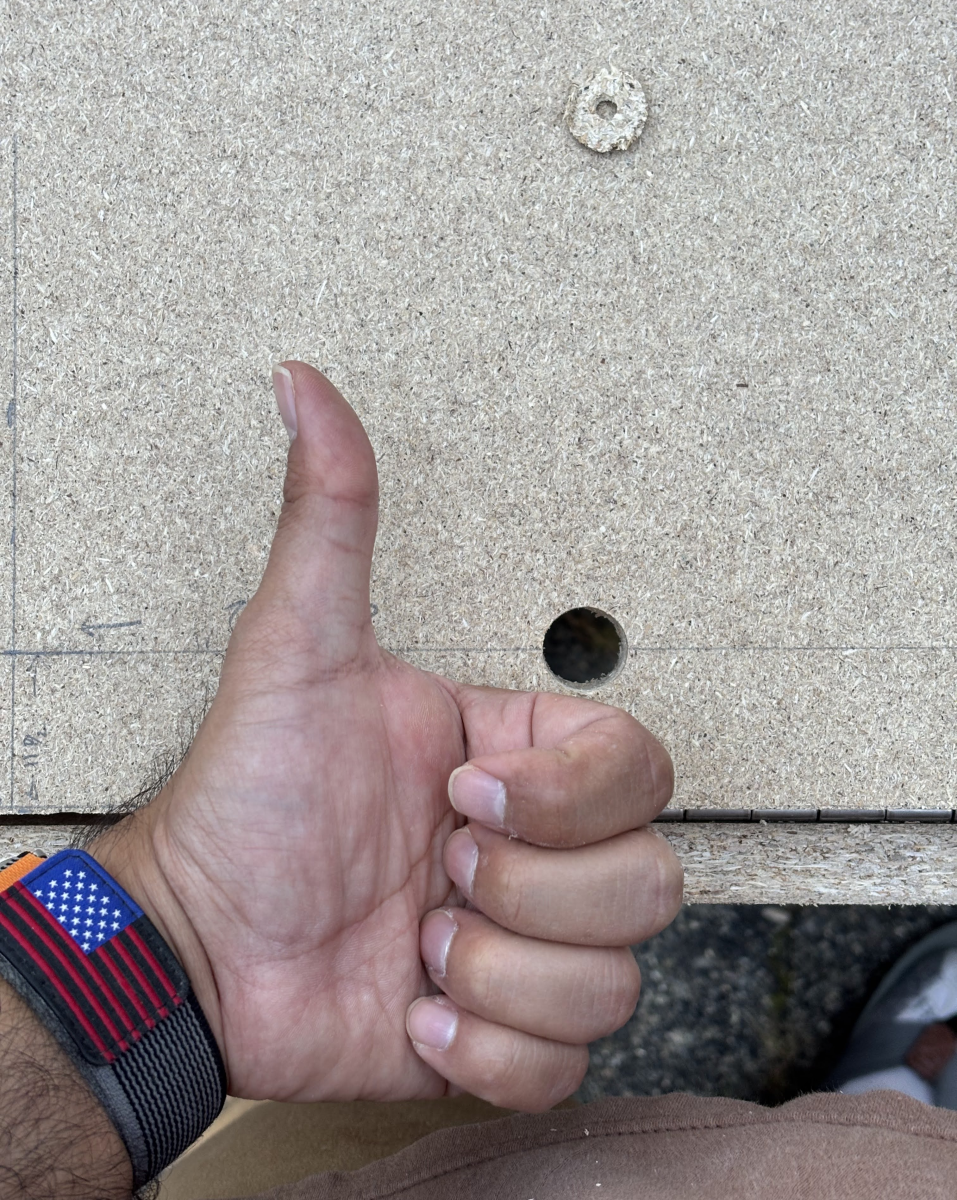
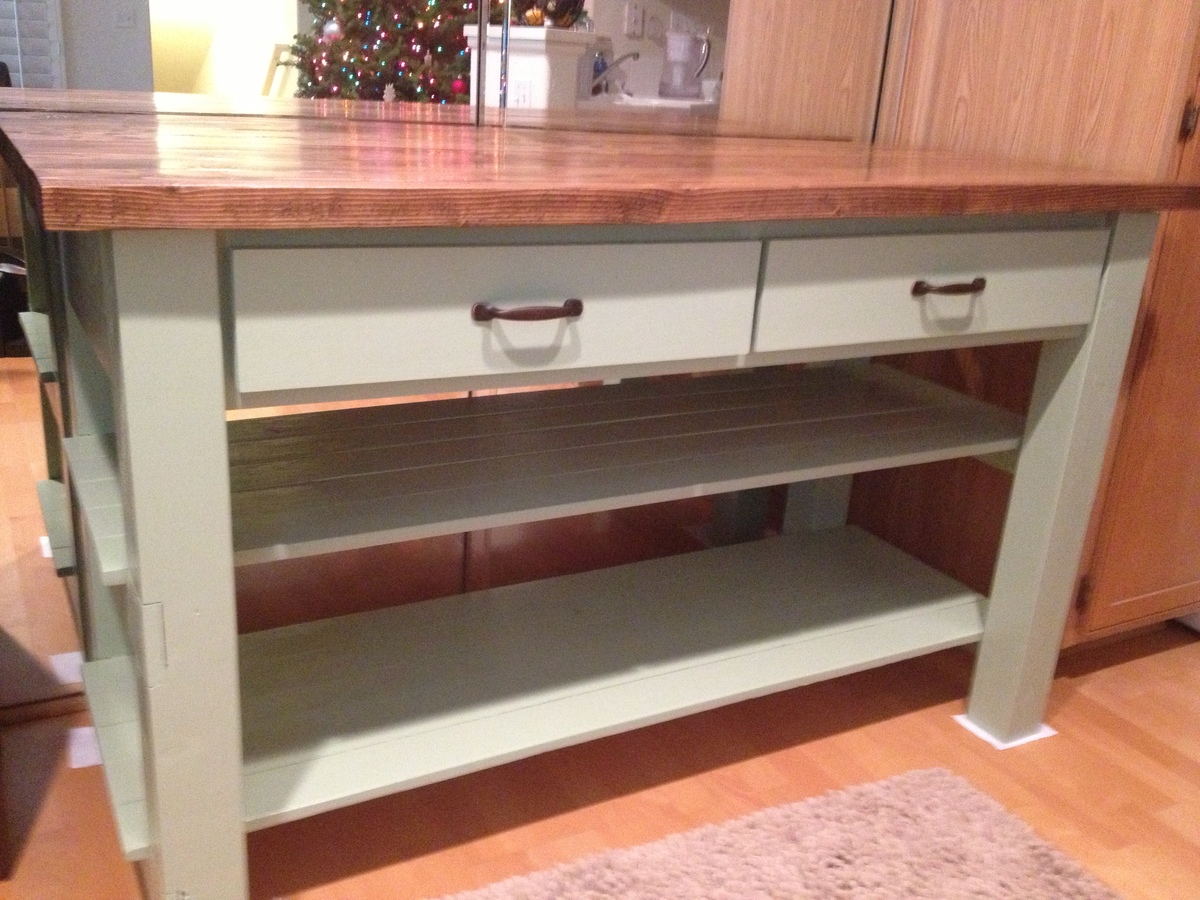
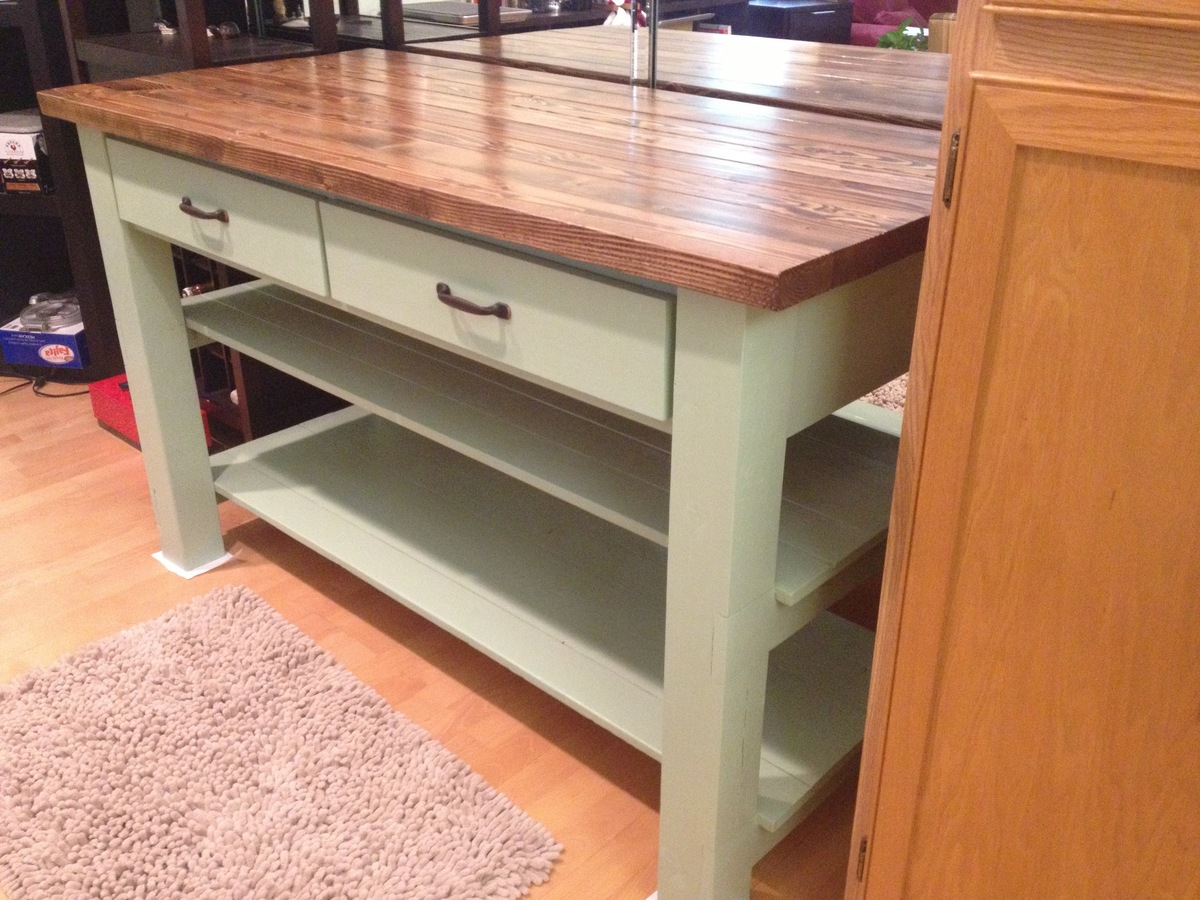
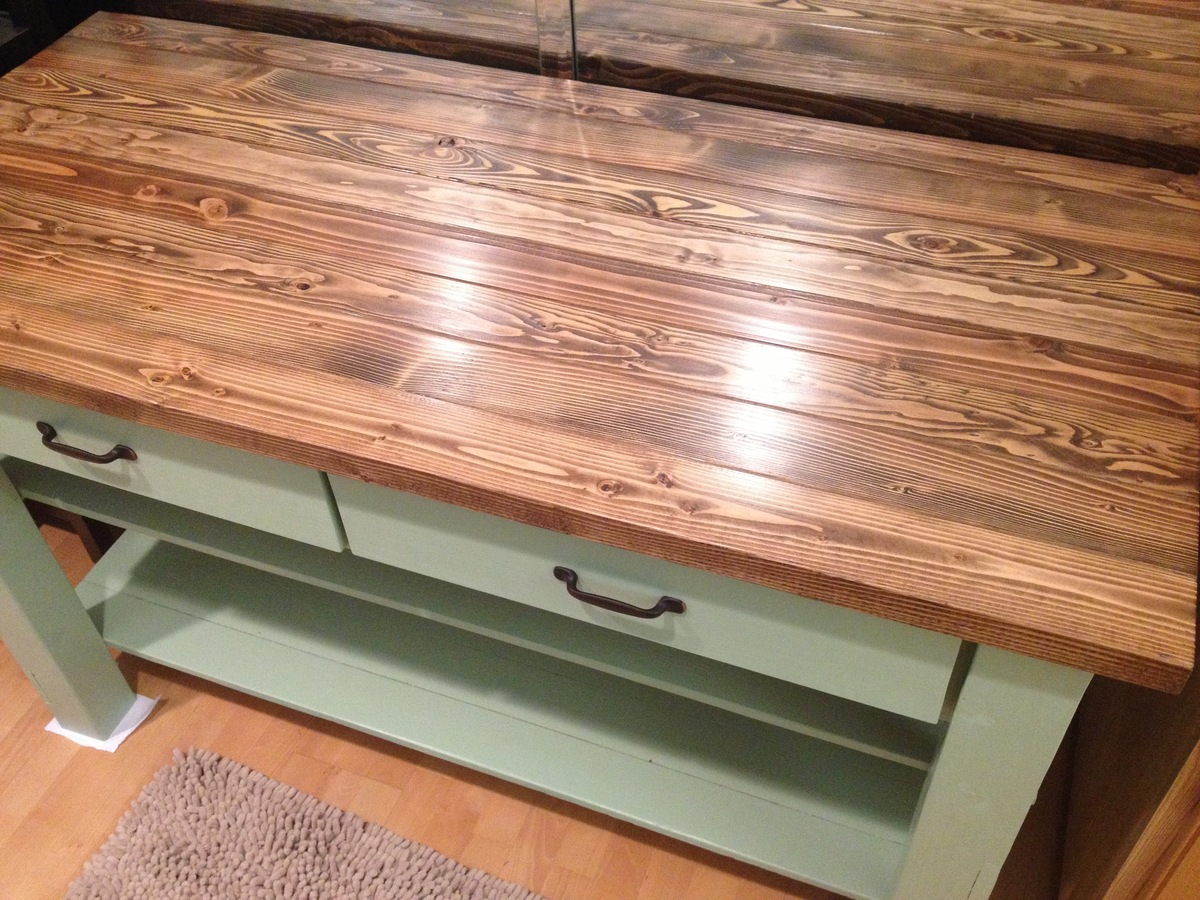
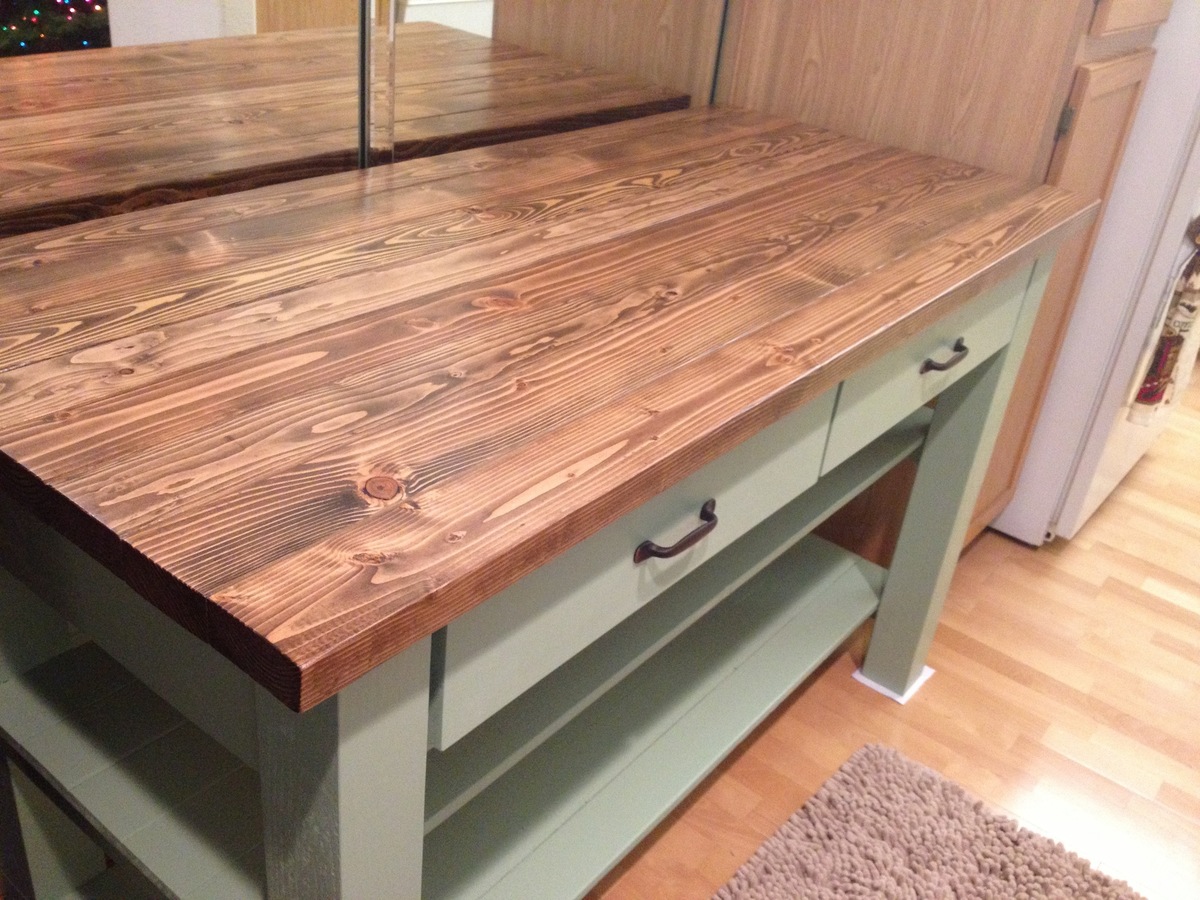
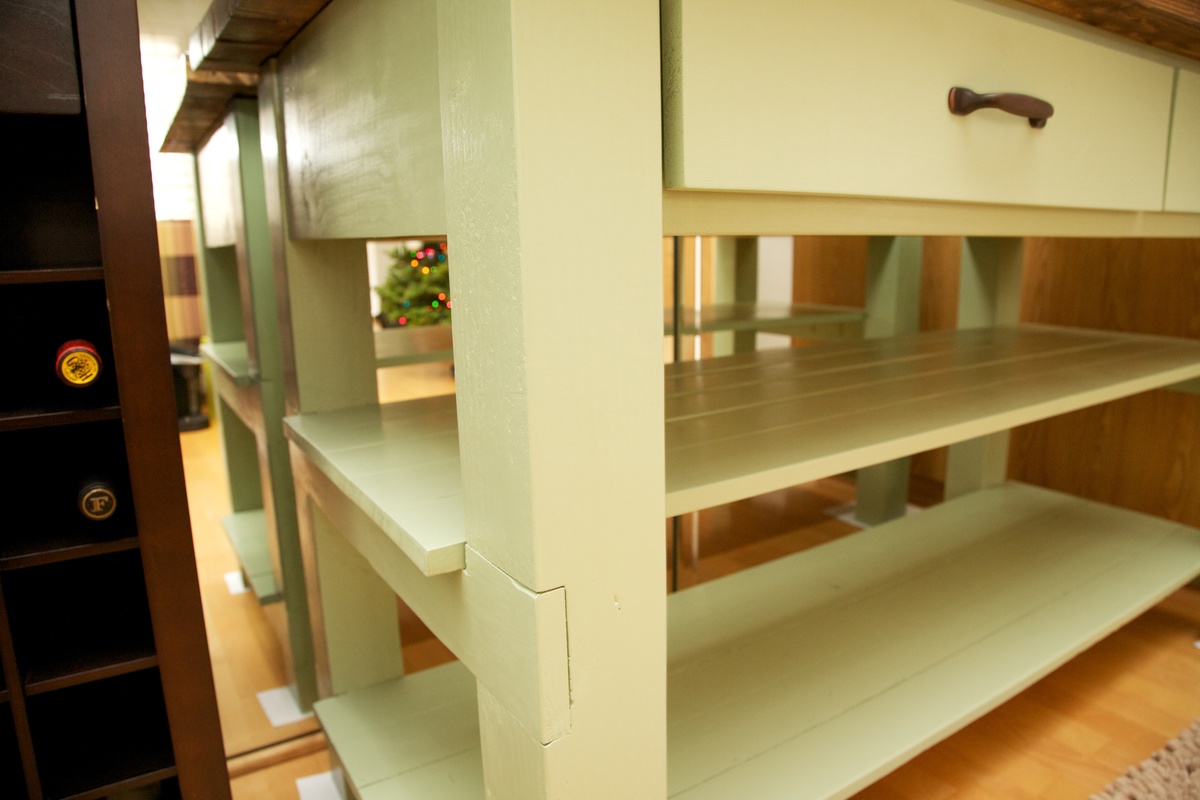
Stuck to the plan as described, but I used my Kreg jig to use pocket holes where I could. I used 1x4s for the shelves and joined them together with pocket holes. This made it much stronger. Without joining these boards, the shelves are kind of flimsy, not sure how much weight they could support without some type of support system. I added an extra 2x4 to the top, this made it overhang about an inch on the front and back. I used 20" drawer glides. Also, I notched out the side supports for the 1x4 shelves 3/4" so the shelves sit flush with the side supports.
Fri, 12/27/2013 - 12:35
Just had someone build this for me, I'm wondering what paint color is on the bottom of yours? It looks great with the stain you chose!
Sun, 03/15/2015 - 17:00
Great table! I'm currently building a similar kitchen island and was debating going the cheaper route of utilizing 2x4s instead of making a butchers block. How did the wood filler between the boards work out for you as a flat surface? Has it cracked at all? Thanks in advance!
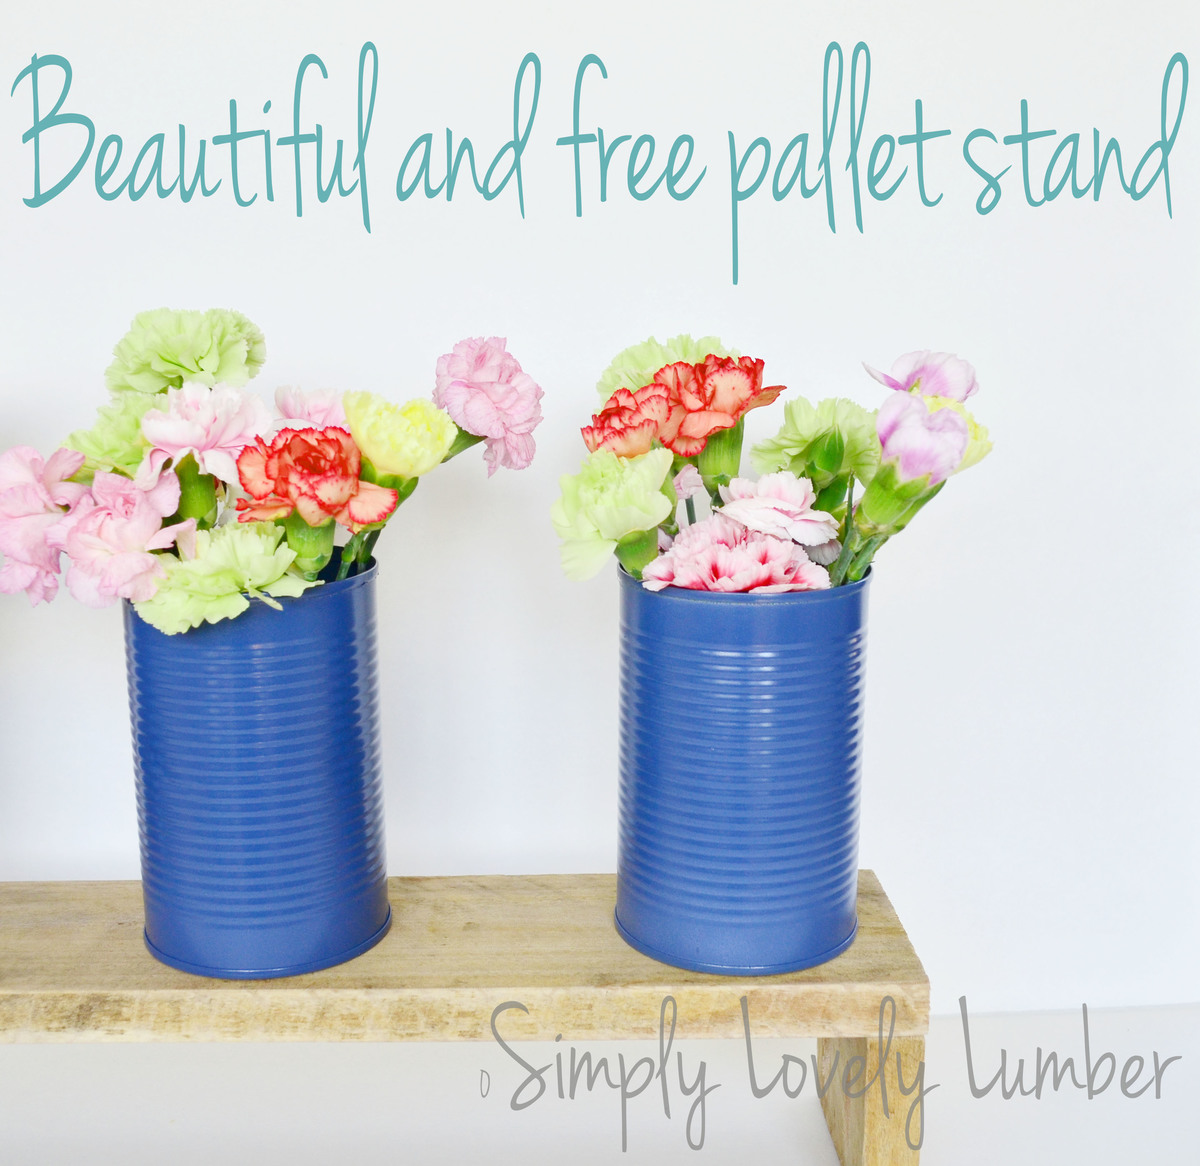
Last week I picked up a few pallets while I was at Ace and made these cute stands with some of the wood today. I spray painted a few cans and threw some flowers in them and have a beautiful centerpiece for my Farmhouse table! I built both of these in about 10 minutes.
Ana
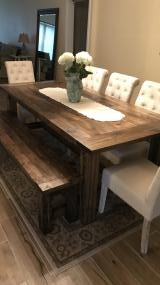
This is a farmtable that i made from your plans, along with the bench also made from your plans. Turned out pretty good, worked on it mostly on the weekends. Christmas present for my son and daughter-in-law. Your website is full of great ideas and plans, thank you.
Chuck