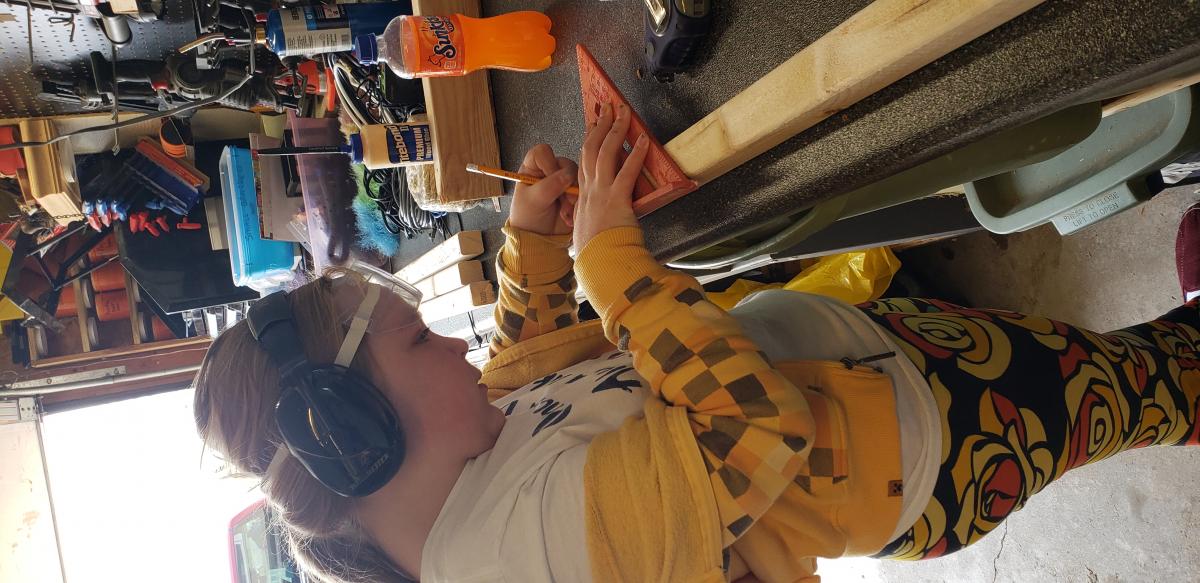
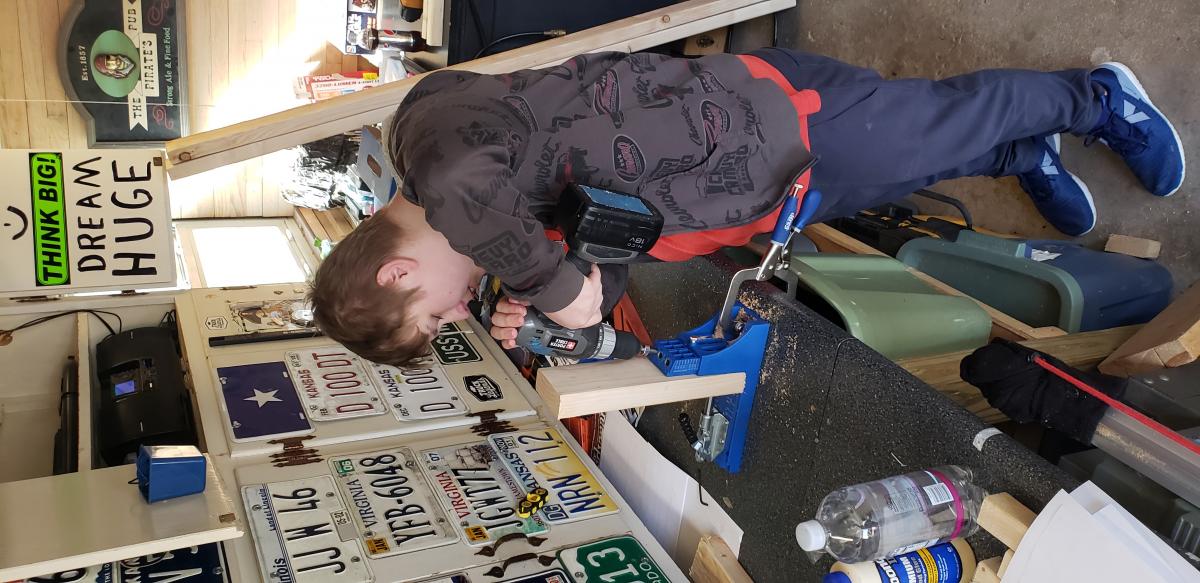
First Project With My Kids

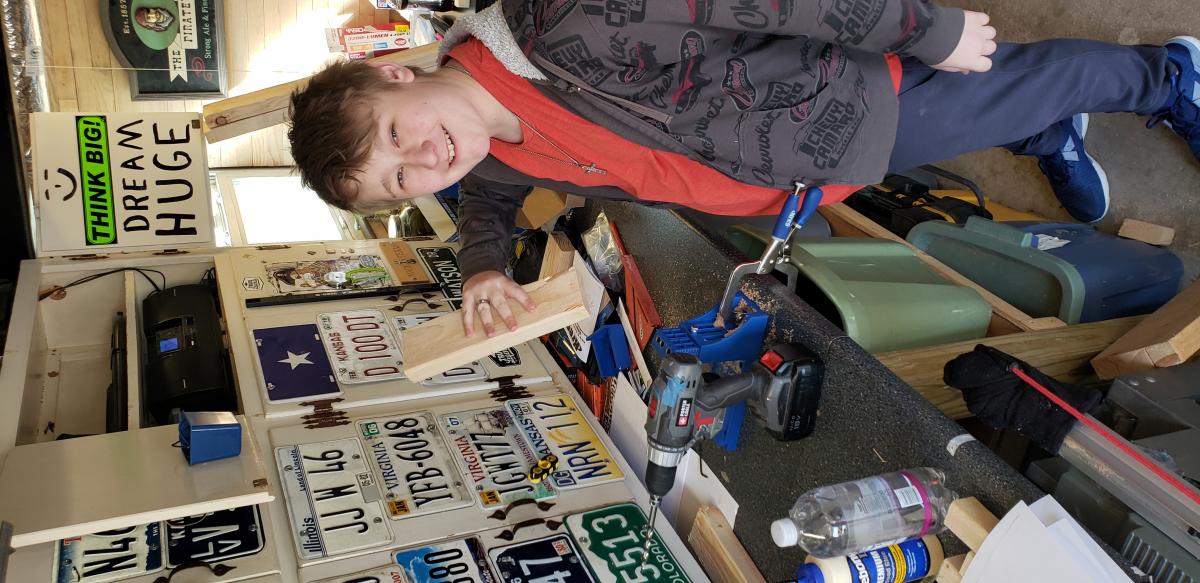
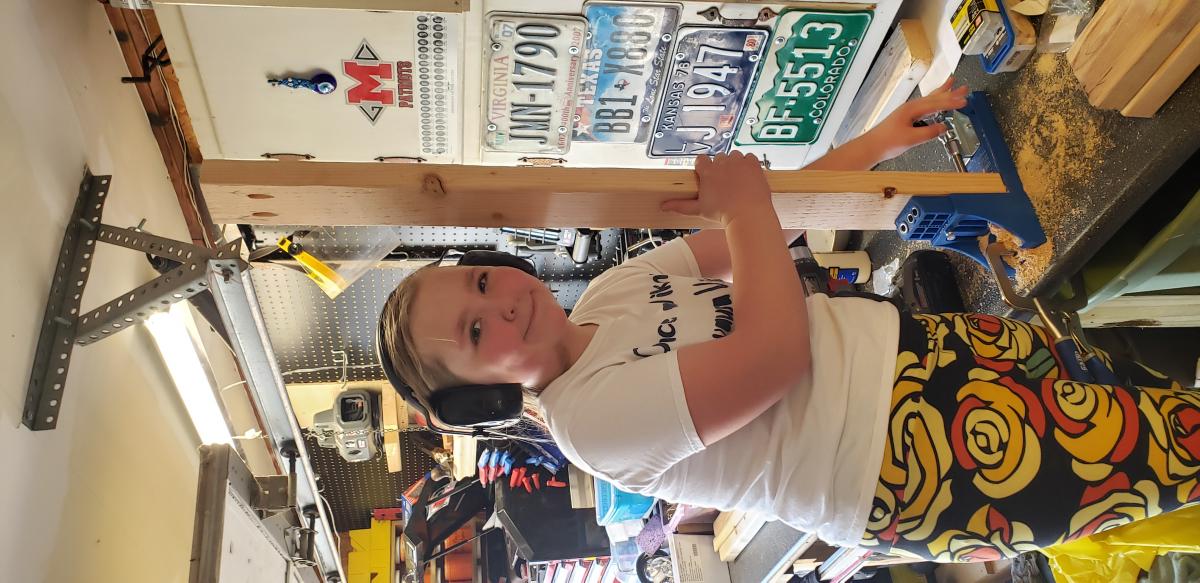
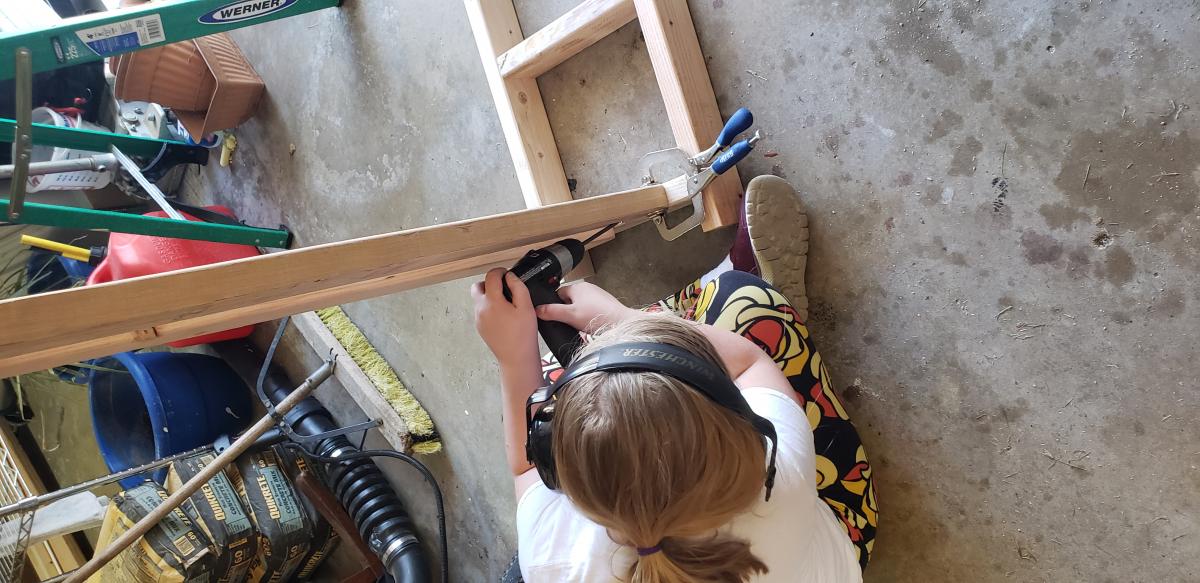
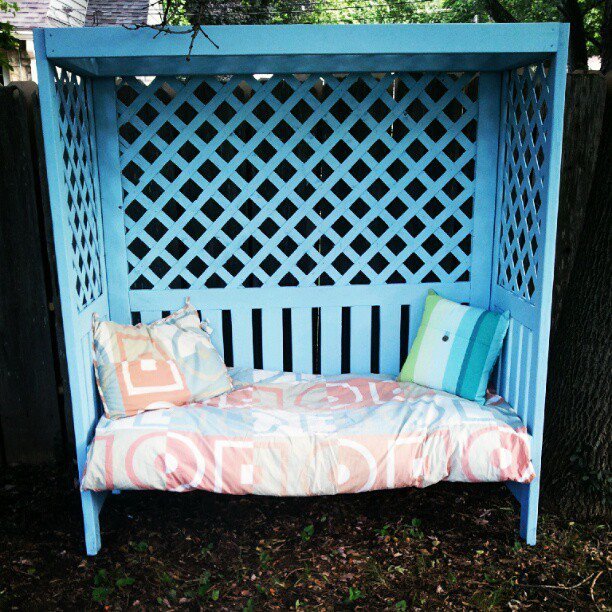
This started out as an idea for a hall tree, which none of expected to turn out great. But being in "lockdown" we needed something to do. After accidentally painting our interior entryway baby blue we decided to go with a nautical theme. As you can see, we used anchor style hooks and beadboard, which brought it all together nicely. The further along in the project planning. the more interested my children became. I'm not the most patient teacher and could have had this knocked out in a day. But it brought me so much joy and pride to see my children make something this beautiful. It really completes our entryway. The bench is more than sturdy enough for my very large self to sit on and the cats will probably claim it soon. We are just so happy with the end result. I can see this being the beginning of a lot of future projects and time spent together. My 10 year old daughter seemed particularly inspired by watching a very "girly" mom (Ana) building this. This project was meaningful. Thank you Ana White for sharing the info and know-how to get started on this journey!


Comments
Ana White
Mon, 04/20/2020 - 14:28
Turned out really great! …
Turned out really great! Love that you have such happy helpers!