Community Brag Posts

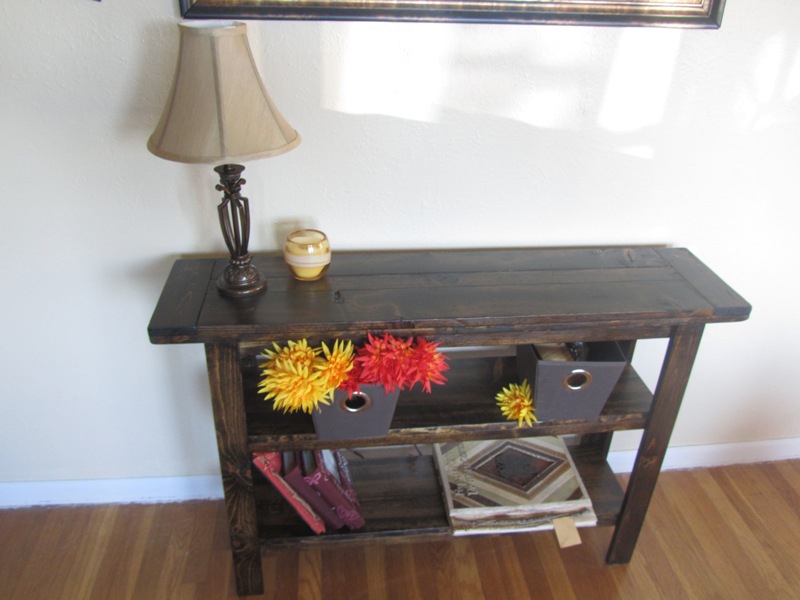
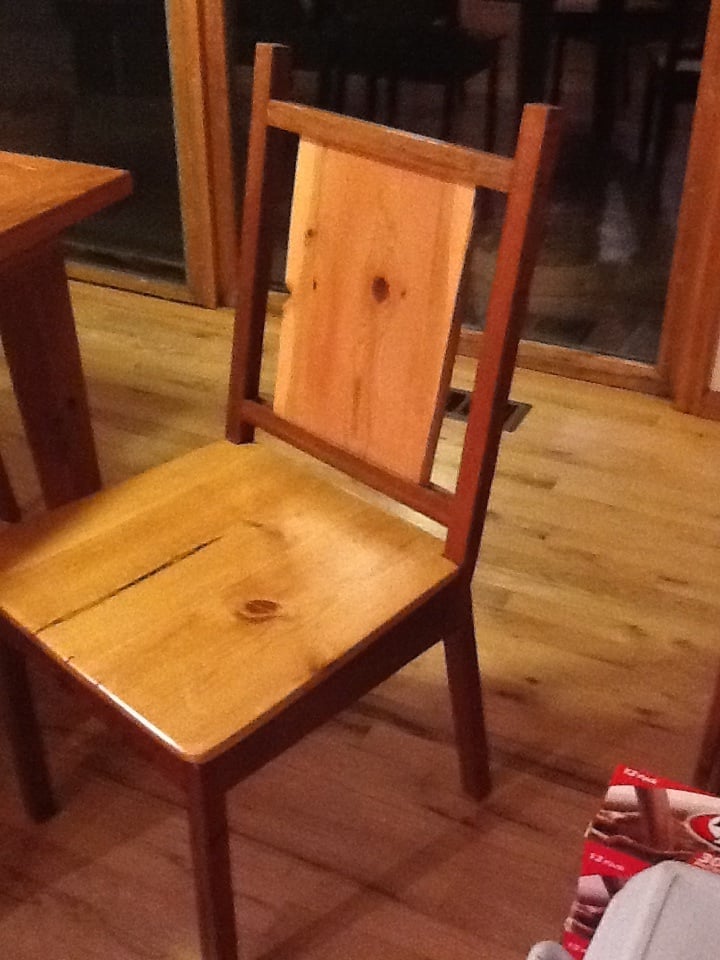
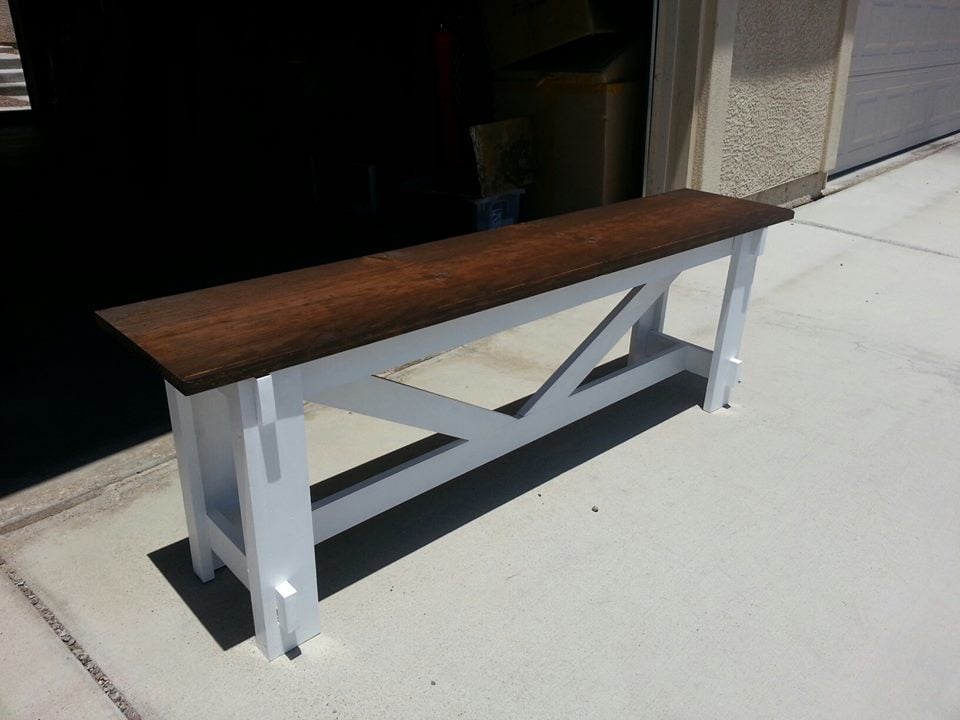
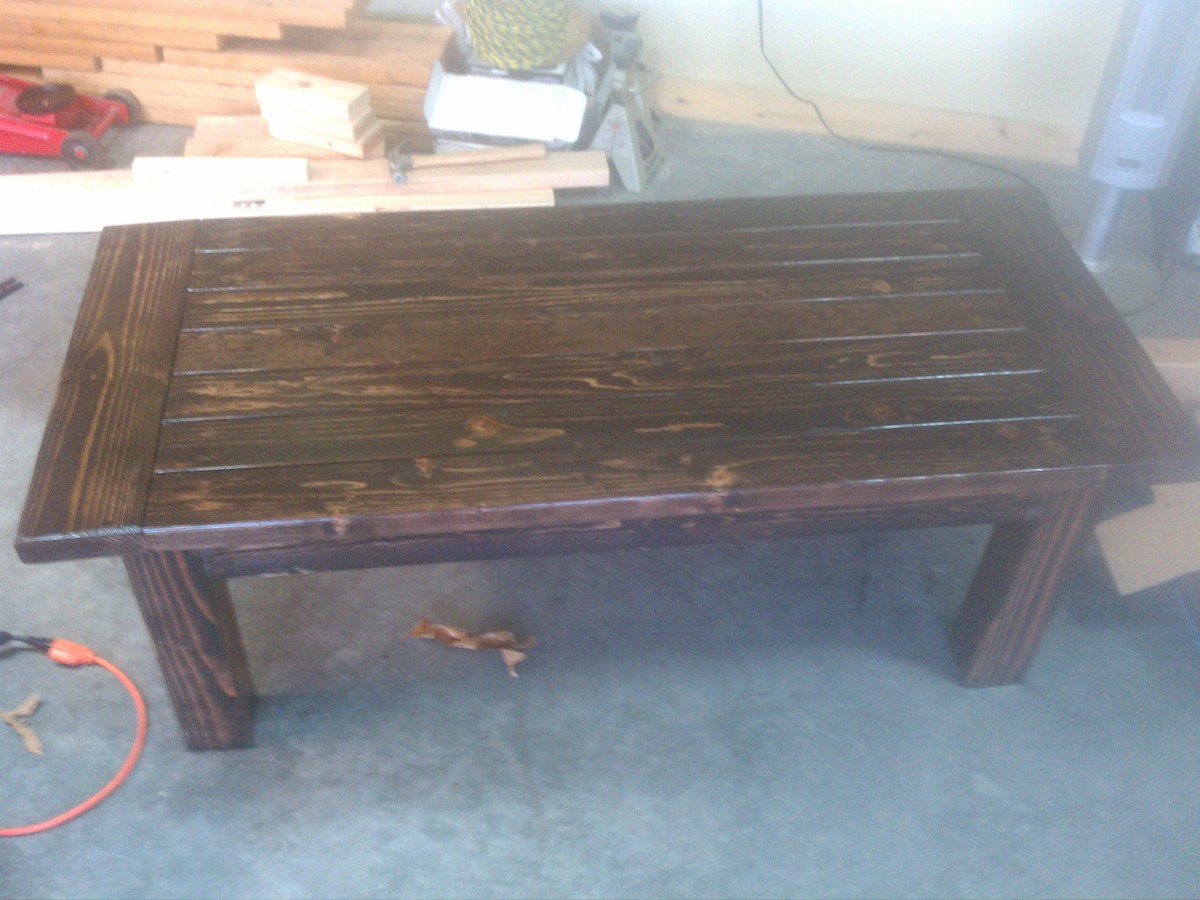
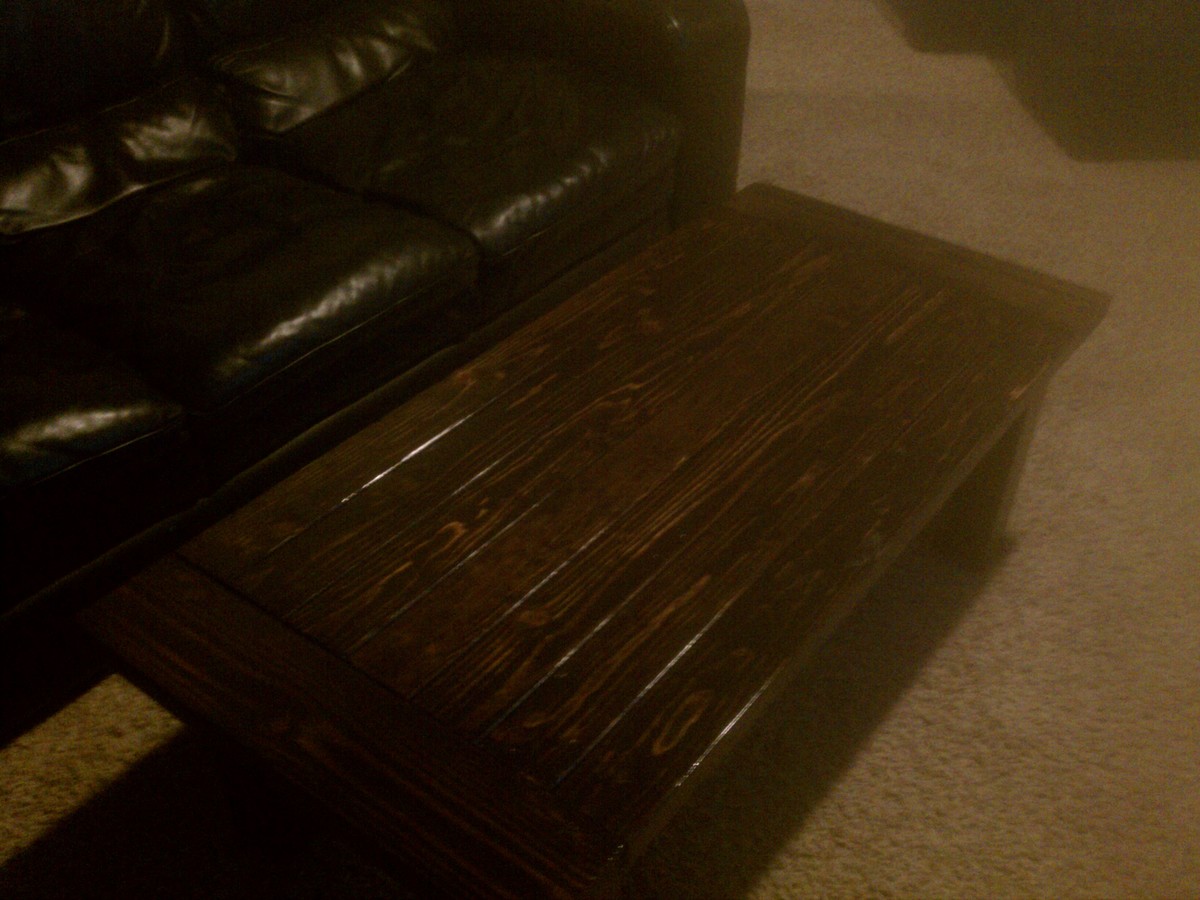
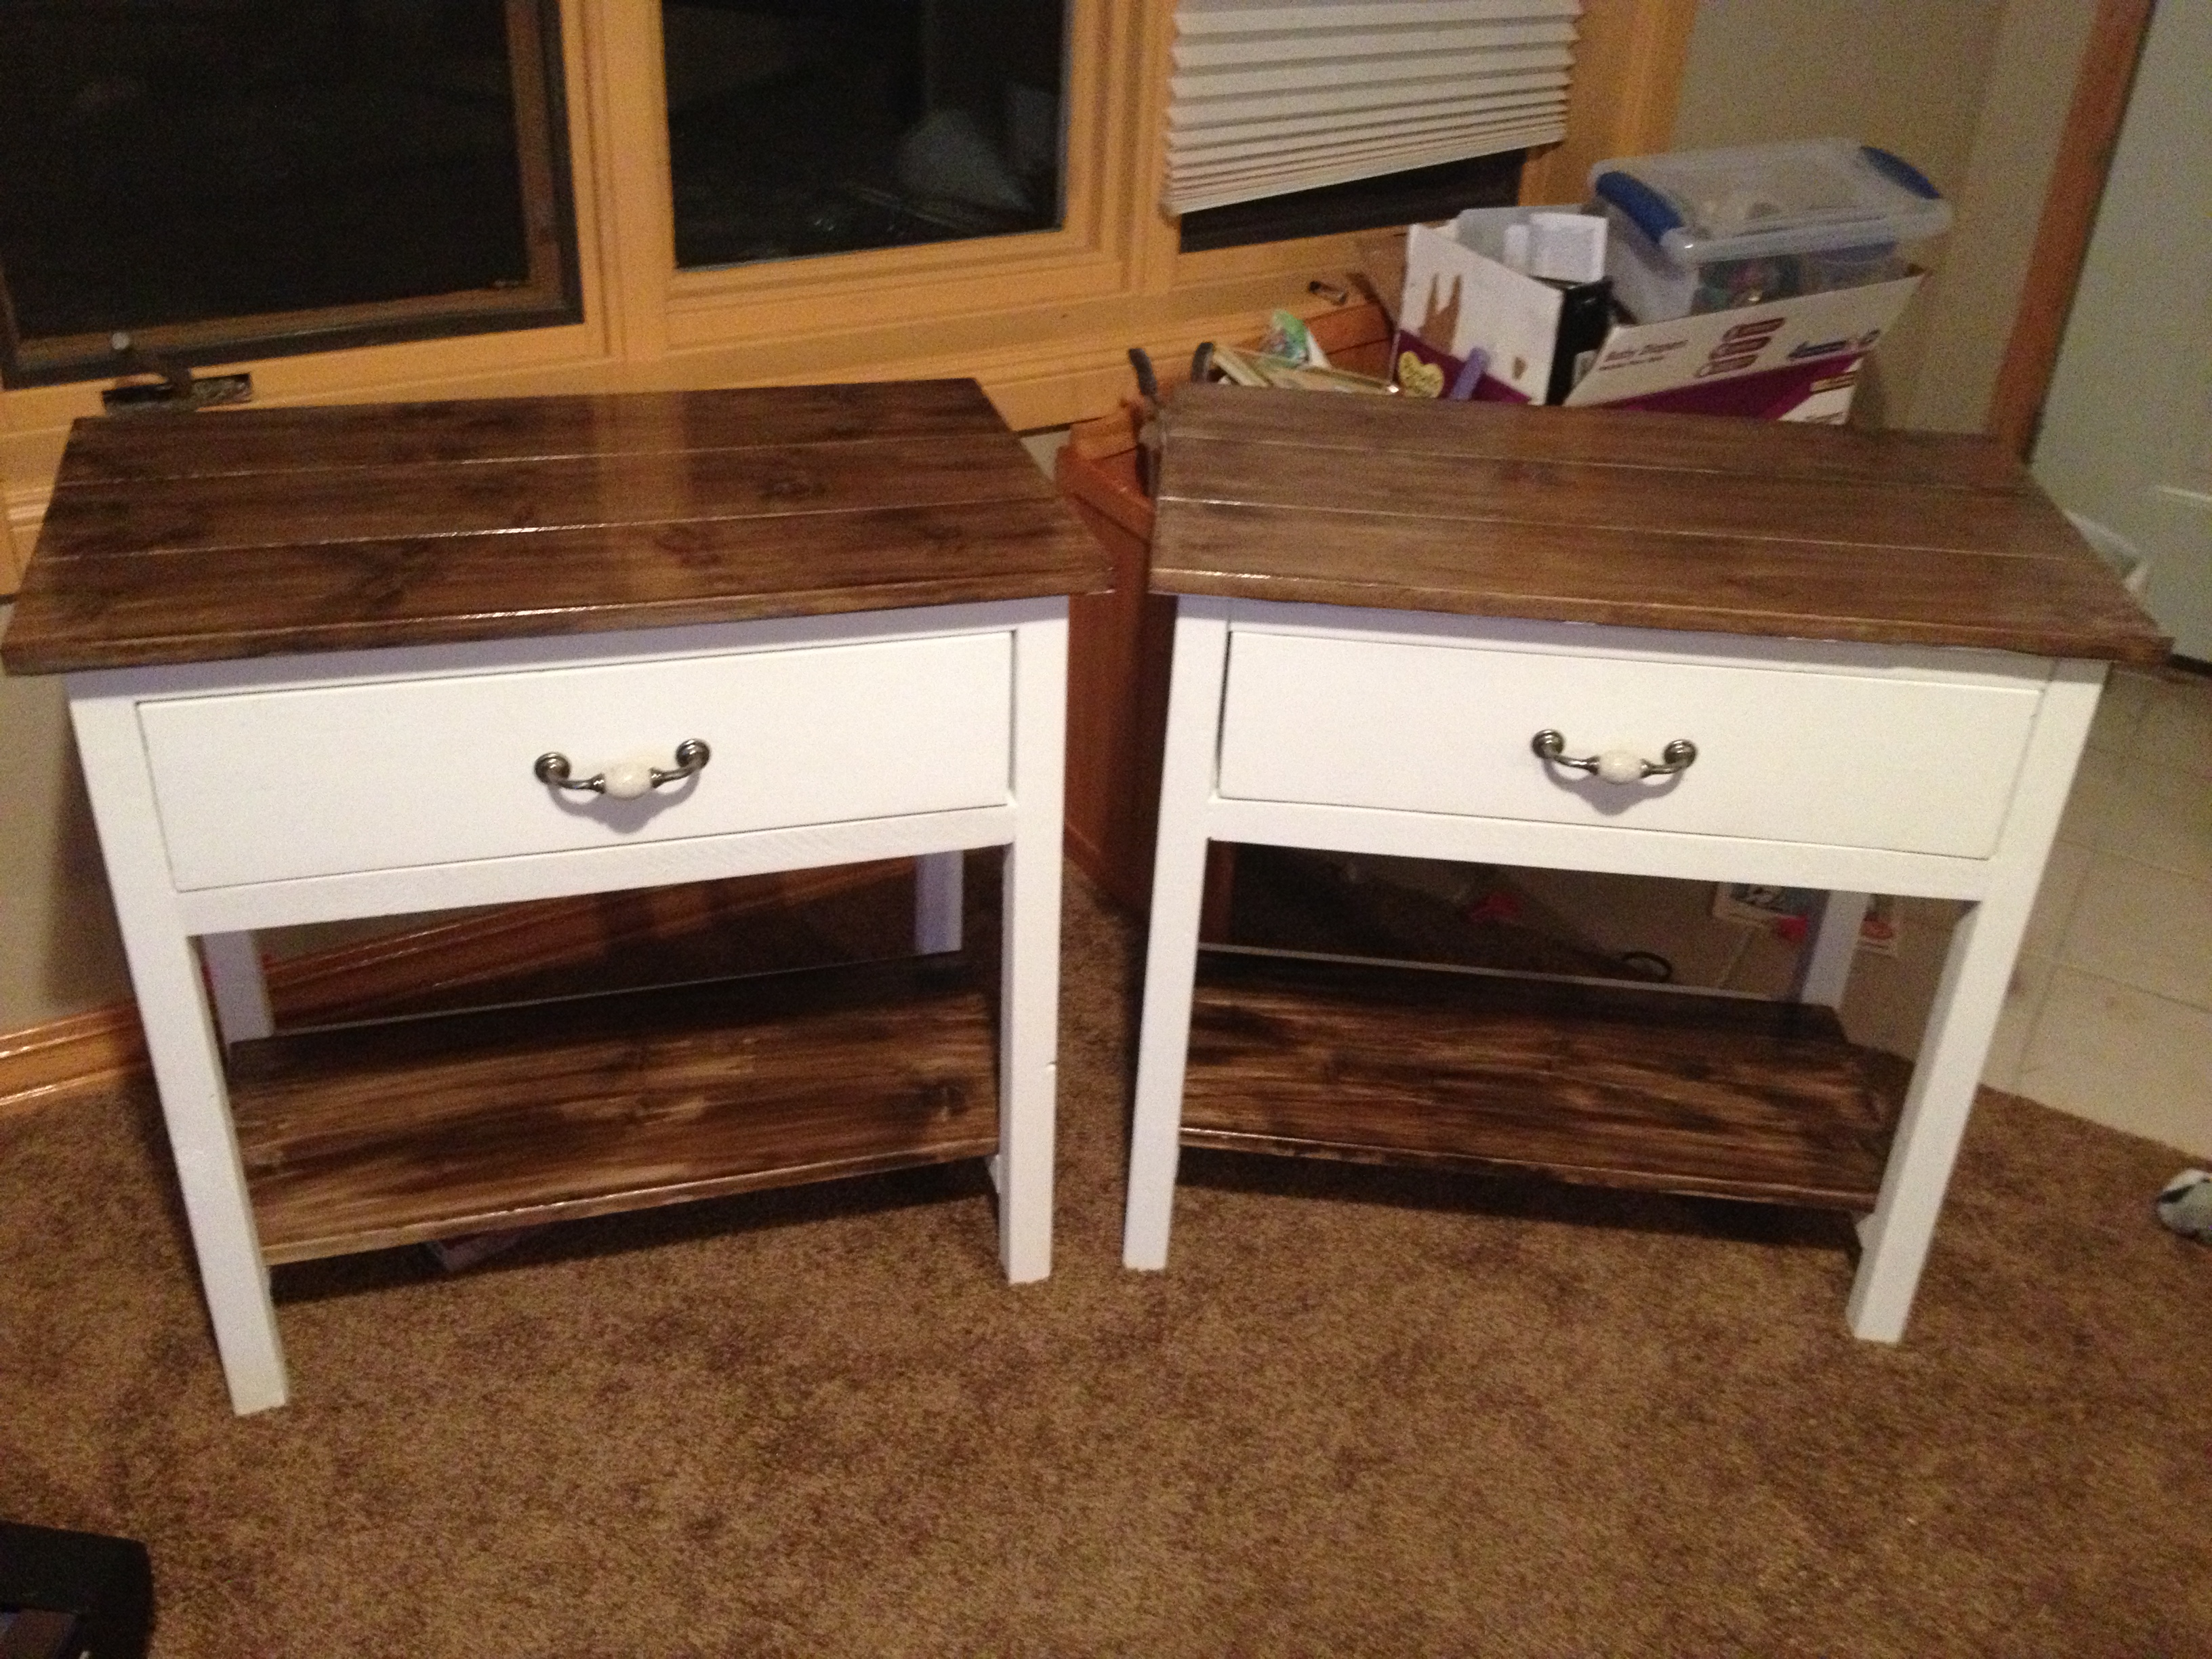
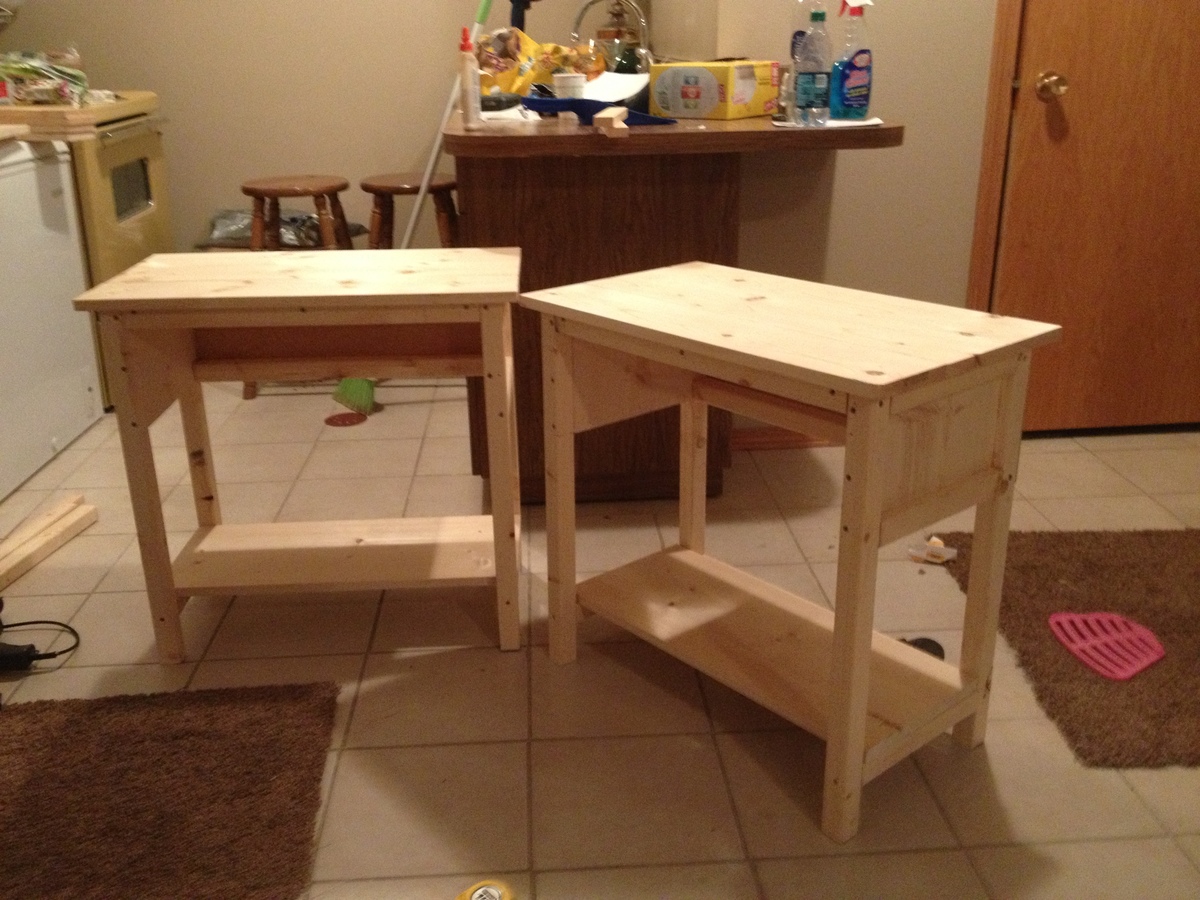
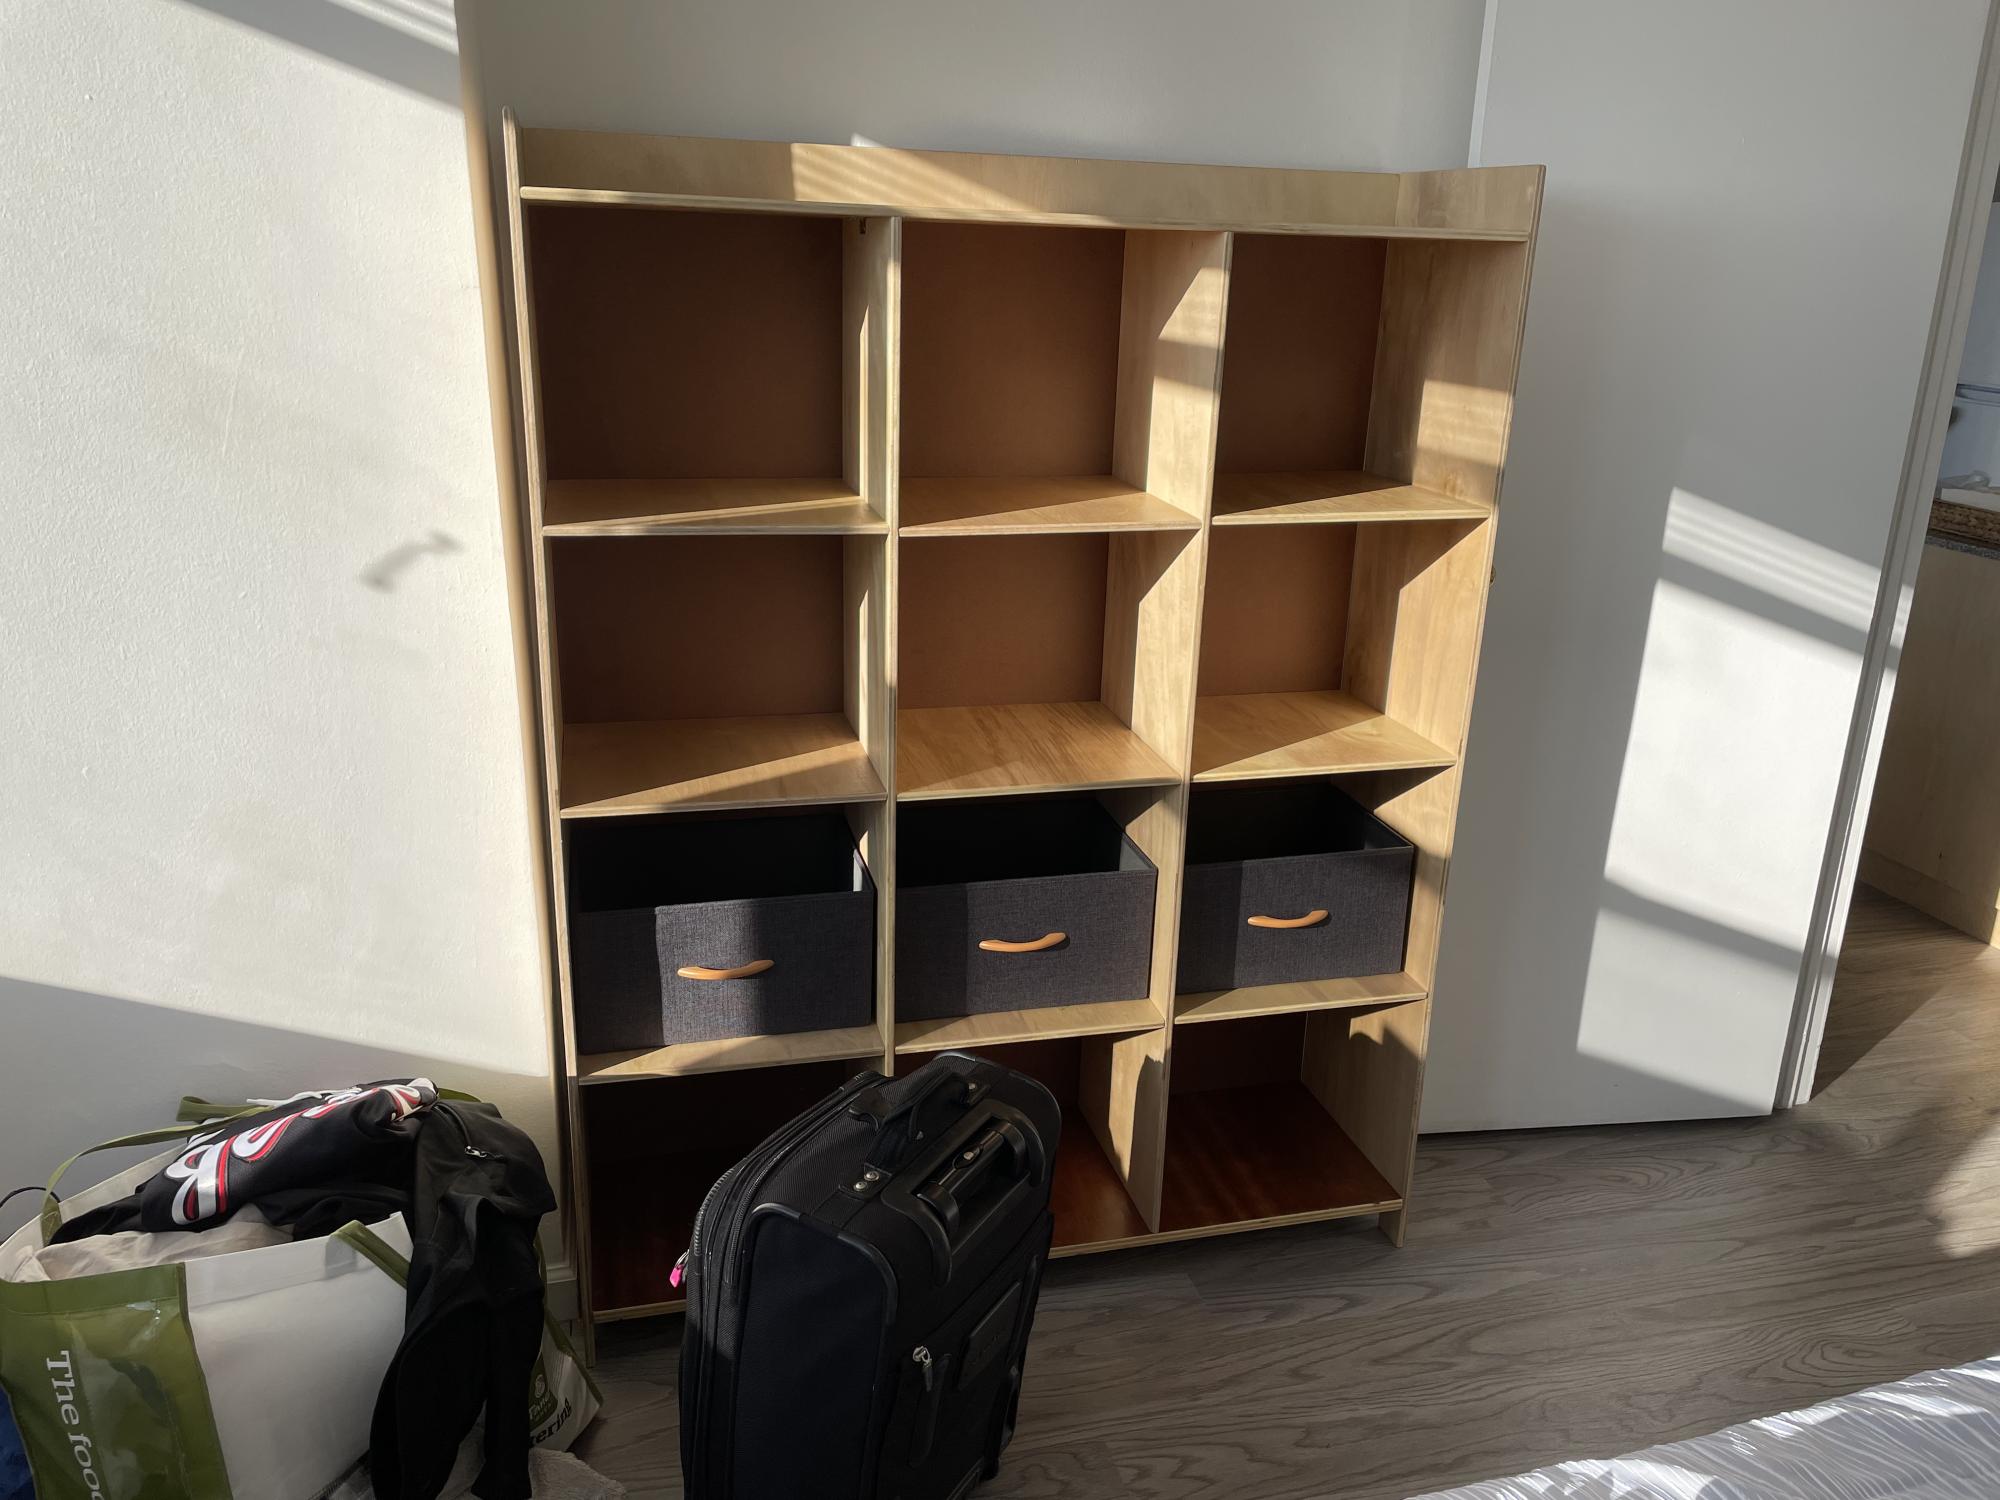
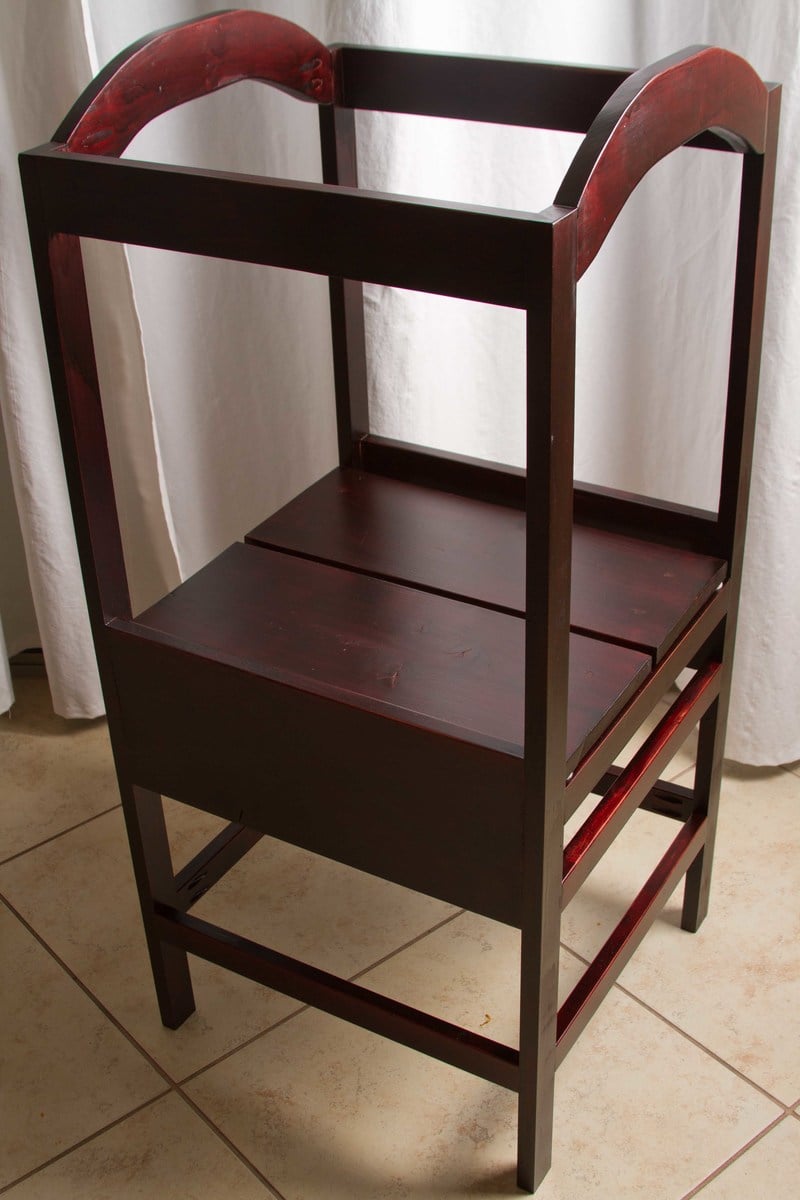
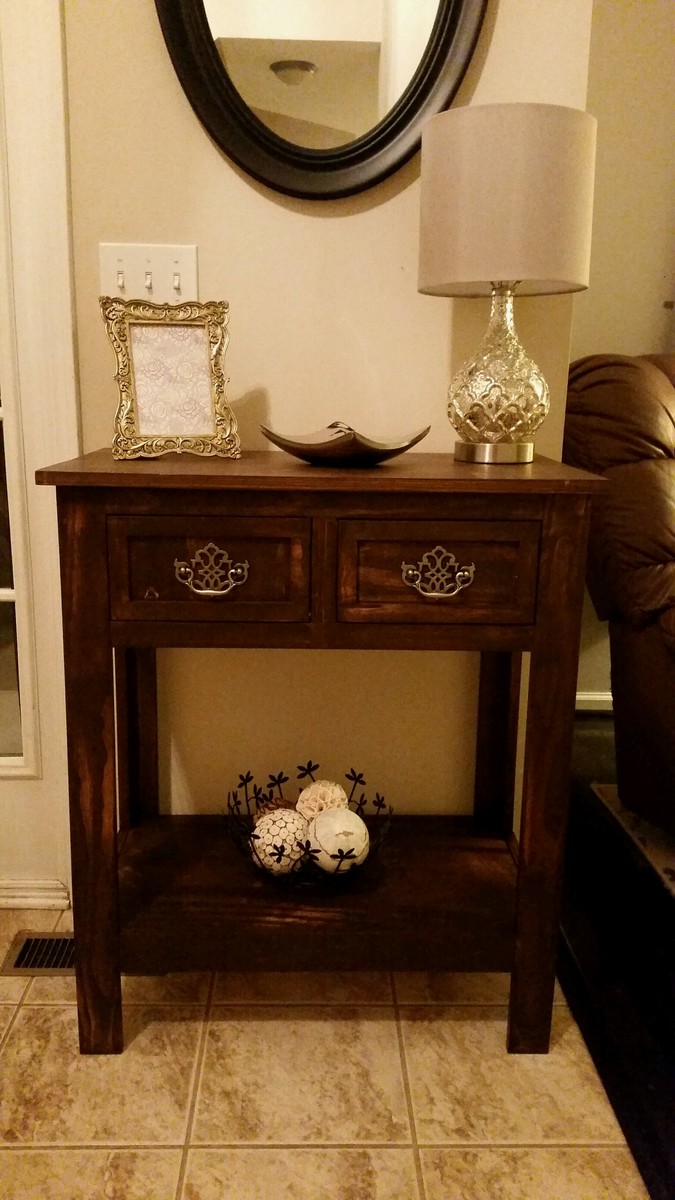
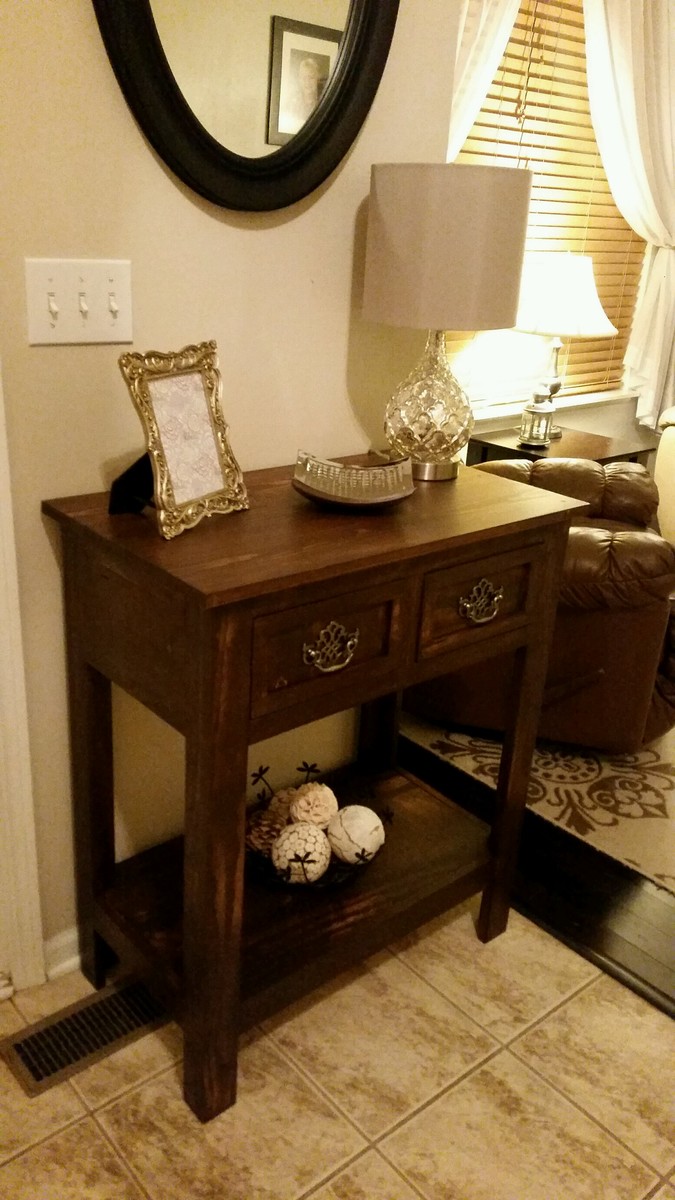
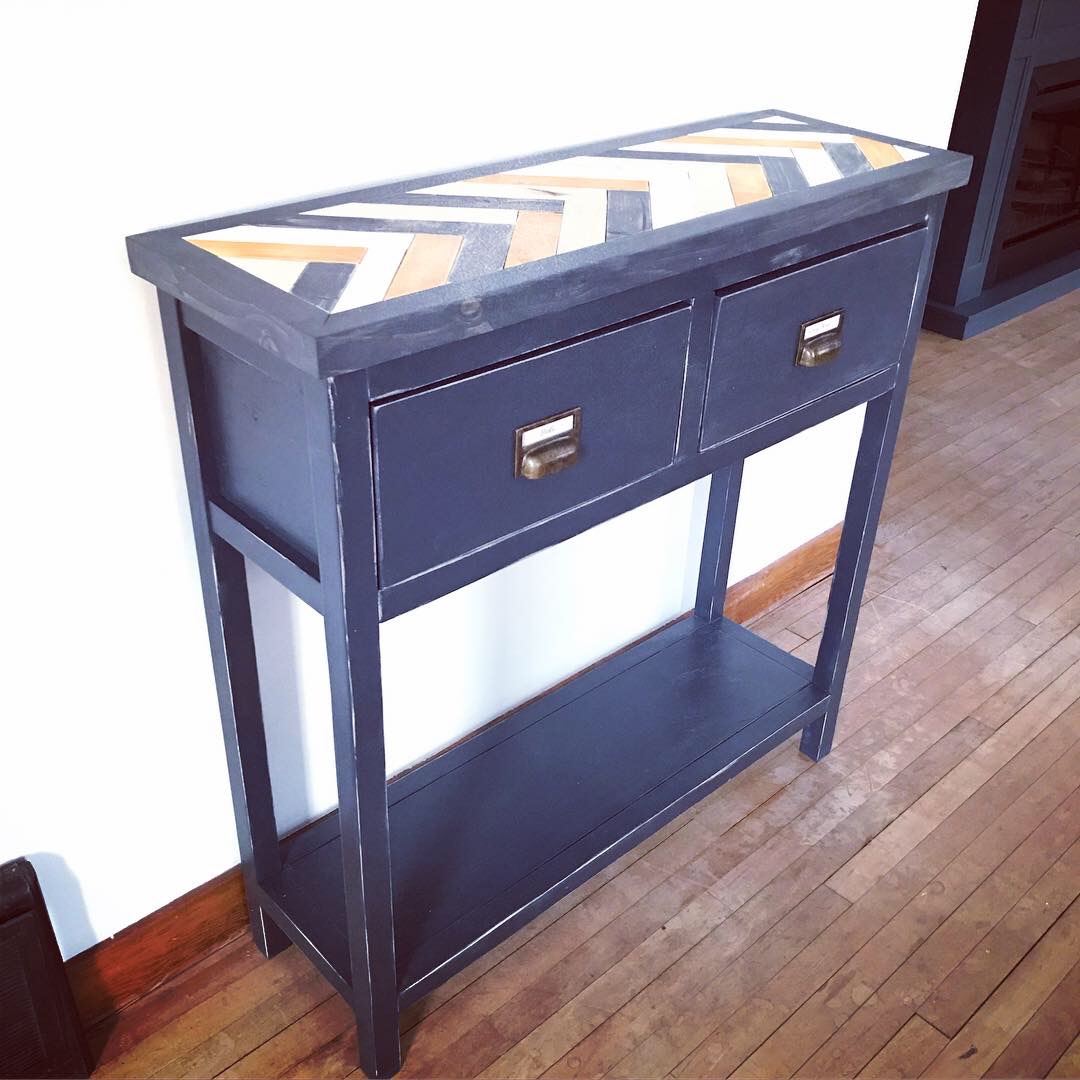
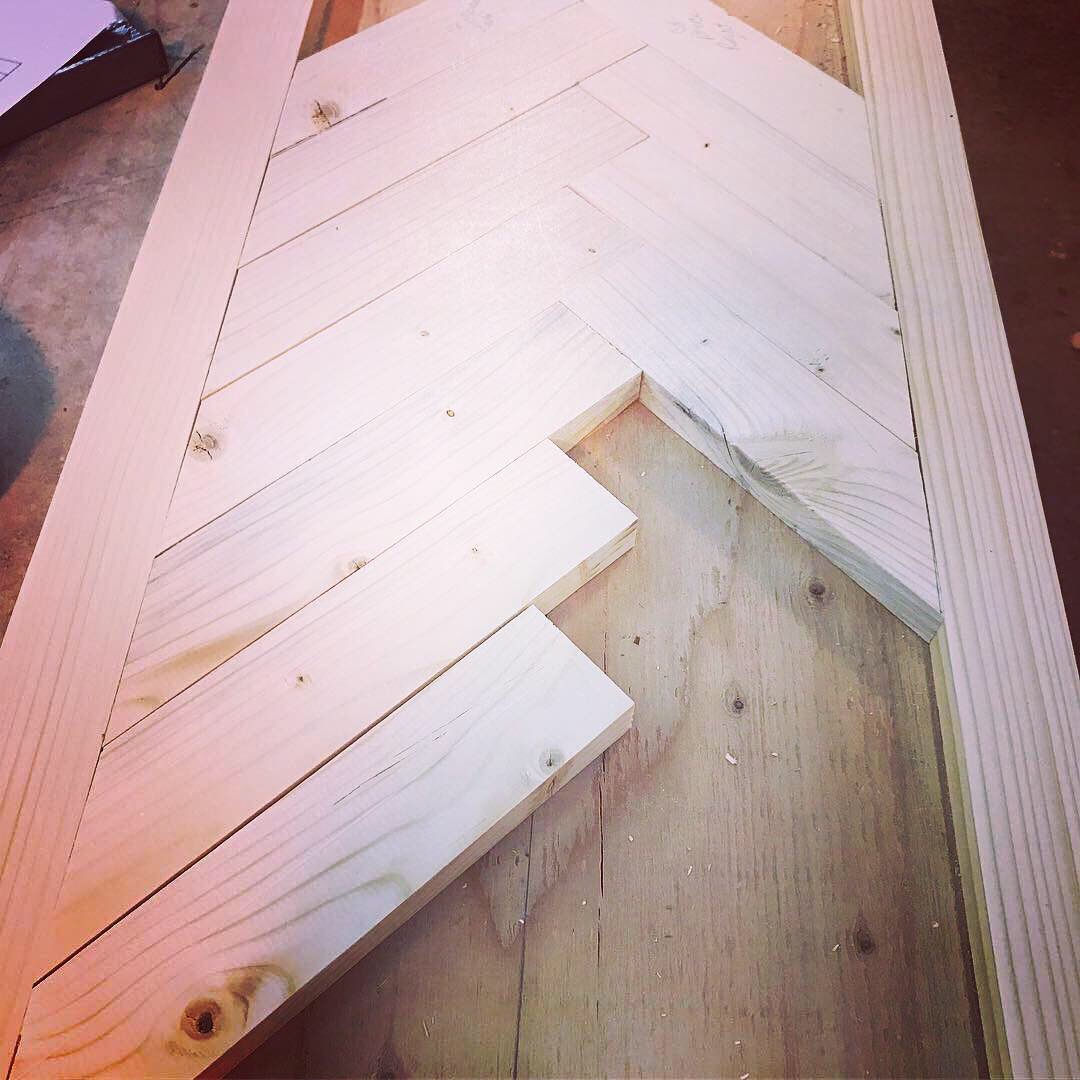
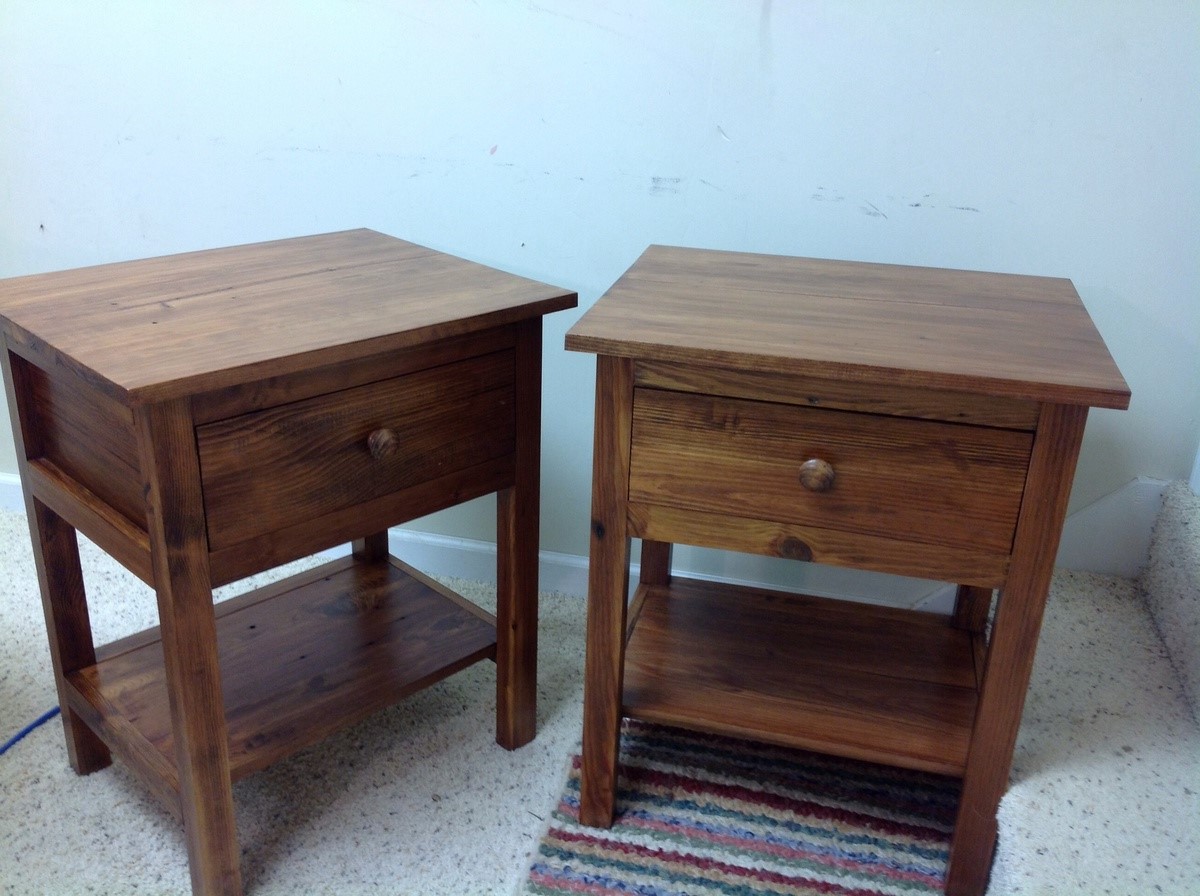
Modified Simple Cheap Console Table

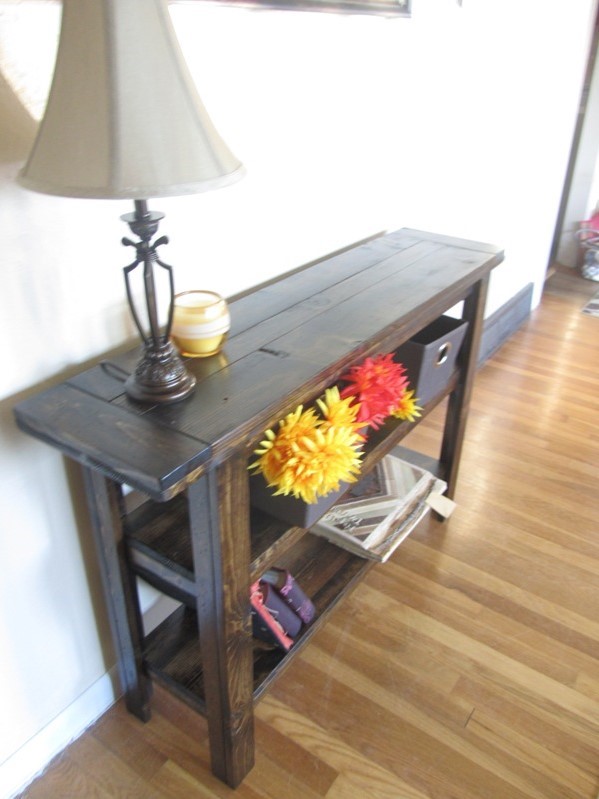
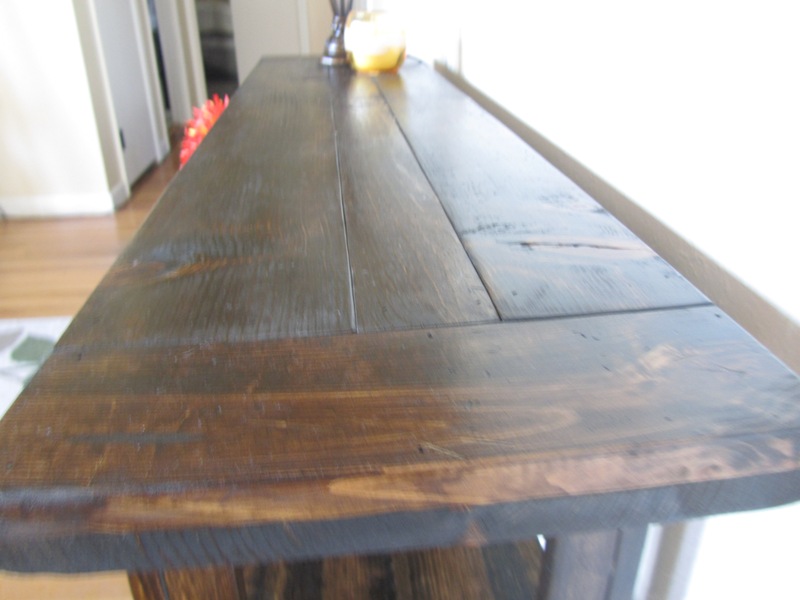
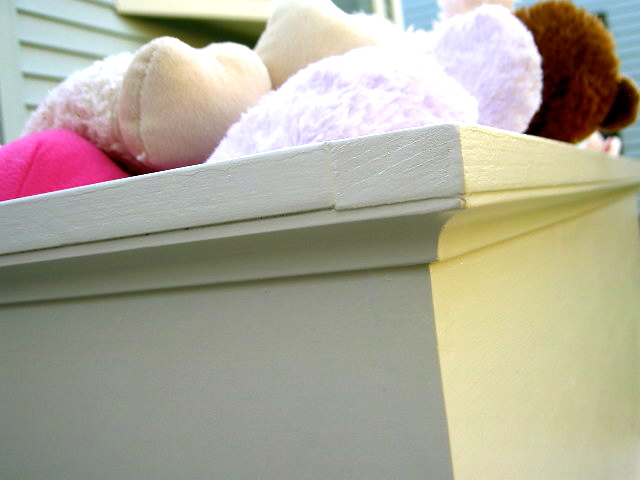
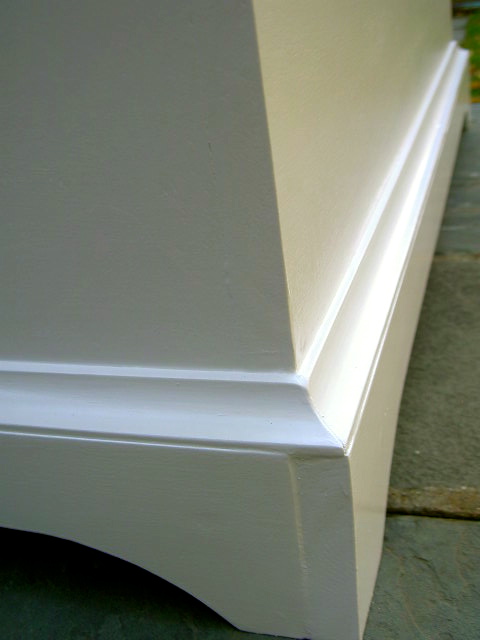
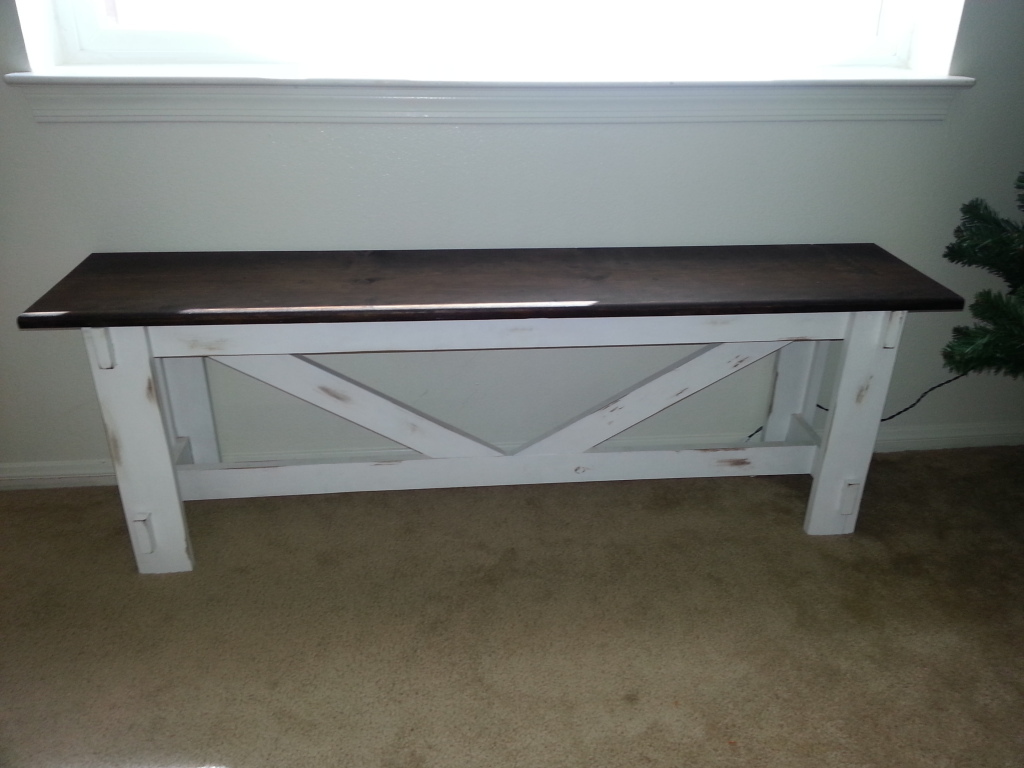
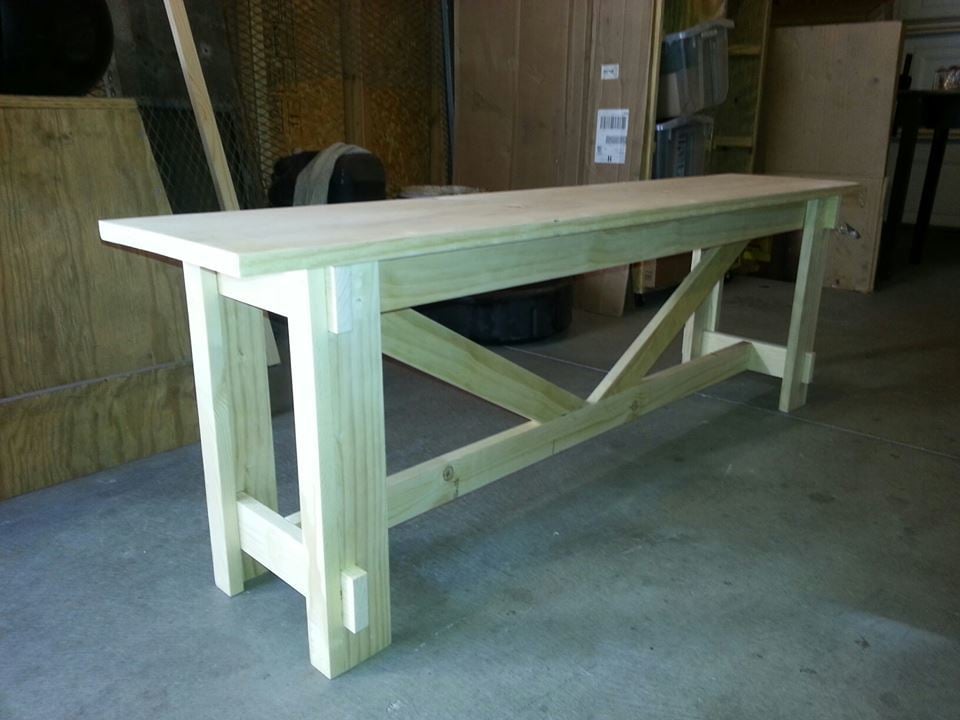
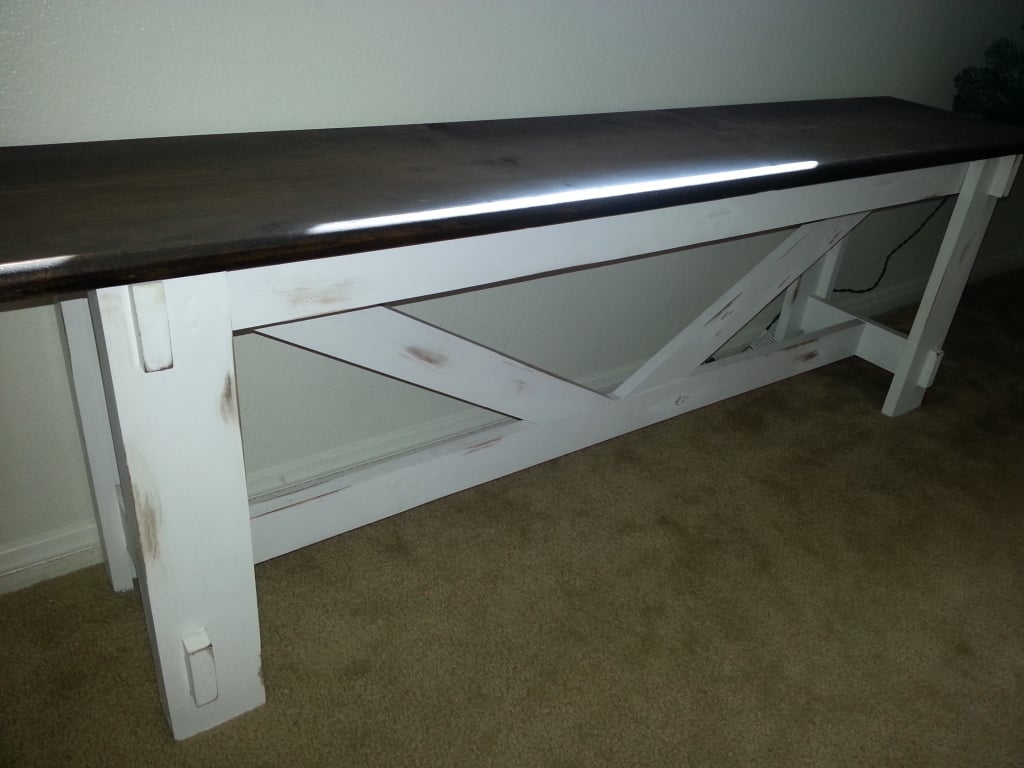
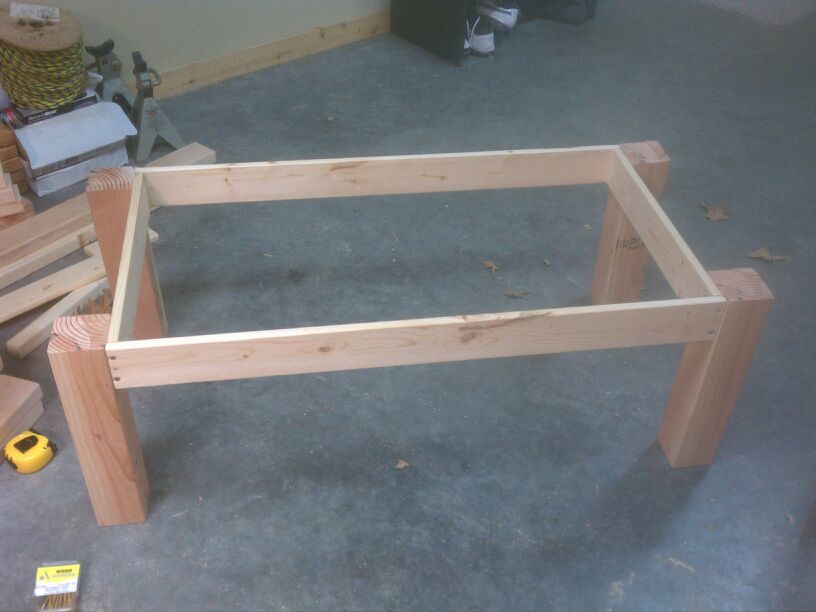
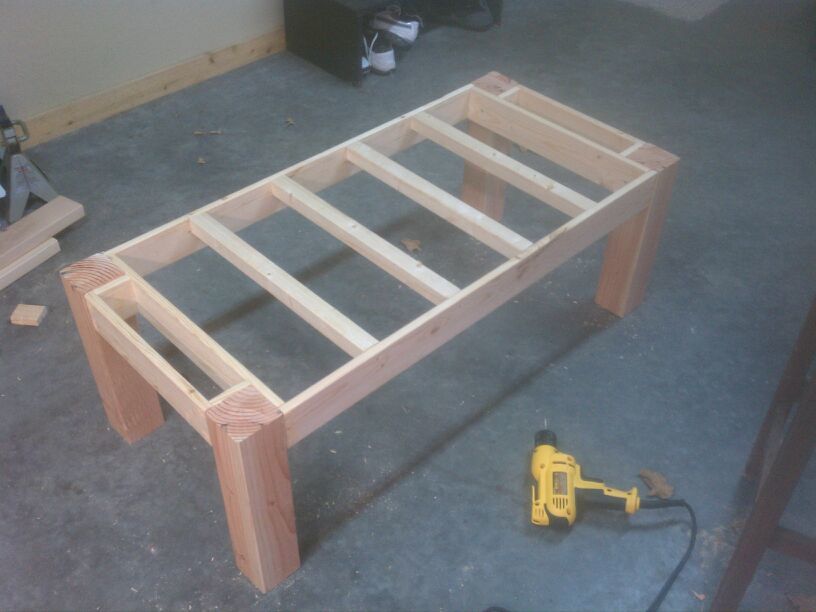
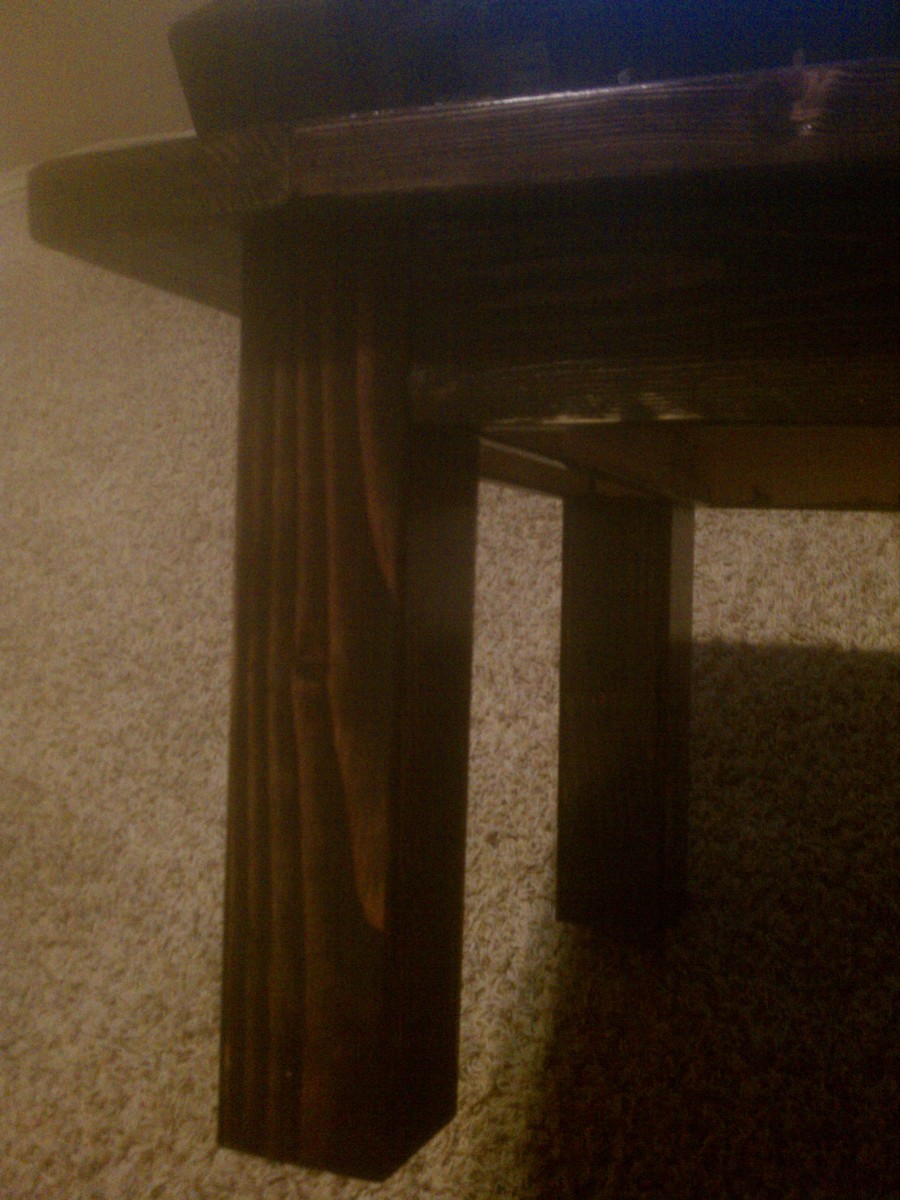
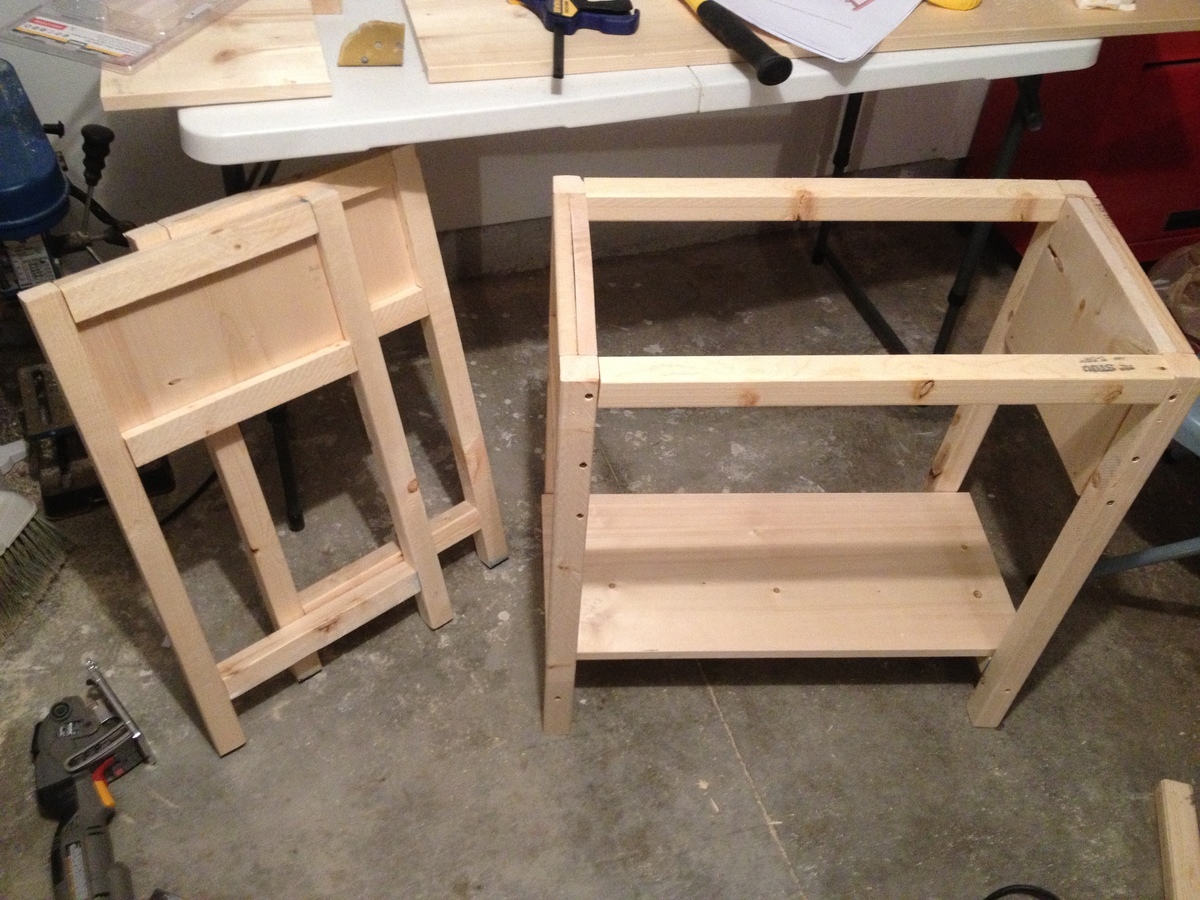
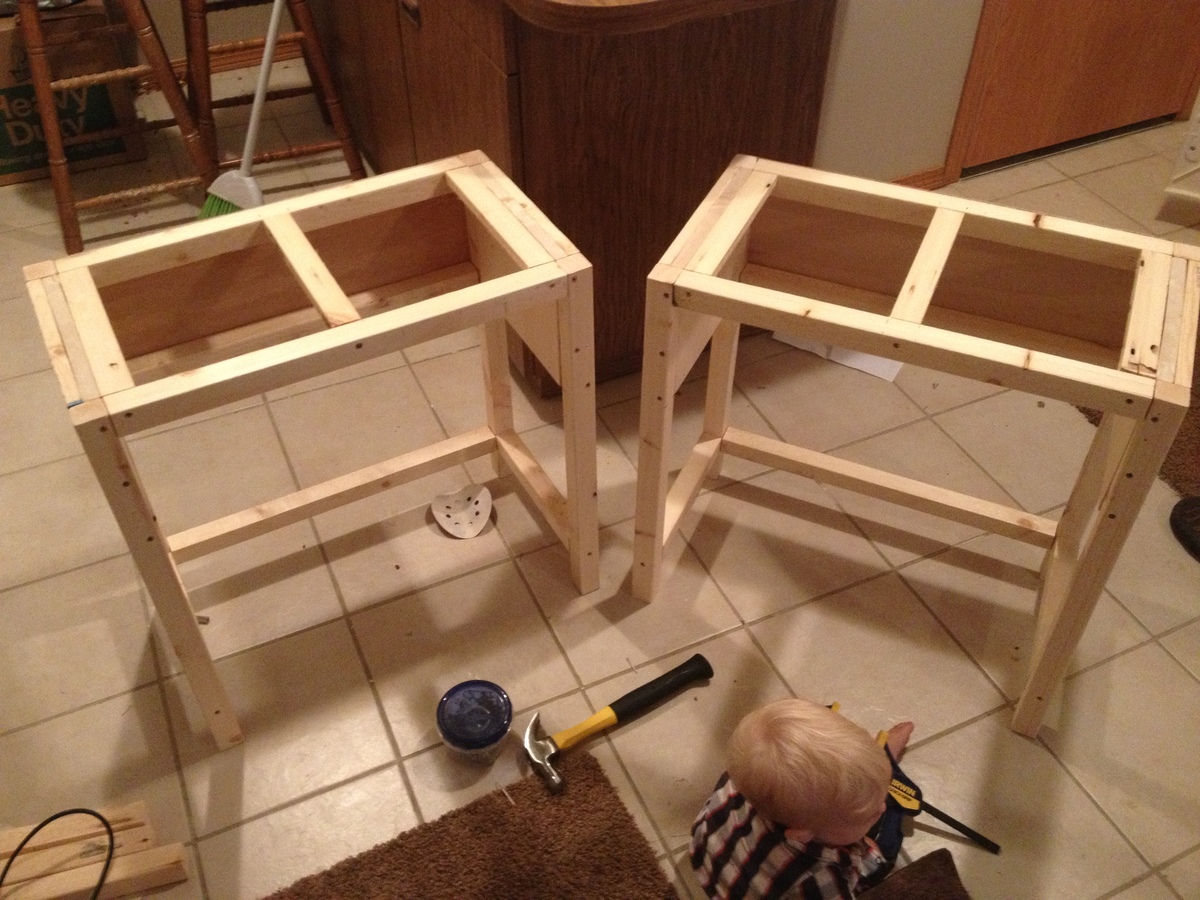
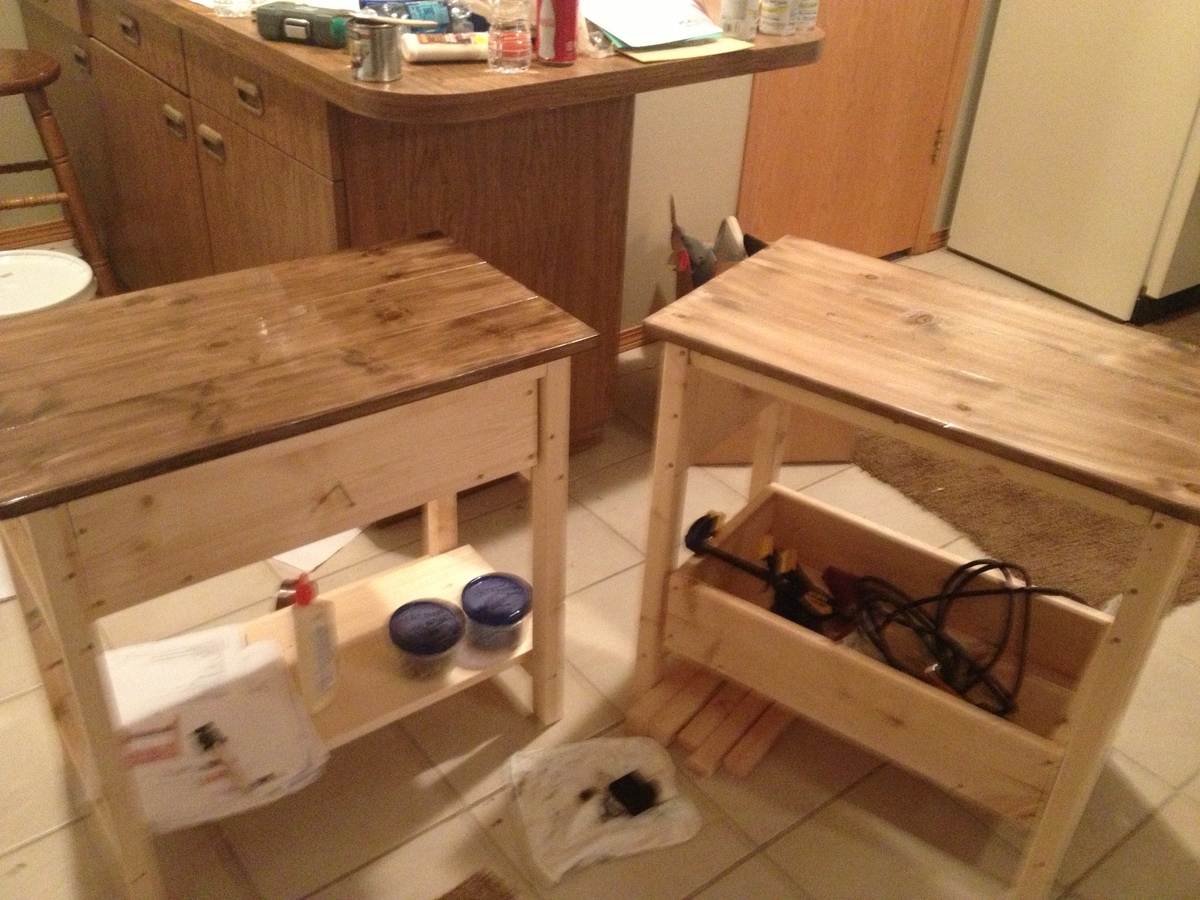
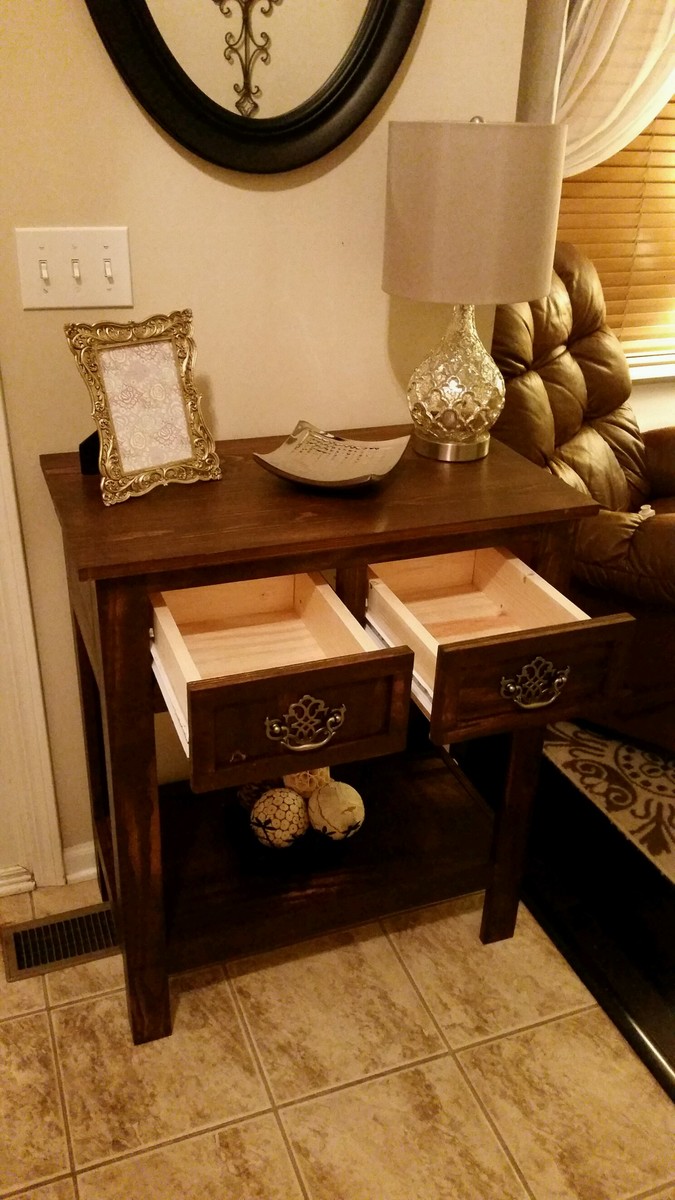
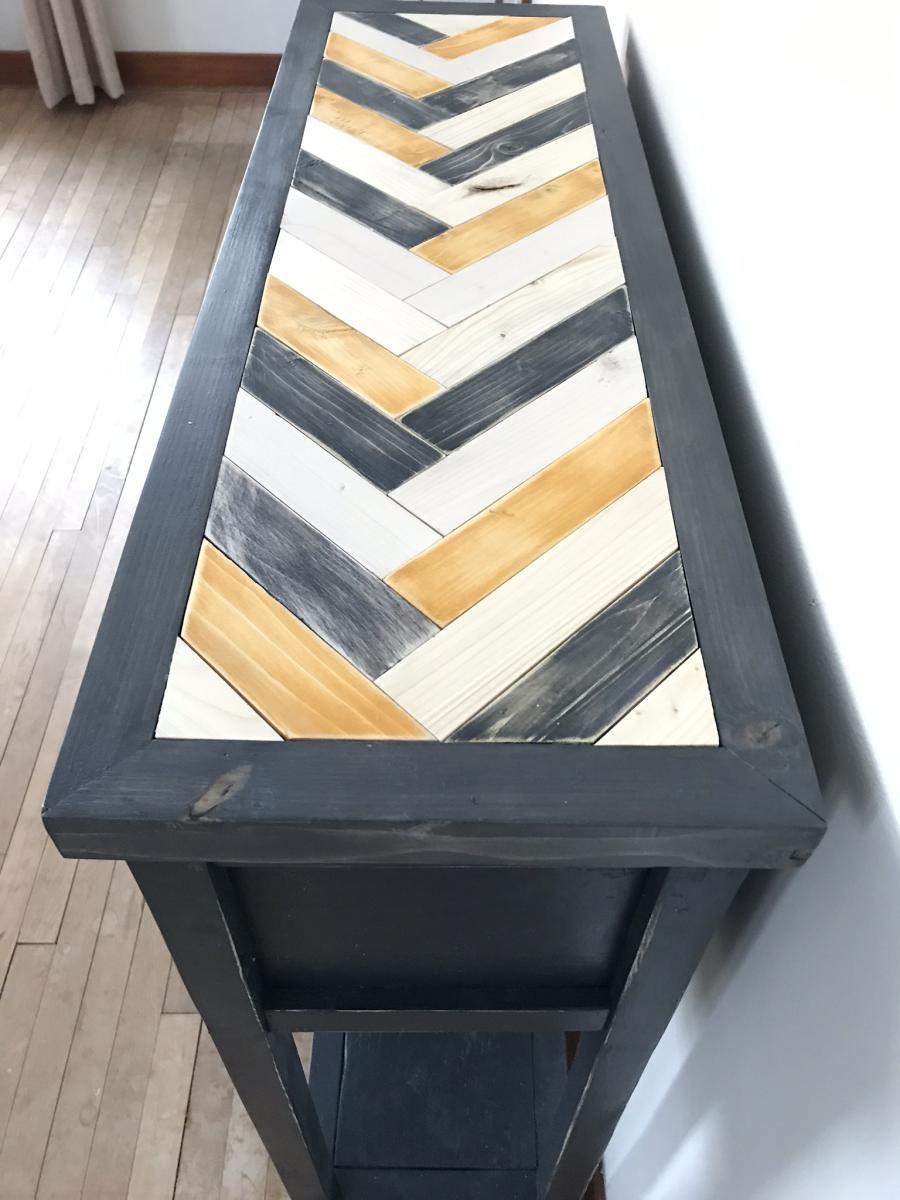
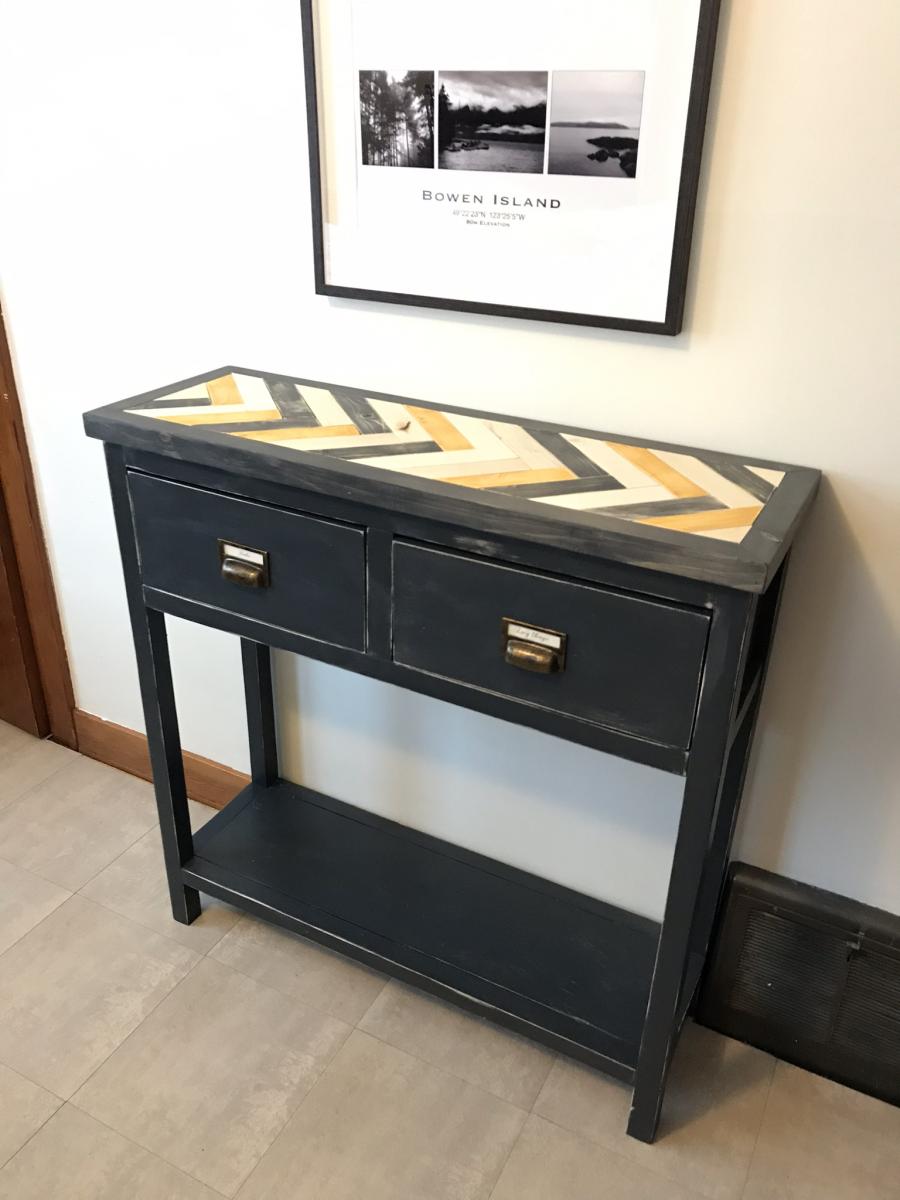
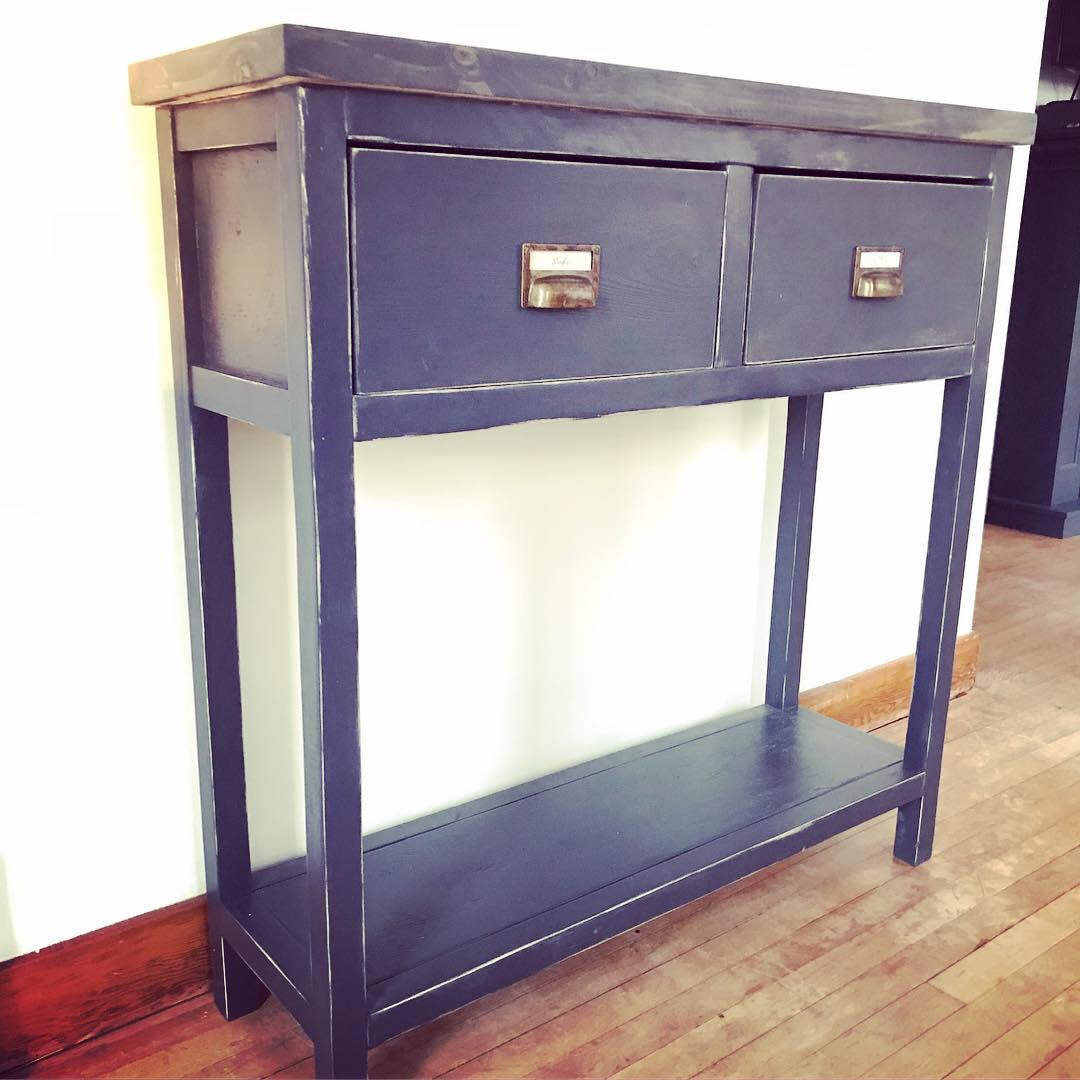
This was my first project from Ana's web site. I modified the table by expanding the trim of the stretcher to the outsides and adding a shelf. I also added an additional shelf in the middle. I cut the apron for the top down to two inches, and an inch a half for the lower two shelves. I distressed each piece of wood individually by hitting it with a bag of nails and various other things.

Estimated Cost
$40.00 - I had the stain and sand paper and polyurethane.
Estimated Time Investment
Afternoon Project (3-6 Hours)
Finish Used
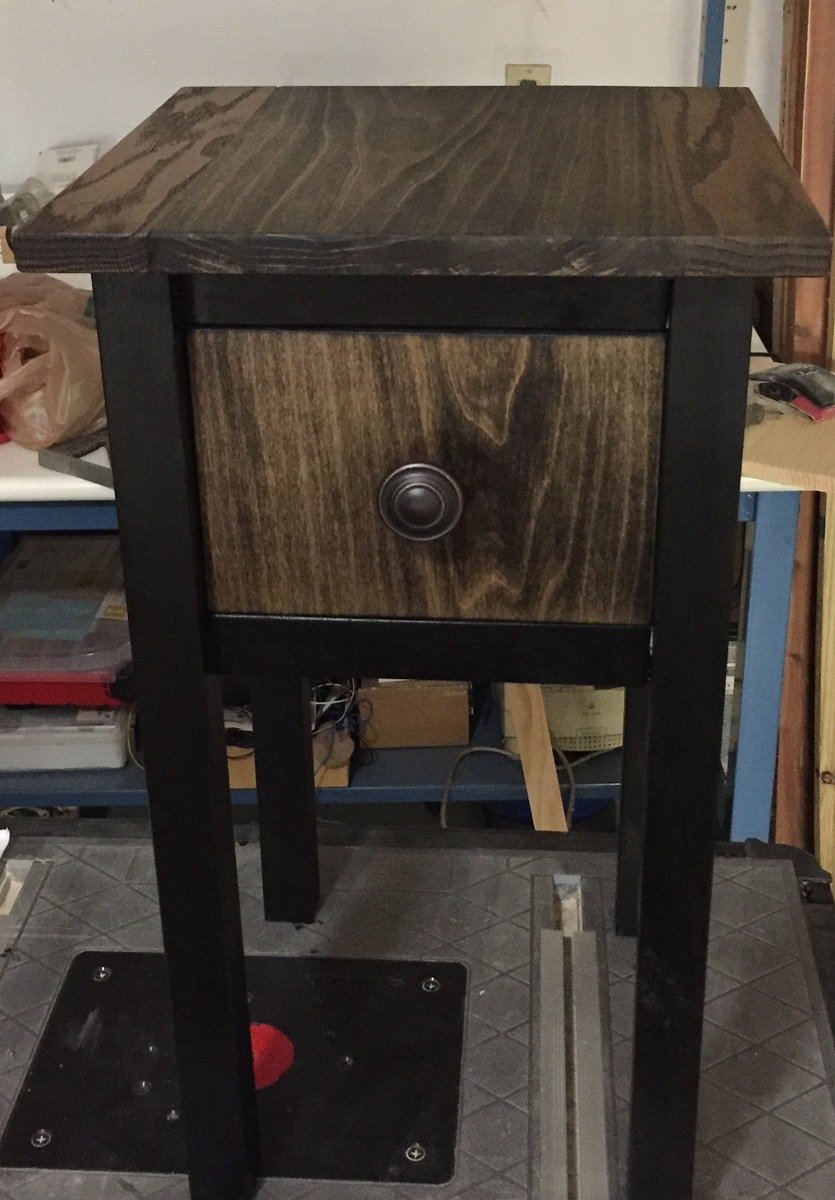
I used two coats of dark walnut minwax and two coats of satin polyurethane. If anyone has any tips for their "best" finishing techniques, I'm all ears.
Recommended Skill Level
Beginner

Comments

shea chappell

Sat, 11/12/2011 - 07:31

I am literally I the middle of buildig the sectional and all of a sudden it says I
am not authorized to get into that page. Any information?

beckiedecker

Sat, 11/12/2011 - 20:03

And what a fun project, whacking it with nails and such to distress. Did you feel de-stressed afterward?

It looks great.

T-Town DIYer

Tue, 11/15/2011 - 09:25

I could have given the table a little bit more of my stress. Unfortunately I couldnt swing the bag too hard, because the nails would rip right through it and fly all over the place. Maybe next time i'll use a pillow cause and swing a little harder.

T-Town DIYer

Thu, 11/17/2011 - 10:14

This has become me new favorite site to visit. My to do list is a mile long and covers almost every room in the house. My wife thanks you!

Your chair plans , my chairs to go with my table?

Submitted by Mike Cook on Sat, 10/26/2013 - 20:24

Used the parsons chair plans and finished it with a wood seat and back. Made them out of an old cedar hot tub and reclaimed wood from a house.
Mad a set of 6 chairs, holding up great over a year! Took me about 40 hours including milling the wood.

Built from Plan(s)
Estimated Cost
All recycled wood $10 for glue
Estimated Time Investment
Week Long Project (20 Hours or More)
Finish Used
Penofin stain and water based poly.
Recommended Skill Level
Intermediate

Garage mushroom with hidden storage

Submitted by Anonymous (not verified) on Sun, 01/10/2016 - 19:33

this was my first project this big took me about 15hours and I'm extremely happy at how it turned out 

Estimated Cost
$150
Estimated Time Investment
Weekend Project (10-20 Hours)
Finish Used
Kona sealer ,min wax
Recommended Skill Level
Beginner

Small Flower Planter

Submitted by JamieLynn on Sun, 05/19/2019 - 04:45

This is my first project in years. It turned out exactly as I wanted. I decided to paint it after with some white paint That I had laying around. This whole project cost about $15 and 2 hours.

Estimated Cost
$15
Estimated Time Investment
An Hour or Two (0-2 Hours)
Recommended Skill Level
Starter Project

Boot Room Before and After

Got bored, built a boot room! Thank you Ana White for the plans!

Comments

toy box #4

Kids toy box with personalization.

Built from Plan(s)
Estimated Cost
$50
Estimated Time Investment
Afternoon Project (3-6 Hours)
Finish Used
1. One coat primer
2. Two coats semi-gloss white
3. Acrylic for personalization
4. clear acrylic spray
Recommended Skill Level
Intermediate

Rustic X Bench

Submitted by LiMa87 on Mon, 10/28/2013 - 14:26

This was my first build with minimal help from my husband. I'm unsure how long it took to build since I worked on it periodically and forget how much I spent on the wood since this took place several months ago. When I started this project, I did not have a pocket hole jig and since then have learned how invaluable that tool is. It's not perfectly square but it's not as noticeable sitting on carpet as it would be on hard flooring.

Probably a harder first-time project to start with but overall I'm happy with the outcome and looking forward to my next project.

Estimated Time Investment
Weekend Project (10-20 Hours)
Finish Used
Minwax in Cherry topped with Minwax in Dark Walnut. Painted the base white and distressed with the Cherry stain.
Recommended Skill Level
Intermediate

Tryde Coffee Table

Wife showed me a picture and I found instructions from the projects already on here and did it less than a week. I had the wood part done in about 5 hours and with two coats of staining and a couple of the clear coat and me trying to find some time to do it while working a lot you could probably have this done in a weekend if you were free for the whole weekend. 

Built from Plan(s)
Estimated Cost
$75. This includes brushes and stain. Hardware. Wood. If you need to buy saws or tools, etc. this doesn't include that.
Estimated Time Investment
Weekend Project (10-20 Hours)
Finish Used
Mission Oak and Clear Satin Finish
Recommended Skill Level
Beginner

2x4 patio couches

Submitted by Sner77 on Mon, 05/27/2019 - 10:49

I built 2 of the 2x4 couches with slight modifications.  I didn’t like the straight bar across the back so changed it to a leaning high back.

I also added a square box that can be used for a dividing table on the couch or side table when additional seating is needed.  

Plan on scaling down for a love-seat and chair.

Kreg jig for pocket holes was time consuming but well worth it! 

Built from Plan(s)
Estimated Time Investment
Weekend Project (10-20 Hours)
Finish Used
Urathane.
Not pleased with the urathane finish after 2 years. I have begun sanding them down to try a linseed oil finish instead.
Recommended Skill Level
Beginner

Barn Door Pantry Build

Submitted by Anonymous (not verified) on Sat, 03/18/2023 - 14:54

Using the Barn Door Pantry plan, I partially built this in my shop then took it apart and transported it to my son's house where we reconstructed it. This is a massive project and I recommend that you have enough room (and help) to build it and move it. The door is built with 1/2 inch plywood, framed with 1 by 4's with bead board inserts.

Built from Plan(s)

Comments

Pine Coffee Table = Success

Tryde Coffee Table

Used: Pine wood, 2 coats Kona stain, 3 coats gloss poly, 2.5" silver screws.

Lessons Learned: Forgot to use wood glue on joints, use 10" circular saw or table saw for 4x4 posts (I used a 7.25" circular and had to cut all sides and then sand down uneven parts)

This is a heavy duty coffee table, and can easily support up to two people stacked on top of it... which was my main concern. :)

Built from Plan(s)
Estimated Cost
$70
Estimated Time Investment
Day Project (6-9 Hours)
Finish Used
Kona Stain, Gloss Poly
Recommended Skill Level
Starter Project

Comments

FARMHOUSE BEDSIDE TABLE

I have been working on this set of farmhouse nightstands for well over a month now. I have three kids and so I typically did a little here and there whenever I could find some free time. I love them now that they are finished!

I stained the top before I did any painting and then covered it with newspaper while I was painting the bottom. I'm not exactly sure why I choose to do it this way, other than I was just excited to see how it looked.

The knob I purchased from Hobby lobby.

This is the third project I've built from Ana. So I'm just getting started. But I will tell you right now that building anything with drawers is TOUGH!

Thanks Ana!

Here's a link to the plans:
http://ana-white.com/2011/01/farmhouse-bedside-table

Estimated Cost
$60
Estimated Time Investment
Week Long Project (20 Hours or More)
Recommended Skill Level
Intermediate

Comments

Table

Submitted by Anonymous (not verified) on Sun, 01/17/2016 - 20:29

Square instead of rectangular.  Top is oak and poplar stained Jacobean.  Drawer front is poplar.  Interior of drawer is cedar.  Pine for everything else.

Built from Plan(s)
Recommended Skill Level
Beginner

Large Cubby

Submitted by Anonymous (not verified) on Fri, 03/24/2023 - 17:04

My son moved into his first very small apartment and wanted a cubby array rather than a dresser. I made this following your plans and it came out great! It’s 4x4 cubbies as you can see. I used 1/2” plywood to keep the weight down. It was a little flimsy, so I put 1/8” tempered sheet on the back, which made it completely stable. He loves it! Thanks Ana!

Built from Plan(s)

Comments

Little Helper Tower

Submitted by SecondWind on Thu, 12/08/2011 - 16:48

Love this site! I stumbled on Ana's site via Pinterest and have been hooked ever since! I used pocket screws to attach everything (the Kreg Jig is AWESOME!) Thanks for the great plans, and my daughter loves her tower! I stained it to match the cabinets in our kitchen and so our soon-to-be baby boy can use it in the future. The wood is just some cheaper pine from the local HIW.

Built from Plan(s)
Estimated Time Investment
Weekend Project (10-20 Hours)
Finish Used
Bombay Mahogany Minwax Polyshades
Recommended Skill Level
Beginner

4X4 Truss Beam Table and Bench

I have been eyeing many tables on Ana's website for some time now. When she posted the plans for this 4x4 Truss Beam Table, I knew that it was the one that I wanted to build.
The hardest part of the project was actually picking out super straight boards for the table top and bench top. The construction of the table was really easy!
I finished it with Rustoleum American Walnut stain and 3 coats of Rustoleum Semi-gloss polyurethane.
My family loves the table! I am super happy with how it turned out!!

Estimated Time Investment
Weekend Project (10-20 Hours)
Recommended Skill Level
Intermediate

Comments

bclute

Mon, 11/04/2013 - 17:46

Table looks great, I am braving this project at some point, but have procrastinated trying to find the right look and plan. Yours looks great. What grade pine did you use? Did you use the douglas fir for the 4x4's?

brentlbg

Mon, 01/19/2015 - 18:52

did you use the finish Ana recommended or did you do your own version? I like the color of the finish.

Shirley Console Table - Modified

Absolutely loved this table when I saw the plans and knew it was exactly what we were looking for near our front entrance.  I got the wonderful idea from another builder on here (Kiely54, thanks!) who modified the drawer faces and used the amazing drawer pulls. My wife loved the drawer pulls so much we hunted them down at our local Menards.  This is the first time I have ever built a piece with drawers.  I was absolutely terrified about making and fitting the drawers, but it wasn't nearly as bad as I thought.  I have now learned how to do it and now I don't feel so limited about the pieces I build.  We modified the size to fit our area and we absolutely love the finished product!

Built from Plan(s)
Estimated Cost
$100
Estimated Time Investment
Weekend Project (10-20 Hours)
Finish Used
Varathane Dark Walnut
Recommended Skill Level
Intermediate

Comments

Herringbone Side Board

Submitted by abarkman on Tue, 06/18/2019 - 14:18

I started this project by using the mini Farmhouse side tables plan.   I added my own herringbone detail on the top that turned out pretty cool.    I finished with Italian brass hardware and put a sleek satin Old Masters finish over the whole thing.  It's a lovely piece that I really enjoy.  

Built from Plan(s)
Estimated Cost
Made mostly out of scrap that I had kicking around. The top has a 1/2" plywood base that would probably cost the most out of all the lumber.
Estimated Time Investment
Weekend Project (10-20 Hours)
Finish Used
Ben Moore Paint (sanded back a bit) and Old Masters Polyurethane
Recommended Skill Level
Intermediate

Painted Side Board and Hutch

Submitted by Anonymous (not verified) on Fri, 03/31/2023 - 07:33

This floor to ceiling Buffet and Hutch was to house a large crockery collection. The upper hutch portion had to have open shelving to display some larger pieces of crockery.

I also wanted a section to convert to a coffee and tea station/ Wine/ Dessert serving section as part of the hutch, when I had parties

Glass shelves and lights were added to give this massive unit a lighter look. To give it a truly unique look, handmade door knobs, pewter accents and a textured backdrop was added.

Built from Plan(s)

Comments

Kids Play Kitchen

Submitted by julievic on Wed, 12/14/2011 - 11:28

Christmas 2010 my husband and I made our little girls a kitchen using Ana's plans. We used the materials on her cut list, and used paint for the finish. Used fabric scraps to sew the sink skirt, found the knobs at hobby lobby and habitat for humanity, and small bar faucet at Home Depot. It turned out amazing!

Estimated Cost
$100
Estimated Time Investment
Weekend Project (10-20 Hours)
Finish Used
Paint
Recommended Skill Level
Beginner

Comments

julievic

Tue, 12/20/2011 - 16:04

Thanks so much for the compliment! Means SO much coming from you! I love your site and your plans, Ana you are amazing! Thank you for making me your featured builder this month, I had no clue until someone saw my face on your blog! I feel like a rock star now ;)

Farmhouse bedside tables

Submitted by TarheelTim on Wed, 11/06/2013 - 18:30

Made these out of left over antique heart pine flooring. Definitely not for beginners. Lots of small pieces, good for using up scraps! Made to match a Reclaimed wood headboard made from the same wood.

Estimated Cost
Next to nothing. Leftover flooring scraps.
Estimated Time Investment
Week Long Project (20 Hours or More)
Finish Used
Mixed my own. Dark walnut, red mahogany, golden oak, and a little cherry.
Recommended Skill Level
Advanced