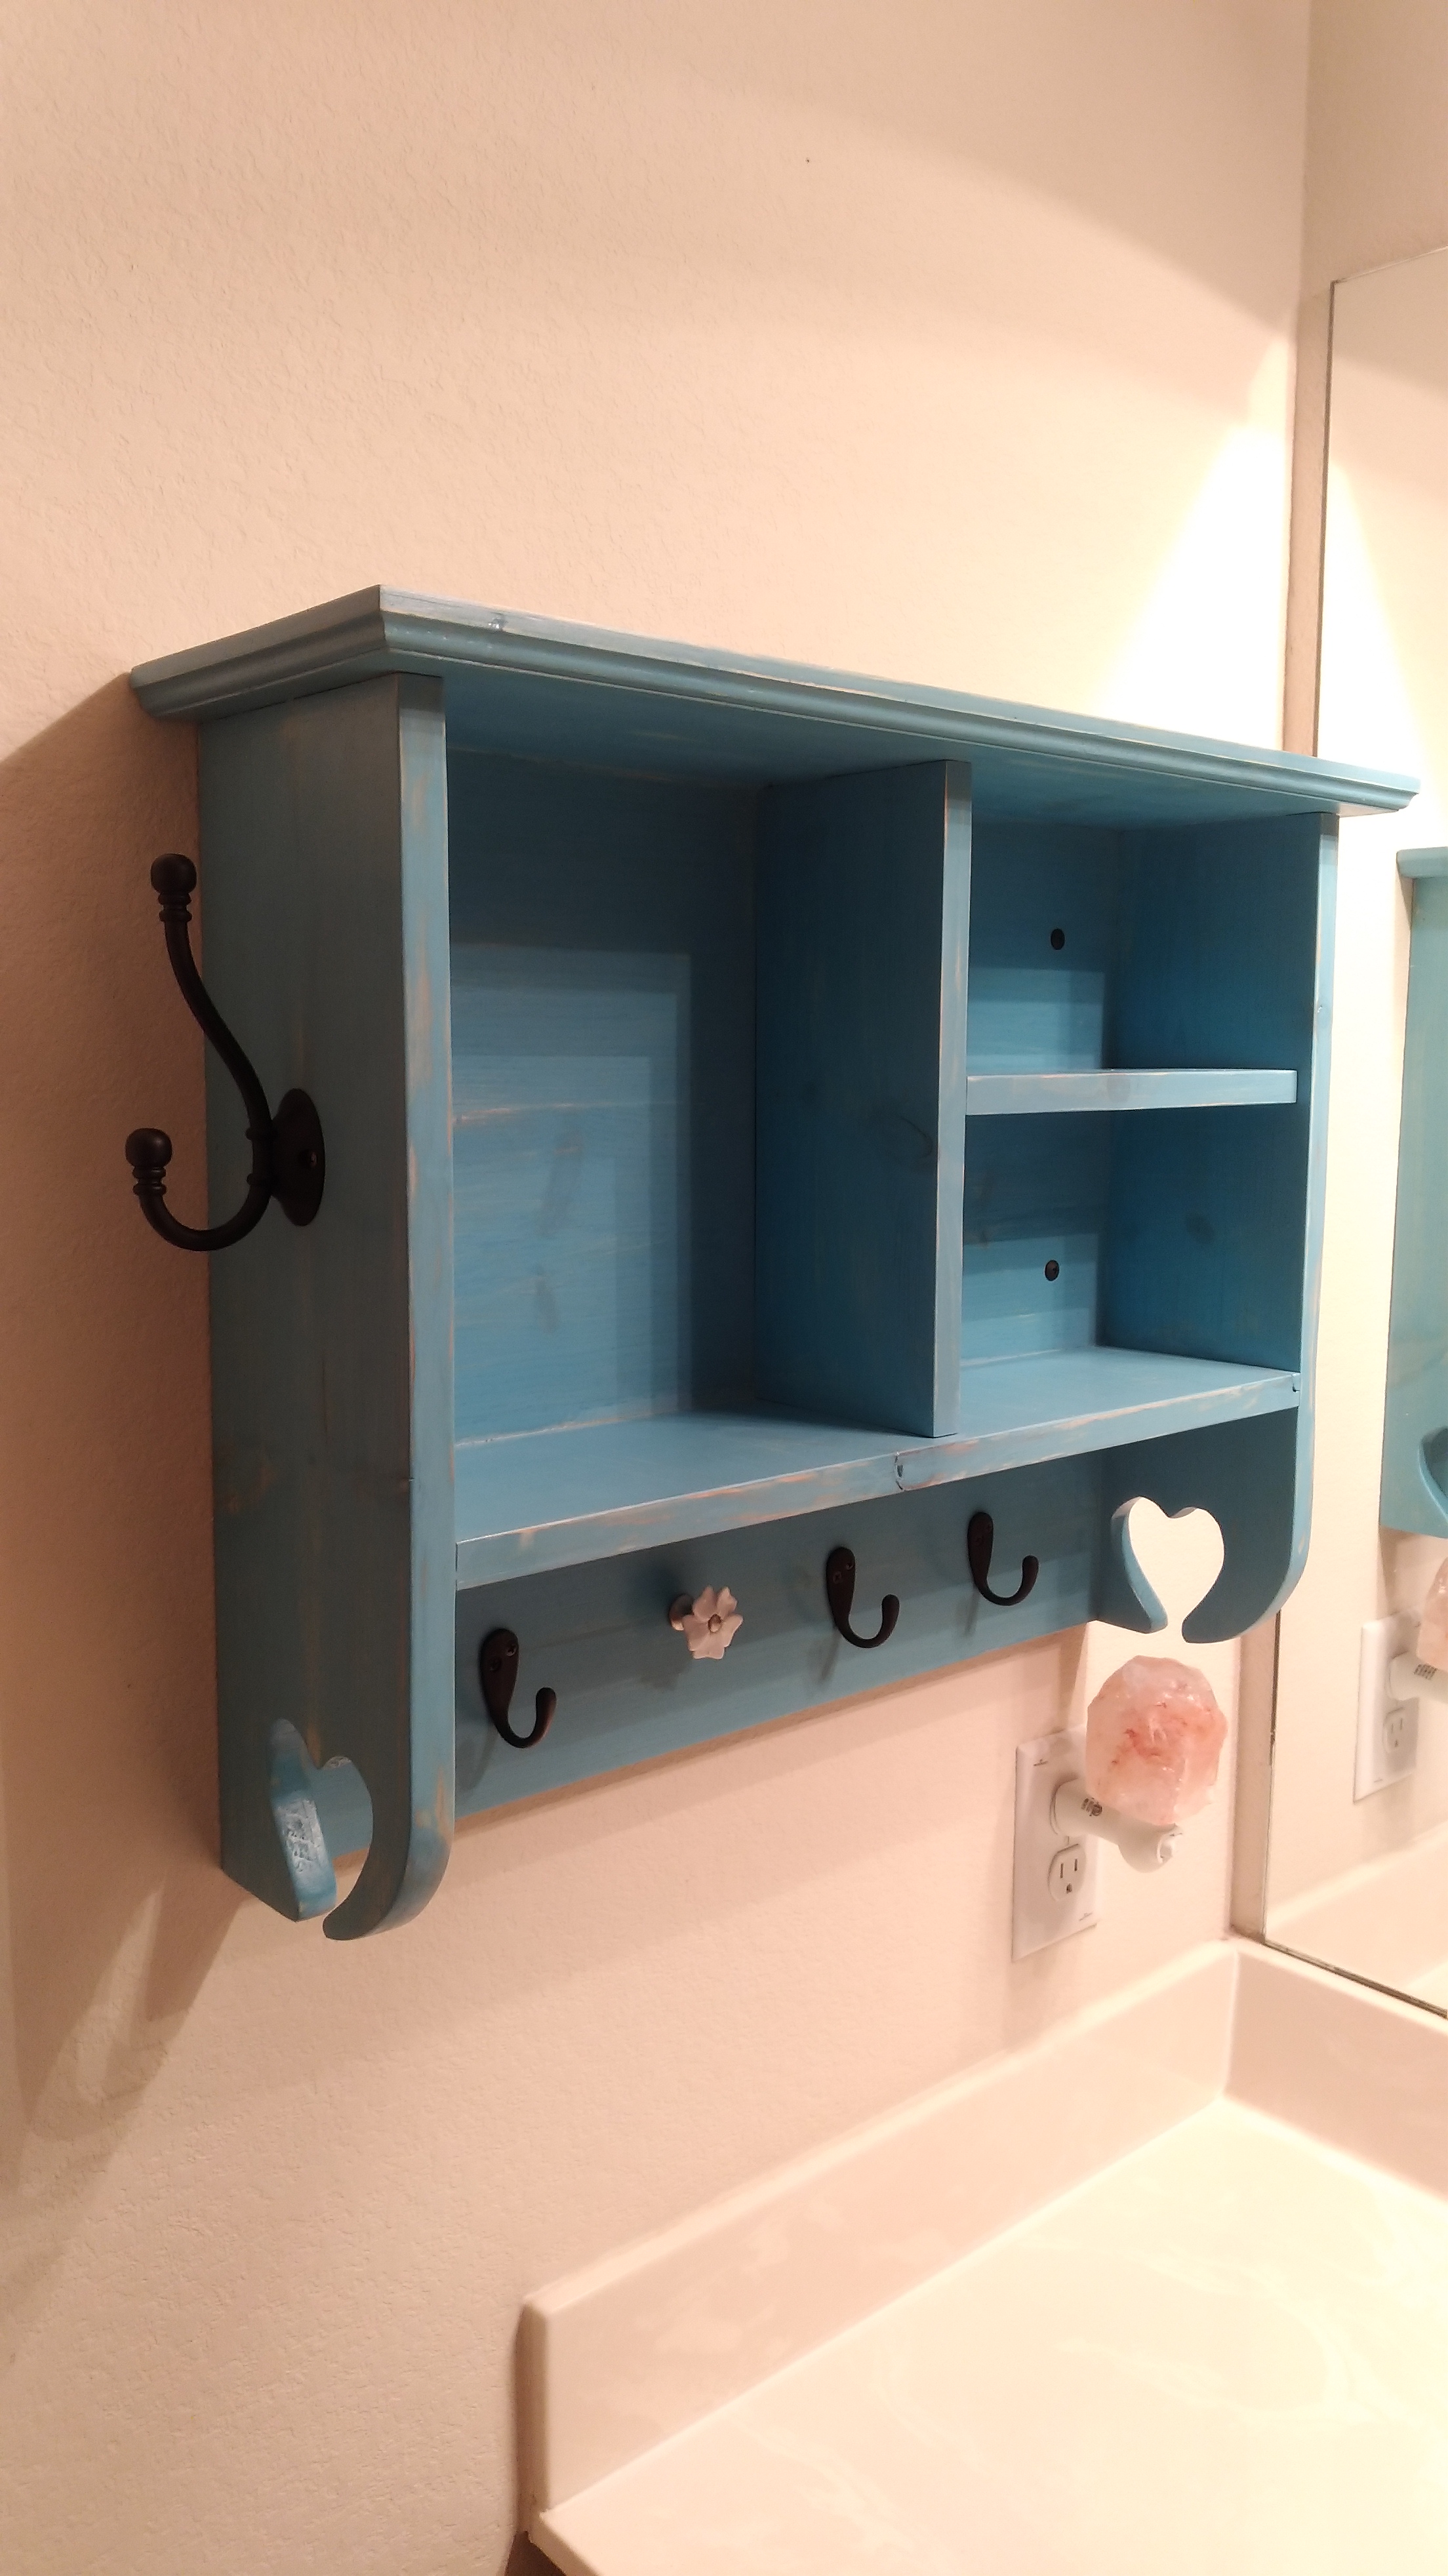
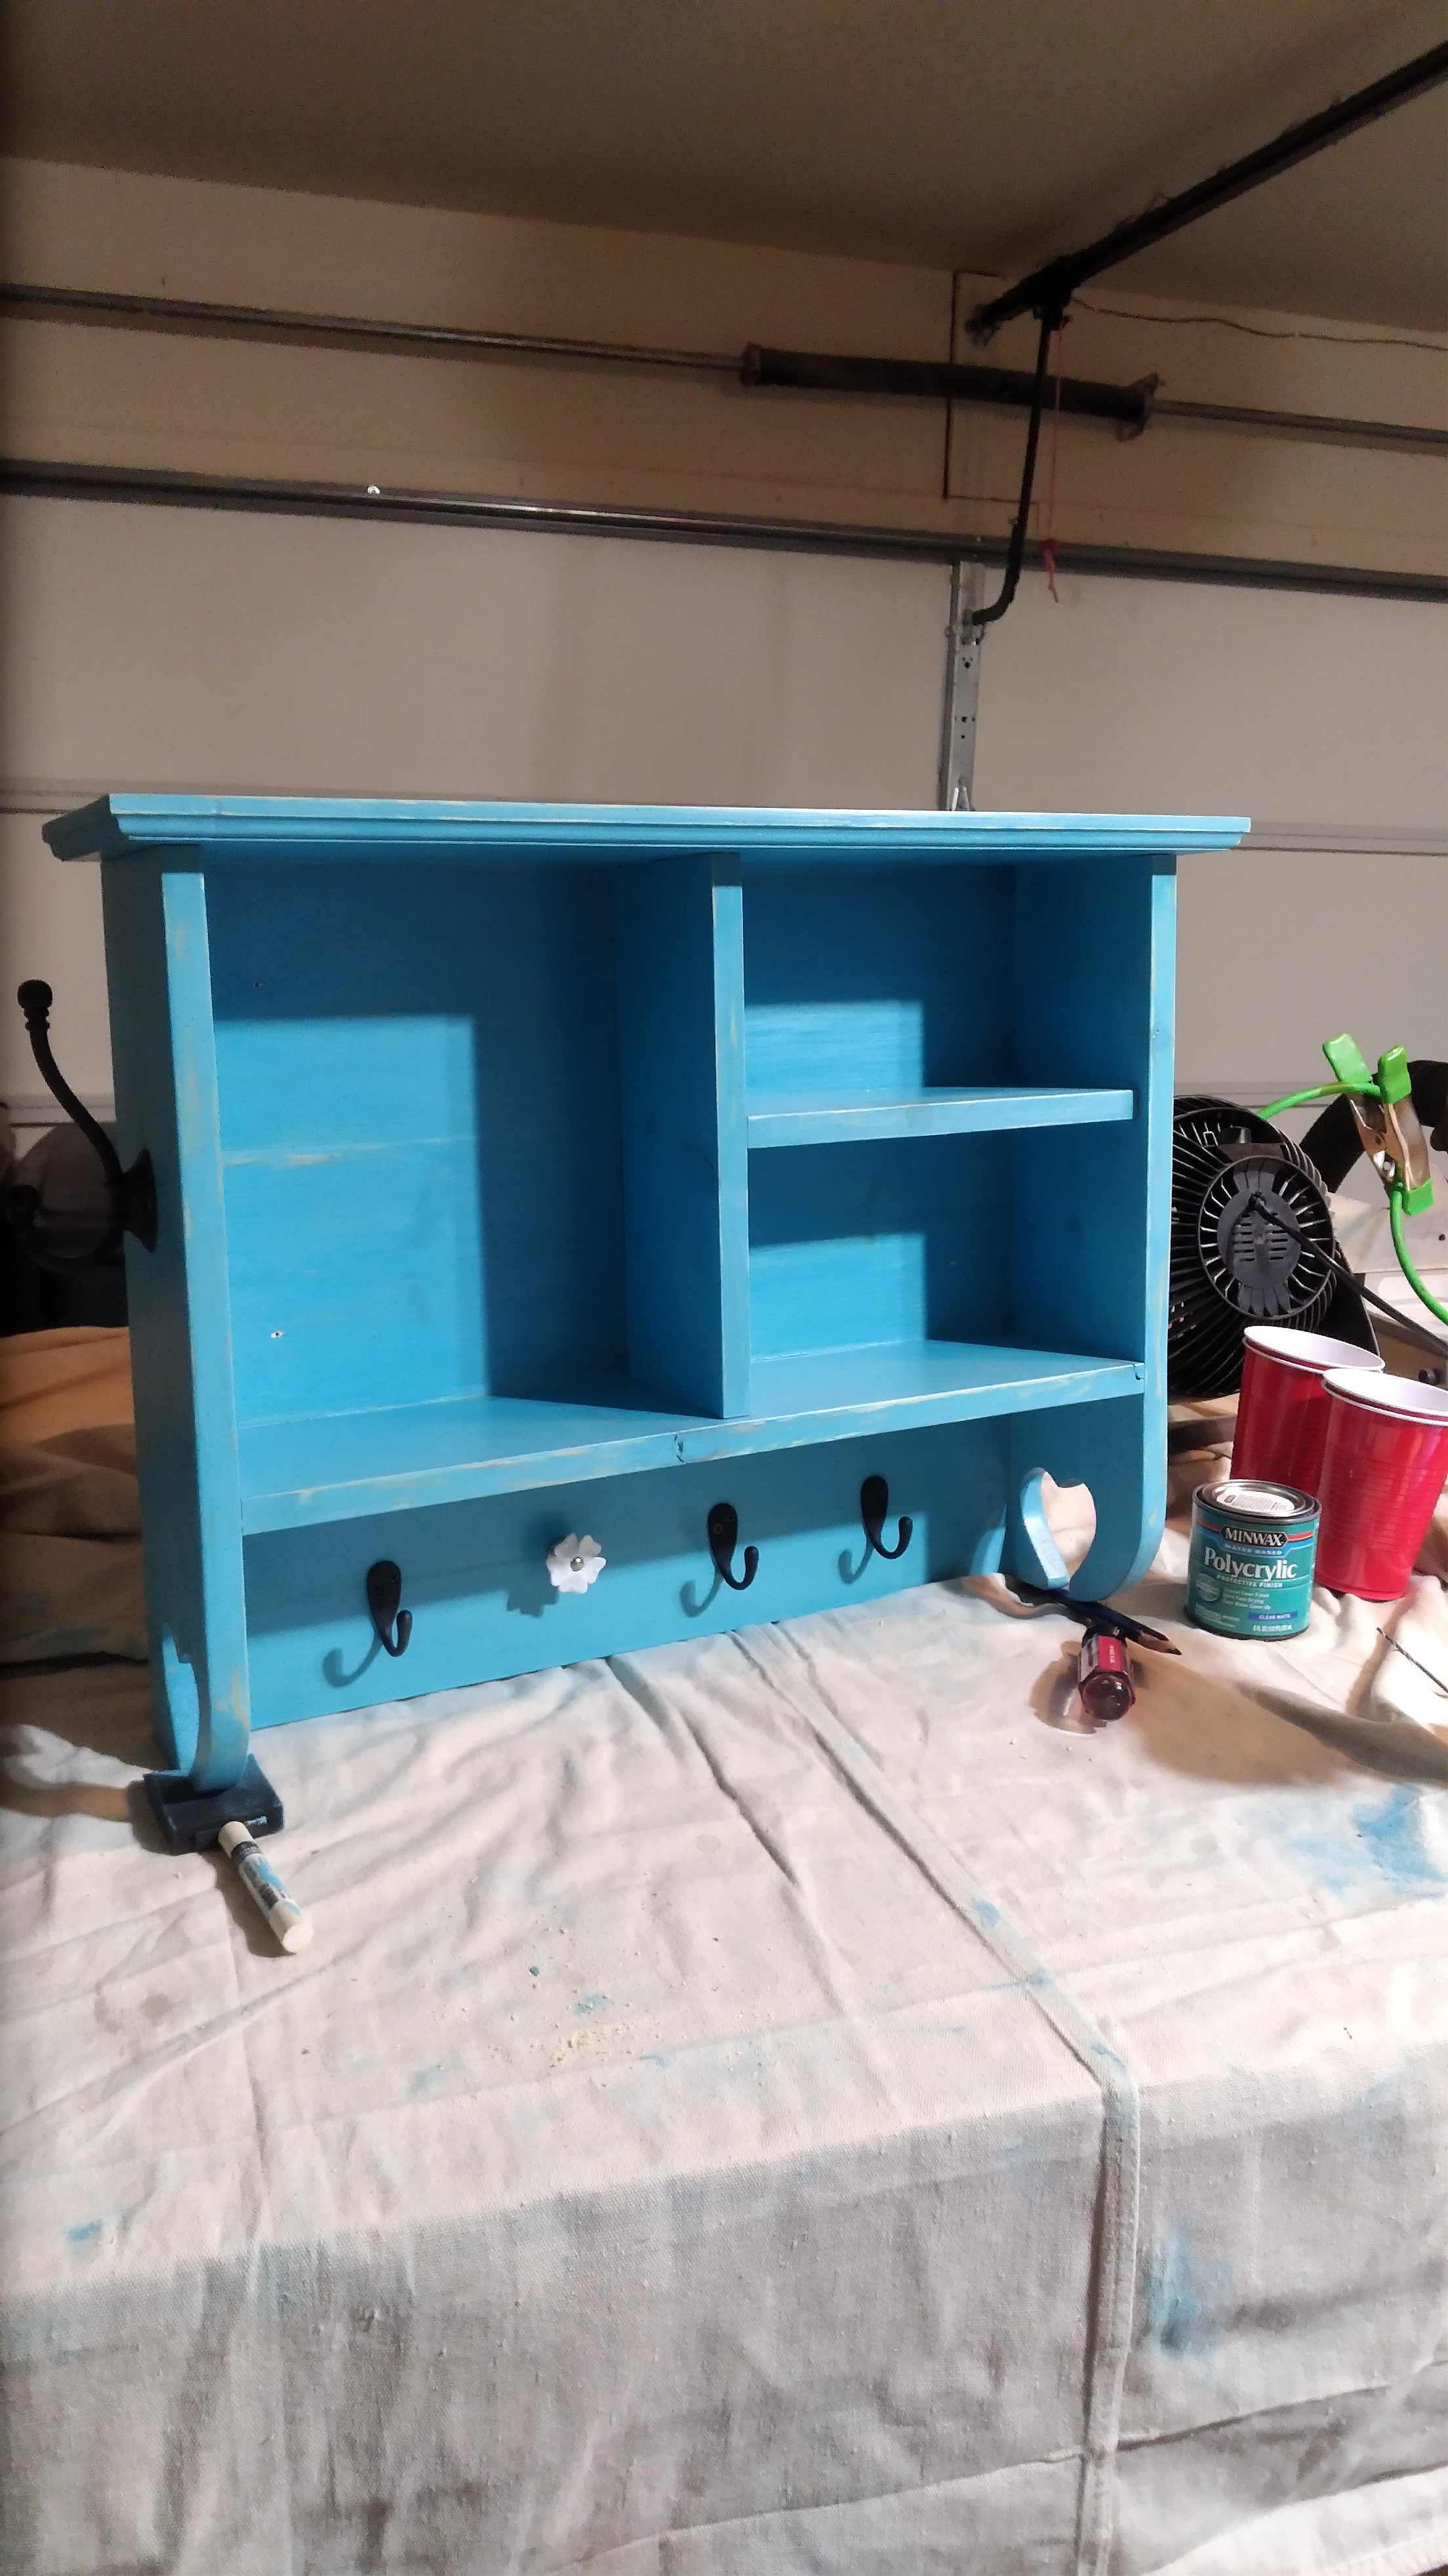
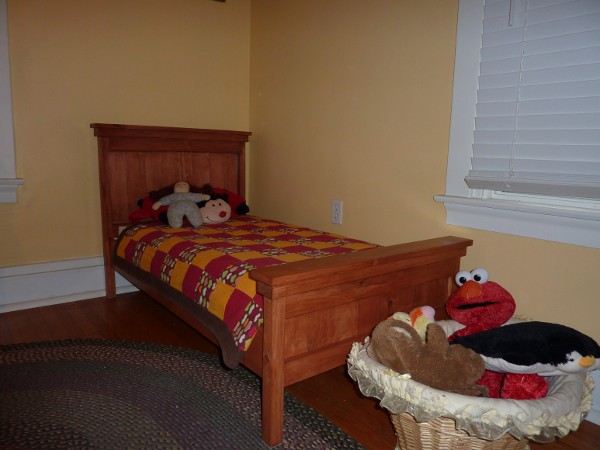
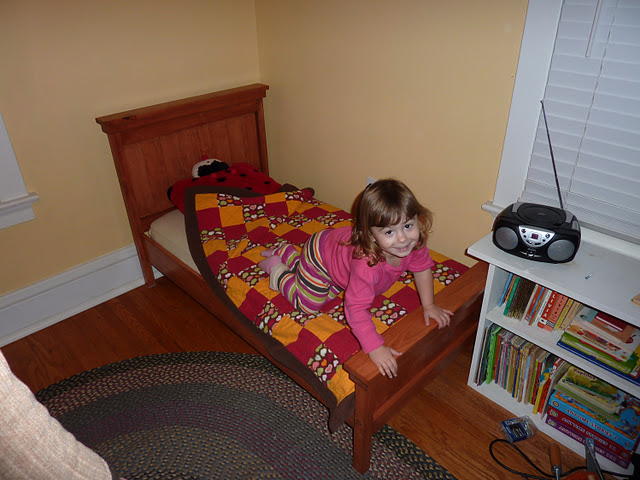
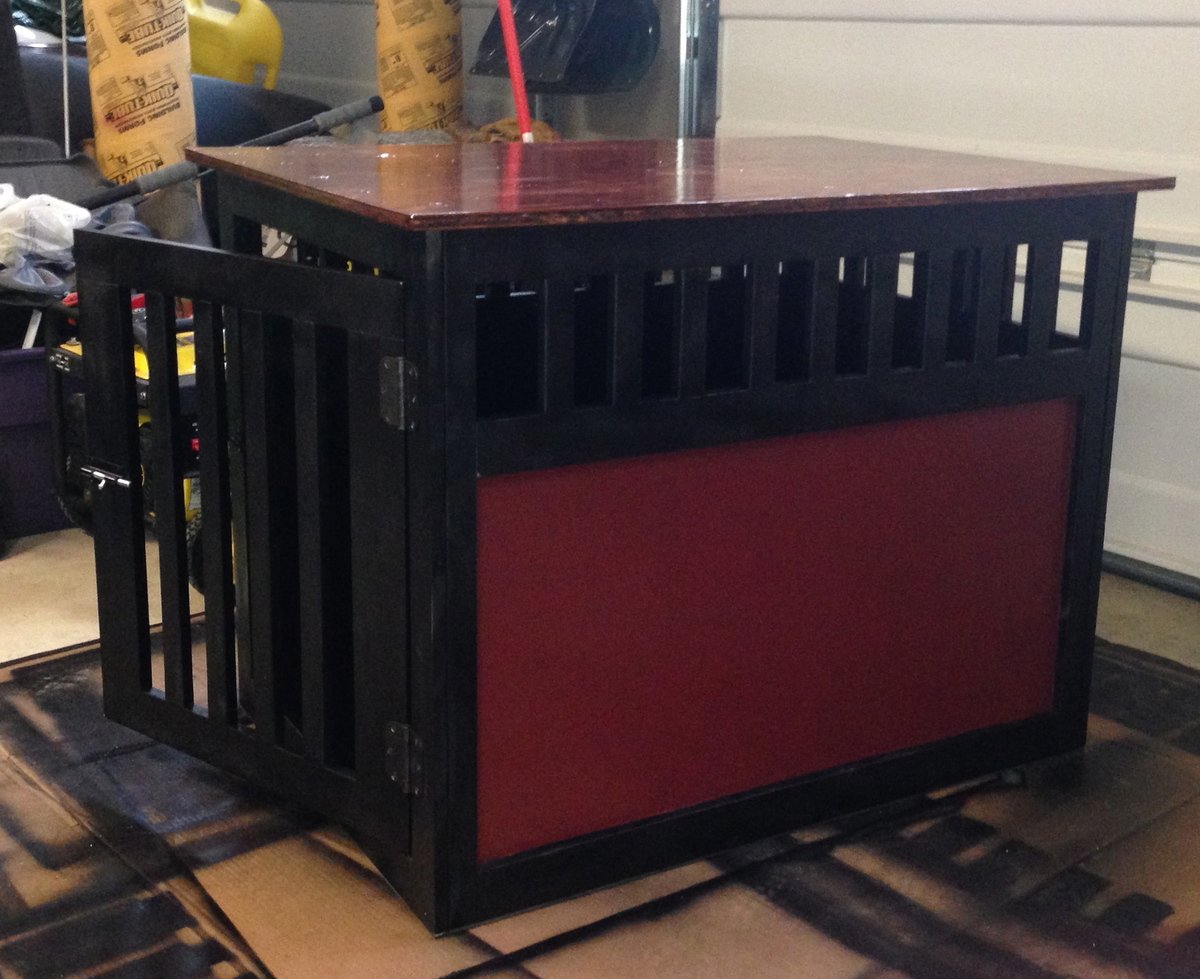
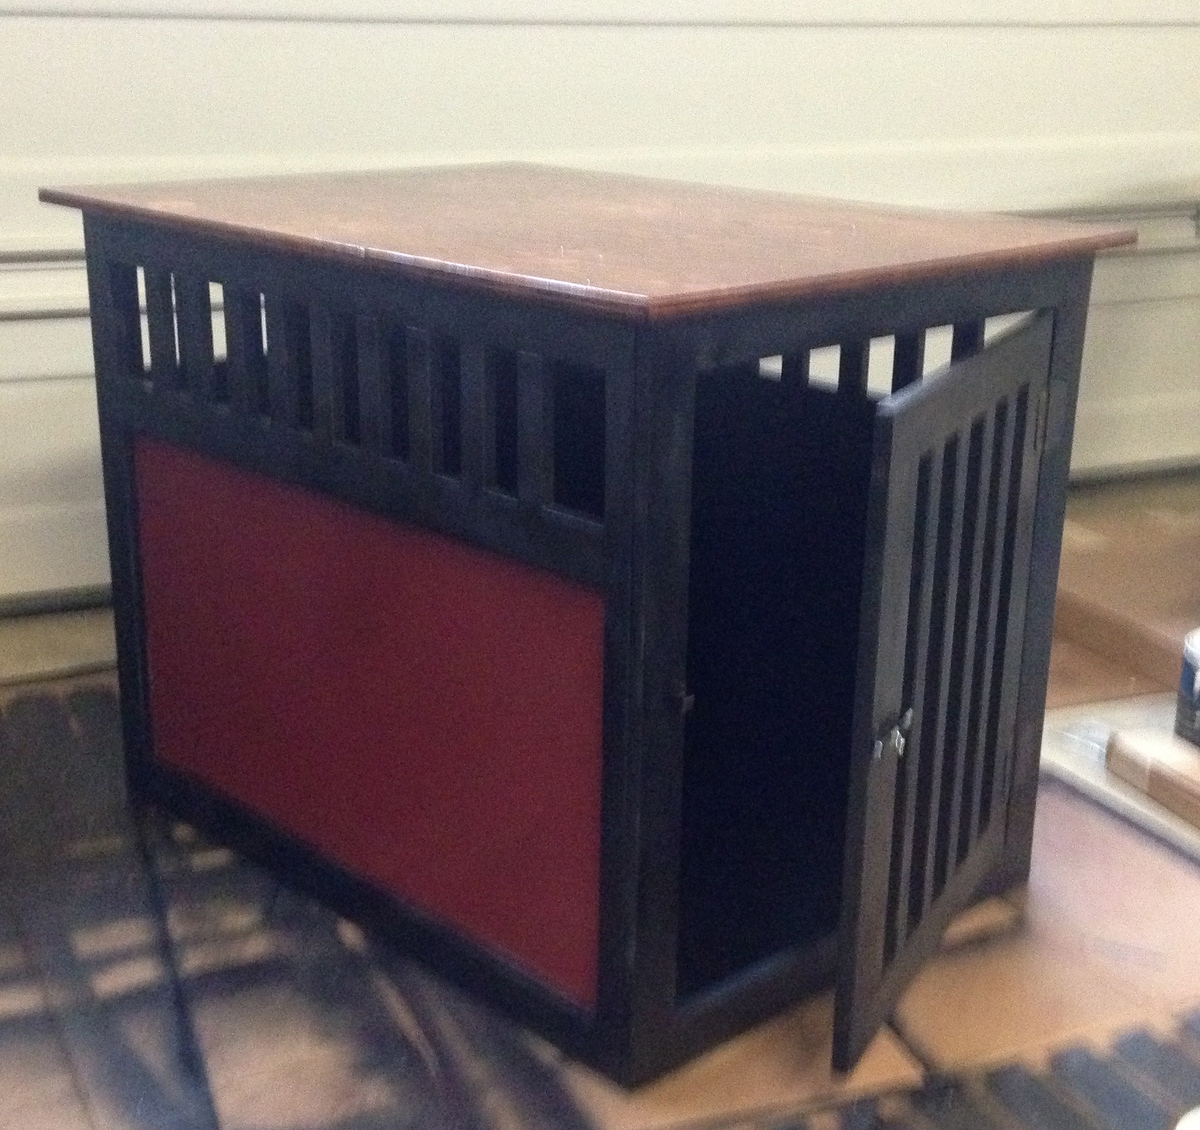
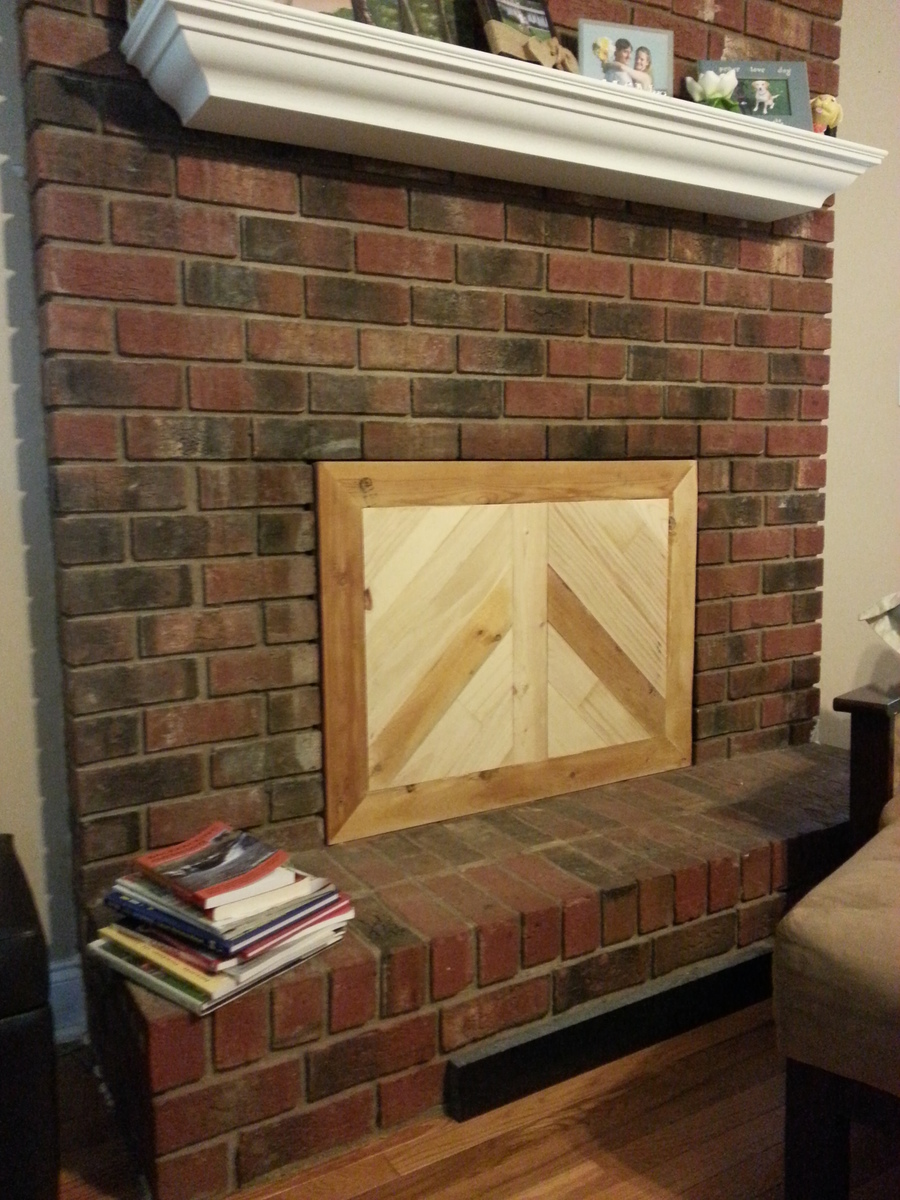
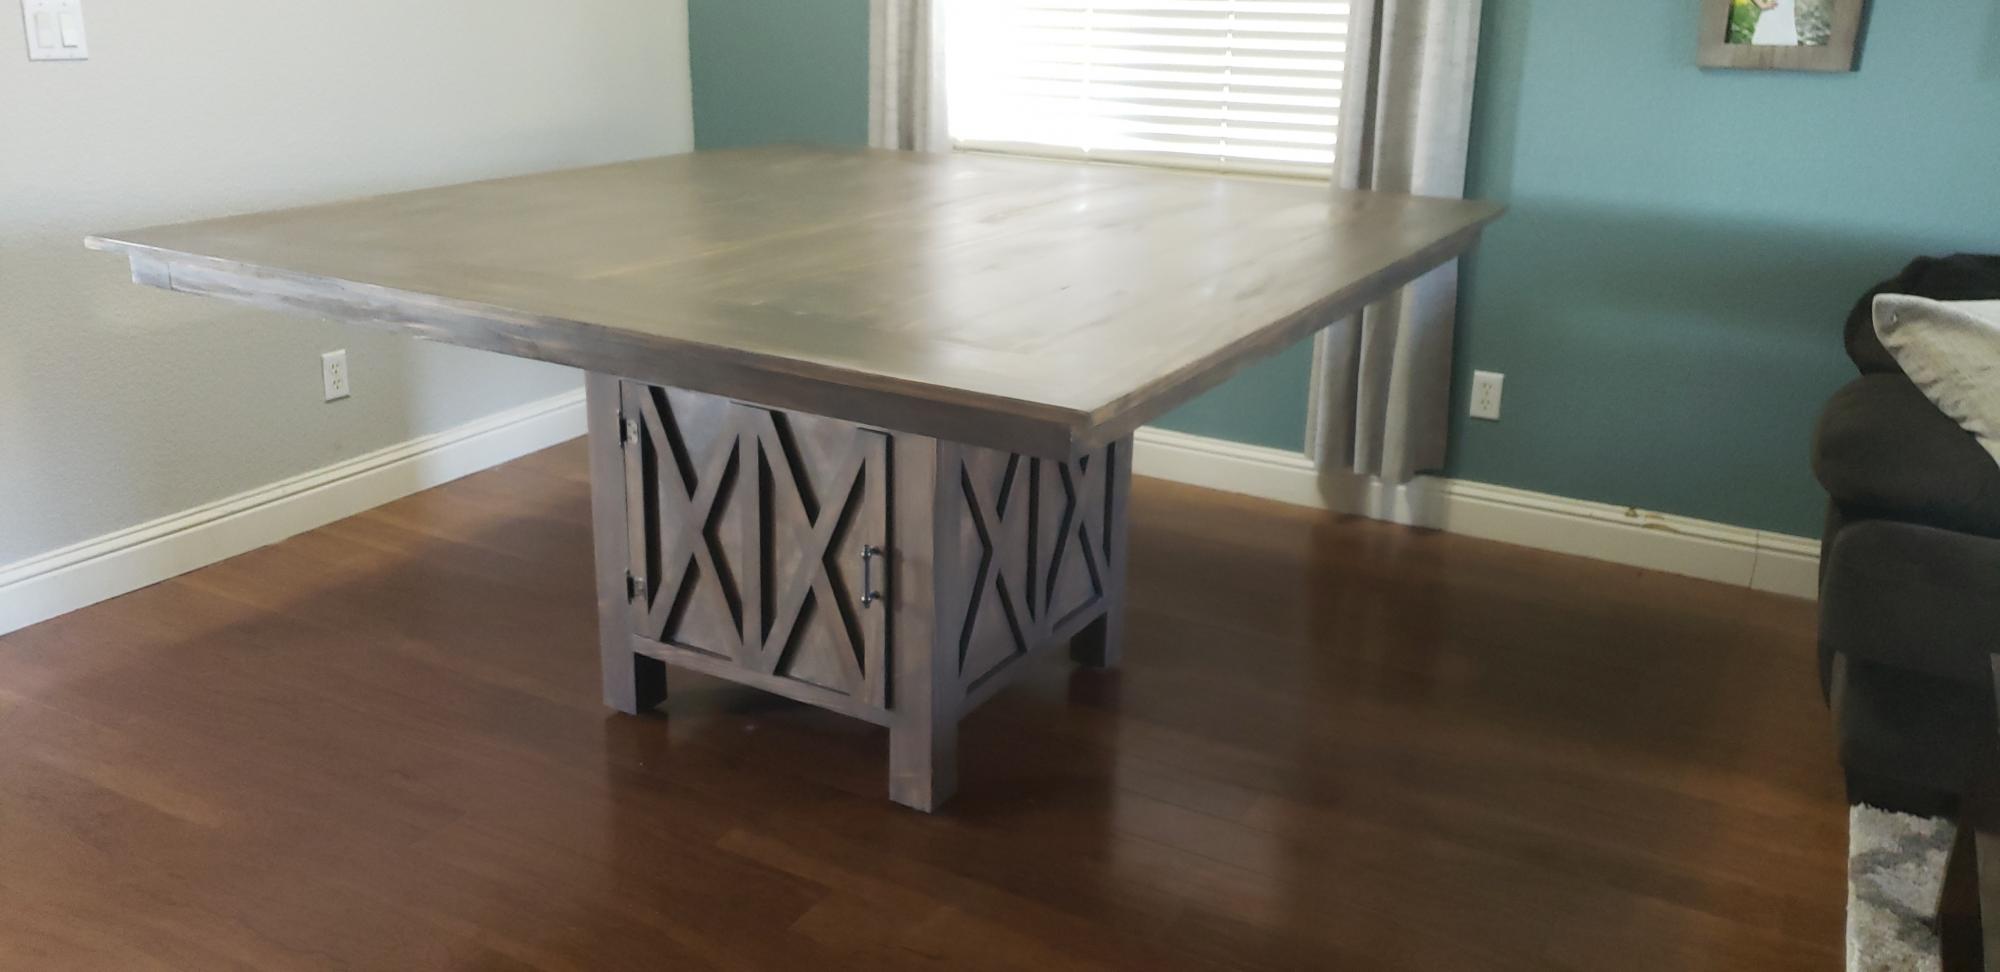
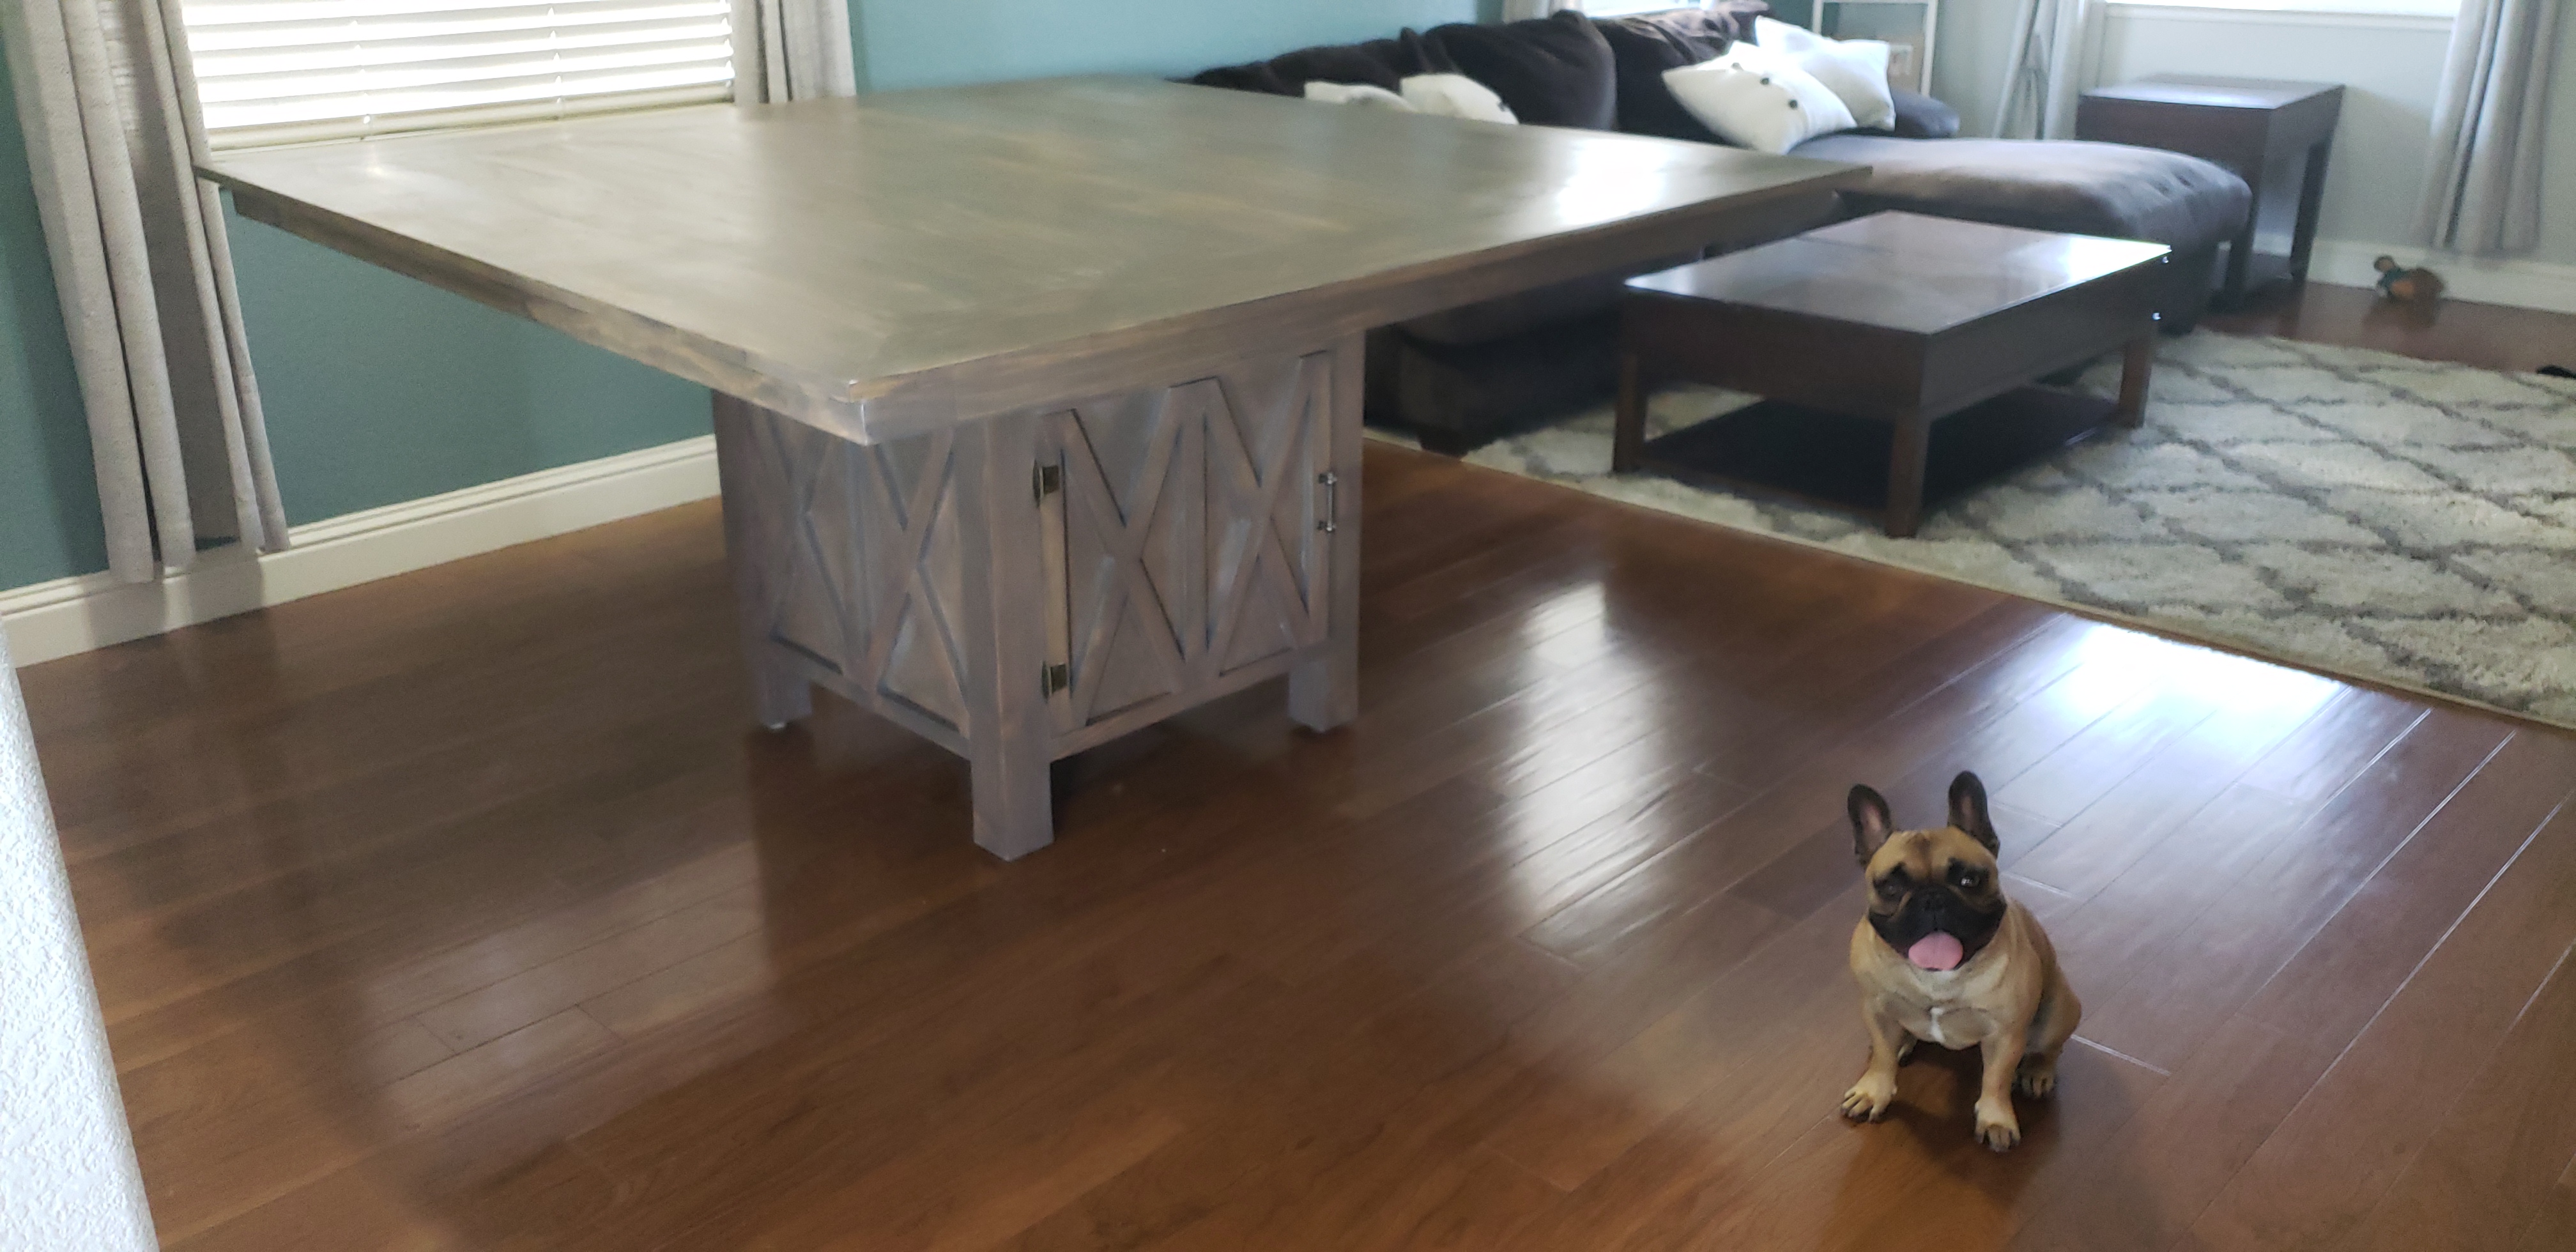
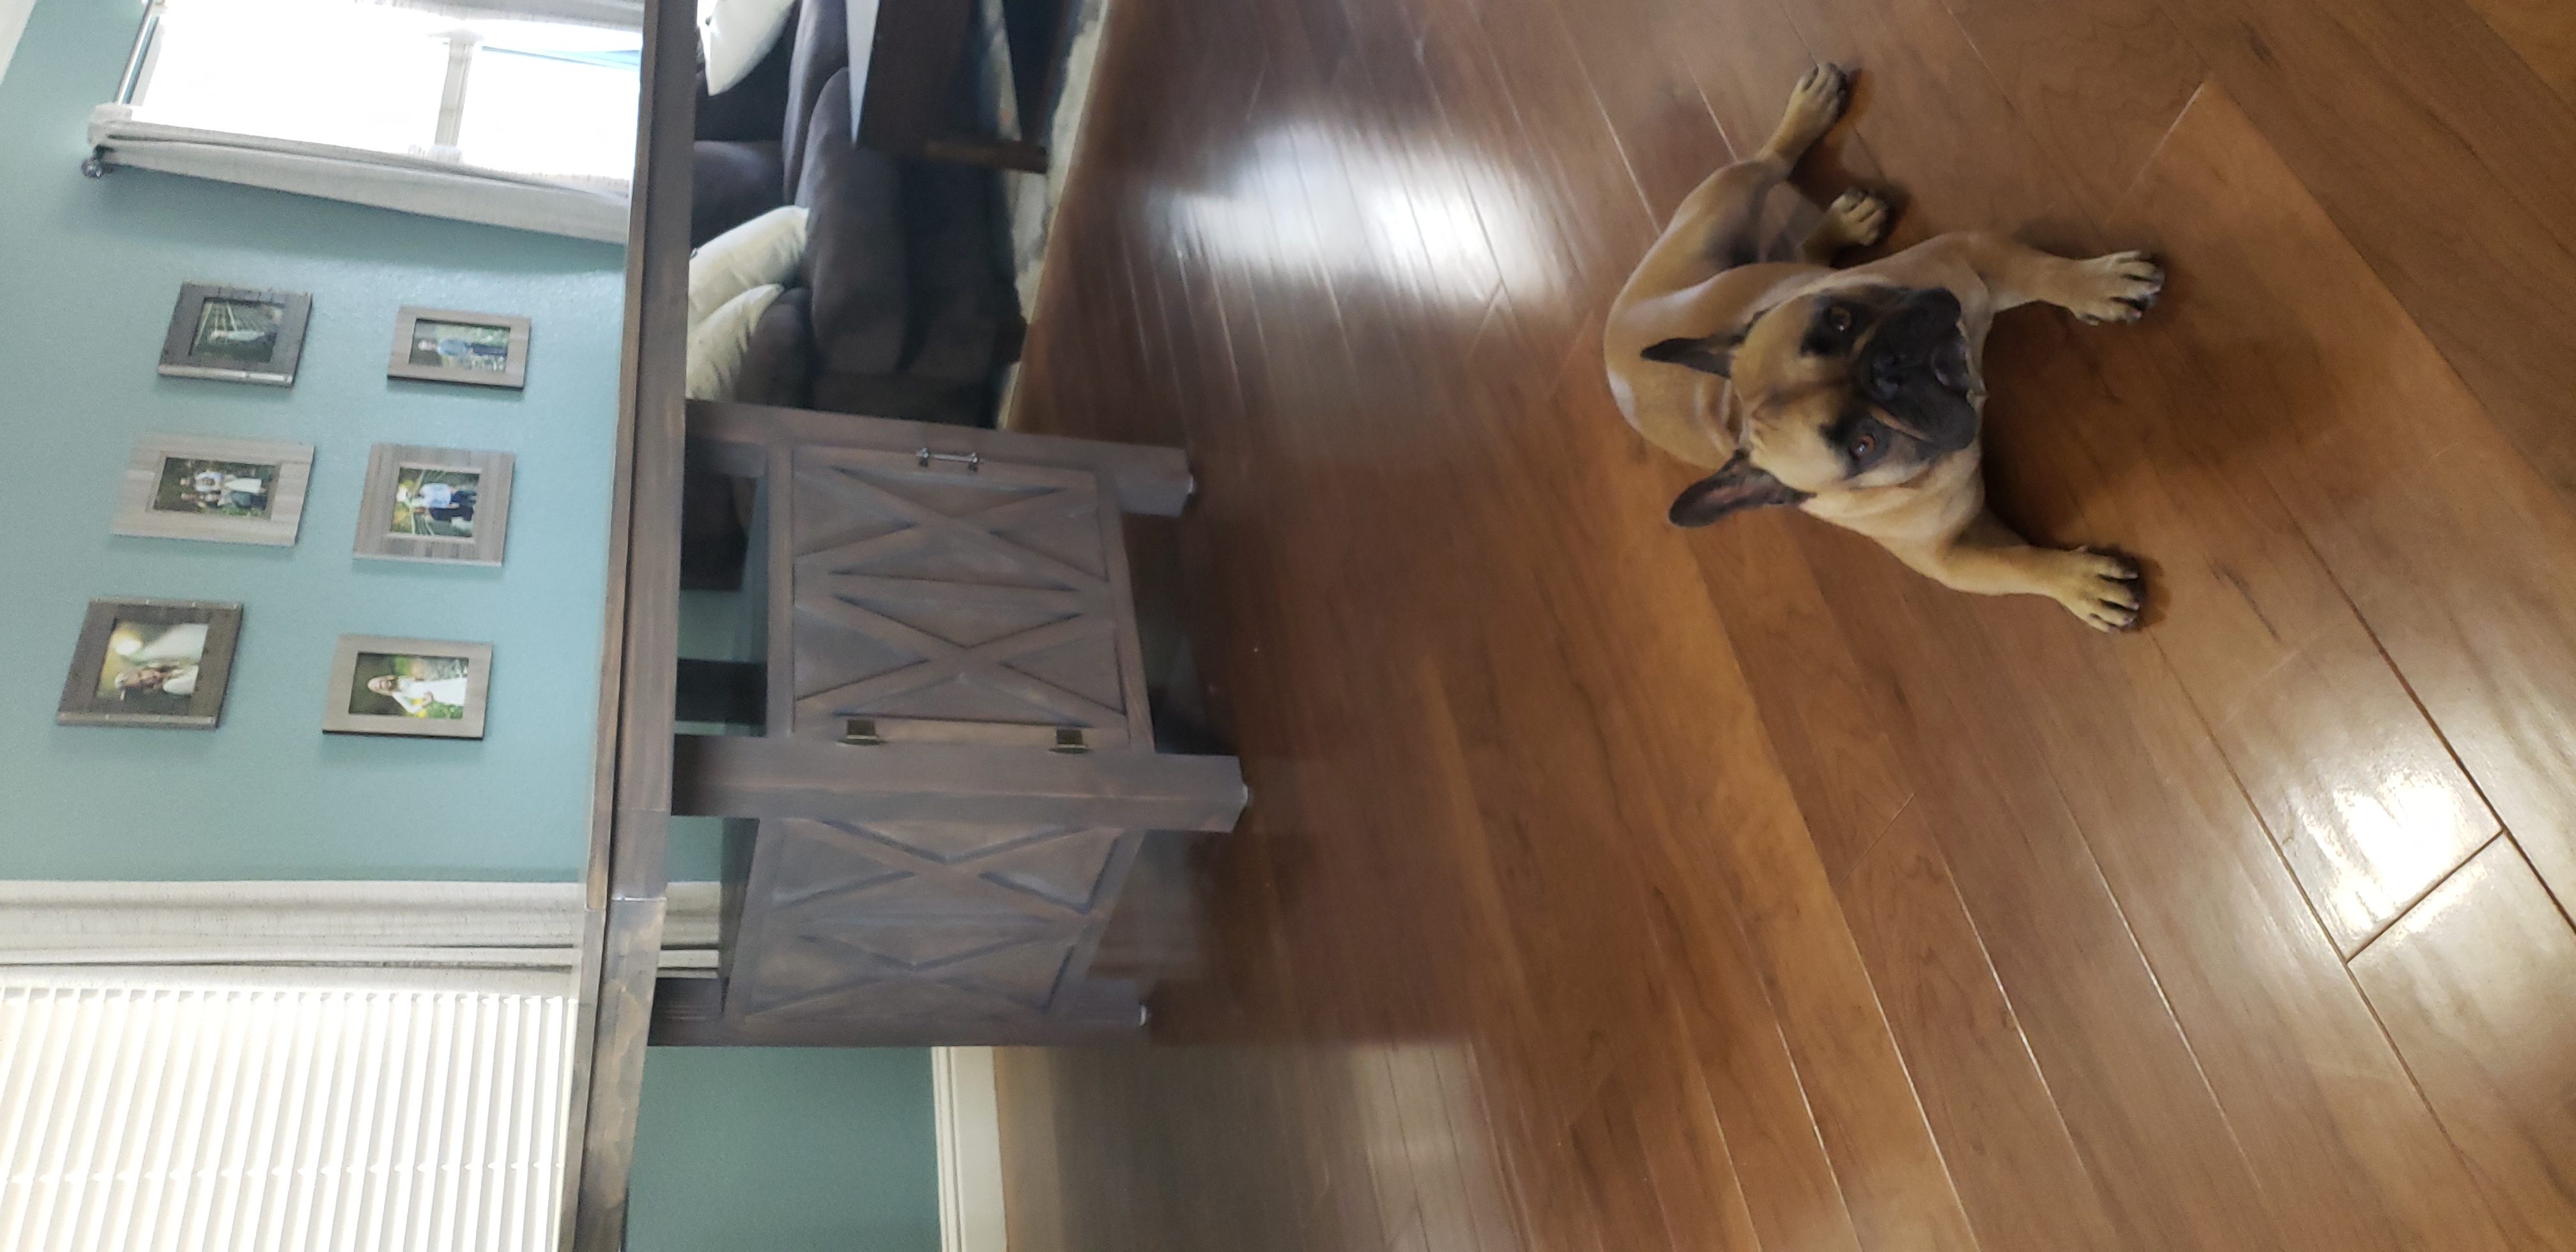
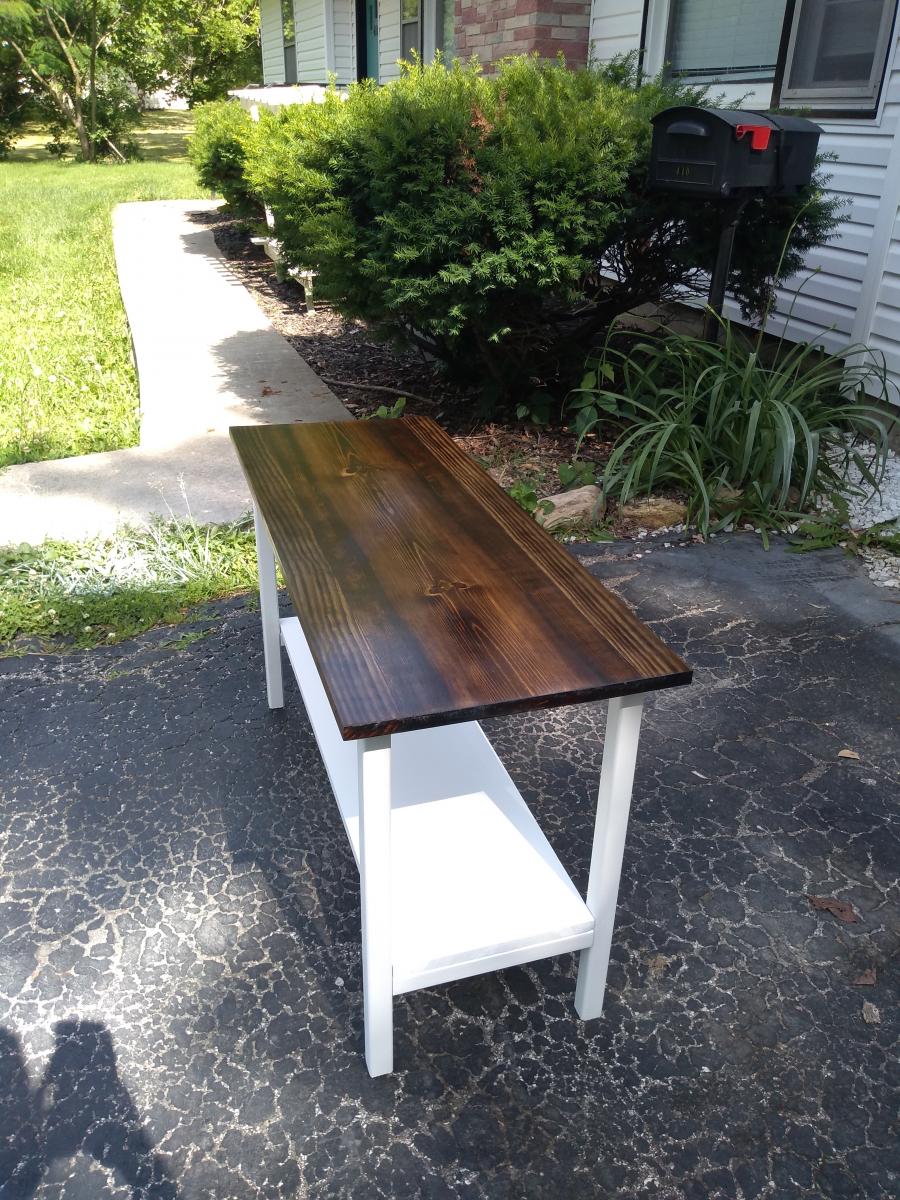
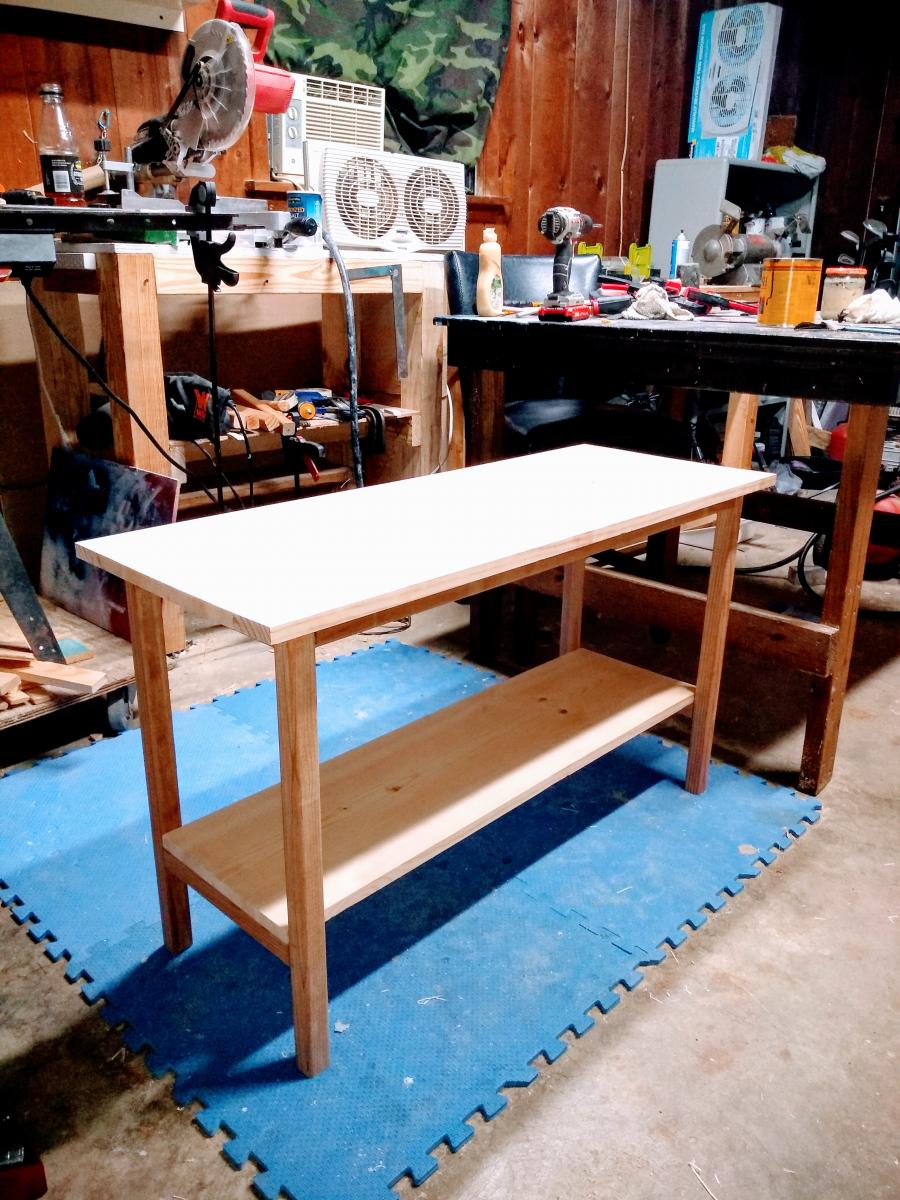
Entertainment Center
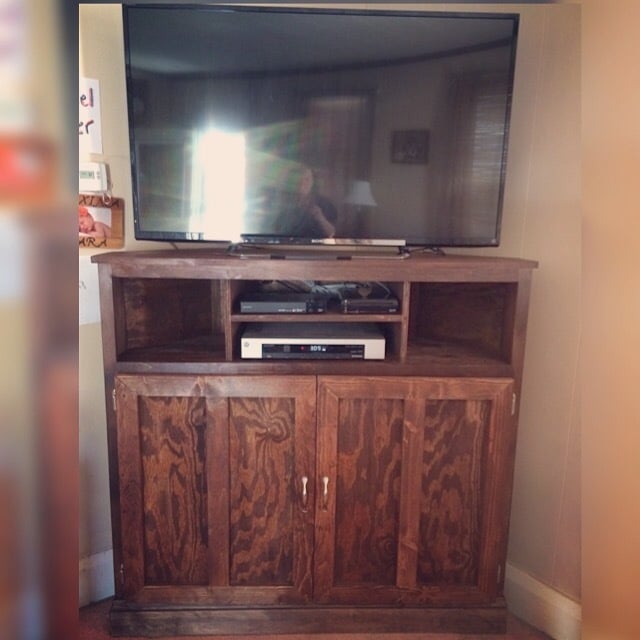
We had an oak armoire for our television and we needed to find something that fit our new 50" tv, an unexpected gift from my brother in law. This was perfect for the size we needed and the small space we had to put the tv.
Built from Plan(s)
Estimated Cost
$140
Estimated Time Investment
Weekend Project (10-20 Hours)
Finish Used
Stain and polyurethane
Recommended Skill Level
Intermediate