Community Brag Posts
First Extra Long King Farmhouse Bed
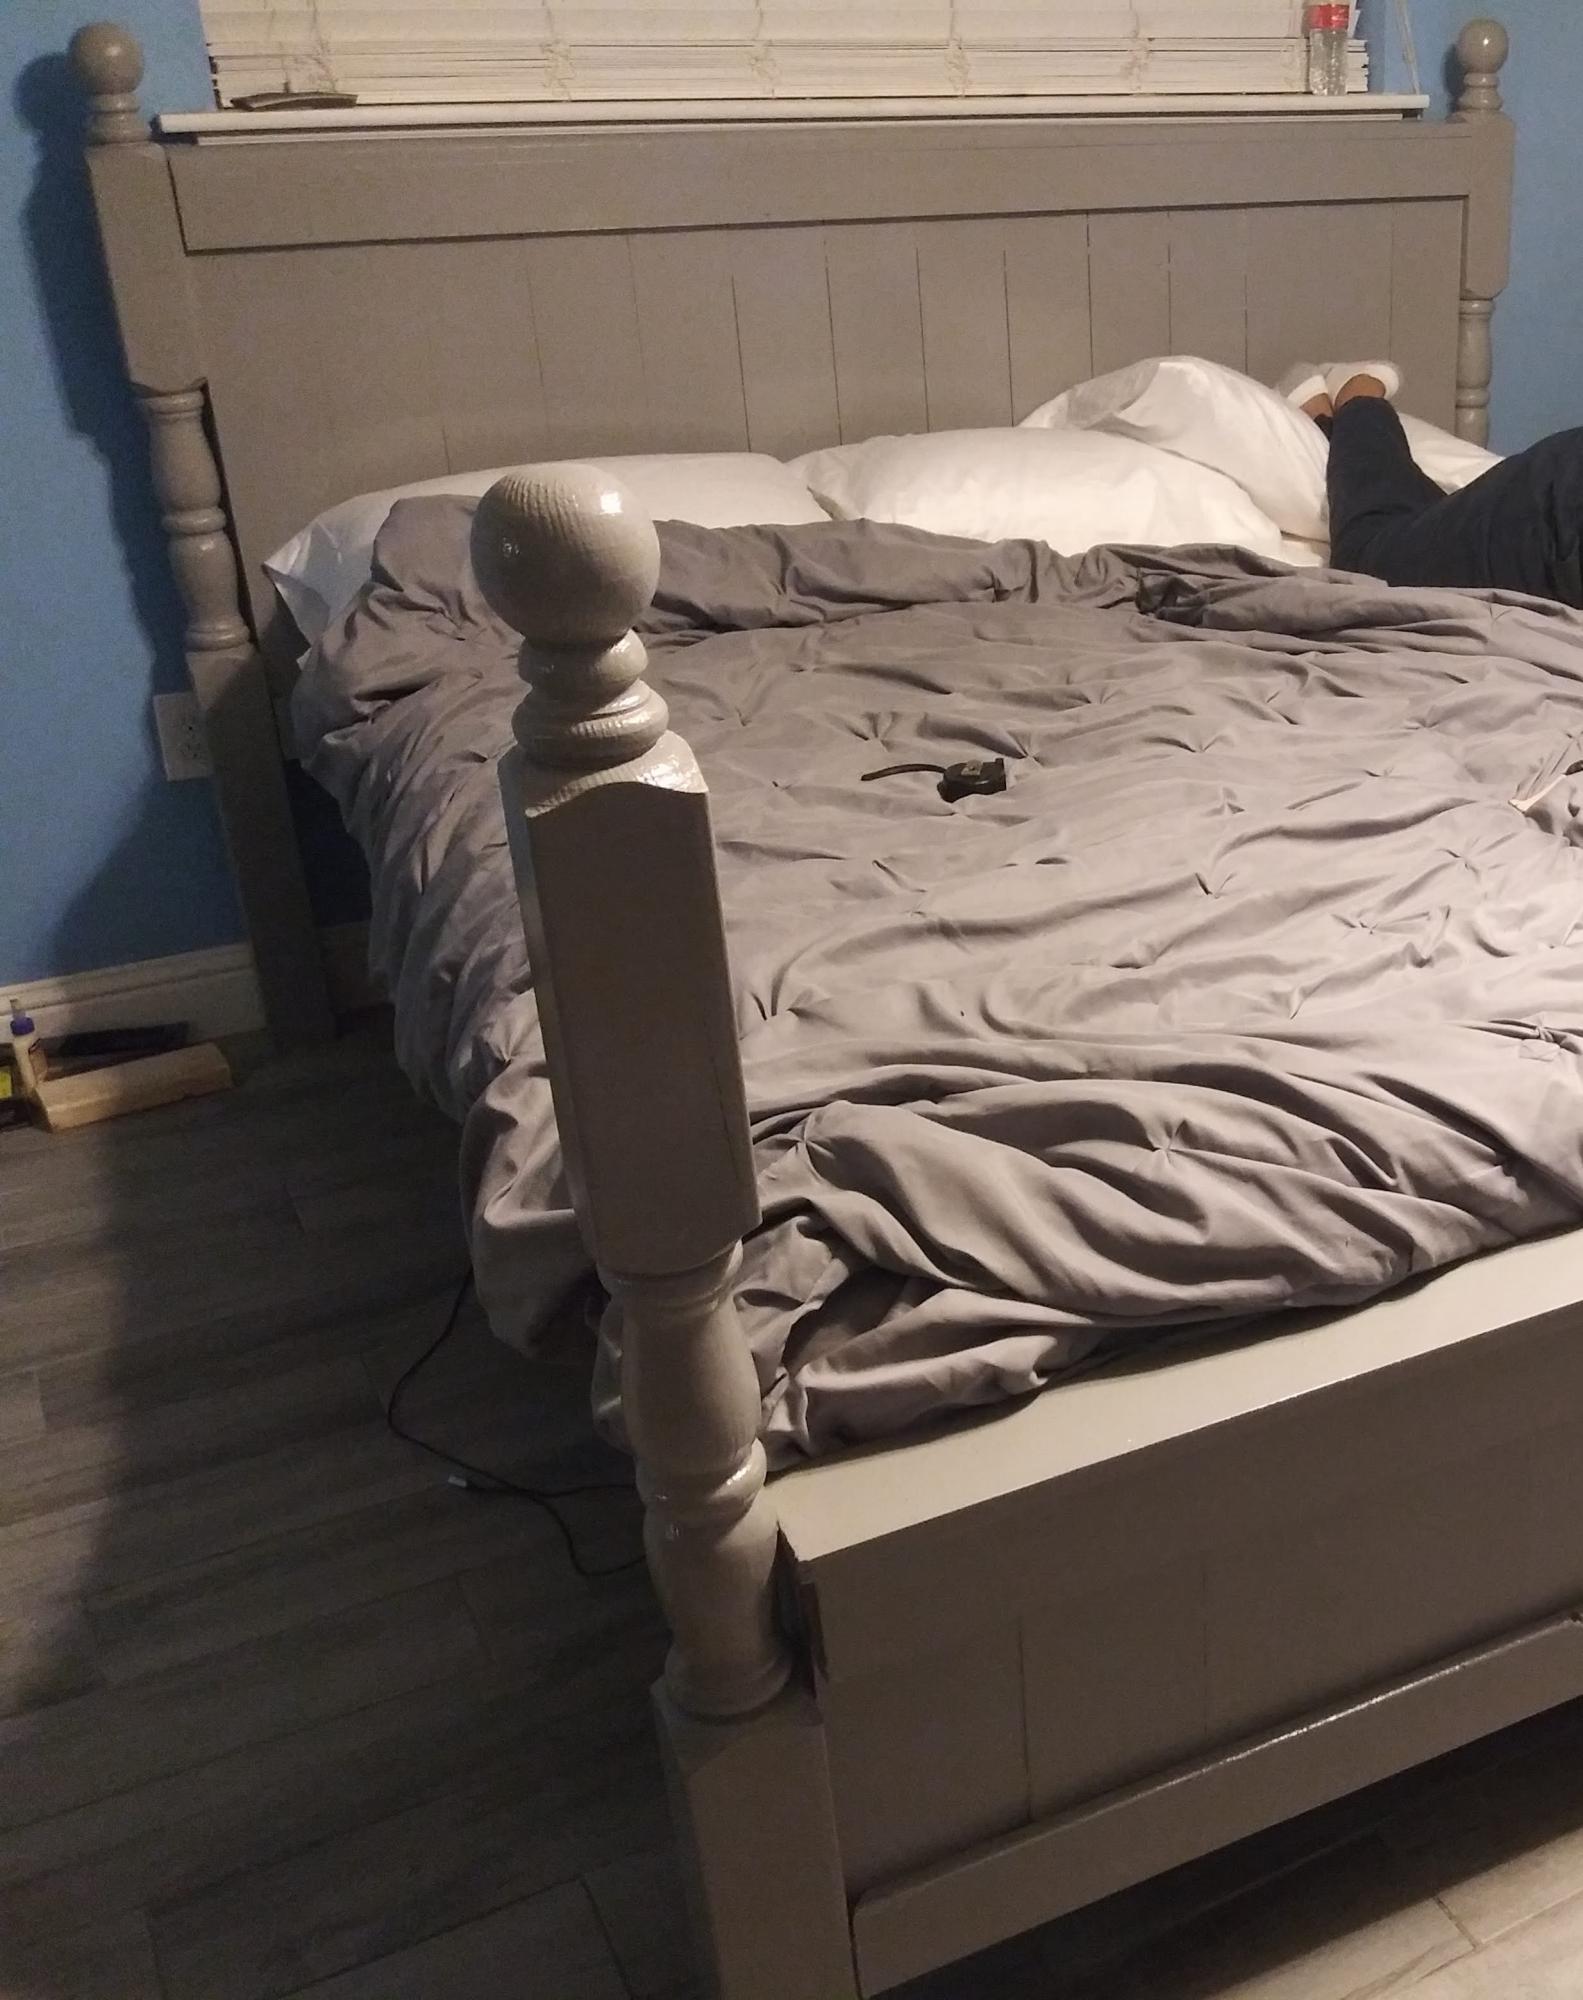
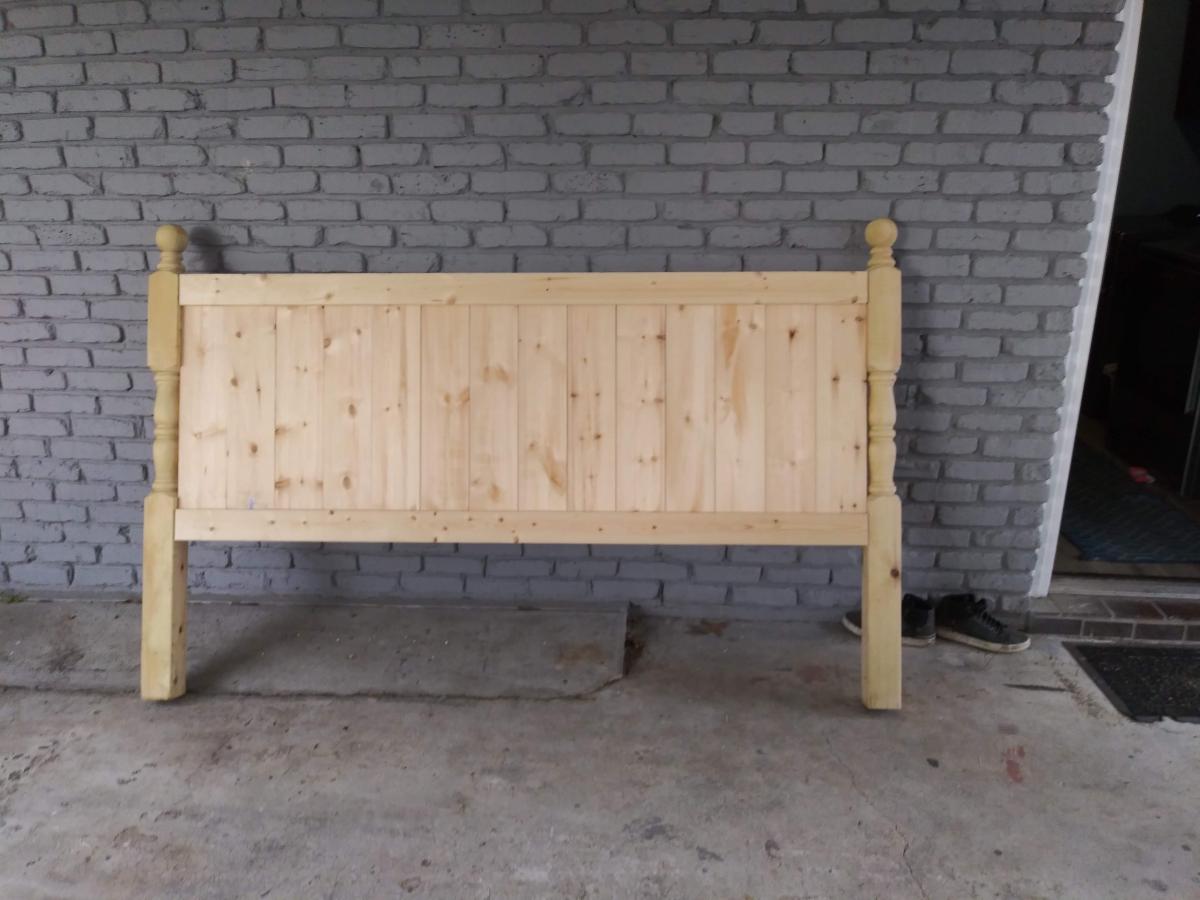
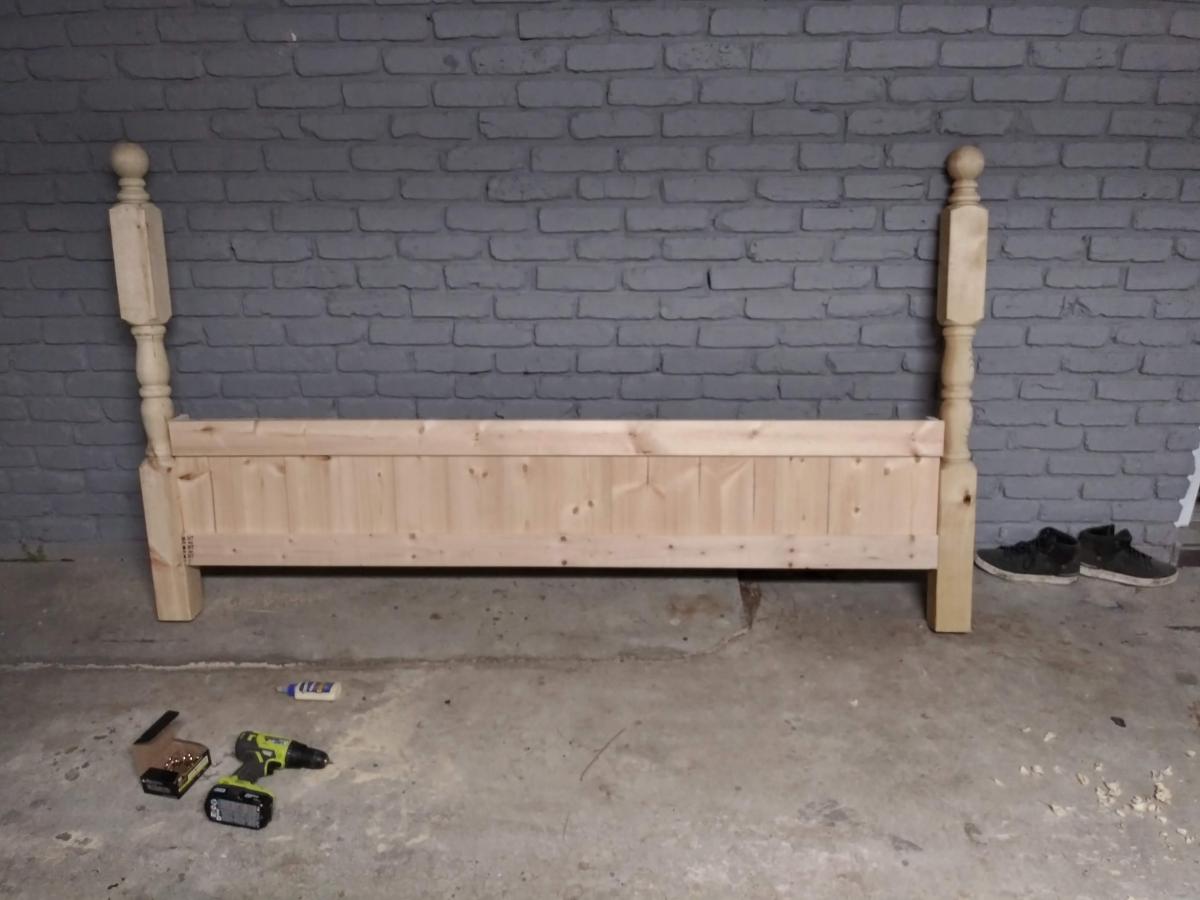
I ran across your website and decided to build my first ever extra long king size bed. I followed the plans of the farmhouse king size bed. Instead of using the square 4x4 post I used porch post and cut them down to size plus I stretched the bed to 88 inches long. My wife is super happy I did because we saved a bunch of money doing so and got a more durable bed.
Comments
Storage Bed
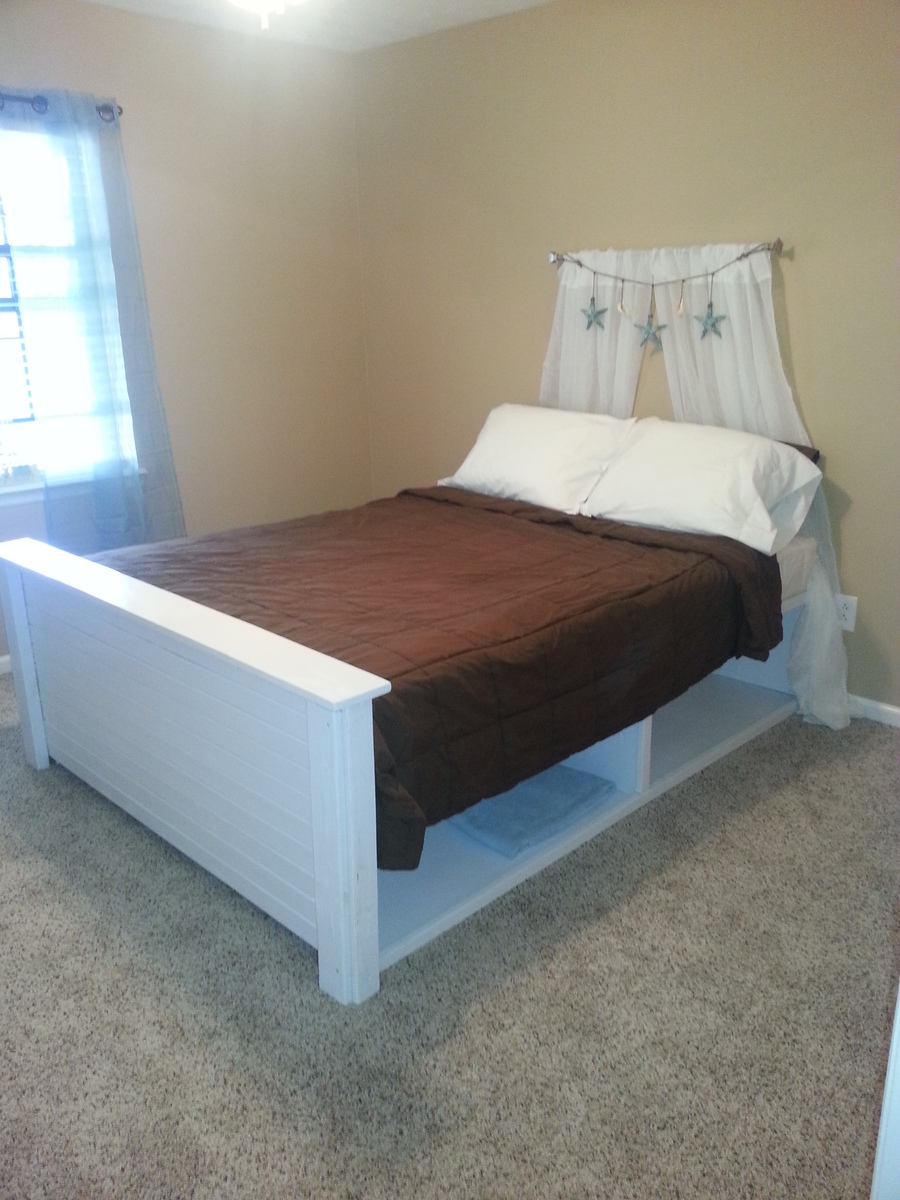
We needed a guest bed for our guest bedroom. So I built the storage areas under the bed out of plywood and boxed them up. The bed would probably look better with a headboard, but we decided to just do that curtain style headboard.
I had seen different beds similar to this, and I just had those in mind when I started. I didn't follow any specific plan except for what I had in my head.
It was painted with an oil-base white paint.
Bed steps
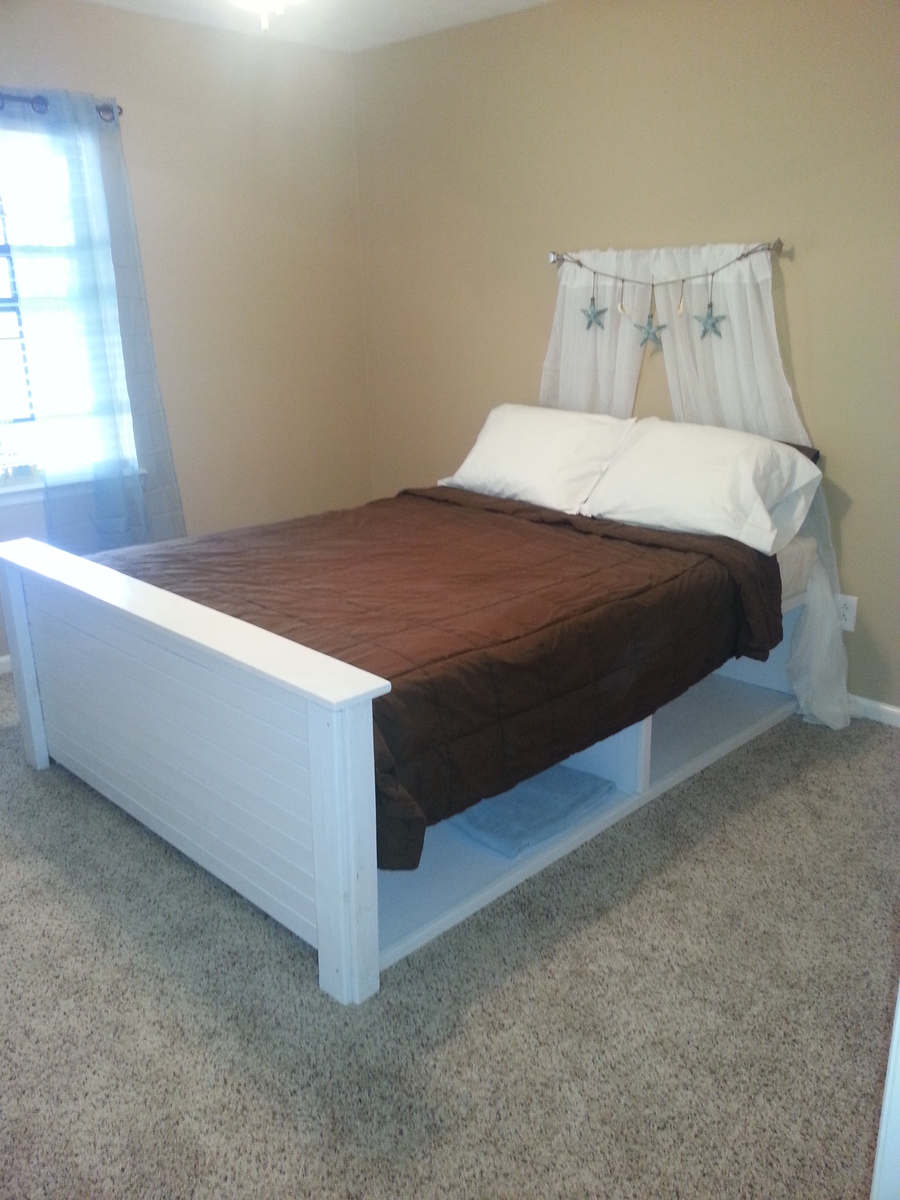
I could have sworn this project was inspired by a stool I saw on here but I just spent way too long trying to find it. I wanted these to match our bed frame, which is really tall combined with our mattress. We needed stools that could be comfortably stood on with two feet, but could also slide under the bed when not in use. This was my first "finished" DIY project besides a dog house I made from plans from Lowe's. This was the first time I planned it and created it myself. They are very sturdy and look like they came with the set. I am very happy with them. I took my time on them because I was doing a lot of learning and wanted to get it right. I distressed the wood with chisels, files and carving knives.
Comments
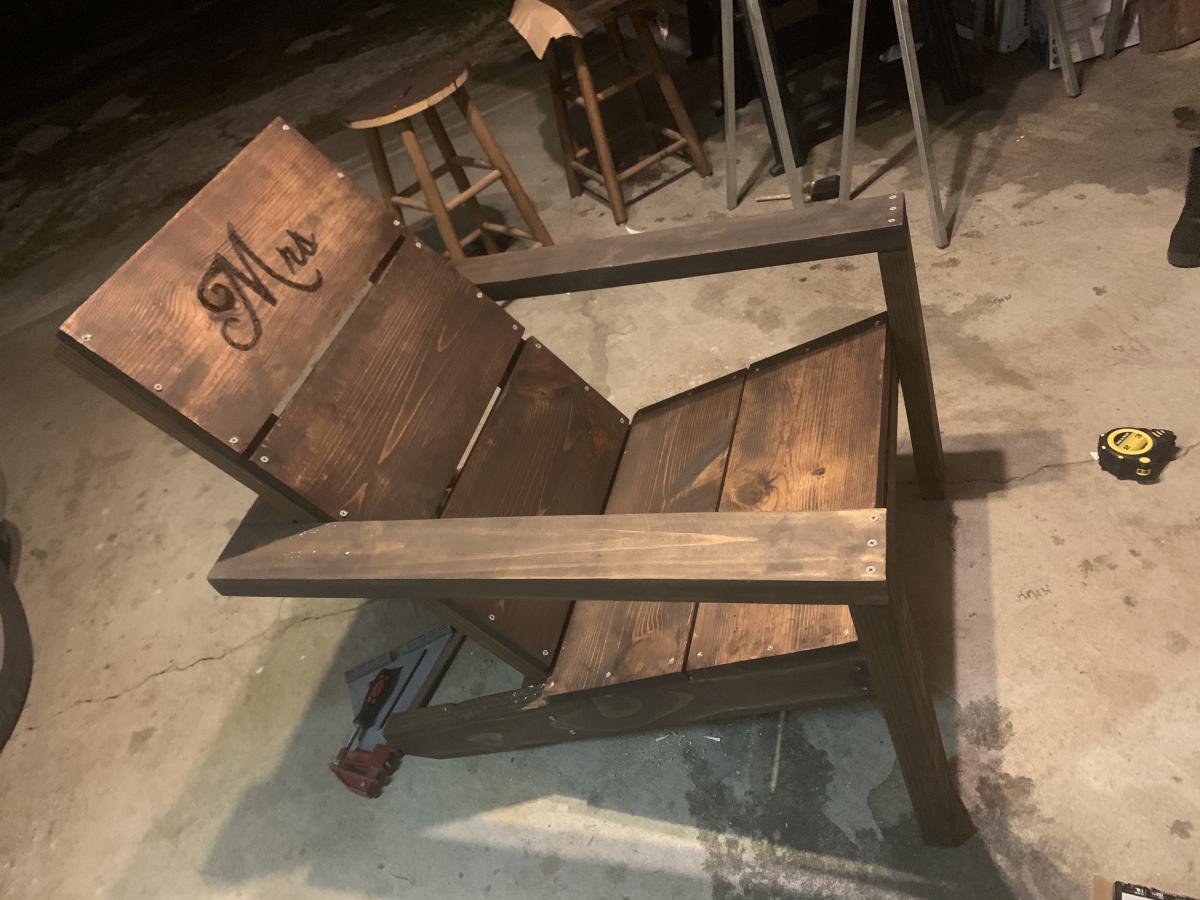
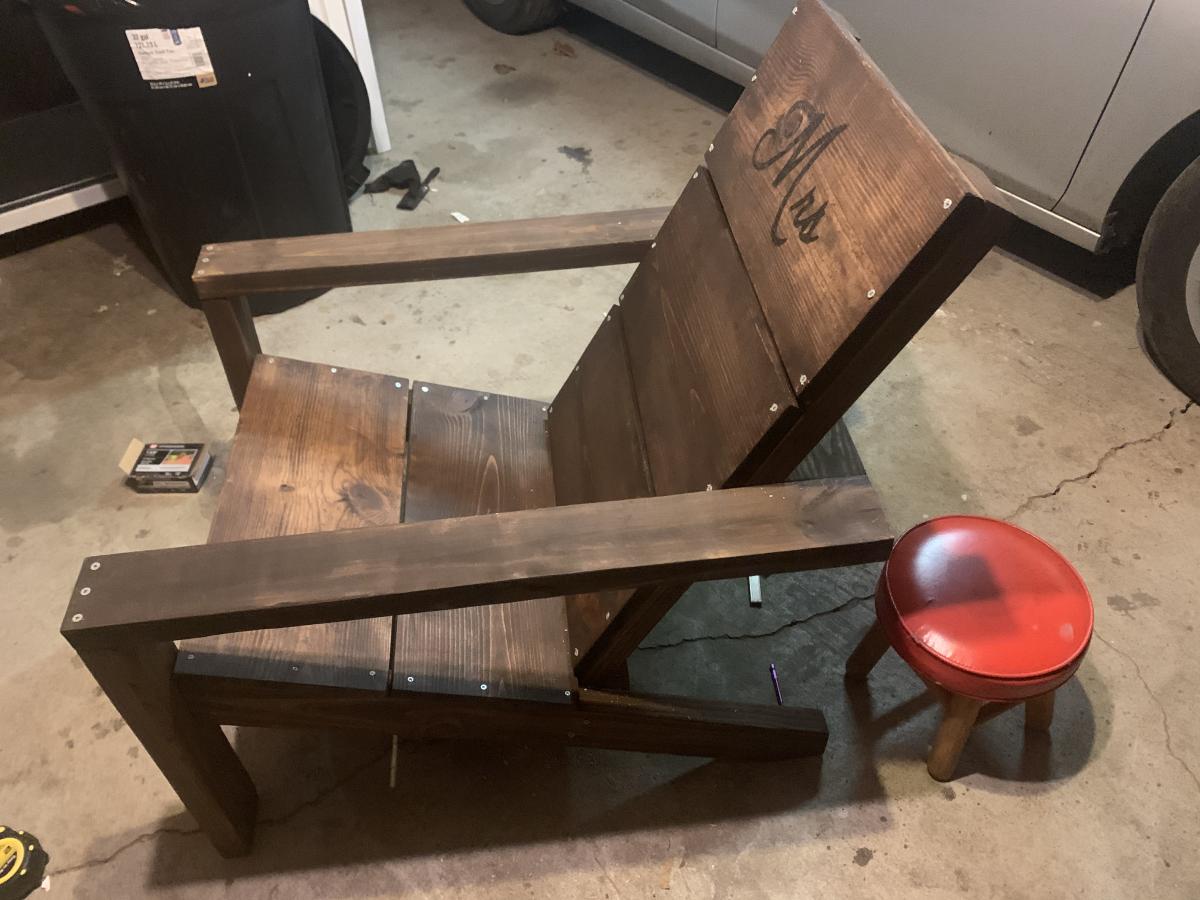
Mr and Mrs wedding presents!
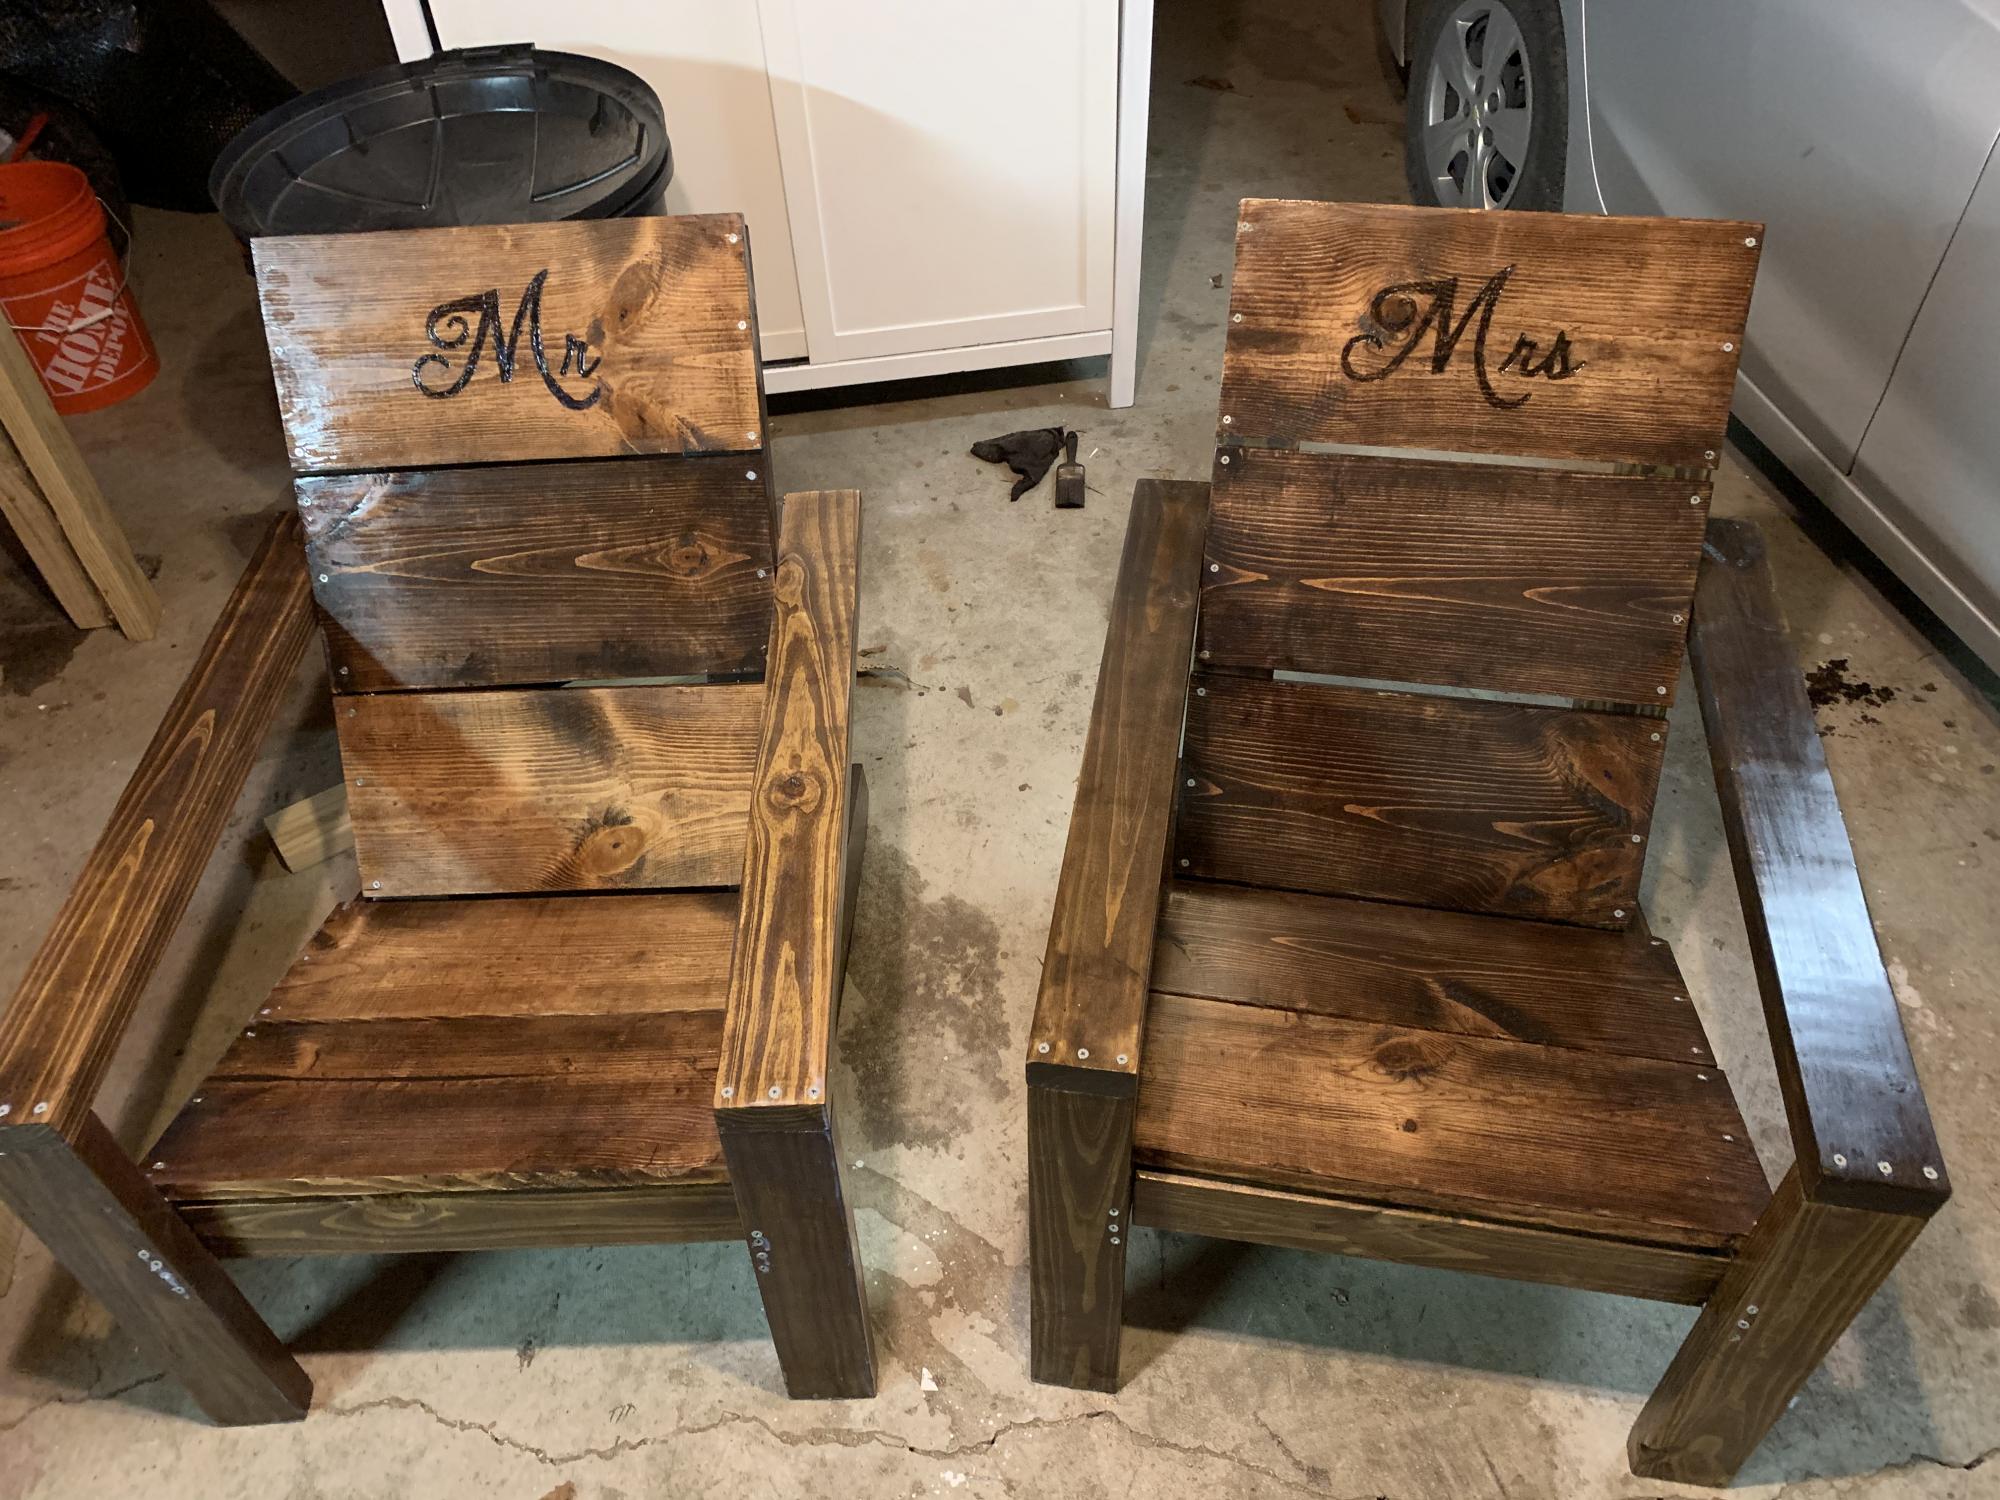
My friends were getting married so I chose these as their wedding presents due to them having fold out chairs for their new home. Wood burned the mr and Mrs. Used wood conditioning and stained with the rust oleum Kona. Then used the rust oleum glossy polyurethane x3 coats.
Comments
Thu, 04/01/2021 - 16:56
Wonderful gift!
They looks great and I am sure the bride and groom will cherish them!
Storage bin

I made some modifications. Instead of using 2x4's. I used 2x3. I live this storage bin, I added a top to use as a stool chair.
Comments
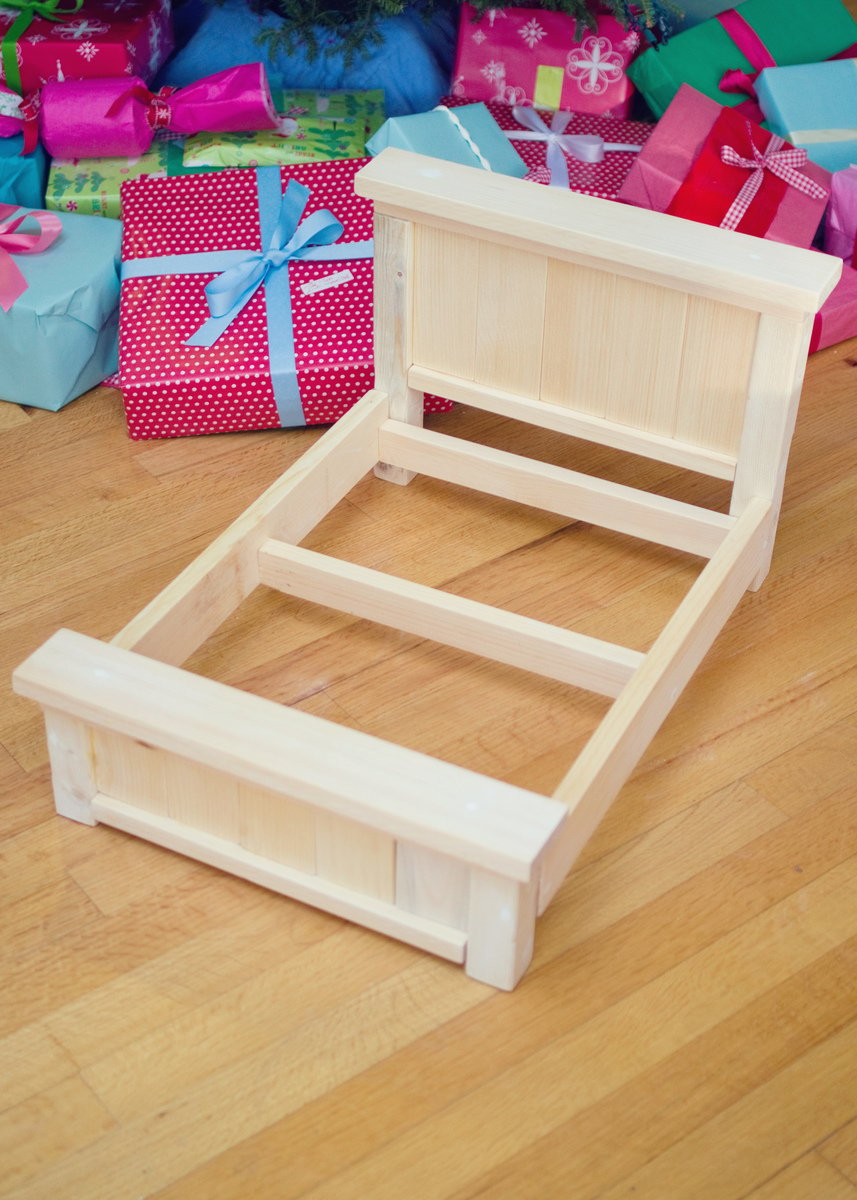
Christmas Farmhouse Doll Bed
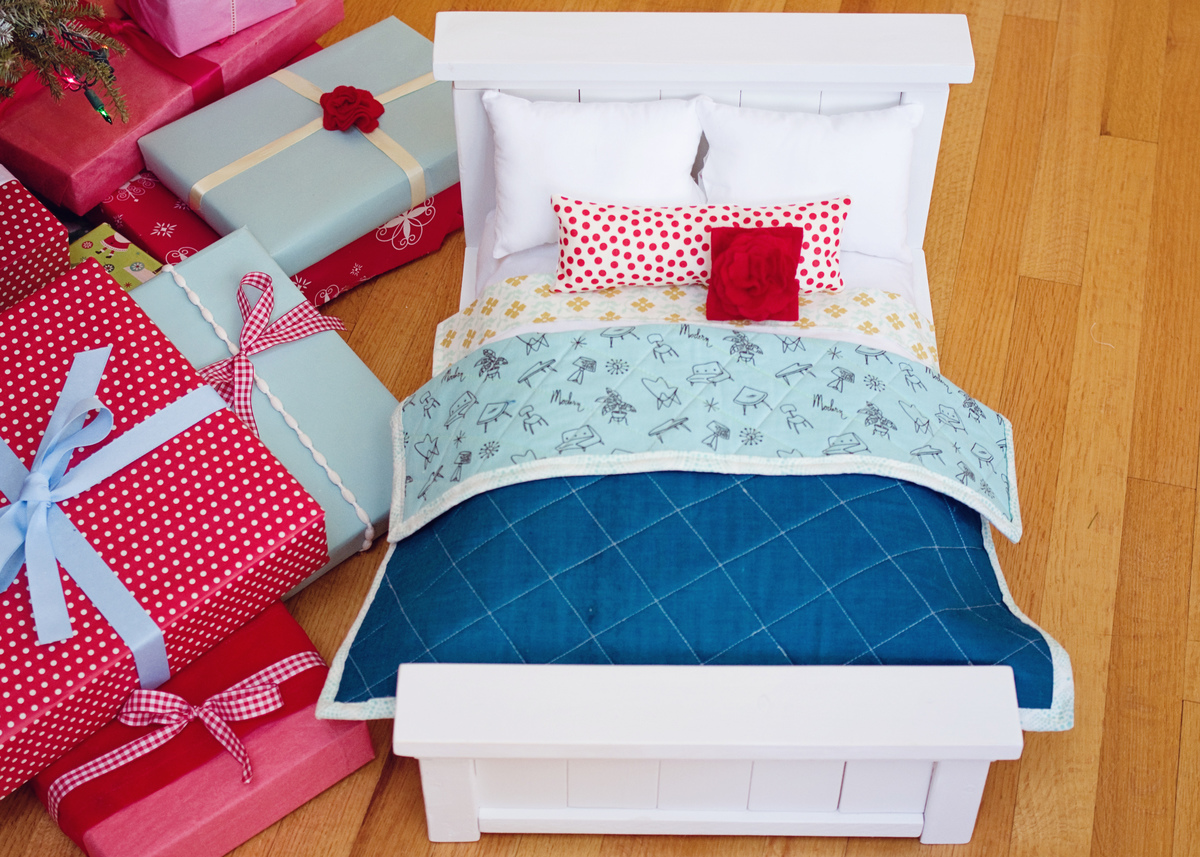
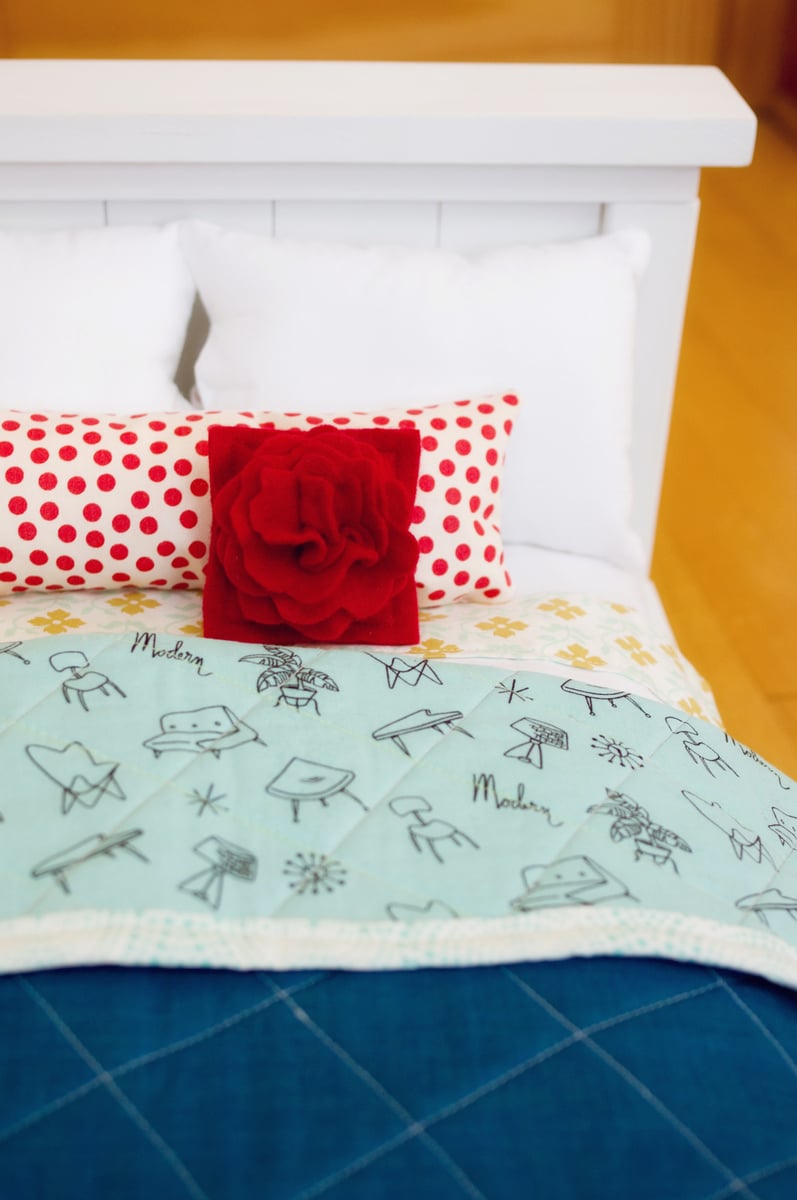
My husband and I built beds for our daughters' american girl dolls for Christmas. It was the first time we'd ever built anything and we learned a lot. So fun!
Buffet Table

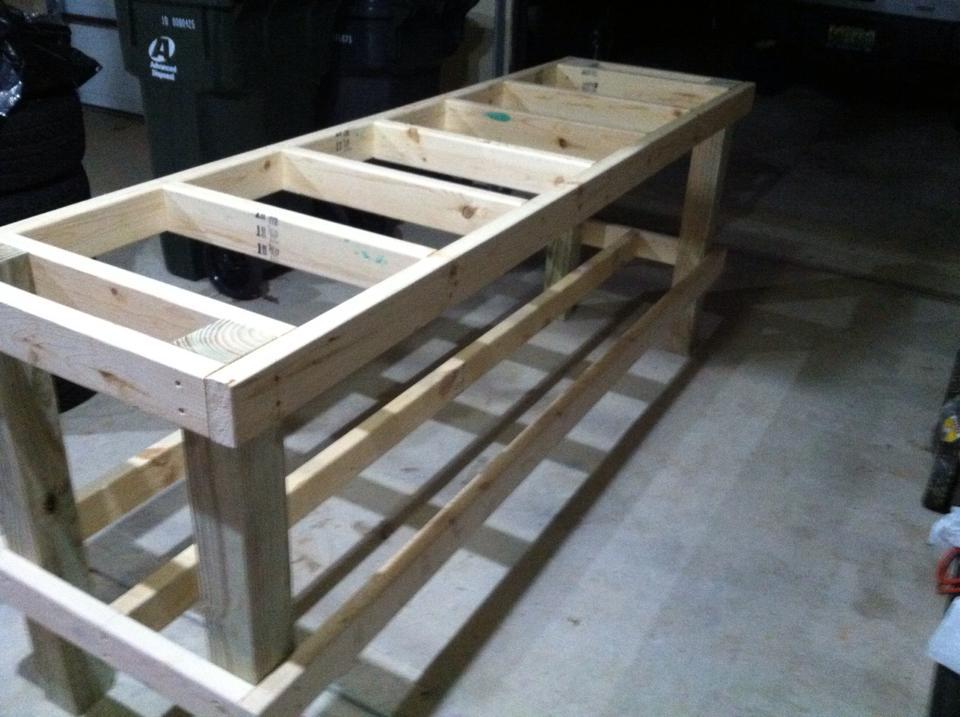
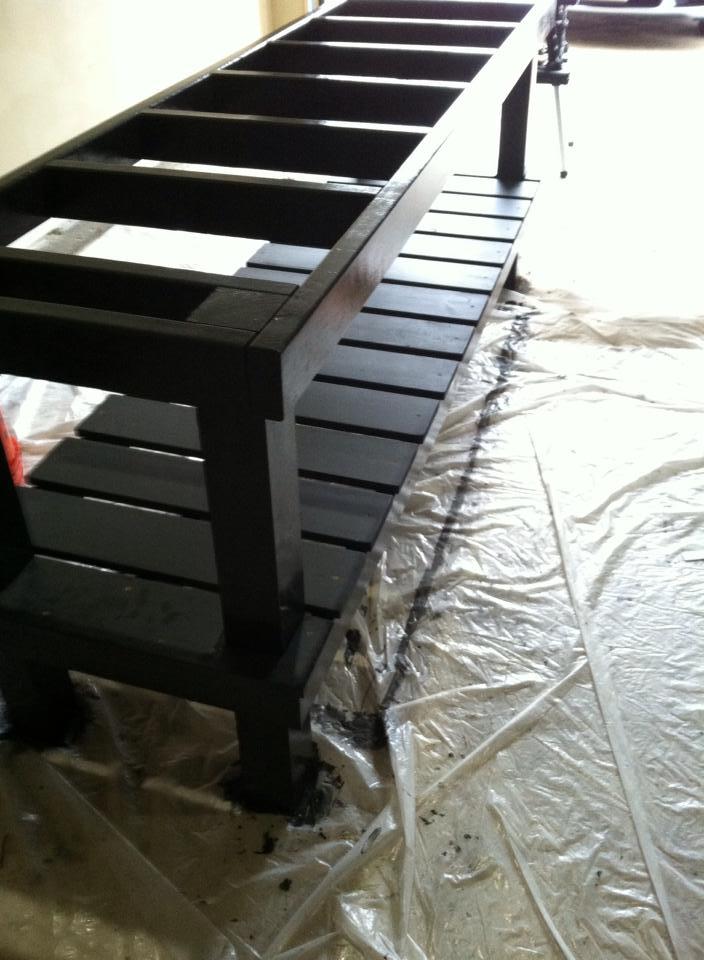
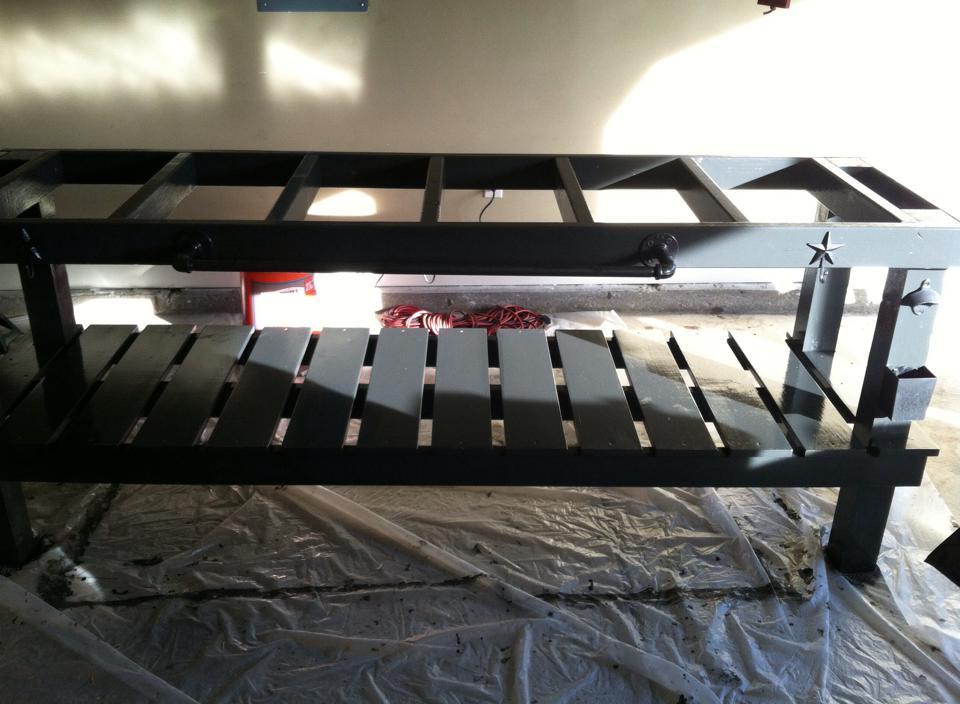
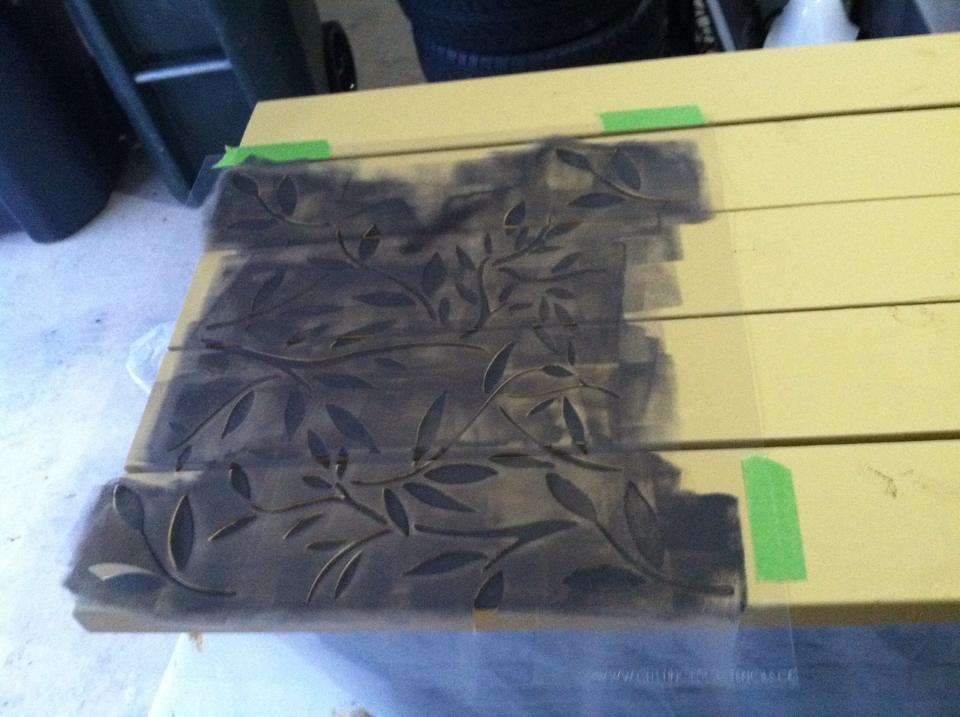
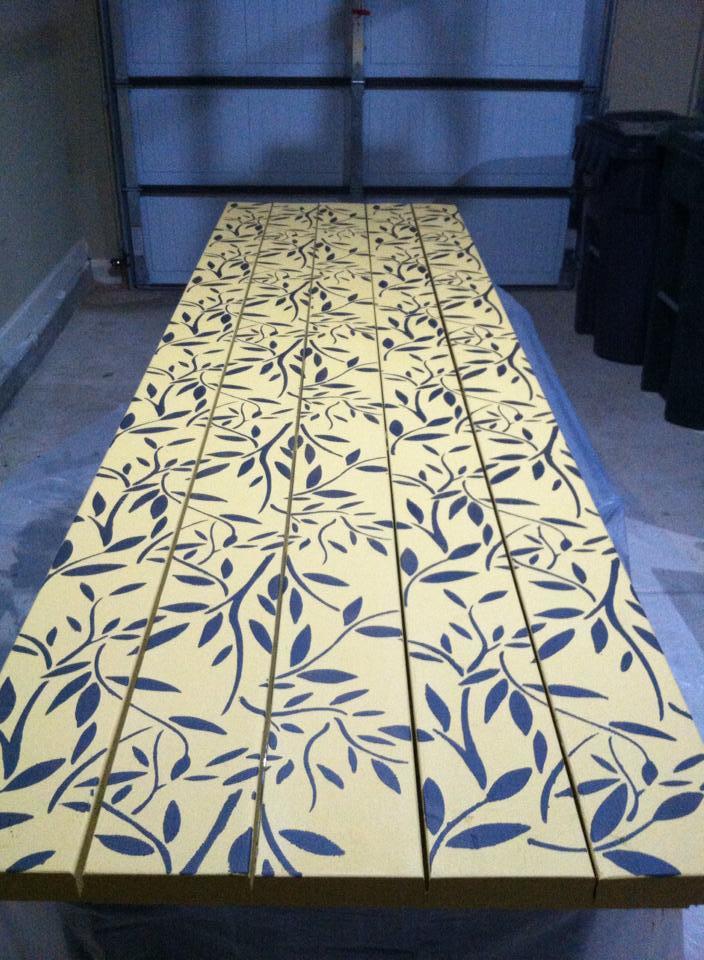
I changed the dimensions to fit the entire width of my framed pea gravel patio and stenciled a design on the table top.
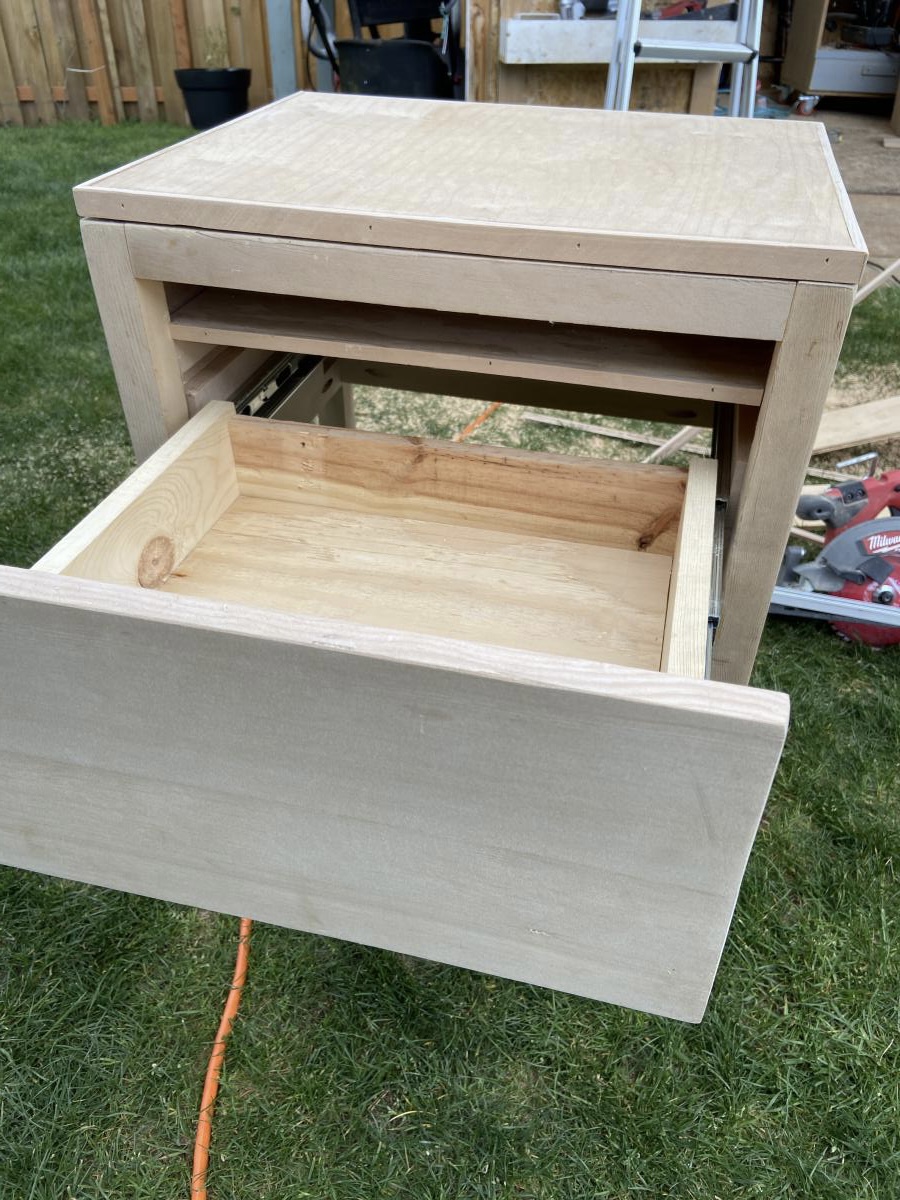
Easiest Drawer/drawer slide install Thank you Ana !!!
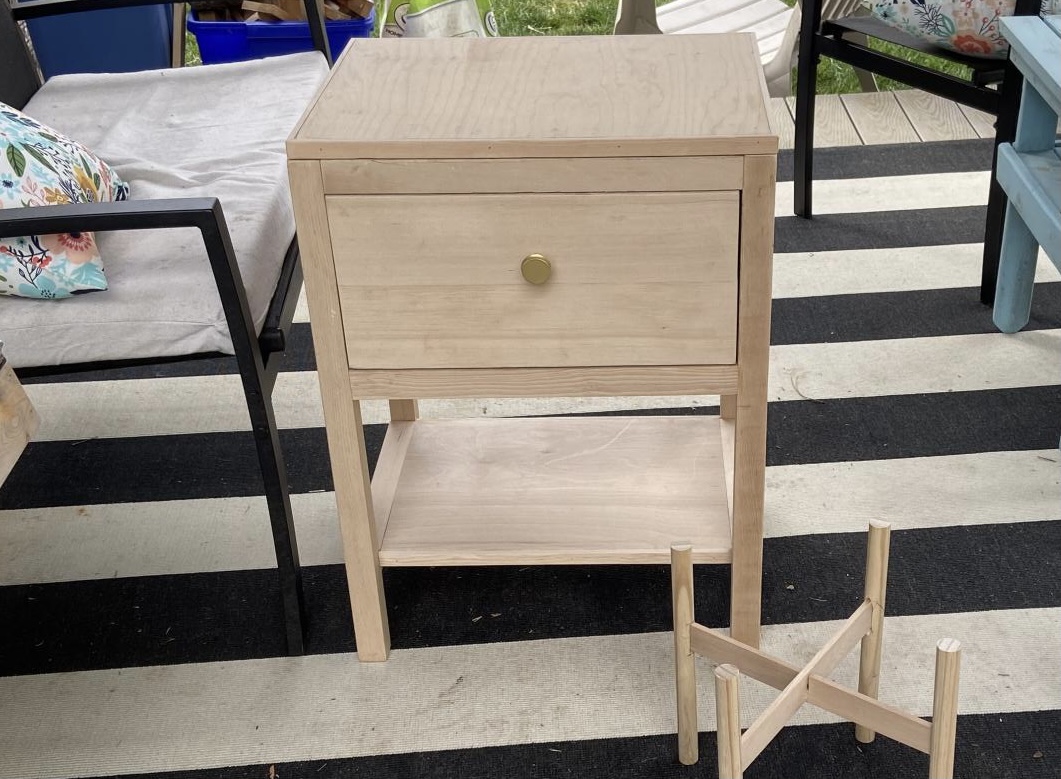
I made this nightstand for my daughter and struggled with the drawer install. I am grateful for Ana’s way of installing drawer slides - SO much easier!!!! Thank you Ana !!!
Comments
Mon, 04/12/2021 - 19:55
Wonderful drawers!
You did a fantastic job, I am so happy to hear about the drawers!
Entry table
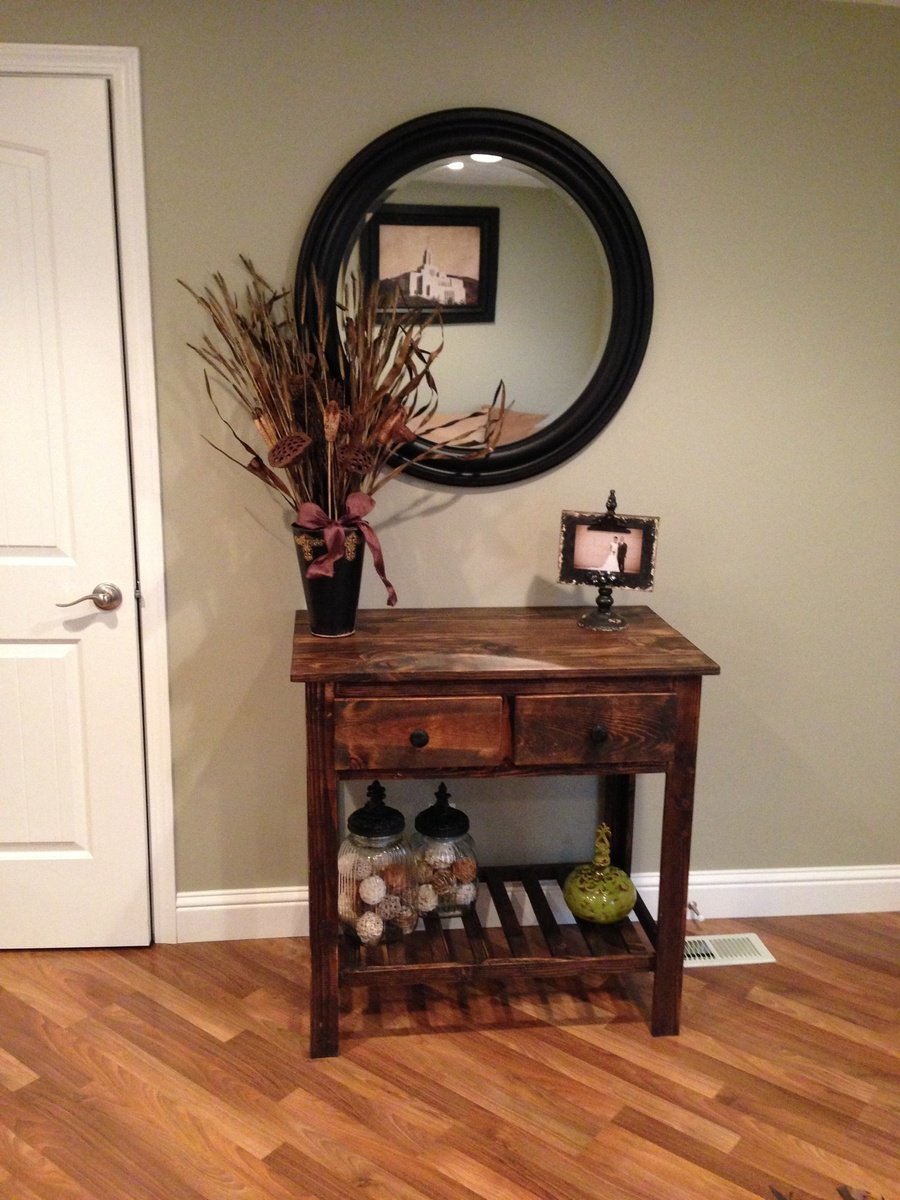
Made this as an entry table did the drawers out instead of in like the plan. Love how it turned out!
Comments
First bed for granddoughter
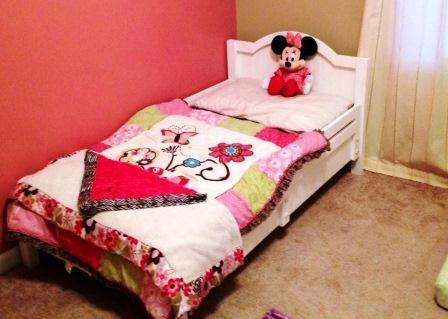
I made this for my granddoughter.
Comments
Toy Box with Cubbys
This was my first real woodworking project. This design was perfect for my one year old niece. Used Rustoleum Chalked Linen White and Clear Matte Topcoat. Made sure to use Zissers Bullseye on all the knots in the wood so they wouldn't bleed through, although I should have primed the entire piece. Pretty simple to make, with the angled cuts being the hardest. Found the label holders at Hobby Lobby in the scrapbook section.
Ambrosia Maple Box Frame Coffee Table with Lift Top
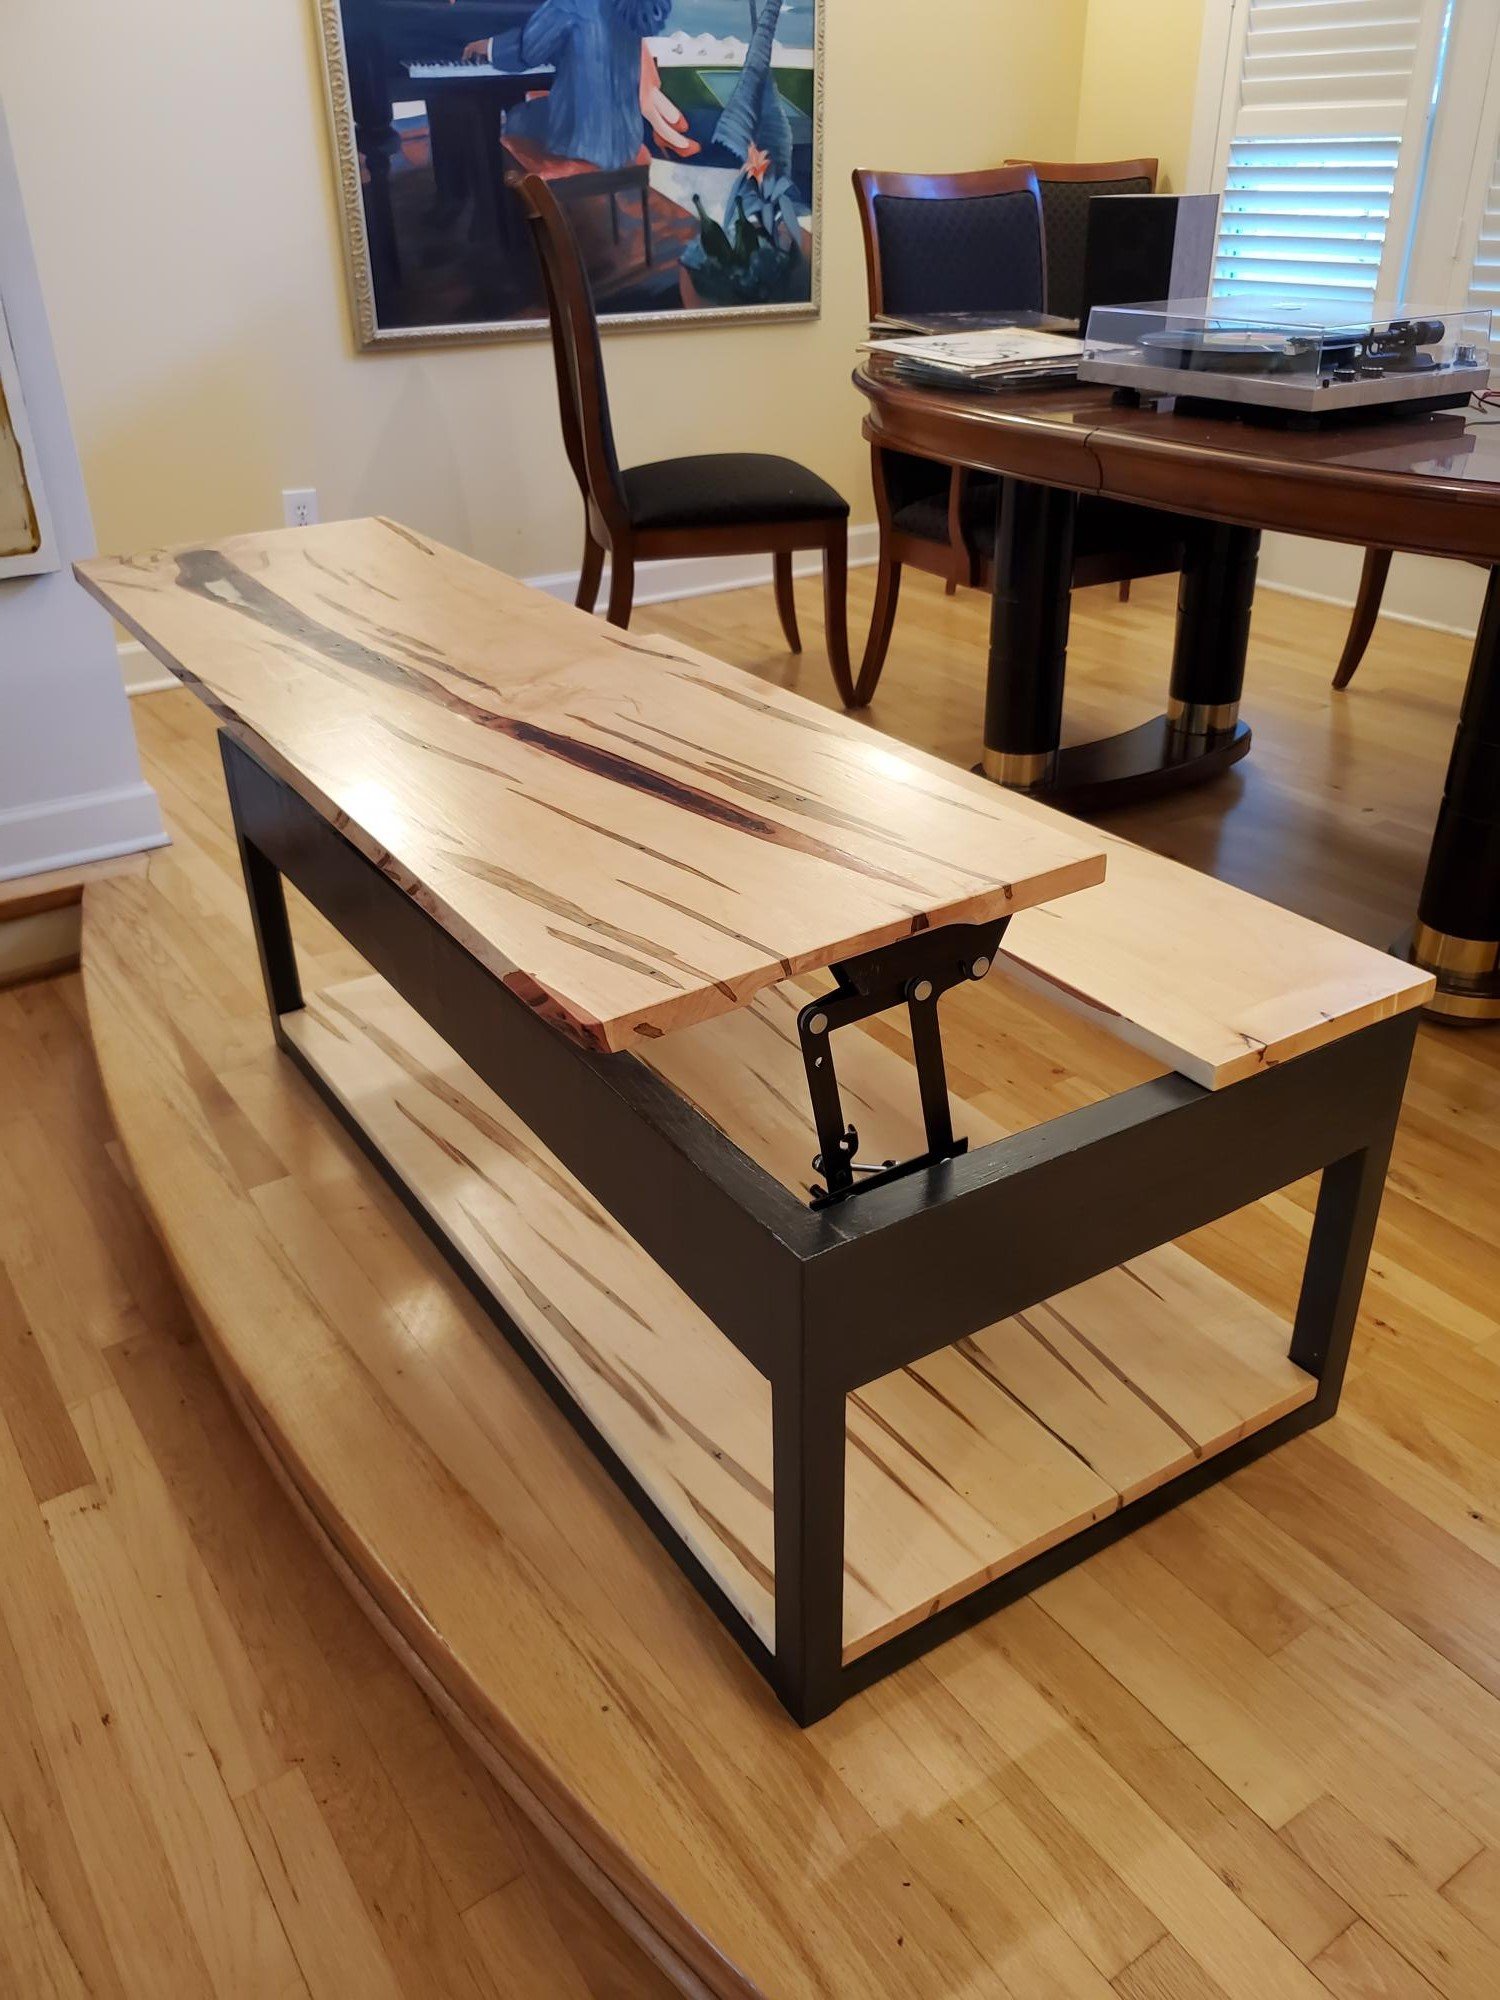
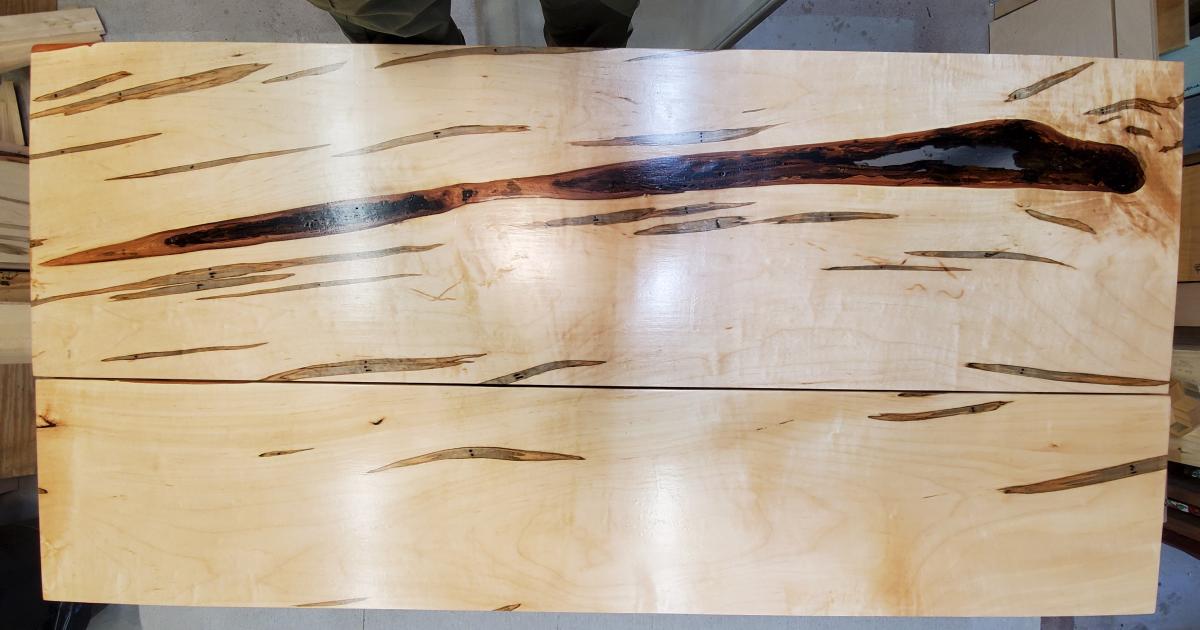
Wow, building this table was more than I bargained for, but all the difficulties were my own fault. For starters, although the wood is beautiful (wormy ambrosia maple) the piece I chose to work with had a large knot hole that needed filling with an epoxy pour. It looks pretty good if I do say so myself (it's probably hard to see in this photo). Second, I didn't count on the hinges being so long and my wood came up about 3/4 inch too short for them. Had to scour the internet for some that were not so long. They ended up being a bit of trouble to install, but all's well. I used my router to cut a cove for finger grips which did make it easier to lift the top. I also made the top sides bigger that the original 2 x 2 (2 x 5 maybe) for weight and stability. I had extra wood so I added a bottom shelf as well. The finish is several coats of Varathane semi gloss polyurethane. I really like how it turned out!
Comments
Mon, 04/19/2021 - 15:35
Absolutely stunning!
Sounds like you attacked and conquered! Thank you for sharing your gorgeous build here!
Modern Craft Table with Pull Out Ironing Table [Modified]
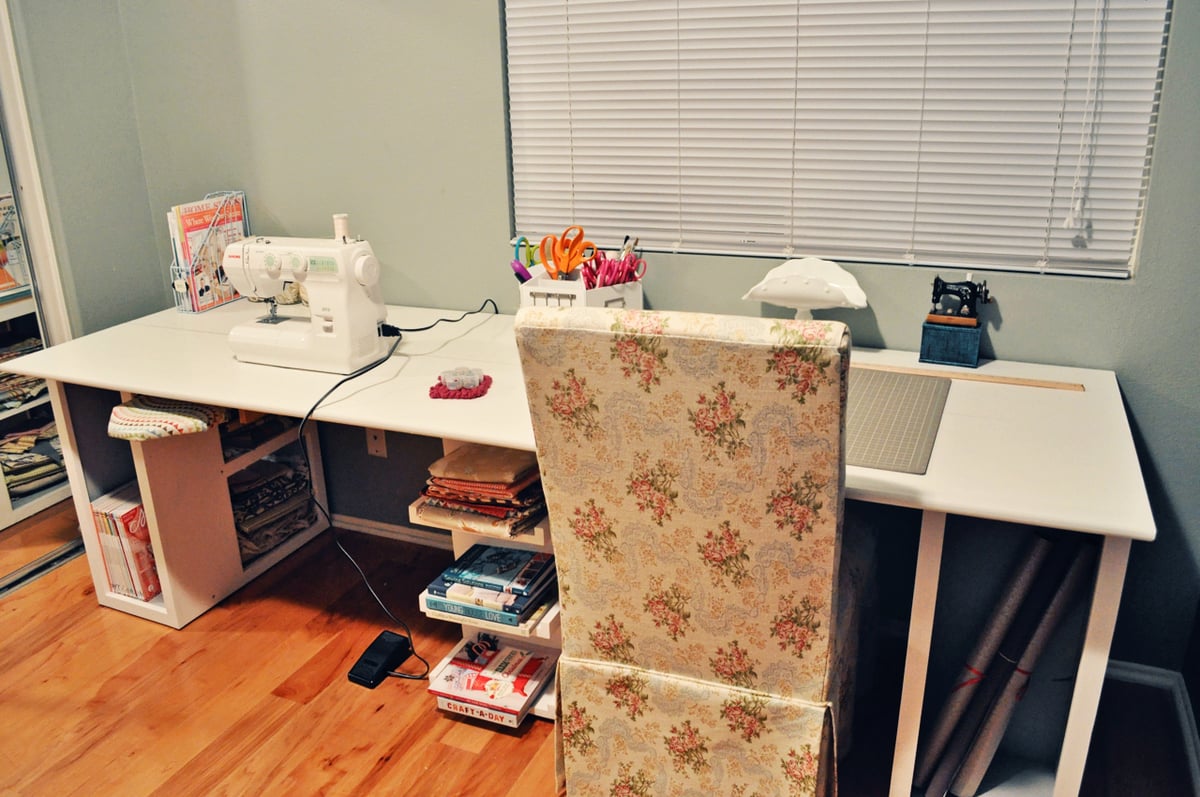
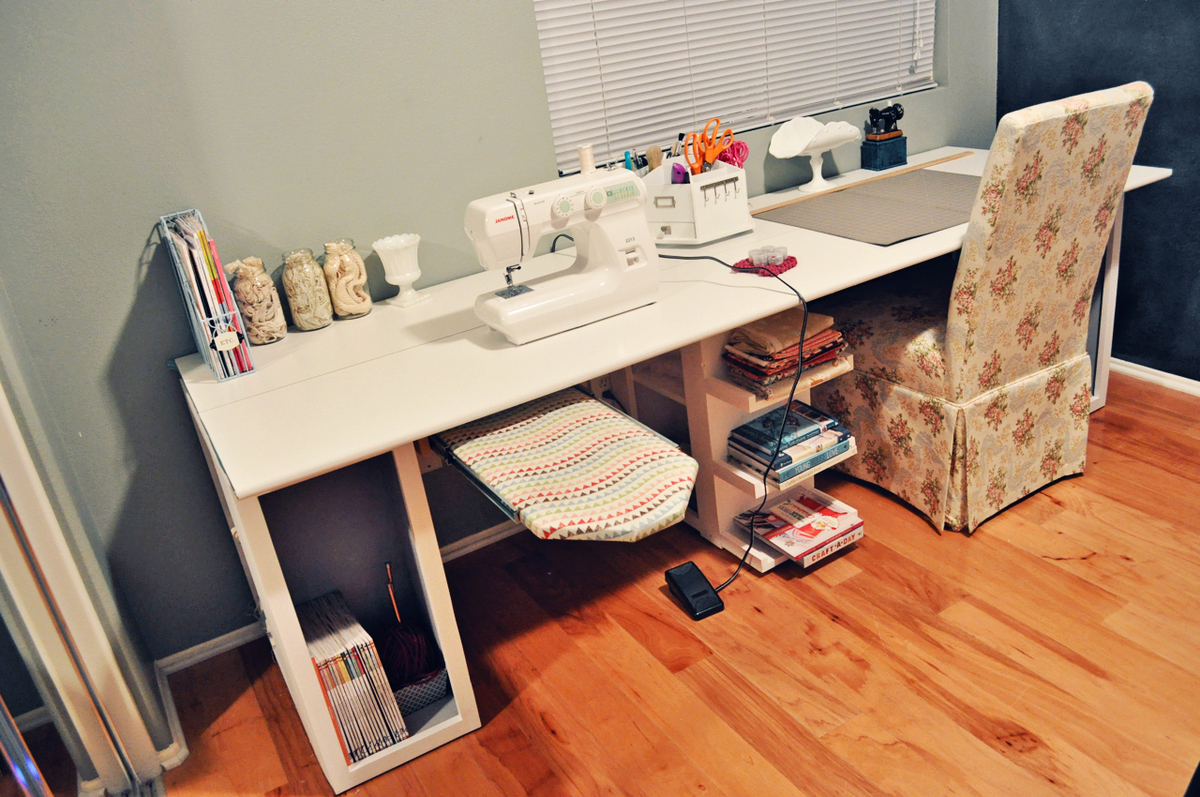
The craft table was based on the Modern Craft Table plans and heavily modified to be at regular seating height. We also added a pull-out iron table based on plans from Made by Marzipan. The pictures are kinda deceiving, but the ironing table does push all the way back in the table and it only juts out just to show it :) Check out our blog post for more:
http://tonyandkristine.blogspot.com/2013/03/diy-craft-table.html
floating shelves
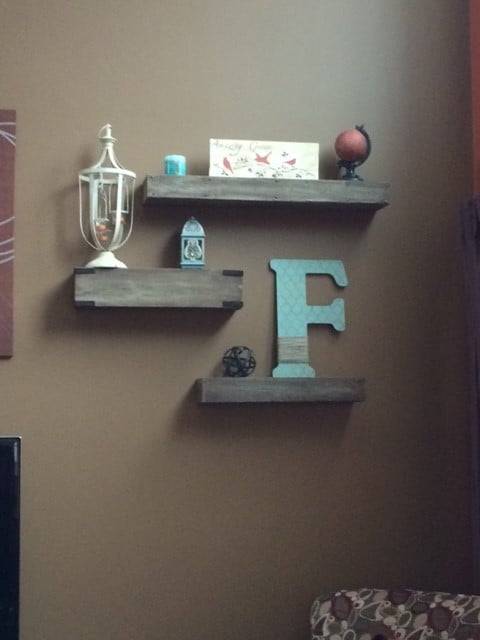
These shelves were easy and easy to customize the size according to your needs. They are fun to decorate and add a rustic flair to my living room.
Raised planter
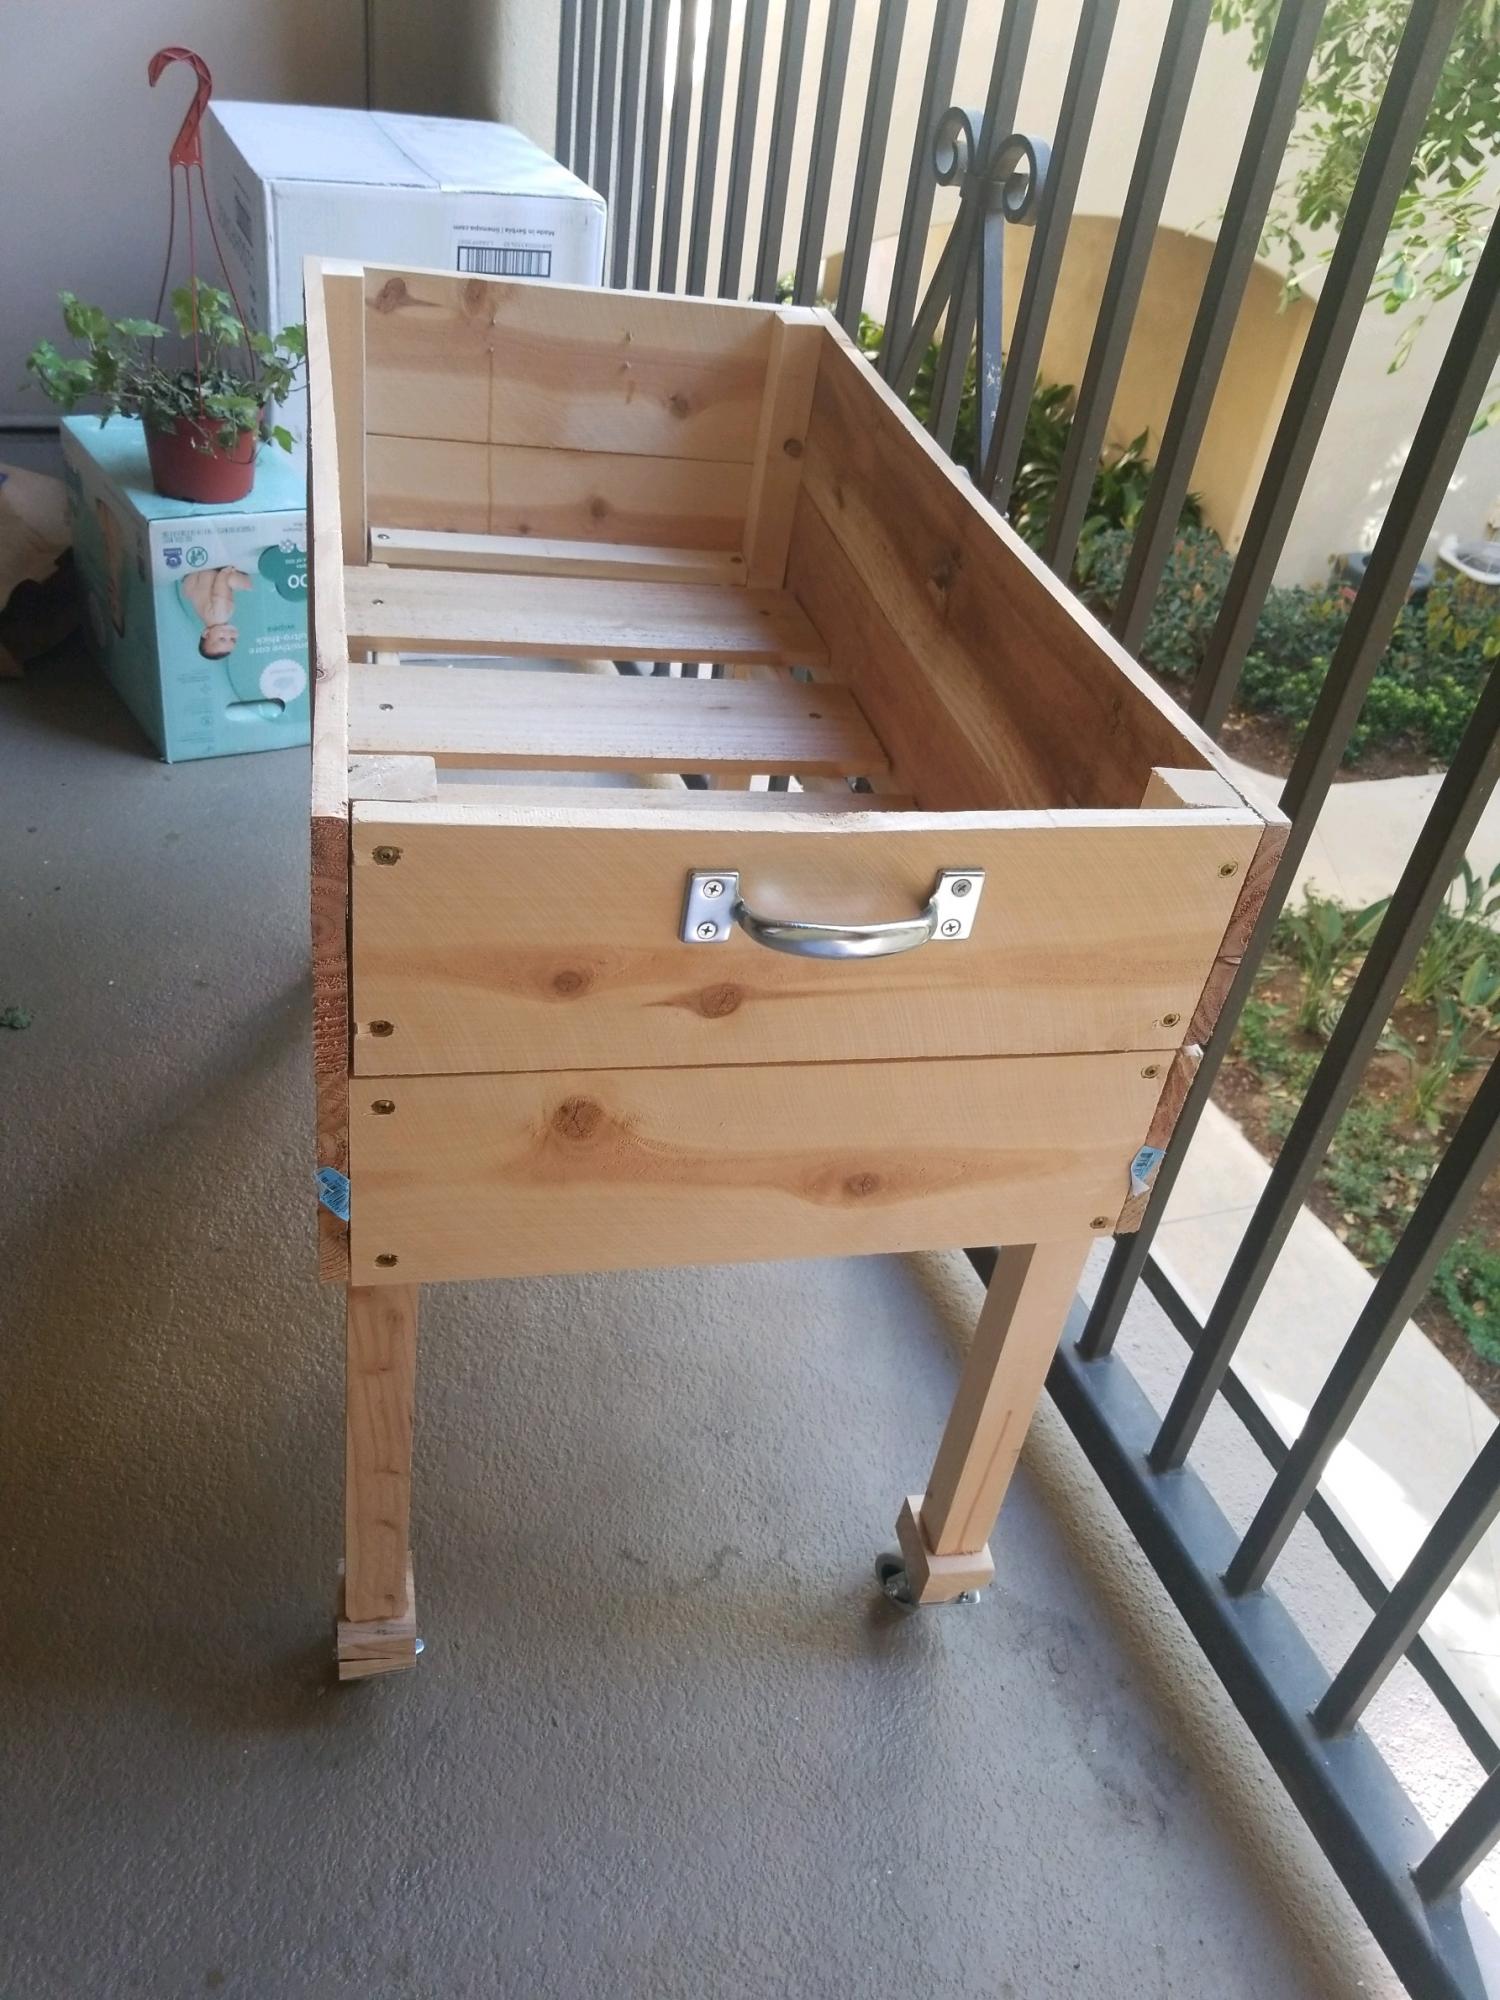
This was simple and easy. I added handles and casters. This was a great project.
Comments
Mon, 04/26/2021 - 17:23
Easy and functional!
Love the added casters and handles, thanks for sharing!
Millicent's castle!
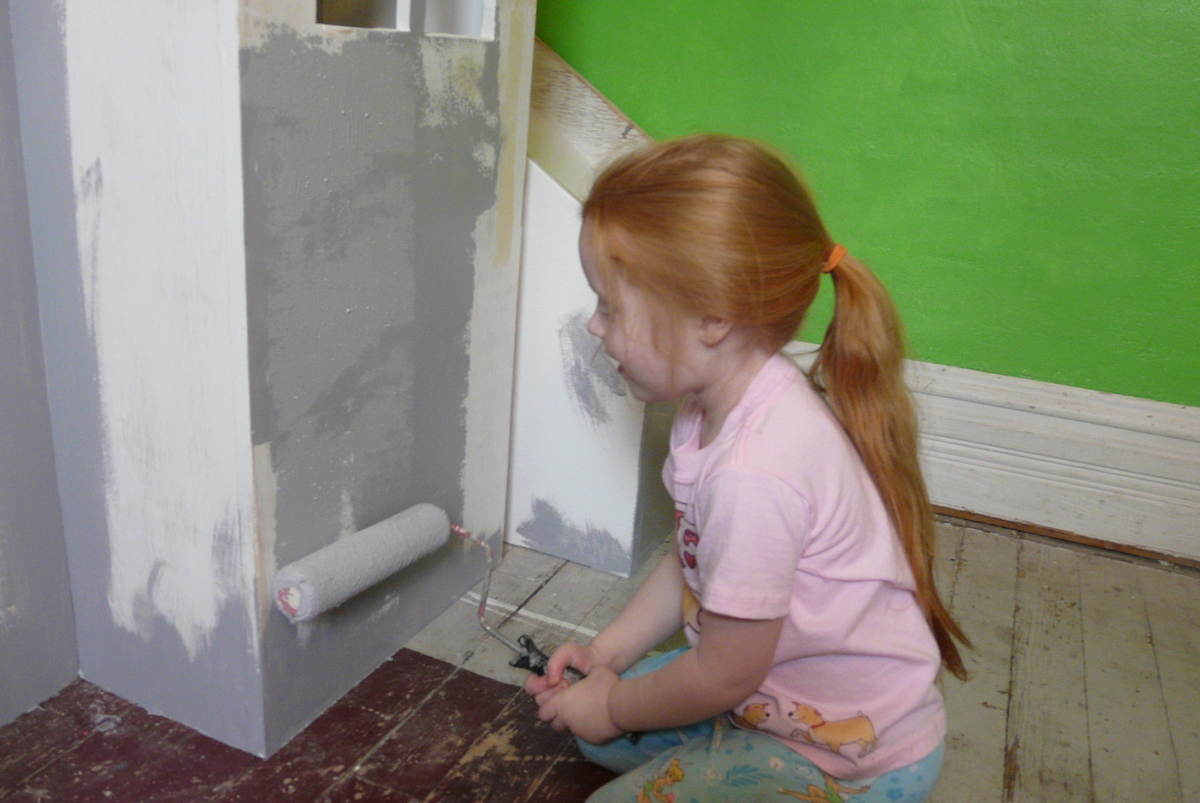
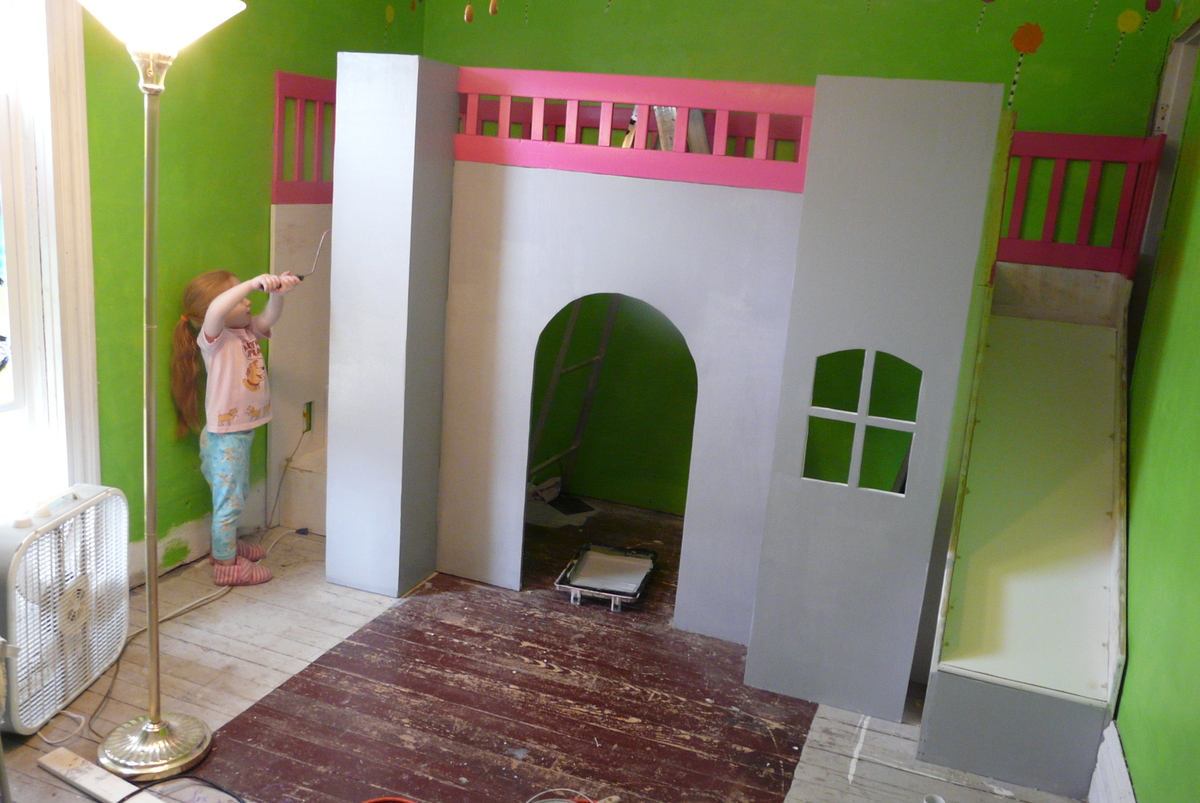
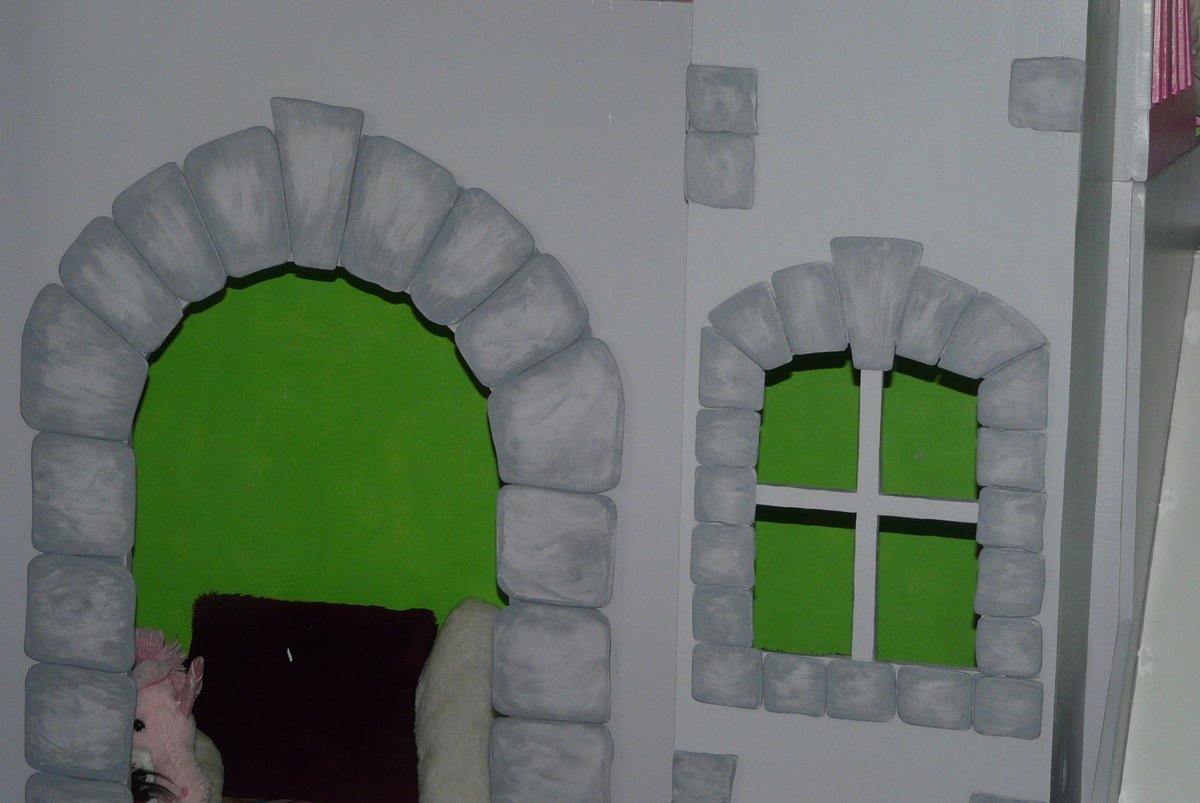
I found the plans for this bed on this site and was sooooo happy. i was looking for a unique bed for my daughter. I had searched beds for girls and cam across castle beds. I found some pretty extravagant beds costing $20,000 by personal designers and then I found beds from $1,000 to $5,000 buy it and put it together and THEN I found this plan. People asked me if I had experience in building anything. The answer was no BUT I CAN do it!. Plus the plans were very easy to read and understand! My daughter is beyond excited! She can hardly contain herself! THANK YOU!
Comments
Wed, 03/27/2013 - 16:48
Amazing!
You did an amazing job on the castle! Truly outstanding. Absolutely love the painted details on the castle. And the mural! Wow! Its so great your daughter got to participate too. She'll remember this when she's all grown up. Congrats on a fabulous project! :)
Sat, 03/30/2013 - 15:36
Fantastic job!
You did a fantastic job! I love the detail you added! I'm so glad the plans were easy to understand :)
4x4 Truss Beam Table and bench
Love this plan and the table and bench turned out exactly as I hoped. I did it by myself except for a little heavy lifting from my sweetheart. I researched the finish online and I am so happy with the results.
Comments
Tue, 02/10/2015 - 08:19
Looks great!
We have been shopping for tables and cannot find anything we like for a good price. I keep going back to building one myself. Your table top looks great .. nice and flat. Did you follow the plans to a T, did you use a kreg jig?
Tue, 02/10/2015 - 22:13
I did change the dimensions
I did change the dimensions of the top a little. I wanted a wider surface. I did use a kreg jig, it made it a breeze to build. I spent a lot of time on the finish, sanding, using steel wool, and several coats of polyurethane. Thank you for the compliment !
First One!
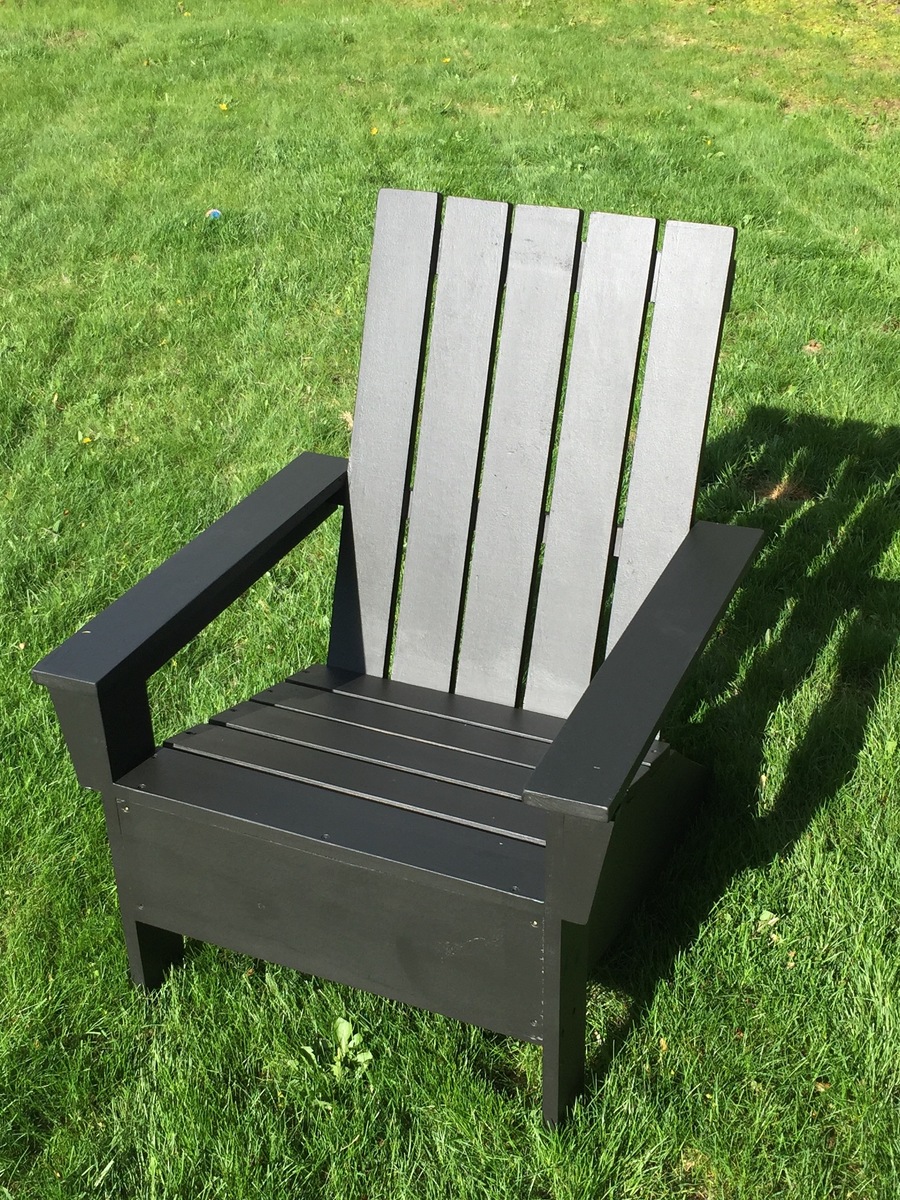
Very easy, completed with just a work bench, circular saw, clamp and screws - I painted mine after assembly, used small brush to get in between, then a roller to finish. Next one will be MUCH easier! I also sanded all the edges of wood, to give it a "worn" look. Three more to come, enjoy the process.....
Comfy sofas
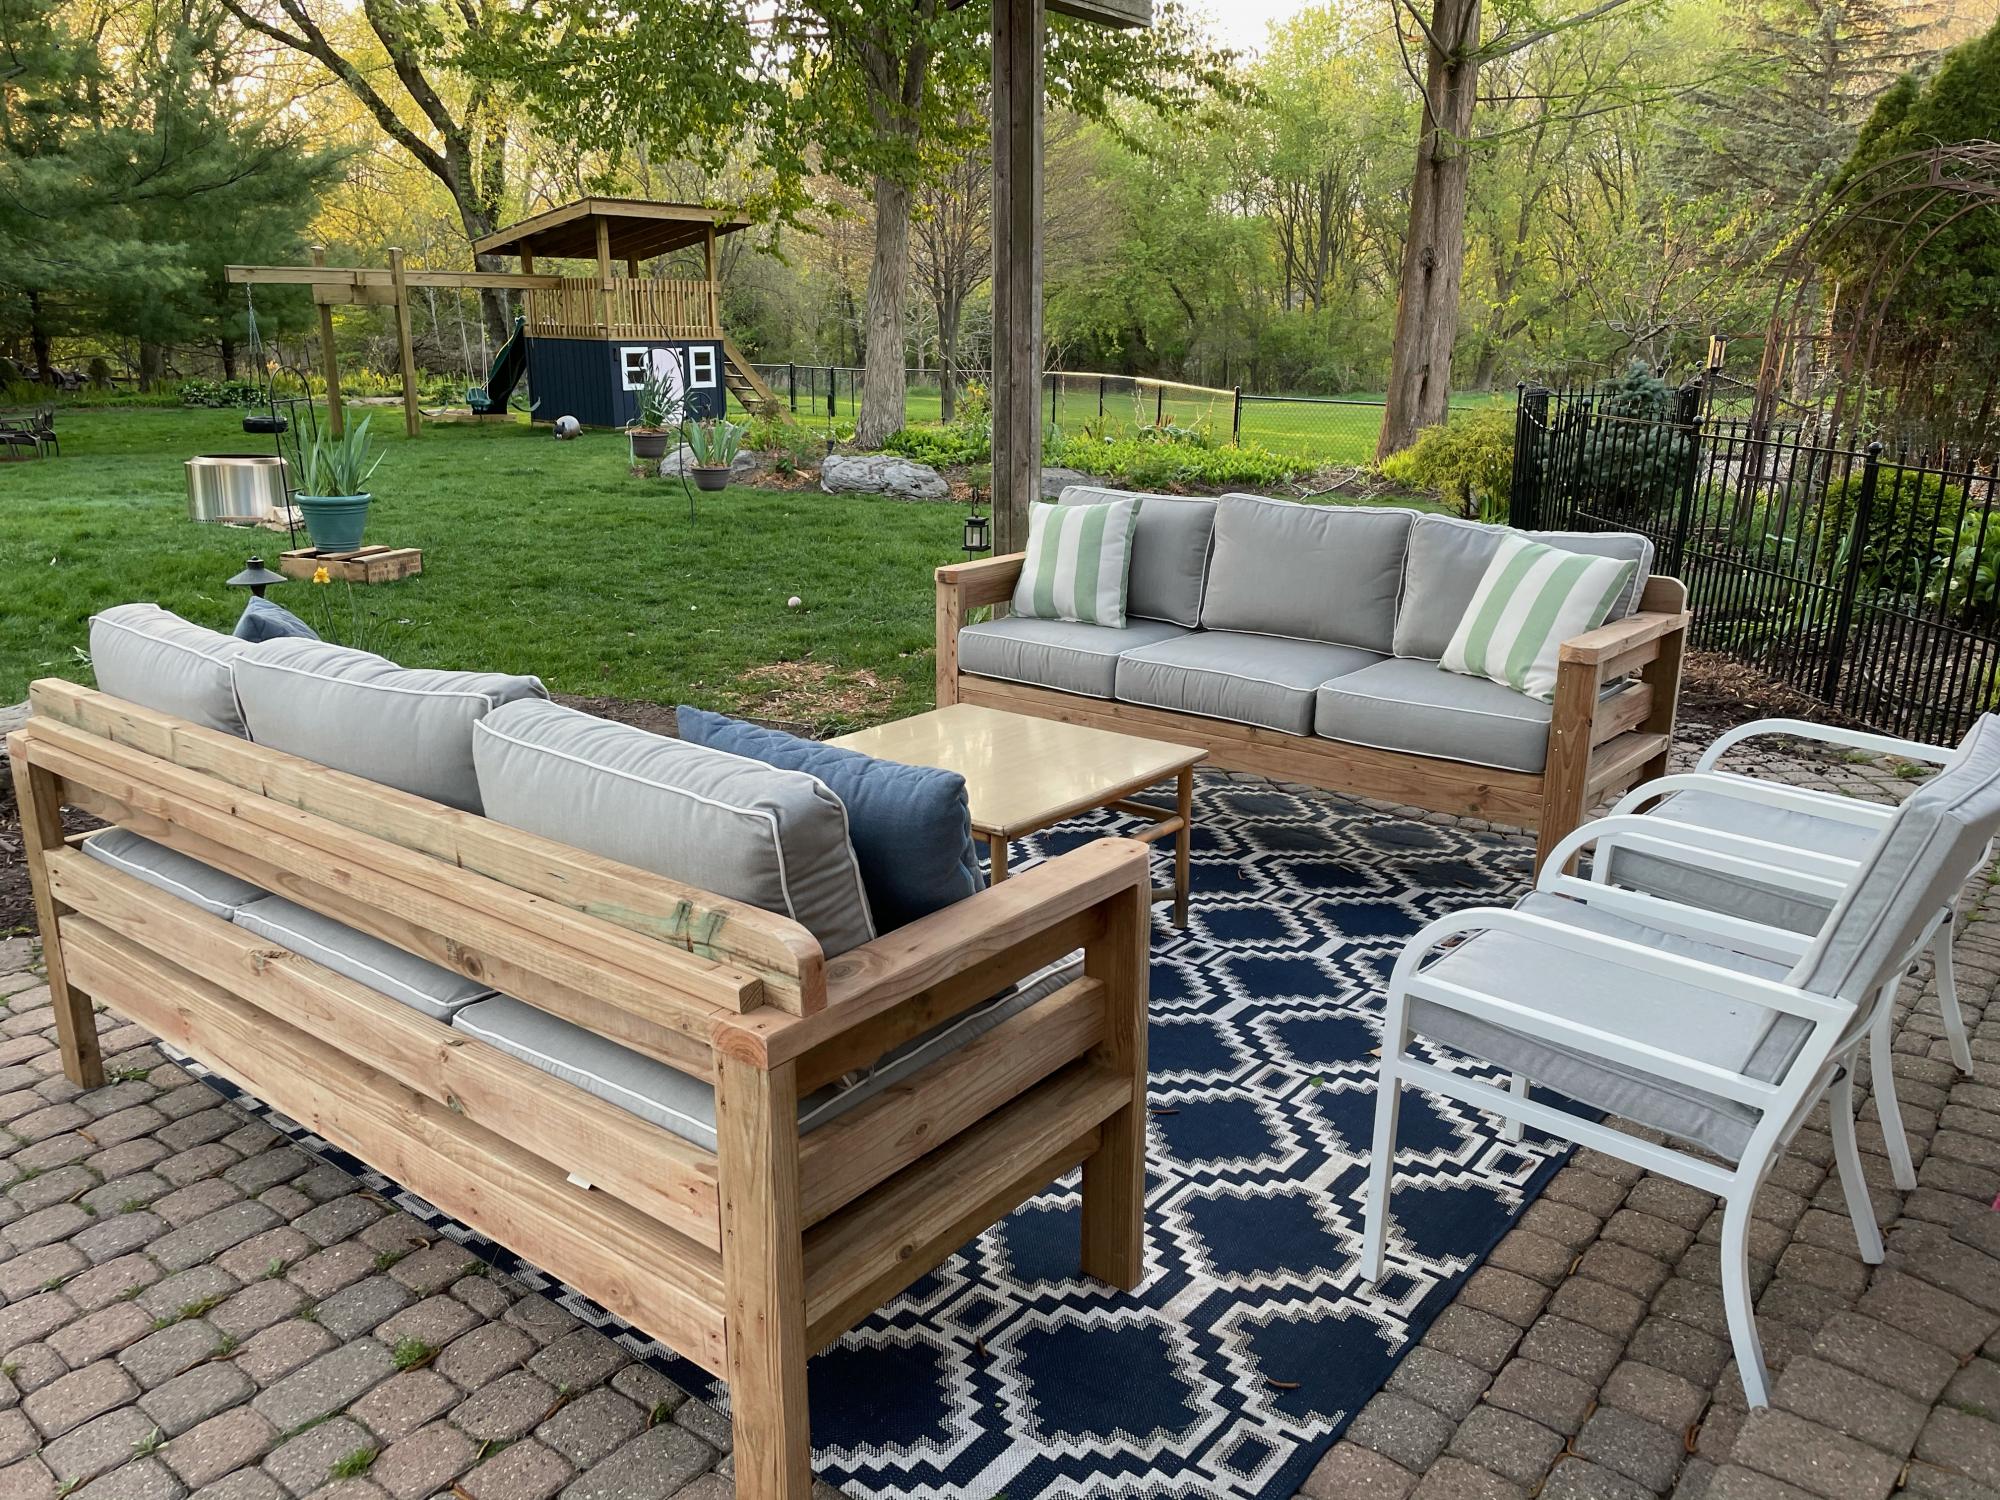
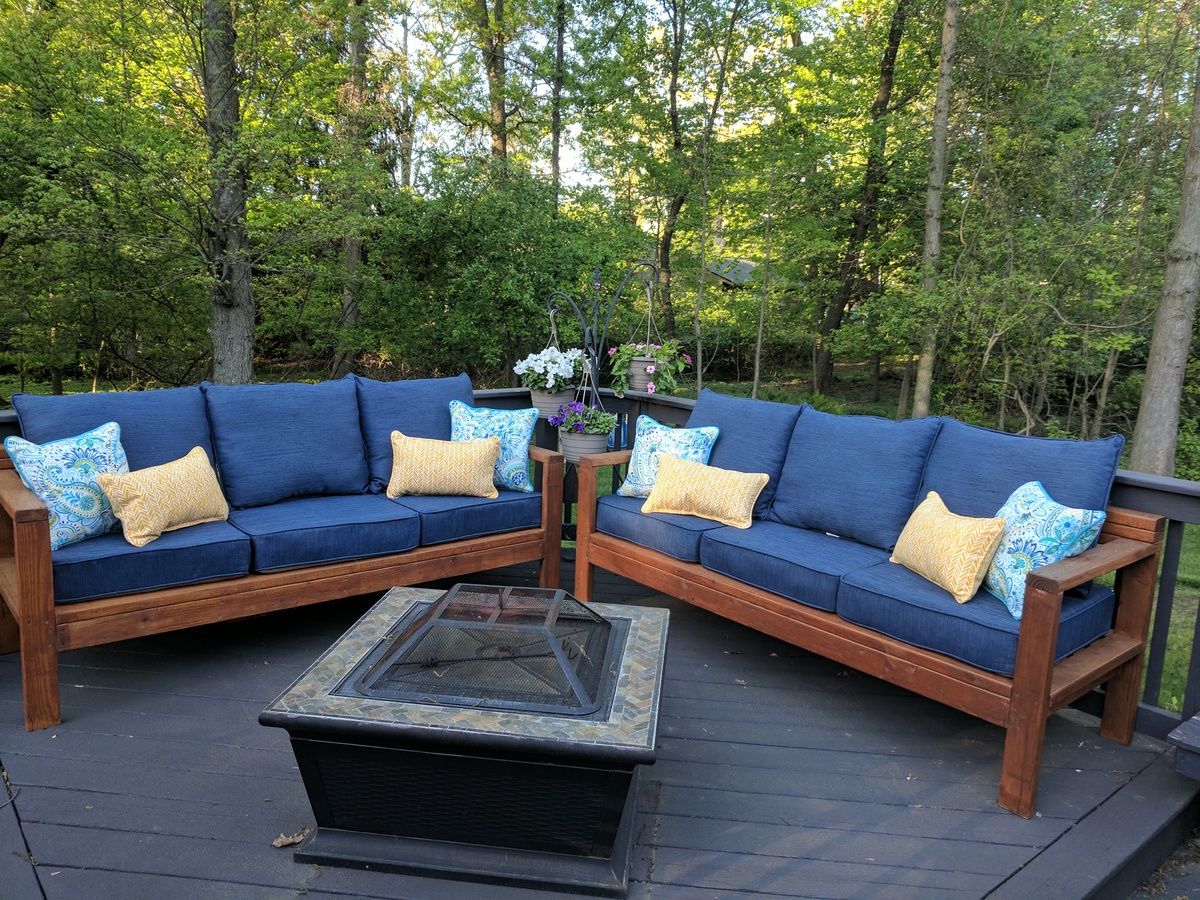
These were a blast to make. Cant wait till my next project.
