Modern Farmhouse bed
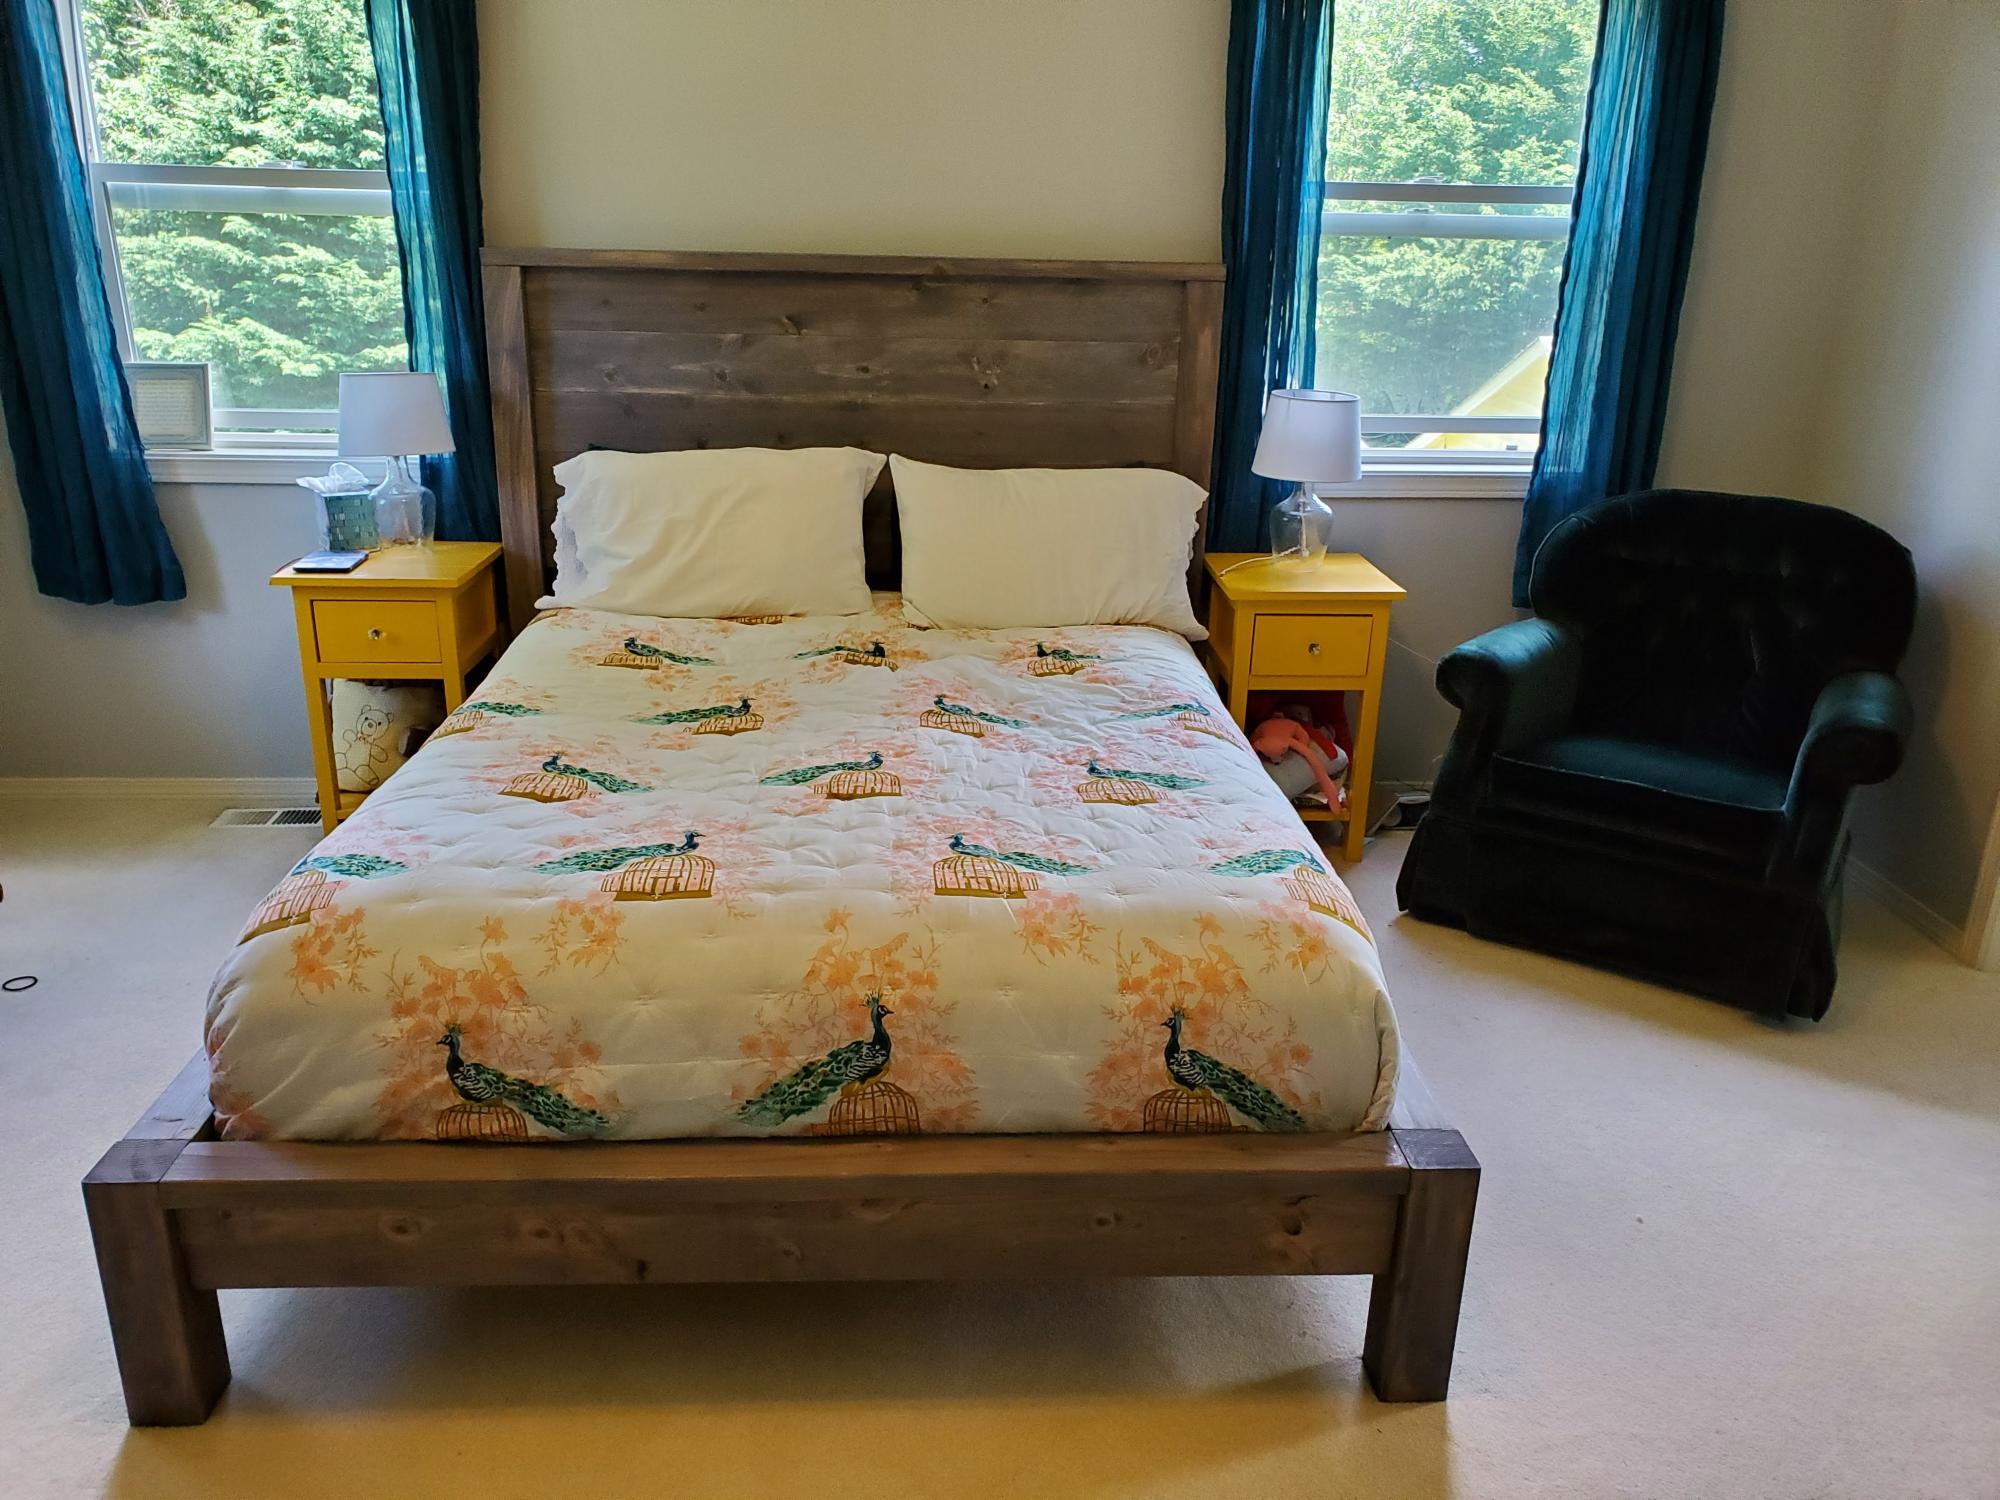
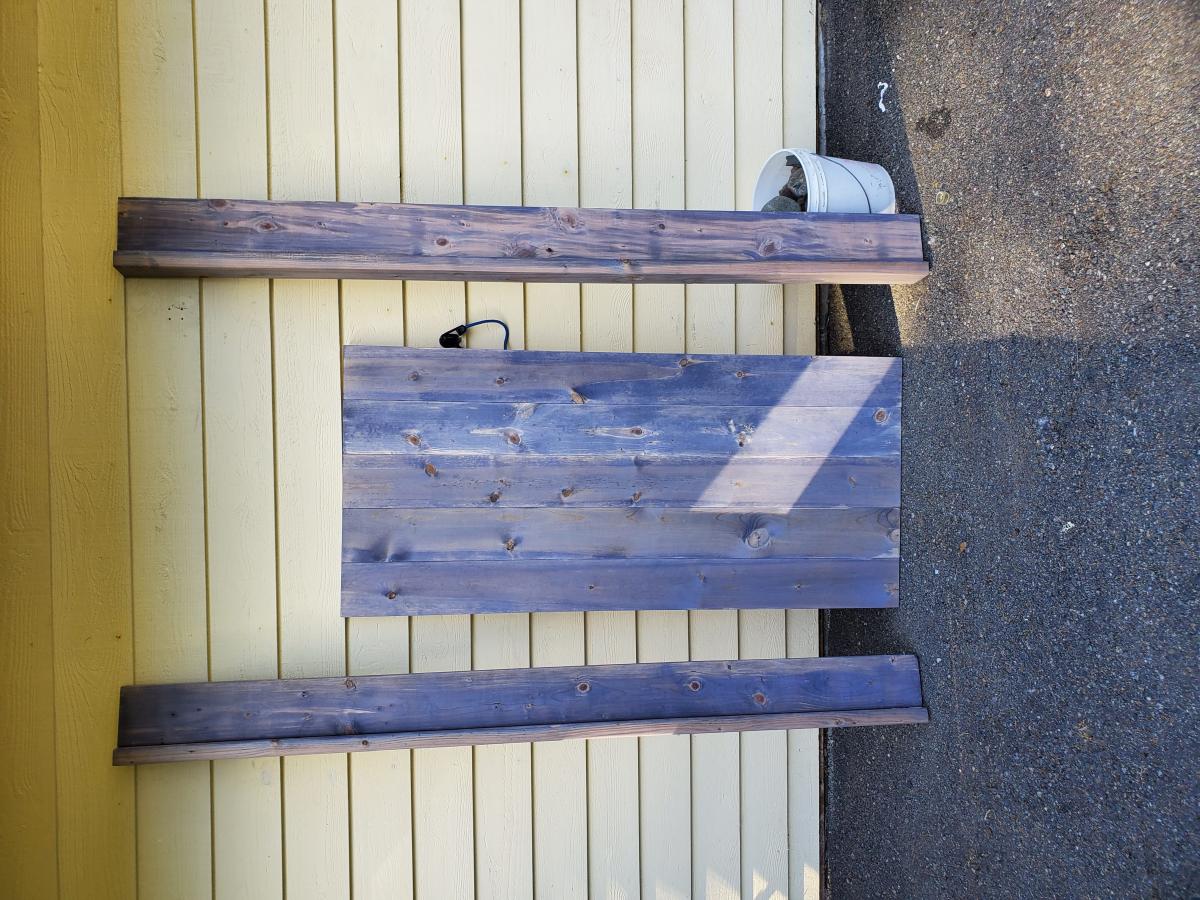
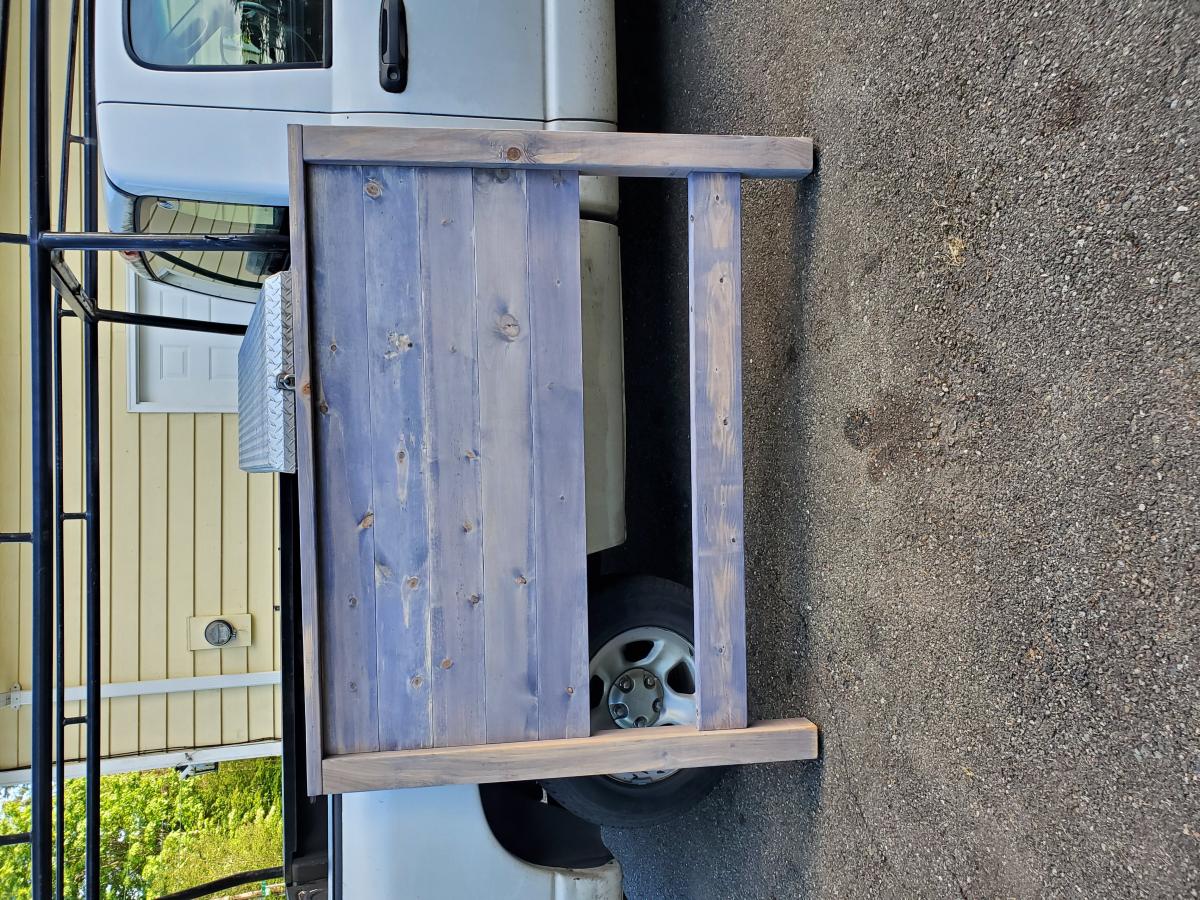
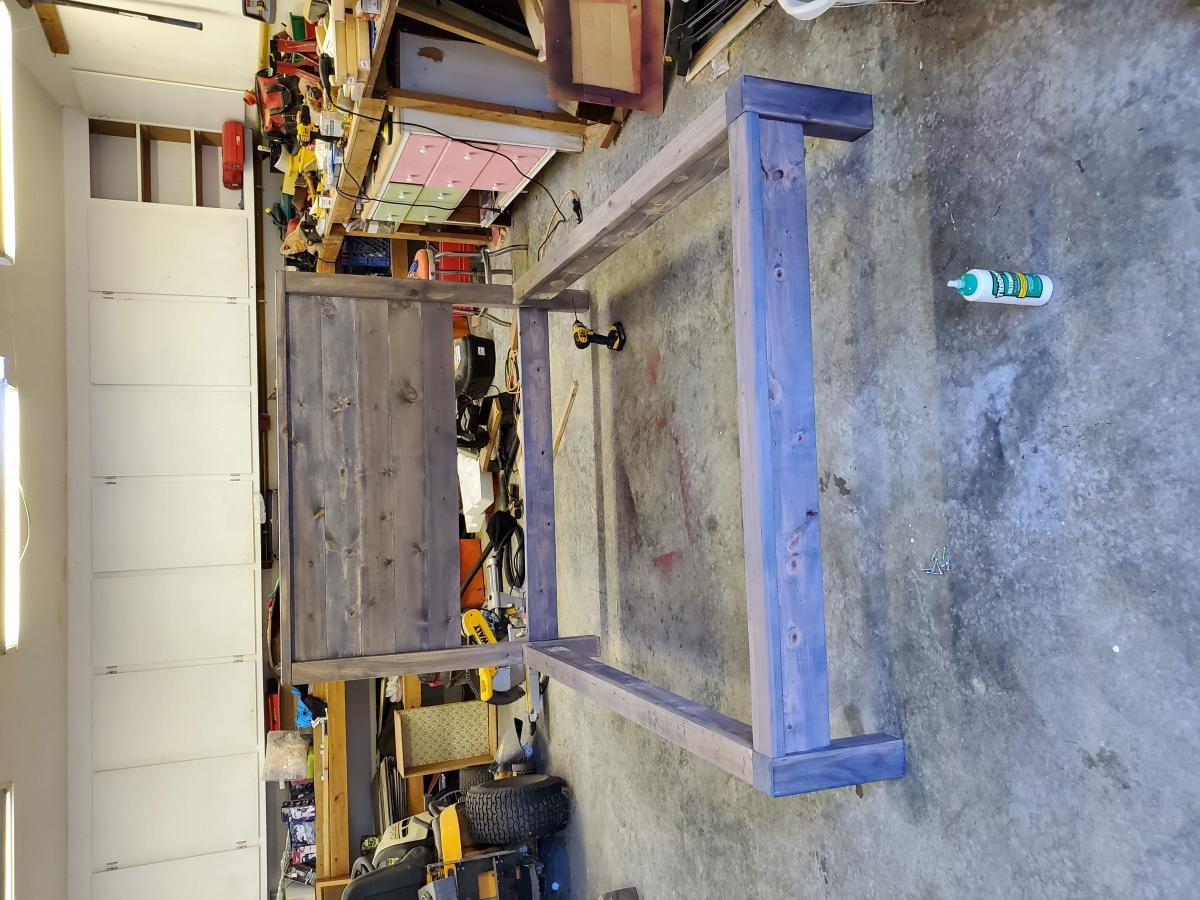
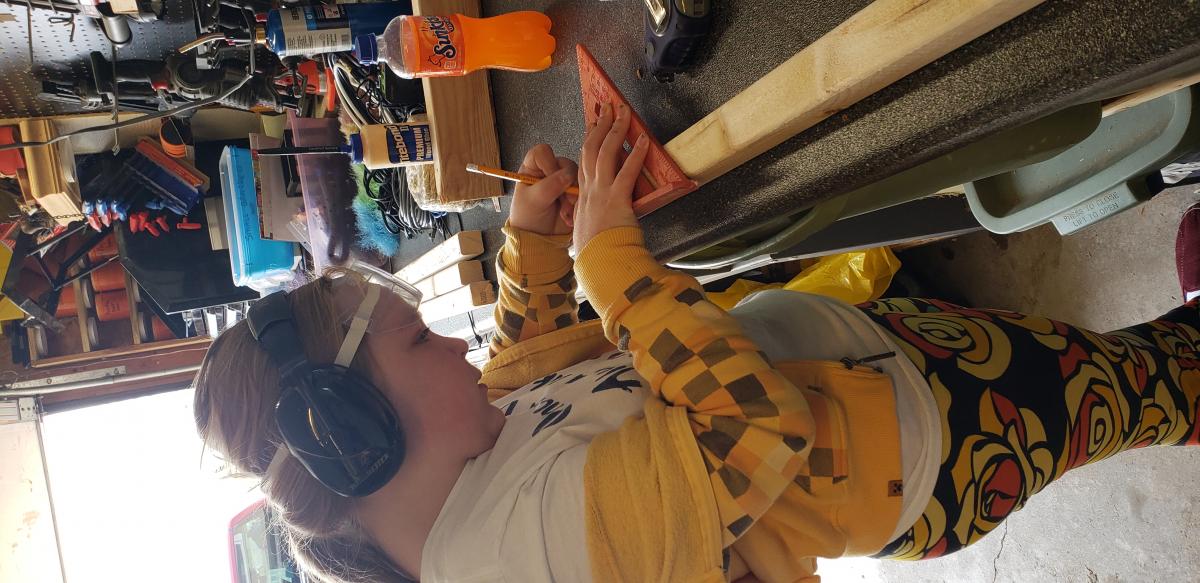
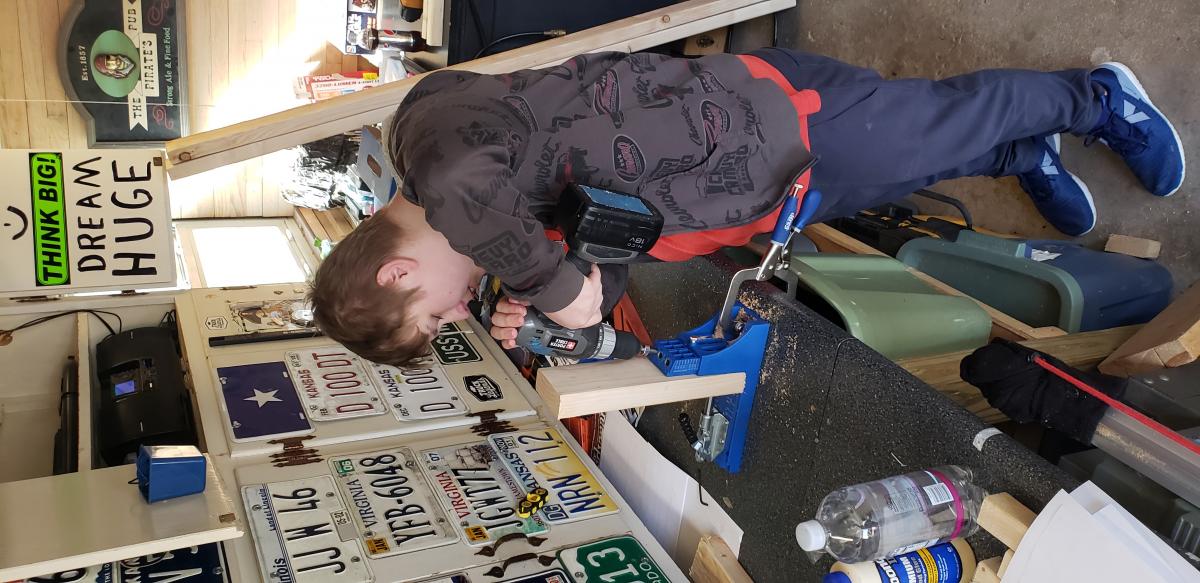
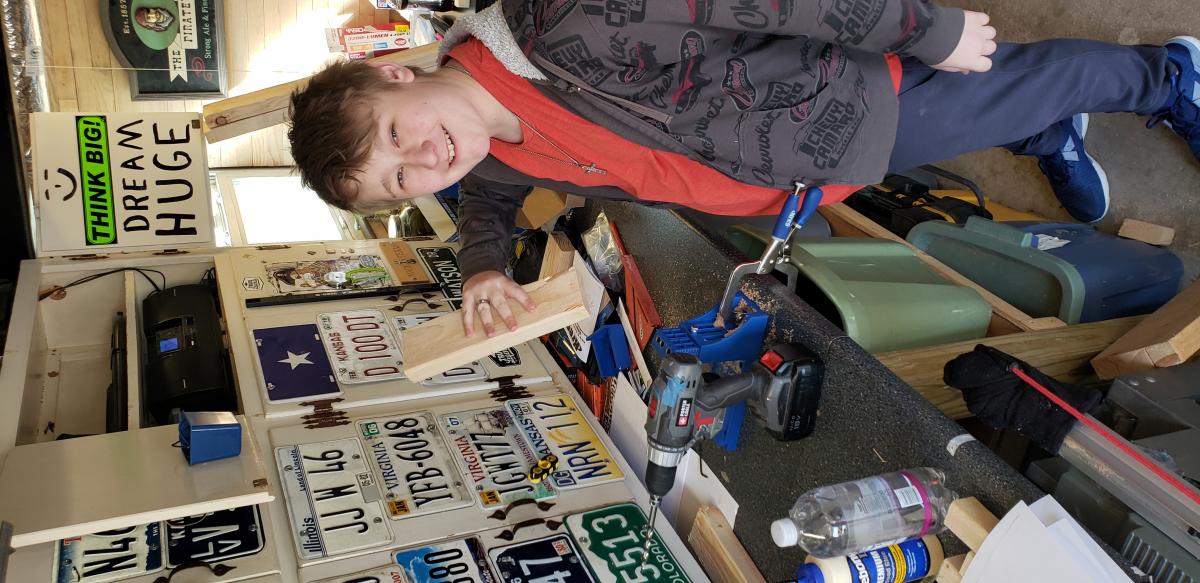
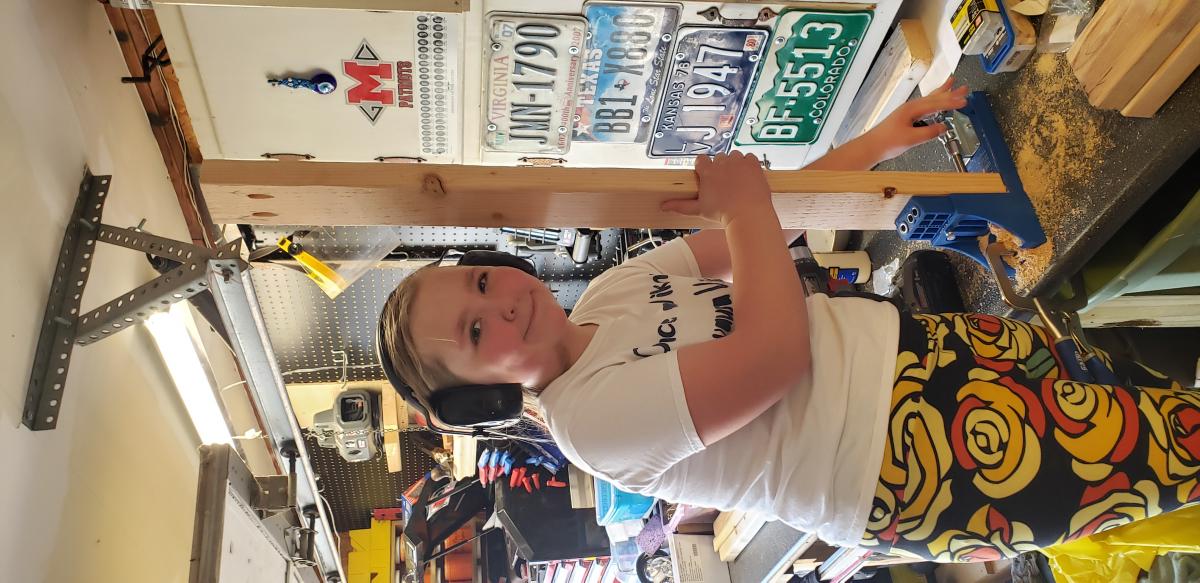
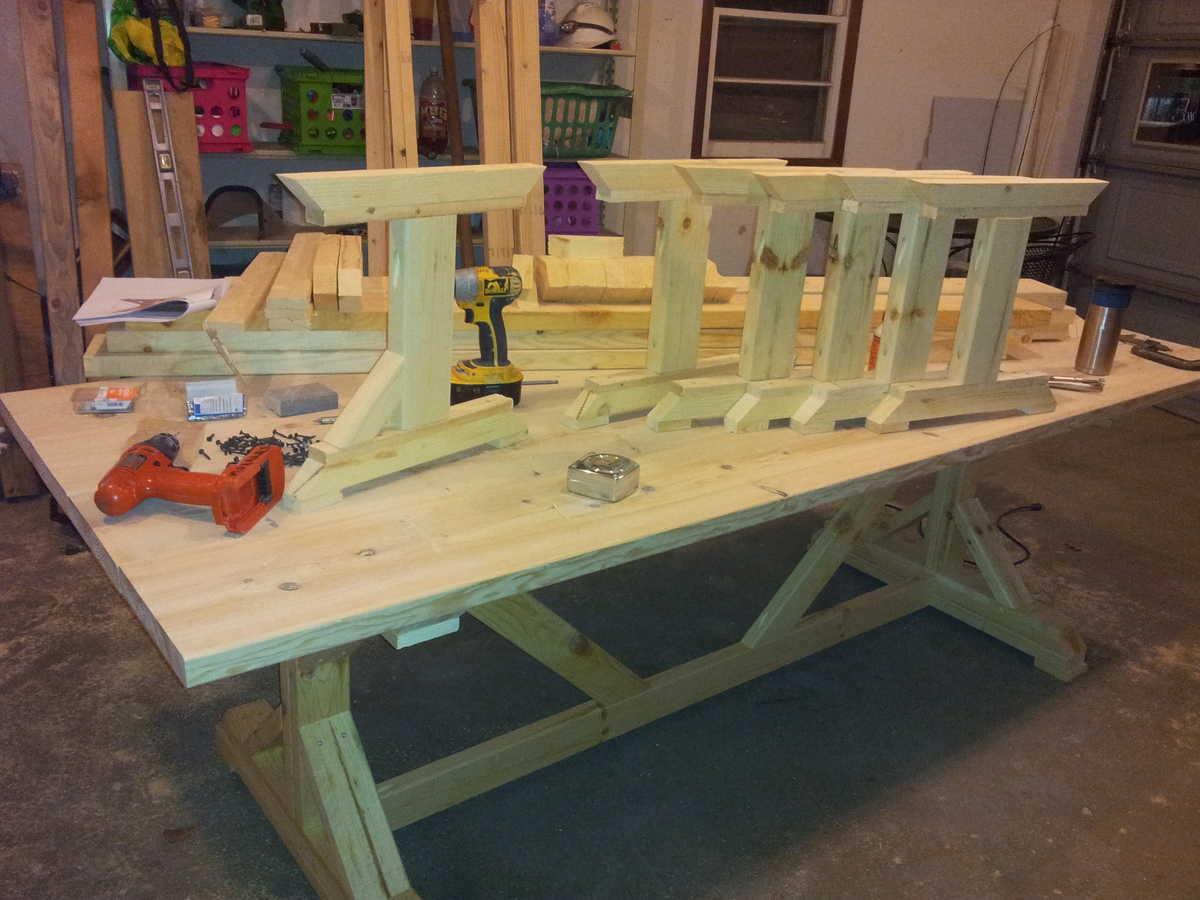
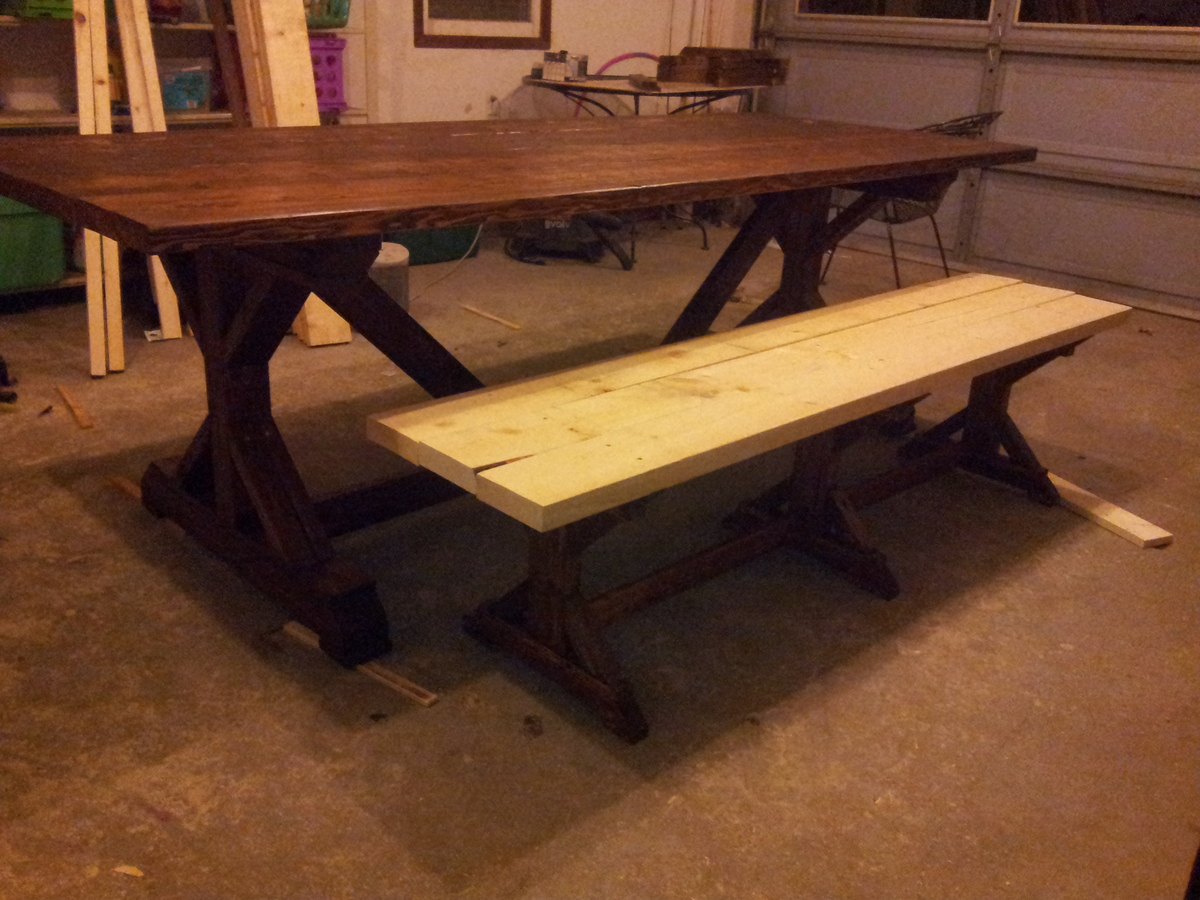
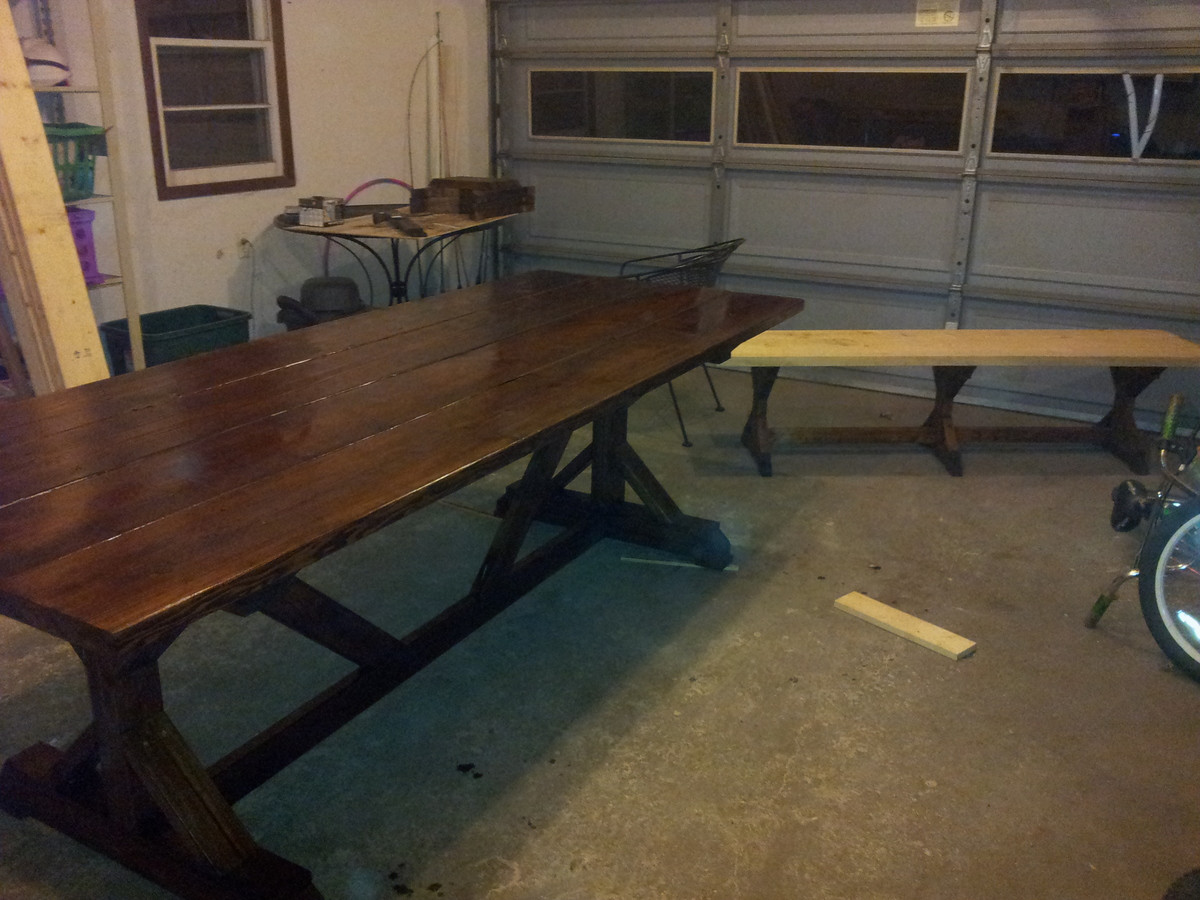
My oldest son moved out and took his queen size bed with him. This was a problem since we always used his bed as the guest bed when we had visitors. So my wife and I decided it was time to upgrade our own bed in order to solve the guest bed problem. With a new mattress incoming, it made sense to finally do away with the basic metal frame and grow up. My wife signed off on the modern farmhouse design and I was off to the home store to get started. I will say that having guests coming soon made this one of my fastest starts to finish projects ever. I cut everything and my wife did most of the staining. We stuck to what Ana used for stain with the weathered wood accelerator. Quick and easy build. One change I still want to make is to add another 1x6 to the headboard. Currently, one of my pillows ends up wedged between the bottom board, wall, and mattress.