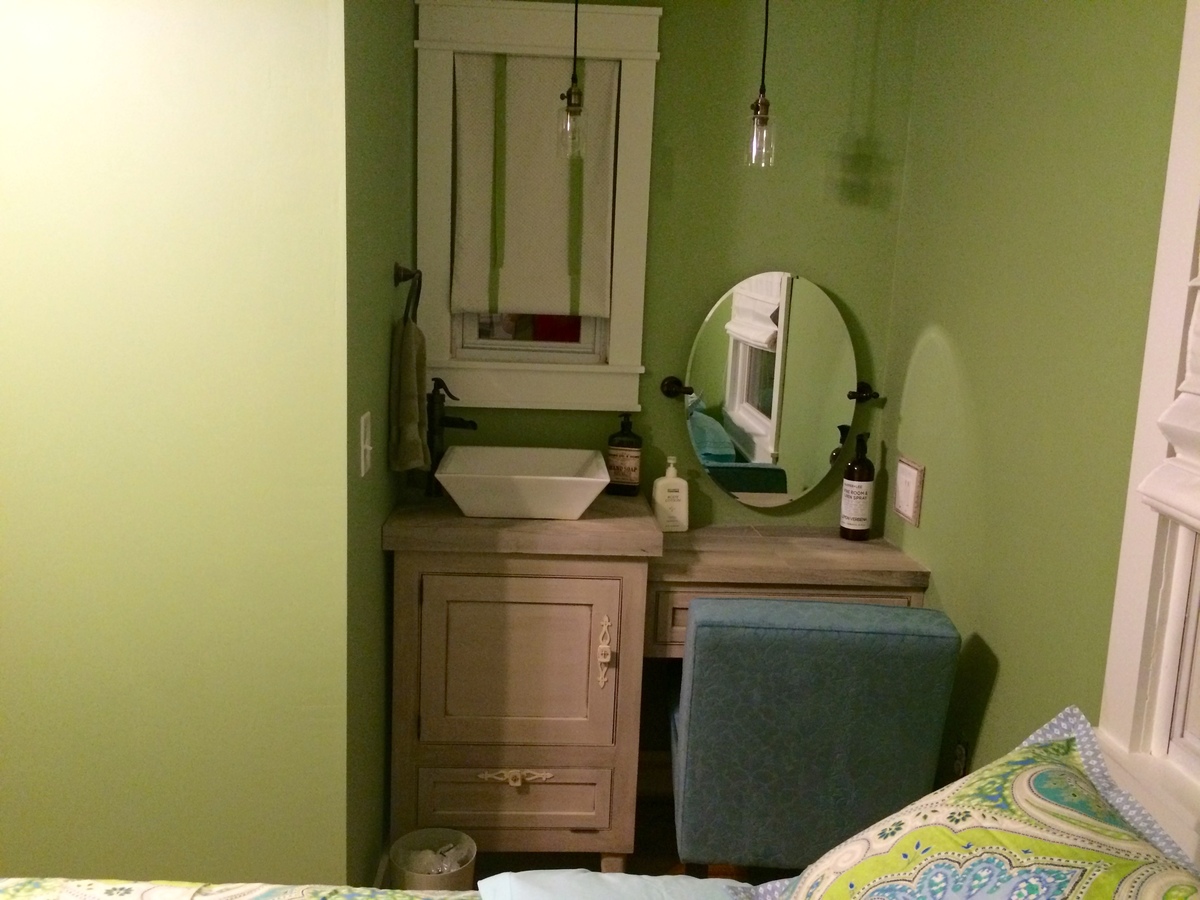
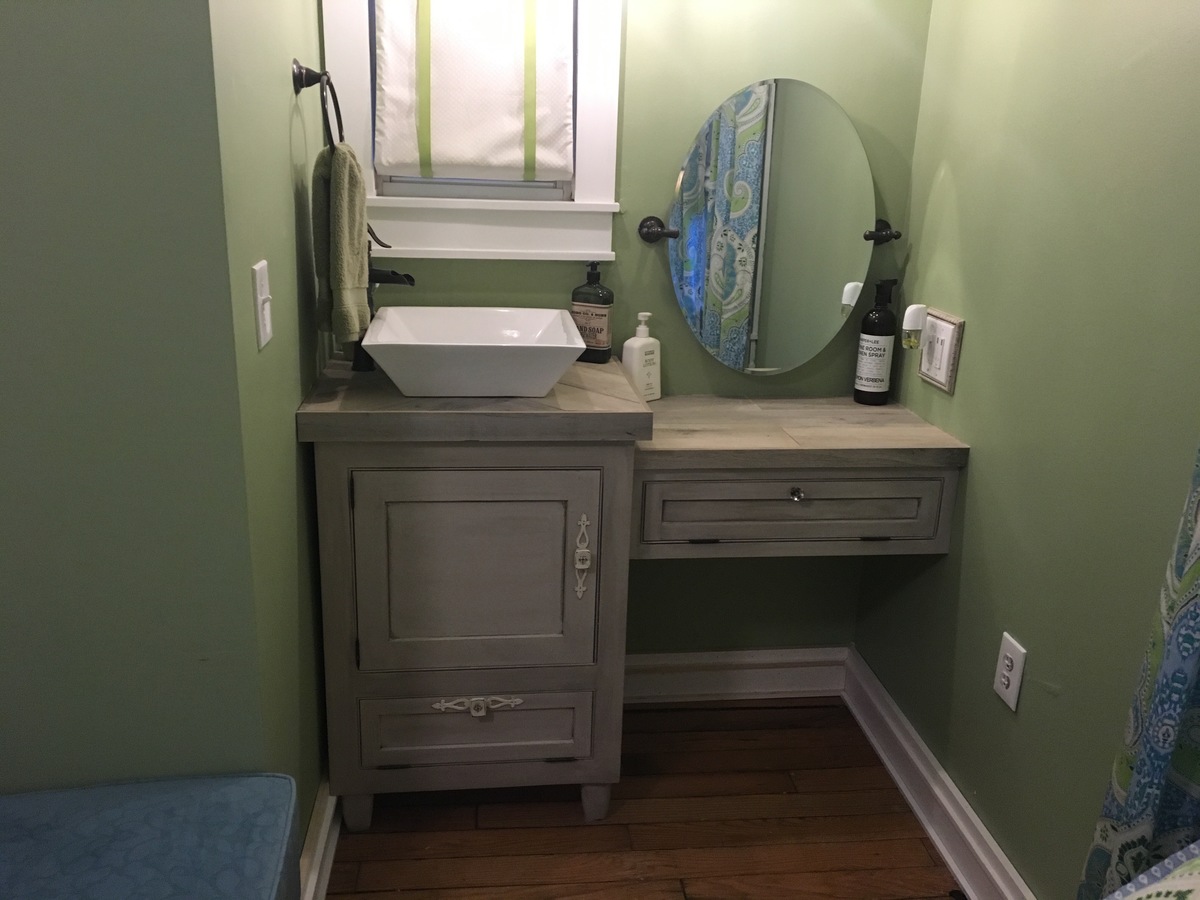
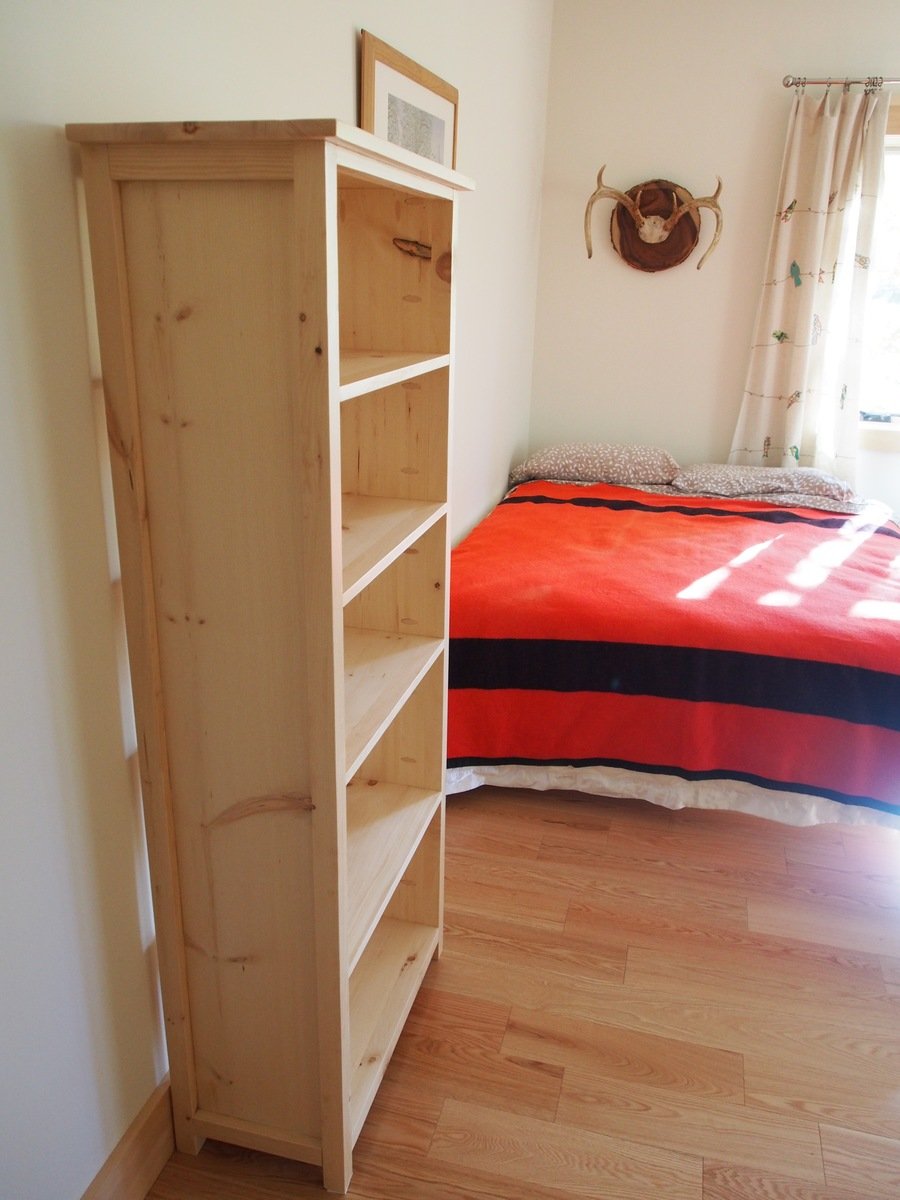
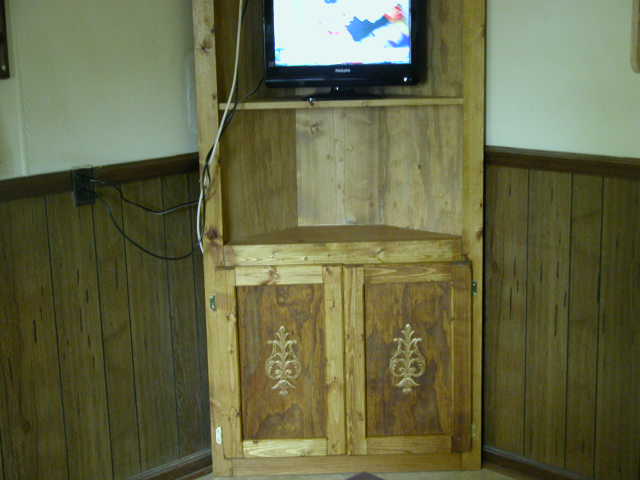
corner cupboard
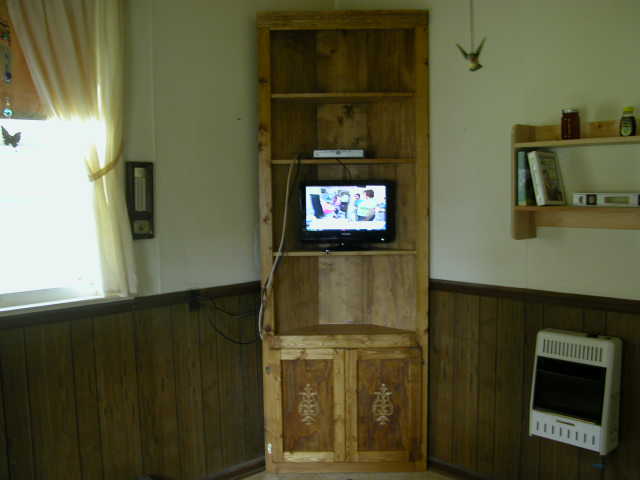
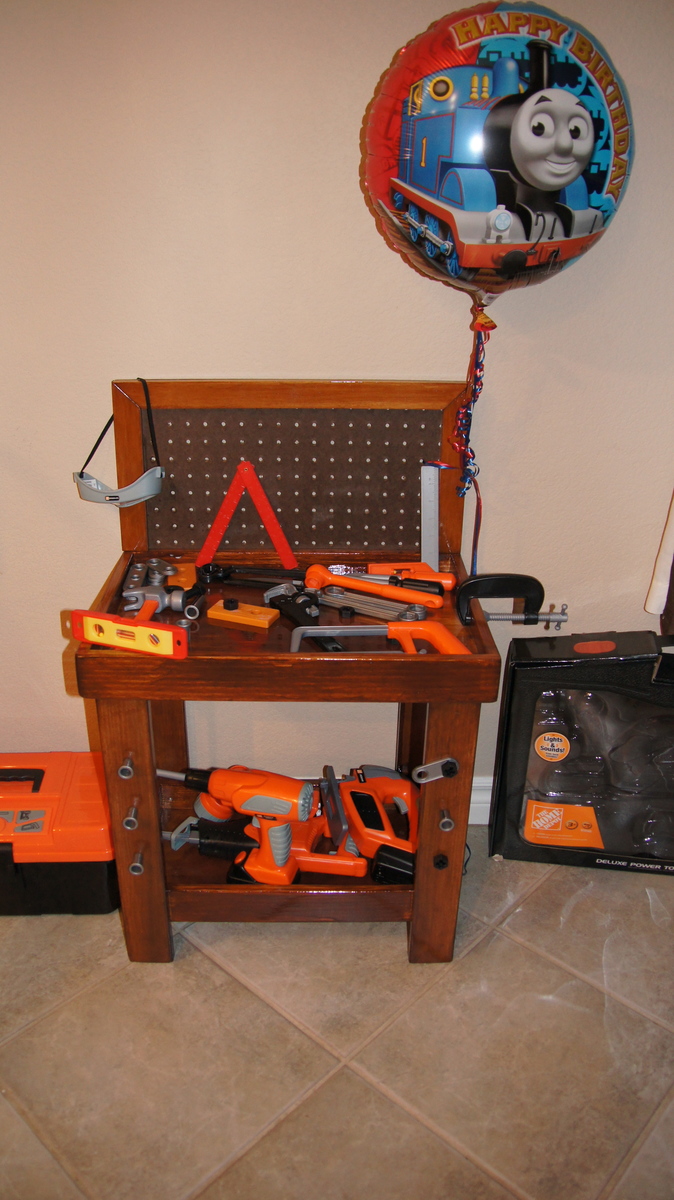
easy to follow instructions. I work in a hardwood sawmill as a sawfiler. I get a lot of wood from the mill. I bought a kreg pocket hole jig for the first time. Building the doors was easy. I'll never use mortise and tenon joints on small doors again. The door ornaments came from Lowes
Estimated Cost
$200
Estimated Time Investment
Weekend Project (10-20 Hours)
Finish Used
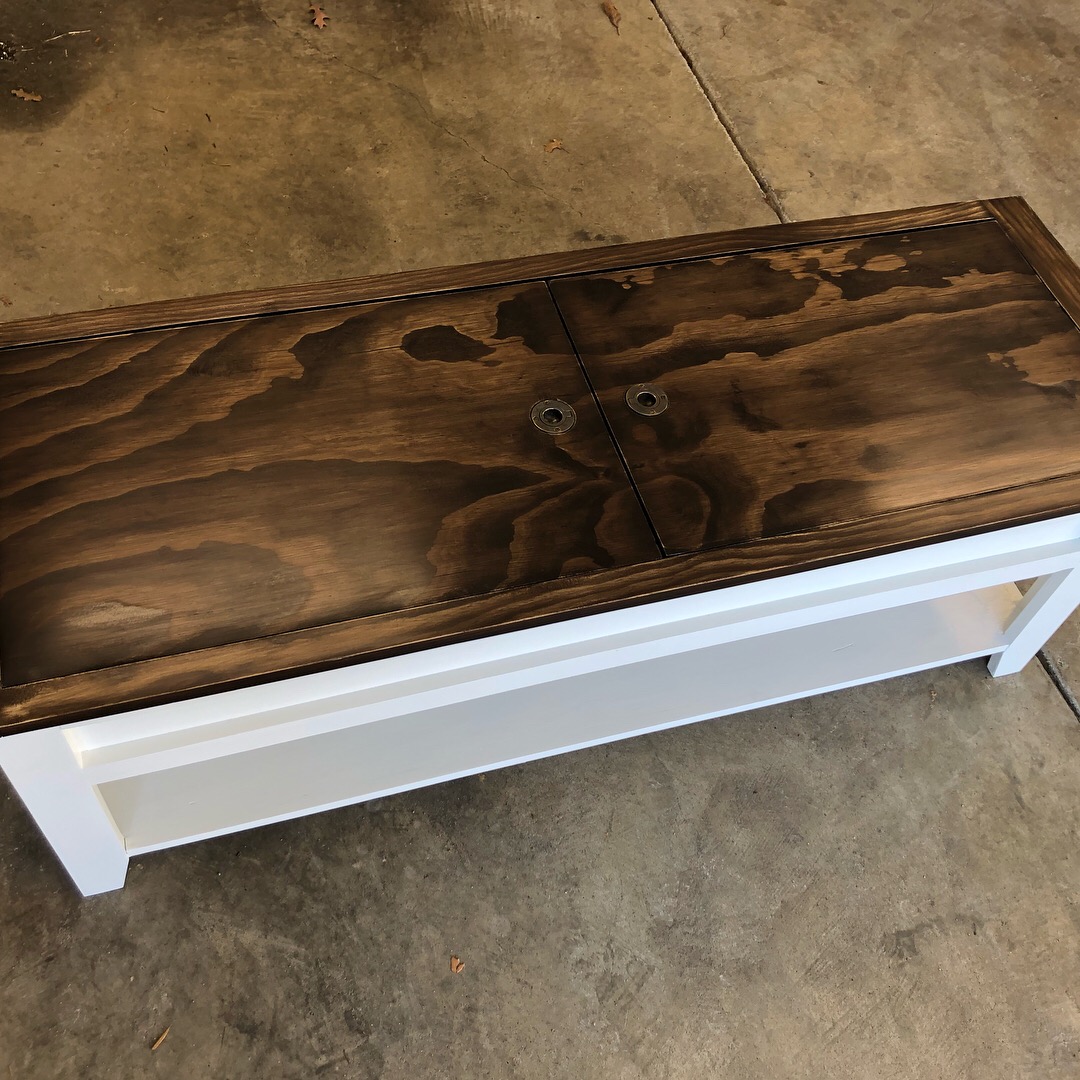
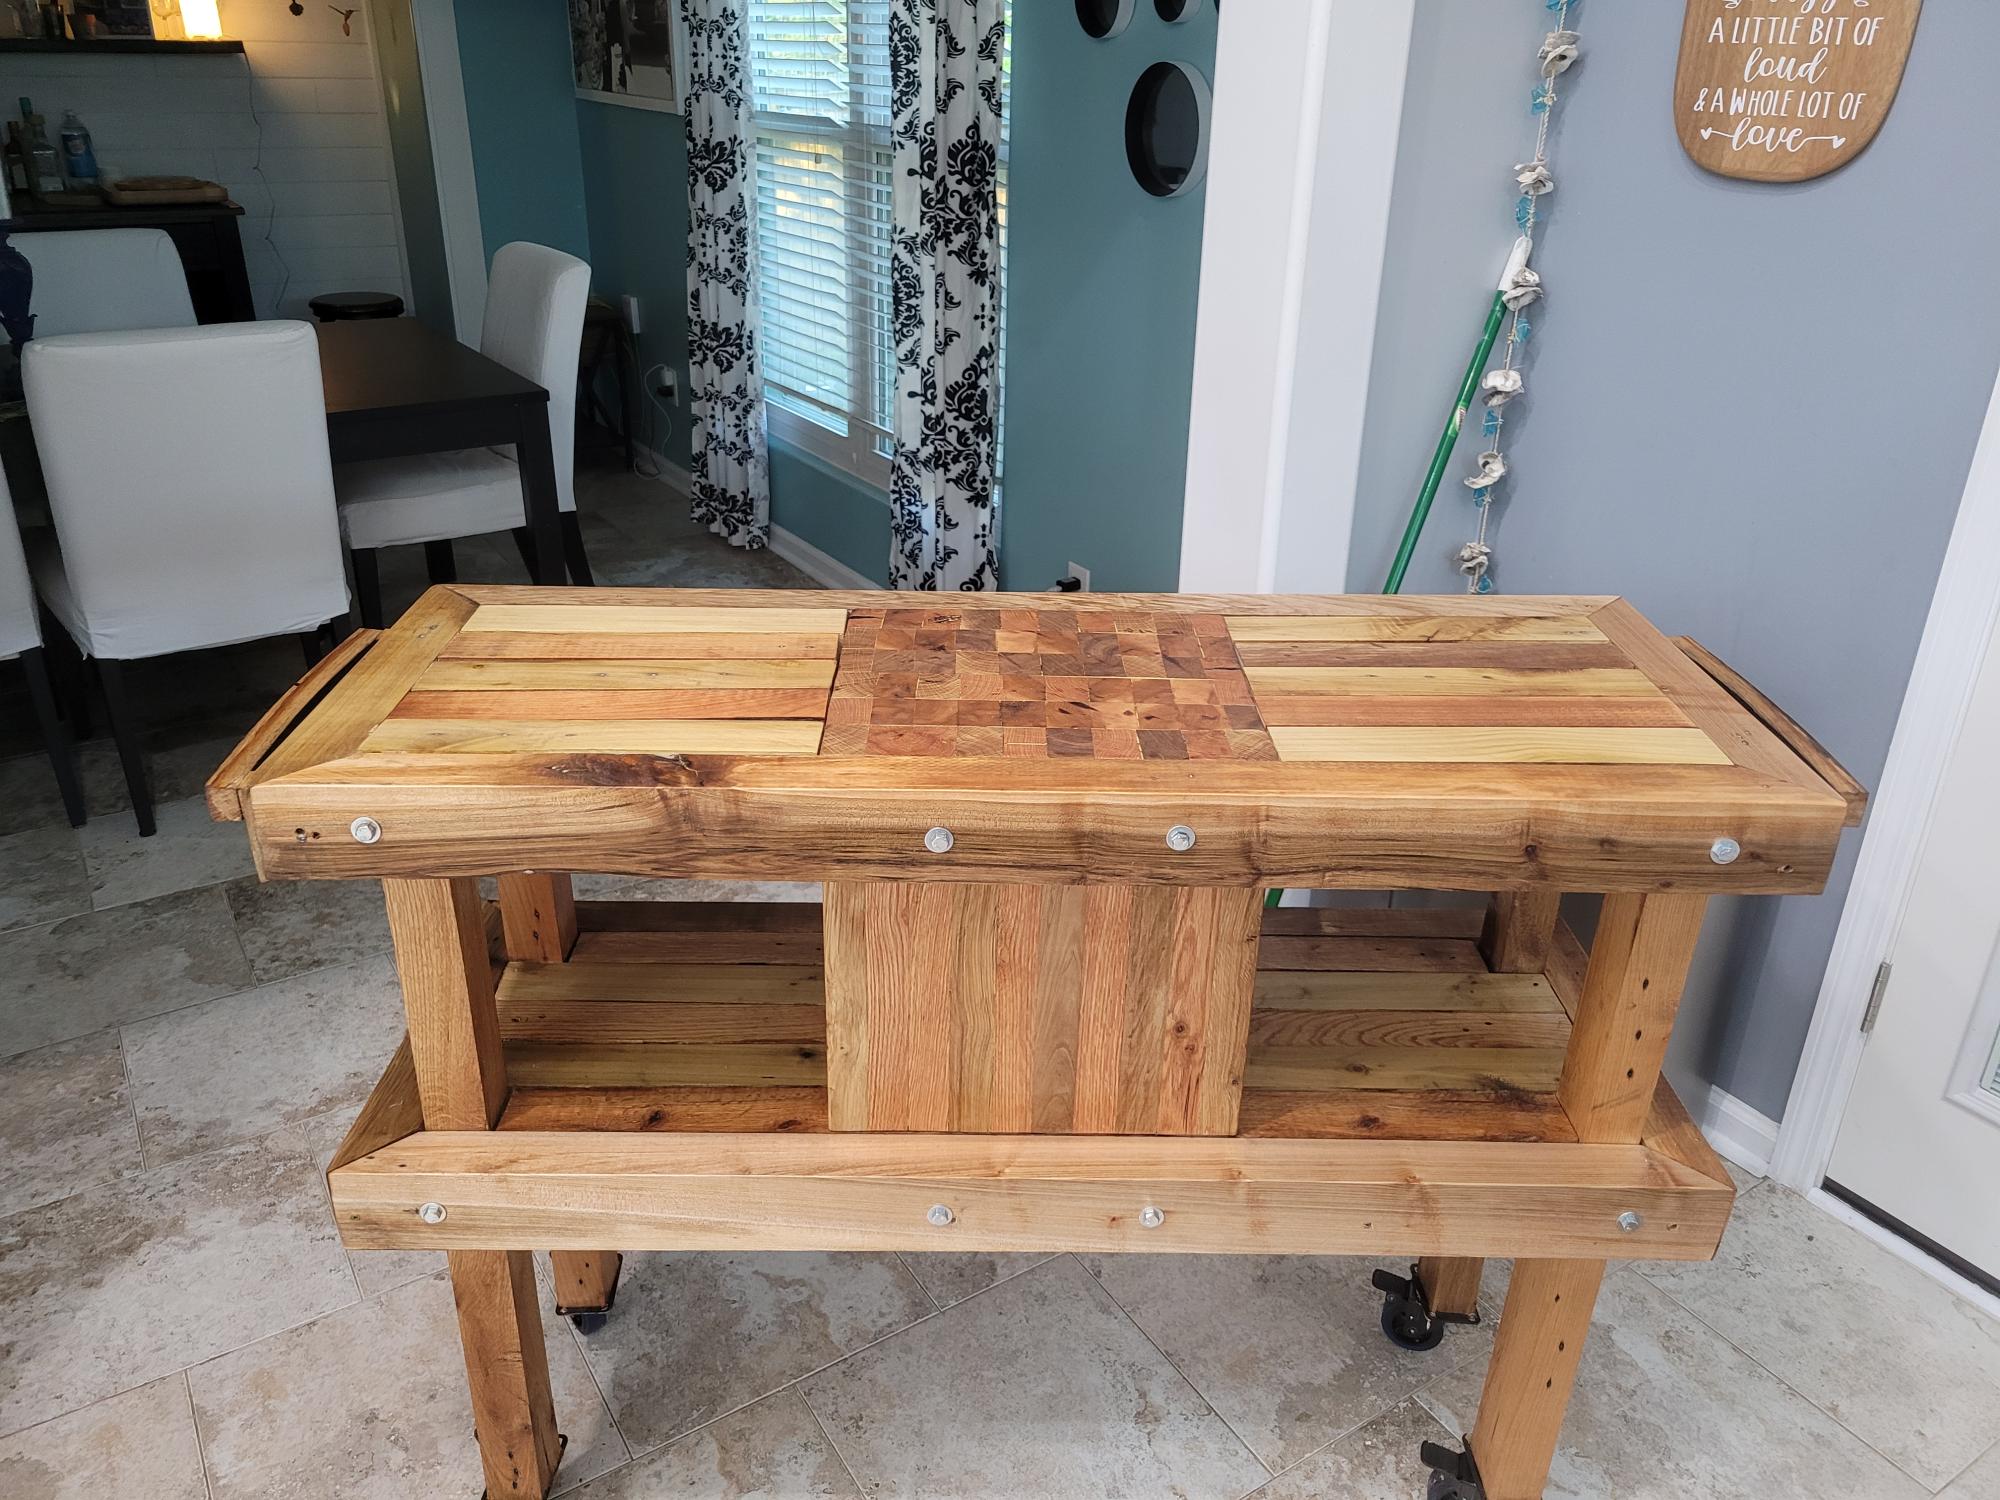
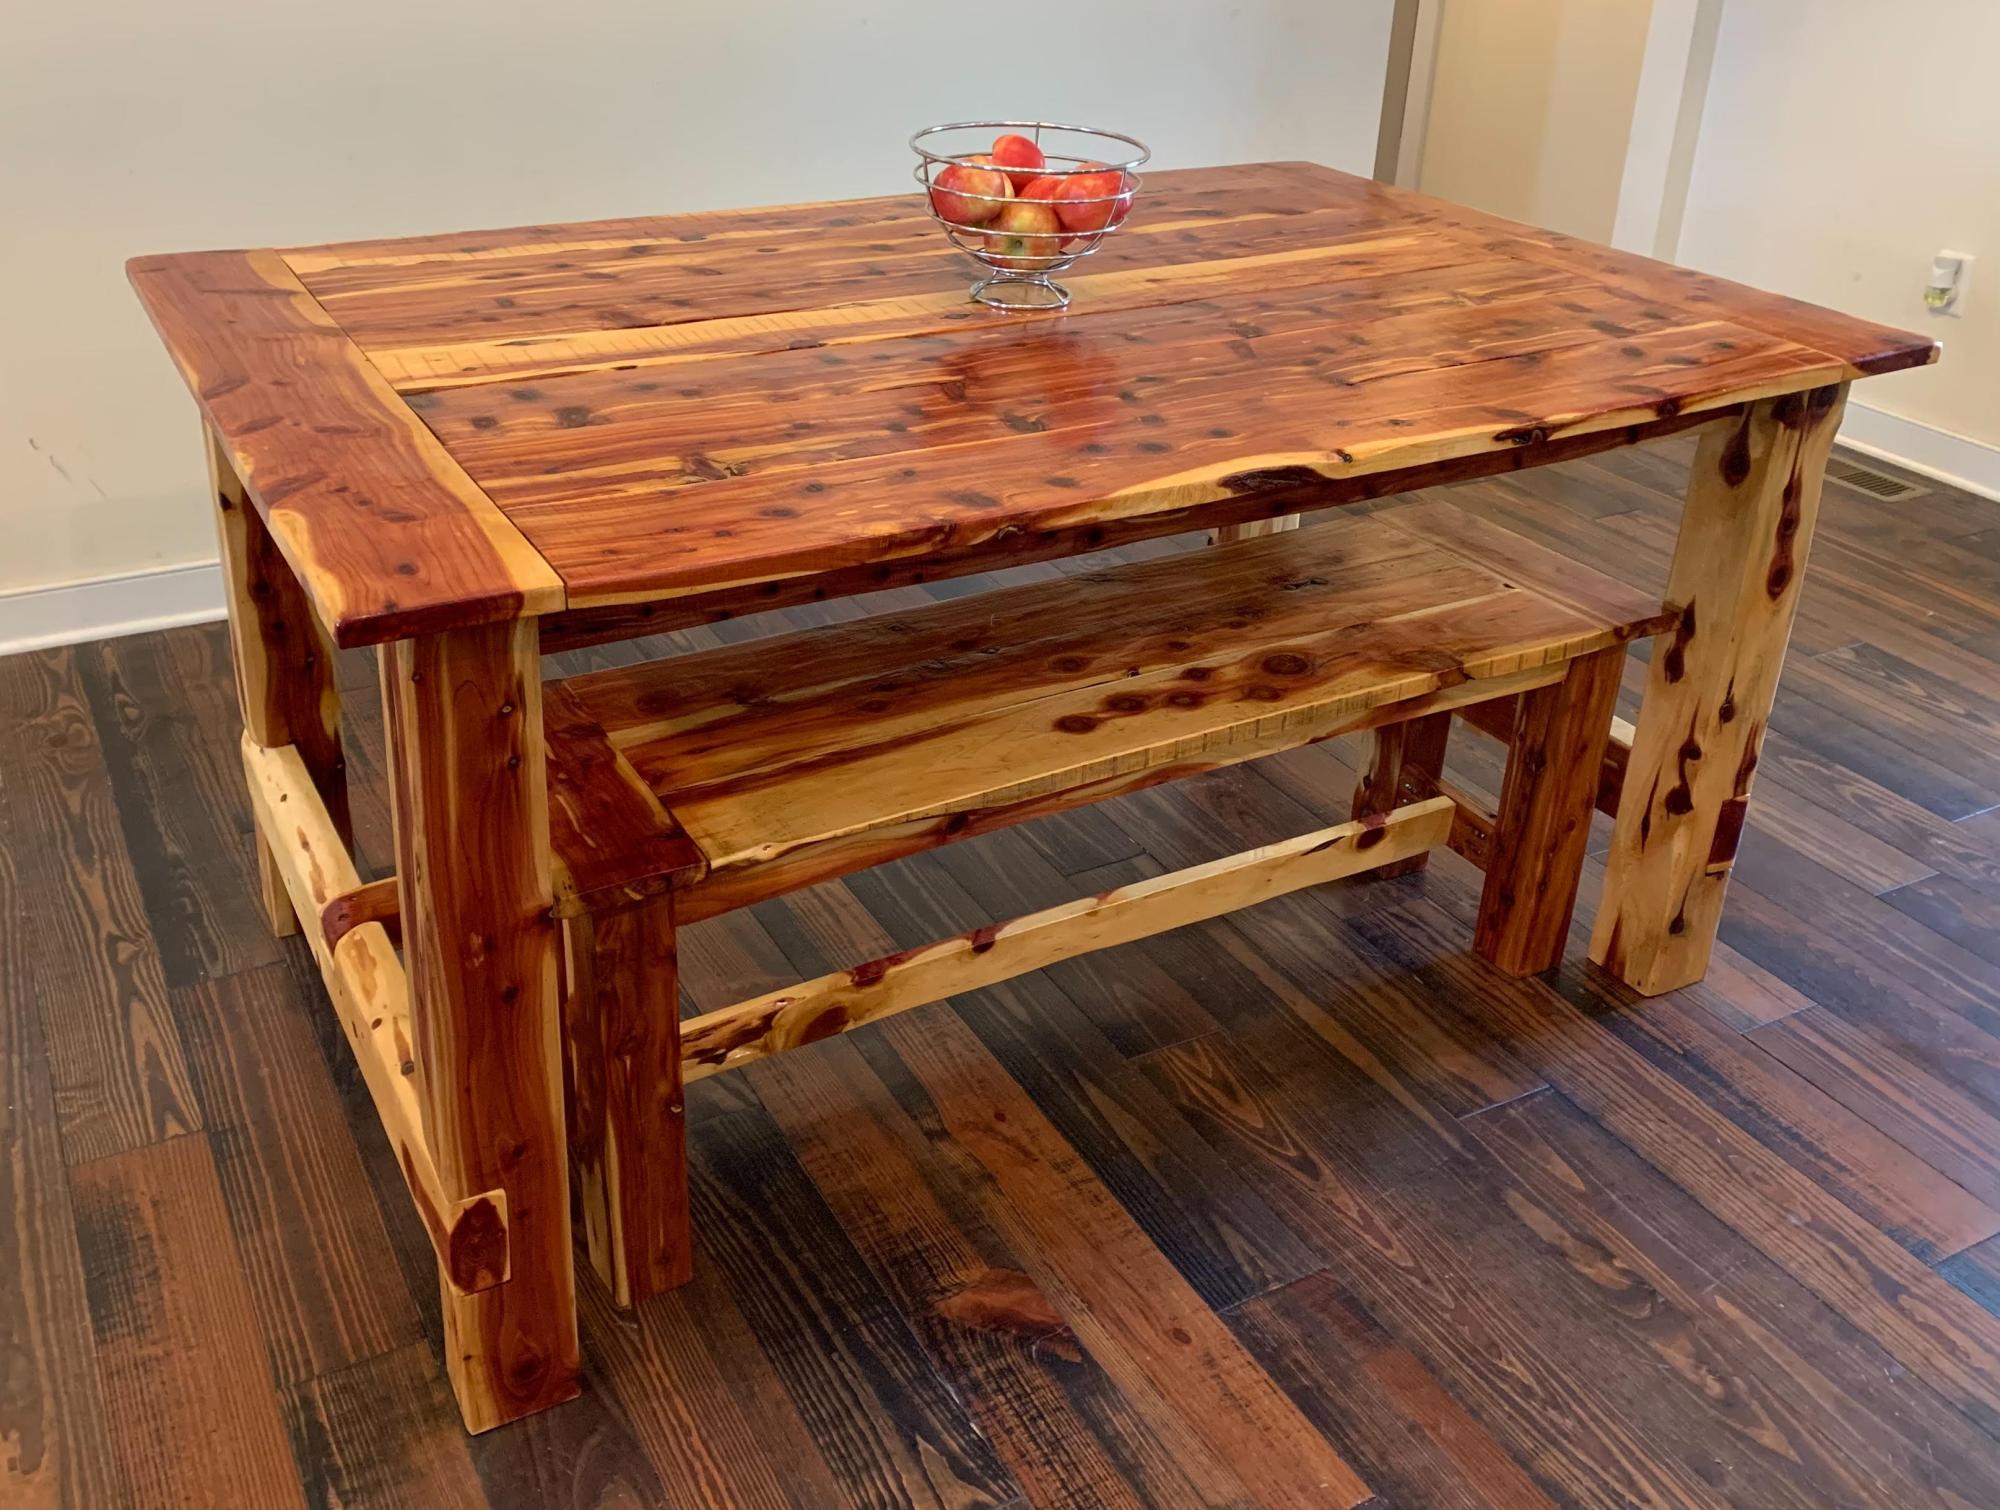
golden oak stain minwax nothing else just rub in one coat
Recommended Skill Level
Intermediate