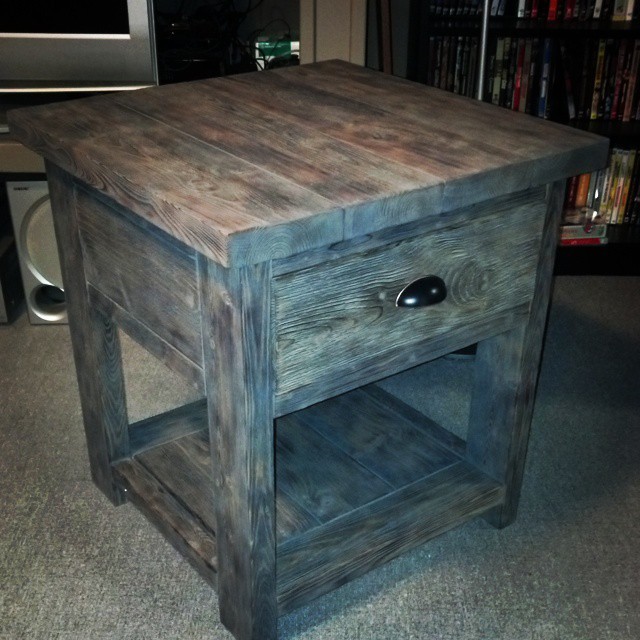
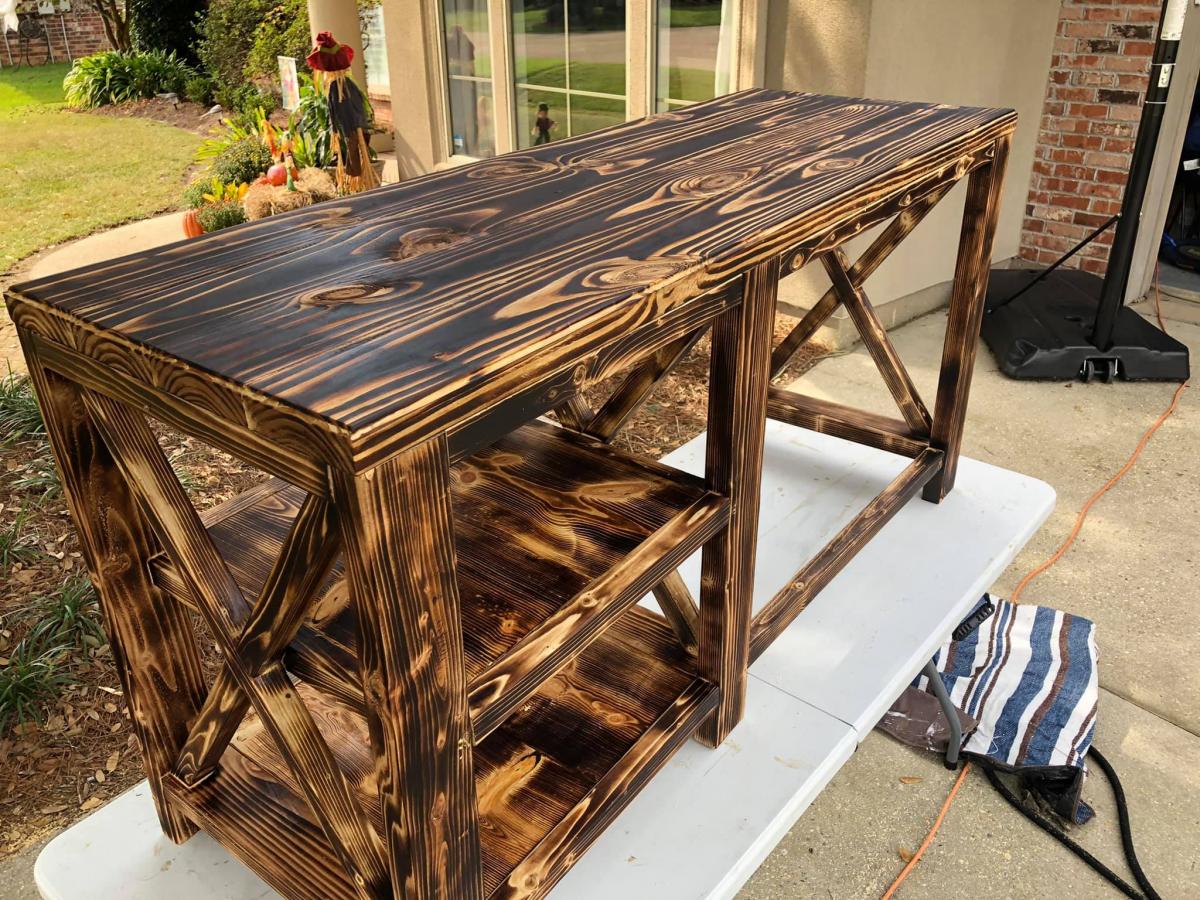
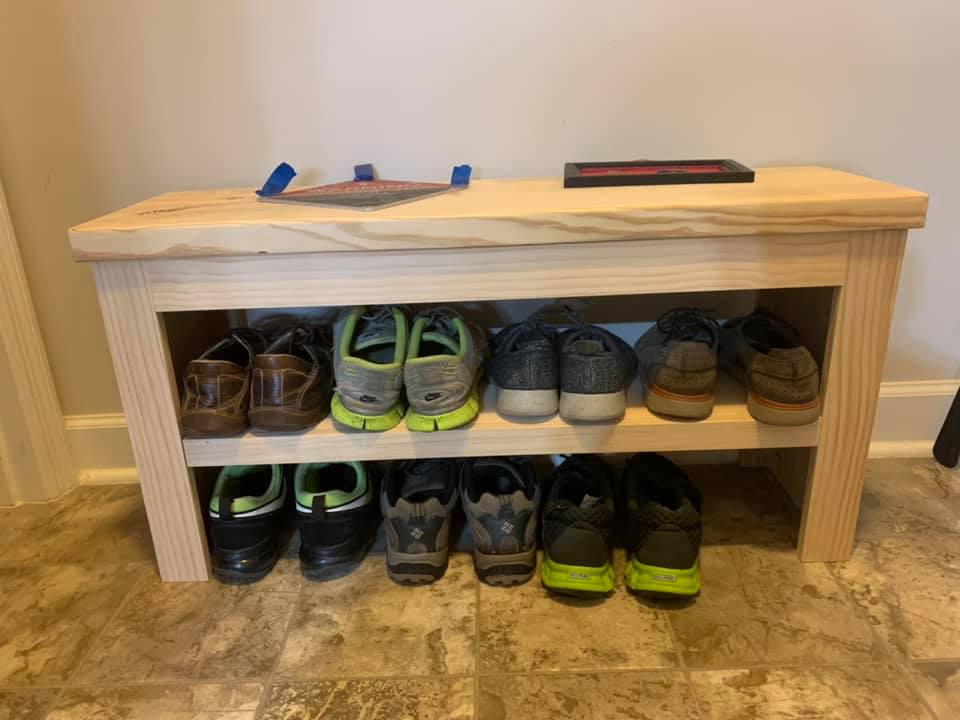
Shoe bench mod from spa bench
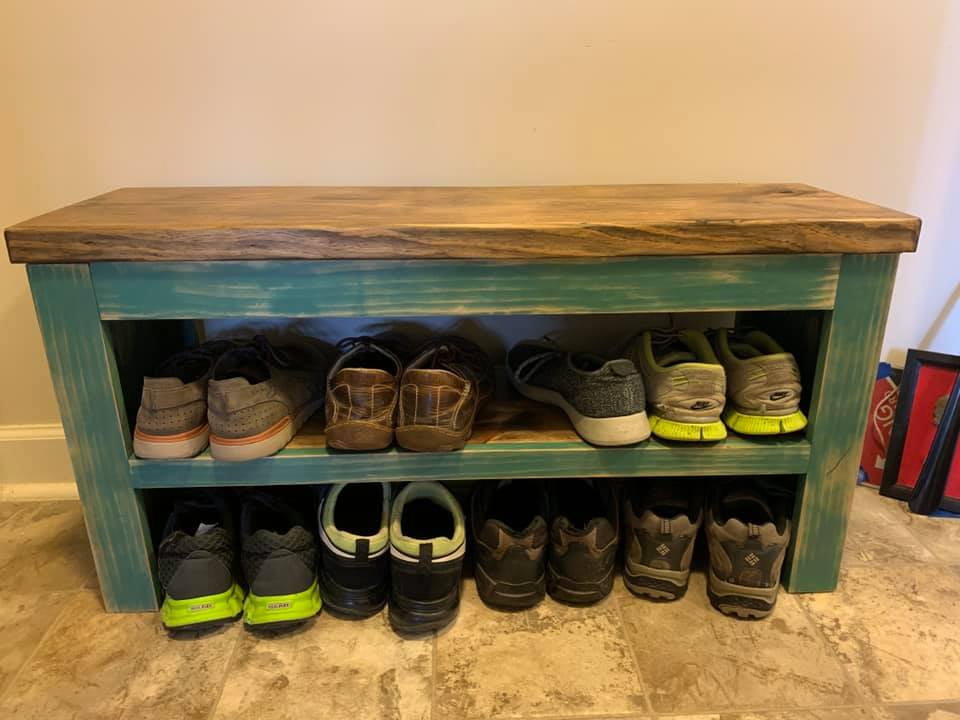
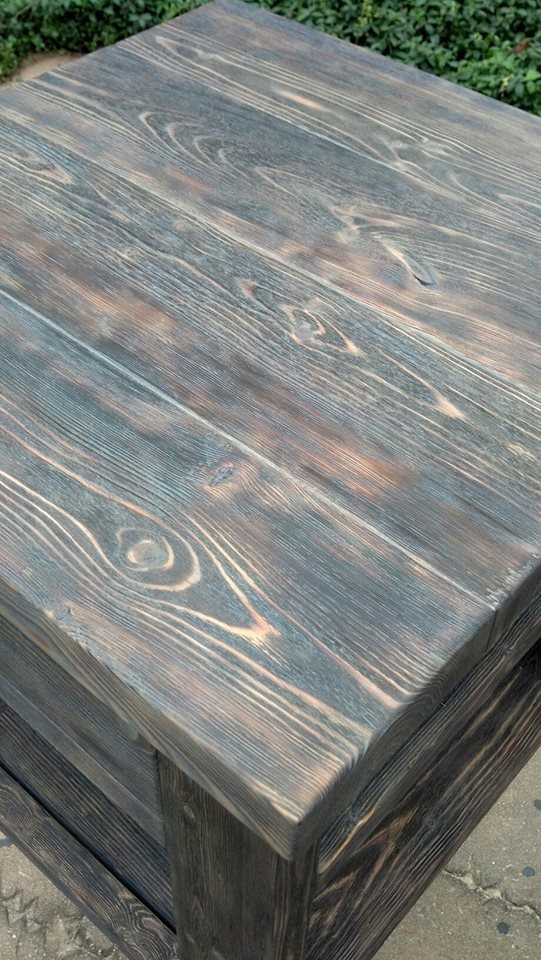
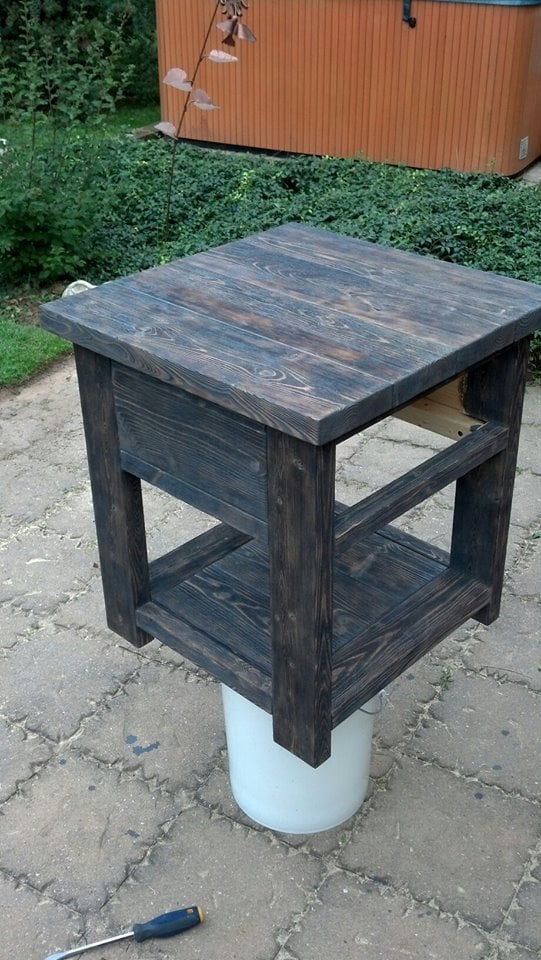
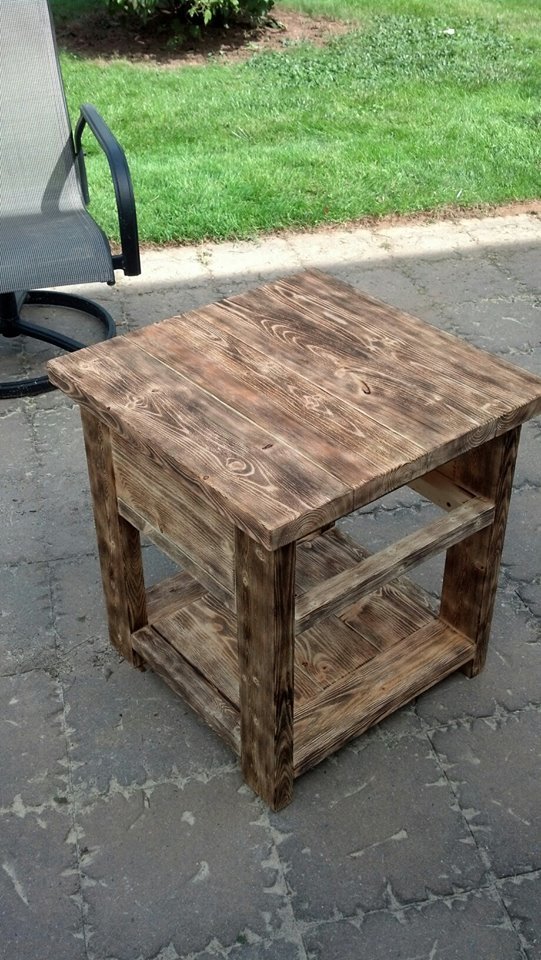
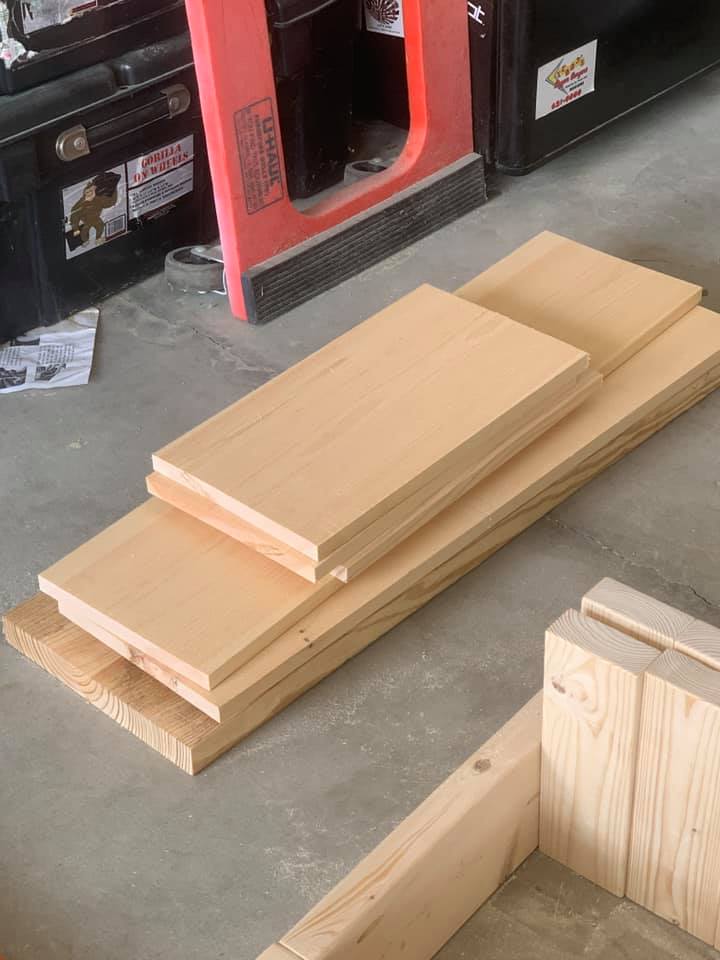
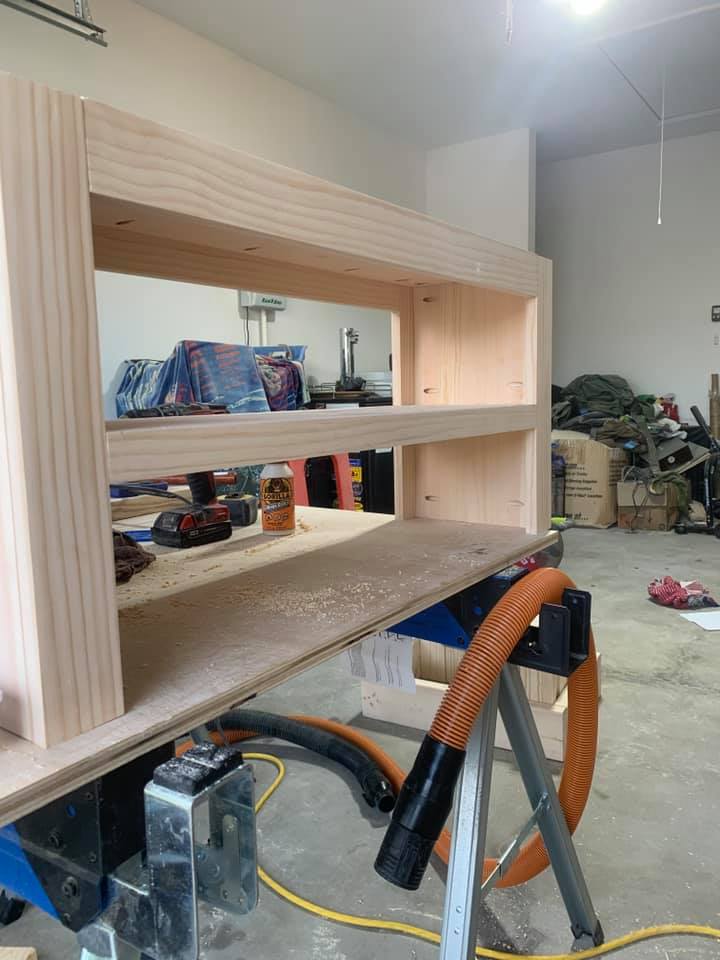
Easy project no crazy cuts or tools needed. I did change a few things on the build. I changed the top from a 1x12 to a 2x12 to match the rest of my builds. And honestly it just looks and feels better! The trim is 1×3’s but I changed the middle shelf trim to a 1×2. Add the shelf 7.5 inches up from the bottom.
Built from Plan(s)
Estimated Cost
60-80 depending on finish
Estimated Time Investment
Day Project (6-9 Hours)
Finish Used
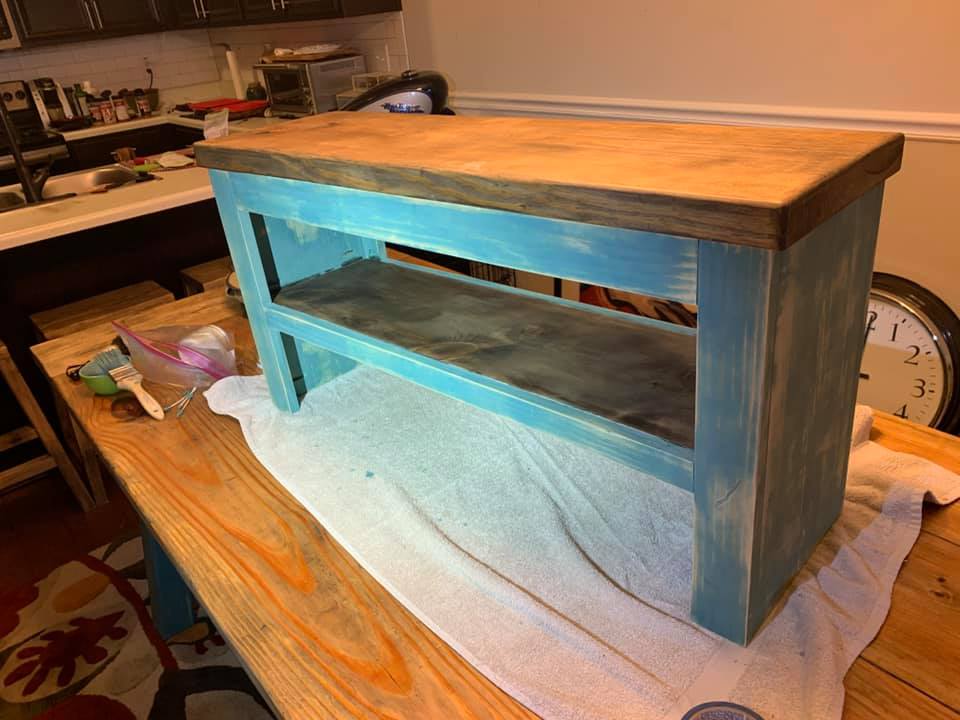
I used an antiquing wax, milk paint for the top and sides. Then I used butcher block oil and wax to finish.
Recommended Skill Level
Starter Project