Community Brag Posts


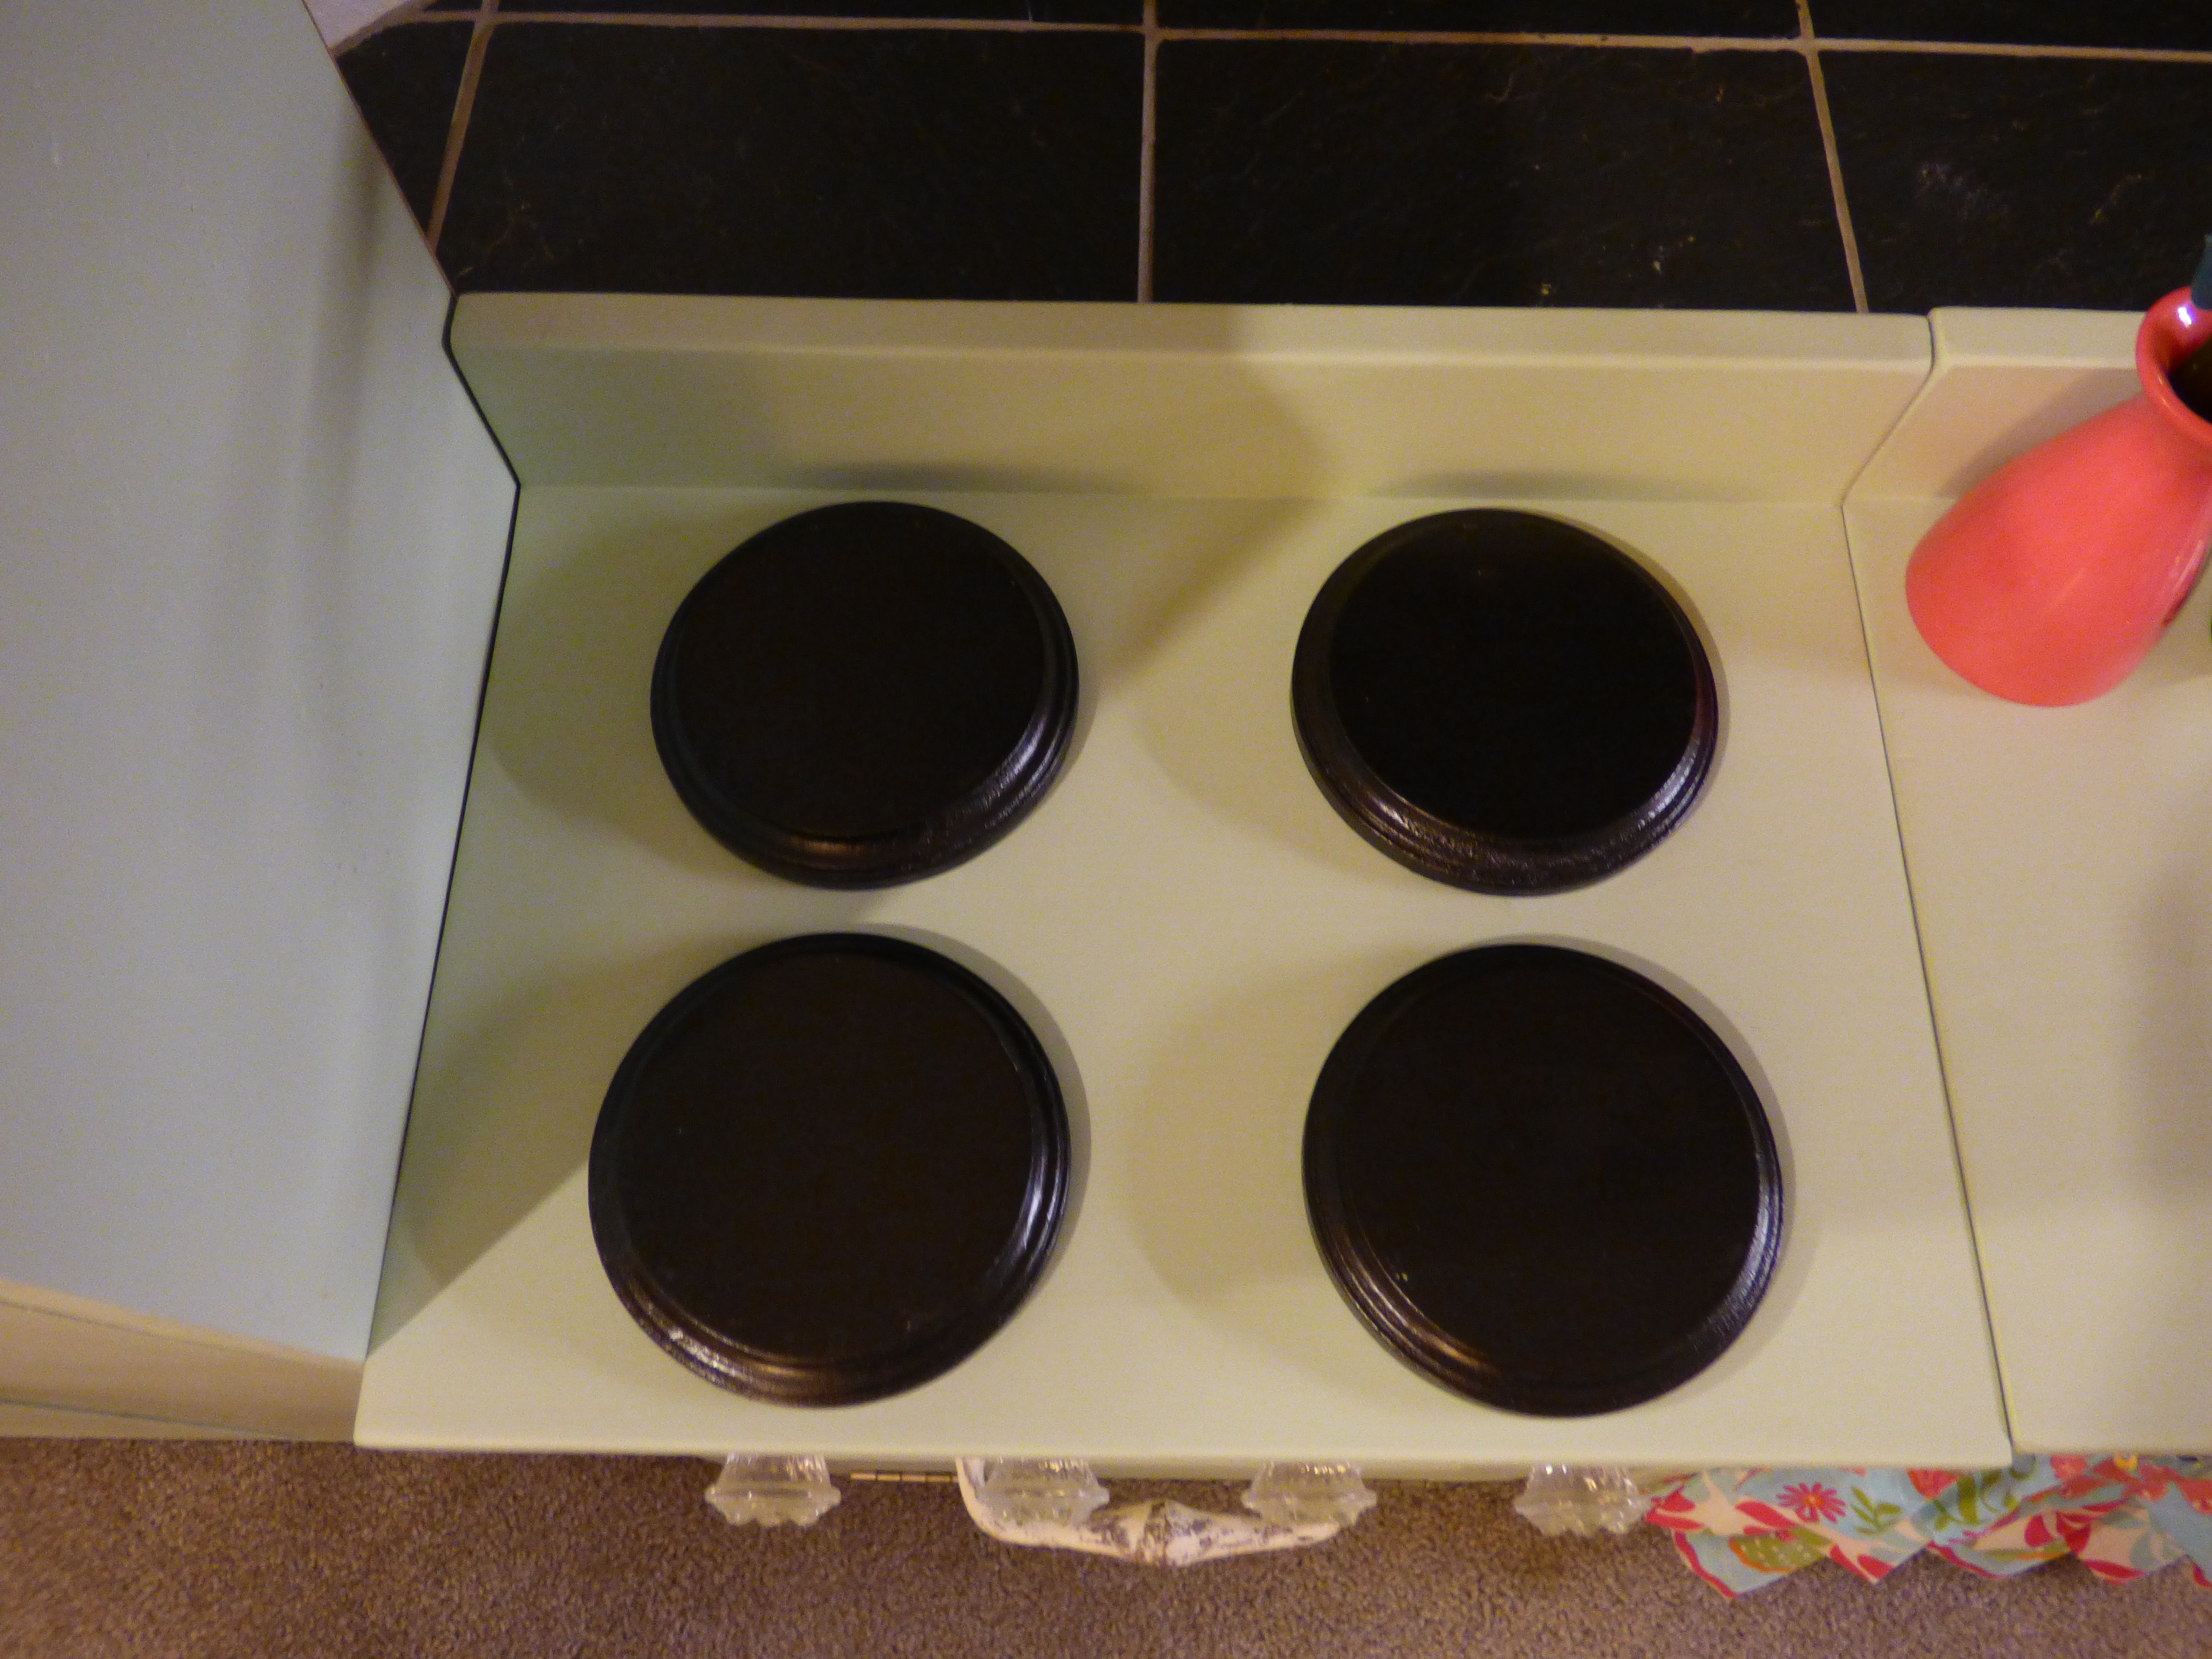
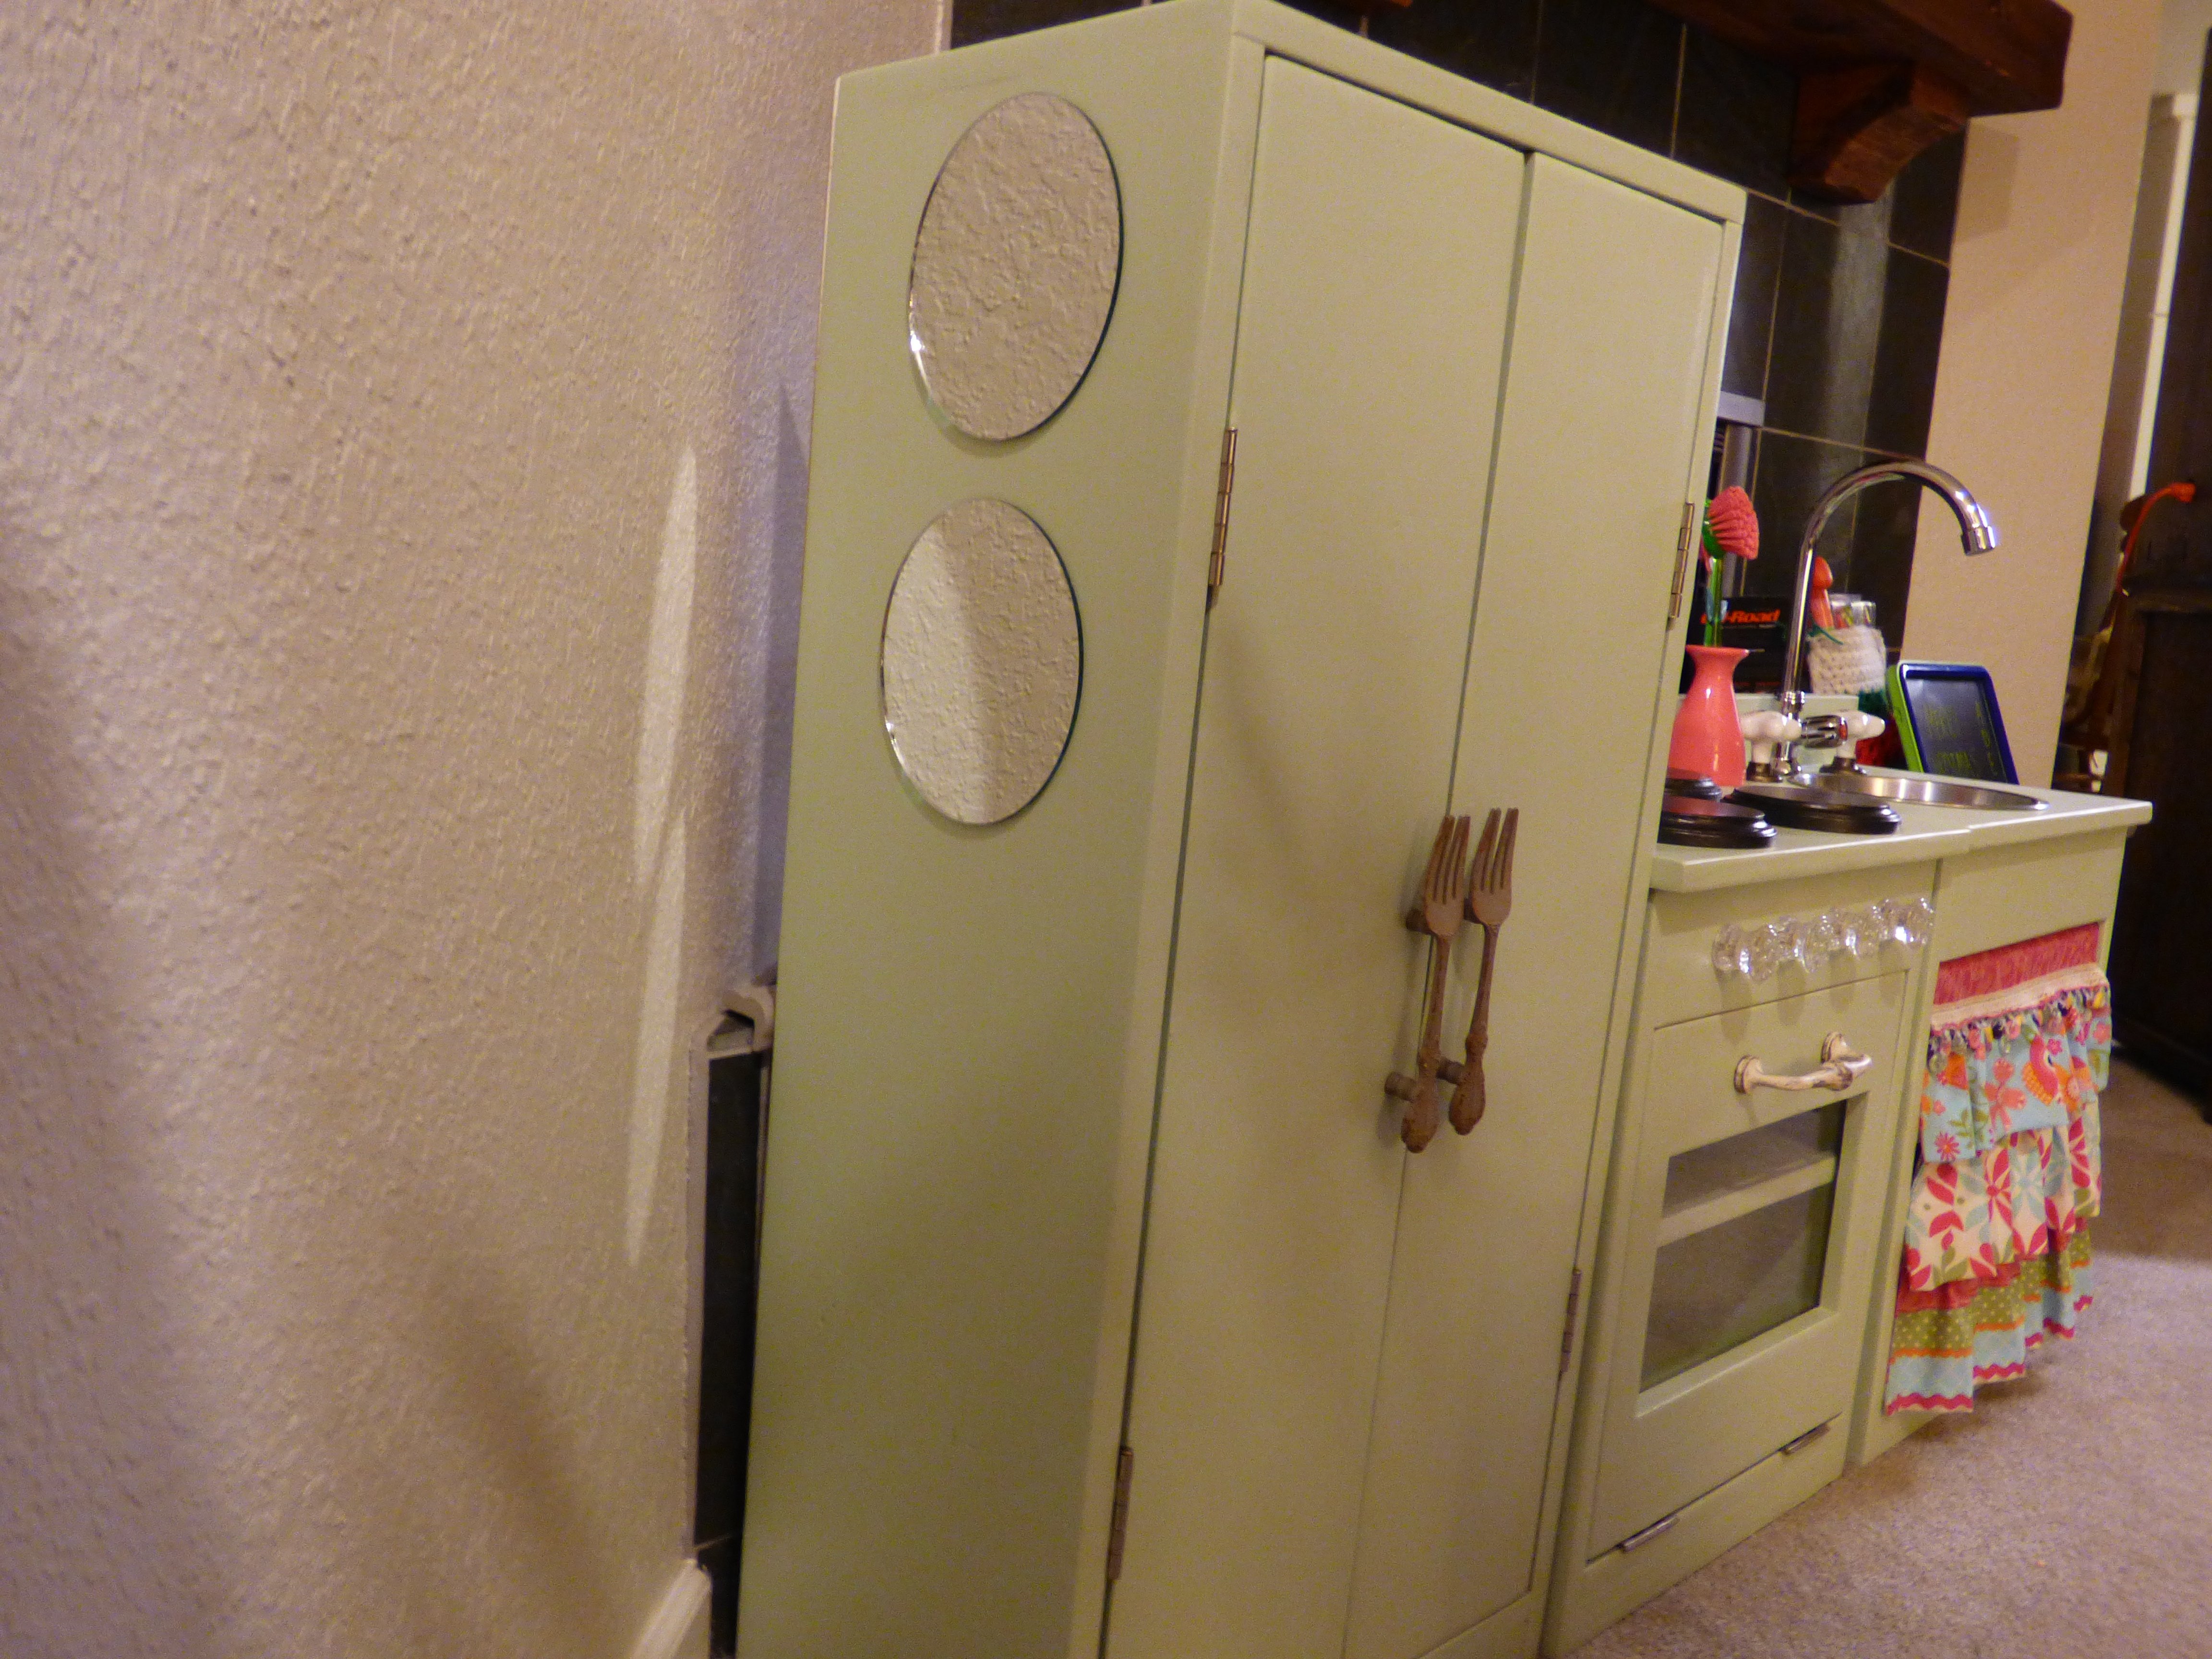
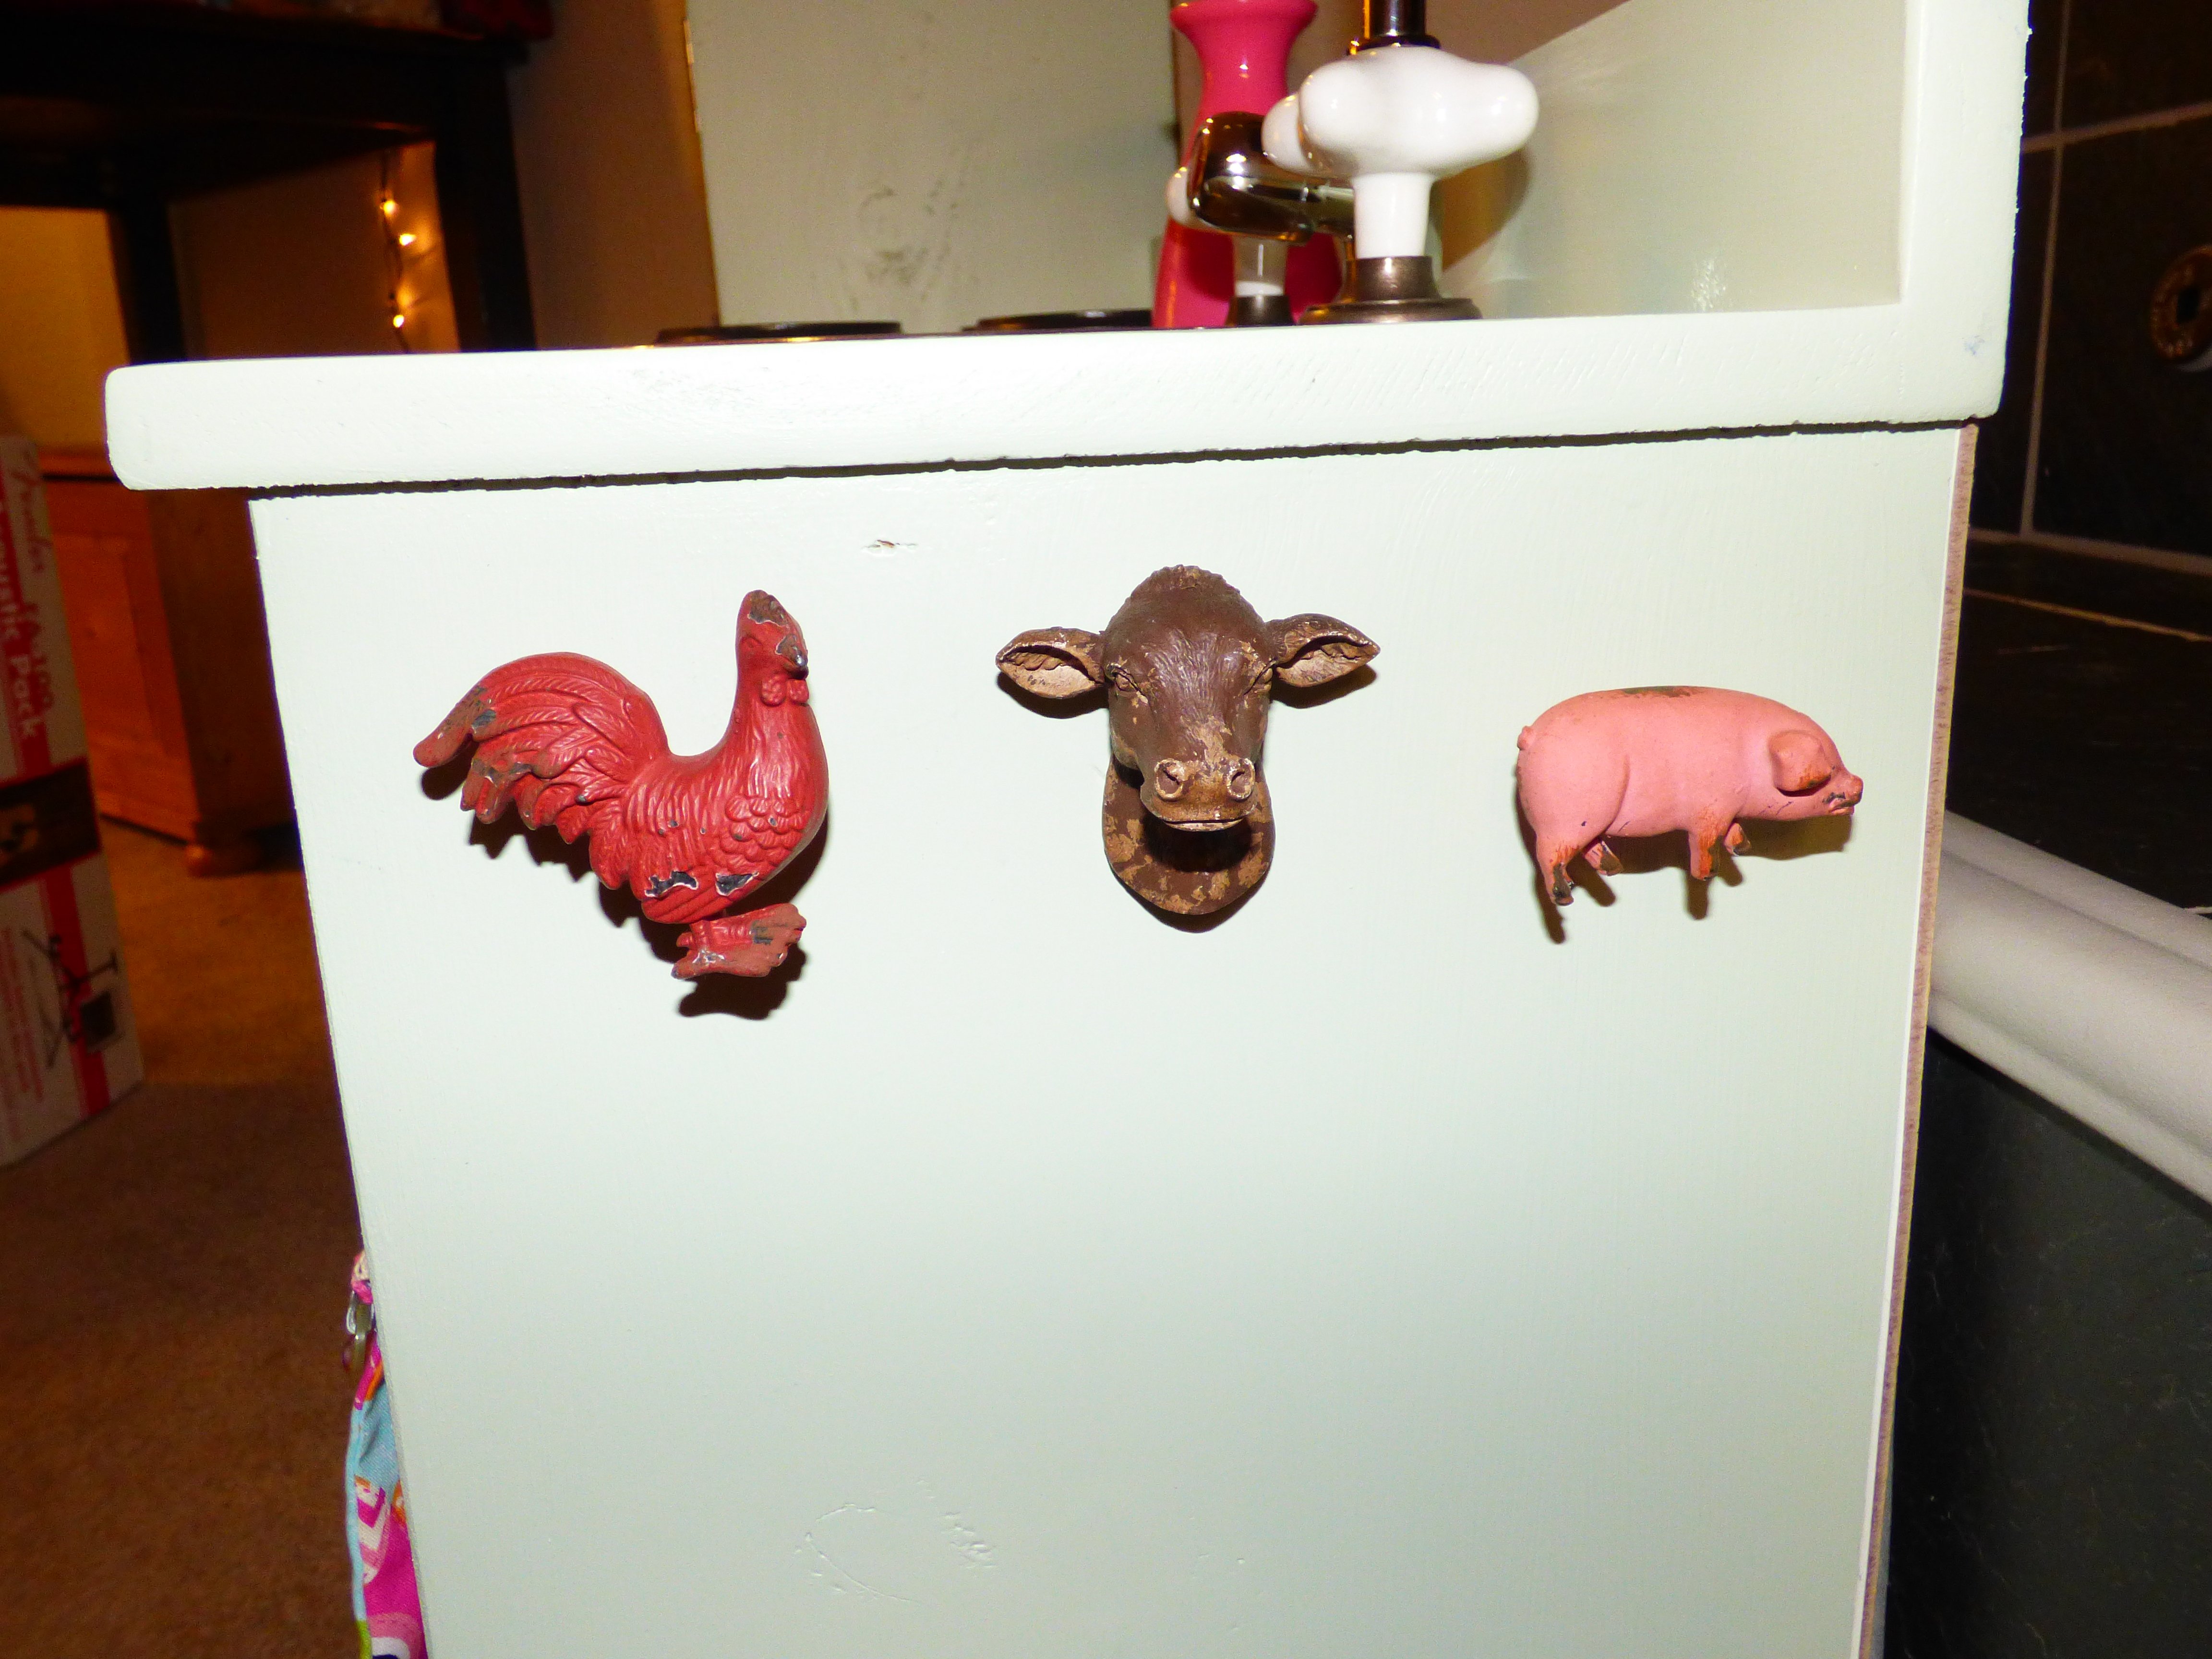
Play Kitchen
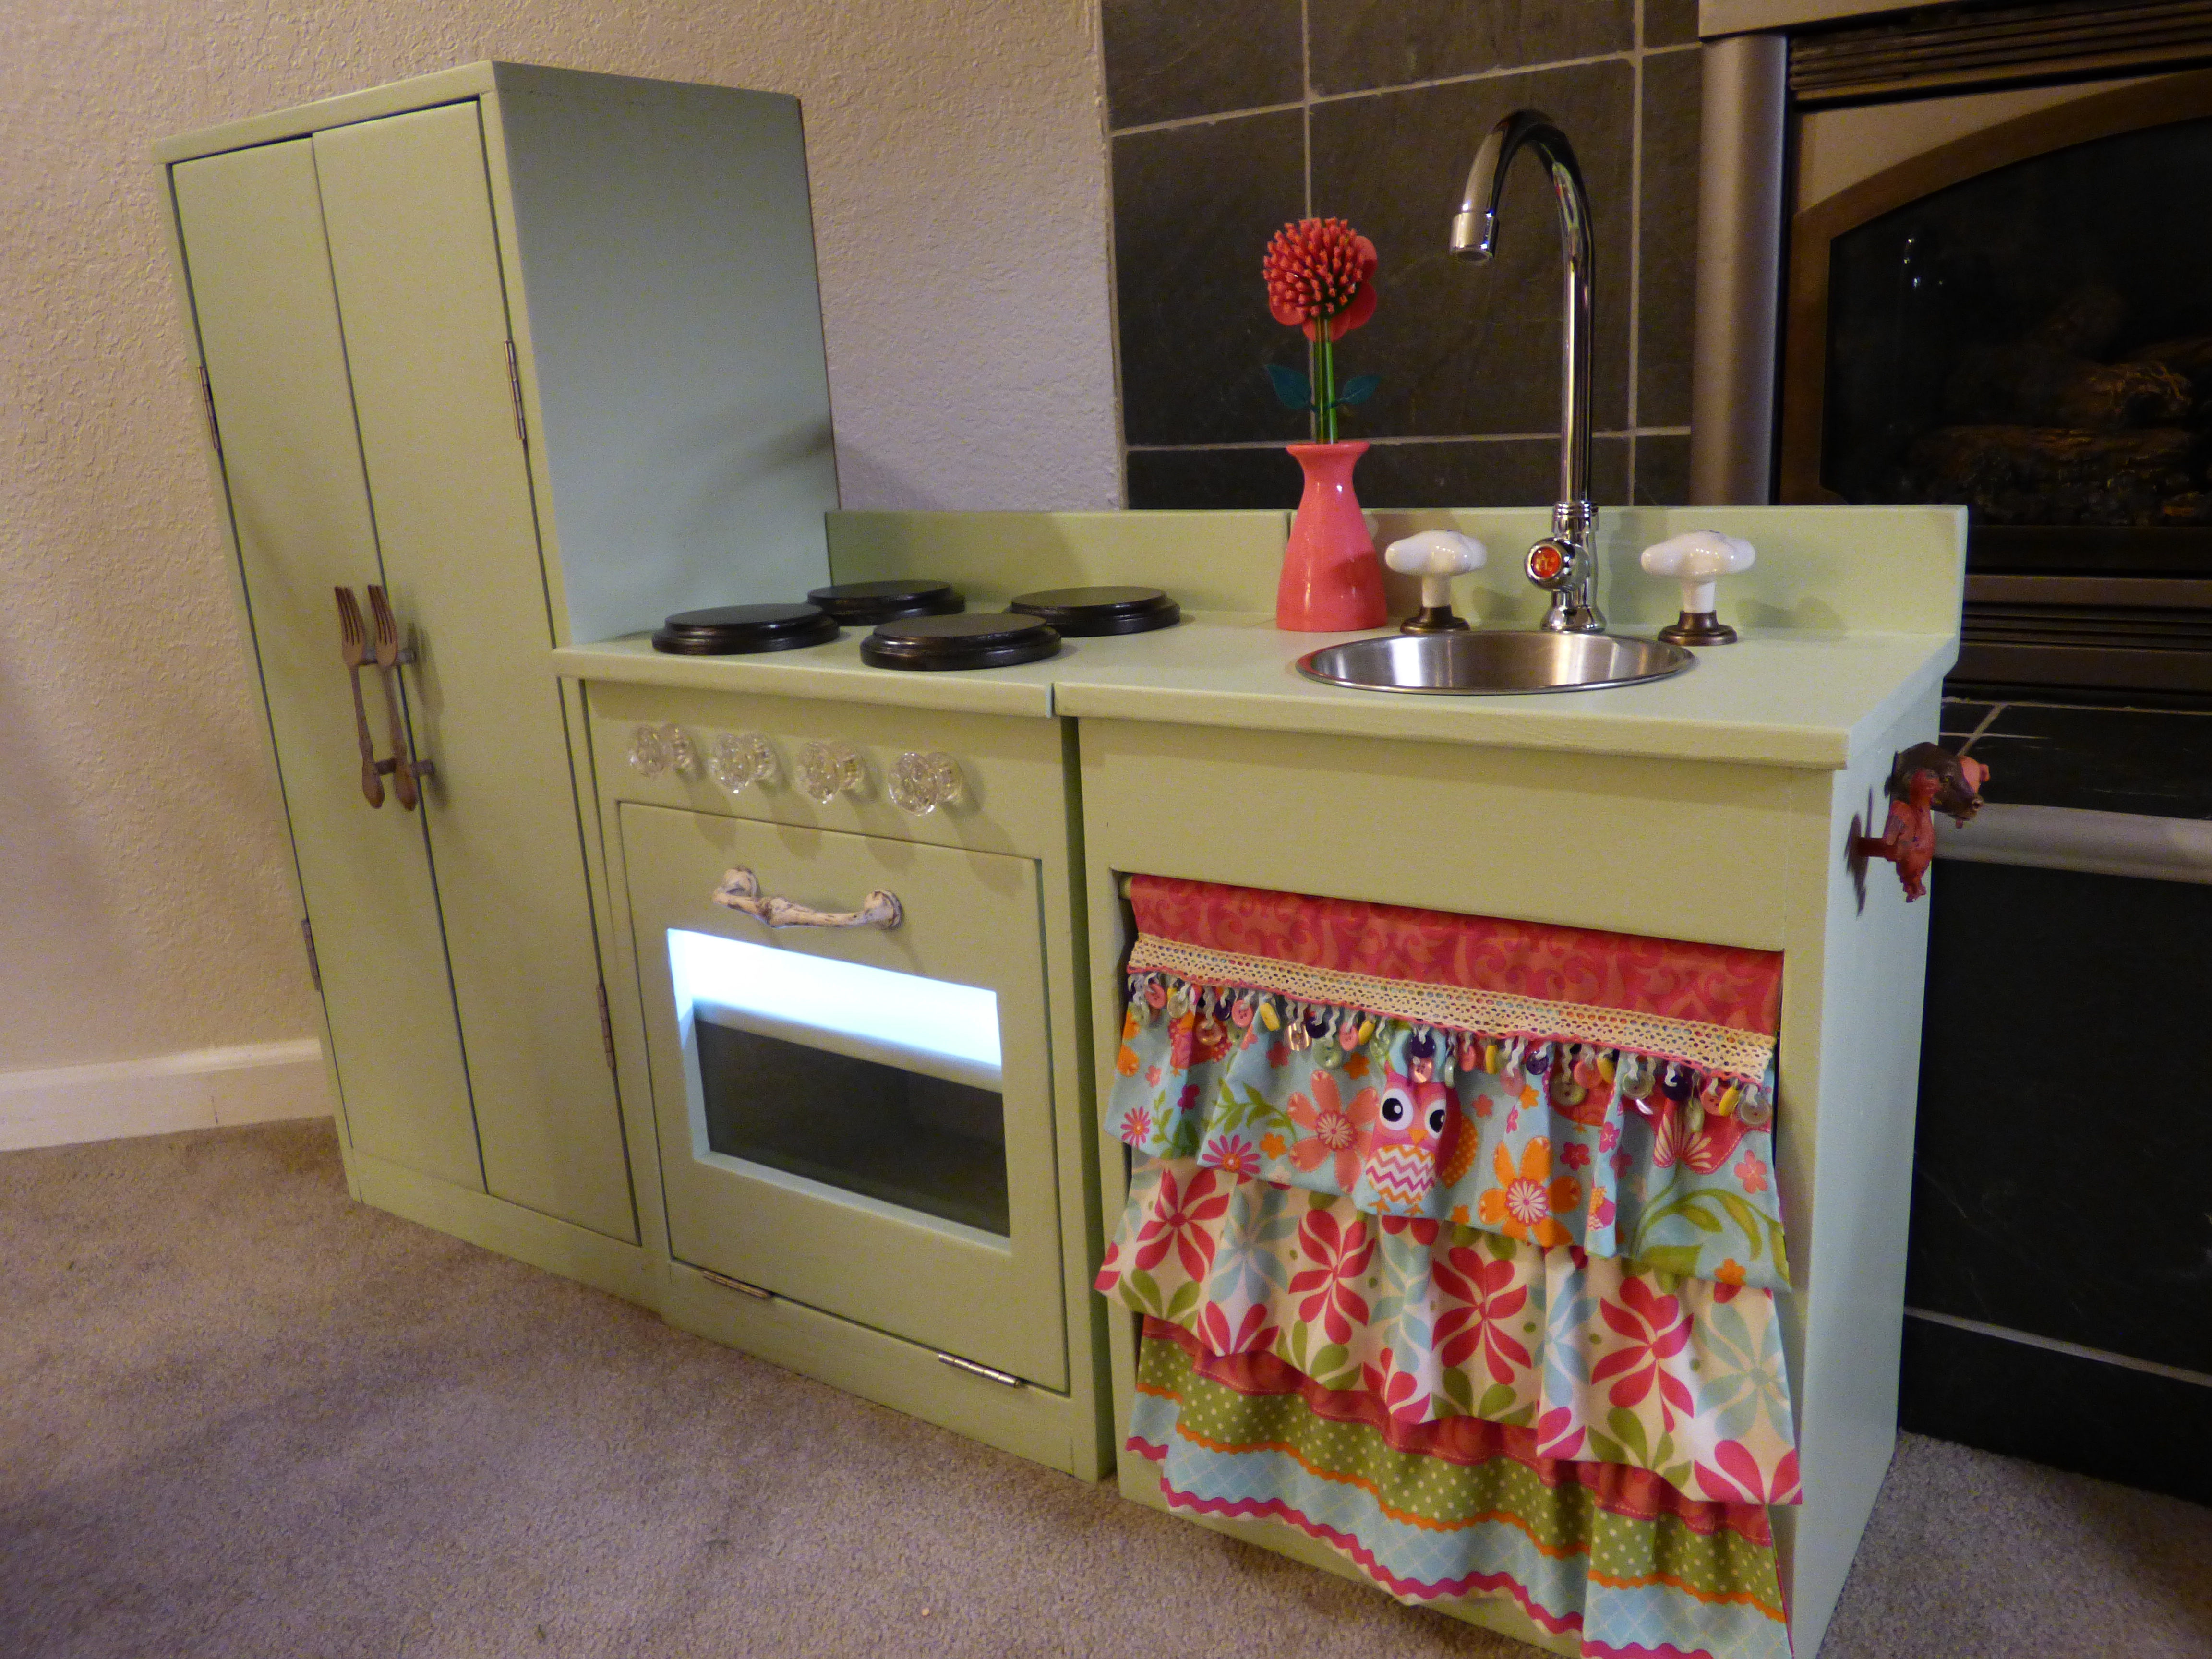
Built out of love for my 3 year old and 1 year old daughters. Christmas morning was awesome! We also bought play kitchen pots and pans from IKEA and a couple of play food sets off of Amazon. Had an old push button led light for closets that is inside the oven. It is on a timer set for 30 seconds so the batteries will not drain too fast.
Great plan & project for the kids.

Built from Plan(s)
Estimated Time Investment
Weekend Project (10-20 Hours)
Recommended Skill Level
Intermediate
Comments
Mon, 12/29/2014 - 08:19
Handmade kitchen sink skirt
My wife and mom stitched up the kitchen skirt. Fabric found and Hobby Lobby. Thanks Mom!
Grandy Style TV Stand
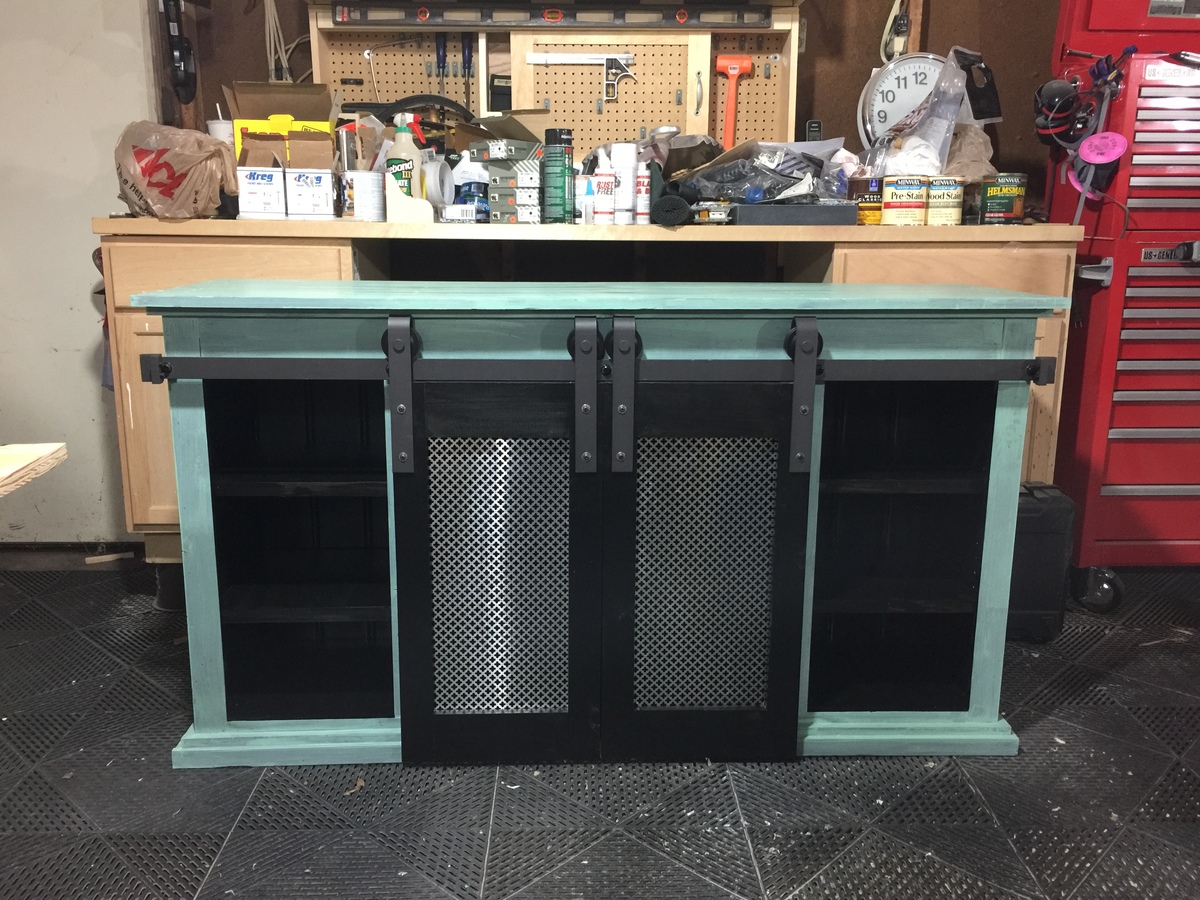
Have always liked sliding door style furniture and once I saw this, I was inspired.
Built from Plan(s)
Estimated Cost
300 bucks including the hardware.
Estimated Time Investment
Weekend Project (10-20 Hours)
Finish Used
Flat black latex covered with Green Silk eggshell latex. One coat of 3X Varathane Semi Gloss poly.
Recommended Skill Level
Beginner
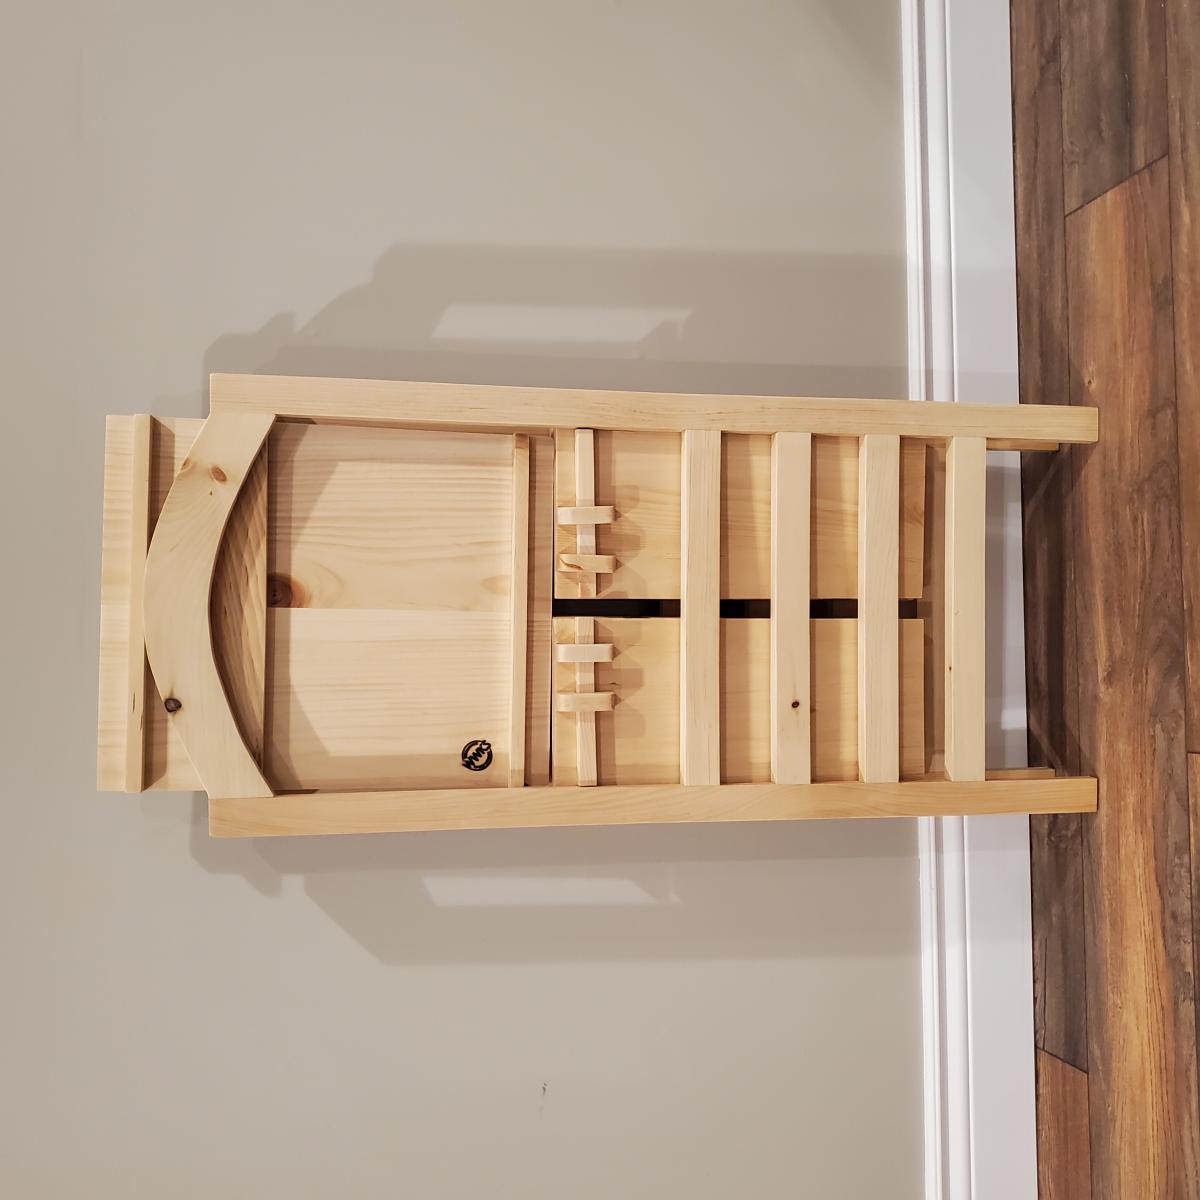
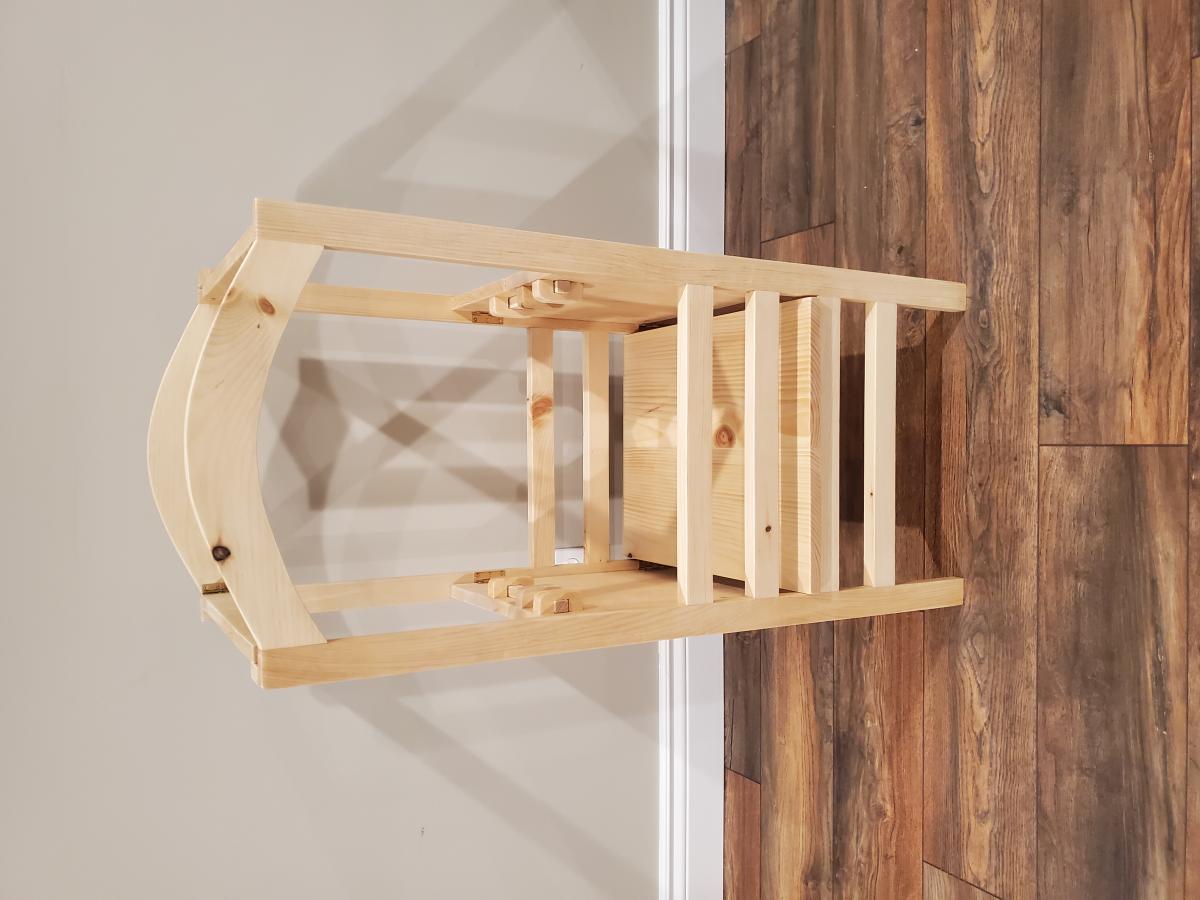
The littlest tower helper
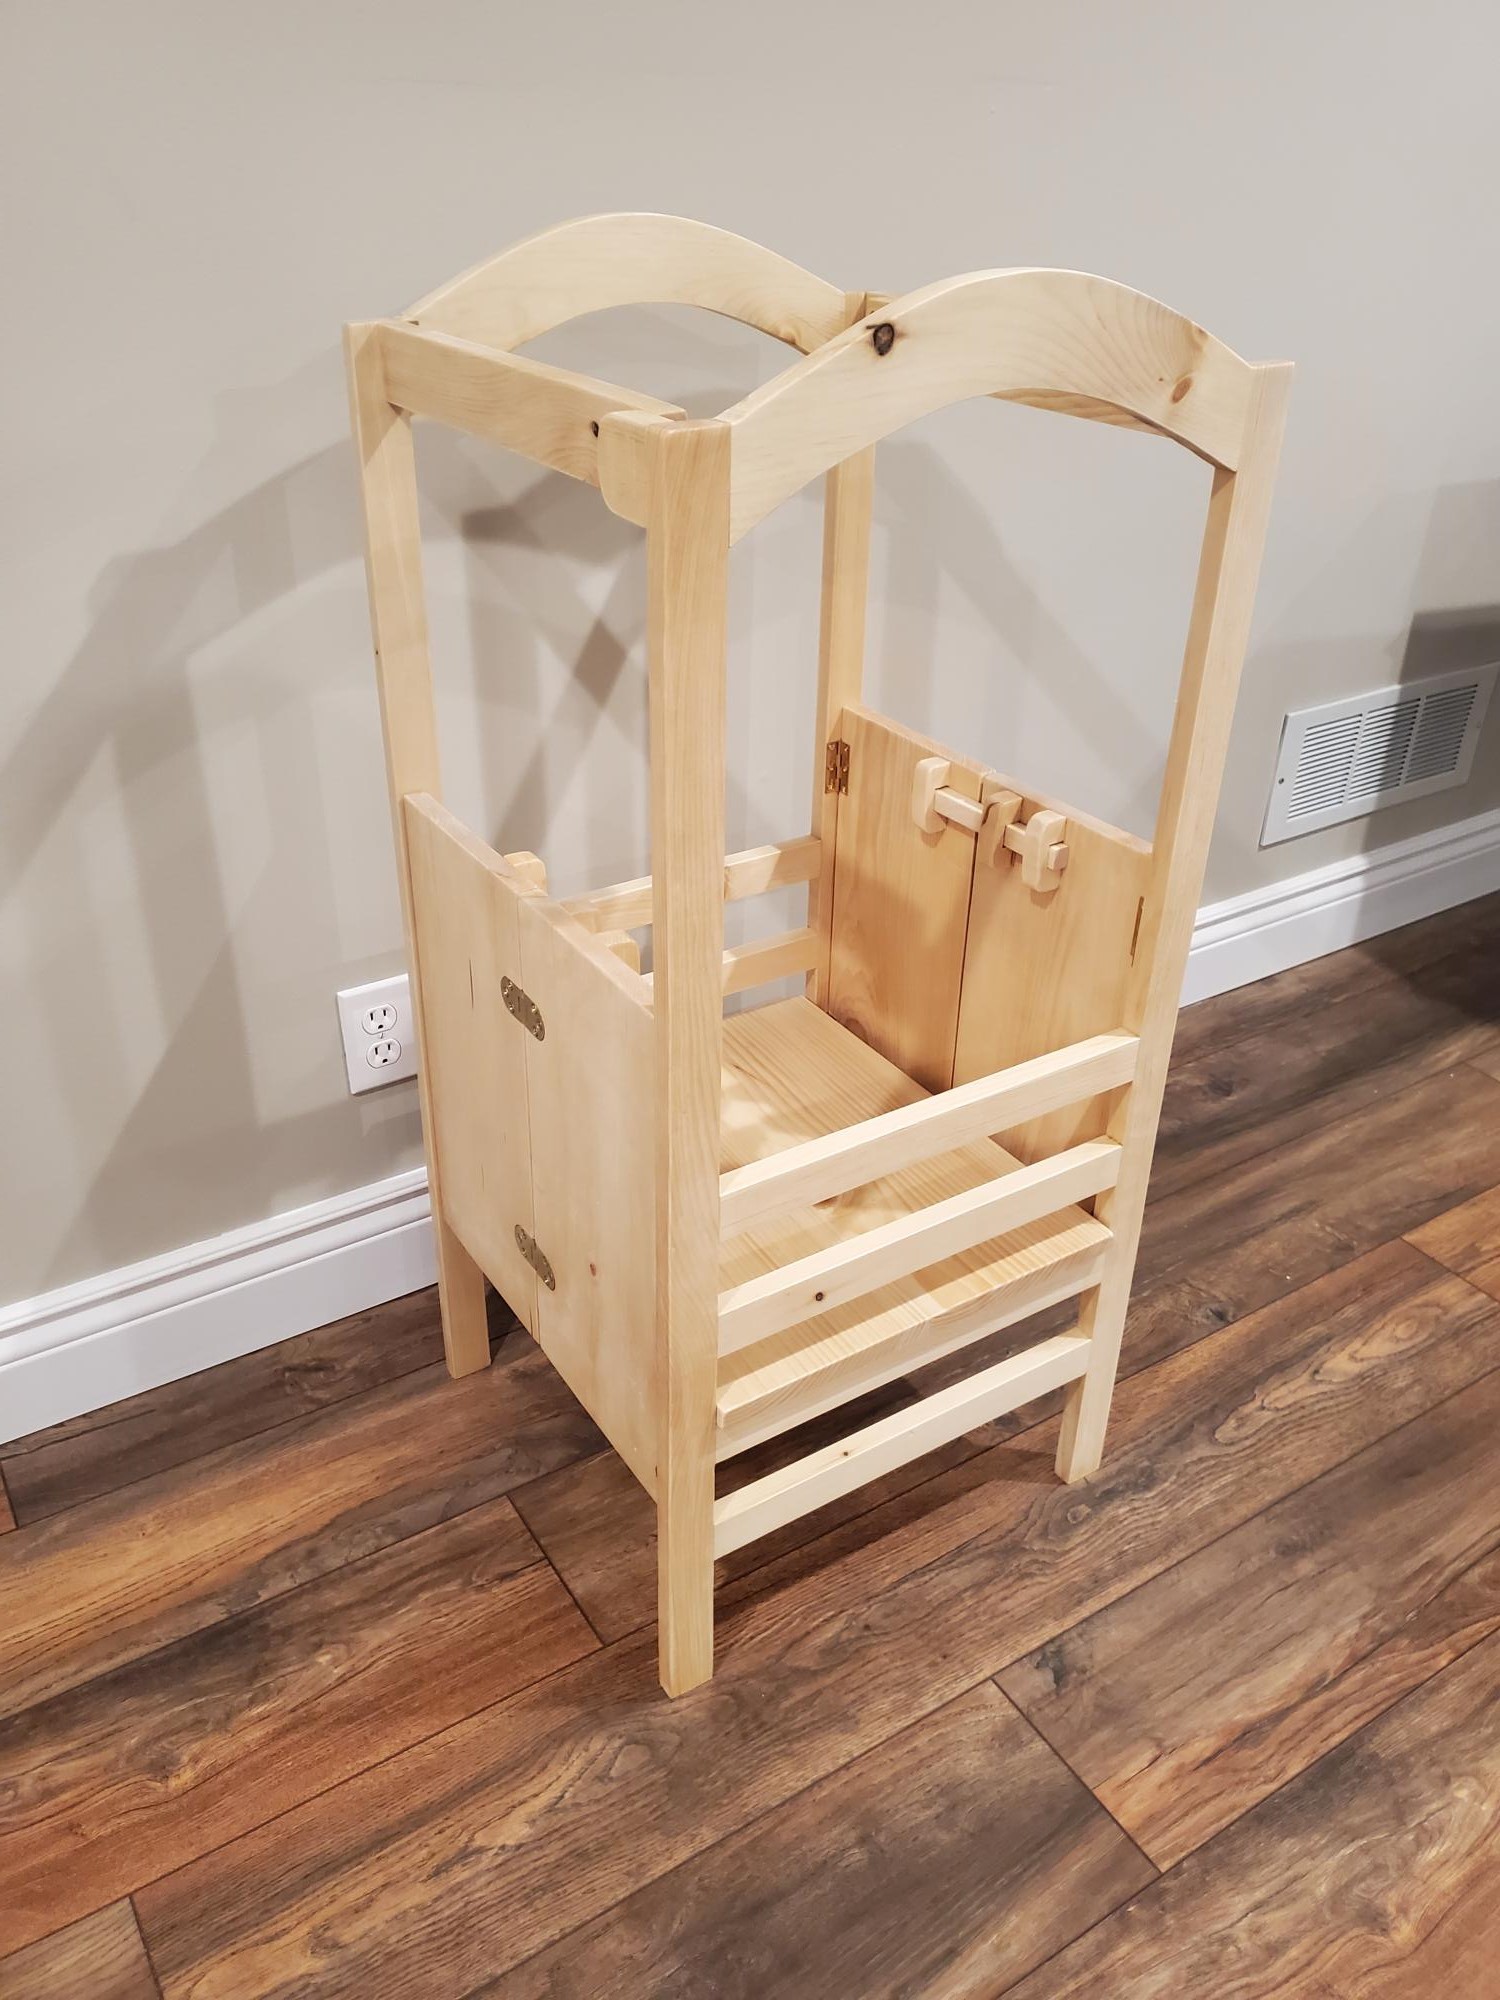
My variation of the "Littlest tower help" plans I found here on Ana white. I loved the design of the original but wanted it to be able to easily store away when not in use. Thanks for looking, Eric
Built from Plan(s)
Estimated Cost
90
Estimated Time Investment
Weekend Project (10-20 Hours)
Finish Used
Polyurethane
Recommended Skill Level
Intermediate
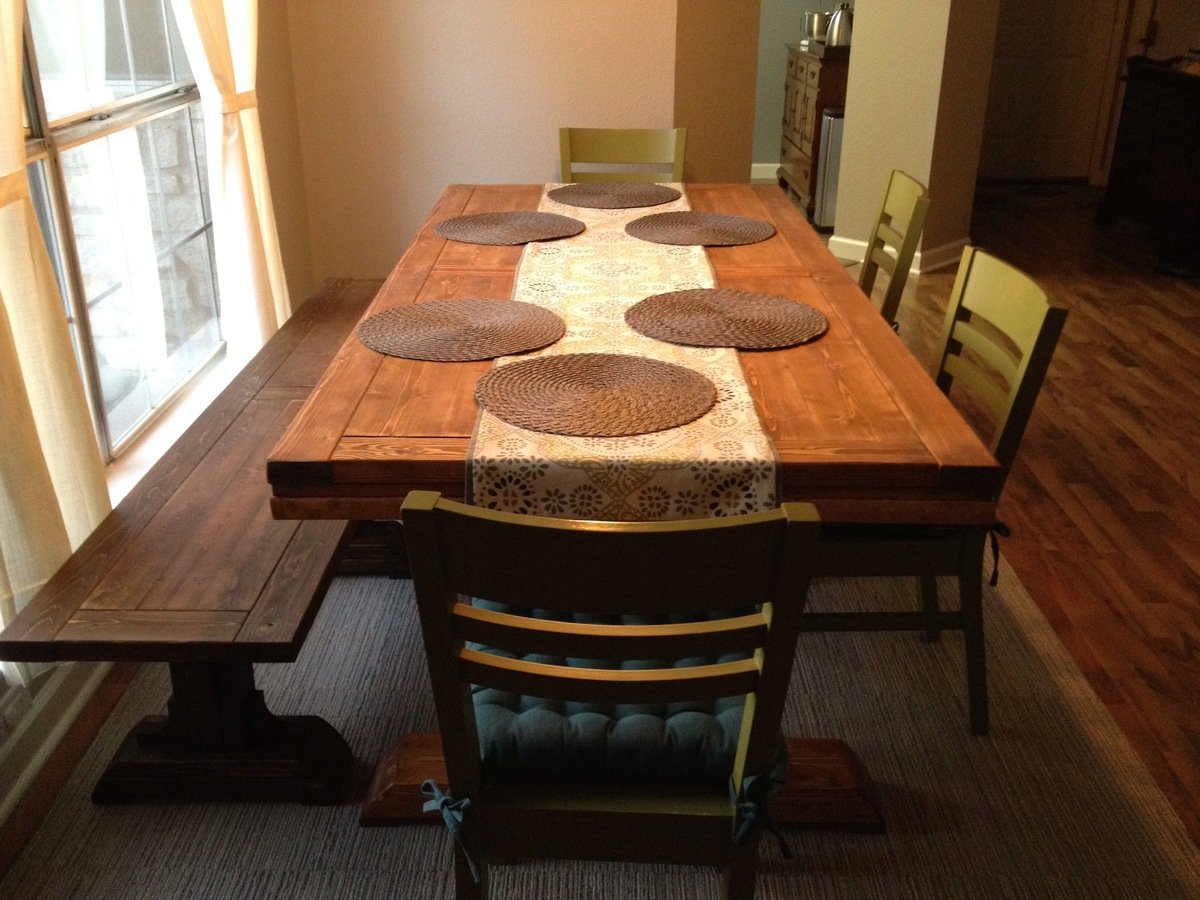
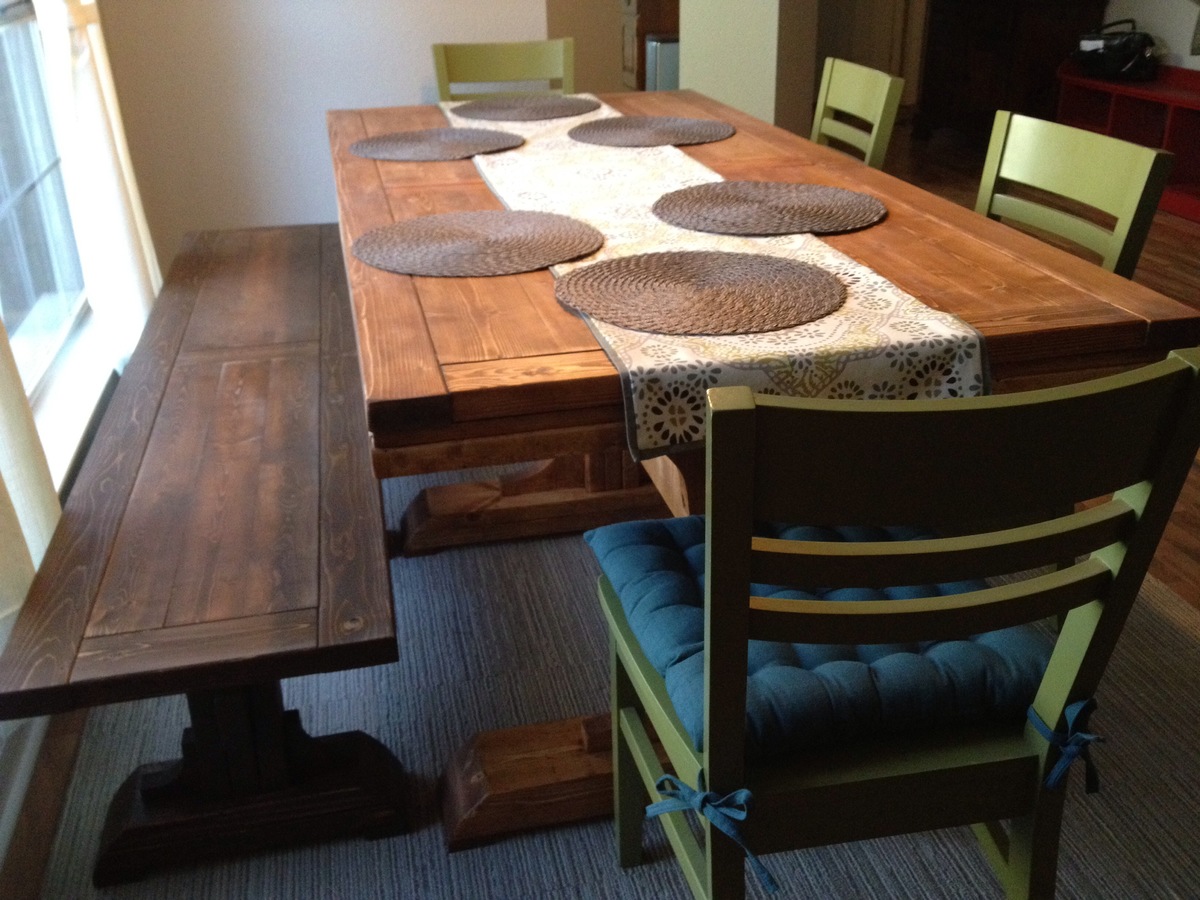
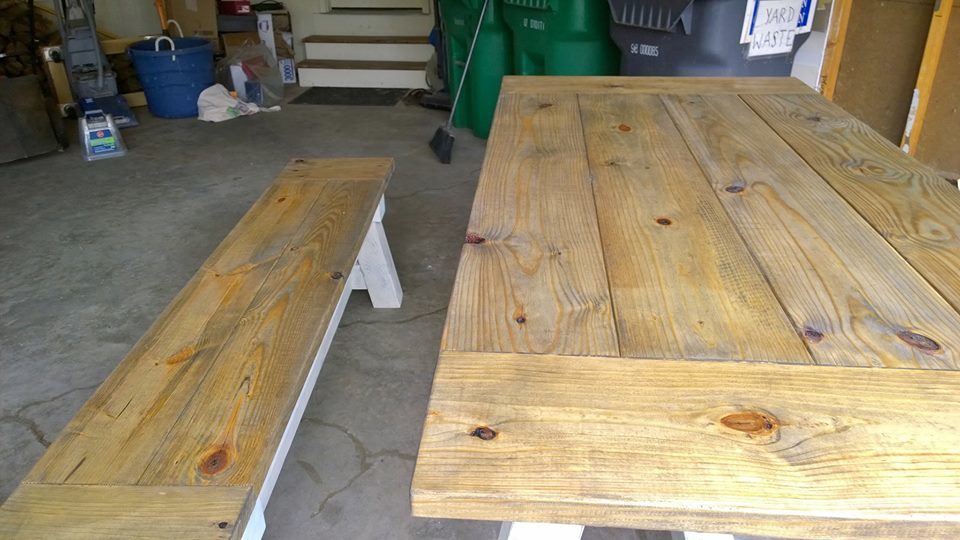
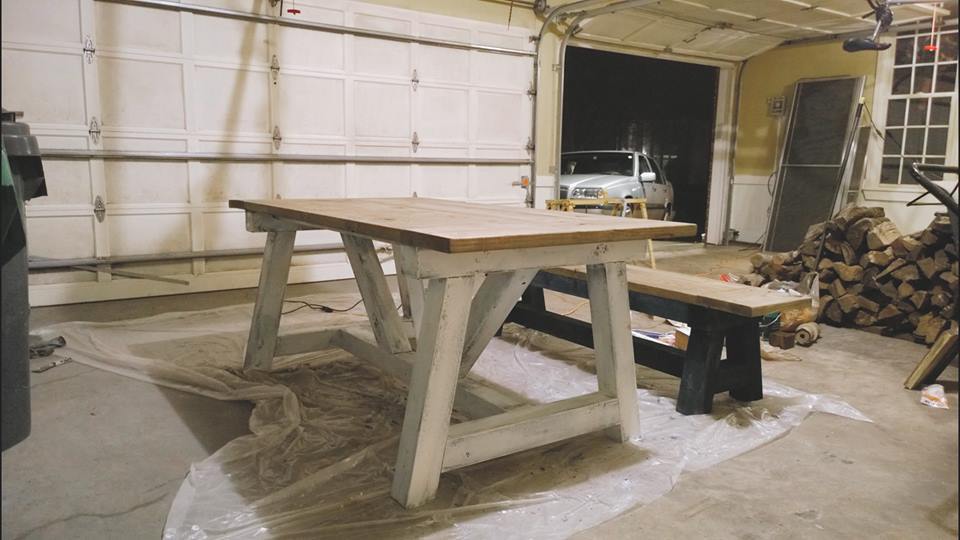
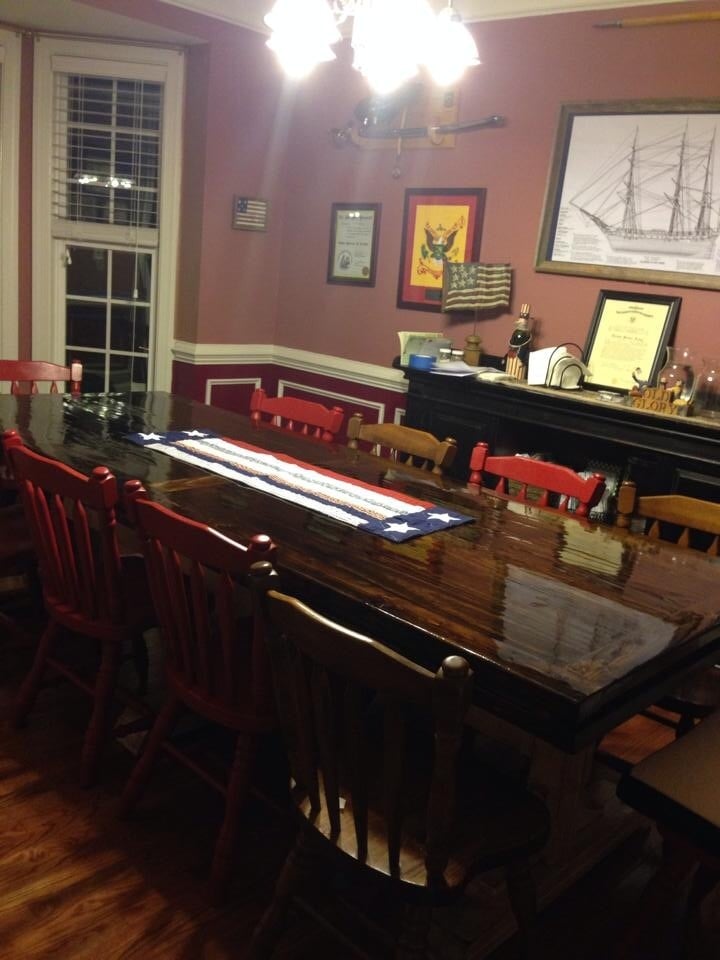
Shanty Farmhouse Table brag
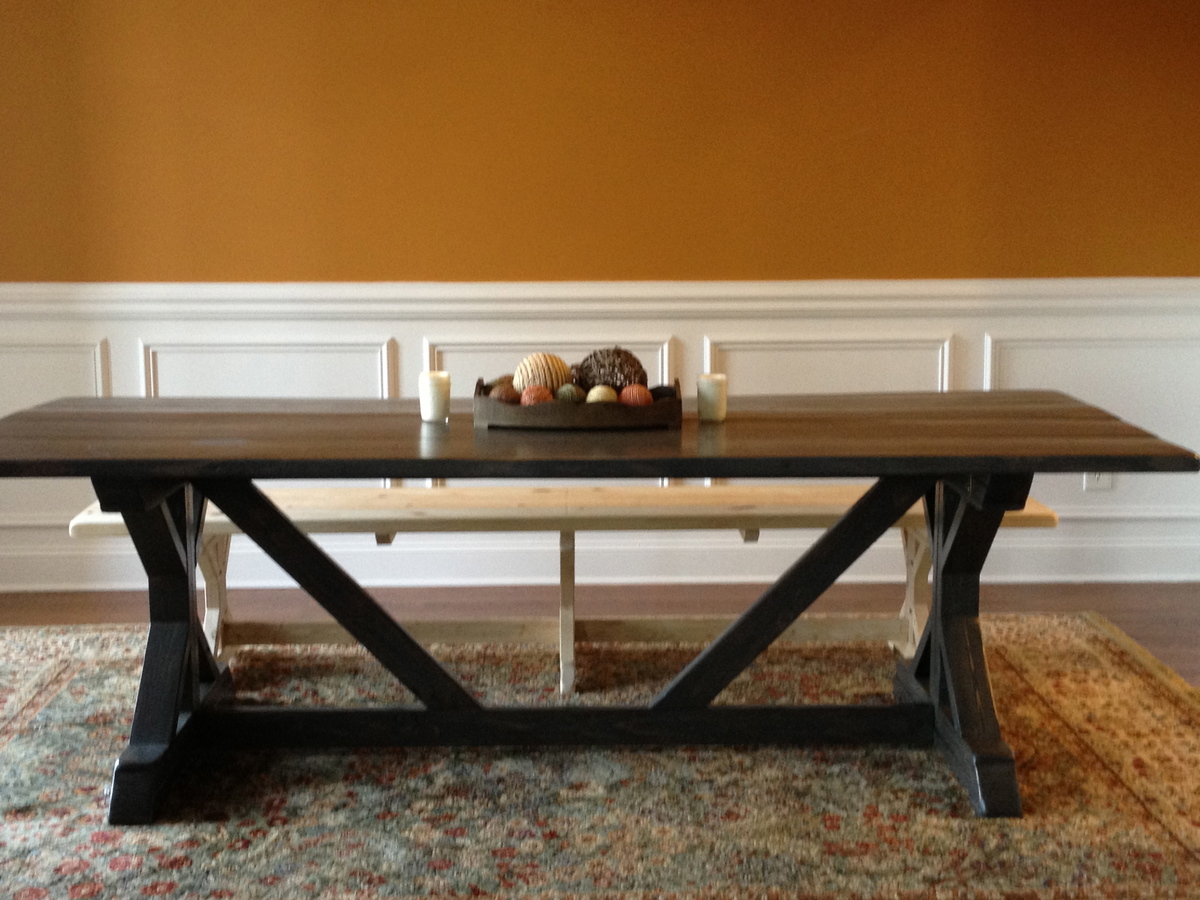
We were in need of a dining room table--we were hosting Thanksgiving and finally wanted a "grown-up" table! We are huge fans of Restoration Hardware, but not their prices. The Shanty plan was exactly what we were looking for! We love the table, the size is great for our dining room--we left the top at 8 ft. The finish is also what we were looking for; it is something like a weathered barnwood look, though now that the dining room is painted it comes across more steely blue-gray. Still, it is exactly what we were looking for.
We also made an accompanying bench, which you can see peeking out from behind. That has not made its way to the staining process yet, but we are now in the process of building the sideboard and hutch, so we'll just stain everything at once.
It was our 3nd project using Ana's plans and we love it!
Estimated Cost
$125
Estimated Time Investment
Day Project (6-9 Hours)
Finish Used
1 coat Minwax Jacobean, followed by 2 coats Minwax Classic Gray. Polyurethane (2 coats)
Recommended Skill Level
Intermediate
Our first Ana White project! (Definitely not our last!)
Perfect for our 5 year old! He's too scared to climb Big brother's scary bunk bed ladder. This one is much more to his liking!
My husband is going to be busy now that we've discovered you Ana White!
Built from Plan(s)
Estimated Cost
$100ish
Finish Used
Blue stain
Recommended Skill Level
Beginner
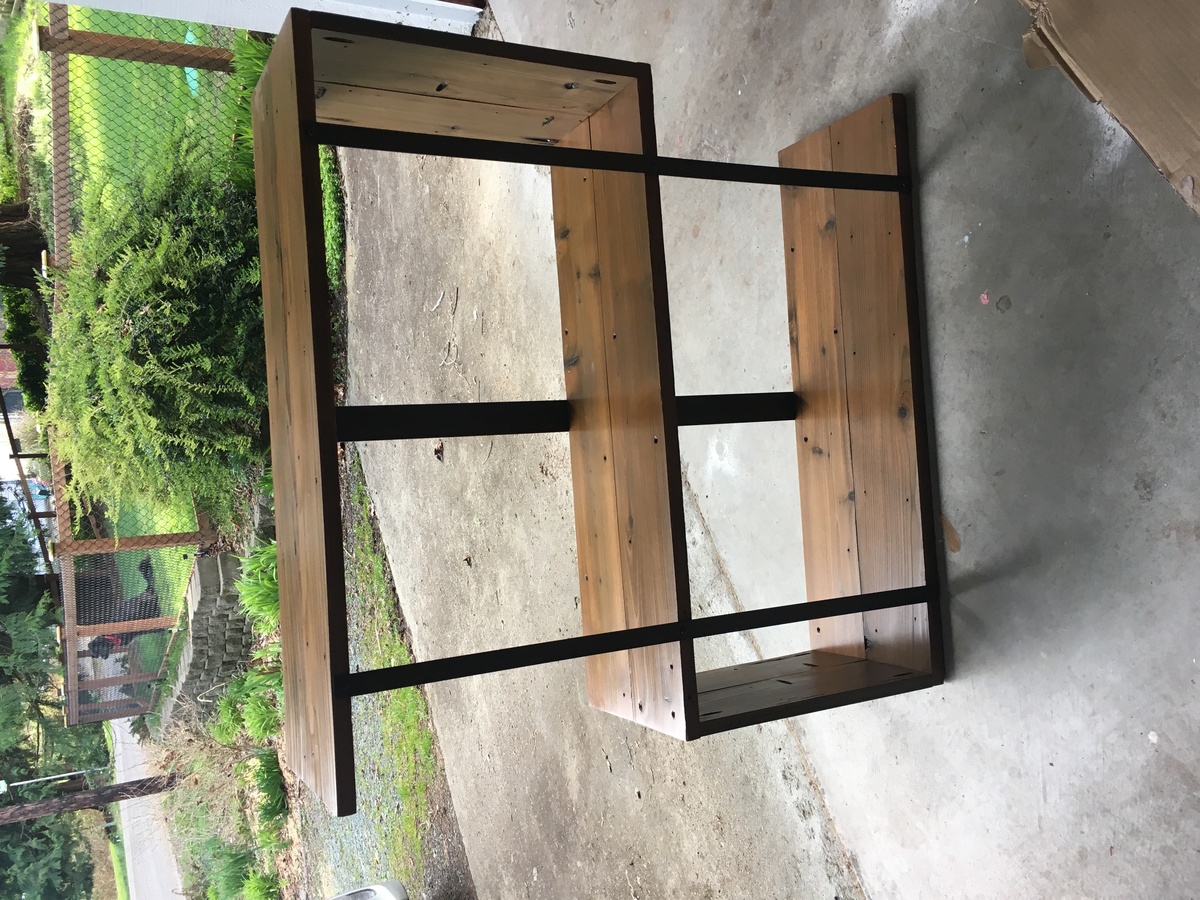
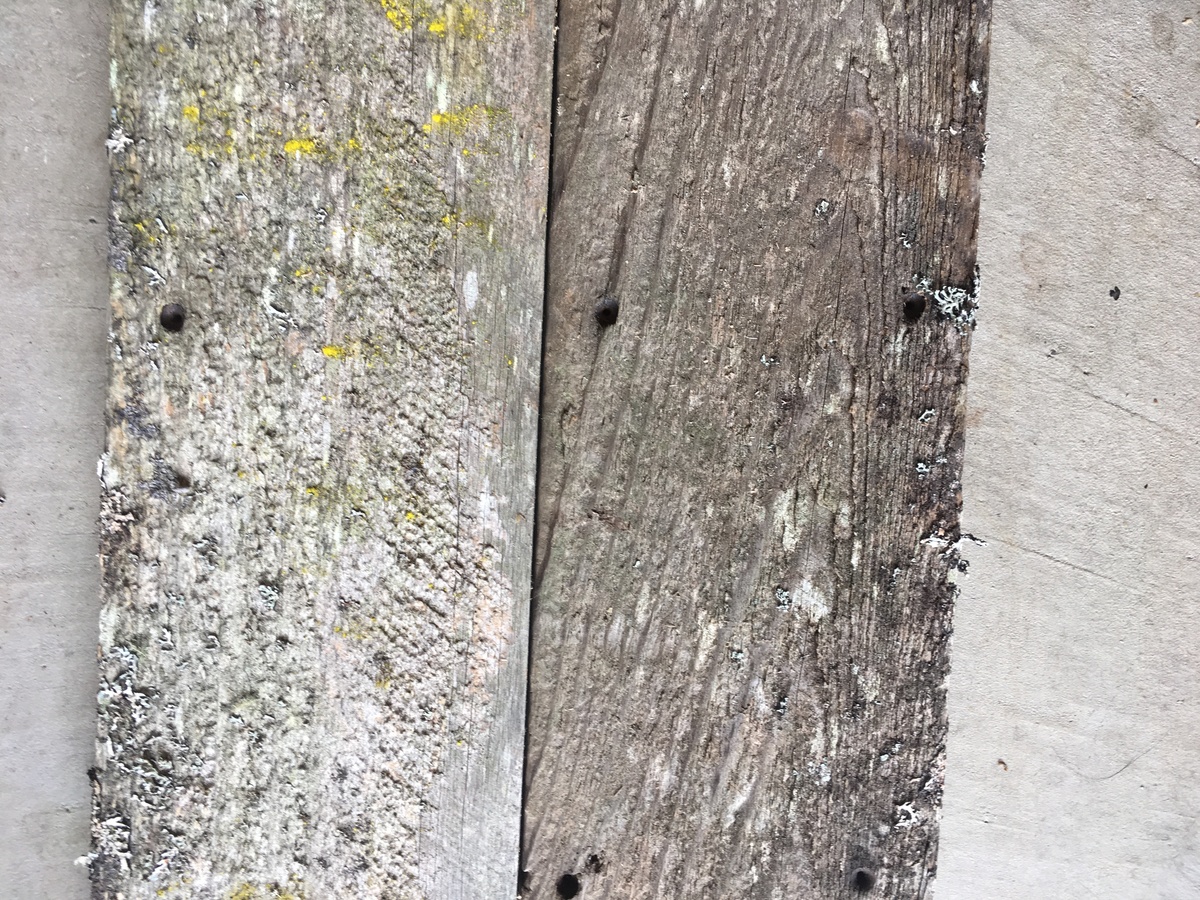
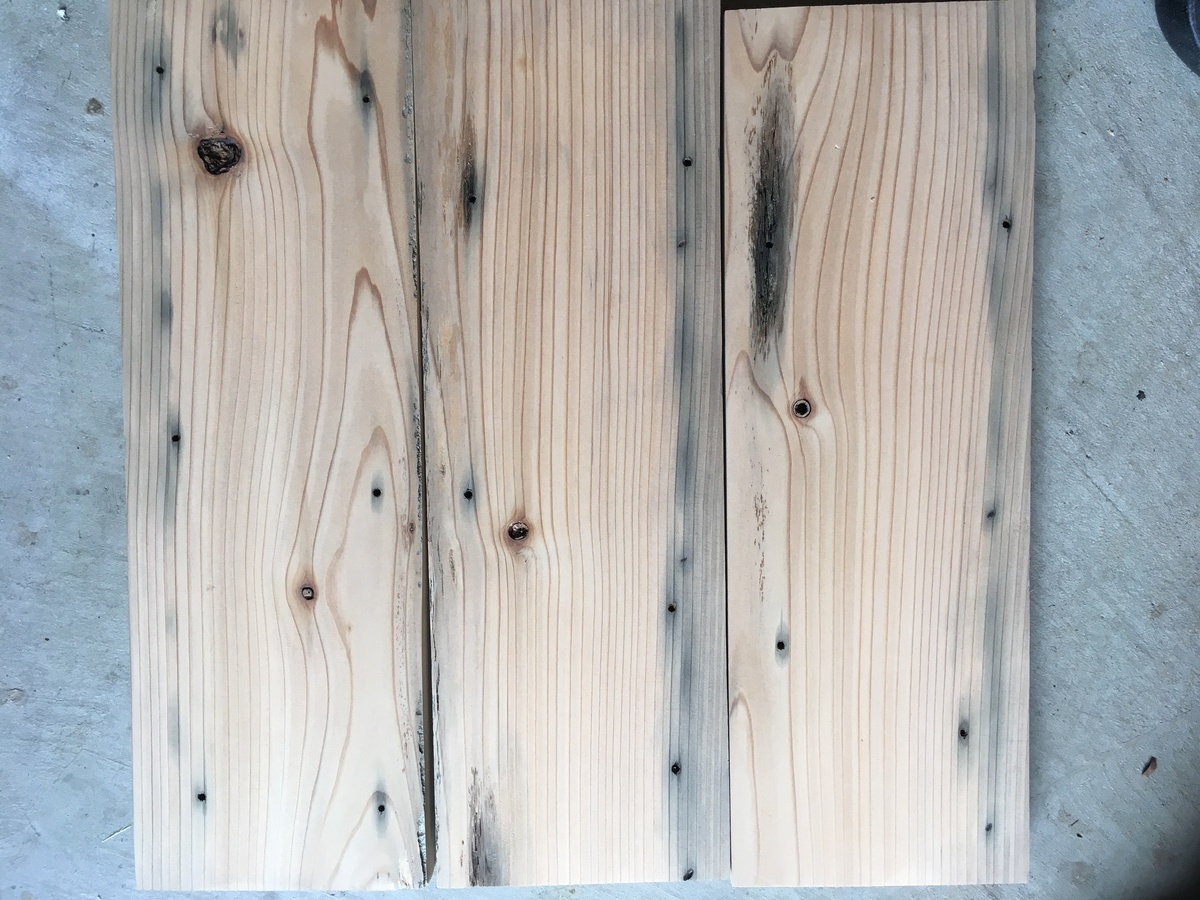
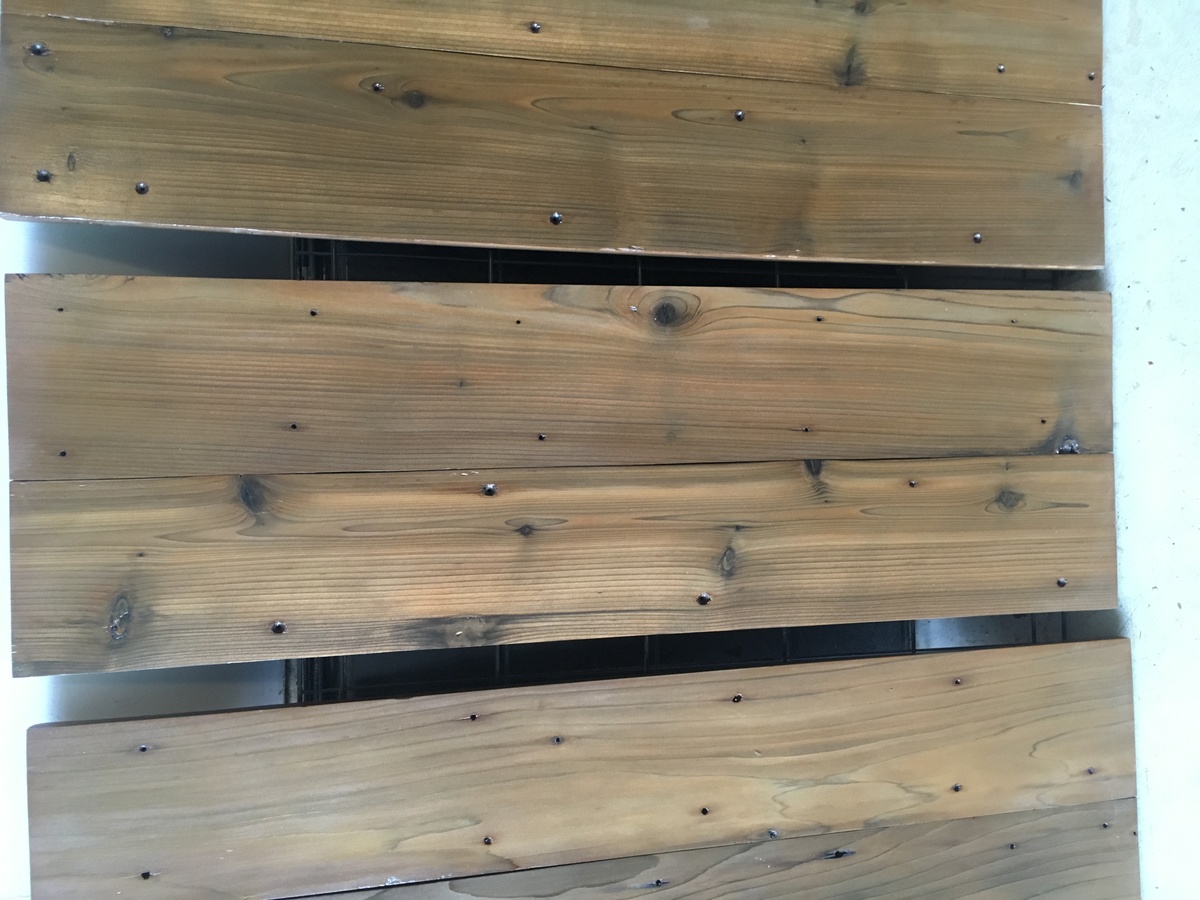
Industrial Bookshelf
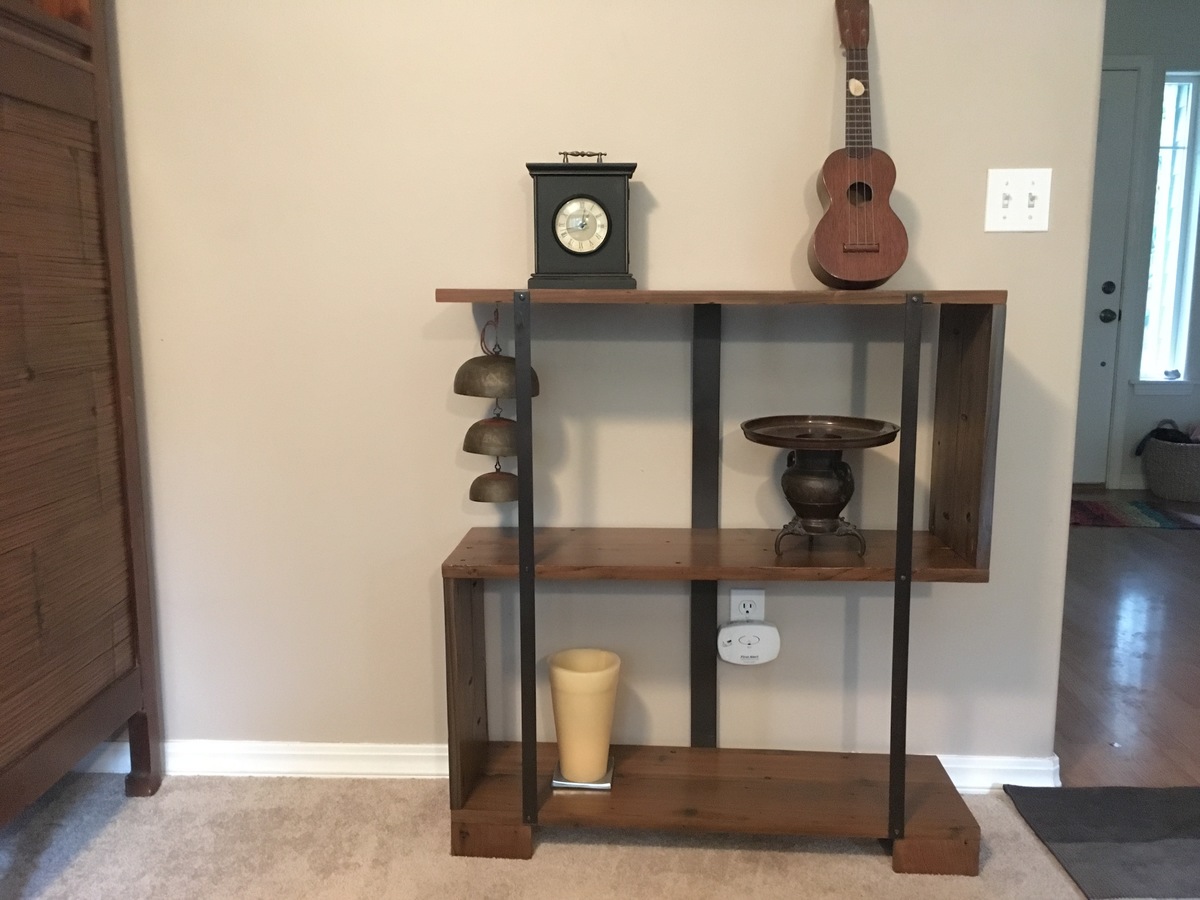
I took down a gate for my parents that had been up for over 20 years. I couldn't bear to get rid of the wood. I found these plans http://www.myrepurposedlife.com/rustic-industrial-narrow-bookshelf/, and modified them. I wanted wider shelves with more space in between shelves, and I wanted a steel bar in the back. It took a lot of planing and sanding to get the wood ready and there are challenges to working with wood that has been outside for over 20 years, but nothing beats the look of truly vintage wood. I love the color variations caused by weathering and the rusted screw holes throughout the wood. I got steel bars at home depot, sprayed painted them with rustoleum bronze spray paint, and drilled holes in them with a cobalt drill bit. I used steel wool dissolved in vinegar for the stain and finished off with three coats of polyurethane.
Estimated Cost
$25
Estimated Time Investment
Week Long Project (20 Hours or More)
Finish Used
Steel wool dissolved in vinegar and three coats of polyurethane
Recommended Skill Level
Intermediate
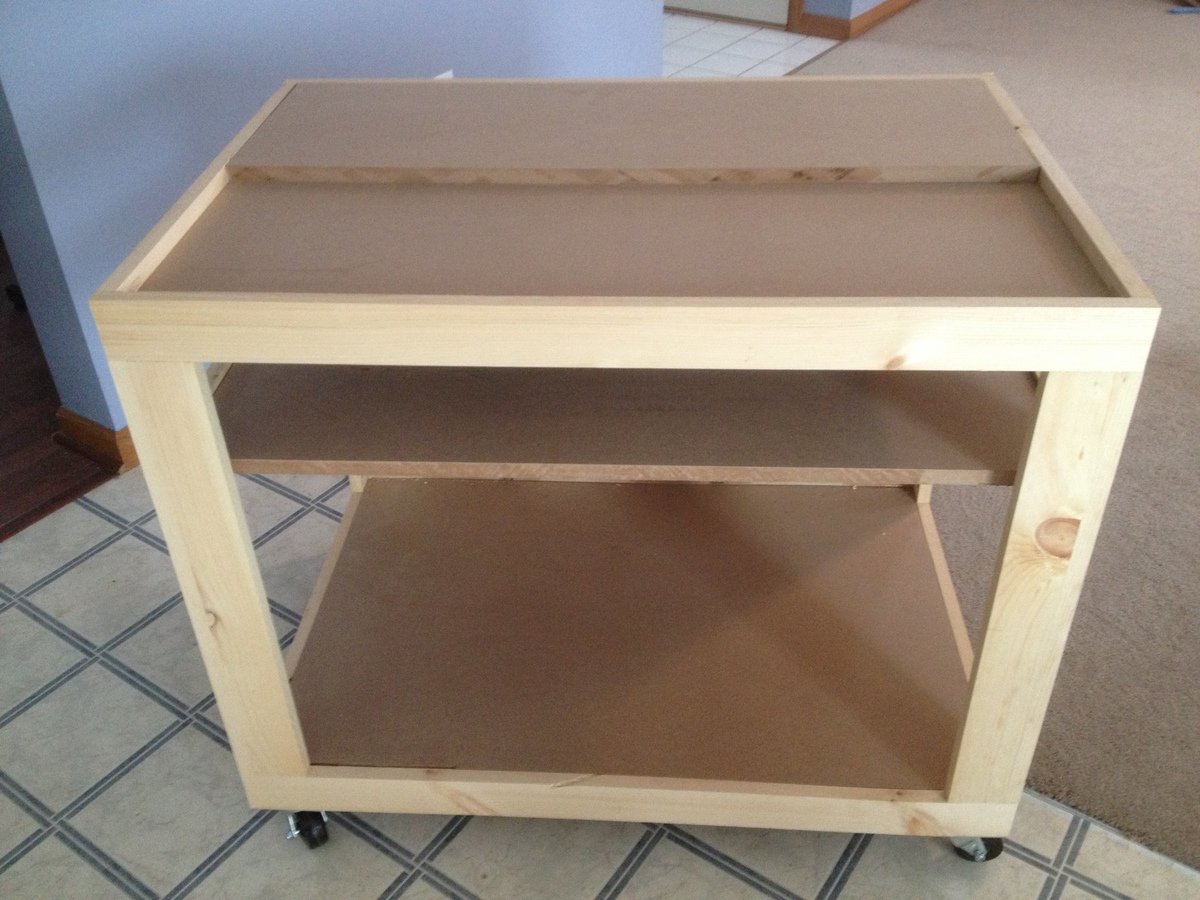
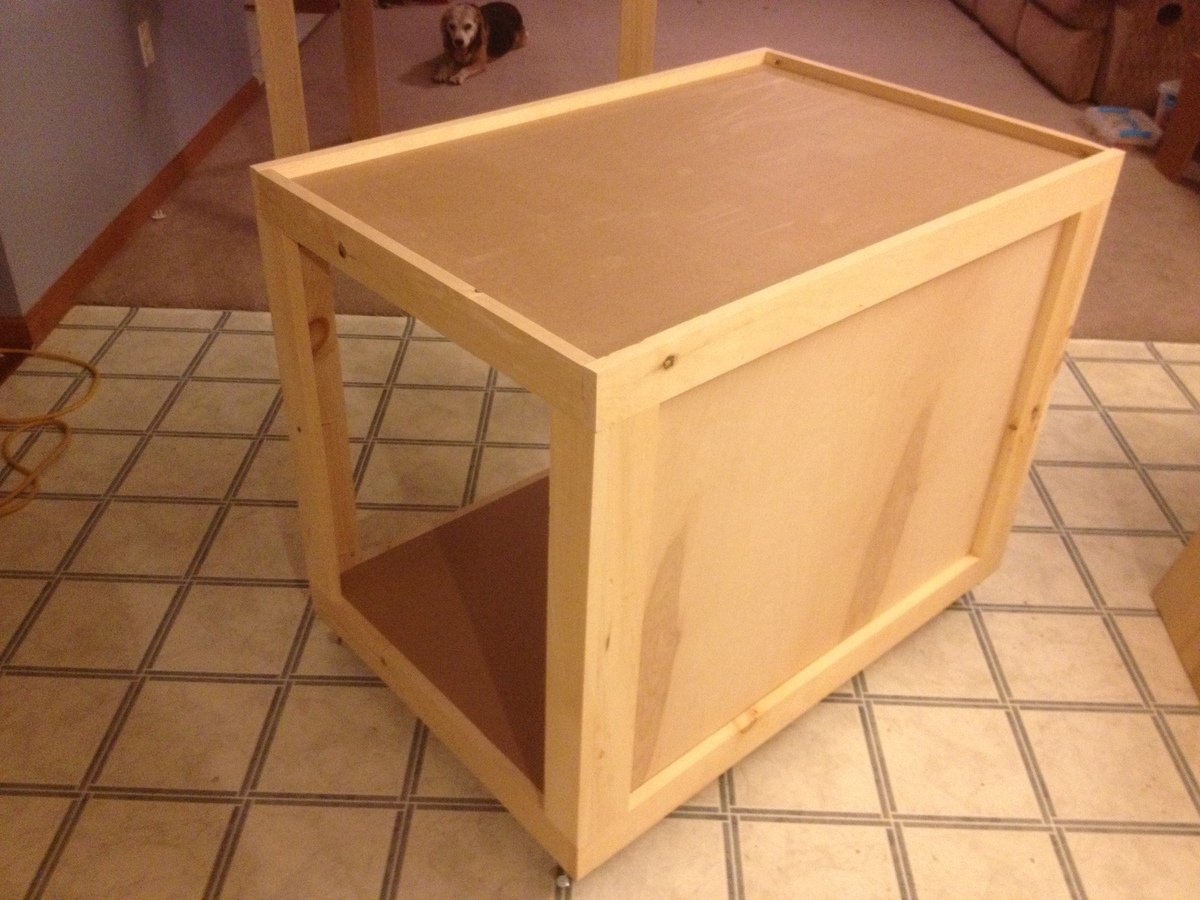
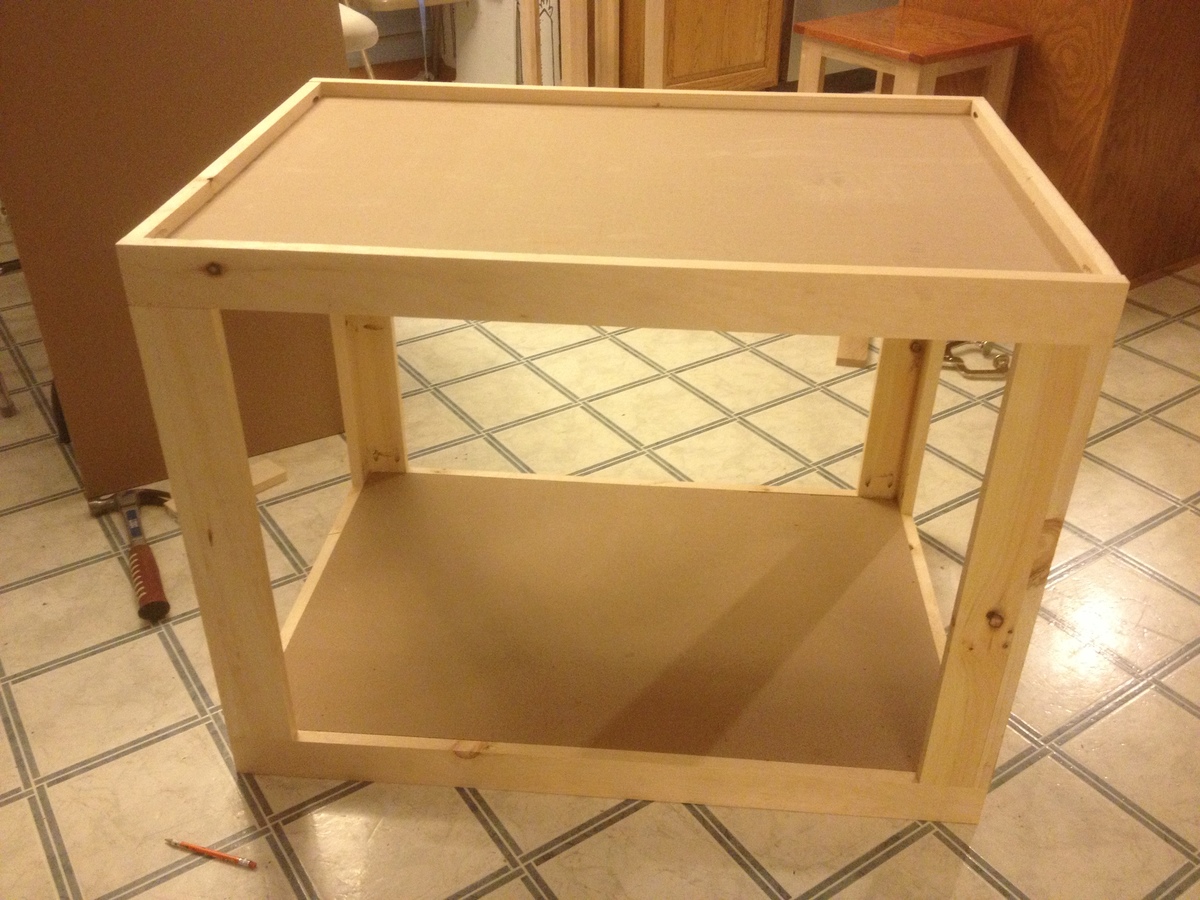
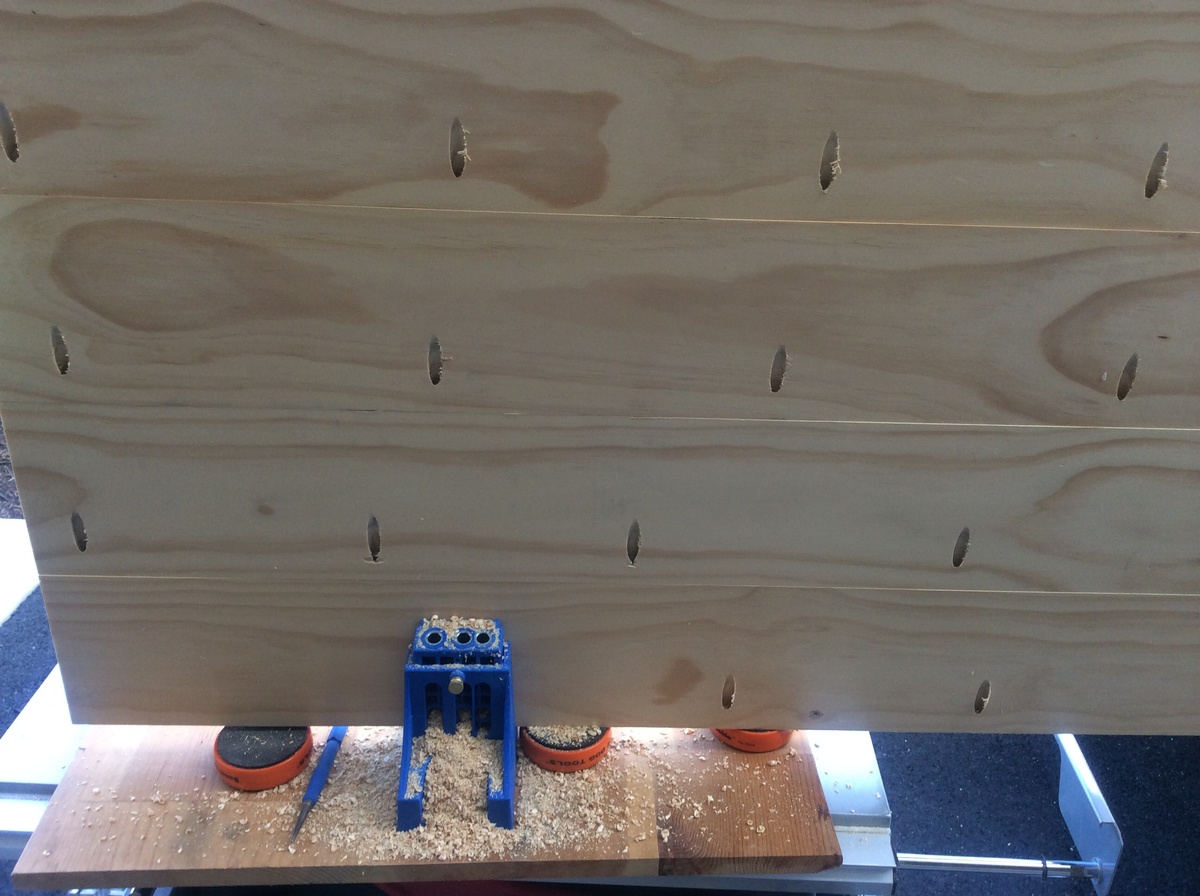
Shop Cart with inserts
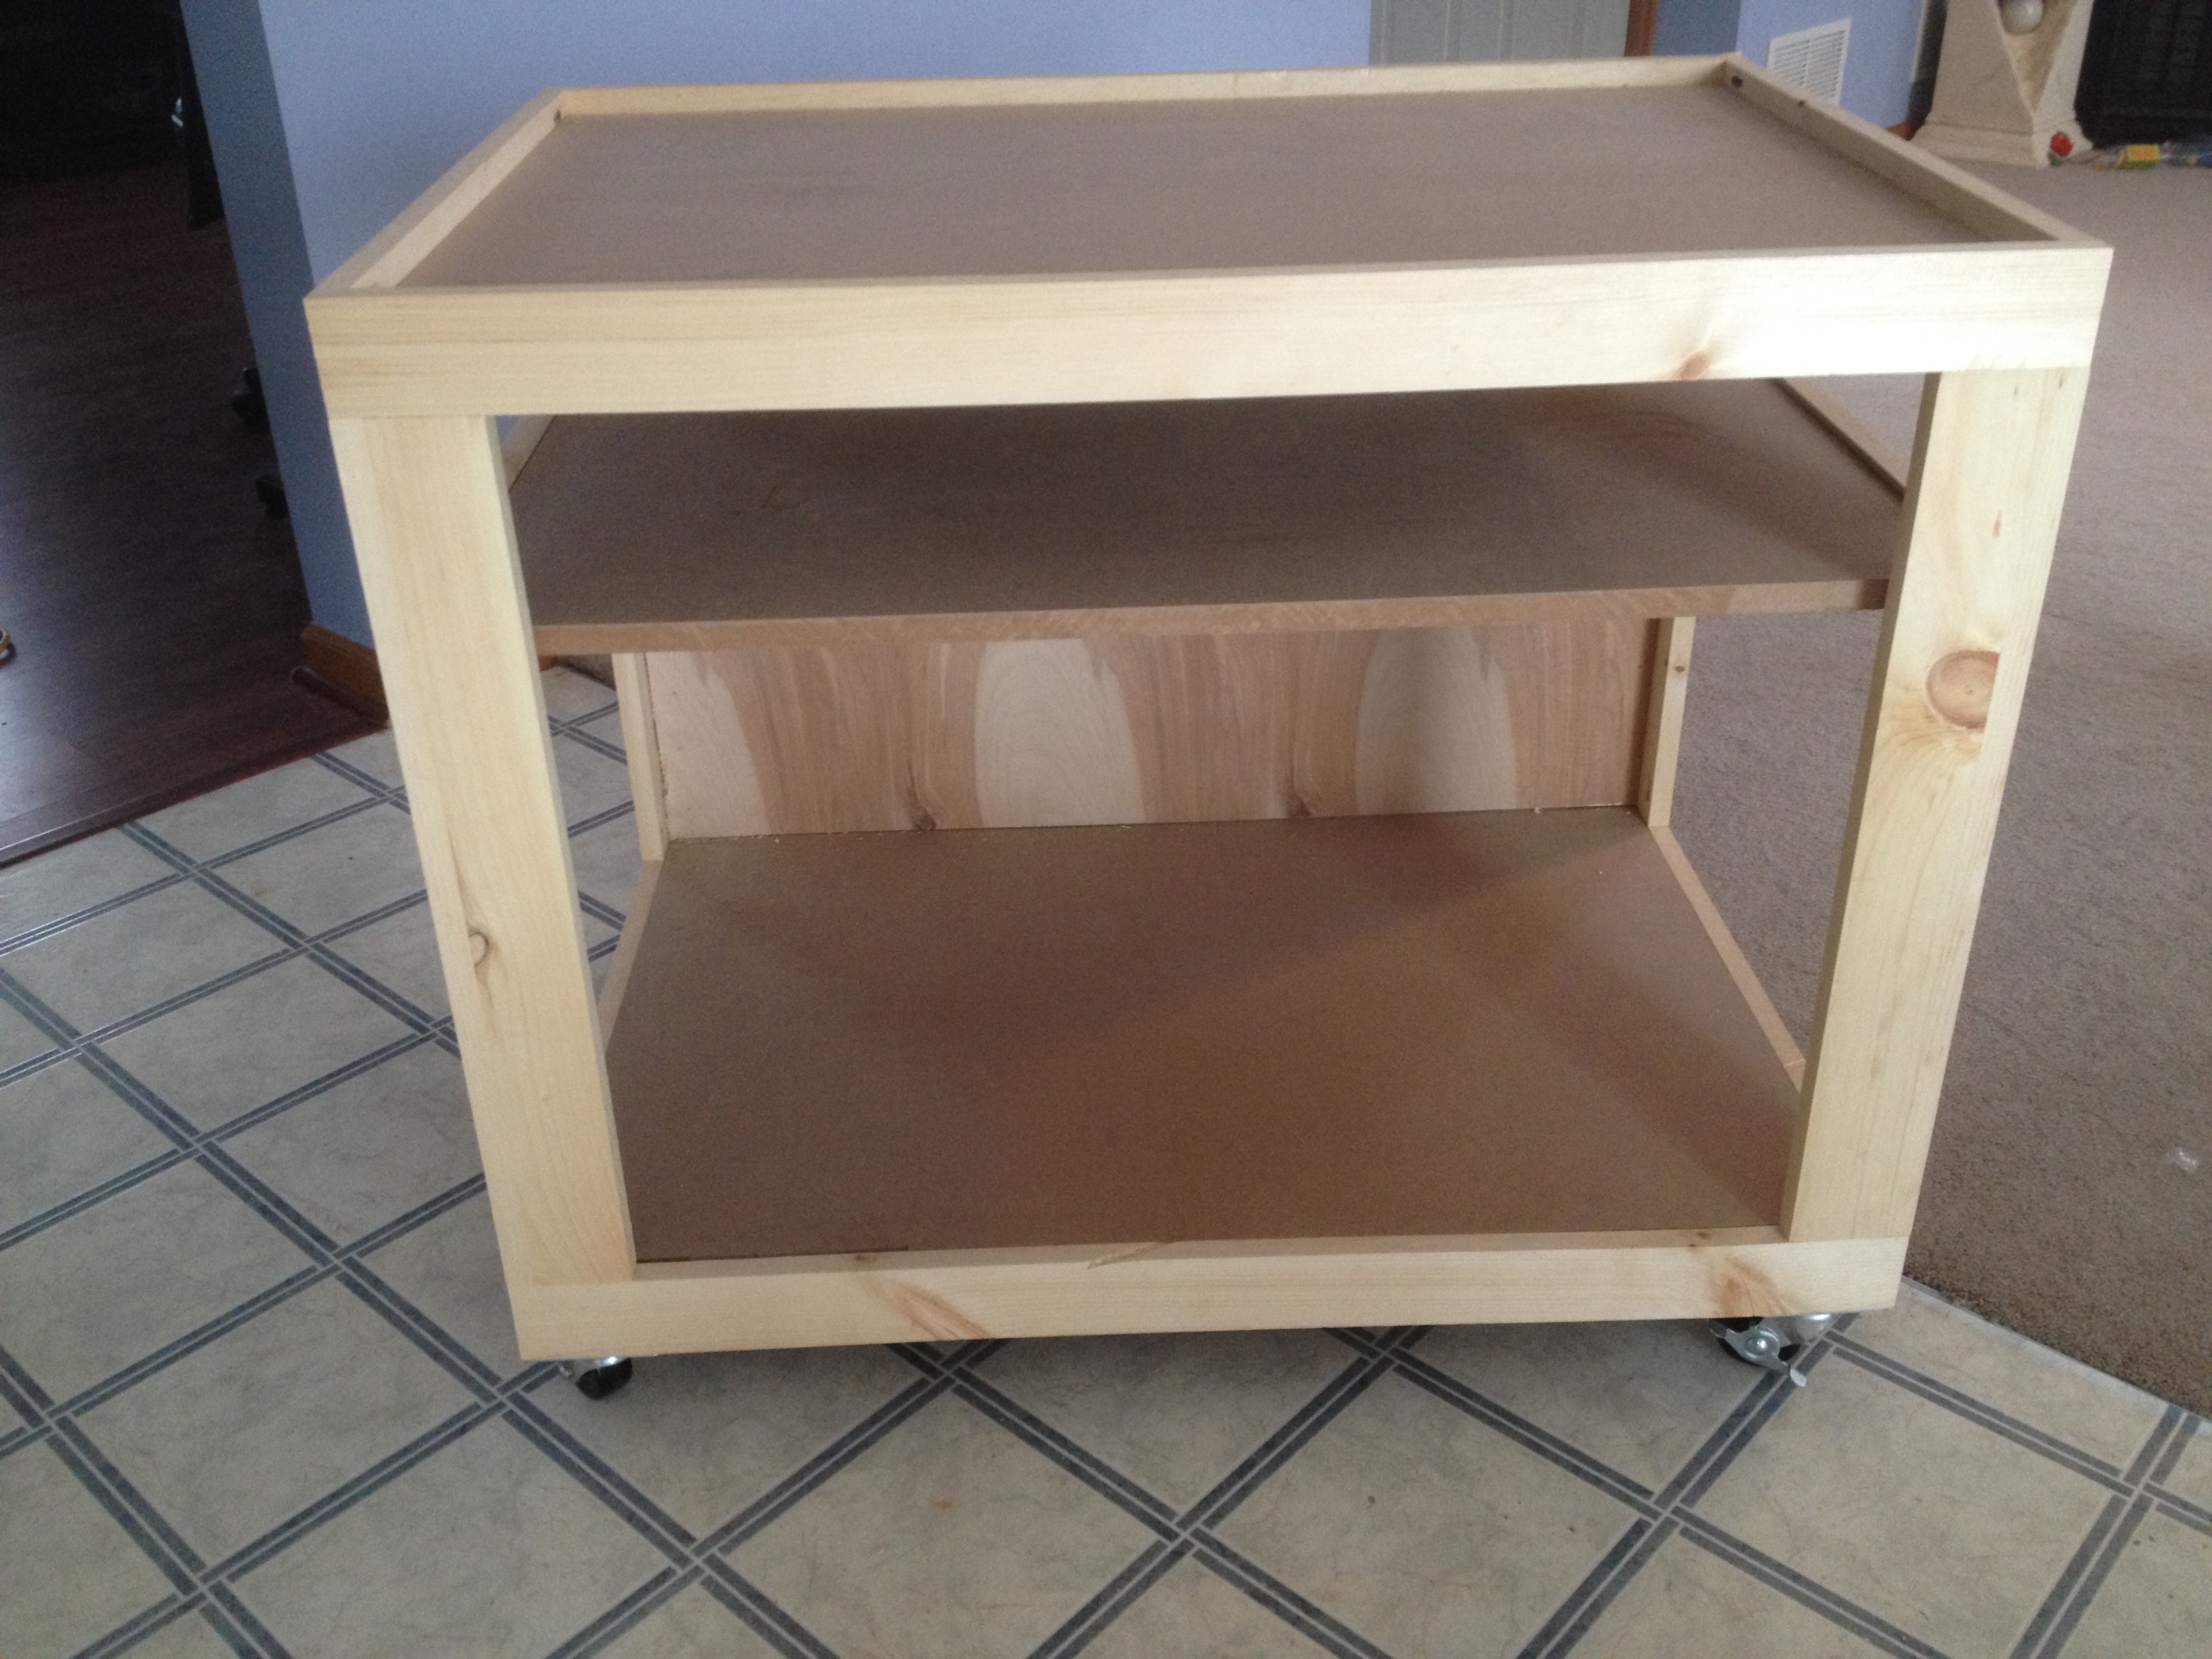
After browsing through forums I came up with this idea...a versatile shop cart that I can insert my kreg jig and miter saw into...a stable base at a great working height.
I created this design in sketchup as well and will work on posting it as a plan if people are interested.
basically, the top is inset 3/4" to make room for the inserts. I created a work table insert (well two I split in half, so the kreg insert can take up the front half if I wanted to insert that.
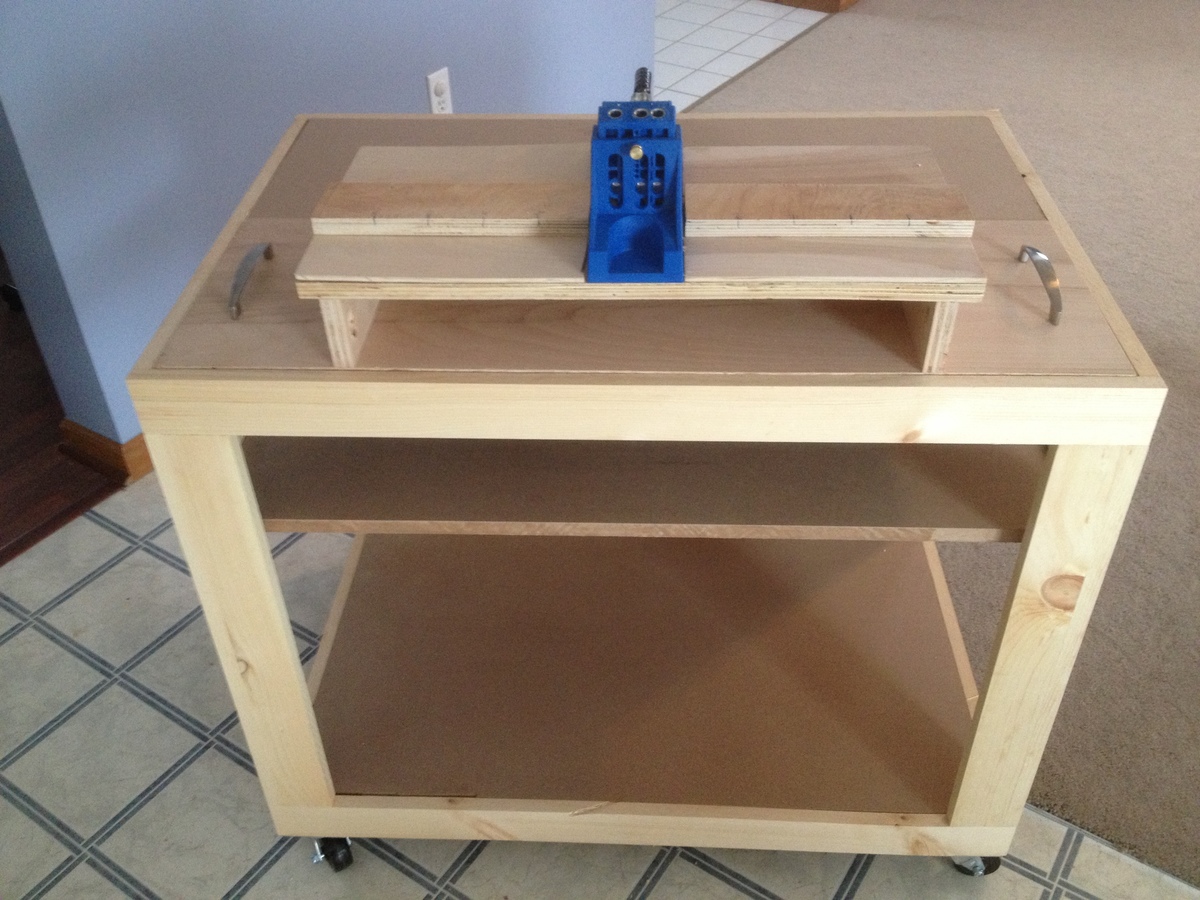
Then I made the kreg jig insert
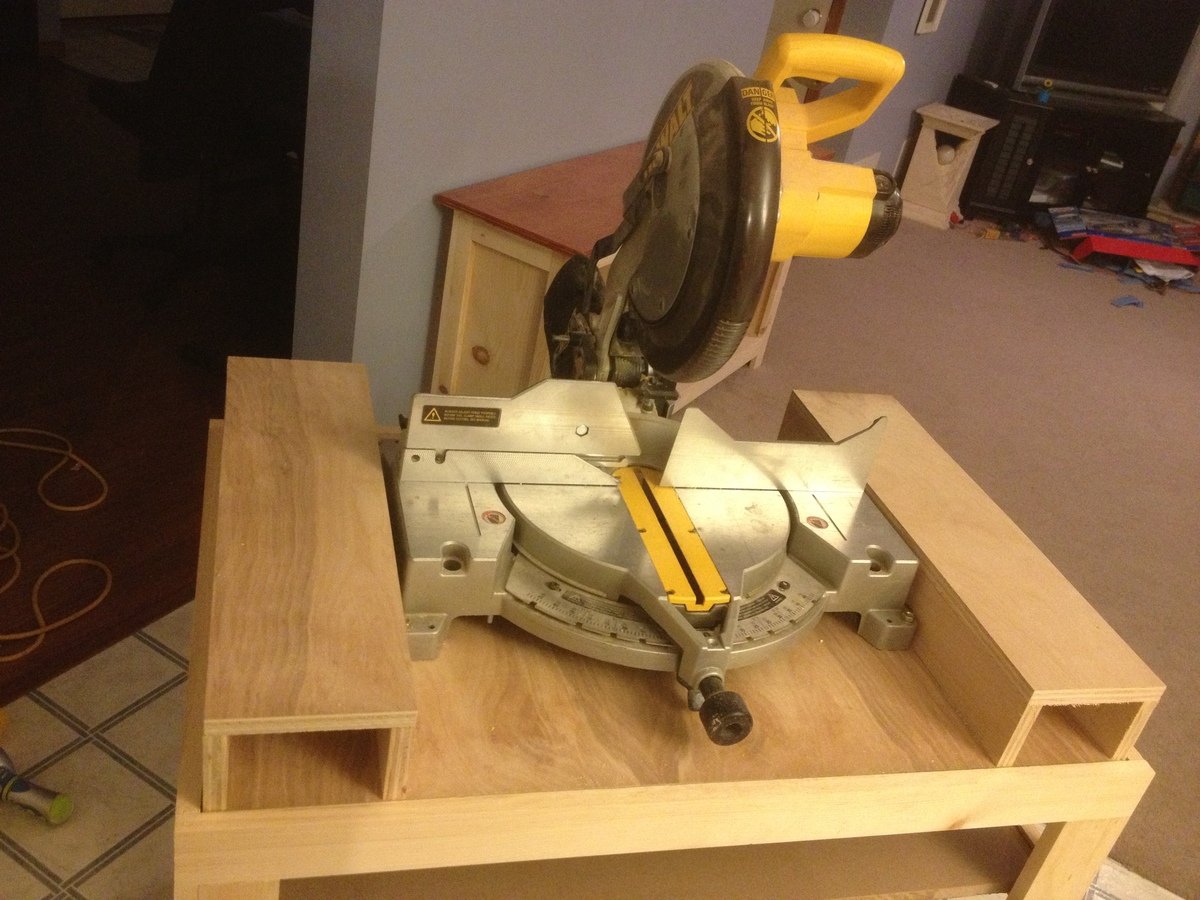
and the Miter saw insert
let me tell you...this came in handy right away as each of those inserts I made can be used without the cart as well and both inserts work tremendously!
I am really really happy with this and it is so useful. Started making the loft bed playhouse last night and the miter say and kreg jig were extremely useful at a good working height.
Built from Plan(s)
Estimated Time Investment
Weekend Project (10-20 Hours)
Recommended Skill Level
Intermediate
Comments
Mon, 02/25/2013 - 08:07
uses for shelves
My intention for the top shelf is to hold small tools that I am working with while using the cart and the bottom is to store the cut pieces of lumber I am using for the project
Mon, 02/25/2013 - 10:33
Post the plan
Please post the plans. This thing would make a great shop cart or miter saw stand.
I have one other suggestion: you could also use it as a small assembly table. You have a 3/4" inset. Stick a piece of plywood inside the exactly fits inside. Then screw a larger piece of plywood to that one. (DON"T screw it into the top of the cart.) The larger sheet of plywood would overhand the shop cart edges by maybe a foot on each size, so you'd have a "small" mobile assembly table that might 3x4 feet or 3x5 feet across at the top.
Mon, 02/25/2013 - 11:20
Please post
I would also like to see the plans for this cart. It looks nice and compact and versatile.

Mon, 02/25/2013 - 12:10
Thanks everyone
@ david...I did make a workbench type top for it as well, just didn't post a pic of that.
I will get the plans together for this then and post it for everyone...I enjoy sharing with everyone so we all can learn and make quality things. I'll start working on that tonight.
Tue, 02/26/2013 - 10:55
Plans are done...check them out :)
here is the link to the plans
http://ana-white.com/2013/02/plans/versatile-shop-cart-workbench-inserts
Reclaimed Wood Headboard
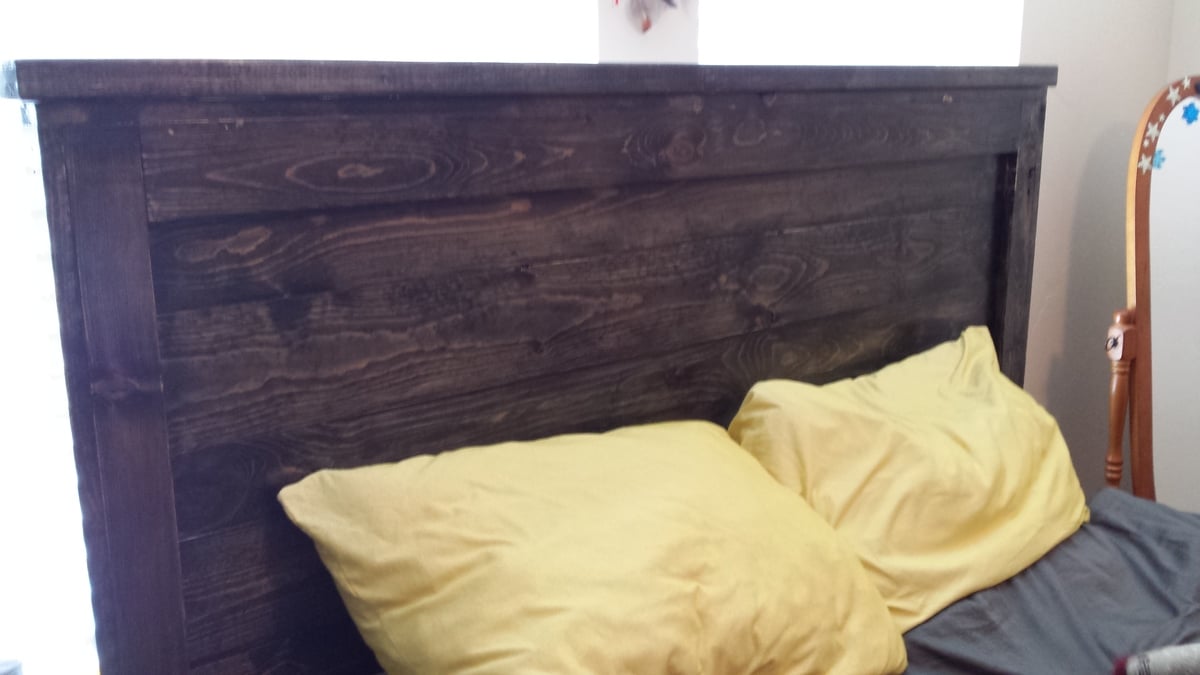
My husband and I spent an afternoon making this beautiful headboard. It turned out great and I am so happy about the upgrade to our bedroom.
Built from Plan(s)
Estimated Cost
$80
Estimated Time Investment
Afternoon Project (3-6 Hours)
Finish Used
Ebony Stain
Recommended Skill Level
Beginner
Kids Seesaw
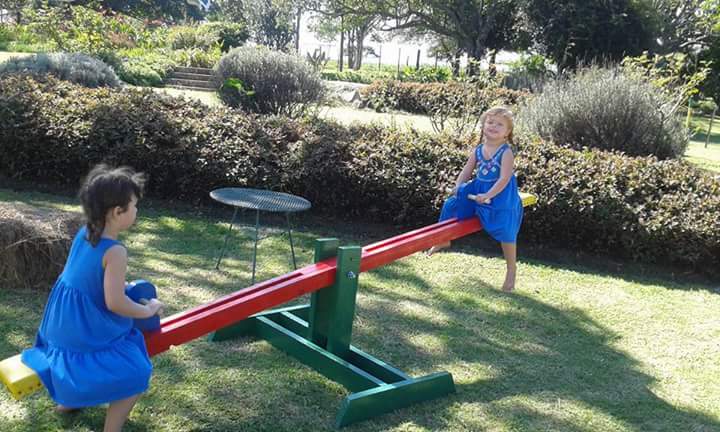
Hi I made this seesaw for my great nephew's 2nd birthday off plans on your website. I painted mine and covered seats with yellow vinyl. I found the plan really simple to use and not an expensive project. I delivered it to the party at the farm and it was an instant hit. Linda Byron (great aunty), Port Elizabeth, South Africa.
Built from Plan(s)
Estimated Cost
R200
Estimated Time Investment
Weekend Project (10-20 Hours)
Finish Used
Painted red, blue & green with yellow vinyl on the seat.
Recommended Skill Level
Beginner
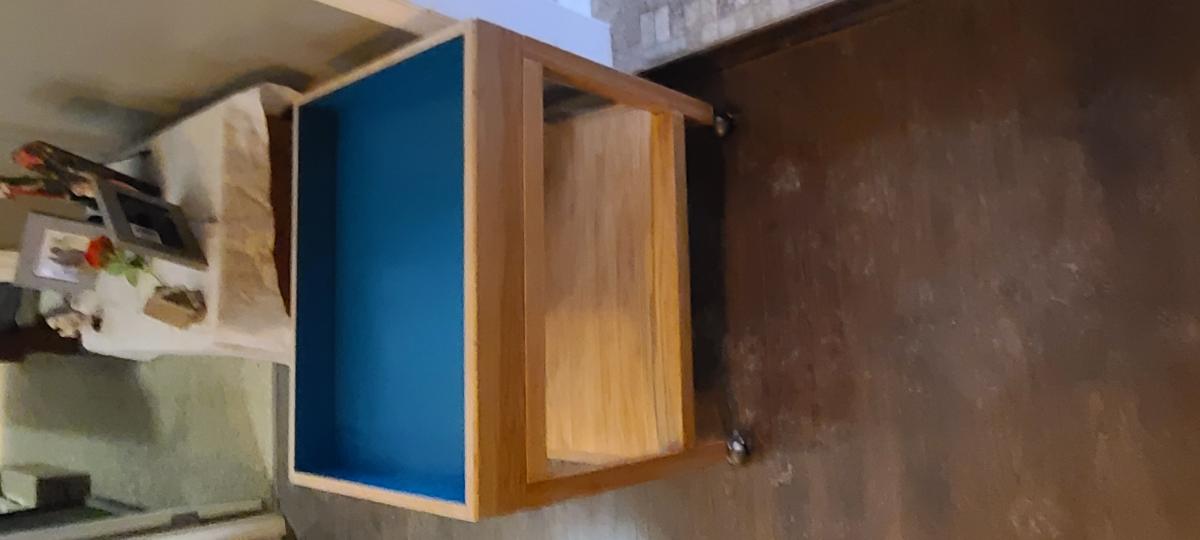
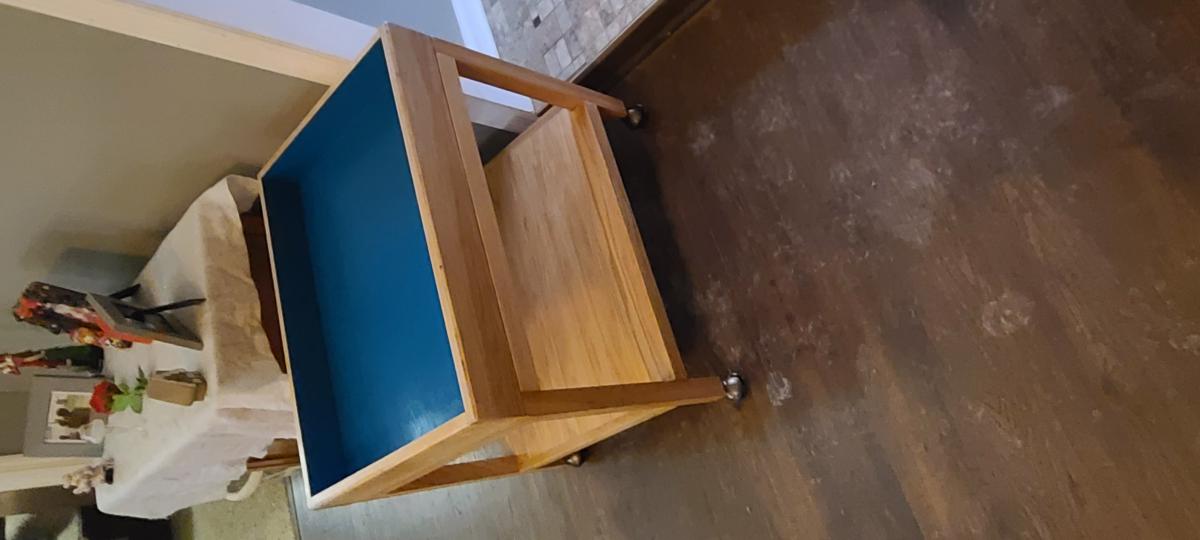
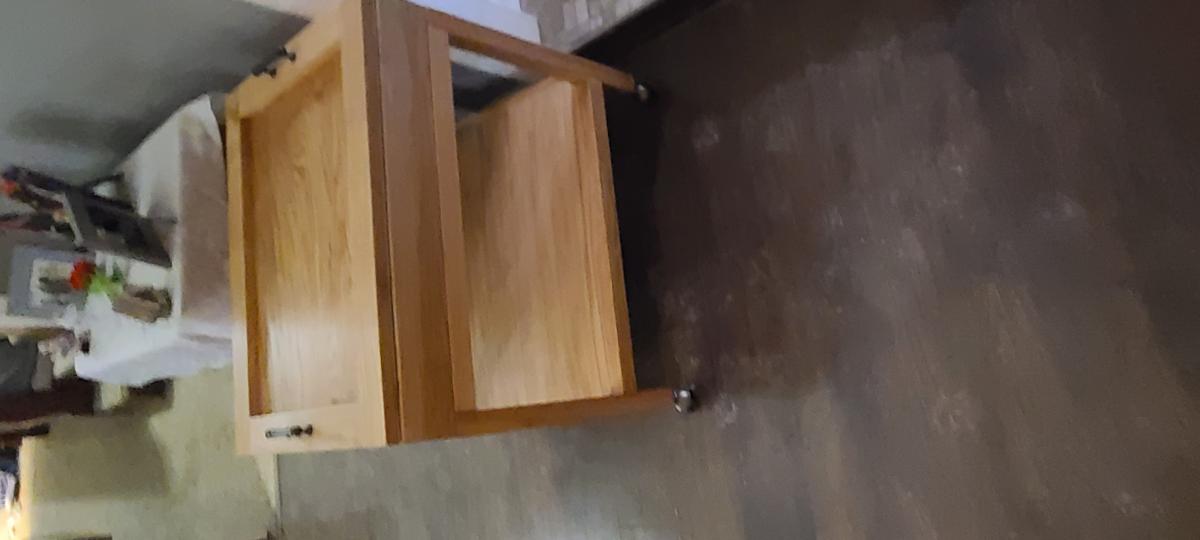
Therapy sand box
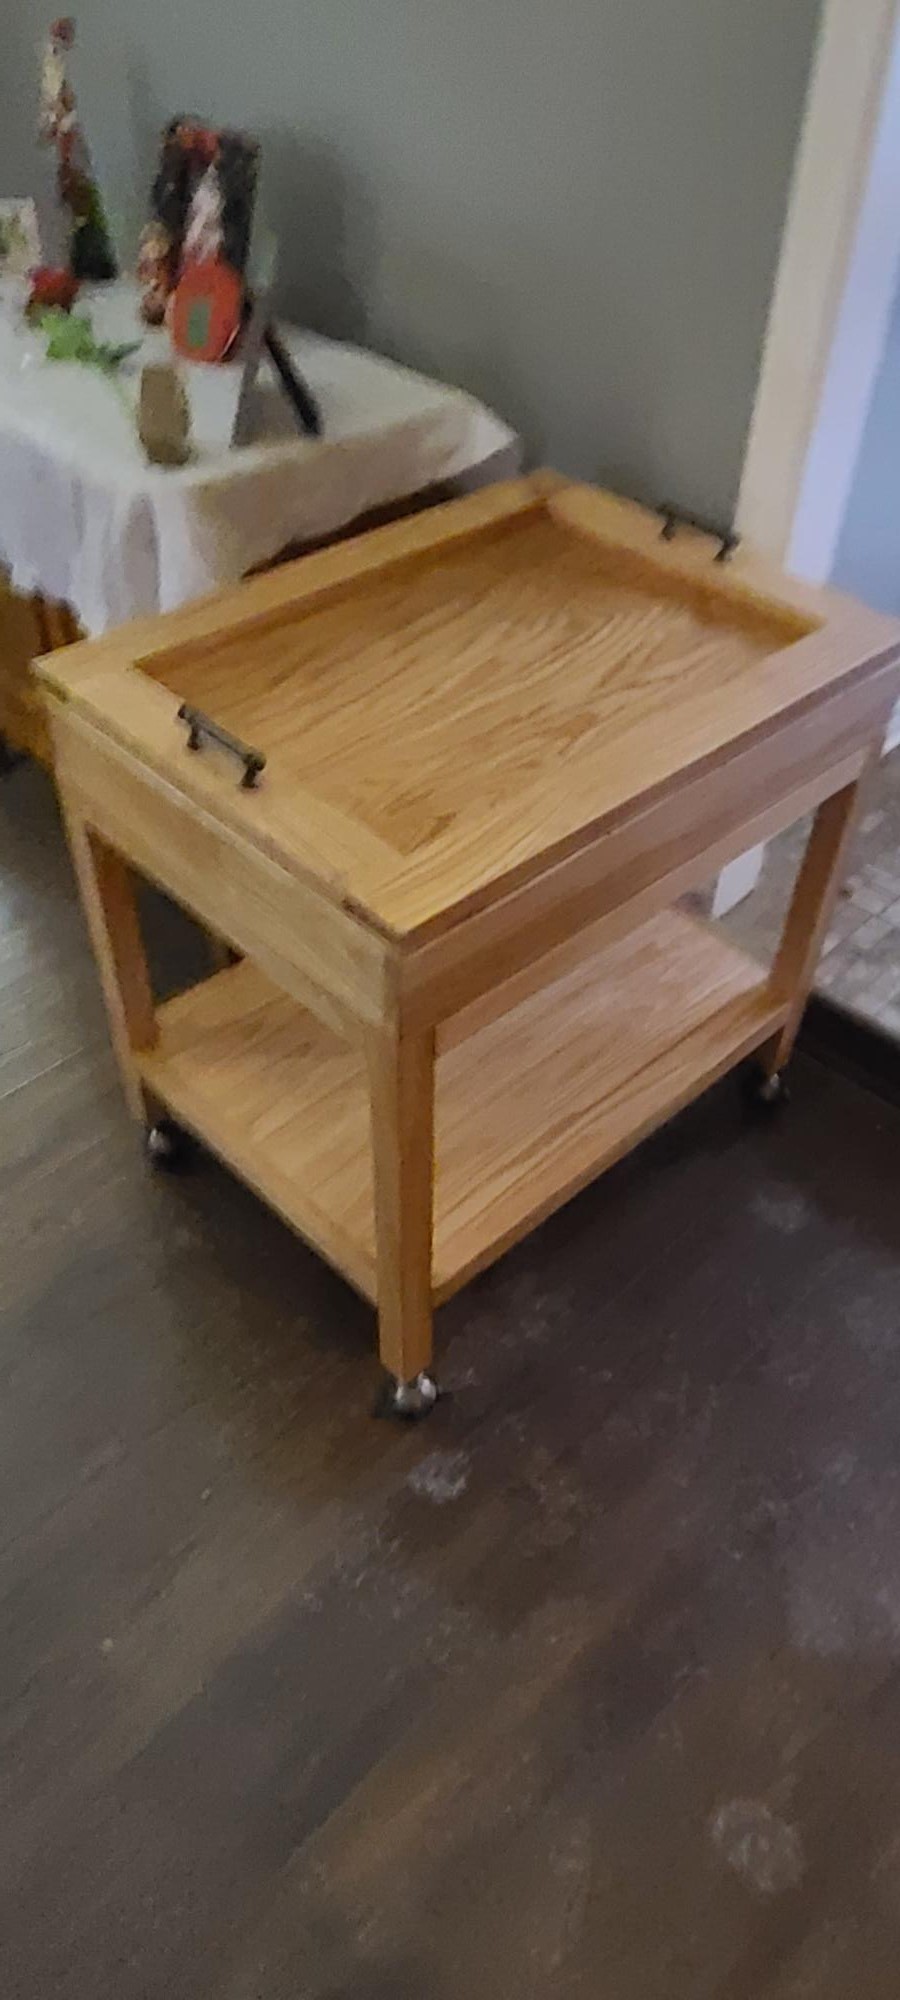
I had a therapist that uses sand therapy asked to build this. It's all made of oak.

Estimated Cost
$150
Estimated Time Investment
Weekend Project (10-20 Hours)
Finish Used
Wood conditioner and then clear coated with polyurethane.
Recommended Skill Level
Intermediate
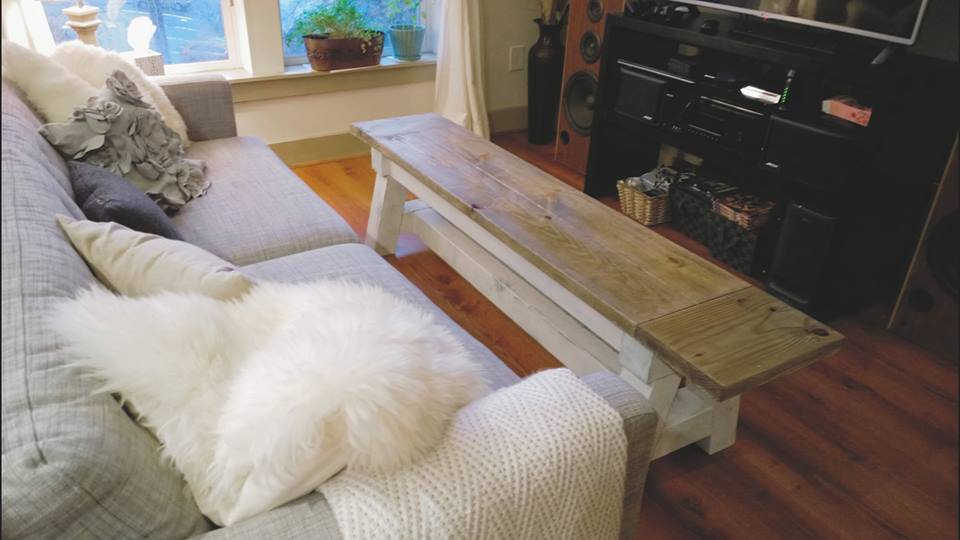
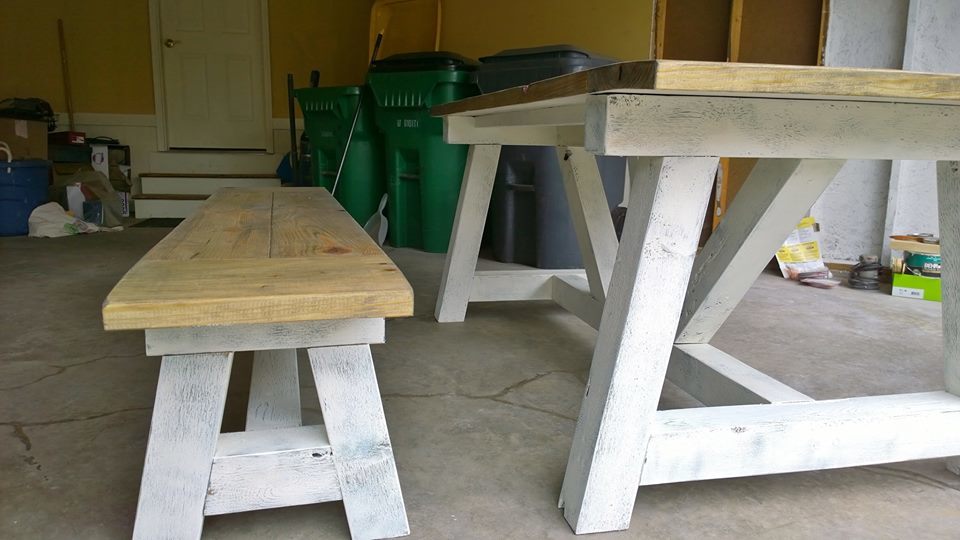
Triple Pedestal Dining Bench
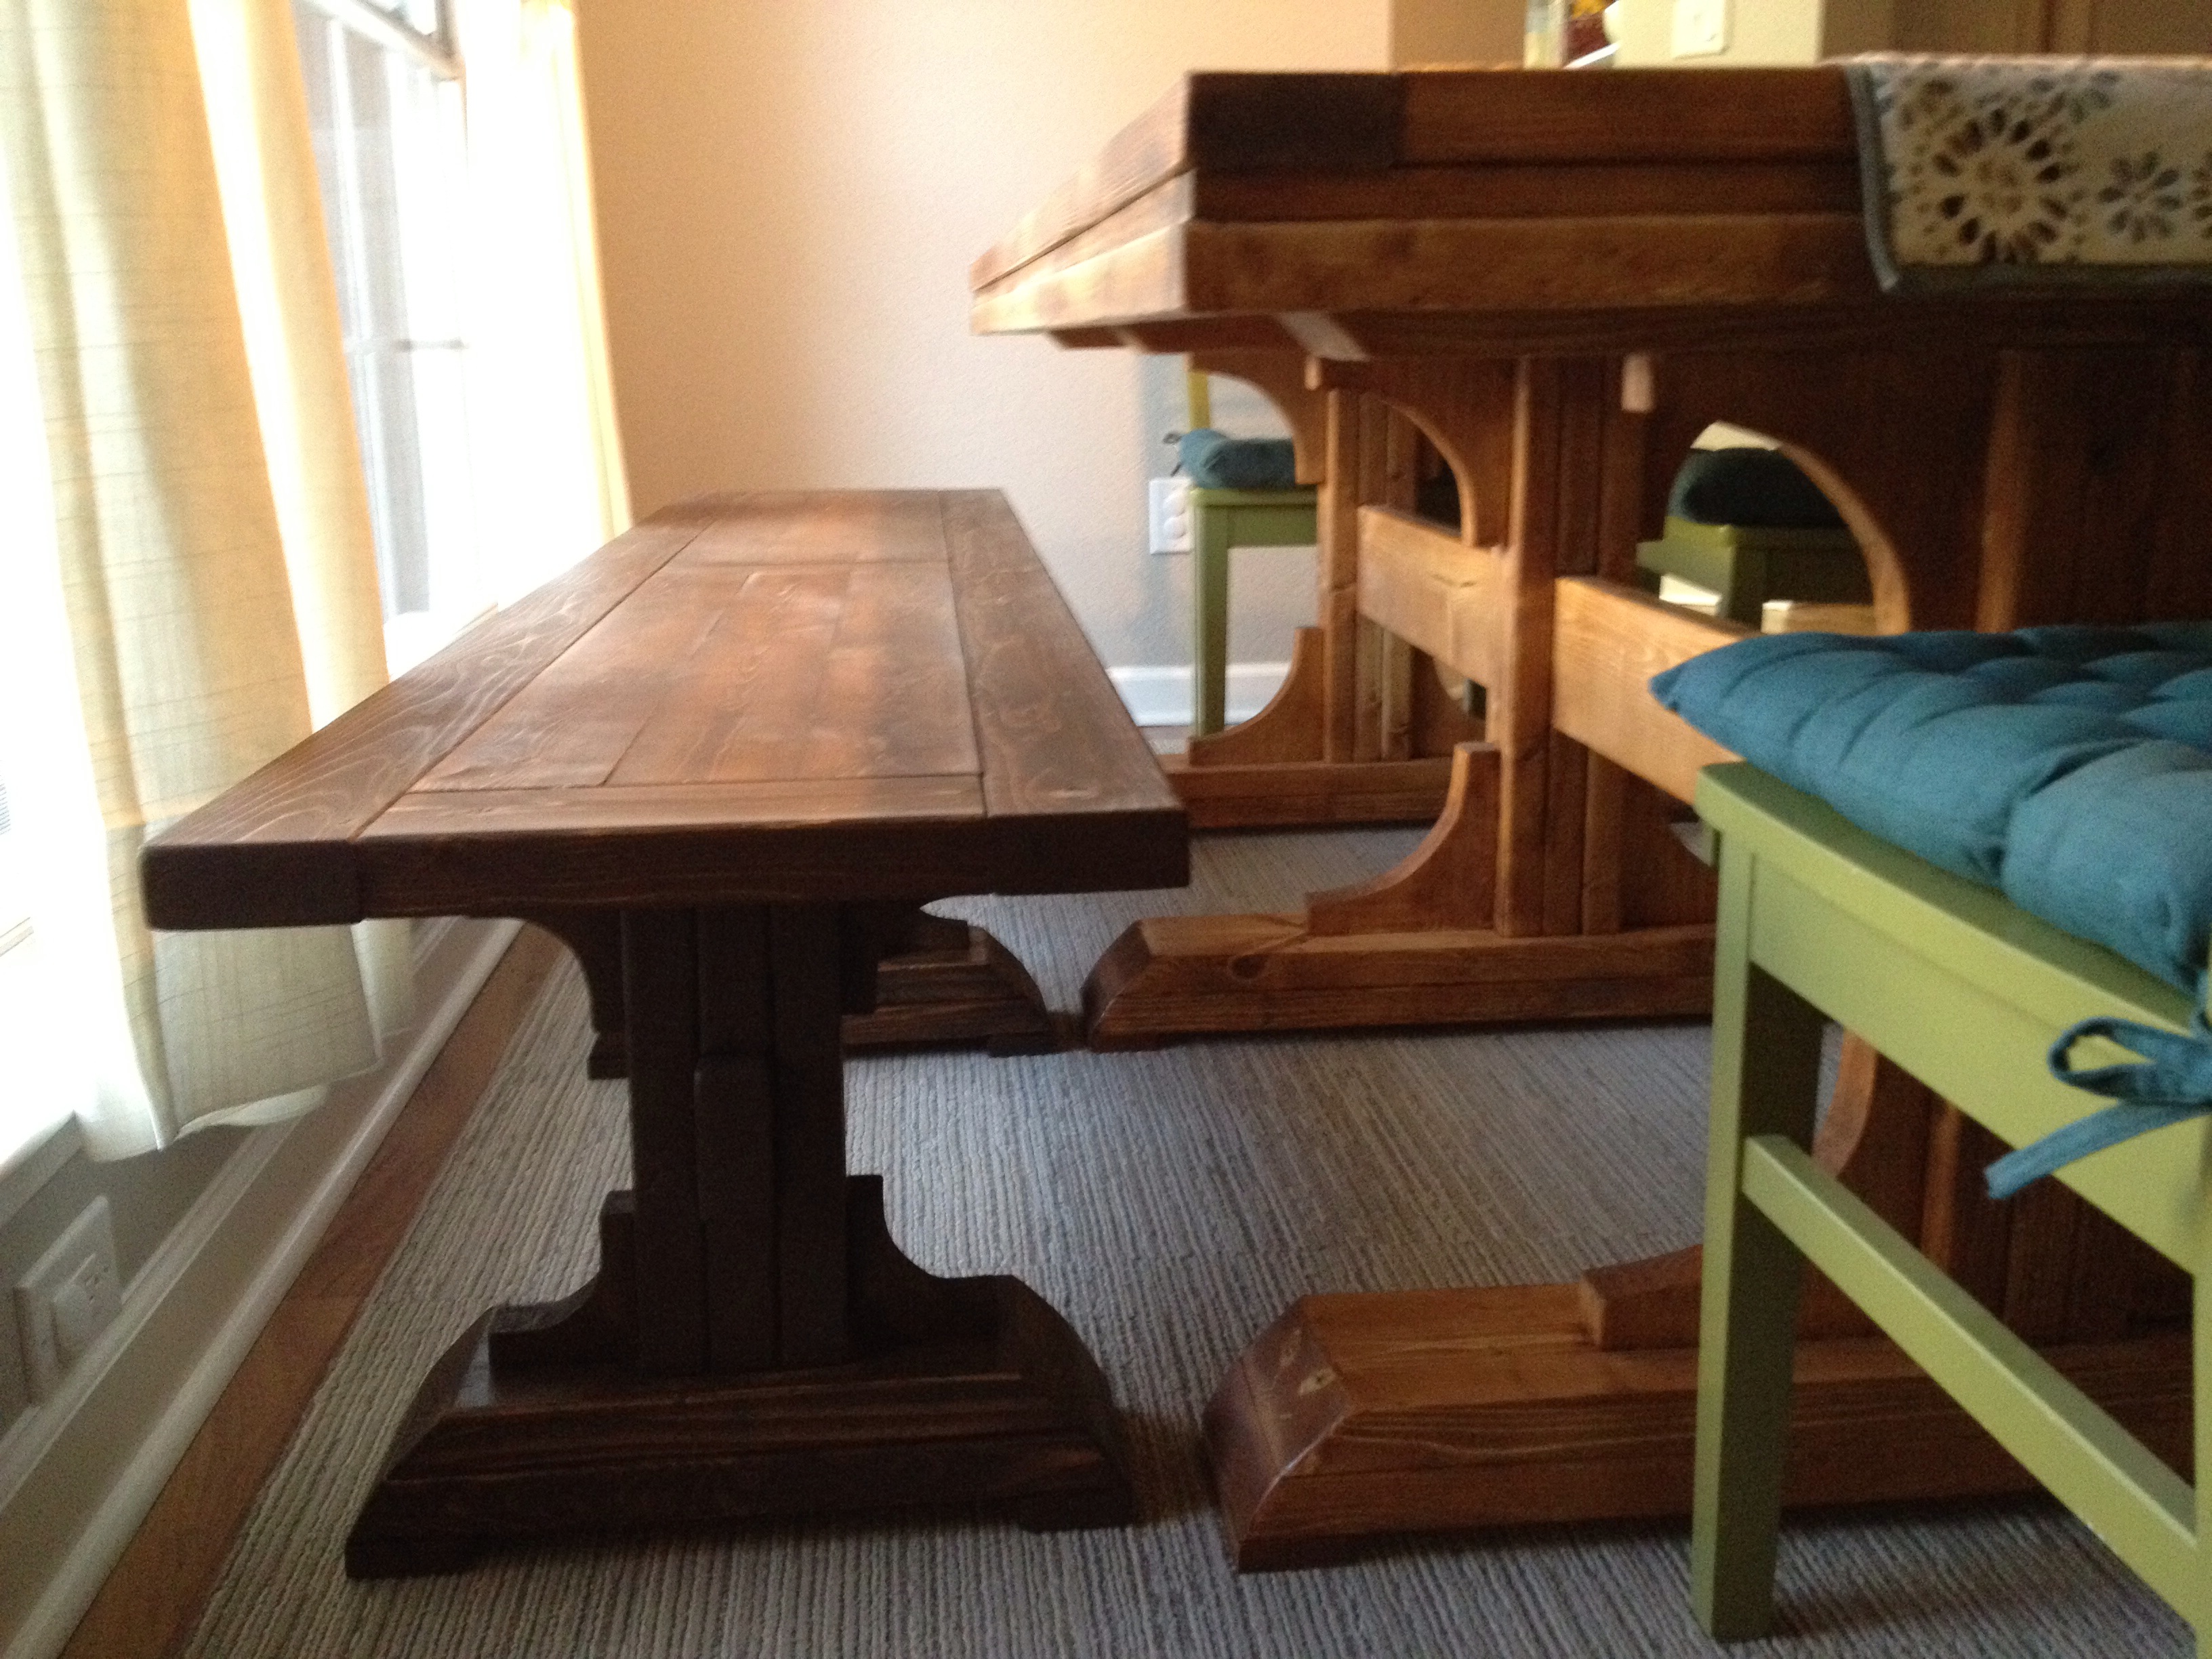
After completing the table and being very happy with it, I had an overabundance of confidence making this bench. That probably is why it was so frustrating when things didn't go so well.
I made a few errors but two really stick out to me. The first was making the pedestals too much like the table pedestals. I screwed and glued an extra piece of wood on top of the bench pedestals (just like there is on the table) before I returned to the plans. This was not an easy fix and involved crowbars, chisels and cutting the heads off of stripped wood screws. Lesson: READ THE PLAN!
The second error relates to why the bench is a shade or two darker than the table. We used the same can of stain, but neglected to use wood conditioner. It appears that the wood conditioner (or our failure to mix the stain well enough) on the table made the stain much lighter than we expected. We have since fallen in love with the table's color; however, the bench came out the color we had originally expected for the table, which is much darker. We are going to do a test at some point to determine whether it was the wood conditioner or just the poor mixing that lightened the table. One other possible explanation is that we got the wood from a different place. This wood did seem a bit softer, in case that makes a difference. As a result of this color difference we are going to literally sit on it (the bench) for a while and decide whether we will strip and re-stain the table. It seems easier to re-do the table darker than lighten the bench since all we would need to remove is the poly. We're not in a hurry though. We might end up liking it well enough like we did the table. The bench almost matches our son's highchair, so it almost looks intentional. Lesson: TEST THE STAIN FIRST!
Fixes and stain-color aside, the bench was not terribly difficult to make and the plans (when I bothered to read them) were very easy to follow. I'm looking forward to bringing these lessons to the next project. My wife is requesting Adirondack chairs. Fortunately for us both, Mrs. White has shared some very good looking chair plans. Stay tuned.
Built from Plan(s)
Estimated Cost
$60.00
Estimated Time Investment
Day Project (6-9 Hours)
Finish Used
Early American
Recommended Skill Level
Intermediate
Comments
Wed, 02/27/2013 - 14:38
I think you did a great job!
I think you did a great job! Personally, I hope you do not redue anything. I like the two tone!
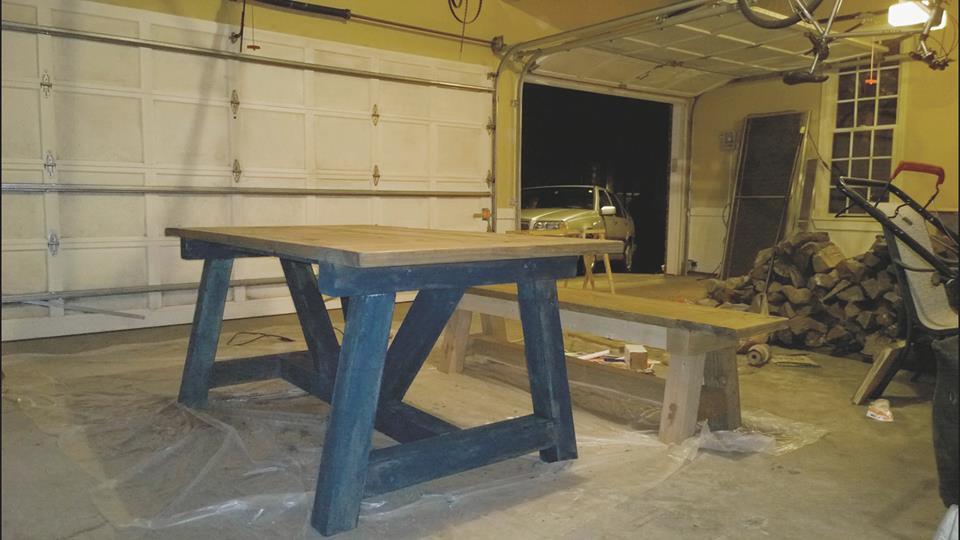
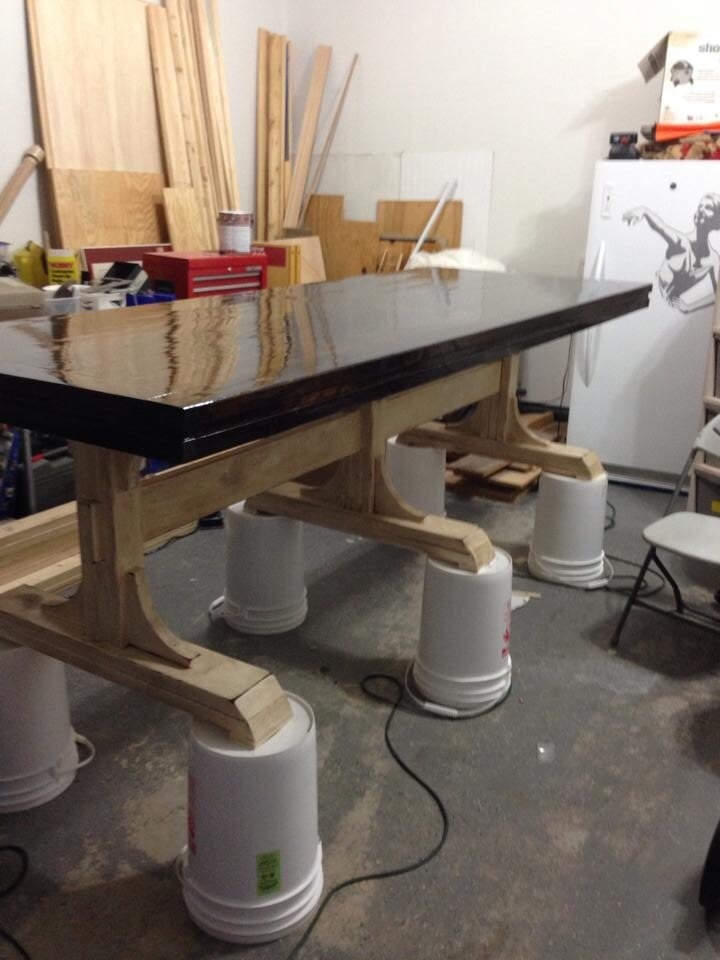
4x4 Truss Beam Table
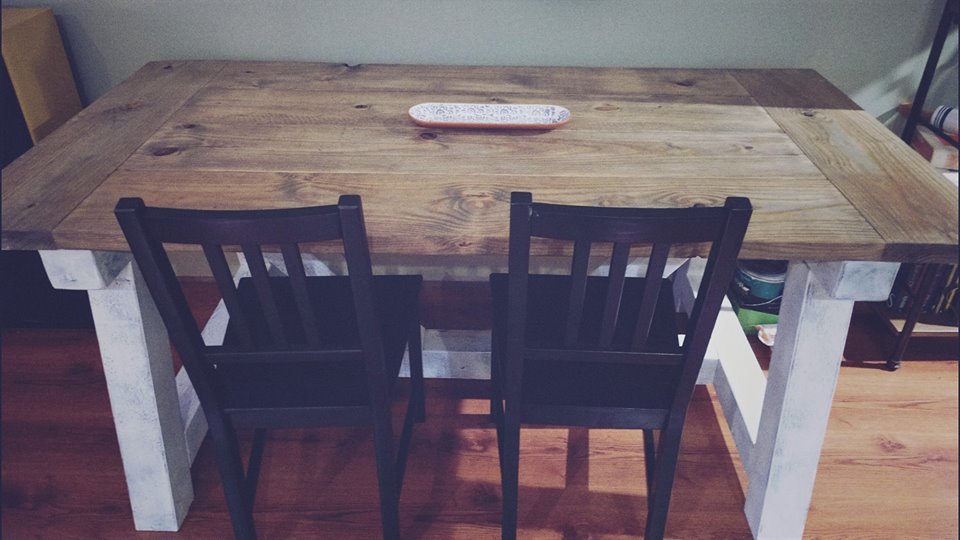
First DIY. Took roughly 17 hours completed over 3 days. Used untreated pine from Home depot for top and untreated cedar (the only 4x4's available) for legs.
Total cost $270
Top stain: weathered oak (2 coats)
Top finish: Rustoleom polyeurothane clear satin
Legs: undercoat of Behr's Nautical blue and two thin coats of a white paint we had on hand. Then we distressed with an orbial sander and a 220 grit paper.
Built from Plan(s)
Estimated Time Investment
Weekend Project (10-20 Hours)
Recommended Skill Level
Intermediate
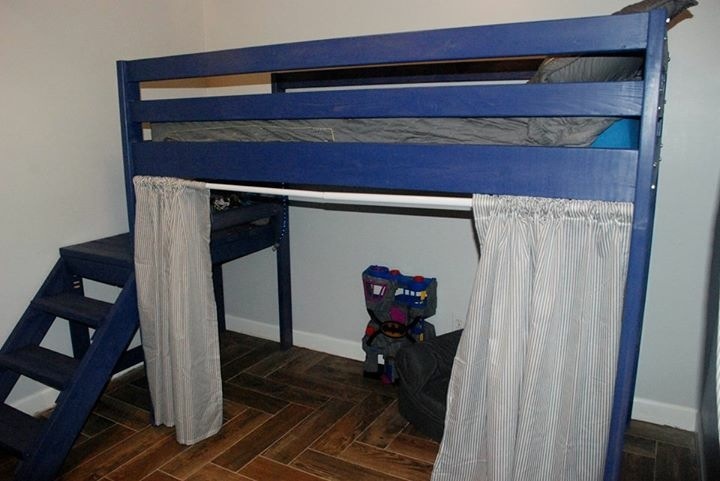
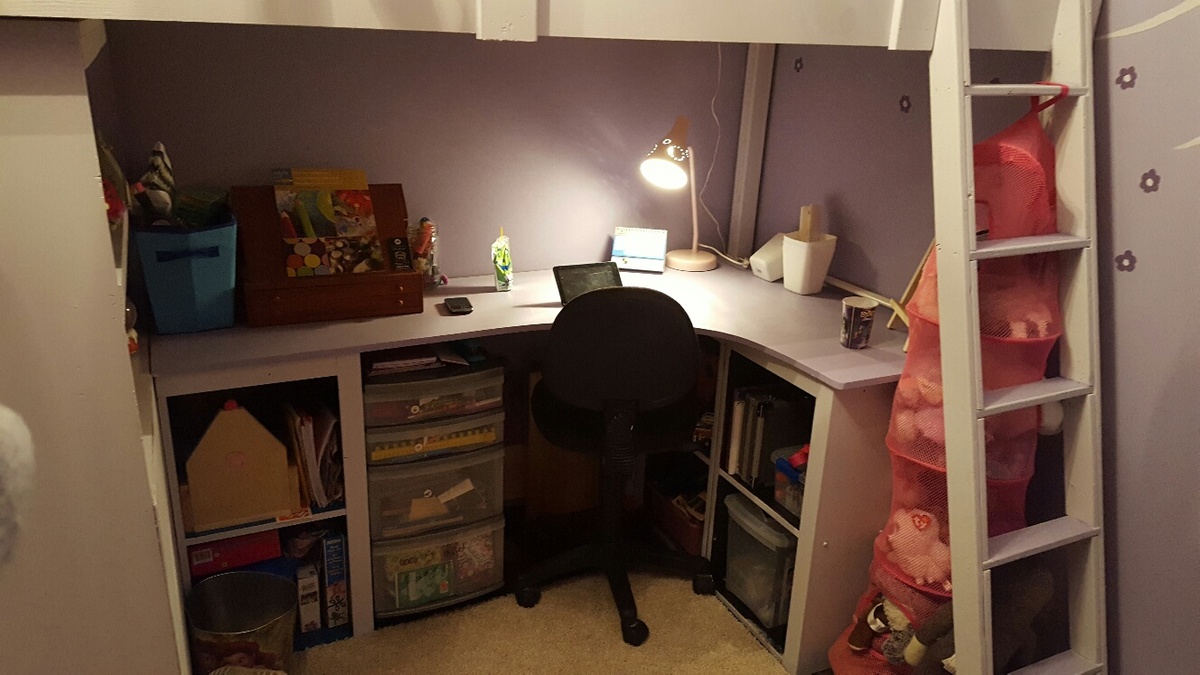
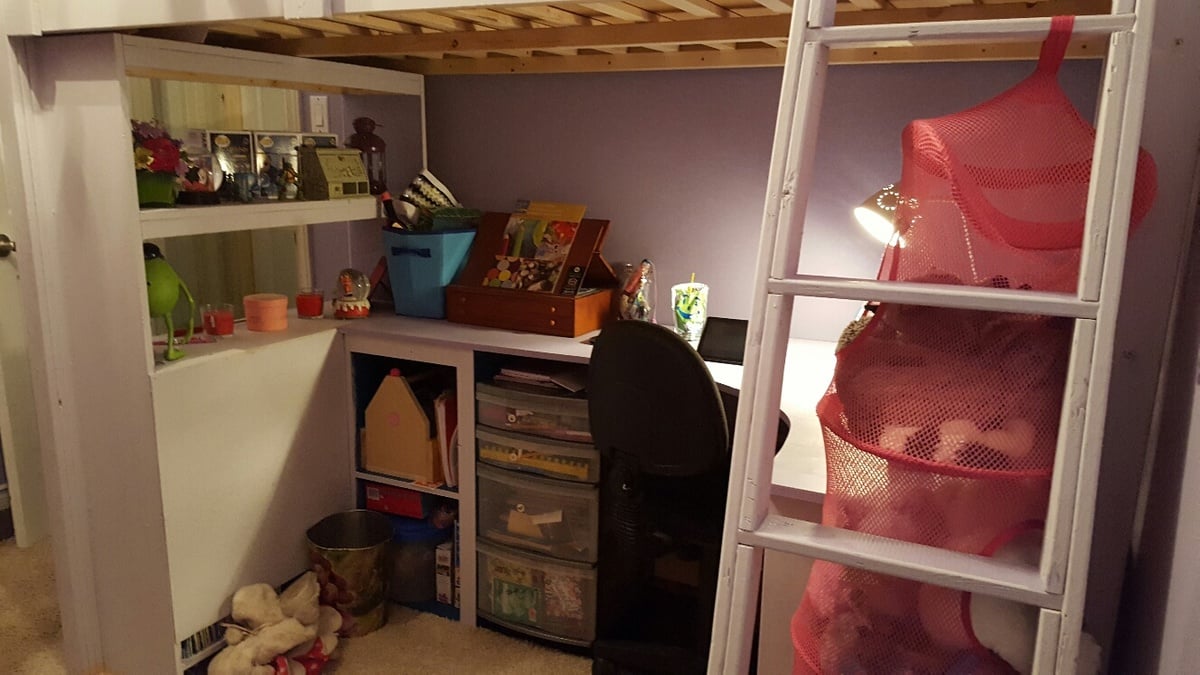
Loft Bed with Desk & Bookcase
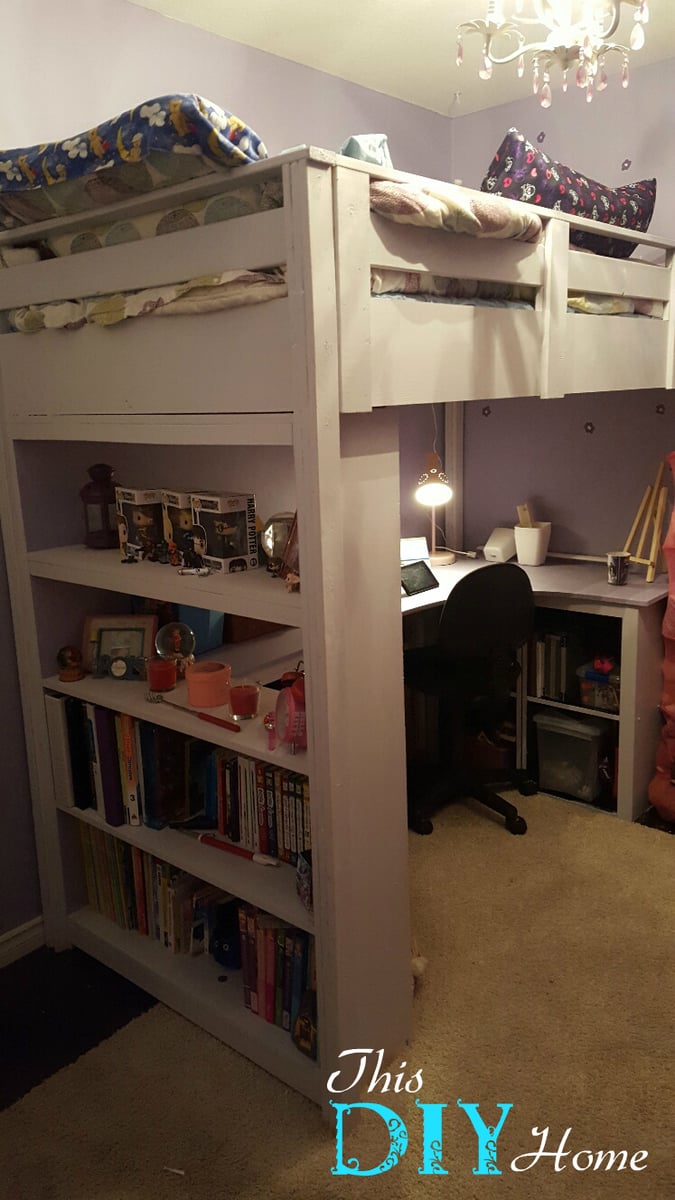
Created but Modified from the plans found on here, my daughter has a great new bed. This bed saved a ton of space in her very small room. PLUS it allowed her to have an area to do her homework and all the art projects she does! Very easy build. Took a day to build and another to paint.
Built from Plan(s)
Estimated Cost
$250.00 CDN
Estimated Time Investment
Weekend Project (10-20 Hours)
Finish Used
Behr Marquee Paint
Recommended Skill Level
Beginner


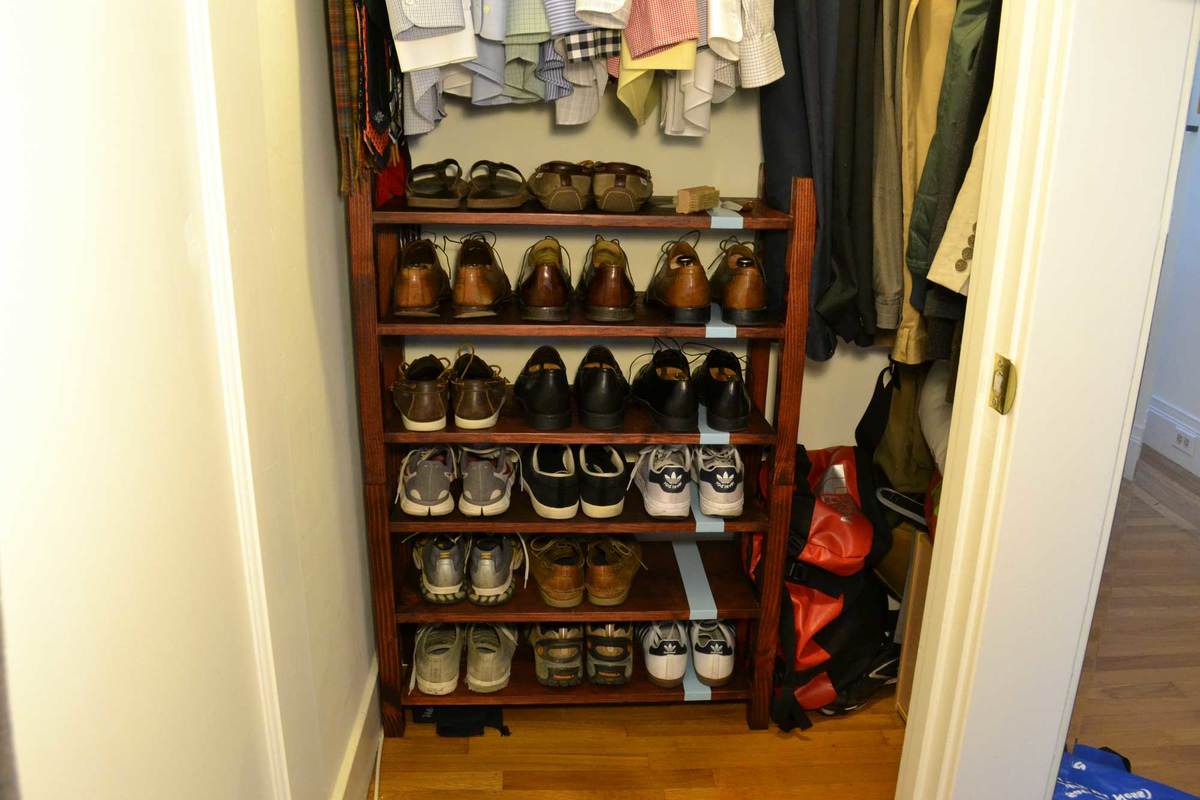
Convertible Shoe Rack
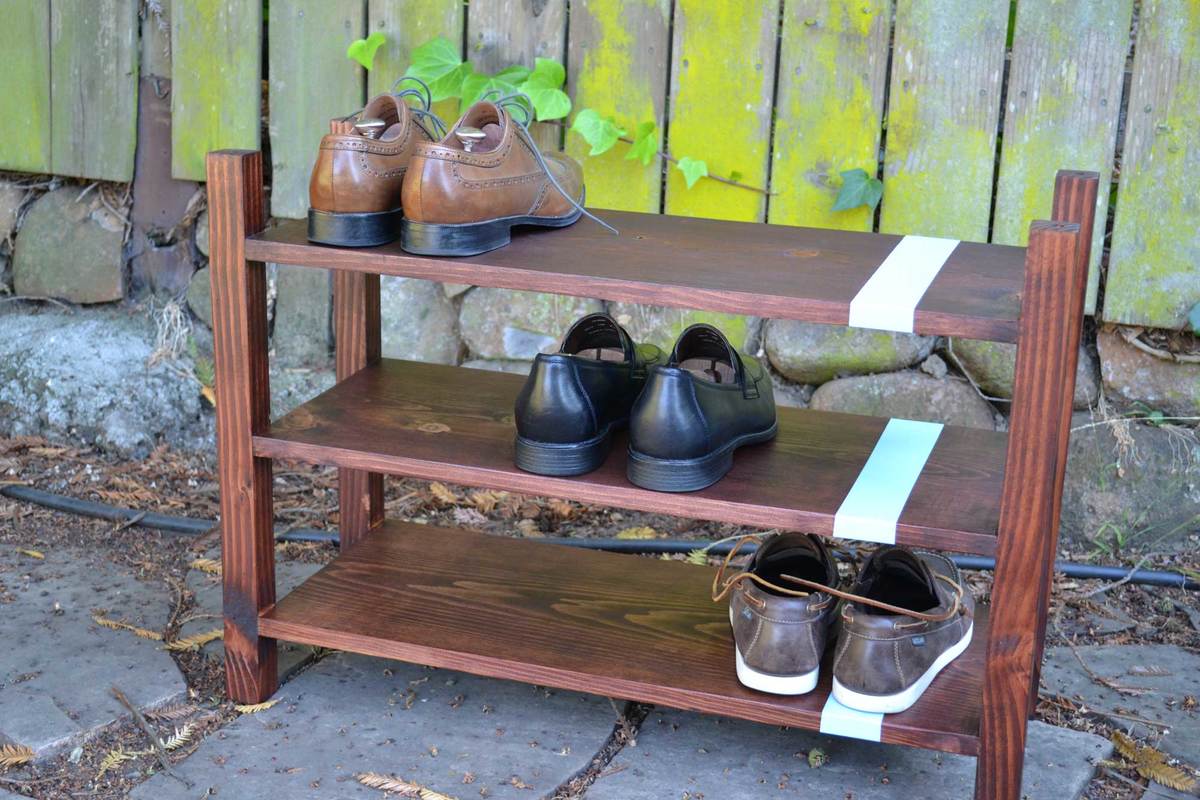
A few weeks ago I was getting ready for work and was excavating my shoe collection in search of my brown wingtips. Although I had managed to curate a pretty respectable collection of dress shirts, slacks, suits, and shoes, I still relied on a cheap coated wire shoe rack that could likely double as a grilling grate for my bbq. This was amplified by the fact that is was meant for about half the number of shoes I was using it for. I know, first world problems. It’s tough out there. So, I decided to build a two piece unit that I could stack atop one another or use it side by side in the future.
Estimated Cost
$50
Estimated Time Investment
Afternoon Project (3-6 Hours)
Finish Used
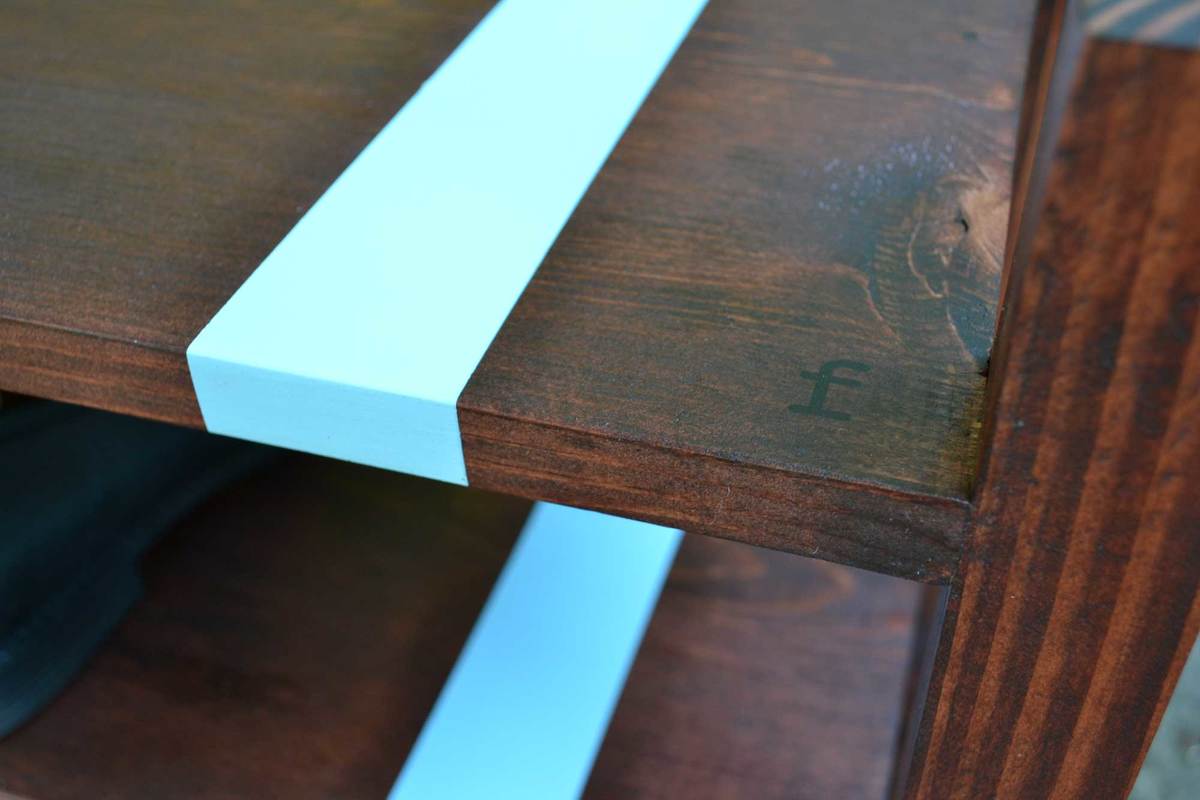
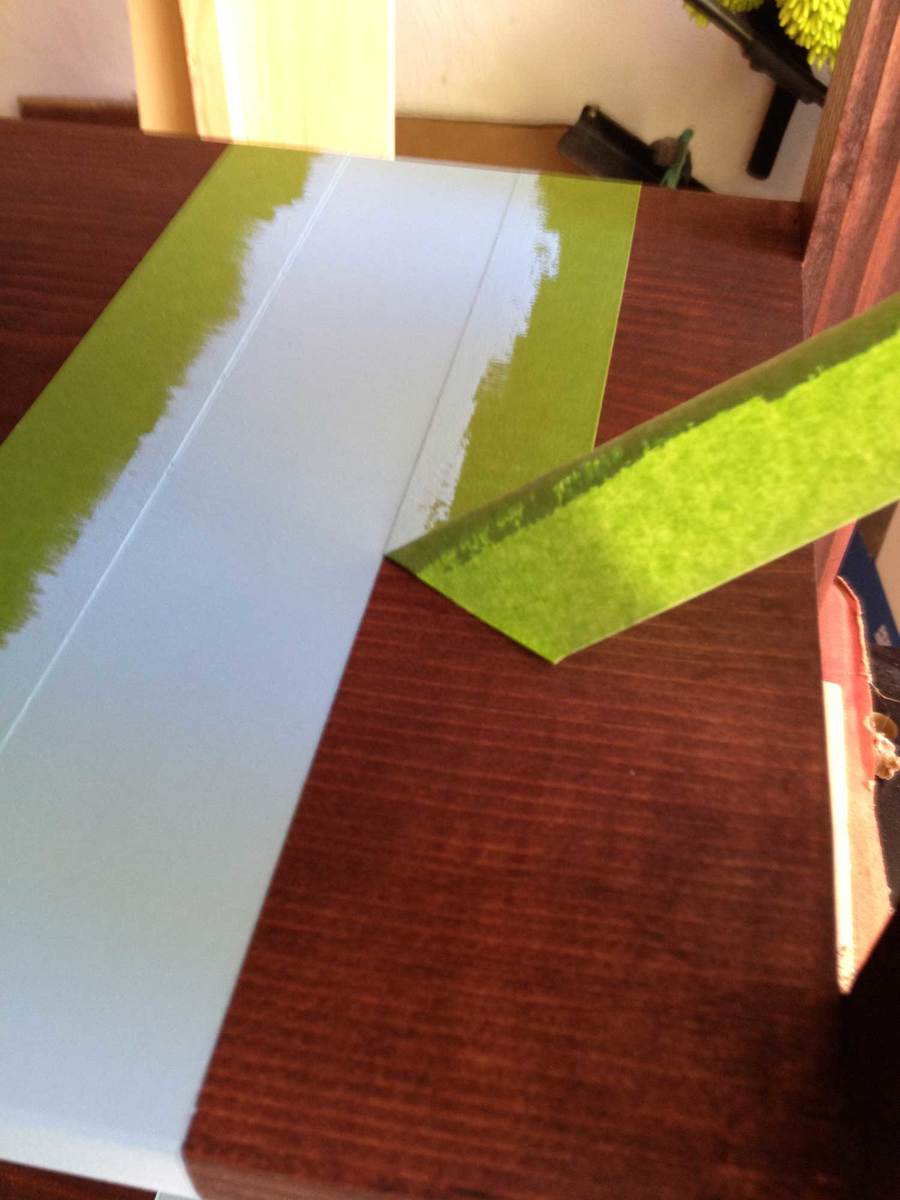
Minwax Red Mahogany Stain with Robin's Egg Blue stripe (in eggshell finish). Finished with three coats of Minwax Wipe-On Poly.
Recommended Skill Level
Beginner
Comments
Tue, 03/05/2013 - 09:12
That looks great! I need
That looks great! I need something like this in my front entry closet. I could probably use some in the master closet too. Thanks for posting!
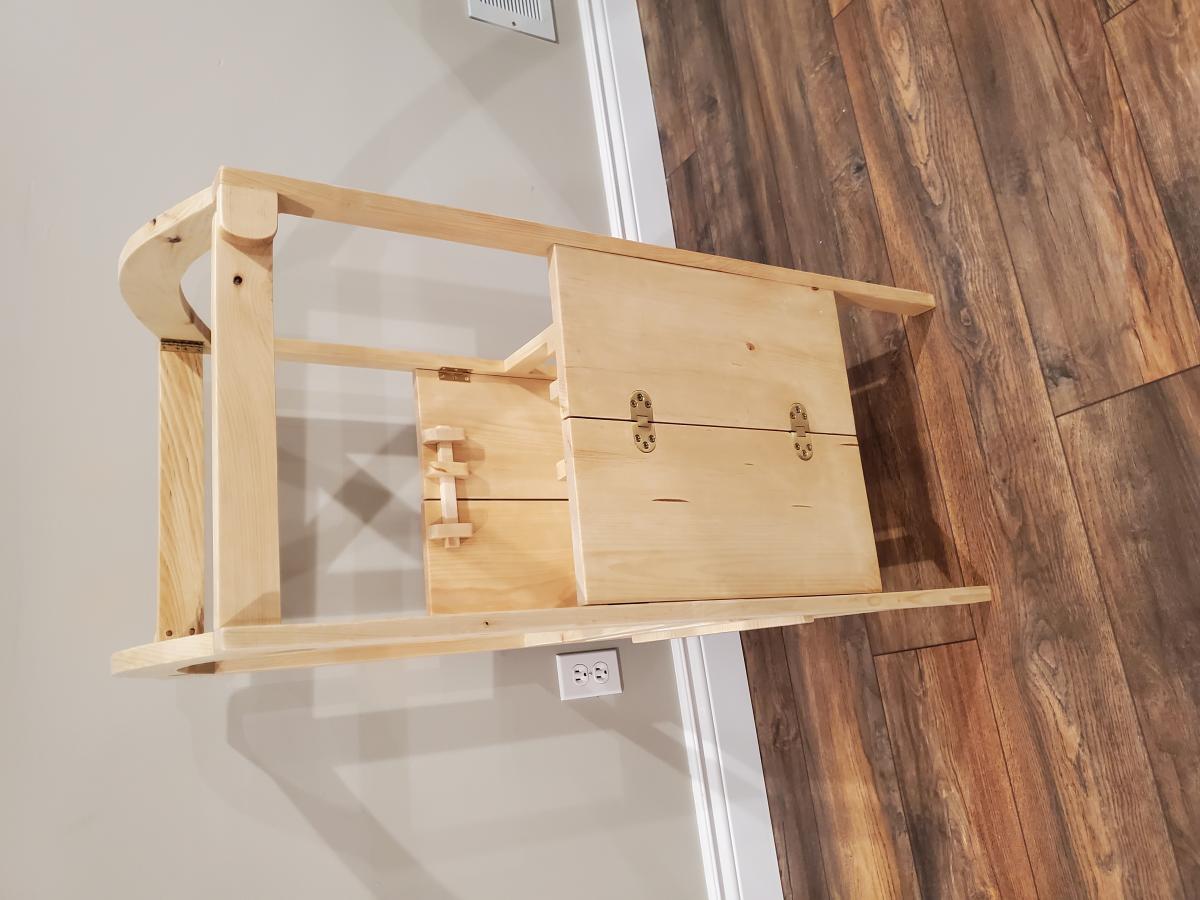
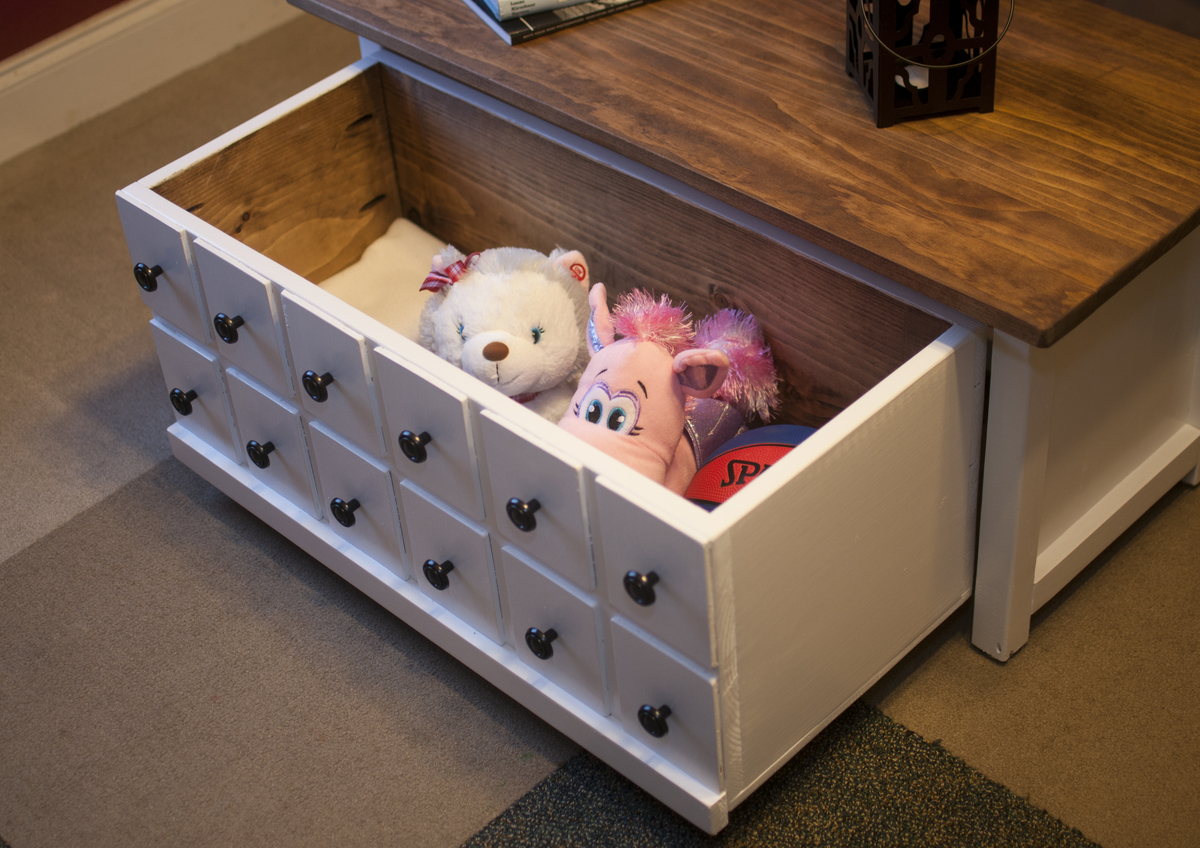
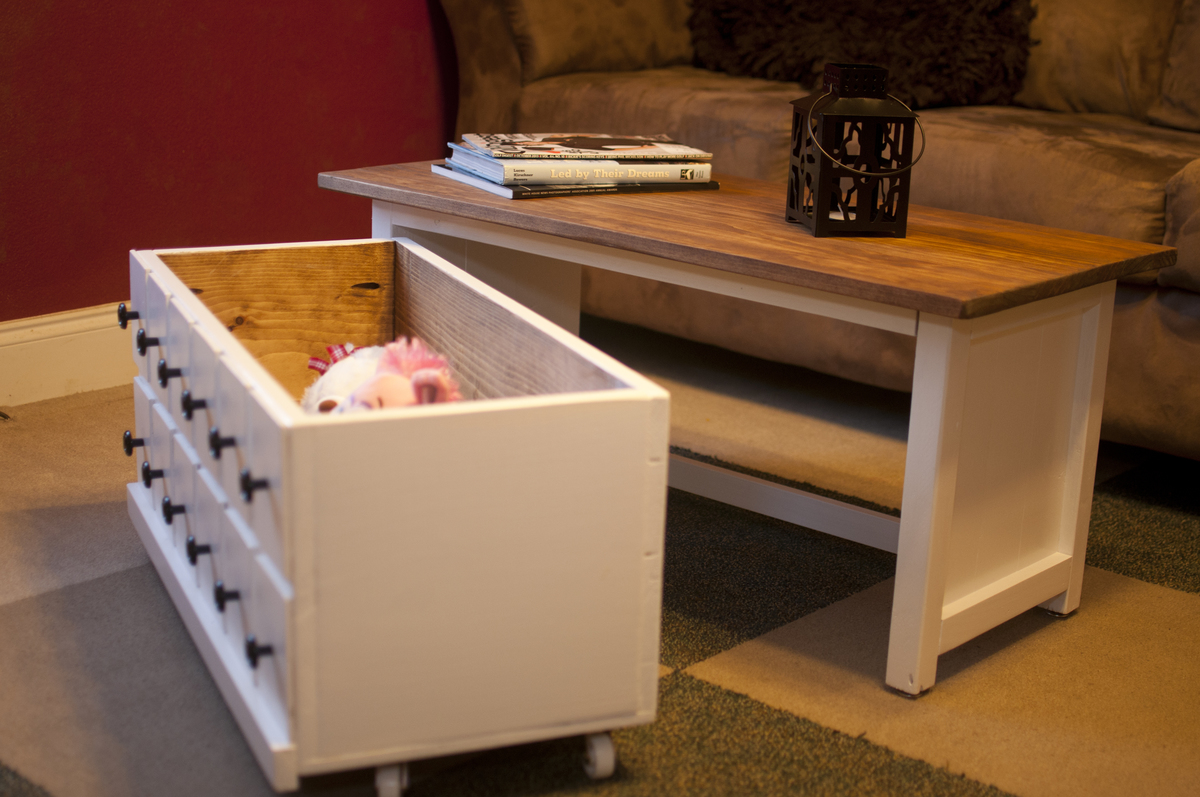
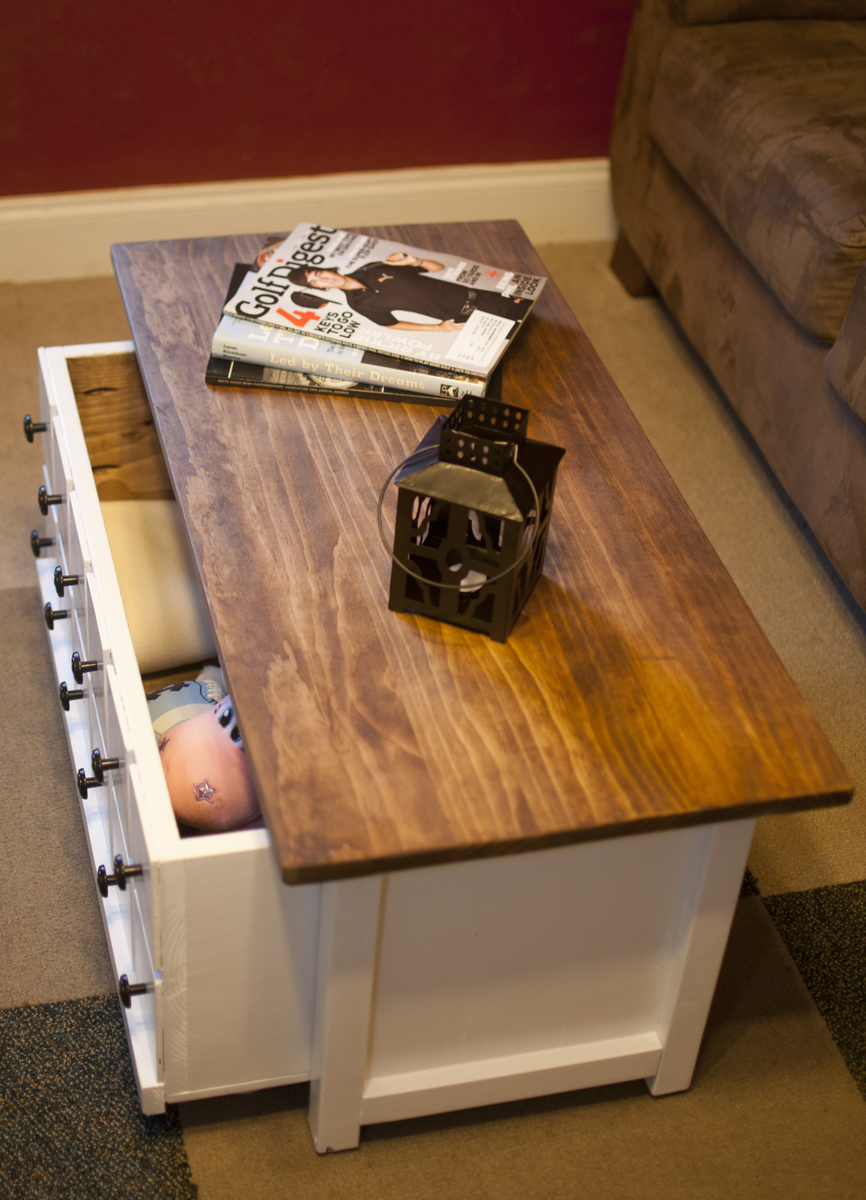
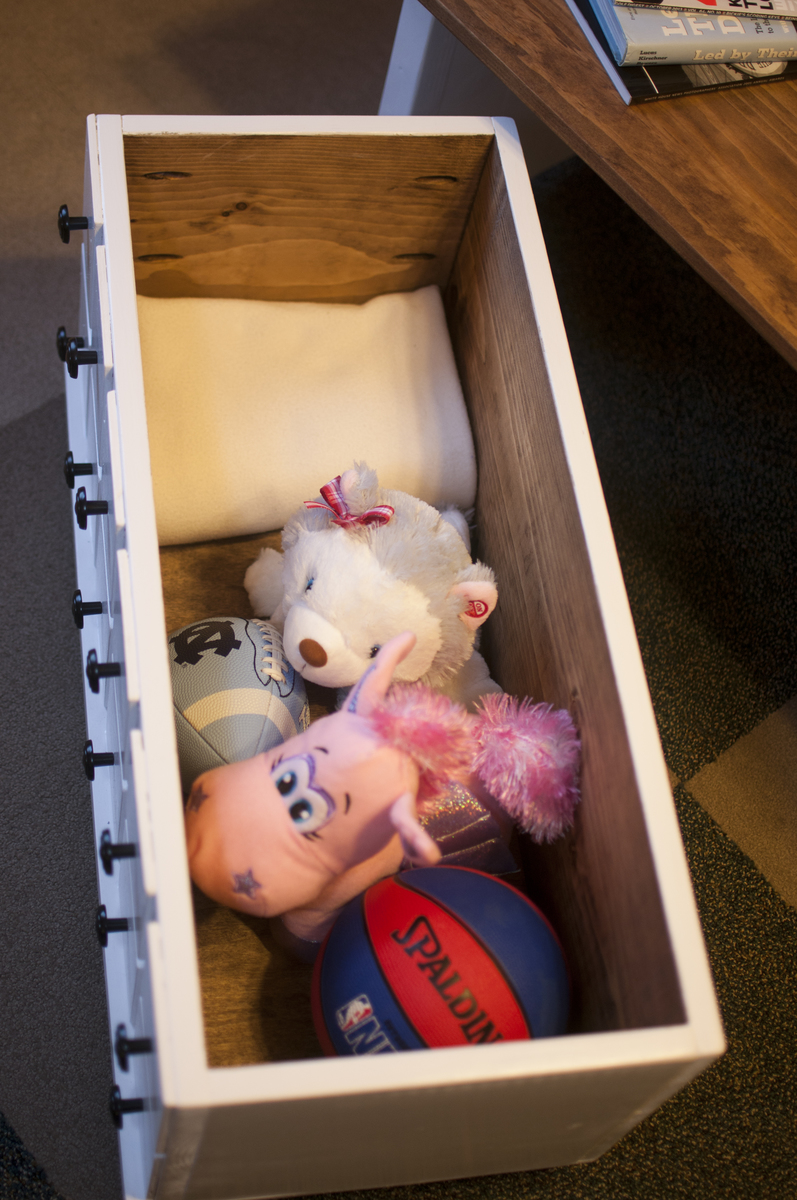
Apothecary coffee table with toy trundle
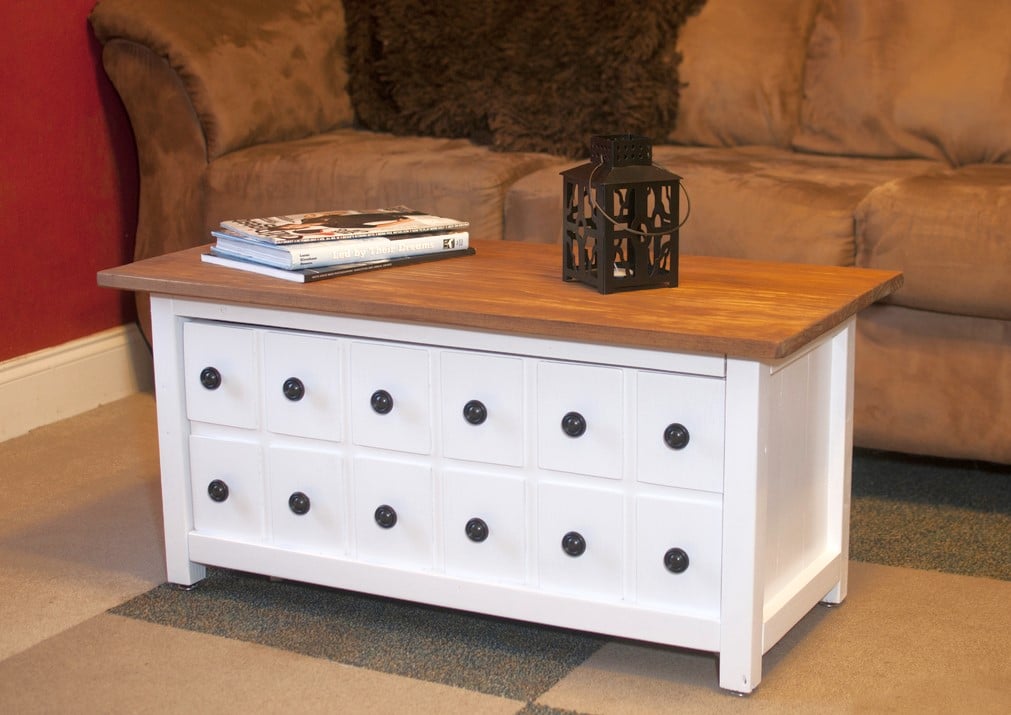
I found the original plans and LOVED them, but my house is tiny, so I was forced to re-work the plans to fit my space! This is a good bit smaller, but every bit as awesome! ;) I decided not to distress it, but I may down the road if it starts to scuff up! ;) Project took about a week long including finishing time. Actual build time was 9-10 hours over two days.

Built from Plan(s)
Estimated Cost
Total cost was $60-75
Estimated Time Investment
Week Long Project (20 Hours or More)
Finish Used
Finished the top and inside of the box with Minwax stain and the outside with Kilz primer and latex paint.
Recommended Skill Level
Beginner
Printers table
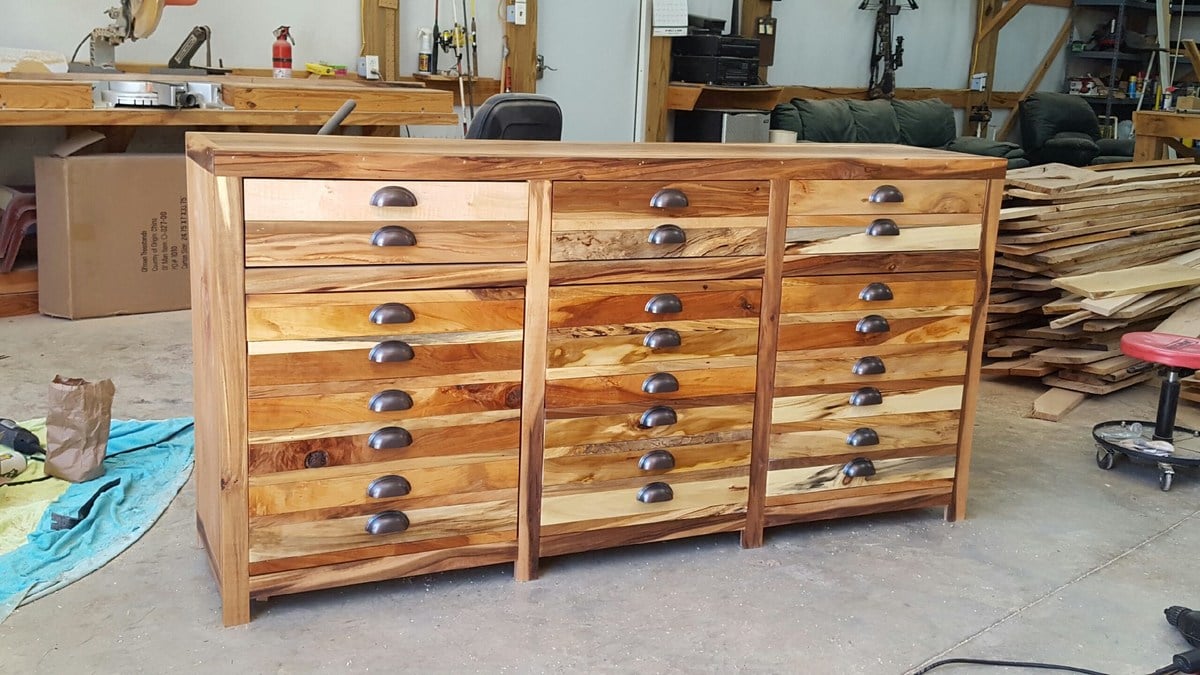
I used your printer cabinet plans however altered them a bit. Wood is various including gum, cherry,pine, etc. Enjoy and thanks
Built from Plan(s)
Estimated Cost
$74
Estimated Time Investment
Week Long Project (20 Hours or More)
Finish Used
Danish oil
Recommended Skill Level
Intermediate
Comments
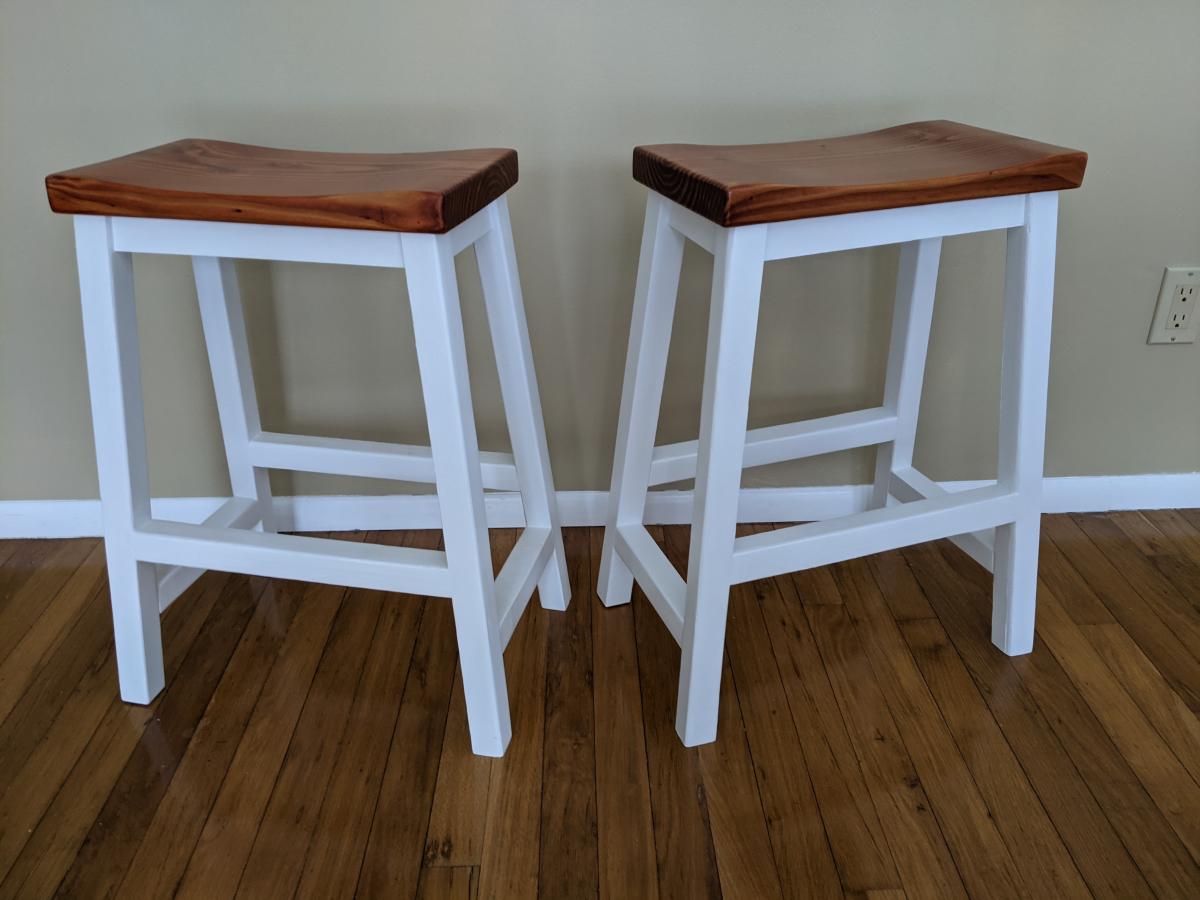
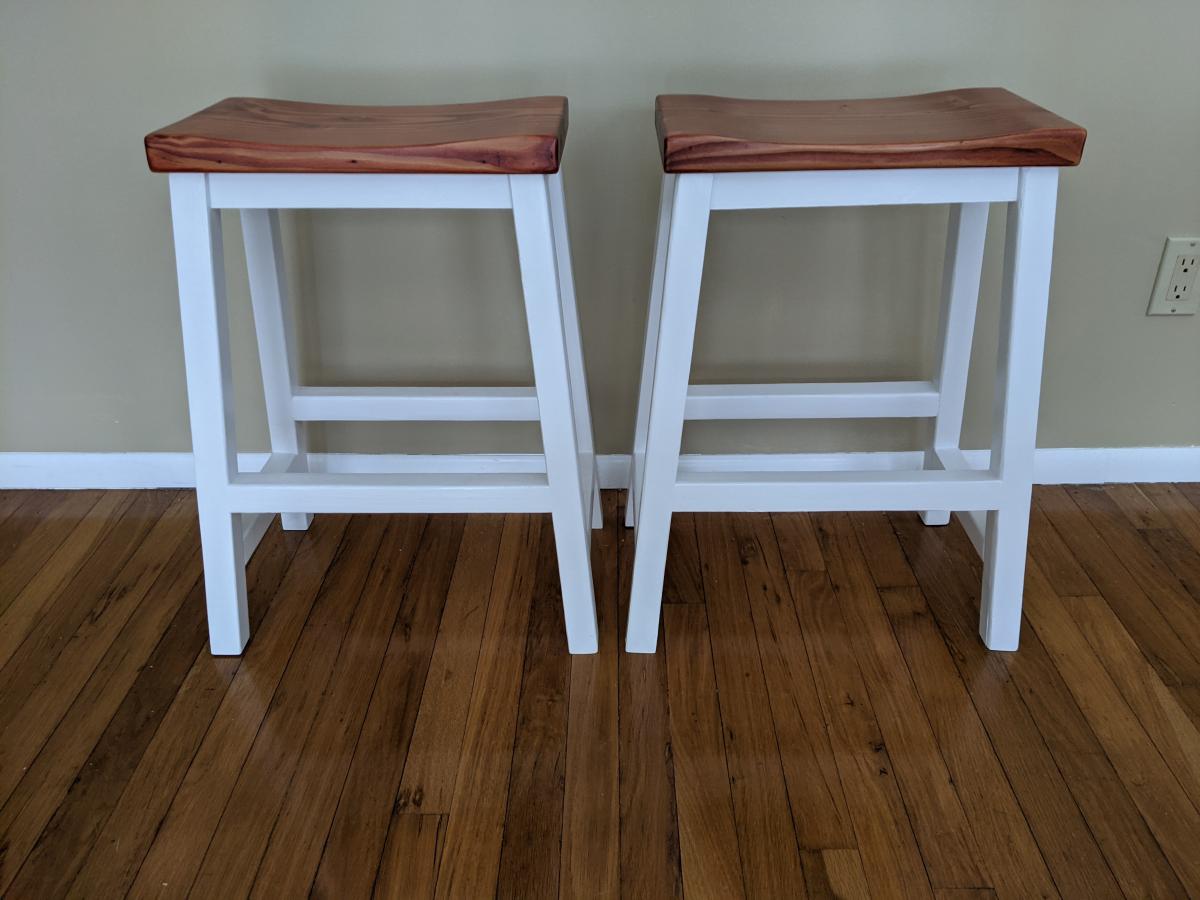
Farmhouse Counter Stools

Inspired by Ana White's Farmhouse Counter Stools. I contoured the seat tops and added supports just below the the seat. I used dowels and glue for joinery rather than using pocket screws.
Estimated Cost
$20.00
Finish Used
Stool frame was painted with Benjamin Moore Select Soft Gloss White and stool seat was stained with Minwax Gunstock (231) stain and top coated with Varathan Satin Polyurethane.
Comments
modified version of X Desk with Drawer

I was looking for a desk with sort of a "campaign furniture" style feel to it, and came across Ana's plan for the X Desk with Drawer.
I made a lot of changes from that starting point, some of which worked well, some of which didn't. In the end, my desk varies pretty drastically from the original, but I definitely have to give credit for lots of helpful tips and inspiration from Ana's plan!
It's a little rough, but it's one of my first real builds, so I'm pretty happy.
Note: picture does not show spreader on back legs, added afterwards. Drawers are out while guides dry, they normally sit flush with front face.
Made from pine, with poplar edging on front. Mostly pocket hole joinery. Finish is a light version of the Minwax Dark Walnut (looks lighter in picture than real life.) Lacquer coating. Pulls are from Home Depot.
To give it an antique, campaign look, the edges are roughed up a little, the finish is left a little streaky/worn, and the holes for the drawers were cut out of the board by hand, and then hand-fit to the drawers.
Built from Plan(s)
Estimated Time Investment
Weekend Project (10-20 Hours)
Recommended Skill Level
Beginner
Shiny AND antique
First project built using plans from Ana White. Loved completing it. Take the time to sand and prep for finish. Makes it sooo much better.
My glossy finish adds a lot of luster to the project. I trimmed the inside edges of the 2x4 peices on the outside trim to make a smooth surface.
Built from Plan(s)
Estimated Cost
$200
Estimated Time Investment
Week Long Project (20 Hours or More)
Finish Used
Minwax dark walnut. Spar poly. Offwhite semigloss, sanded and antiqued with stain.
Recommended Skill Level
Beginner
Comments
Pam the Goatherd
Wed, 02/20/2013 - 21:37
Lovin' the red!
Lovin' the red!