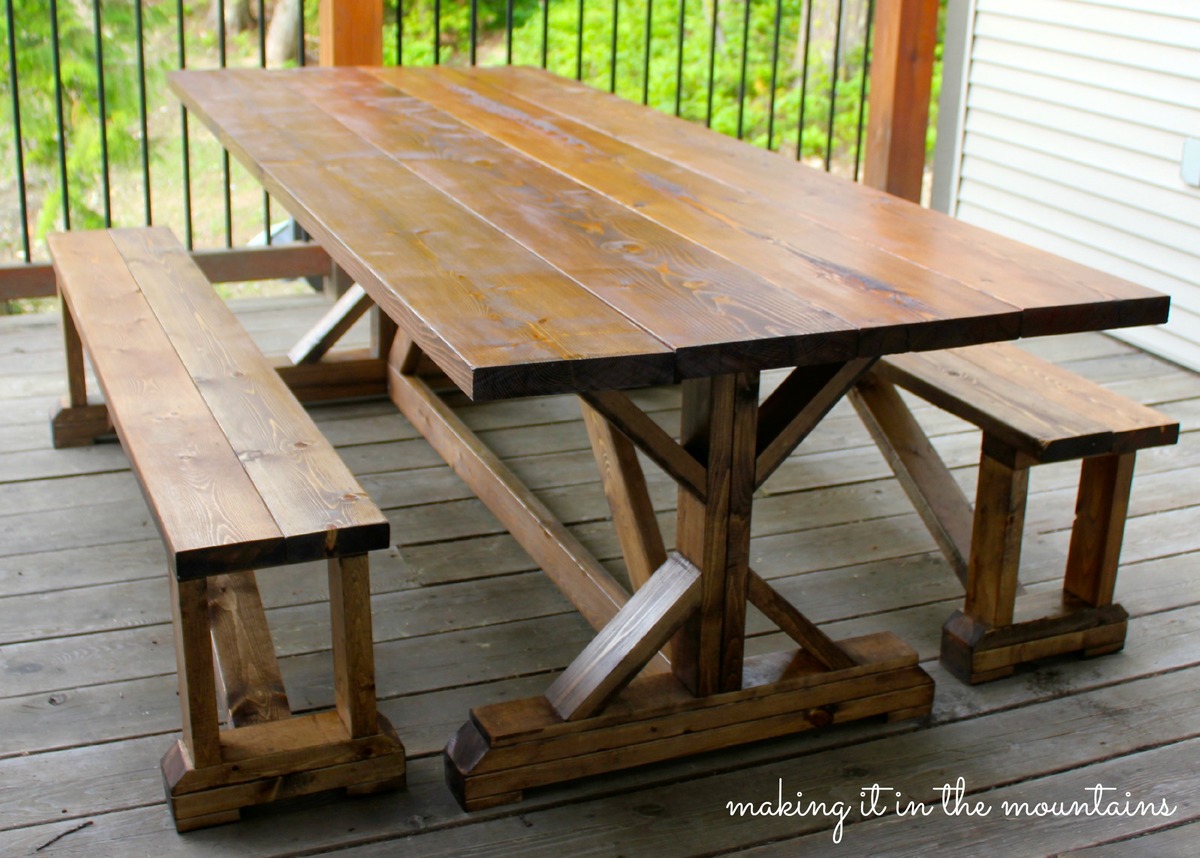
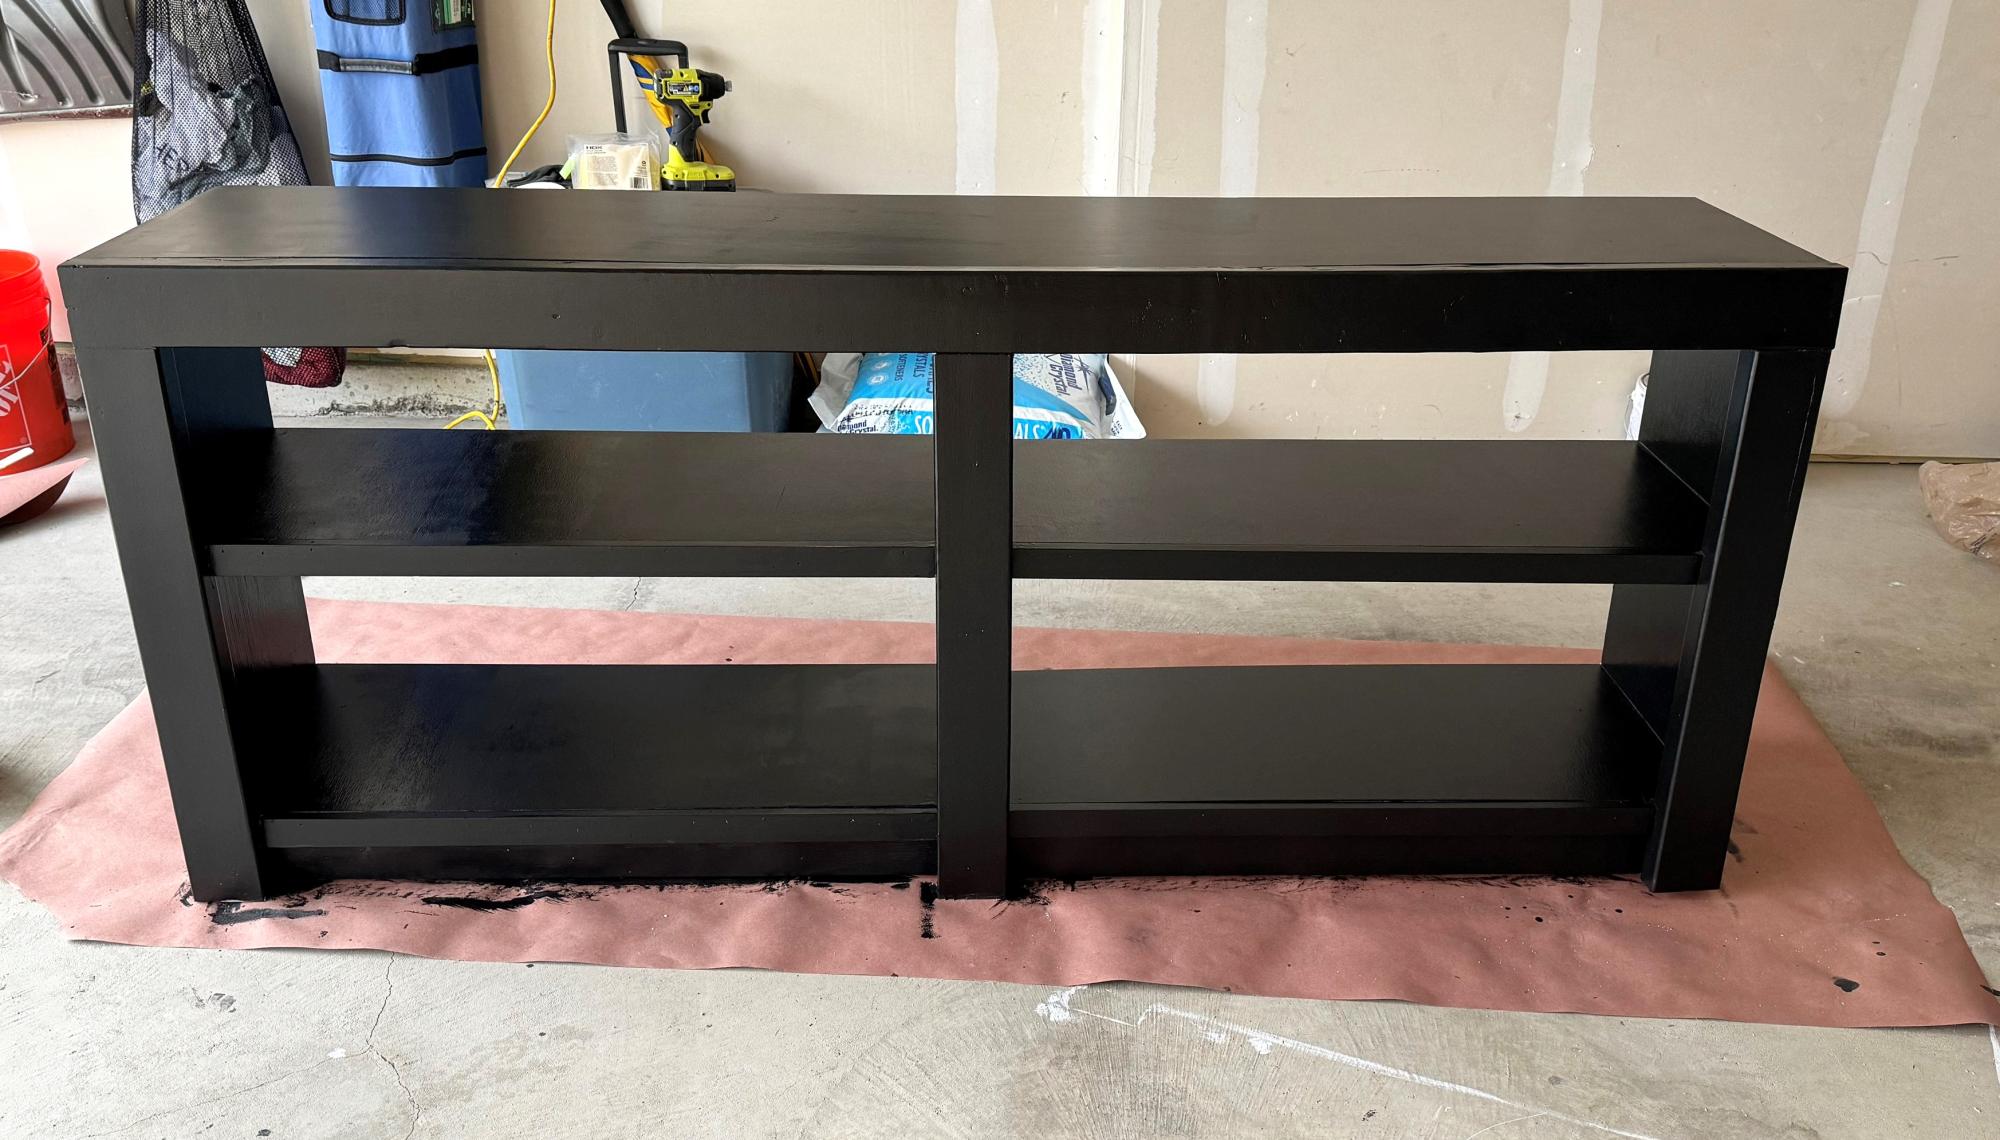
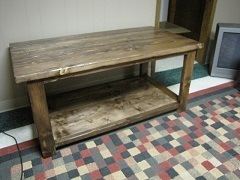
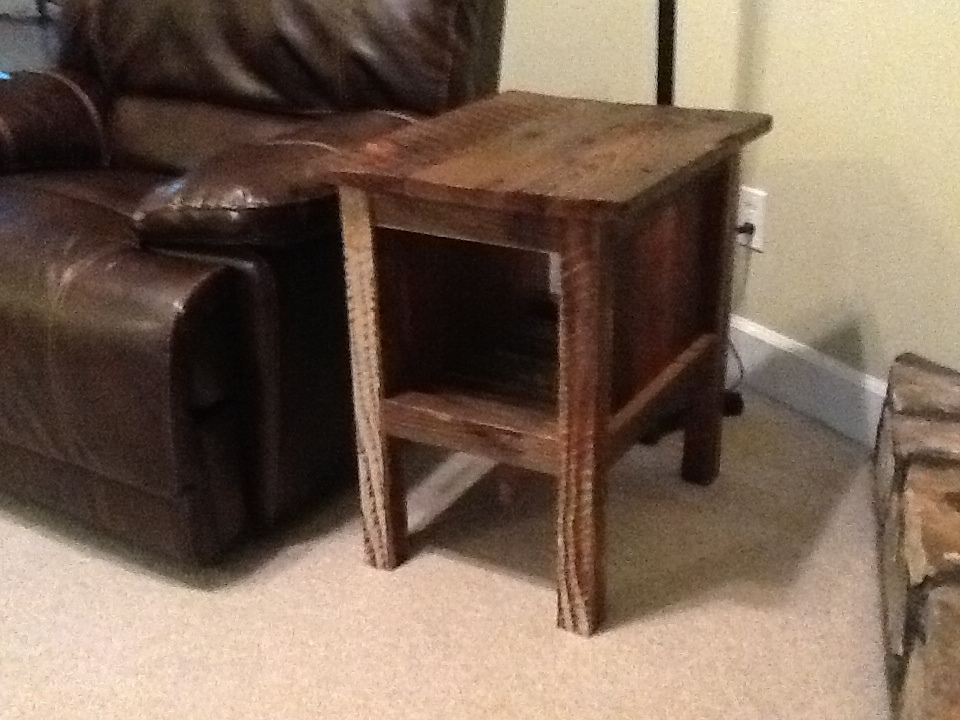
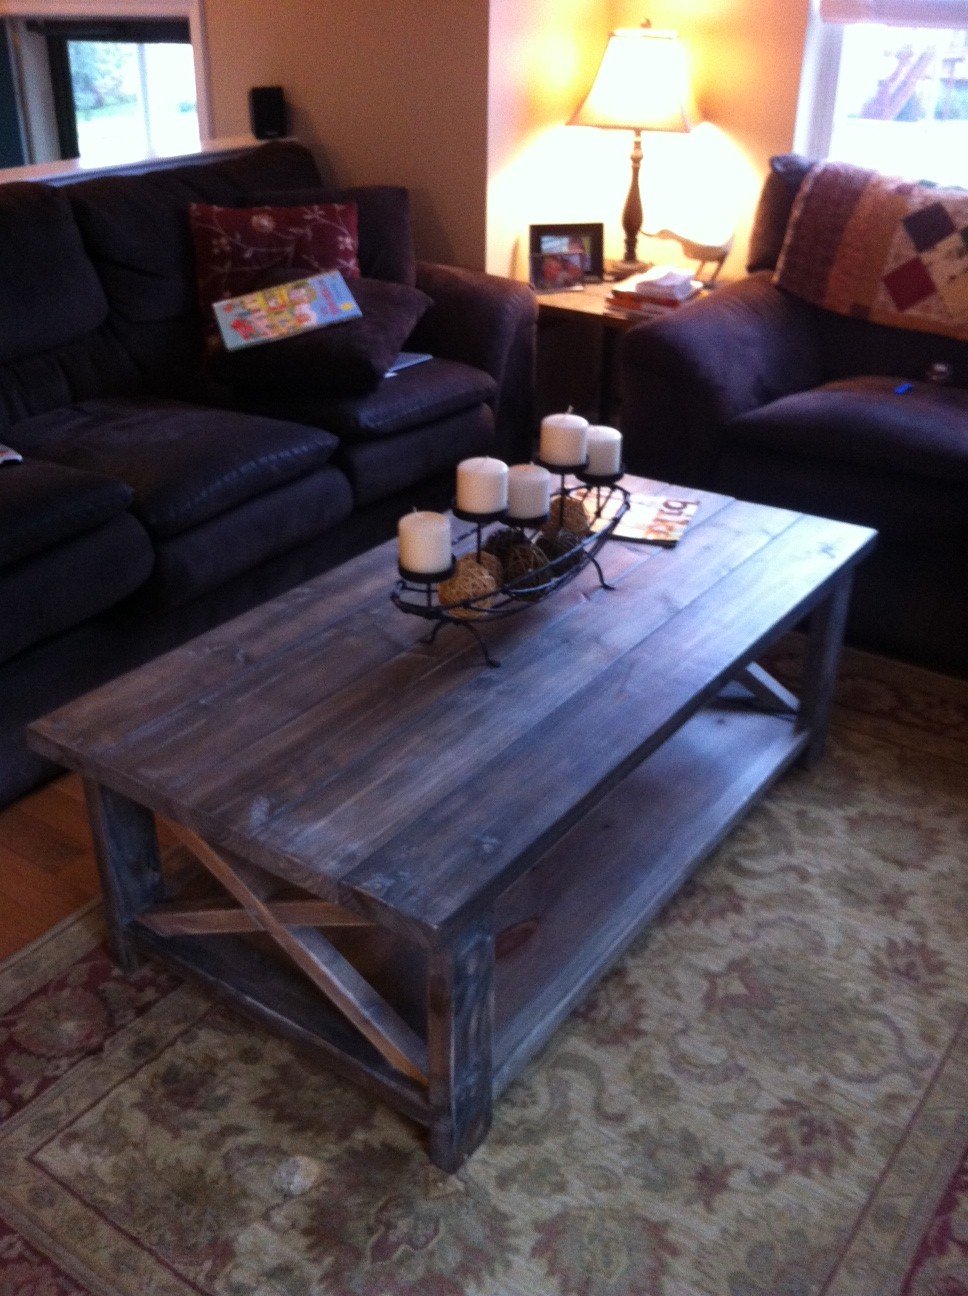
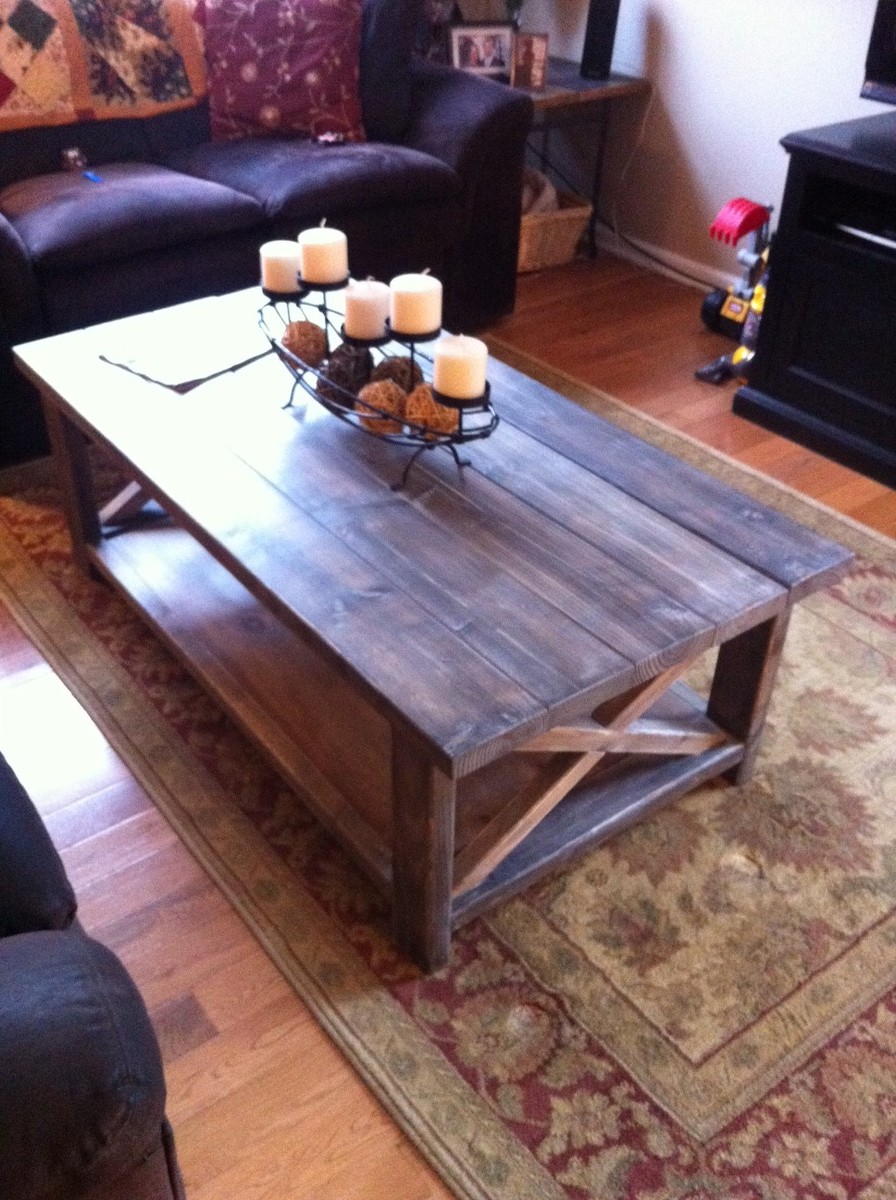
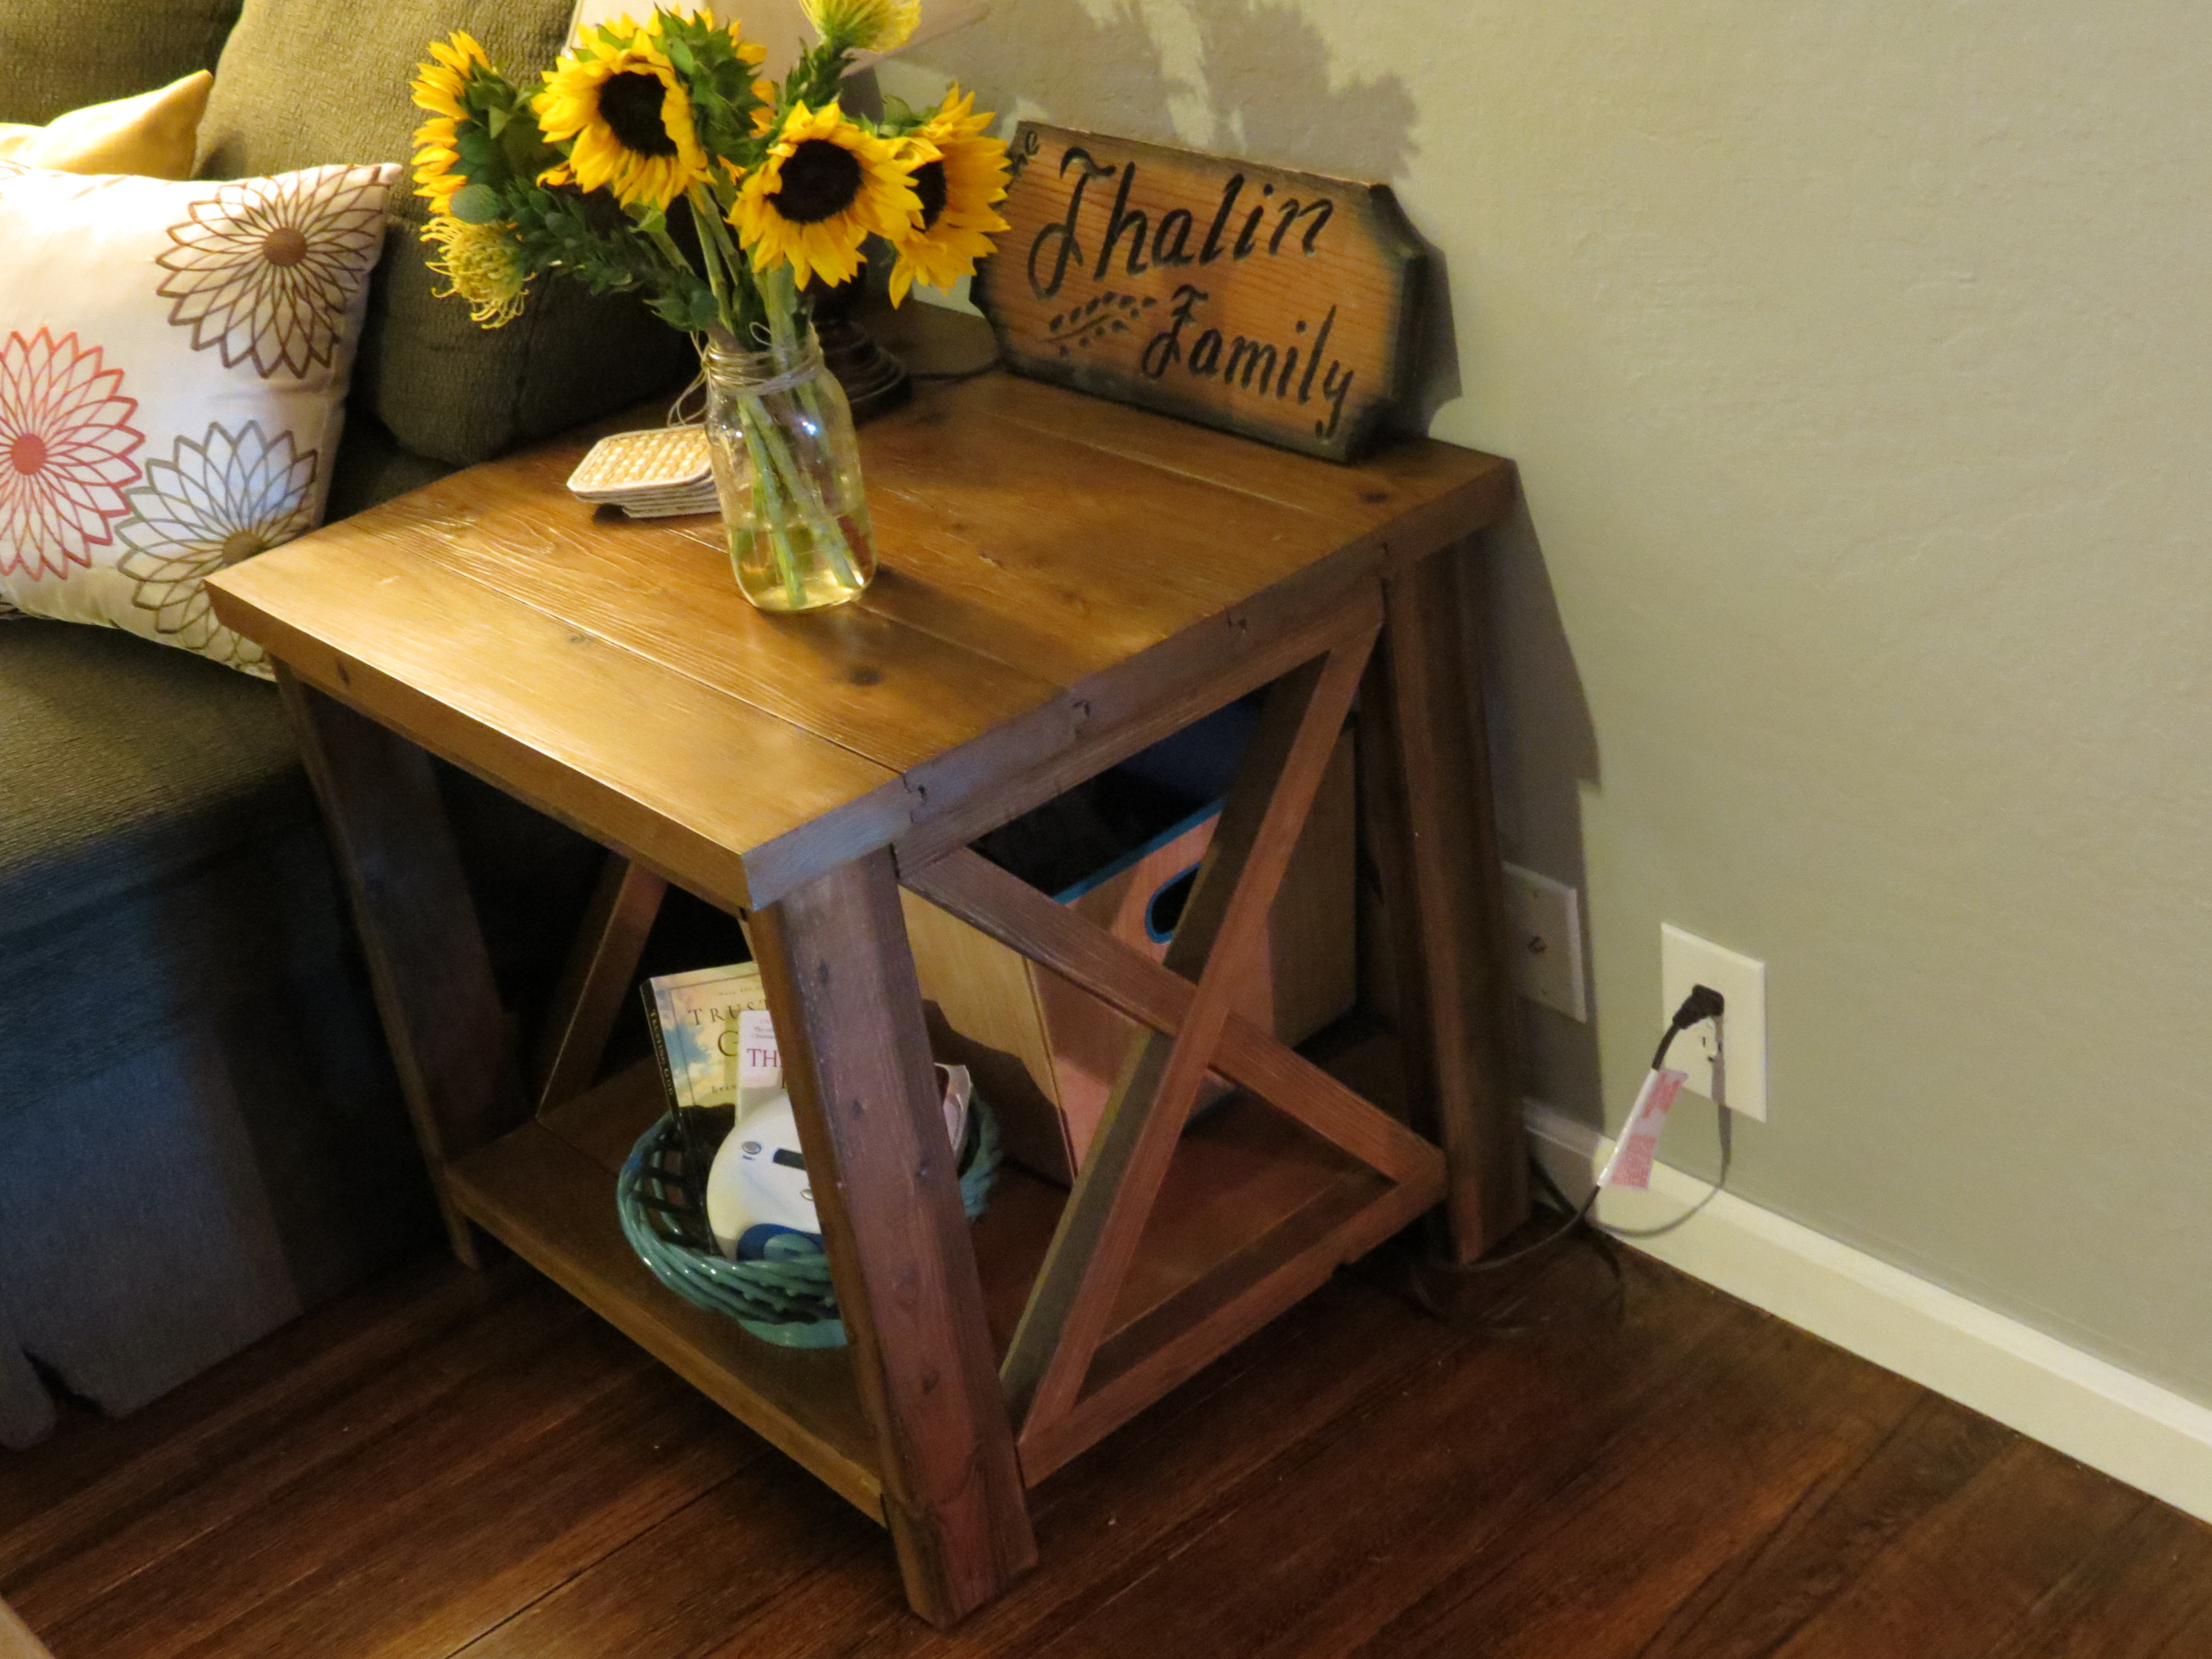
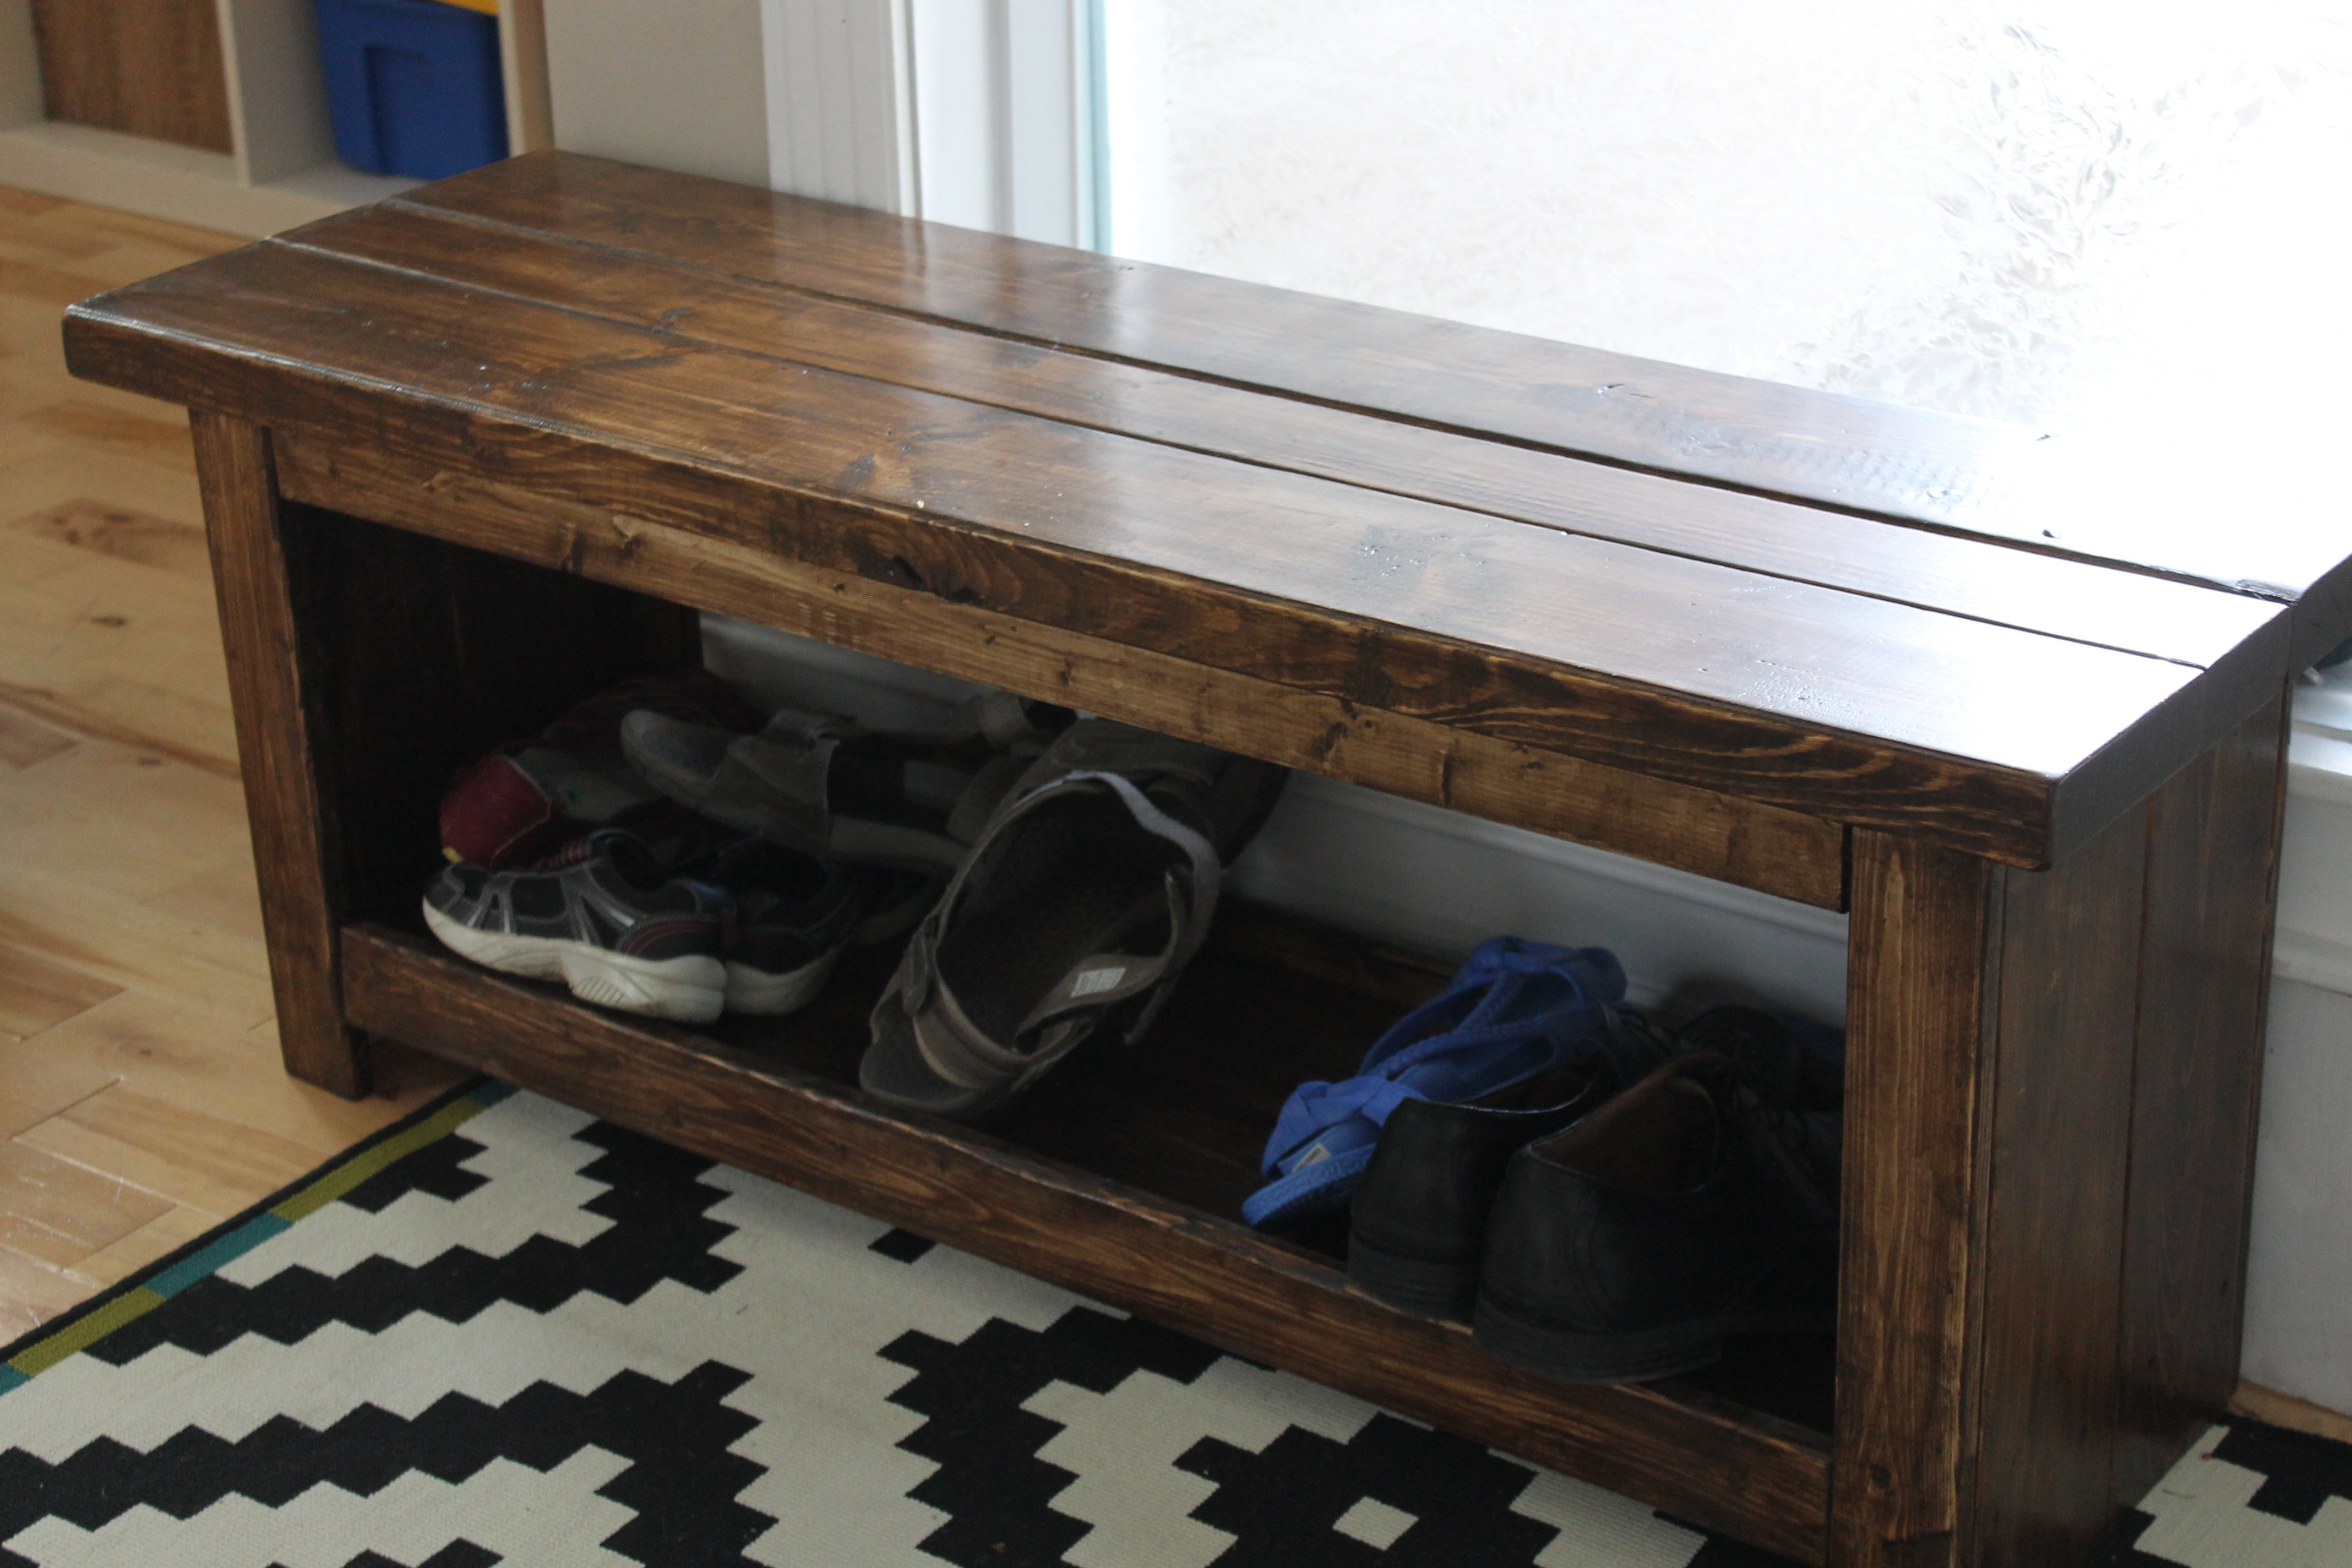
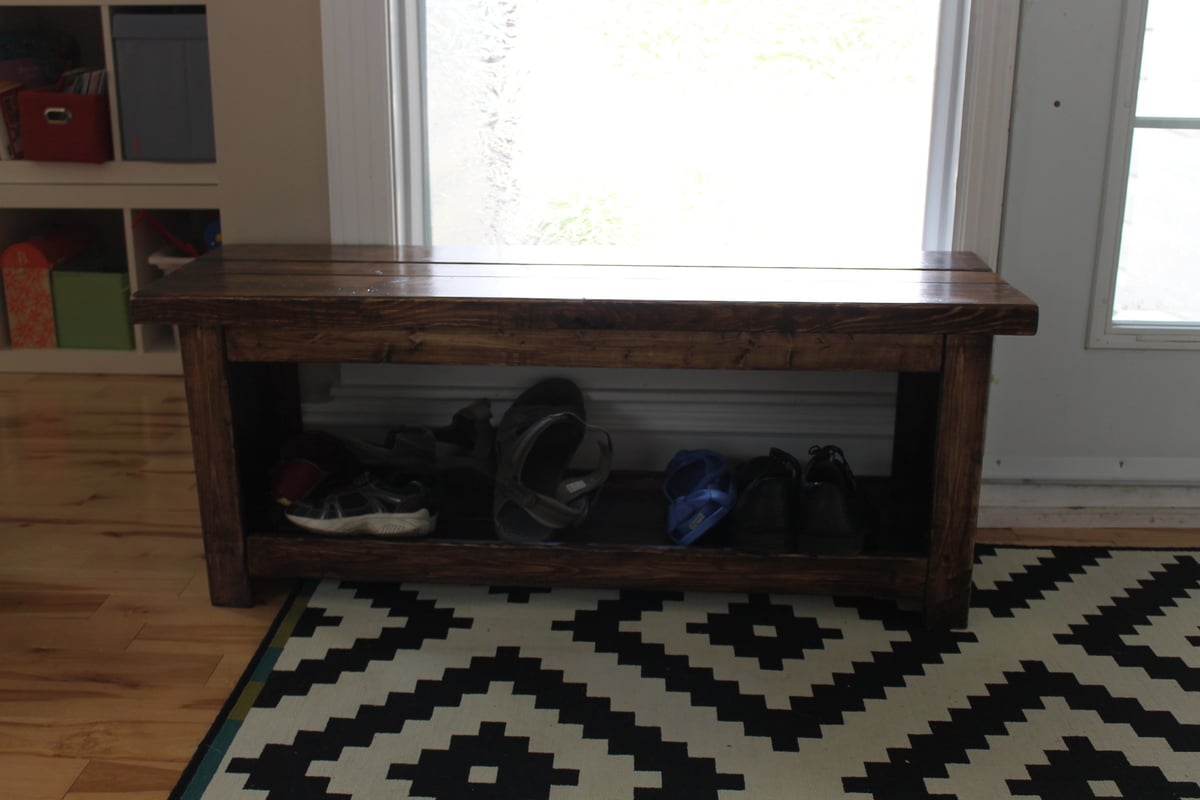
Coffe Table
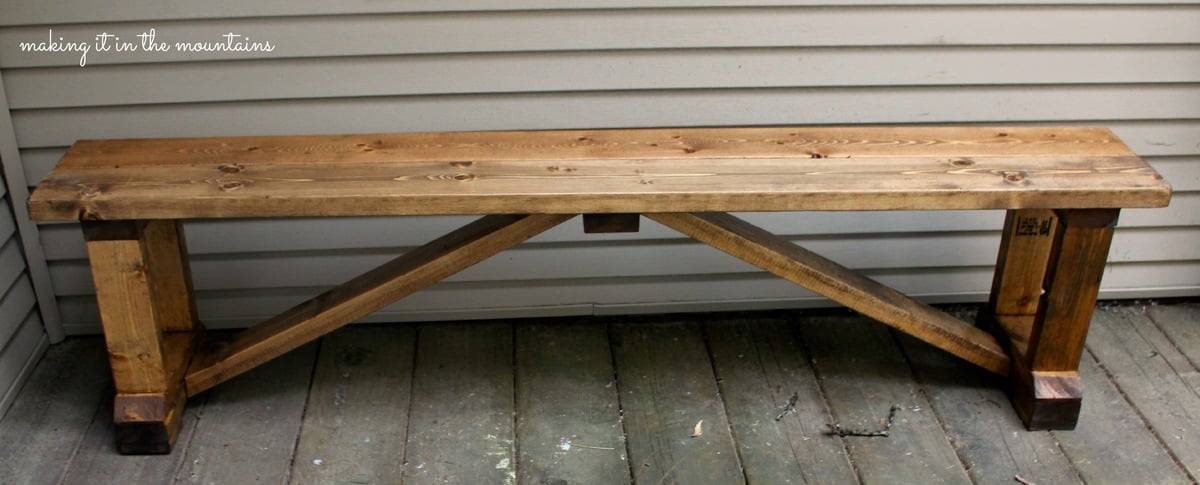
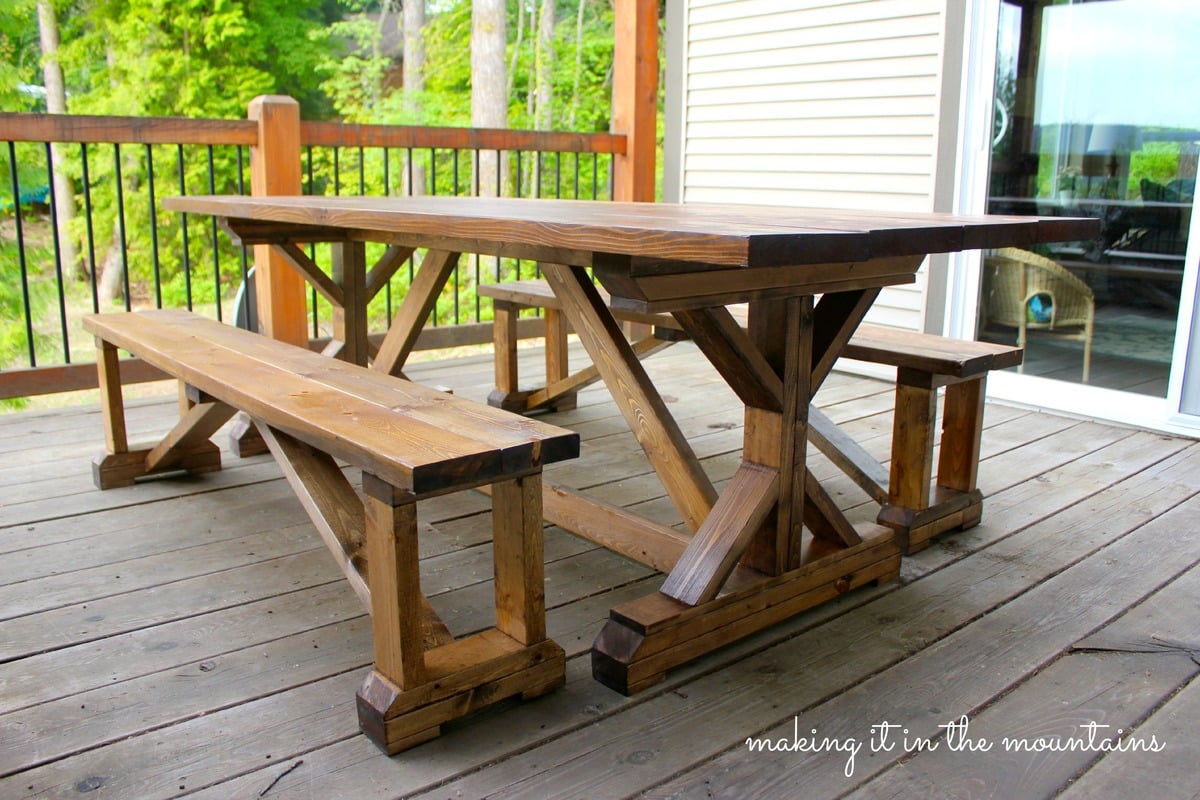
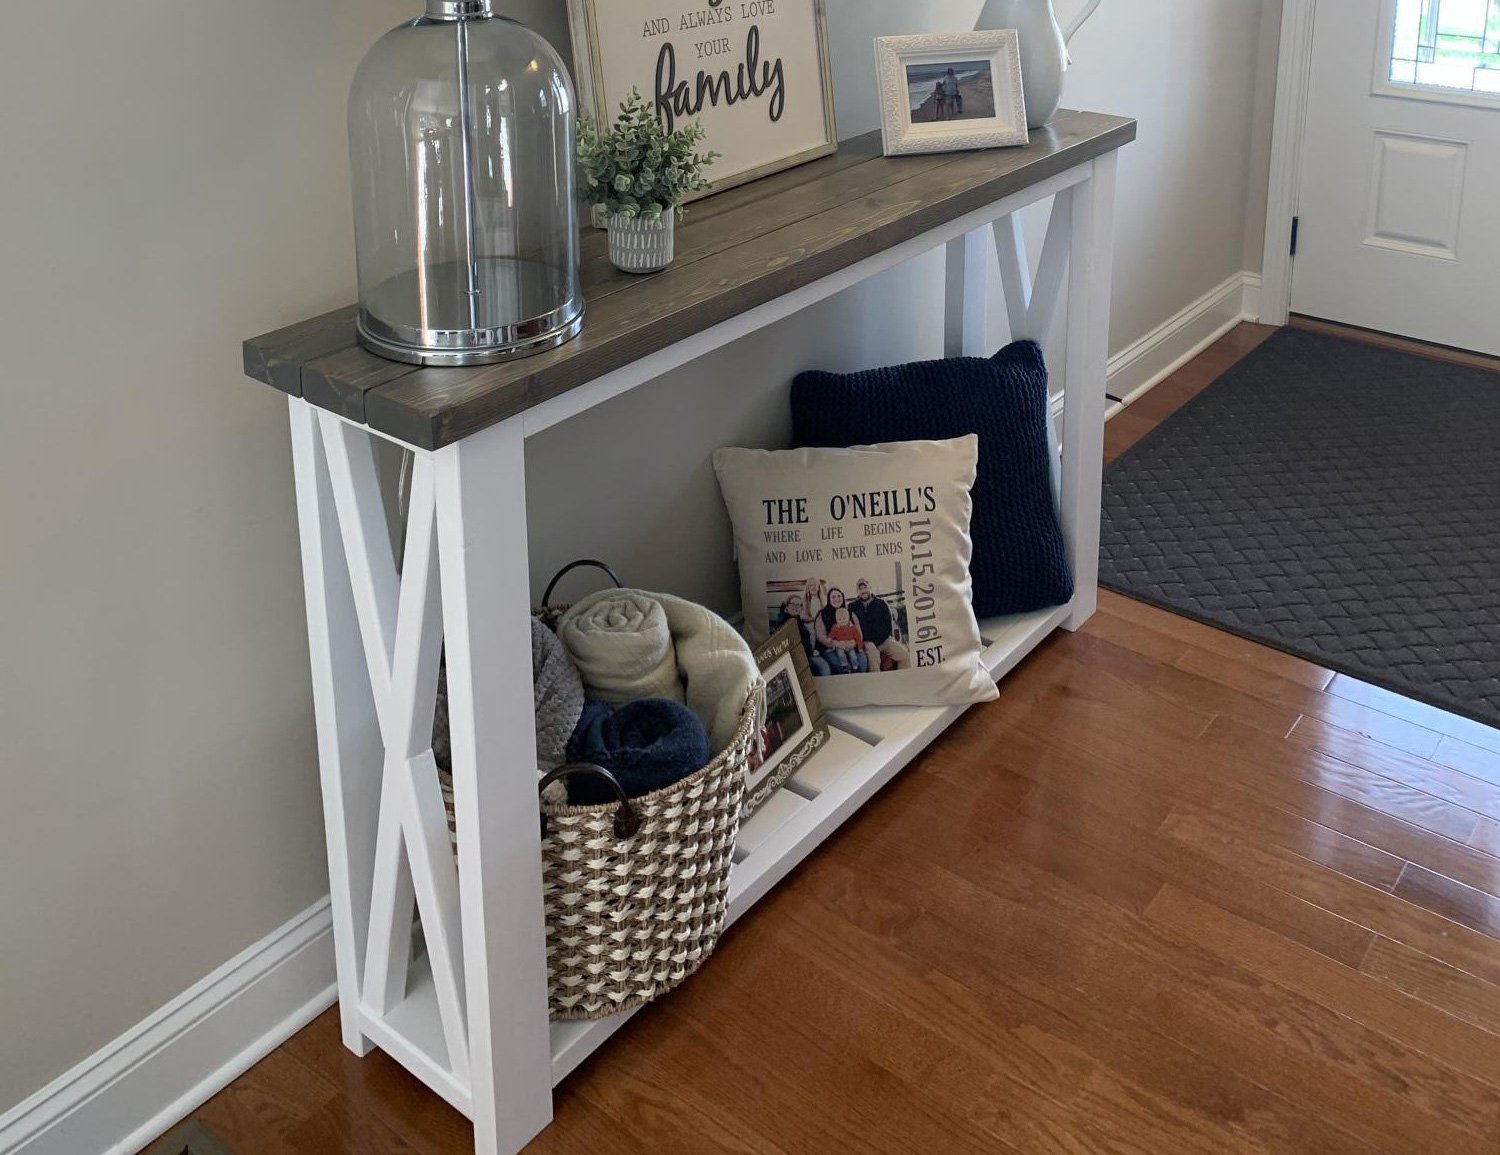
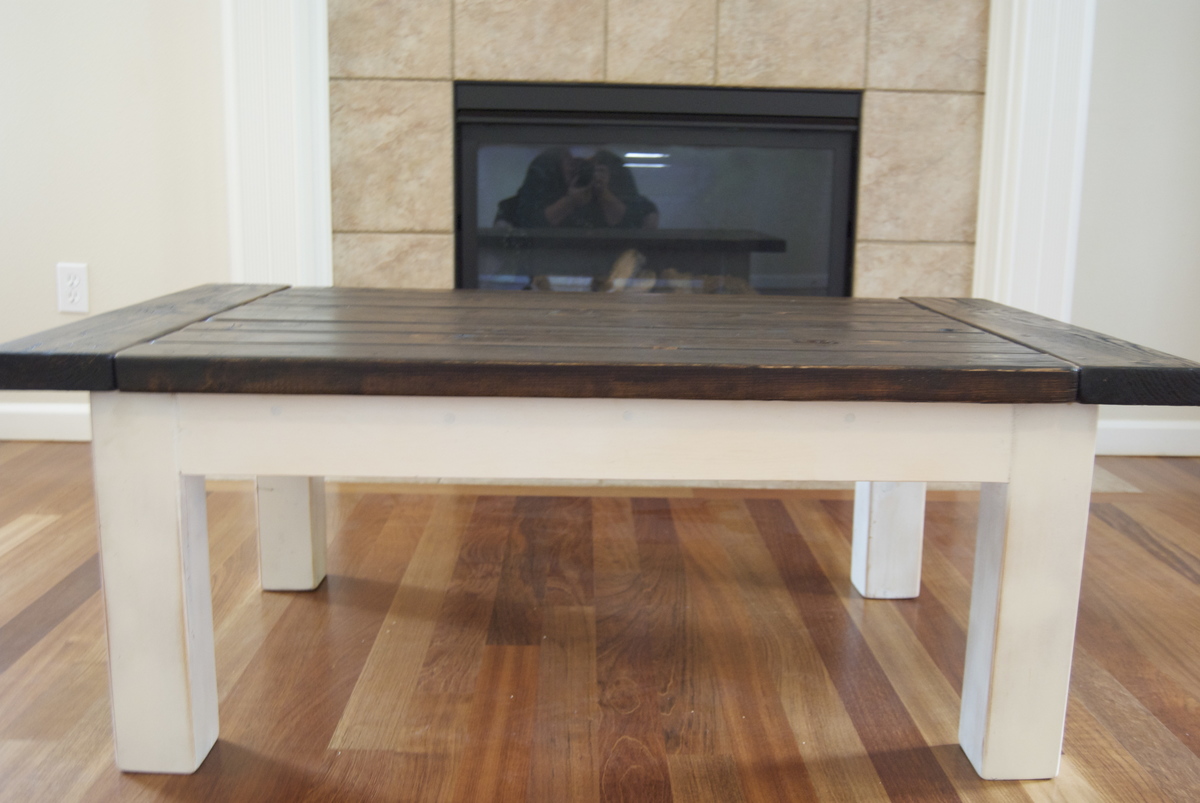
After the high of finishing my first build (http://ana-white.com/2012/08/farmhouse-table-rustic-table), I was quick to find my next fix. My mom was so impressed with the table, she trusted me to build her another piece of furniture for our very empty new home. She liked the look of this coffee table, so I adjusted the dimensions to meet her needs and away I went. It was pretty fun and not too difficult. It was a little more time consuming that I had anticipated, but that was mostly due to the two different finishes on the legs/apron and the top.
Built from Plan(s)
Estimated Cost
$50
Estimated Time Investment
Day Project (6-9 Hours)
Finish Used
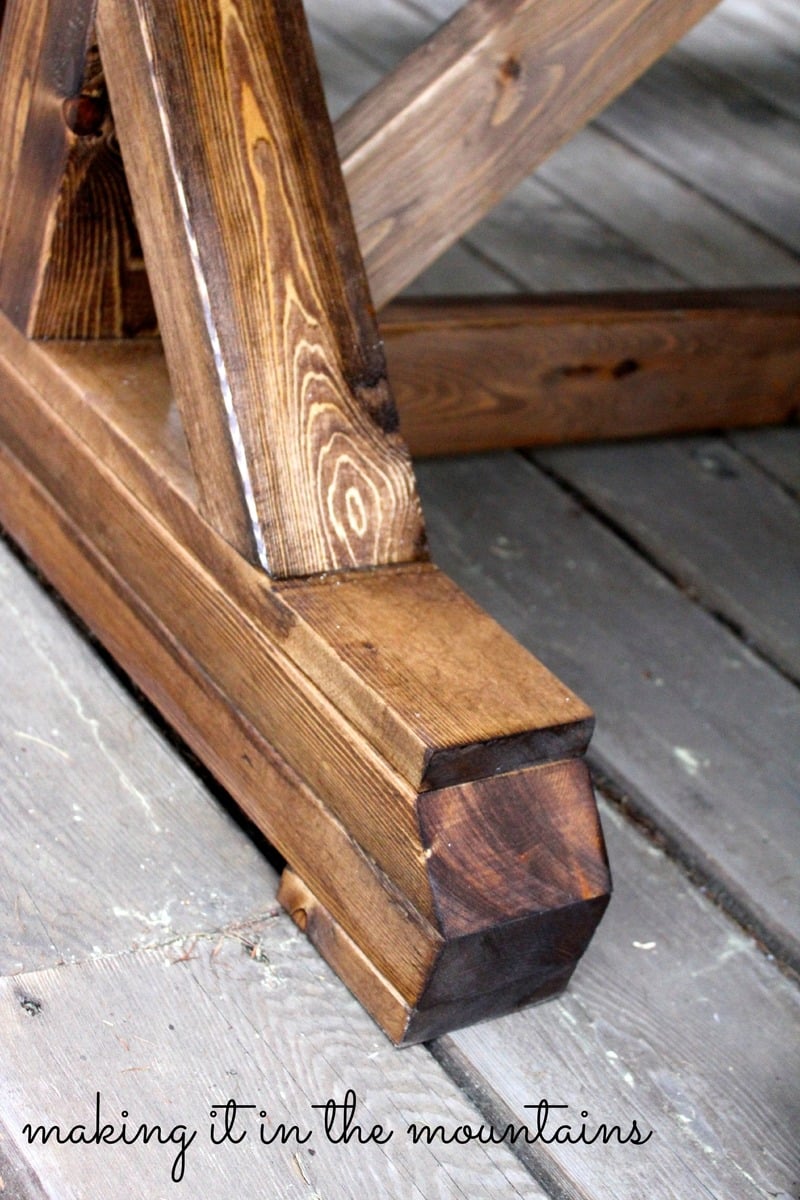
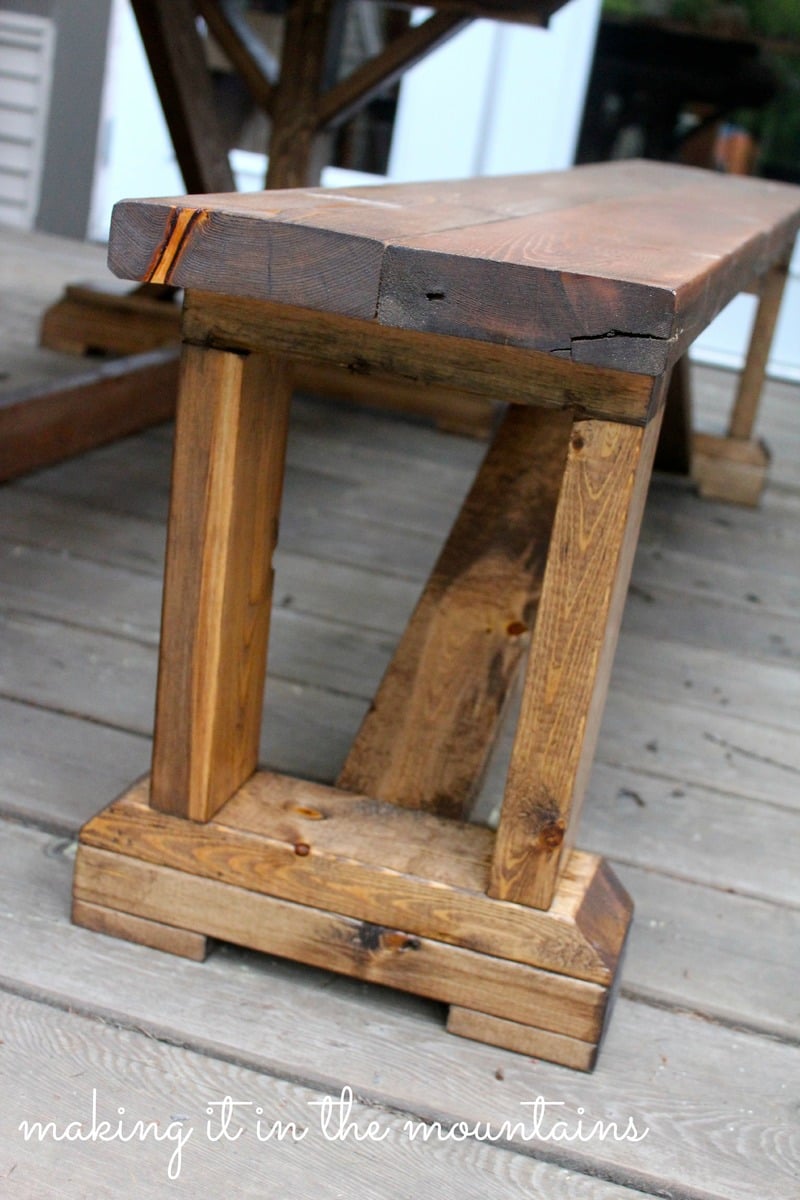
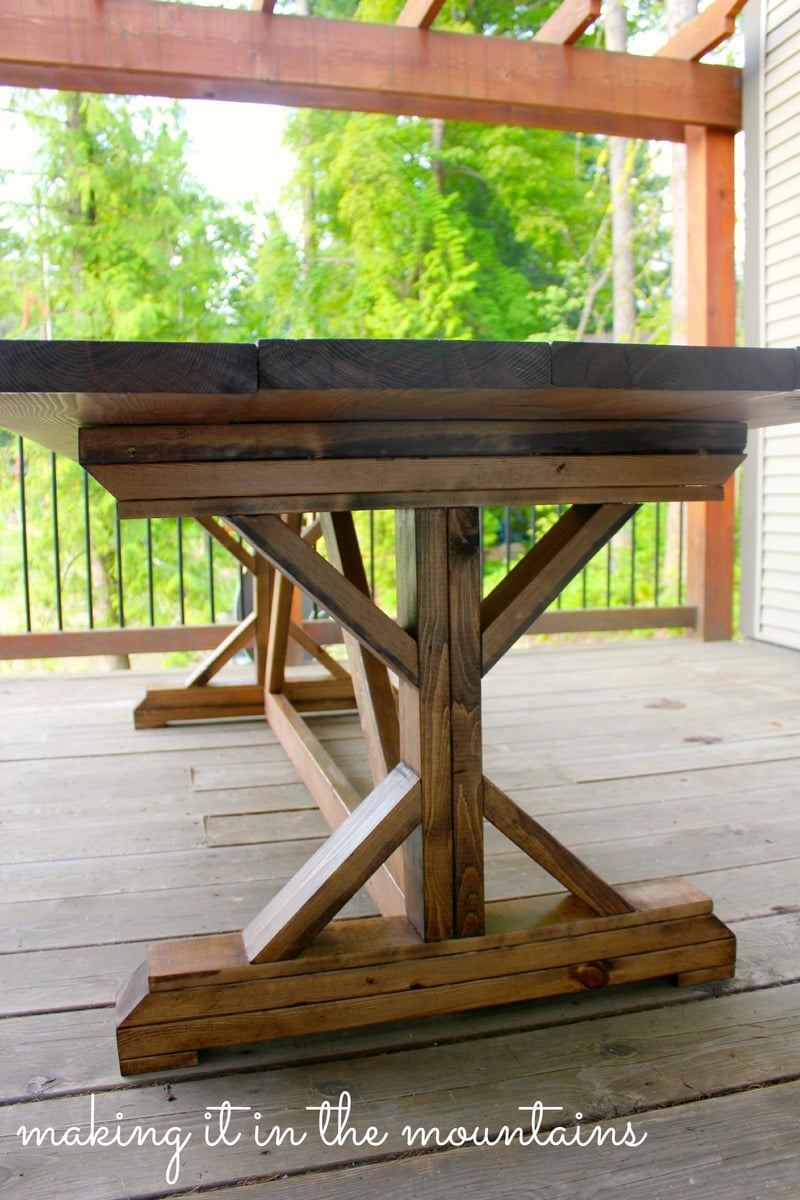
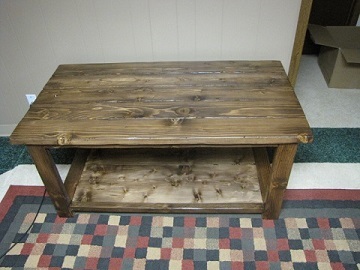
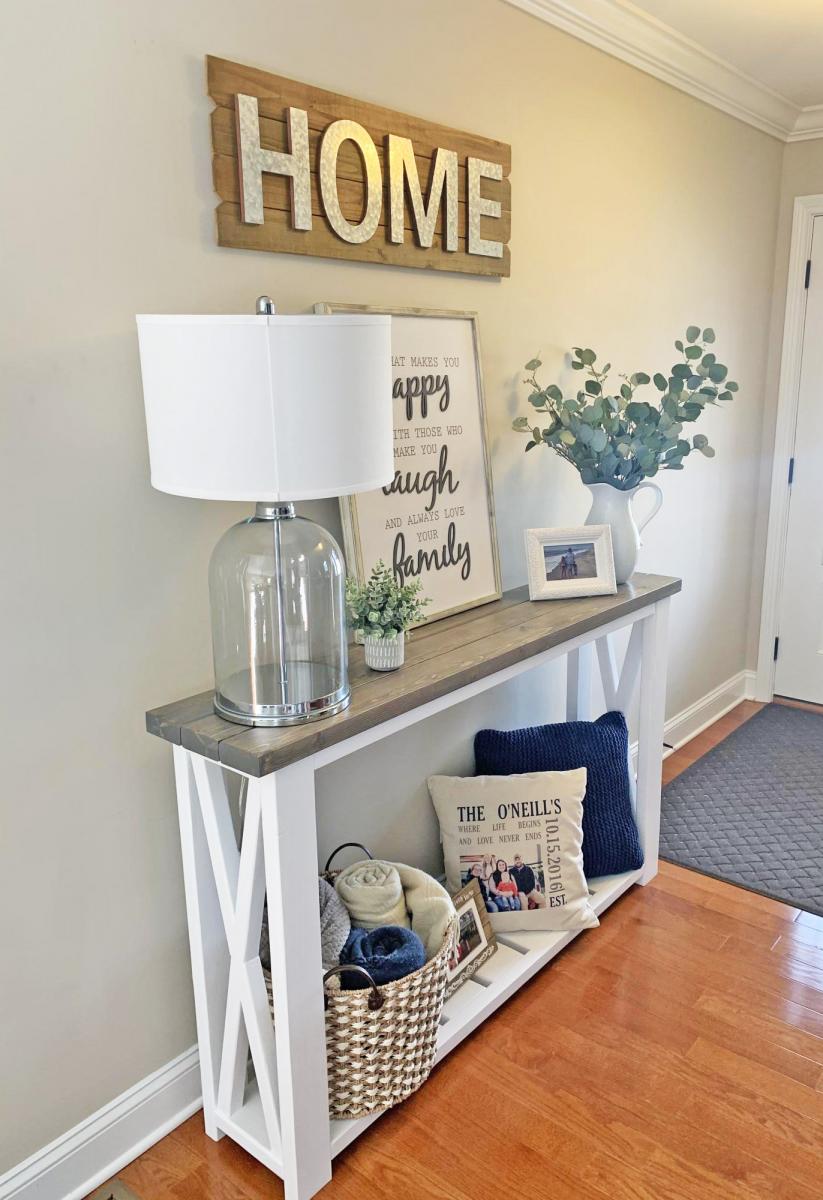
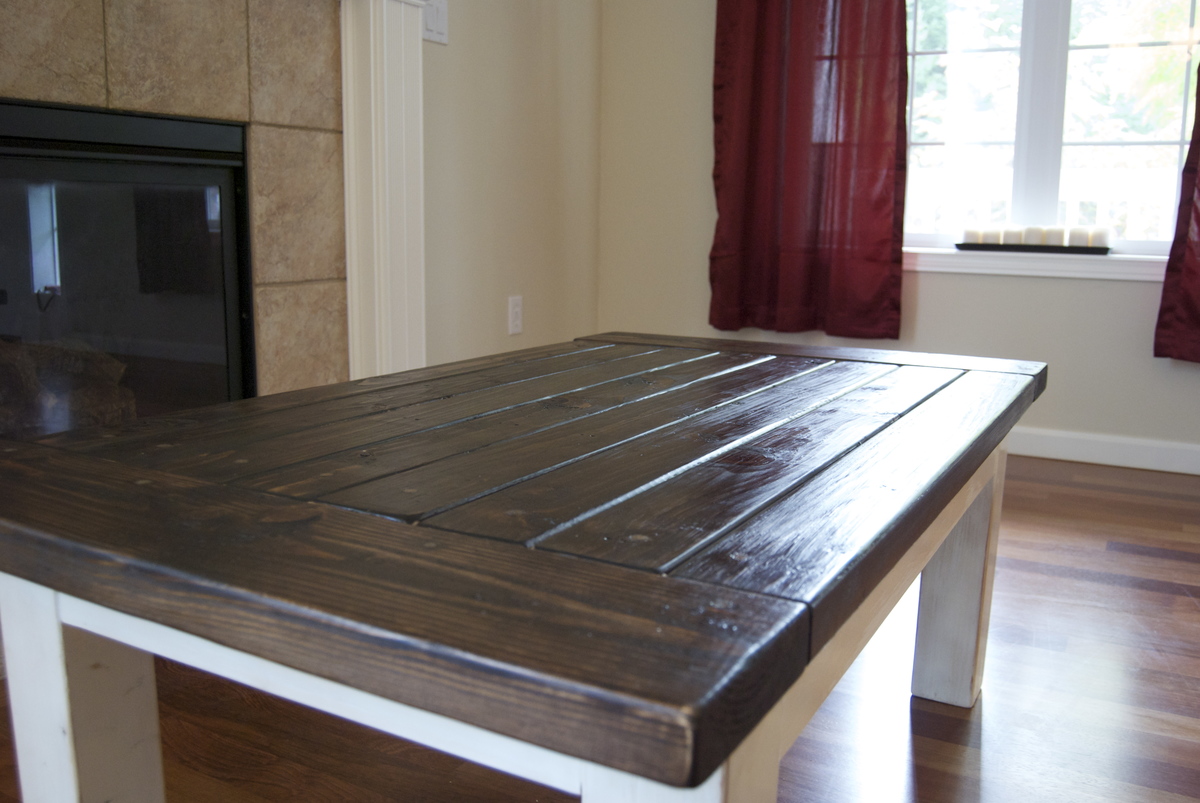
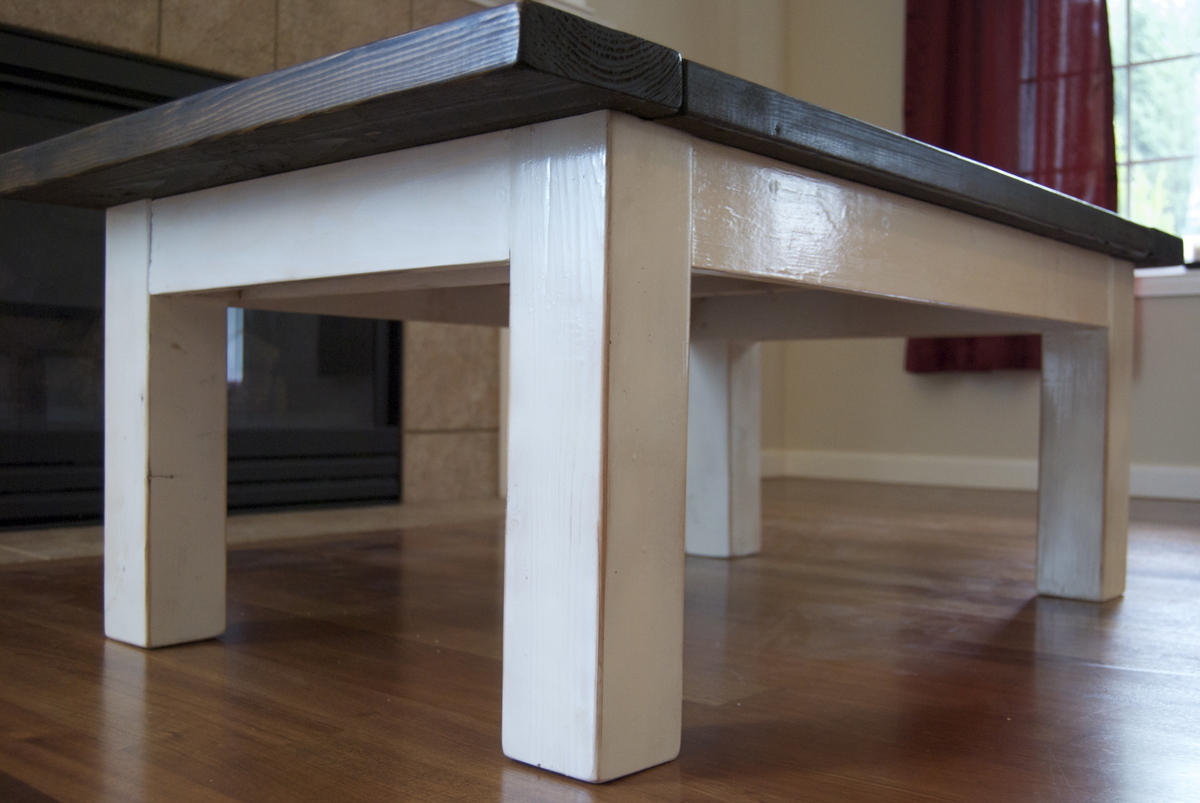
For the legs and skirt/apron: Sanded 120 grit then 220, painted with Rust-Oleum heirloom white (spray paint, one coat), then sanded down on the edges to get the distressed look.
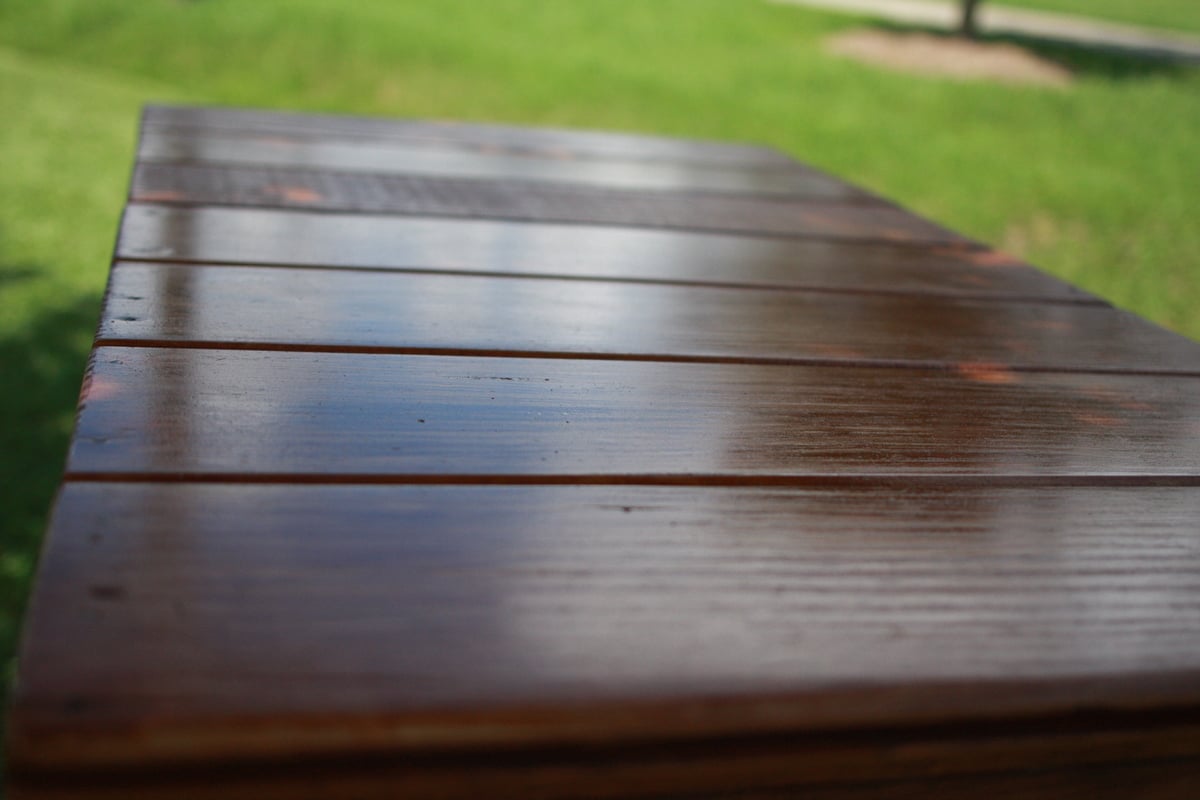
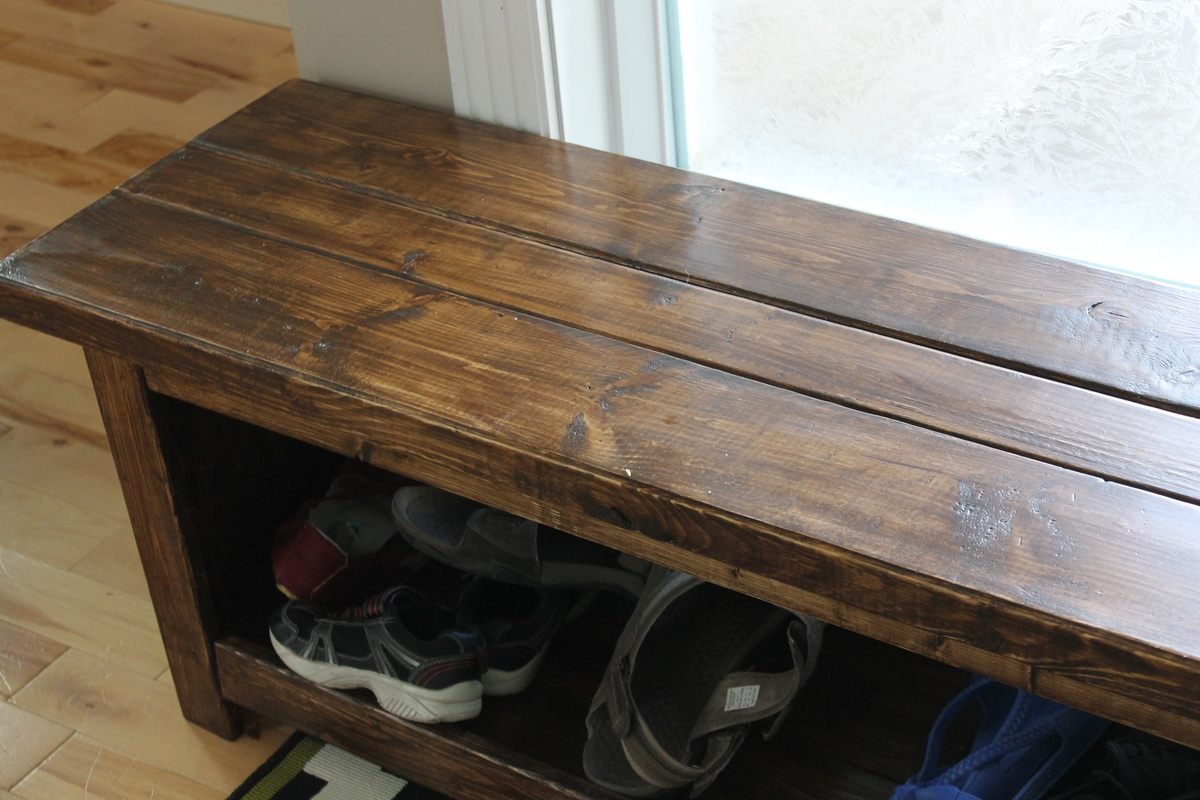
Table top: Minwax Dark Walnut (One Coat brushed on pretty heavy, then wiped off the excess after 15 minutes).
Finished with three coats of Minwax Water Based Clear Gloss Polyurethane (Brushed), sanding with 220 grip sandpaper between coats.
Table top: Minwax Dark Walnut (One Coat brushed on pretty heavy, then wiped off the excess after 15 minutes).
Finished with three coats of Minwax Water Based Clear Gloss Polyurethane (Brushed), sanding with 220 grip sandpaper between coats.
Recommended Skill Level
Beginner