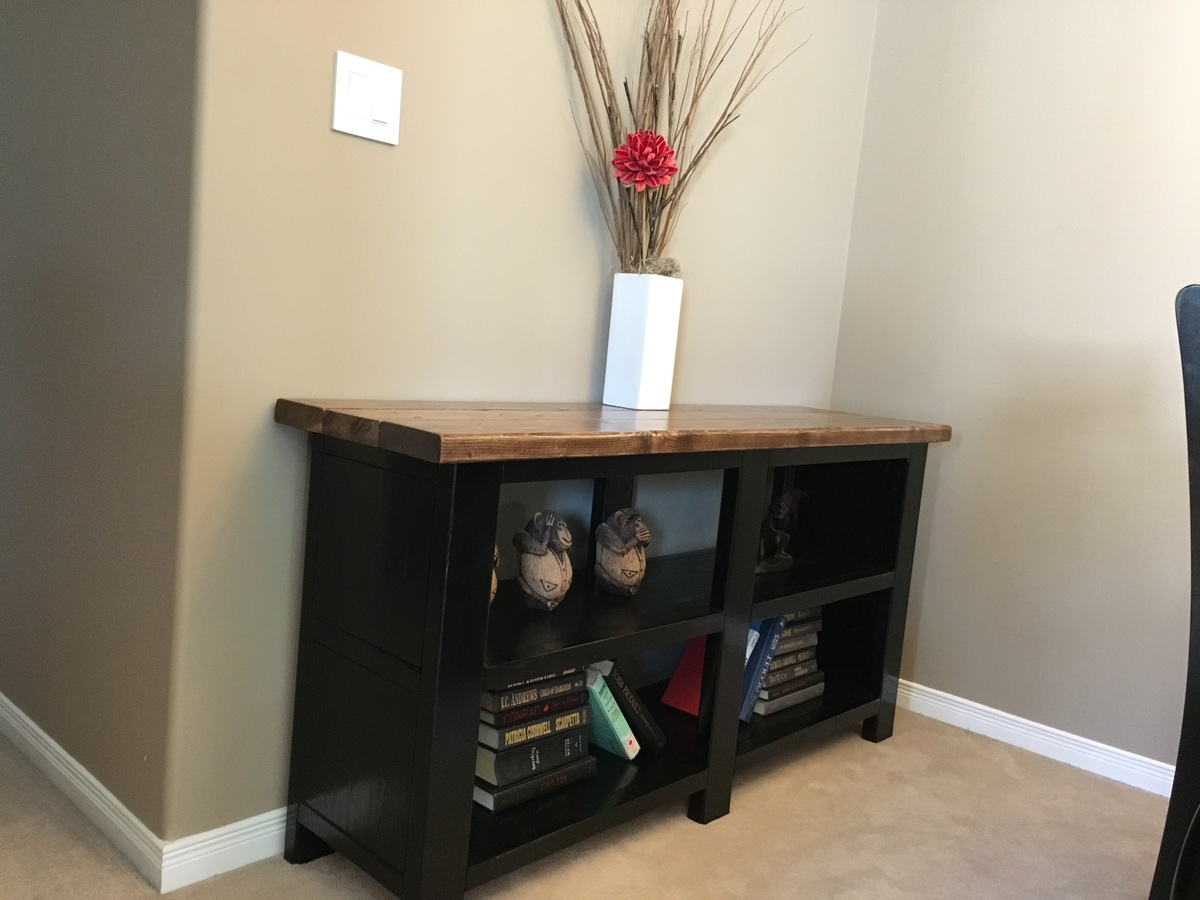
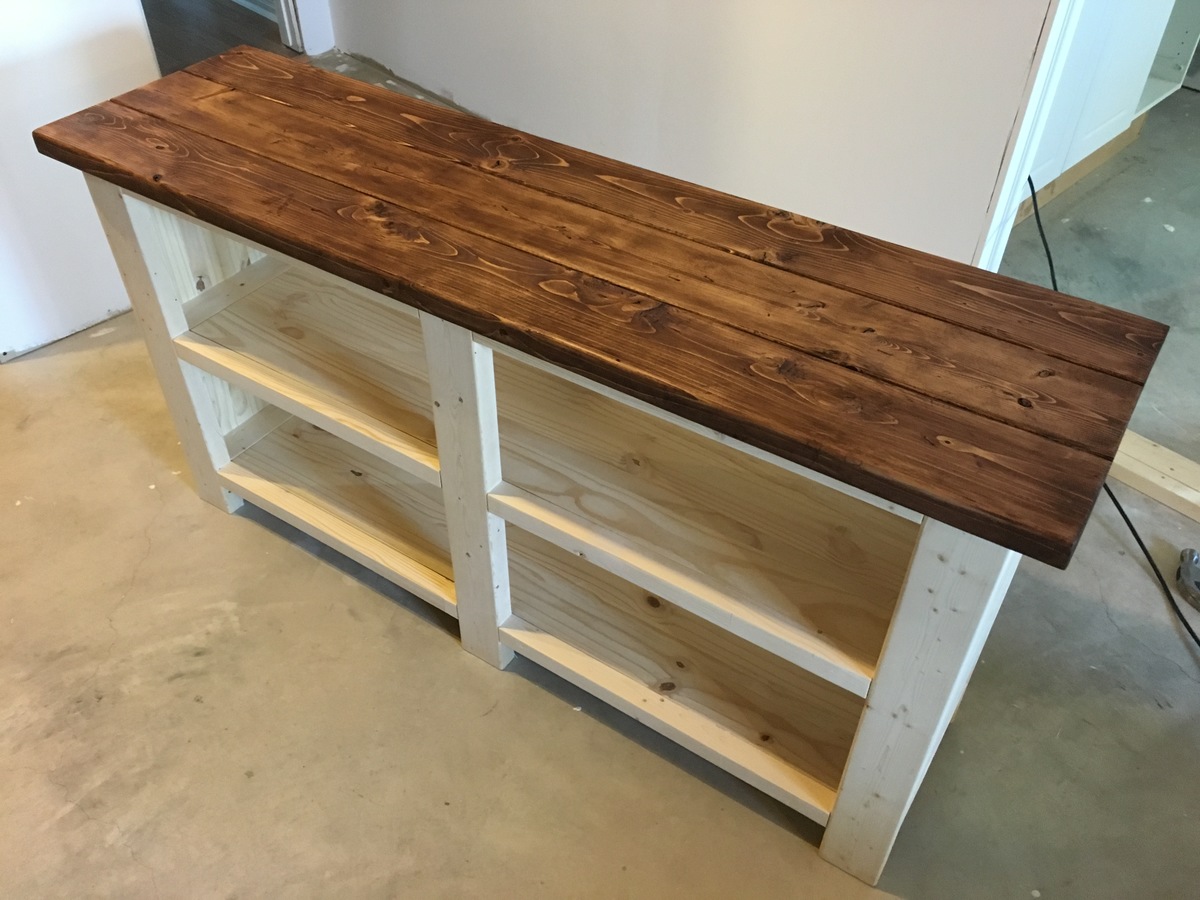
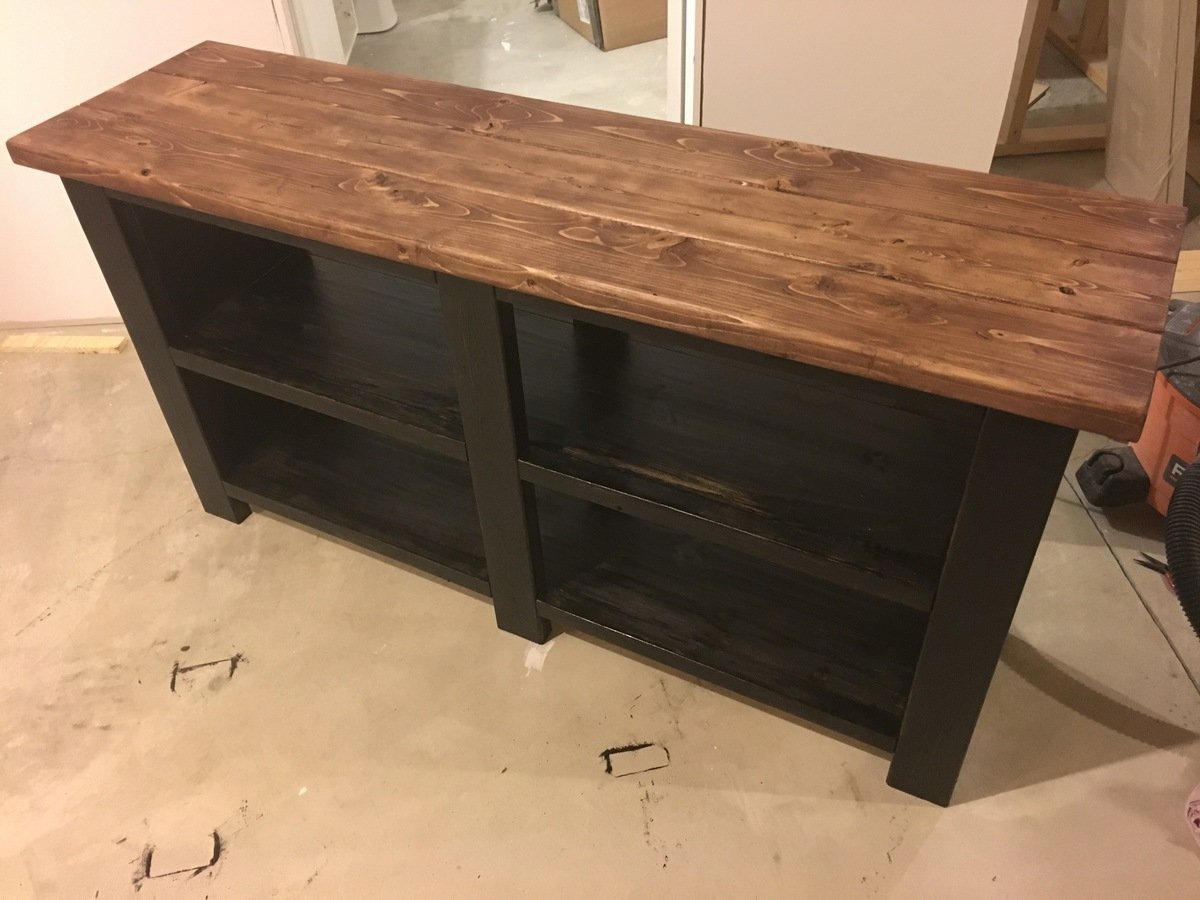
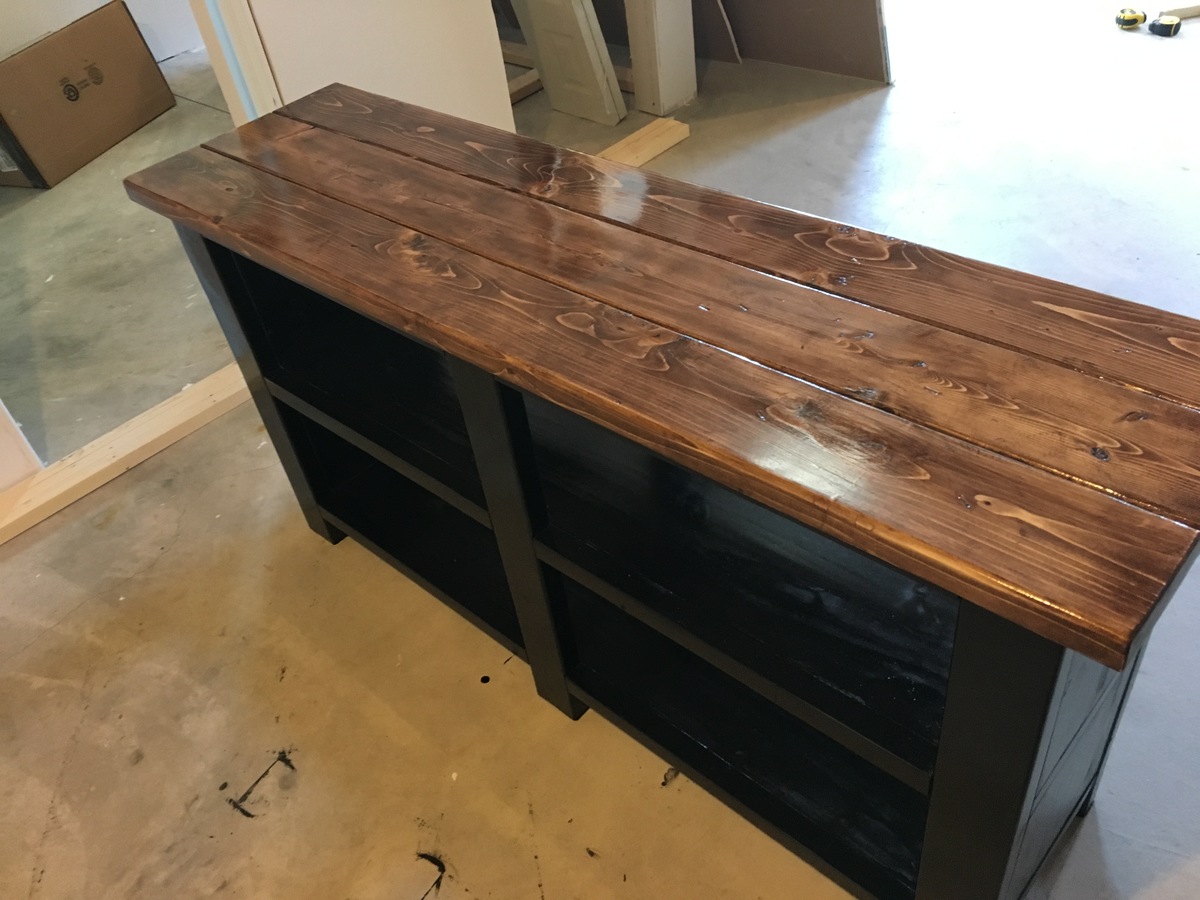
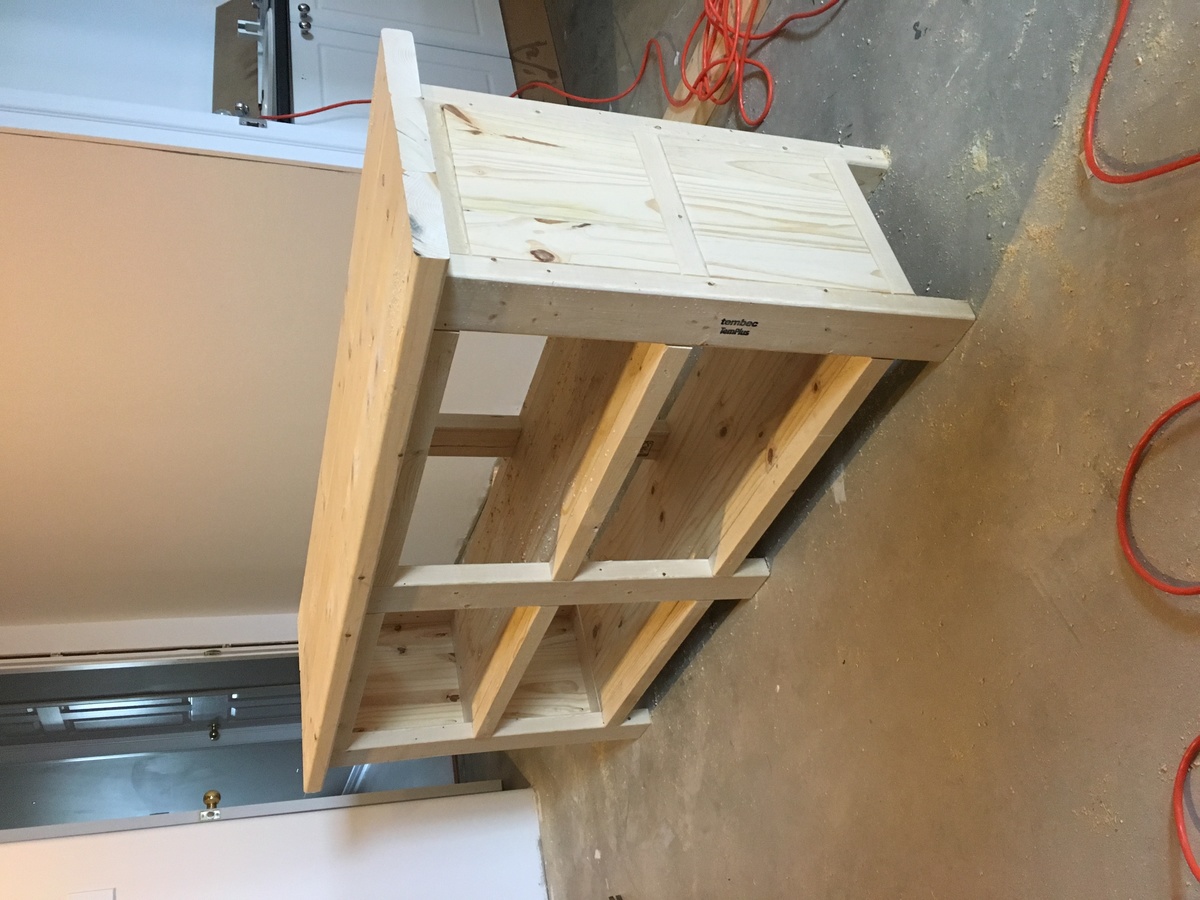
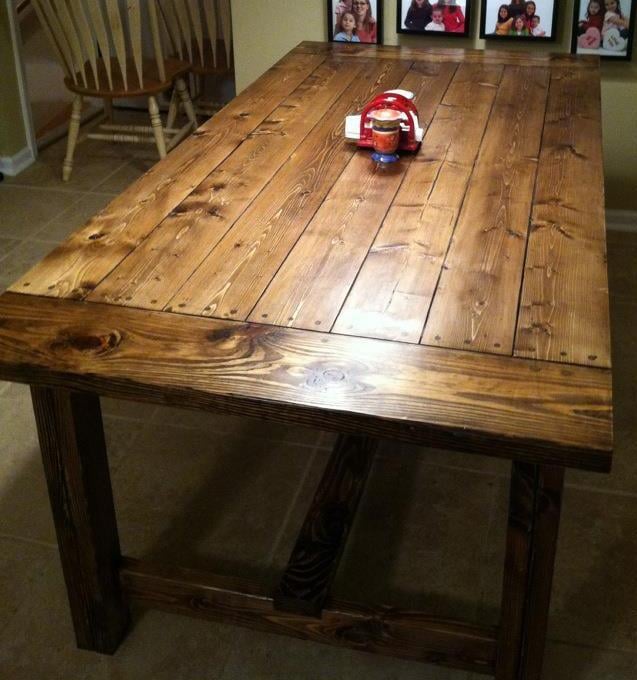
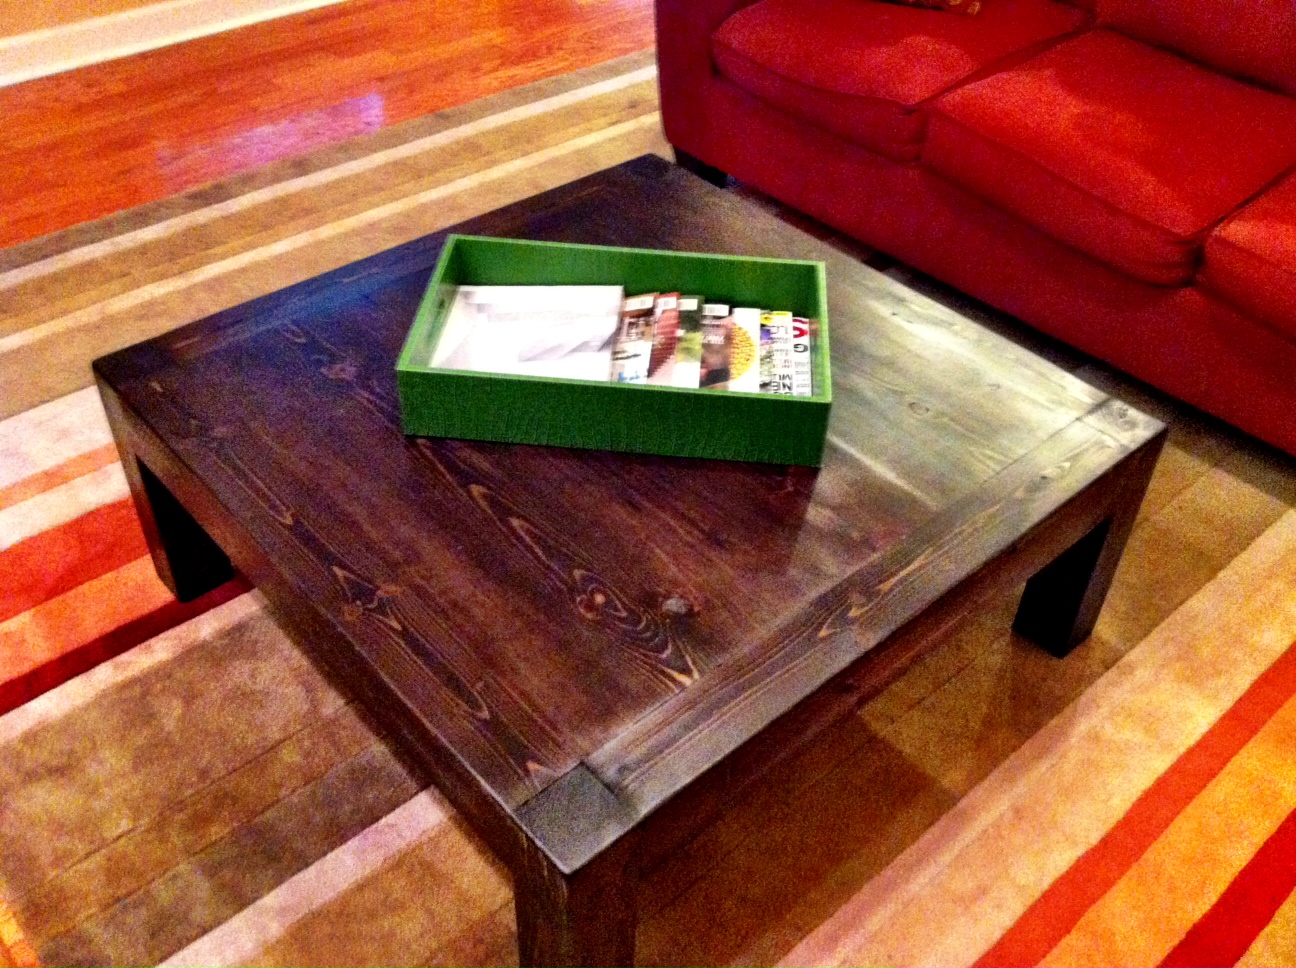
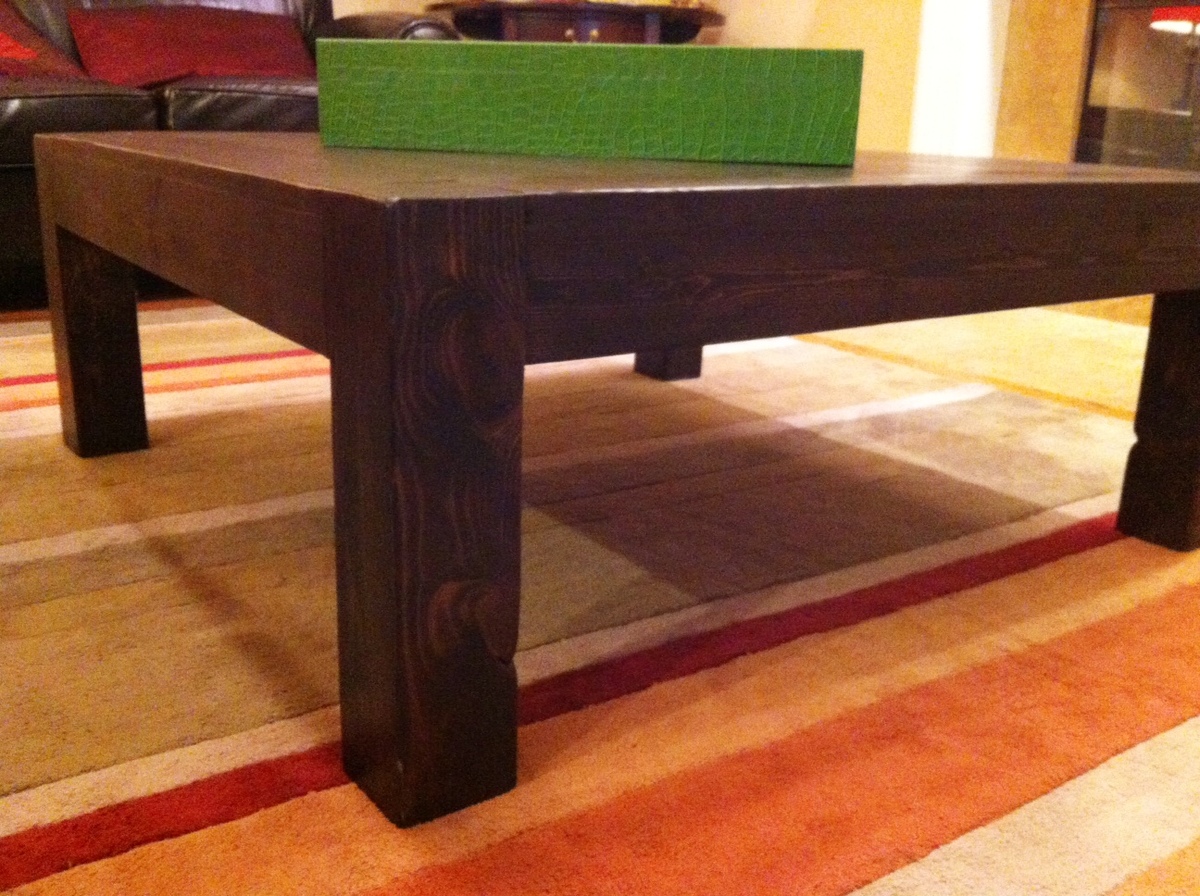
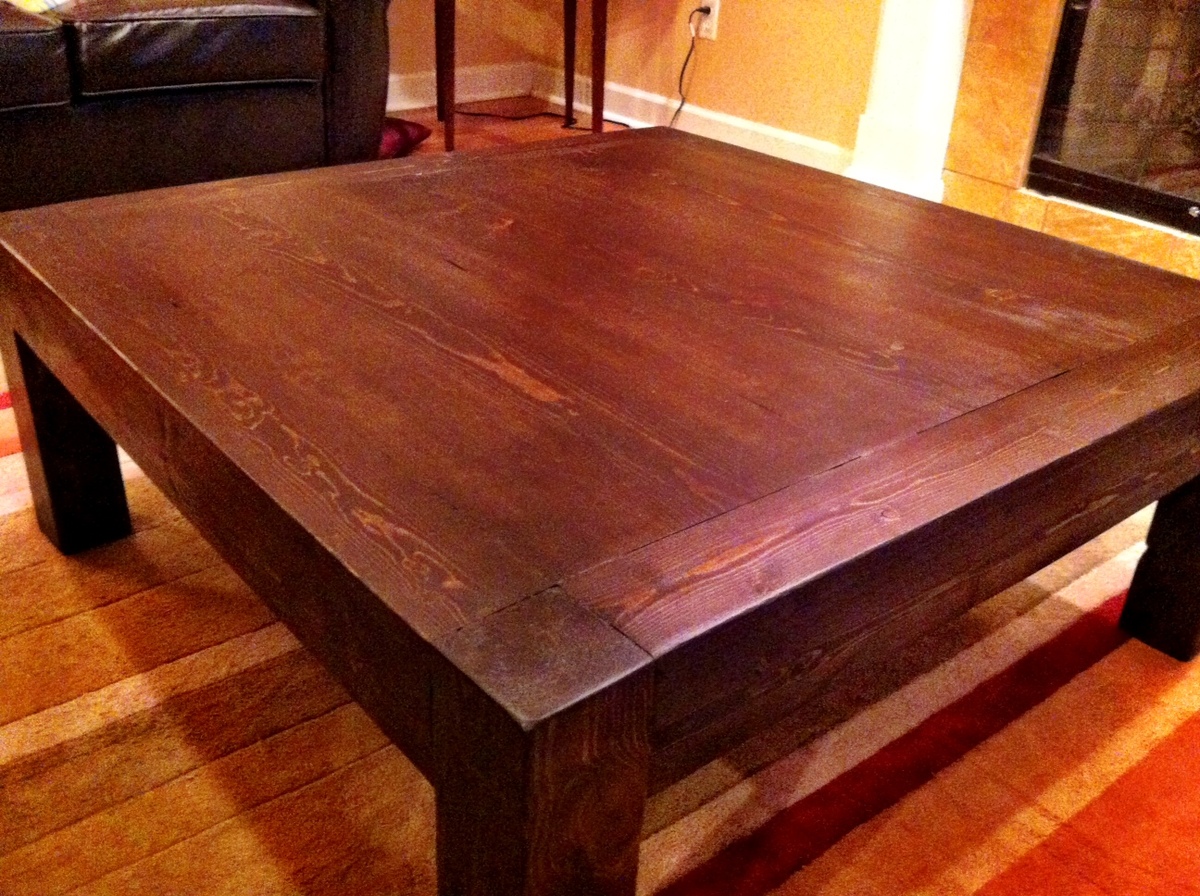
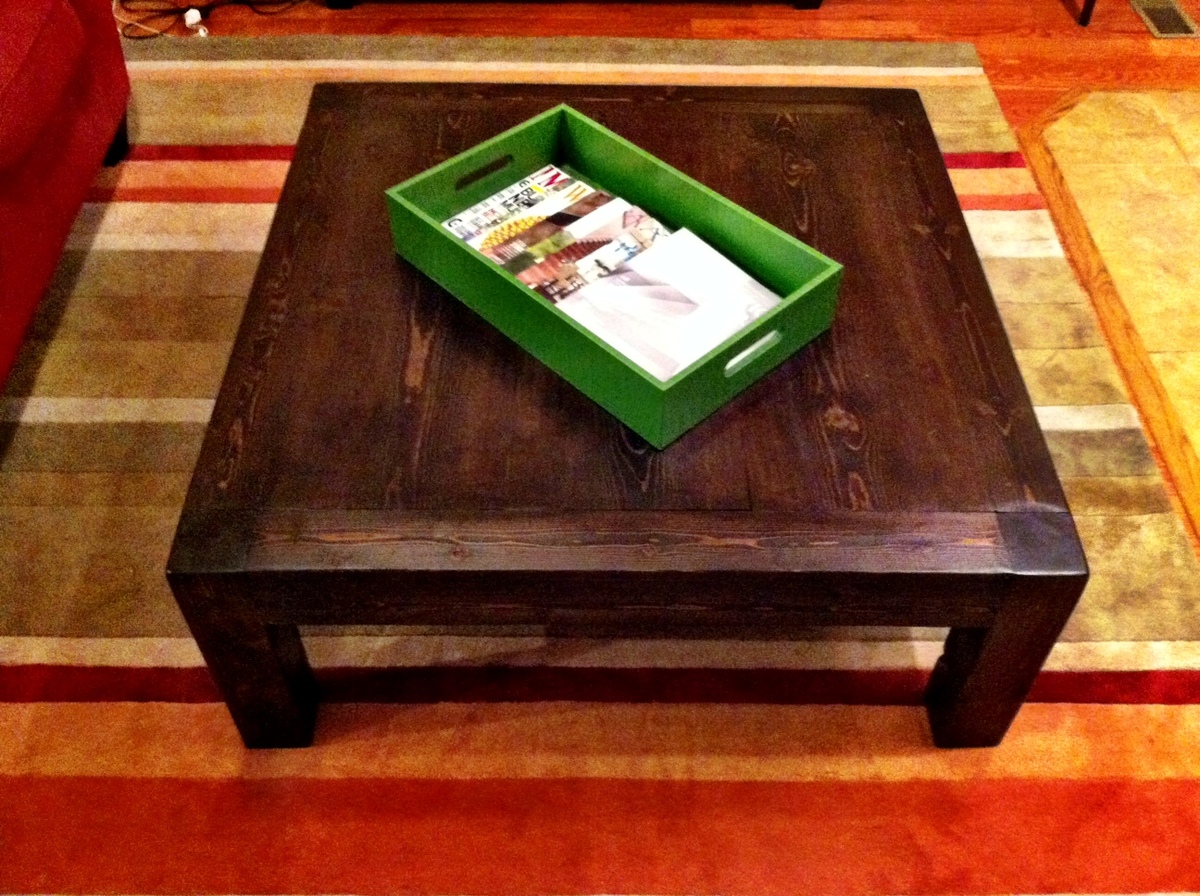
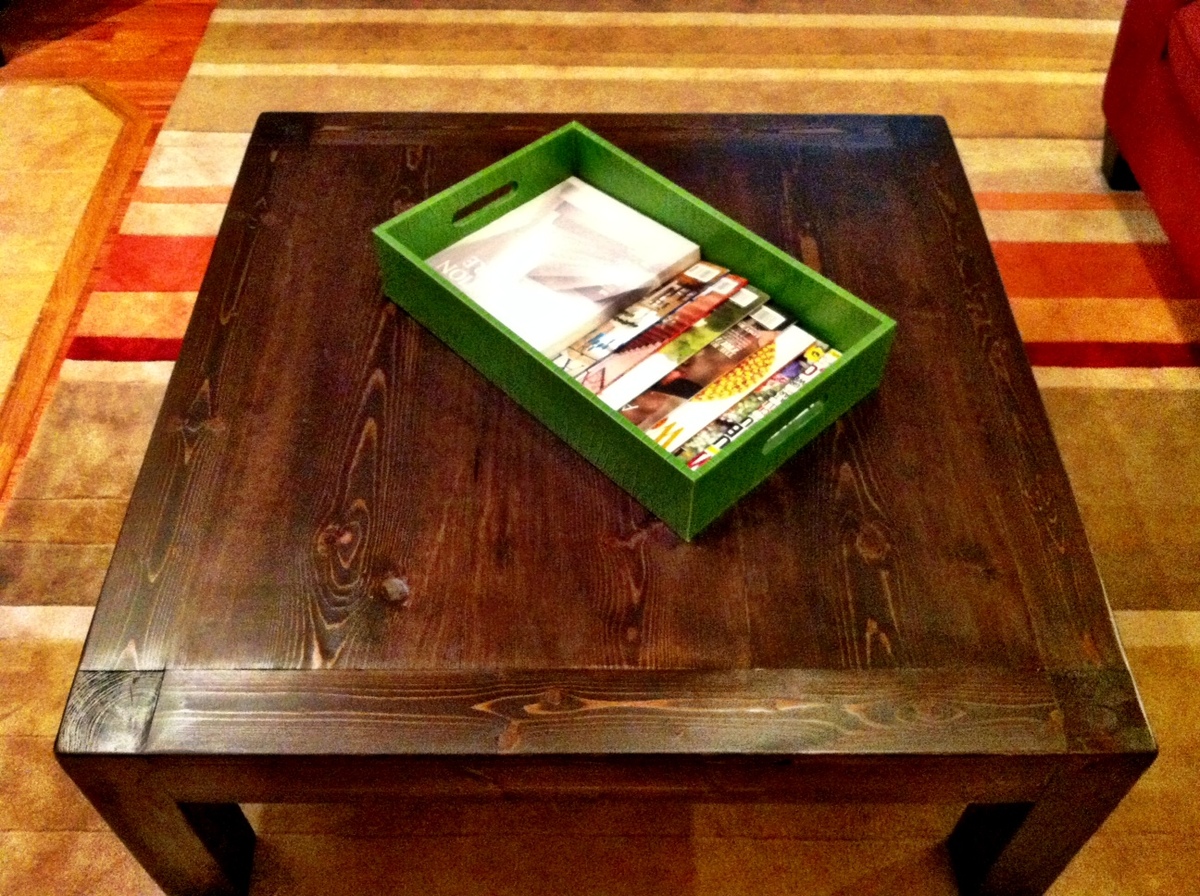
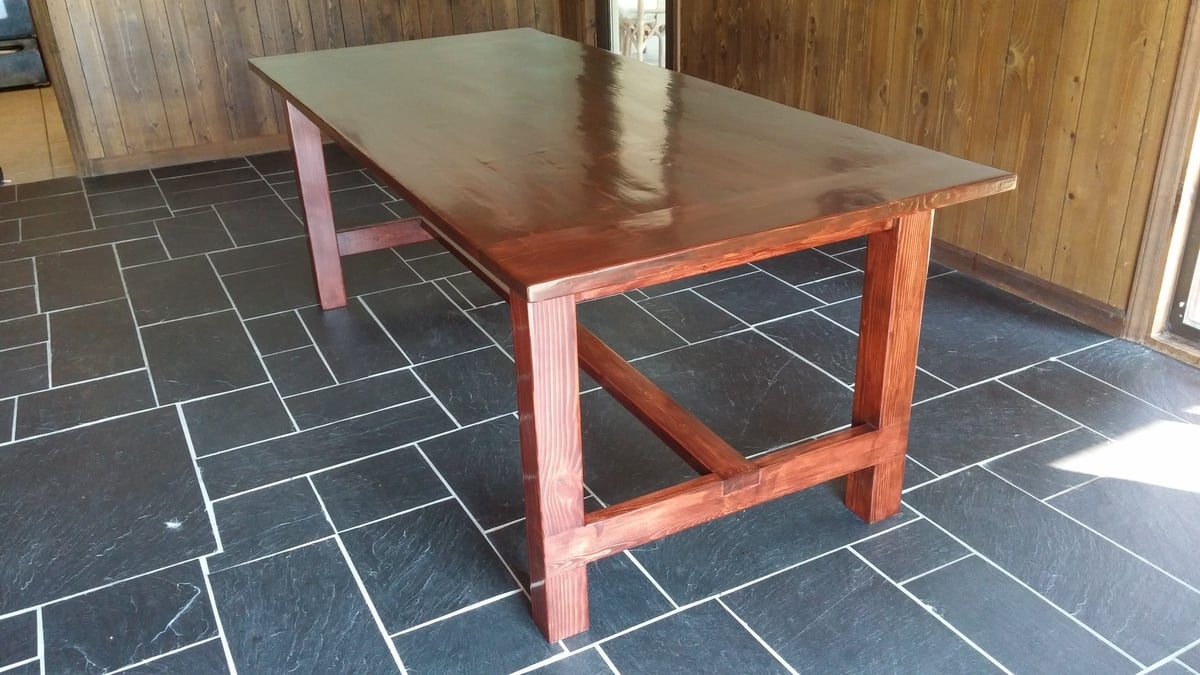
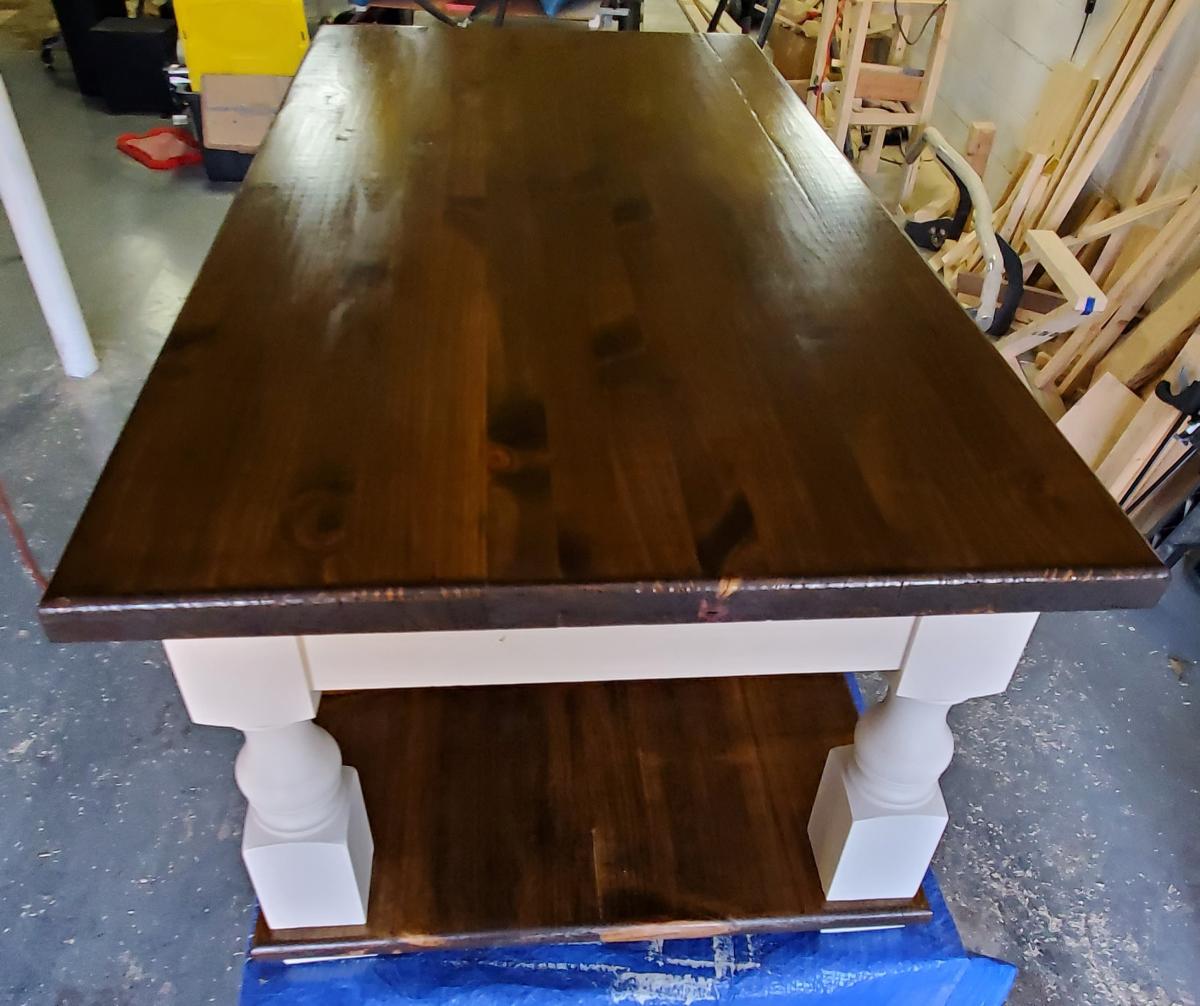
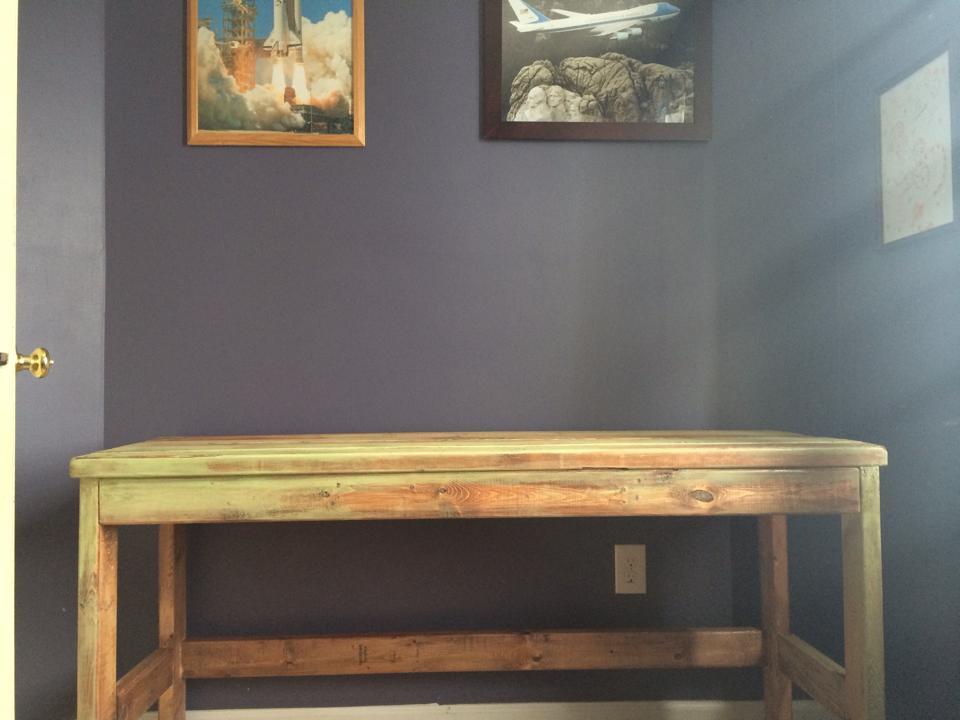
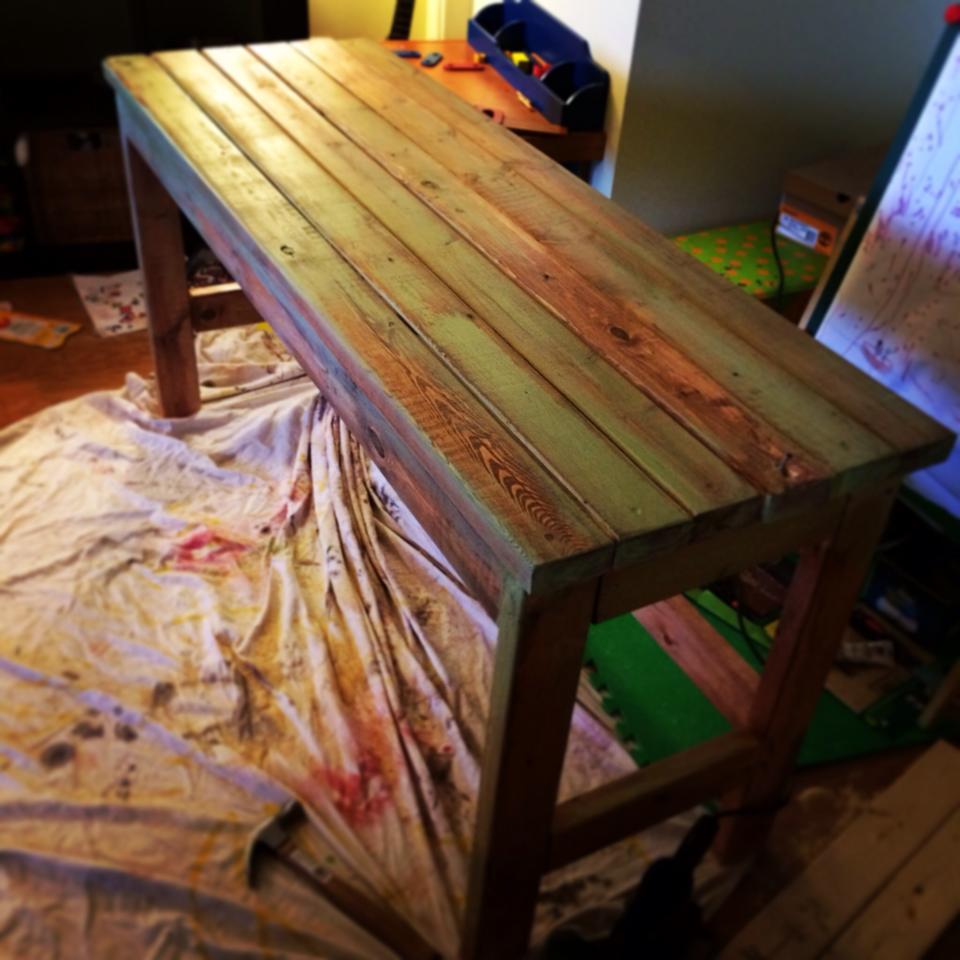
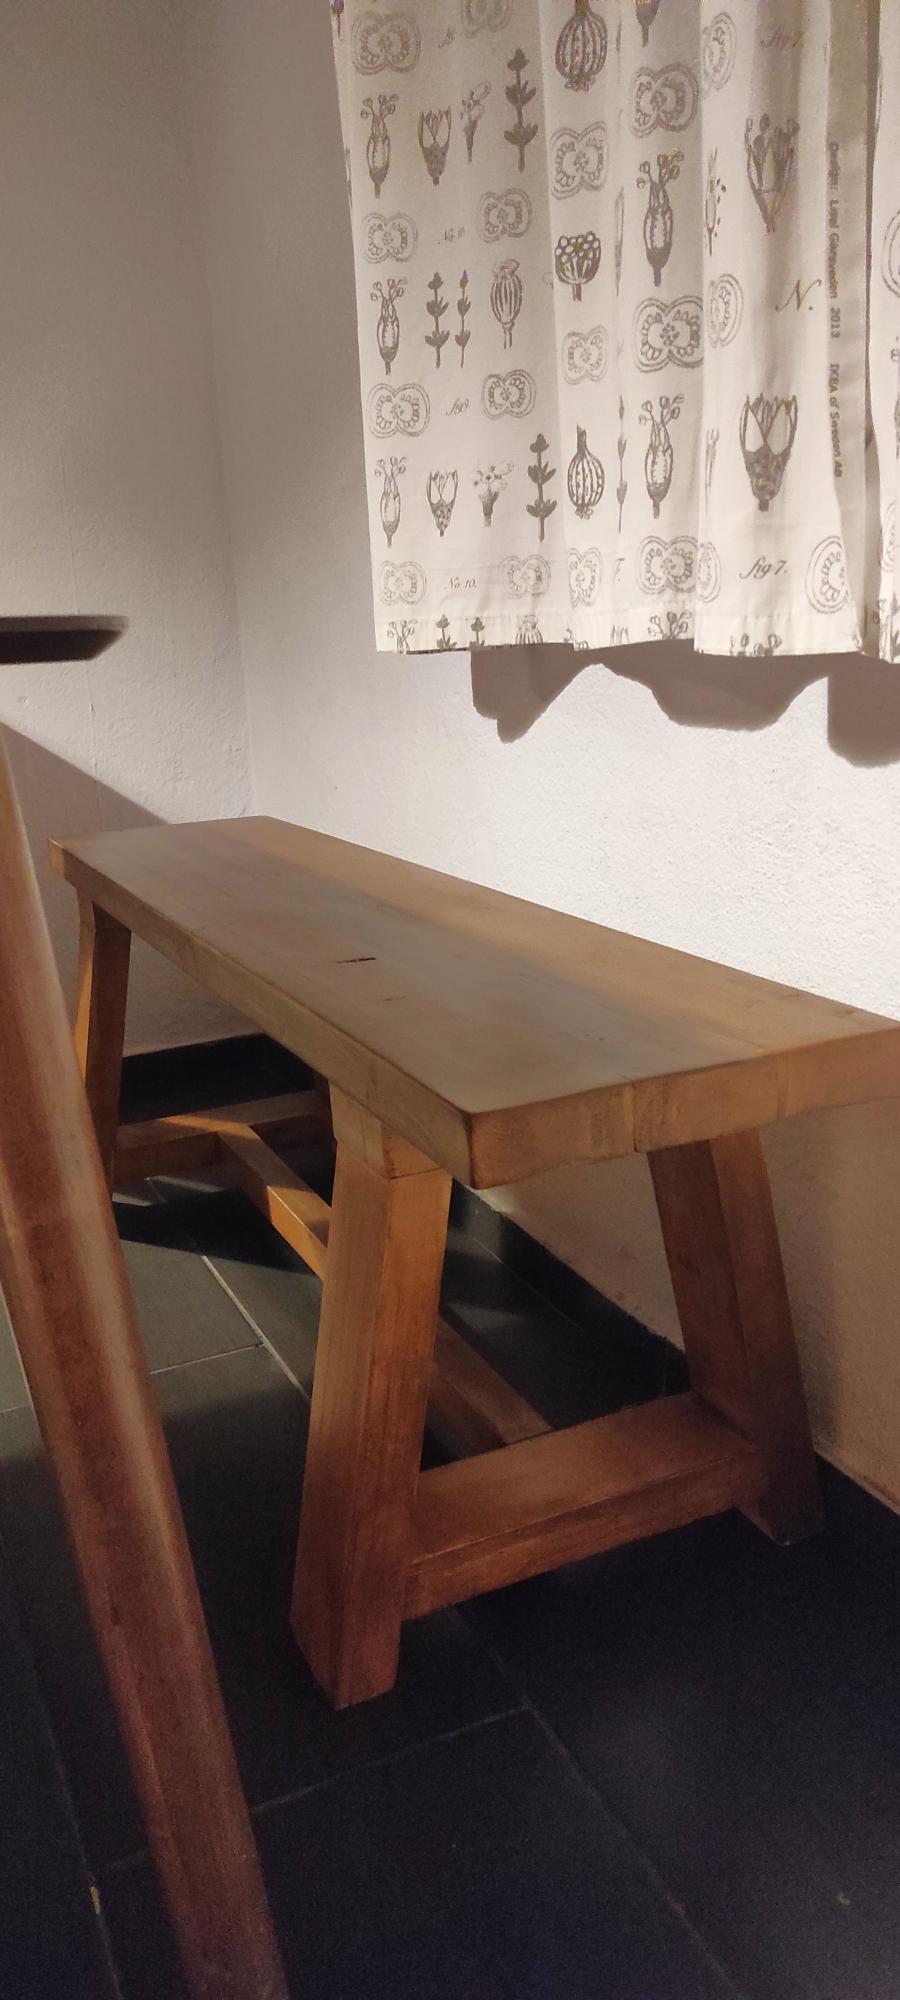
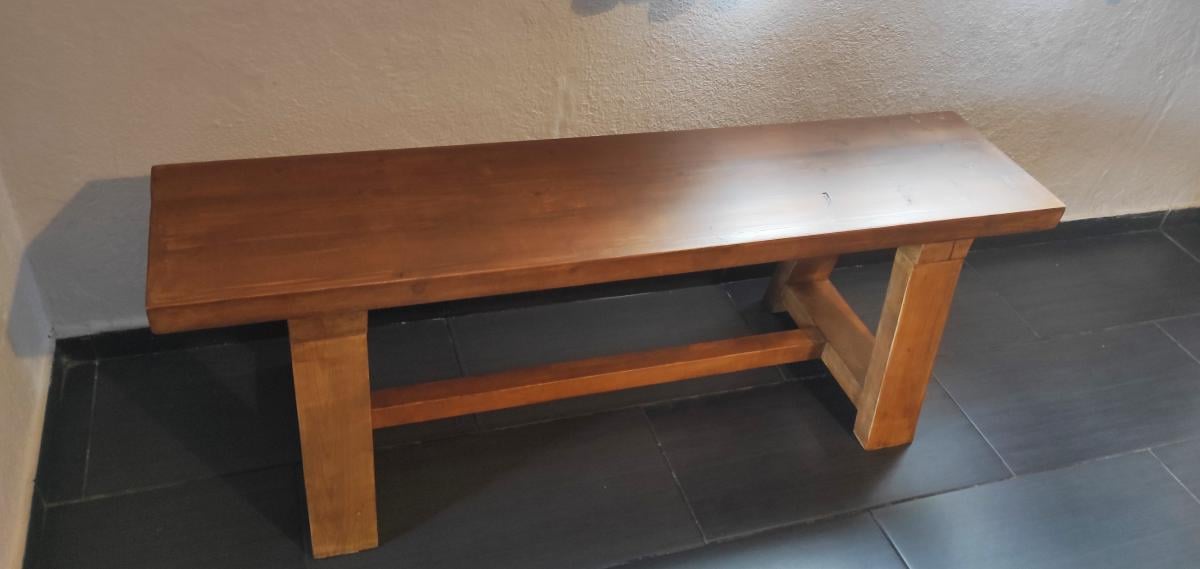
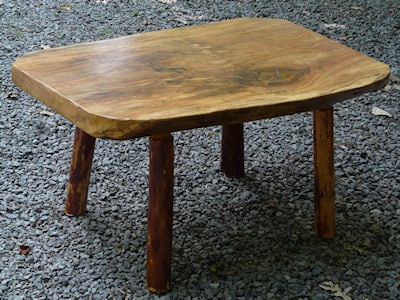
Small Balustrade Coffee Table
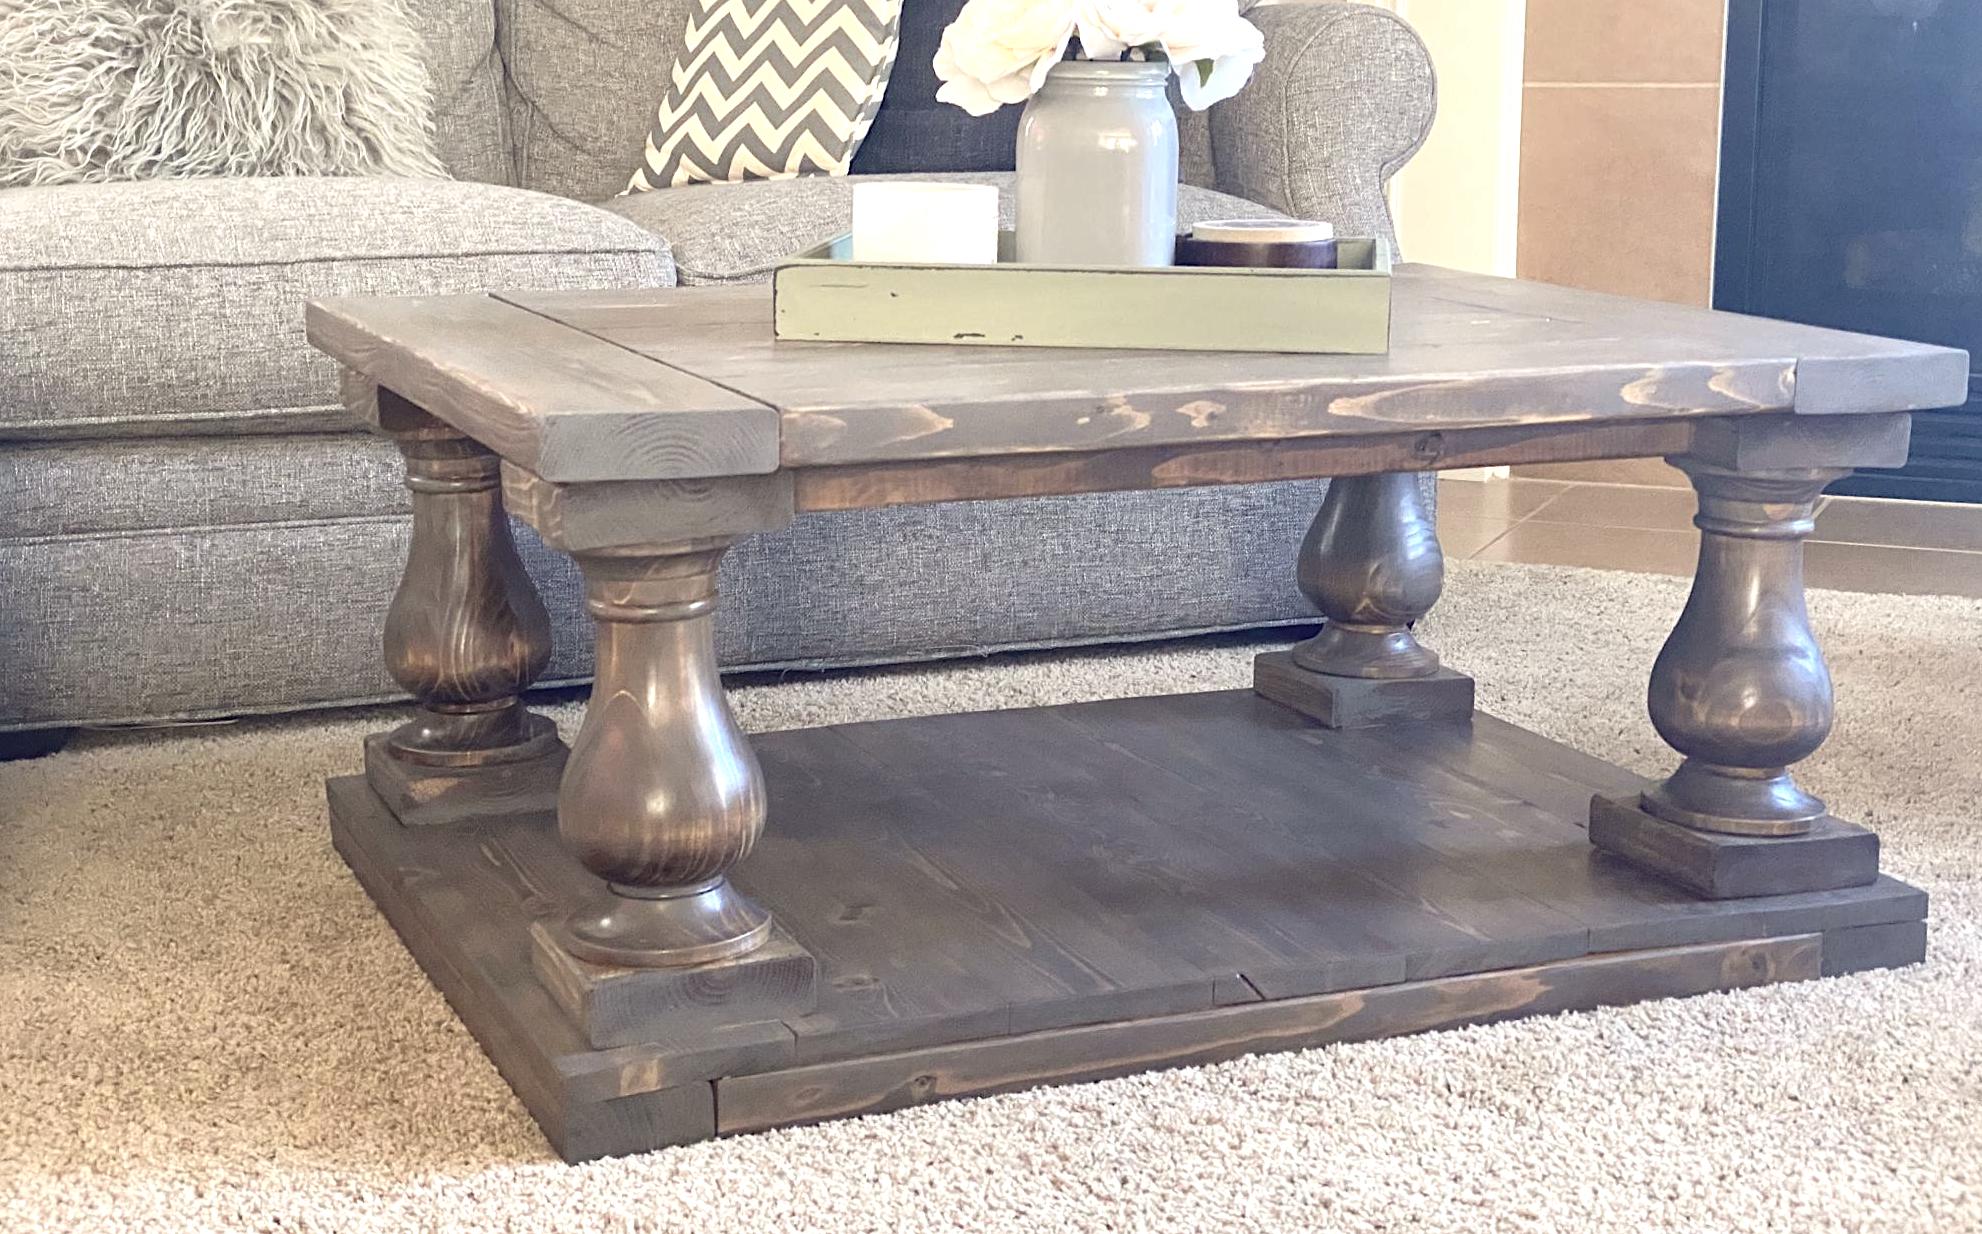
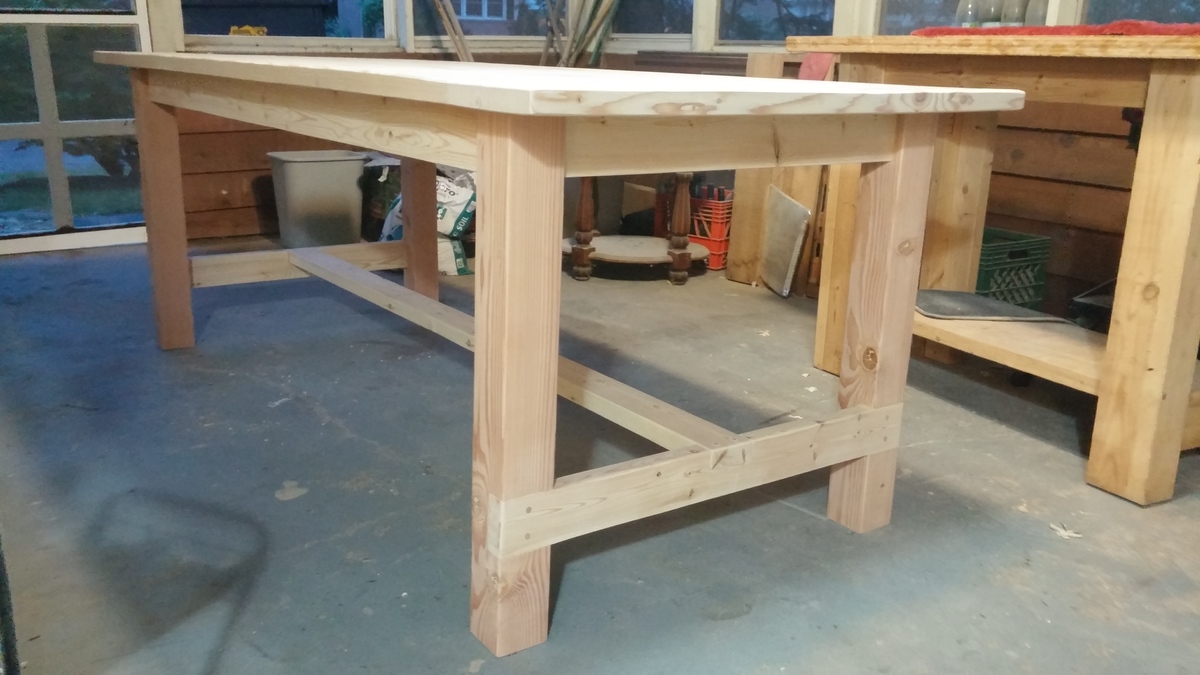
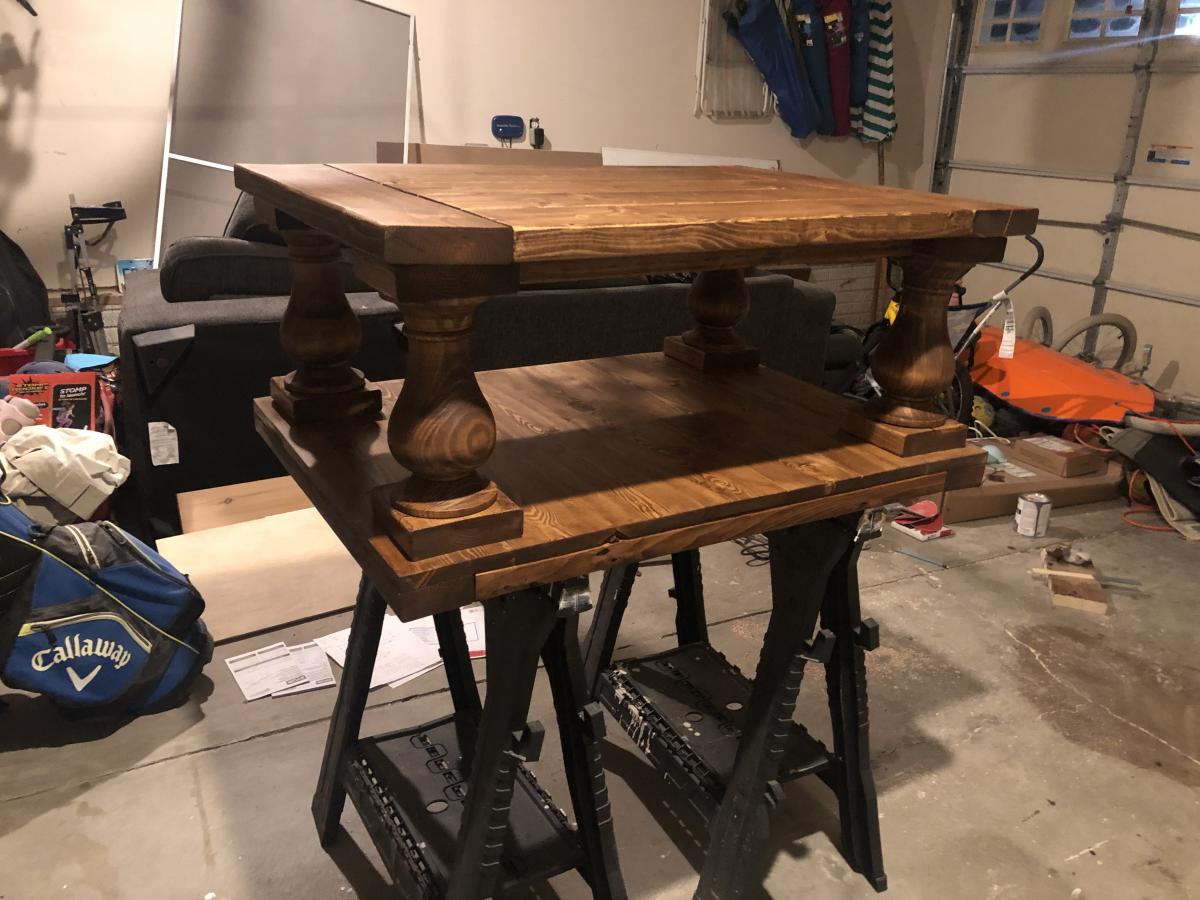
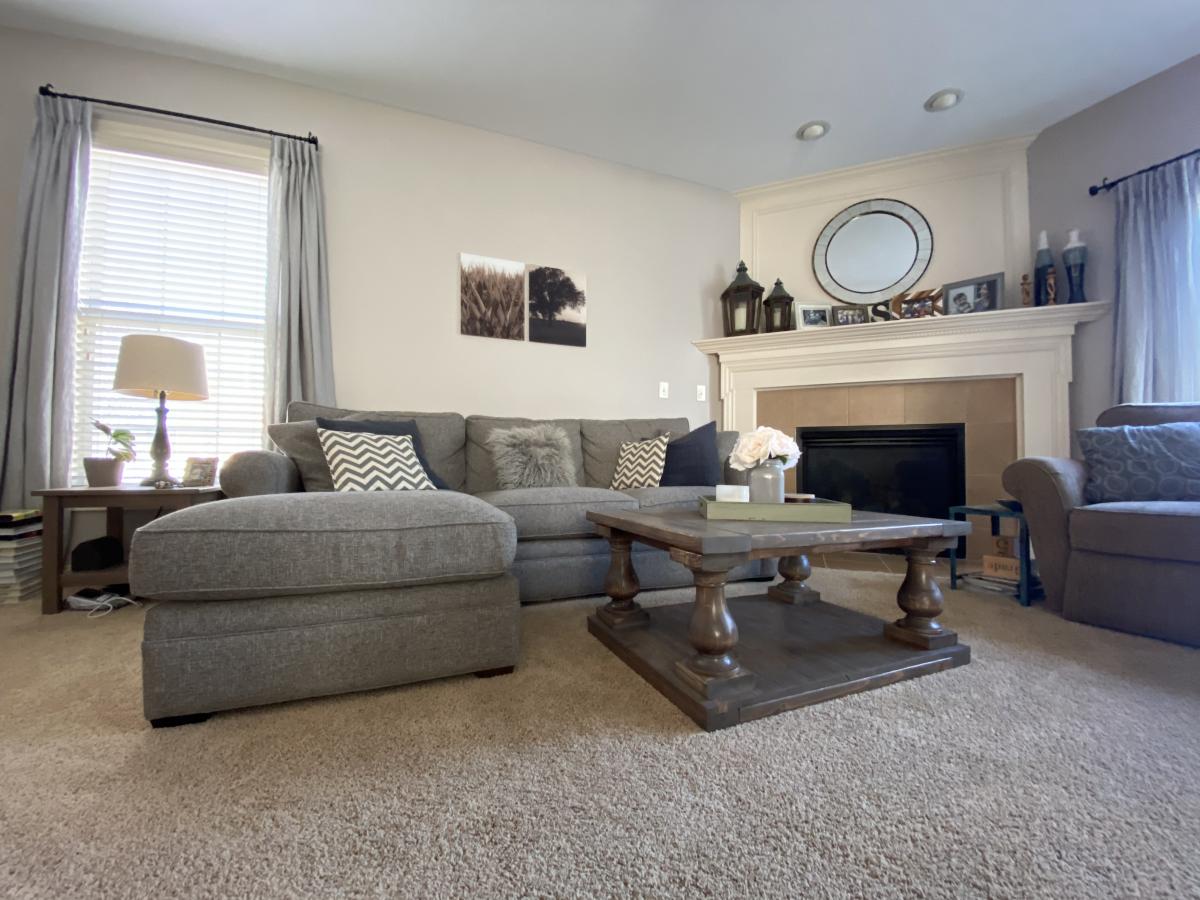
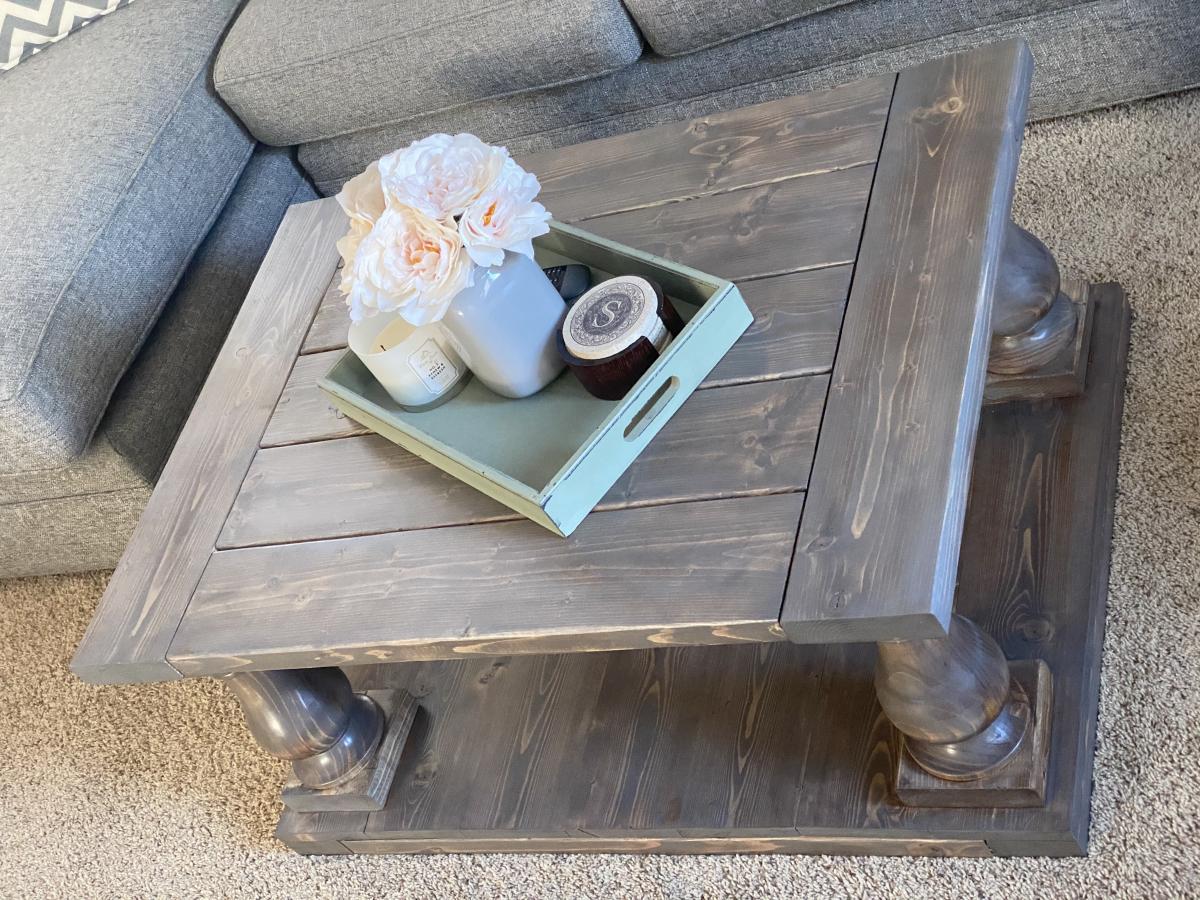
This might be my favorite build yet! We made some minor modifications to the plan since we only needed a 2’ x 3’ table. The legs were ordered from Osborne Wood - delivery was super quick and they make the table! The plan was easy to follow. I still can’t get over how much I love the final product!

Built from Plan(s)
Estimated Cost
$200
Estimated Time Investment
Day Project (6-9 Hours)
Finish Used
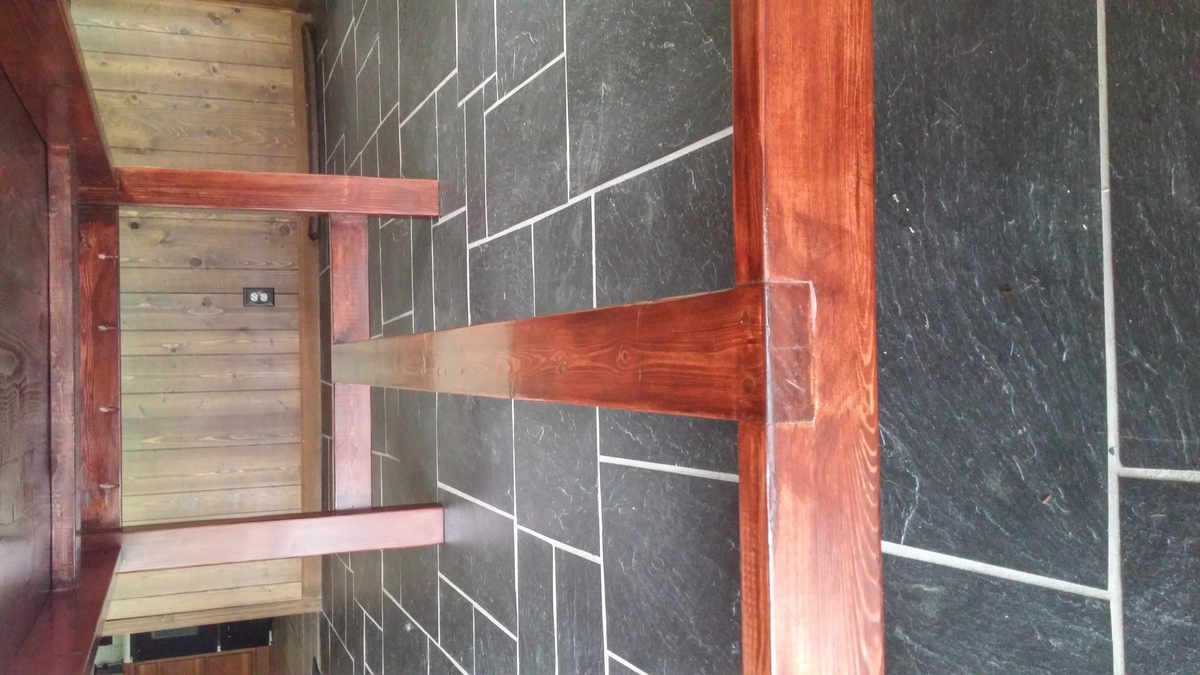
1 coat of special walnut and 1 coat of weathered grey. I used a wipe on poly for the legs and water based triple thick satin finish poly for the surfaces.
Recommended Skill Level
Intermediate