Farmouse

My first building project ever. Love it and plan on putting it in my dining eventually

My first building project ever. Love it and plan on putting it in my dining eventually
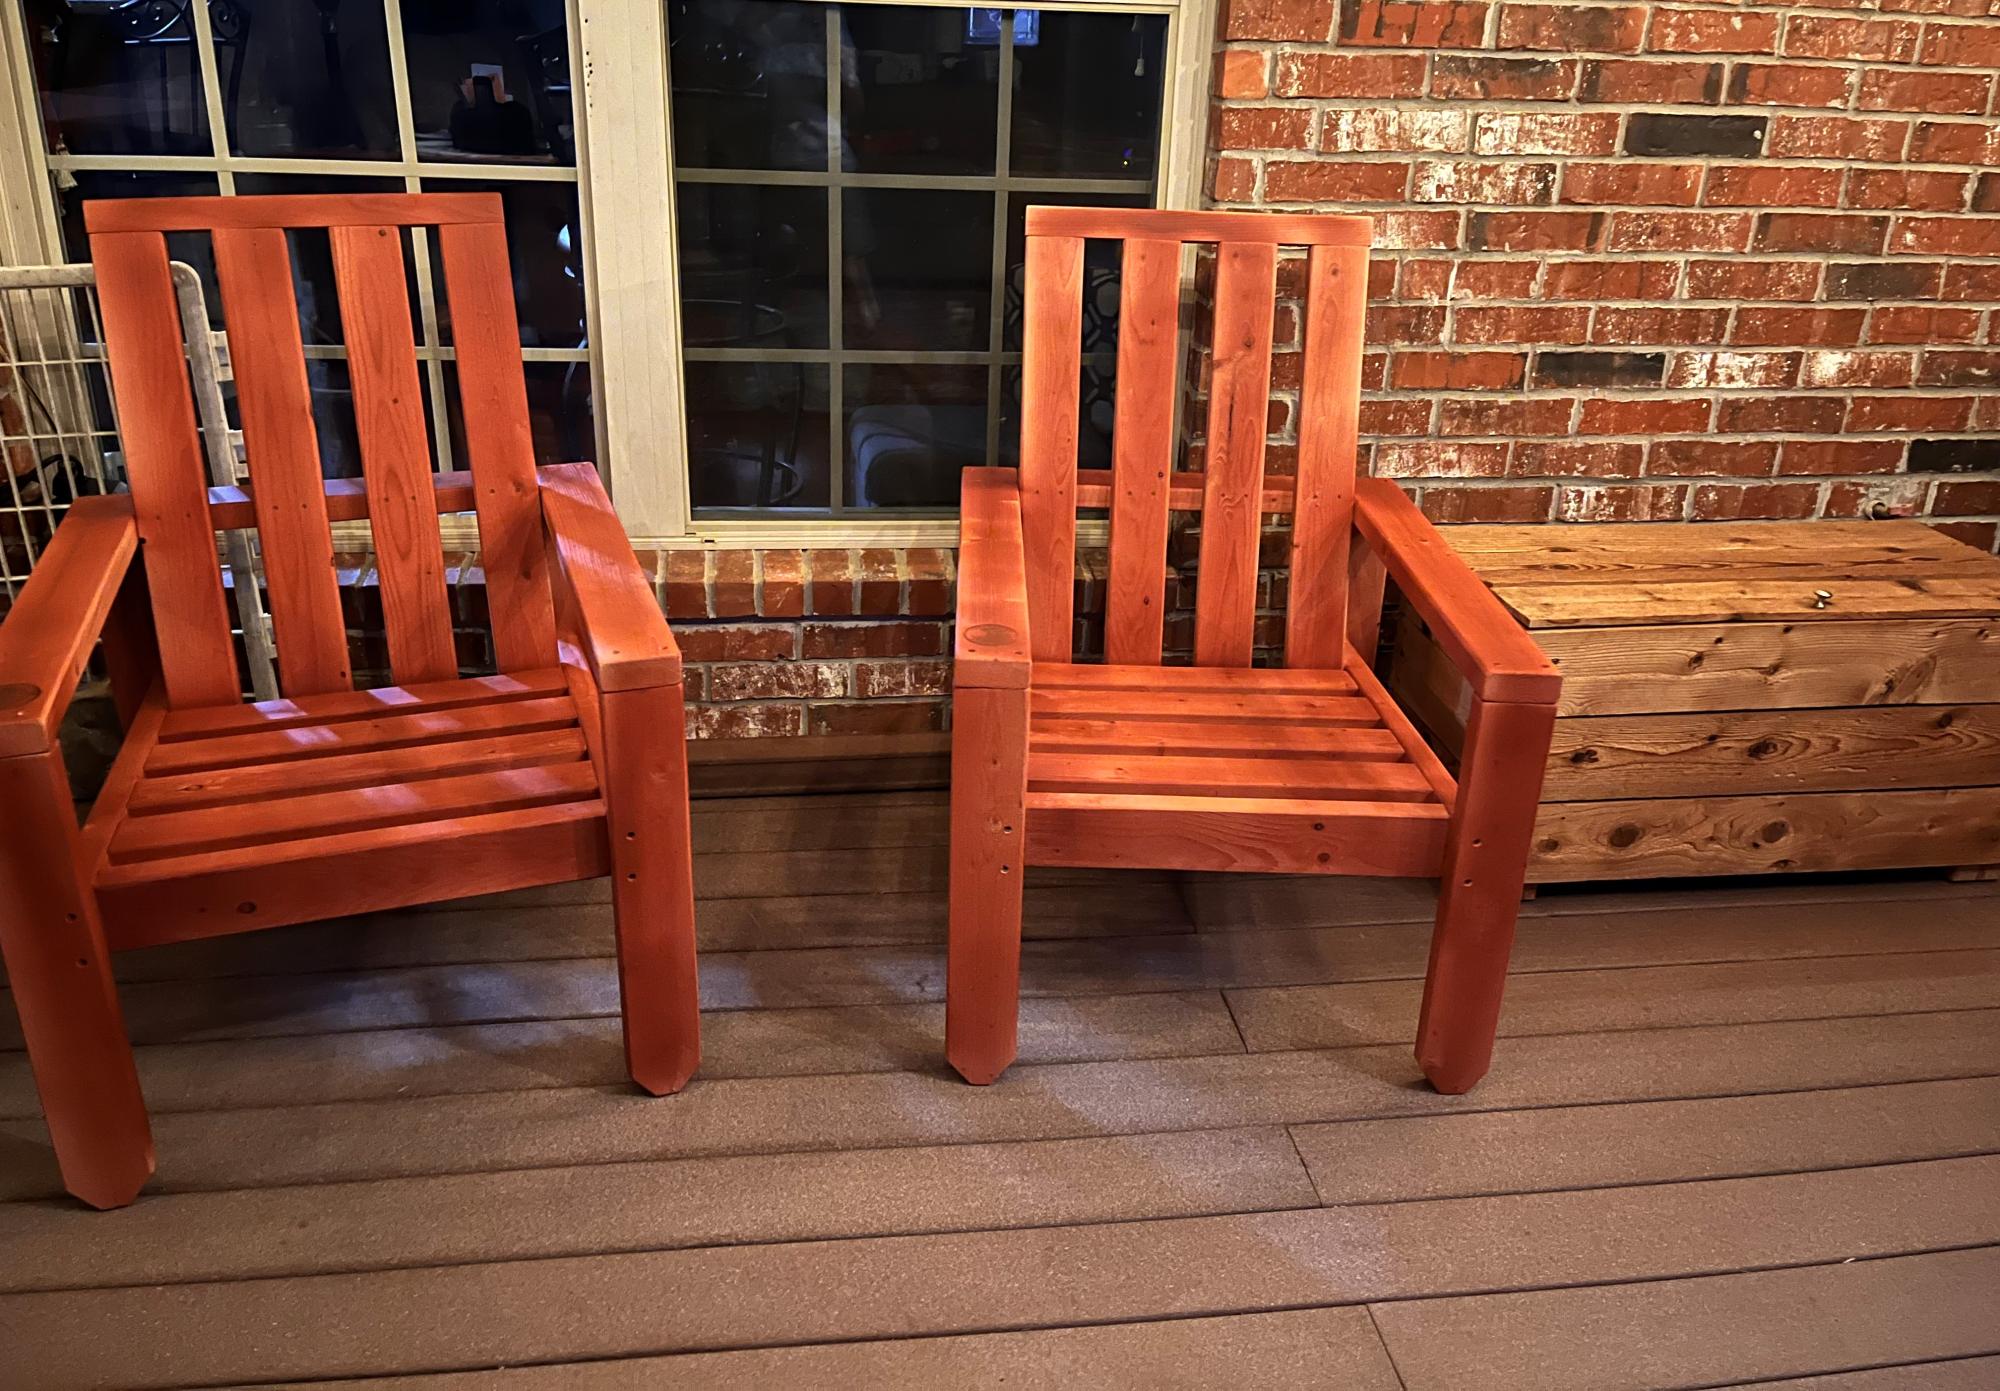
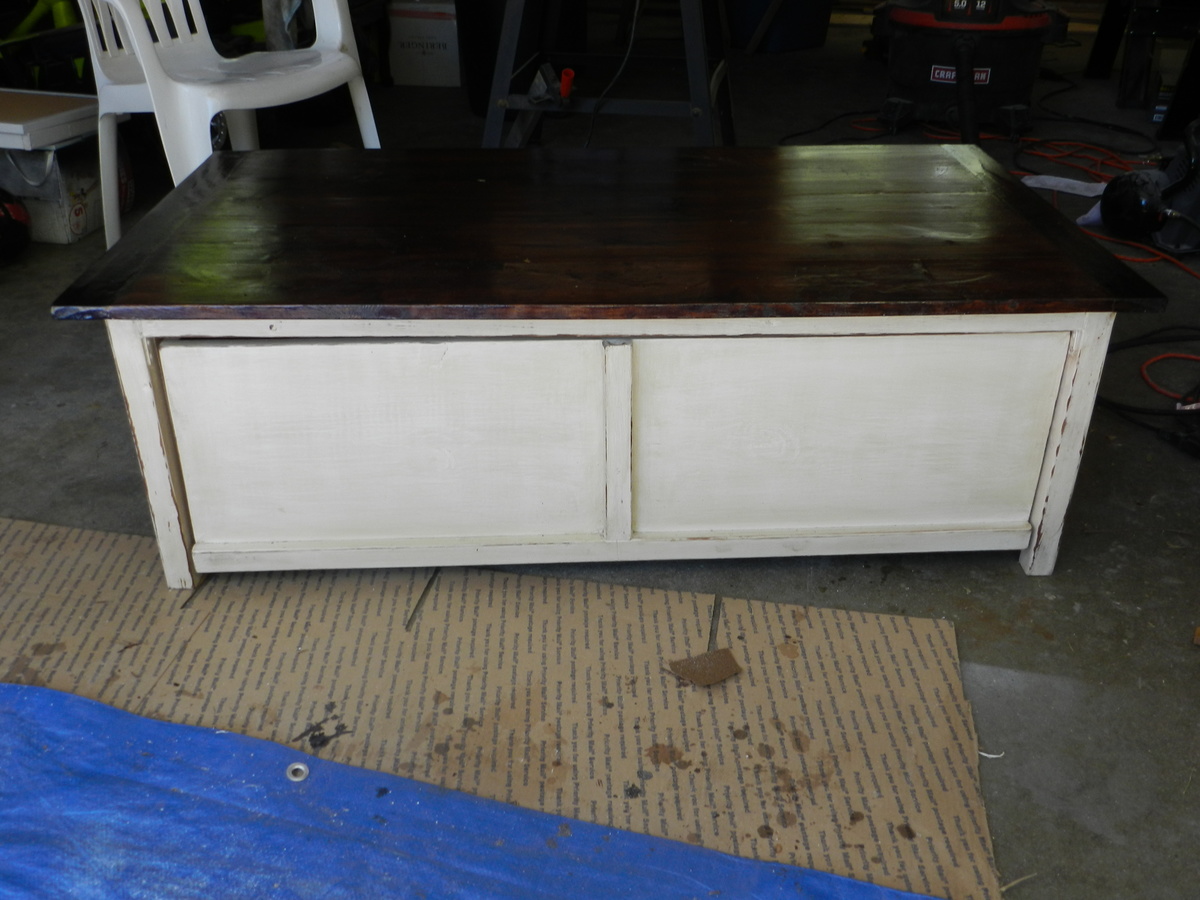
Ana White chairs along side my Ana White cedar storage chest (one of my 1st builds). Ana, thank you for the plans & for inspiring us to build!
Keith from Springdale, AR
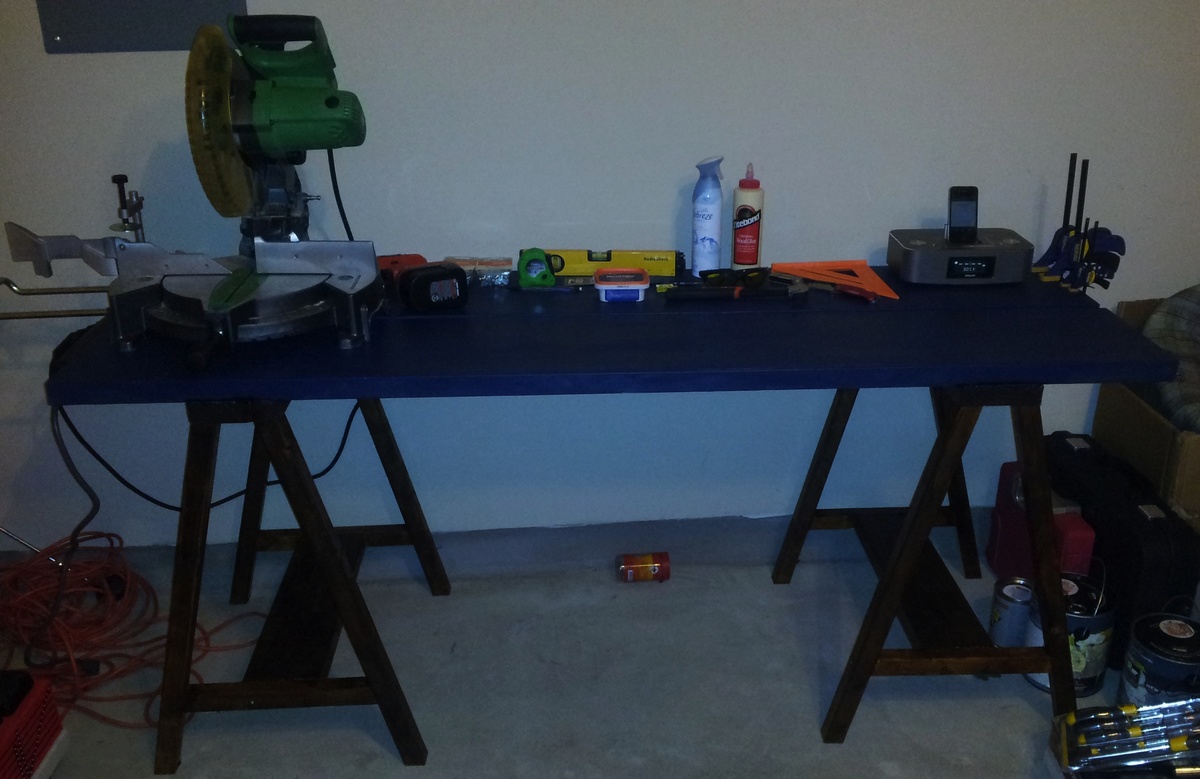
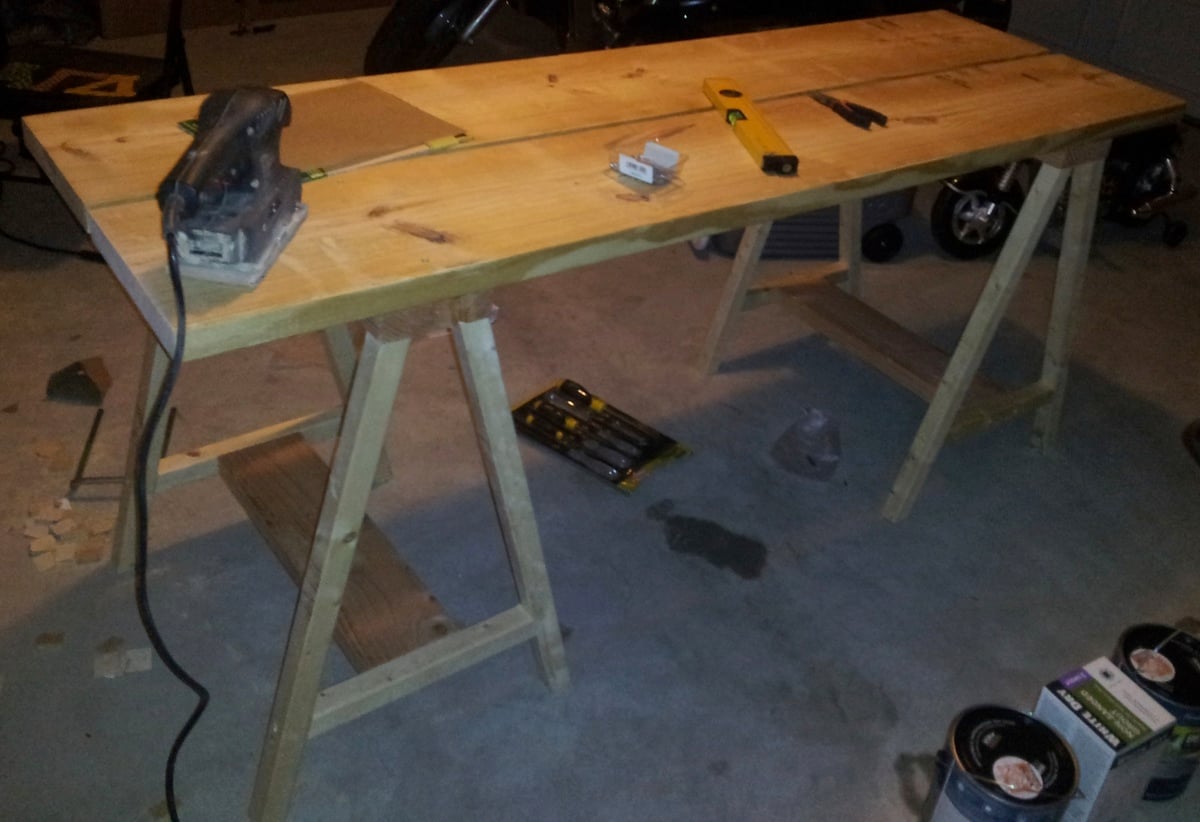
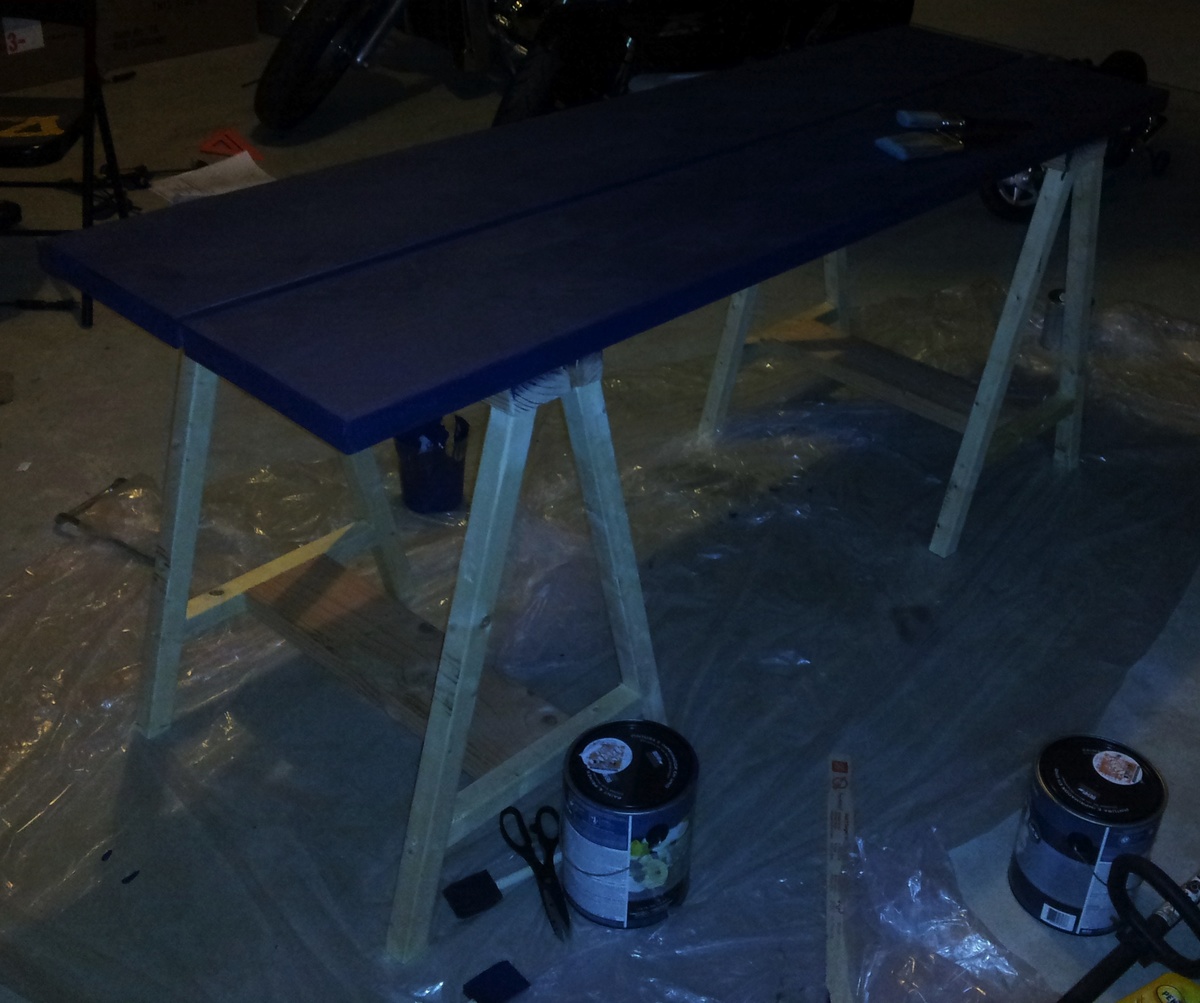
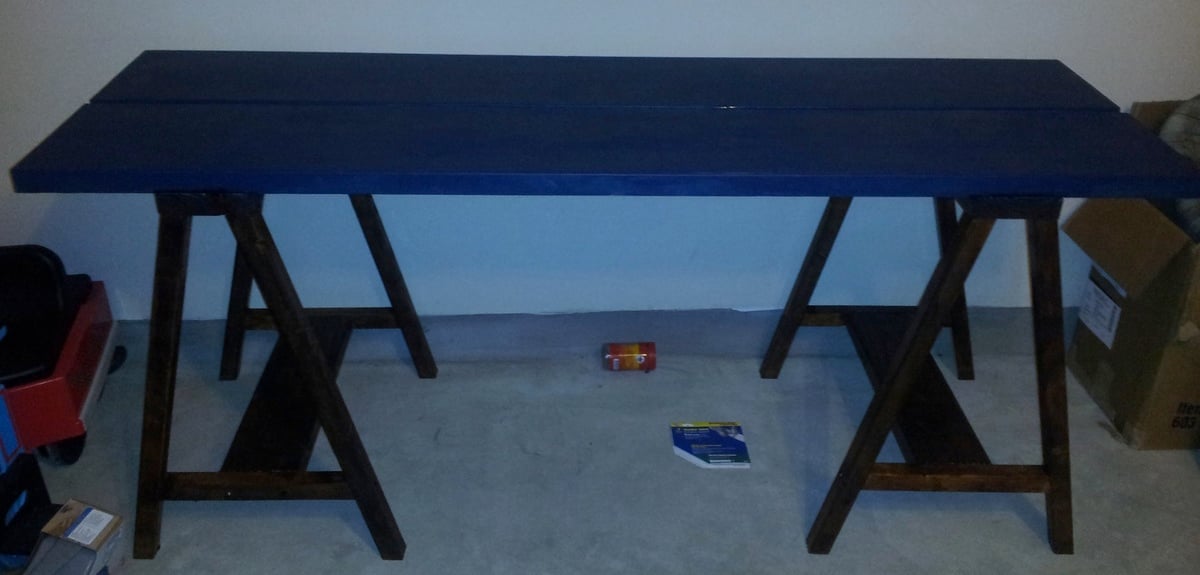
This was my first project off of Ana's site. I followed her simple sawhorse table plans verbatim. The only thing different I did was use a self-made chalkboard paint for the top (instructions under the finish section) and added screws to the left side to mount my power strip with (easy on and off for everything on the bench). I made the top a chalkboard top so that I could write notes on the table and mark measurements for various projects. Costs were $30 for wood (some leftover), $8 for paint, $2 for screws, and $5 for surge protected power strip. If you have any other questions please let me know.
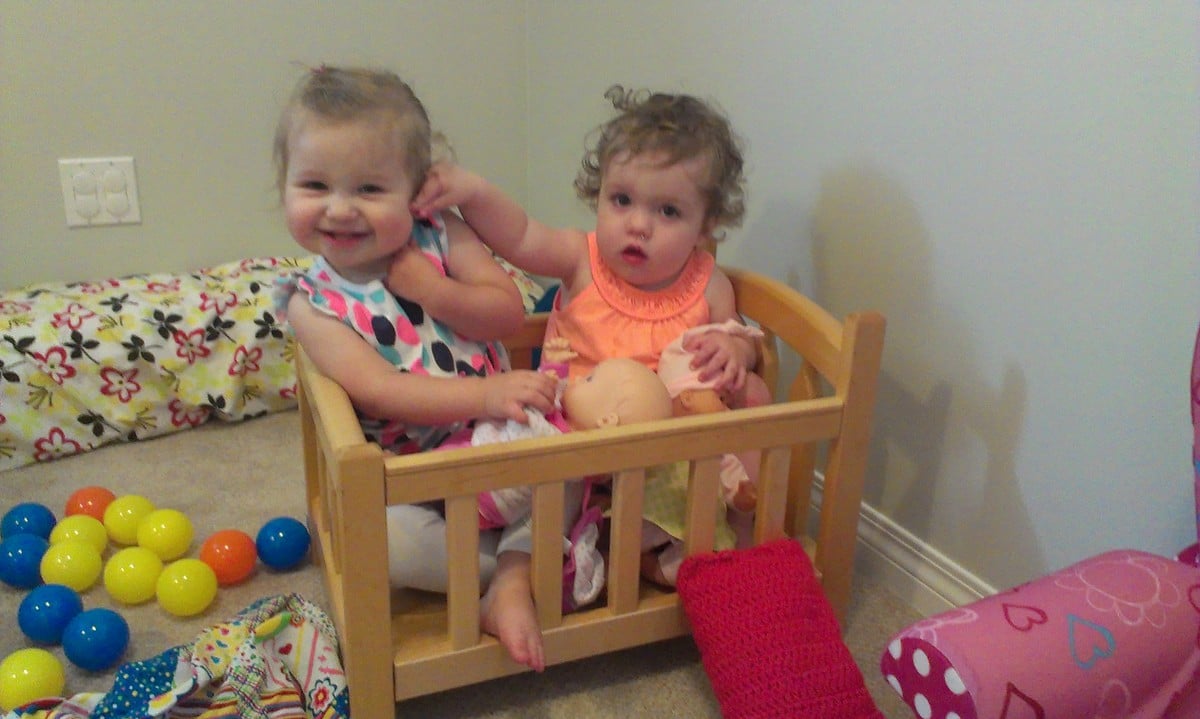
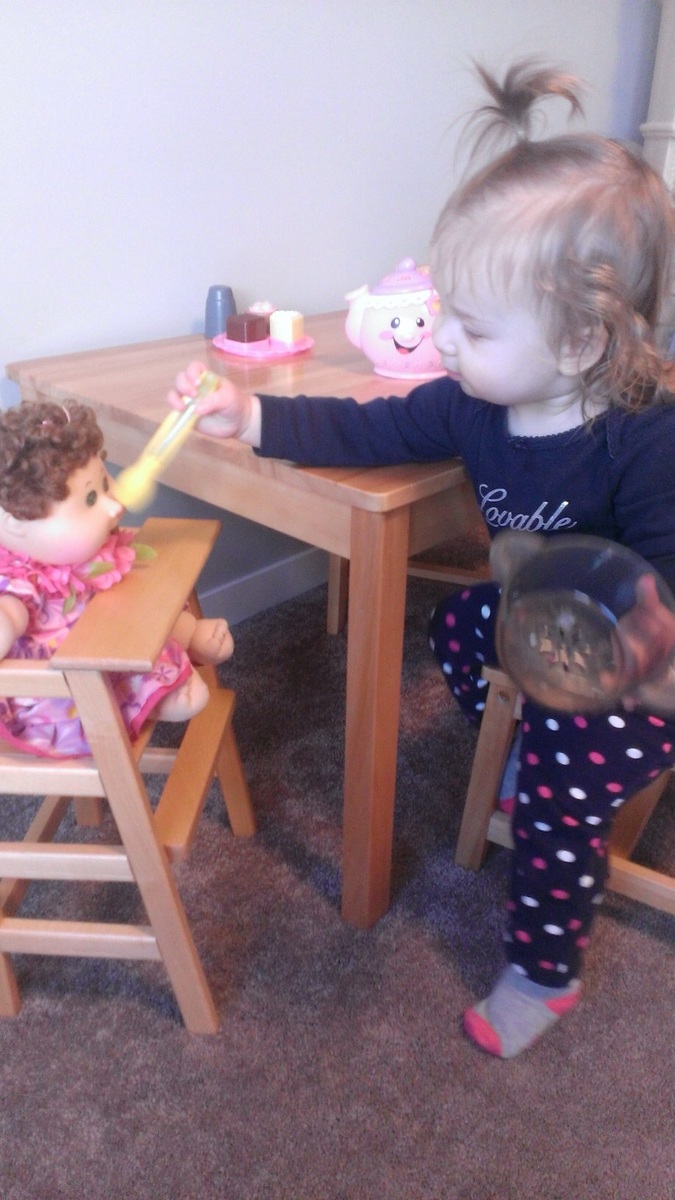
We were trying to figure out what to give our granddaughter for Christmas when the great grandparents arrived with our 2 kids old maple crib from the 80's. After much debate(well, not really, apparently the crib now breaks every law in the book!) we decided to repurpose it into keepsakes. Enter Ana White! We settled on a doll crib and doll highchair. After many design changes trying to best utilize the old wood we came up with these. As you can see they were a hit and luckily very sturdy! There are now 2 doll cribs, 2 high chairs and 4 granddaughters, each family has a set as a keepsake. There are a few scraps left just in case a grandson happens along! Should be enough for a logging truck!
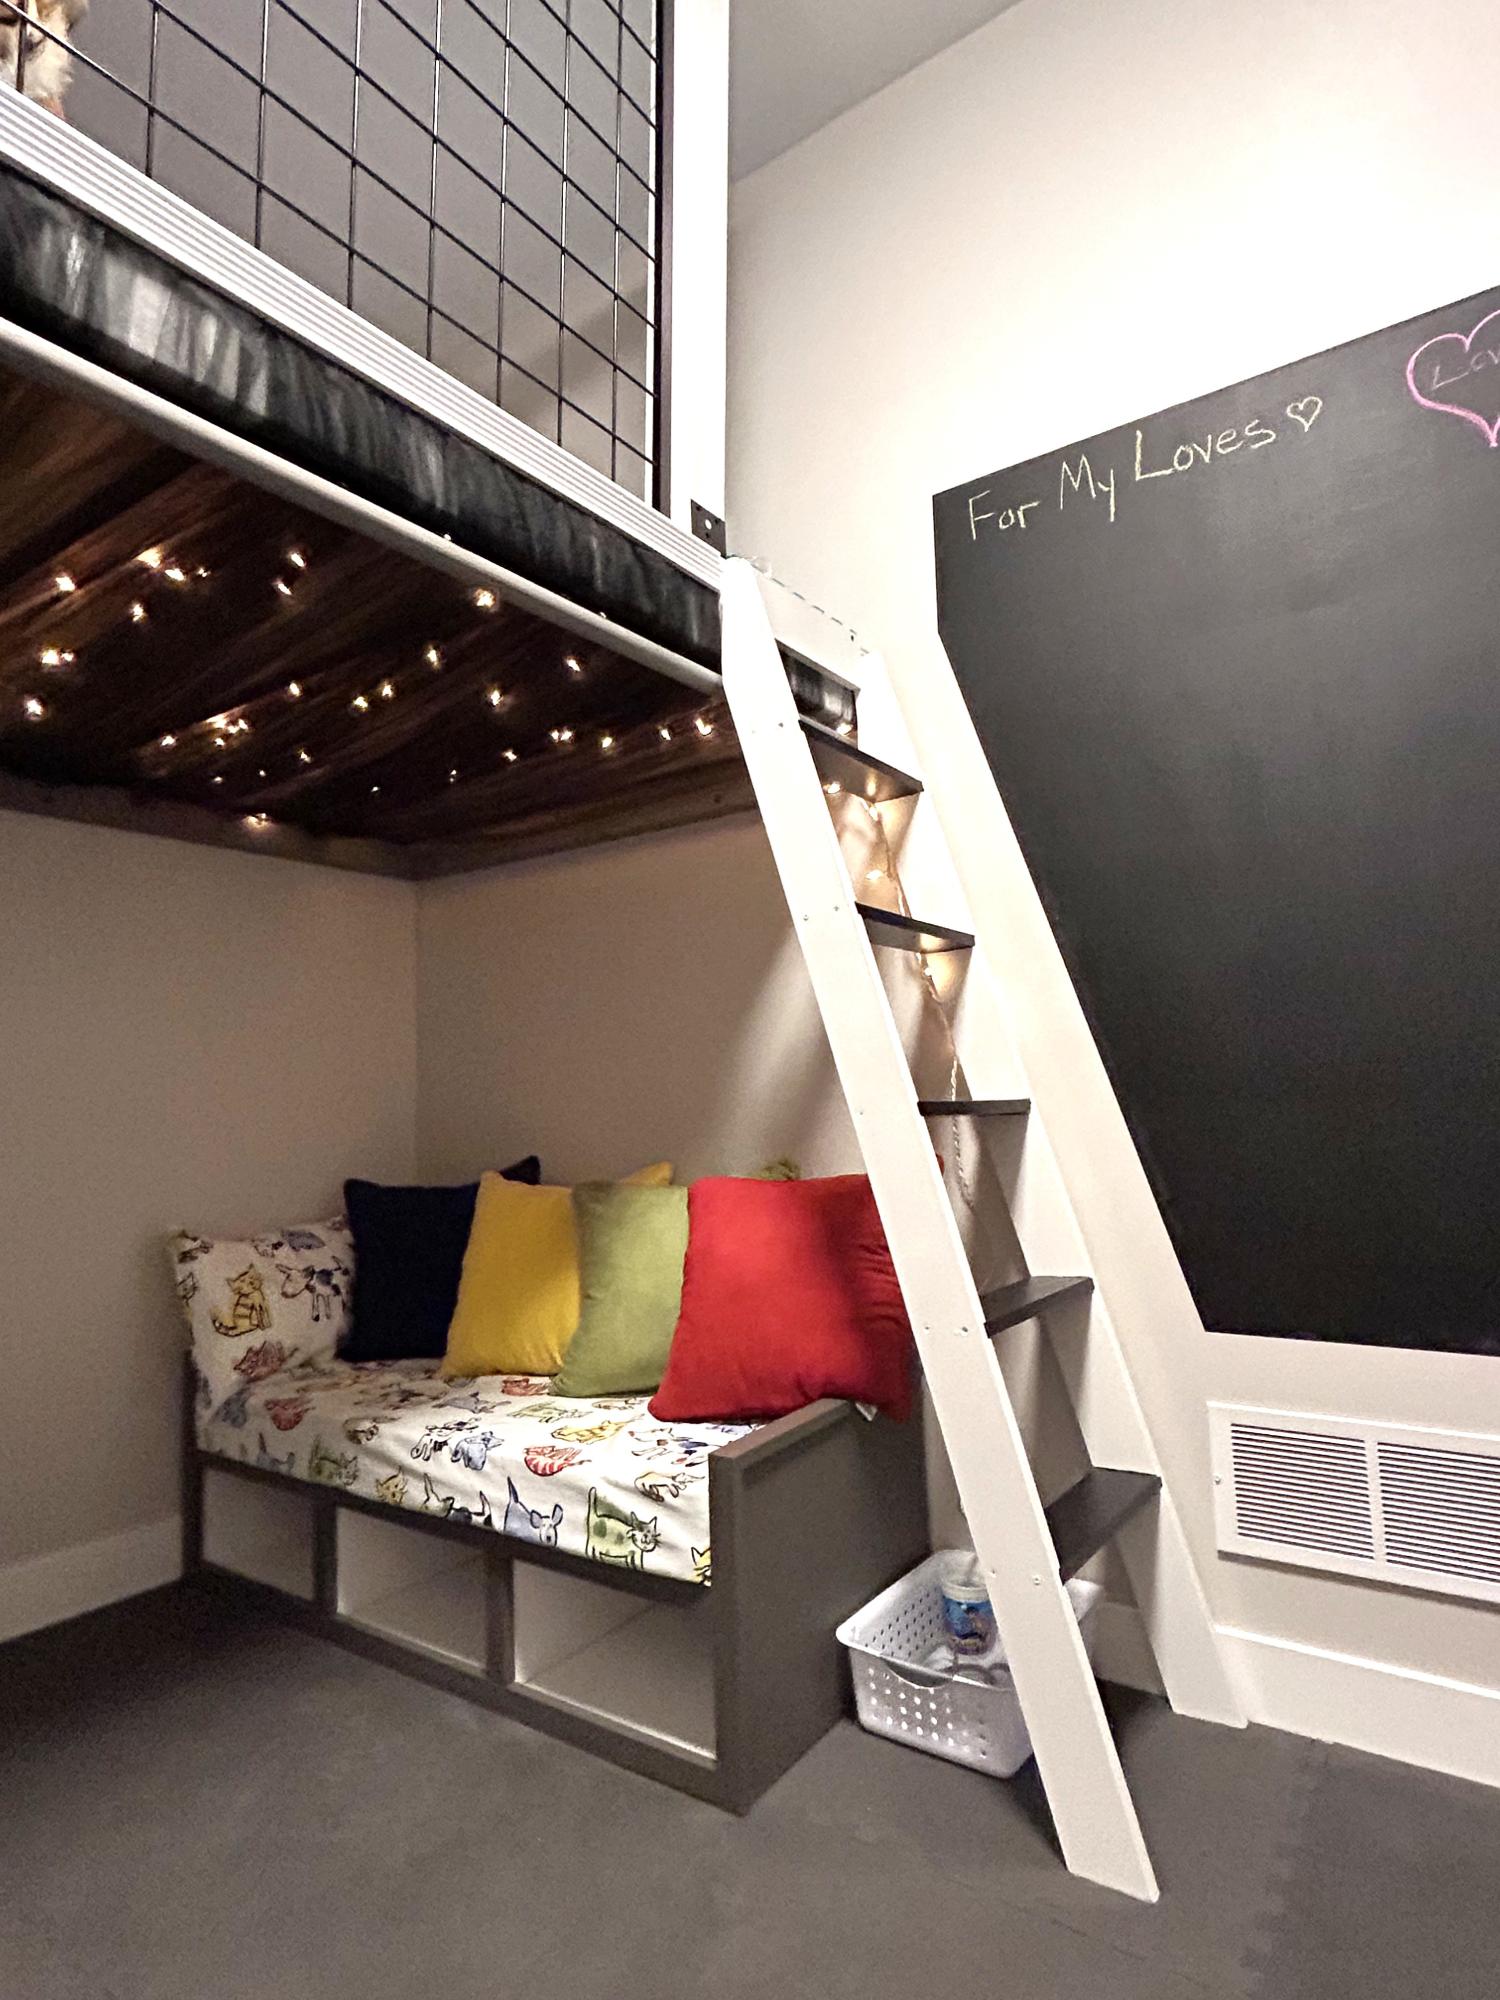
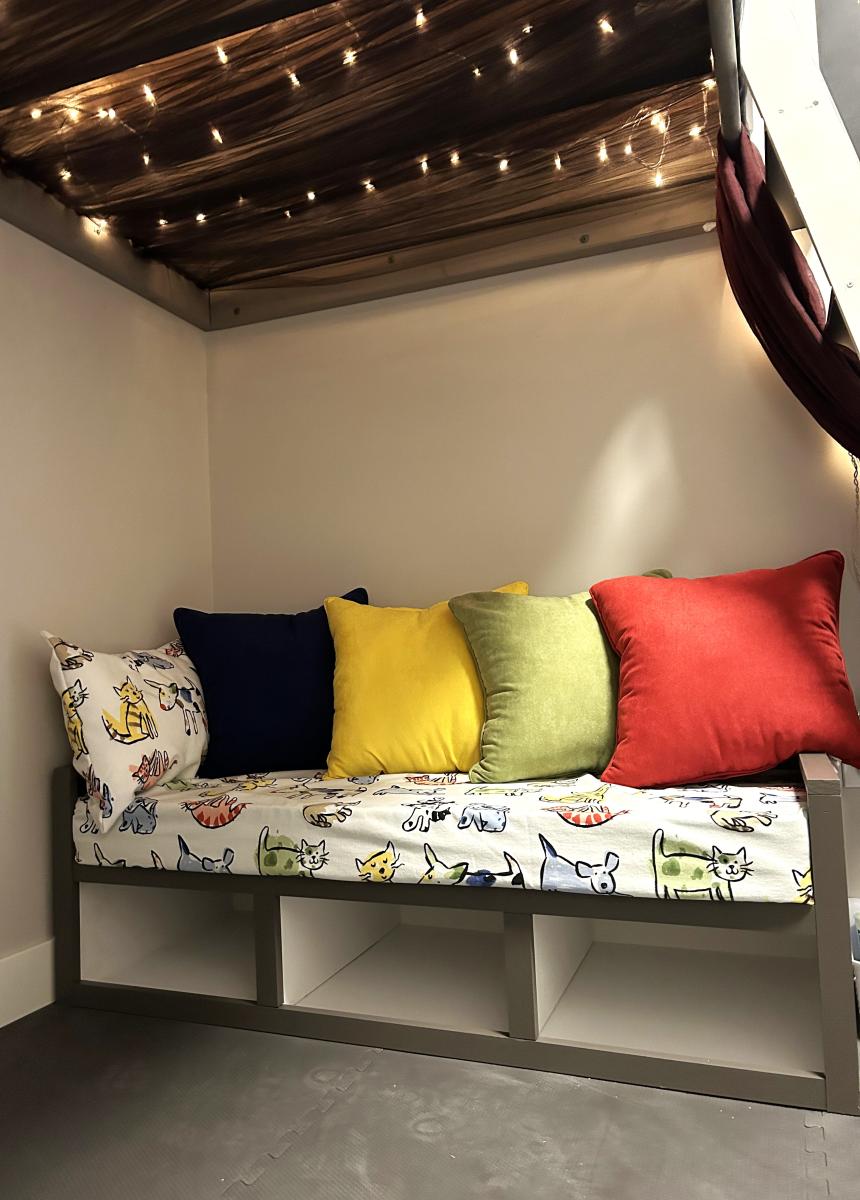
I created what I call the Kid Kave for our grandkids. I used the front entry bench plan to make a small sofa for under the loft. My best piece yet!
My 11 year old son made this library cart for our homeschool books. He followed Ana's plans with a few changes on dimensions. I love how it turned out, and it is a perfect addition to our school room. We kept the cost low by using some wood and paint that we already had.
Simple pine farmhouse table, top is 2x6 Pine cut down to 5" wide strips top was joined with pocket screws and glue
Base is 4x4 pine joined with lag bolts
Longest part of the buld was sanding the top smooth, special care was needed in measurig the notches to fix the X-Brace legs
Tools: Drill, Table Saw, Circular Saw, 1/2 socket drive
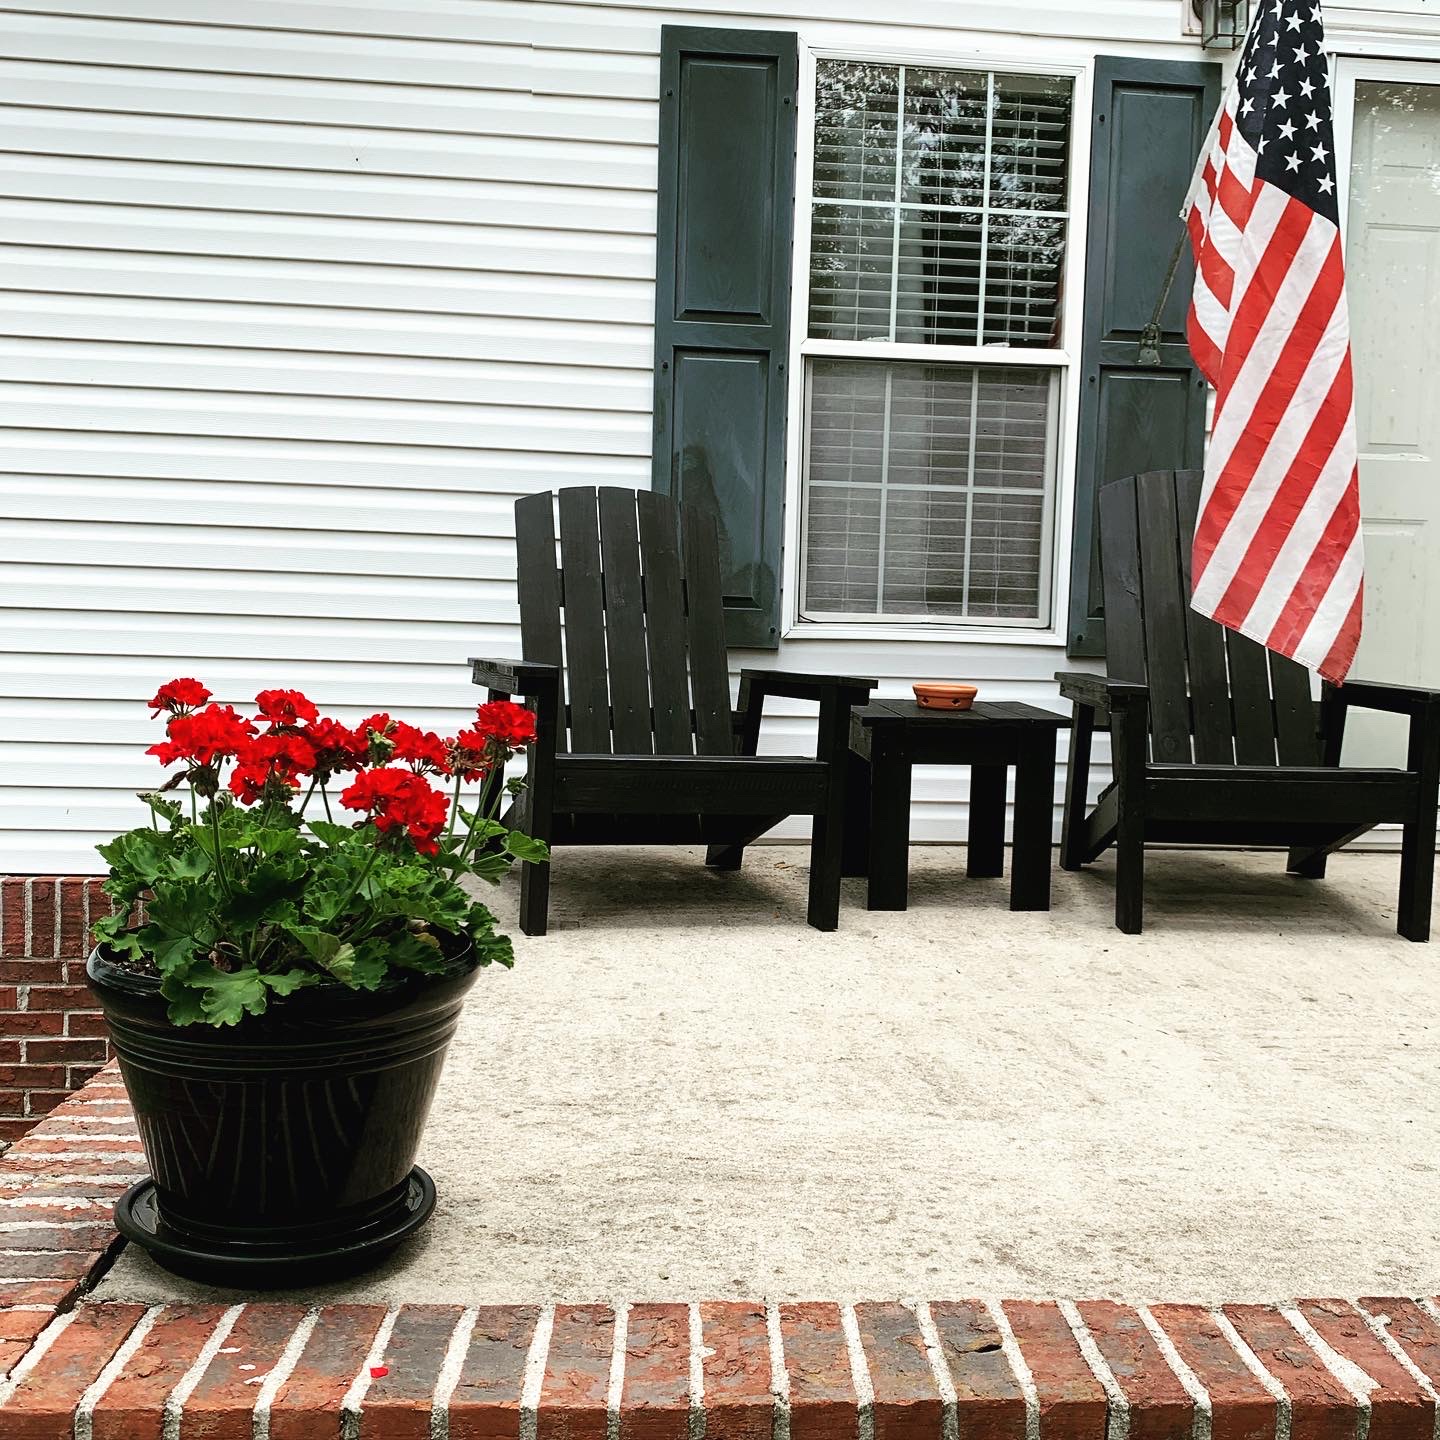
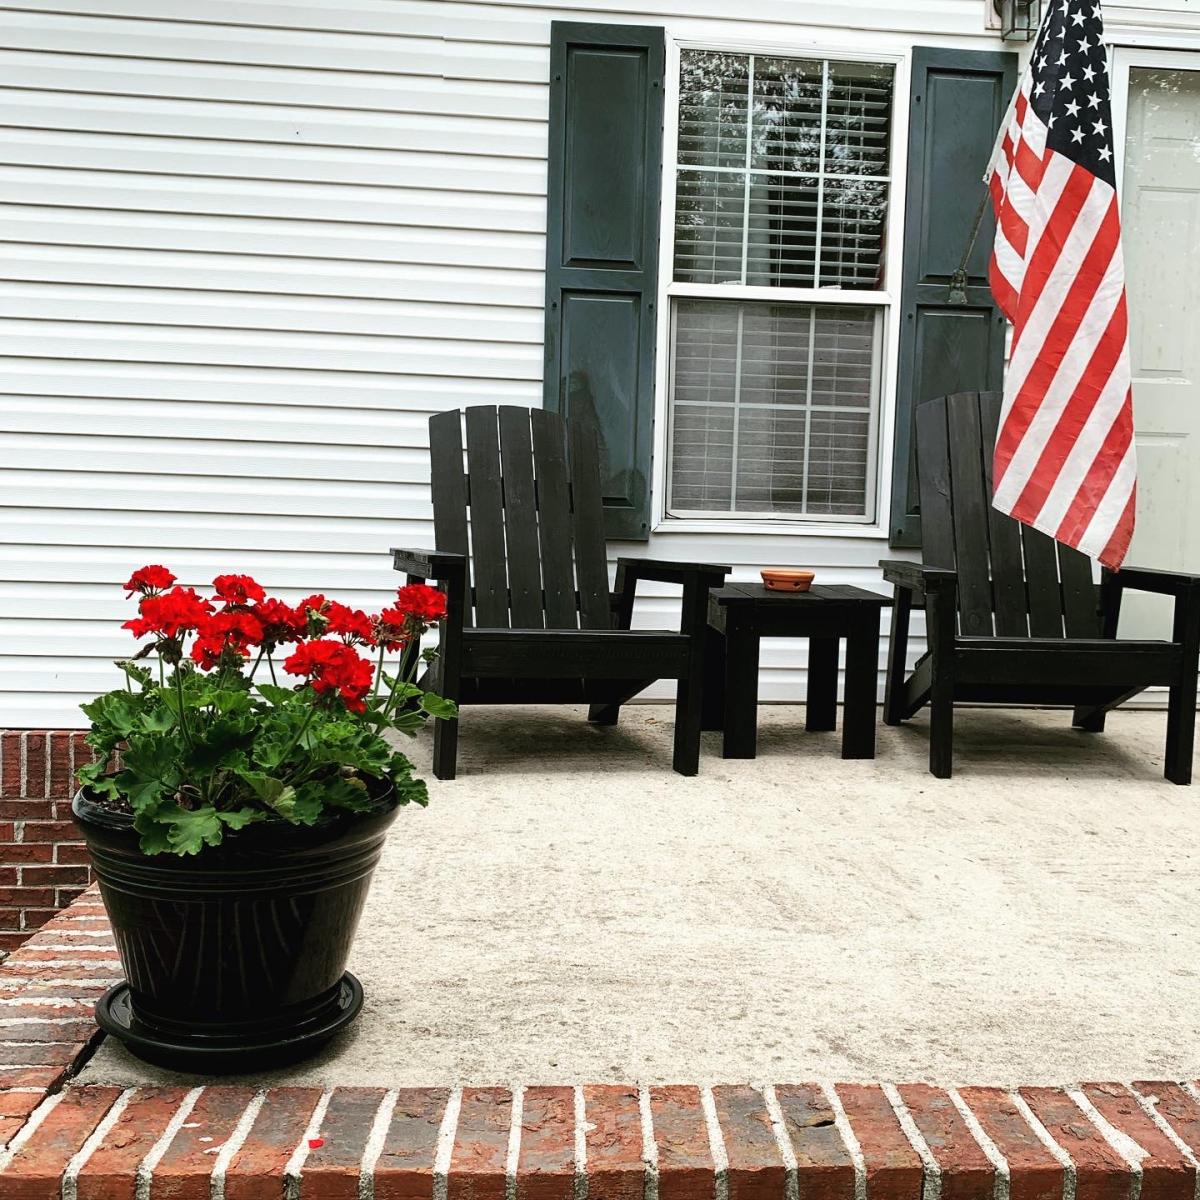
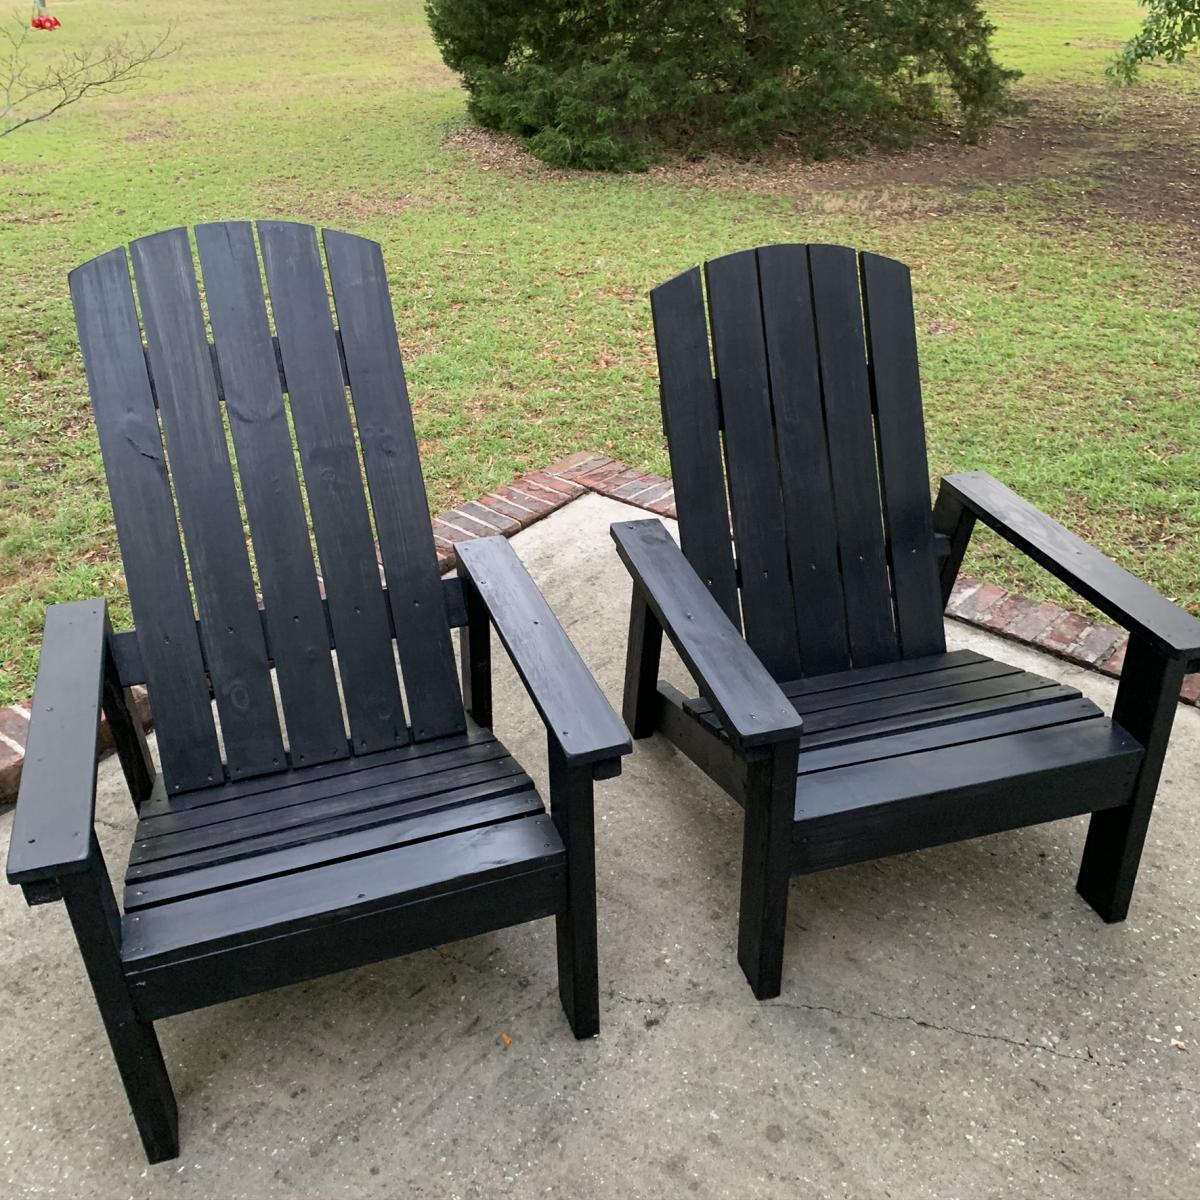
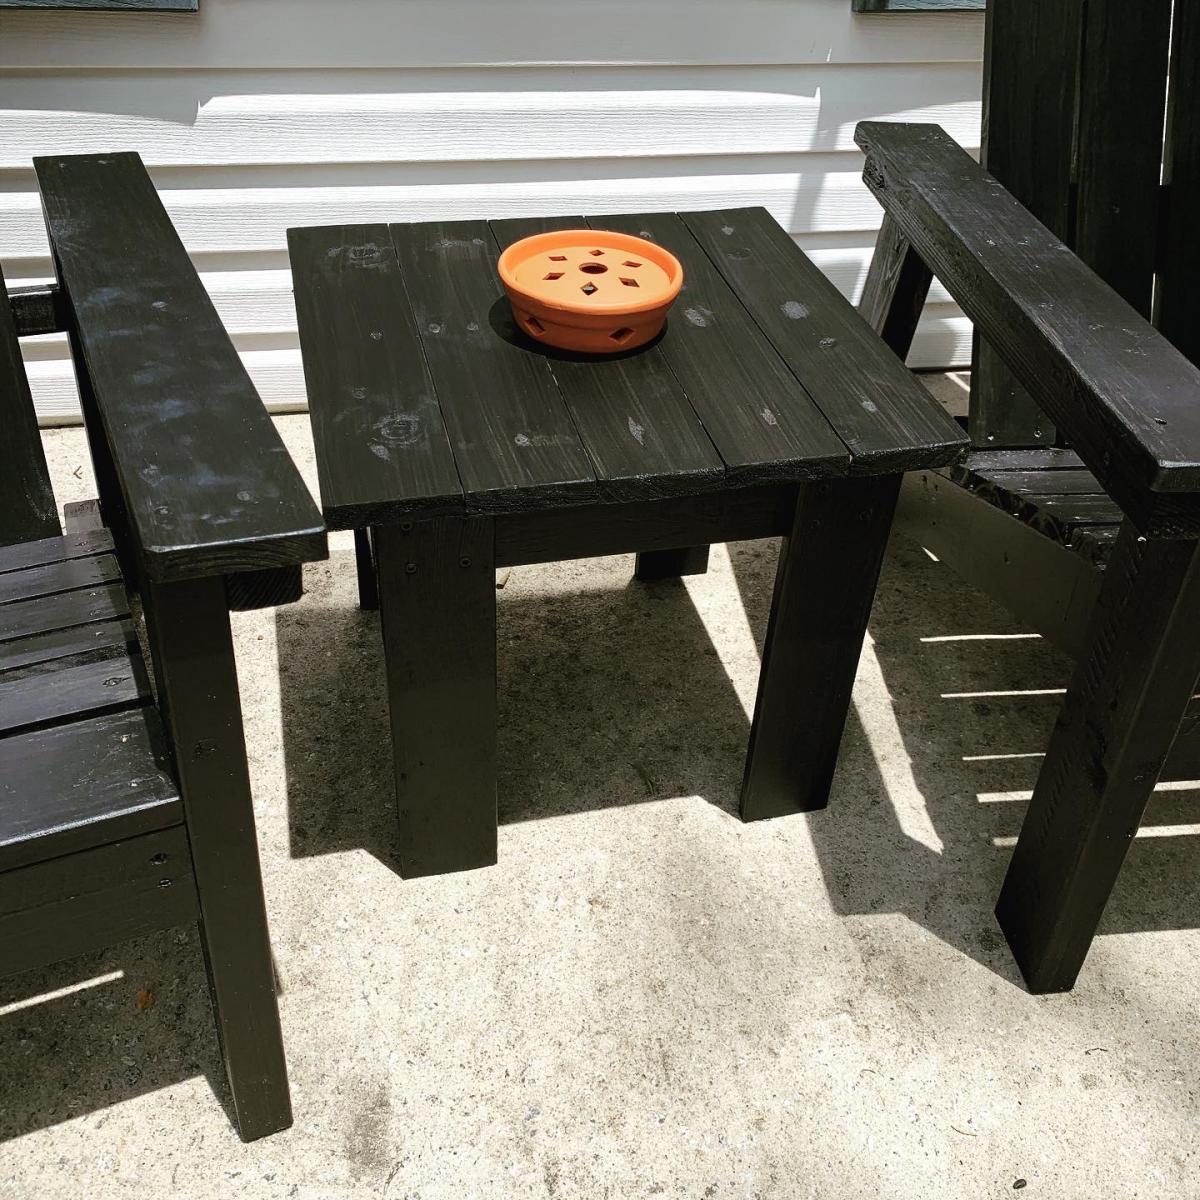
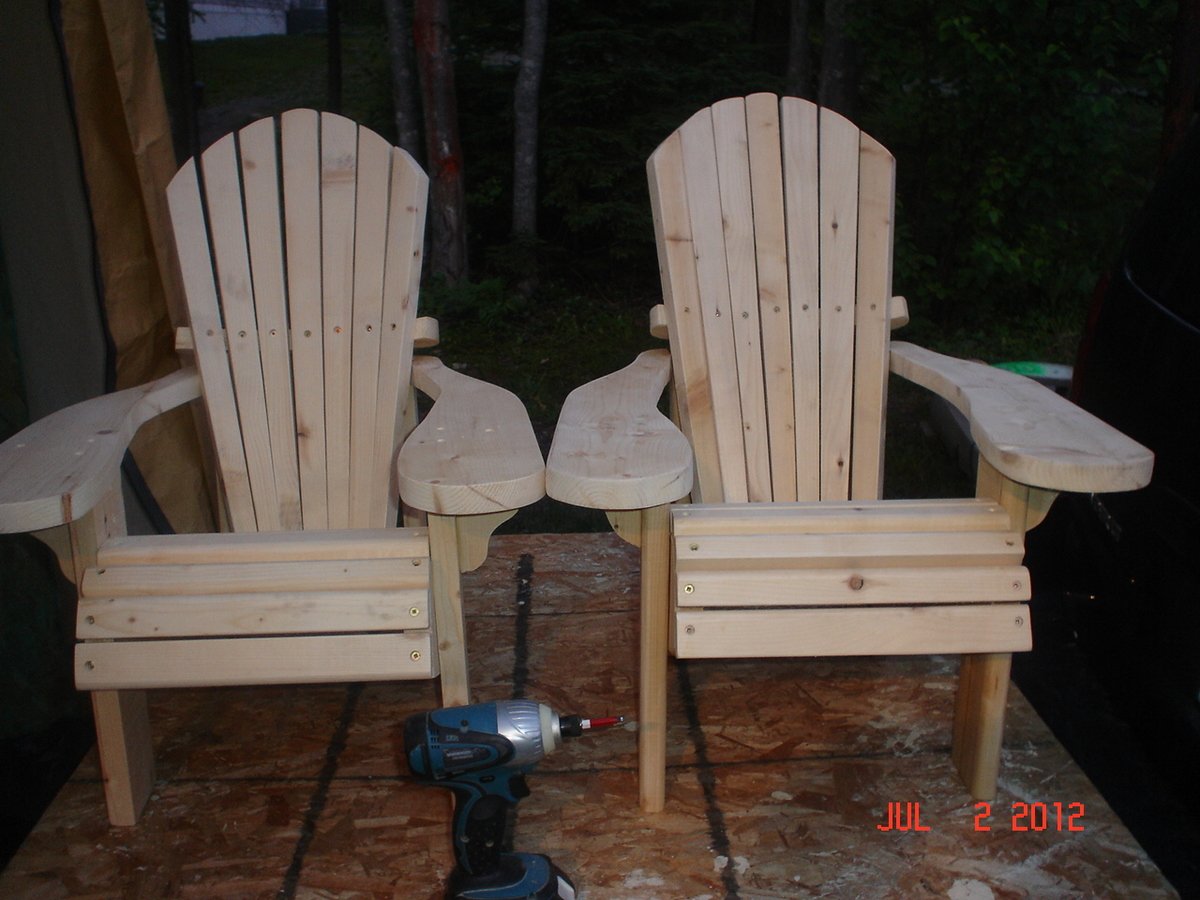
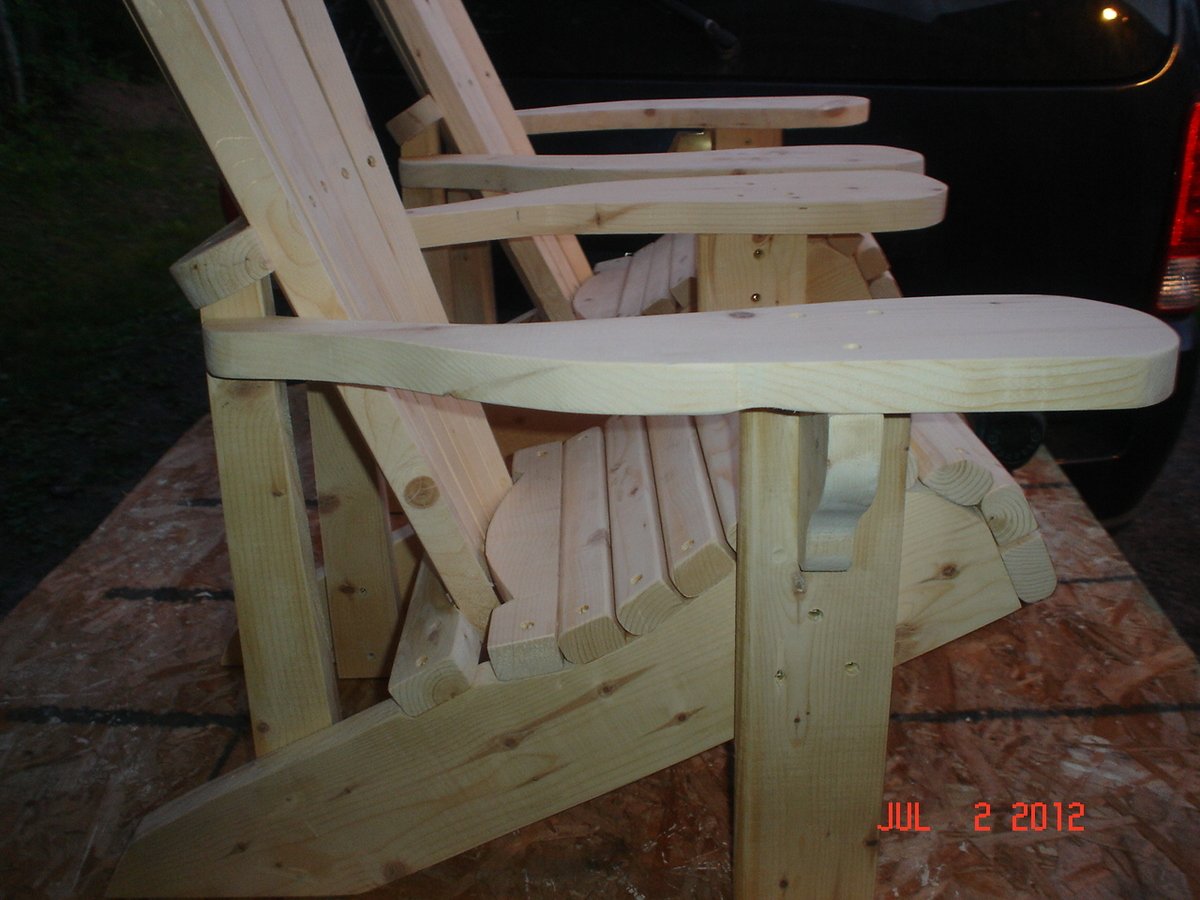
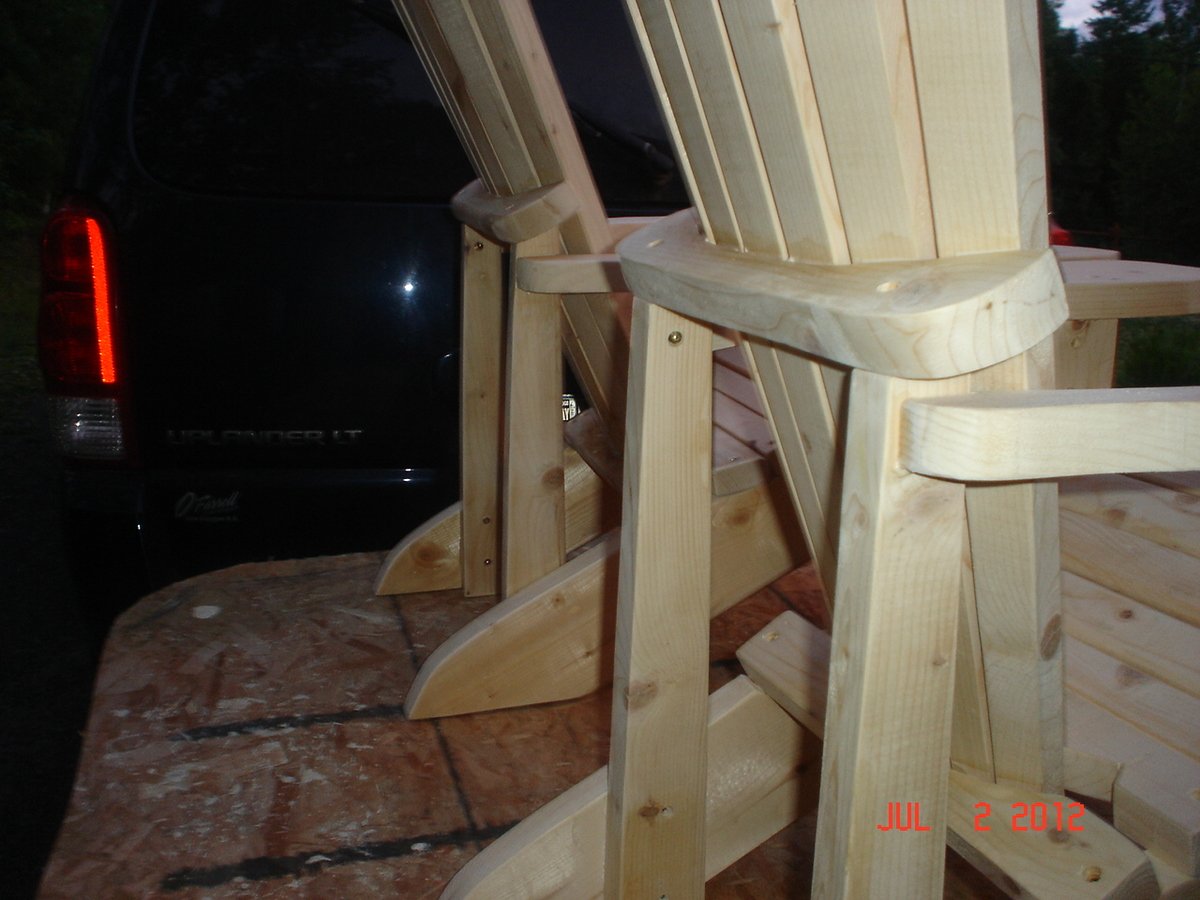
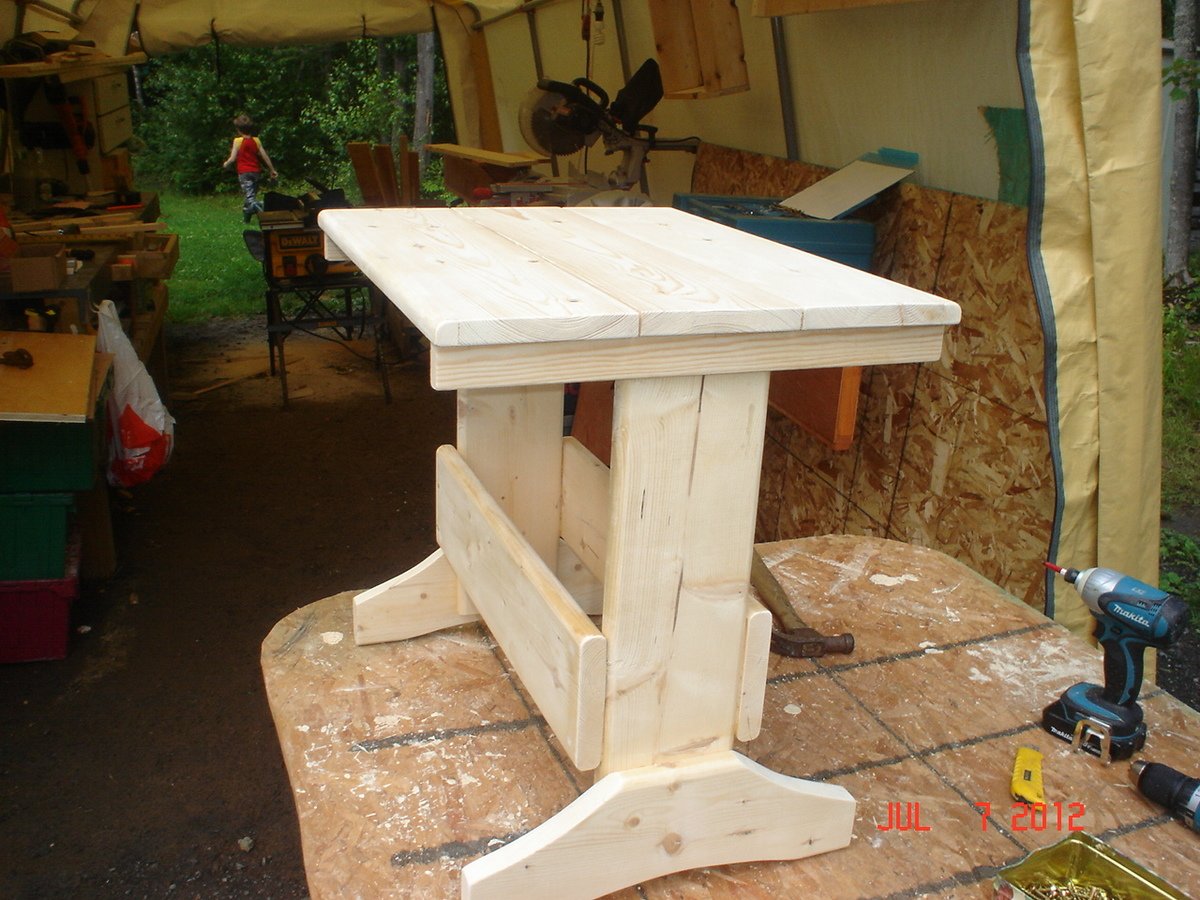
My dad and I spent 2 weekends making his and her Adirondack chairs for my husband and I and a matching side table!
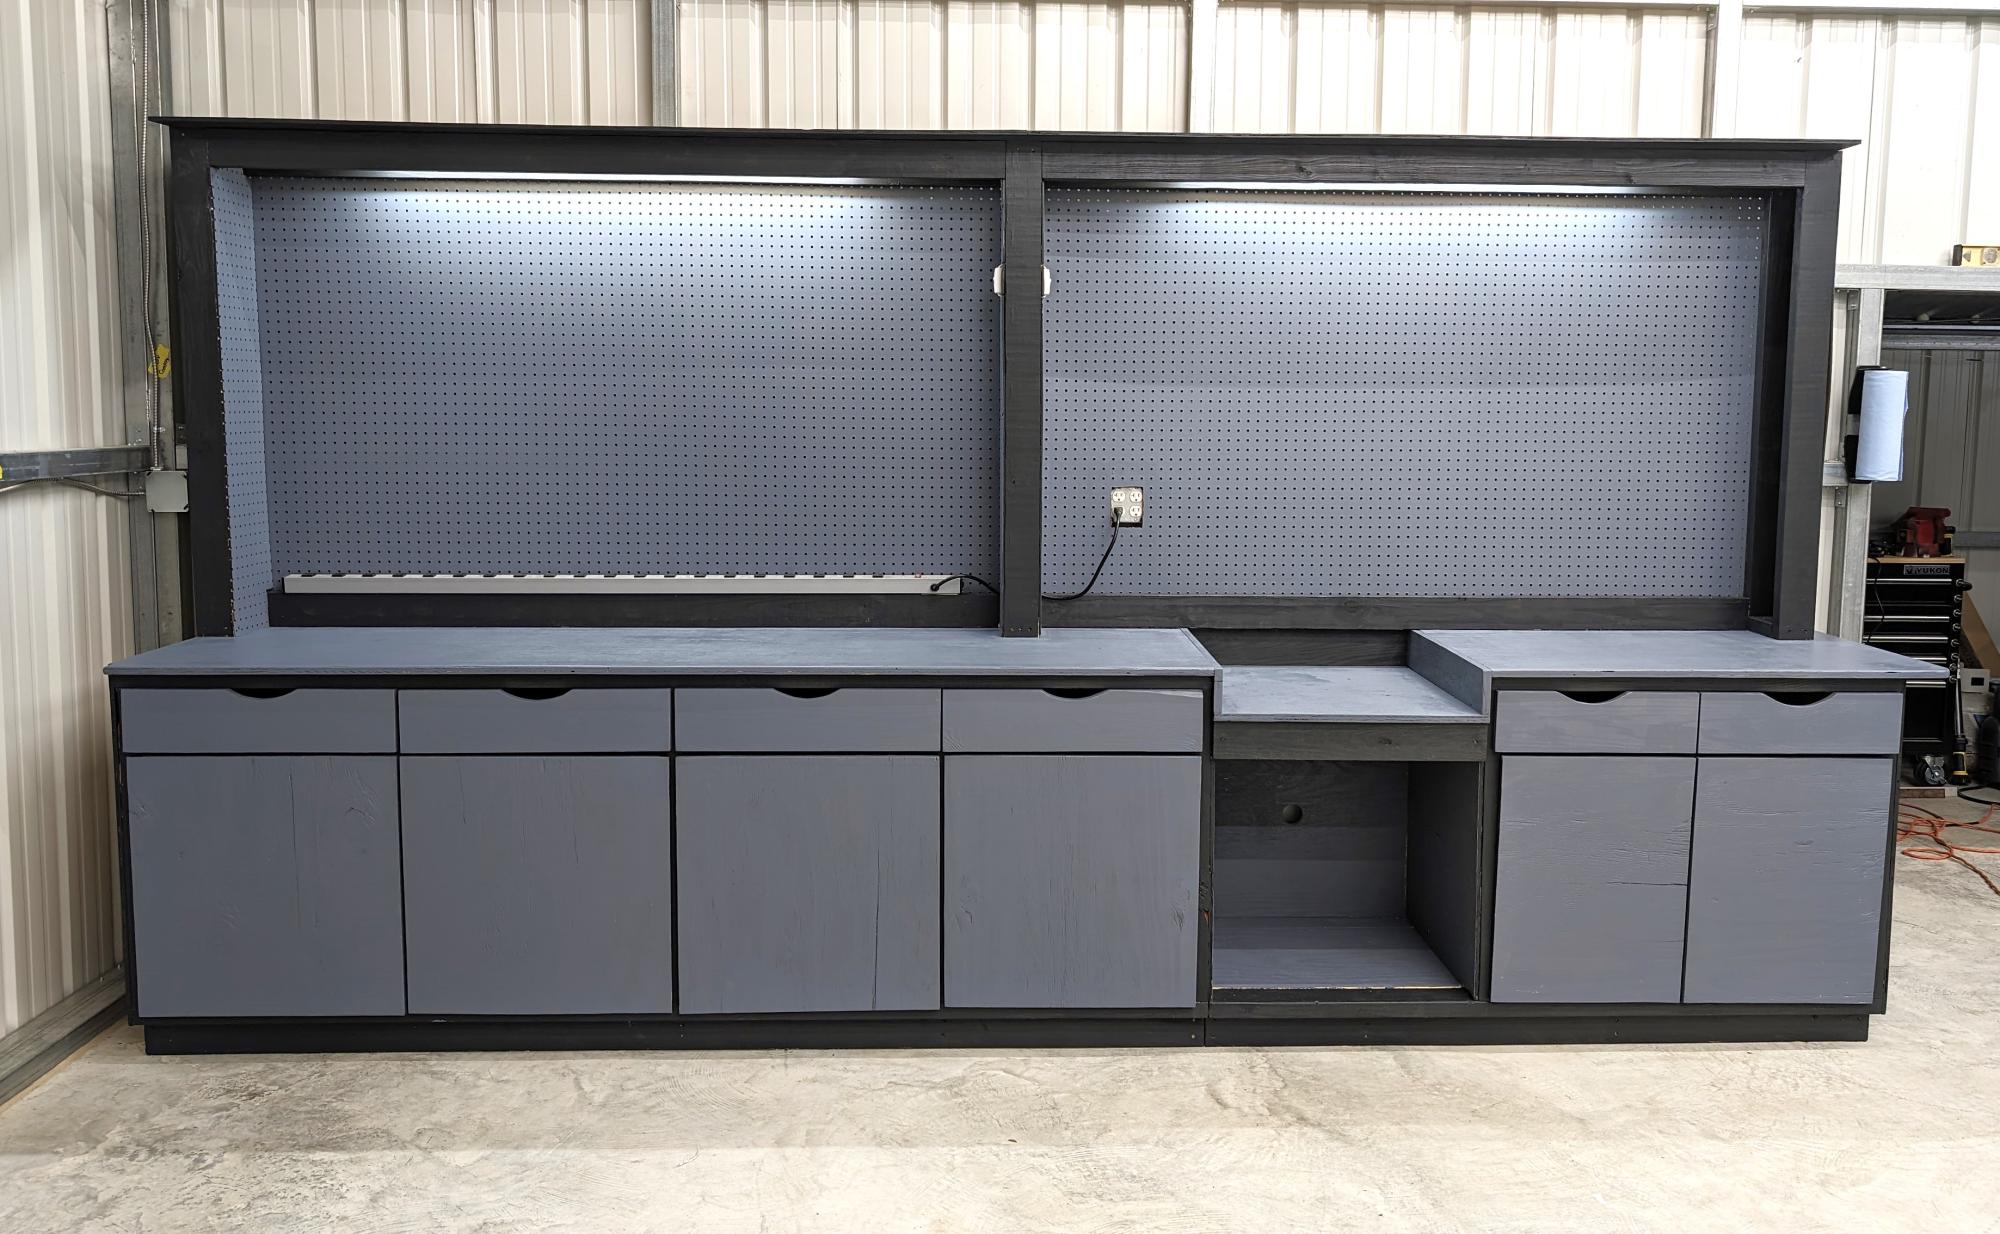
I took the pony wall idea and went with it.
Mazda Mitch
I modified the plans so the top was 2 ft x 4 ft, more suitable for a college student like myself. I also used a full sheet of 3/4 MDF and used that for the top as well as all of the 3/4 plywood pieces. MDF was much cheaper but next time I would spend the extra money on plywood because the MDF cracked a bunch and was not as easy to work with. Thanks for the plans!
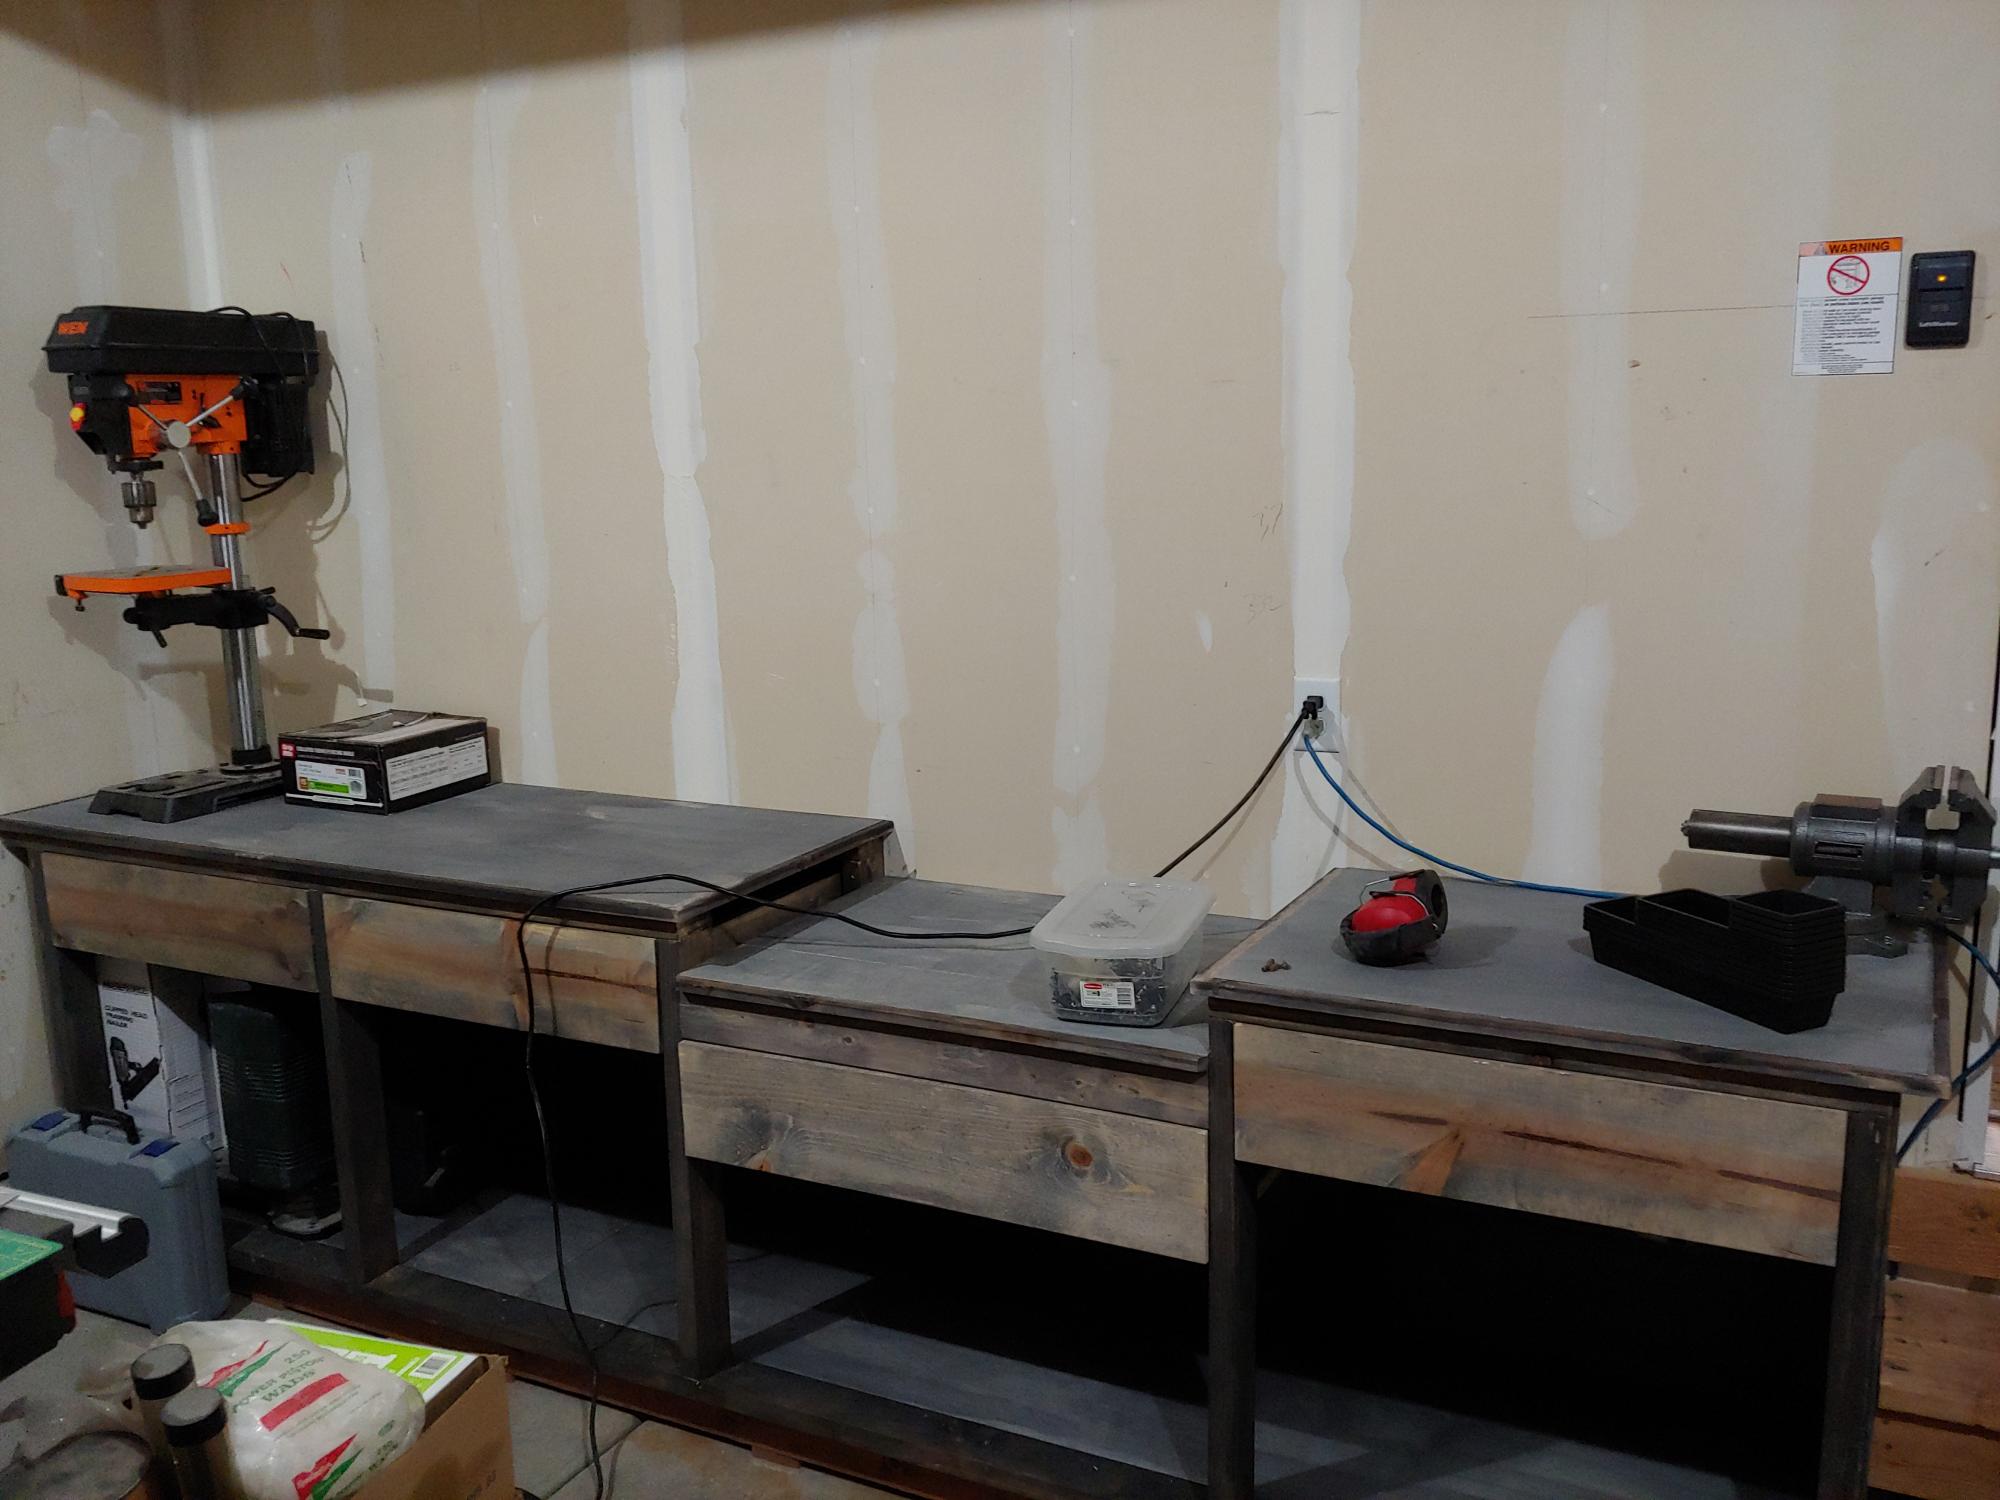
Had to shorten plan due to garage size. Added drawer under miter station. Pined weather wash.
This was my second project ever, so I know it is far from perfect, but I am so happy with it. It is super useful since I have 3 little kids that are so far the only grandchildren from both sides of the family and I have the impression that toys come to our house to reproduce.
I made a mistake on choosing the stain for the top, and had to adapt to what I wanted, but I kinda like the end result, although it is more formal than what I had wanted at first.
It is a gloss mission oak, from miniwax.
I built this without the Kreg, but I have bought one since, so my next project should be better!
The paint is Antique White from Glidden (DUO), distressed until my shoulders could not handle it anymore.
Building is so empowering, I am so happy I found this site! Thanks Ana for all the great work!
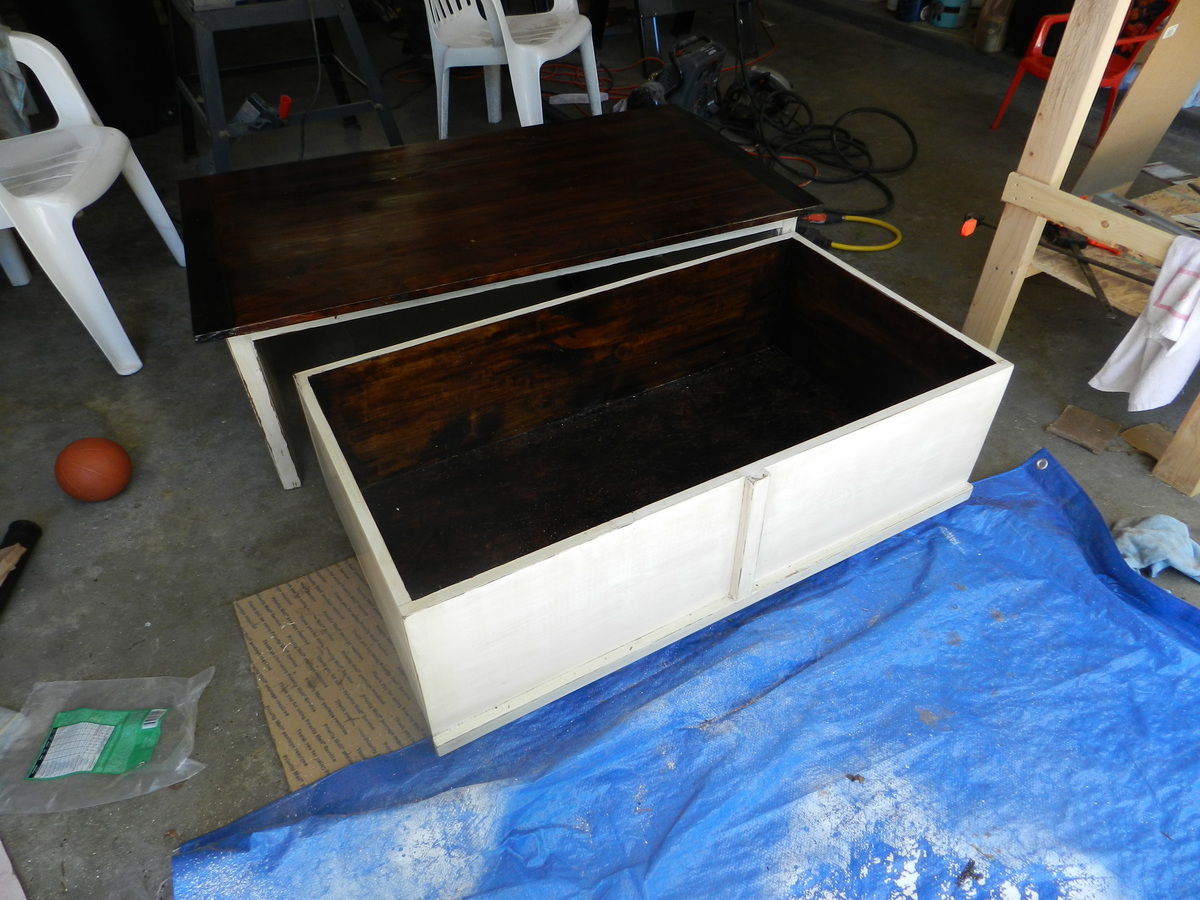
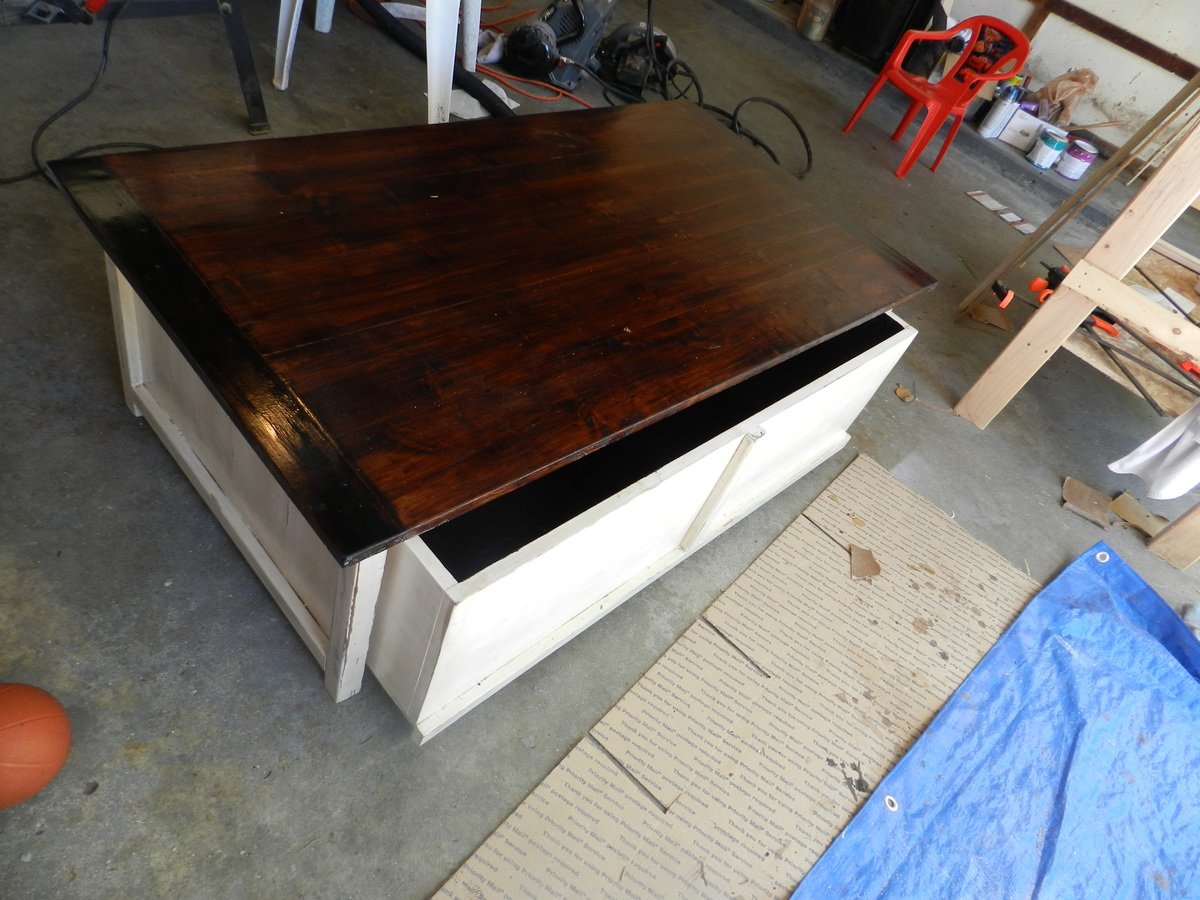
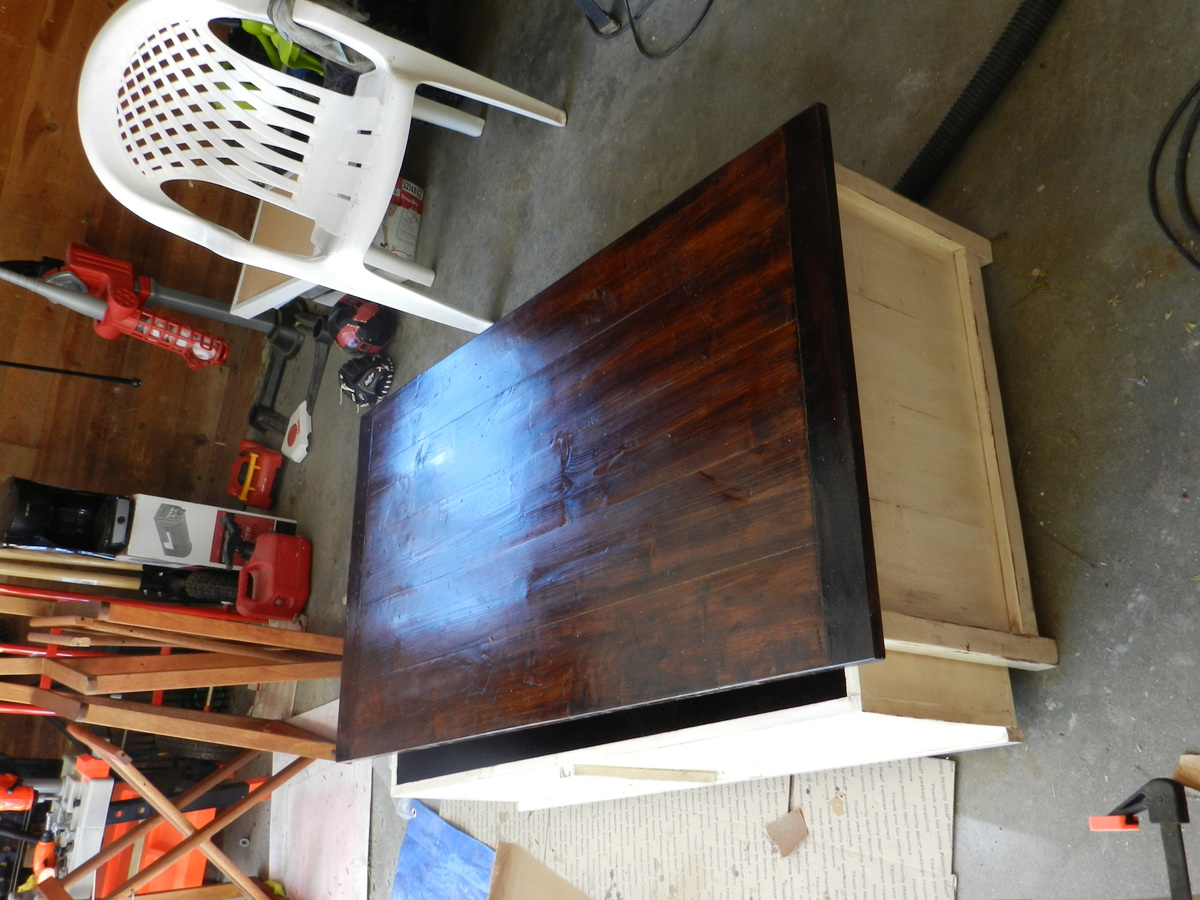
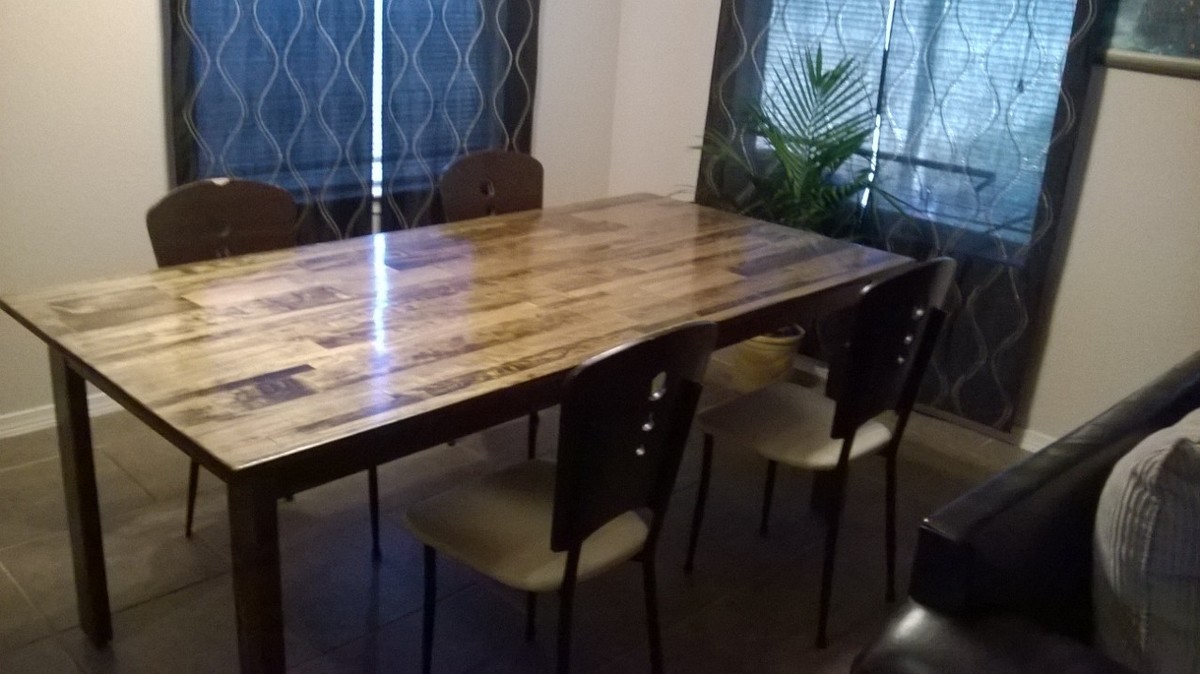
This build was done with all pocket holes. I used some pre-made project boards for the top and joined them with pocket holes and glue. Also I used all pine for this project. The chairs are just old chairs from my previous table. Stained with special walnut and finished with semi-gloss poly and finishing wax. I rubbed and buffed the finish to get the nice shine. This project took a while because I decided to let the poly cure for about a week before finishing and placing in my dining area.
This was an awesome, quick, and easy project. The sanding, staining, and drying, took forever for me but the actual cutting and assembly was super quick. I have this on an uncovered patio and my local store didn't carry cedar in the sizes I needed so I went with the cheapest wood I could find and used a high quality oil based outdoor stain. I am hopeful it will hold up to our pacific NW winter because it won't be coming in. Considering I had never made anything before and had never used a miter saw, sander or quick square, I am happy with the time it took to finish this.
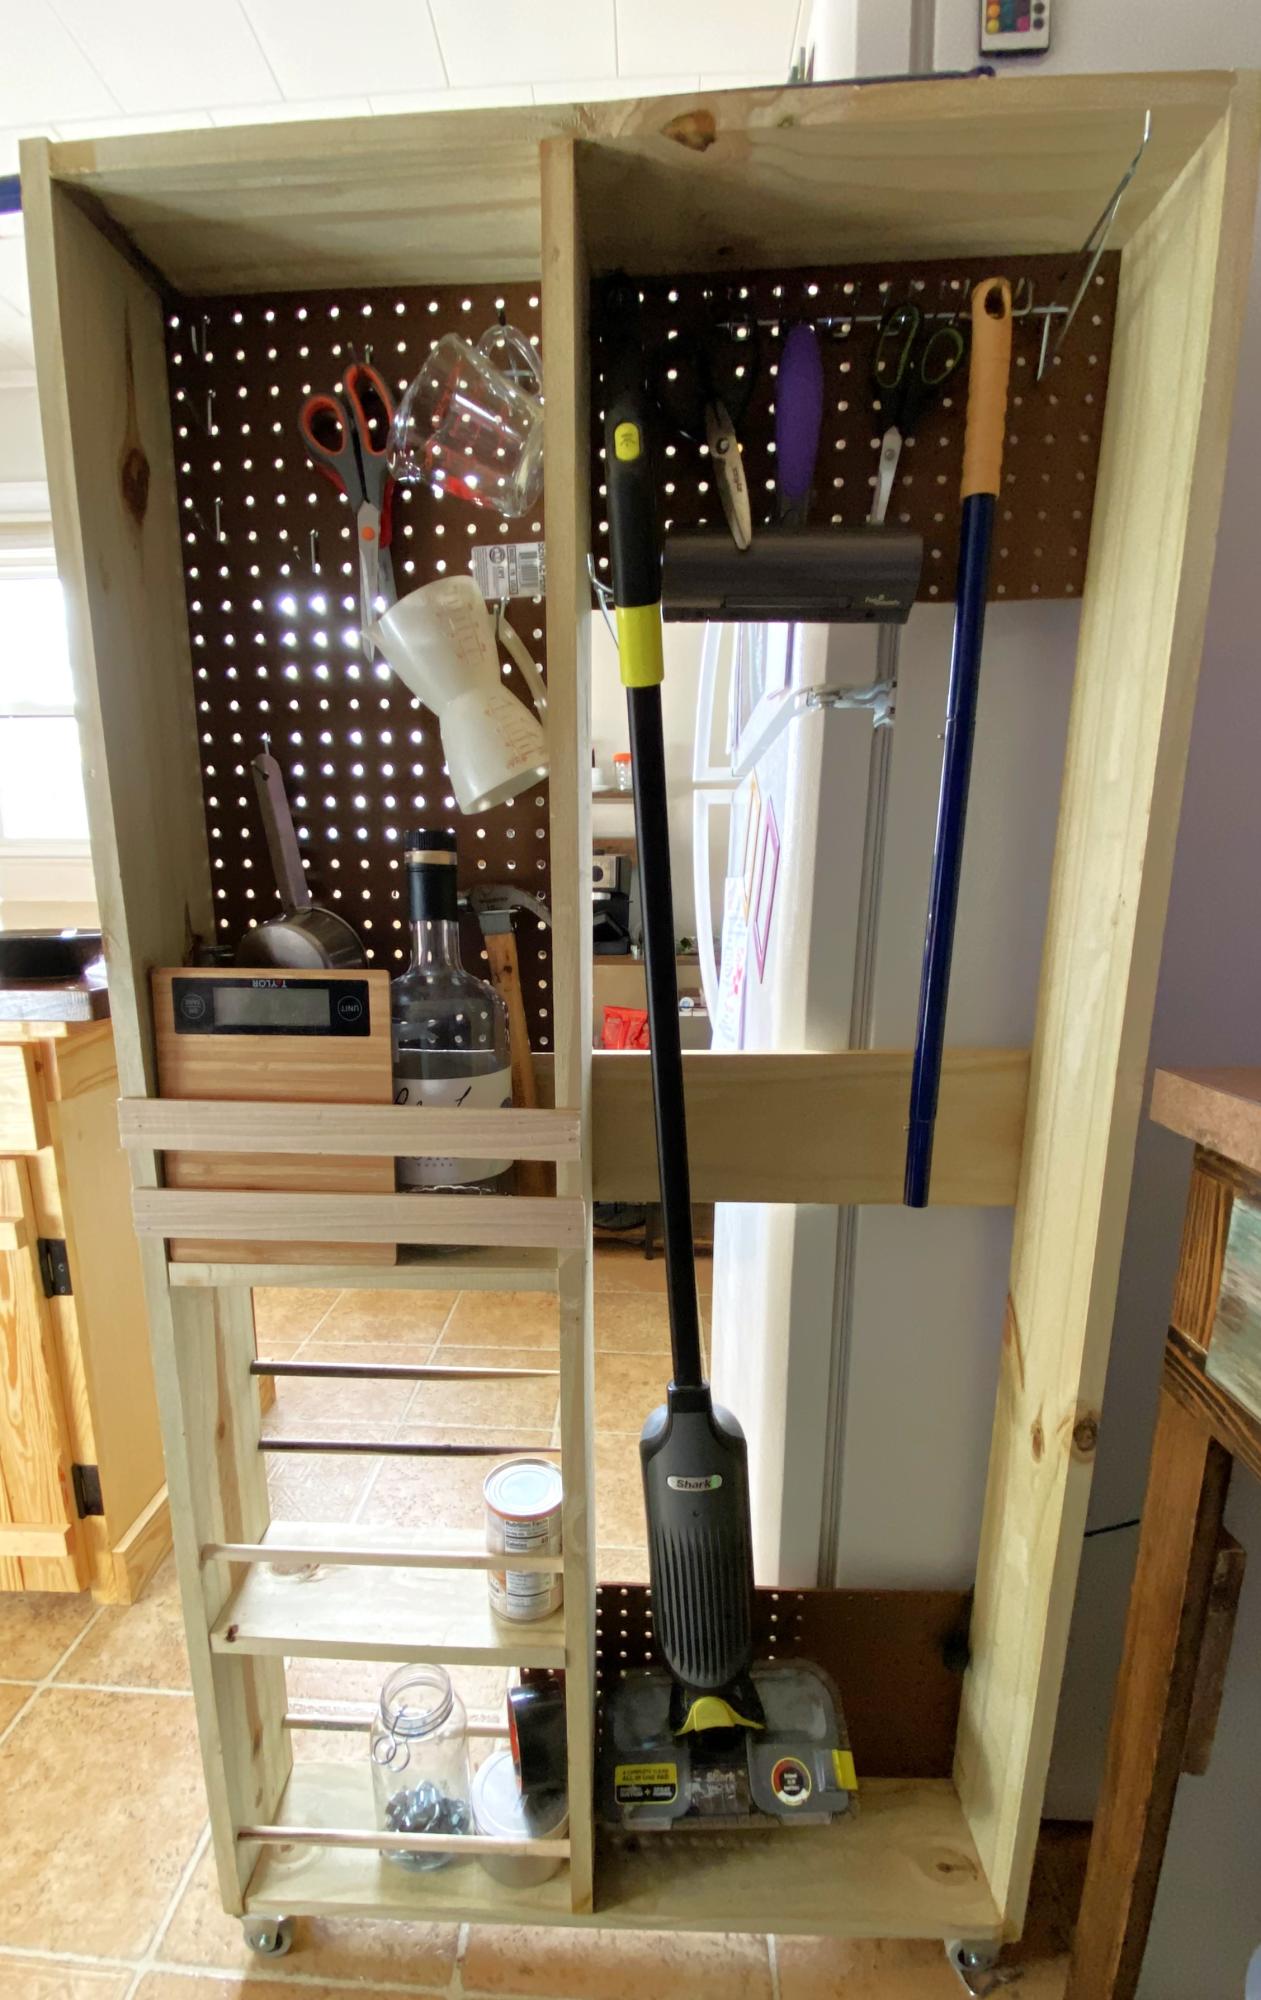
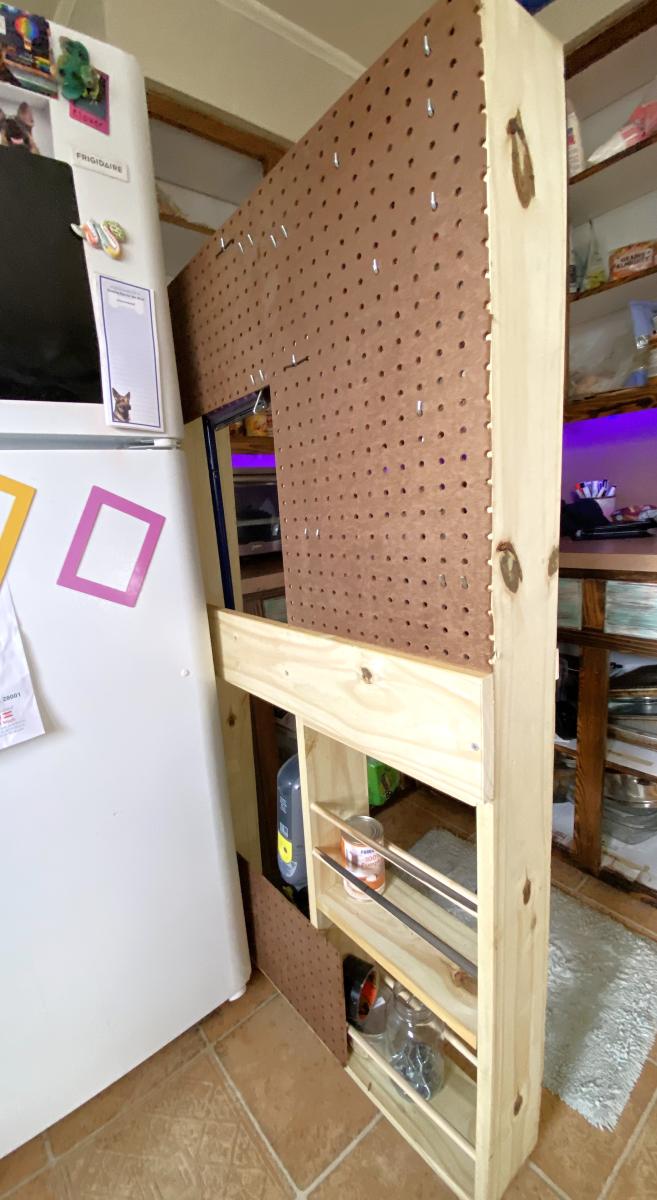
Not the prettiest but extremely effective. I think my entire kitchen will be all Ana White by the time I finish….what an inspiration she is! Thank you!
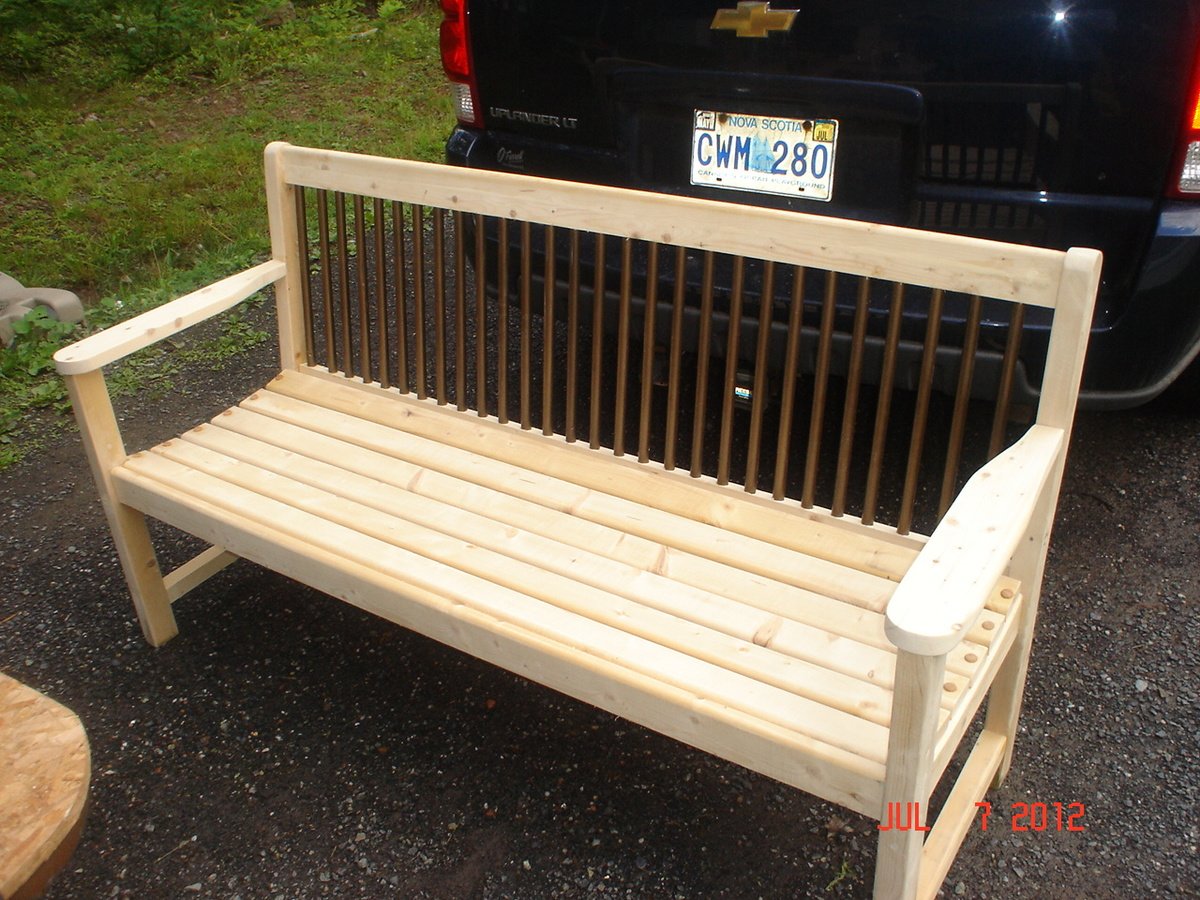
Here are some of the outdoor projects that I do to make extra money, Adirondack chairs...adult and kids sizes....patio tables....garden benches, used old pipes for the slats!!!
Thu, 08/09/2012 - 04:56
Wow, really nice and I love the idea for the back slats! Great job!
Tue, 08/14/2012 - 14:52
would you consider posting your plans?? they look really great & comfy!
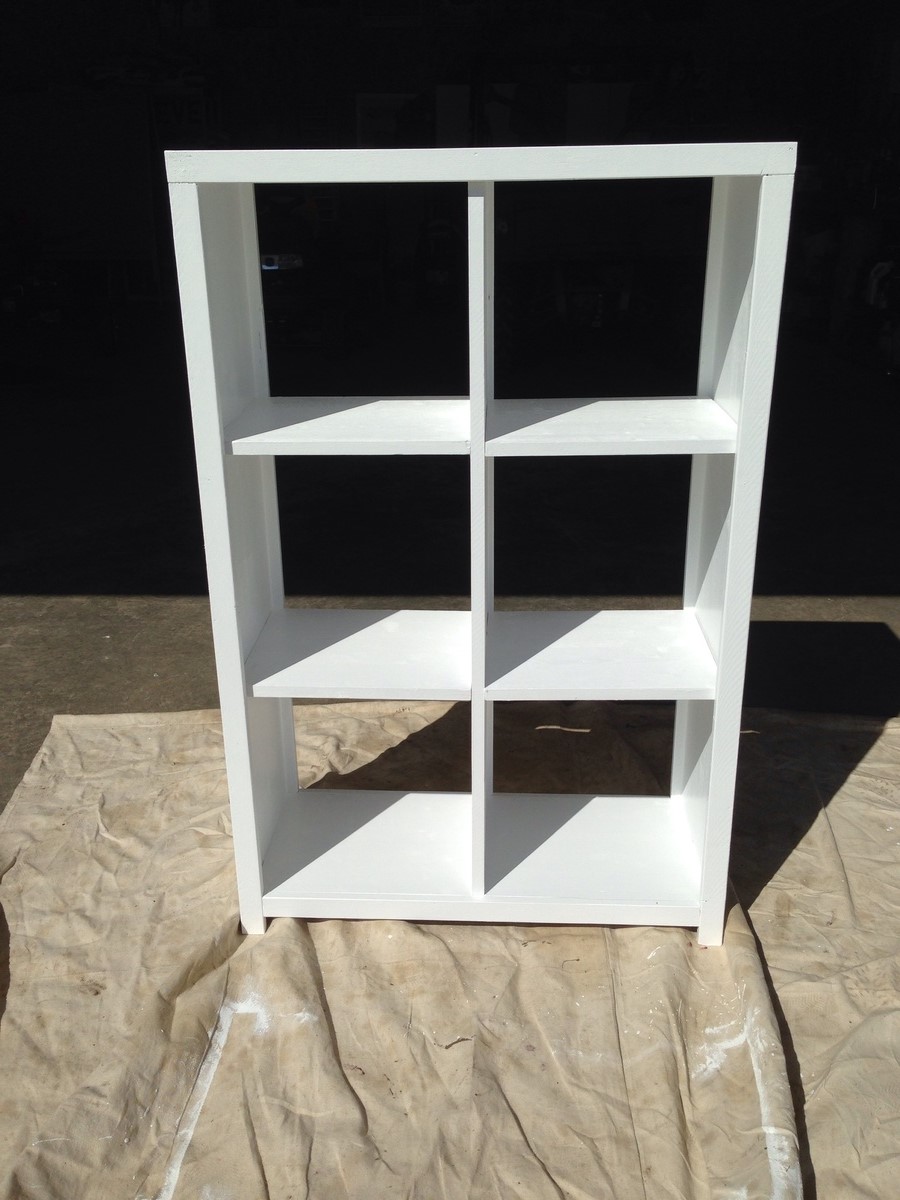
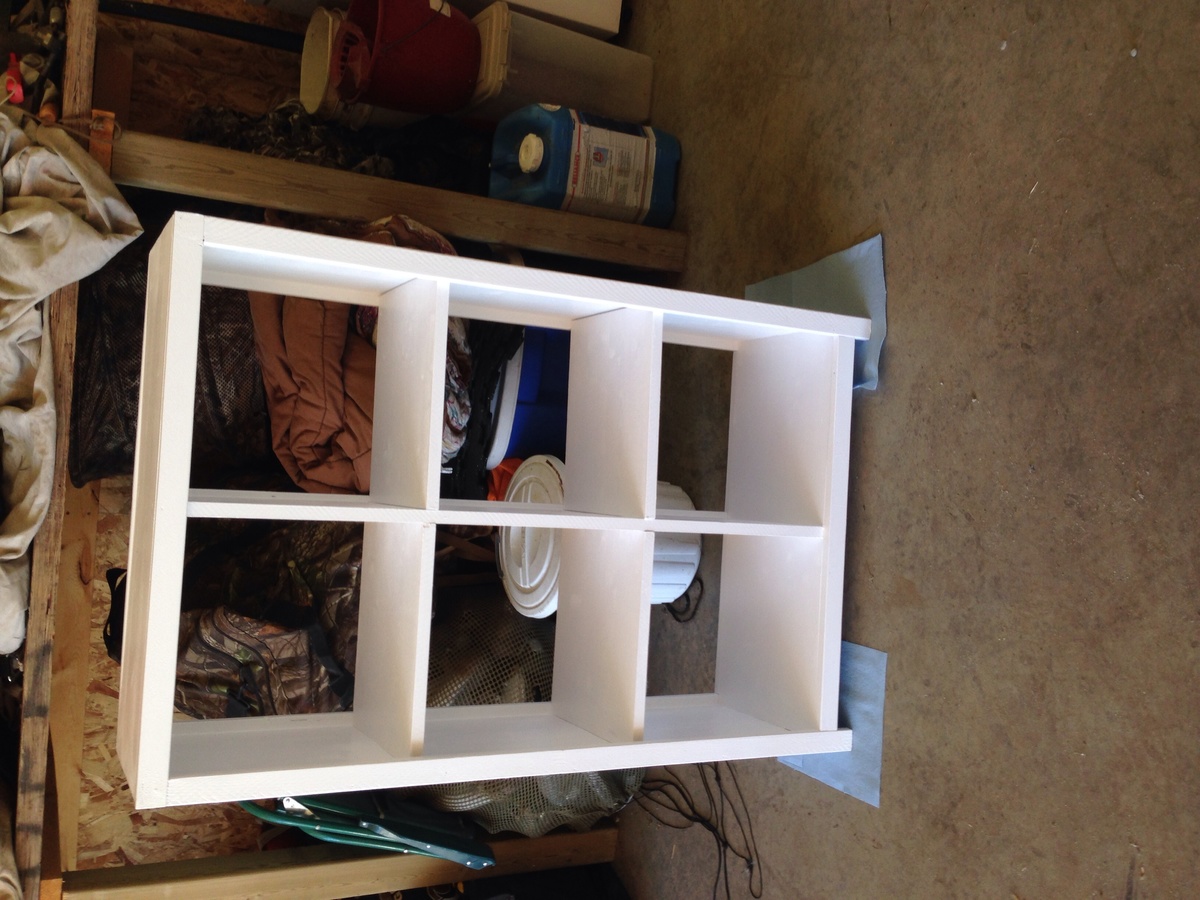
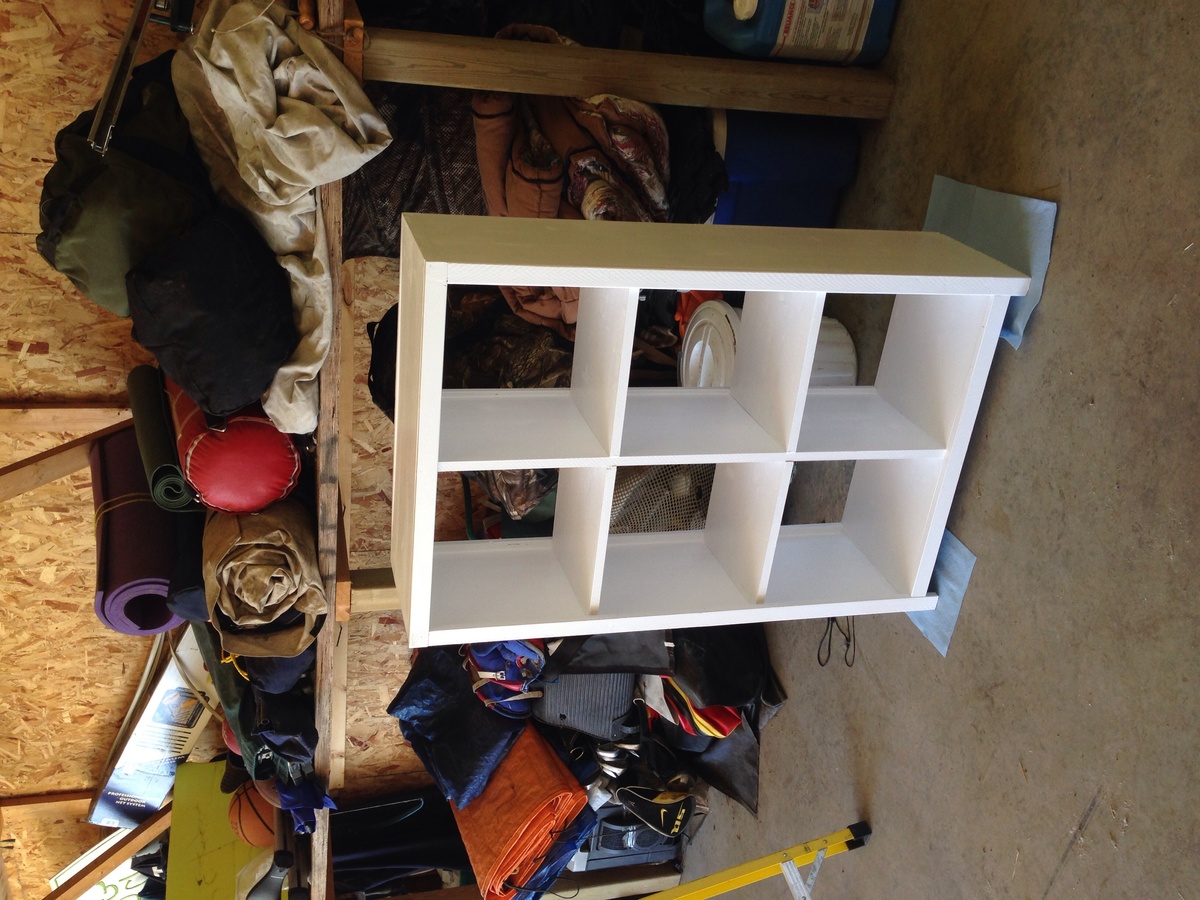
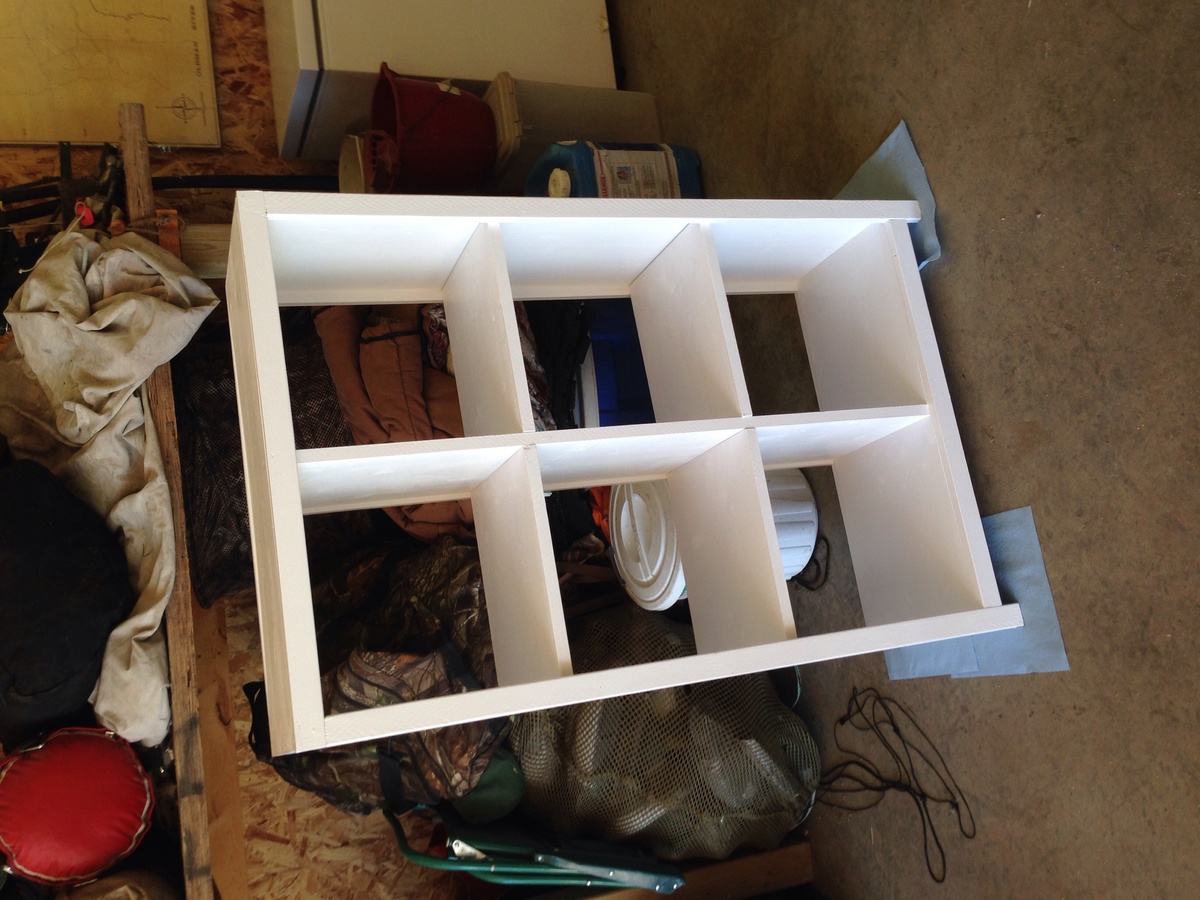
This was my first project. It is for our nursery. Painted white to match the crib and dresser. So much fun. Plan was great and very easy to follow. Thanks to the other brag post which mentioned there was a missing cut for the box (bottom shelf). 28 3/4. I used countersink screws with a 1/2" countersink drill bit. I also used shelf pins to secure the shelf. With the paint I noticed the shelfs were very snug. I would probably take off 1/4" off the shelf size if I built it again. Can't wait for the next project! Thanks.
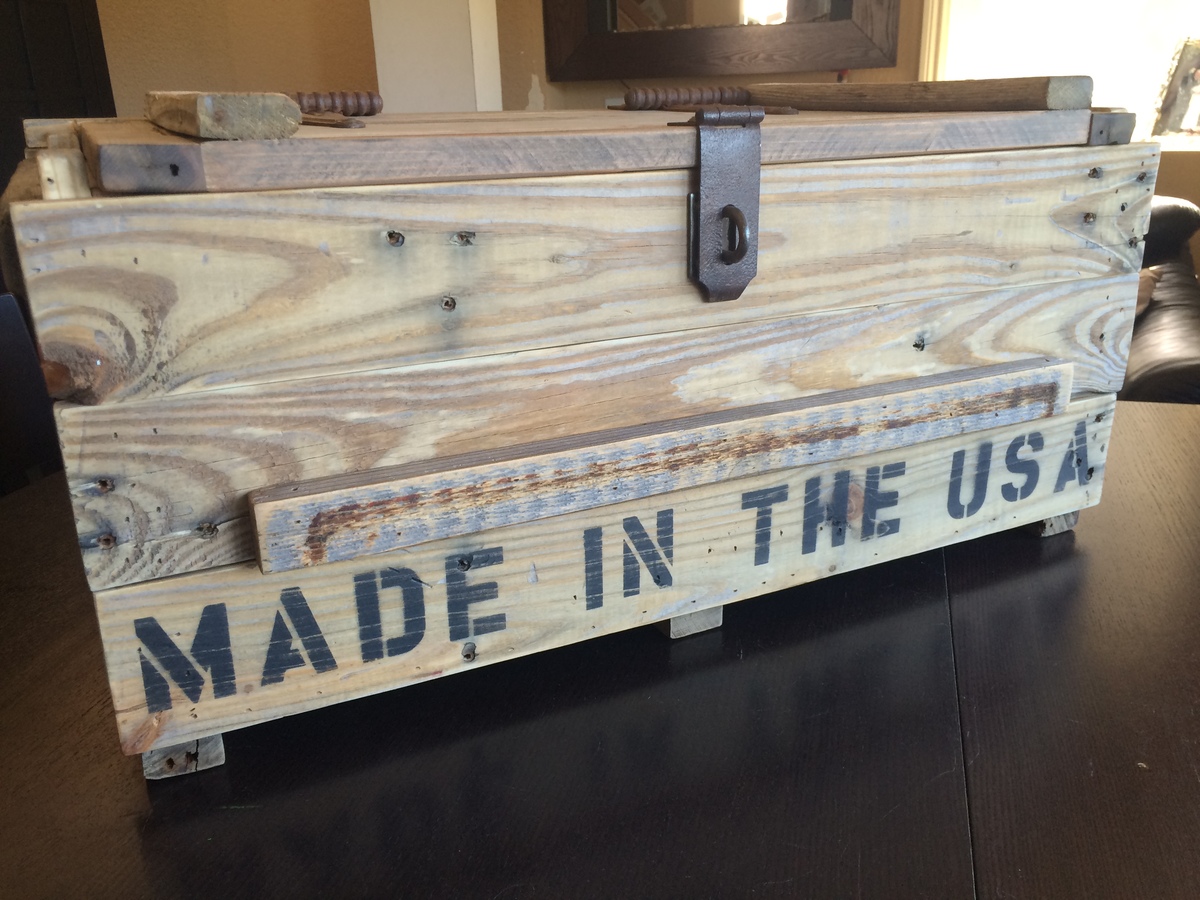
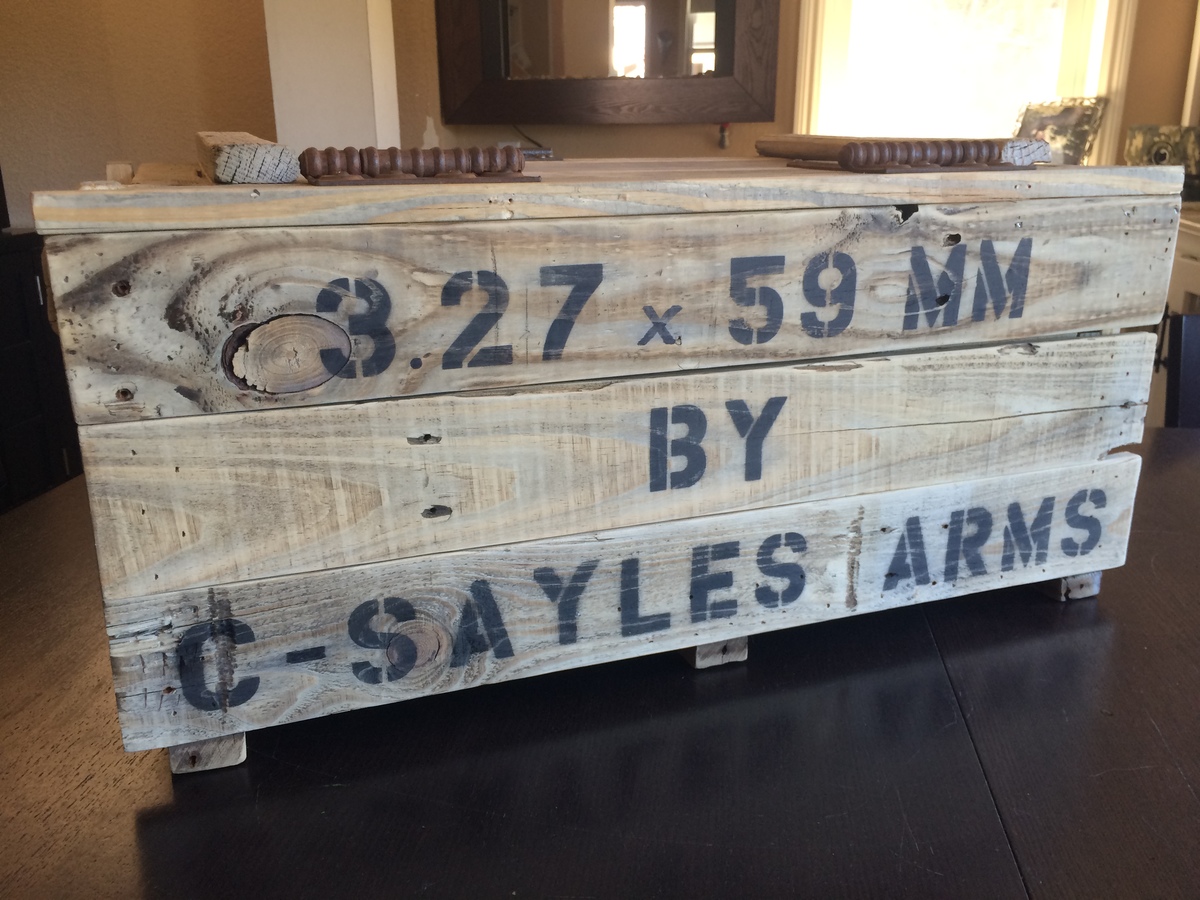
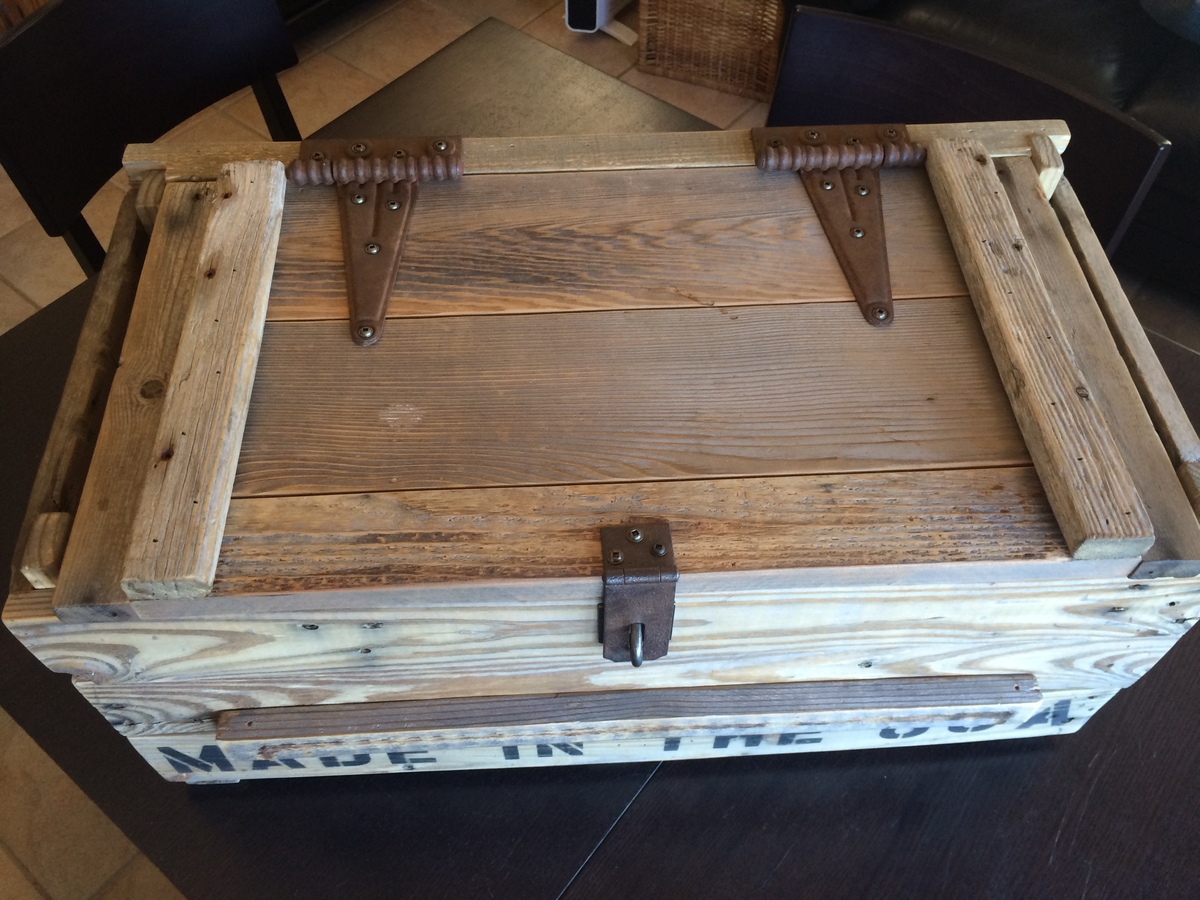
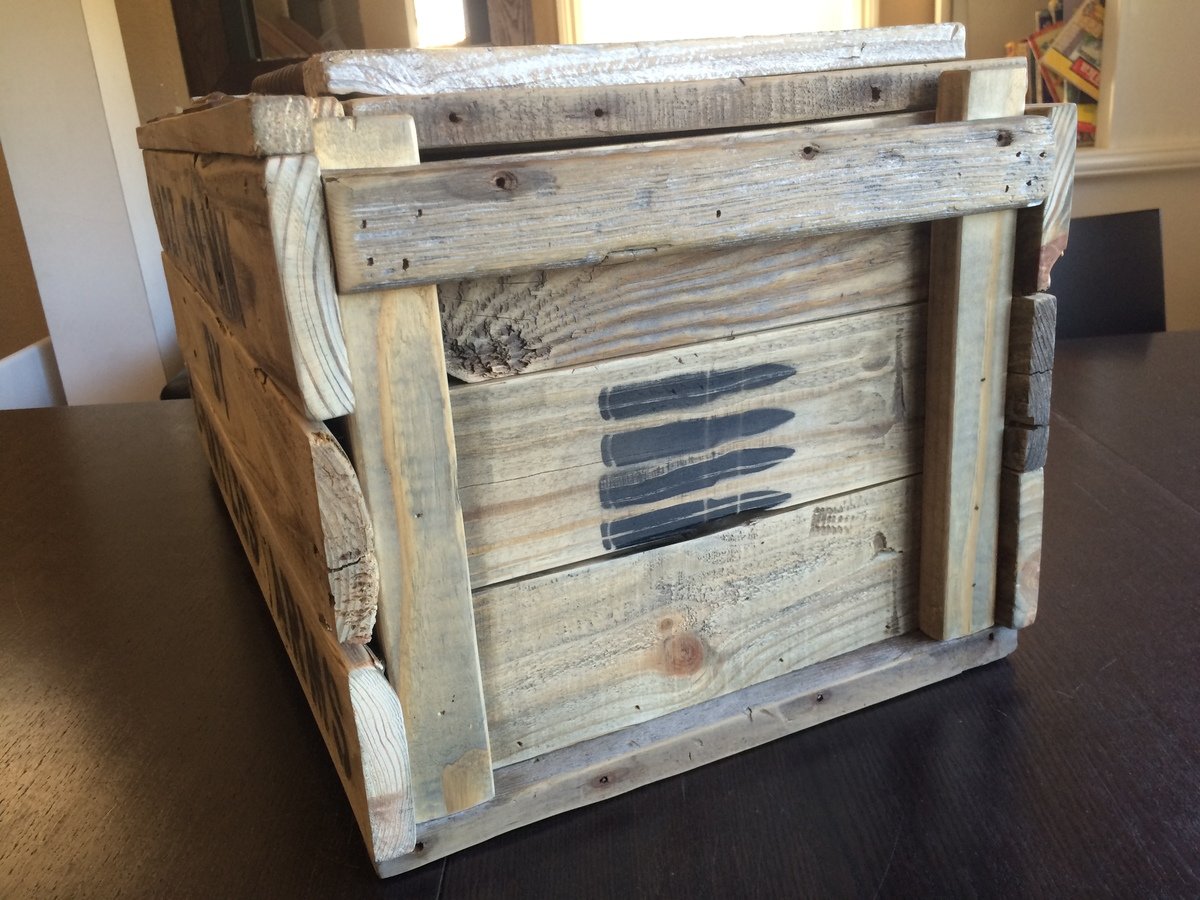
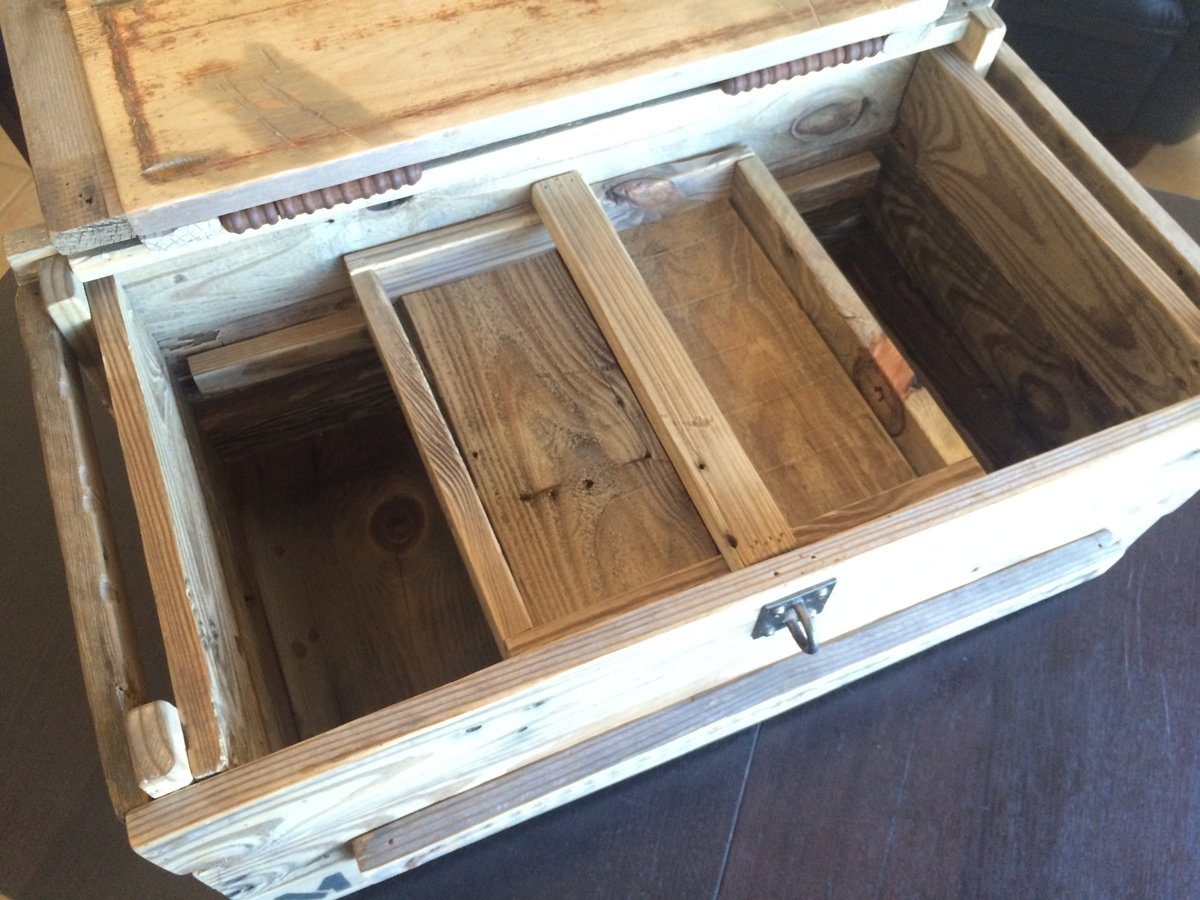
Created this as a gift for my uncle. I recycled an old pallet for the material. I used his birth date to create the ammunition shell specs and his name as the manufacturing company. I found the vintage hardware on eBay and added a sliding shelf inside. Lettering was created with stensils and spray paint. I distressed the lettering to match the vintage feel of the piece.
Sun, 01/12/2020 - 15:33
Hiw can i see instructions or dimensions for this crate . id like to try it
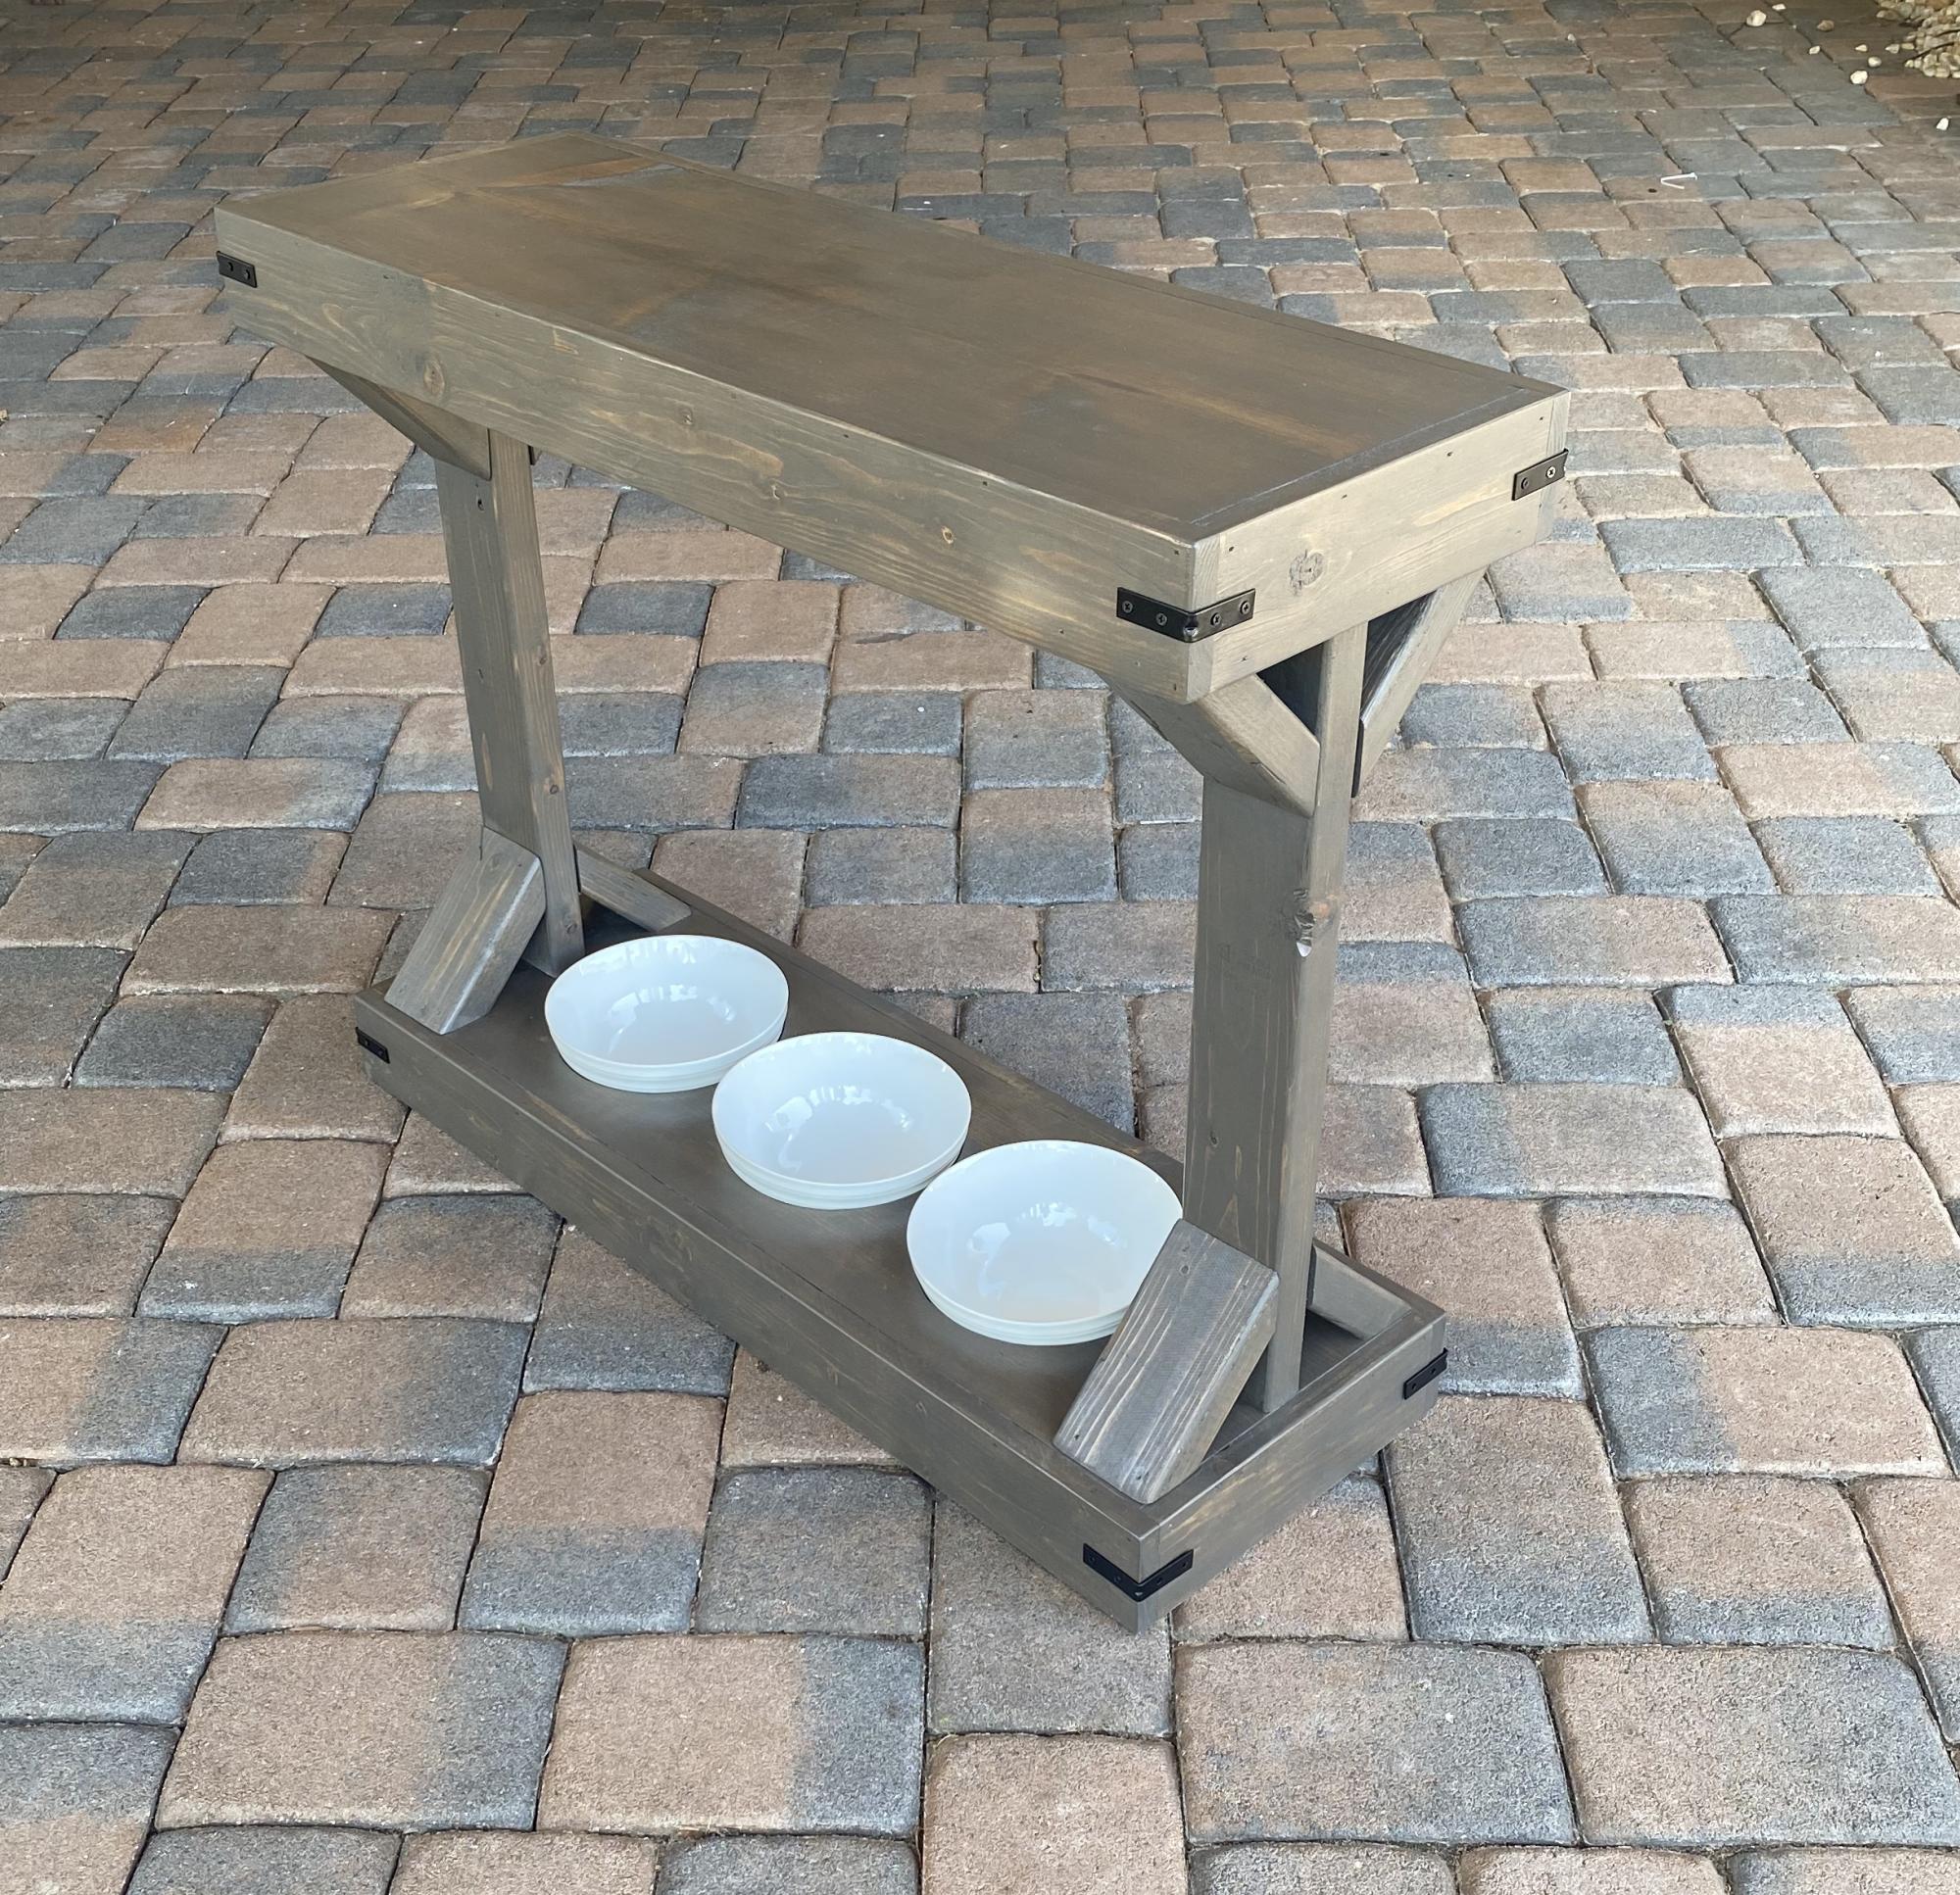
Used Ana’s modern farmhouse console table plans to make this pet food station 😍
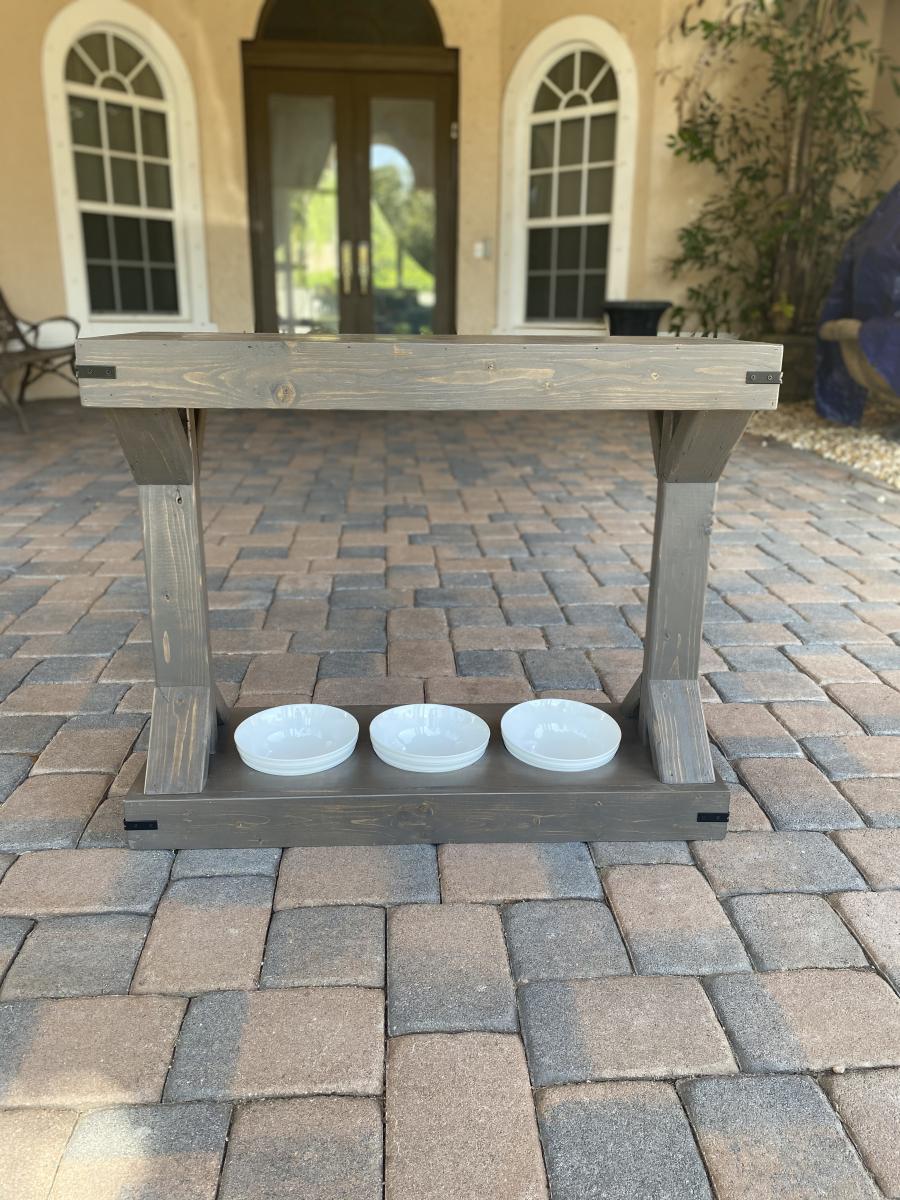
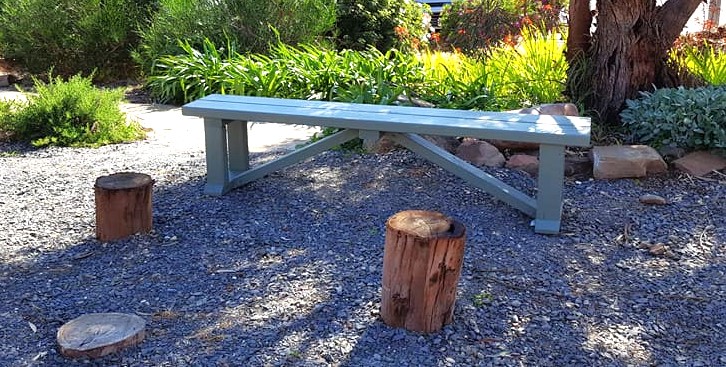
Our local youth built a nature play area on our church grounds for local children. Jack was 16yo and he worked together with Geoff 85yo to build this bench for parents to sit on while their children play.
davechamberrs777
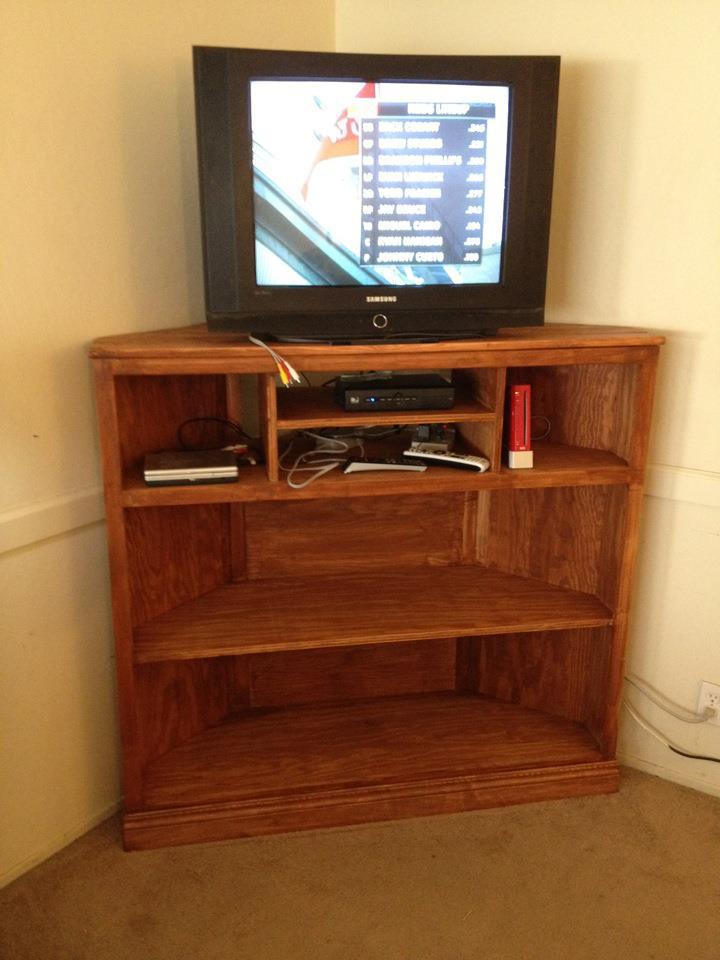
I absolutely fell in love with the Tall Corner Media Console the moment it was posted. We had a decent corner stand for our TV, but it was low and was hard to watch when kids and adults alike were constantly saying "I can't SEE!" or "You're in my WAY!". I've learned that explaining "you make a better door than a window" over an over to a 7yo and a 4yo only takes longer.
Two dilemmas faced us:
1 - Which comes first, the chicken or the egg? DH insisted that we needed a big screen tv before building the console. I insisted that we needed the console first, so that we would have a place for the tv. Since it was determined the that console was cheaper than a tv, I won :)
2- What to color it? Paint? Stain? I was the one building, so DH said he didn't care, but that he liked the idea of staining. Having never stained before I was a bit intimidated - paint was my safety net. DH got this one, but only after I made him choose the stain.
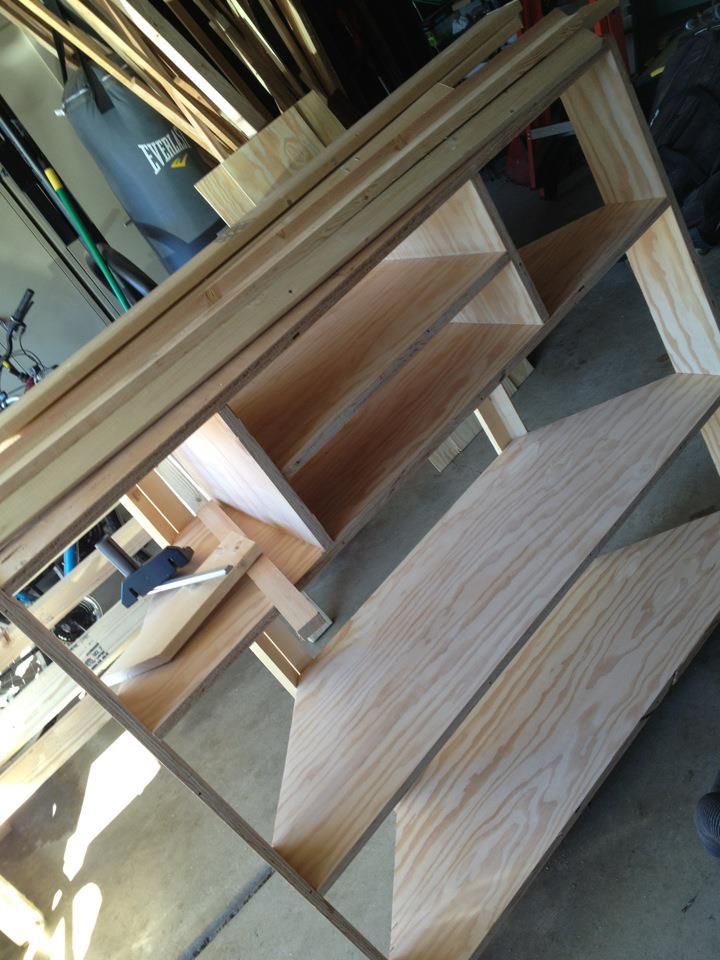
I have the doors built and they are in the garage. With other things in the living room we wouldn't be able to open them all the way anyway. That and my final build weekend topped out at 105+ deg - and I was DONE being outside :) All in all, i like the open look of it, although I reserve the right to install those doors if need be.
Thu, 08/30/2012 - 18:18
You did a fabulous job and I can definitely see it working without the doors too. The nice thing about stain is that can easily be covered with paint, if you change your mind down the road.