Farmhouse Bench
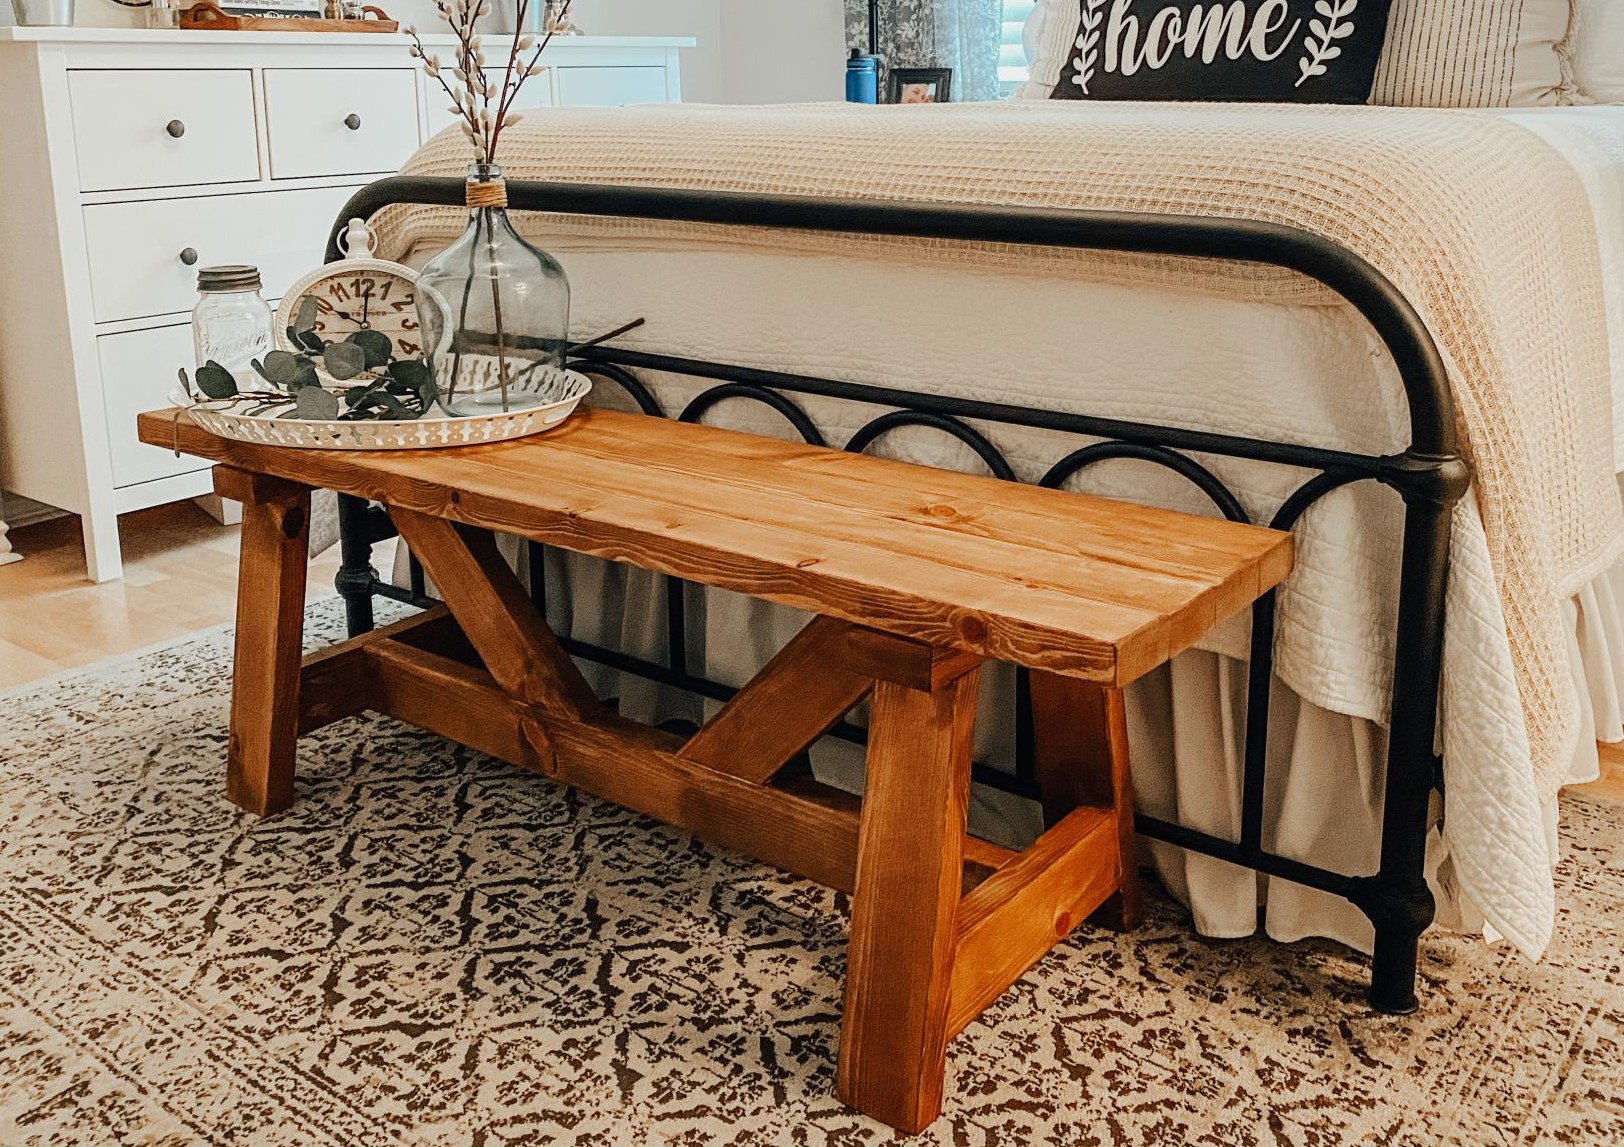
I used the plans from the site and it came out perfectly! Didn’t even make a wrong cut-pretty good for a super beginner.
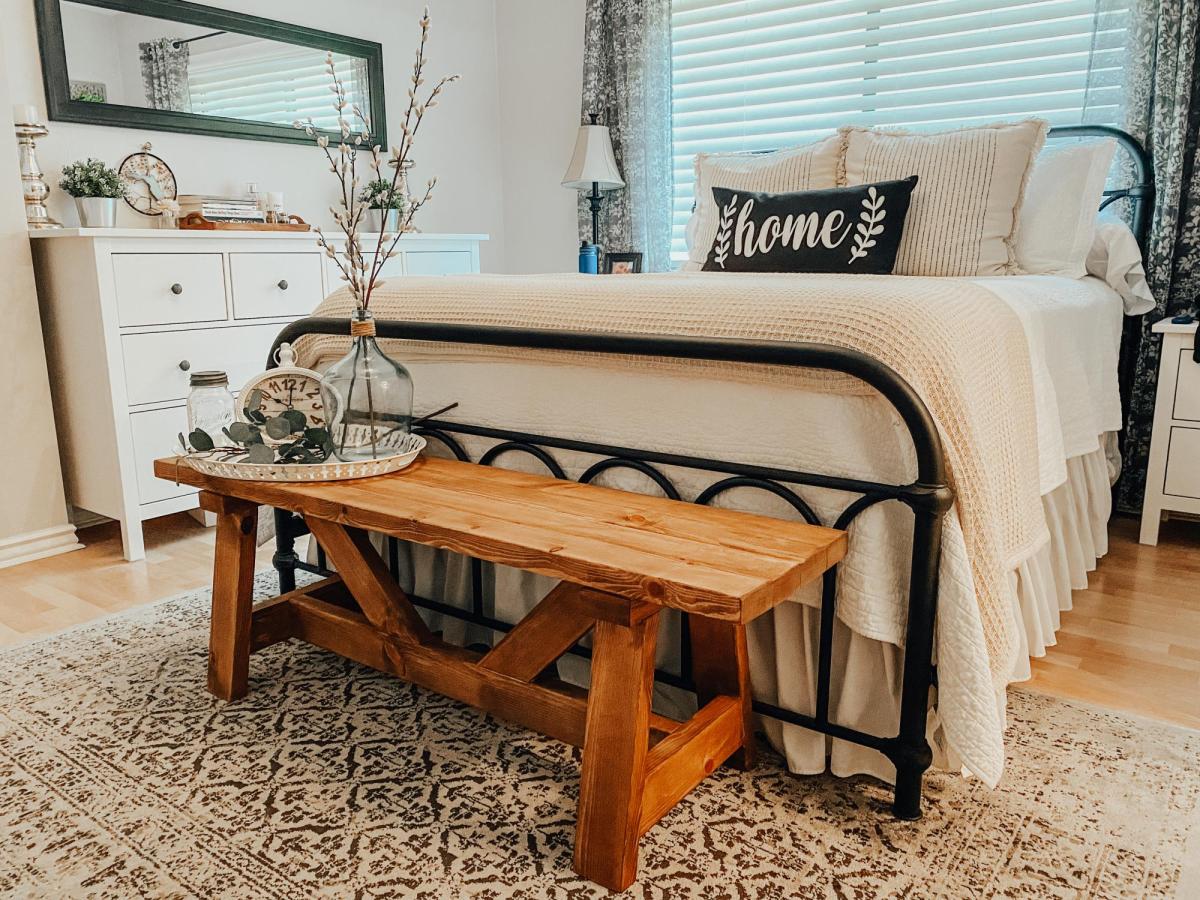

I used the plans from the site and it came out perfectly! Didn’t even make a wrong cut-pretty good for a super beginner.

I made this loft bed for my 4-year-old son. It is plenty strong. It can easily hold him and his daddy for bedtime stories. I followed the plans to the letter. I found this a challenging but attainable second project and only needed help with final assembly. I'll start working on some bookshelves for under it but need to figure out how to work around the supports I already added (that are omitted in the bookshelf plans).
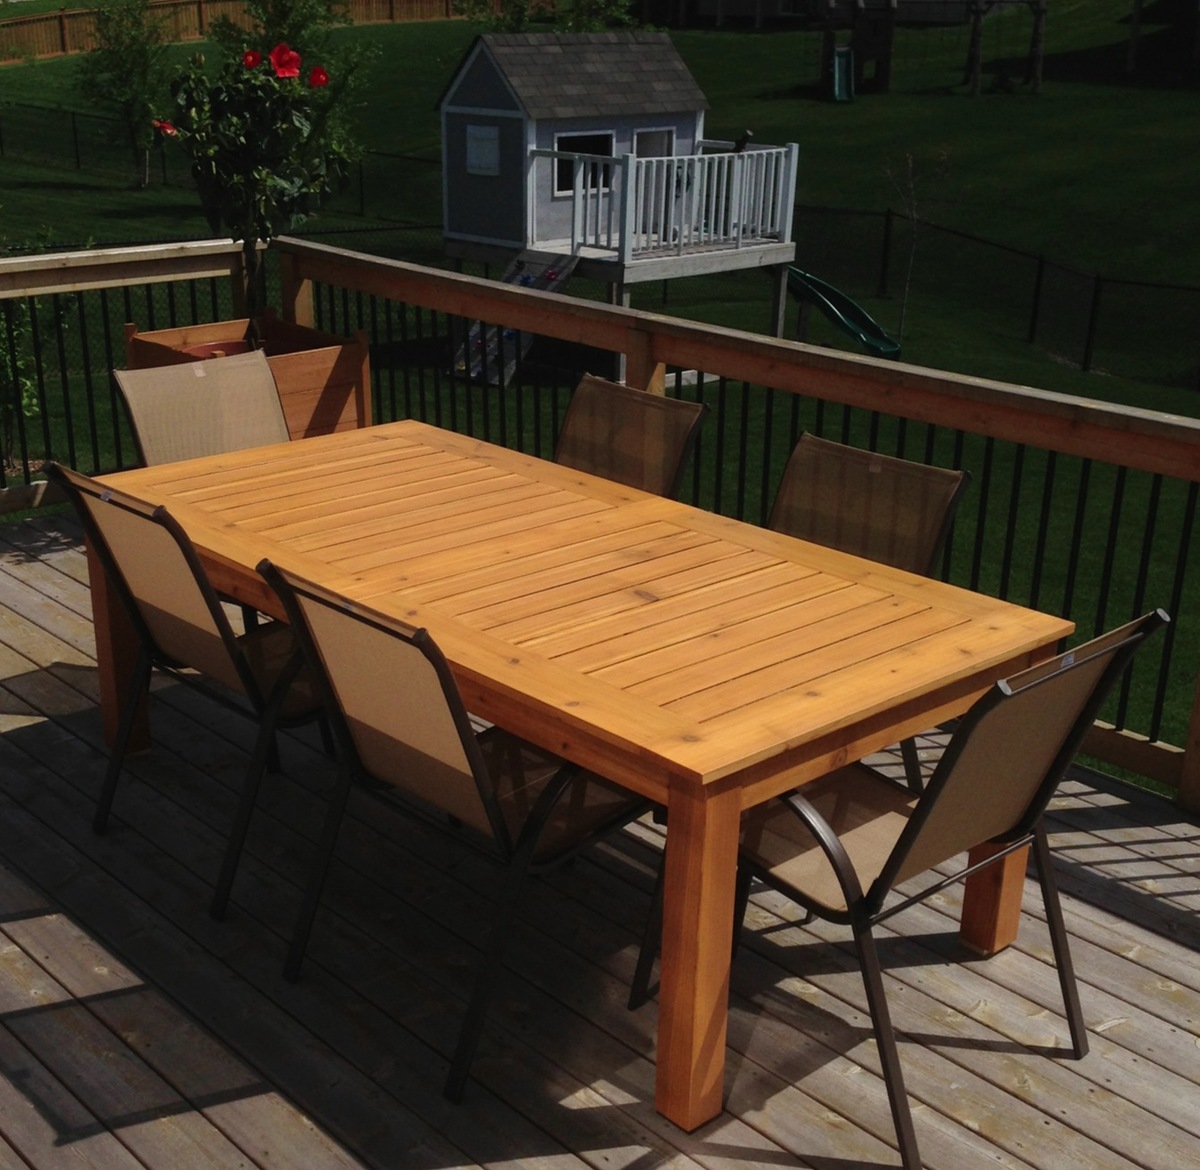
I took the Simple Outdoor Table along with a table I had seen at Pottery Barn and kind of put this together. It made of cedar and stained with a natural to keep the pretty color.
Mon, 06/03/2013 - 16:58
I really love the way you did this table! I've been considering a bunch of different plans and haven't been entirely satisfied with any of them. What are the dimensions of your table? And do you have measurements, or did you just figure it out as you went?
In reply to Size? by storchinsky
Wed, 06/05/2013 - 08:33
I started out with the size of 8 ft by 40 inches. It isn't exact but it's real close. After I had the initial measurements I just kind of pieced it together. I got ideas from looking at different tables on here and followed the pattern of the one I liked at Pottery Barn.
I essentially stuck to the main plan - except to support the wings I used 2X2 boards and standard hinges.
I was worried that there may not be enough space for my Ryobi 10" sliding miter saw because of the slide however, it fits nicely and there is plenty of space.
Thank you for the wonderful plan. This was my first project of this size and I am very happy with the results!
Fri, 05/01/2015 - 08:10
This is great. I am currently getting my Dad's help to turn an old kitchen cabinet into a miter saw cabinet with wings like this. (it was a 1940's solid wood kitchen cabinet we took out of the house when we remodeled). I really like your 2x2 support struts. Have you considered putting a shelf in the middle of your box? It would add extra support and also more room to store stuff.
Sat, 05/02/2015 - 09:09
Good idea. I did consider adding a shelf however I have now decided to use the lower area to store my small router table. I discovered that it would fit in the spot however it leaves not enough room for a shelf.
Mon, 05/18/2020 - 14:12
I know it’s been a while but do you remember the angle you used on the 2x2 supports? I struggle when it comes to cutting angles.
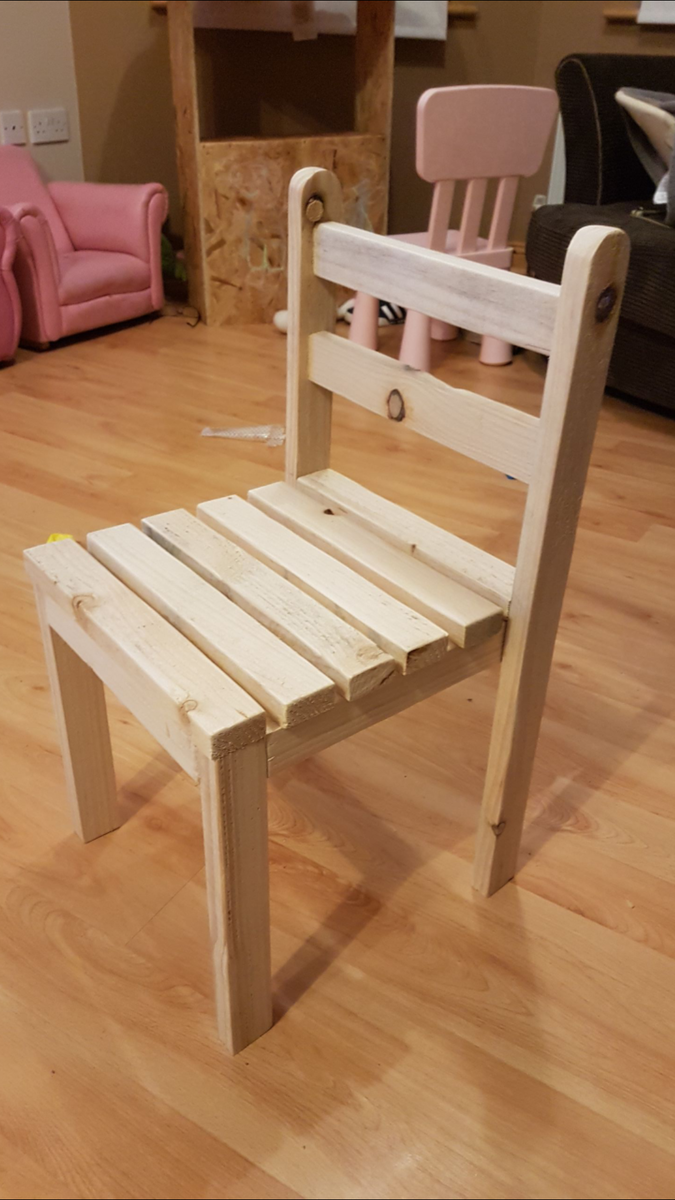
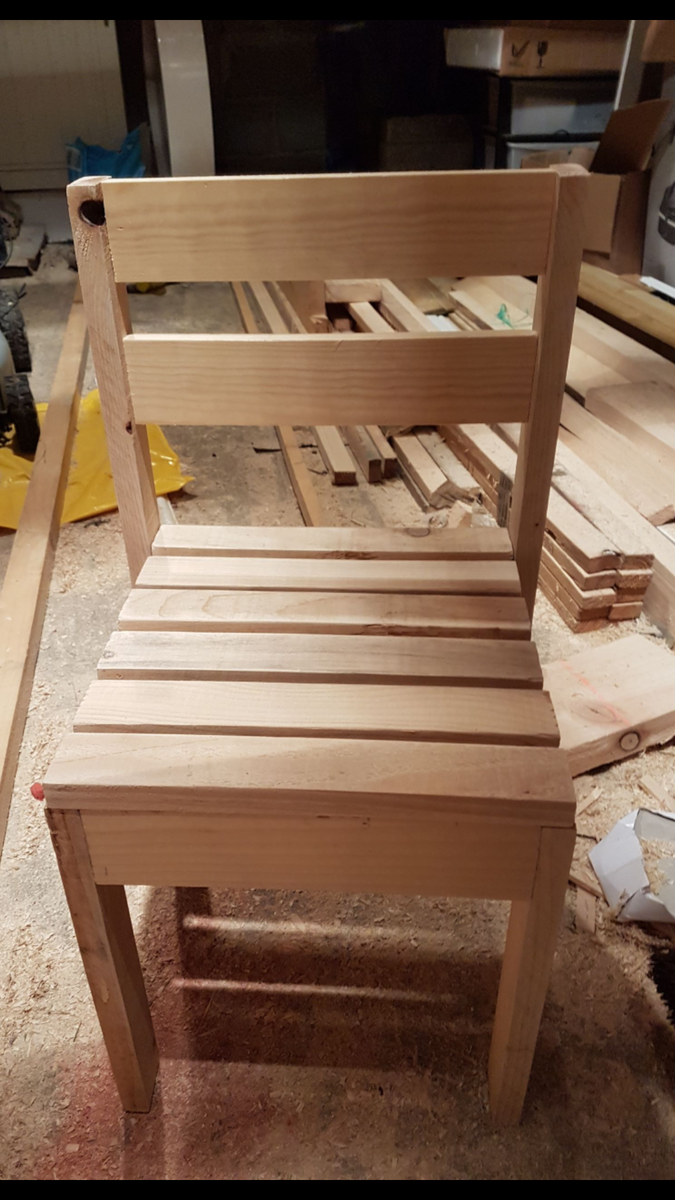
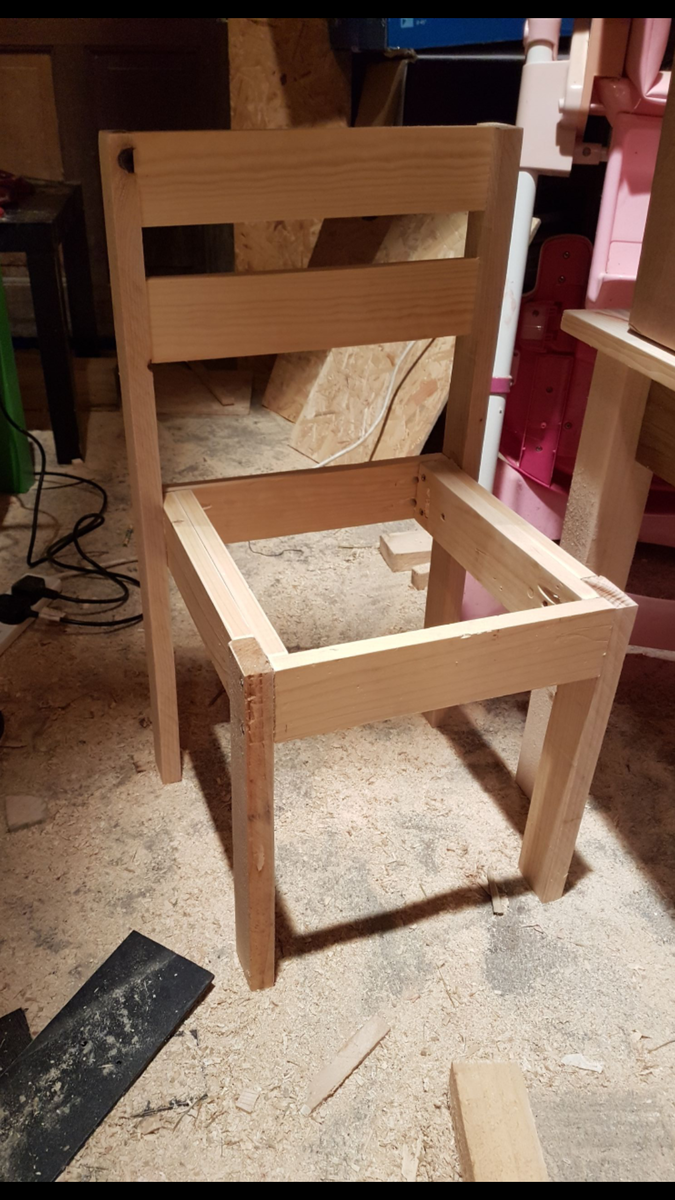
Made two of these chairs for my little girls. The second one I managed to conceal all the screws too.
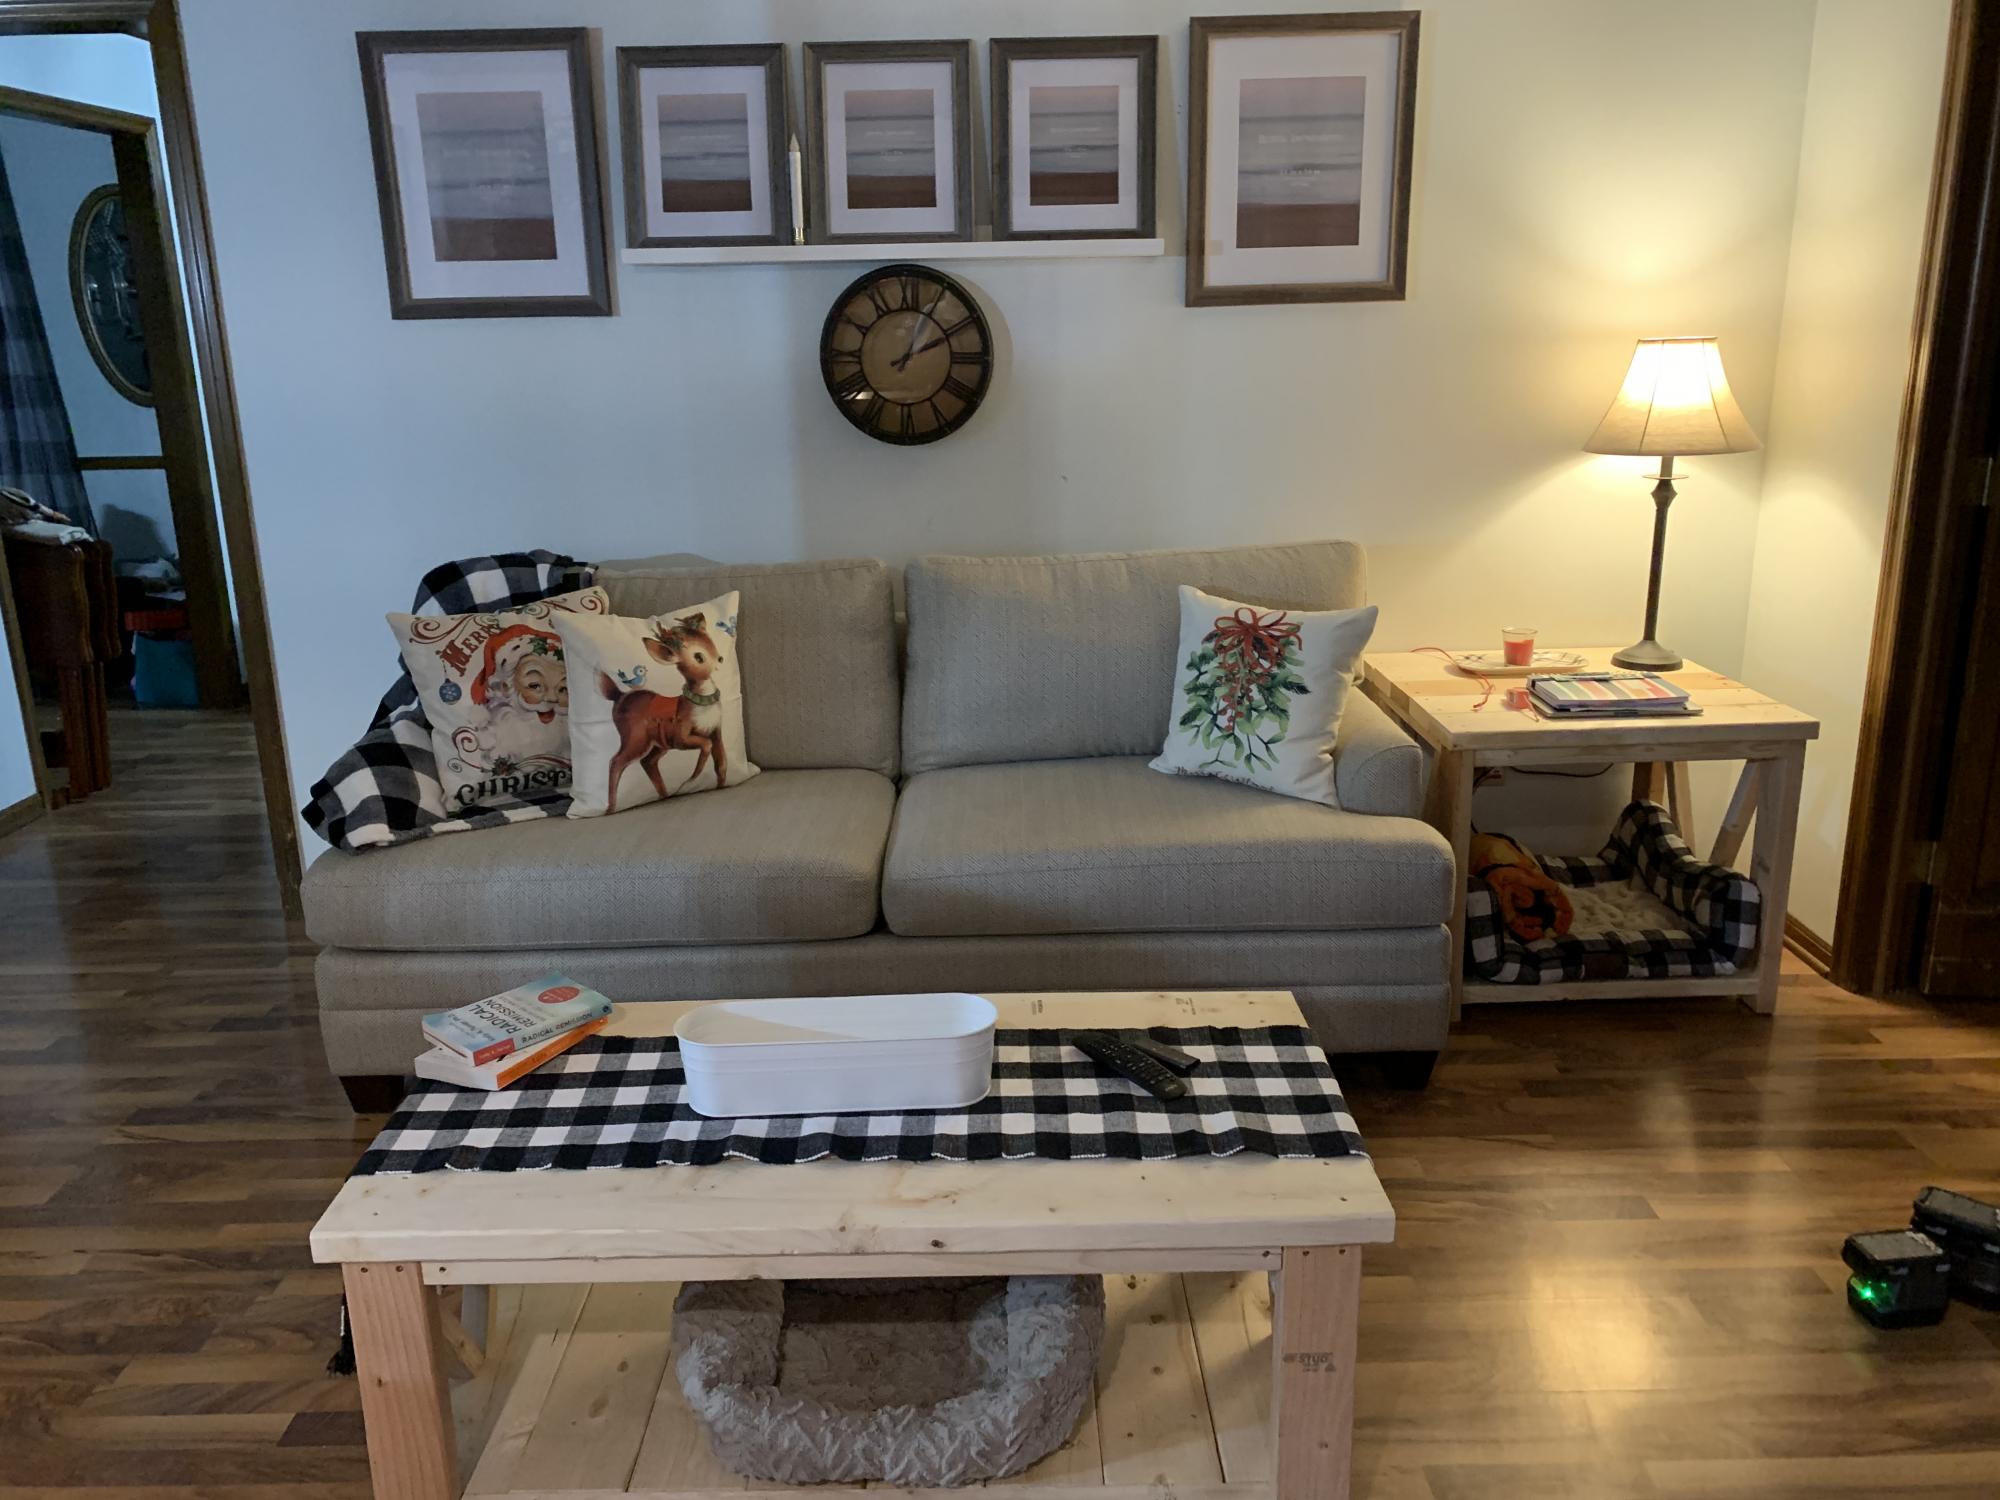
My dad and I built these amazing coffee and end tables during a Christmas last year. We modified the ends to for a “M” instead of the traditional farmhouse “X”. Our last name is Mayberry-so the M was fitting. Sadly, my father lost his battle to cancer and this was the last project we did-one that will forever hold precious memories! Thank you for the fabulous plans!
Fri, 10/08/2021 - 10:41
Thank you for sharing, a wonderful memory was made and to see this reminder everyday is very sweet. We are very sorry for your loss~
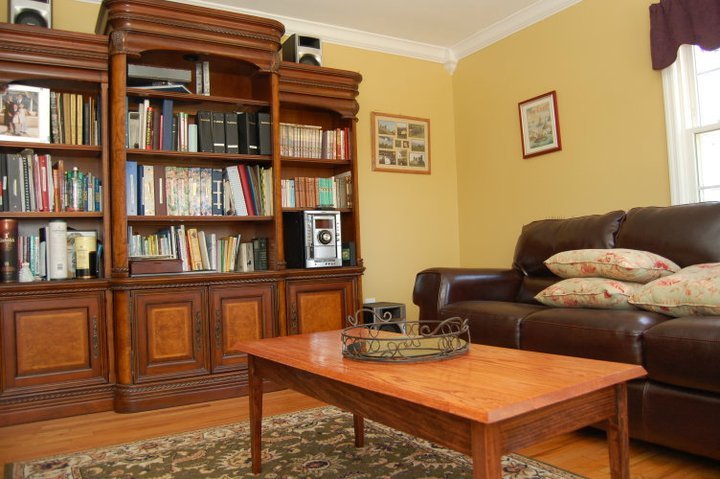
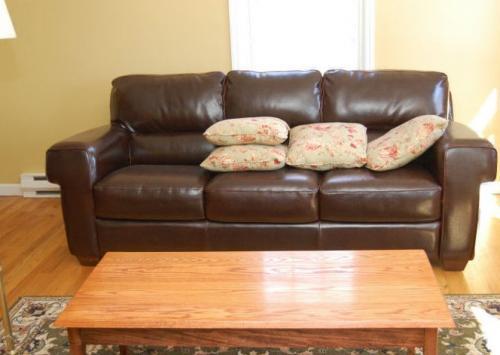
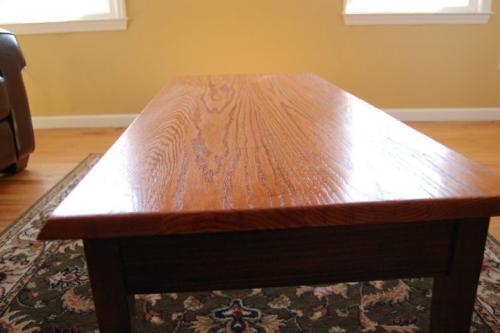
My wife said she did not want anything for her birthday, so instead of buying her
something after she said that, I decided to try and make something. We did not have a coffee table in our living room - when we hosted Christmas, we had a piece of plywood over boxes, covered with a table cloth. So I decided to try and make a coffee table for her.
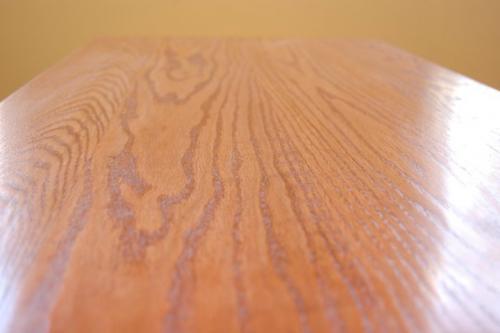
Made some mistakes sanding the top, so then had to spend a lot more time sanding out the gouges.I did not use a plan per se, but when I started looking here, it was remarkable similar to Clara's Table, with differeing dimensions. The cost was a little higher due to the oak boards for the table top. Those alone were $50.
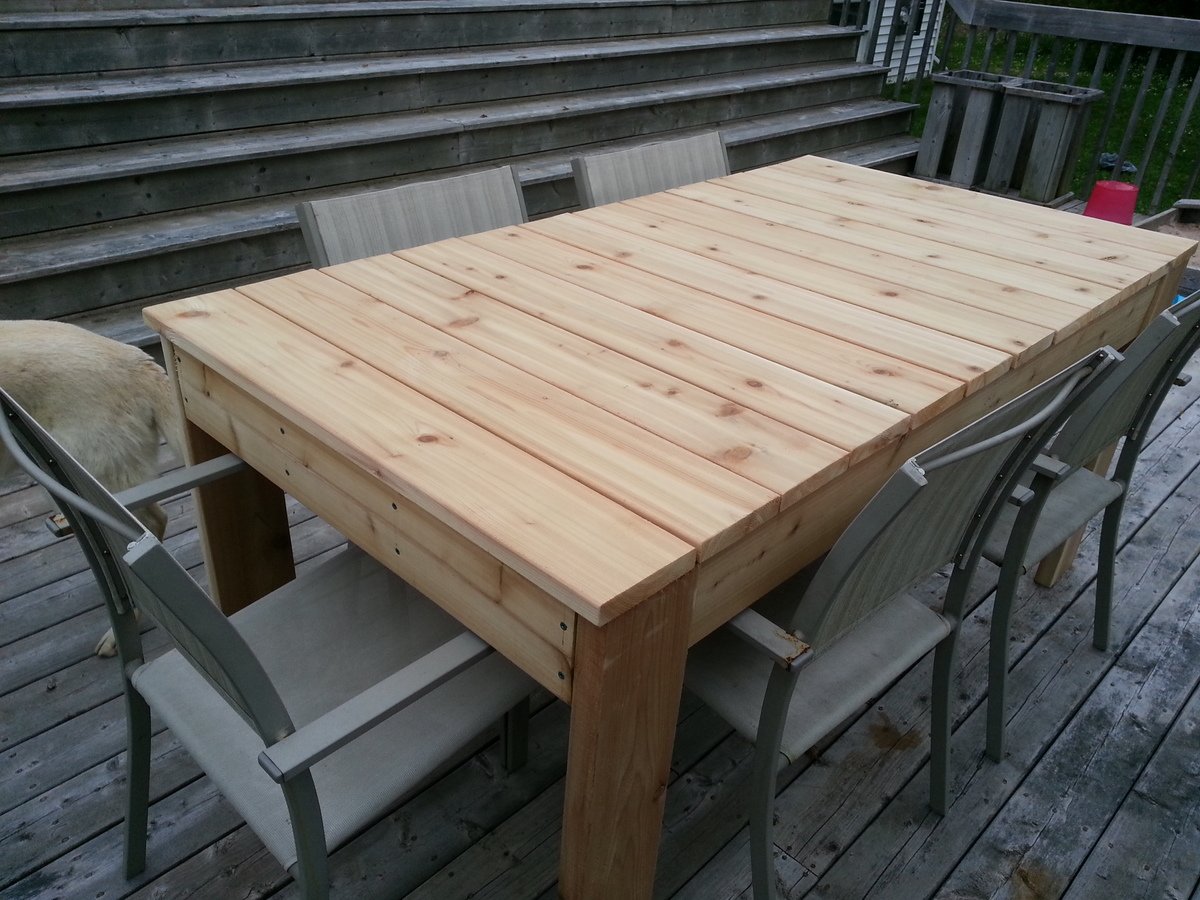
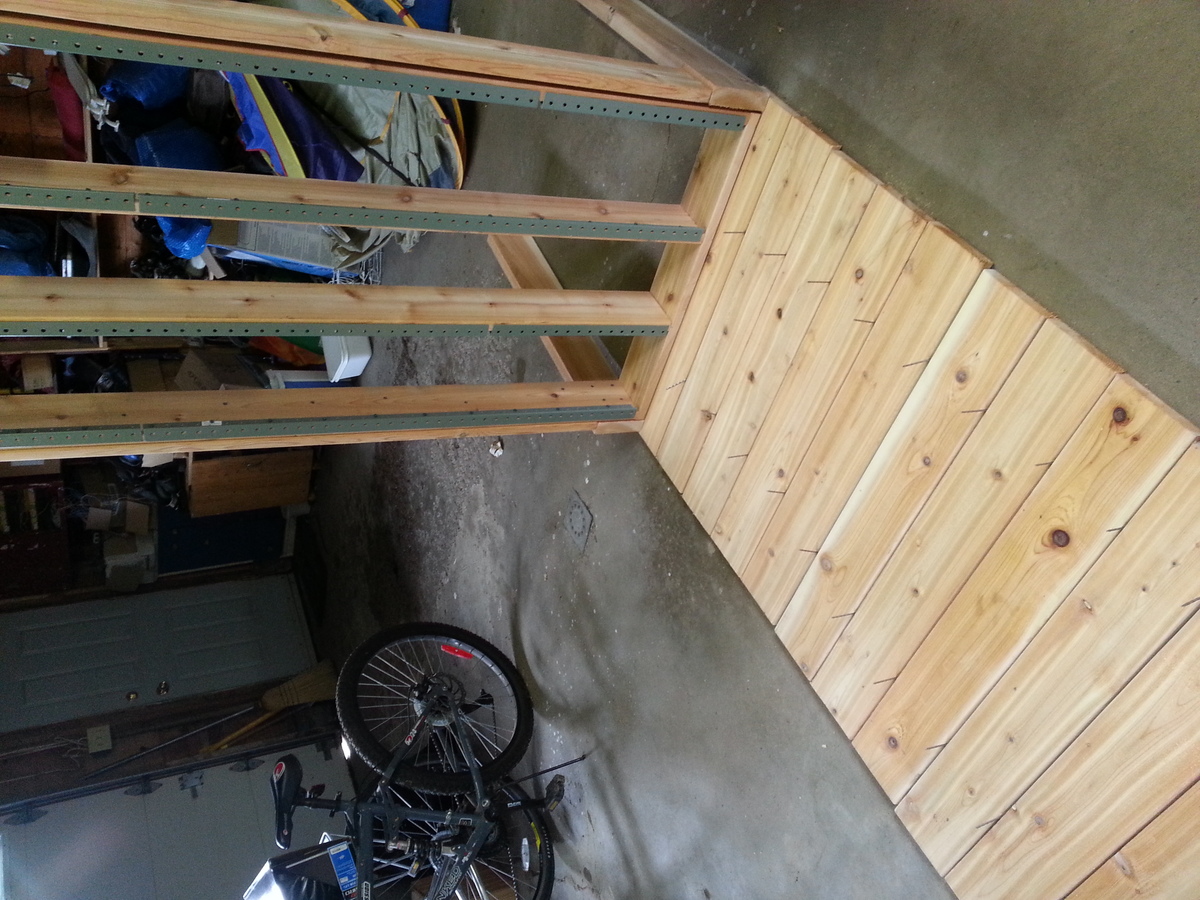
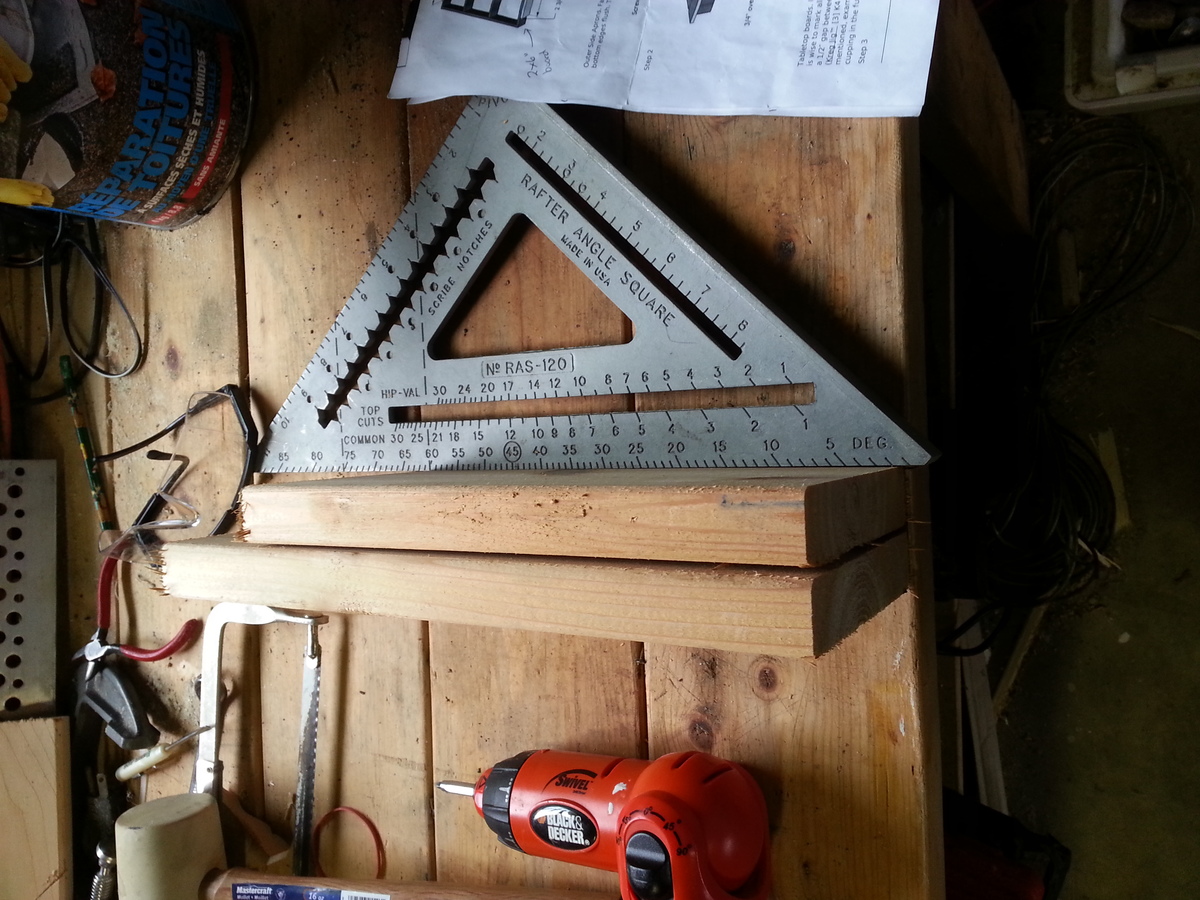
This table follows the plan pretty closely except that I wanted to use Red Cedar because of its beauty and durability. We can only get Red Cedar at one National Chain here and it only came in 6" widths, which meant a few recalculations. We also used deck strips (as recommended at the store) to attach the top from underneath (shown in photo) and adjusted the screw length to accommodate. We were able to keep waste to a minimum (seen in photo with triangle) by making sure to cut varying lengths from the boards (ie. one board gave us the length and width of the table). This was made easier by the available lengths of board from the store (8', 10', 12'). Another recommendation from the store was to use coated screws with cedar to prevent black streaks over time.
I love my new table!
Wed, 11/11/2015 - 11:08
I was wondering about the size of this table. If I need to make three different sized tables, 36x36 24x24 and 24x30 would this pattern be easy to adjust?
Thanks,
Sarah
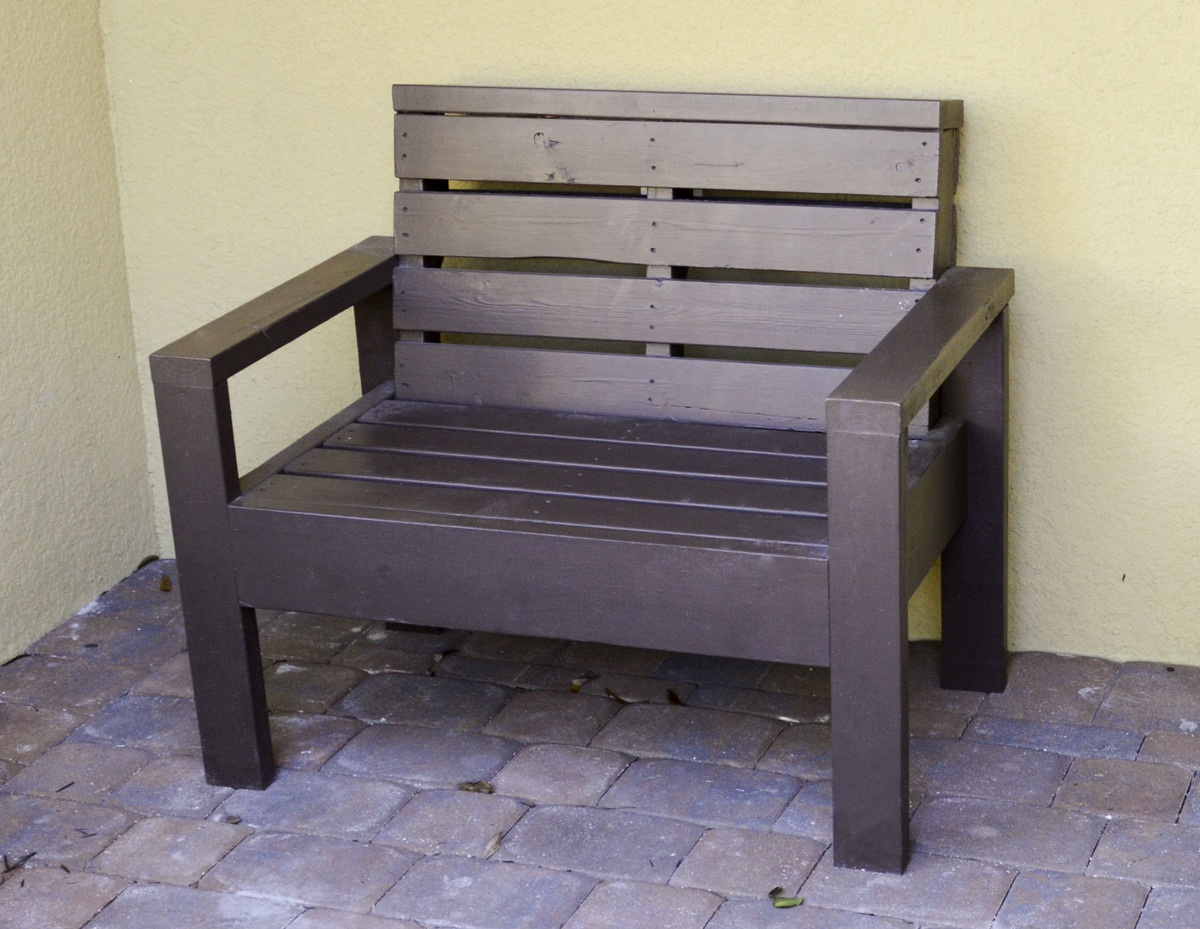
A friend gave me a pallet that I wanted to make into an outdoor bench. I found Ana’s plans for a simple outdoor loveseat and they inspired the frame for the bench. To make the bench I cut the pallet in half and then I adjusted Ana’s plans to make the frame to fit around the pallet.
The pallet was free and I used scrap wood to build the frame so my only cost for this project was paint.
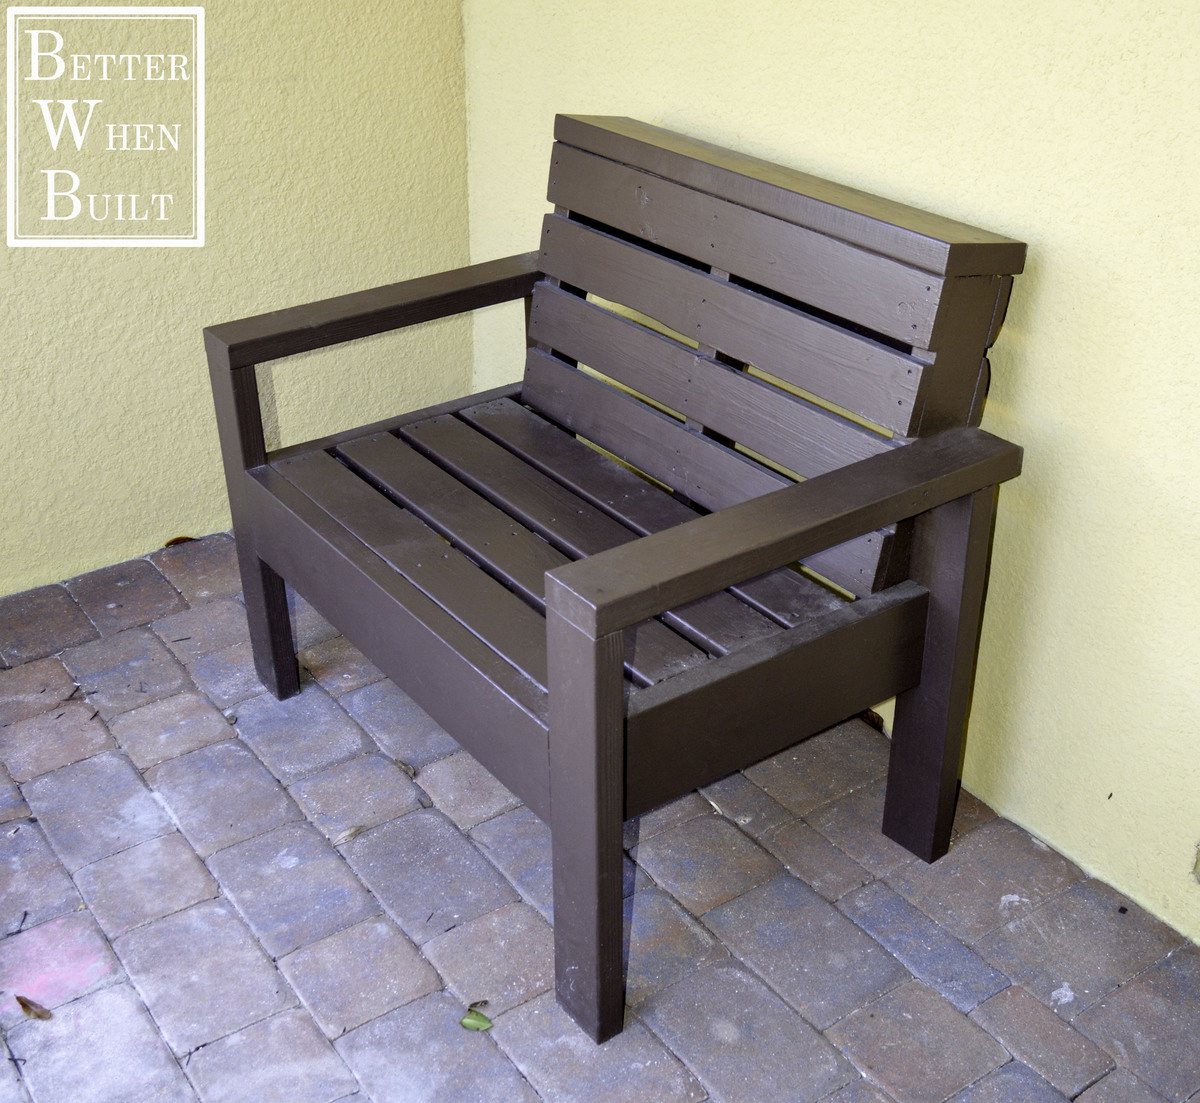
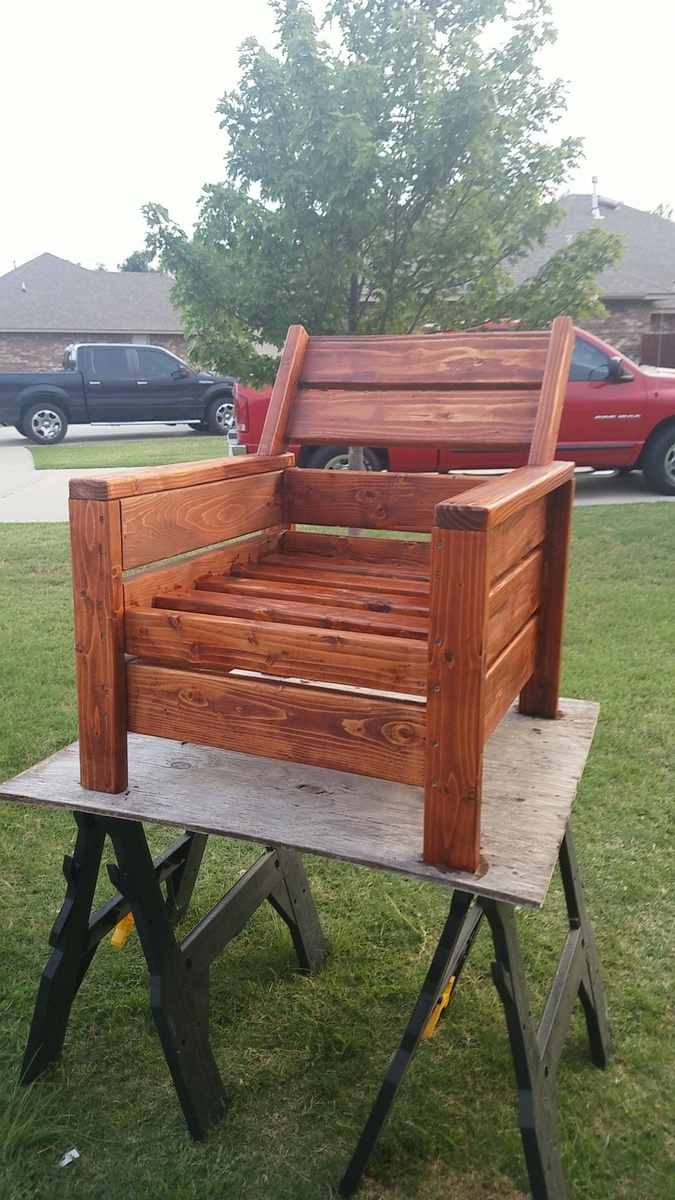
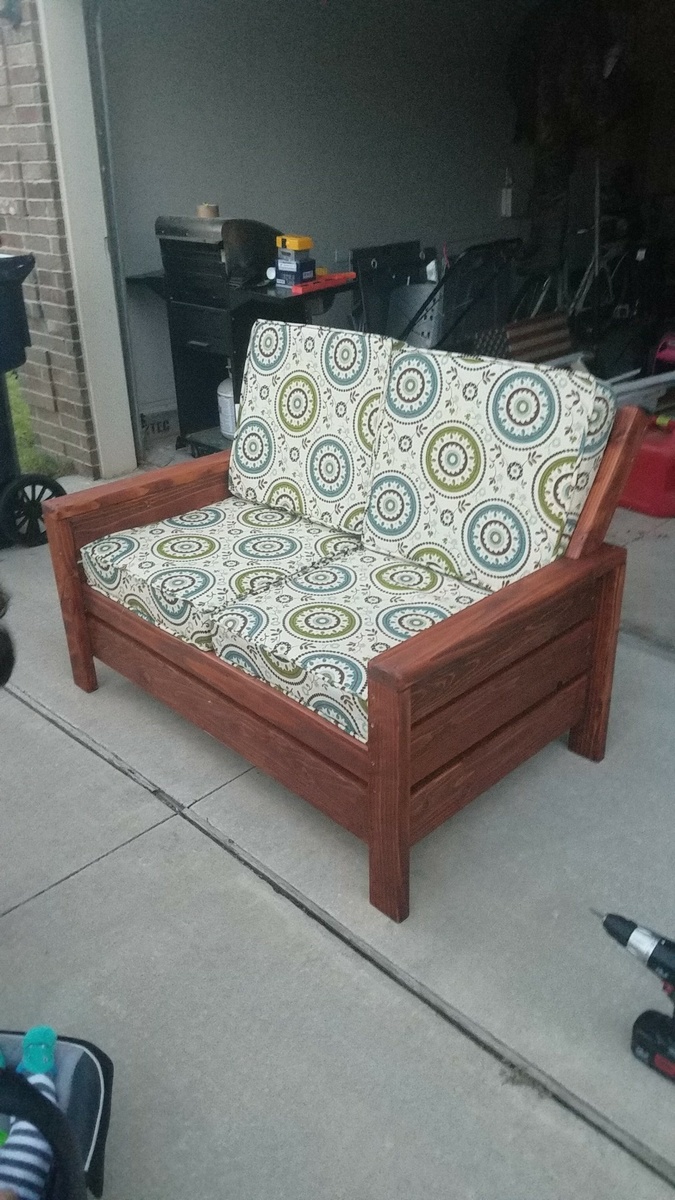
Added a little extra back rest. Made a double chair in the process of making a 3 cushion couch.
Mon, 06/10/2019 - 18:43
I really like the backrest. I built the chair as is from the plans but found it really needs the backrest. Can I ask how you attached the backrest screw-wise and what the angle is? It looks like the backrest might have been screwed on from underneath the armrests before the armrests were screwed to the body of the chair. Am I thinking in the right direction? Thanks in advance!
Fri, 07/03/2020 - 11:24
Can I please get the plans for the backrest?
Thanks!
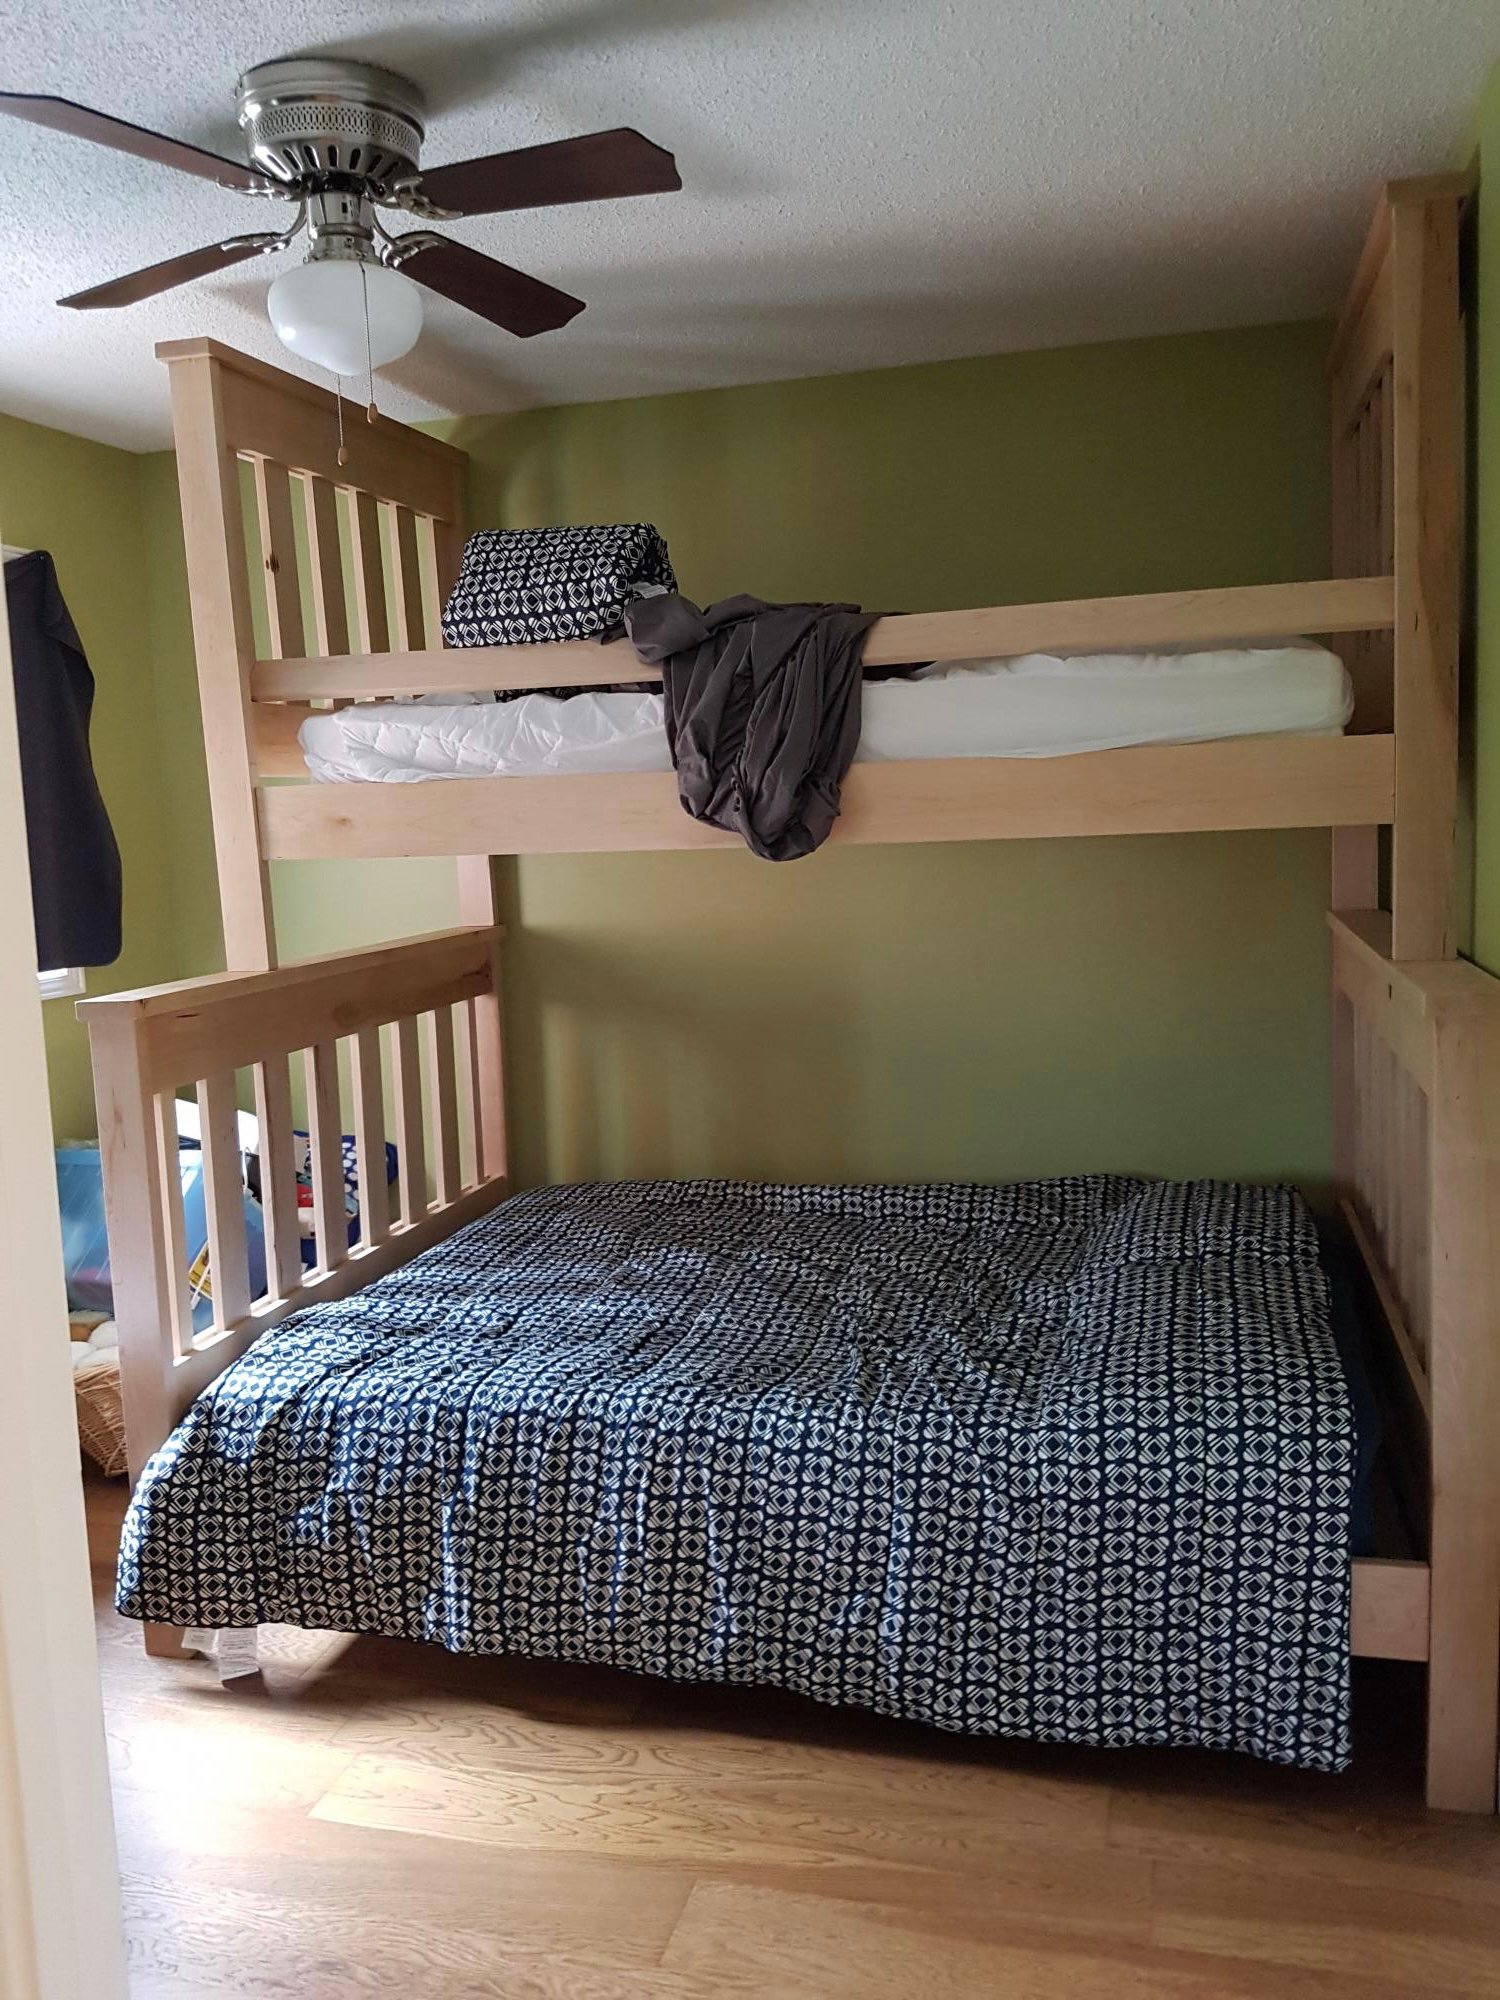
Double bed at bottom, twin at top, still have to make the ladder
Simple sideboard with two drawers.
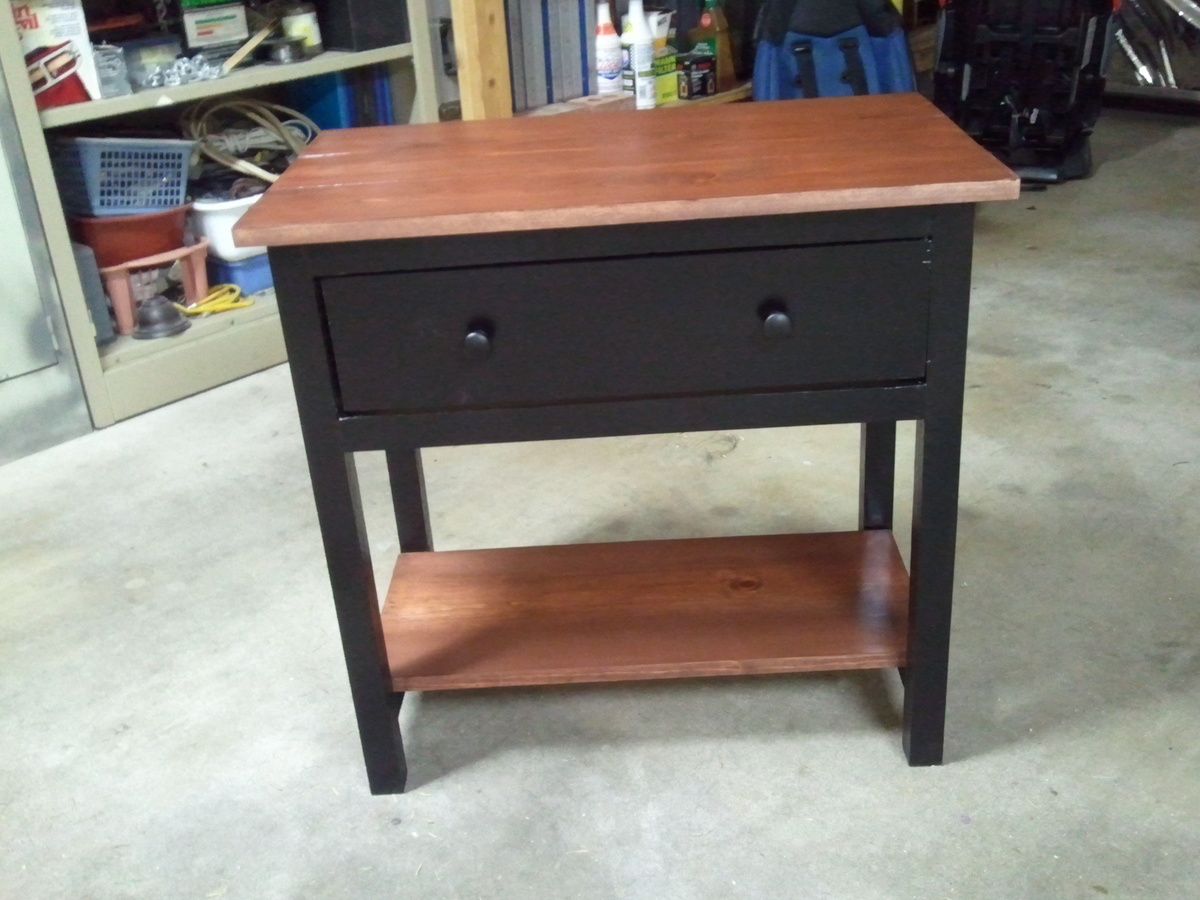
This is my first try at building! Well, I have built above ground gardens but never furniture. Seeing what everyone has done on this site encouraged me to give it a try too. I'm so glad I did and it turned out exactly as I wanted. Now, I have several other projects that I'm excited to start. This could get addicting.
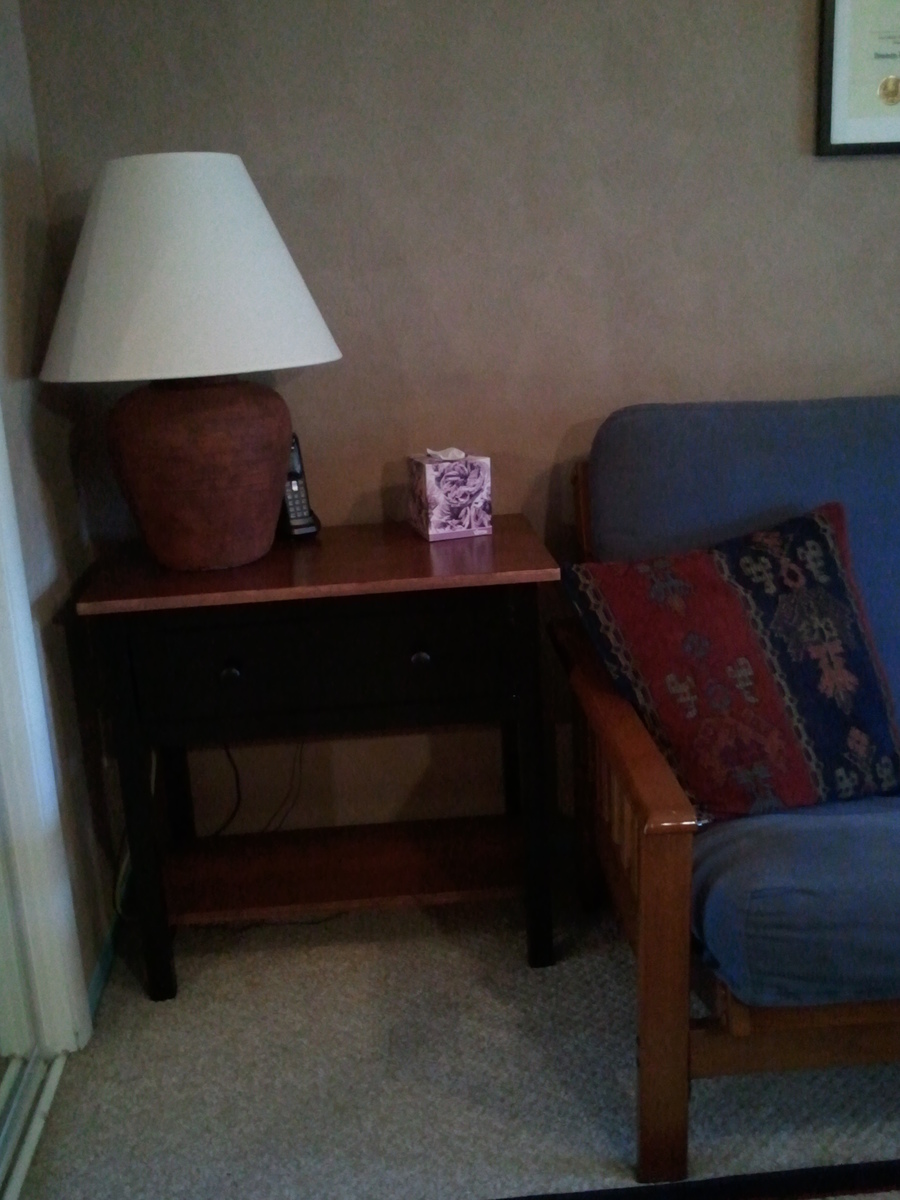
I needed a side table for my office and wanted it to match the decor. I have all black picture frames and accessories and needed the wood to look very similar to what was on the couch. I had planned on painting the bottom shelf but really liked it plain so decided to stain it as well.
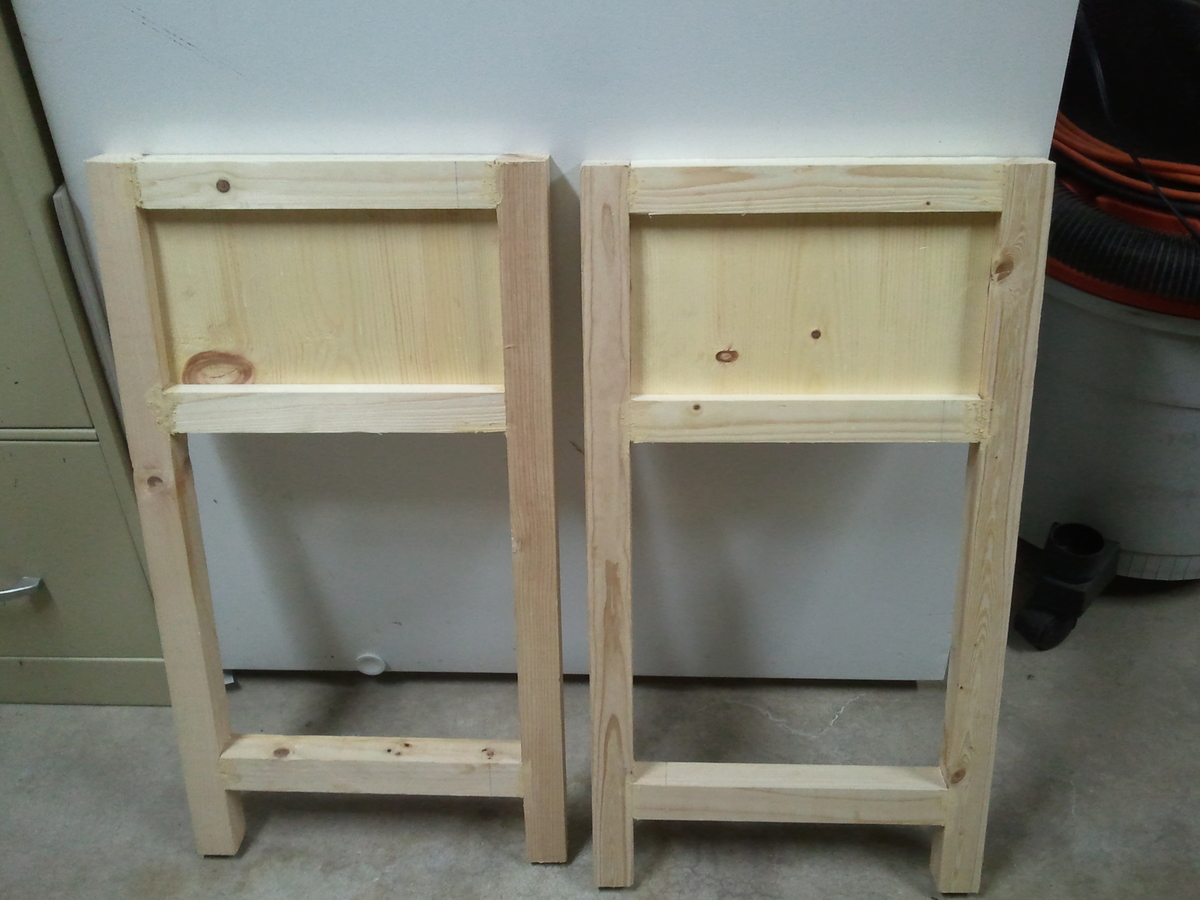
I was looking for something to build for a fundraiser this year and found the Beach Hut Bed plans. I liked the idea of a little house inside a kids room but I wanted to do something a little more rustic. here's what I came up with!!!
The shopping list and cut list is pretty much the same. However, I only used one 1x3 and needed to buy 4 extra 1x4s. I lowered the bed deck about a foot and left half of the walls open for easy parent access. I sorta just winged it as I went. Turened out pretty neat!!!
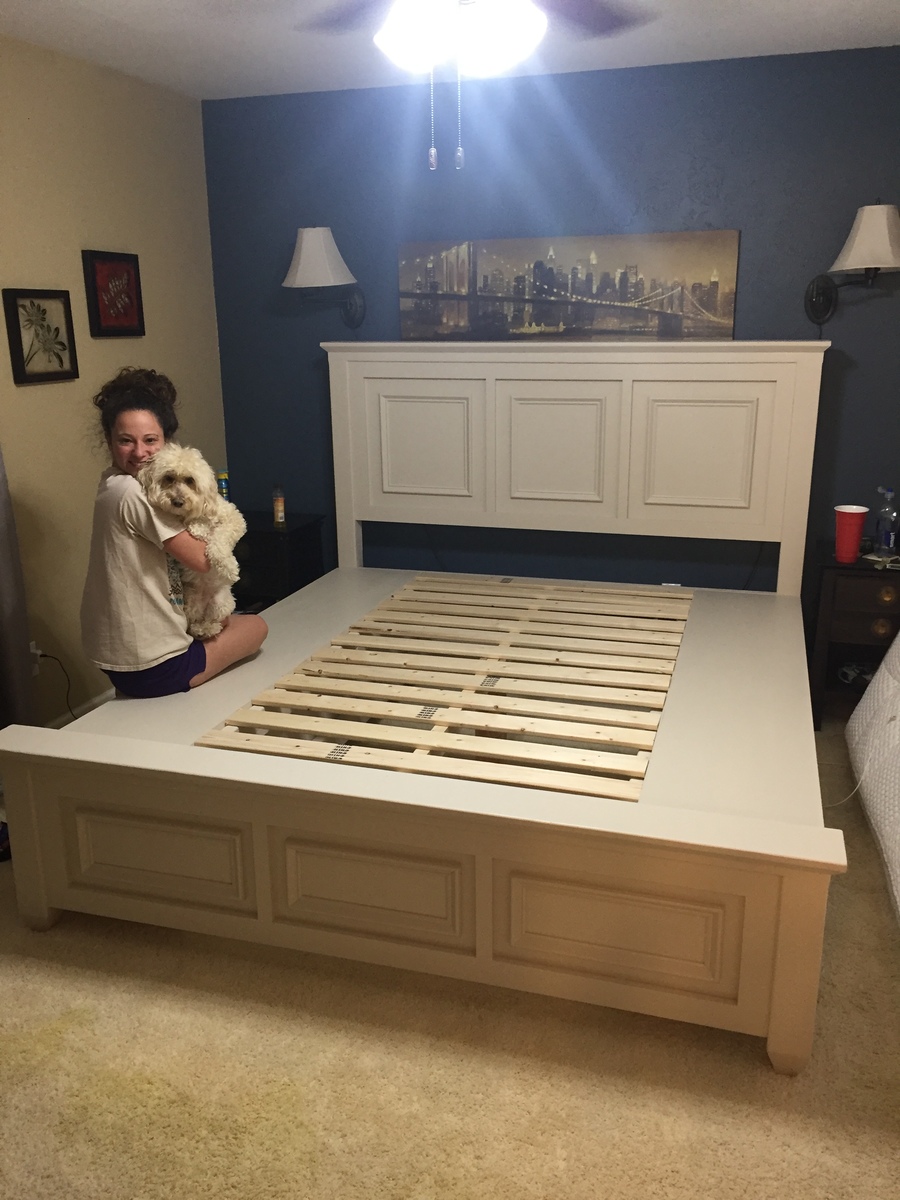
Farmhouse bed with storage sized up to a King
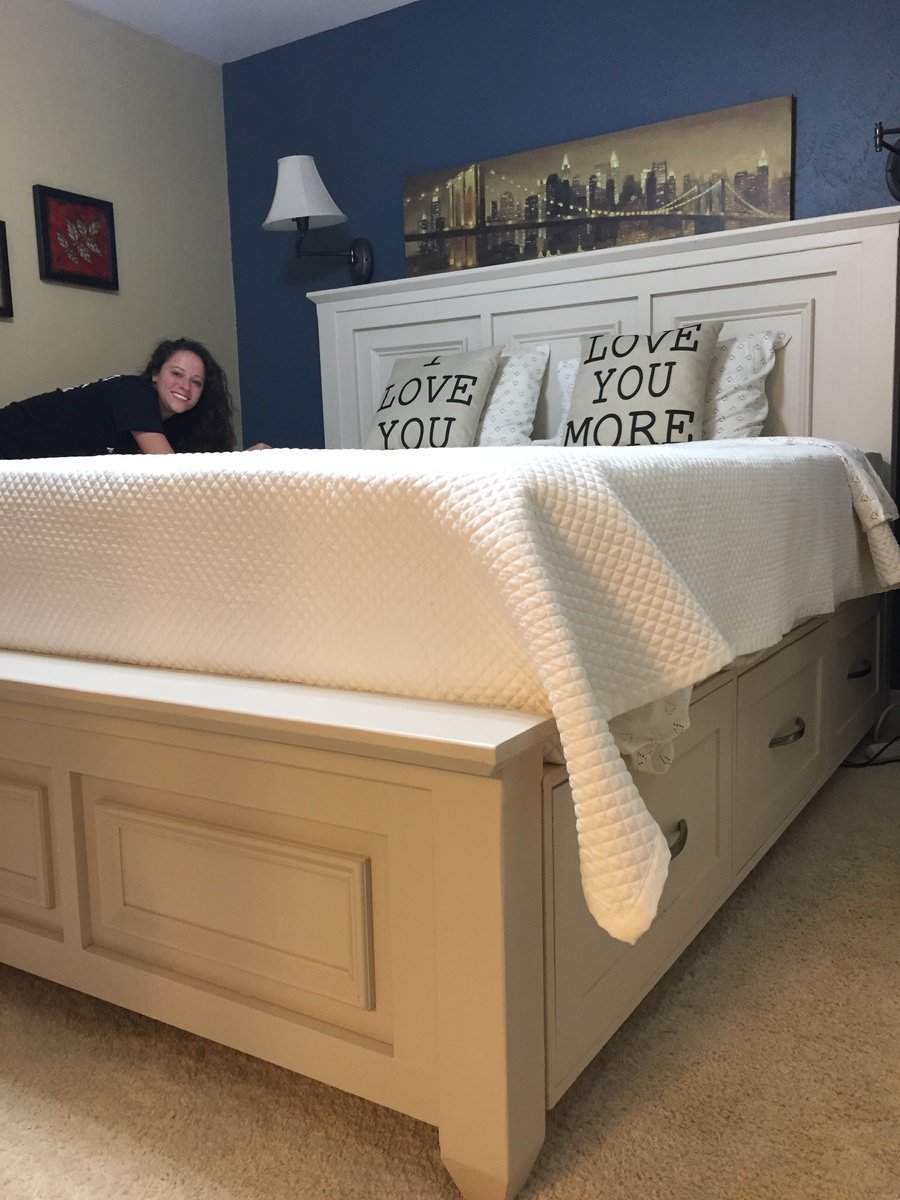
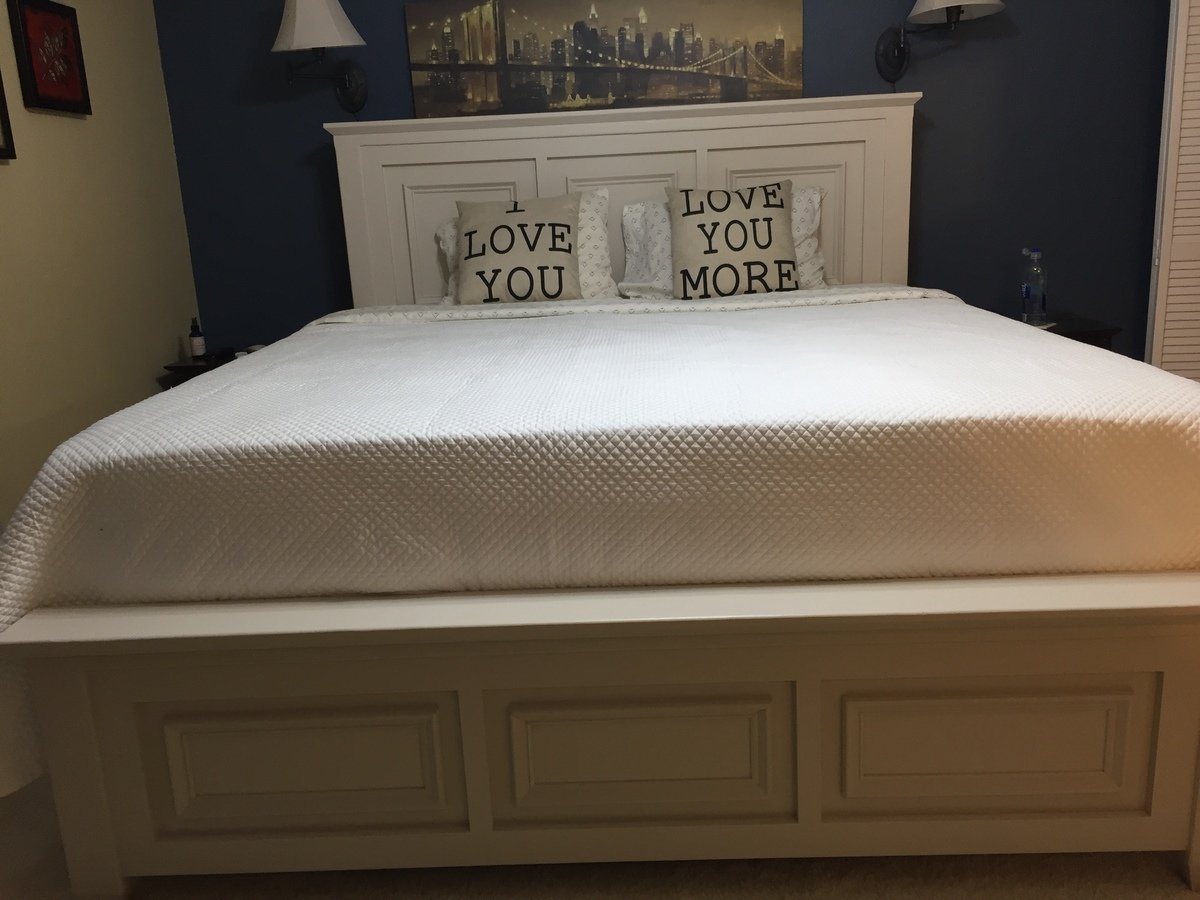
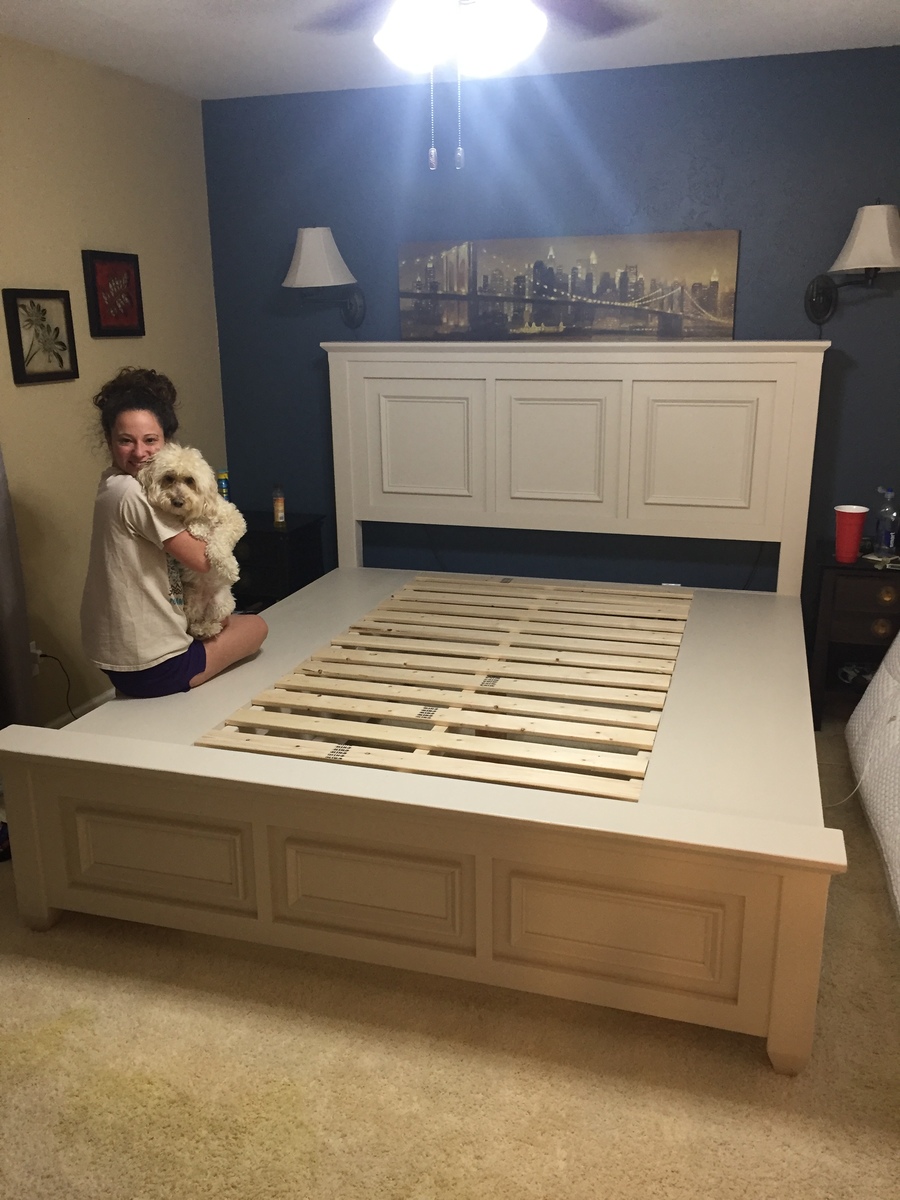
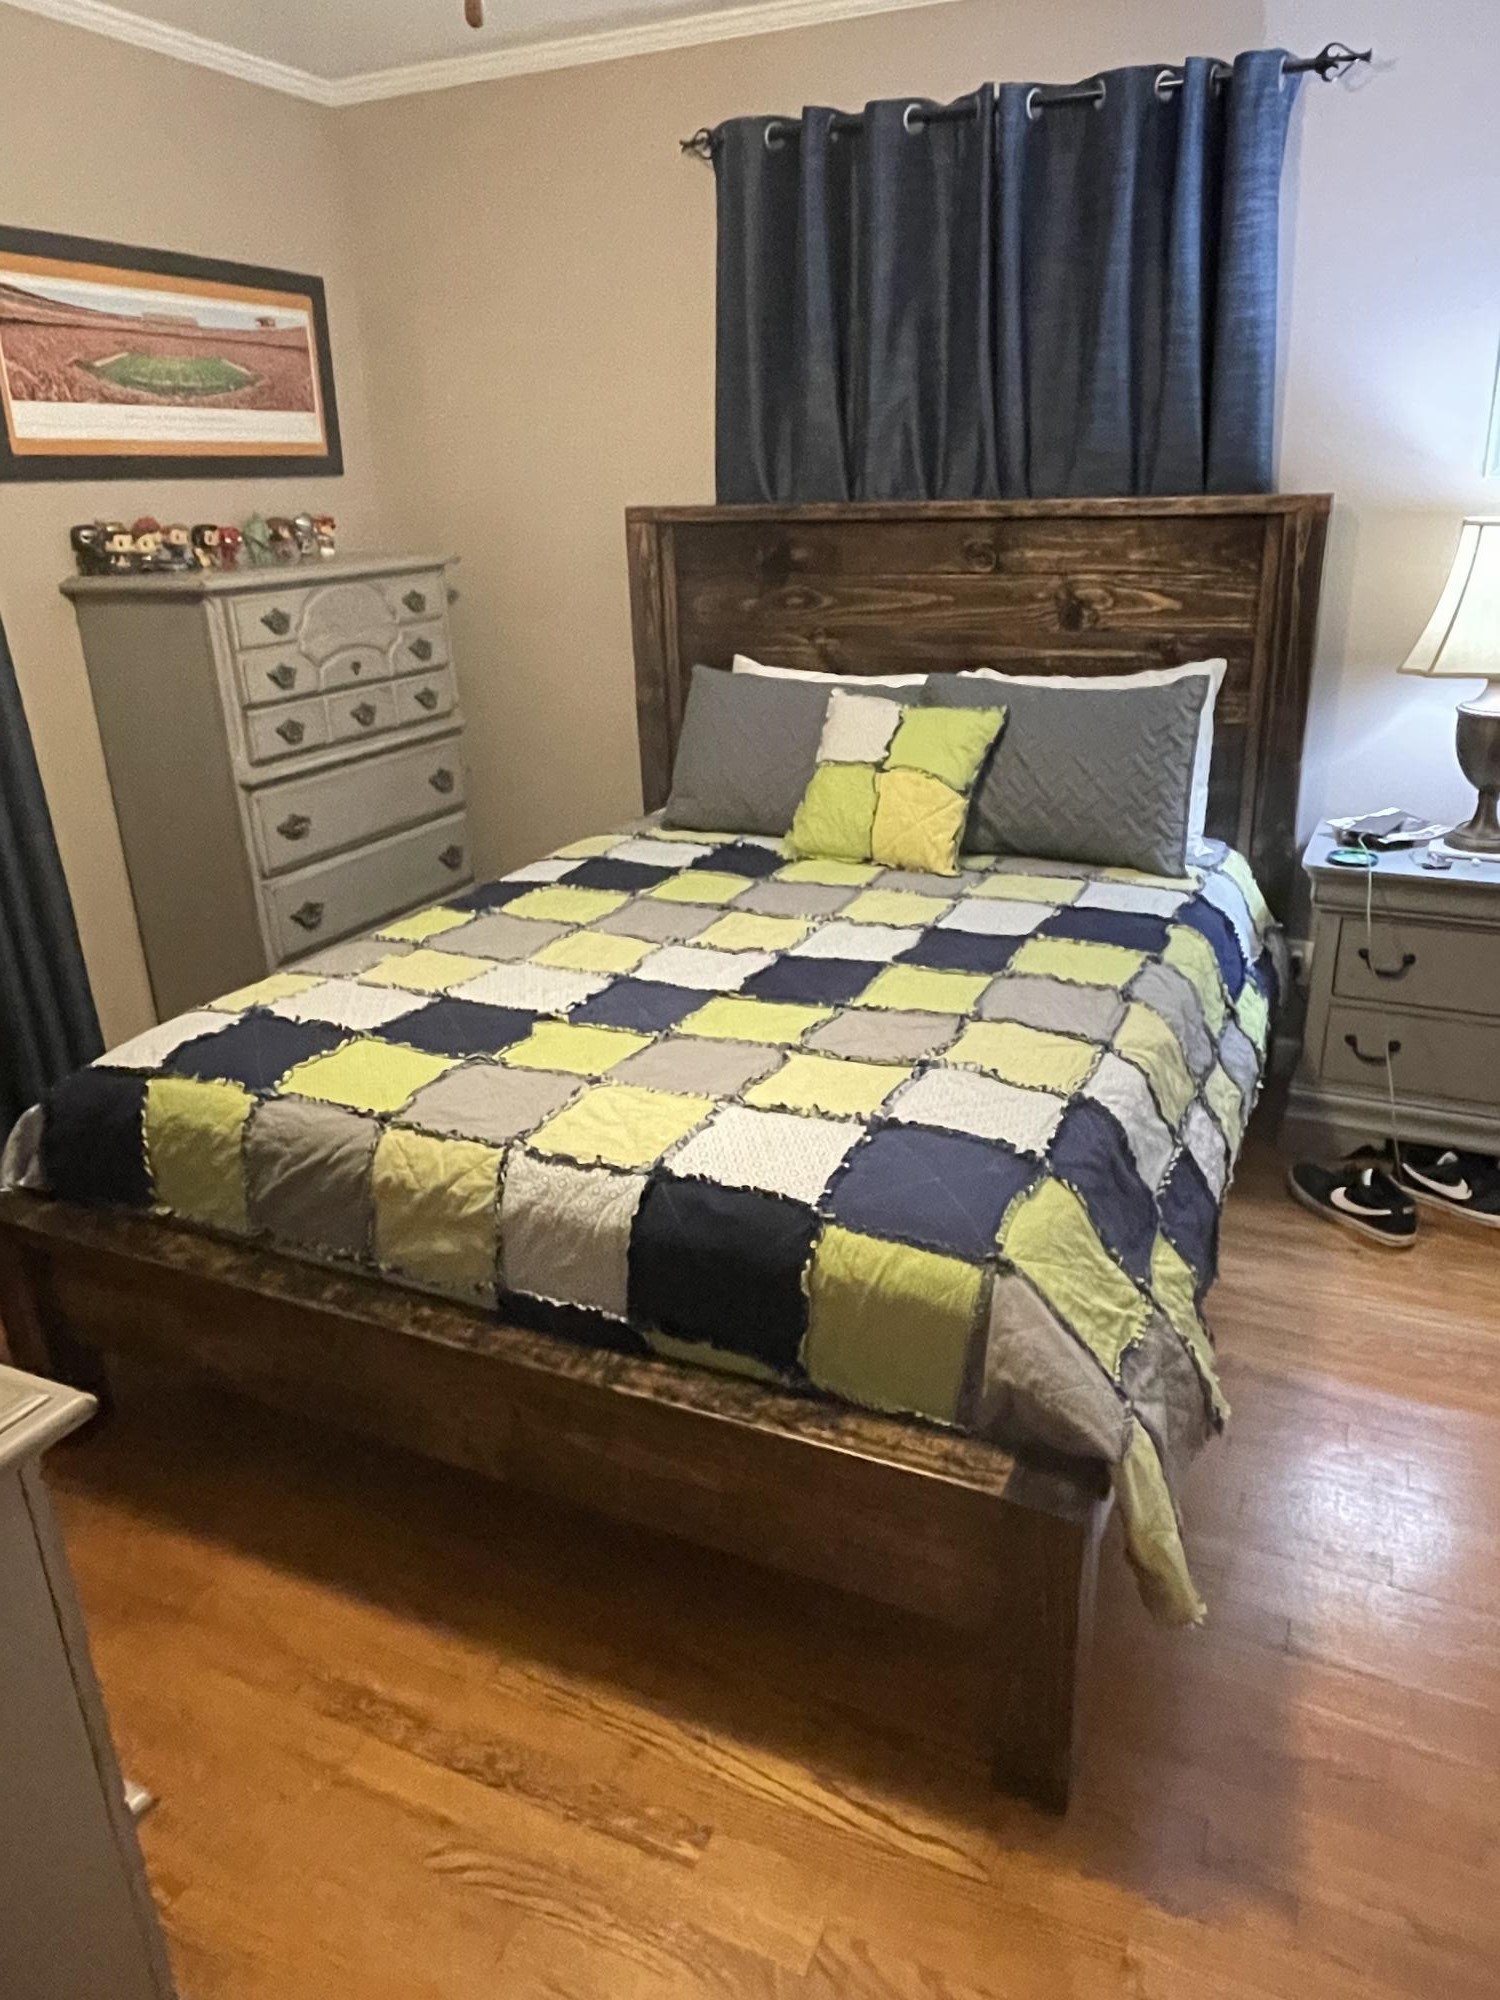
This was done almost true to plans. Instead of 2x6s, I used 2x8s, I raised the footboard and side rails up 2 inches, and bought bed rail brackets to make for easy disassembly when it needs to be moved. I did add a 1x2 strip on each side of head board to cover where the T&G meets the 4x4 (strictly personal preference). Solid and sturdy. My son is happy to get a more masculine bed. Just got it all in his room today.
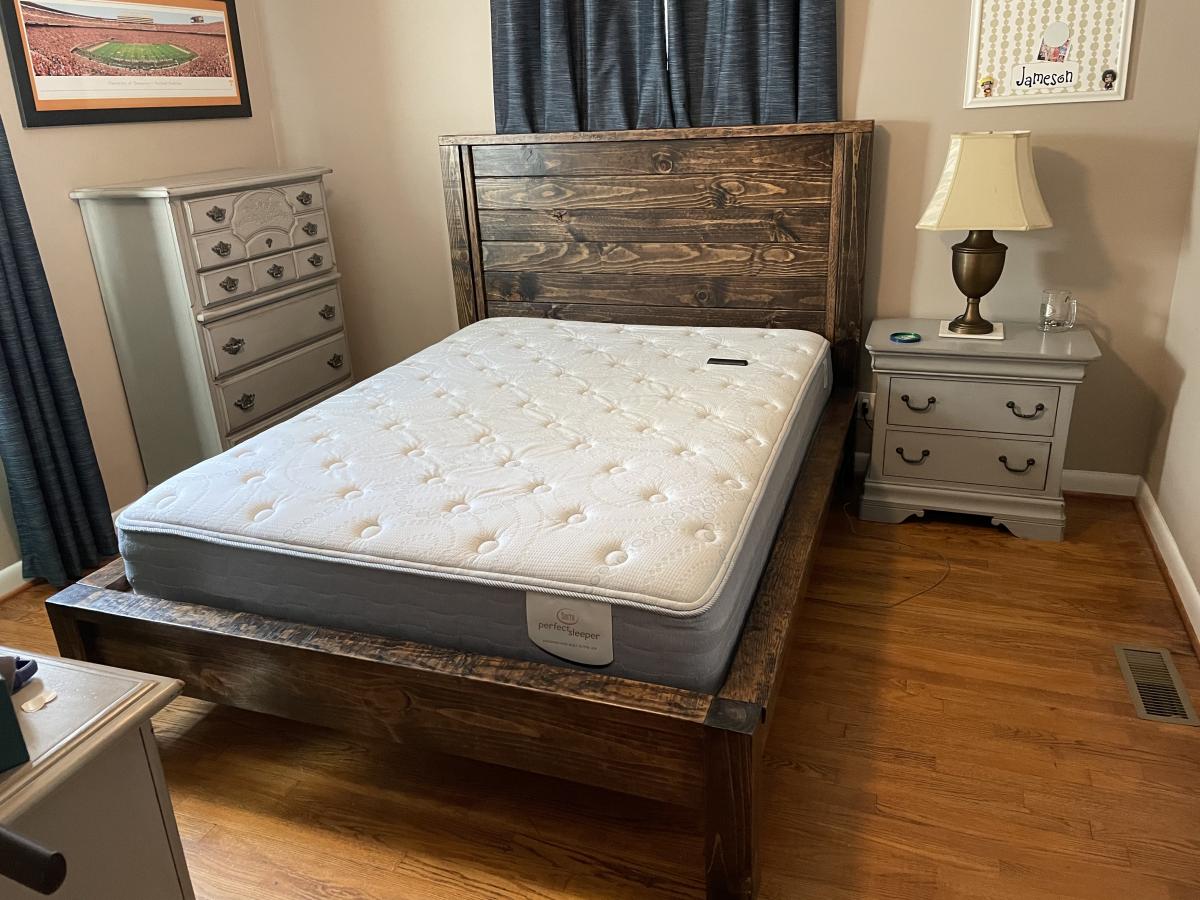
Sun, 10/17/2021 - 18:21
That is very beautiful and masculine at the same time! Way to go, thanks for sharing:)
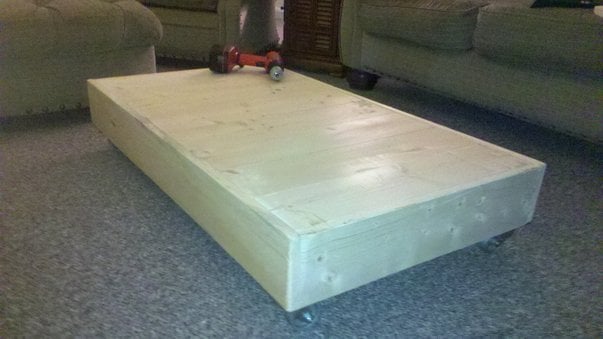
The Factory cart was really easy to put together.
I This project is definitely the most difficult I've ever built. I've done lot of drawer slides before, but for some reason this one was the hardest. I think the culprit was squaring, which was mysterious to me bc I'm careful to take a square constantly. Could've been bowed boards, too. But, after some patience and forcing the boards to do what the should, it worked. I did rip down 2x4's for strength b/c our stores do not carry the upgraded 2x2's and furring strips would just not have been strong enough for a dresser. My son is very happy to finally have a place for his clothes. Thanks Ana for these plans!
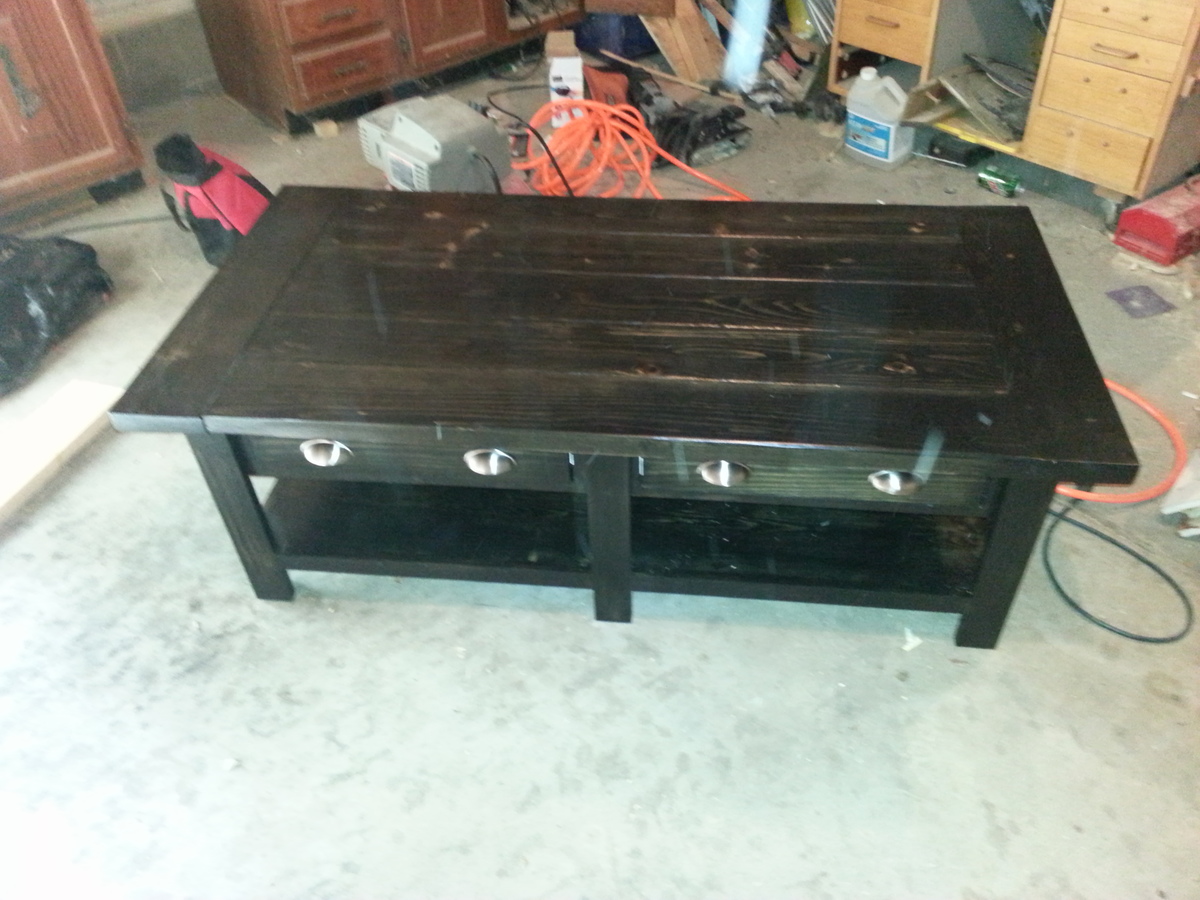
This was one of my first projects. I made it for my daughter who was moving to a new apartment and wanted to replace her college coffee table. It was fairly easy other than keeping everything square so the drawers worked correctly. I finished it with Rust-Oleum Ebony stain and Minwax Satin Poly (3 coats). All the hardware and lumber came from the Orange big box store
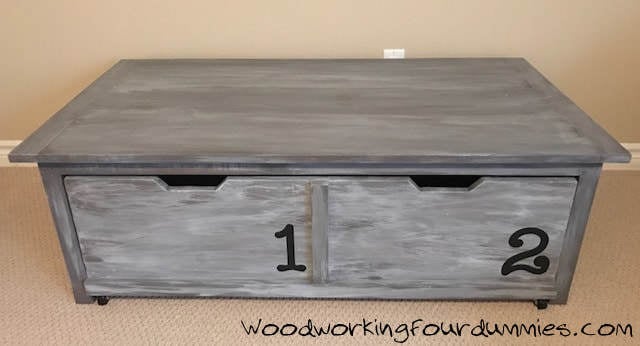
I made Ana's famous 20 sec tidy up coffee table. More details and photos on my blog if interested. Cheers Ian
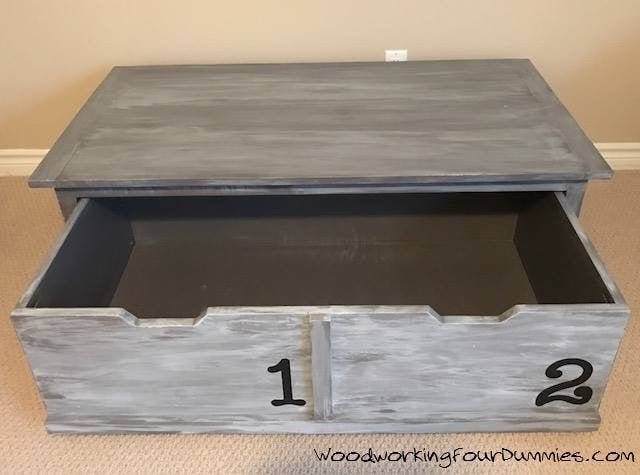
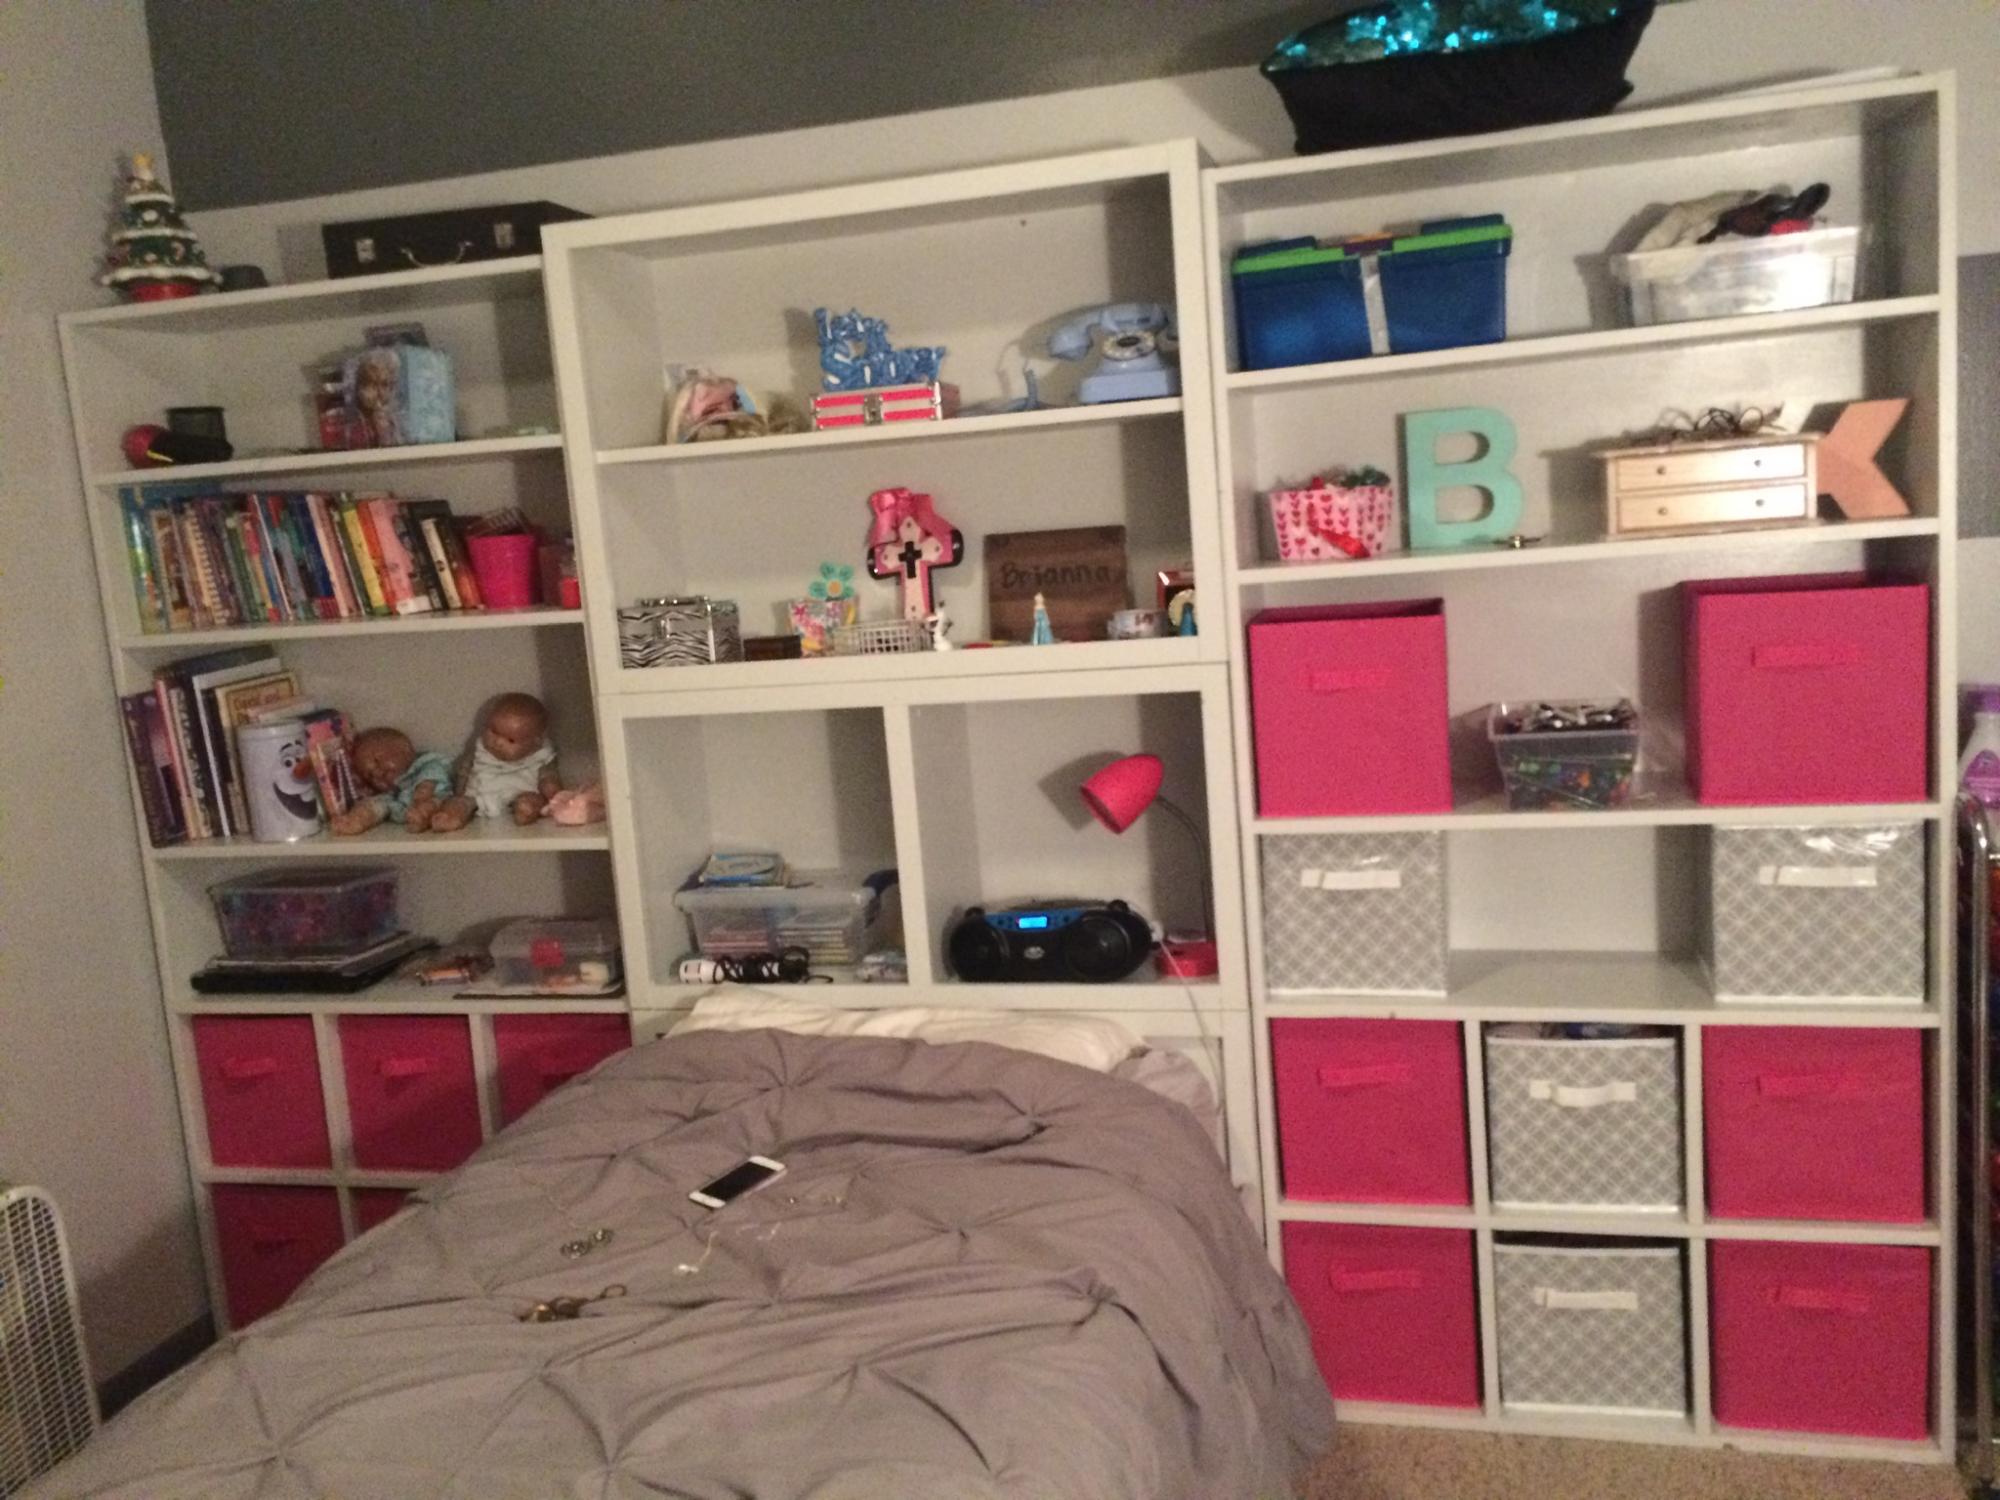
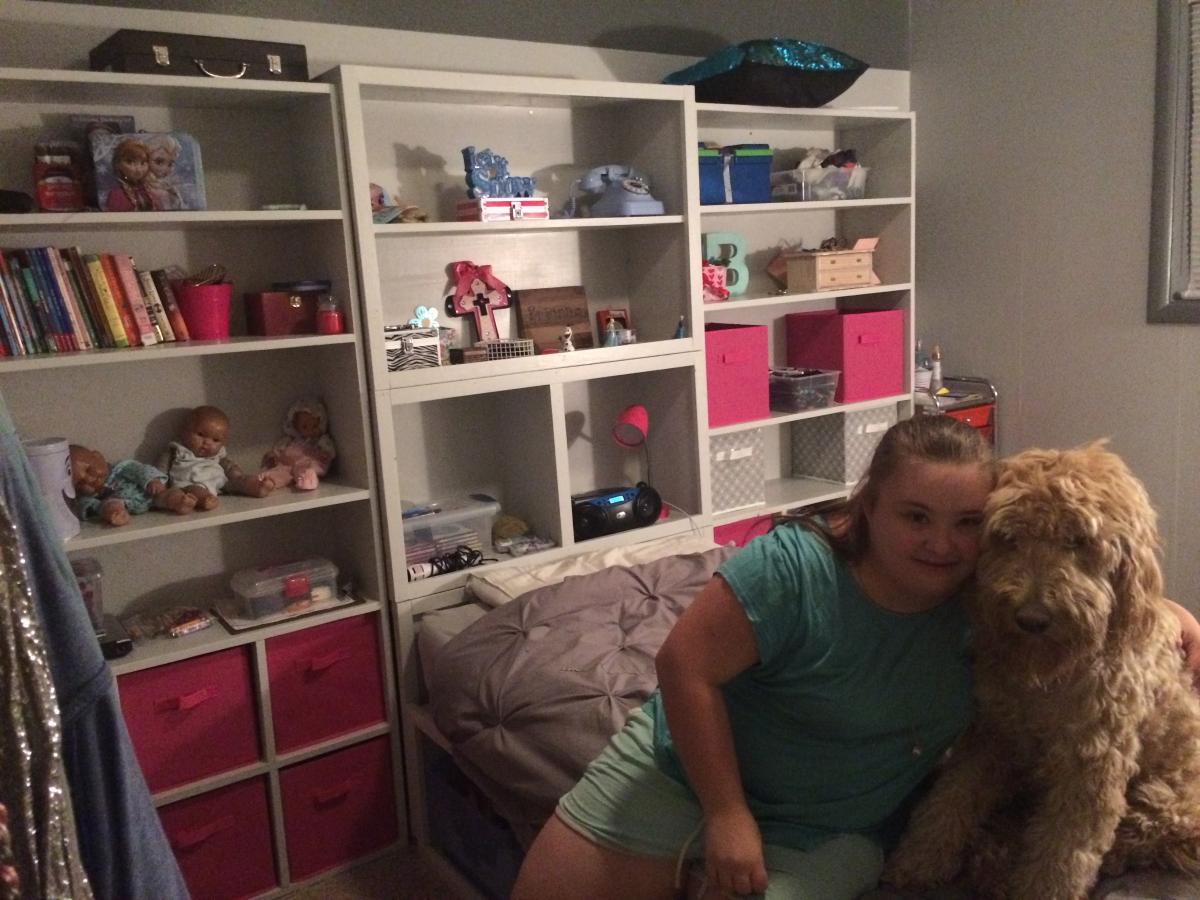
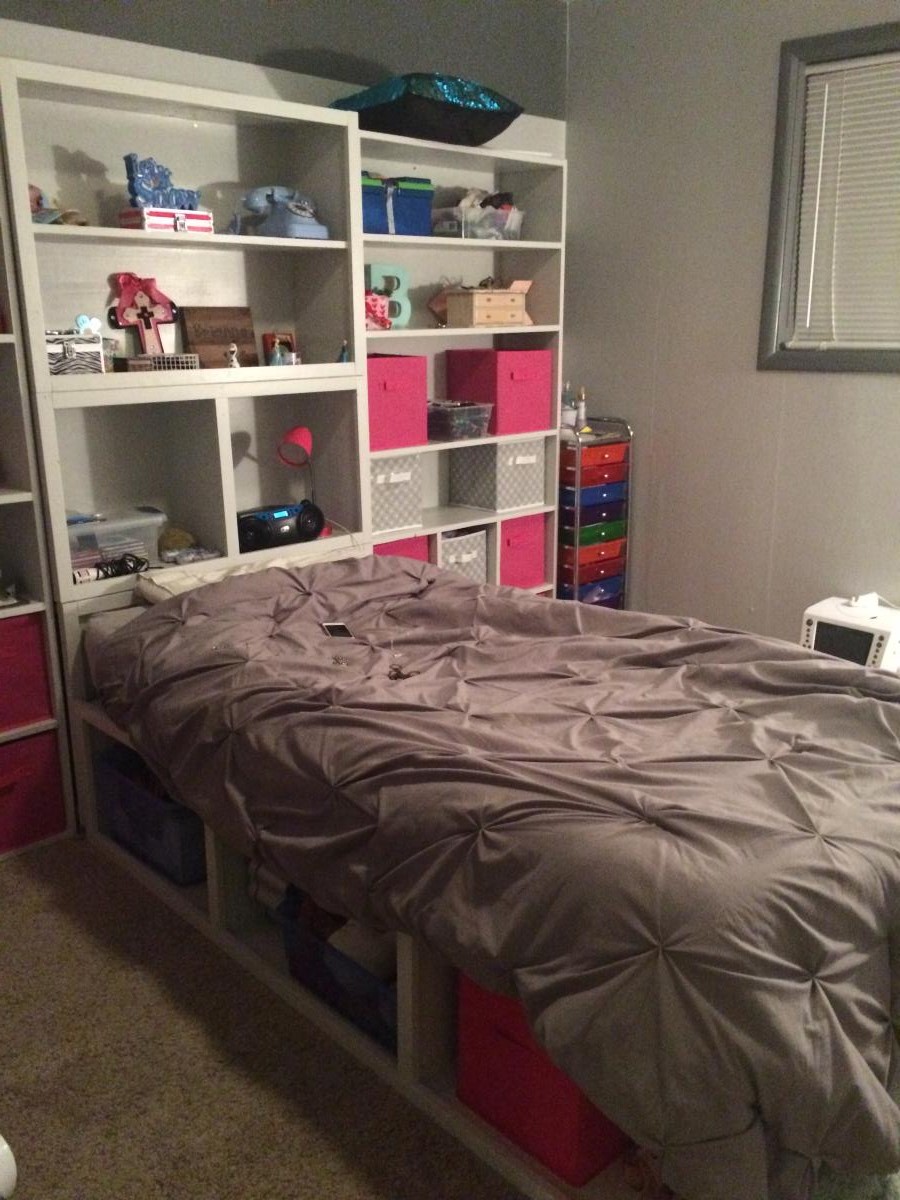
I built this for my daughter, she has a somewhat small room and this have her so much storage. It was so fun to make it too. We’ve never been able to afford nice furniture and I’d never made anything from wood before but with Ana White’s plans I was able to do it. I love wood working!! Thank you Ana!
Comments
Ana White Admin
Tue, 12/14/2021 - 14:48
Beginner?! WOW
WOW, that is just gorgeous, way to go!