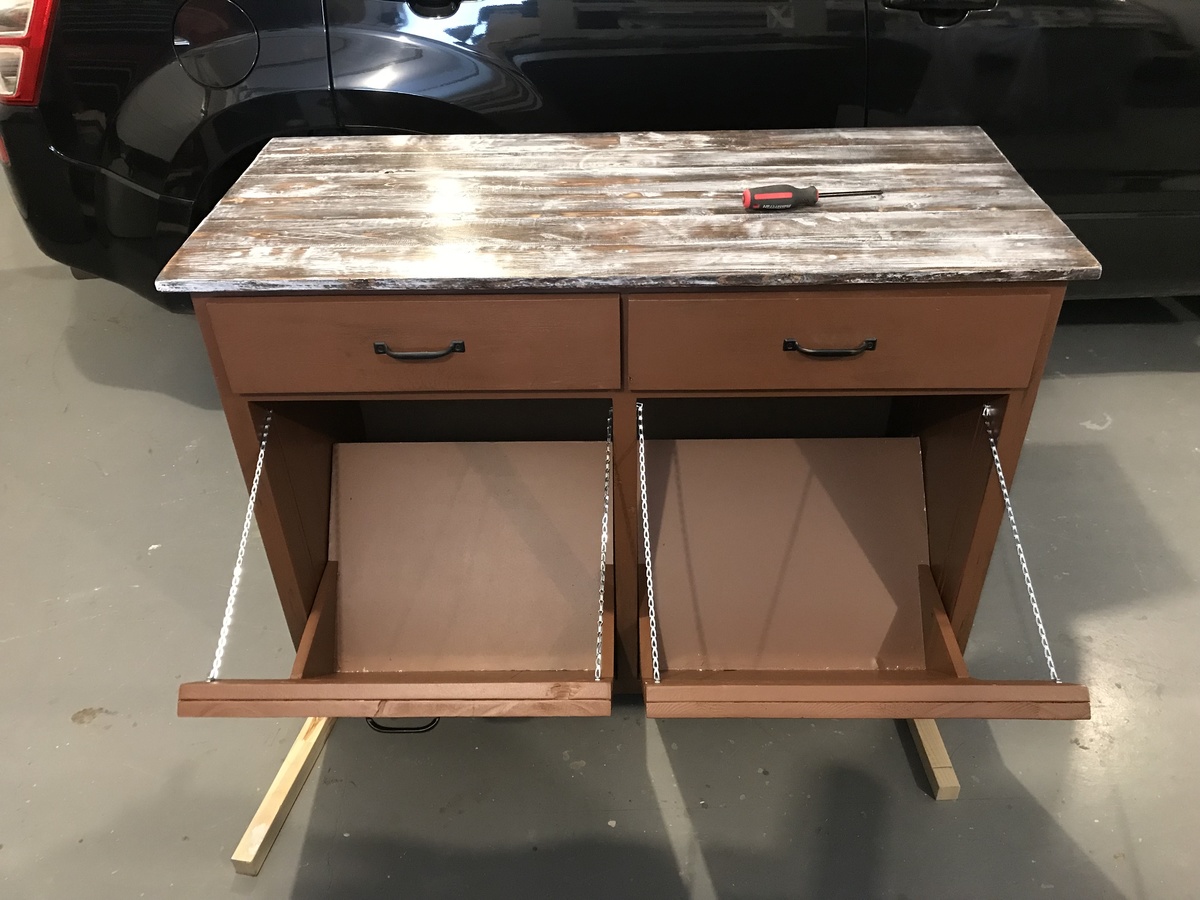
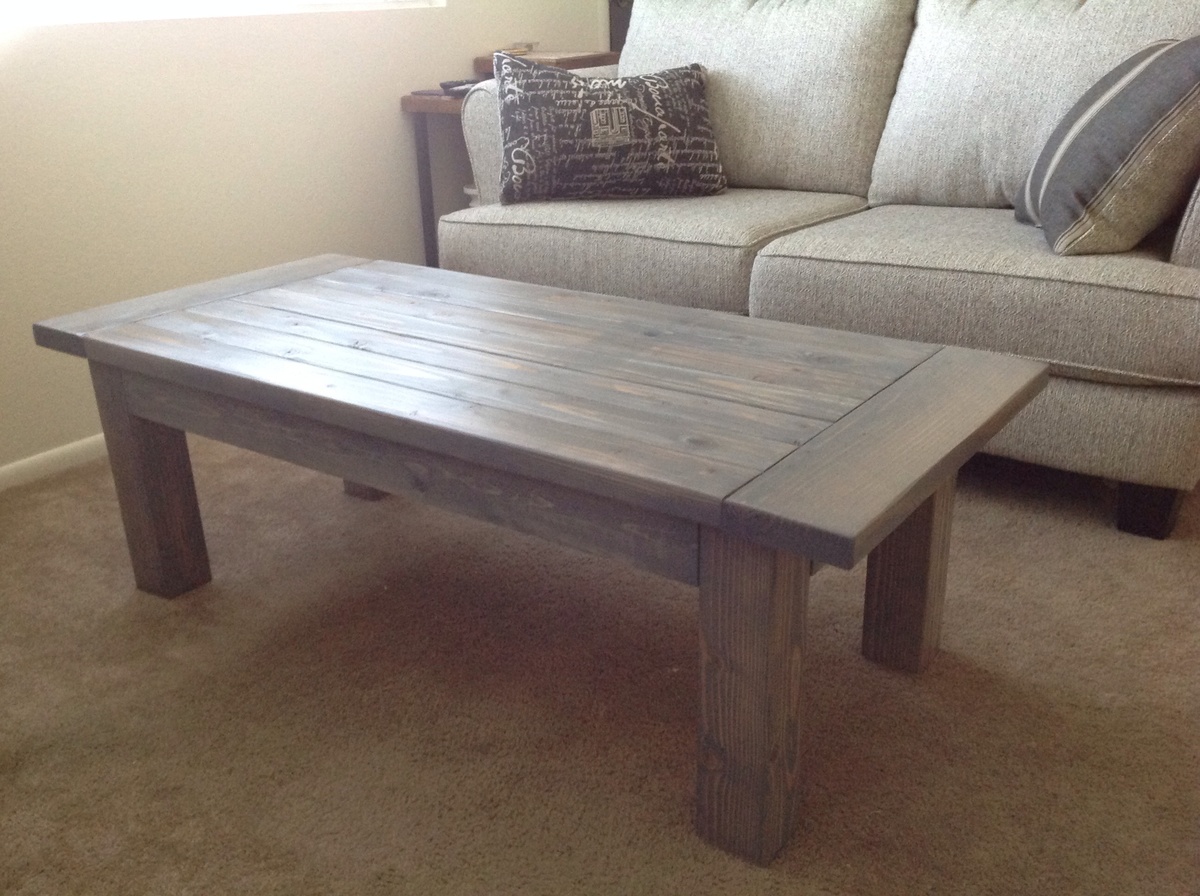
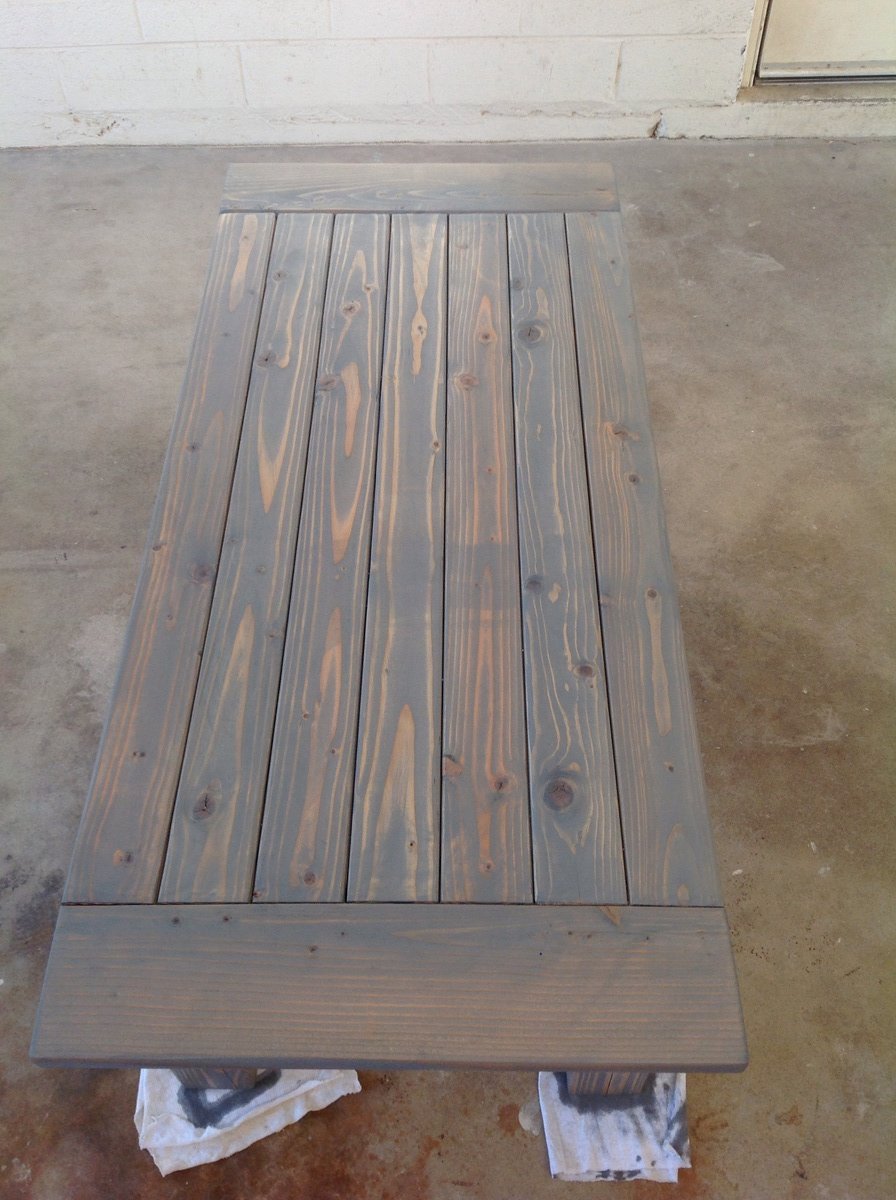
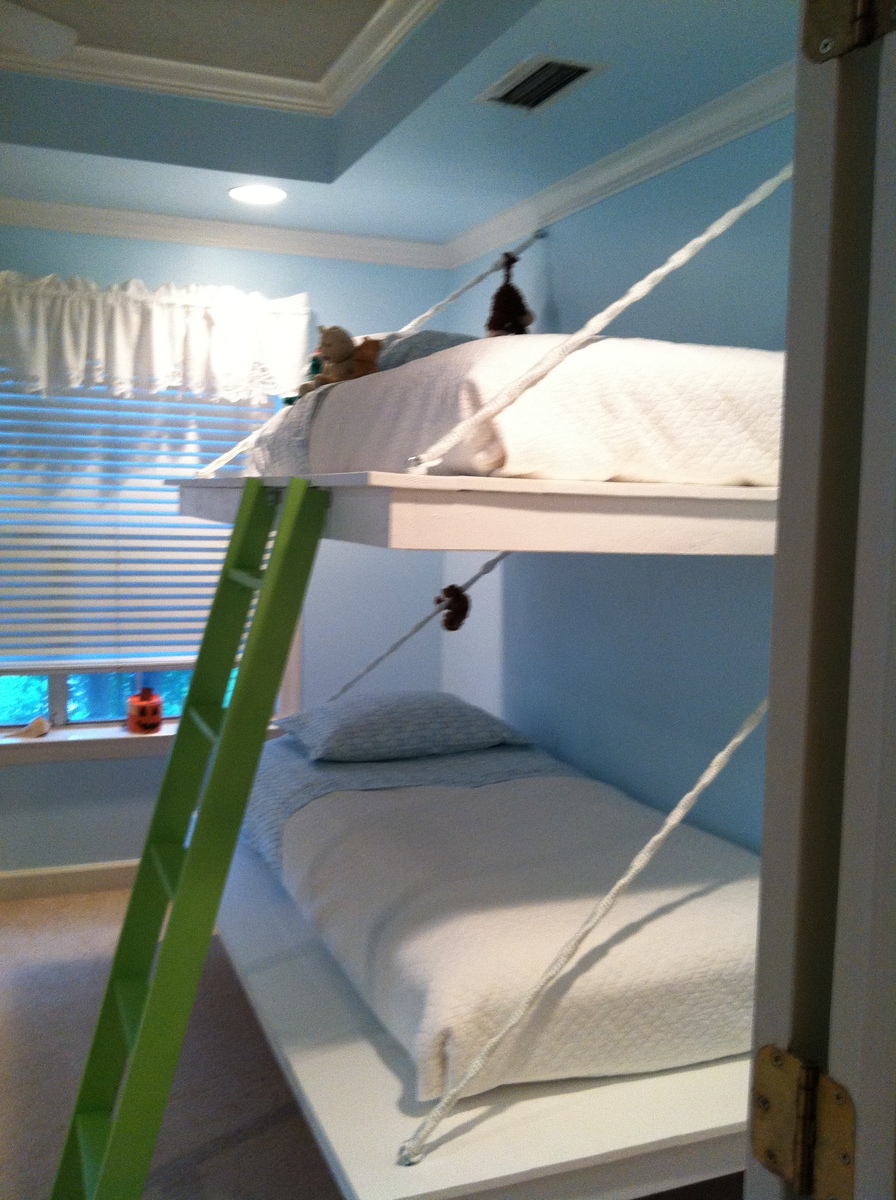
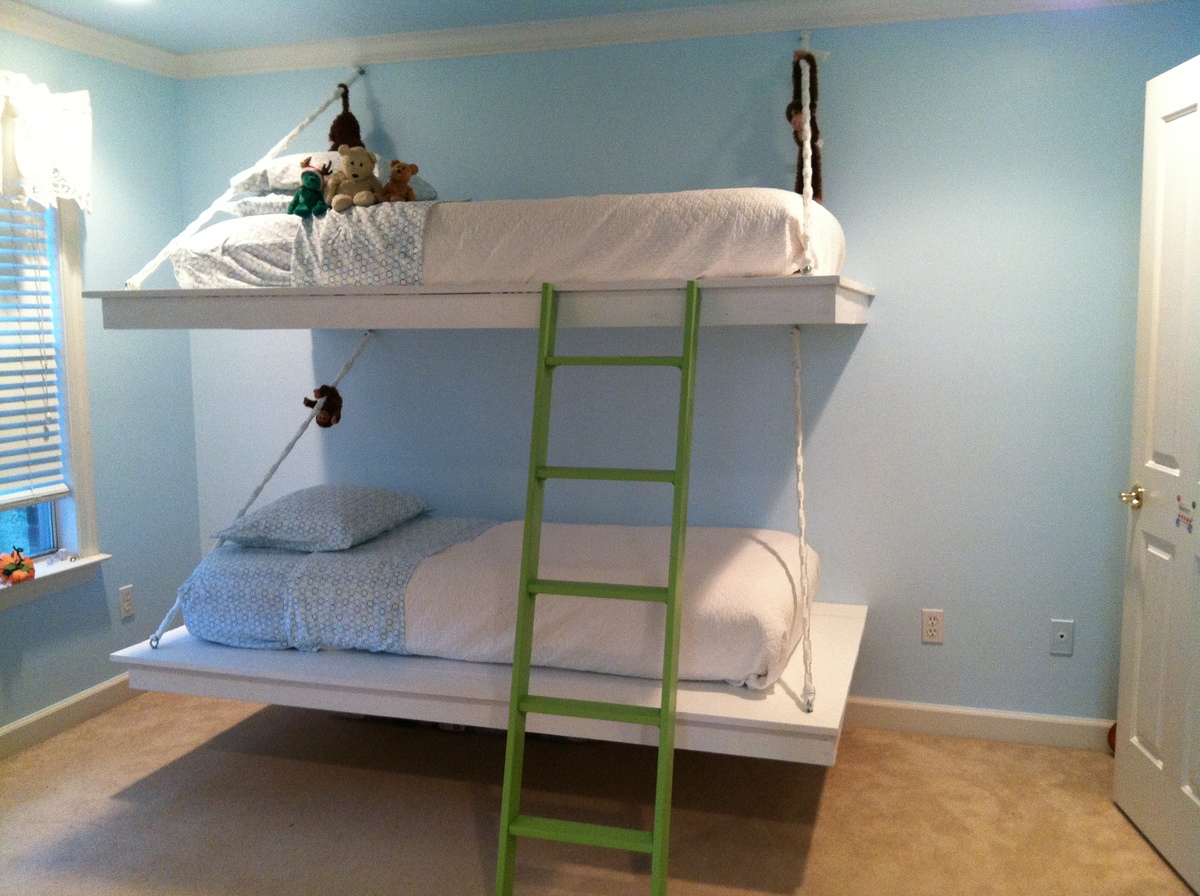
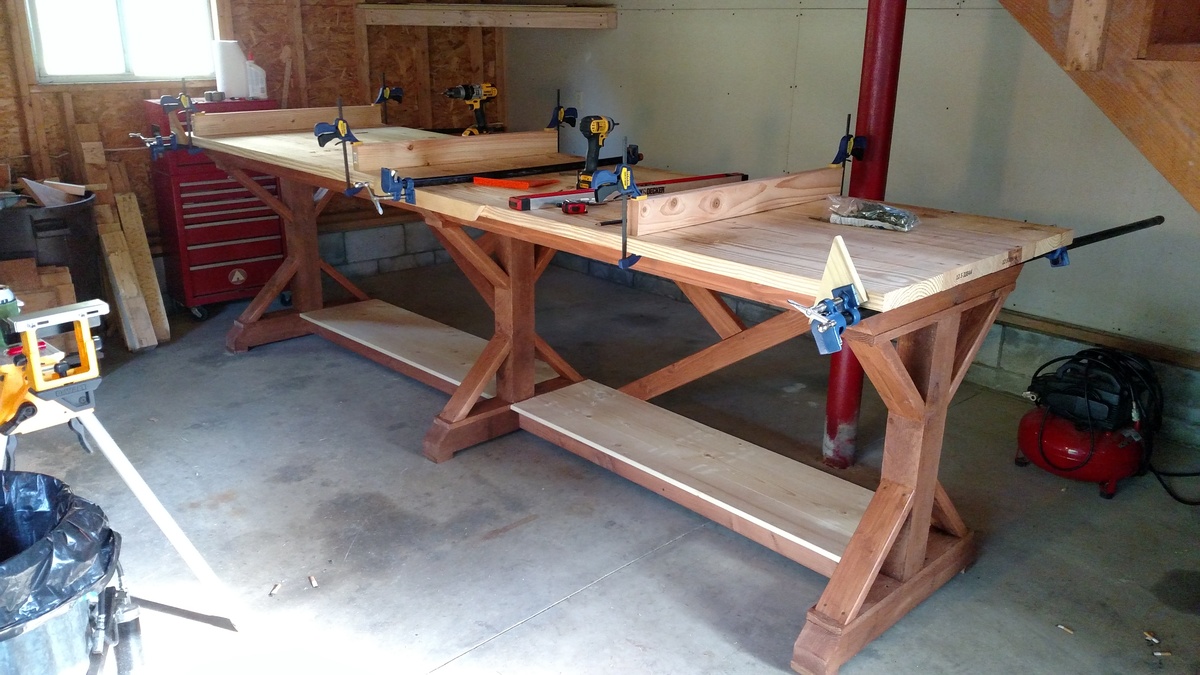
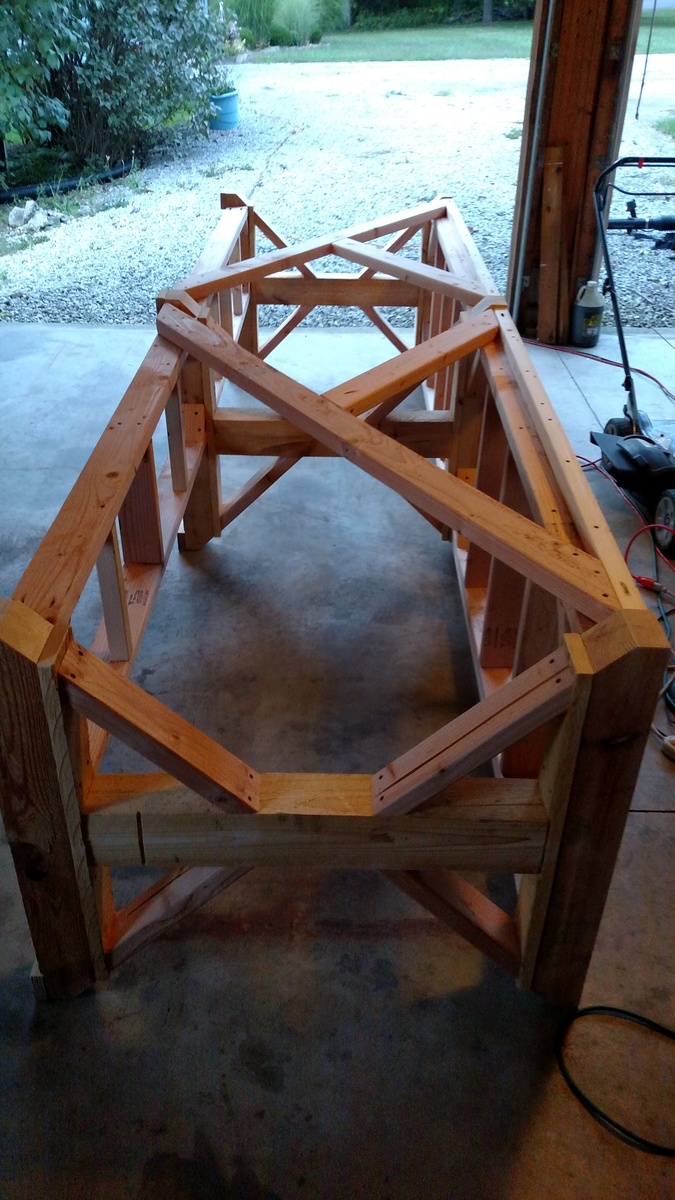
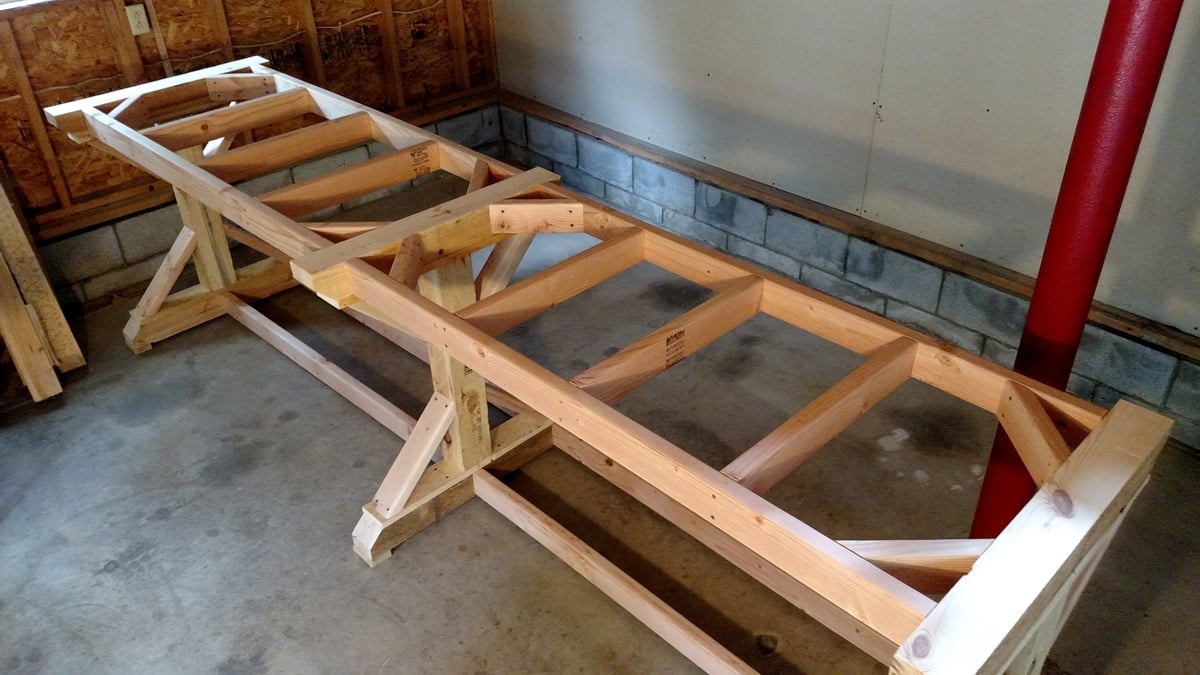
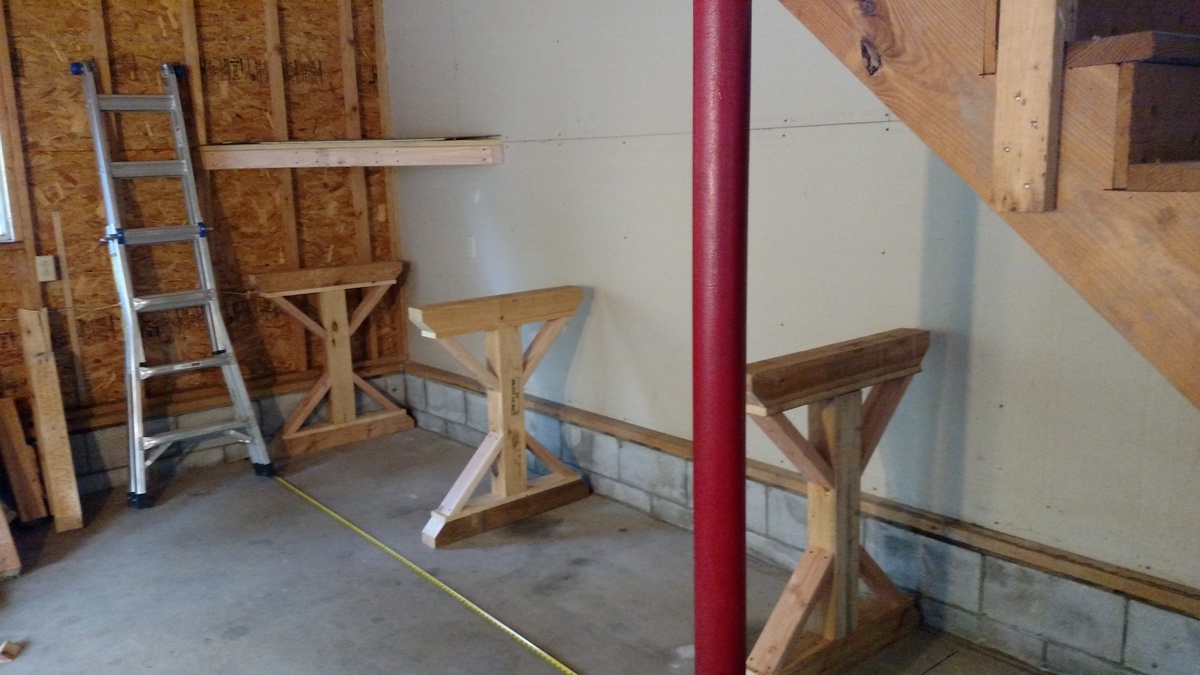
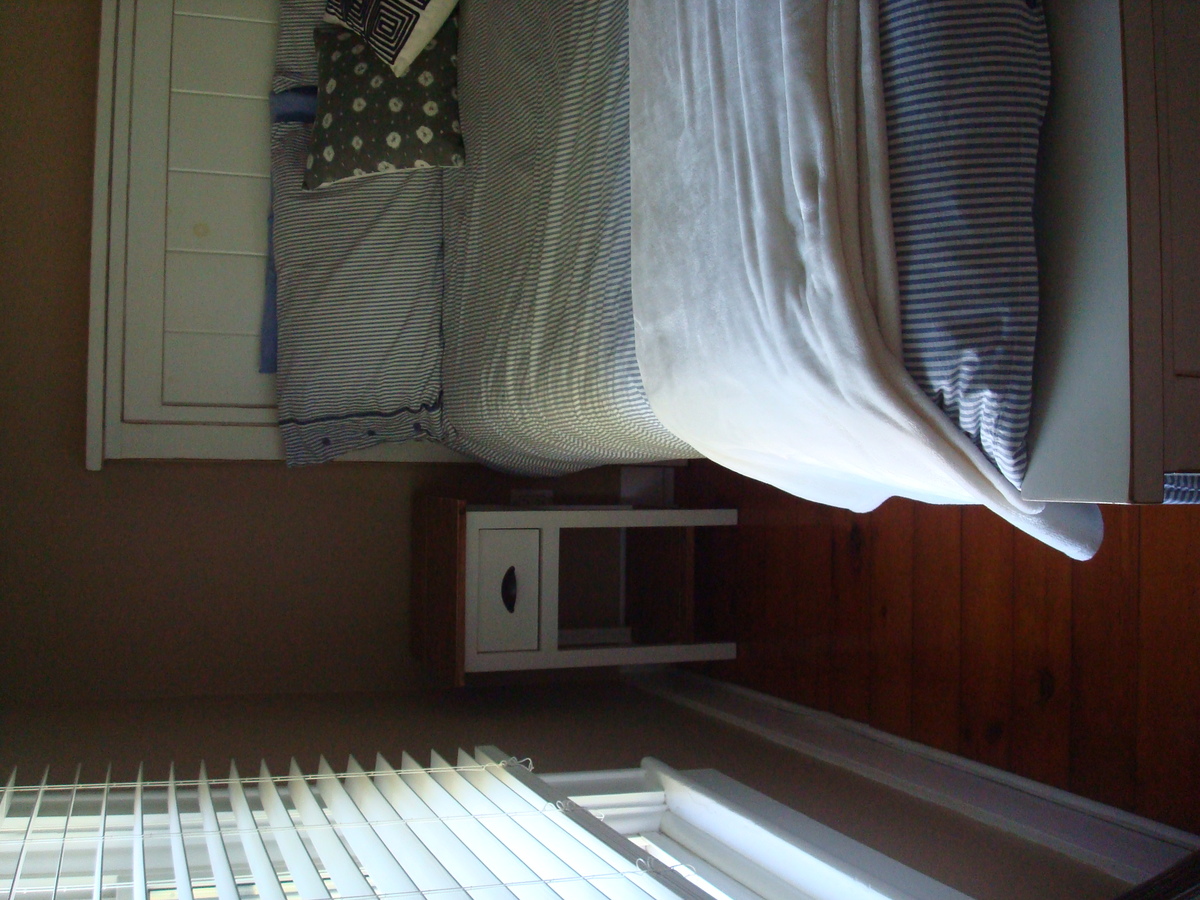
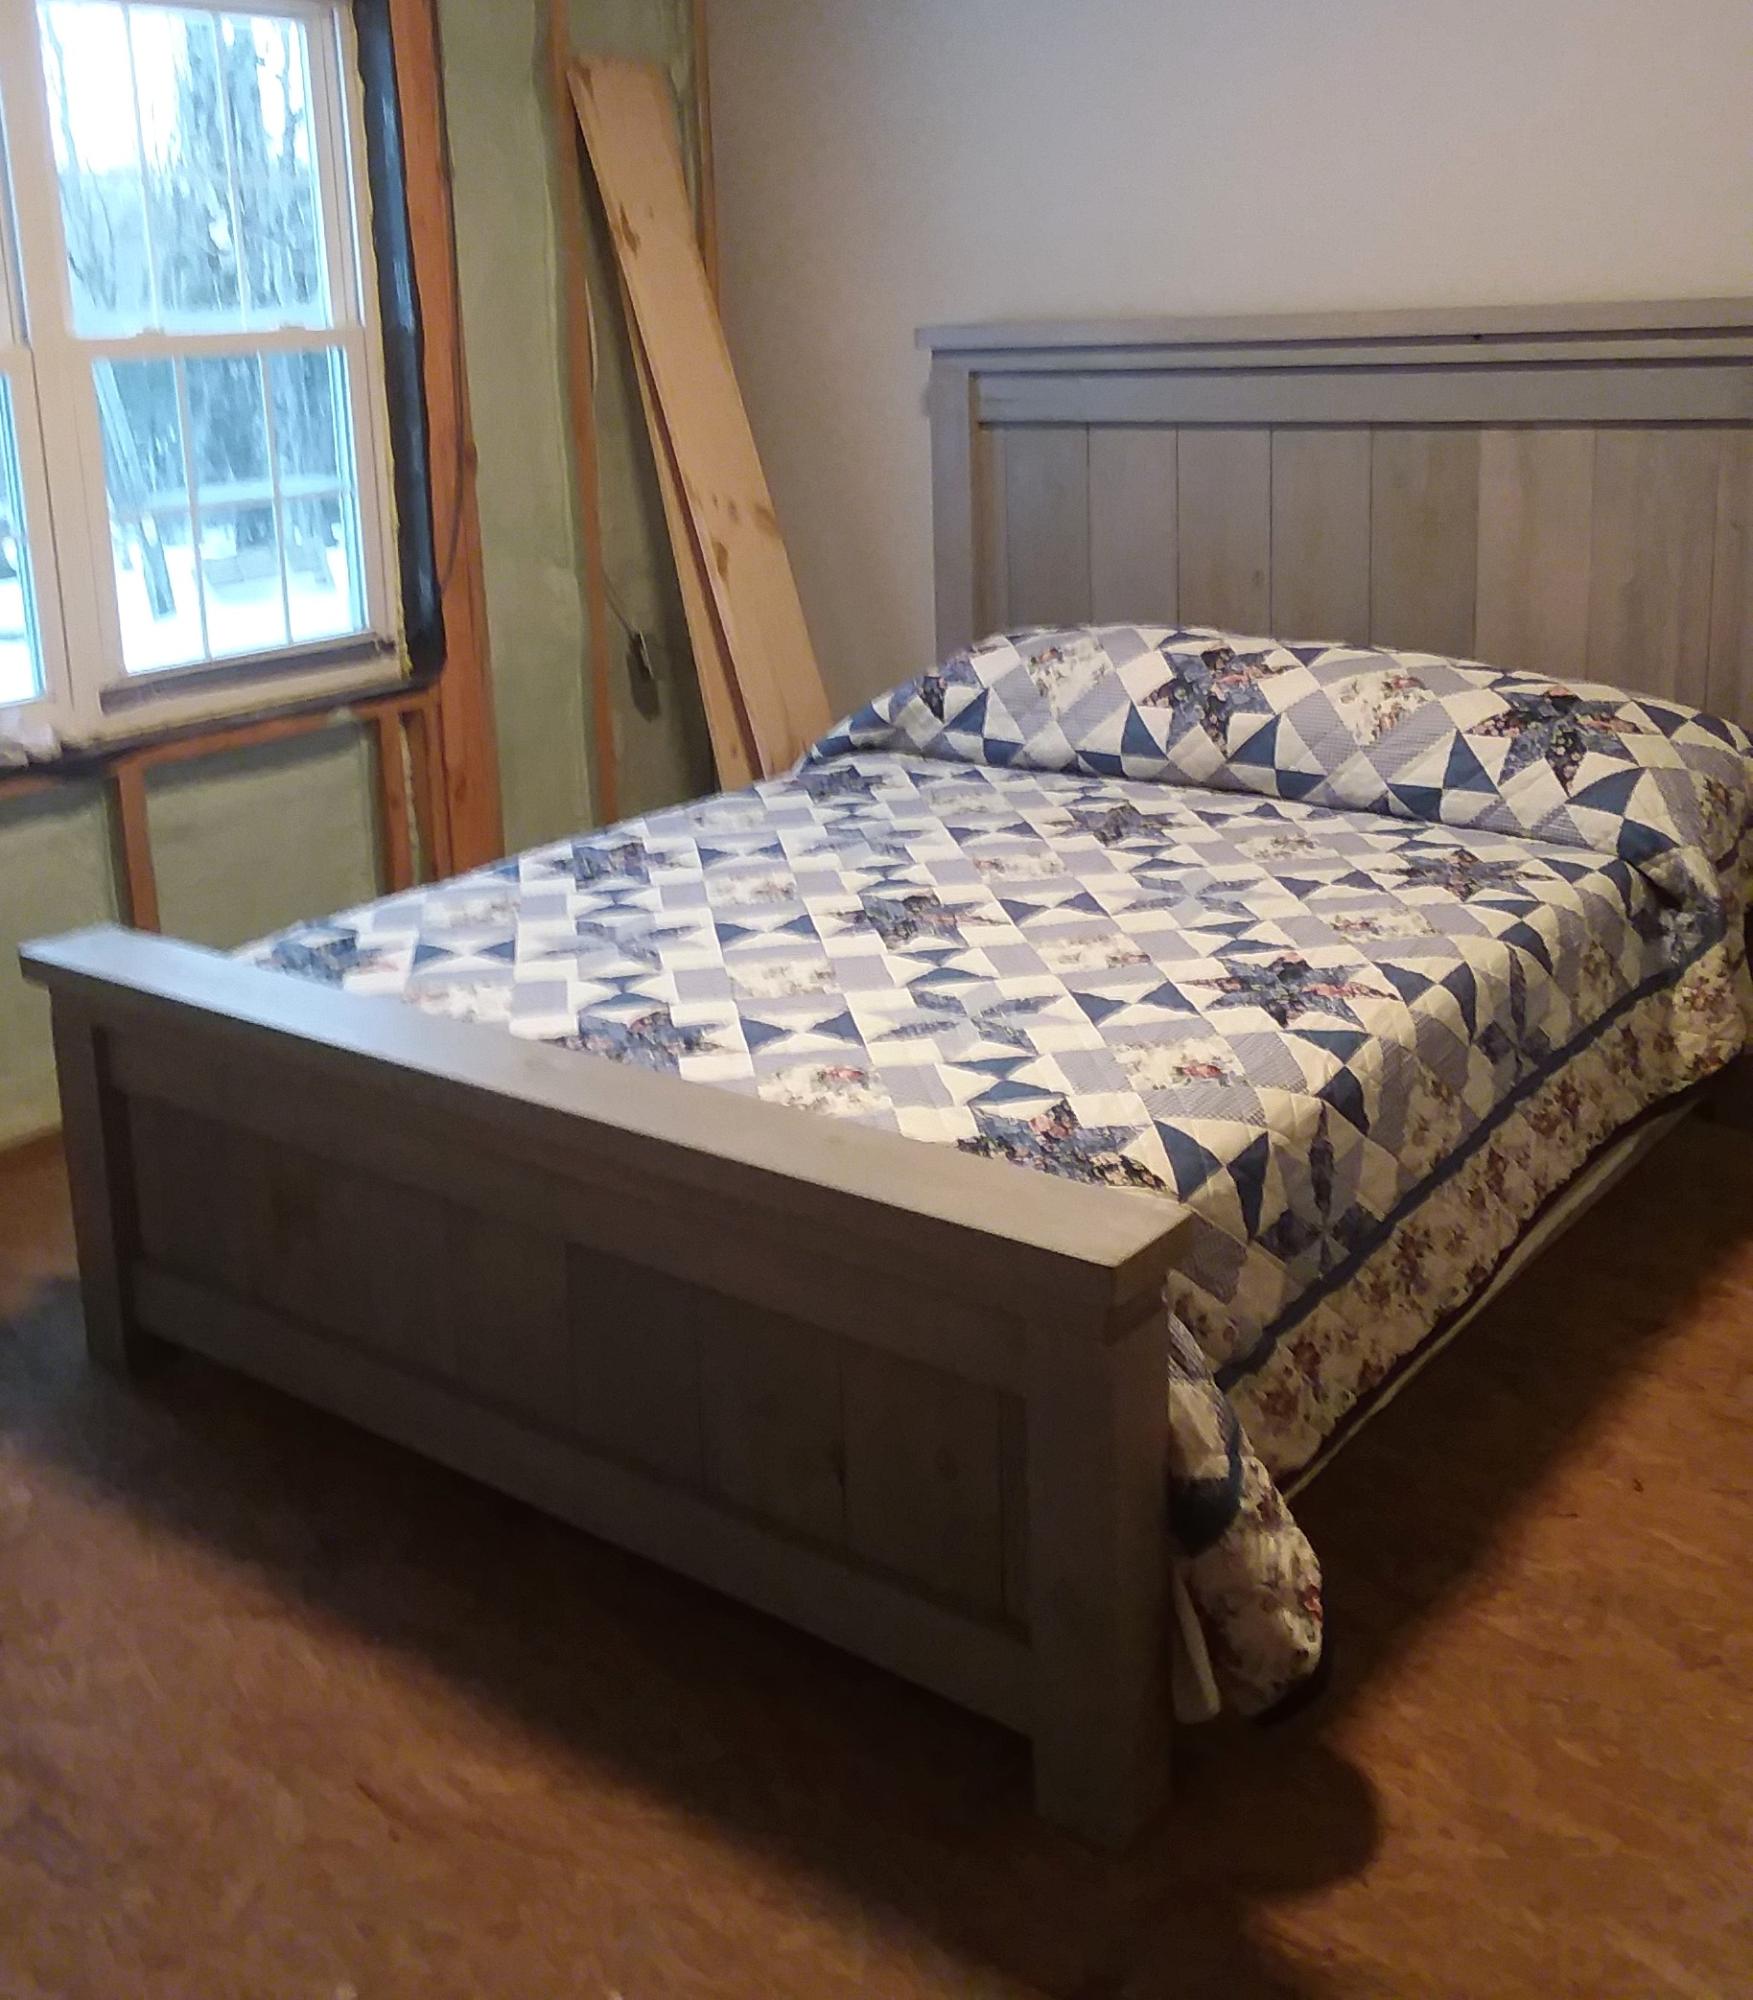
I finally did it! I purchased mattresses for our two girls (2 & 4) which have been just sitting on the floor for a while. Wanting to build some simple frames just to get them off the floor I ran across Ana's site. Oh boy! This site is amazing! We have a small house with very little storage so when I saw the storage daybeds I was smitten! The extent of my power tool comfort zone is dimensional lumber and a compound miter saw. Not plywood and definitely not the table saw, so I was a little leery about starting this project. In the end, I tackled it and am so glad I did! Even used the circular saw! Full disclosure, there's probably nothing square about the thing (see additional photos), but like mulch in your garden, trim covers a multitude of sins! I learned a lot and will take my time measuring and squaring for the next one. Also, as some readers commented, I would prime and do at least one coat of paint prior to assembly (that part was definitely time consuming). I also wanted the storage to go all the way back to the wall so I didn't include the center piece of plywood but instead trimmed down a 2x4 to a ~2.5" width and glue/screwed in into the plywood at the top center under the top piece. So far so good! On the finish, I wanted a distressed finish and started using a dark walnut stain but did not like how much it adhered to the paint as well as the sanded down edges. When I picked my daughter up from pre-school that day they had been doing flower rub pictures. I saw that the centers of the black-eyed susan’s and cone flowers came out a beautiful brown color. So when I got home my daughter and I went out and cut some old flower stems and we finished the other two cubby cubes that way. I think it turned out really well! I didn't end up top coating it with anything, I liked the scuffed up paint look. A big THANK YOU to Ana for doing all this work so we can too!
