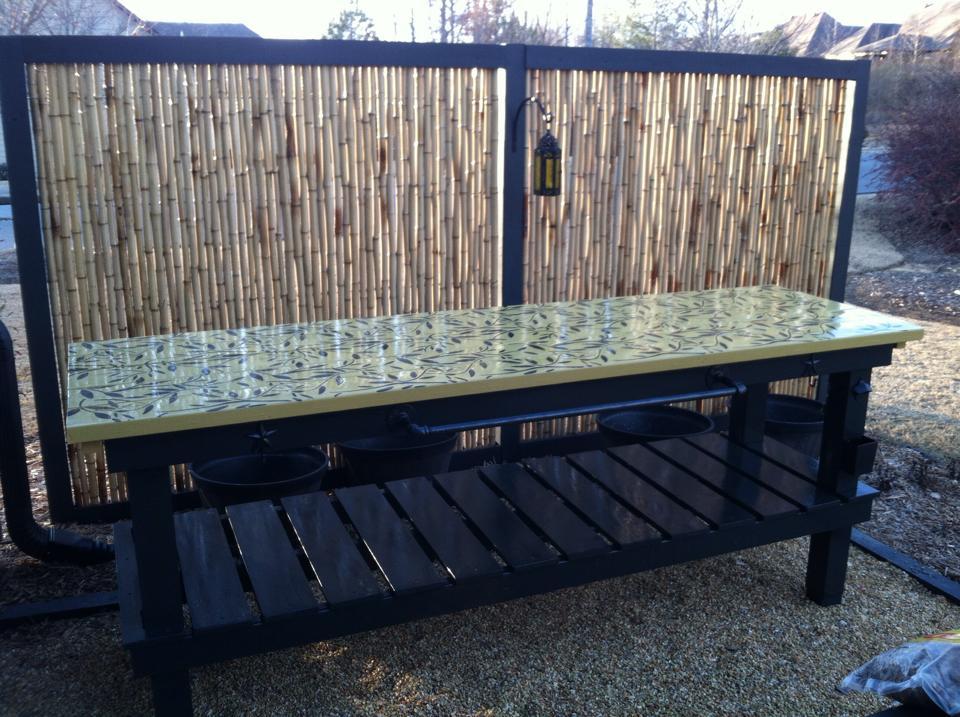
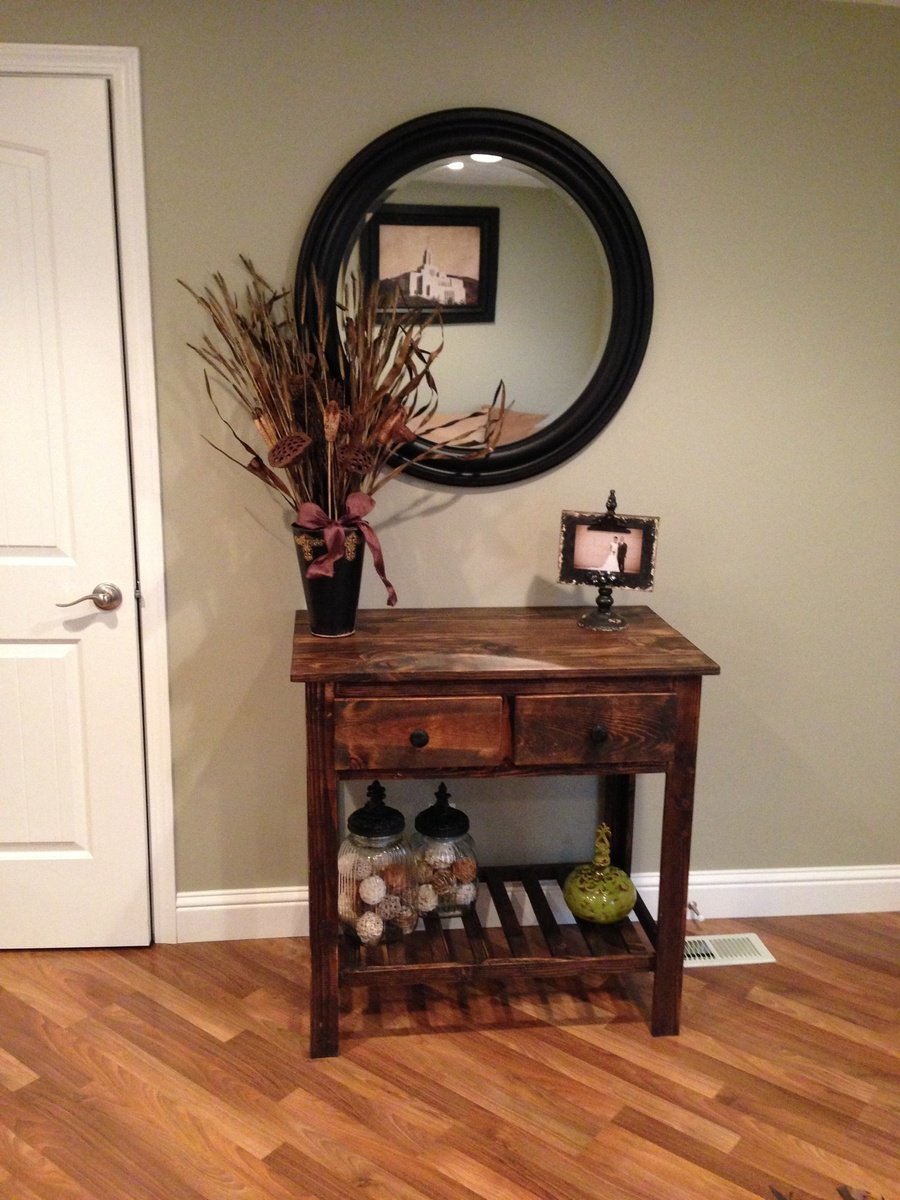
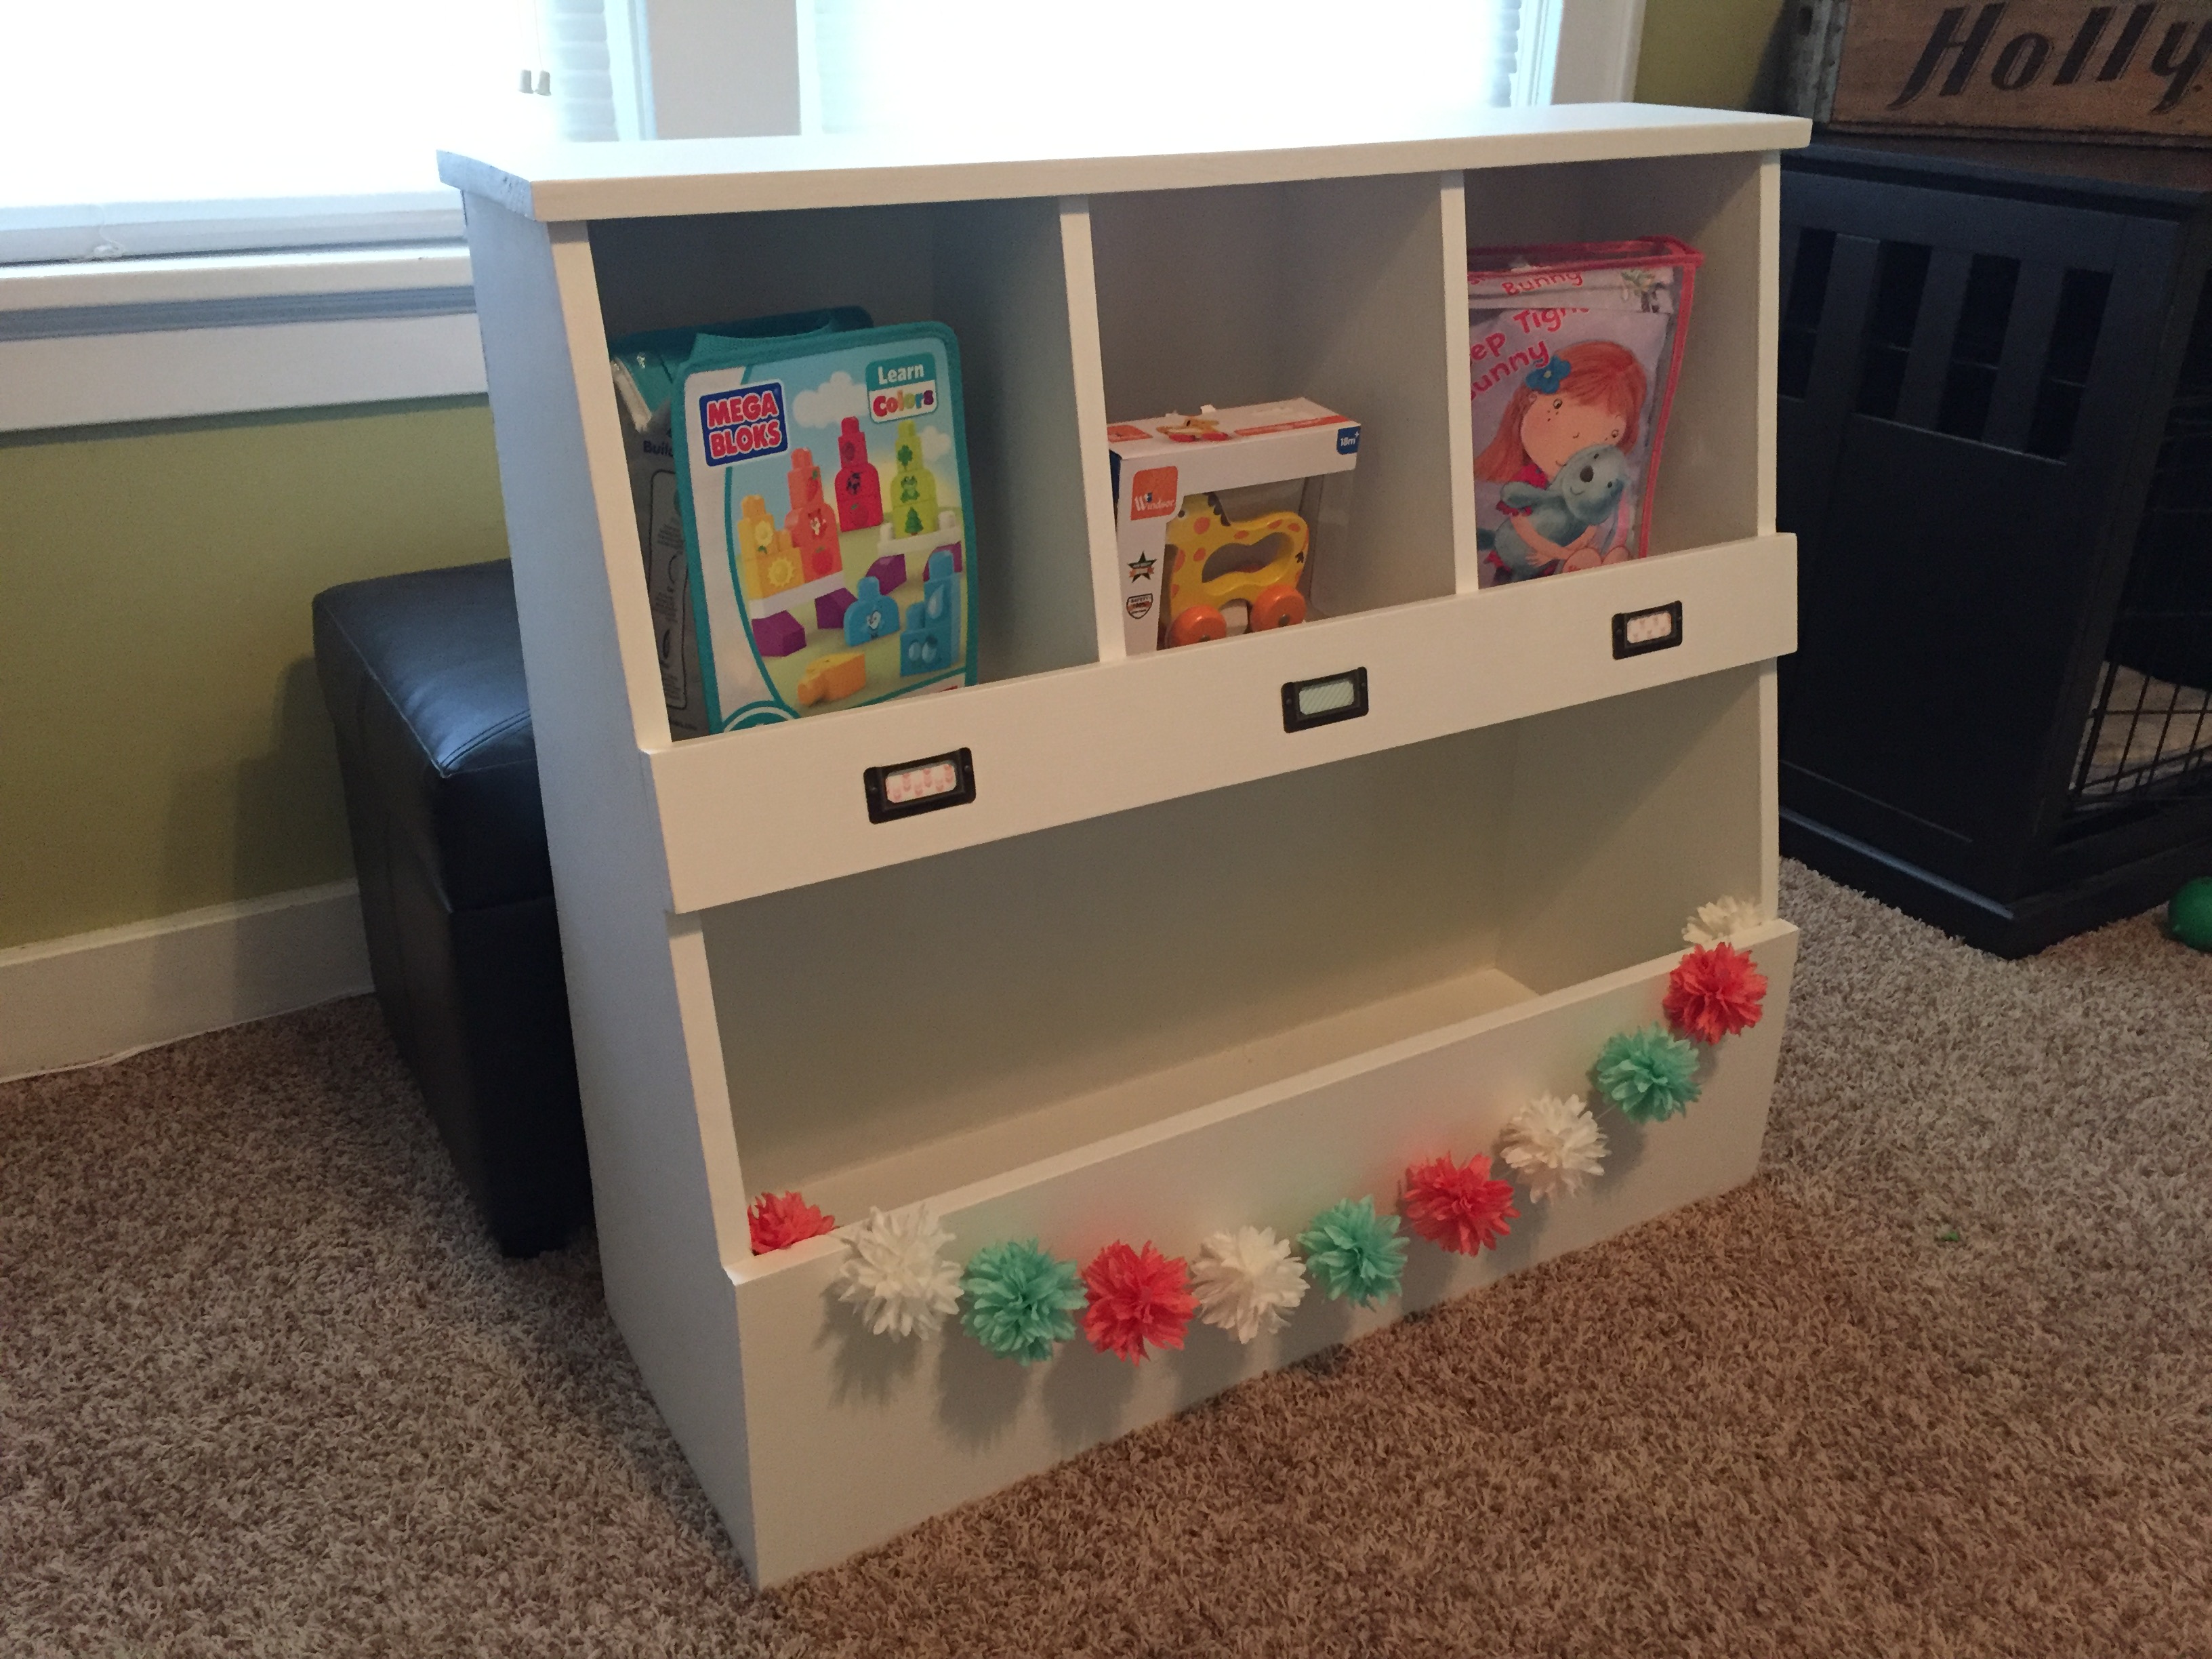
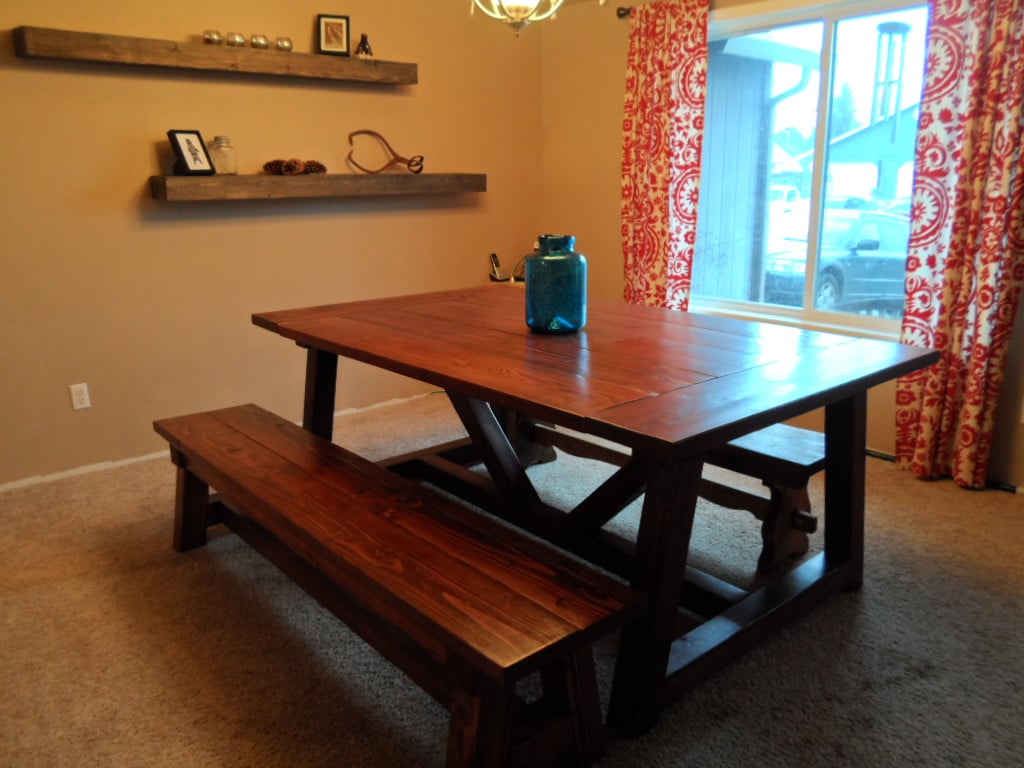
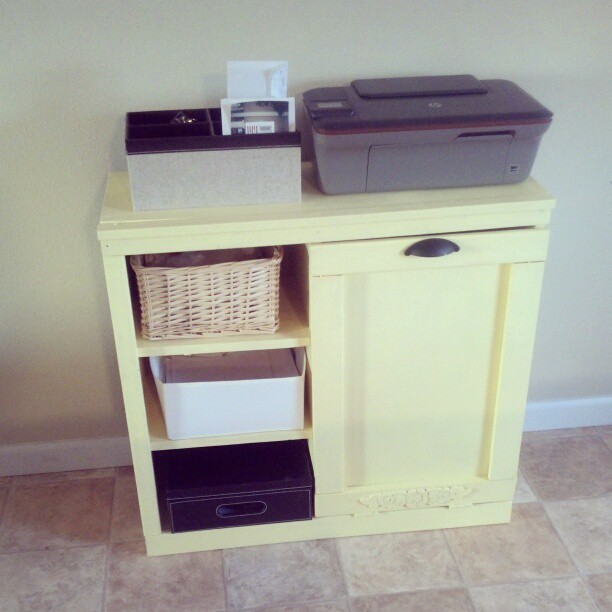
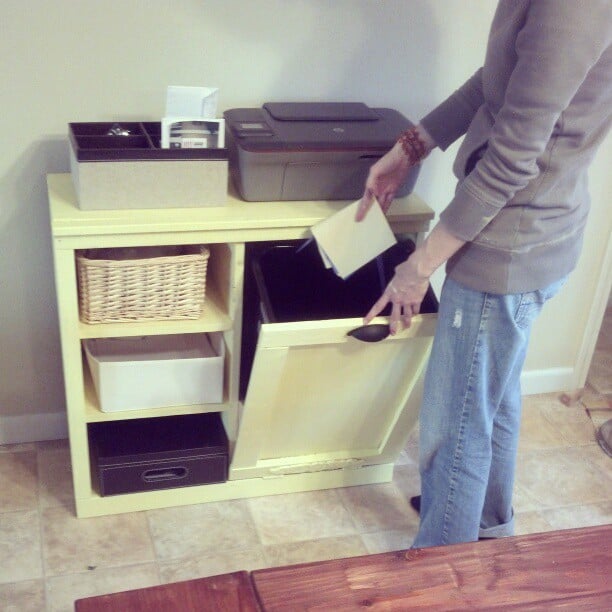
Modified Fancy Hall Tree
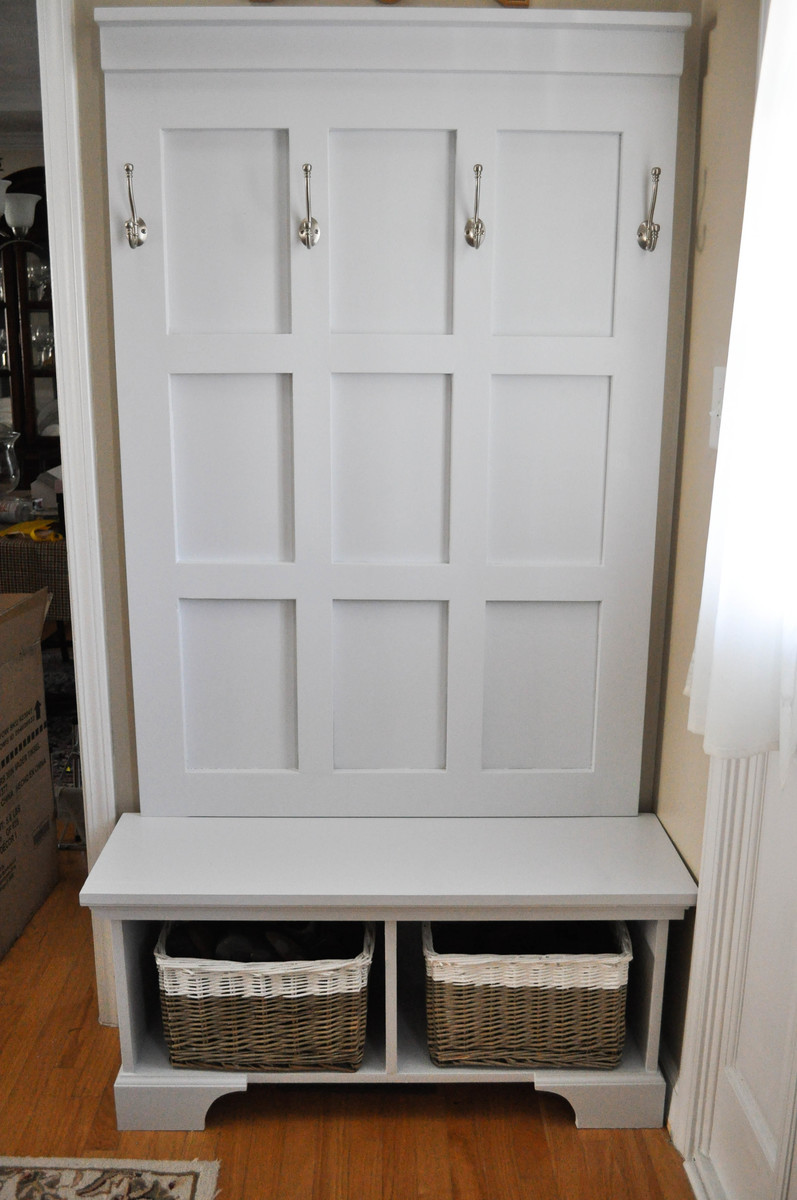
Modified the dimensions to 13 inches deep, 40 inches wide and a lower clearance of 4 inches to accommodate a vent diverter for an exsisting heat vent.
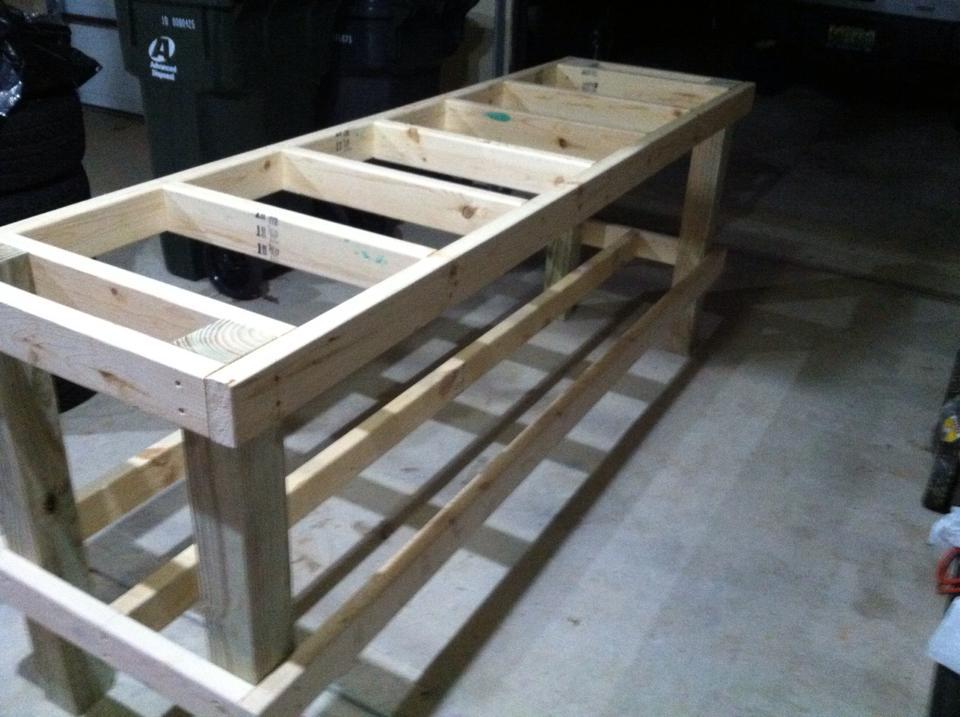
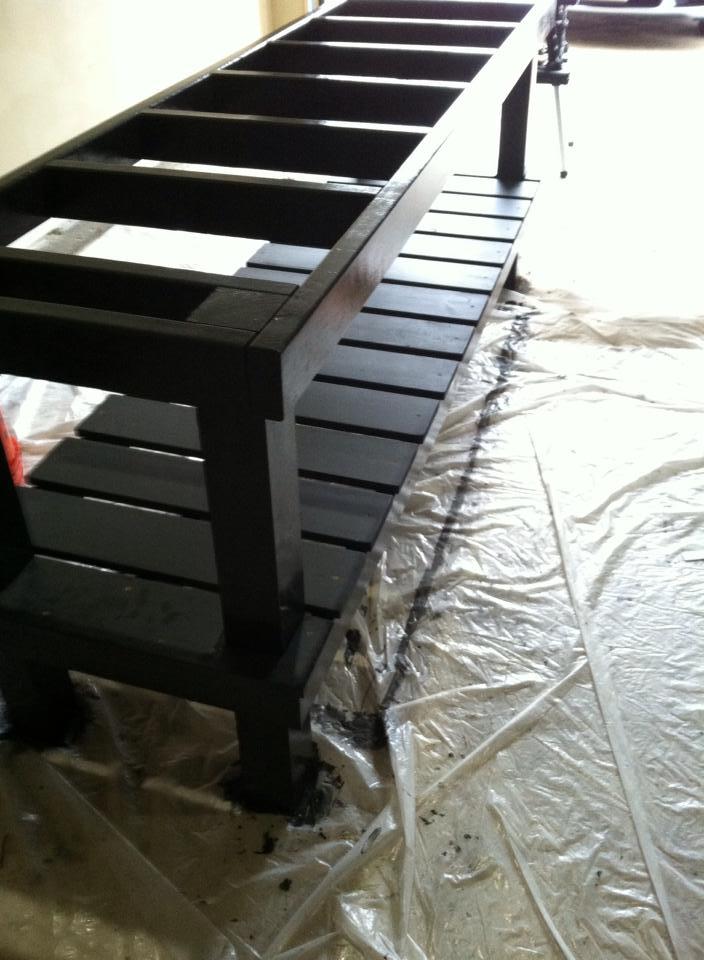
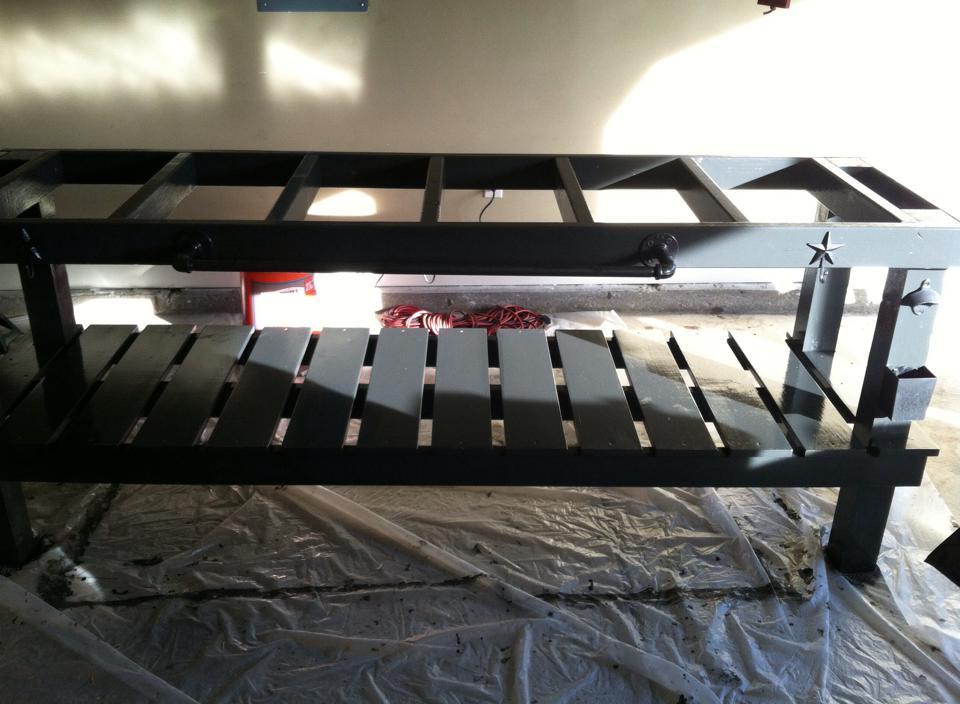
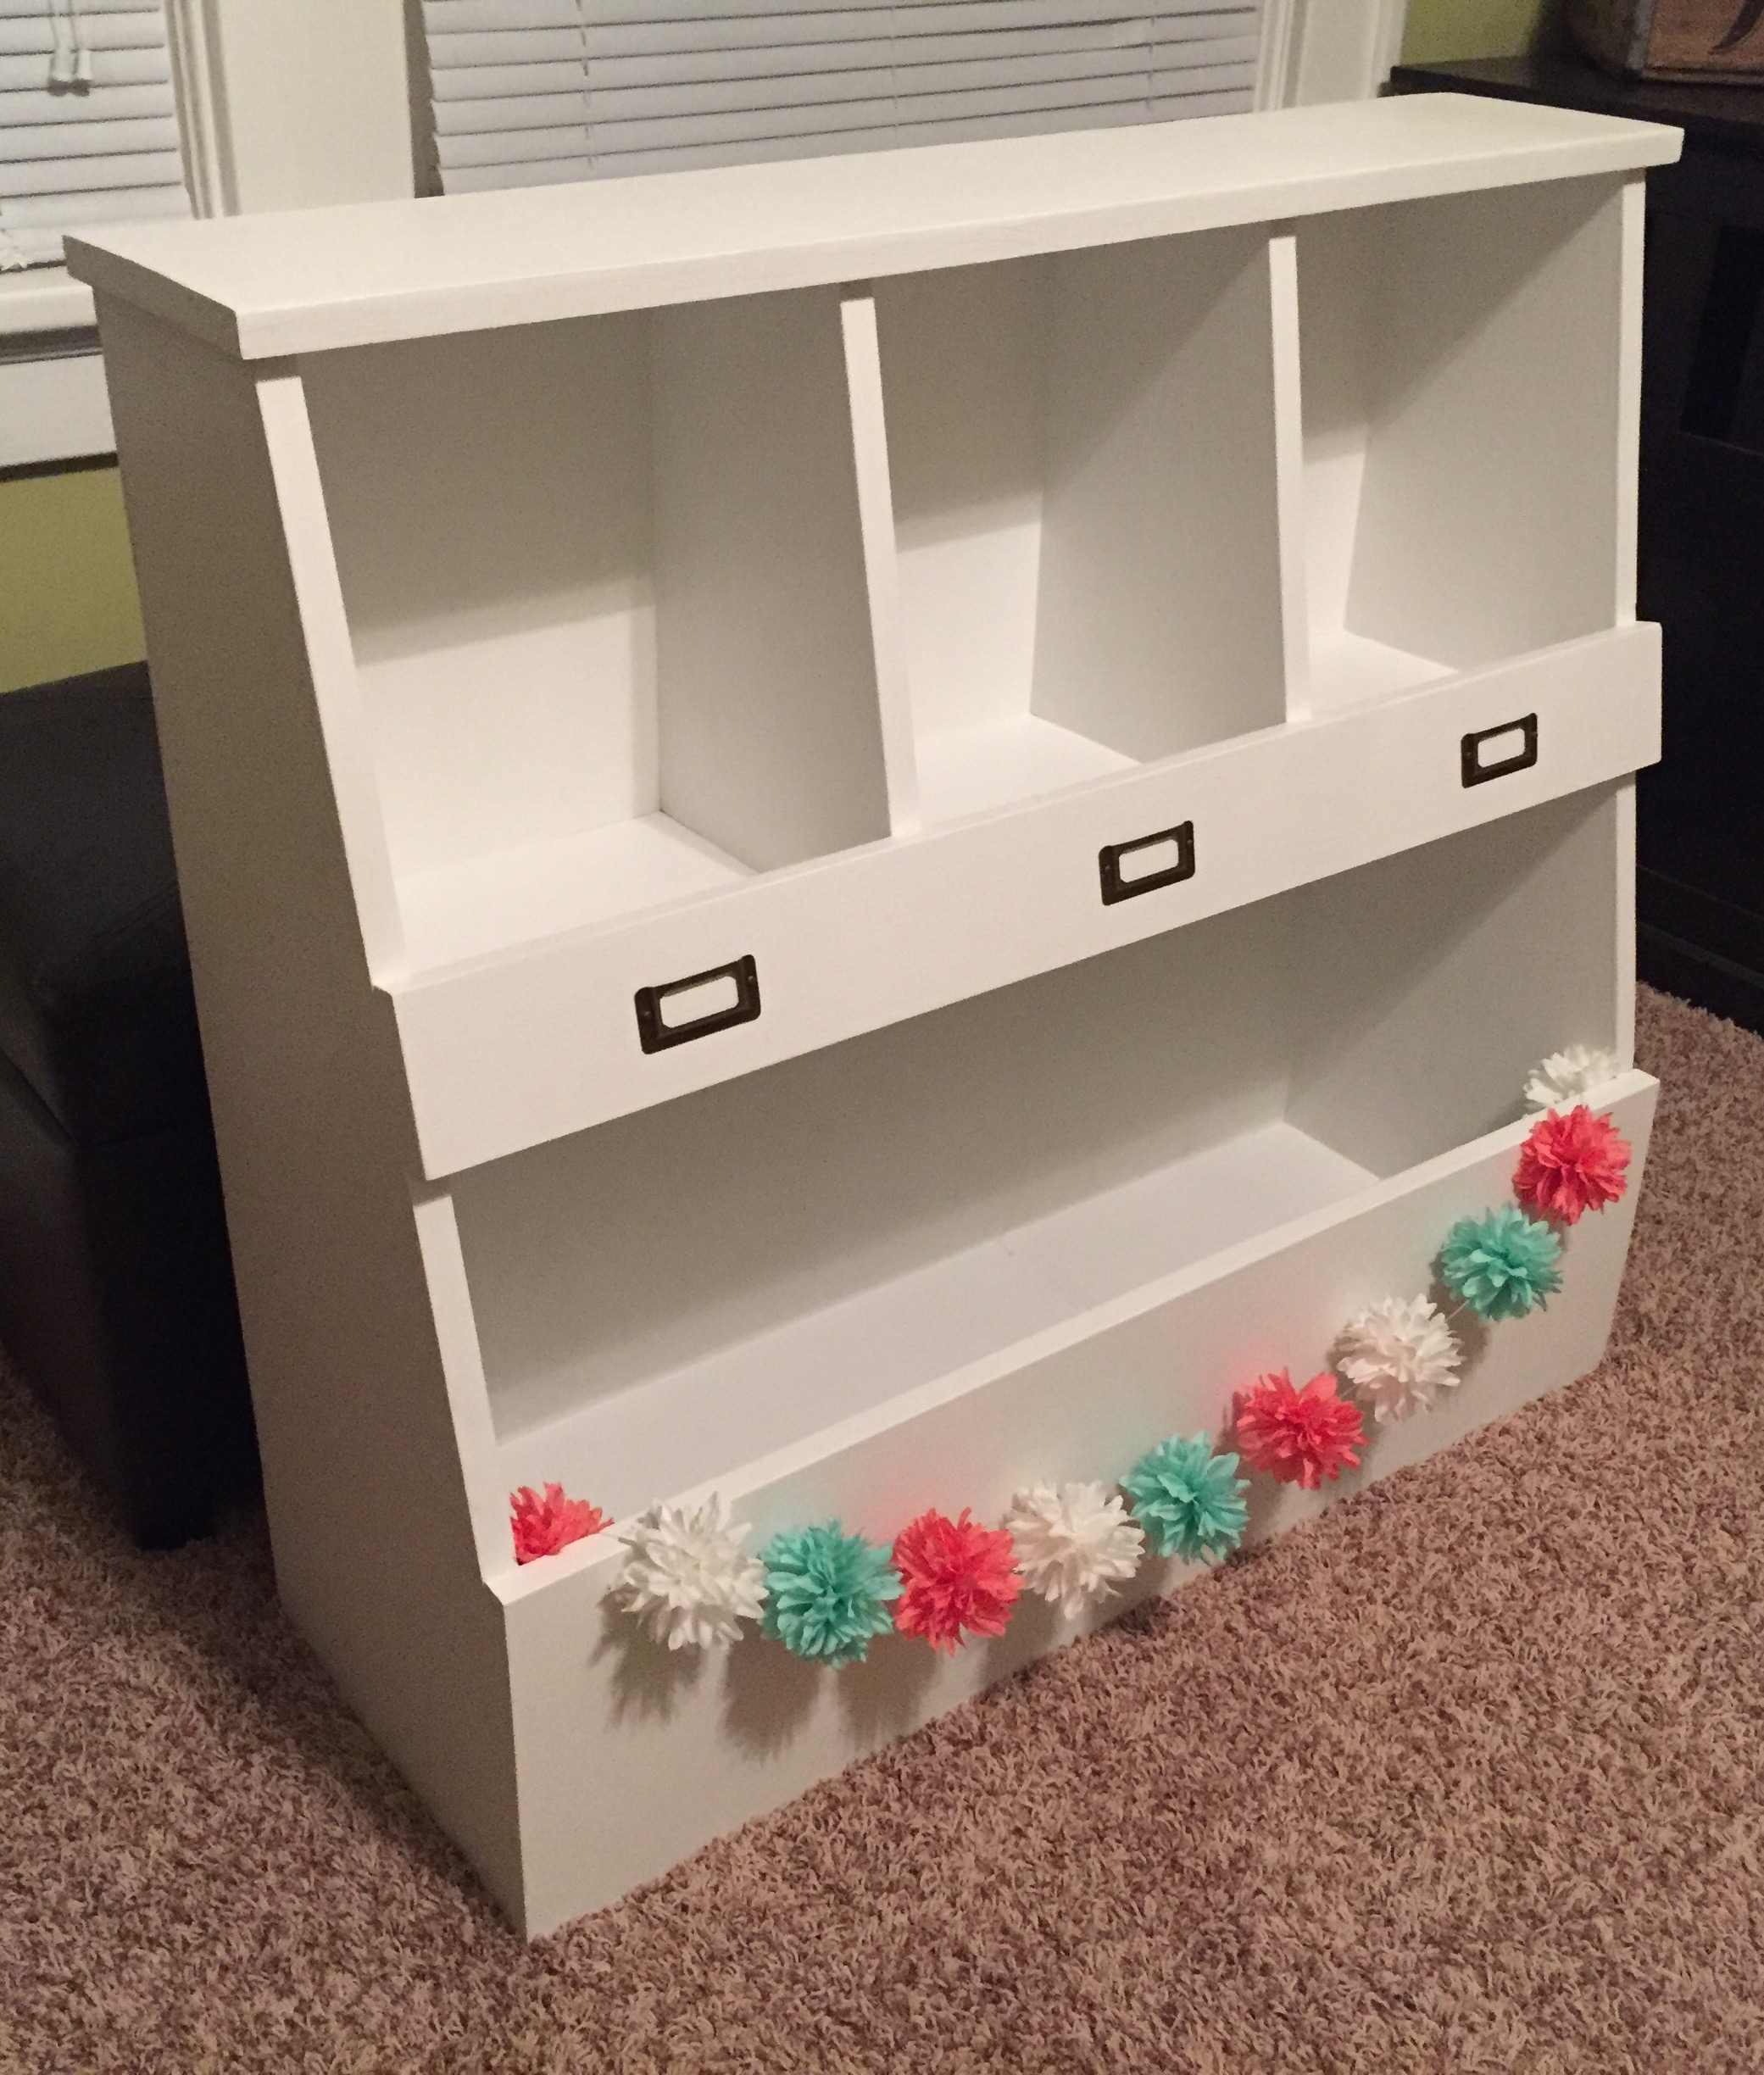
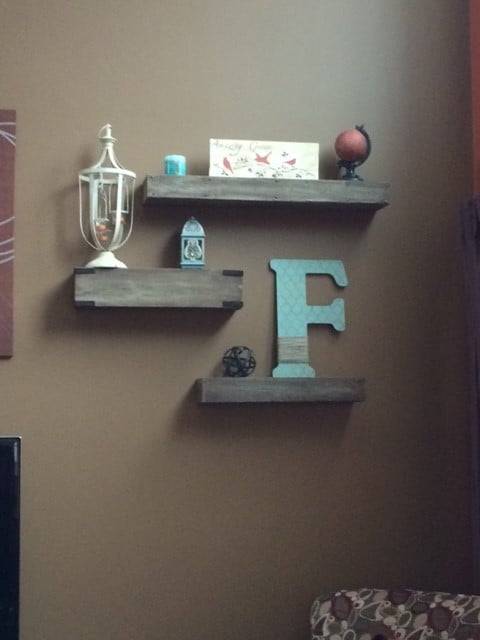
I used Maple Plywood (3/4 inch) for the bench, and 1/2 inch for the back (to allow maximum seating depth on the bench). The paint was leftover Valspar reserve paint from a recent bathroom project... and the paint dipped baskets were found at a local store called "the christmas tree shops" for under 25 dollars for both!
The project came in at just under $150 - well below our budget if we had purchased something in store. It was mounted to the wall for safety, as we have a dare devil toddler!
Built from Plan(s)
Estimated Cost
$140
Estimated Time Investment
Weekend Project (10-20 Hours)
Finish Used
Valspar Satin in Fragile Blue
Recommended Skill Level
Beginner


Comments
Ana White Admin
Sun, 01/25/2015 - 11:40
Gorgeous!
Looks amazing, thanks for sharing!
rosesrred24
Mon, 05/25/2015 - 18:04
plans
It looks awesome! I need the exact same measurements! Unfortunately I'm not smart as you :p , by any chance do you still have the measurements I would need, if so please share. Thanks
pjgreaney@hotm…
Thu, 10/14/2021 - 09:17
plans
where can I get the plans