Interior Farmhouse Stair Railing DIY
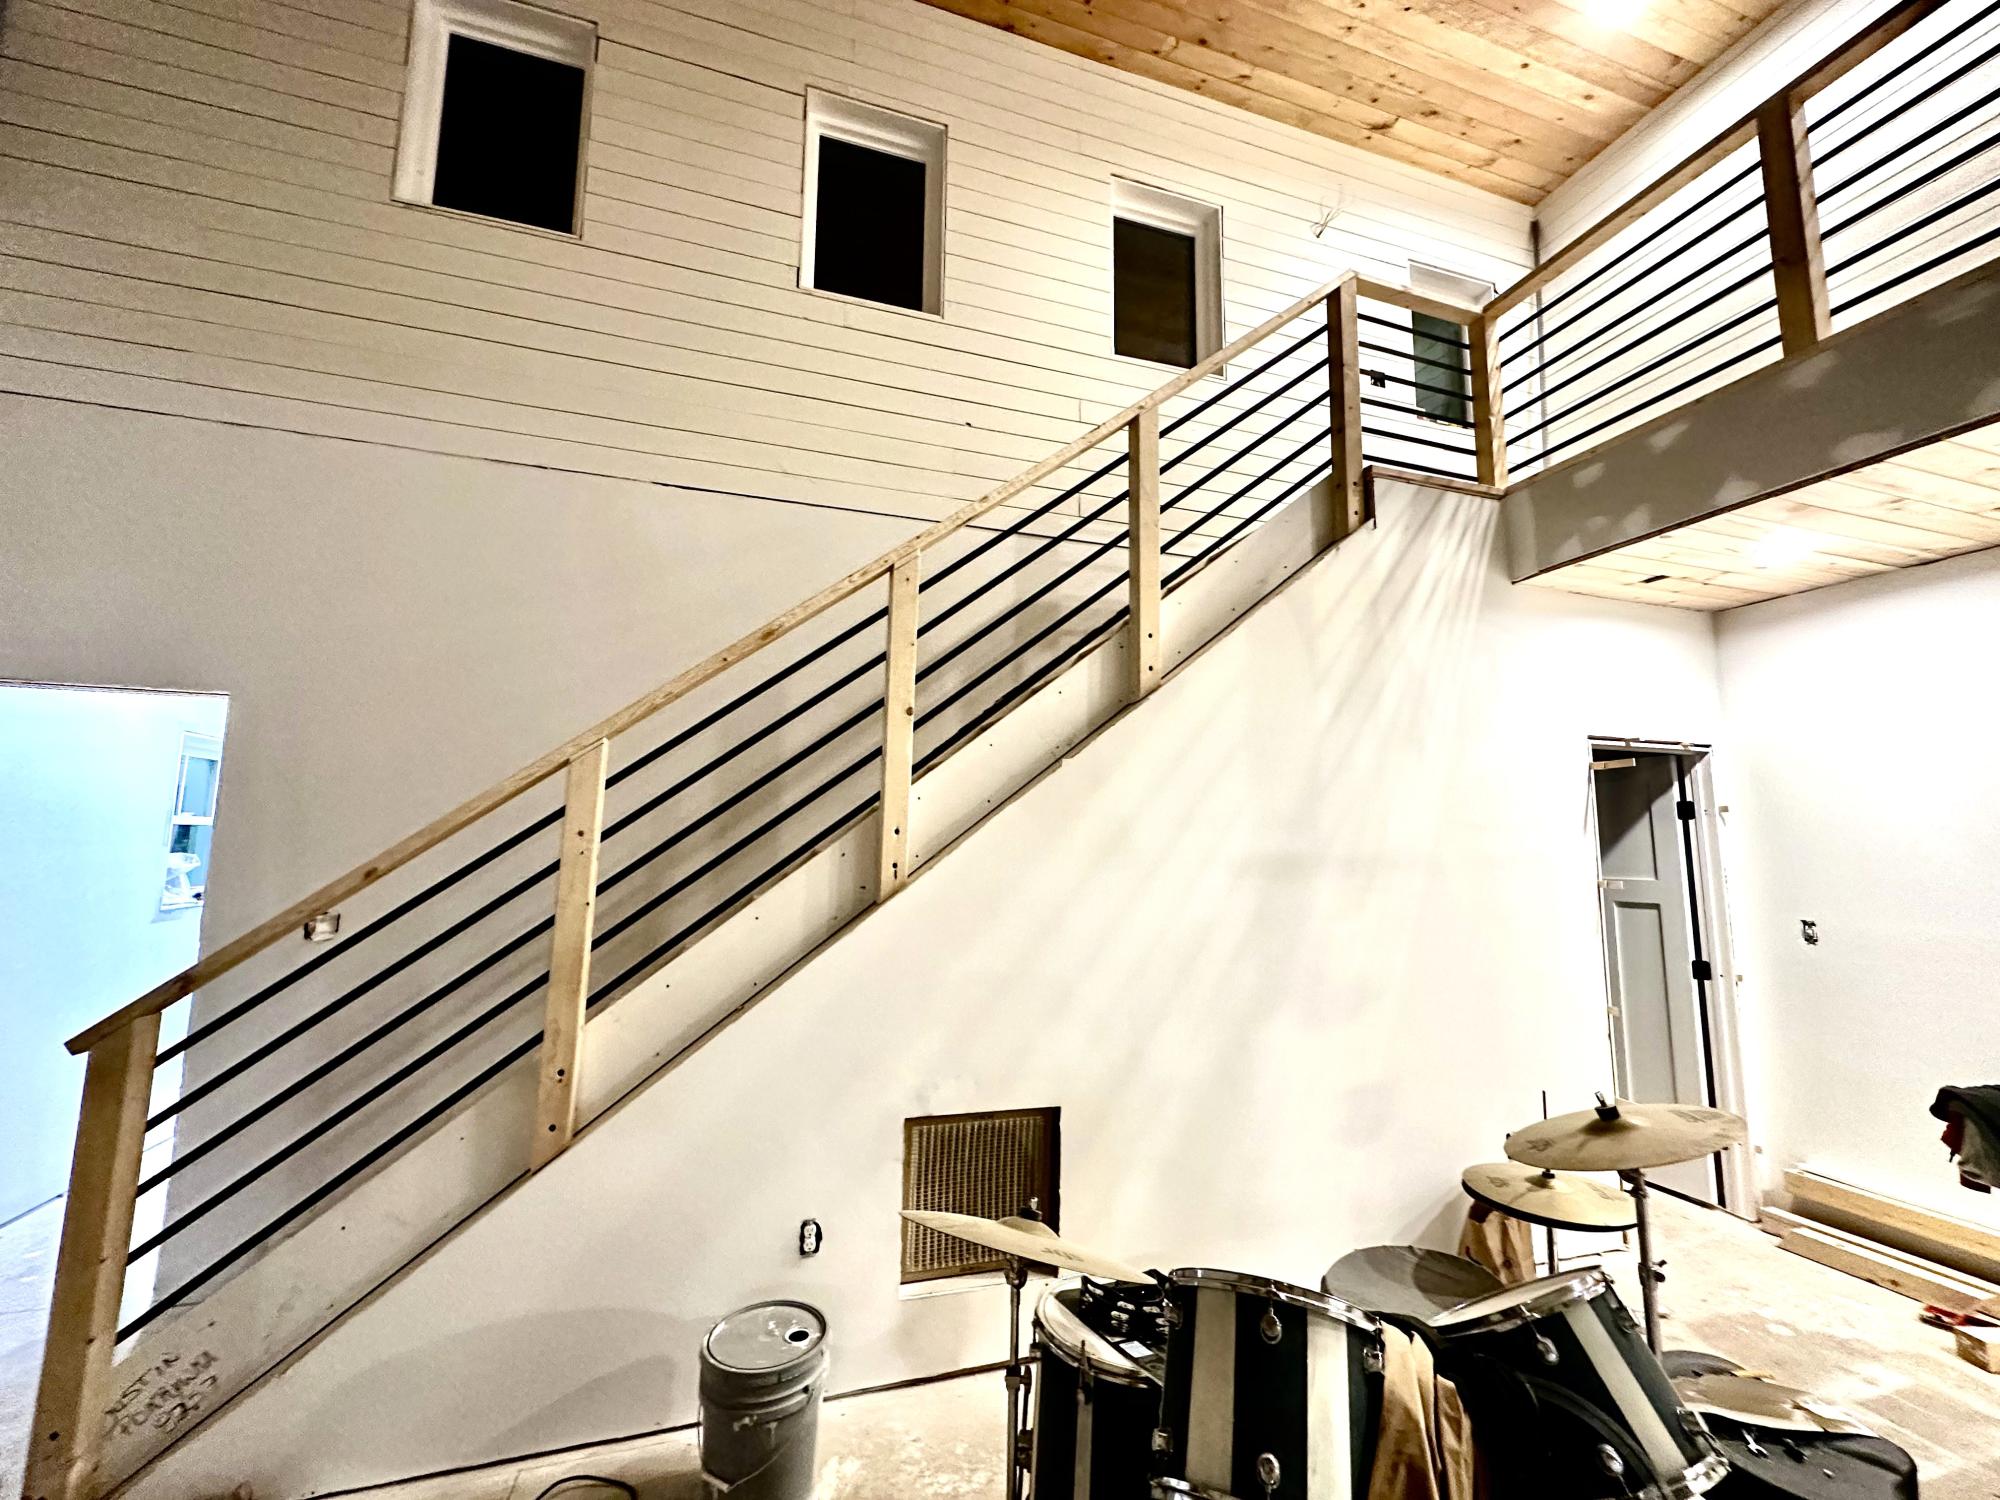
We used your idea of railings for our new home!
We used 4x4’s for the posts instead of 2x4’s
We love it and so does everyone else!
Justin Pokrywka
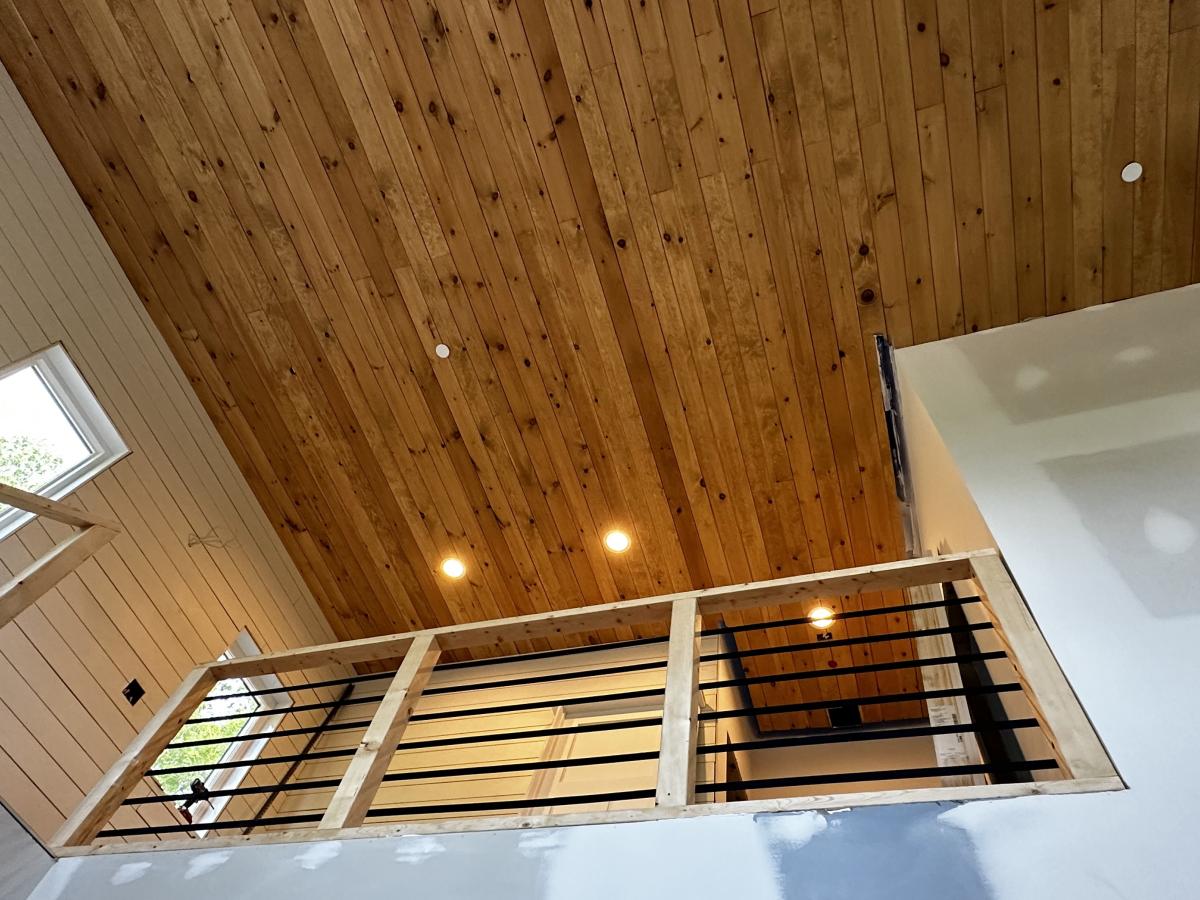
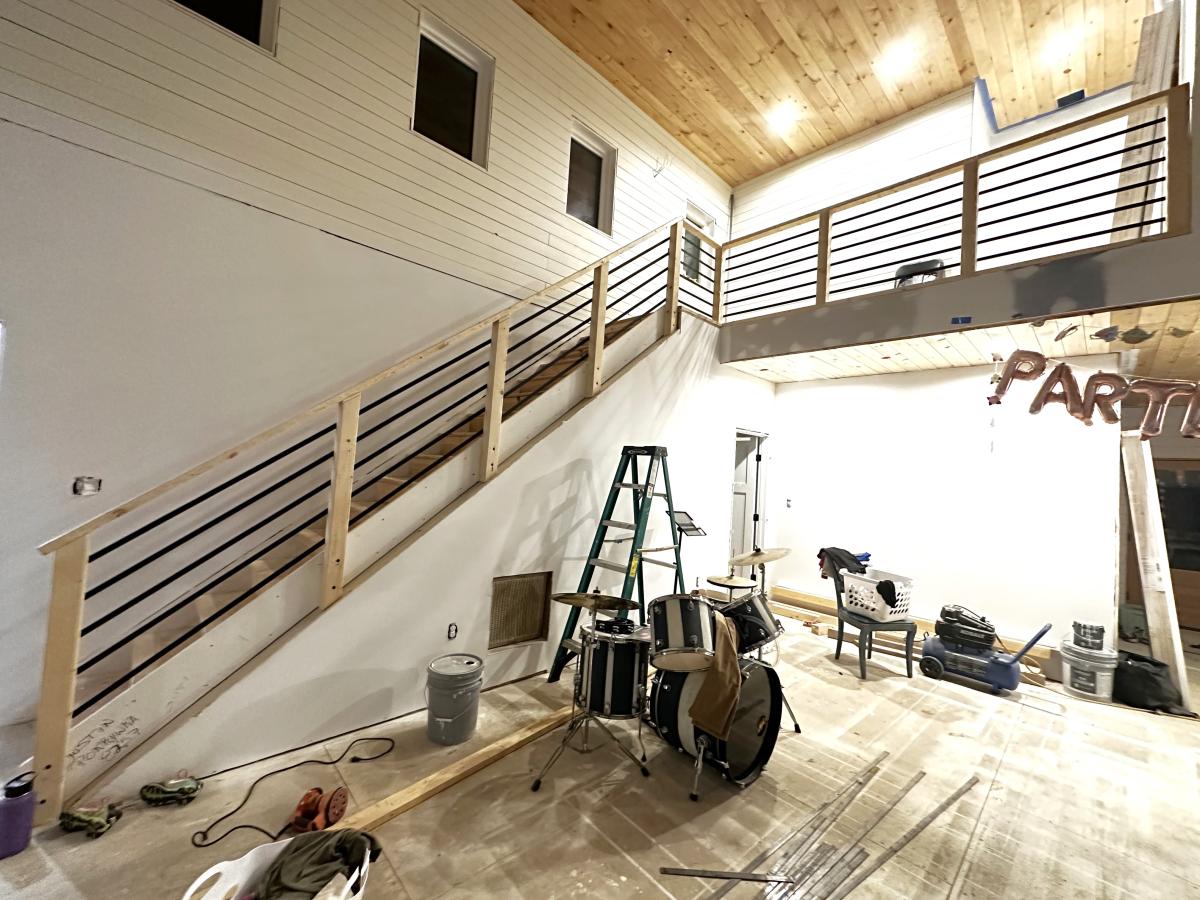
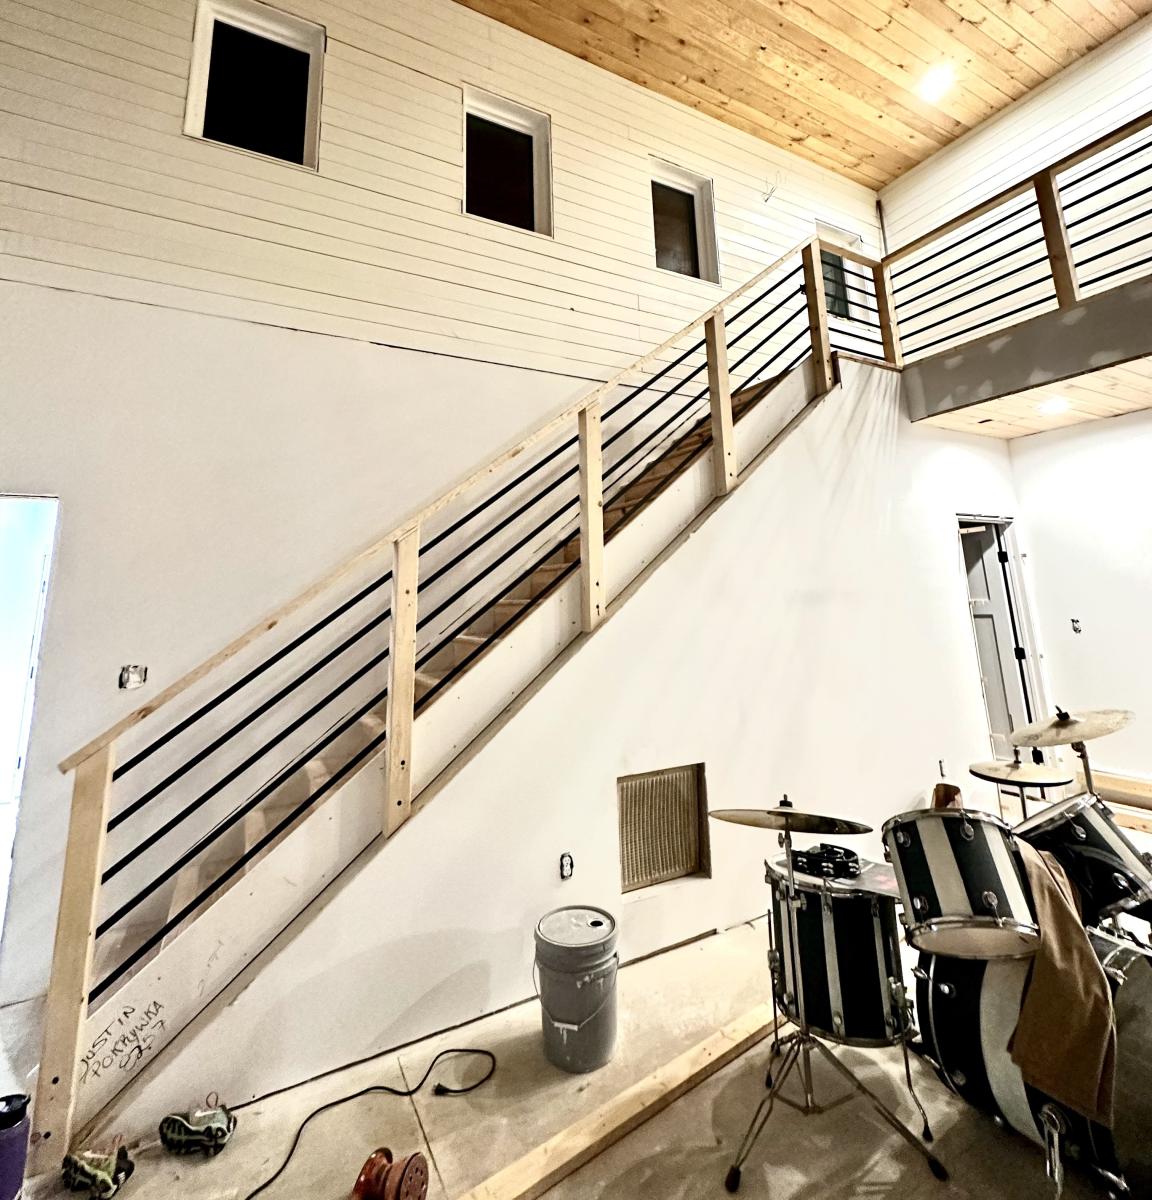

We used your idea of railings for our new home!
We used 4x4’s for the posts instead of 2x4’s
We love it and so does everyone else!
Justin Pokrywka


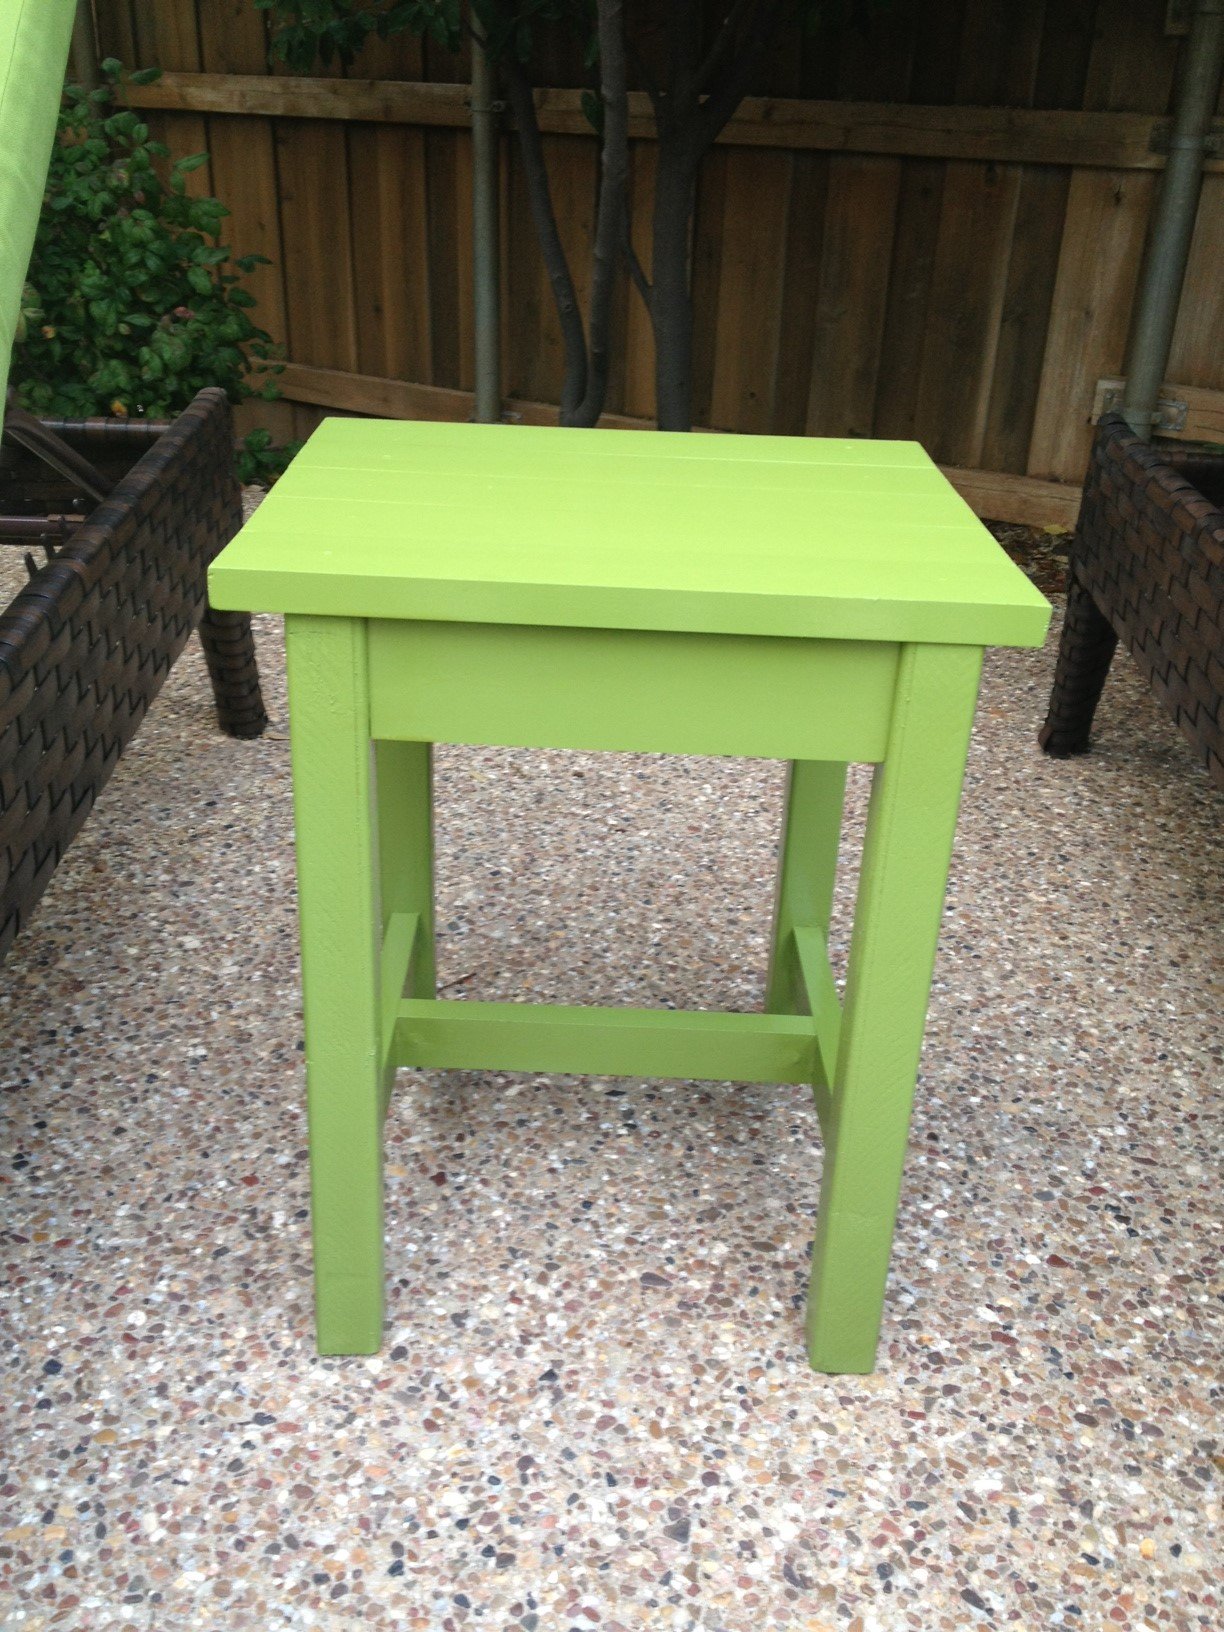
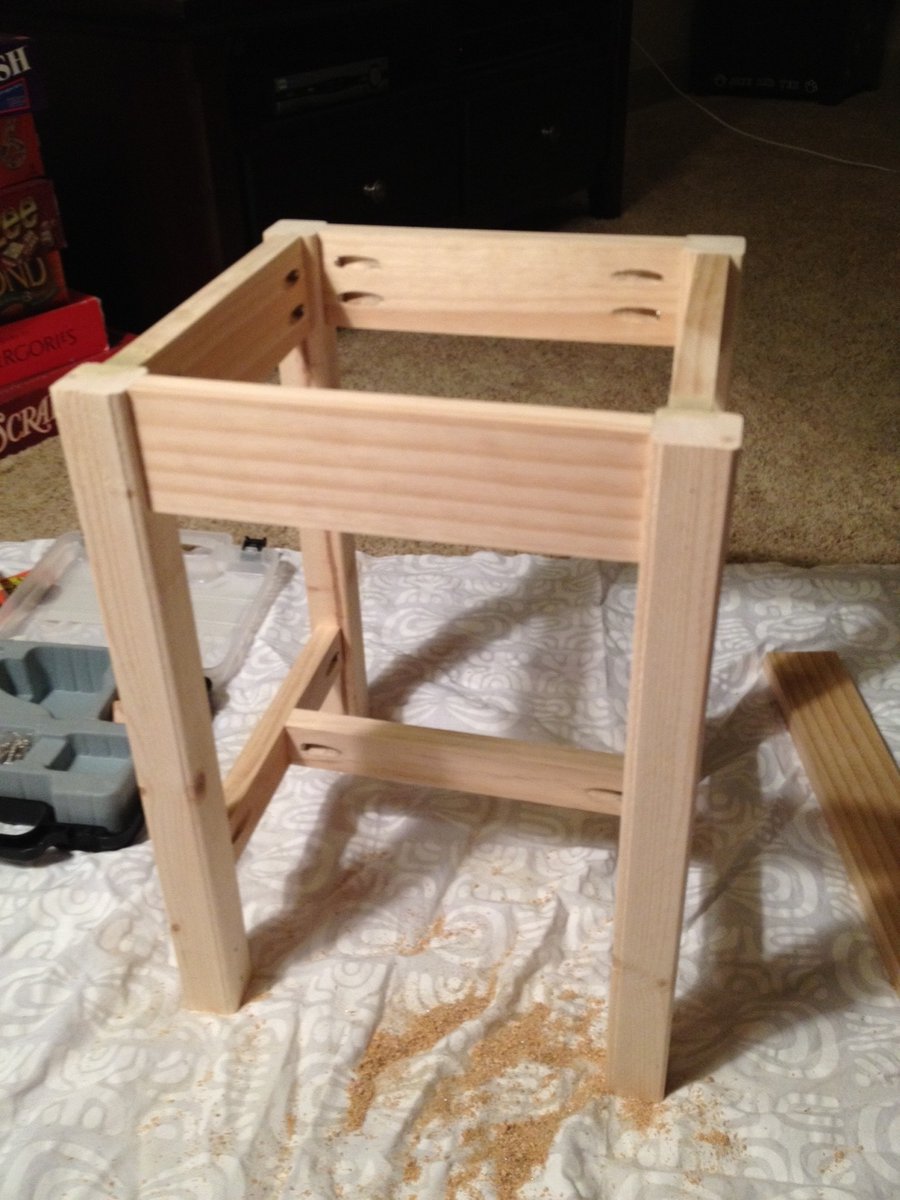
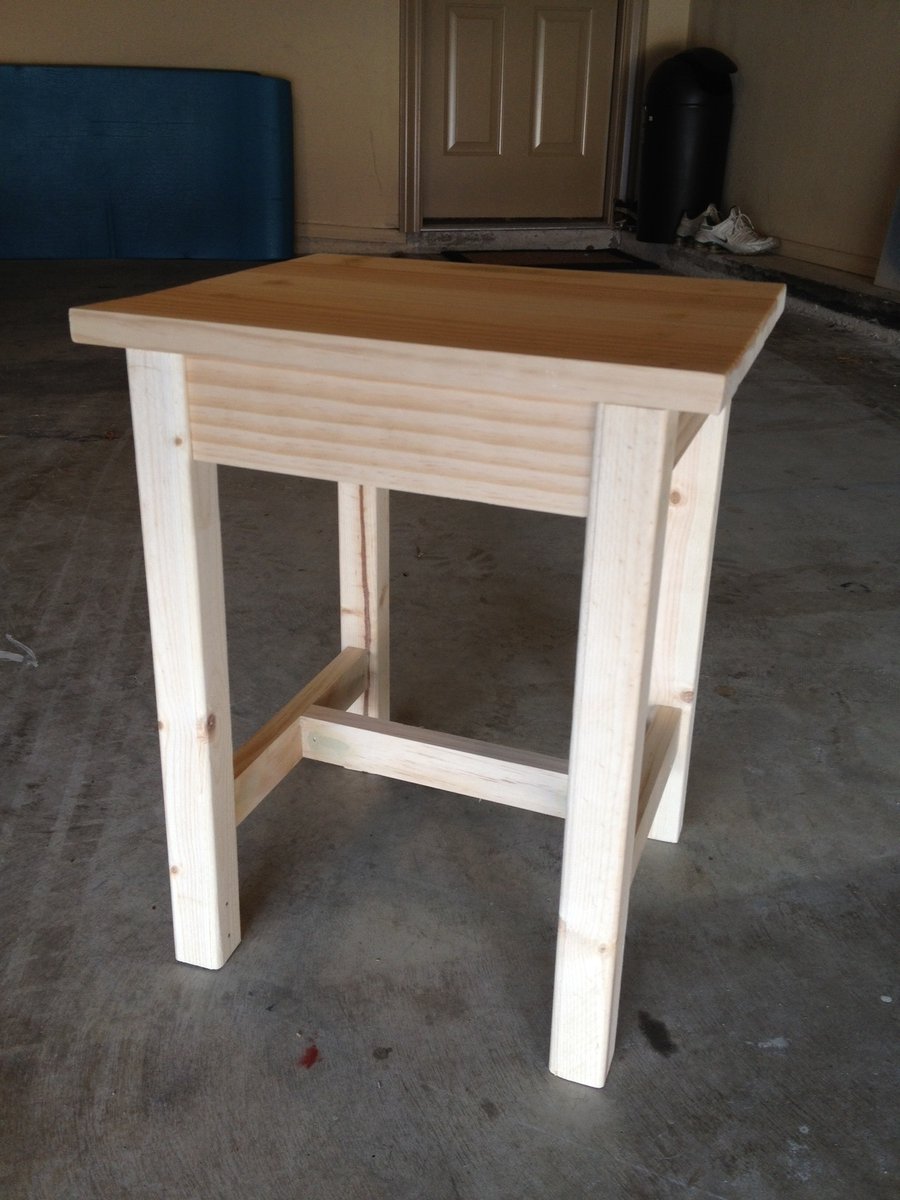
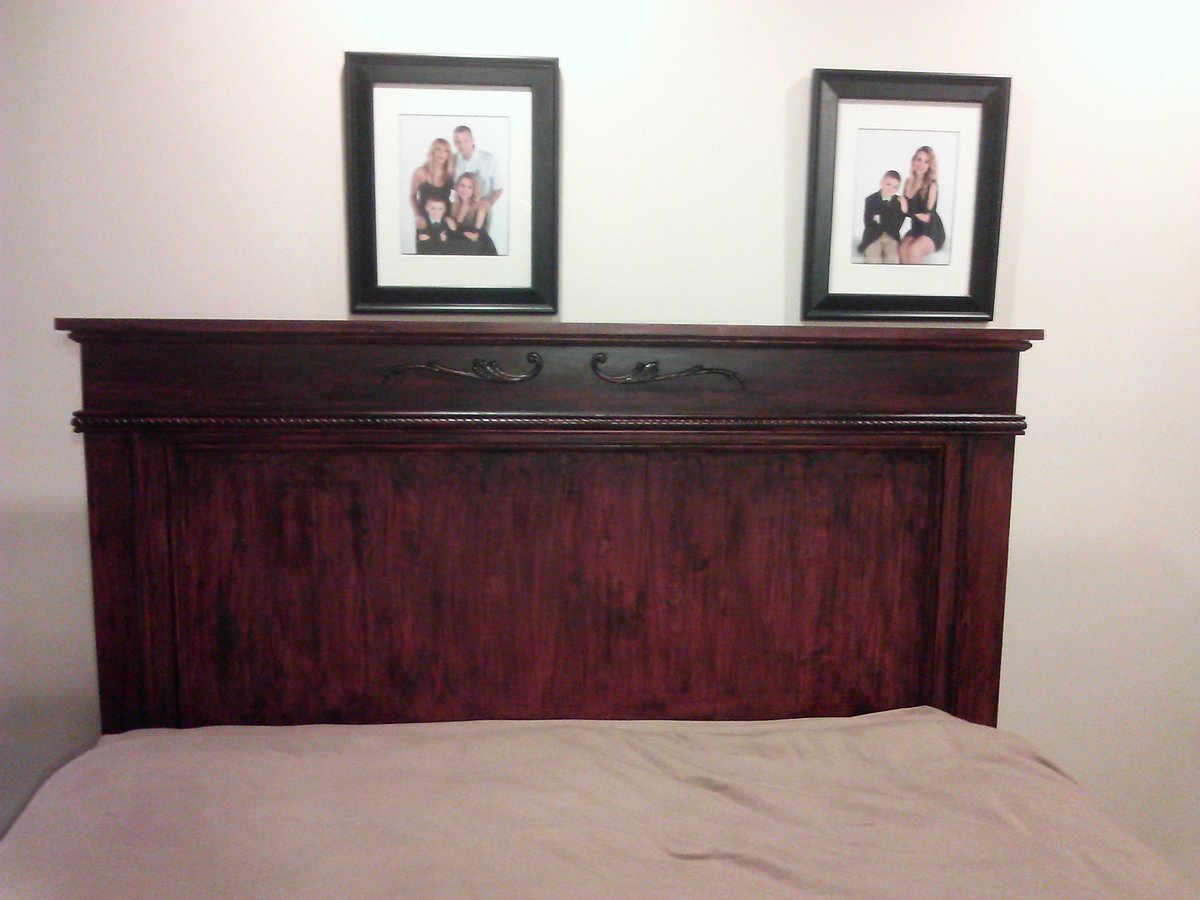
This was my very first furniture-building project. I was pleasantly surprised with how it turned out! It's definitely not perfect, but with some practice I plan to try bigger projects! It was a little more expensive than I would have liked because I had to buy a pocket hole kit that was $40, but hopefully I will be able to use the kit for future projects.
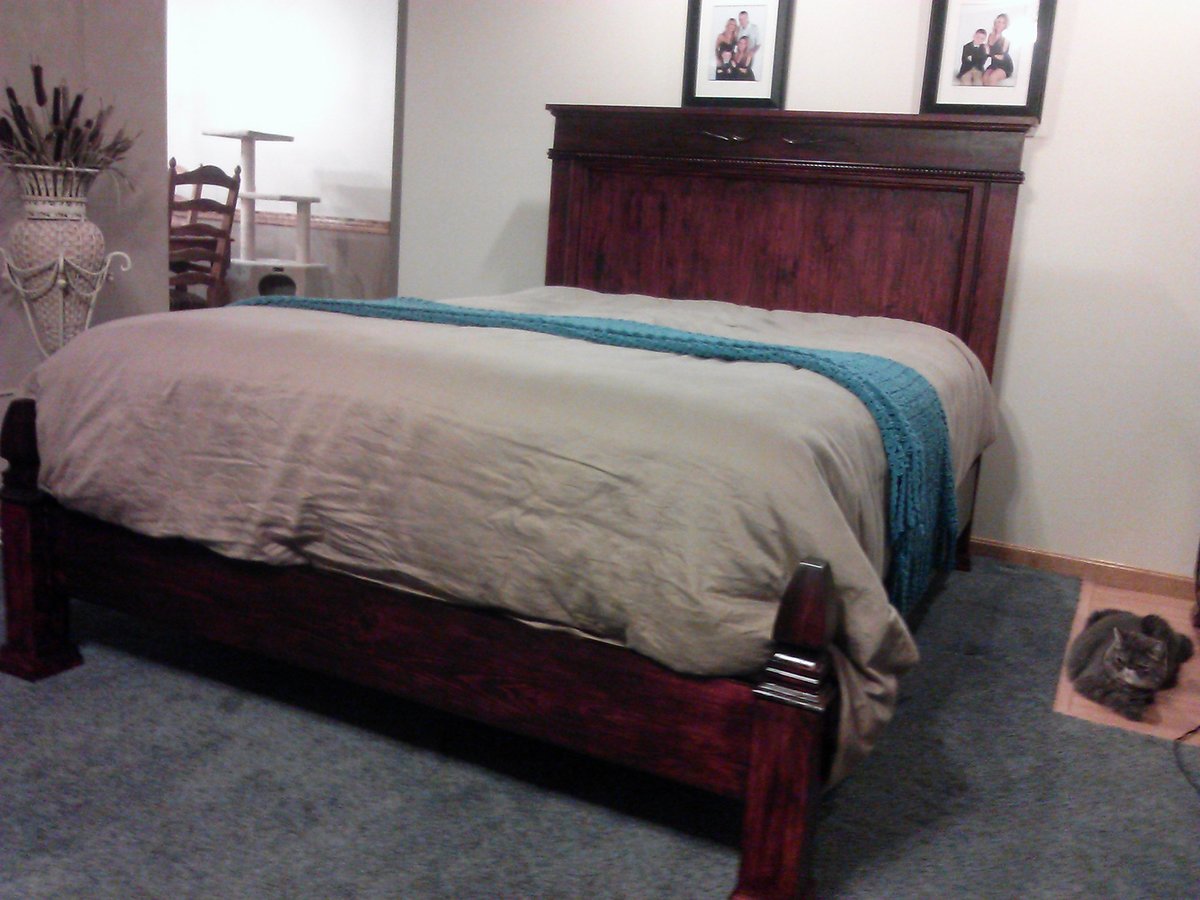
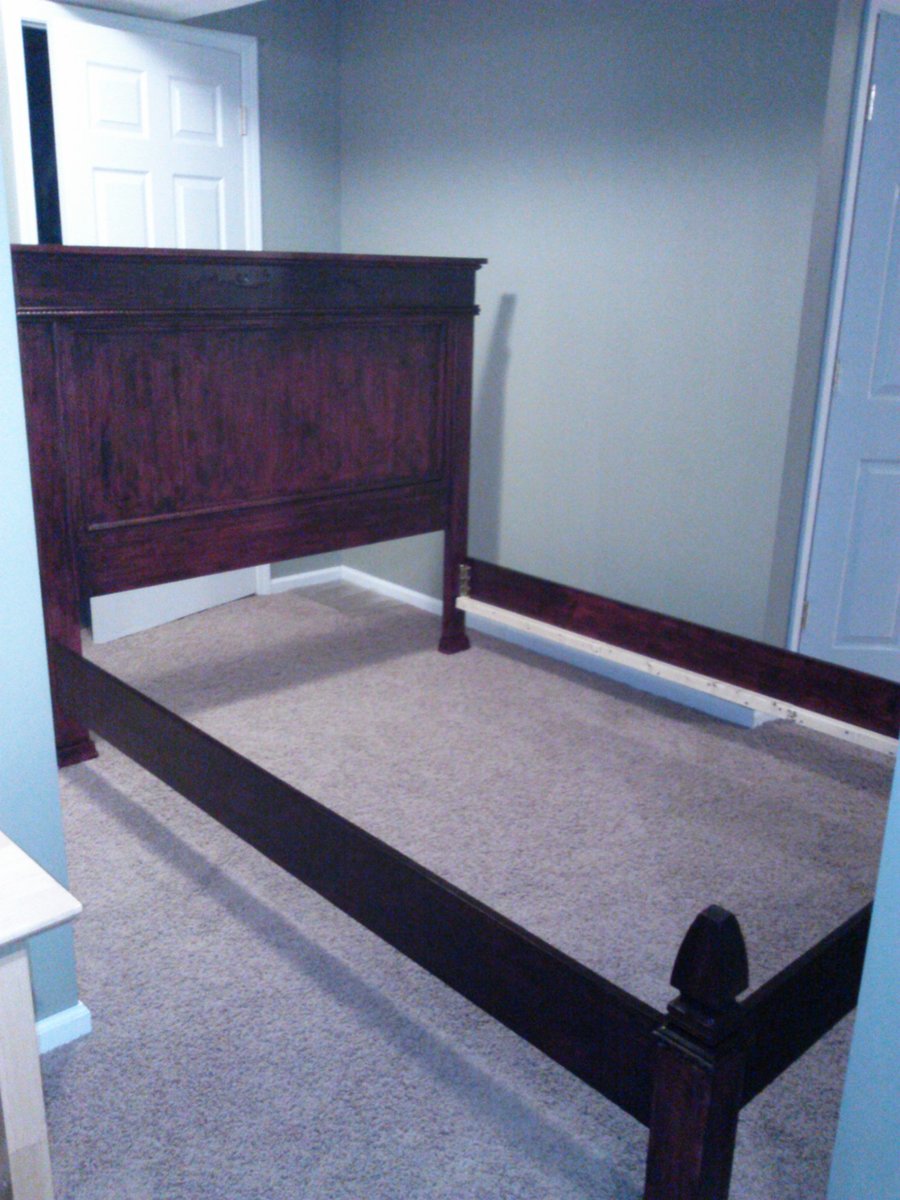
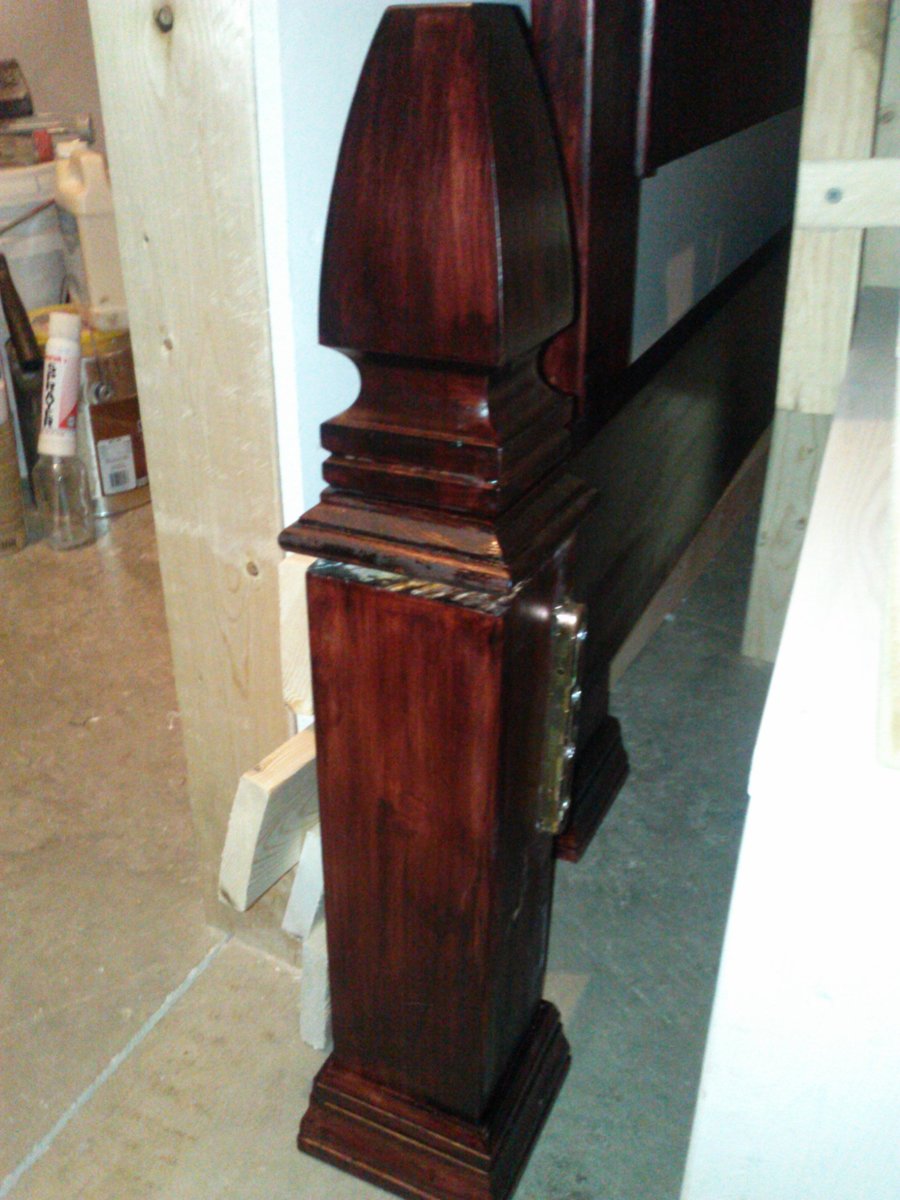
I followed the plans exactly except I used 4X4's for the "footboard' legs. I added molding to all the feet. I also added screw in fence top posts to the footboard legs. I had a small blemish I wanted to hide on the headboard, so I added wooden appliques to cover the mark.
To make the bed easy to move and store, I bought bed rail fasteners from this site http://www.wwhardware.com/wood-technology-bed-fittings-wt8056.
Great, matching bedside tables and headboard. Made it mostly from pine, and scrap lumber.
My first wood working project and I just want to keep trying other projects! My wife and I saw this project and had to try it out! Now I want to keep building more.
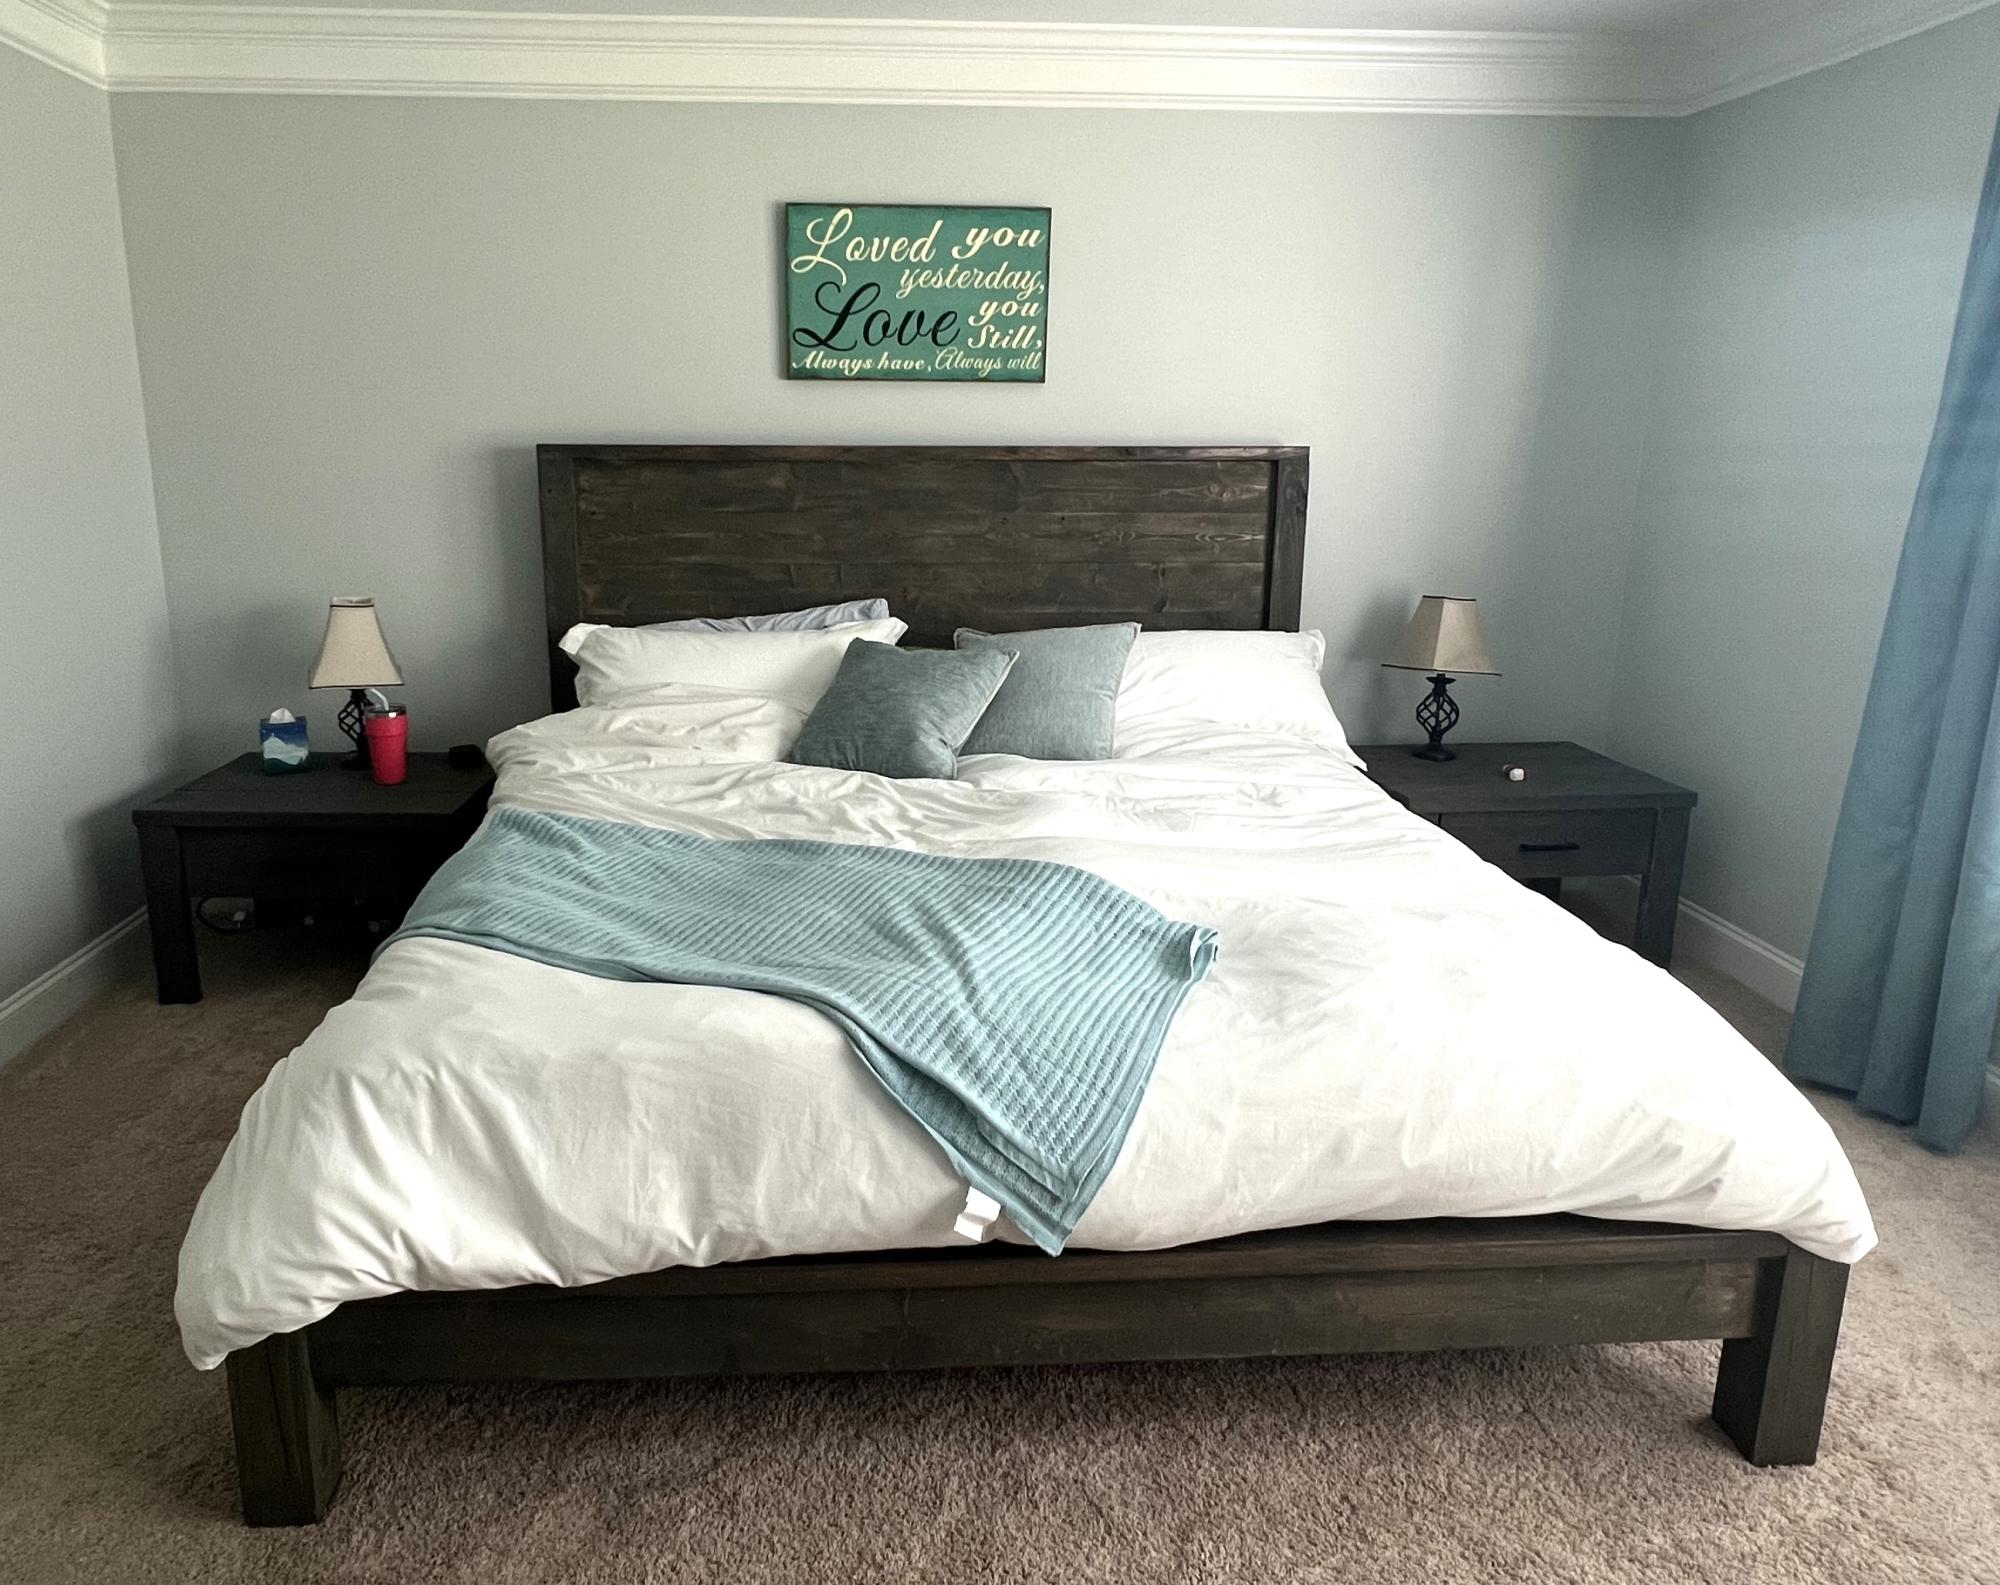
Awesome Bedroom Set by Jamdun74
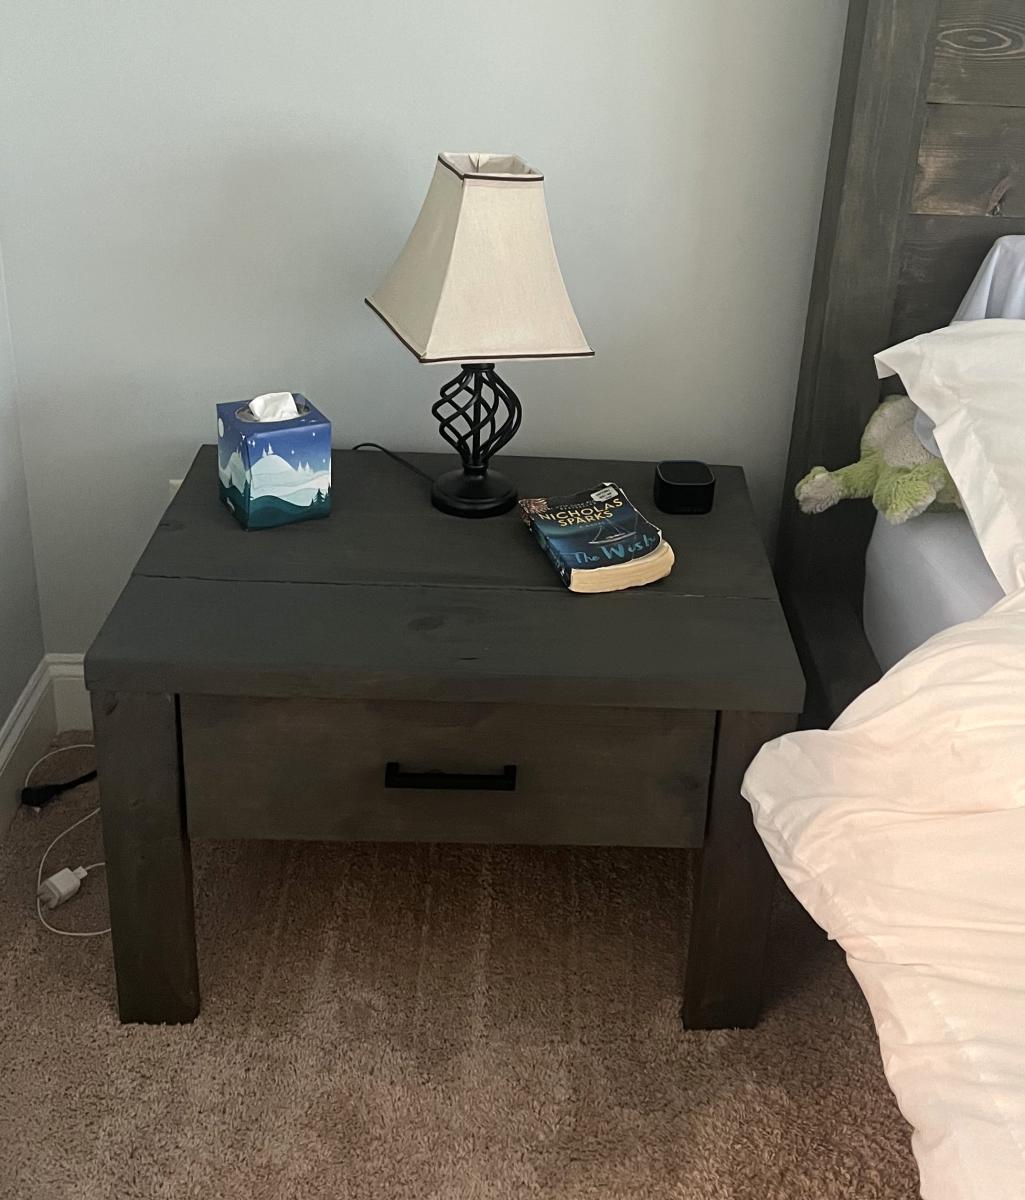

We built this command center to hang in our kitchen so that we can organize incoming papers and jot notes on the chalkboard portion. Also a hook for keys!


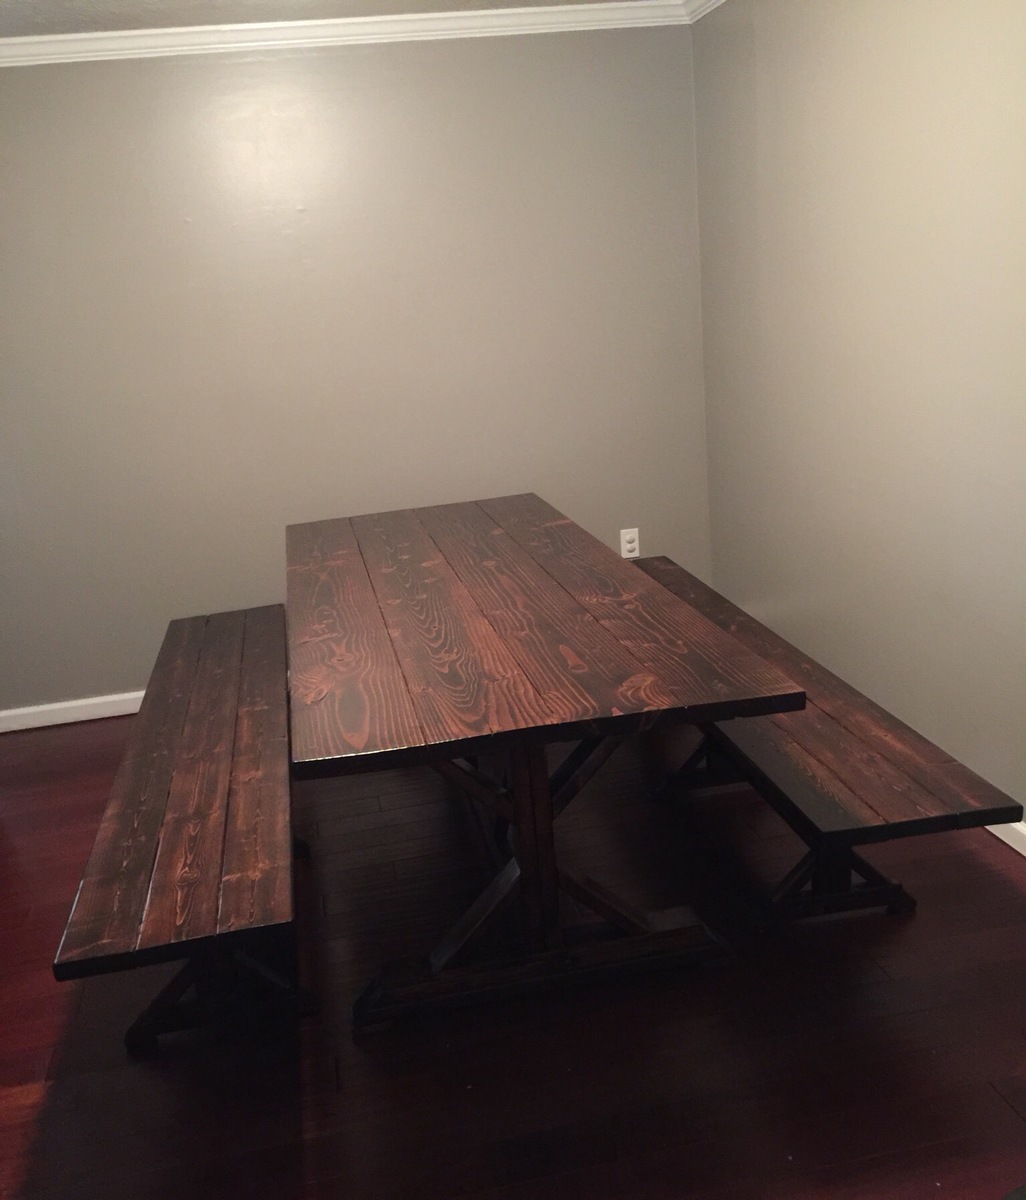
These wood plans were great! Easy to follow and an awesome first project for my hubby and I to build together. Only hitch for us was by choosing to make the longer bench we didn't check the placement of the feet before attaching it. When we were done we weren't able to push the benches under the table so we had to redo that step.
I loved this project! It was simple to follow and I can't wait to make the sofa this upcoming spring to go along with it. We added a bottle opener just in case you get outside, sit down, and forgot to open your beer! lol
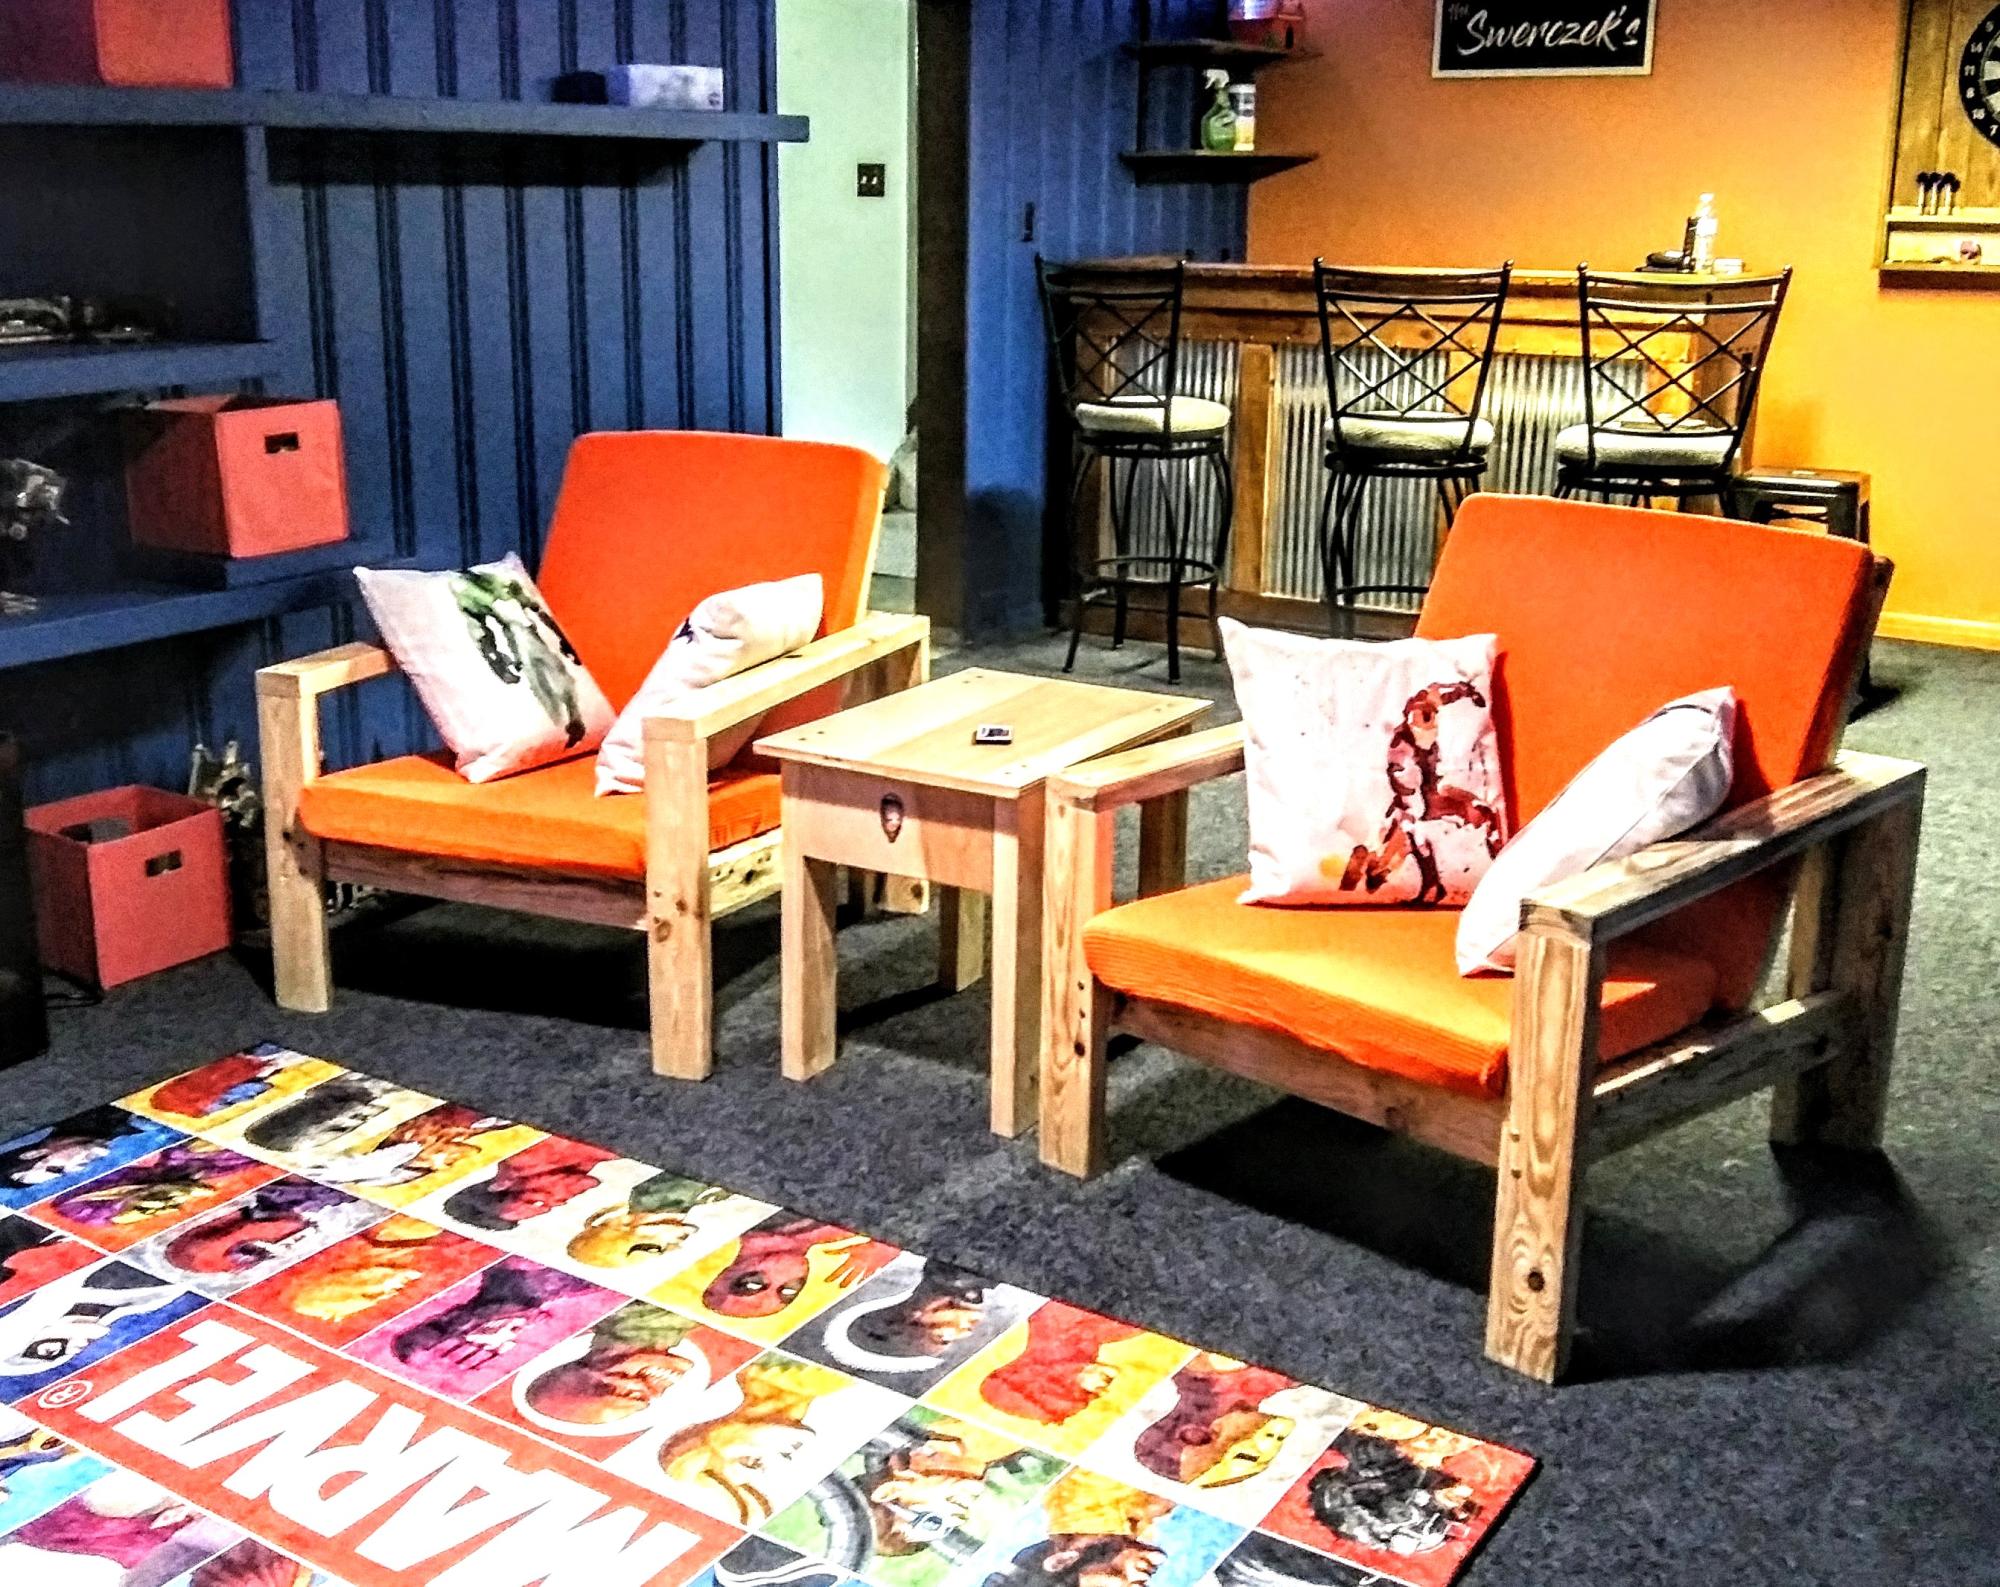
My son's mancave! We made these sturdy chairs .they are perfect for his big friends!
The plans were easy to follow.
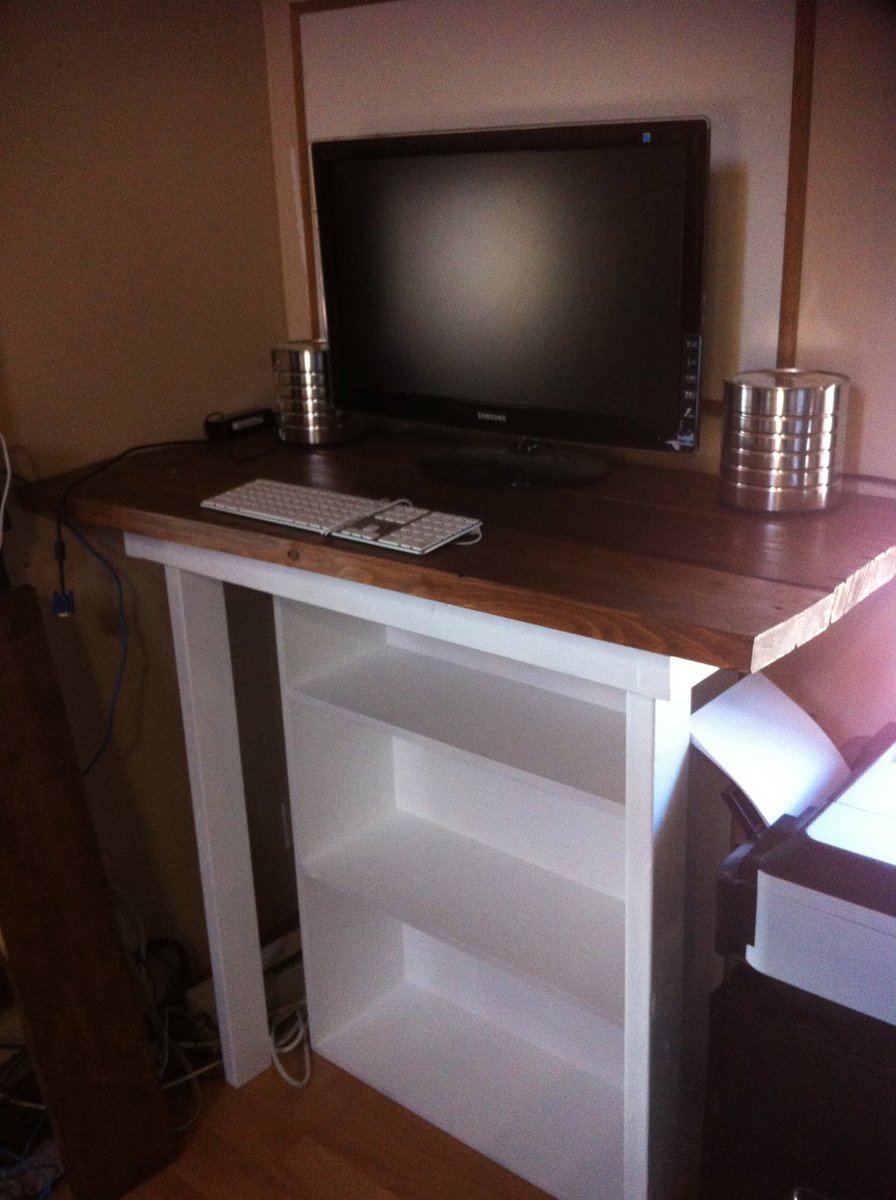
This is my very first build which was inspired by this website. I have been wanting to build something for a while but was pretty scared. In any case, my husband really wanted a standing desk for our office corner in our little house. After browsing forever and not finding anything I liked in store I decided to build. The entire project was built from materials we had laying around in the shed (1 - 1x2, 4- 2x4 and 3- 2x8 pieces for the desk top).
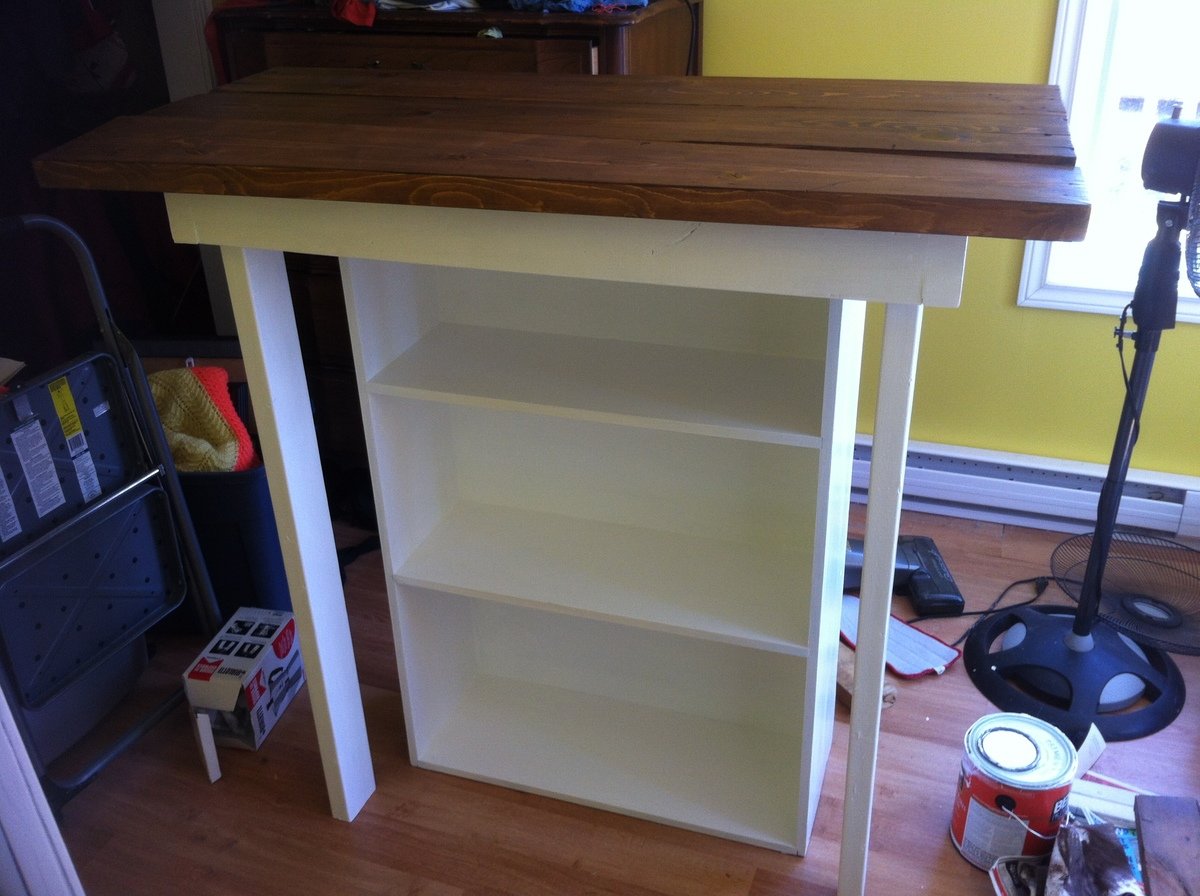
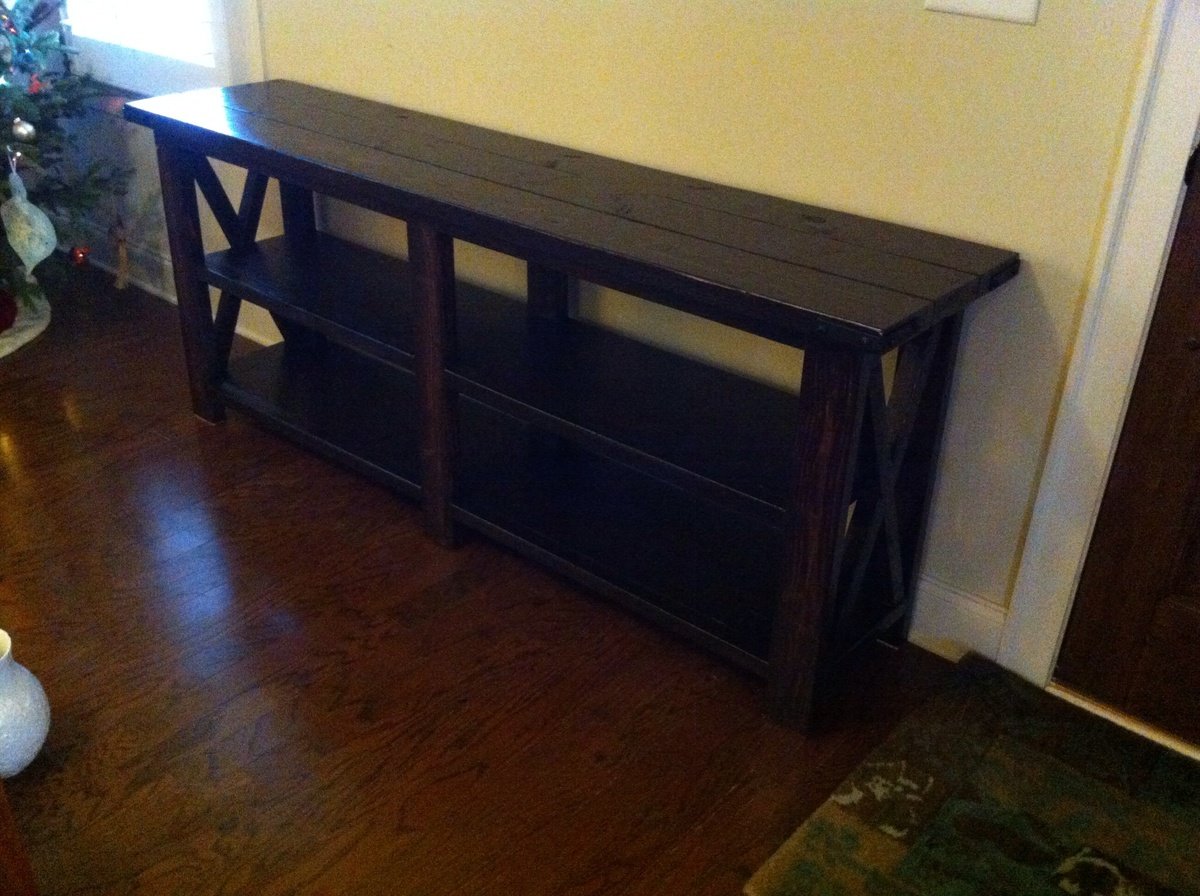
This was my first Ana White project, and i'm hooked! this was a lot of fun, and i've already done several other projects since.
As with any of these, the straighter and flatter the wood, the better the whole thing goes!
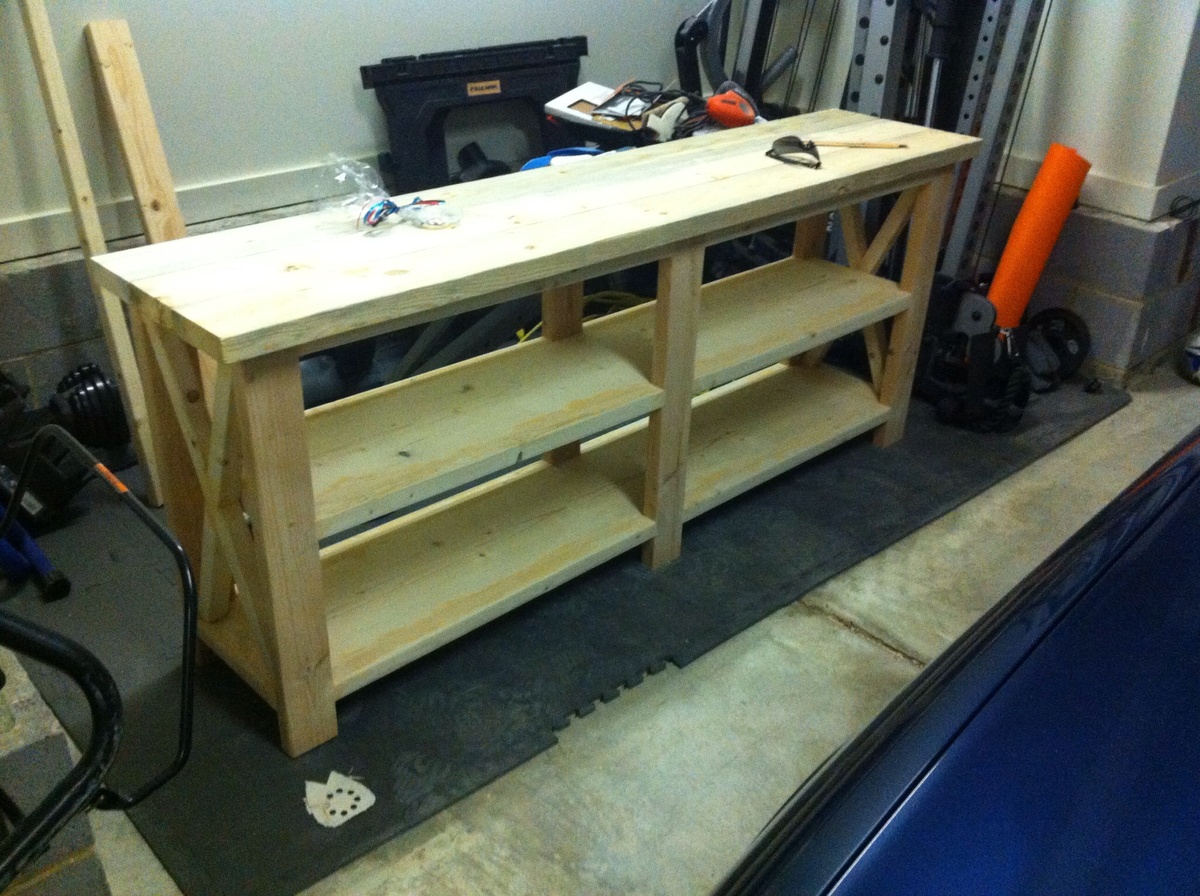
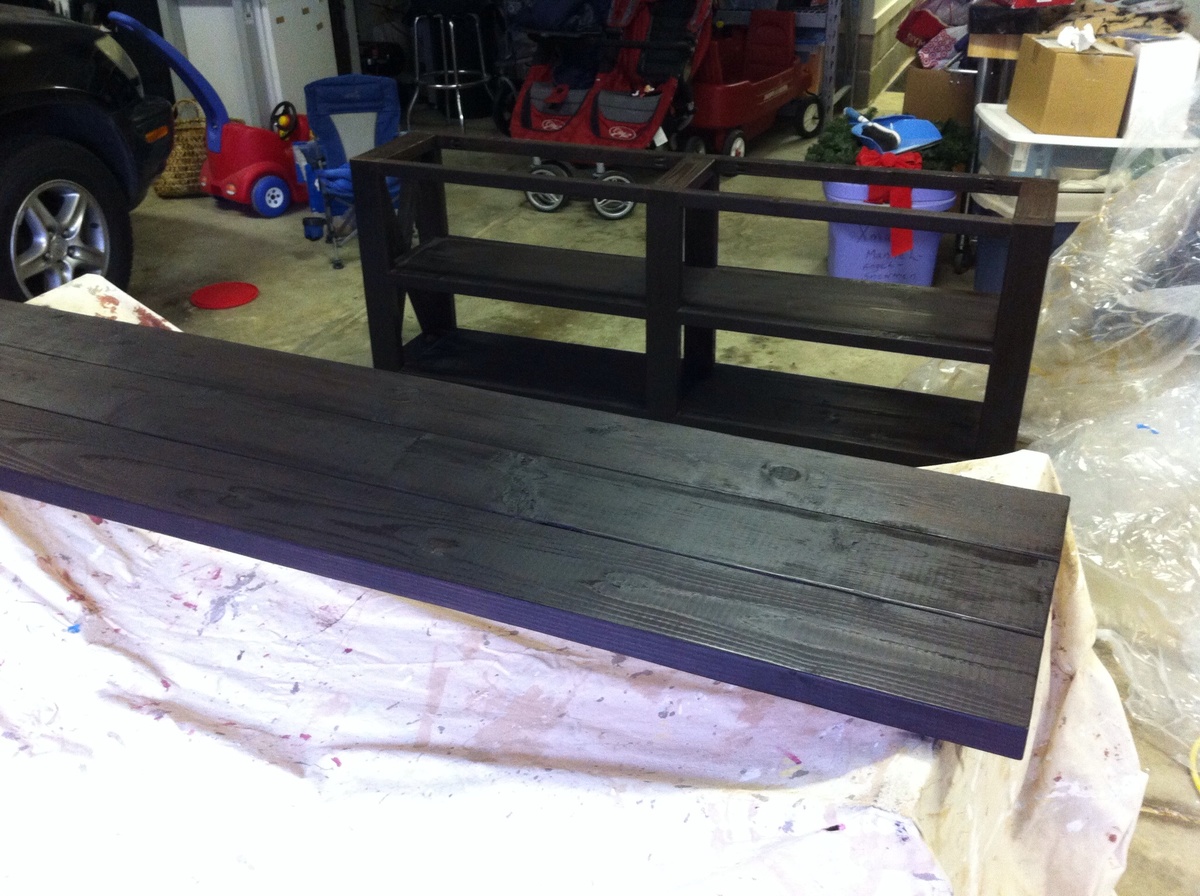
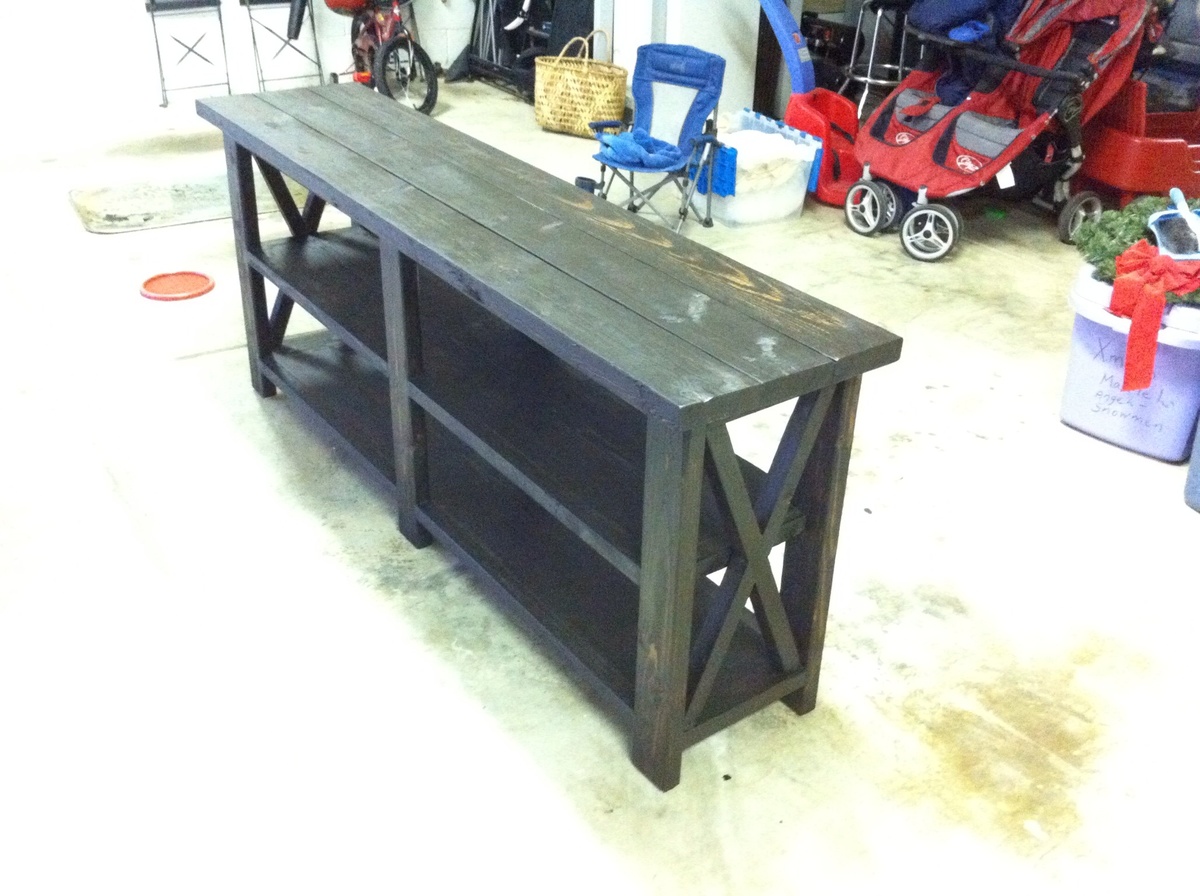
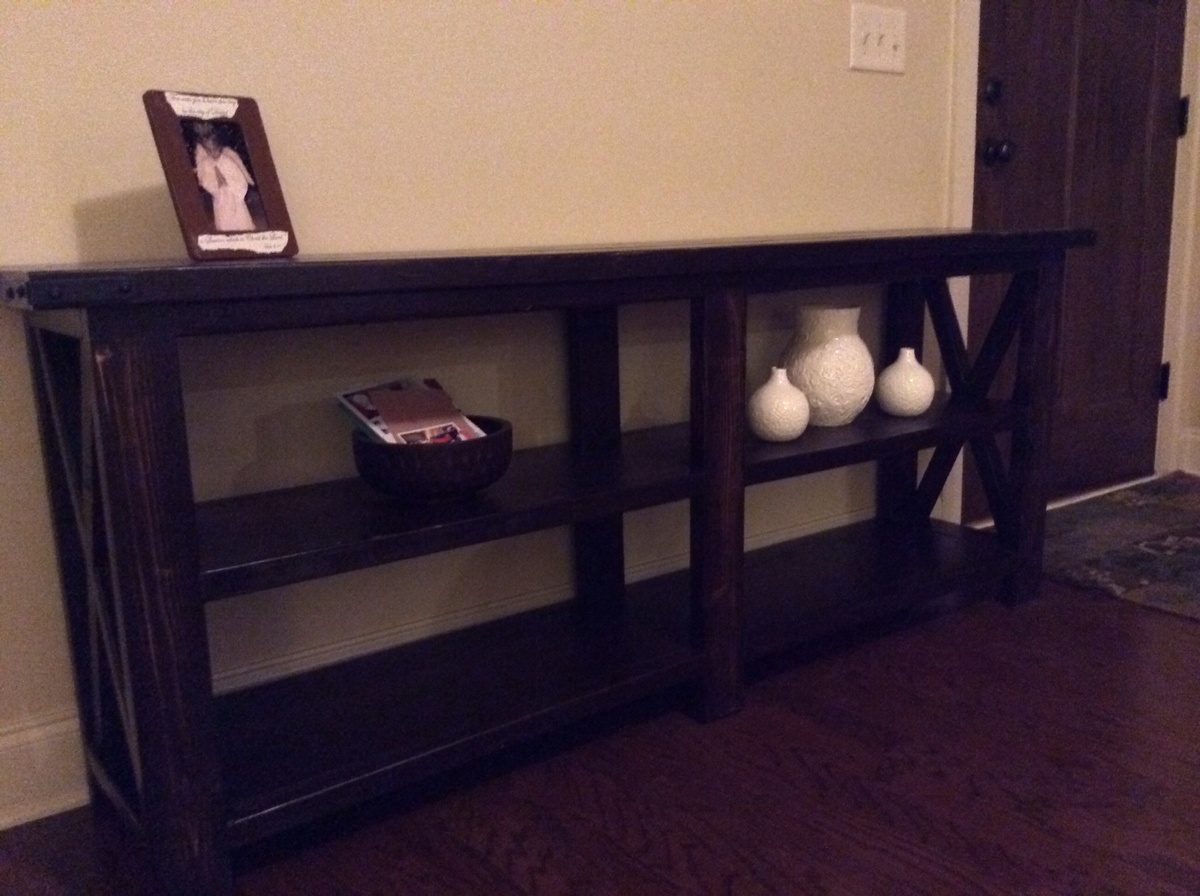

I made it! Yes, my first project is complete. I made a small piece to place in my soon to be repainted half bath. It was not perfect, but for a first time project and stain job, I am proud of my work.
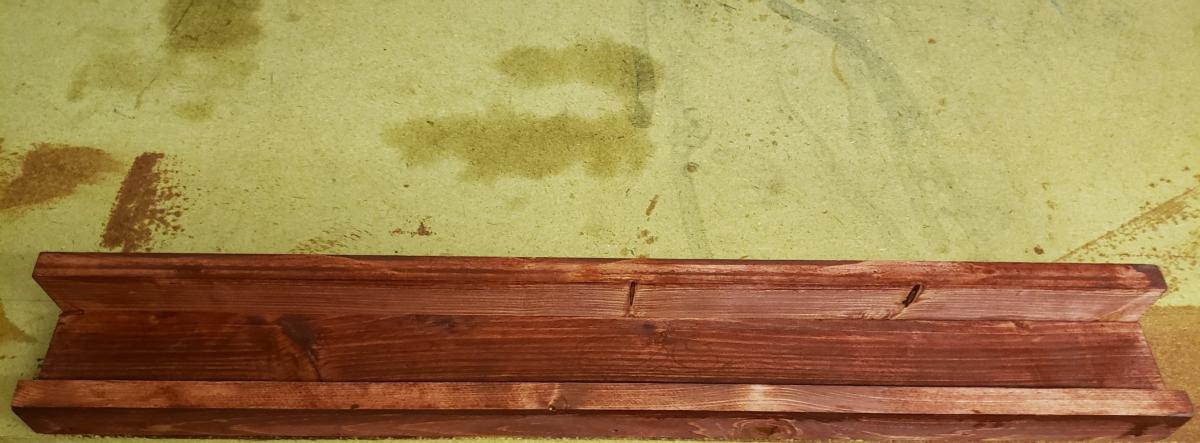
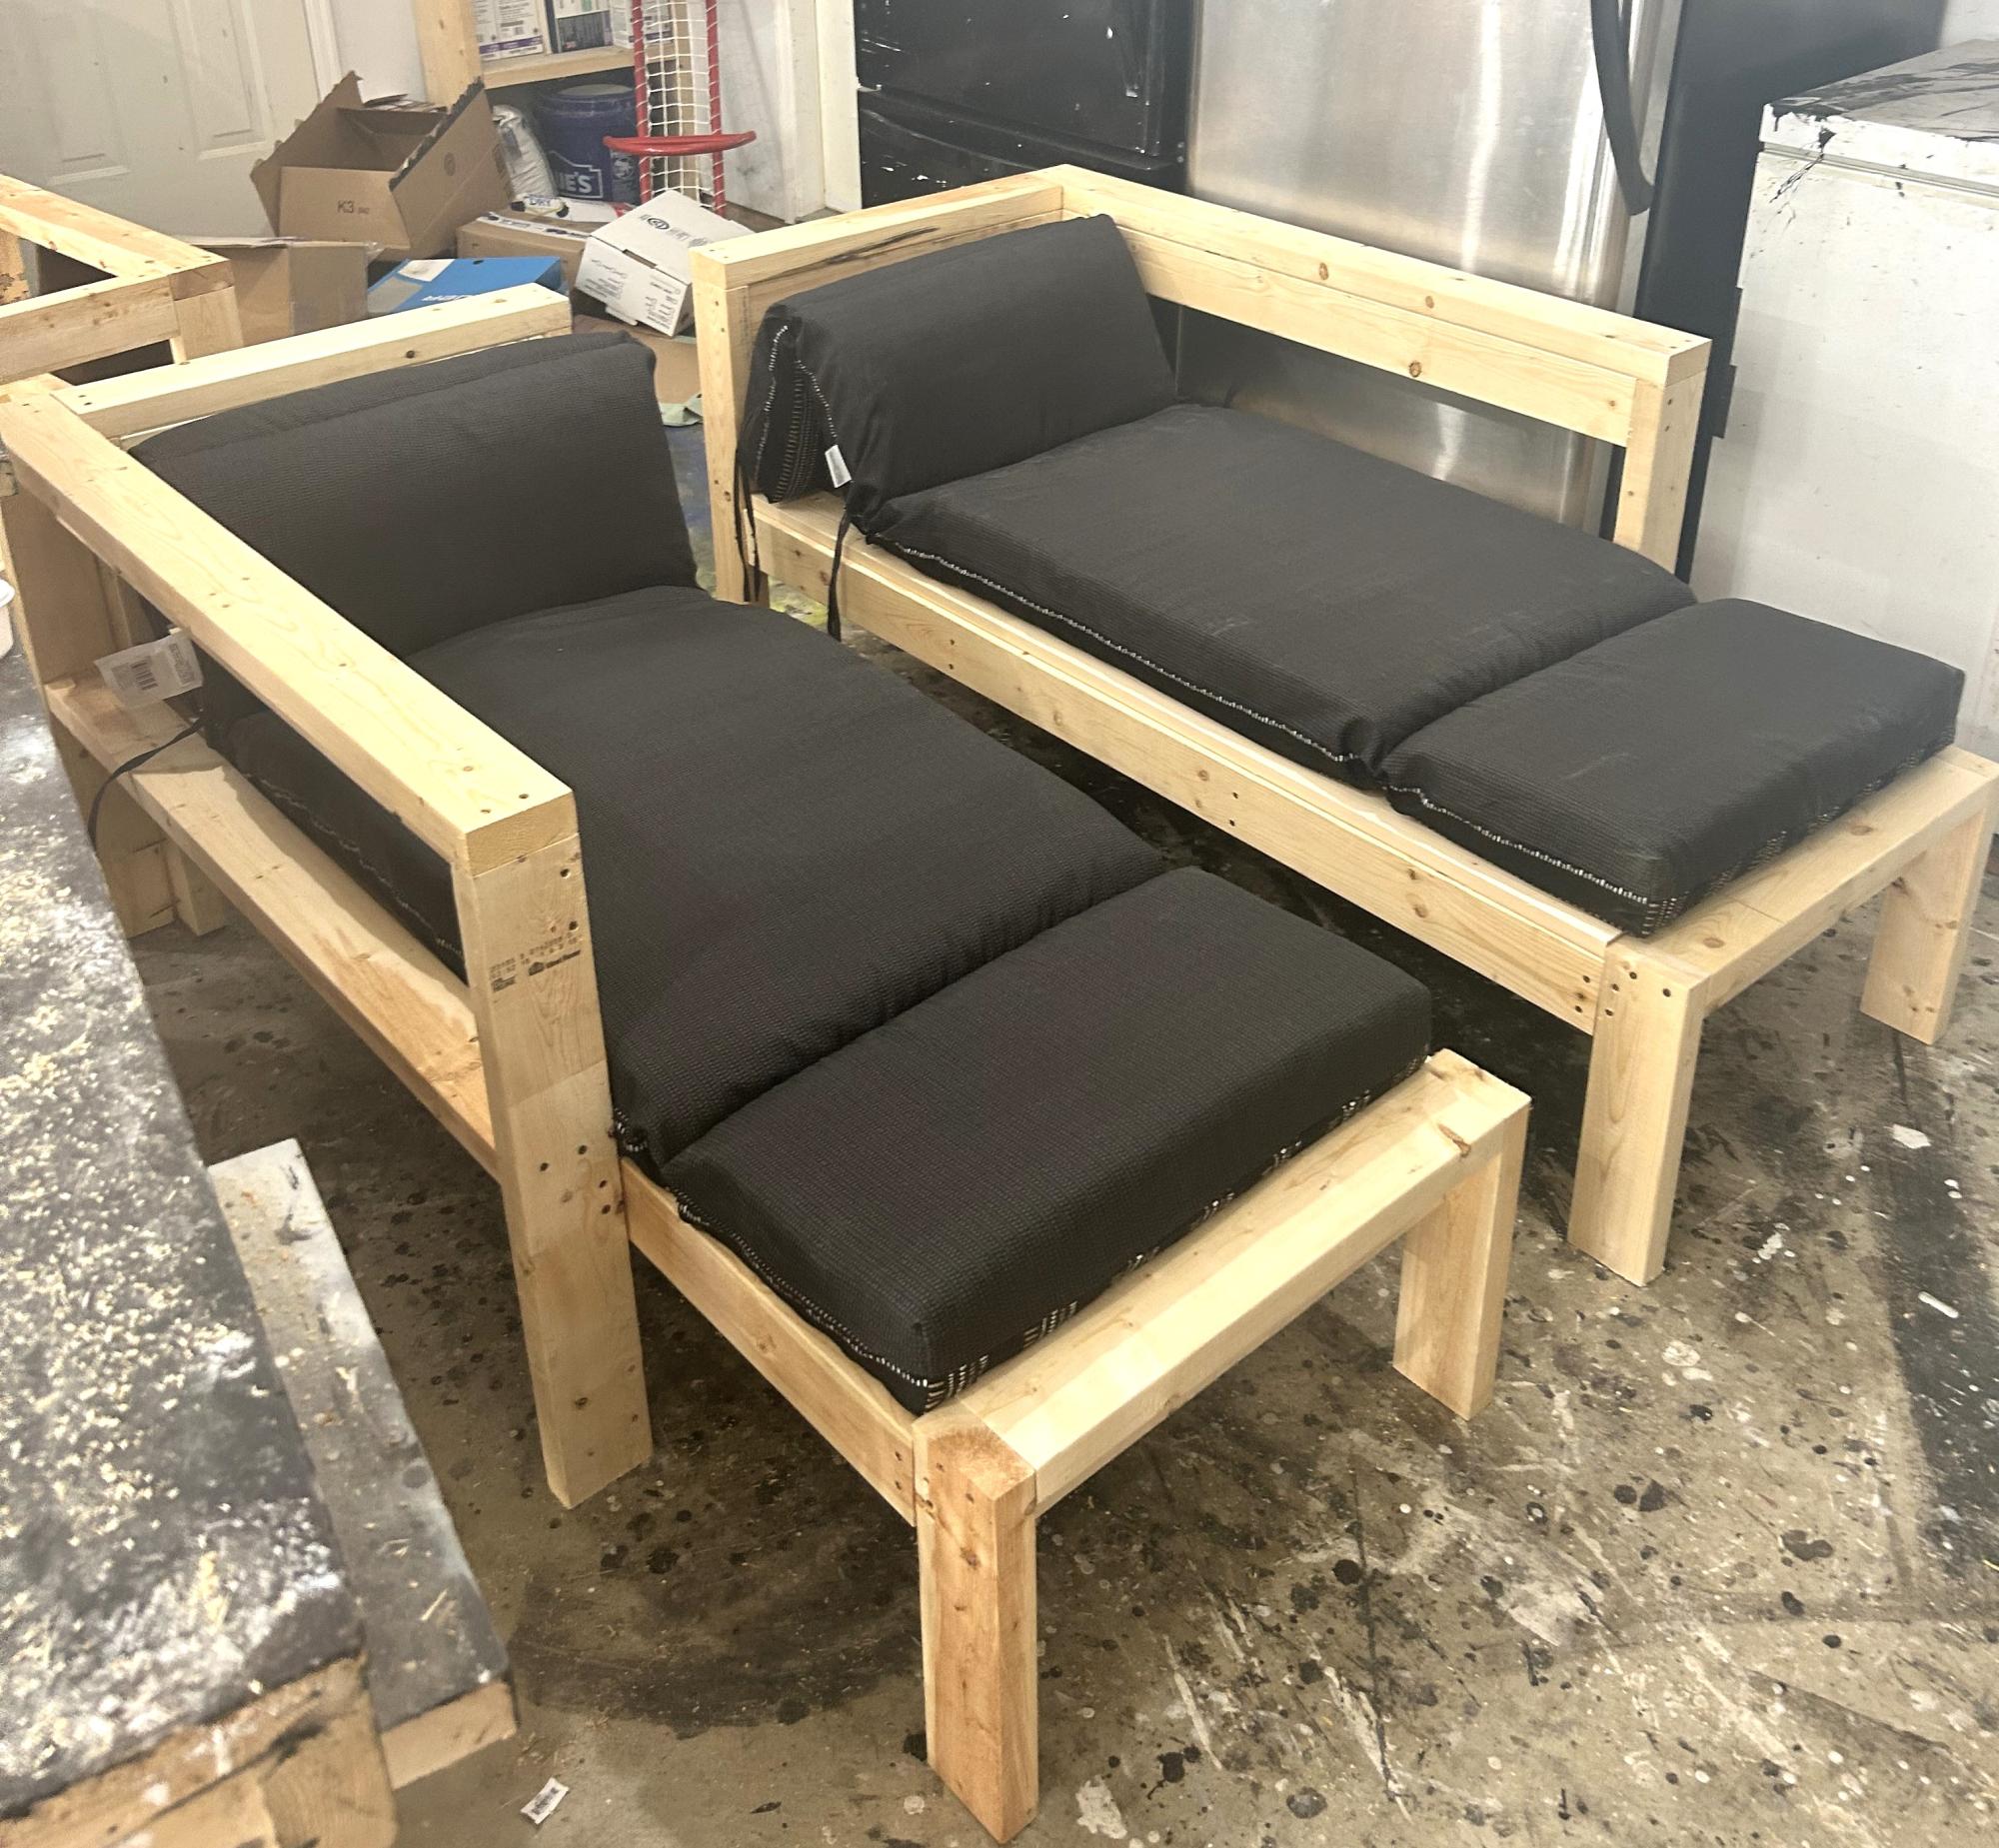
They’re not sanded or stained yet but I love how they turned out!
Carly M @carlymorwick
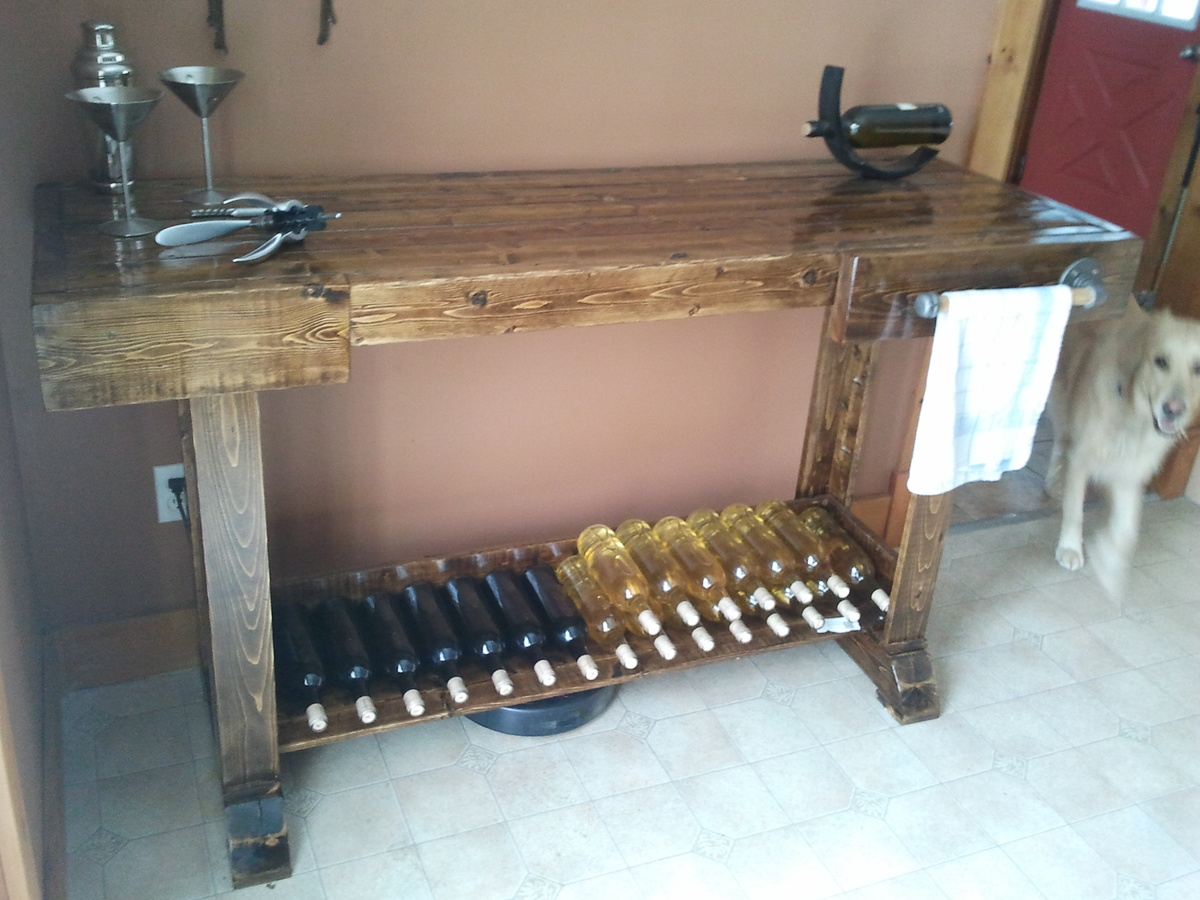
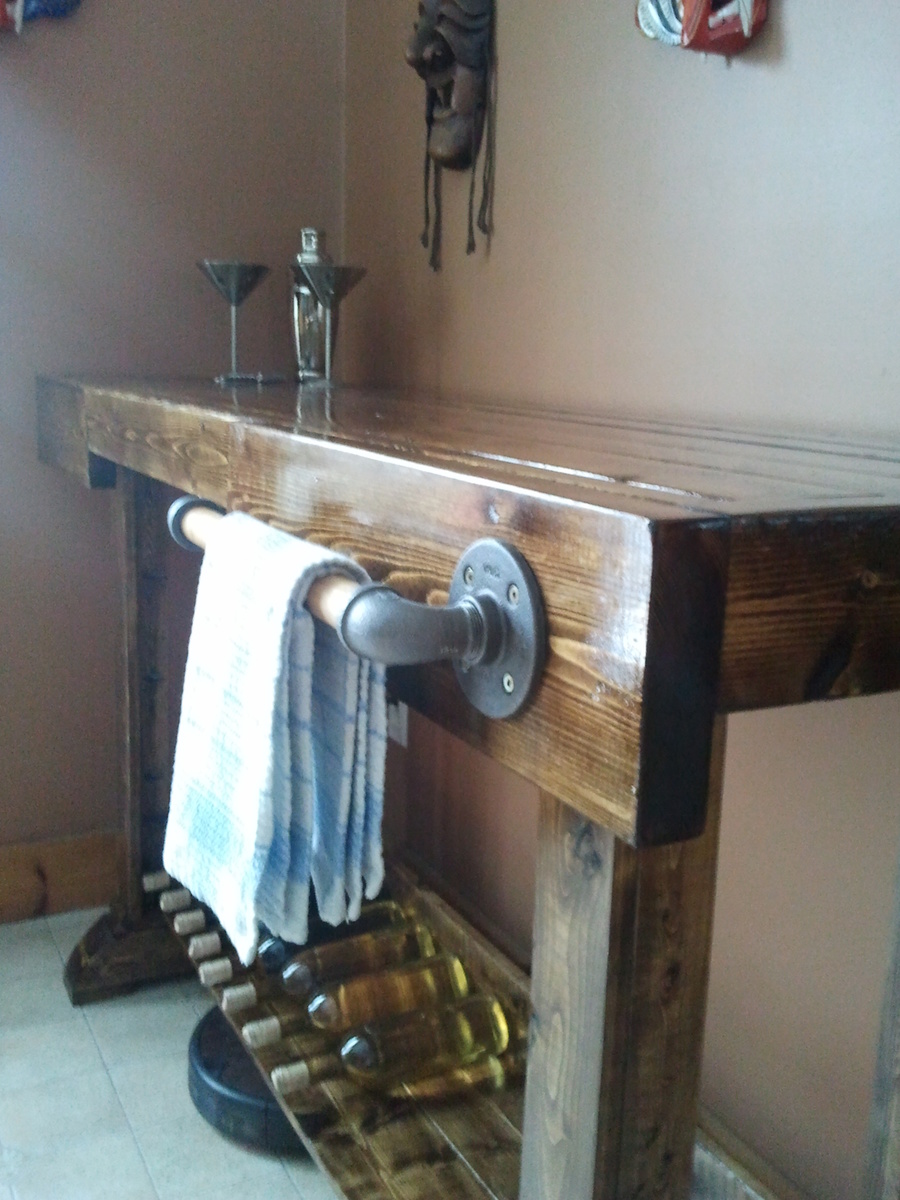
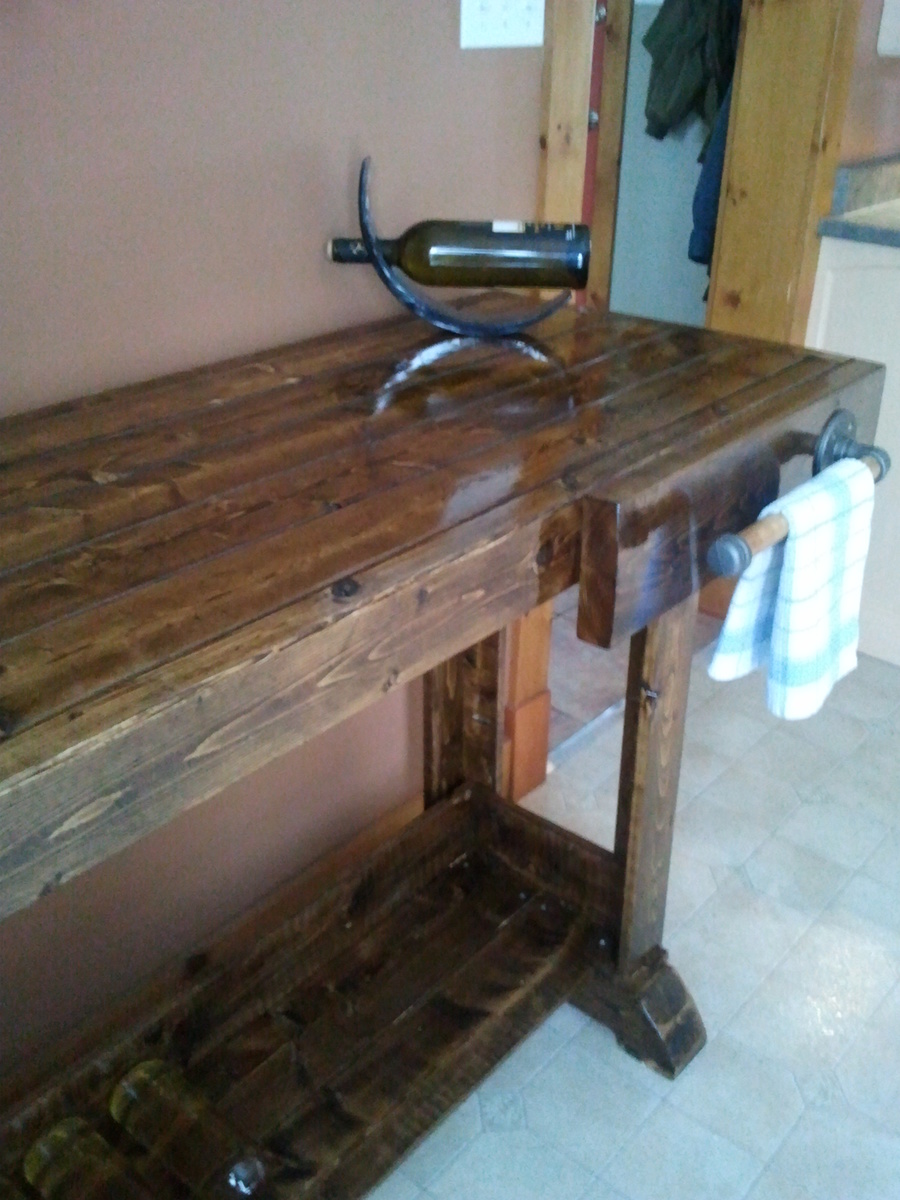
I saw this and thought I would give it a try. First time building furniture out of dimensional lumber. Worked out for the most part. I forgot that wood dries and shrinks along its width so there are a few small gaps that eventually appeared in between the boards. I am sure they will disappear once summer's humid air arrives. All in all it was pretty straight forward. I switched which side has the towel bar and I modified the bottom shelf to accommodate wine bottles for easy storage. I had fun.
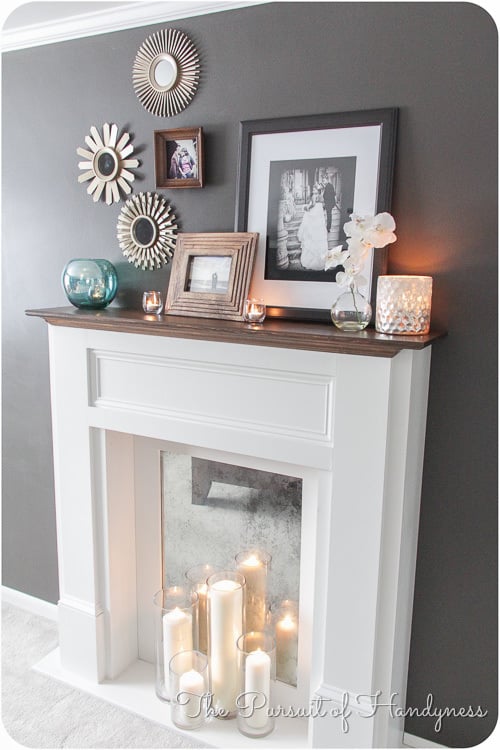
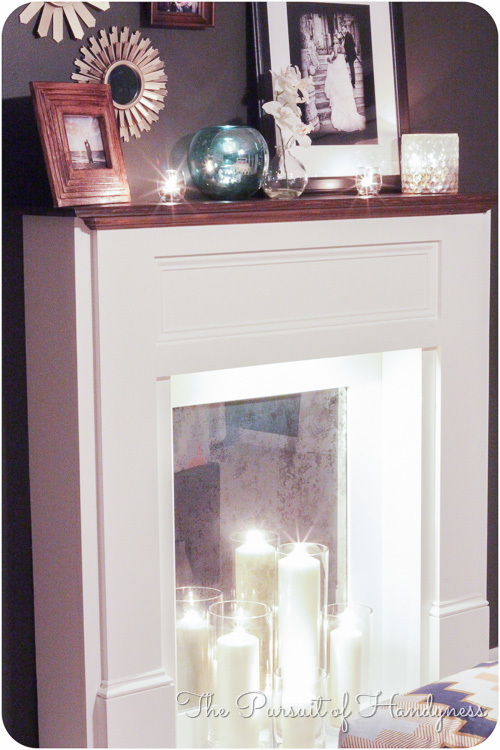
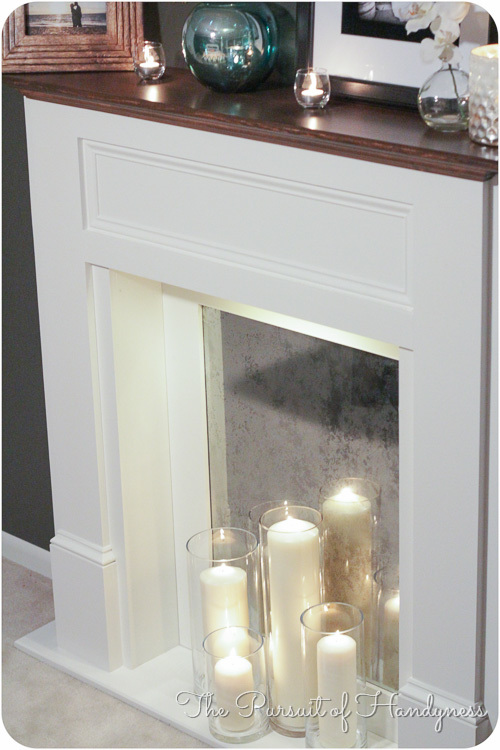
When I first saw Mimi's Faux Mantle I dreamed about building one for my house but I didn't know where. When I began renovating my Master Bedroom I found the perfect place for it on a bare uninteresting wall.
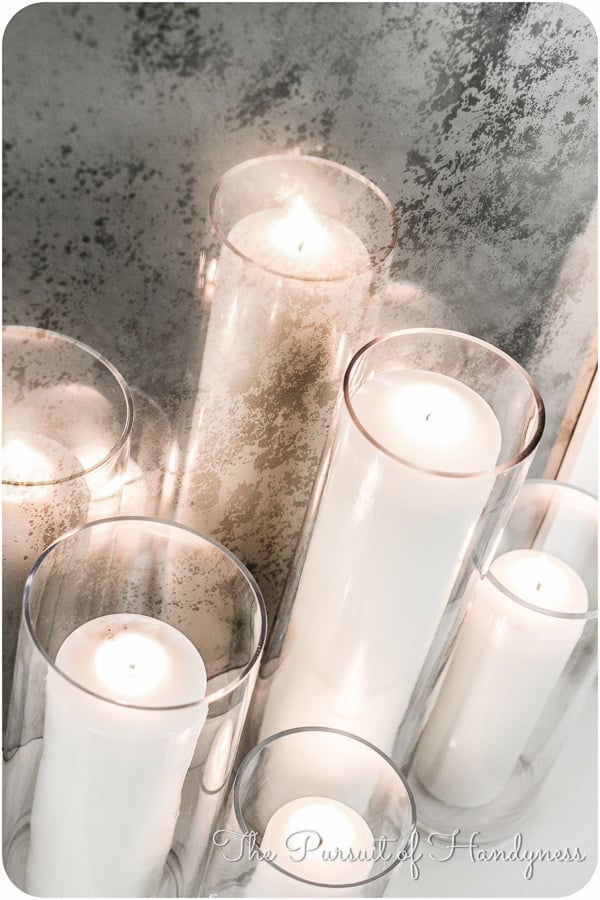
To add interest to the mantle, I stained the top and attached a faux hearth using a 1x12 painted the same color as the rest of the mantle. I also Diy'd a distressed mirror glass insert to bounce the lighting off. I added low voltage LED lights too.
It turned out better than I expected.
Visit my blog http://thepursuitofhandyness.com for a full tutorial of the building process and the distressed mirror glass.
Wed, 01/22/2014 - 23:56
Hi Ana,any chance you can fix the link for the plans of this mantle?
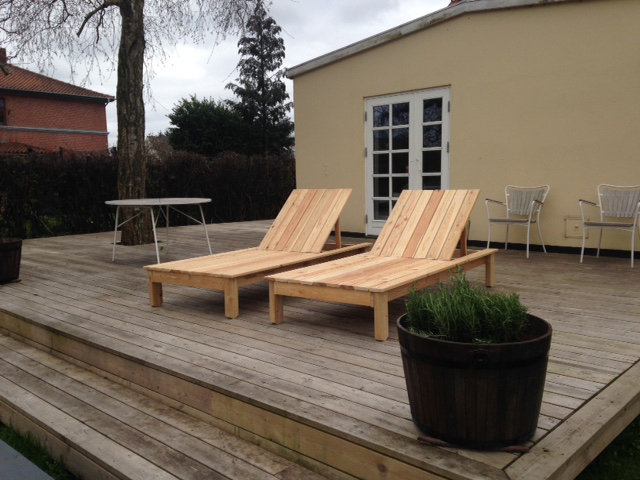
Thank you for a very clear tutorial. Only challenge was the hinges but managed OK. I changed the position of the legs and chose some bit thicker tree and rounded the bottoms to make it more steady and easier to move around.
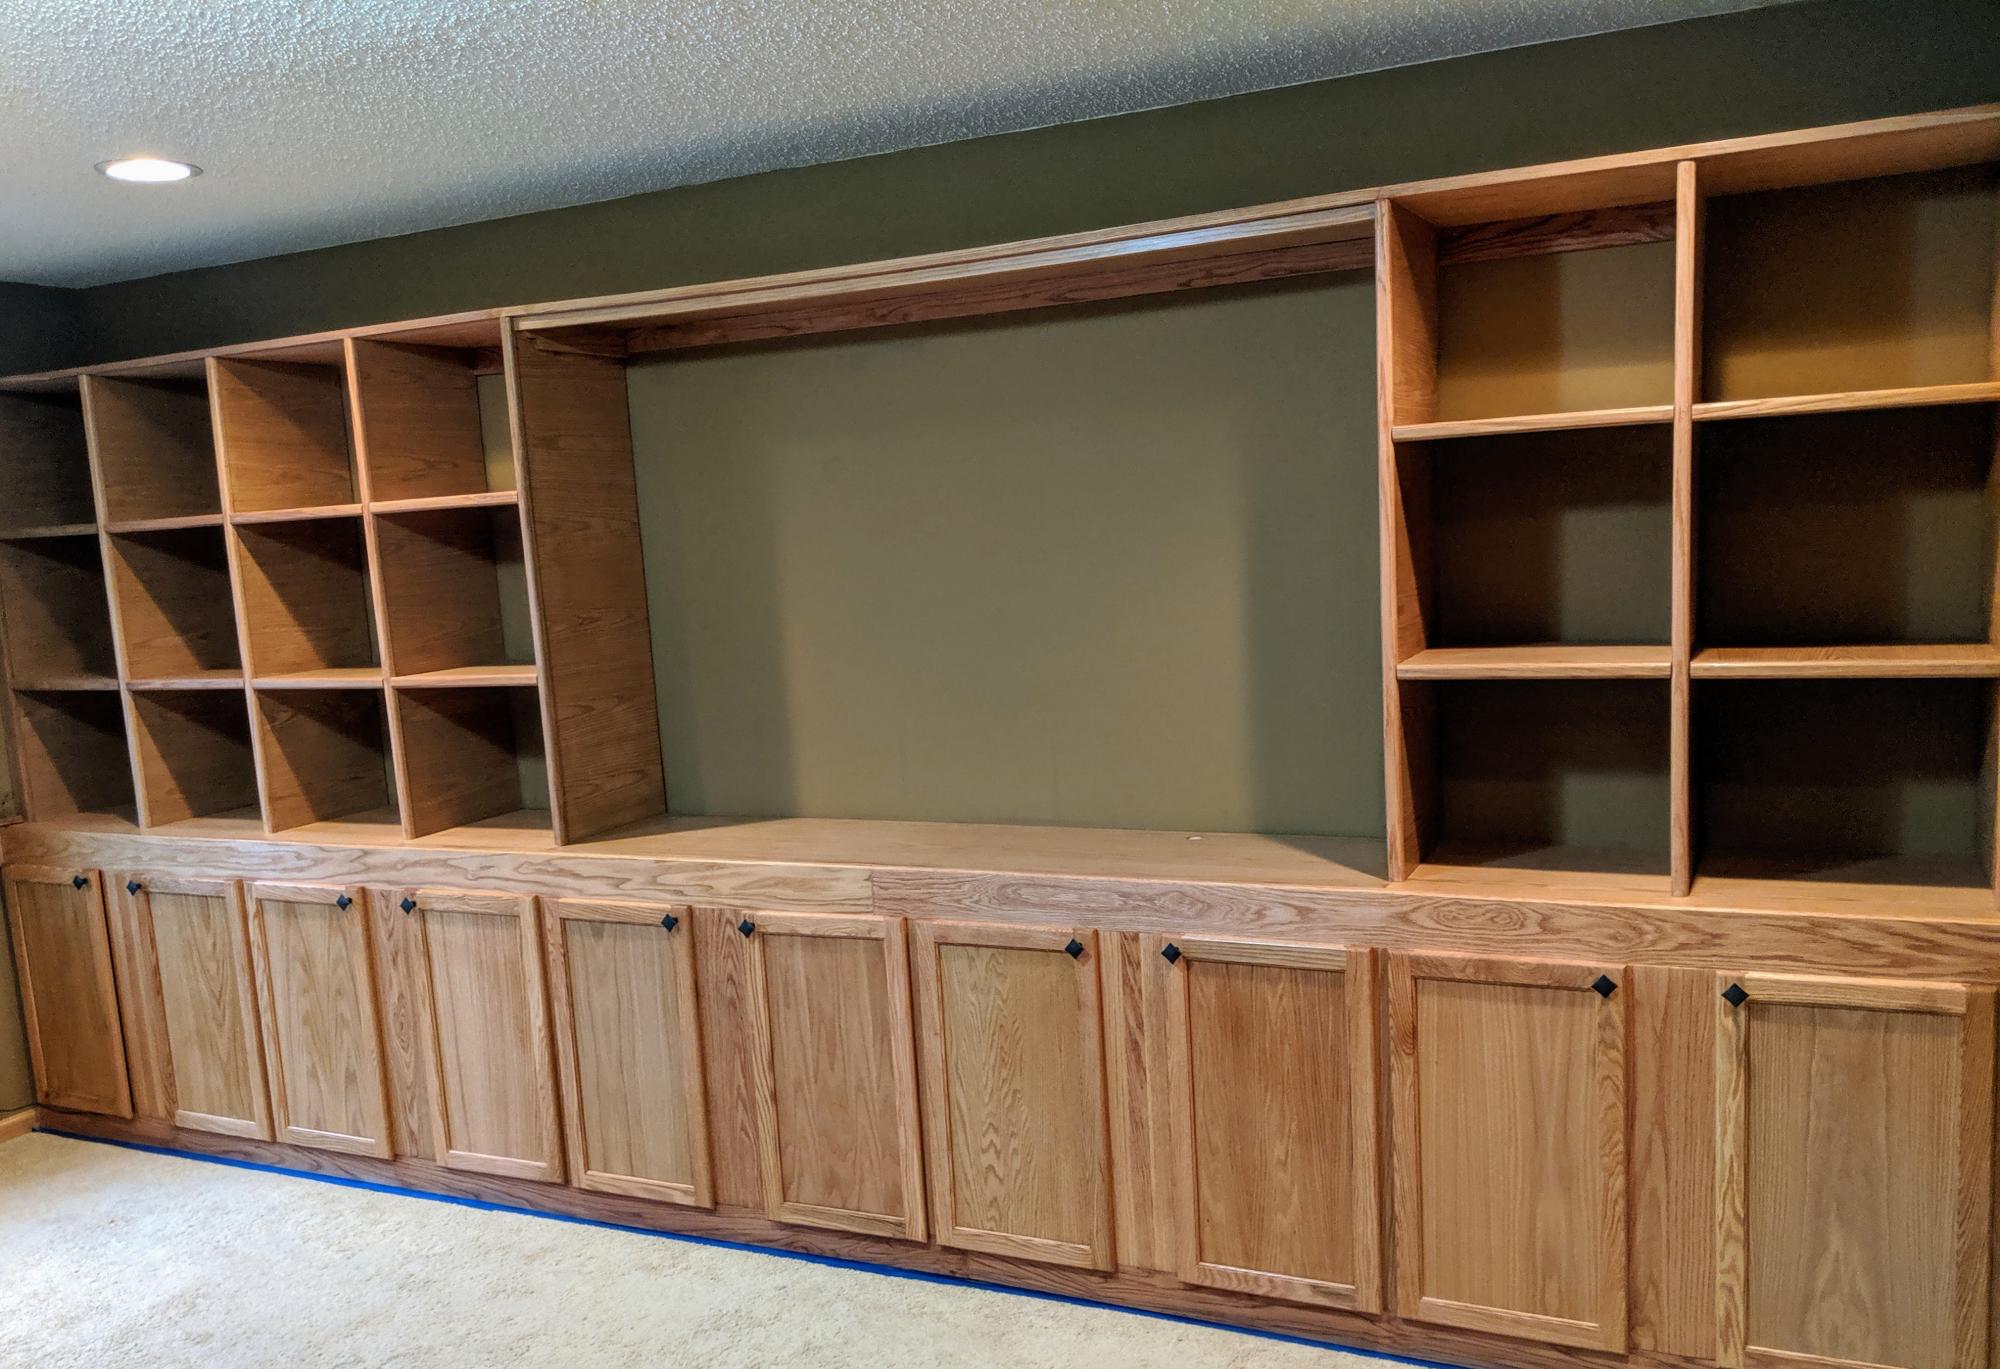
A fun project I did for a homeowner in Rosemount Minnesota. I had 100 hours in it at the end but they were very happy with the end result!
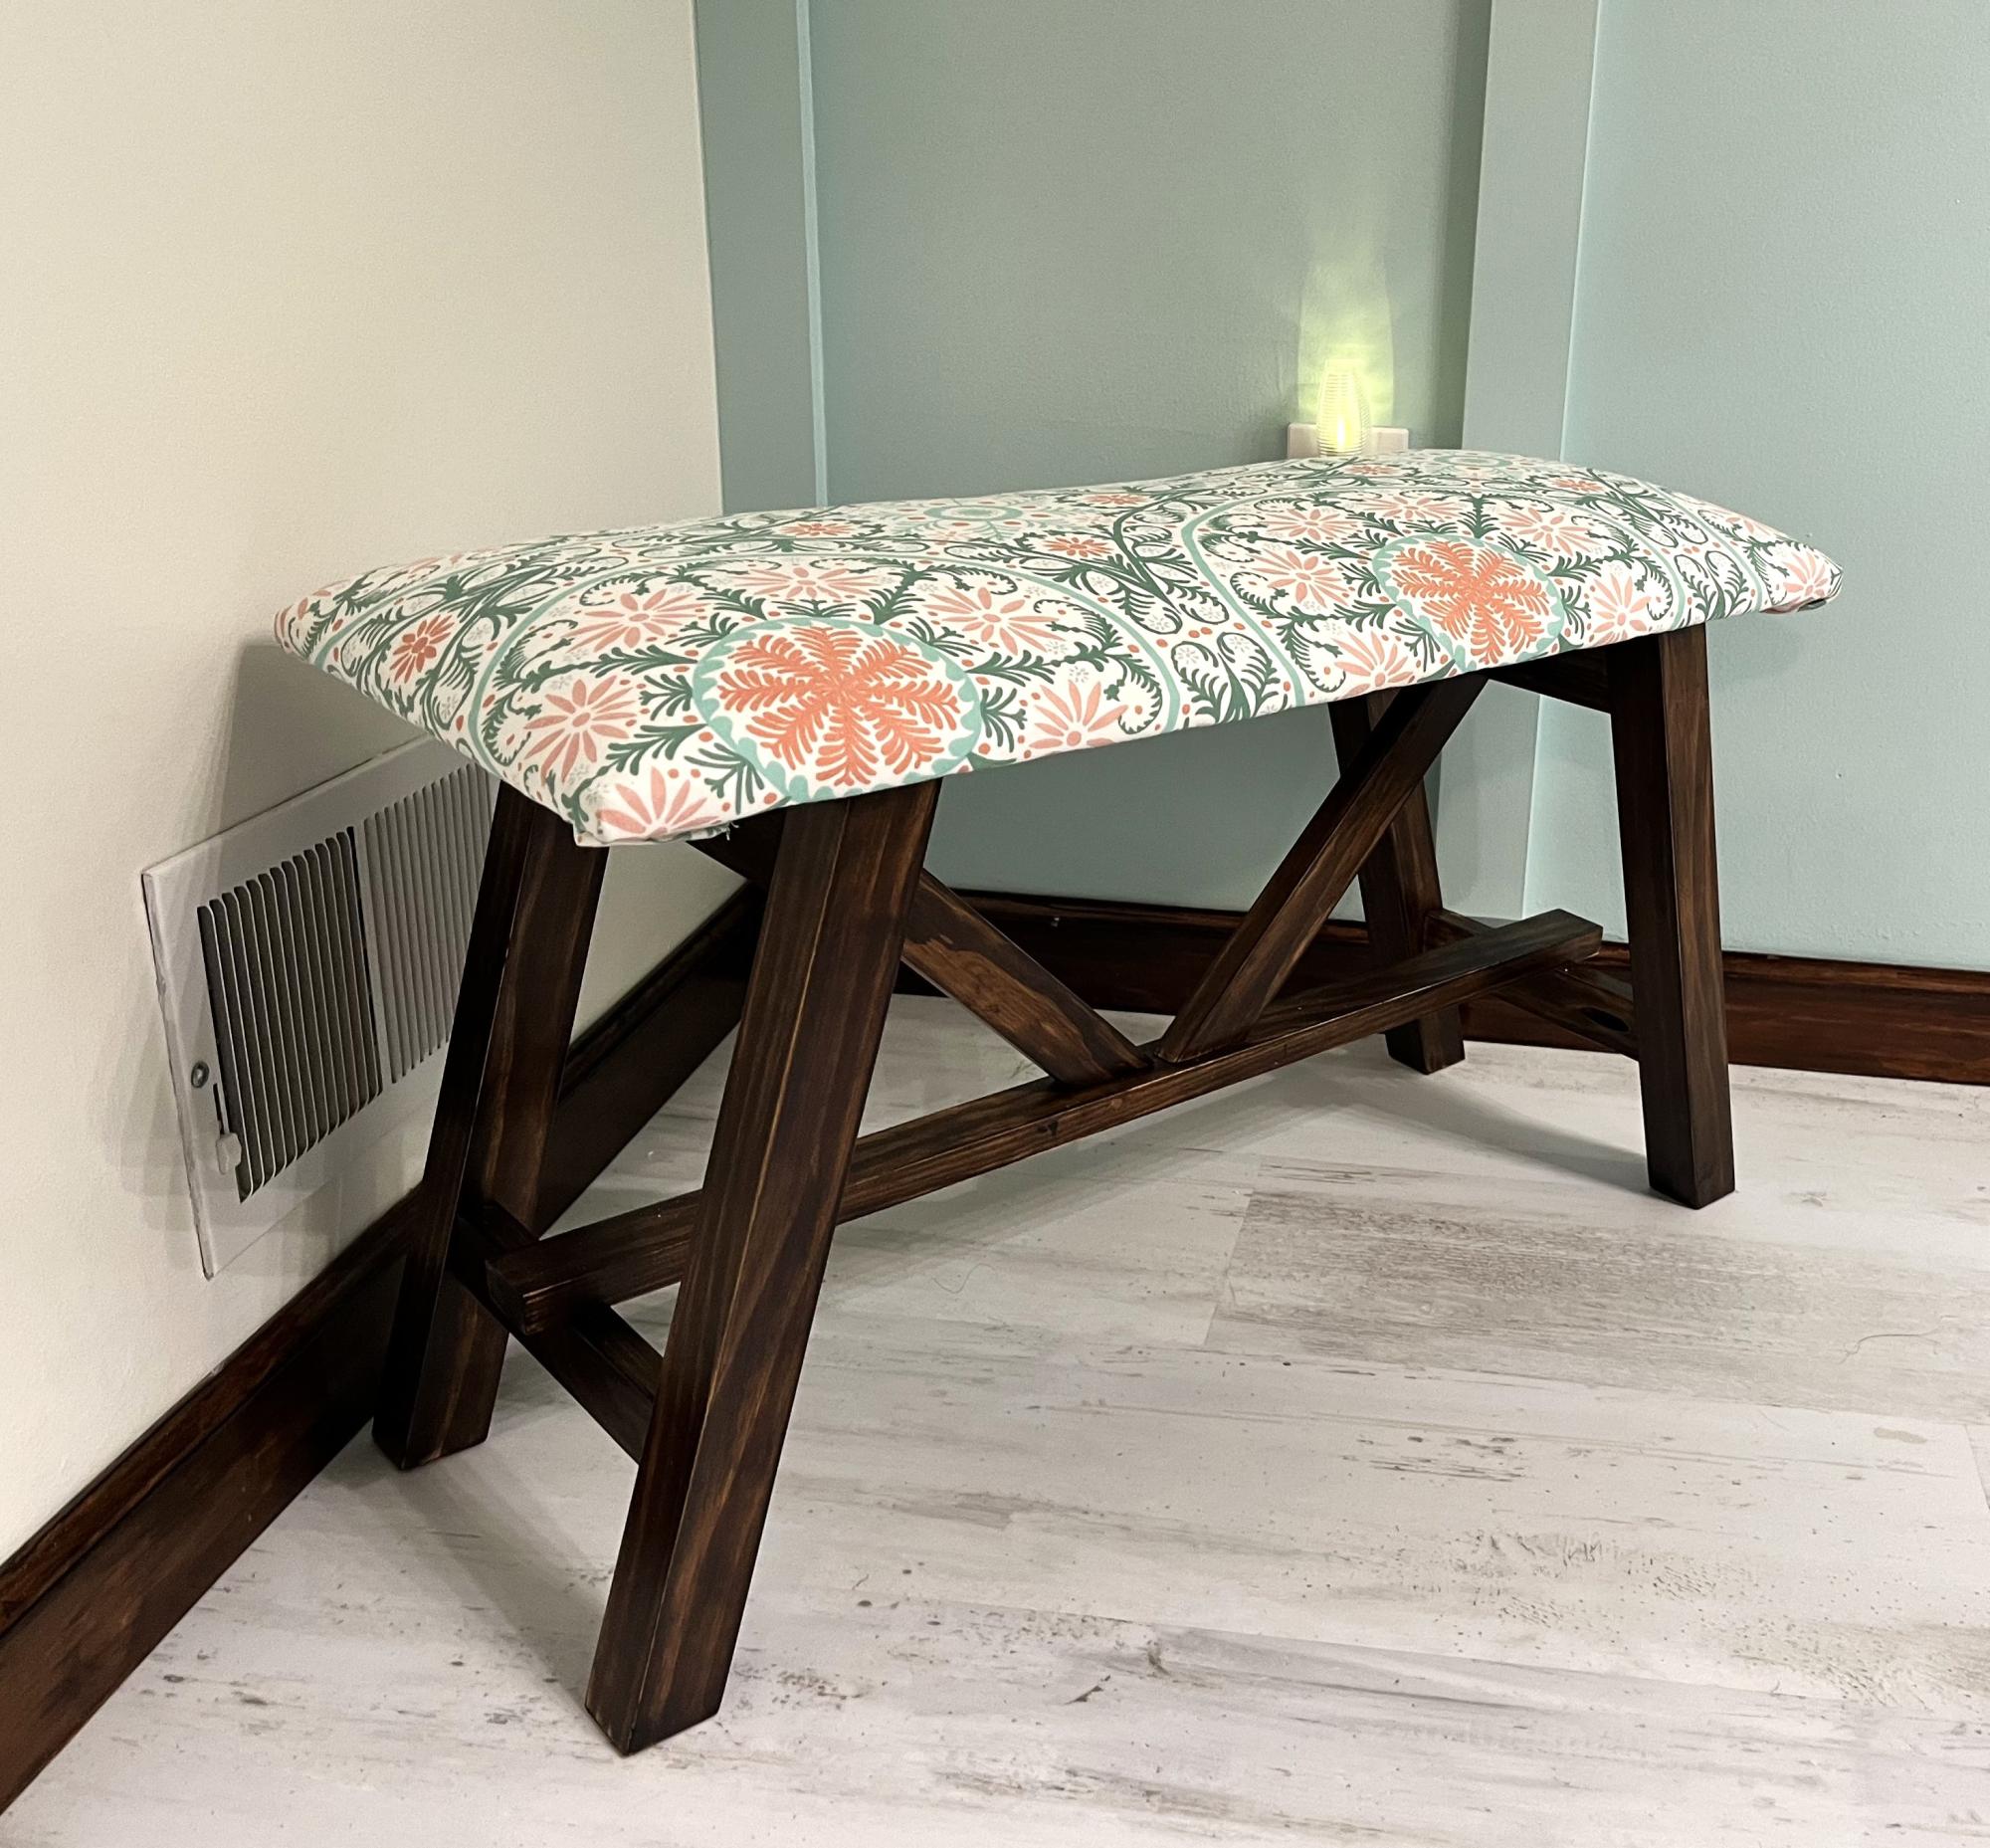
I added a cushion to the bench top and absolutely love how it turned out! Thank you for making your plans available and so easy to follow!
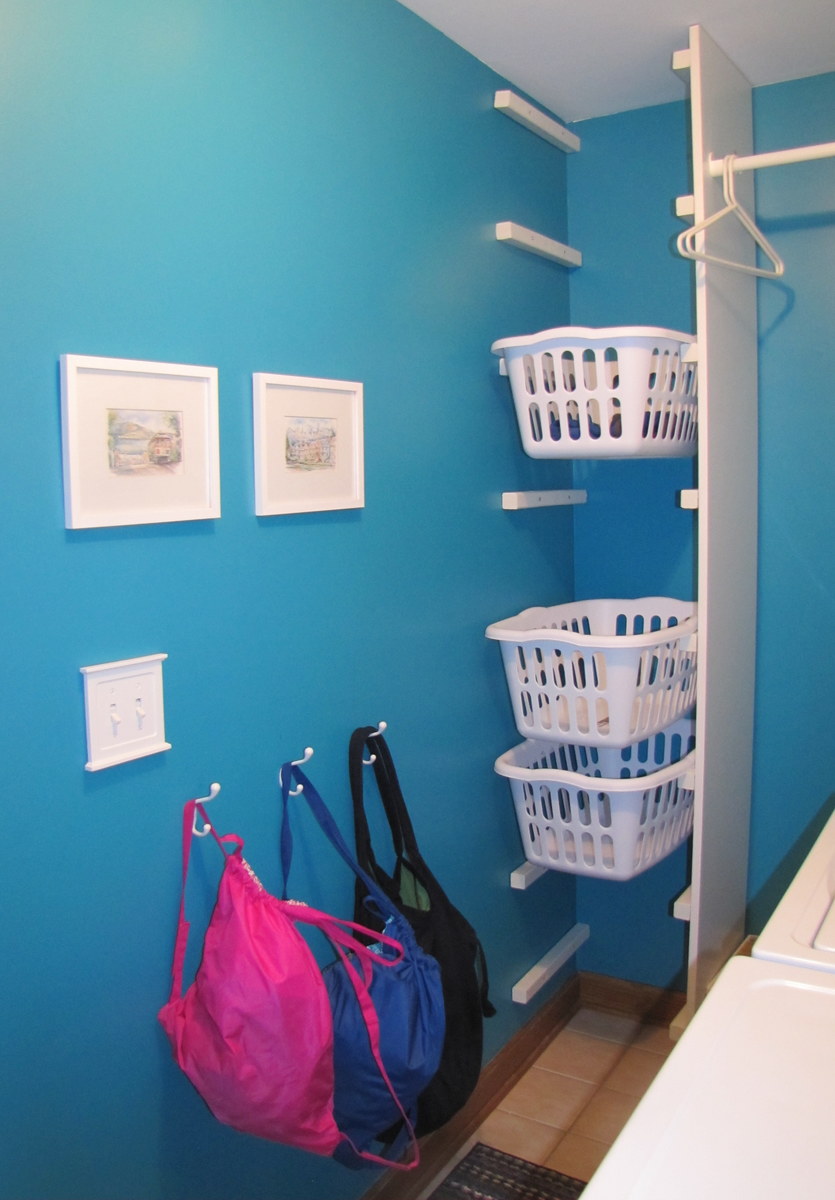
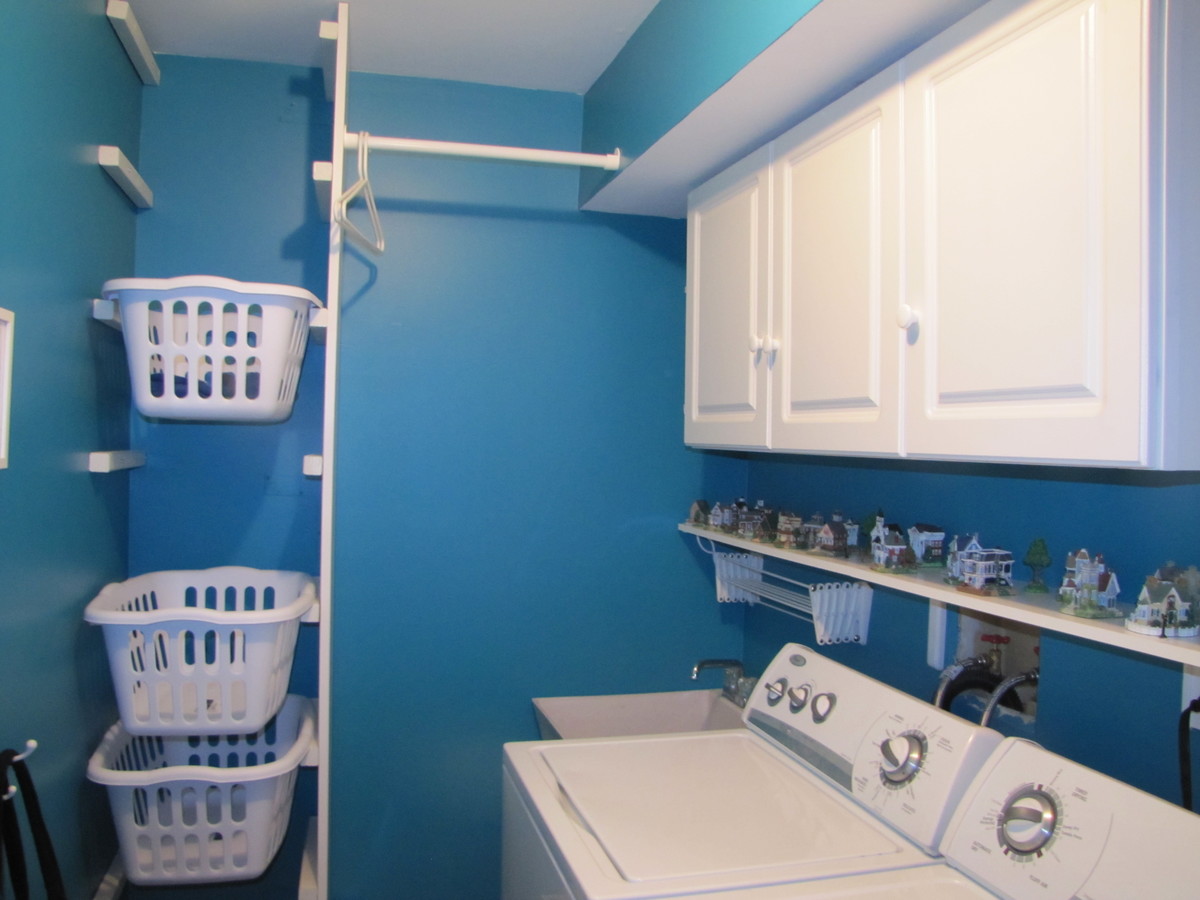
I modified the laundry basket dresser that you made. Here's the end result :) I allowed the baskets to hang out farther that the side due to limited space for the built in "cabinet." You can not see it in the photo, but we then wrote "dirty" in red on one end of each basket so that I know easily which baskets contain clean unfolded clothes and how much laundry I still need to do. Each person has their own "hamper" basket in their room that gets put into here when it's full and they replace it with an empty one from the rack. It's been working like a charm!
