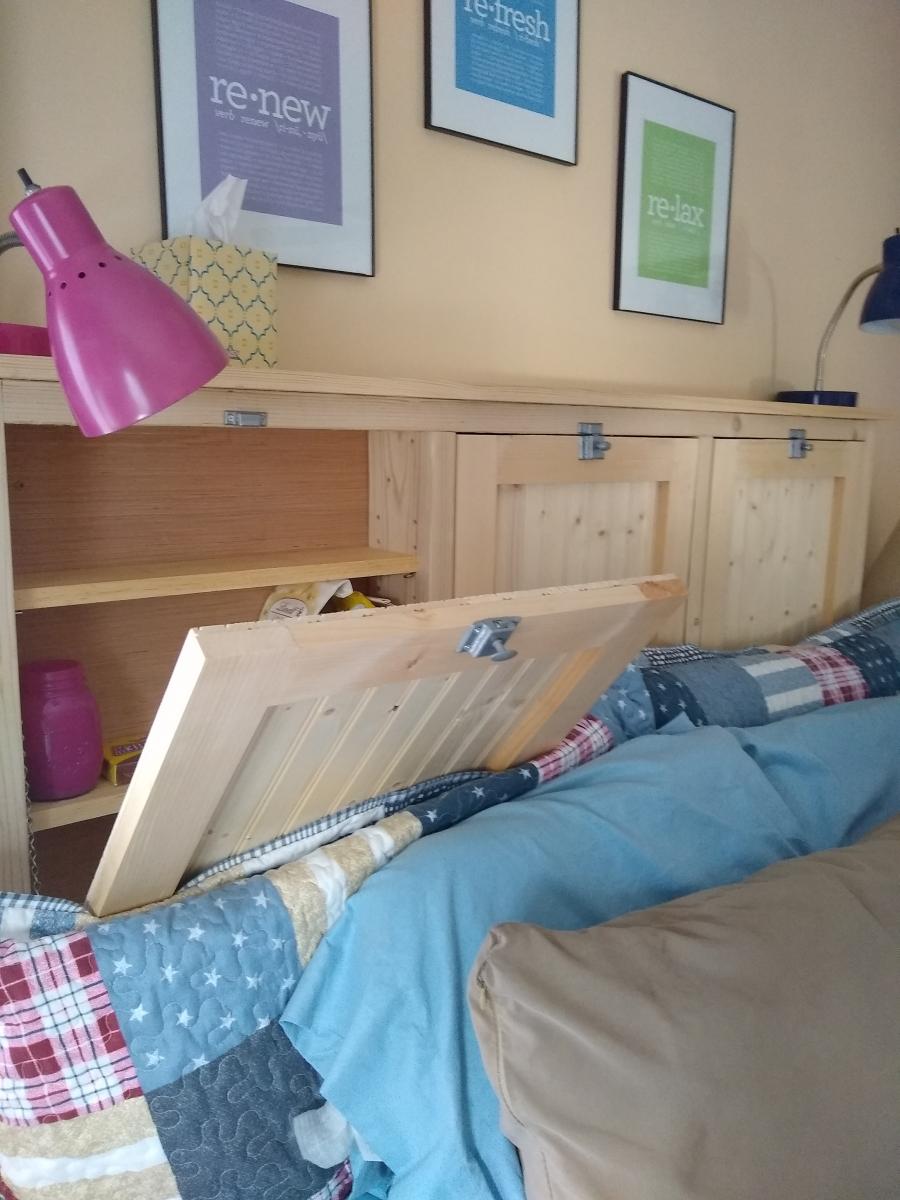
Reclaimed wood look nightstands
Decided to build these as I could find anything tall enough to be bedside tables. Easy to follow plans that came together quickly.
Decided to build these as I could find anything tall enough to be bedside tables. Easy to follow plans that came together quickly.

Love your projects!
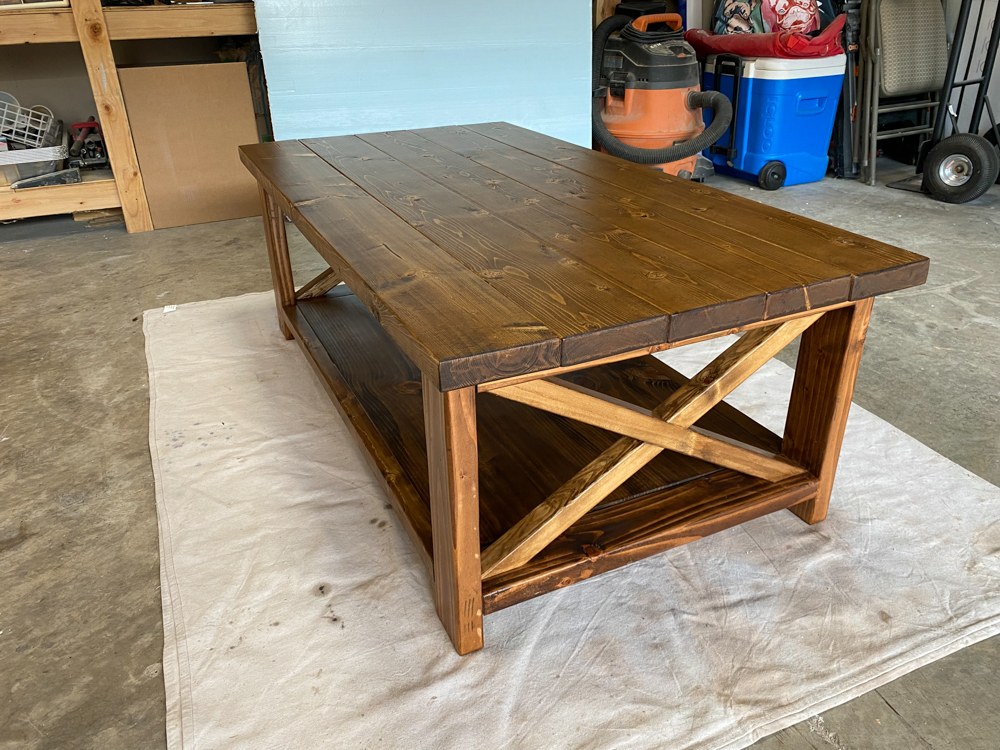
I designed these to specifically work for my homeschool storage needs. My husband built two of them for me and they are exactly what I hoped they would be! They're strong and heavy and sturdy and still manage to be stylish, I'm proud to look at them and have them in my home!!
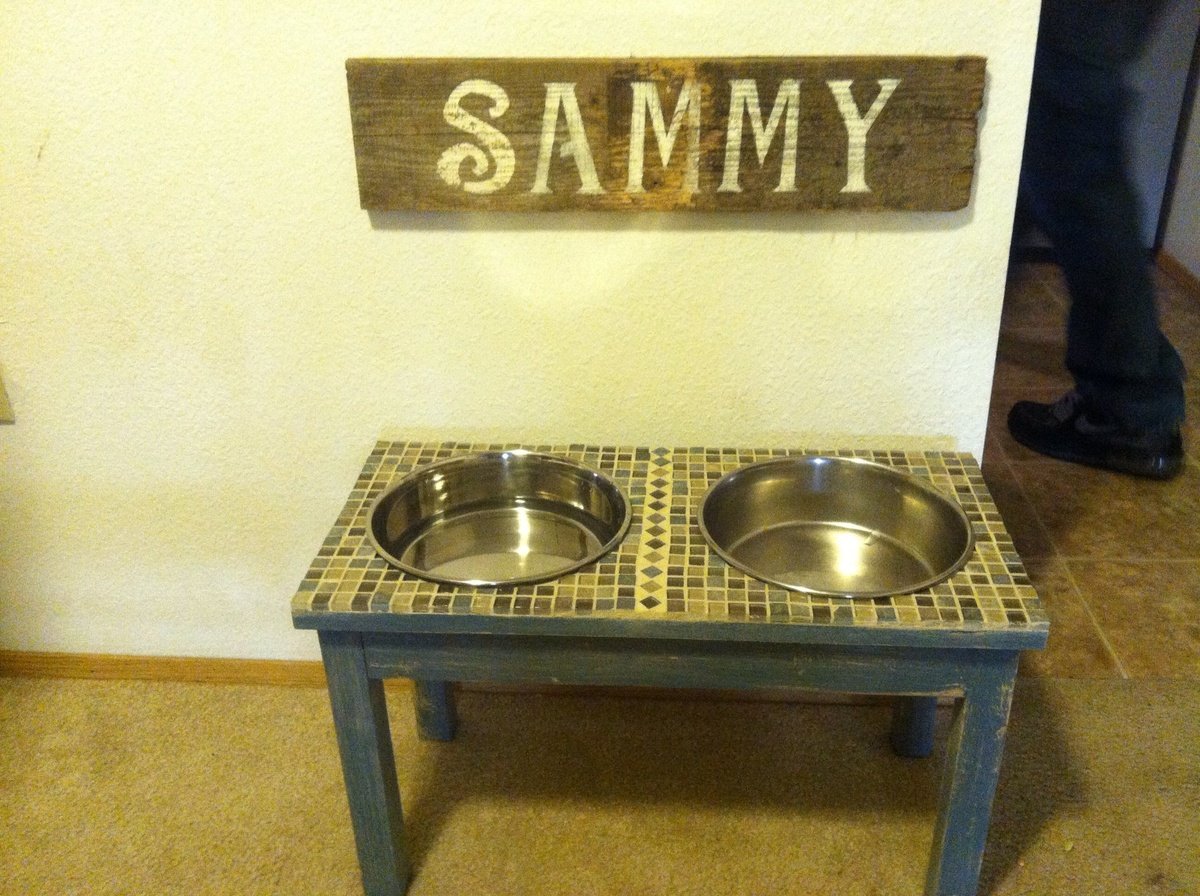
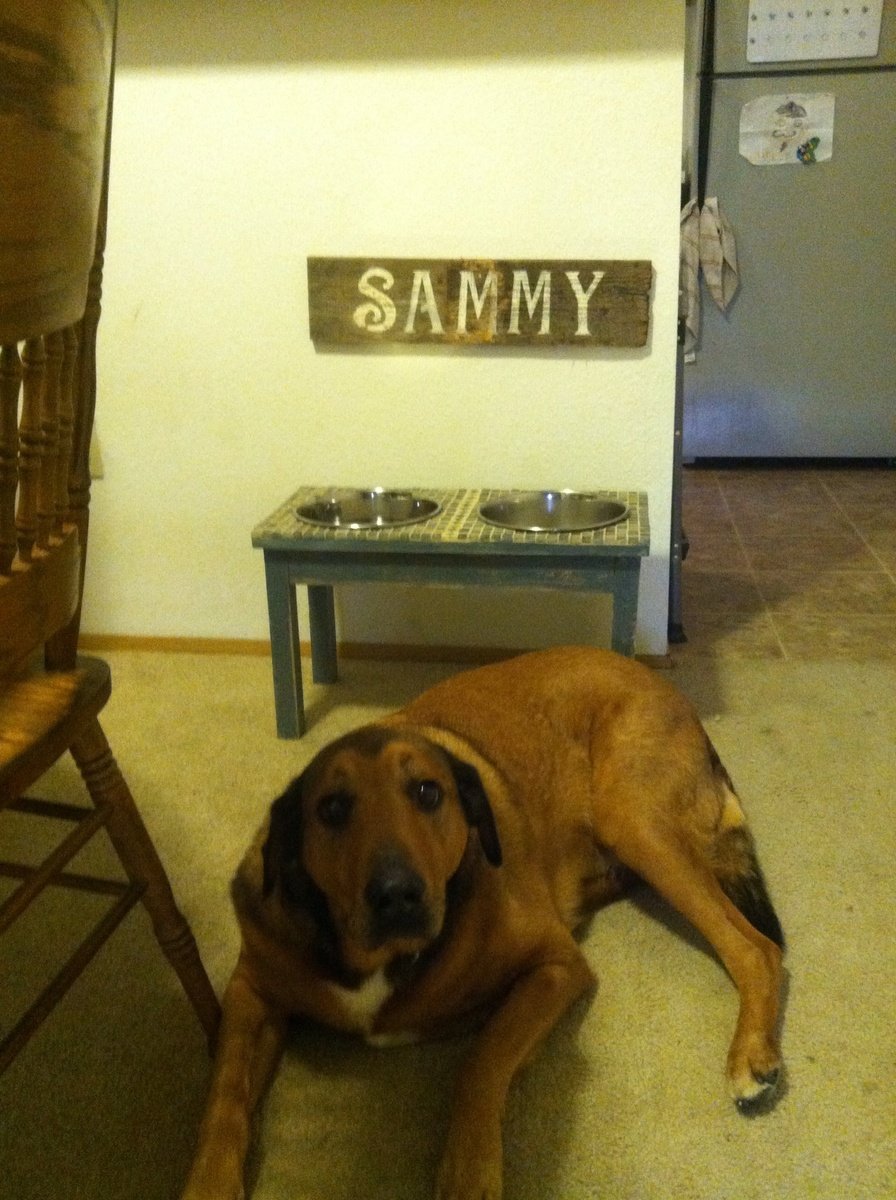
This feeder worked out great for Sammy, who is about 95#. He seems a lot more comfortable now (and has started using his water dish instead of the toilet! ;) I wanted a more rustic look but wanted the easy clean up of tile on top.
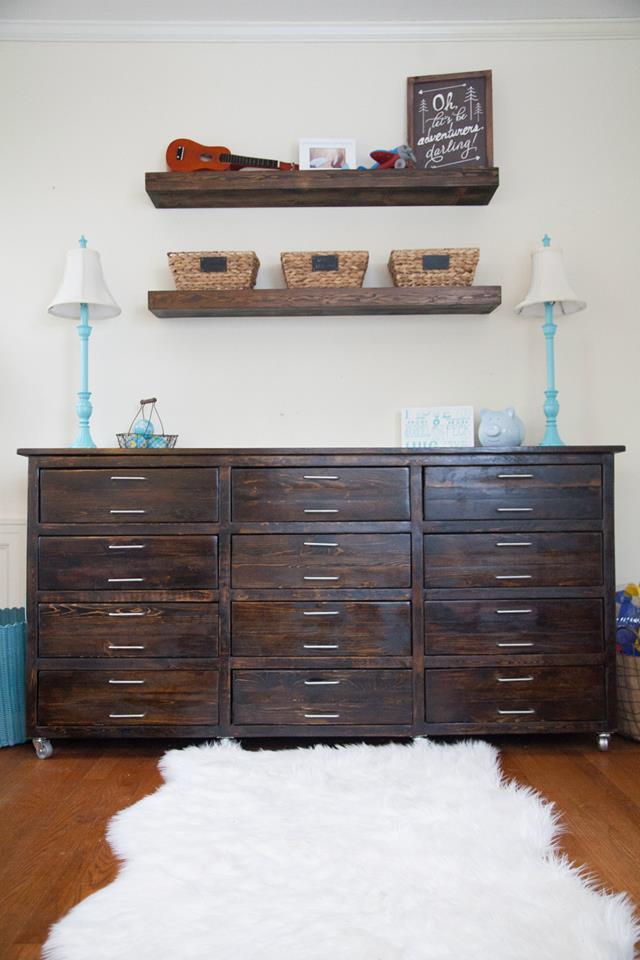
My wife and I need a big dresser for the new addition to our home. So instead of a media console we turned this into a dresser.
Tue, 04/07/2015 - 20:37
Beautiful job!!! I am currently in the process of building the triple printers console as well. I love you choice of drawer pulls. I may have to reconsider my selection ;)
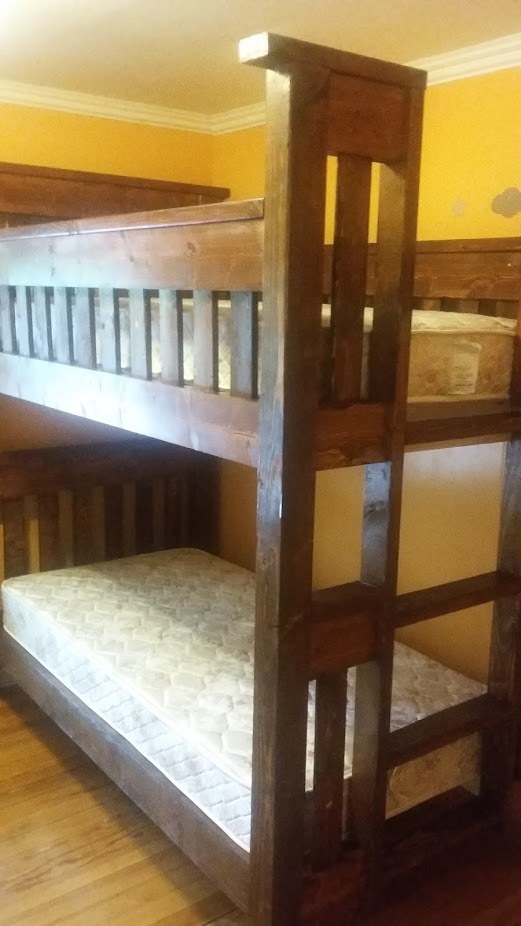
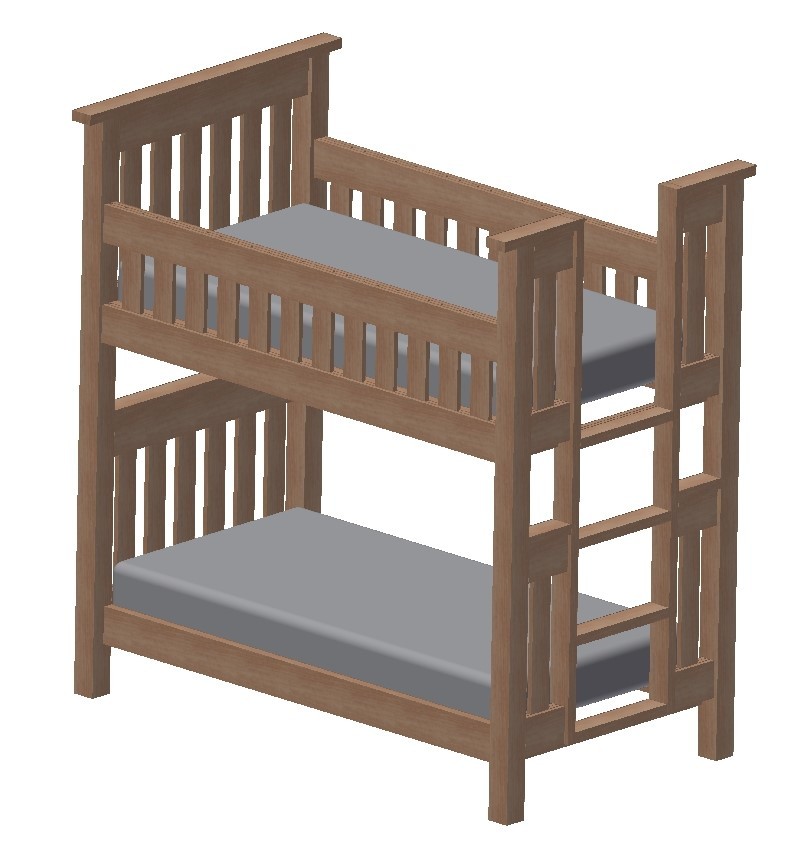
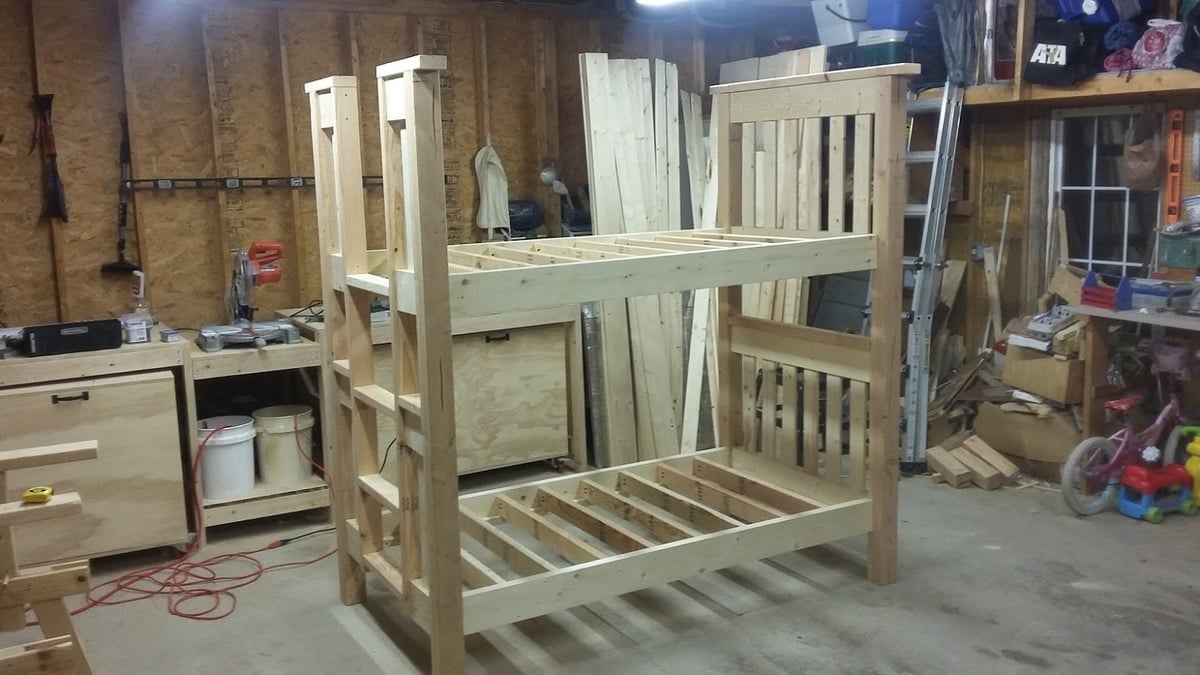
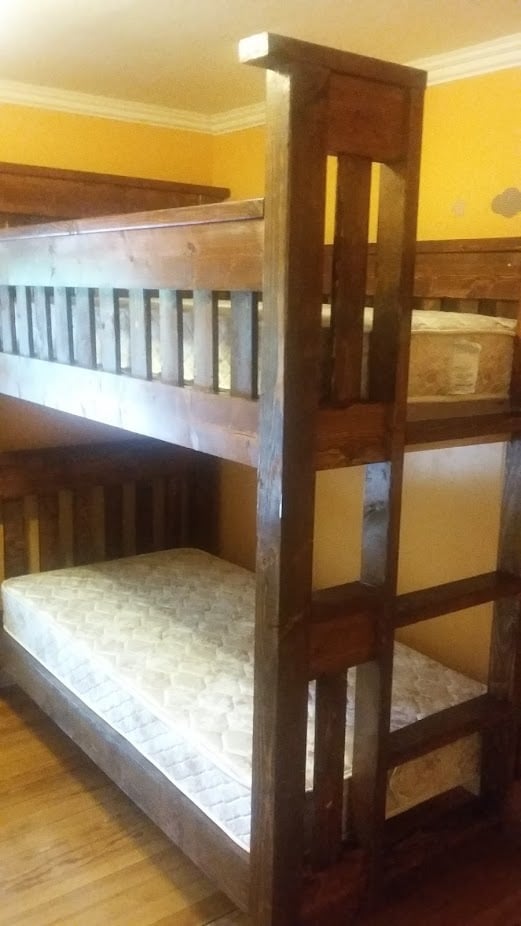
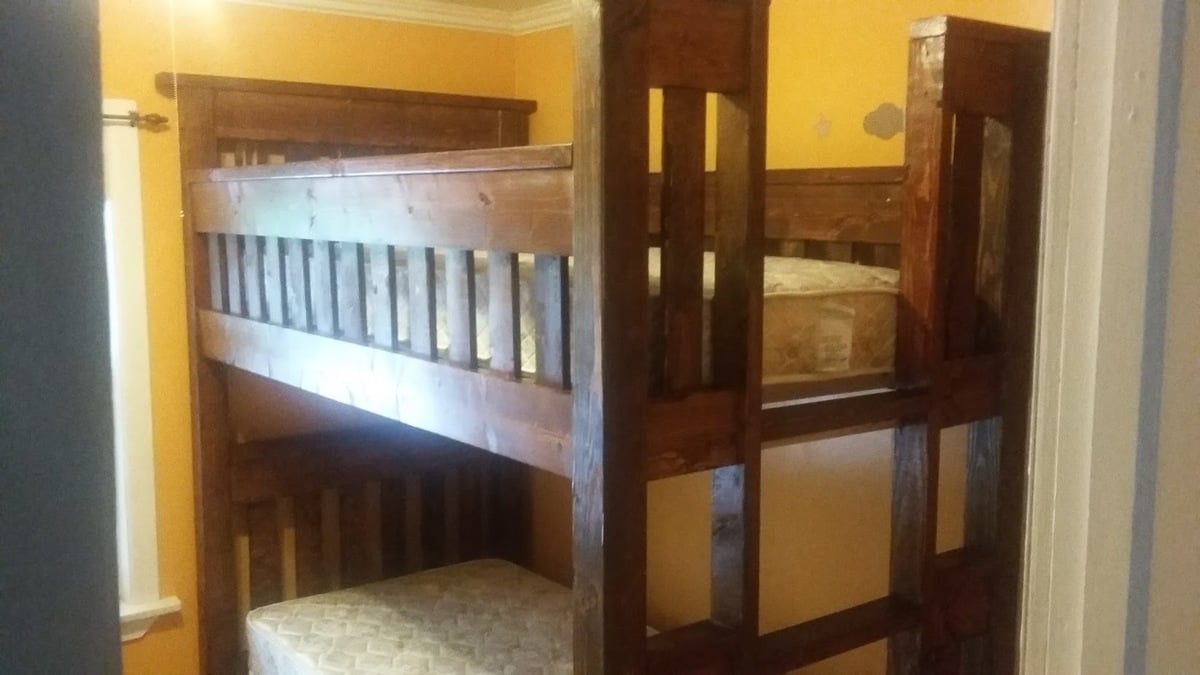
I built the Simple Bed for one of our kids and now we wanted a bunk bed. I saw many plans for bunk beds based on the Simple Bed plans, but I didn't want the ladder on the side. I made some changes and designed the bed in 3D using Autodesk Inventor. It didn't turn out much different than I planned. It's super heavy, but very stable. My wife did a great job on the stain.
Mon, 06/04/2018 - 06:07
The beds look amazing!
Did your wife stain the bed after it was assembled?
If so, how long did it take her to stain it?
Mon, 06/04/2018 - 06:08
The beds look amazing!
Did your wife stain the bed after it was assembled?
If so, how long did it take her to stain it?
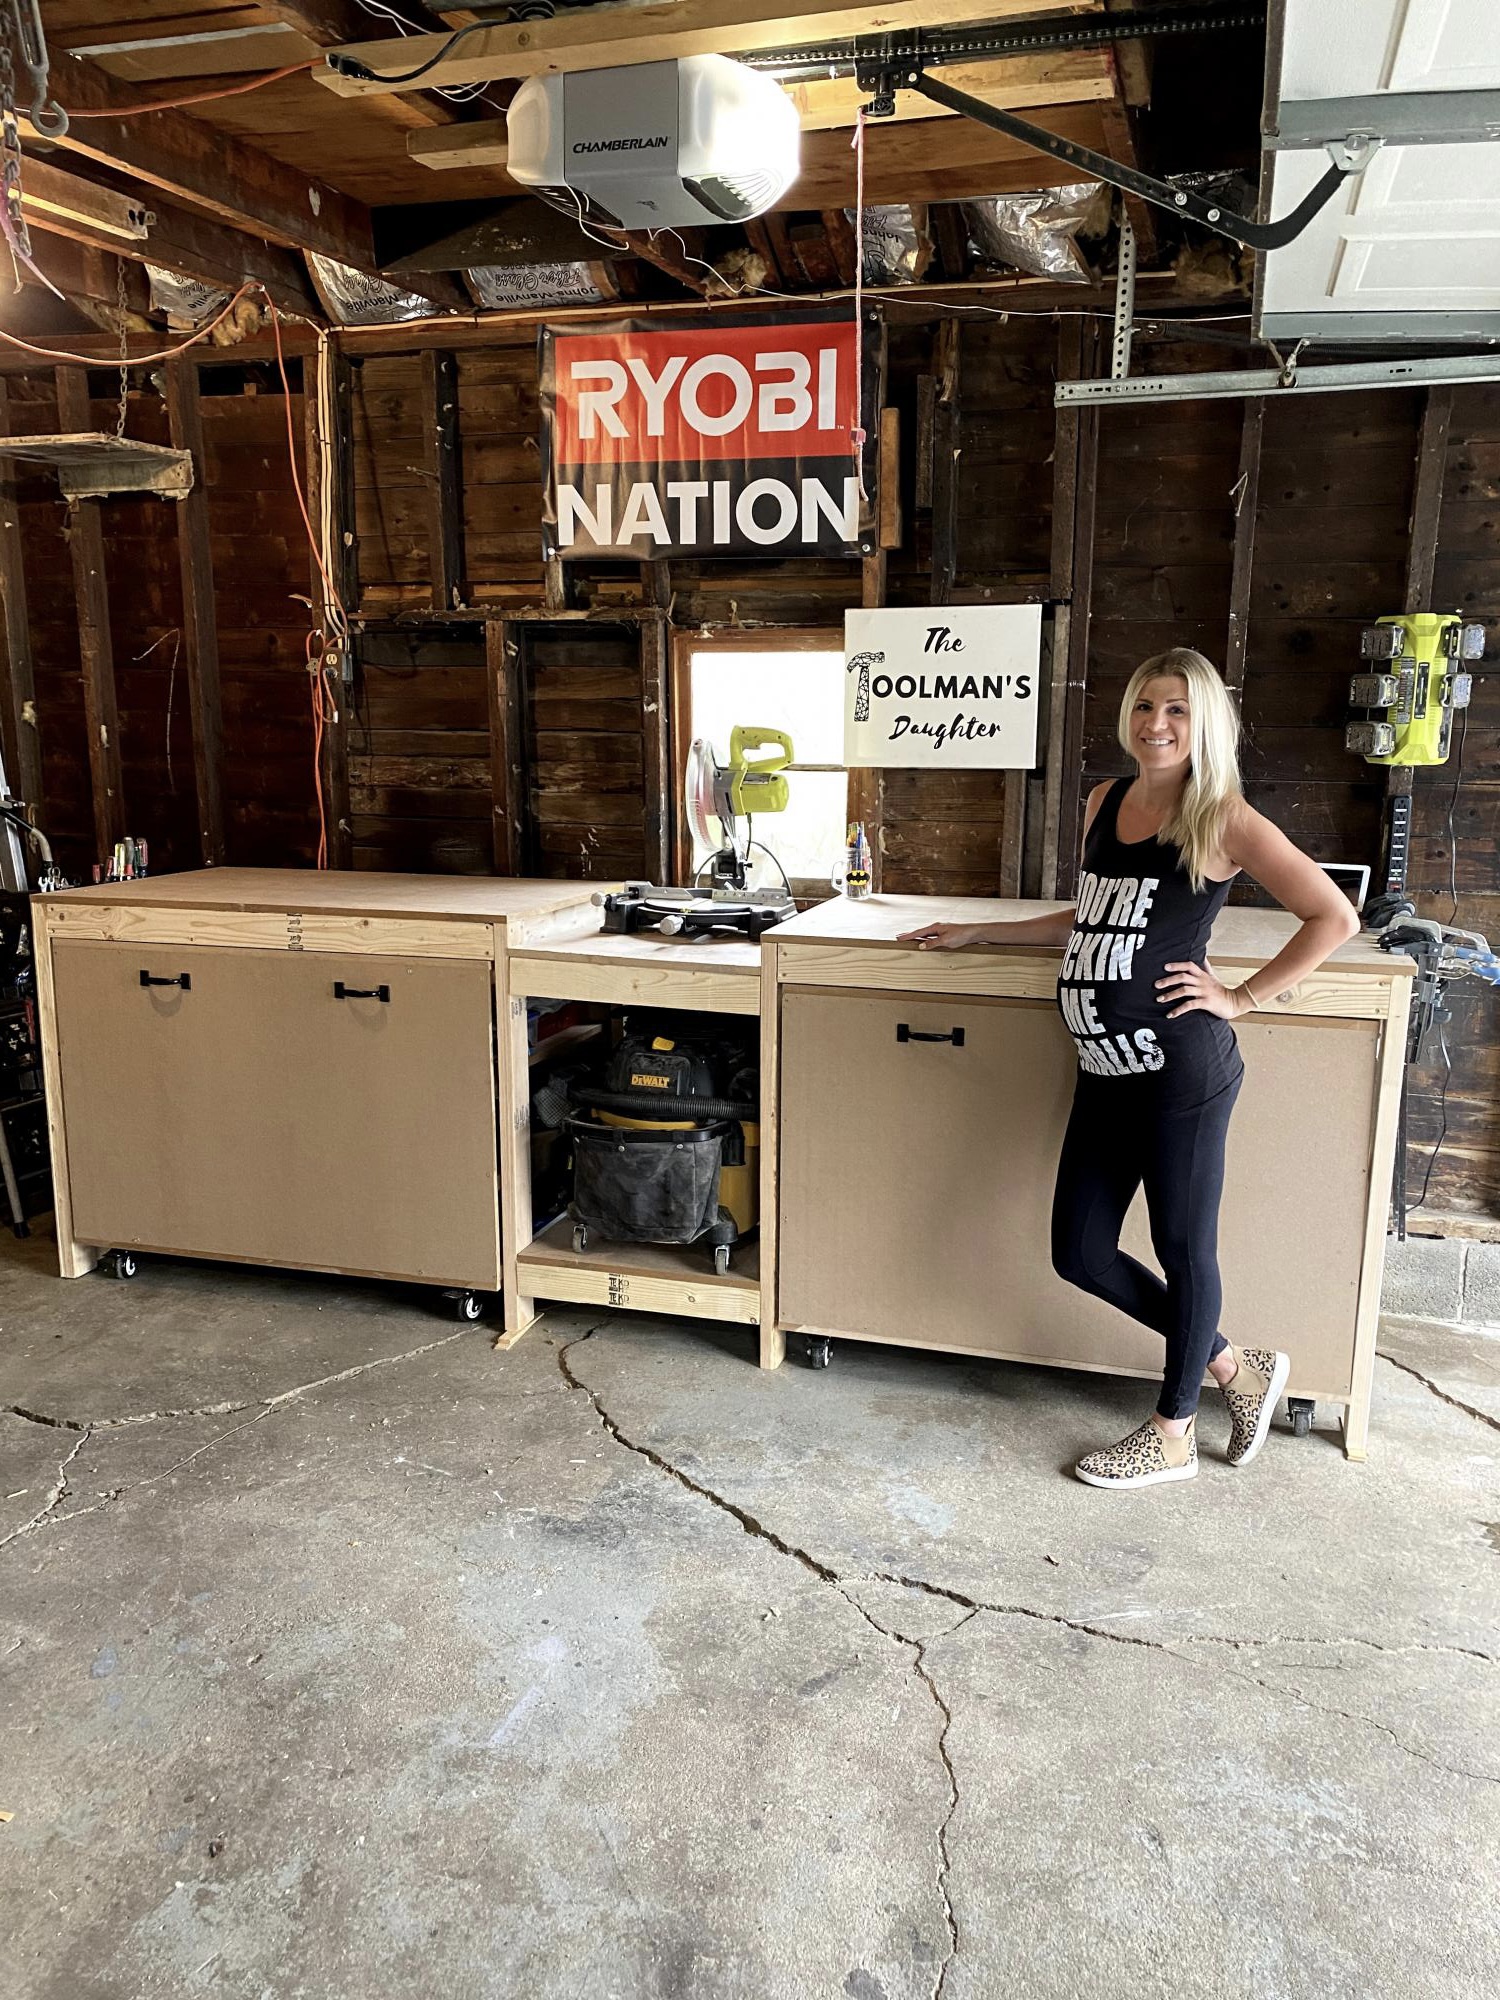
When I was 8 months pregnant and going through my “nesting phase” I knew I needed to get my garage organized. Prior to building this, my tools were all over the place. To try to get it done before the baby came, I called my dad to help me out, and we built it together in just a couple days. It was a weekend I will never forget and I smile every time I walk into my shop knowing we did it together.
This is the first project my husband and I tried from Ana's site. We did add a foam on top and around the edges since we have two little kids running around. I then tufted it and absolutely love the way it turned out.
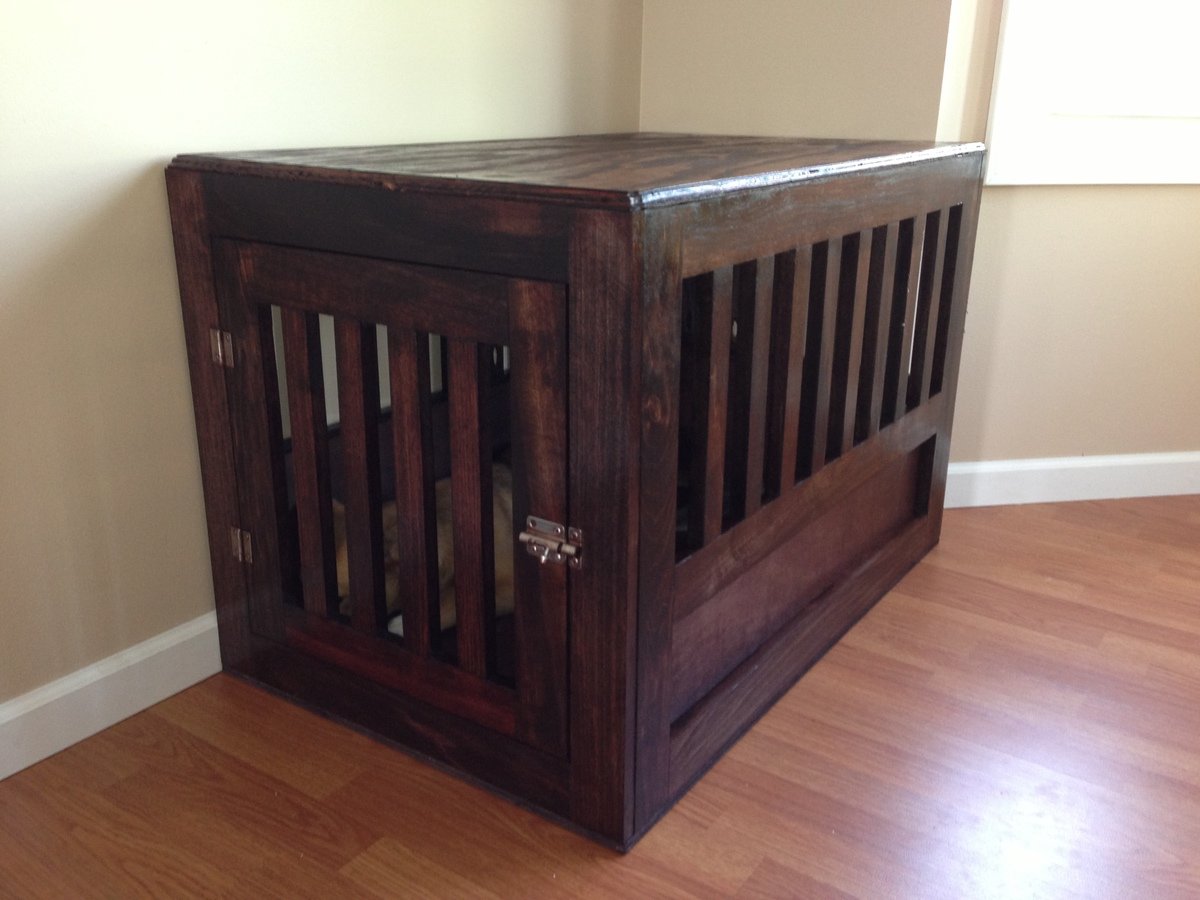
I took the plans for the large dog crate and adjusted them to fit my needs.
I made the "light entry" sections taller so that the inside would not be so dark, I used plywood with a routed edge for the top and stained it a red mahogany color and used polyurethane to seal it.
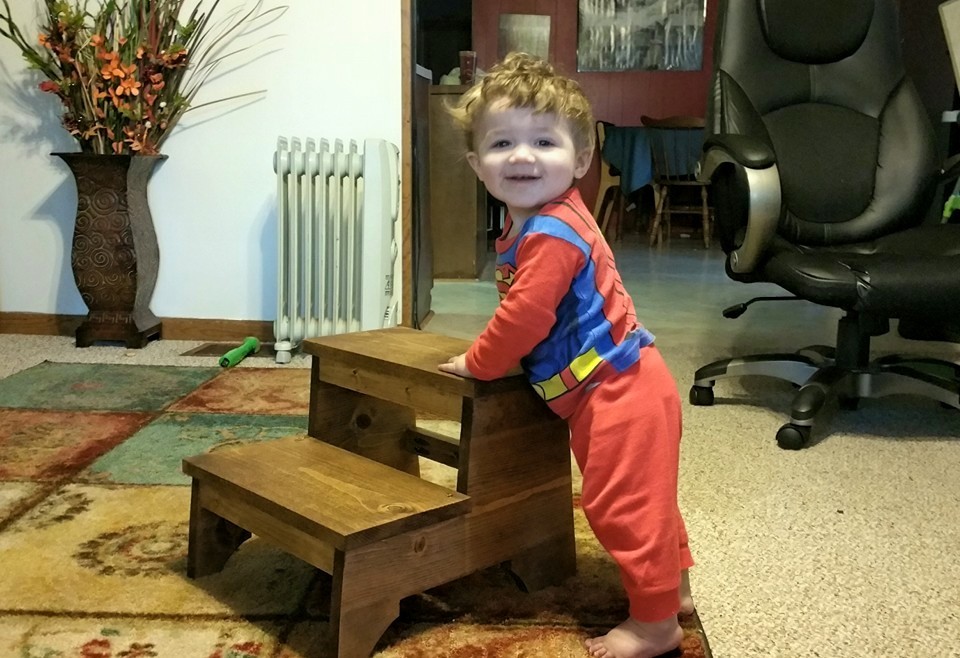
In the middle of my TV stand project my wife INSISTED we needed a stepstool for our 4(almost 5 and not the 11 month old in picture lol) year old. Only took maybe half a day to build and stain. Mainly due to the detailed step by step plans from this site. TY Ana!
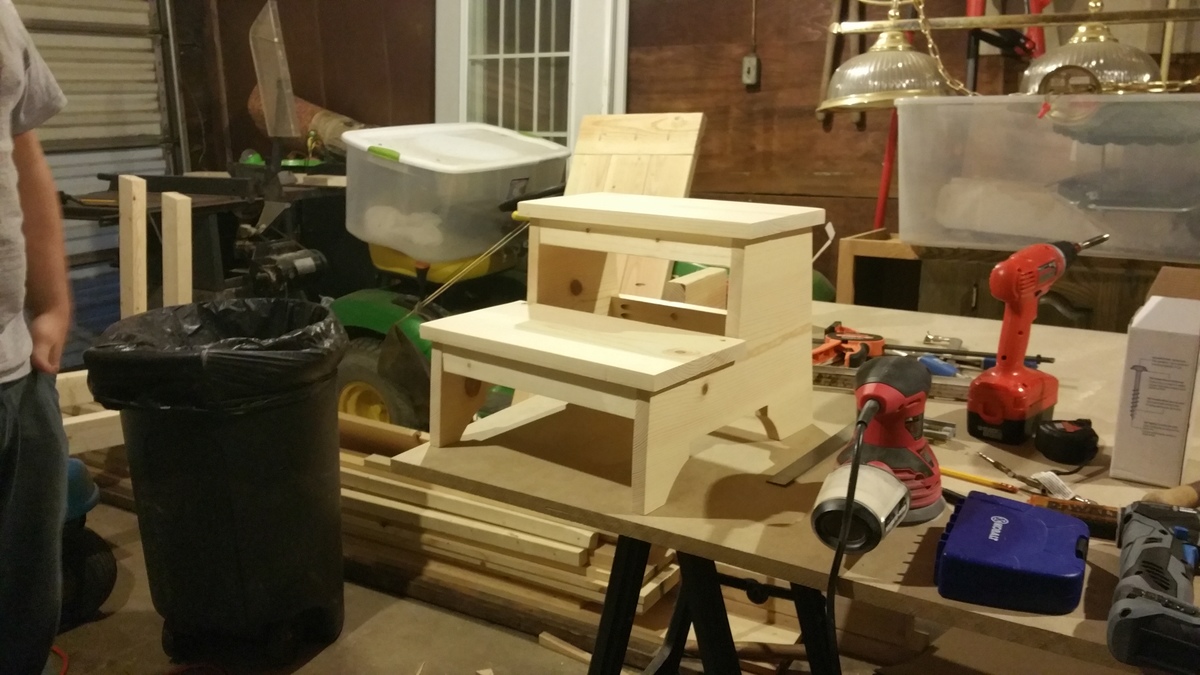
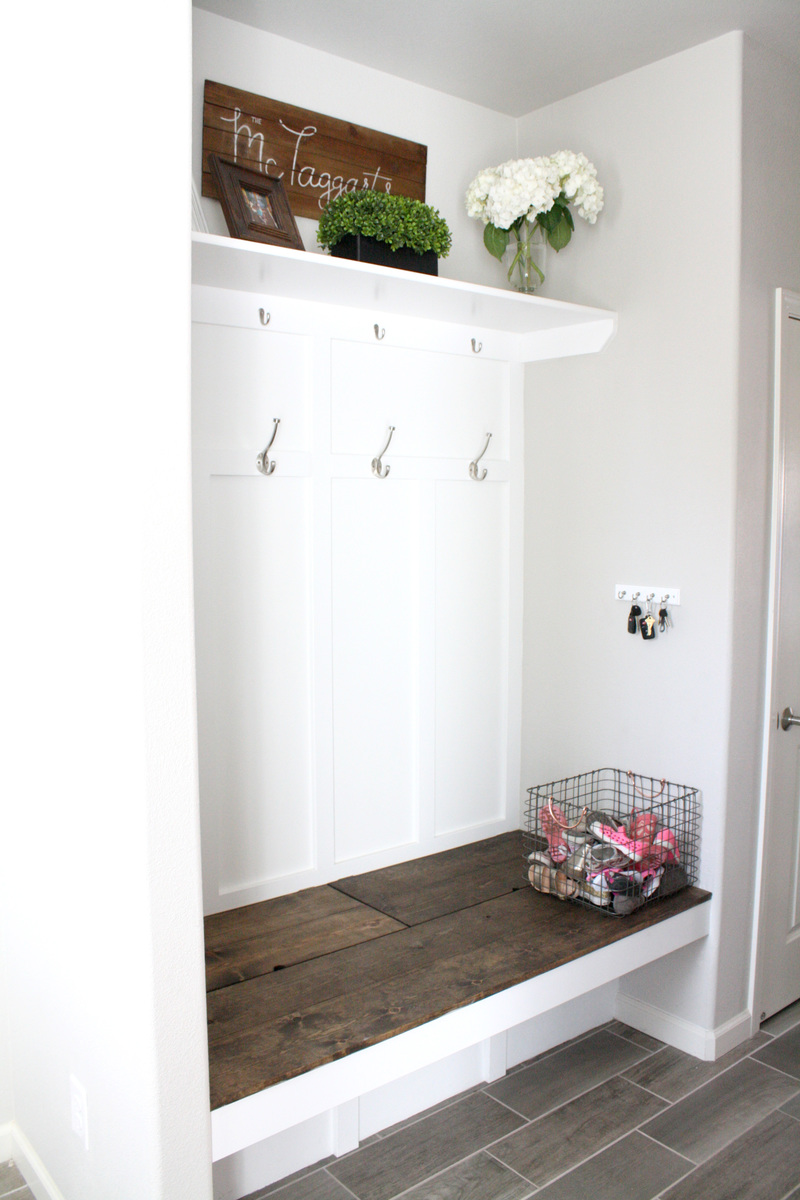
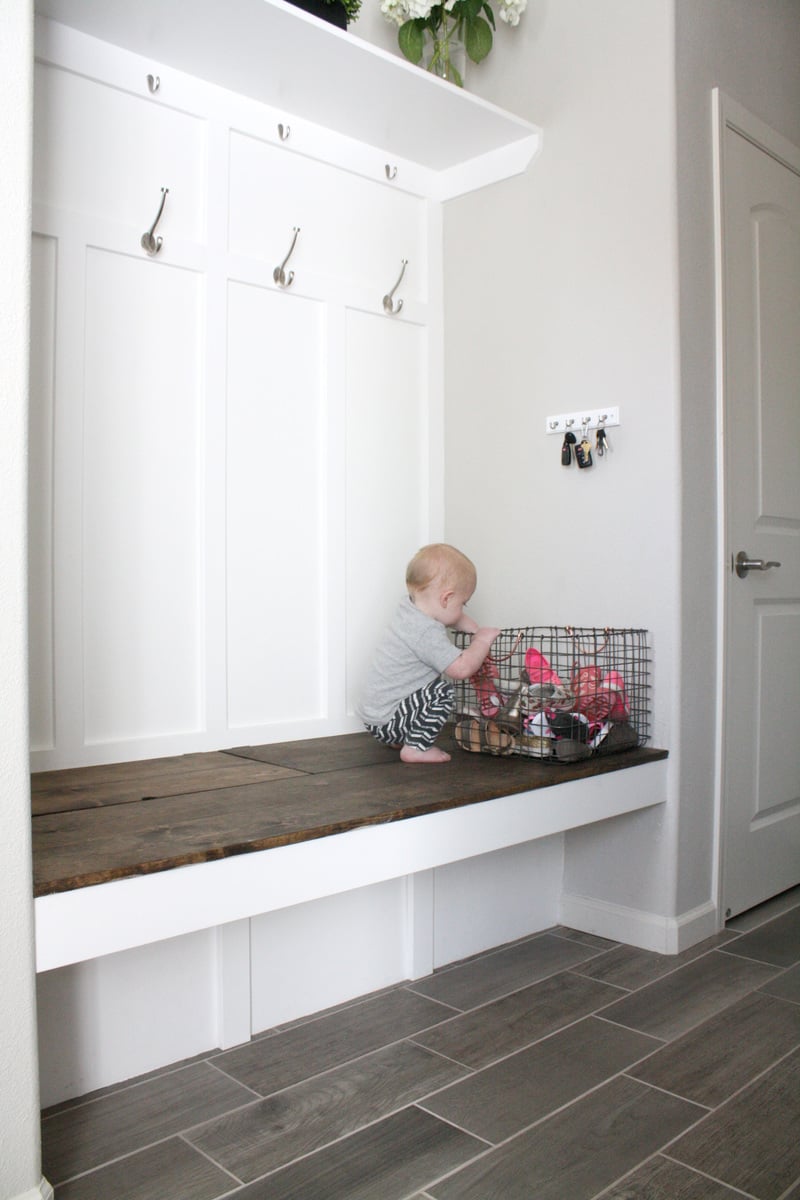
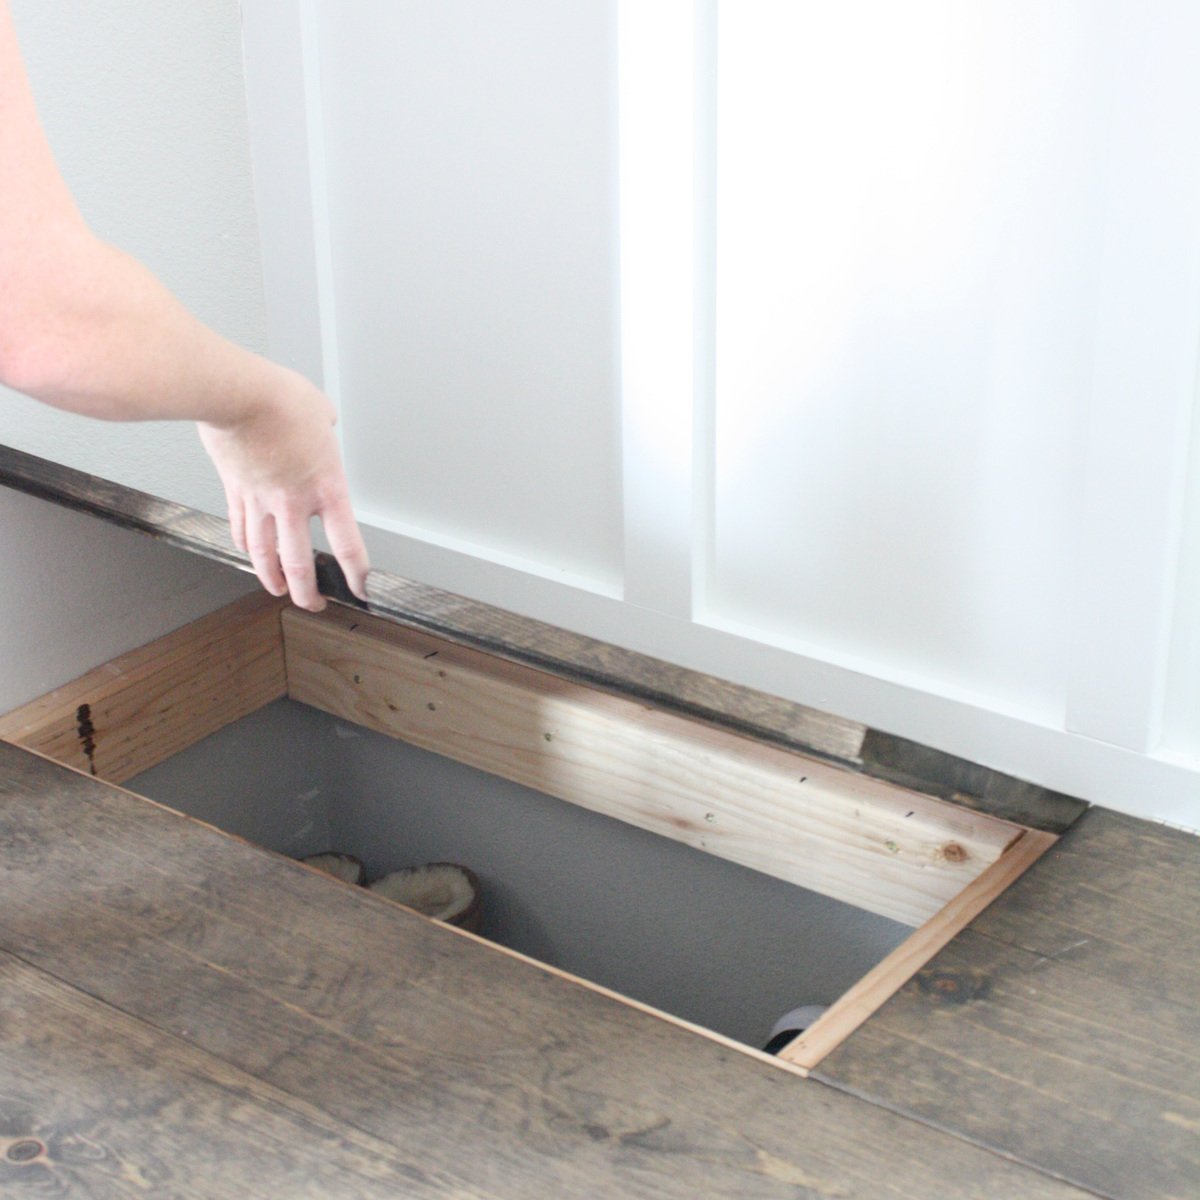
We combined several ideas to create this built in mud room bench. I searched high and low for the design I wanted and loved Ana's hidden storage. It's perfect for off season stuff that would otherwise take up space in a closet. It's such a pretty, functional space that gets so much use.
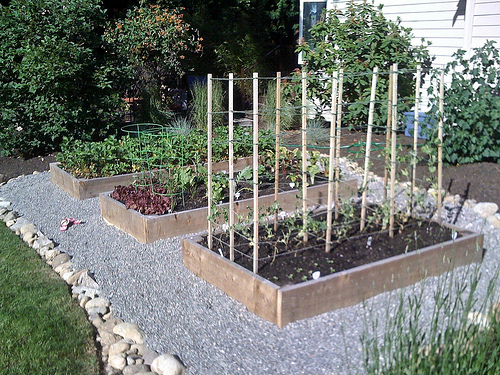
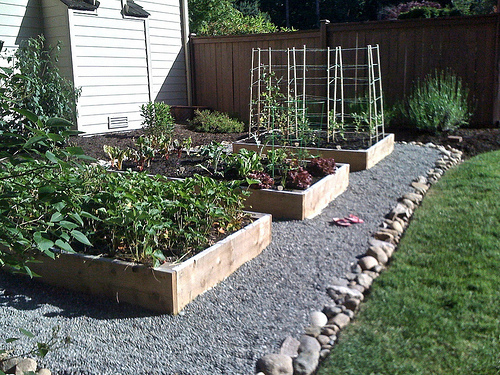
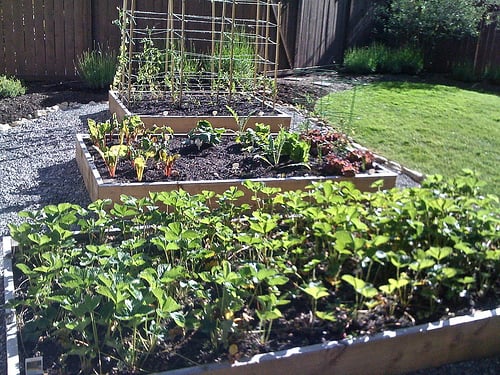
Yay! Here are my raised beds, motivated by Ana White's post. :) I decided to use 2x lumber rather than 1x lumber because I plan to add benches on the ends of each bed. I just love how these turned out! I used Hemlock rather than cedar because it was a THIRD less expensive. Orange told me hemlock would last roughly 5-6 years whereas cedar would last 7-9 year. I staggered the sizes too - first bed (with the strawberries) is 4' x 10', second is 4' x 8' and the third (with the stakes) is 4' x 6'. Hubby hauled in a bunch of pea gravel to surround the beds while the girls and I added rocks from around our yard to the perimeter. :)
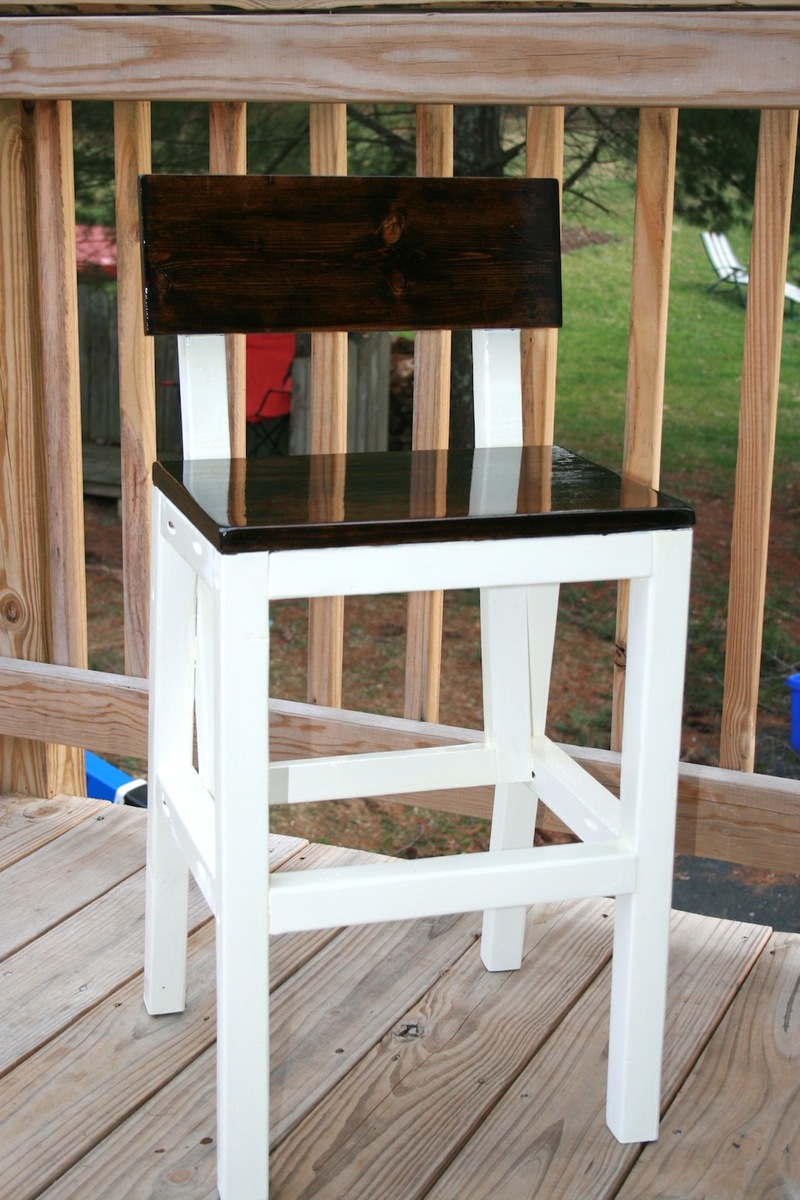
This is one of two chairs we made for our two kids. They love it!
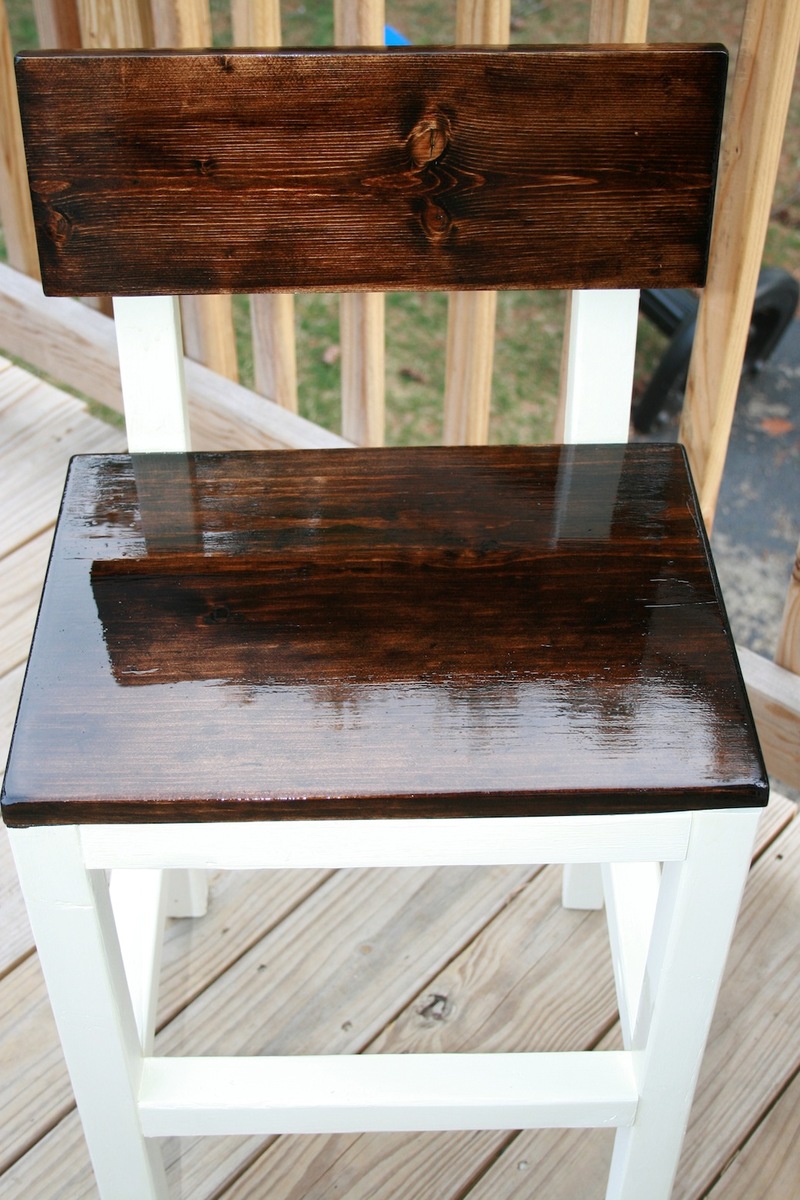
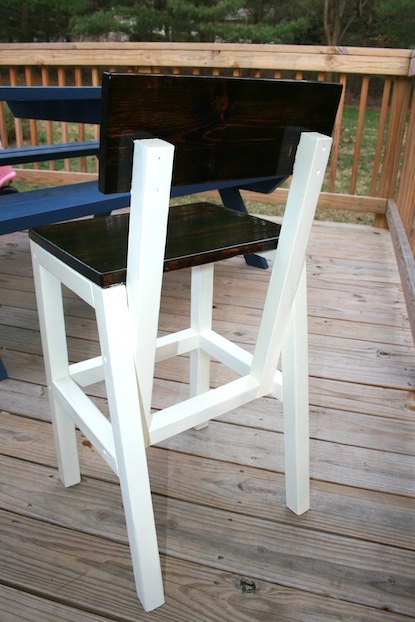
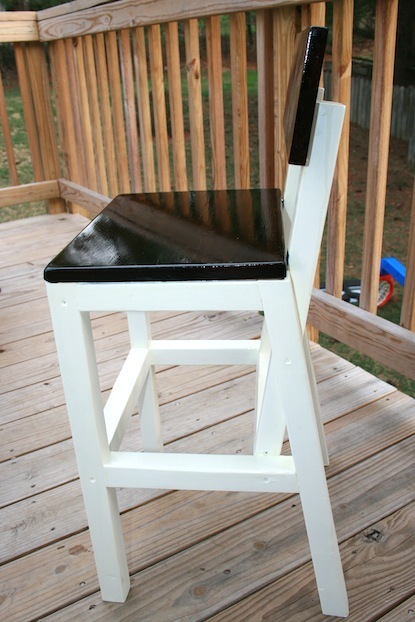
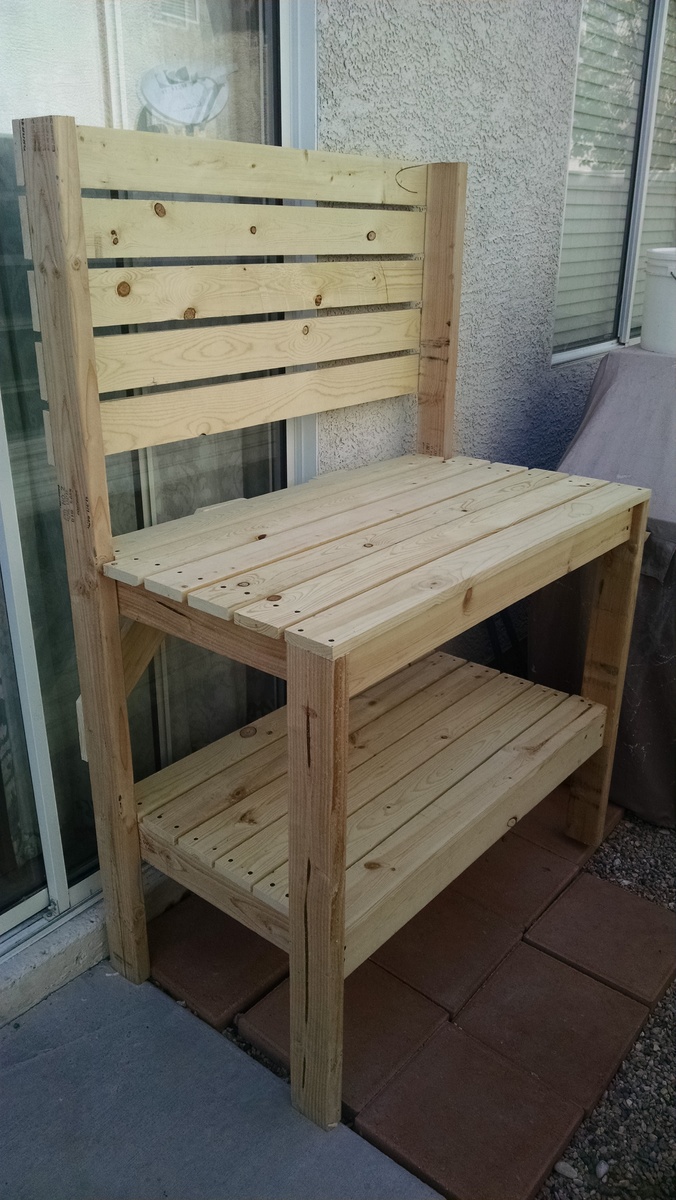
First project I tried from here. Not too bad. I have a Cordless miter saw (Ryobi)
Wed, 04/15/2015 - 15:48
This looks great. This is on my todo list as well for holding my small gas grill. :)
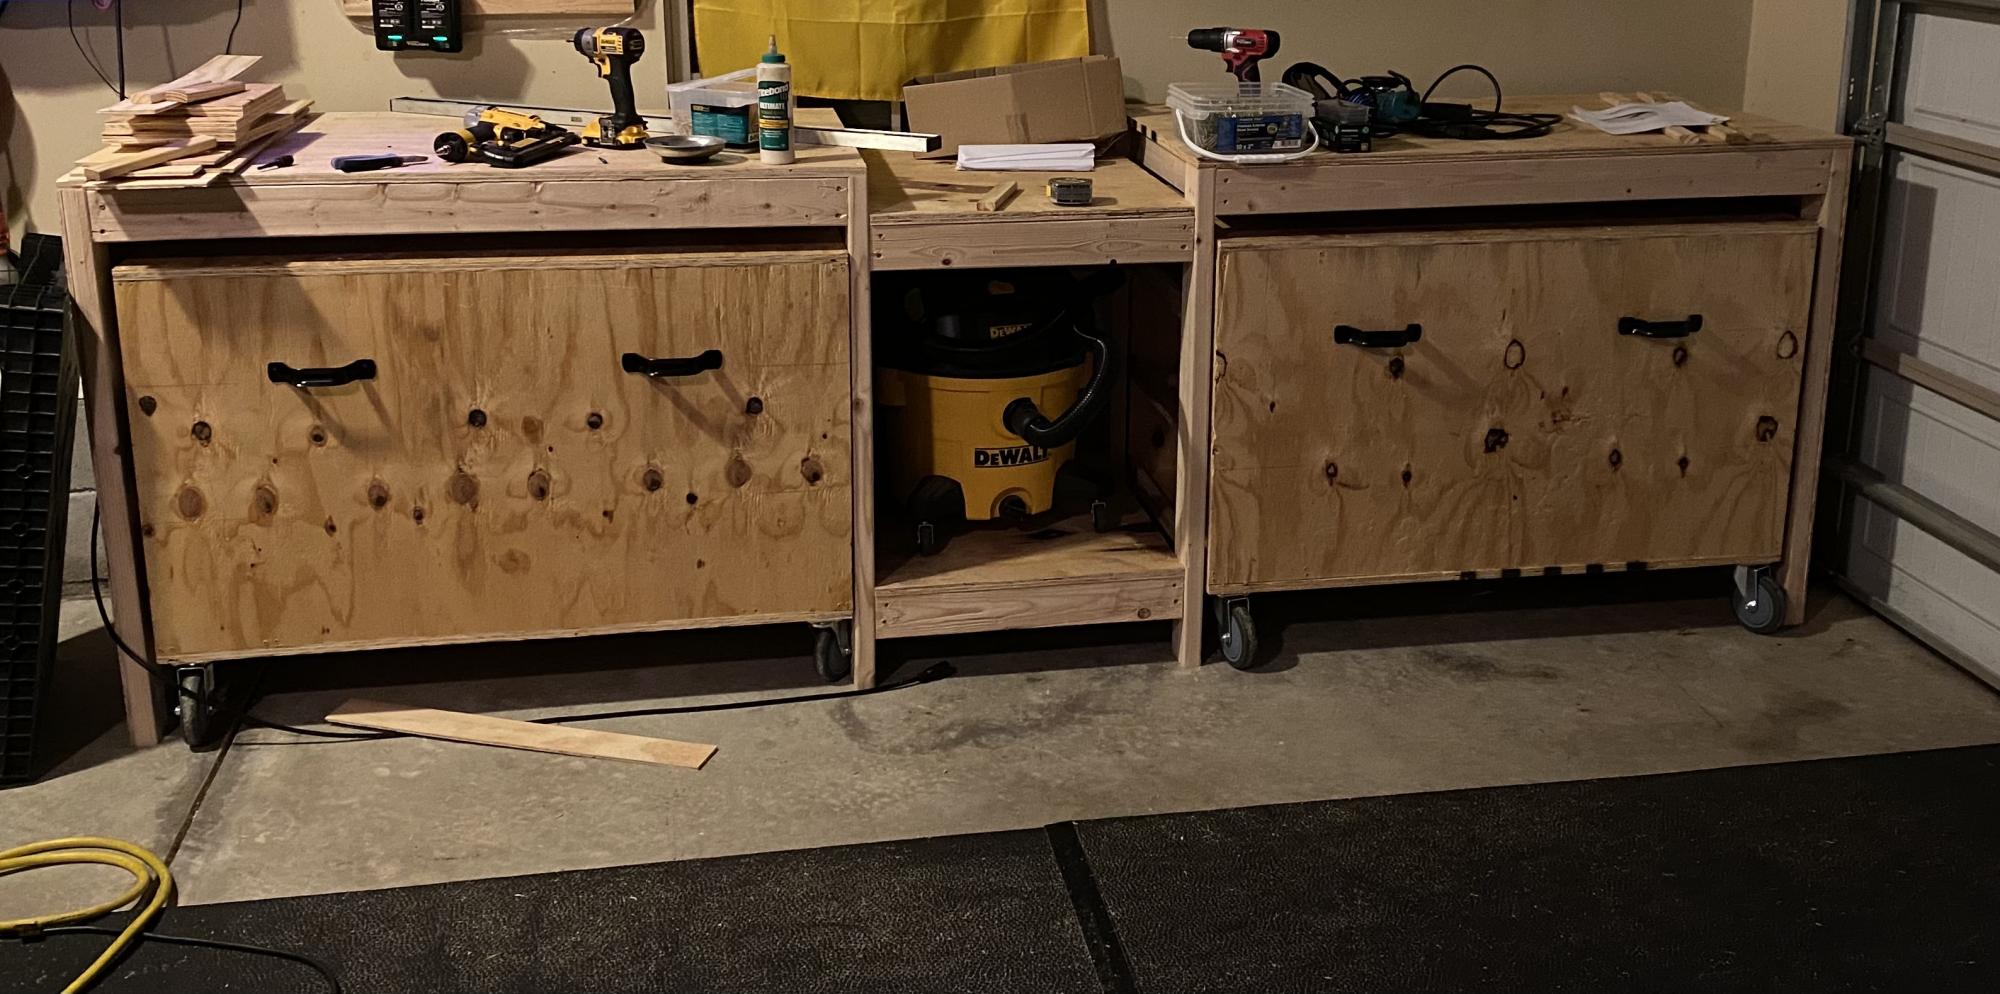
I have been searching for a way to maintain some neatness in my garage. Search stopped the second I found these plans. I am able to fit everything I need while keeping the garage neat and full of open space! I would most definitely recommend this build for anyone looking to save space, build something that is practical, and is completely customizable. Also, it took a buddy of mine and myself a day of hanging out to get the project done to include breaks for pizza!
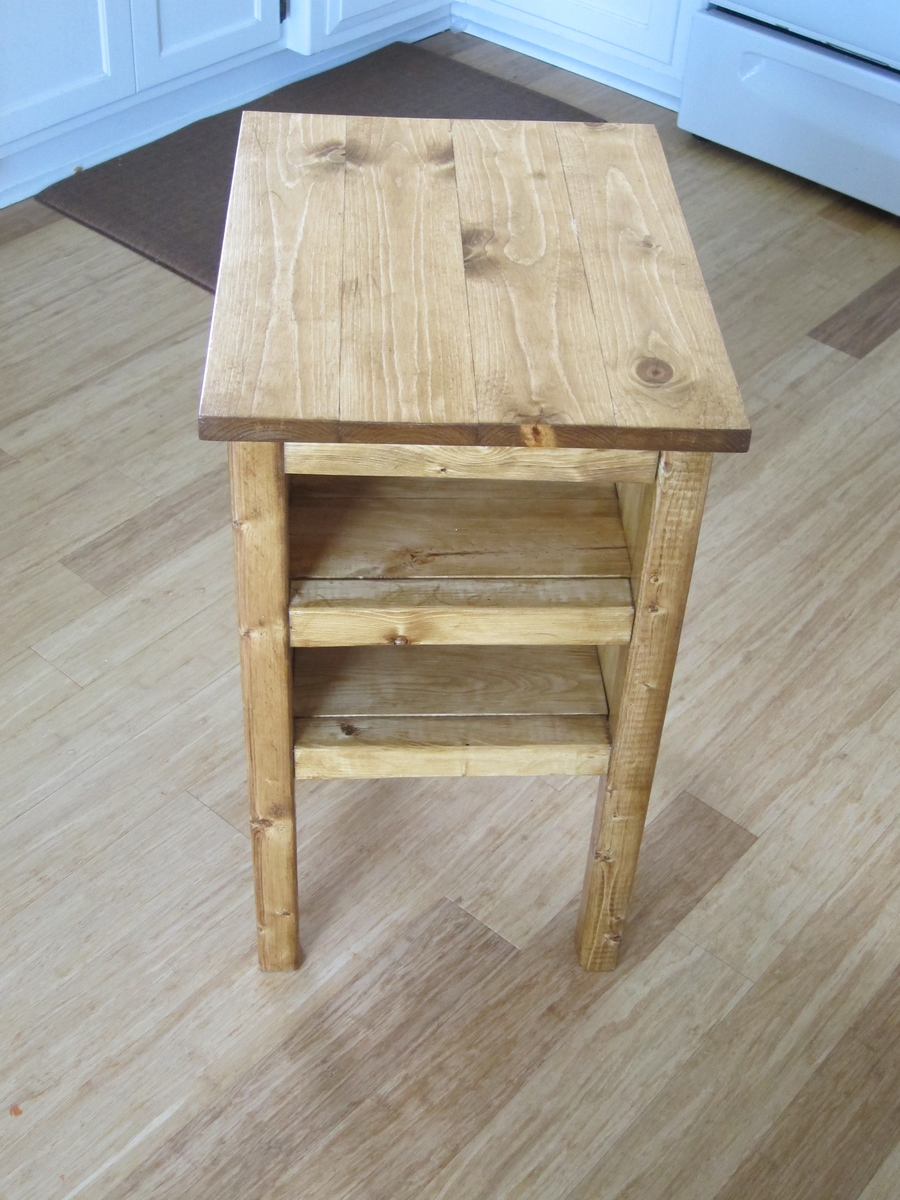
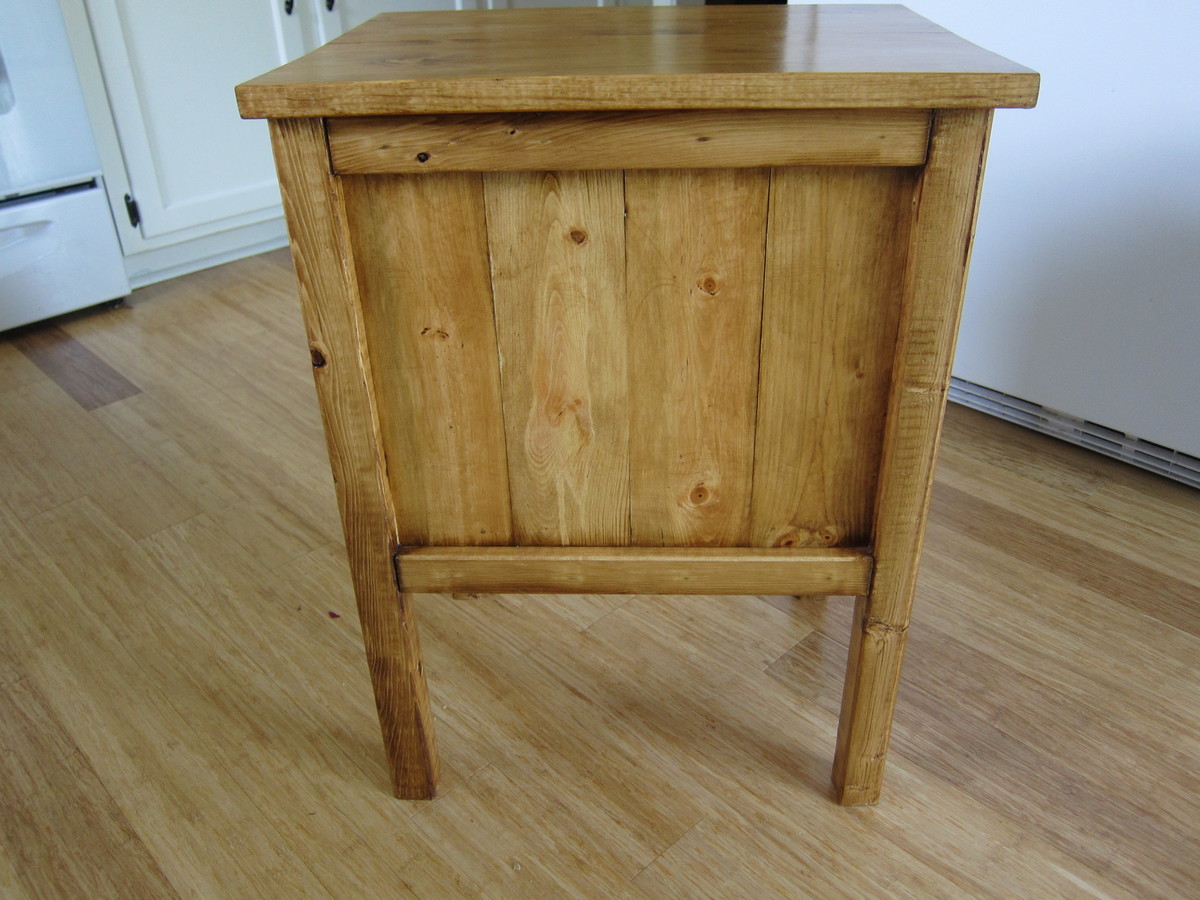
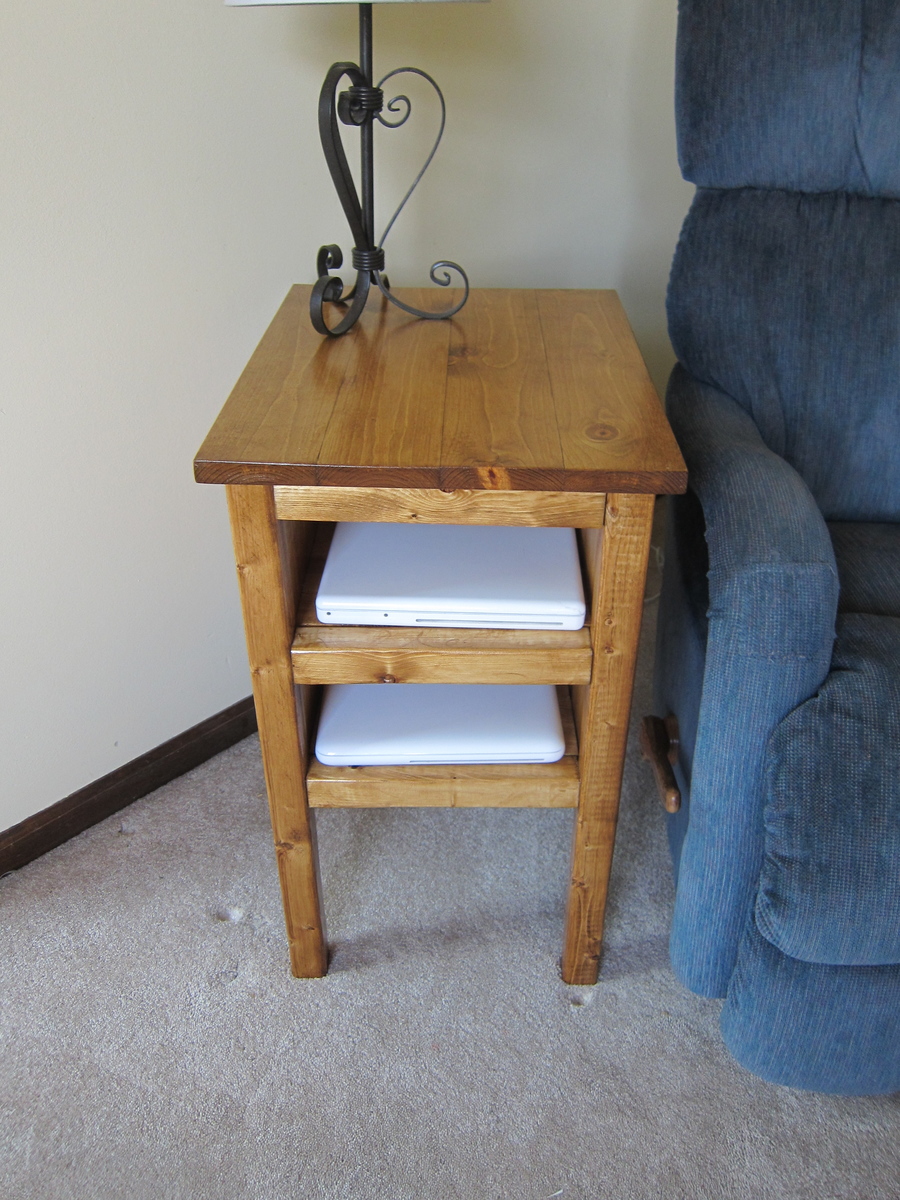
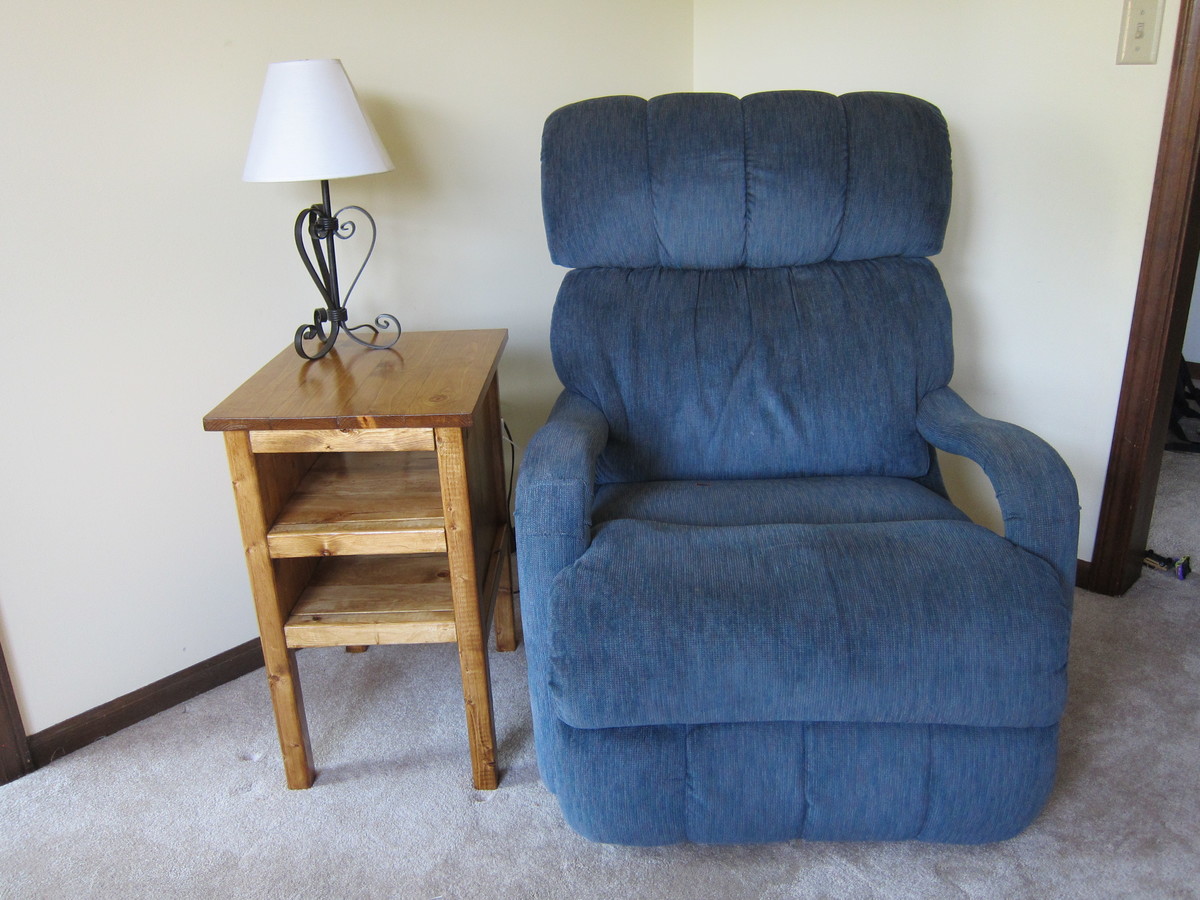
This is a variation on the tidy up end table. The dimensions for the tidy up end table were too big for my space, so I made it a little smaller and added an extra shelf to store our laptop computers. This makes it easier to charge our laptops and keep them out of the way. It took me a little longer than it should have because I had a 3 year old and a 5 year old "helping" me.
Thu, 11/14/2013 - 21:33
What a good idea, adding an extra shelf to tuck the laptops away for charging! Looks great!
Val
artsybuildinglady.blogspot.ca
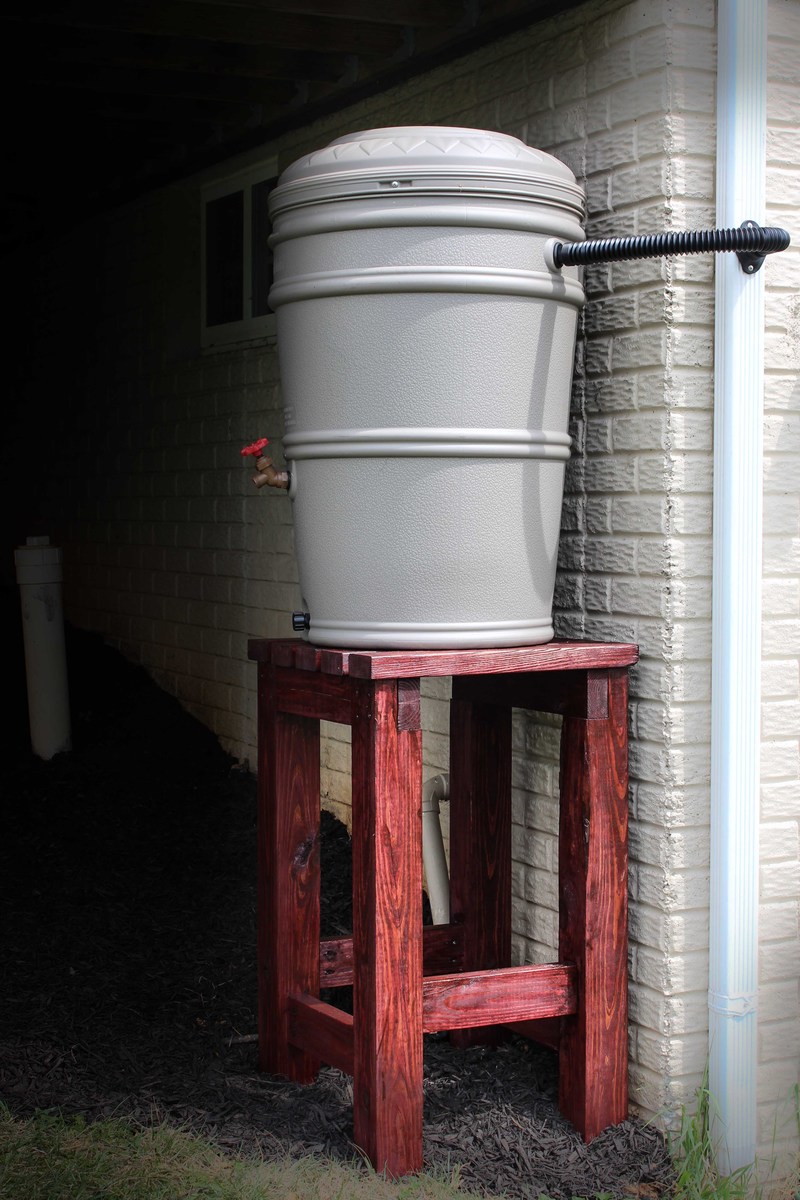
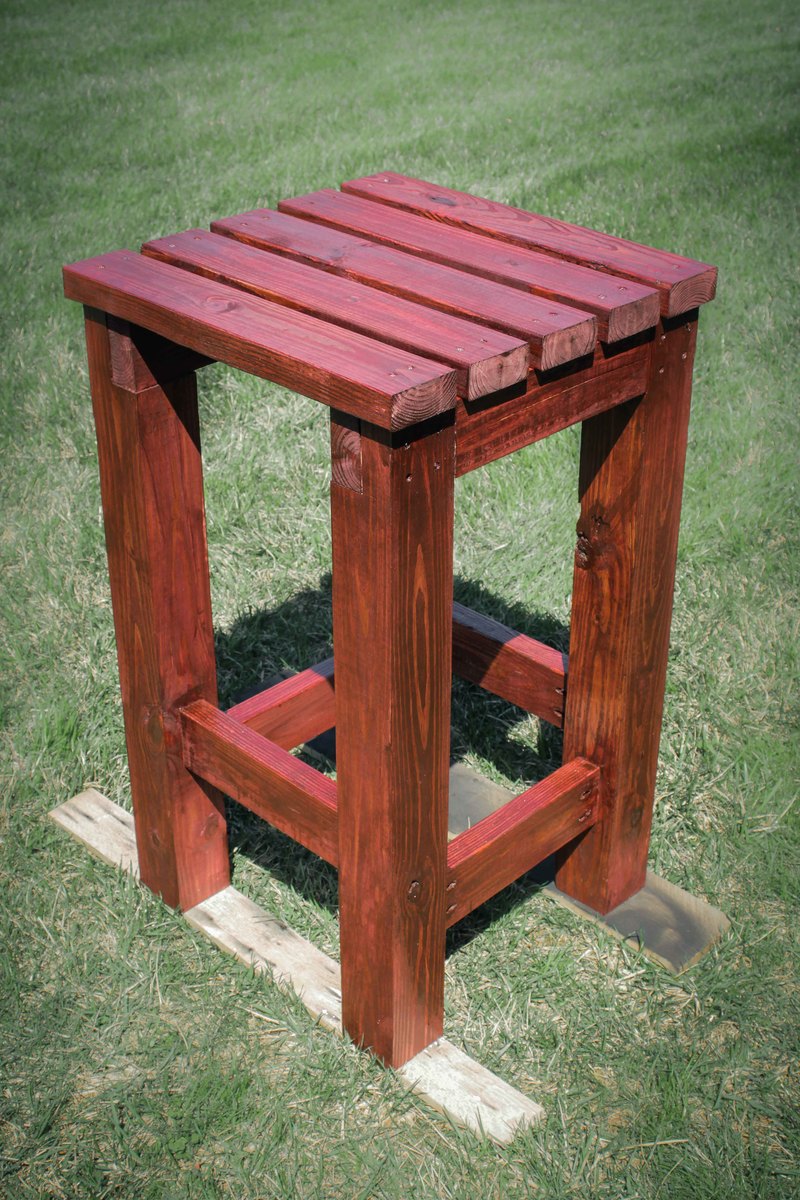
Build Instructions;
http://www.instructables.com/id/Rain-Barrel-Stand-and-Installation/
Video of Build:
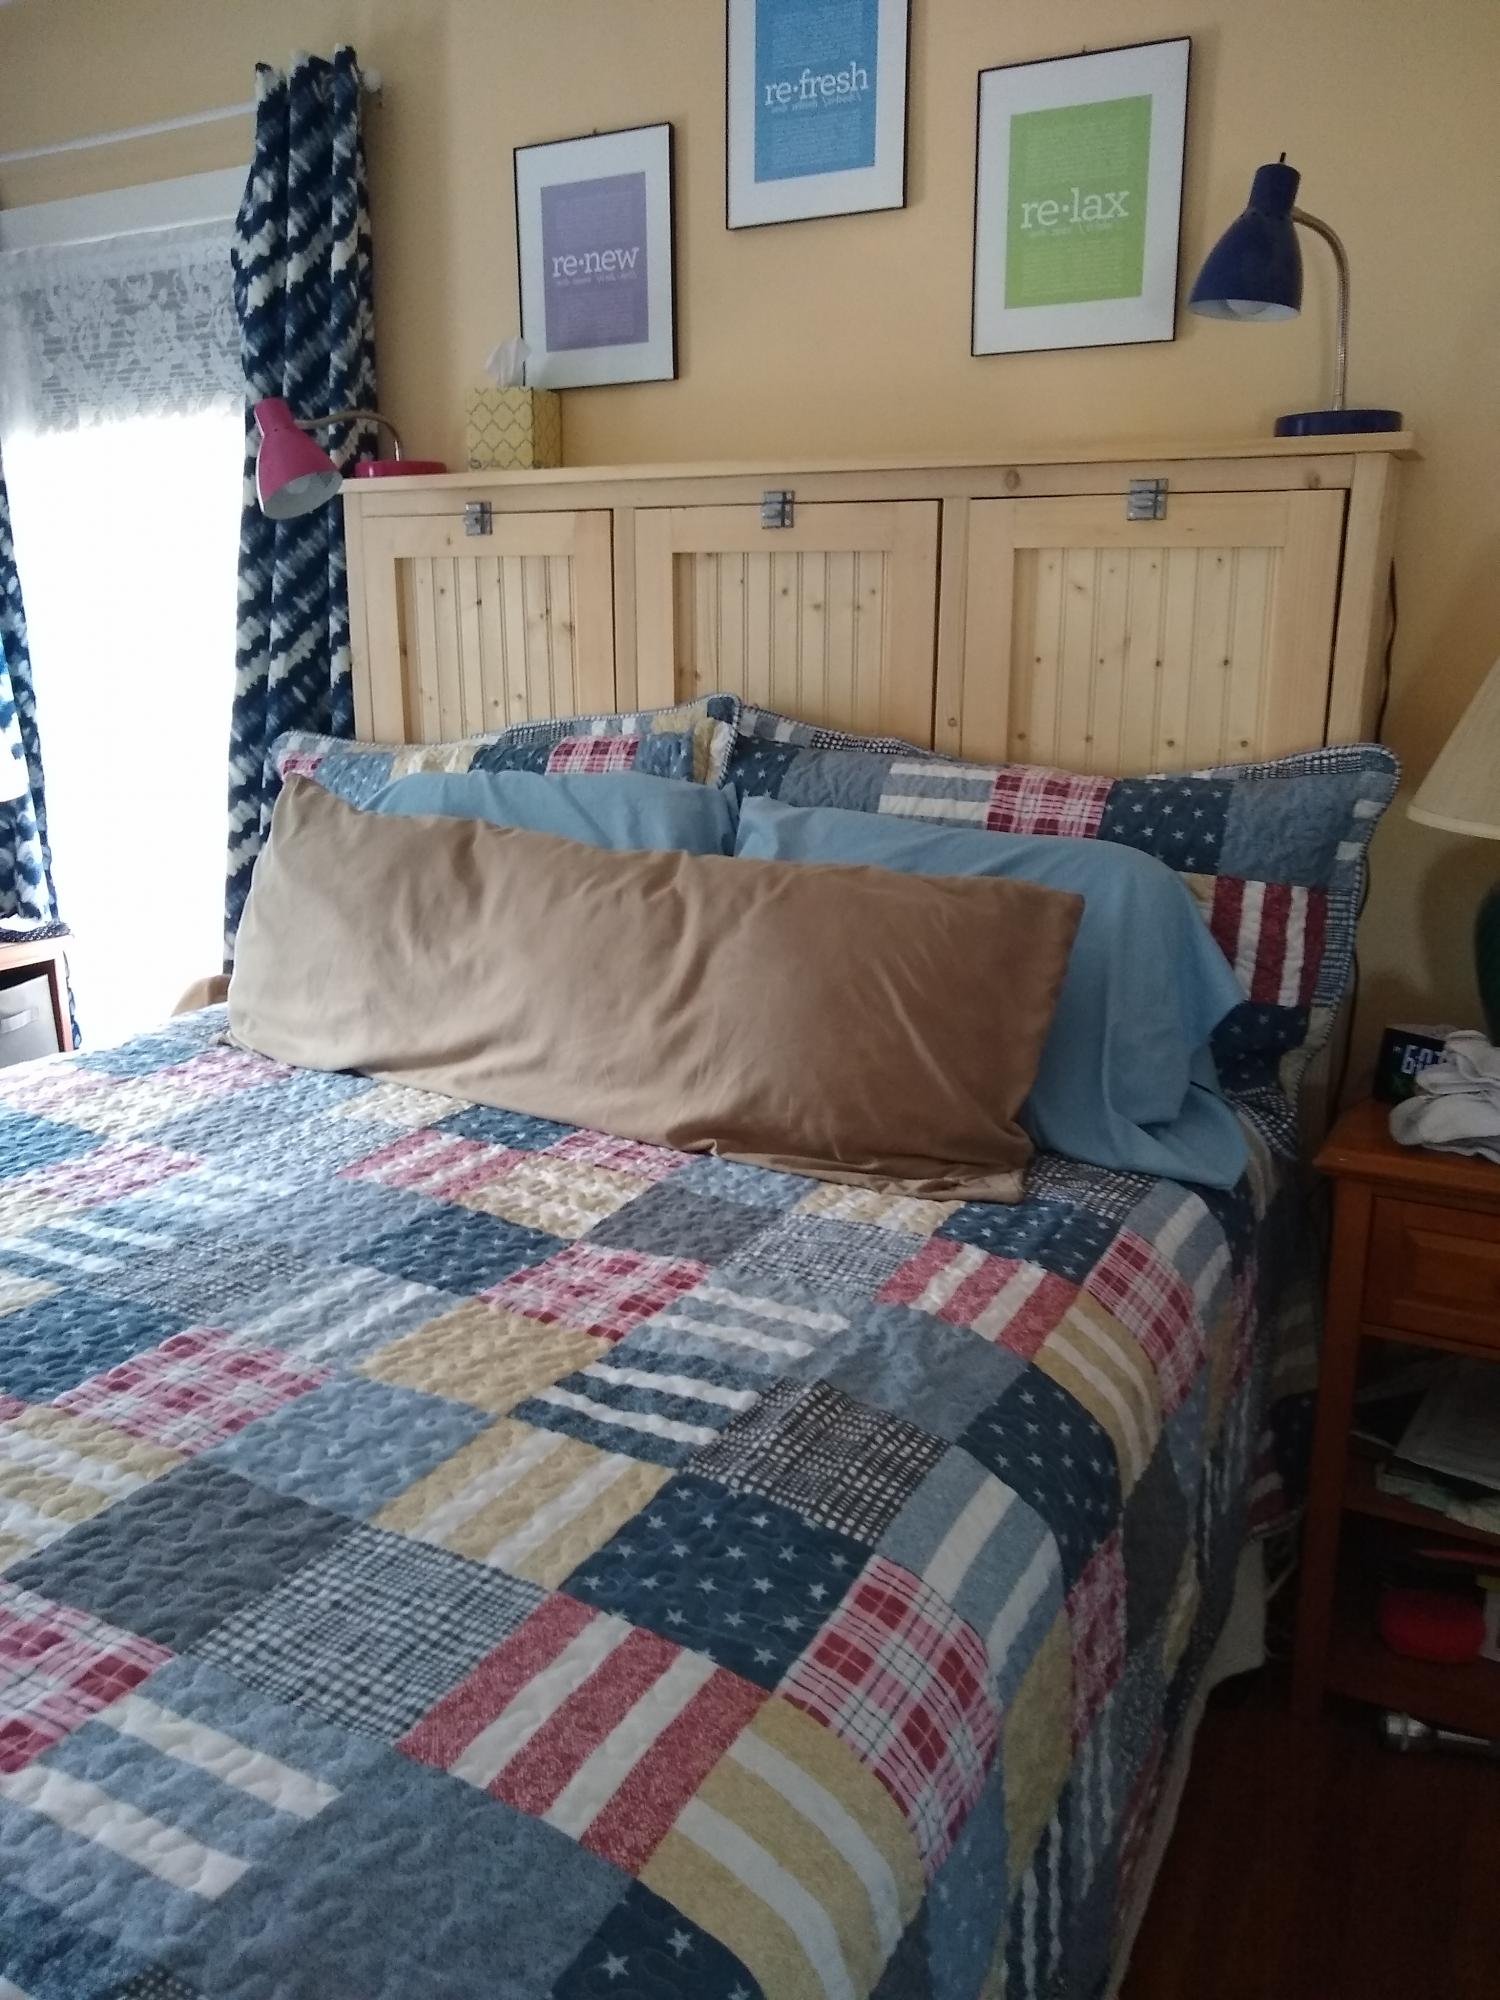
I wanted my storage a little deeper so I used 2 X 6 instead of the 2X4s. I also added a footboard. It turned out great. I may put a tea stain on it and coat it with a polycrylic.
