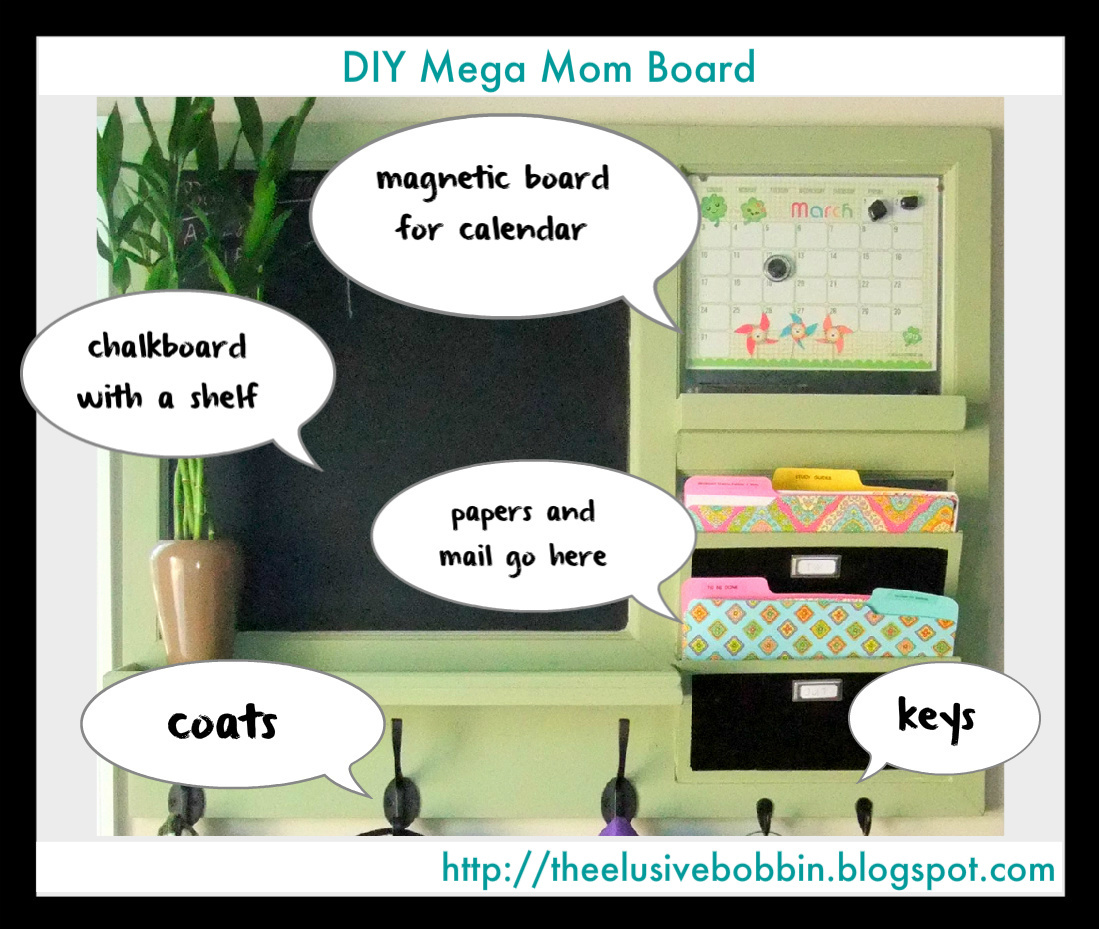
Mega Mom Board
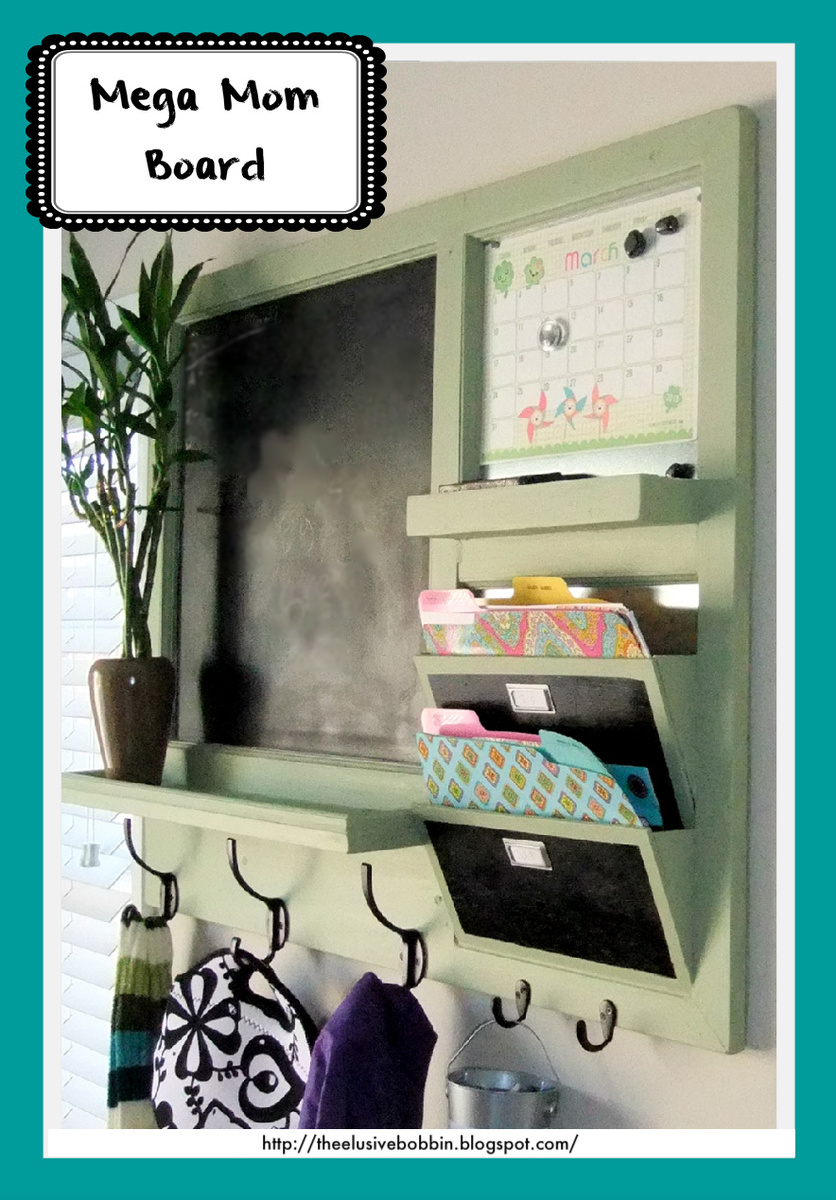
Inspired by many projects here on Ana's page, my "Mega Mom" board is not just a pretty face, it's also great at multitasking. It helps calm the chaos and juggle the daily influx of papers with the same ease that it manages a quick message or coats.
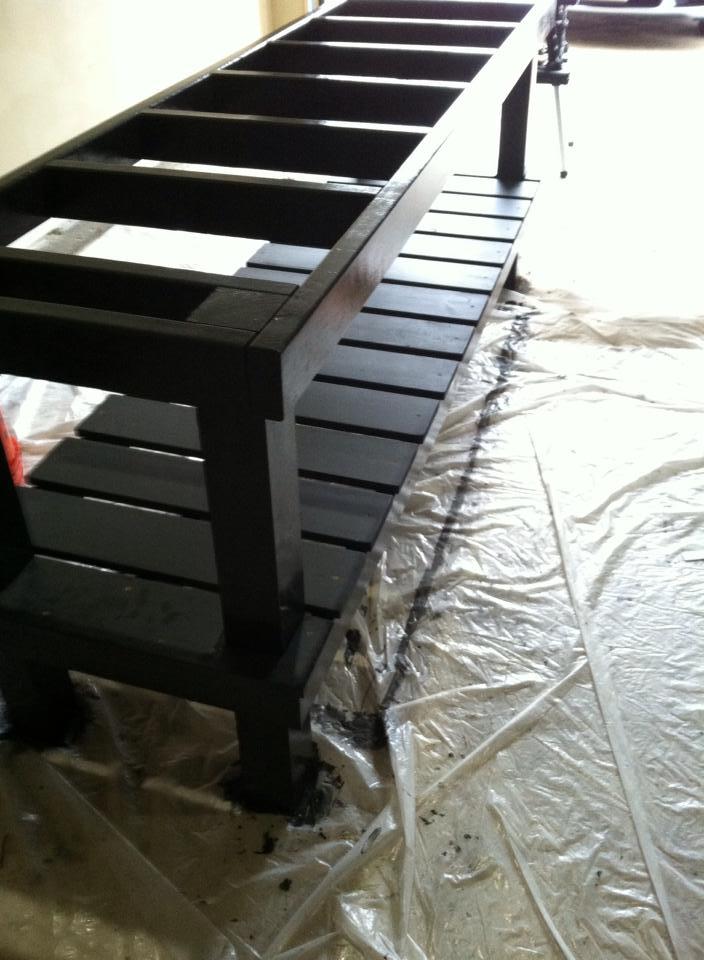
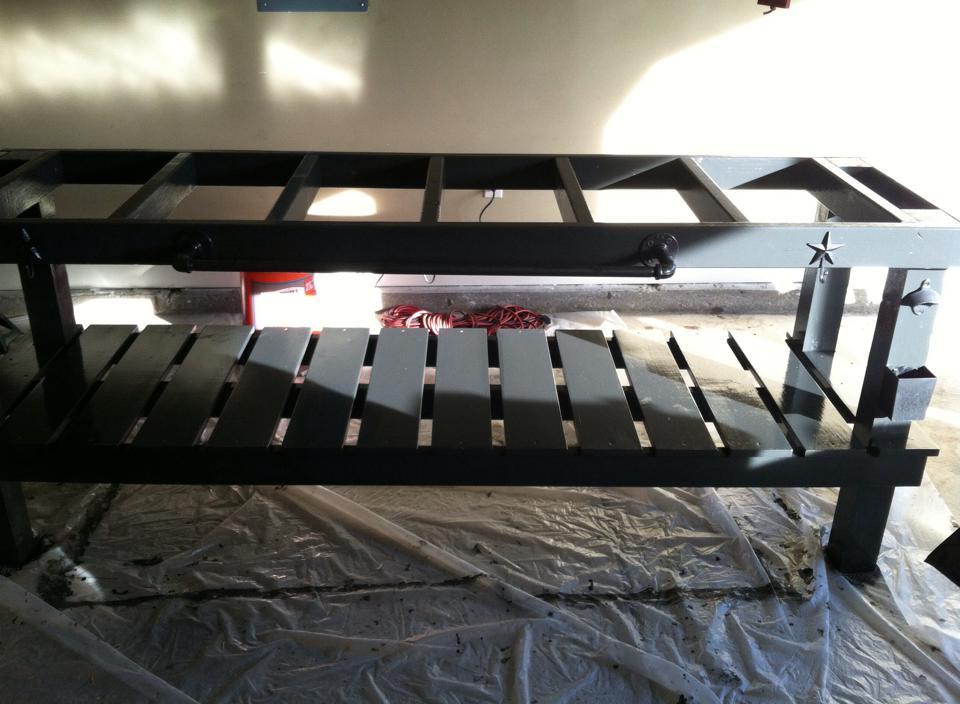
The "Mega Mom" board has a chalkboard, shelf, and hooks for coats. It also has letter bins for important papers, a magnetic board to hold the family calendar, additional hooks for keys and a bucket to hold chalk or loose change. Our ceilings are 9' and I'm 5'10", so I made it big and hung it high to make the best use of the space. The finished board measures 37 1/2" wide by 30 1/4" tall. If you like what you see, you can find a materials list and more detailed drawings on my blog http://theelusivebobbin.blogspot.com/2013/03/plans-for-mega-mom-board.h…