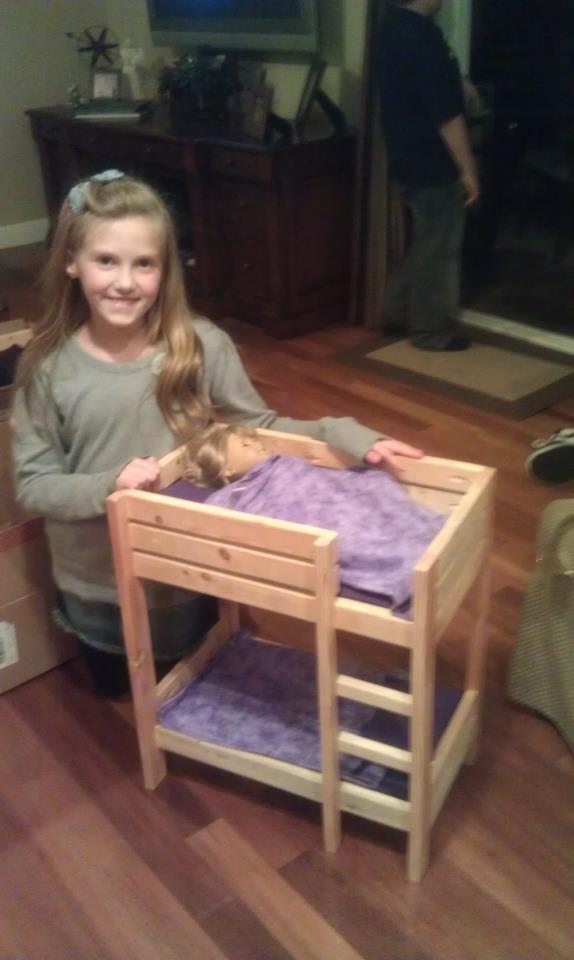
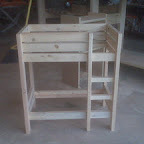
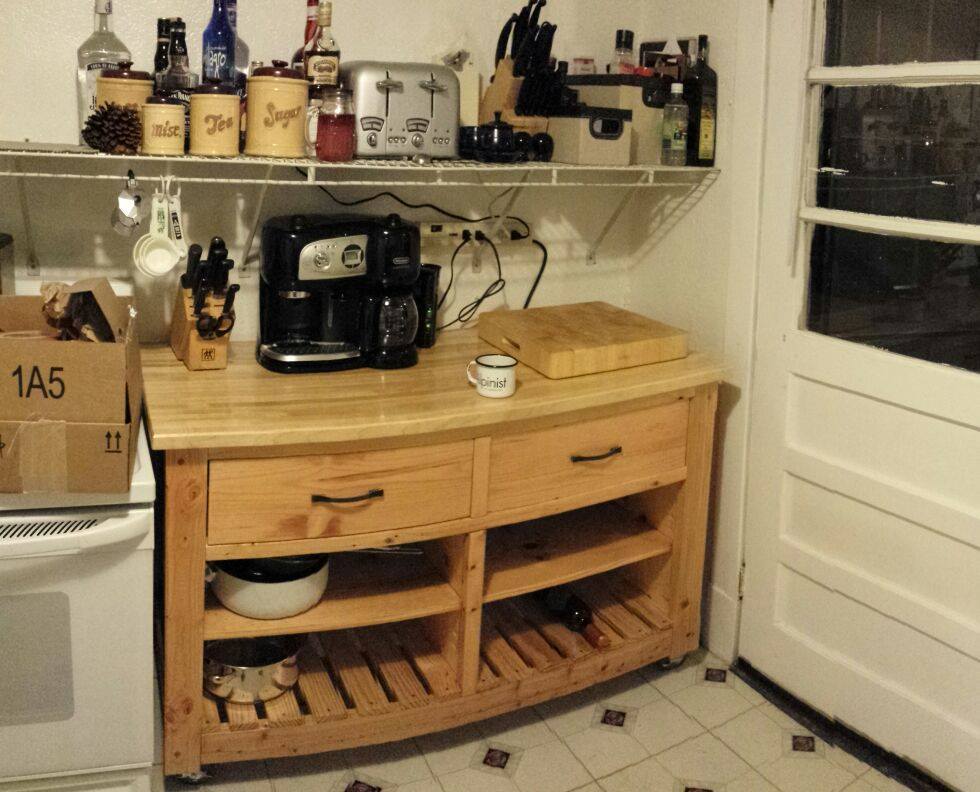
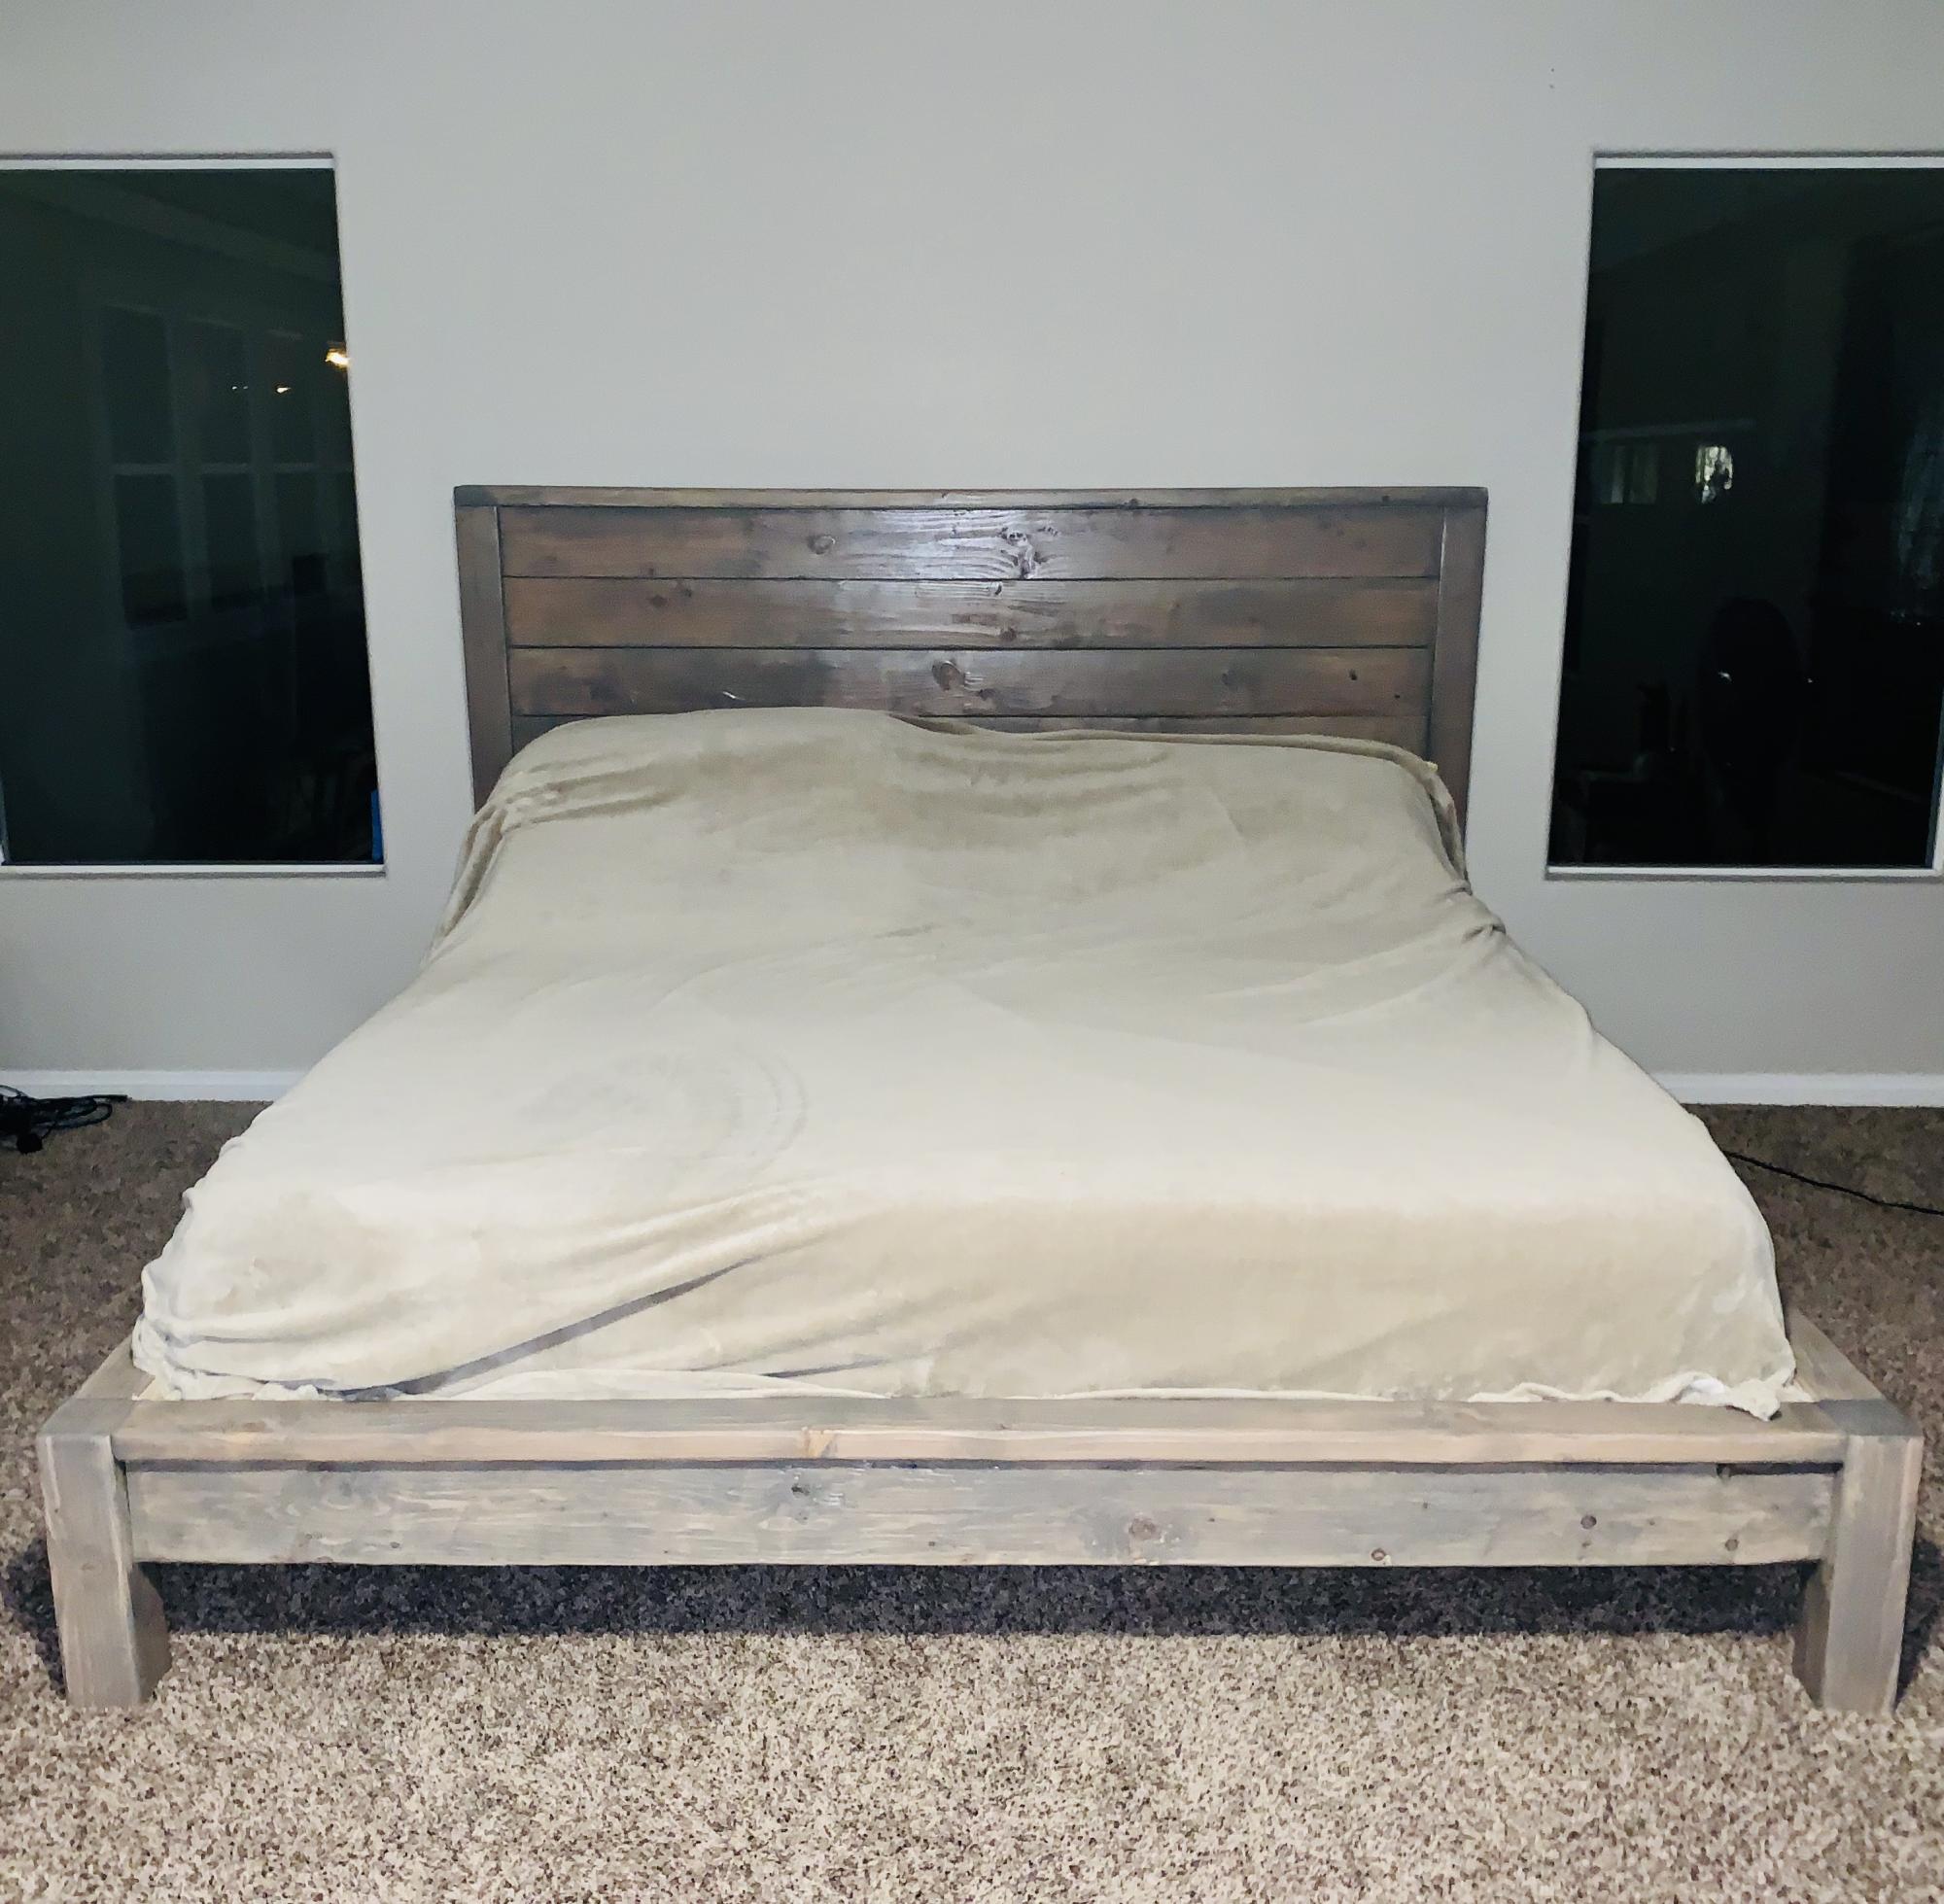
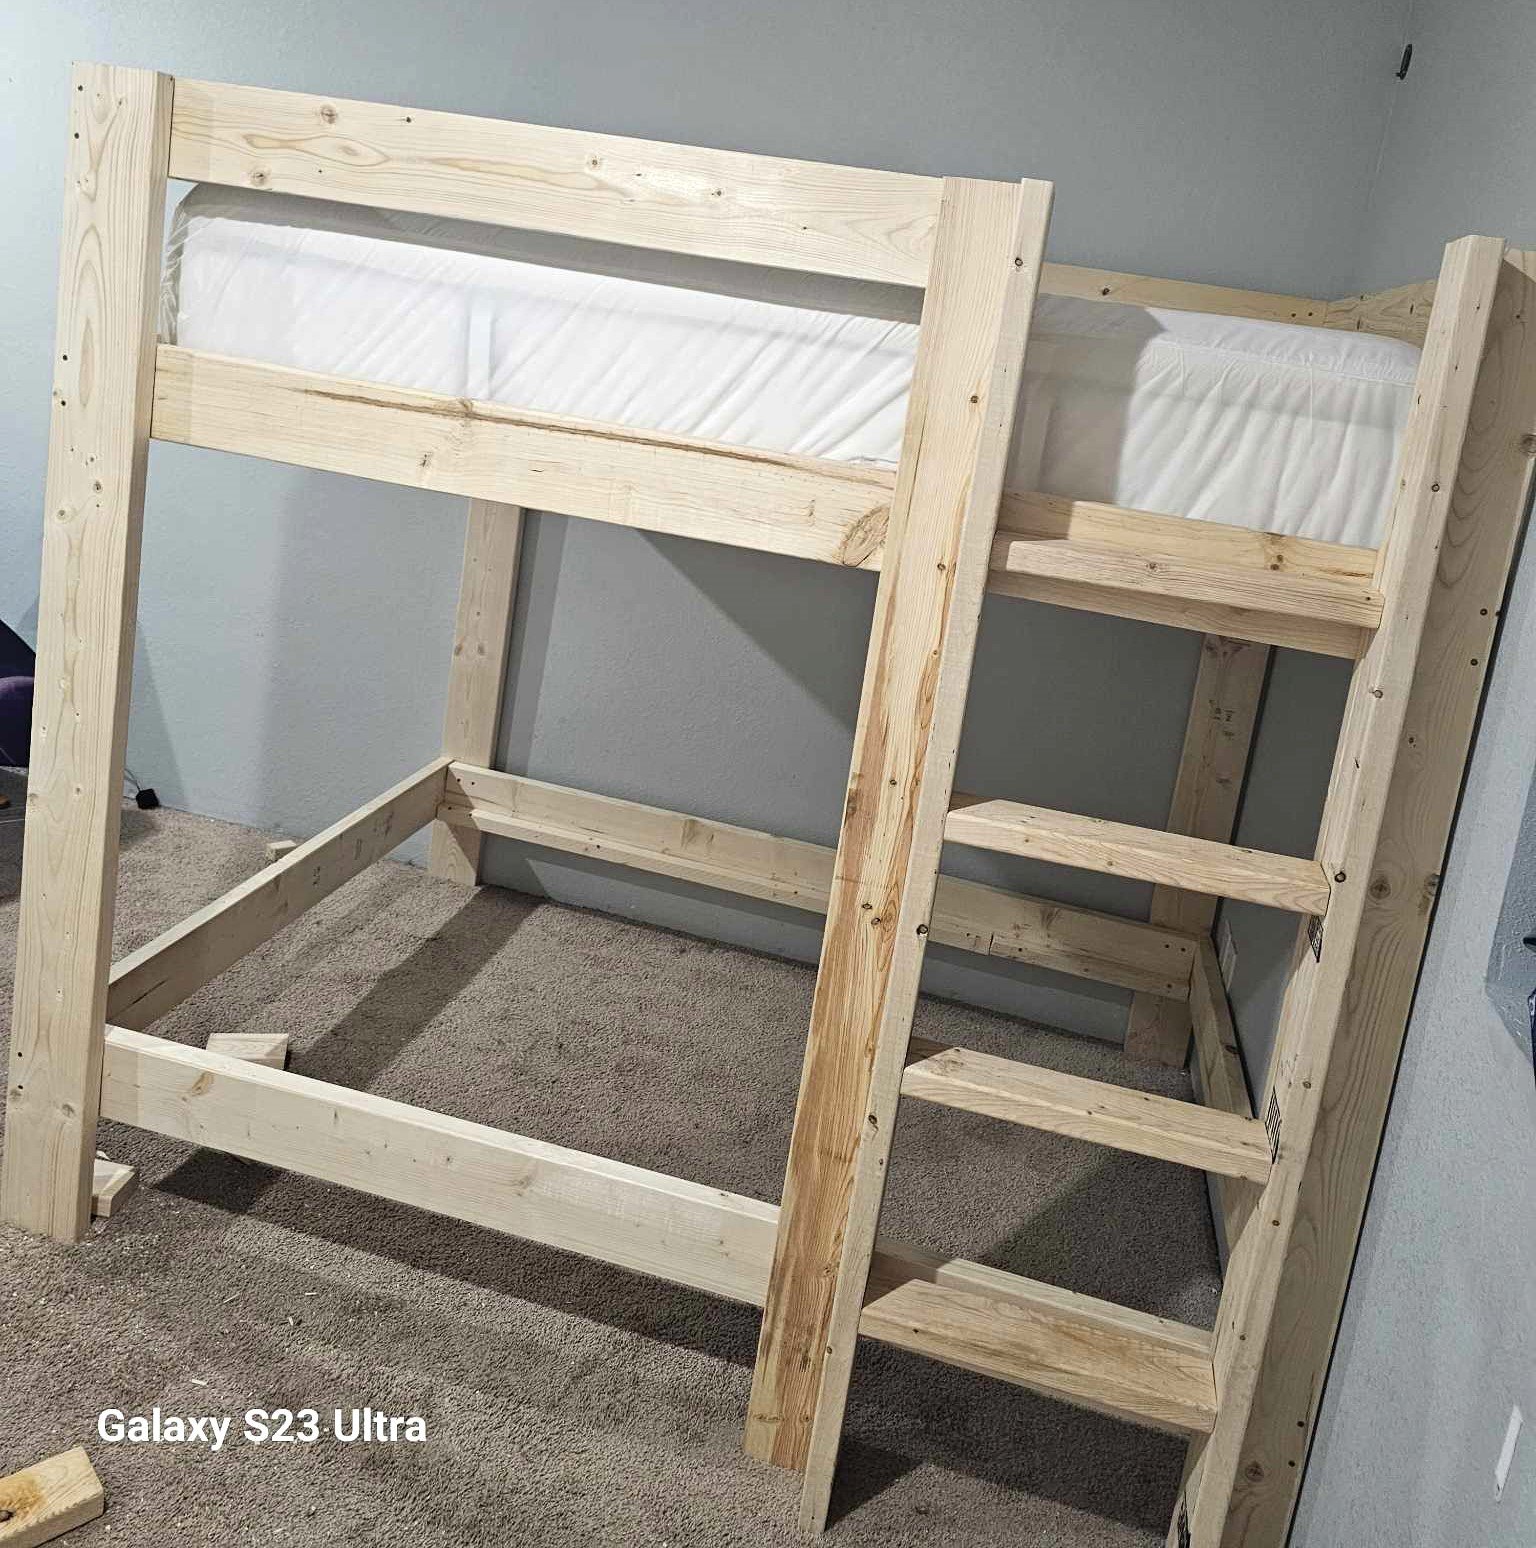
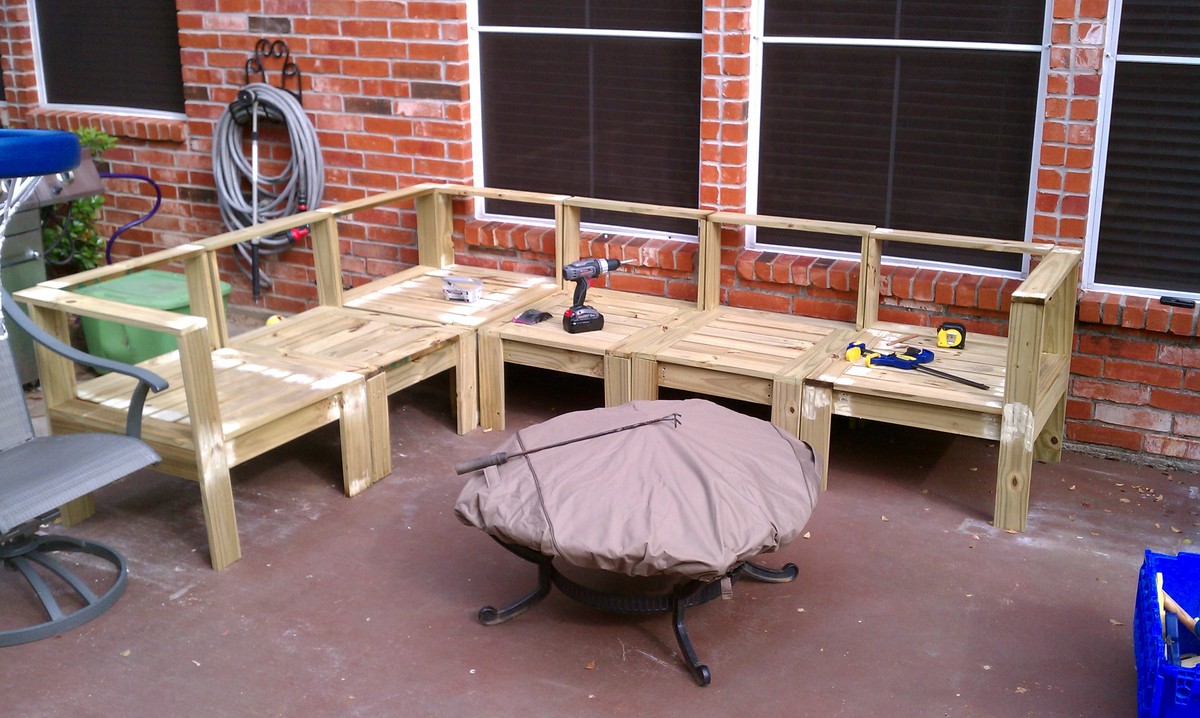
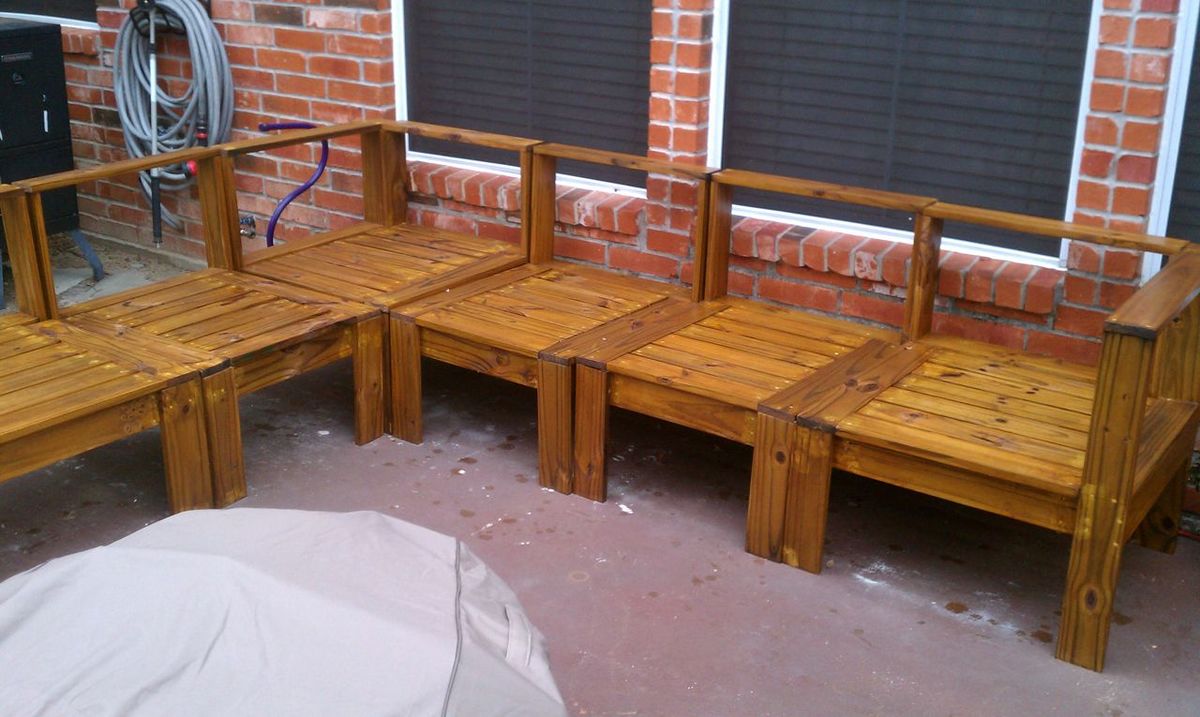
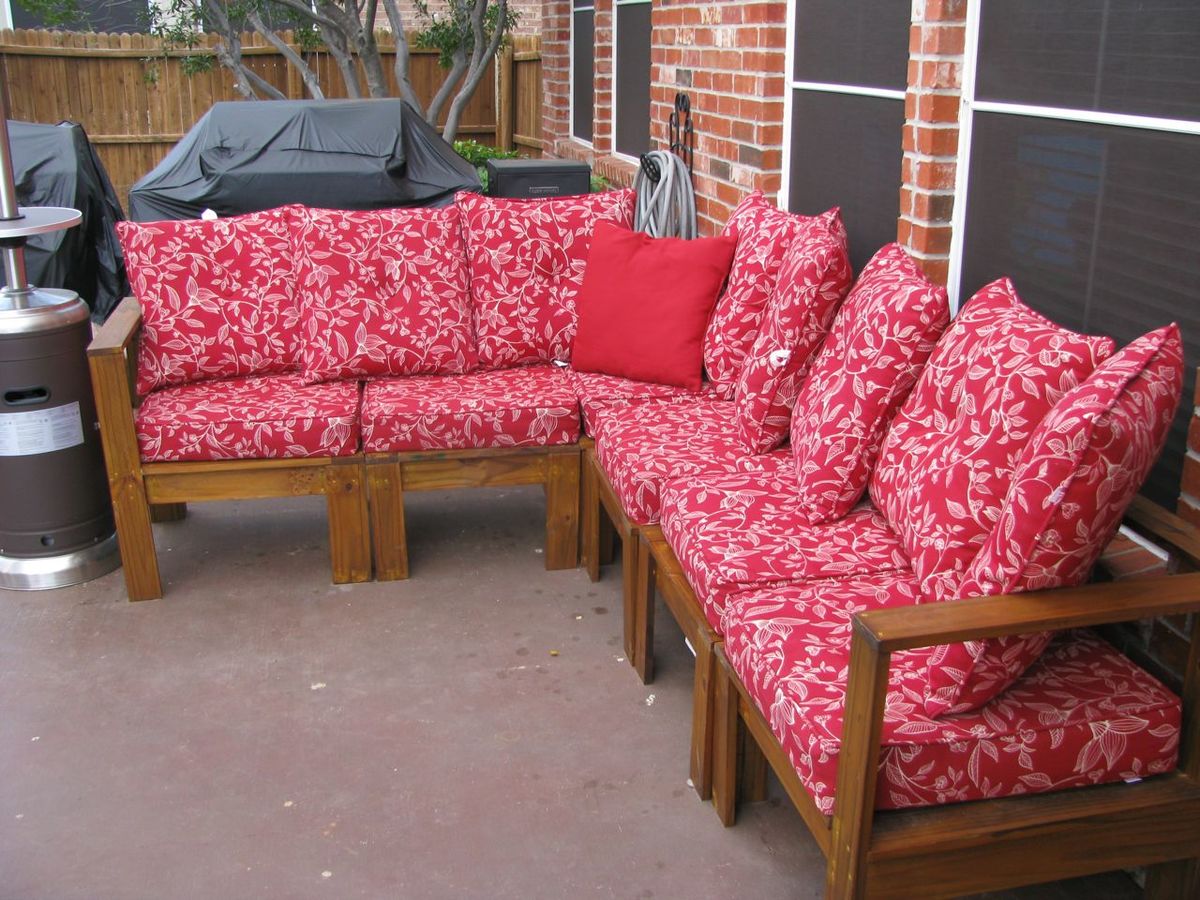
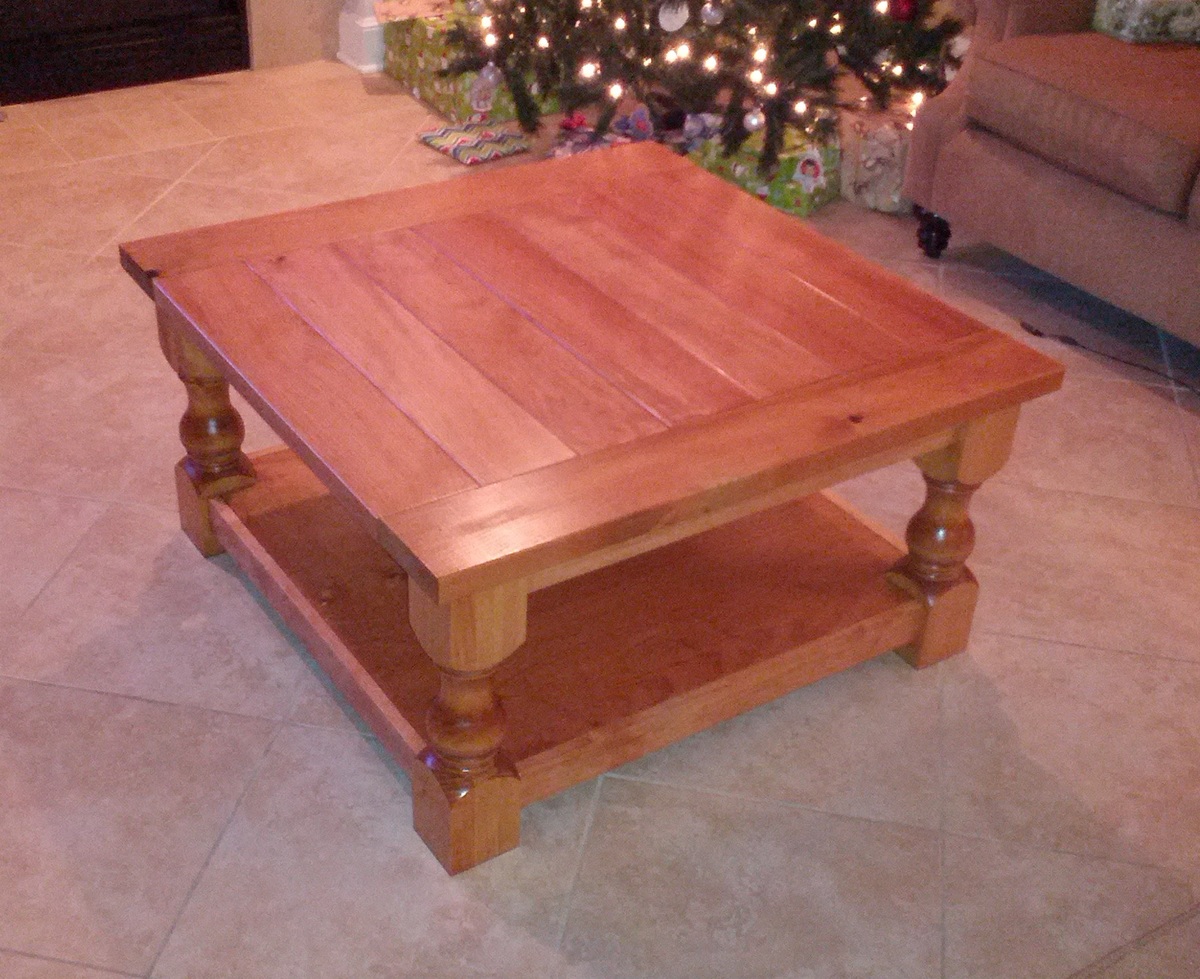
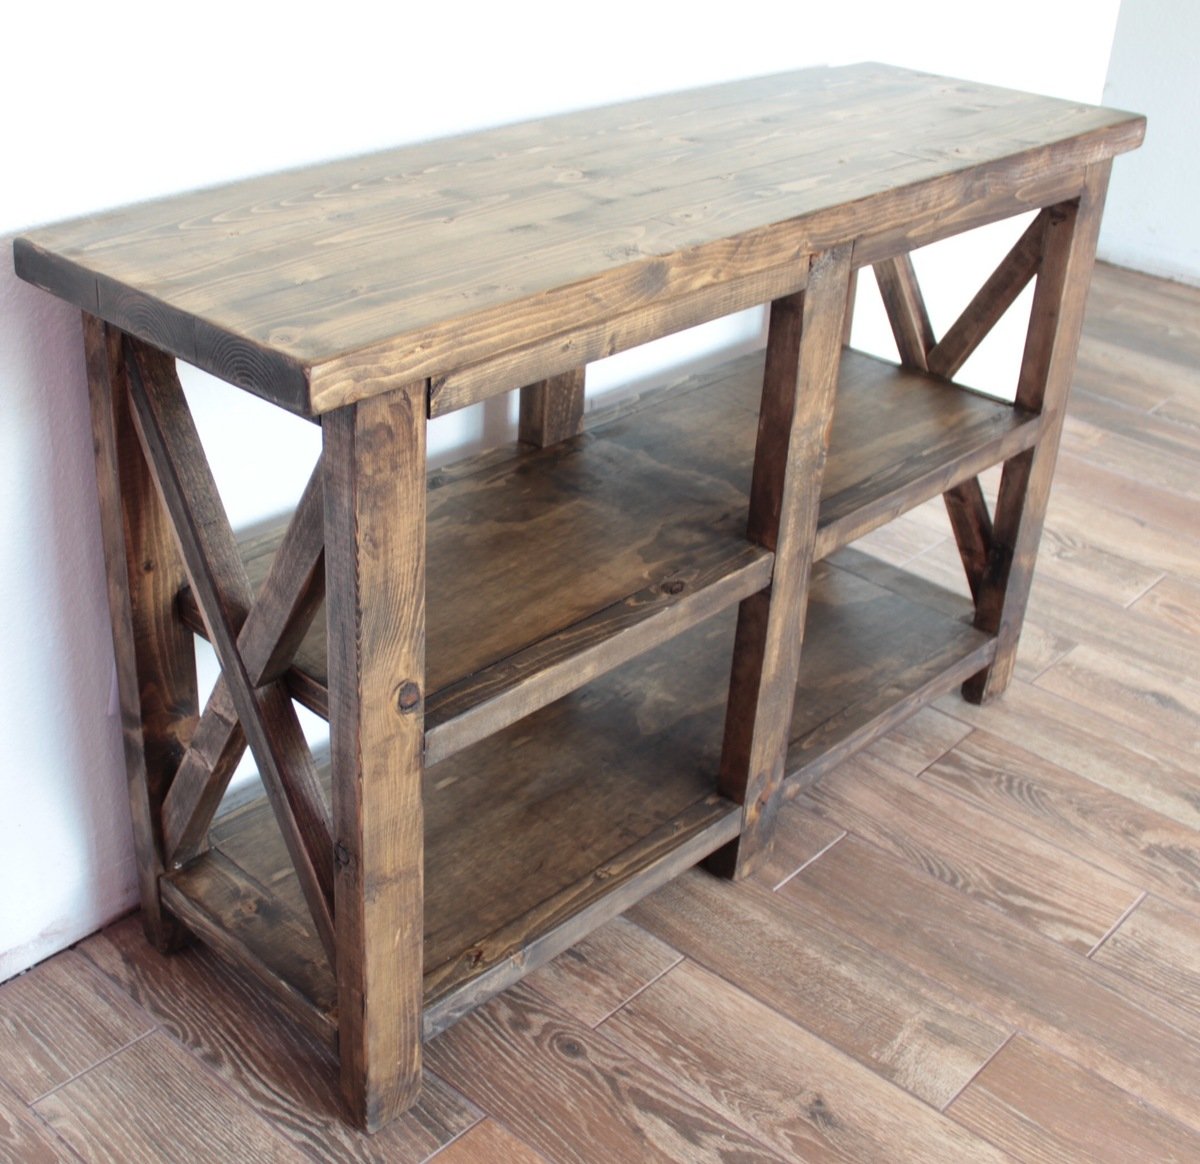
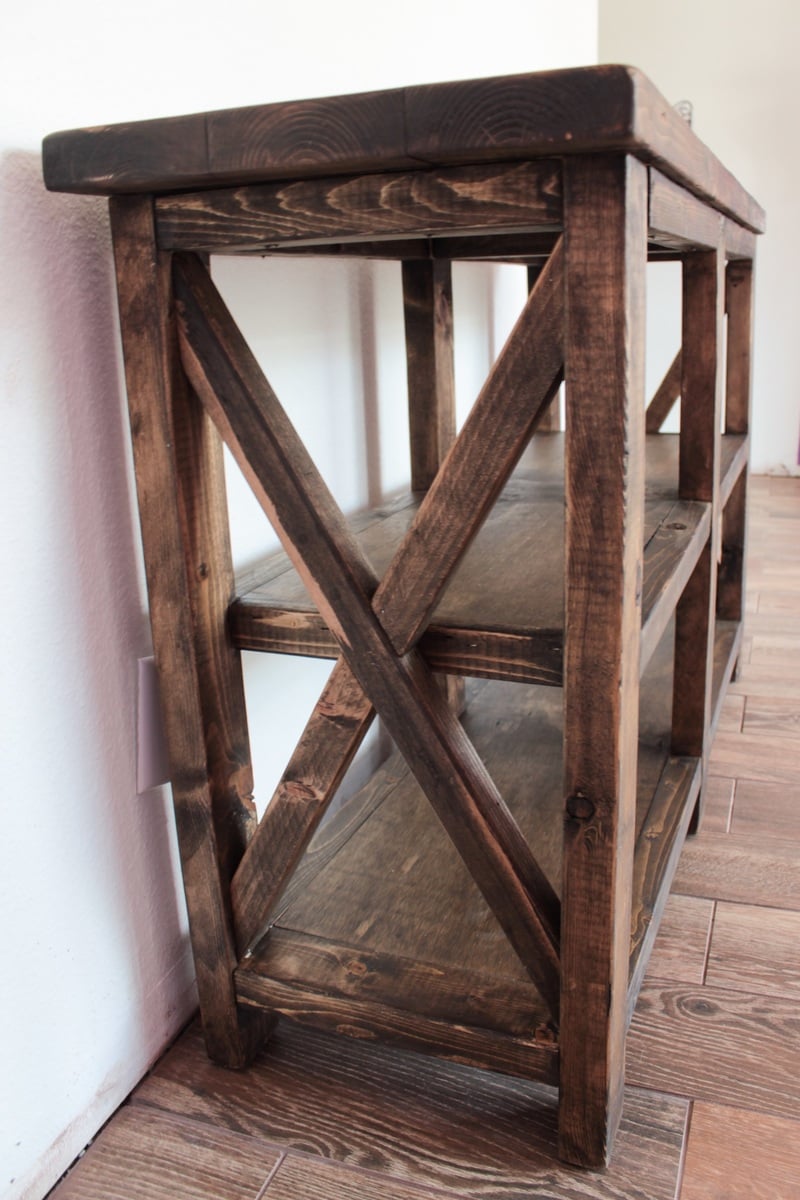
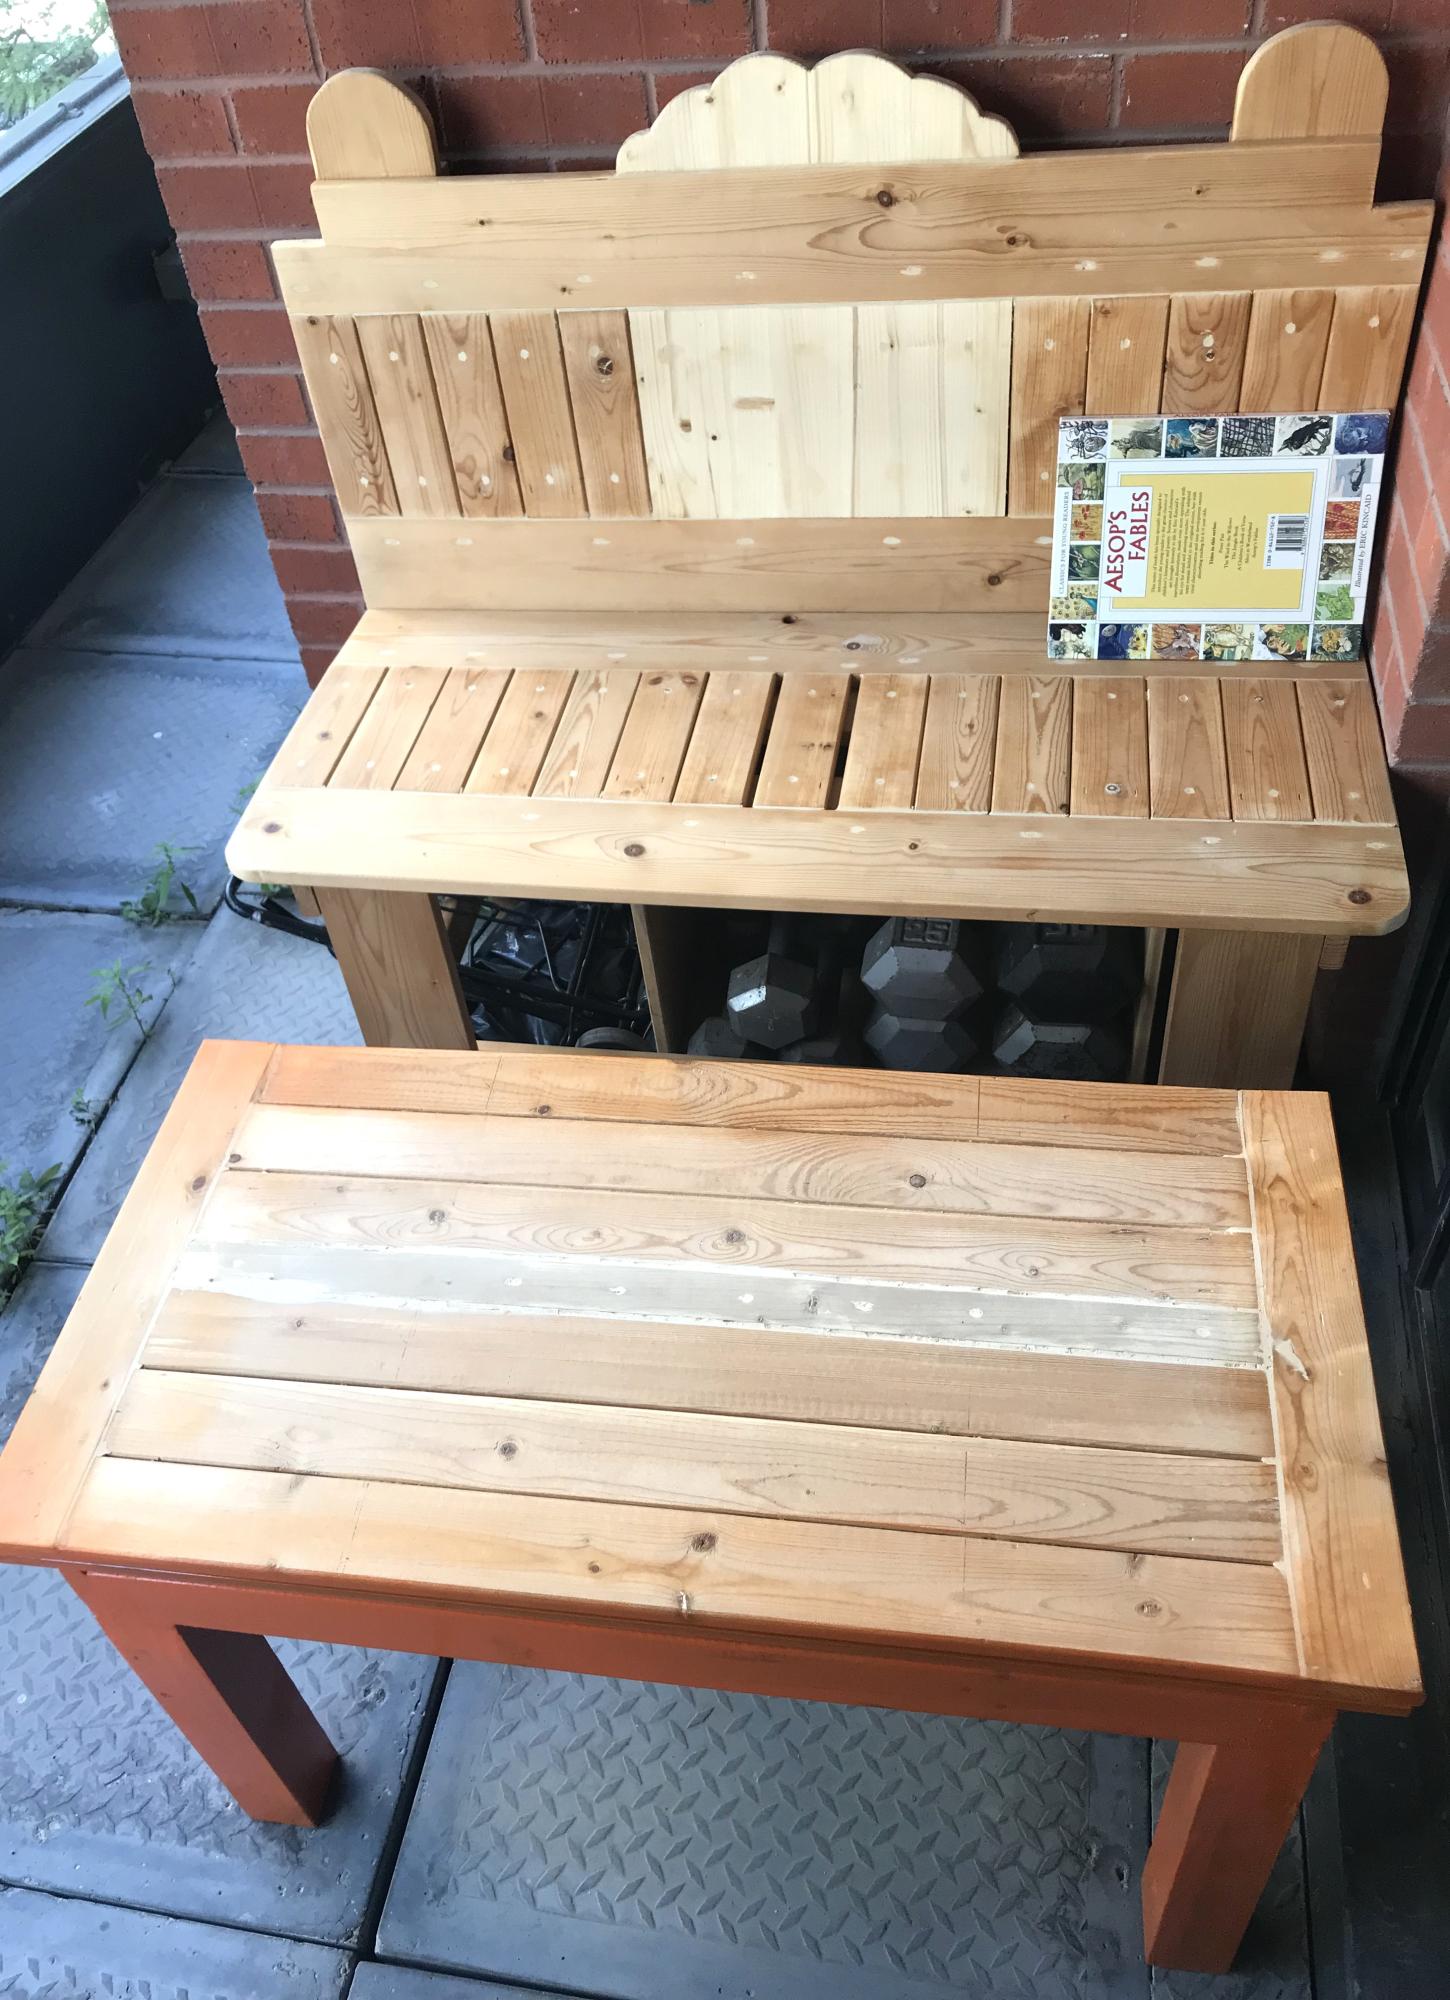
Bench and Table
Hello everybody
I am a retired man from Toronto, and I find wood working is very therapeutic. All credits to Mrs. Anna that’s she is been inspiring many people to engage with this activities. The most important steps to achieve my plan is sticking with the project I had planned. In the past as a rookie, I was very excited and started the project without a plan in order to speed up the process and finishing the task. The results were very disappointing and disaster.
Thank you for reading my experience.
Best regards
John
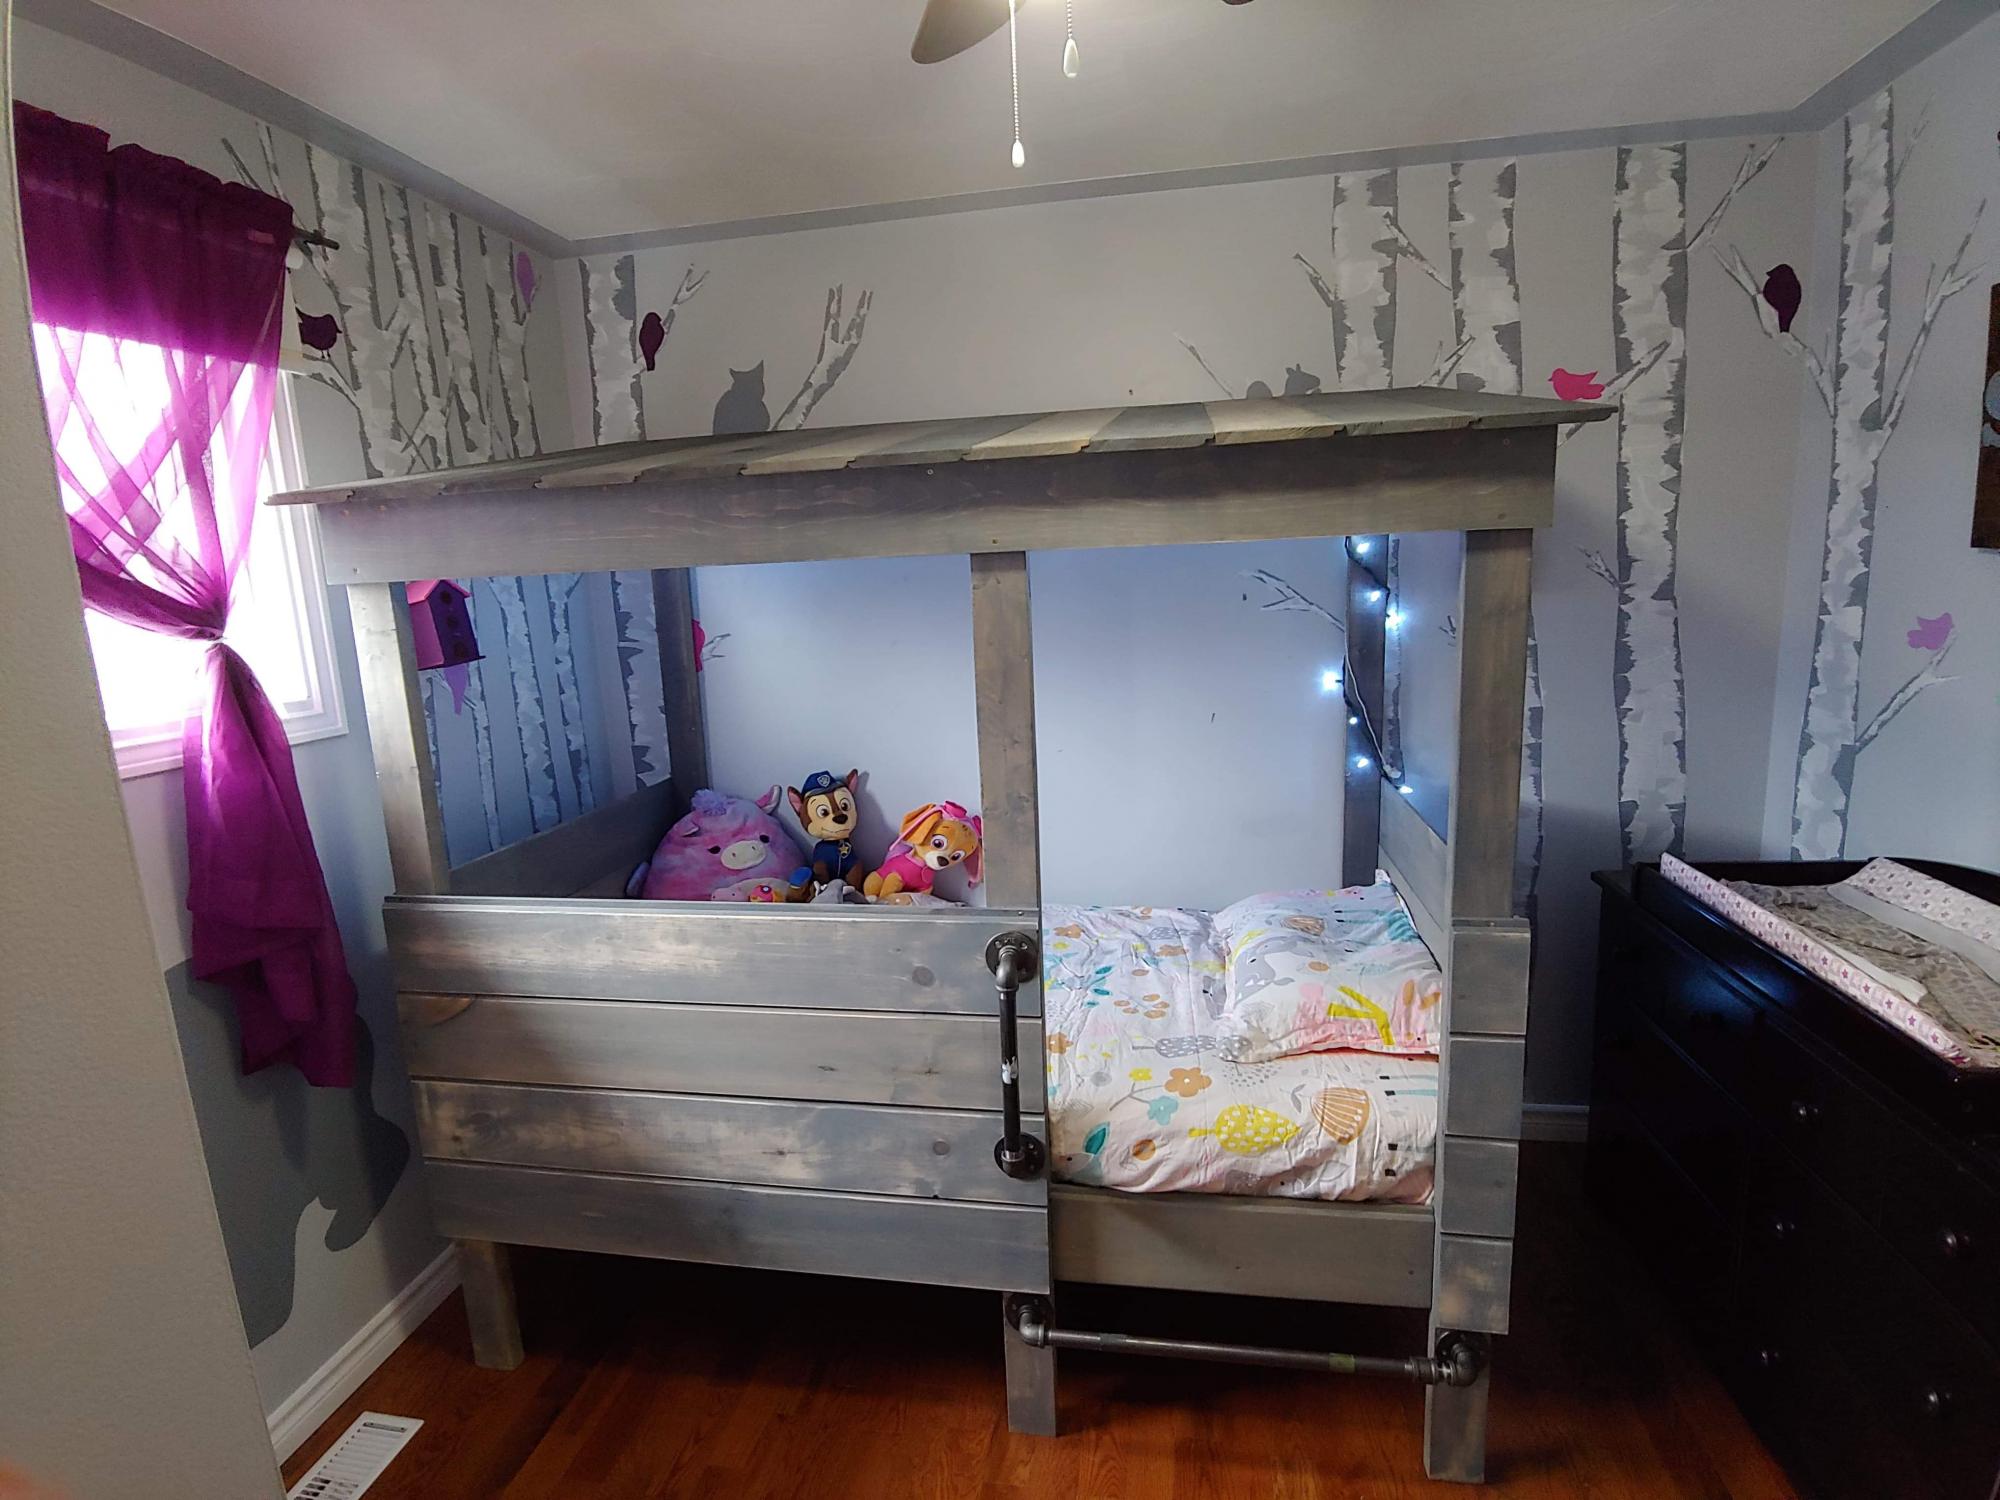
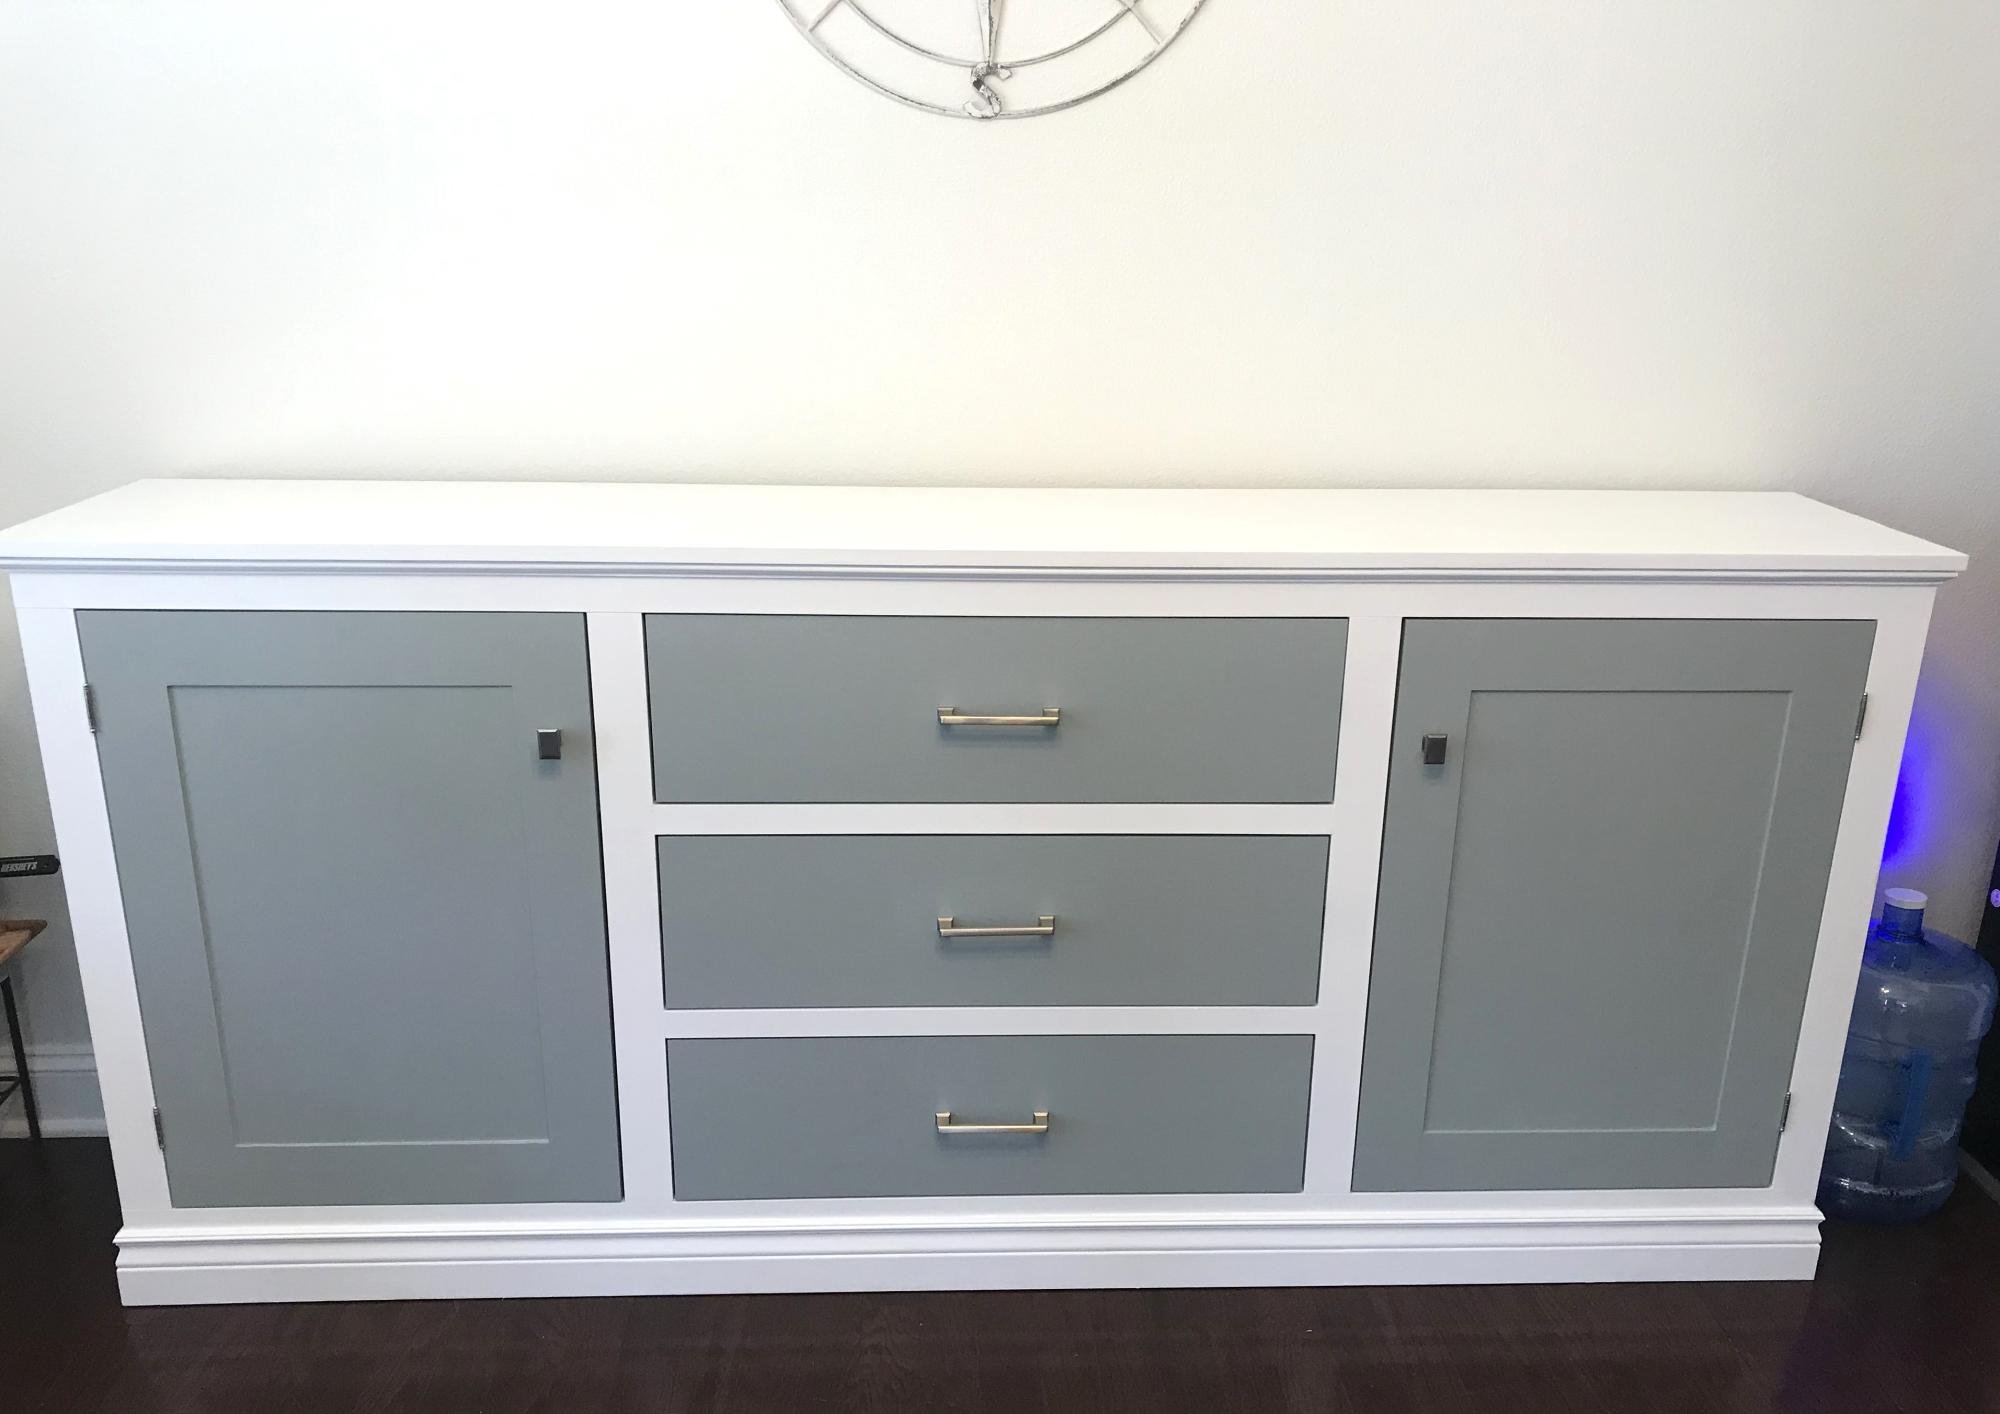
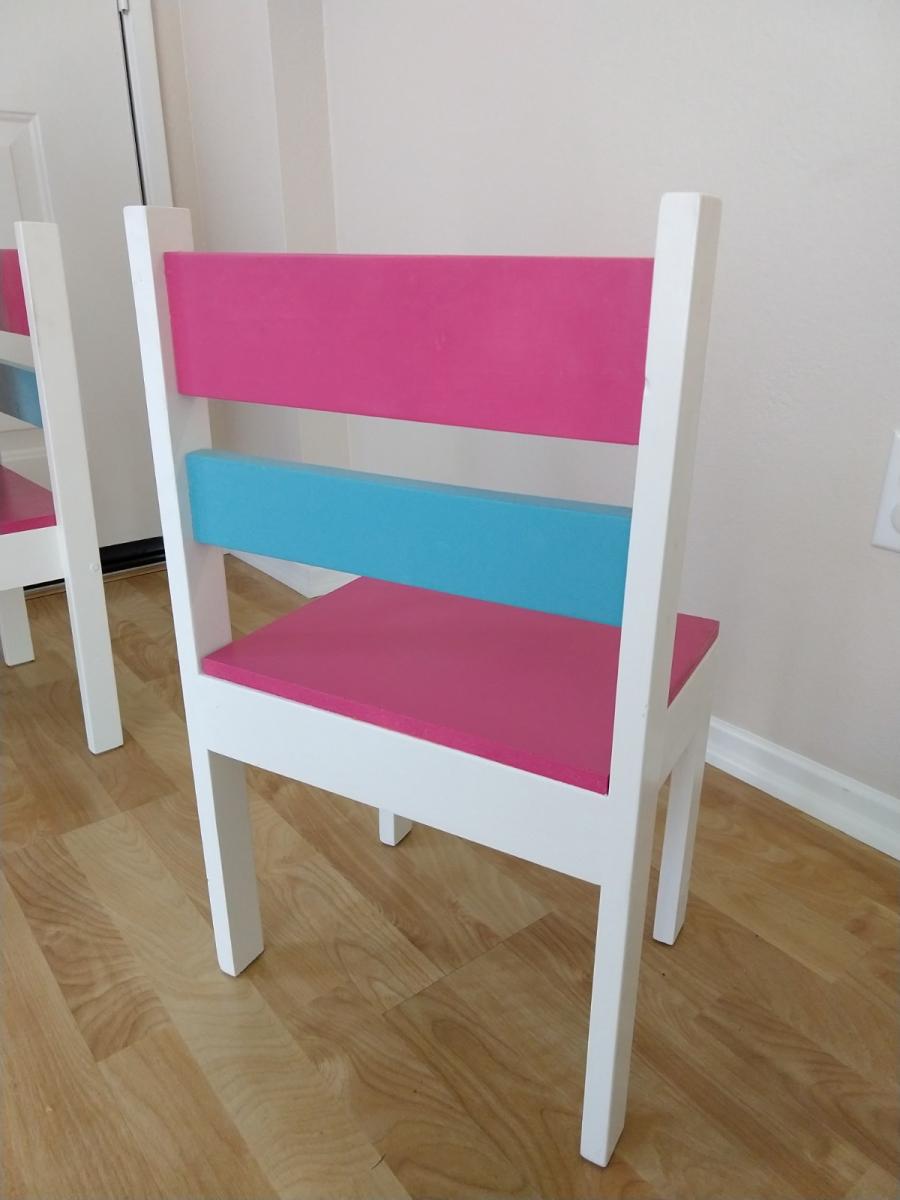
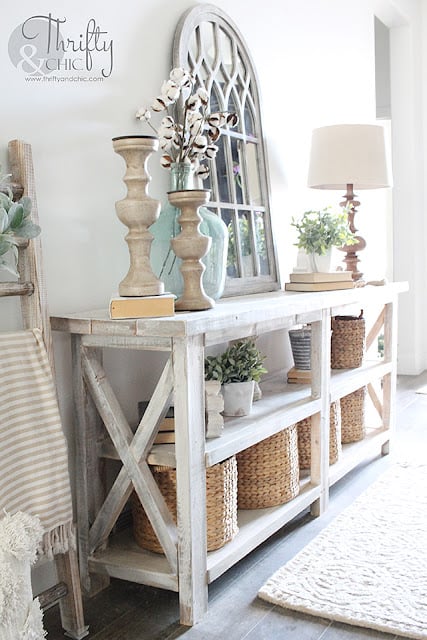
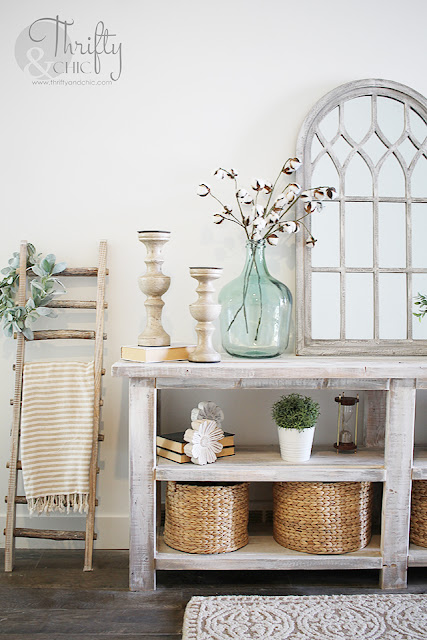
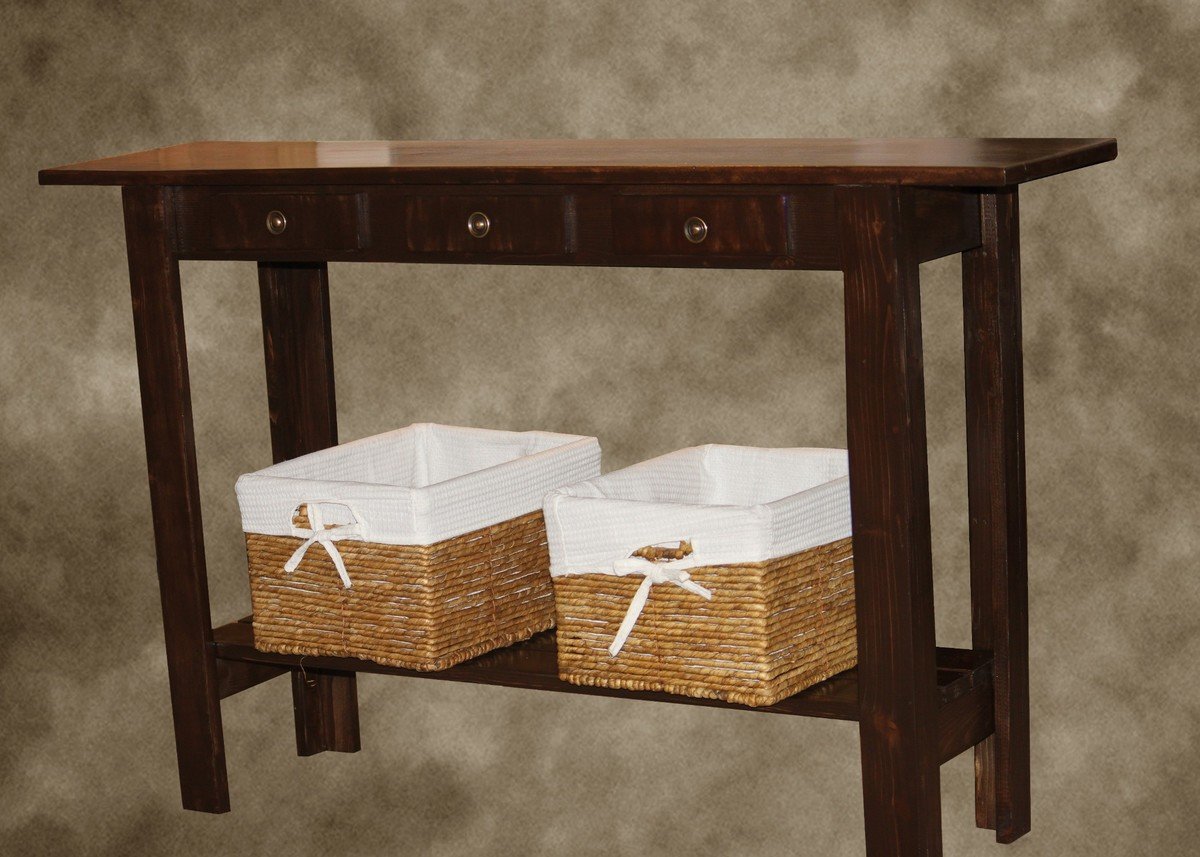
Built from Plan(s)