First big project.
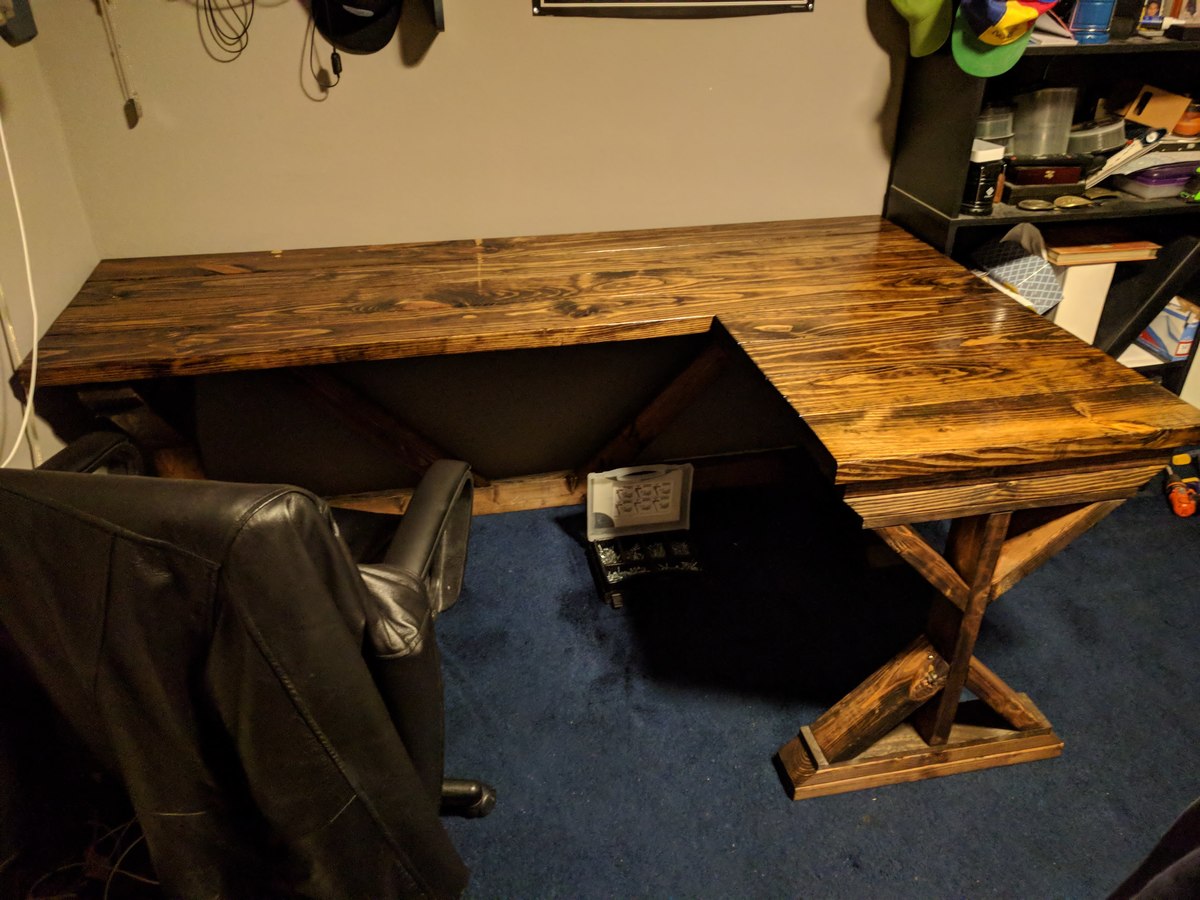
I needed a new desk and found some plans on Ana's website.Made a little modification to it for a little more work space. Turned out great I thought. Had never used pocket holes before, I think I'm hooked now.

I needed a new desk and found some plans on Ana's website.Made a little modification to it for a little more work space. Turned out great I thought. Had never used pocket holes before, I think I'm hooked now.

Easy plans for a cool table.

Thu, 03/24/2022 - 09:47
Thank you for sharing! Great build and love the color choice:)
When we moved into our home we had minimal furniture pieces. On a tight budget and not wanting to buy something that was made of veneer, I stumbled upon the attractive and functional plans for the cube shelves. I love that I can "add on" to the set with additional pieces if I want to in the future. But for now, one set of cube shelving is just right for us.
This was the first project that I used the table saw by myself, and while it went just fine I do think it would have been helpful to have another set of hands around. Piecing together the first two joints was a bit challenging with only one set of hands holding the wood and putting in nails. But once I got a few done, the piece really came together quickly. It literally took me just a few hours to cut the pieces and put it together. It's the sanding painting and priming that can take some time and patience!


This was my third or fourth project and it was pretty tough. I started out with the basic build which was pretty simple and then I got to the end where everything was built except for the drawer slides and boy was it rough. I think that i spend half of the time on this project doing the drawer slides and half the time doing the build and the finish. I don't want to discourage anyone from doing this project but make sure you don't get in over your head. Check out my profile I am willing to do builds for people for an inexpensive price.
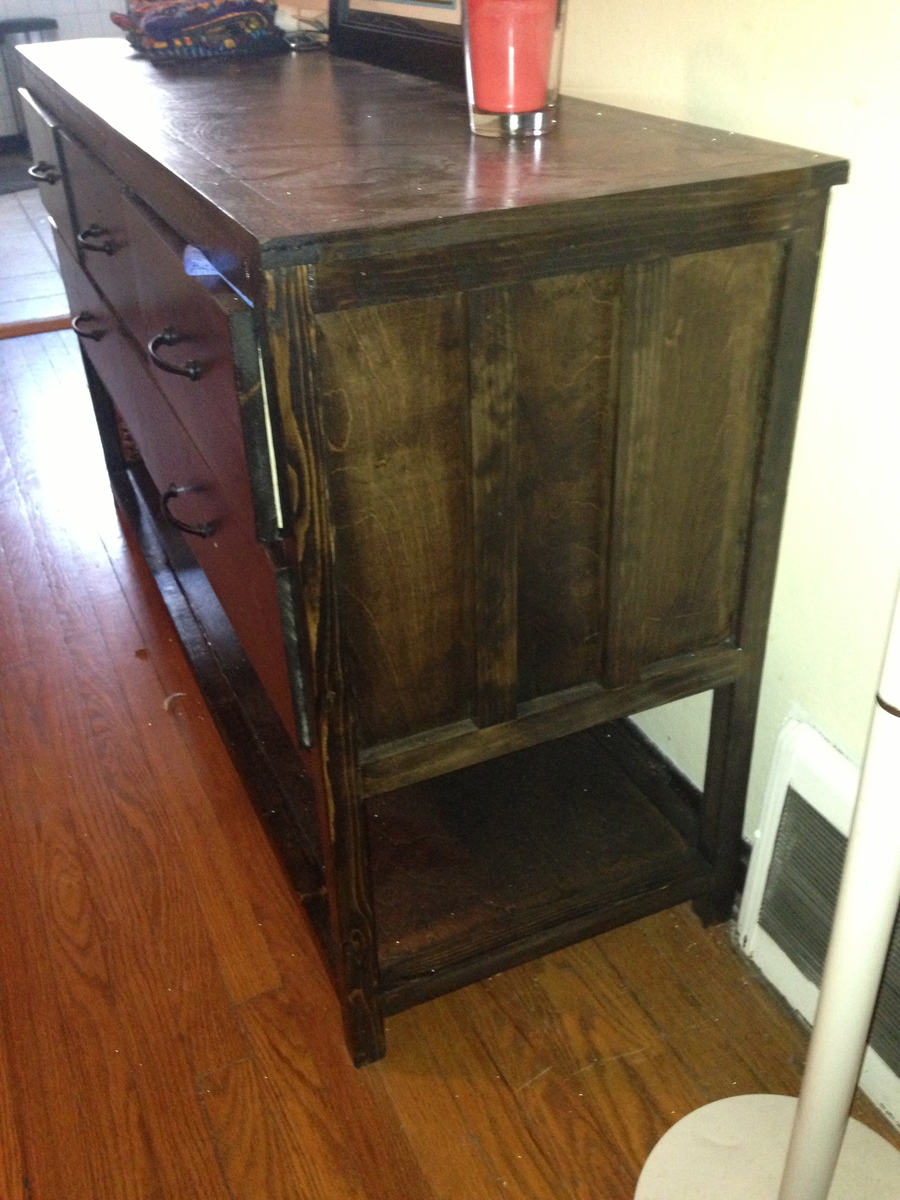
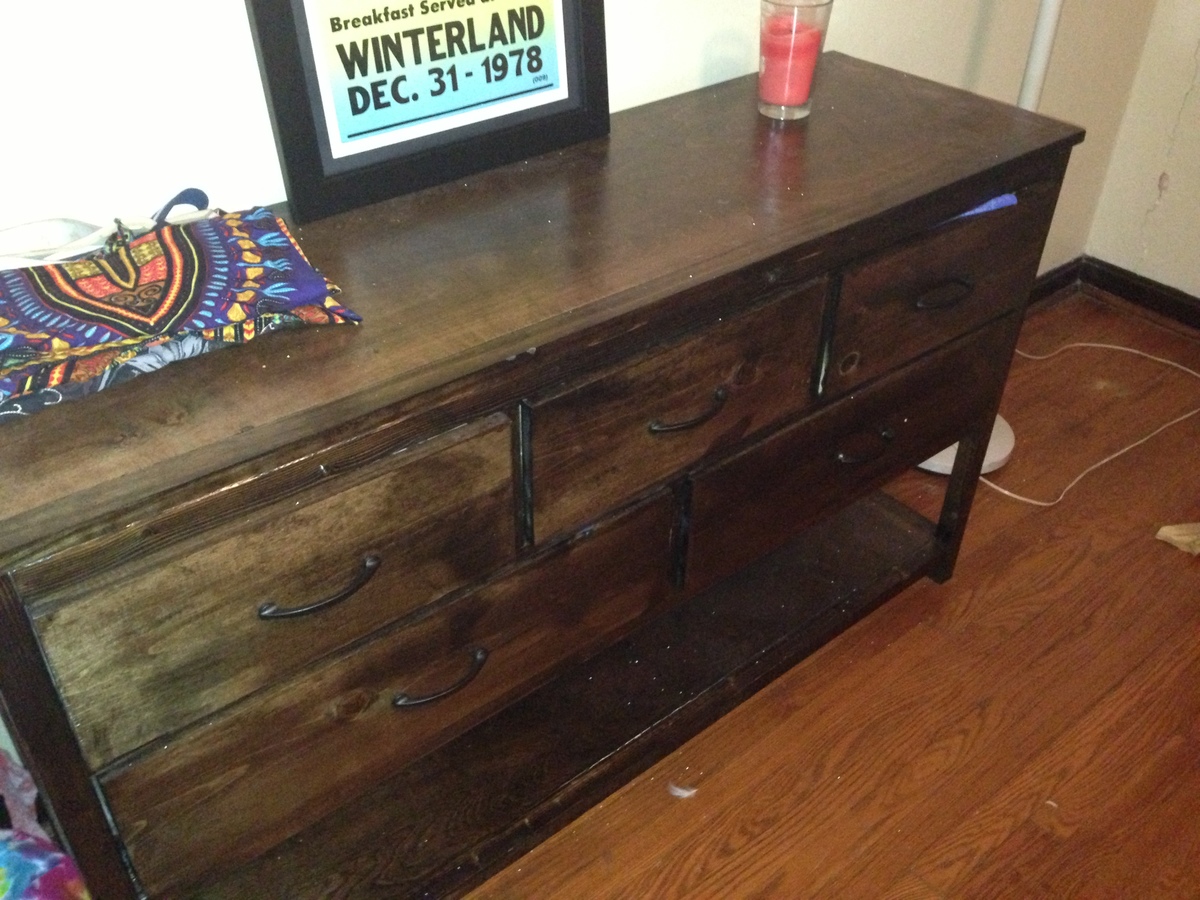
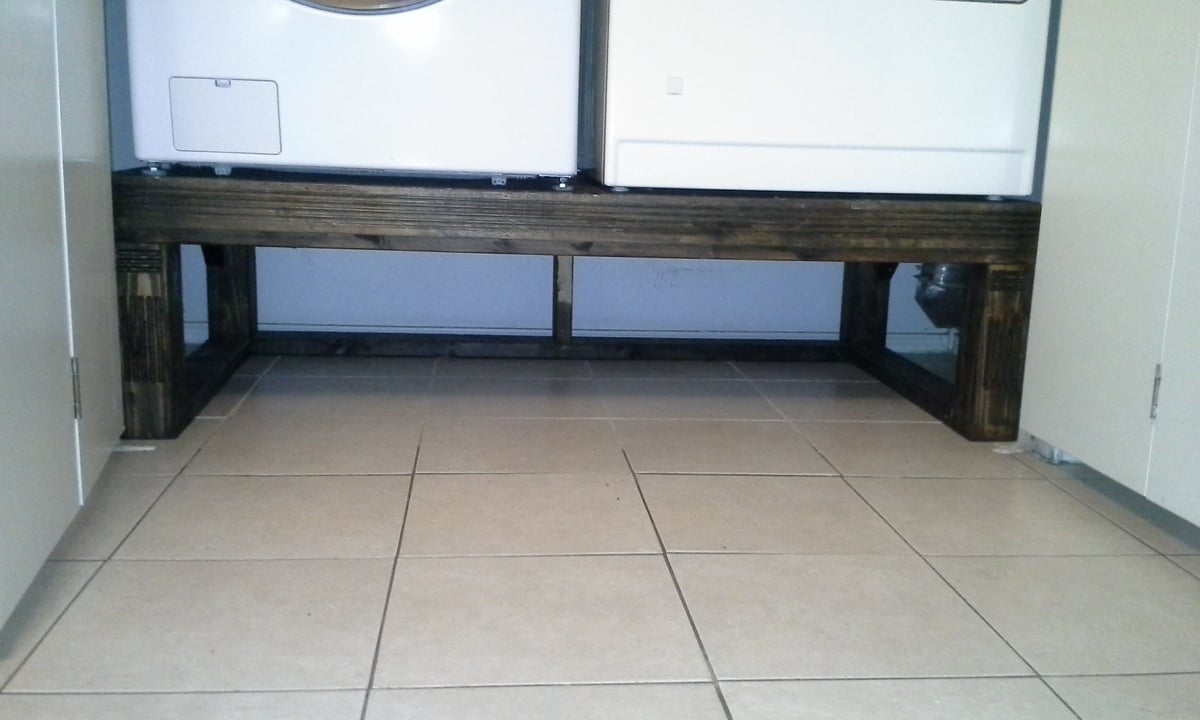
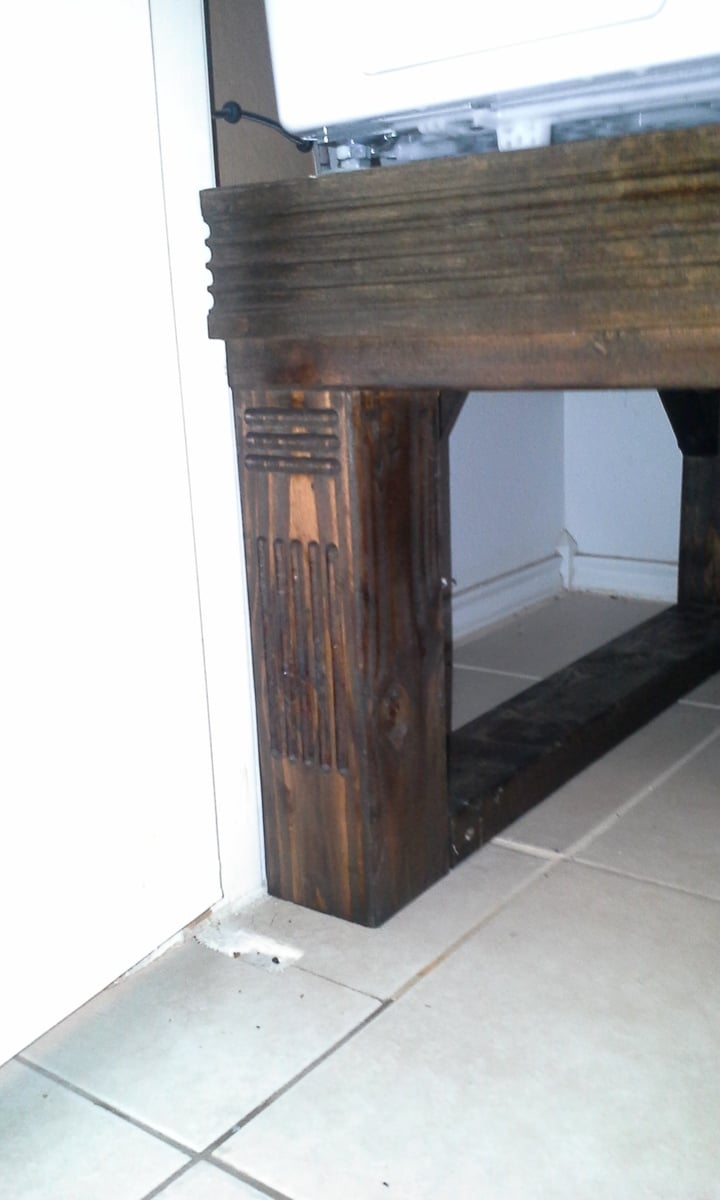
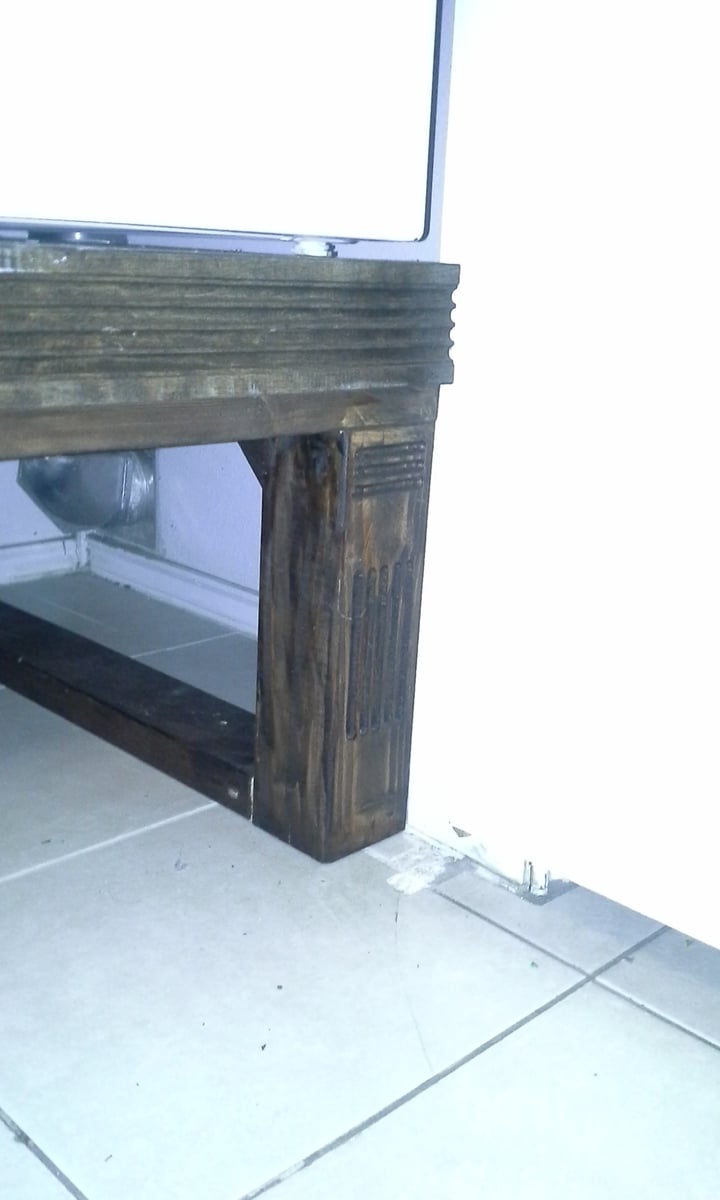
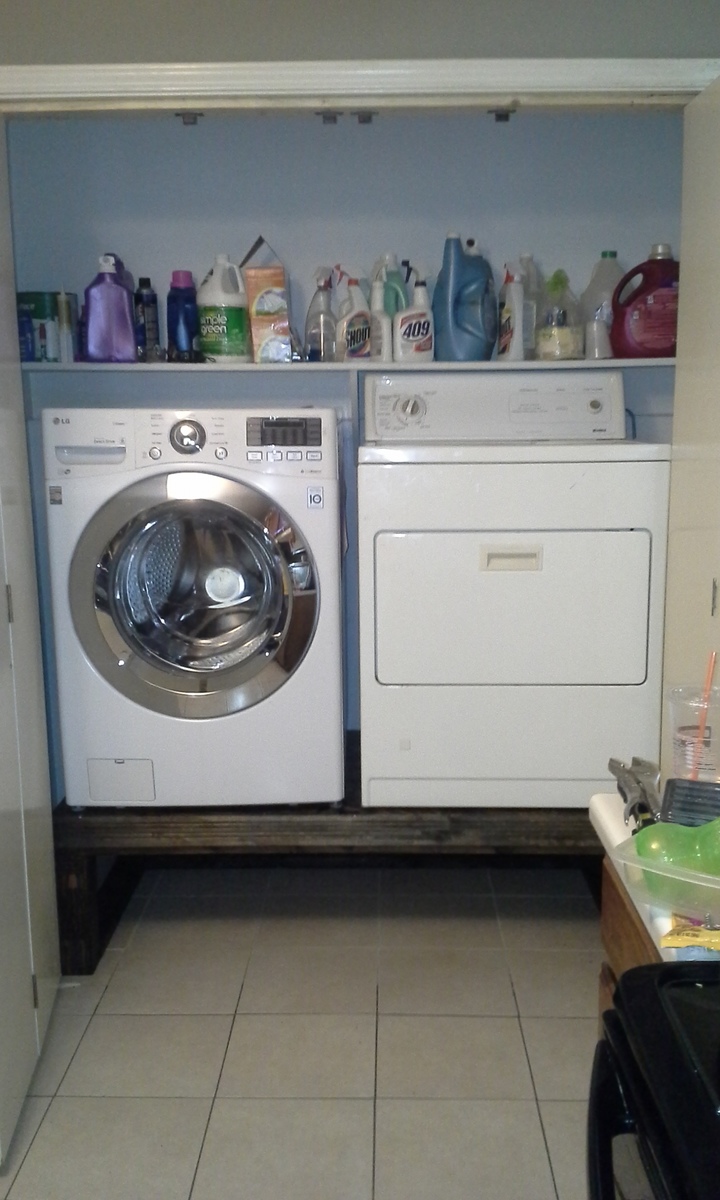
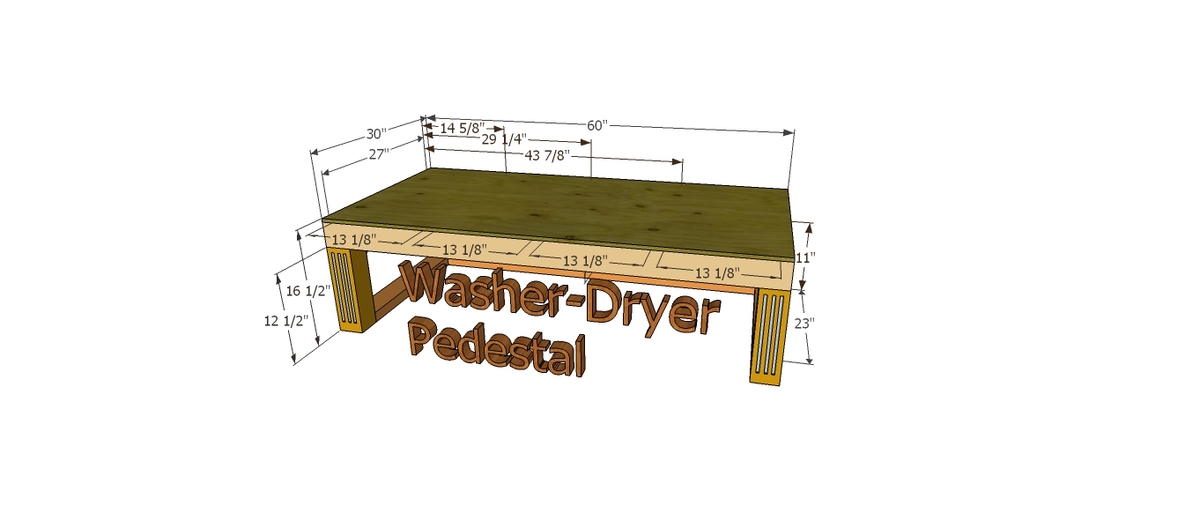
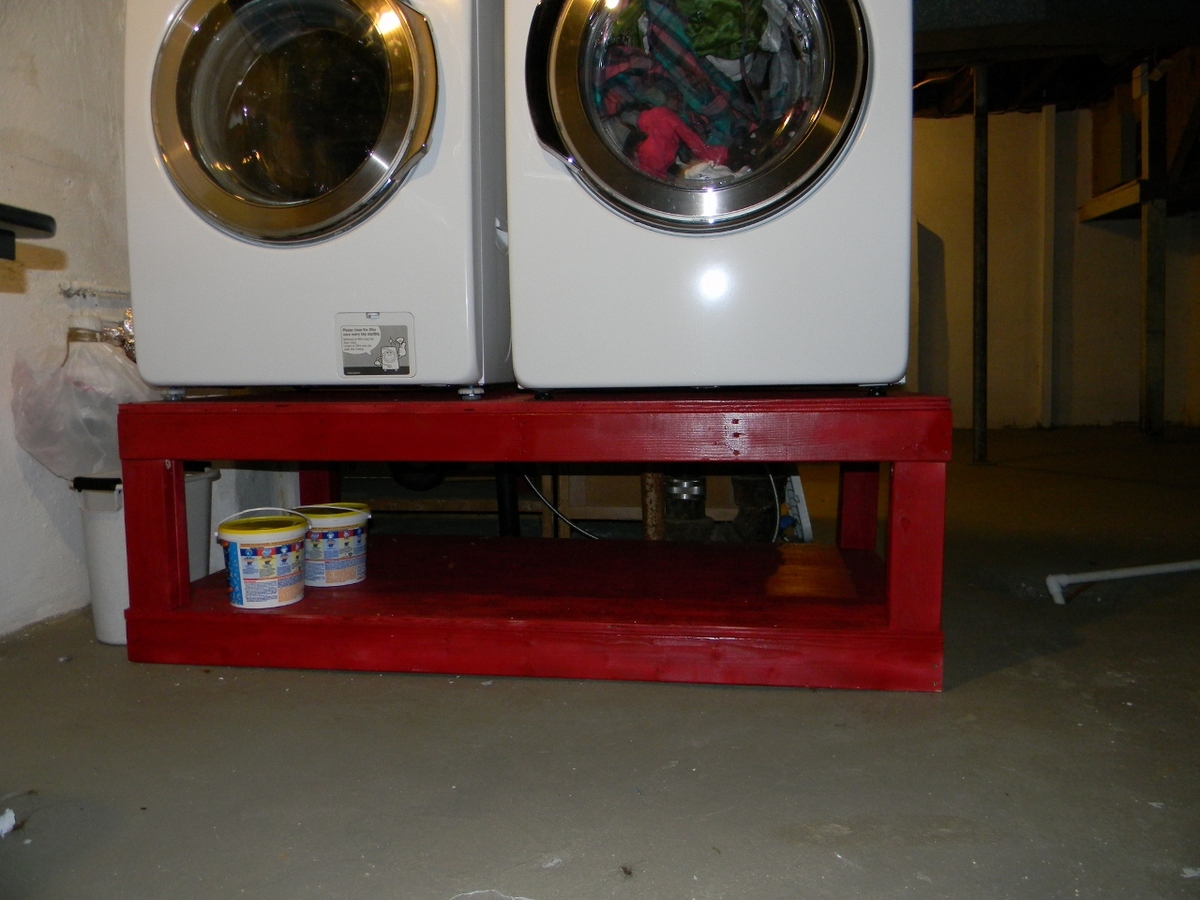
I had worked on this project a while ago, but did not had time to add my brag post. I actually modified the dimensions to fit my needs. I enjoyed making this pedestal along with my son.
My daughter's room needed more storage and the closet was the perfect place to add some! Visit the blog link for more pictures.
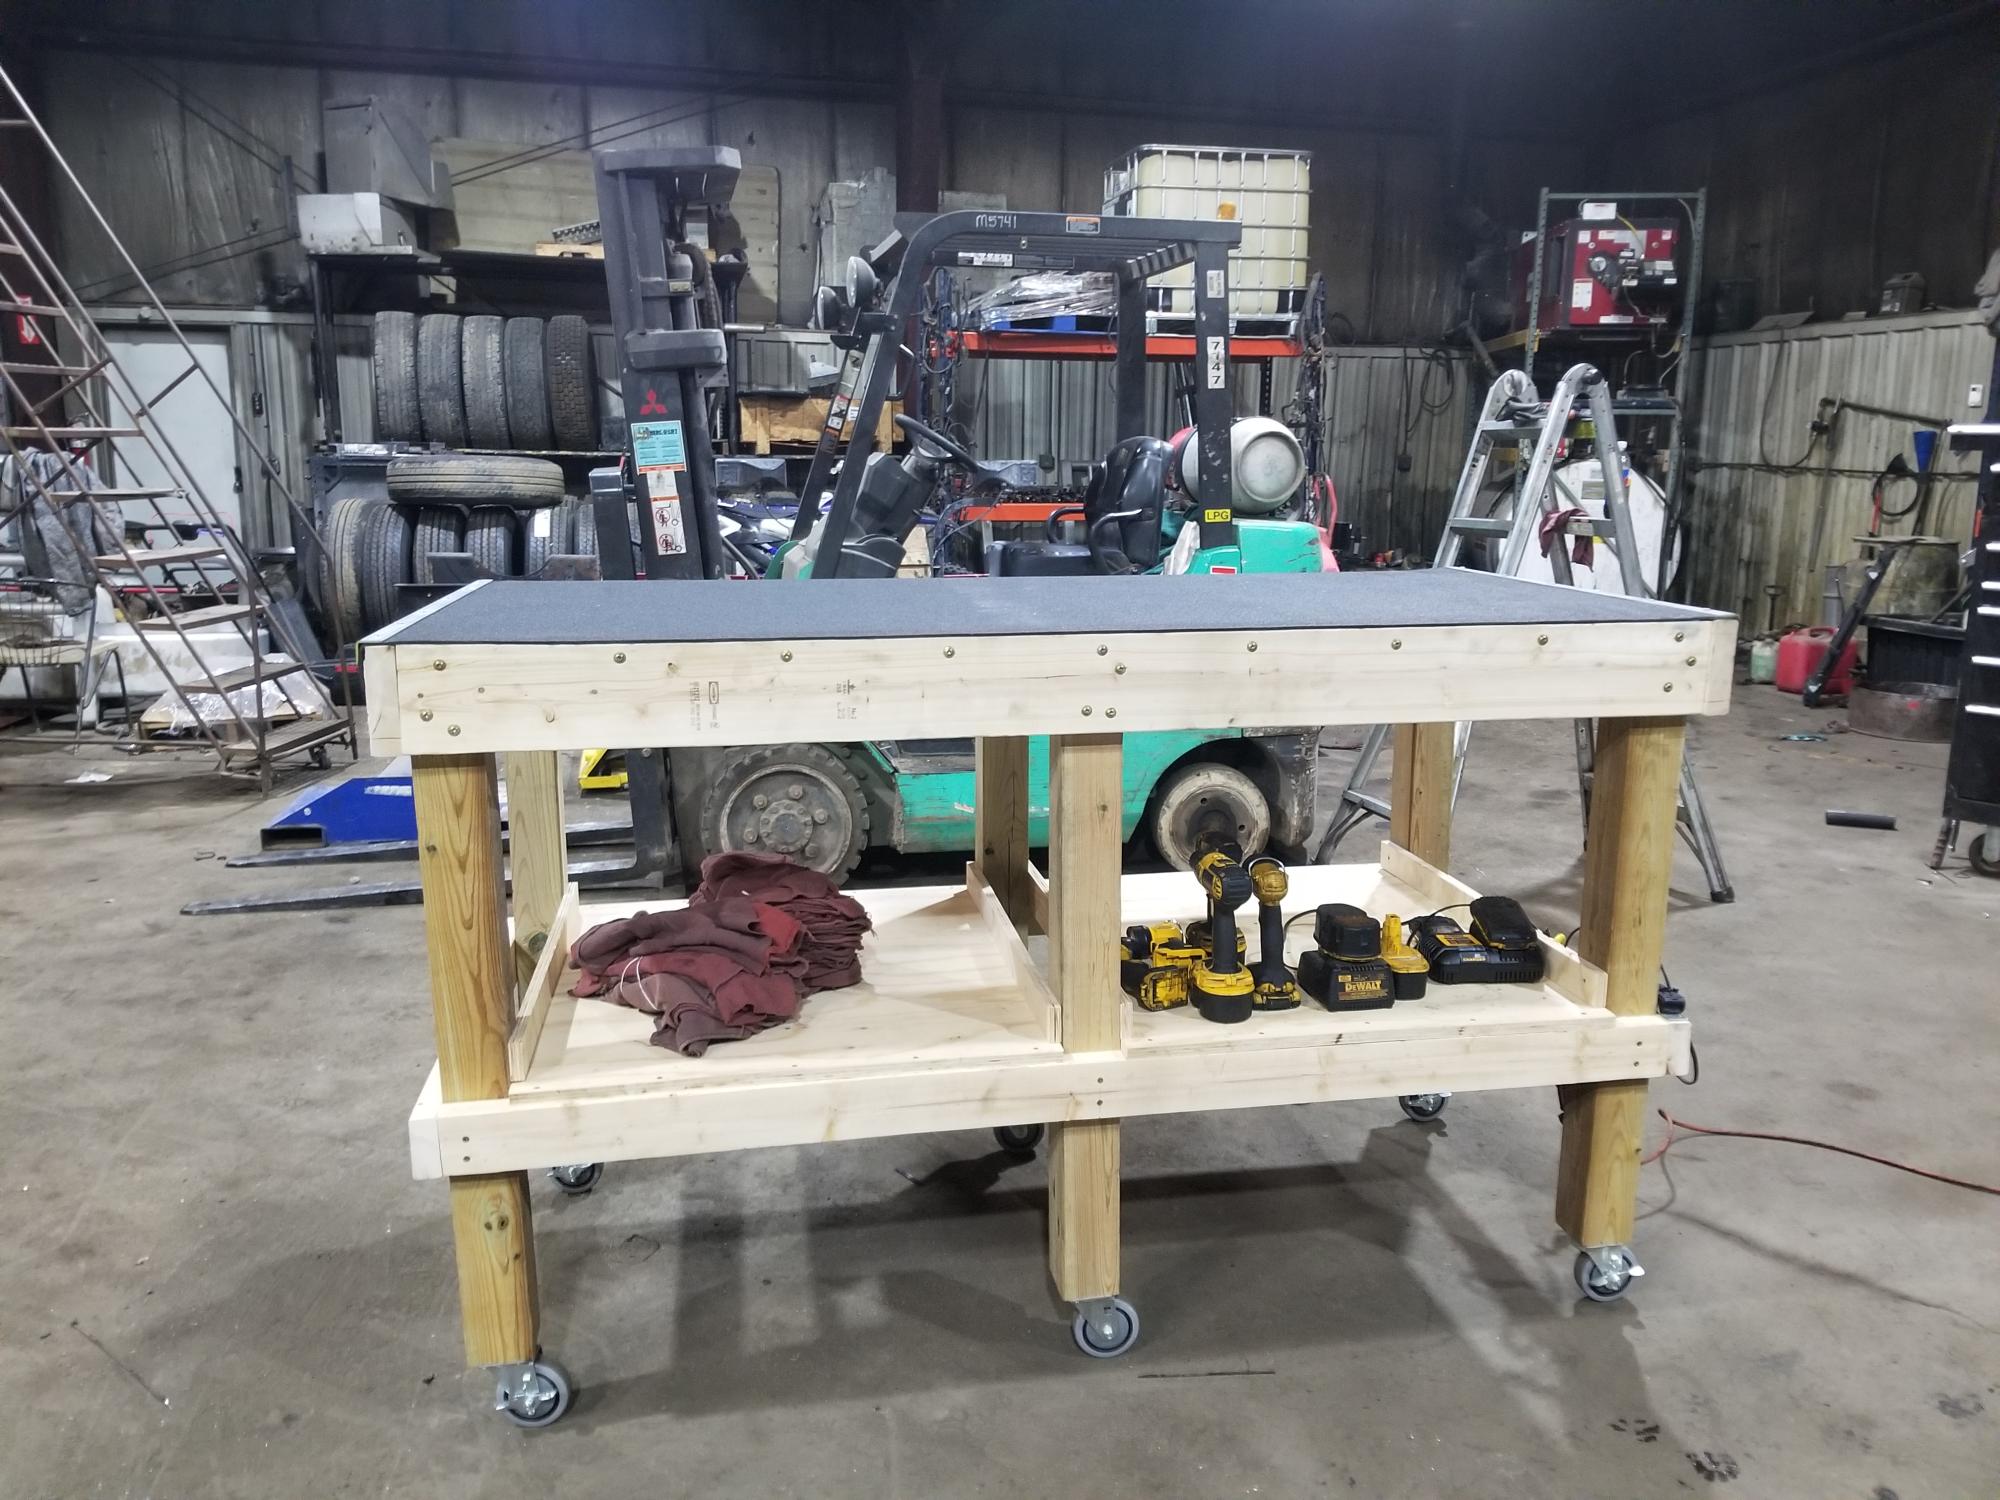
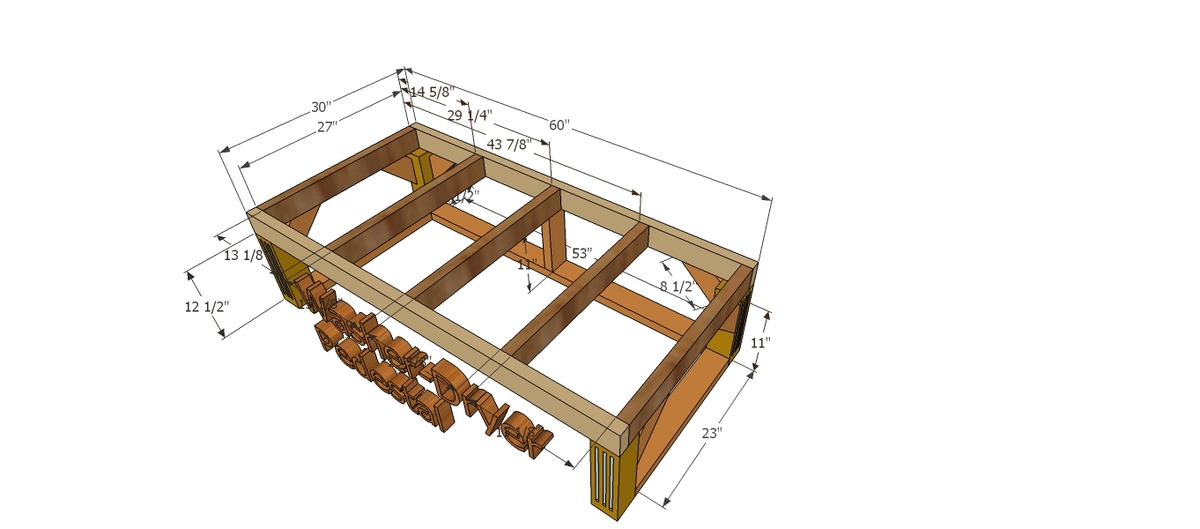
Awesome mechanic's workbench with sweet mods!

This was my first project for our newly purchased house. I built it in the 1-car garage and patio of the duplex we were living in prior to our move. I haven't put the trim pieces on yet because it we moved and started using it the day after I got it screwed together.
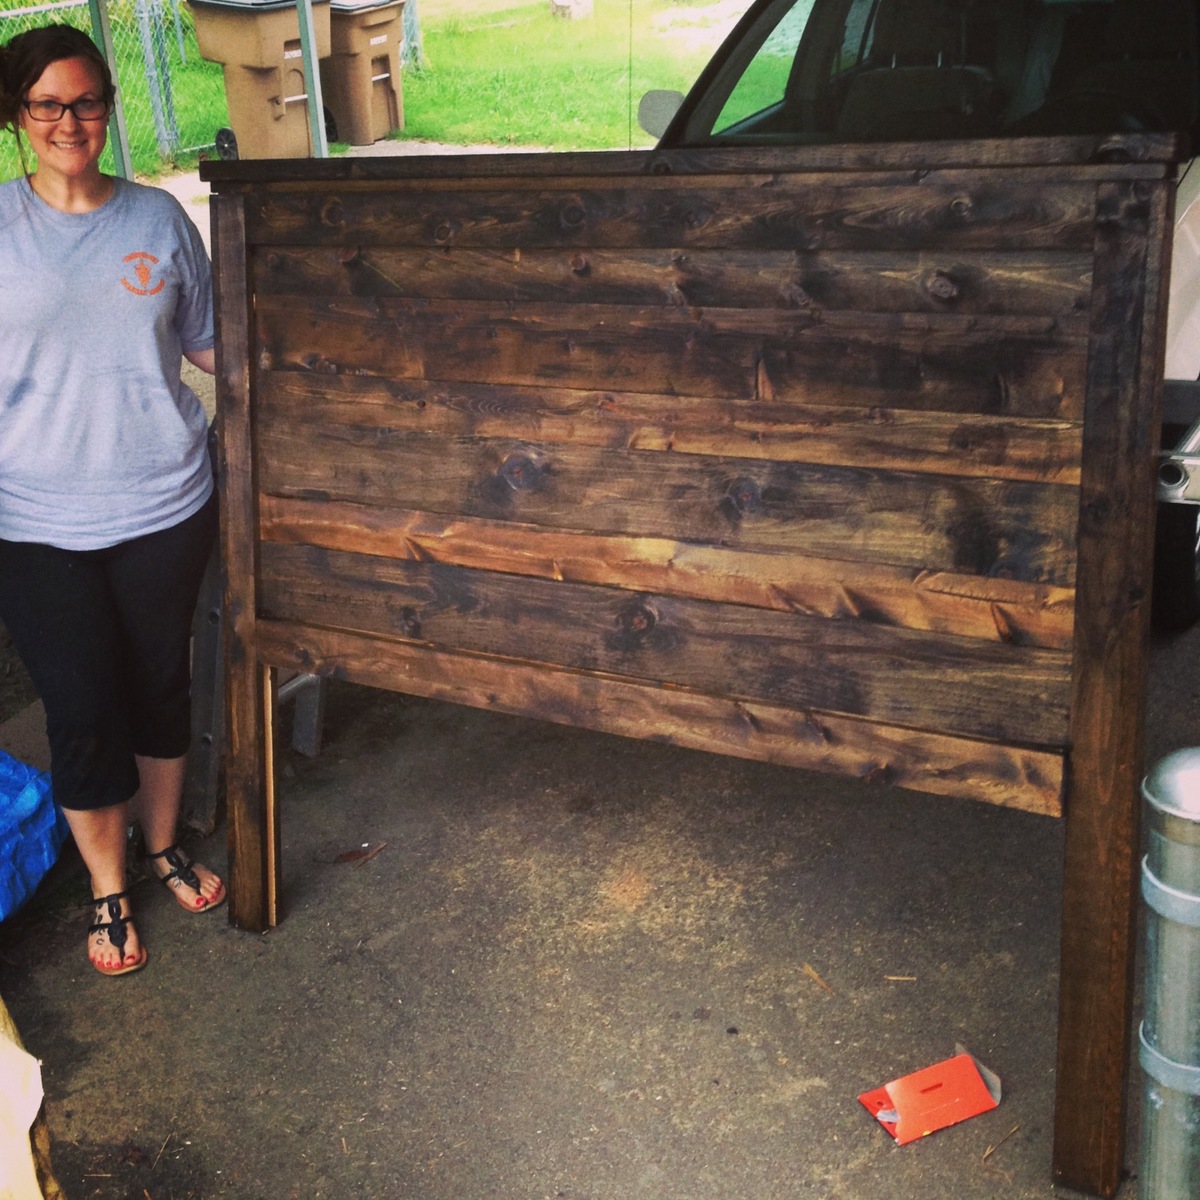
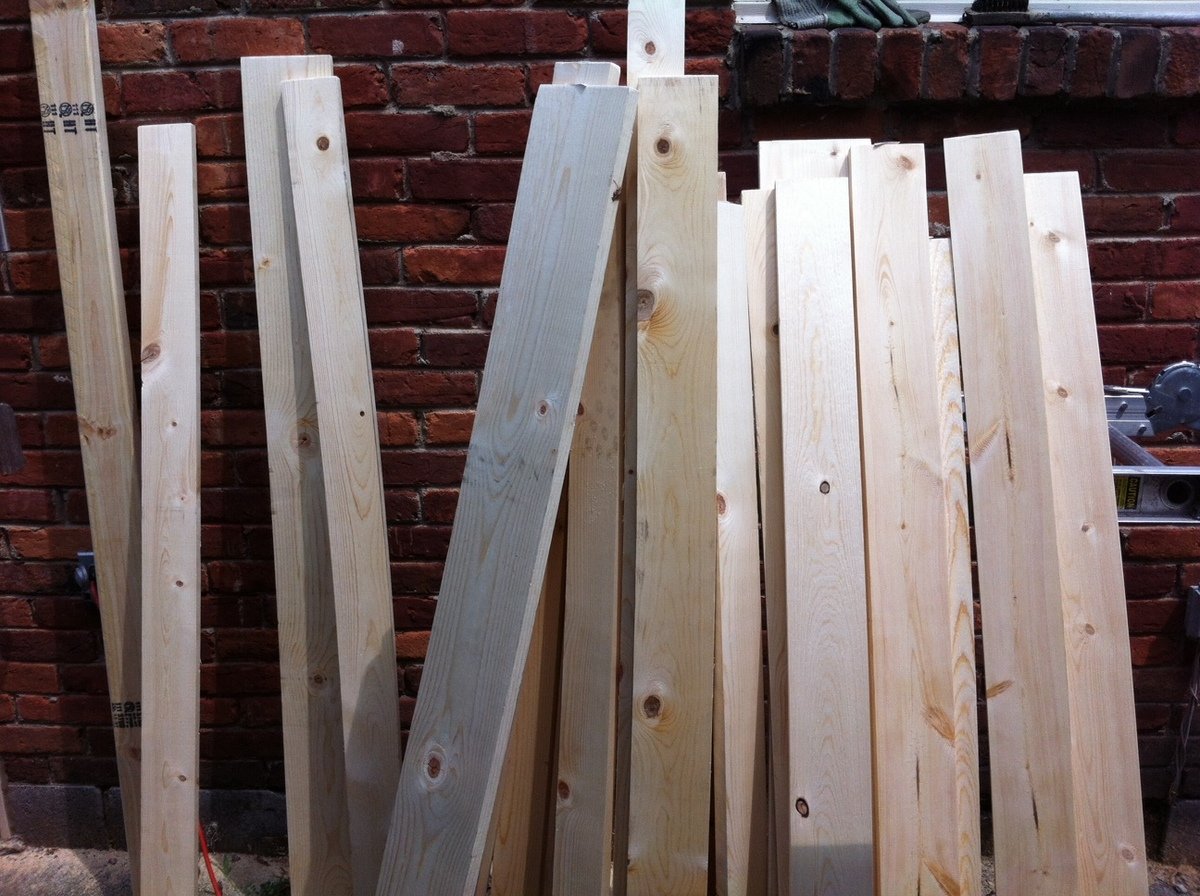
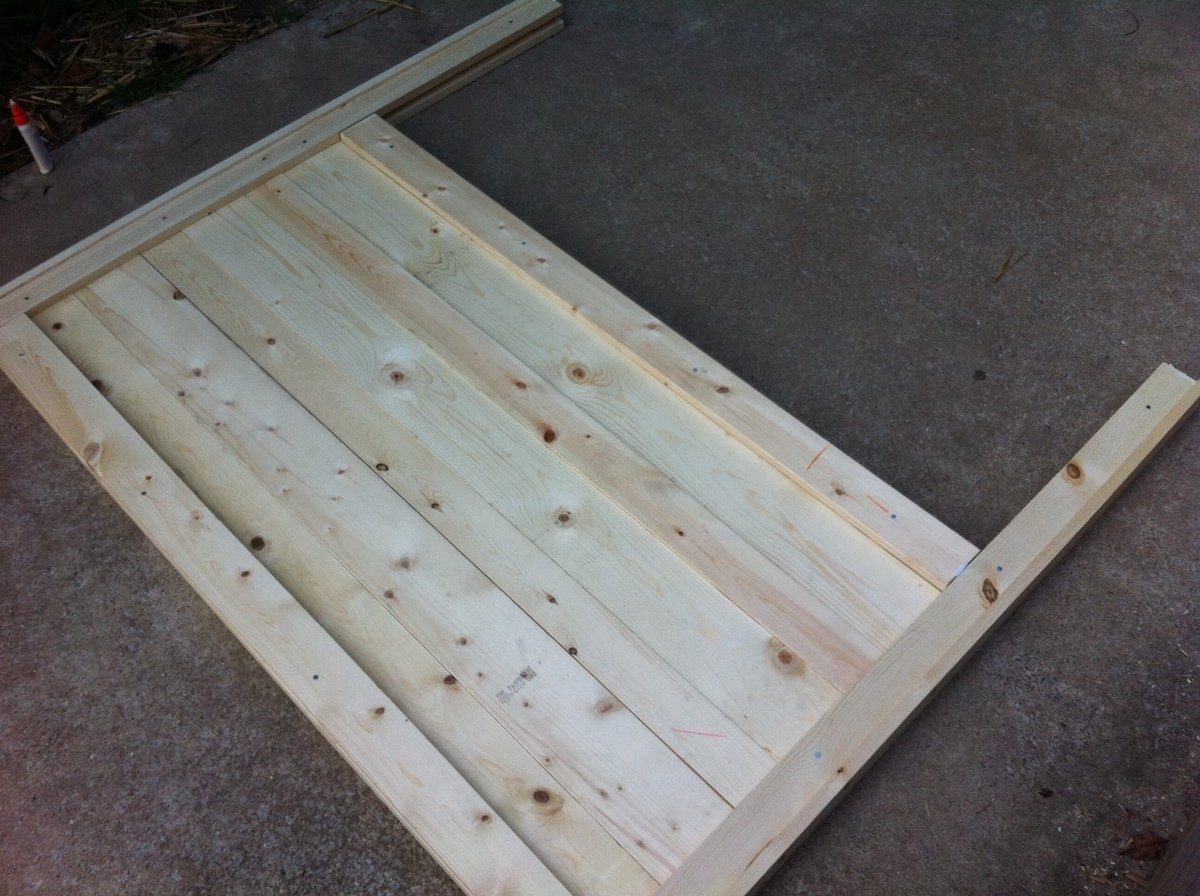
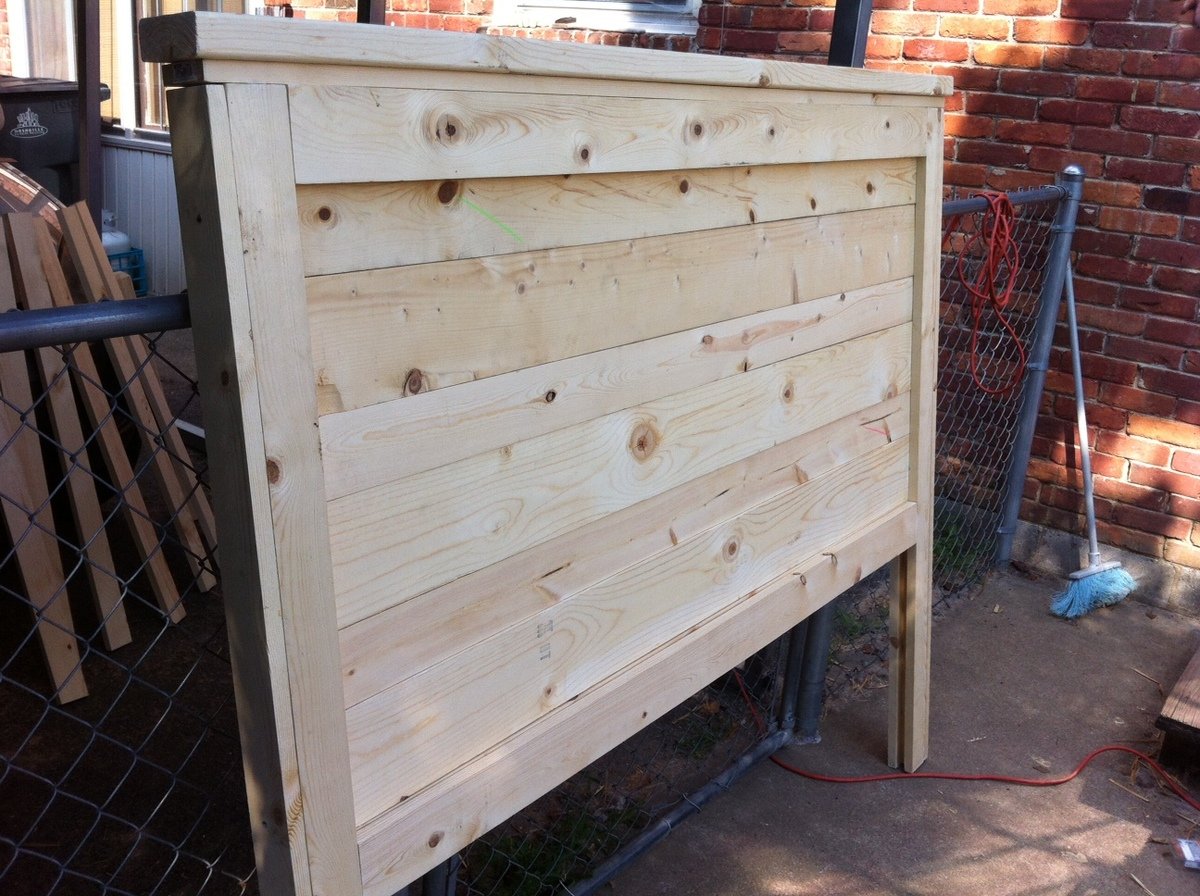
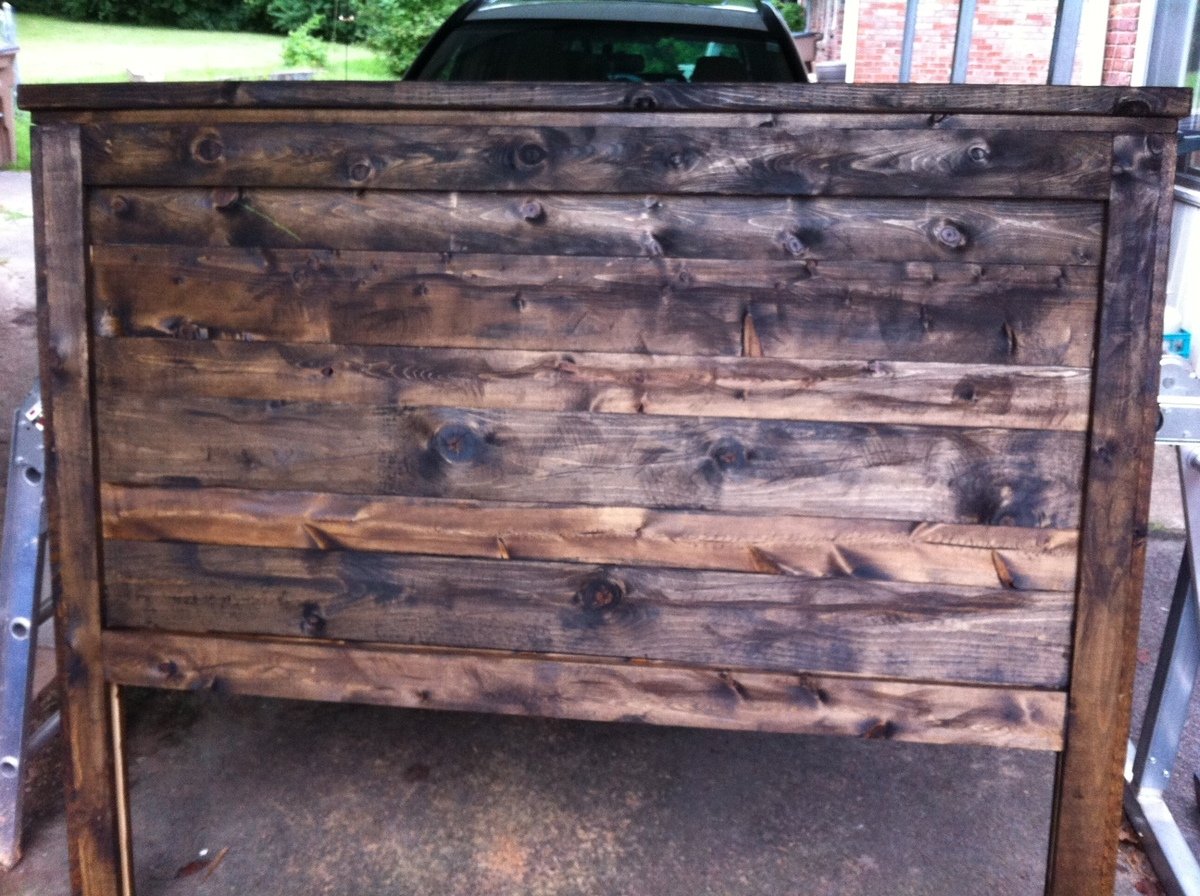
Fun project! This headboard is HEAVY and sturdy. Mine ended up being more expensive than other people have reported theirs to be...about $100 total for wood and 1 box of nails...not sure why that happened, but I got the cheapest wood I could find at Lowes and that's still what it ended up being. Overall, I'm happy with how it turned out and am excited to add it to my pair of nightstands that I made from the site. Thanks Ana!
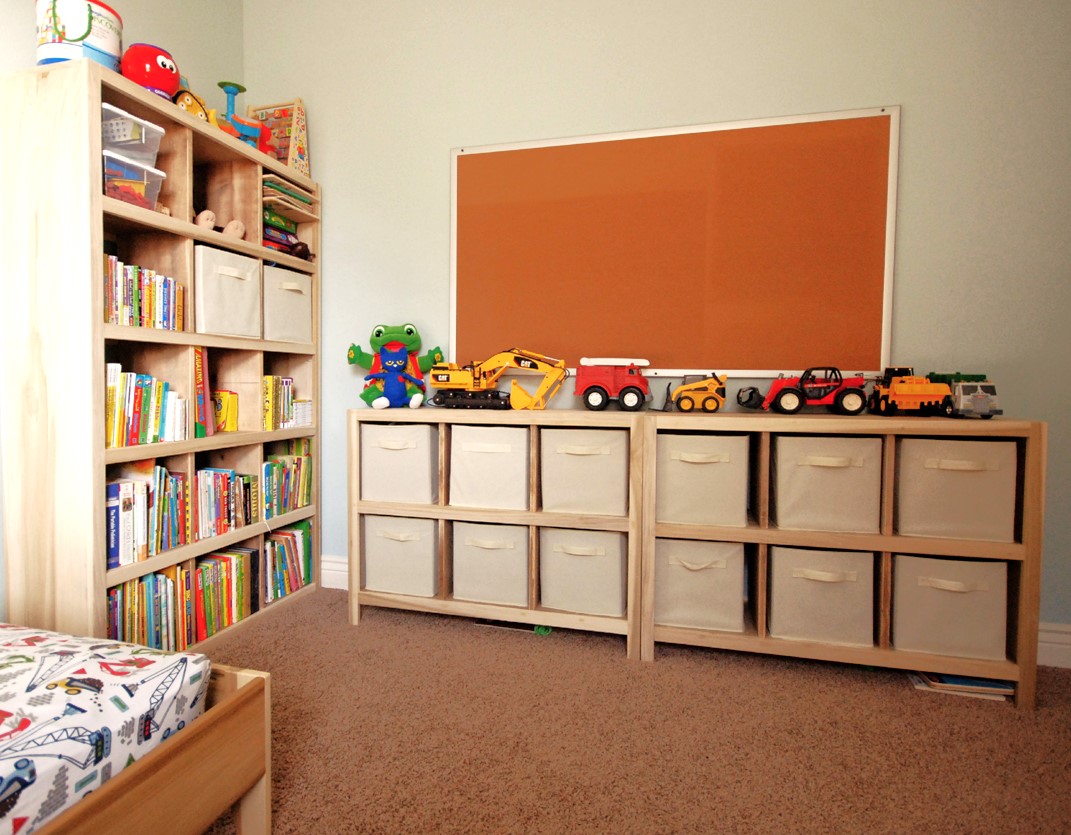
I built this set of cube shelves for my 3 yr old son's room. THANK YOU, ANA! I used poplar as I did not want to paint the wood and I love the irregular pattern of the wood grain. To save money, I used pine for the inner shelves and dividers. I stained it using the oxidized solution (http://www.friendly-home.net/2012/05/oxidized-x-console.html) that Ana recommended from the instructions of the Rustic Console. I added a cup of coffee to the solution to get a darker browner shade and unevenly sanded the wood for the distressed look. It matches the poplar wood more so than keeping the pine wood as is.
I also created a 5-tier version to match the 6 cube shelves but did not include the legs. I thought it would be more stable to keep the lower frame on the ground.
I purchased the storage boxes from Amazon It was around $20 for 6 boxes!
I am ready for the next project!
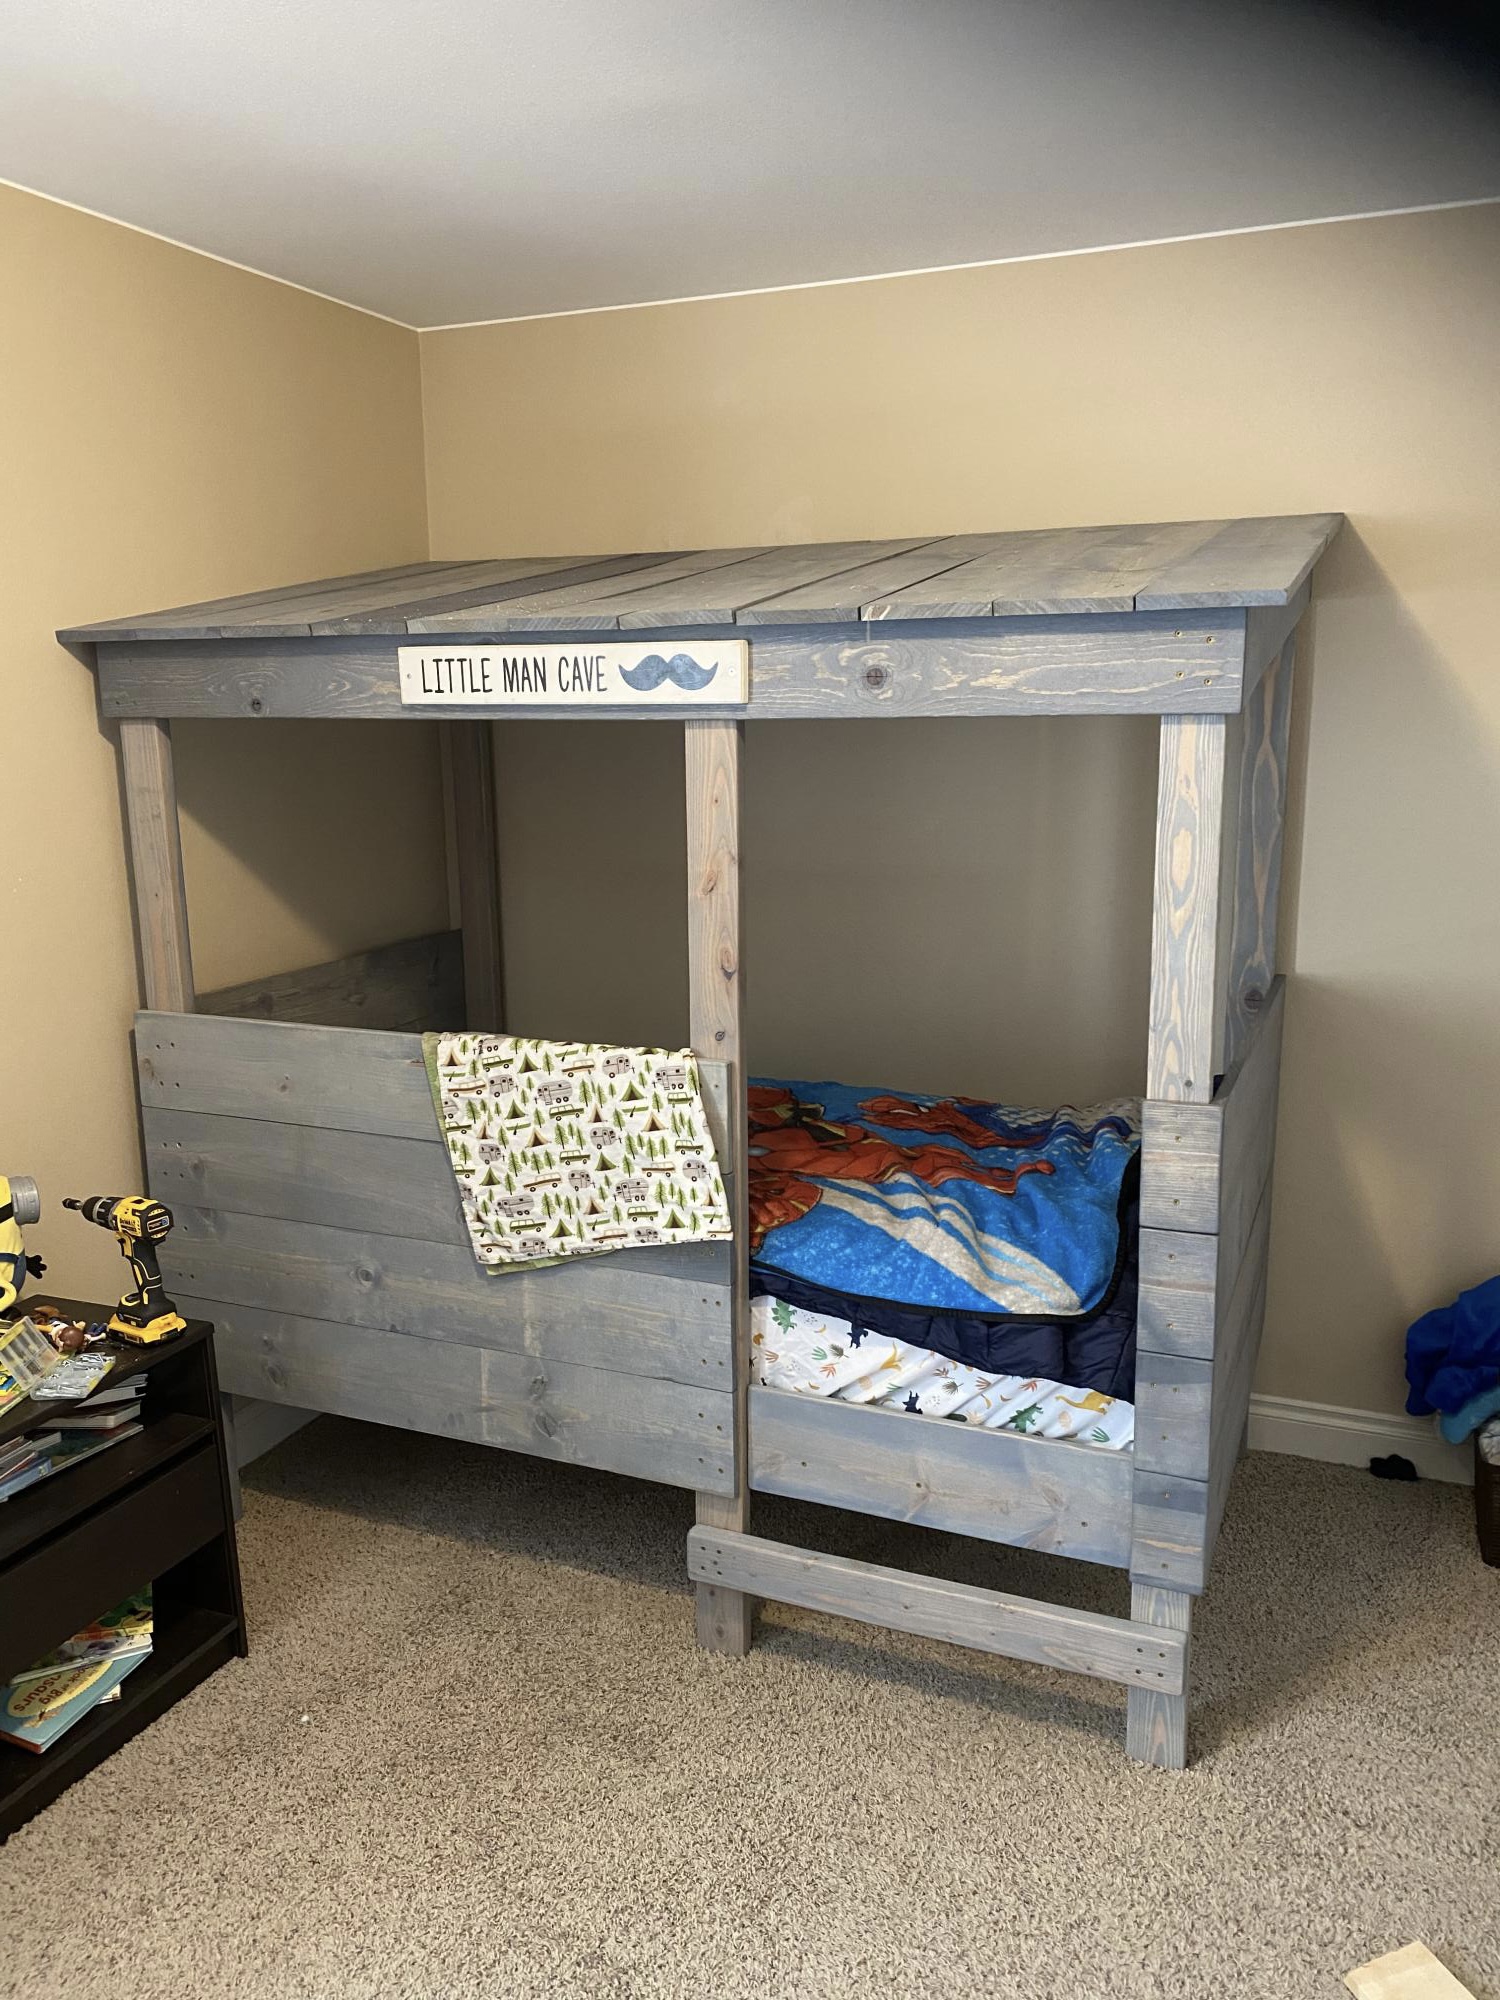
Great project. Simple enough to feel like you can do it, big enough to feel accomplished when it’s done. My son loves his new bed!!

I loved this plan and used some furring strips of wood we already had. Will use finished wood next time. It cost about $5 for the wood and hardware and I already had the fabric. I did use decorator fabric instead of outdoor fabric. Which means if it's left outdoors it will fade faster than outdoor fabric. If anyone doesn't sew but wants to make this chair, please email me at [email protected] because I have a sewing business and can make the chair seats and even monogram them.
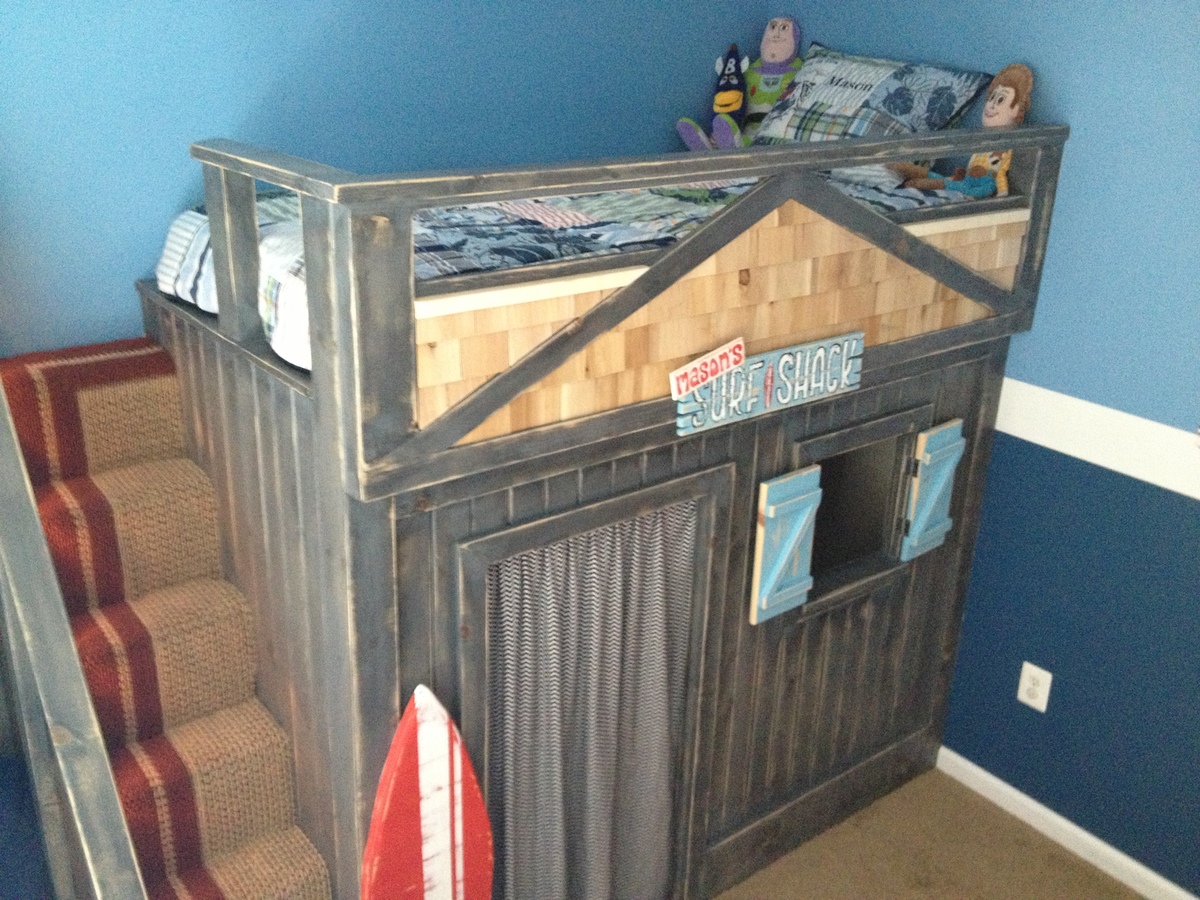
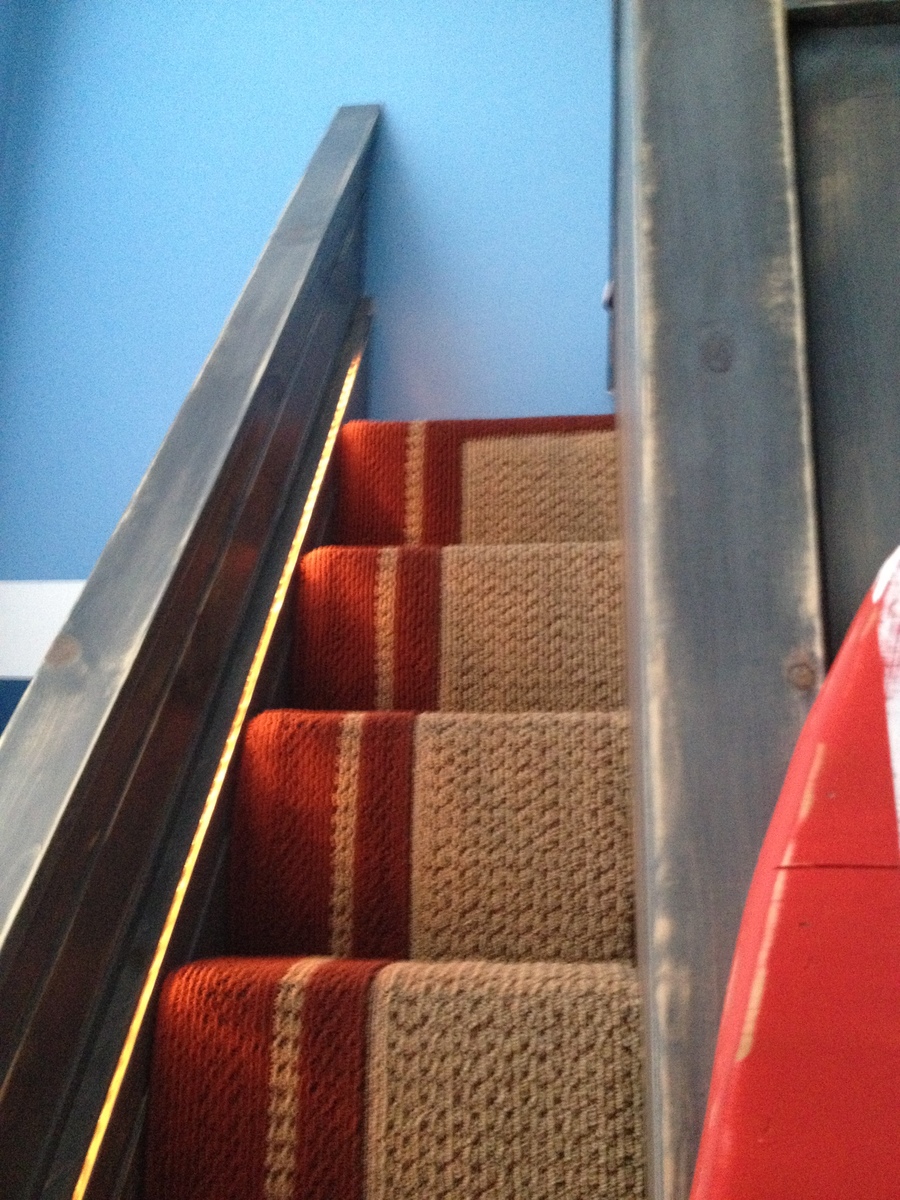
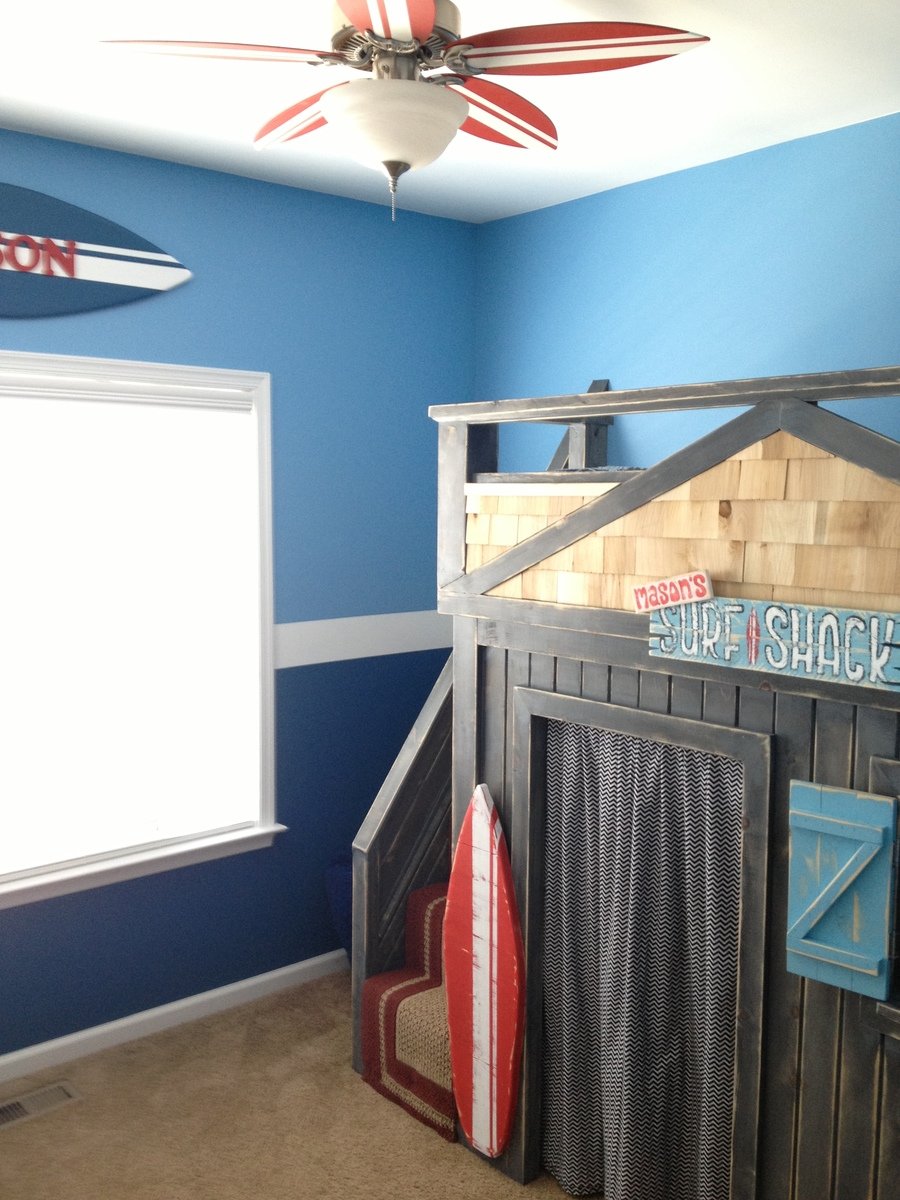
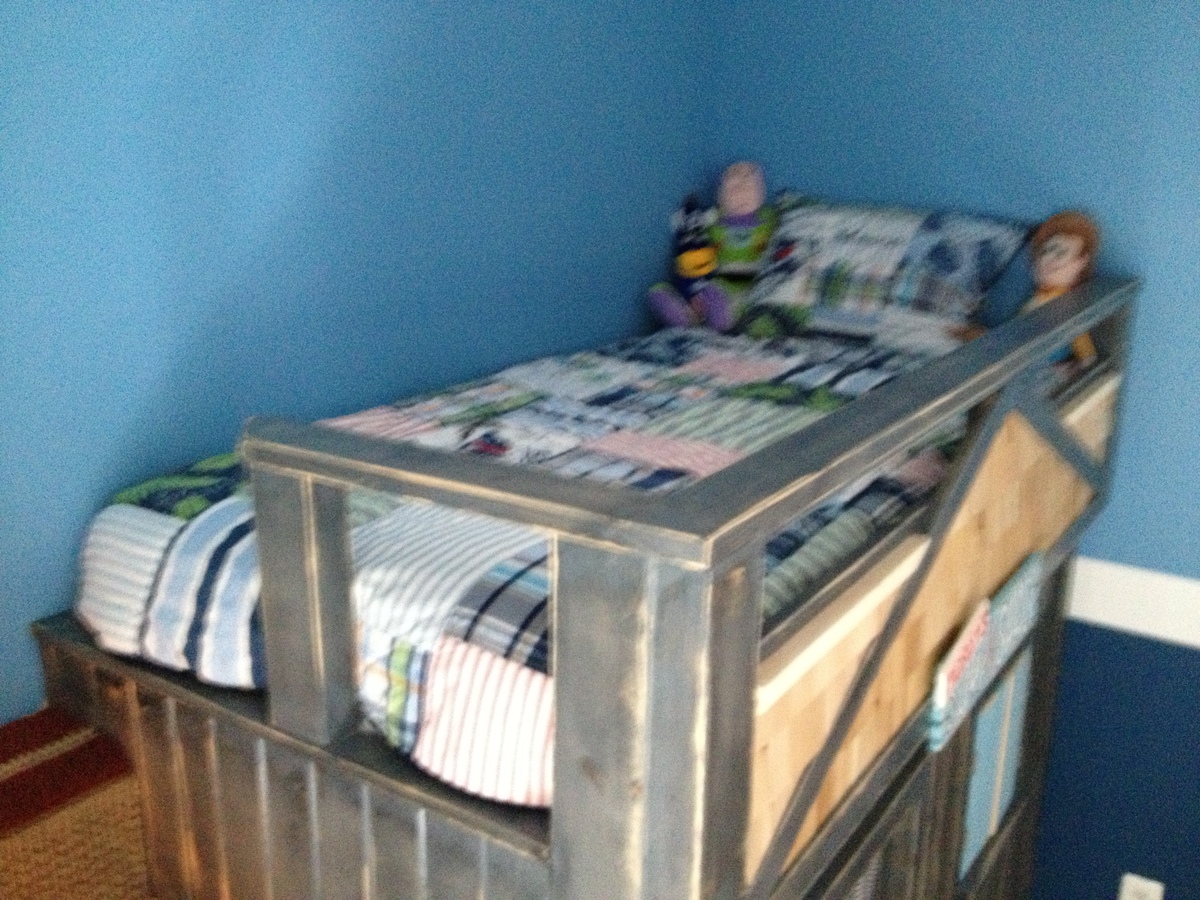
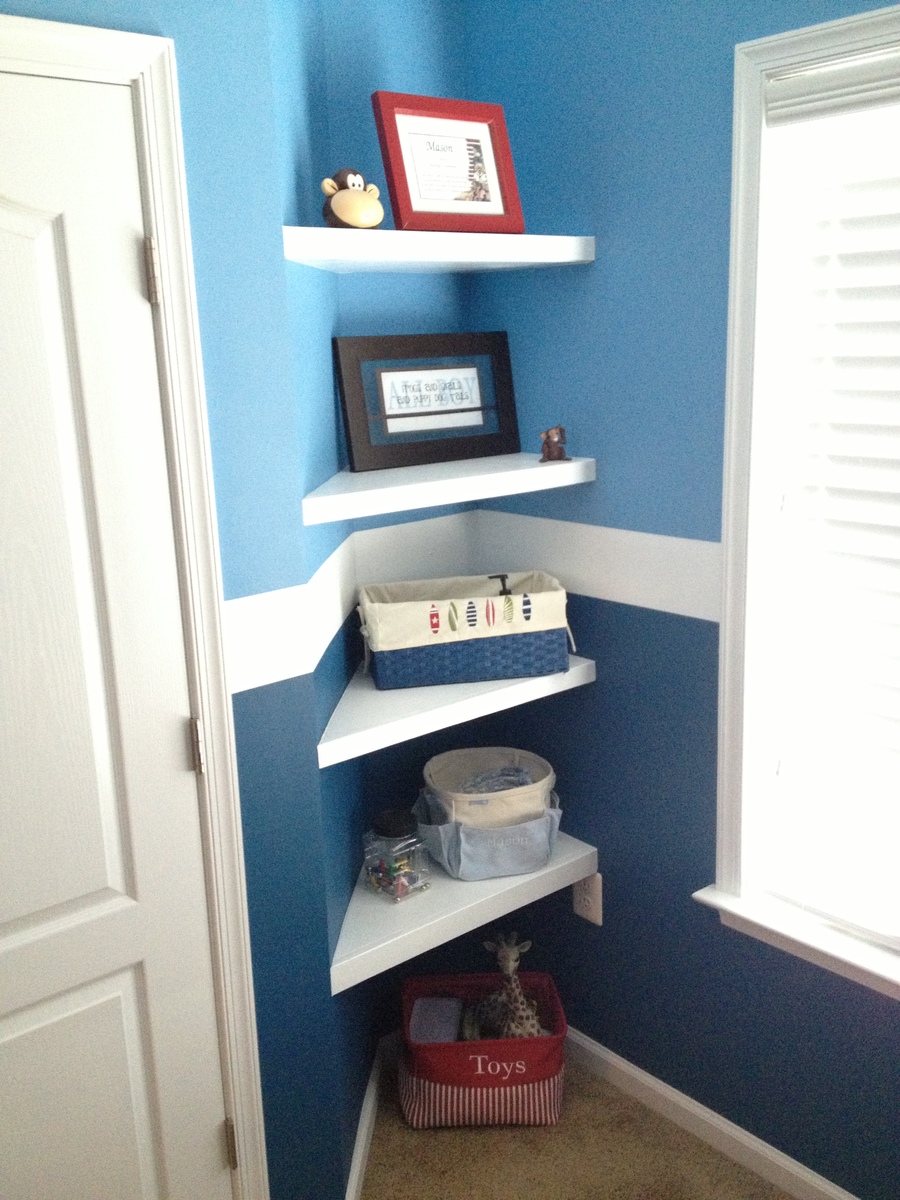
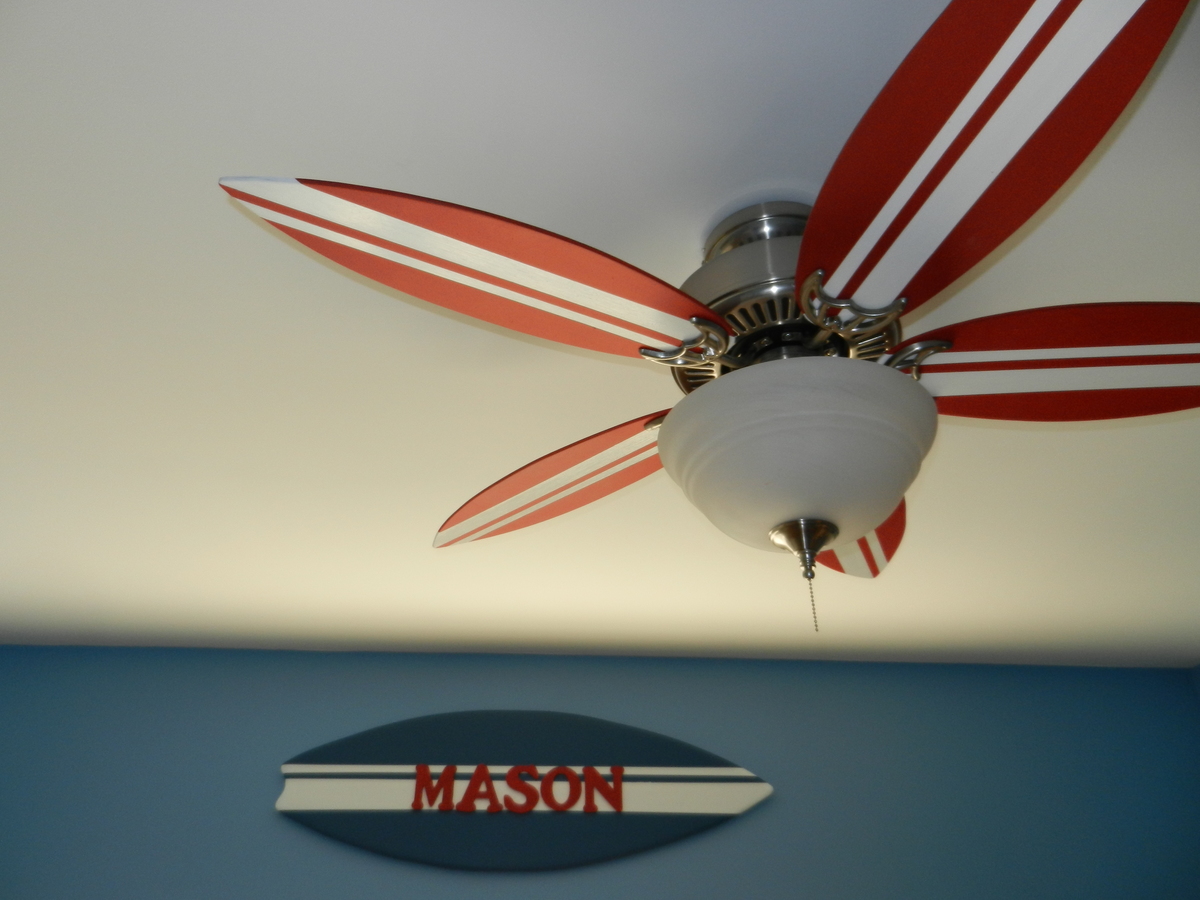
This project started with my son having the need for a loft bed. I began building the framing with some 2x4s and my imagination took over. The more I built, the more ideas and details I thought would be cool for whole theme. After finishing the "surf shack" loft, i moved to creating custom made fan blades, switch plates, placards, etc to fit the theme. It was all finished off by installing built-in shelves and painted walls.
Wed, 07/24/2013 - 09:24
That came out really nice. Love all the added touches. Good use of that corner with shelves. We had a bigger niche like in our kitchen where we put shelves as well. The icing is the custom fan blades! Very clever!
Wed, 07/24/2013 - 10:28
Looks like it should be in a Pottery Barn Kids catalog. It looks beautiful. Good work.
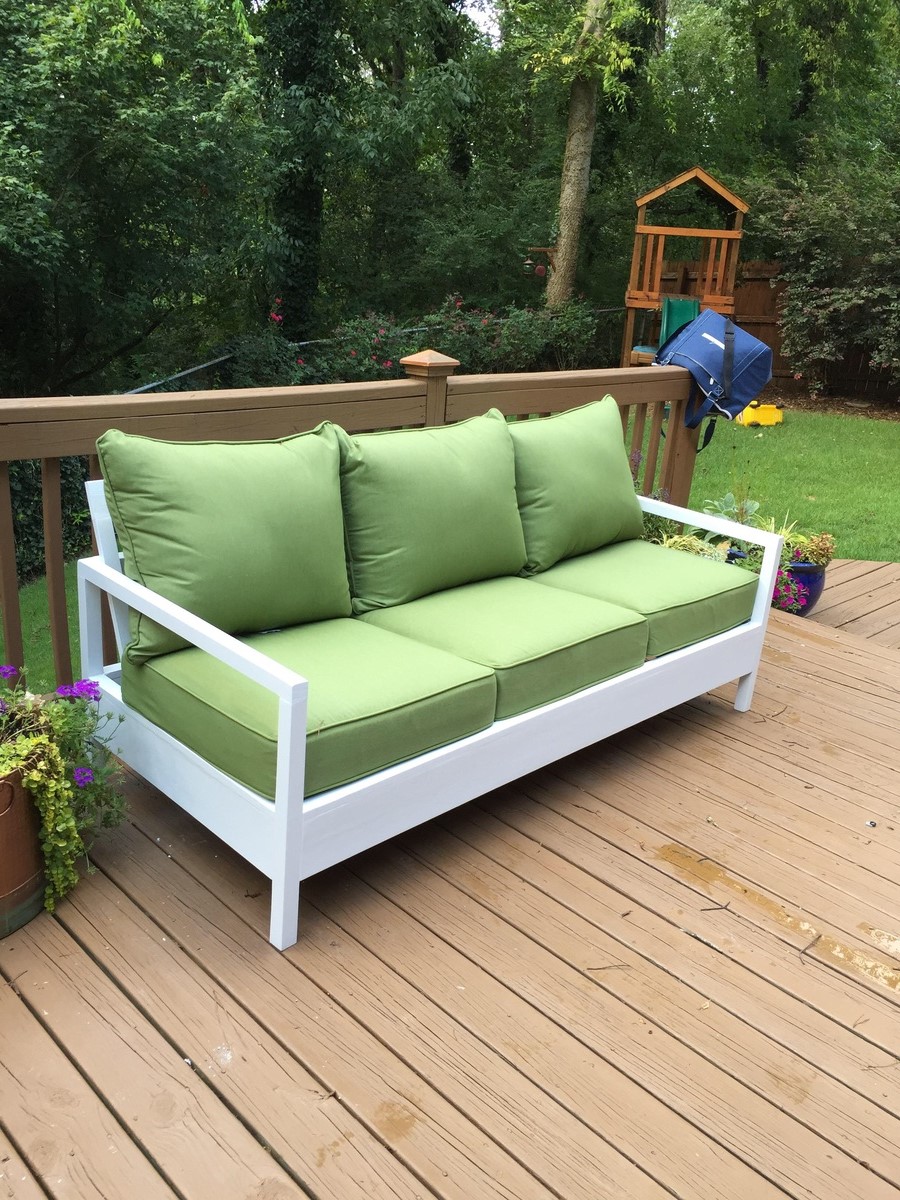
The sofa was my first large DIY project that required a fair amount of construction. It took me about a week working a few hours a day. I followed the plans as they were listed but made a few adjustments to accommodate for the size of the cushions. I used regular pine and then cheap lumber for the slats, lesson learned. Way too much sanding and it still didn't have the finish I was hoping for.
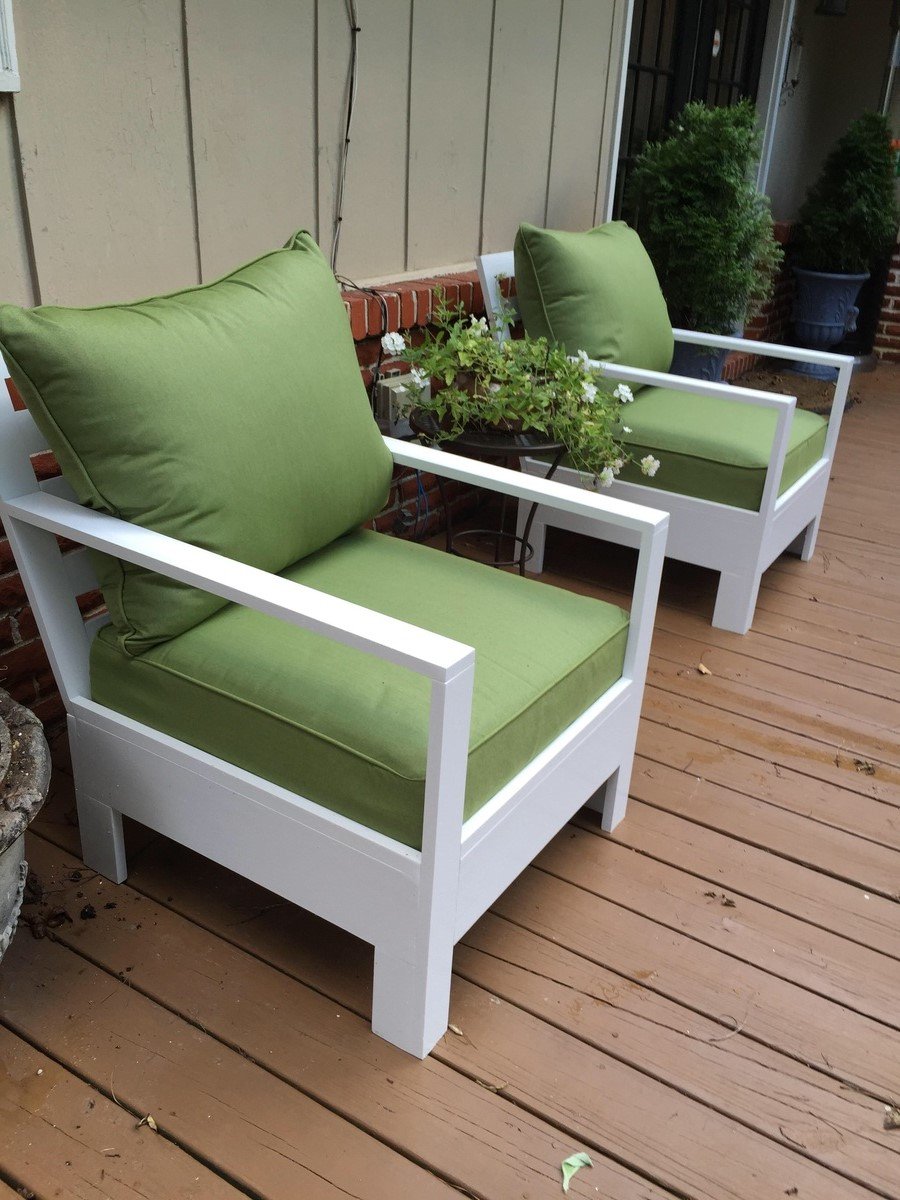
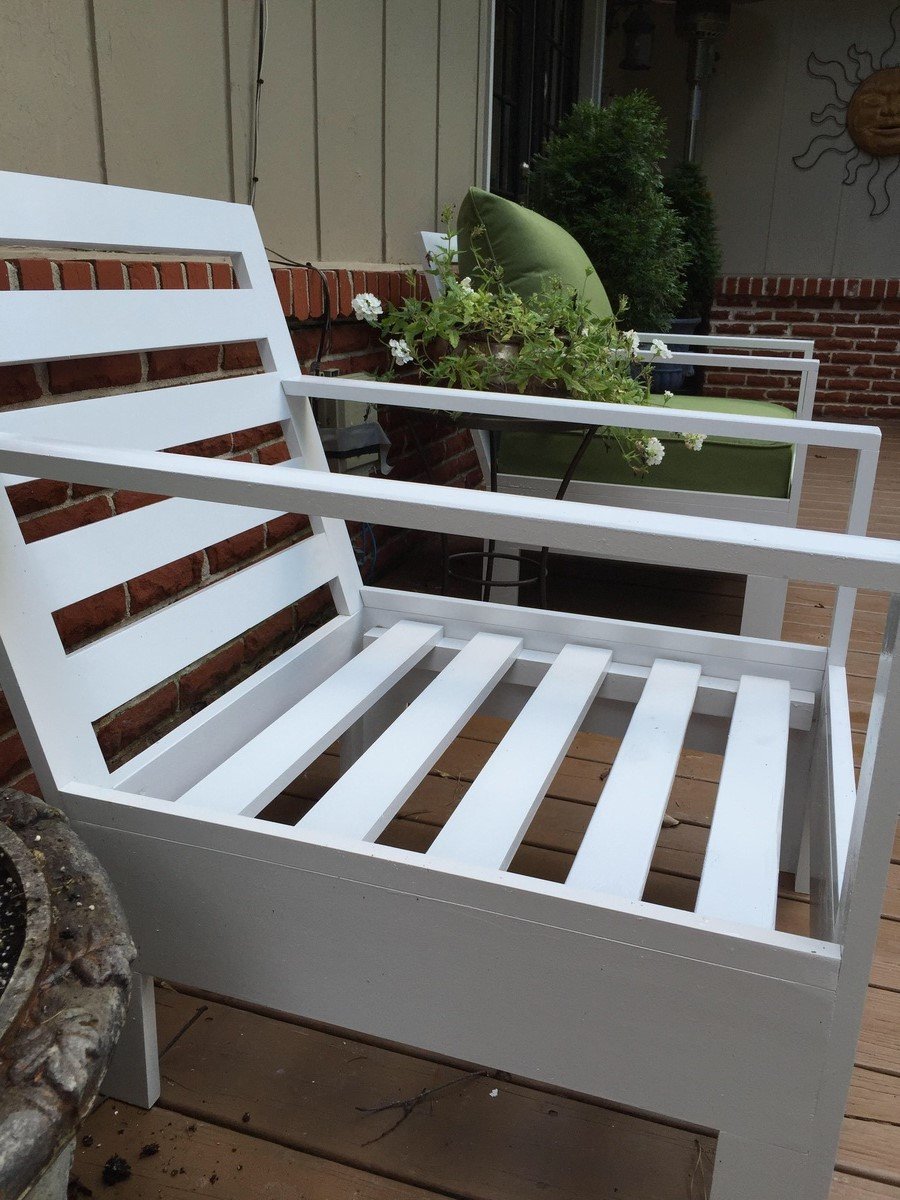
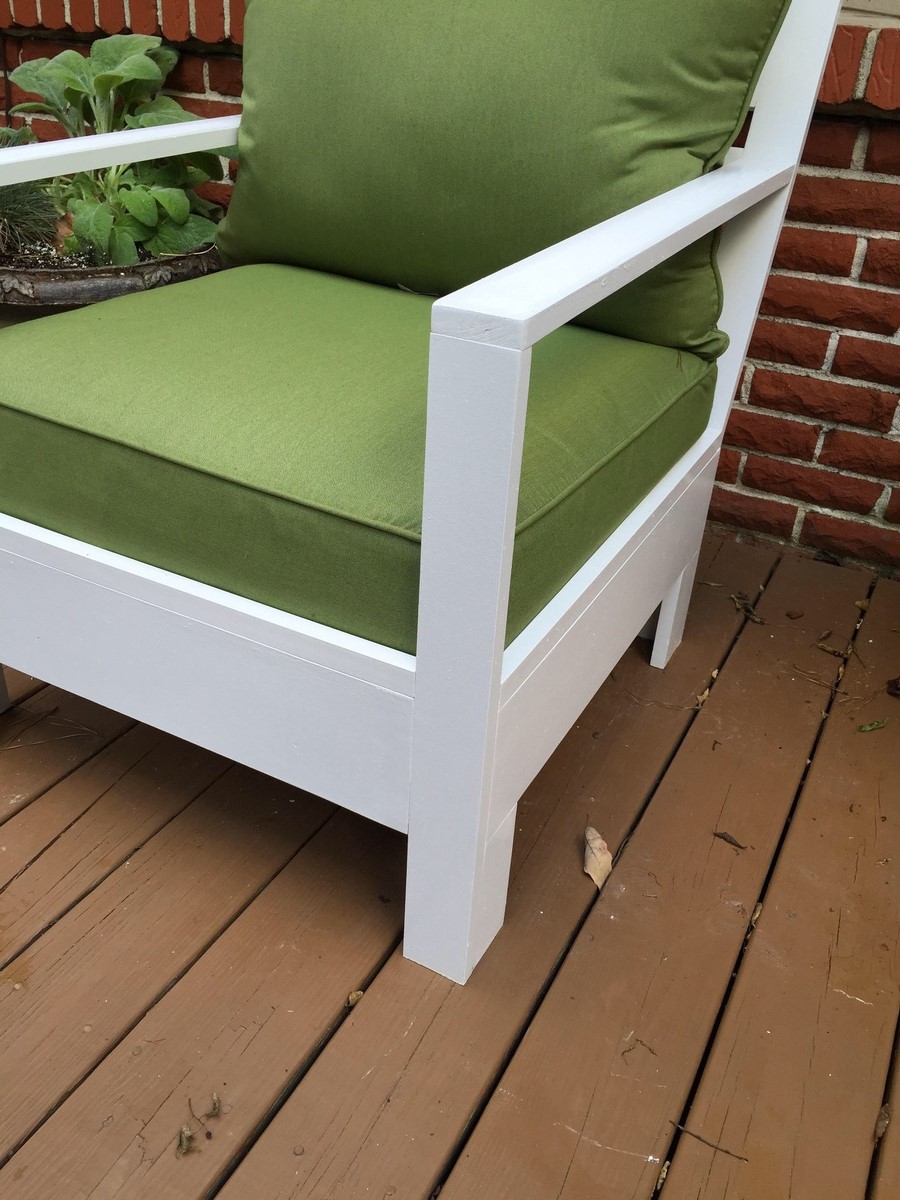
For the chairs: I used a mix of plans from the Bristol outdoor lounge chair (Ana's) and the simple outdoor sofa. I chose to use all sect pine for the chairs, after the hard time I had with the cheaper wood I chose to use on the sofa. I was much happier with the end result. I used 1x3's mostly and then added 1x1 composite molding as an accent around the base.
I looked long and hard for cushions before I started the project based on the recommendations from others. I took me a while but I finally found Somewhat affordable outdoor sunbrella cushions at Lowes. These are the Allen + Roth deep seating sunbrella cushions, which I highly recommend. They are very comfortable and dry quickly after it rains.
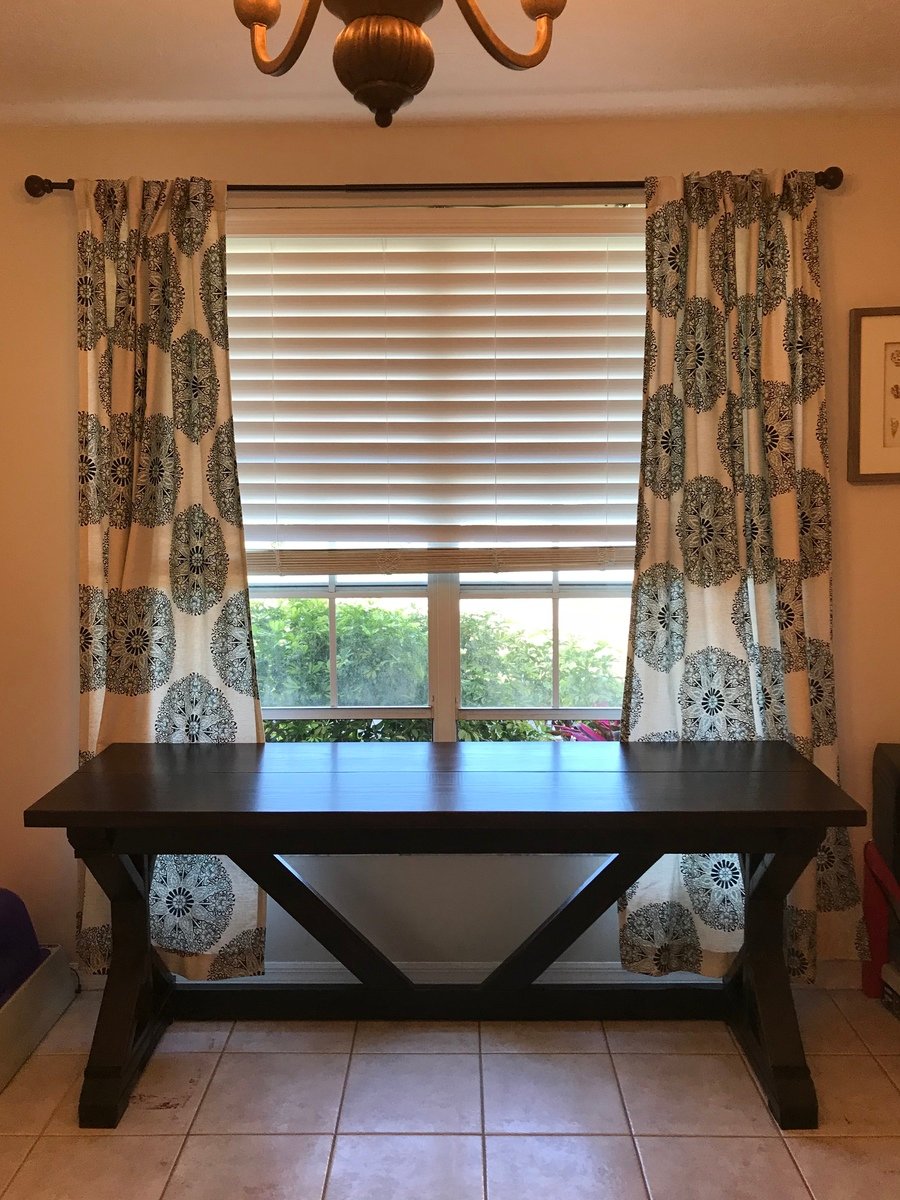
We estimate that the cost of this project was right around $50, but we had a lot of tools and materials already. This was a fun project and a great piece for the cost. I would suggest staining as much as you can before assembling those legs! Staining and applying poly was a pain in the butt! We used a dark mahogany Minwax stain and 2 coats of Minwax poly. It took us a while to do it because we have a 11 month old that keeps us on our toes.
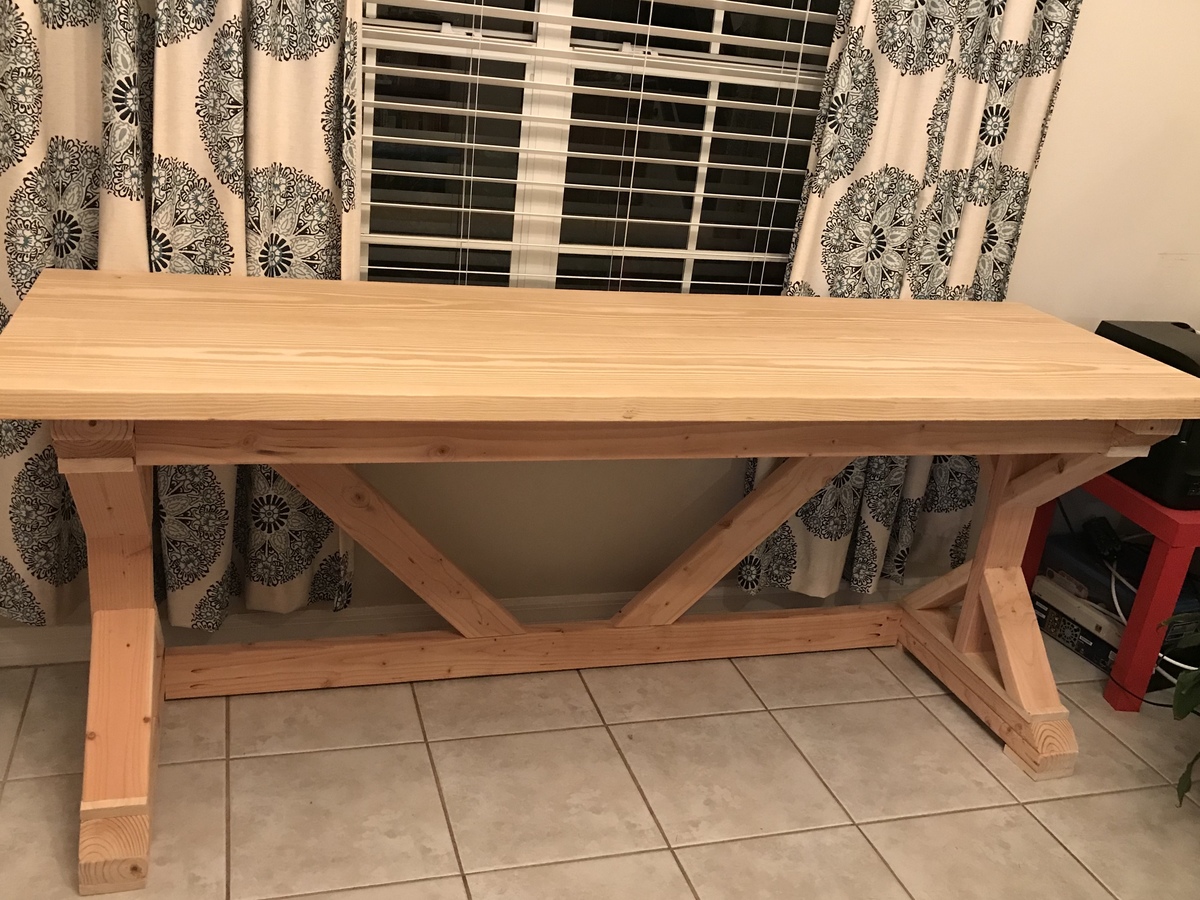
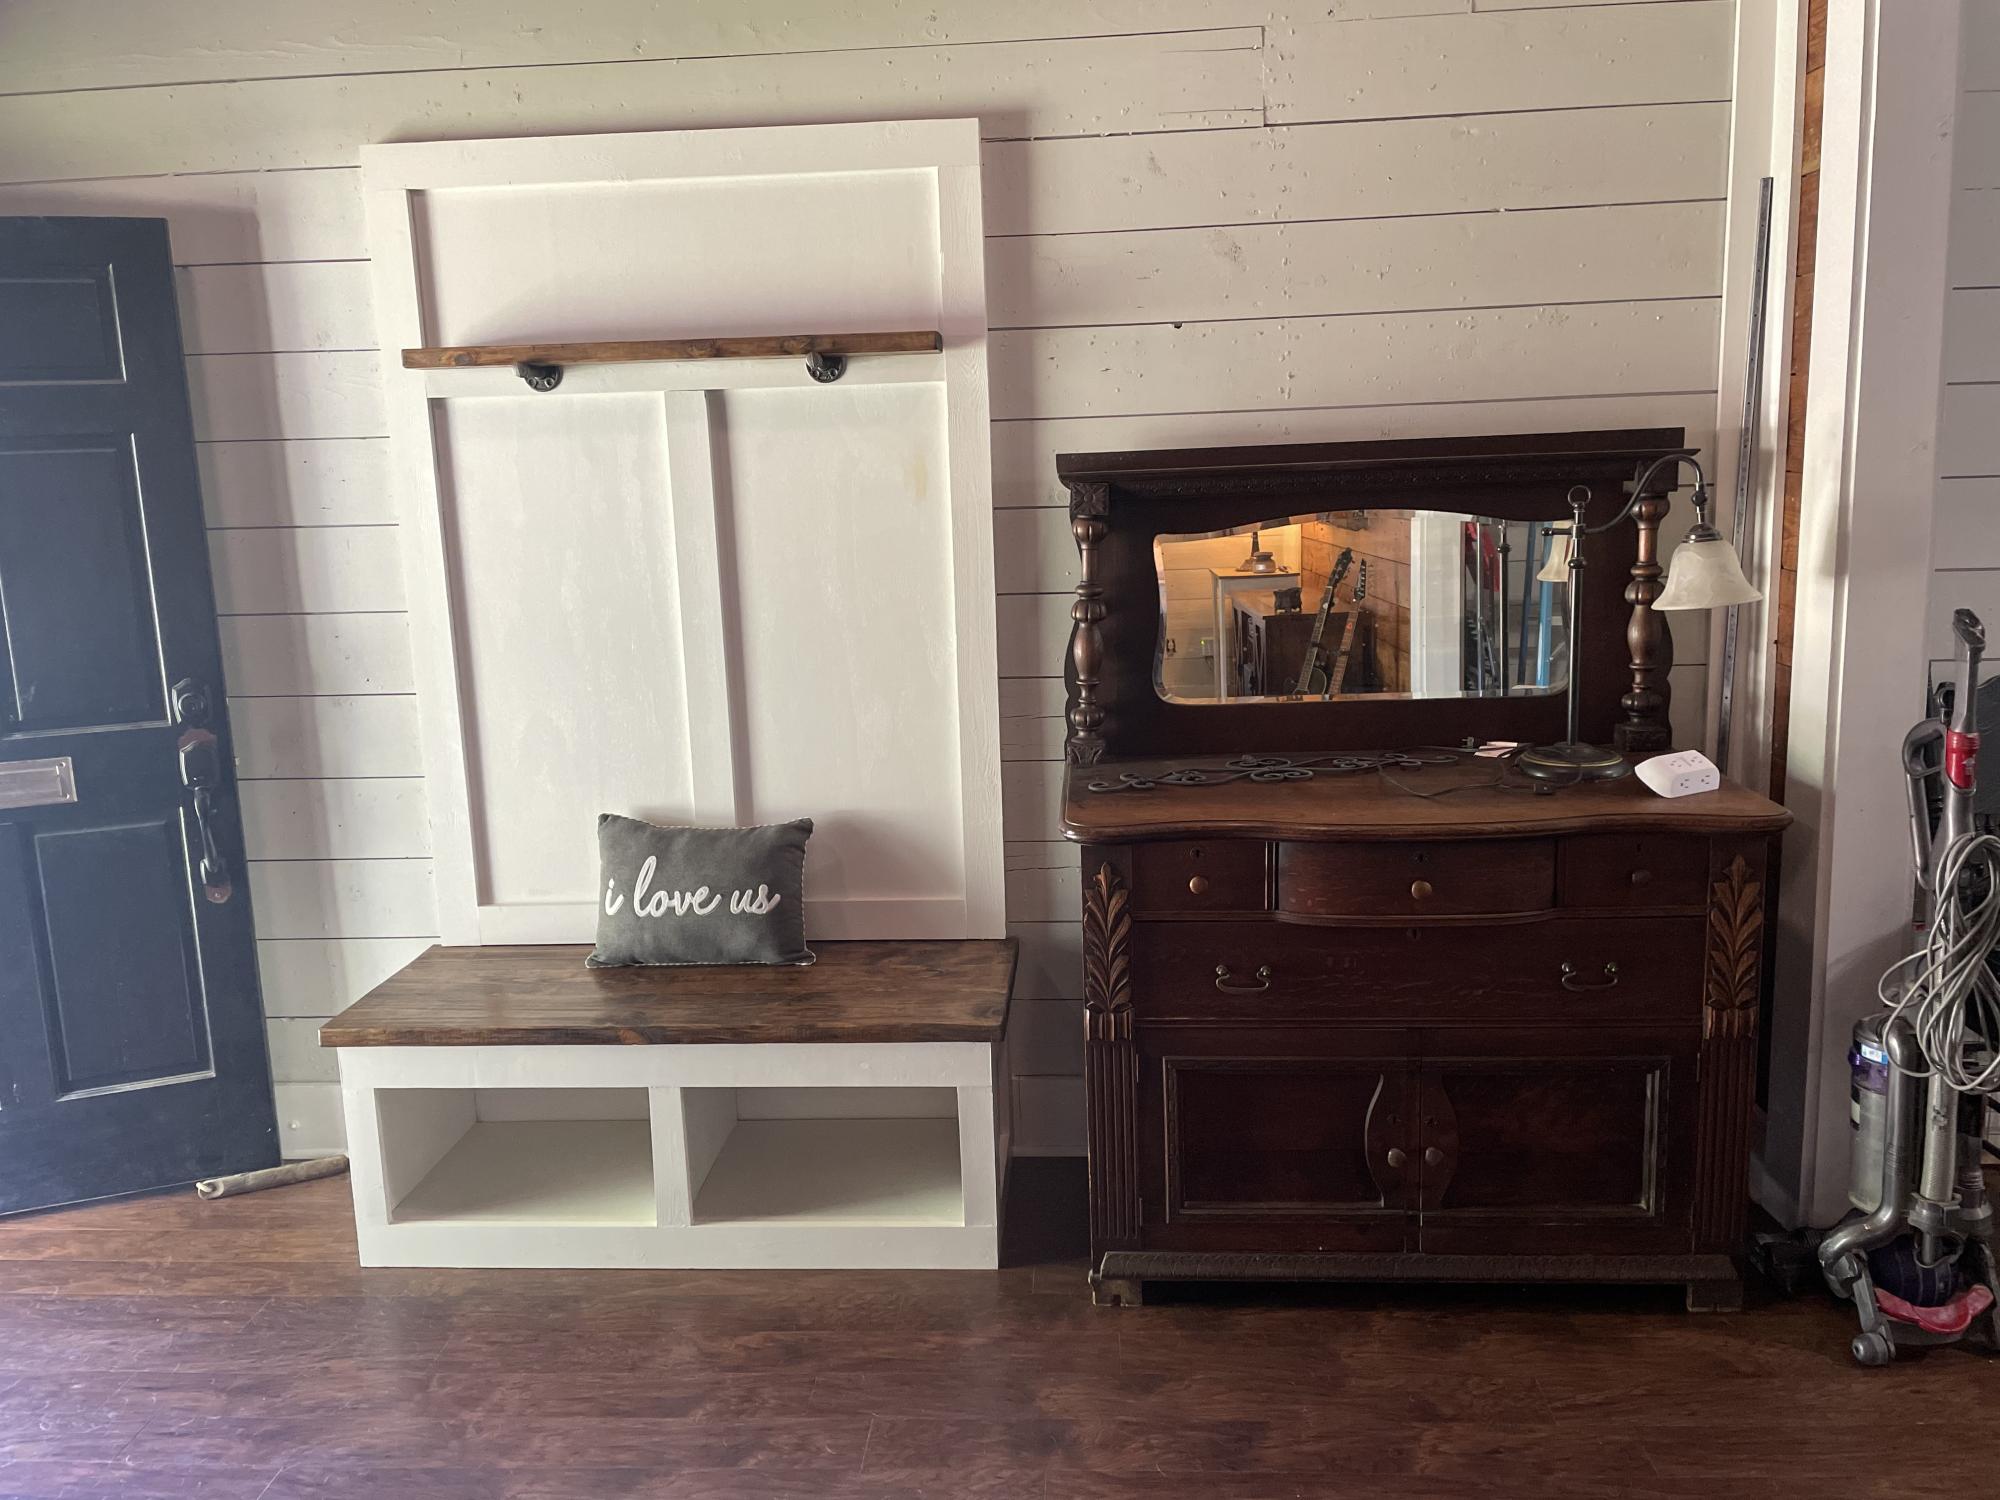
Wife wanted a bench in the entryway of our house. But instead of your typical bench/coat rack I left the fronts open for either shoes or blankets. I also added a picture shelf at the top. Being a 96 year old Craftsman style house, this bench covers what used to be a second door to the front bedroom on the other side of this wall
Thu, 04/21/2022 - 15:04
Thank you for sharing, this is gorgeous and functional!
We have a room in our basement that has very dark paint on the walls and NO windows, so we were looking for options to add lamps, as well as brighter colors to offset the darkness. I built two modified cabin collection end tables (no doors and the tops overhang by about an inch) for the lamps we already had. Once the tables were done, I saw the plan for the squared headboard and decided it would make an awesome large scale wall decor for cheaper than anything I could buy at the store. I modified the plan but cutting the "legs" down to 34.5 inches, but otherwise followed the plan pretty closely, laying out the pattern completely before I began assembling. It was a tedious process, but well worth it! (I used my kreg jig on both.)
As a side note, our 2x2's are NEVER straight, so I usually glue 2 1x2's together and sand the seam so it appears as one piece of wood.
Fri, 06/10/2011 - 12:09
This my dear is the basement that Ana White wishes she had! Love the wall decor! Adds just the right touch! And cute little end tables! The wall color is perfect too!
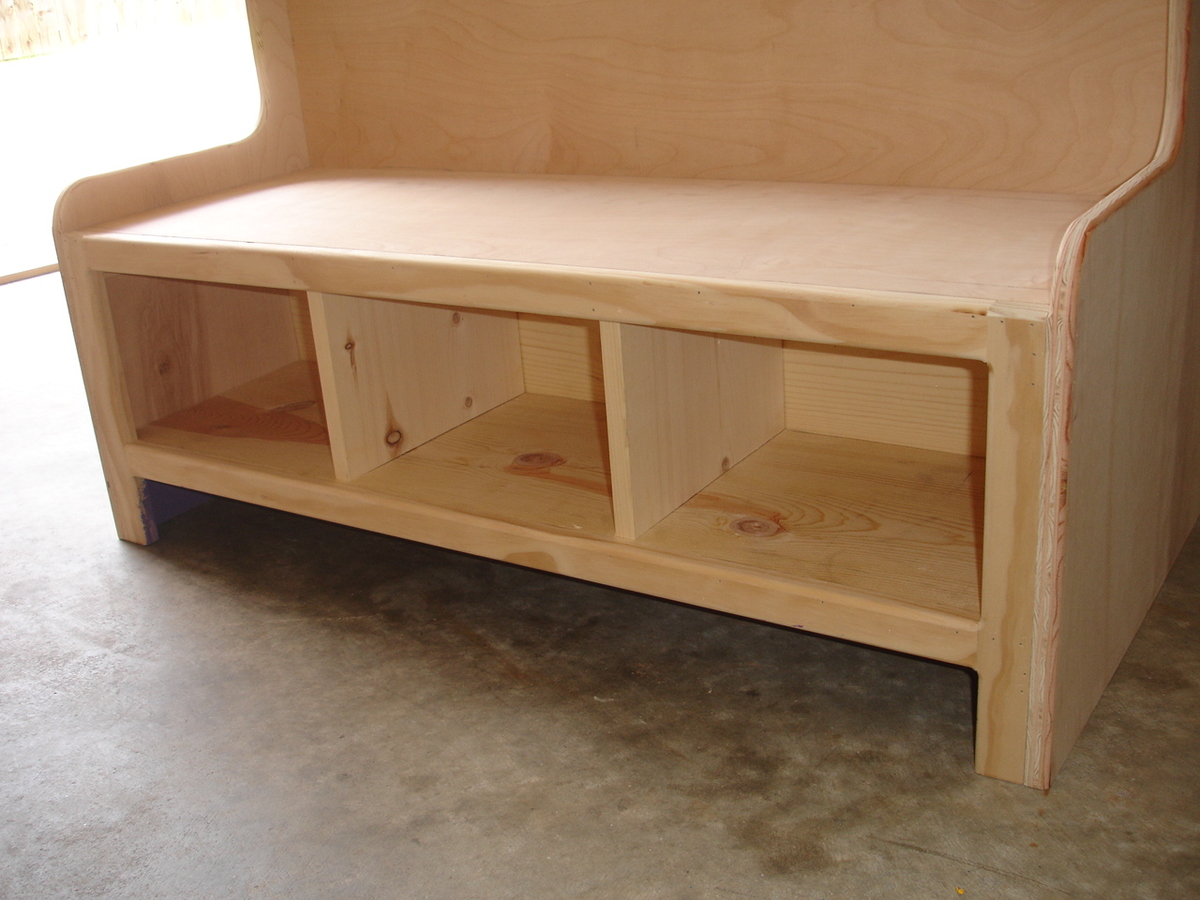
I was asked by a friend if I could build a reading bench for his daycare and this is what I created.

Wed, 07/31/2013 - 13:17
I really like this. I know a new teacher that might like something like this for her 1st grade room. Which plan did you use? Thank you.
When I first saw the outdoor sectional plans from Ana I had to build this! The sectionals at potterybarn cost at least $1500 and that is without the cushions. I chose cedar for the lumber because I wanted a high end stained wood look that would stand up to the pacific northwest weather. I purchased most of the lumber from Orange and some of the smaller boards from a local lumber yard. Every board was cut first then sanded and stained before assembly. This made it look a lot more professional and no drips! There are just too many tight areas to do this after it is assembled. I made 2 Weatherly outdoor sofas and used the plans from the Weatherly loveseat to leave the end off of one of the sofas to make an L-shaped sectional. This fit perfectly for my narrow deck which is the beauty of DIY and Ana's easy to modify plans. I followed the suggestion of another brag post to attach the 2 sofas together with carriage bolts and nuts. It is important to be very accurate with all of the cuts because they have to fit together perfectly for the final product to look straight and measure correctly. Because there a about a million repetitive cuts in these plans I took the idea of another brag post and youtube and created a stop out of leftover lumber which really helped me keep my cuts accurate and saved me a lot of time. I really enjoyed using my new Kreg K5 pocket hole jig on this project which saved me time and my new Ryobi brad nailer that I convinced my husband I needed. I plan on using it on several projects which "require" a brad nailer! I bought six 25" cushions in turquoise from Pier 1 in mid-July which were on major sale and several pillows to match the color. I am somewhat of a beginner so I didn't adjust te plans to fit six 25" cushions so I had to have one cut down to 22" by a local upholstery shop (I could have purchased a 22" cushion but of course they were all sold out). I suggest at least a 3-4" depth cushion that is fairly firm, which Pier 1 cushion were.
I love the outdoor coffee table with built in beer cooler idea that another brag post had suggested.It uses a planter box as the cooler. I used the same stain which worked well and adequately waterproofed the table. It also has a cover for the cooler when it is not in use. I thought it was a nice addition.
I loved this project and how it turned out! Thanks for the plans and inspiration!!!
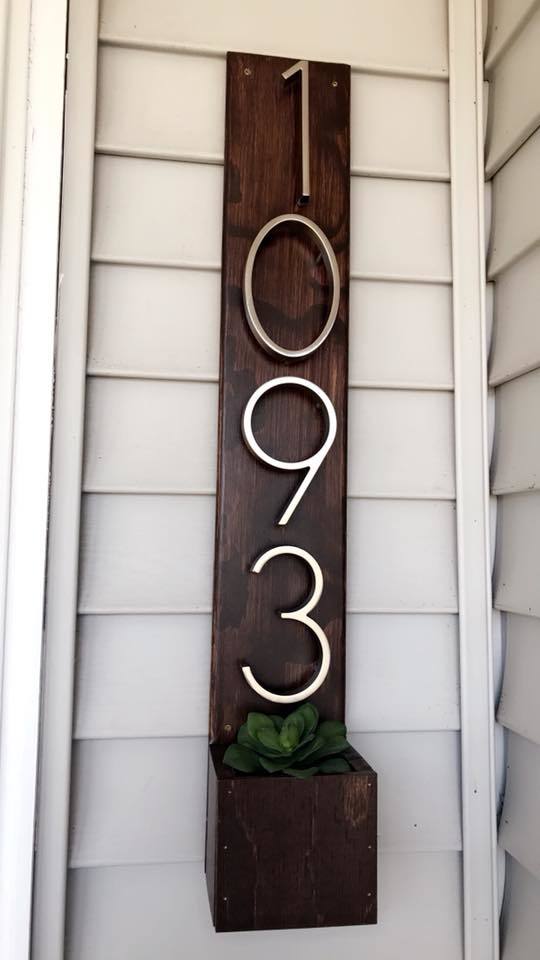
Address Sign
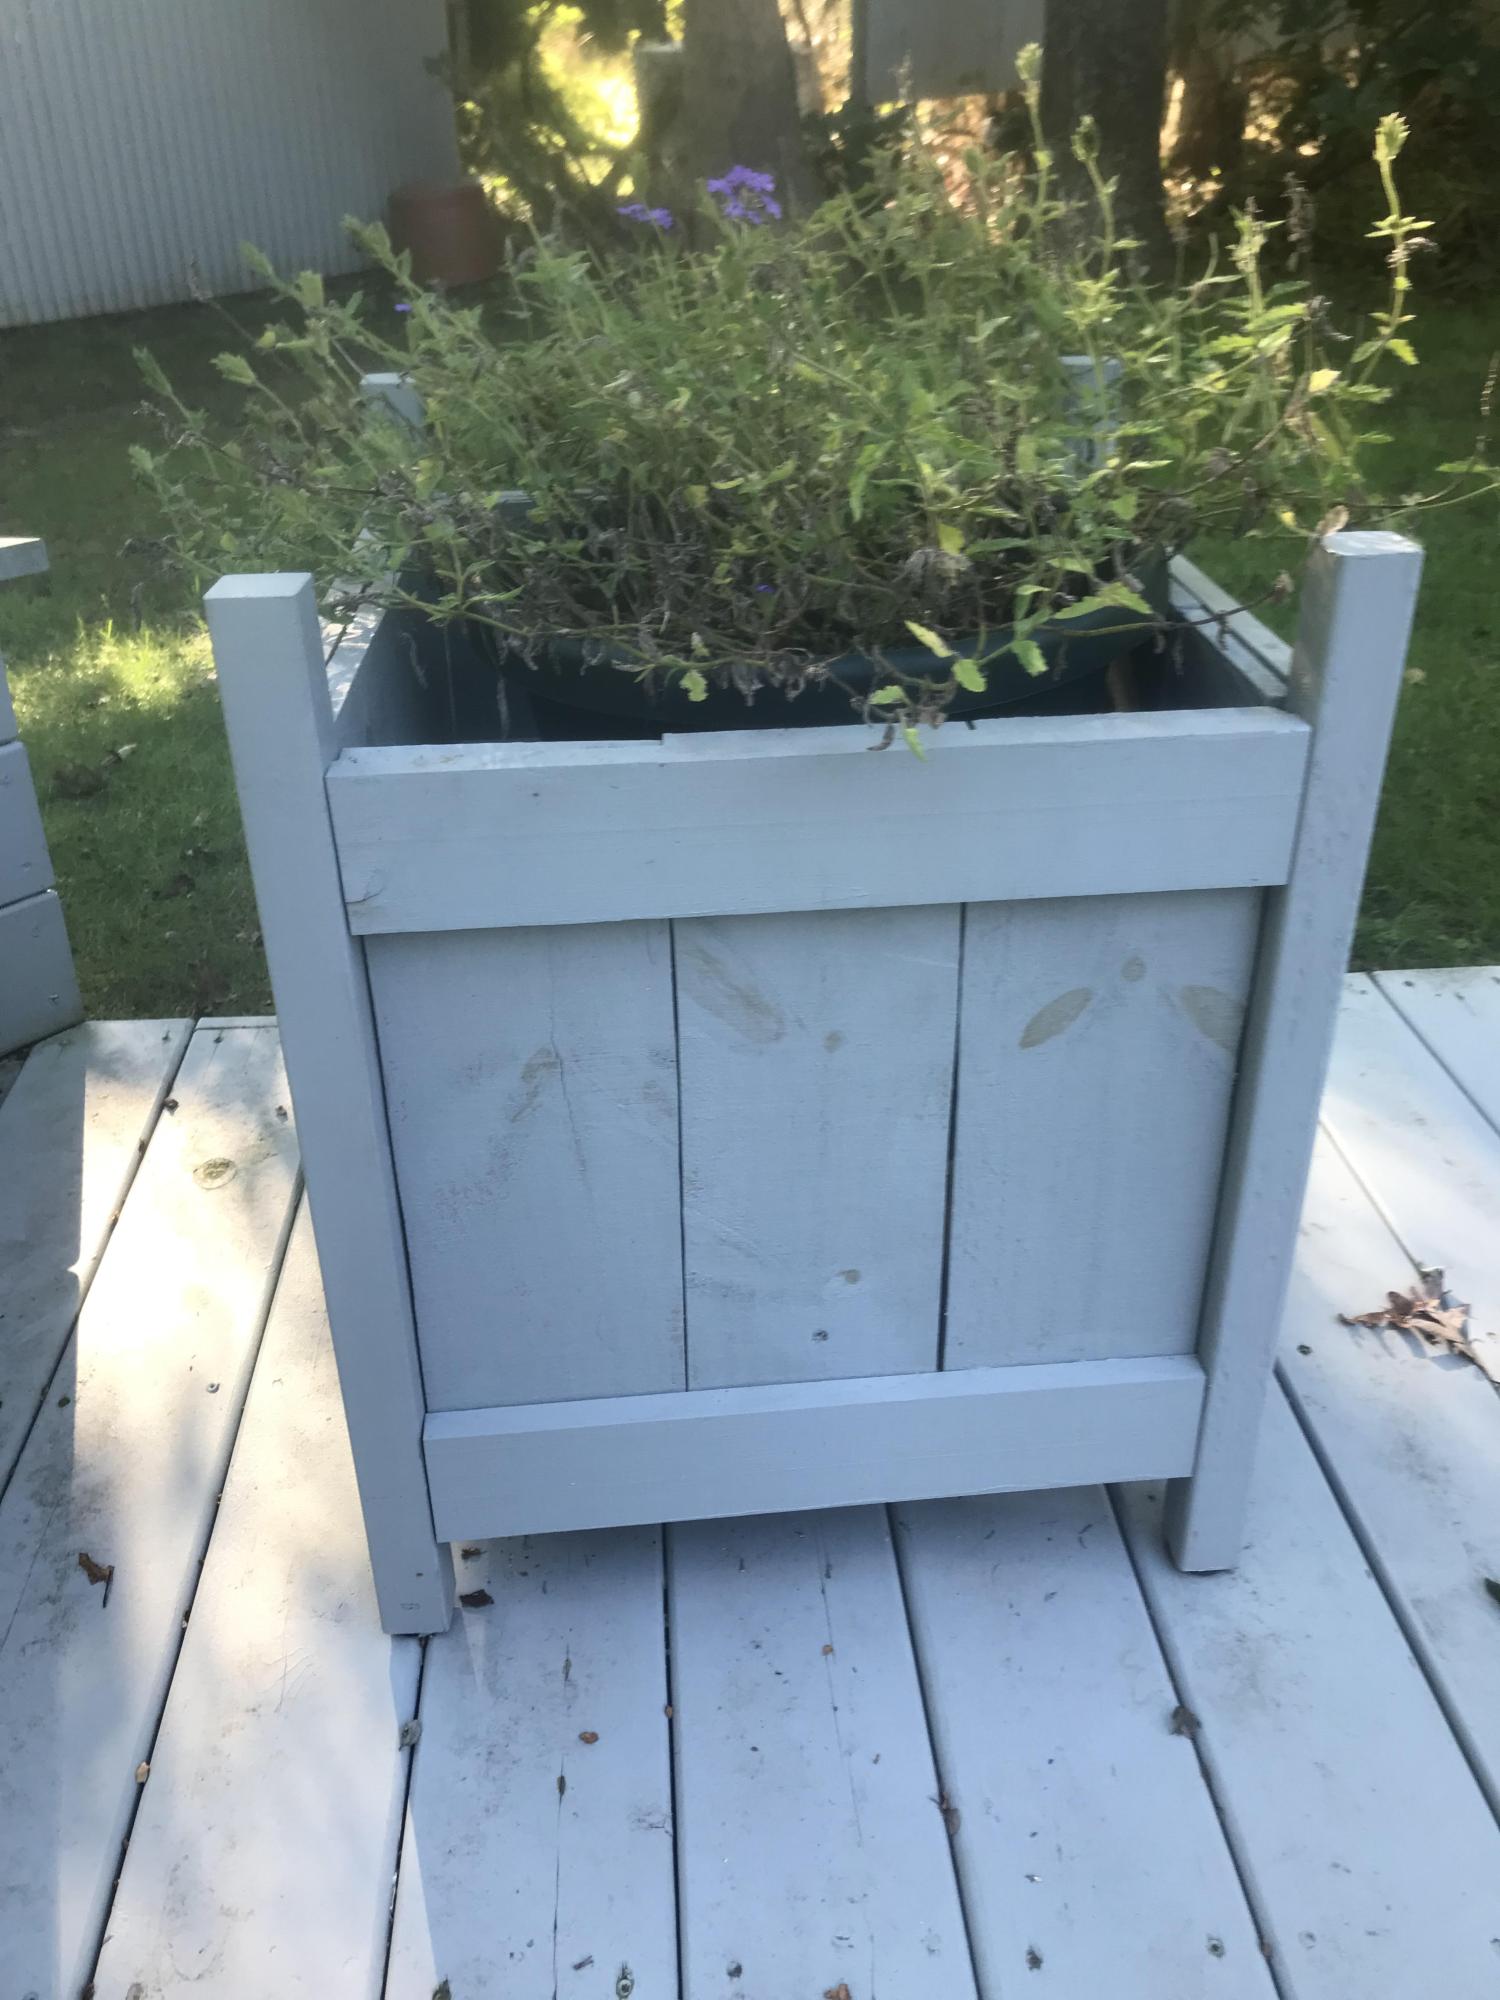
Planter box by Harvey!