Community Brag Posts

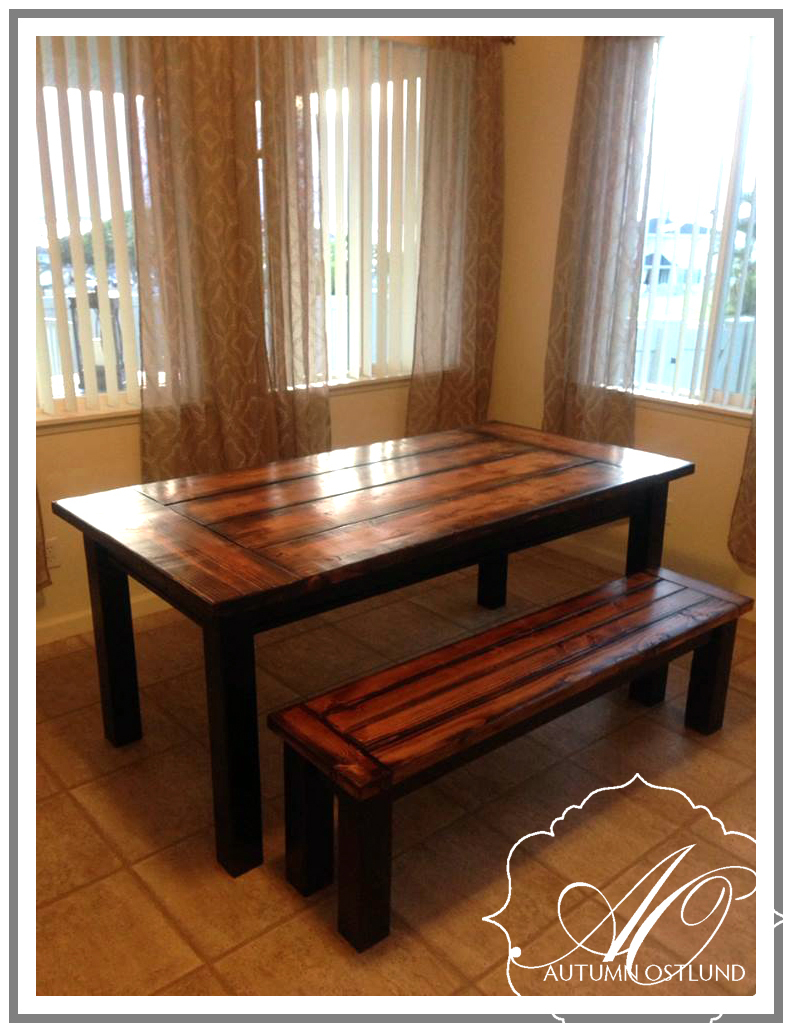
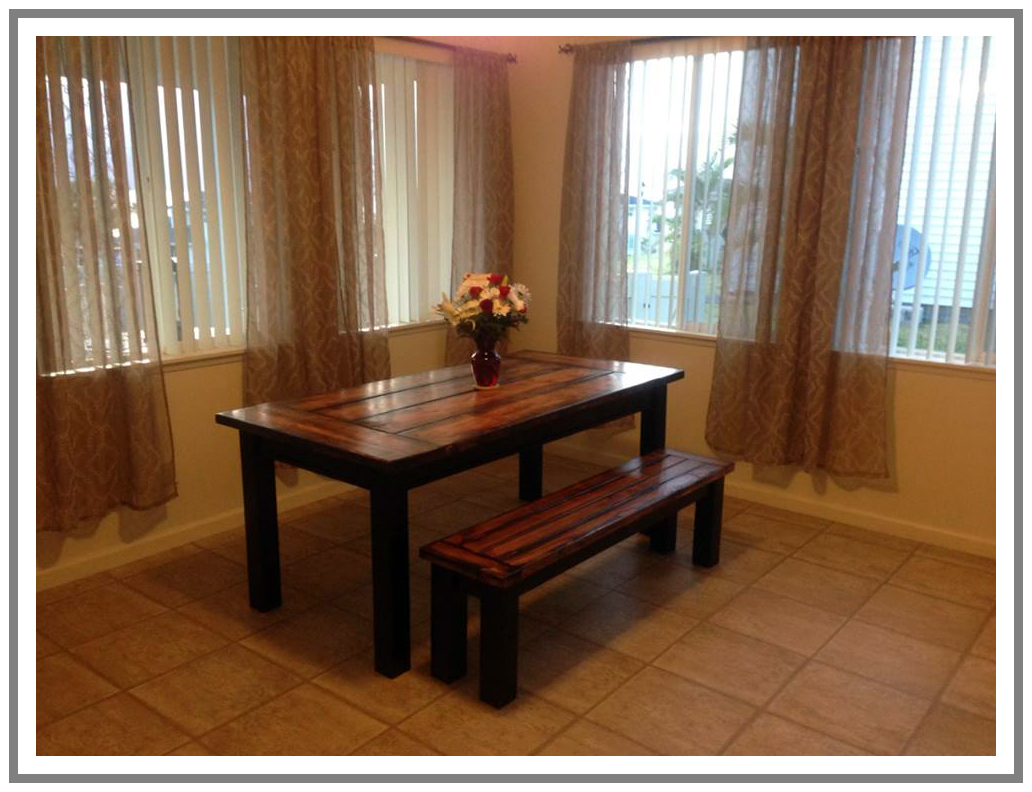
Straight leg farmhouse table

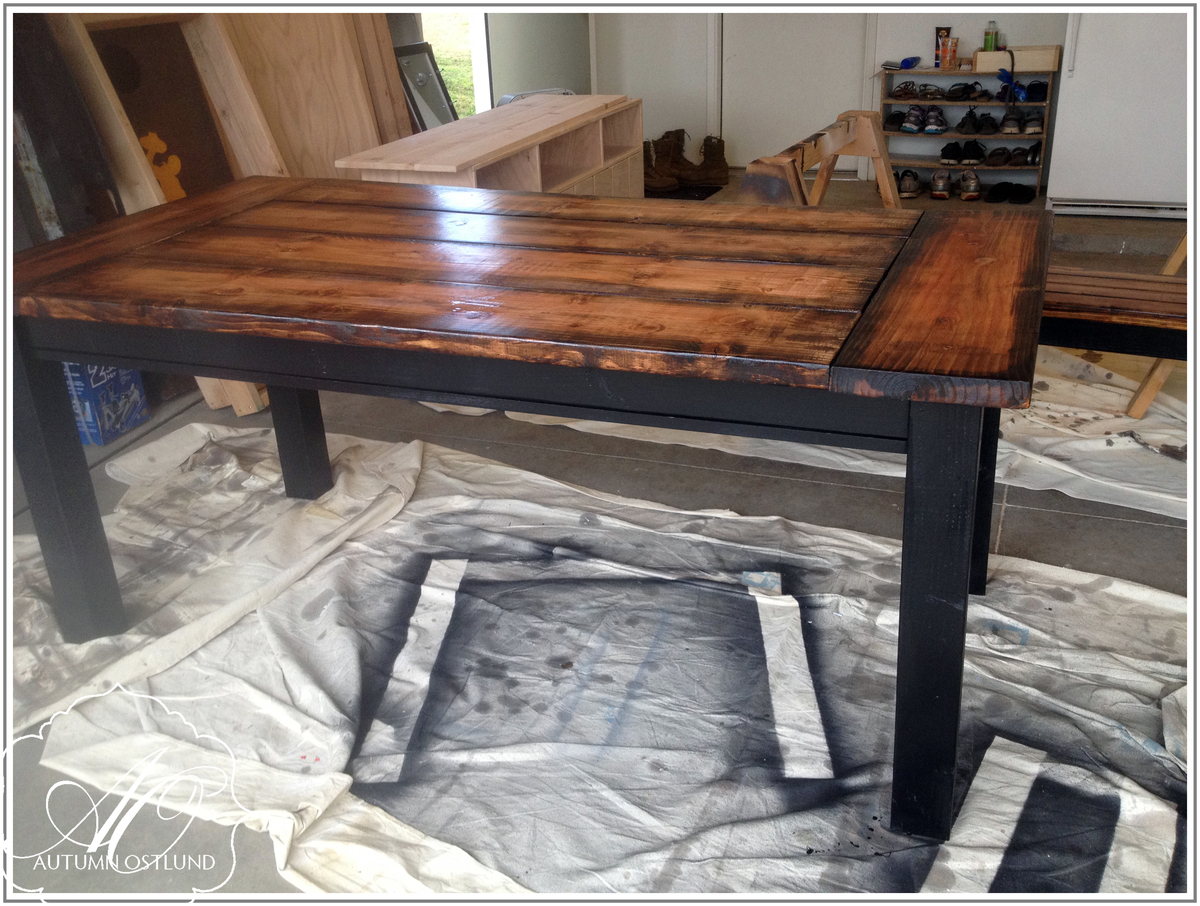
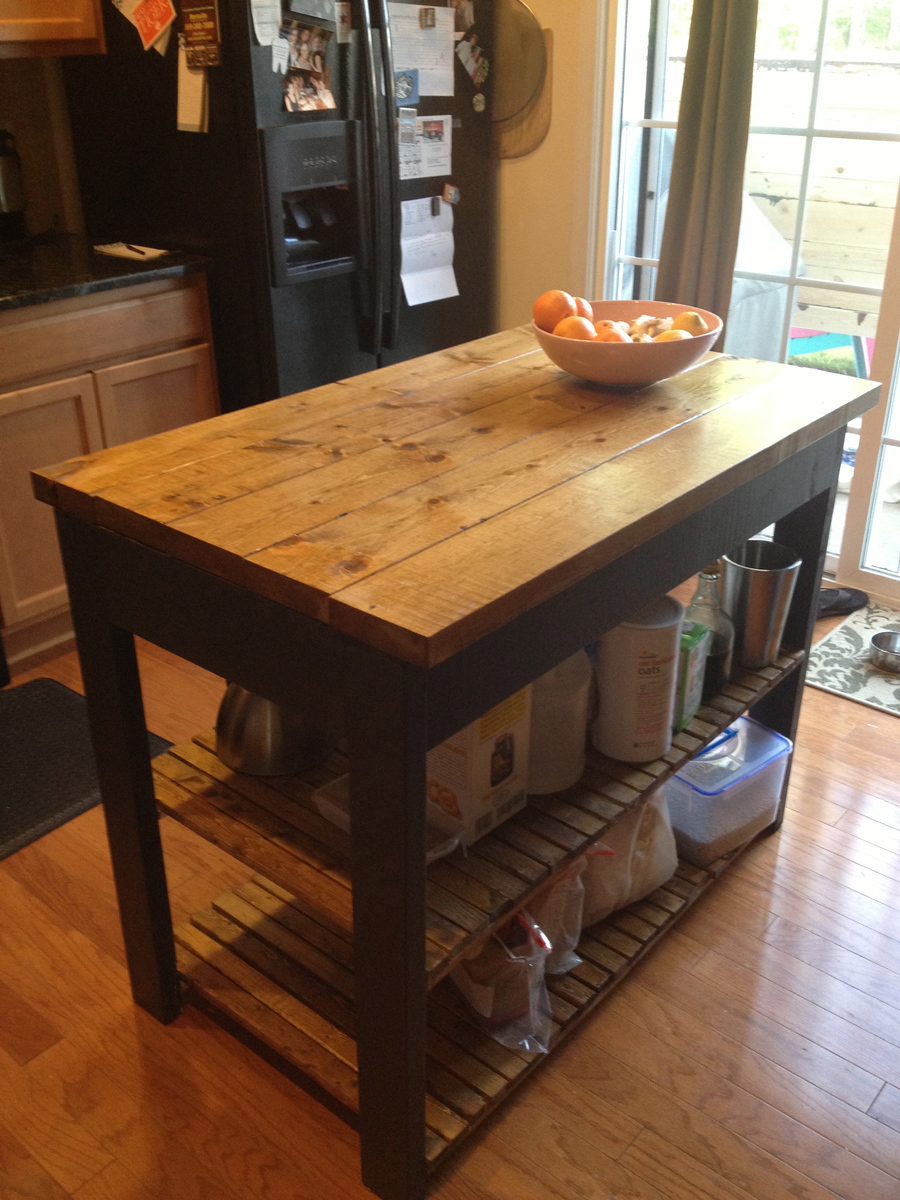
Slightly based on Ana White's husky farmhouse table, this table has 4x4s as legs and a nice, thick planked top with breadboard ends. It will easily seat 6 and will seat 8 in a pinch! I also build a bench to match, using the same concept, just smaller dimensions.

Built from Plan(s)
Estimated Time Investment
Day Project (6-9 Hours)
Finish Used
I used a combination of golden pecan and dark walnut stain on the top. I painted the legs black and used Rustoleum's polyurethane in semi-gloss to seal the whole thing.
Recommended Skill Level
Beginner

Comments

spiceylg

Fri, 08/23/2013 - 09:26

I concur with JoanneS. Love the stain on the top and I also love the two tone look. Beautiful build!

Northern Wisconsin White Pine Bed and Dresser

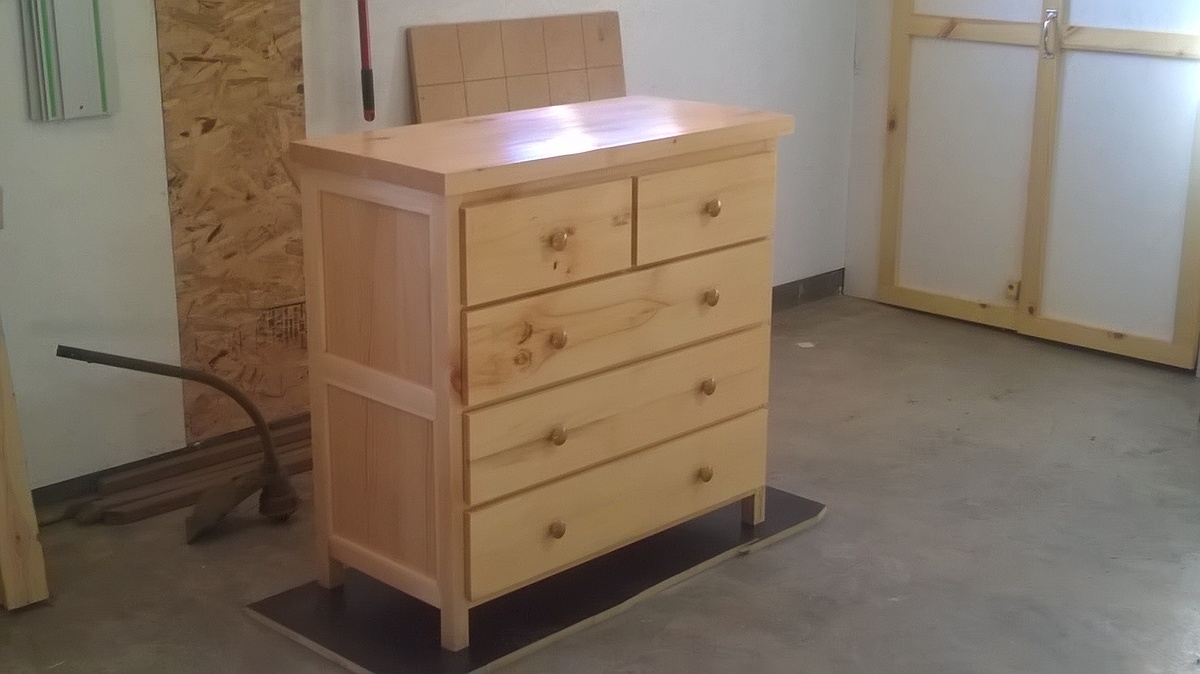
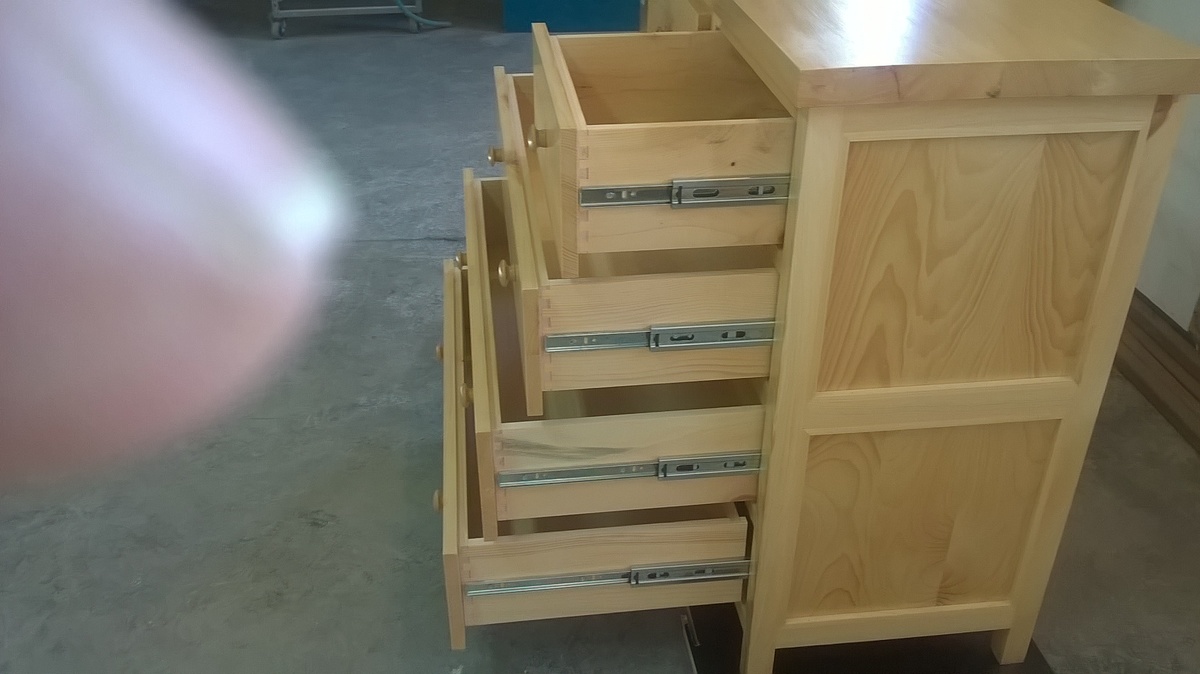
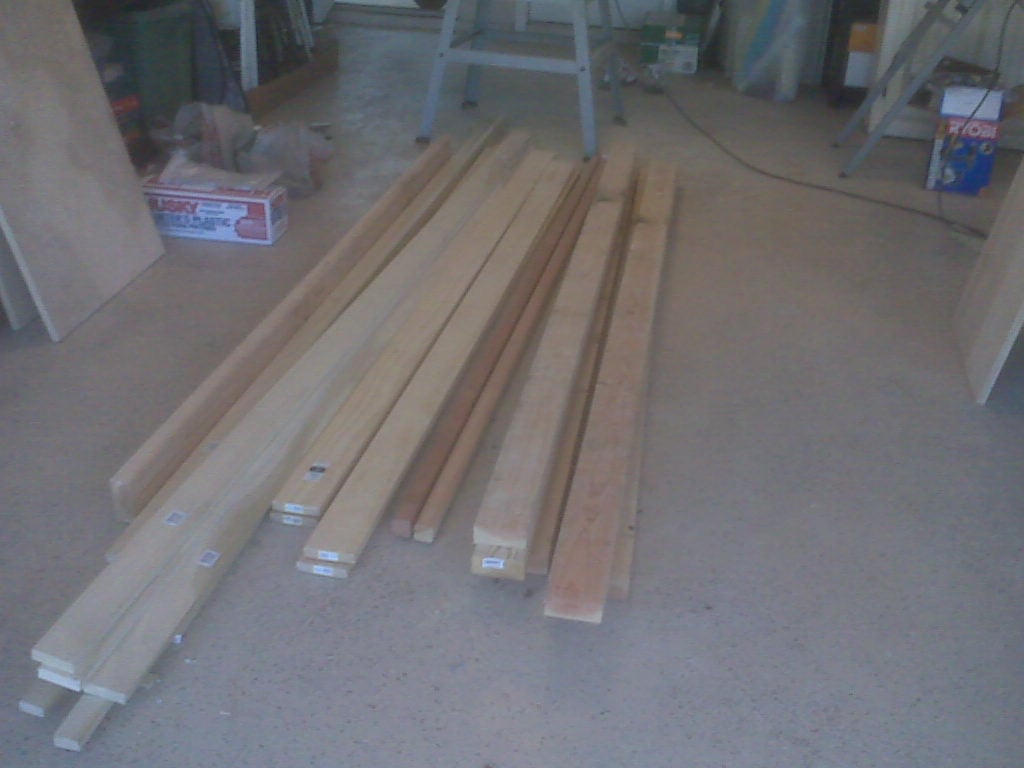
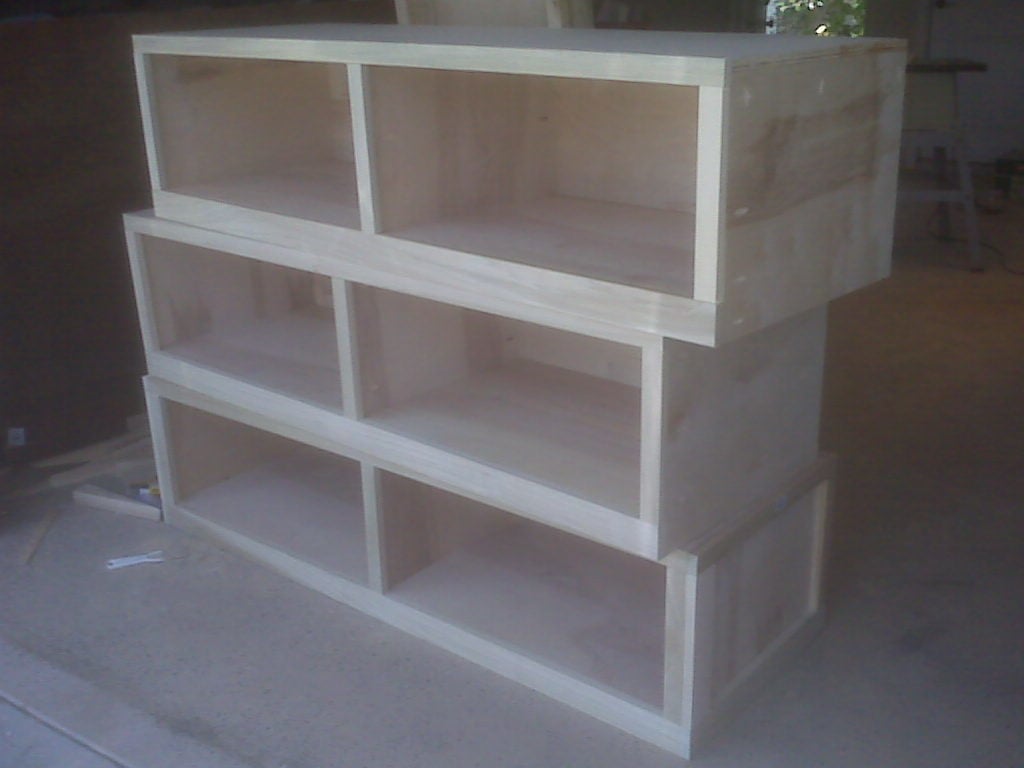
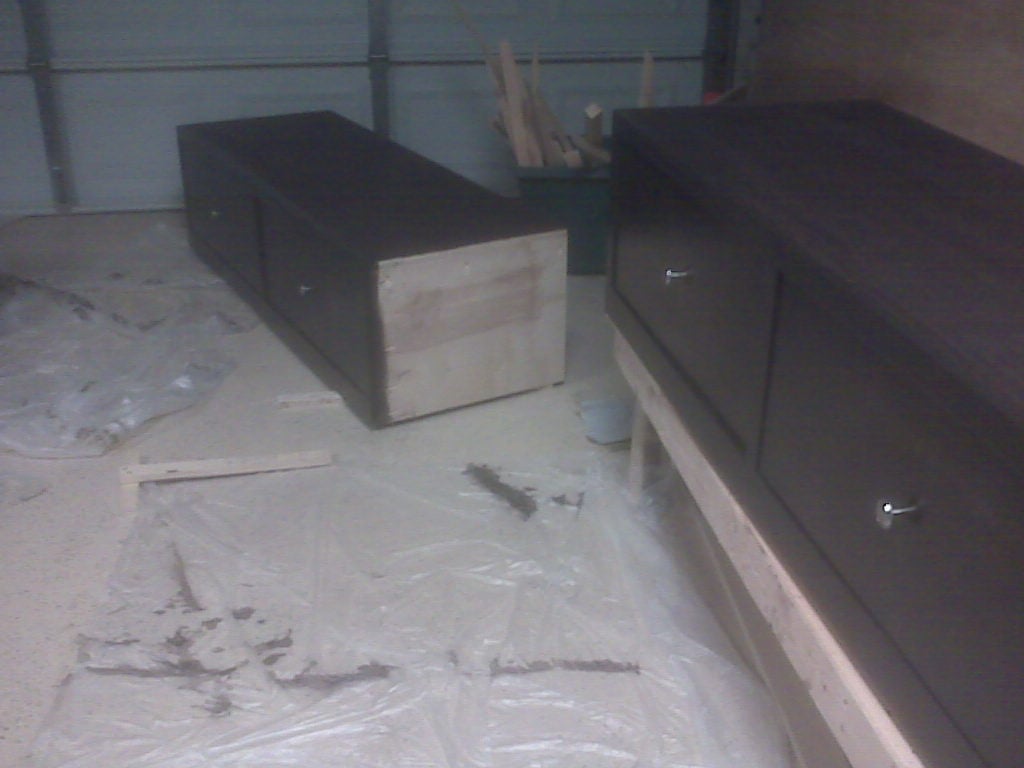
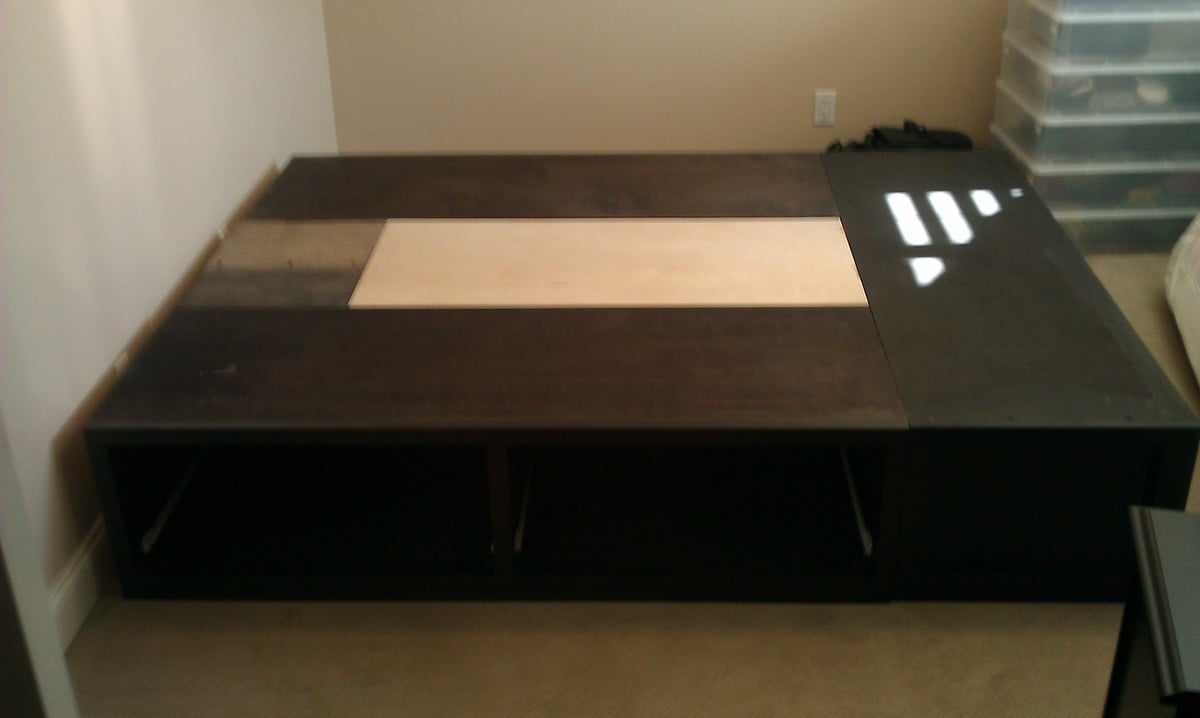
In need of outfitting the spare bedroom for overnight guests I came upon this site and found the storage bed plan we liked.  After building the bed of course a dresser was in order.  My sawyer has some northern white pine that came from the Wisconsin Northern State Fair grounds in Chippewa Falls.  Having never worked with white pine before I found it rewarng and was happy with the finished product.  Hope our guest enjoy it as much I had building it

Estimated Time Investment
Week Long Project (20 Hours or More)
Finish Used
A self leveling poly finish by General Finish.
Recommended Skill Level
Intermediate

Perfect for our new home!

Submitted by Anonymous (not verified) on Thu, 10/18/2018 - 21:21

My husband built my son’s bed using plans of this website before (we didn’t post to brag chat but almost two years later and a move the bed is still holding up!) so we were very happy to find plans for a kitchen table here too! My husband did all the wood work and I painted and stained. It’s perfect for our dining room. Now on to the benches!

Finish Used
White paint on the legs, coffee stain on the table top with a spray can of a clear sealing coat.
Recommended Skill Level
Beginner

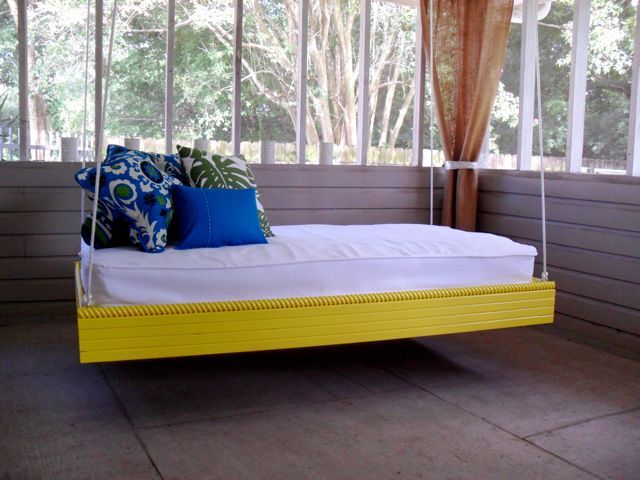
Hanging outdoor bed

I made this hanging outdoor bed for our screened in porch using Ana's plans. This was one of the first things I've built, and the plans were very easy to follow. I wanted all of the outside trim to be decorative but it was much more expensive, so I settled for just the top piece. I love this web site and am about to tackle the Board and Batten project. Thanks Ana!!

Built from Plan(s)
Estimated Cost
$100 (not including bed, cover and pillows)
Estimated Time Investment
Afternoon Project (3-6 Hours)
Finish Used
Lemon Zest by Behr$
Recommended Skill Level
Beginner

Comments

T (not verified)

Sun, 04/15/2012 - 19:58

I love this plan! One question, does anyone have any suggestions for how to add arms or a back to it to lean against? Or what types of arms/back would look best? I can't figure out where to put them so that the ropes/chains wouldn't rub against them.

Darmel (not verified)

Sun, 07/29/2012 - 00:25

I really like this as it is so great as a relaxation element for a tranquil space.

First Project!

Submitted by meg_odom on Sun, 08/25/2013 - 16:09

My husband and I built this as our first project & are thrilled with the way it turned out! We shortened it to 44" to fit our space. It took us a few hours but we got the Kreg Jig working the first try (though on a current project it is giving us some headaches). We really enjoyed building this on a rainy Saturday and received many compliments after posting the finished project on facebook. Looking forward to our next project - thanks so much for all your tutorials Ana & other submitters!

Built from Plan(s)
Estimated Cost
$100
Estimated Time Investment
Weekend Project (10-20 Hours)
Finish Used
Minwax Early American (1 coat) with Minwax Satin Poly (2 coats, brushed) for the top & shelves; Olympic Bewitched Satin (high grade with primer).
Recommended Skill Level
Beginner

Comments

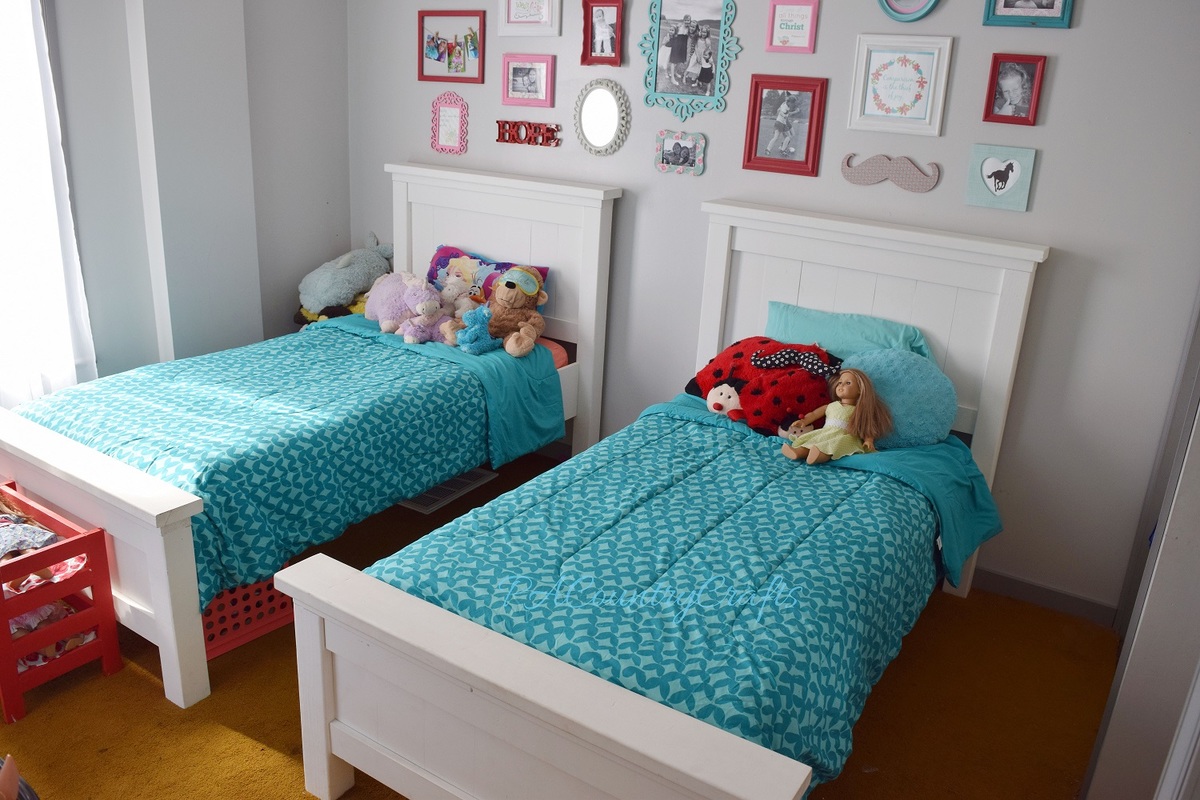
Twin Farmhouse Beds

Submitted by lmshaffer on Thu, 10/08/2015 - 09:05

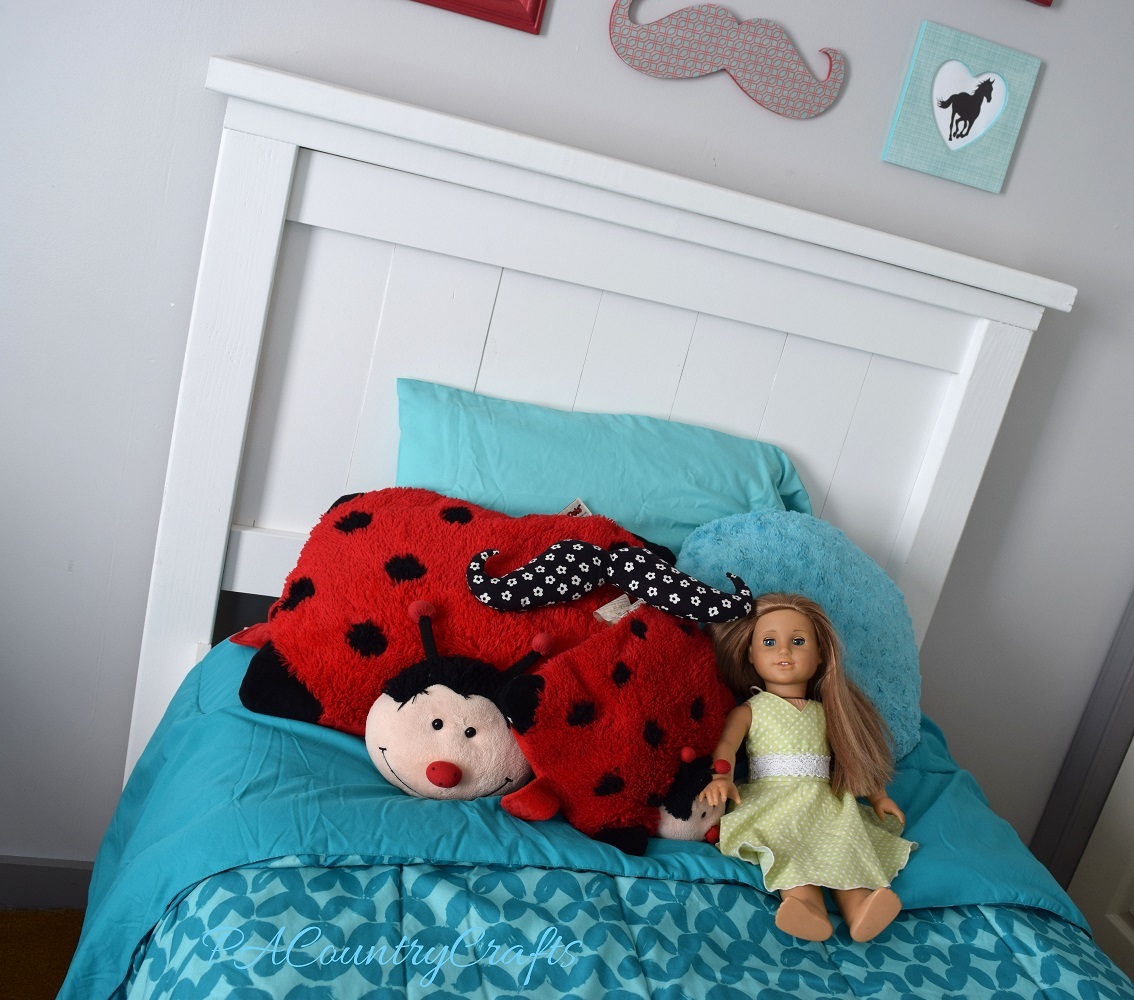
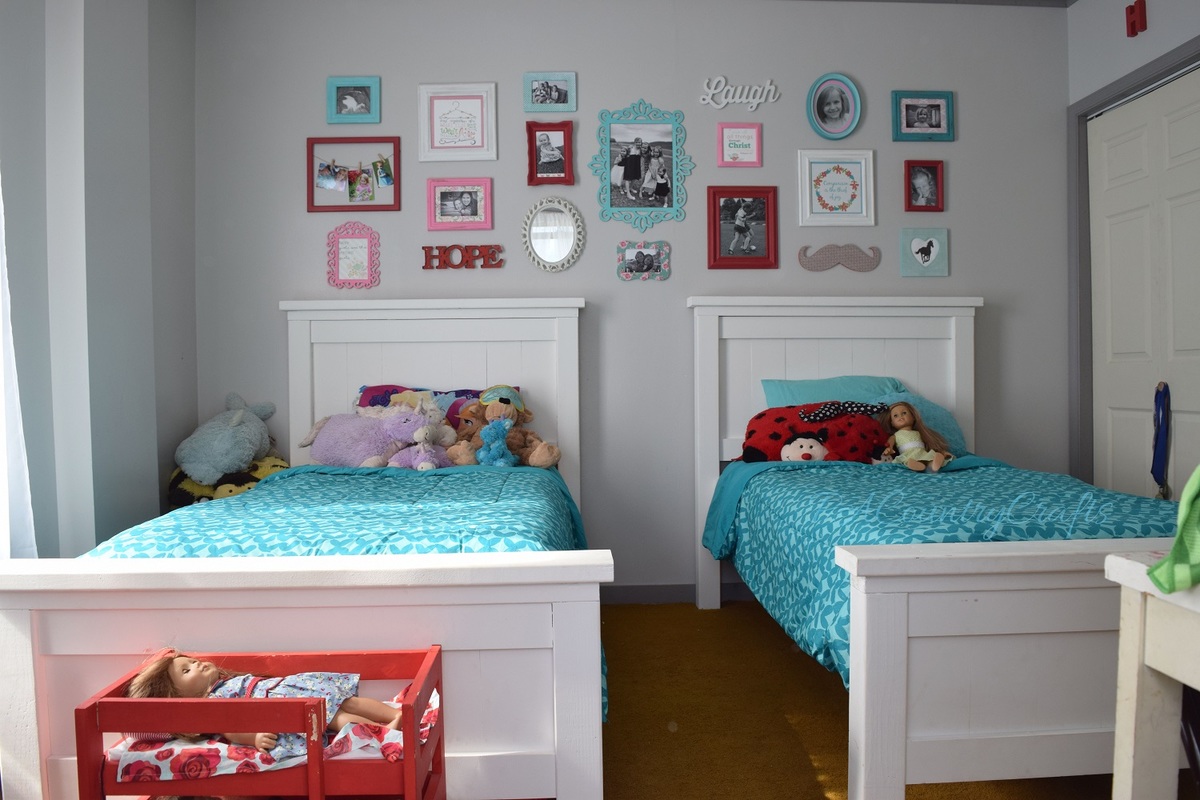
We made the headboards 7" shorter because the collage wall was already on the wall. Also, we used plywood instead of slats for support for the mattresses. Oh, and we had to trim the side rails to 75". Overall, it was a quick and simple project!

Built from Plan(s)
Estimated Cost
$150 each
Estimated Time Investment
Weekend Project (10-20 Hours)
Finish Used
white acrylic paint applied with a cantankerous paint sprayer
Recommended Skill Level
Intermediate

www.ana-white.com/Hutch

Submitted by svtigrz on Sun, 10/28/2018 - 04:39

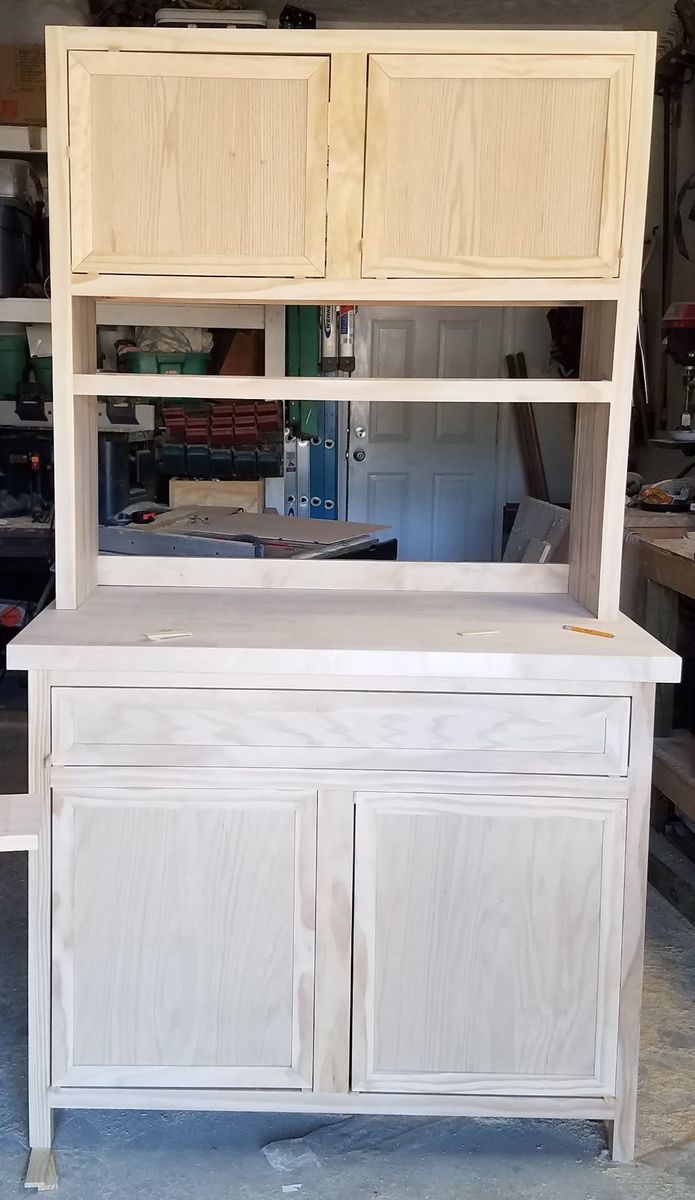
My wife wanted a hutch to store her canner and supplies in. We searched online for hutches and Hoosier cabinets and they were anywhere from $1200-$2000!!. That's when I said "I can build that". I sat down and custom designed on CAD and started my build. I was able to find the butcher block top at Lowes for $50!!.  It took me about 3 weeks to build it in my spare time. I had to special order some of the hardware because I could not find what I wanted locally. I had a lot of fun building it. On to my next project!!

Estimated Cost
$400
Estimated Time Investment
Week Long Project (20 Hours or More)
Finish Used
stain and poly
Recommended Skill Level
Advanced

Comments

Outdoor Chairs

Submitted by Anonymous (not verified) on Sat, 07/16/2022 - 17:45

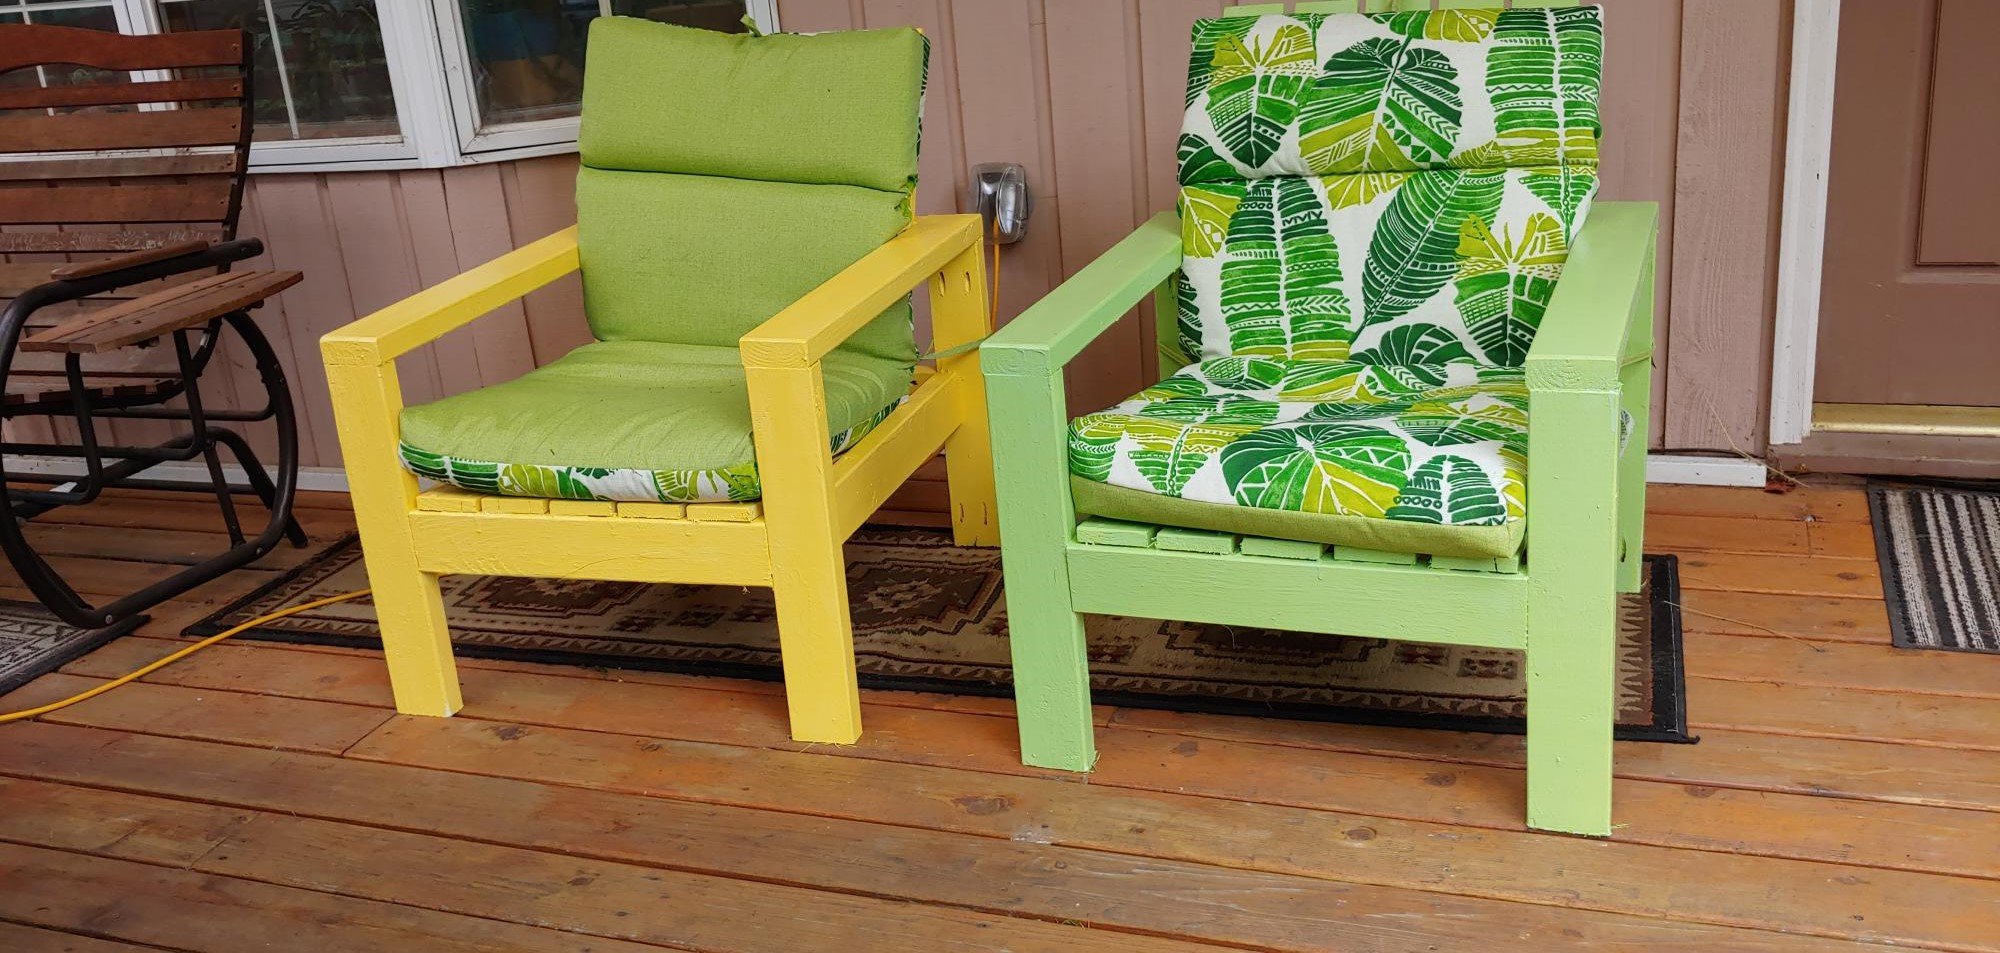
Brightly Painted chairs are popular here. I made two unpainted chairs in an afternoon. I would paint the pieces before putting them together if I made them again. Very comfortable!

Comments

Copy Cat Bedside Table

I needed new bedside tables to replace mine that were falling apart. I love the whole Stratton line at PB. I wanted to make something similar, but a bit more sturdy.

So, I made this table with a much more solid bottom shelf and a deep drawer with a full face to mimic the sides and the back panels.

Estimated Cost
Wood $20-$25, Drawer Slides $7, Drawer Handle $2
Estimated Time Investment
Afternoon Project (3-6 Hours)
Finish Used
I haven't determined yet.
Recommended Skill Level
Beginner

Comments

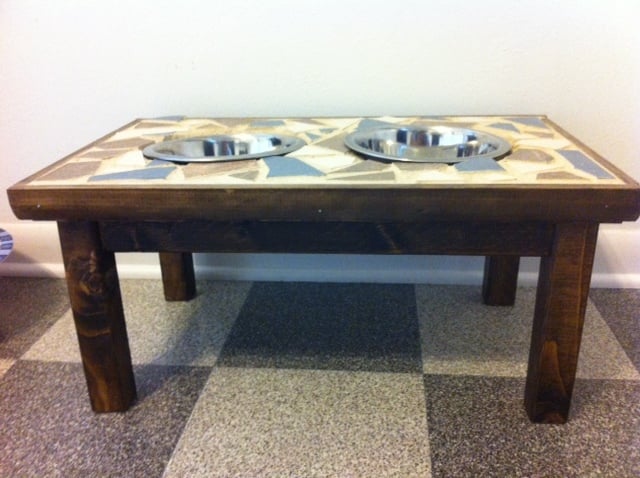
Tiled raised dog feeder!

Submitted by DogDoc25 on Tue, 08/27/2013 - 18:28

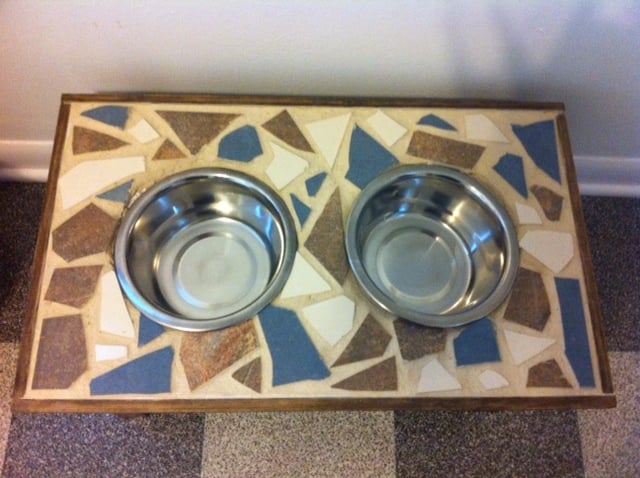
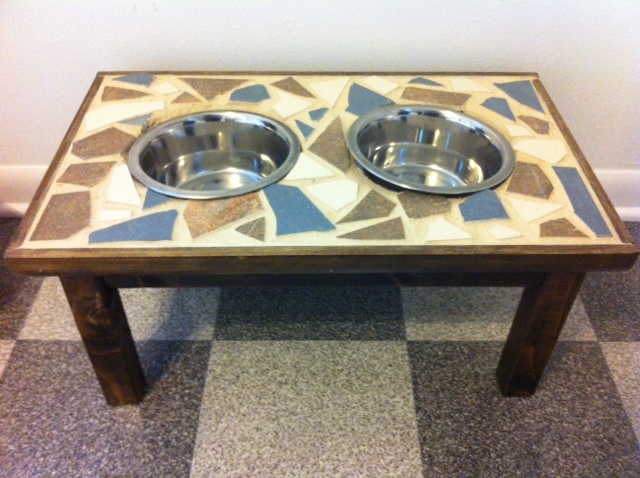
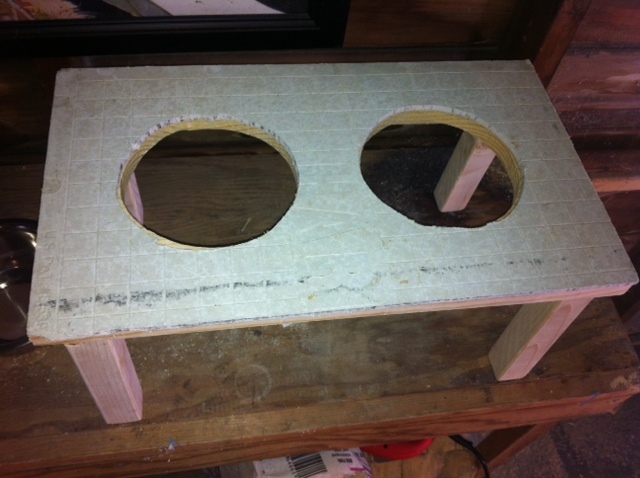
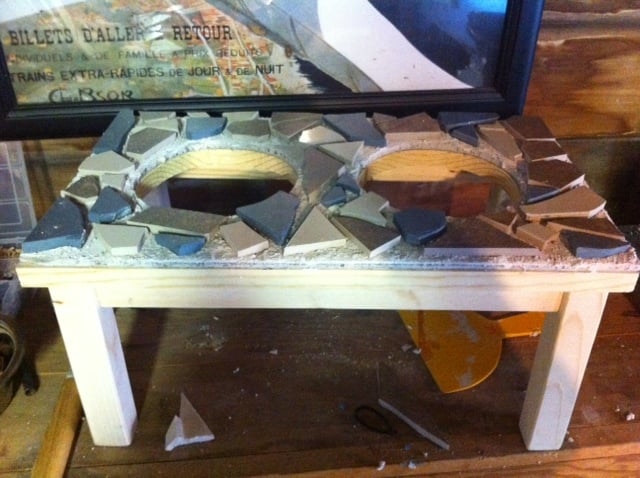
The design for this feeder came from Ana's raised feeder as well and the people who have made these feeders with tile. I had a lot of fun making this and I love how it turned out! I can see how they would be addicting to make. I constructed the wooden base (I just eyeballed how long to make it and how tall to make the legs based on the size of my bowls). I nailed hardibacker to the wooden top and applied the tile with thin set and mortar. This feeder is for my bigger dog, so disregard my small dogs checking it out:) The grout was a dark tan color before it dried, and I really like the color it ended up being. I bought the tile and grout from the habitat from humanity store, which had a big selection of miscellaneous tiles for basically free! Fun project!

Estimated Cost
about $45 (had to buy tile supplies that I didn't already have) but for just materials (wood, tile, thin set, wood trim, and mortar) around $30
Estimated Time Investment
Day Project (6-9 Hours)
Finish Used
Put down wood conditioner and then 2 coats of minwax dark walnut (left on for about 10 minutes in between coats), then applied 2 coats of polycrylic
Recommended Skill Level
Beginner

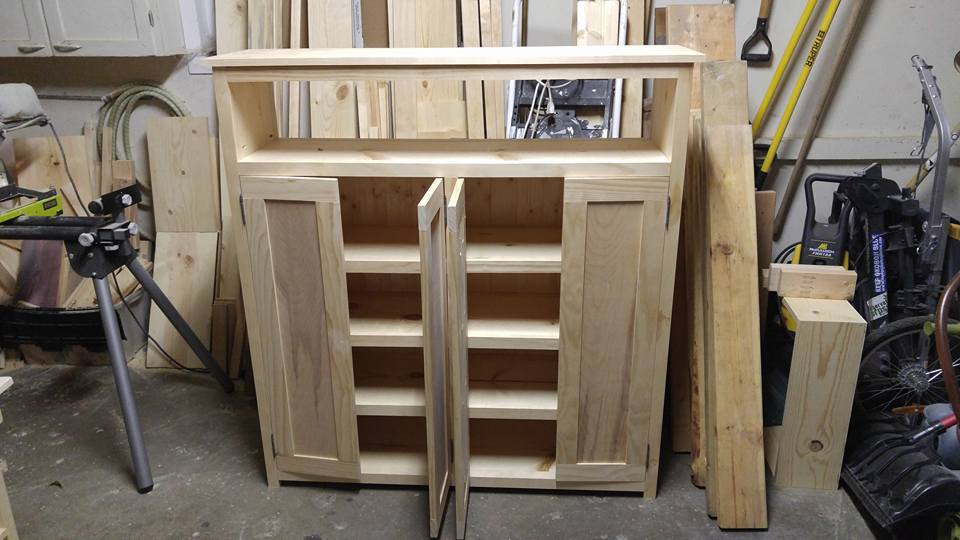
Bookshelf Mod

I needed a wider bookshelf with doors, to hide all my DVD's. I was able to make a mod of the original design and added panel doors to complete. This took a little longer than expected, as I ran into a complication with my original door plan. Once I found the panel door plan it all came together.


Estimated Cost
$150
Estimated Time Investment
Weekend Project (10-20 Hours)
Recommended Skill Level
Intermediate

Comments

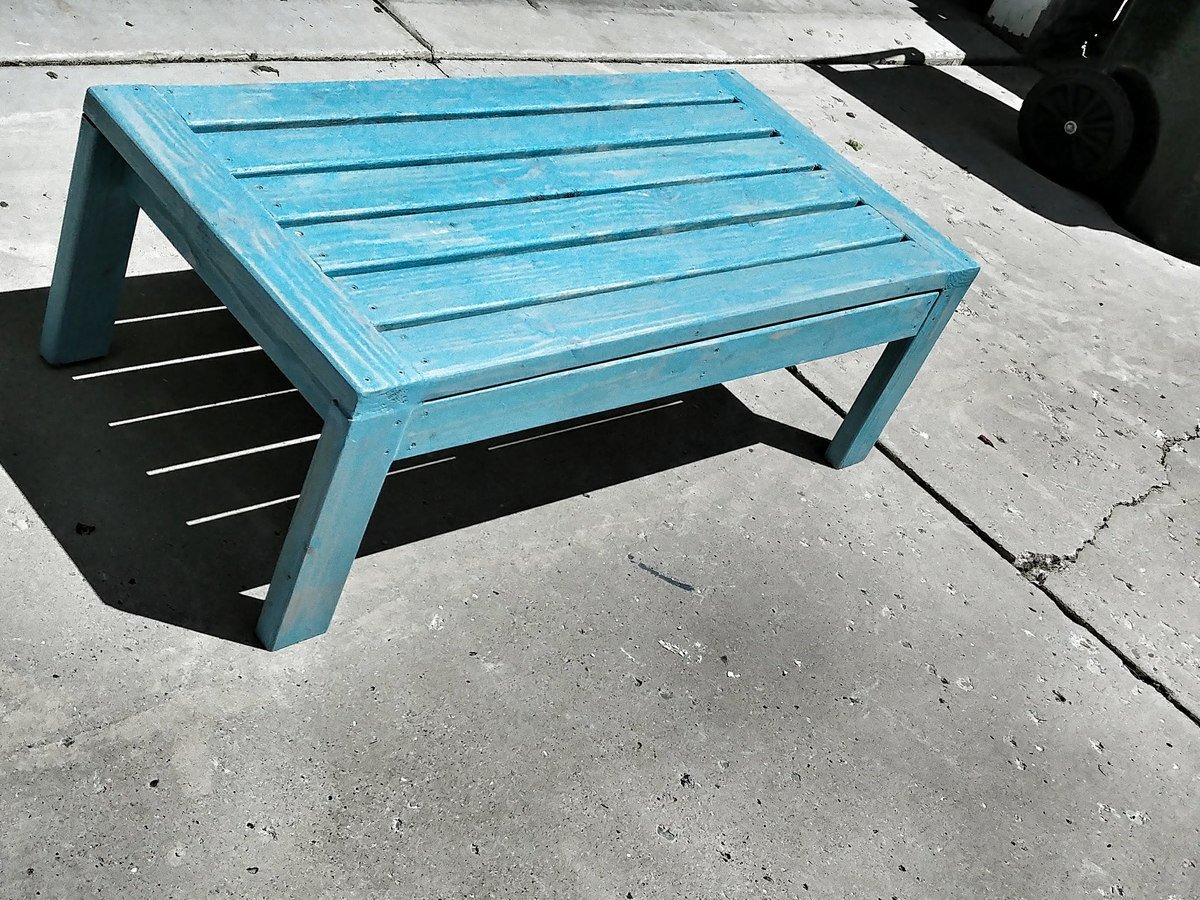
2x4 Outdoor Coffee Table

Submitted by bcarter_1 on Tue, 10/30/2018 - 05:02

Helped to complete the patio

Built from Plan(s)
Estimated Time Investment
Day Project (6-9 Hours)
Finish Used
Rust-Oleum weathered turquoise stain
Recommended Skill Level
Beginner

Comments

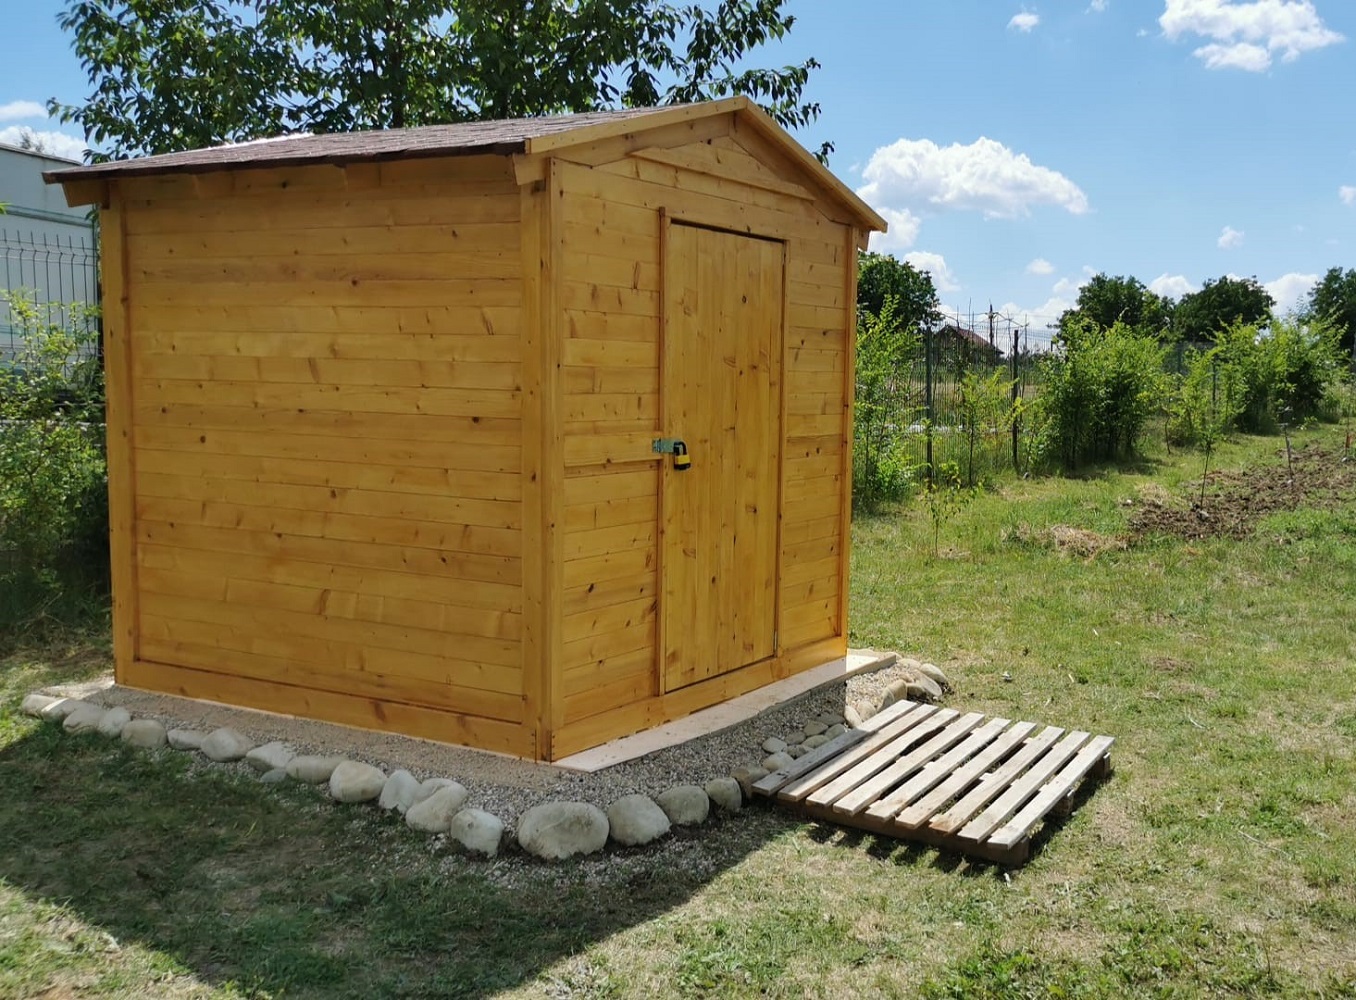
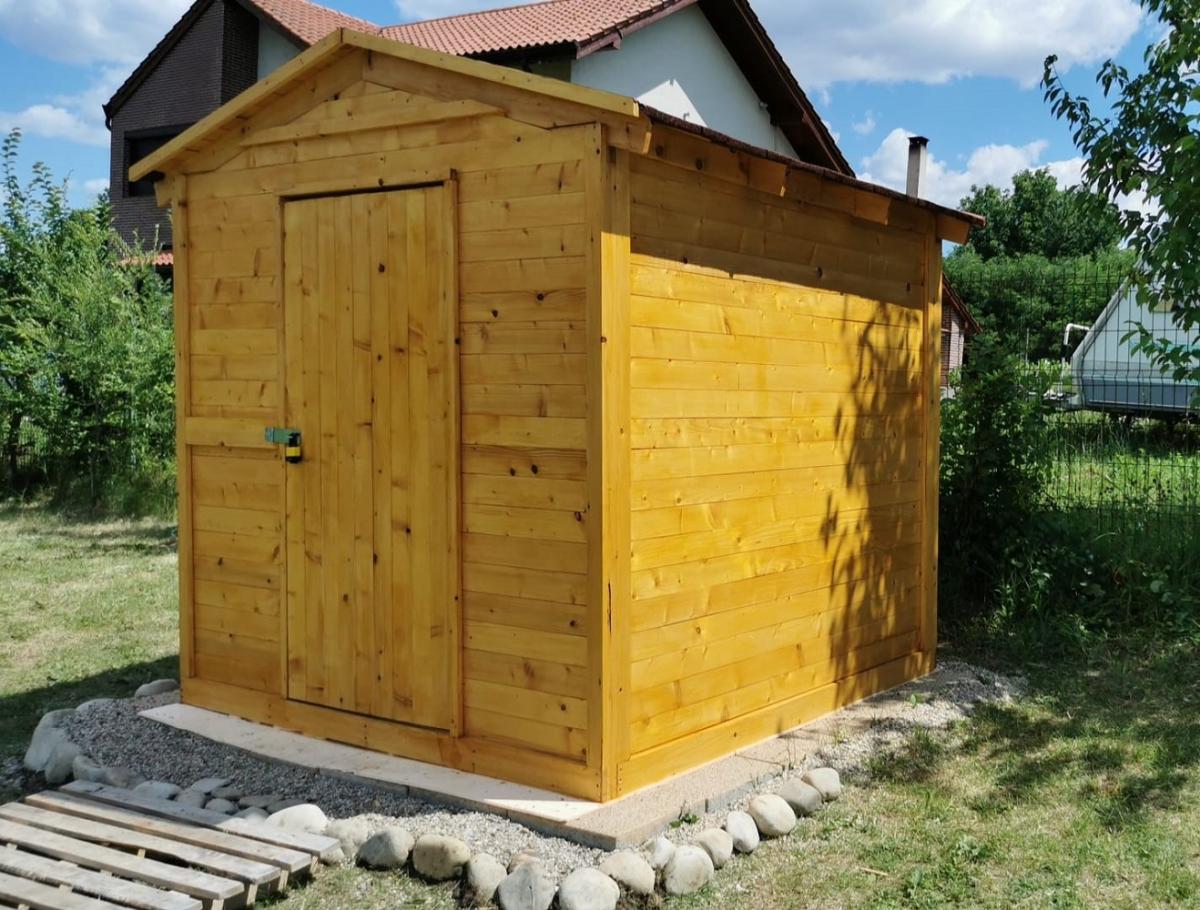
Wooden garden tools storage shed

Our last project was building a tiny garden tools storage shed. We used only 1 x 4 boards. We don't have any plans, but you can watch the entire building process on our YouTube channel. We are very proud of the way the project turned out.

Built from Plan(s)

Comments

Seasonal And Holiday

corner cupboard

easy to follow instructions. I work in a hardwood sawmill as a sawfiler. I get a lot of wood from the mill. I bought a kreg pocket hole jig for the first time. Building the doors was easy. I'll never use mortise and tenon joints on small doors again. The door ornaments came from Lowes

Estimated Cost
$200
Estimated Time Investment
Weekend Project (10-20 Hours)
Finish Used
golden oak stain minwax nothing else just rub in one coat
Recommended Skill Level
Intermediate

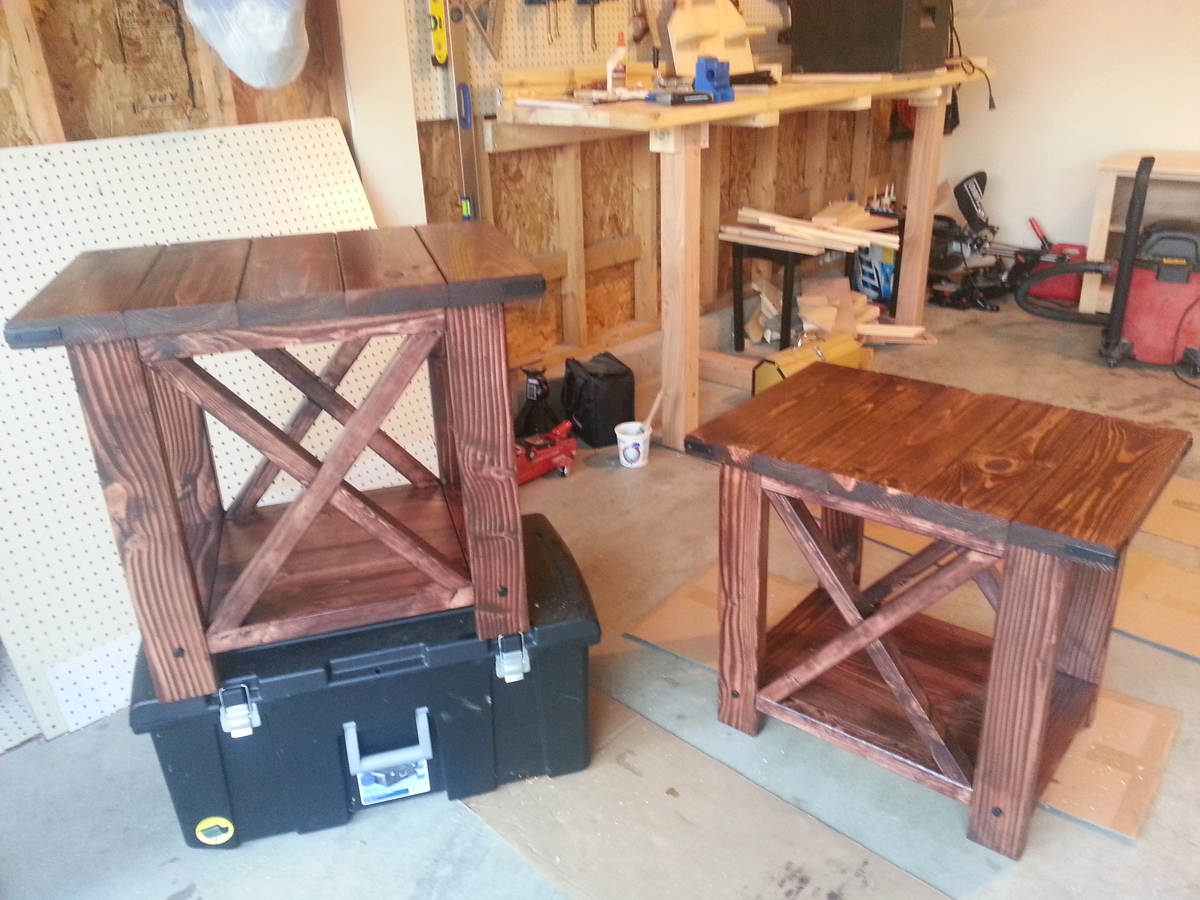
Rustic X End Tables

Submitted by pbookman on Thu, 08/29/2013 - 19:57

We altered the width of the tables to make them fit in our living room, but kept everything else the same. They turned out great!

Finish Used
Minwax Gel Stain in Red Elm
Recommended Skill Level
Beginner

Modified rustic x

Modified the plans for the rustic x console to fit in my kitchen. This was my first furniture making adventure, but end product was worth it, even if not perfect. Final product is 41inches by 25 inches and is 36.5 inches tall. I used shiplap for the top, over leftover 3/4 inch birch plywood. 

Built from Plan(s)
Estimated Cost
$50
Estimated Time Investment
Weekend Project (10-20 Hours)
Finish Used
Min wax dark walnut and finishing paste
Recommended Skill Level
Beginner

Comments

Living Room Storage Table

Submitted by dritcheson on Sat, 11/10/2018 - 19:11

First furniture project.  Storage table for my daughter and her husband.

Estimated Time Investment
Week Long Project (20 Hours or More)
Finish Used
Valspar Oil Based Paint, Minwax Dark Walnut Gel Stain and Minwax Wipe On Poly
Recommended Skill Level
Intermediate

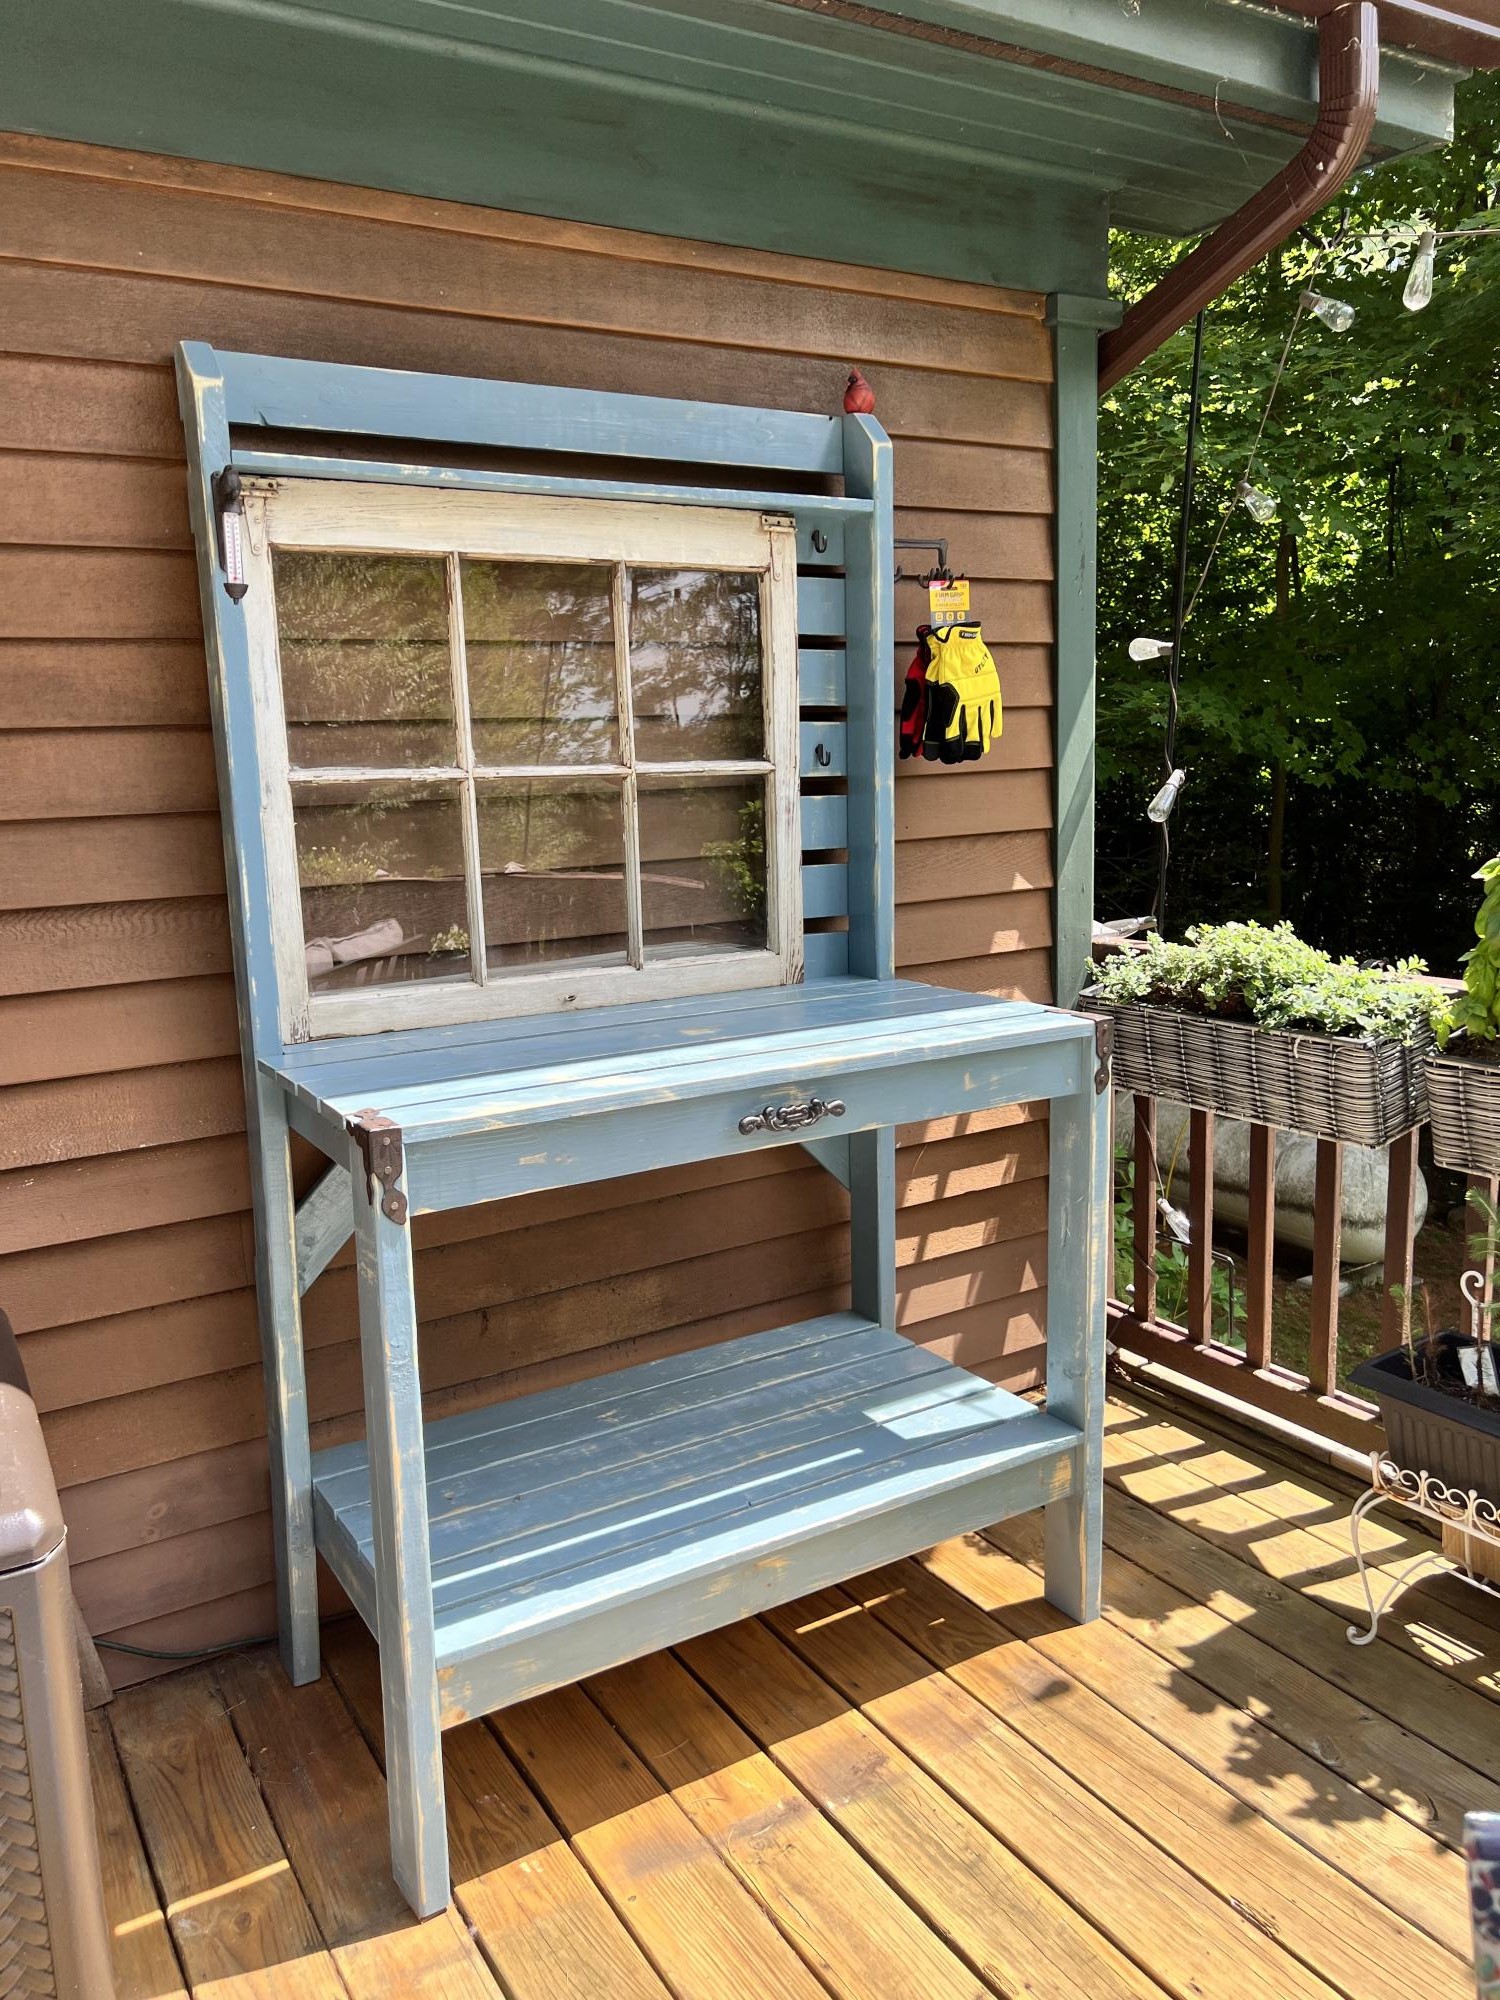
Simple 2x4 potting bench modified to include antique window.

Submitted by Anonymous (not verified) on Mon, 08/08/2022 - 10:57

I made this for my mom for her birthday. I just modified the measurements to accommodate the window and added some cool hardware.

Built from Plan(s)

Comments

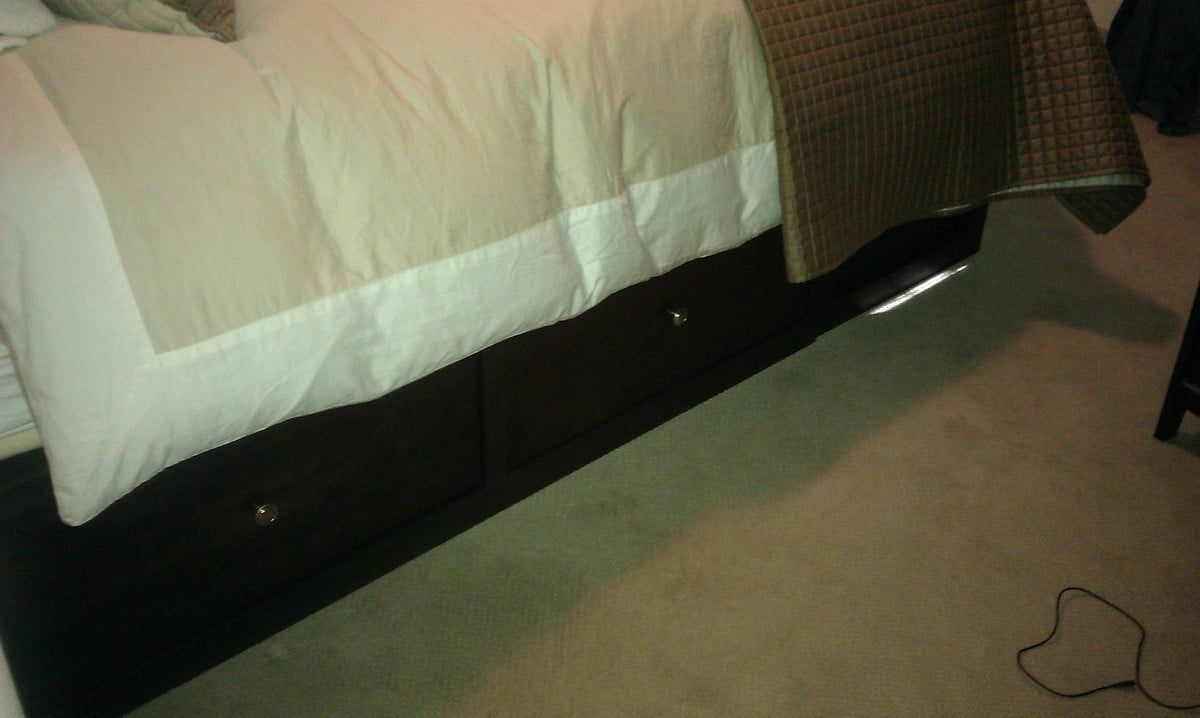
Queen Storage Bed - done!

Submitted by sgilly on Sun, 08/07/2011 - 19:55

I was so excited to start the Queen storage bed - but then I had all that lumber and the cuts weren't perfect, and my measuring skills need work, and I don't fit into 12 x 18" spaces, and my vision isn't great to begin with and I certainly can't see into those dark, dark spaces!
But, in the end, I had fun, and the drawers work, the finish turned out well, I still have all my fingers, my bruises are about gone (2 weeks later, for goodness sake!) and, most important, my son and his wife say it looks great, is sturdy, and the drawers work! Whew!
Next month I'm doing the twin sized version for my daughter - and no drawers, yeah!

Built from Plan(s)
Estimated Cost
$400
Estimated Time Investment
Week Long Project (20 Hours or More)
Finish Used
Valspar Espresso stain, 3-4 coats, sanded between first 2 coats, then just applied to darken the color. Light sanded before applying first coat of minwax poly, light sanded again, applied 2nd coat of poly, and then added a 3rd coat of poly (no sanding before)
Recommended Skill Level
Intermediate

Comments

kristen

Sat, 08/13/2011 - 19:34

Well for all the problems with fitting into the spaces, seeing, and such, it turned out beautifully!! Well done! I

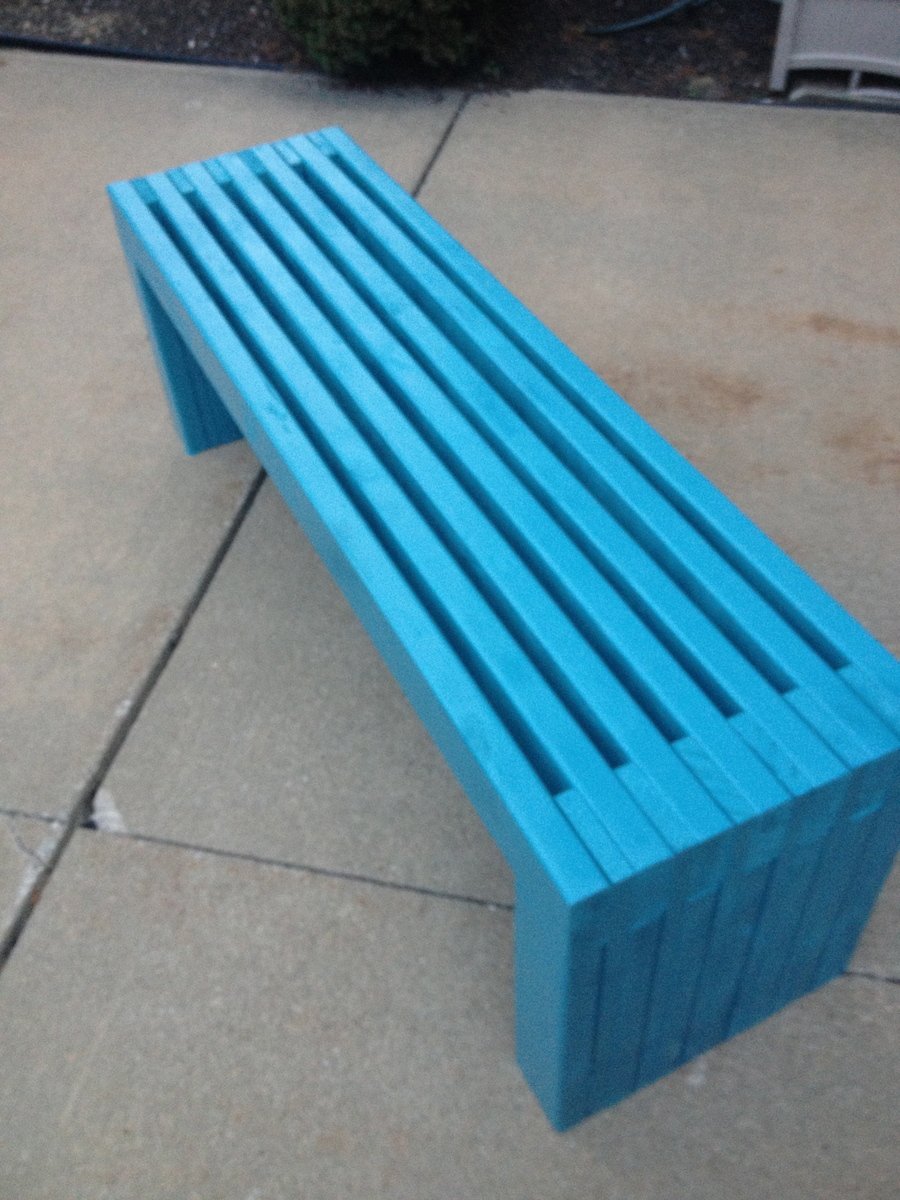
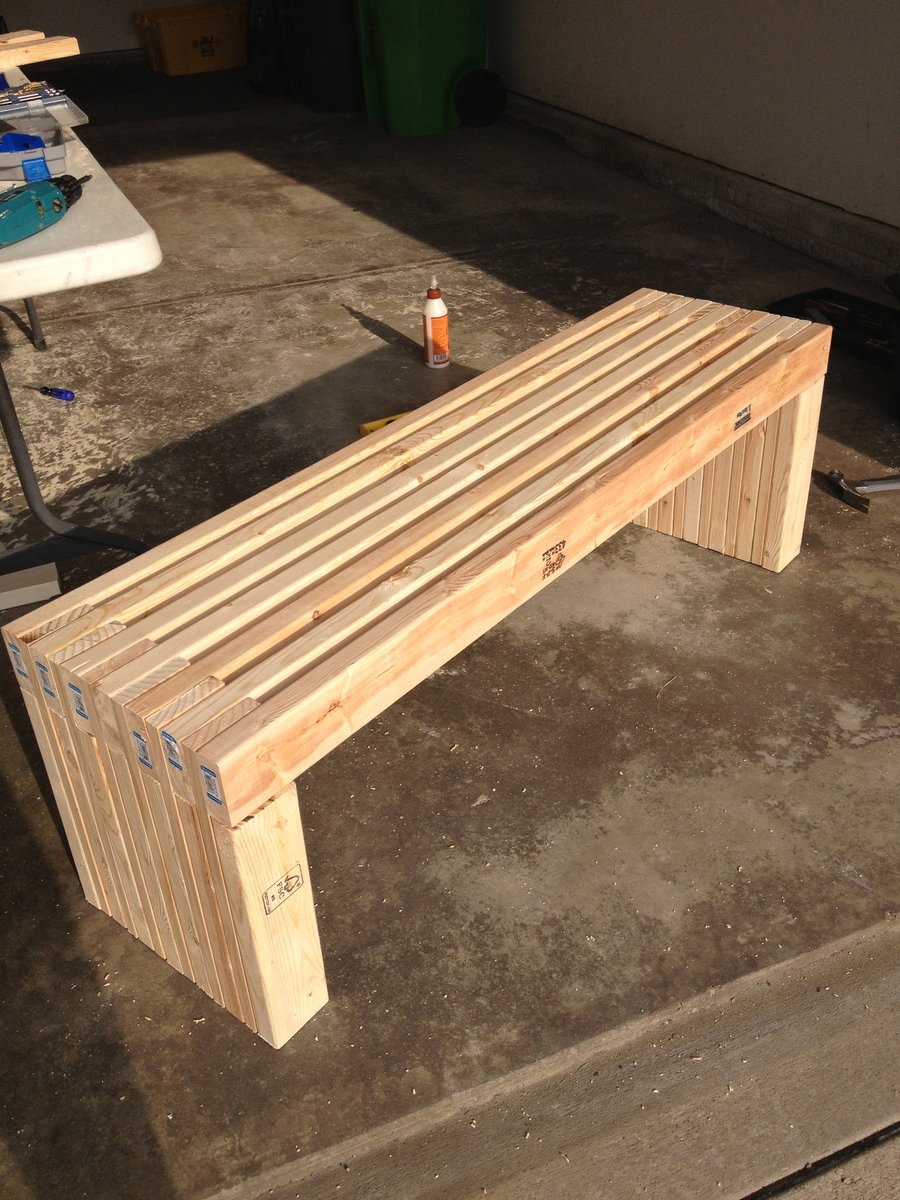
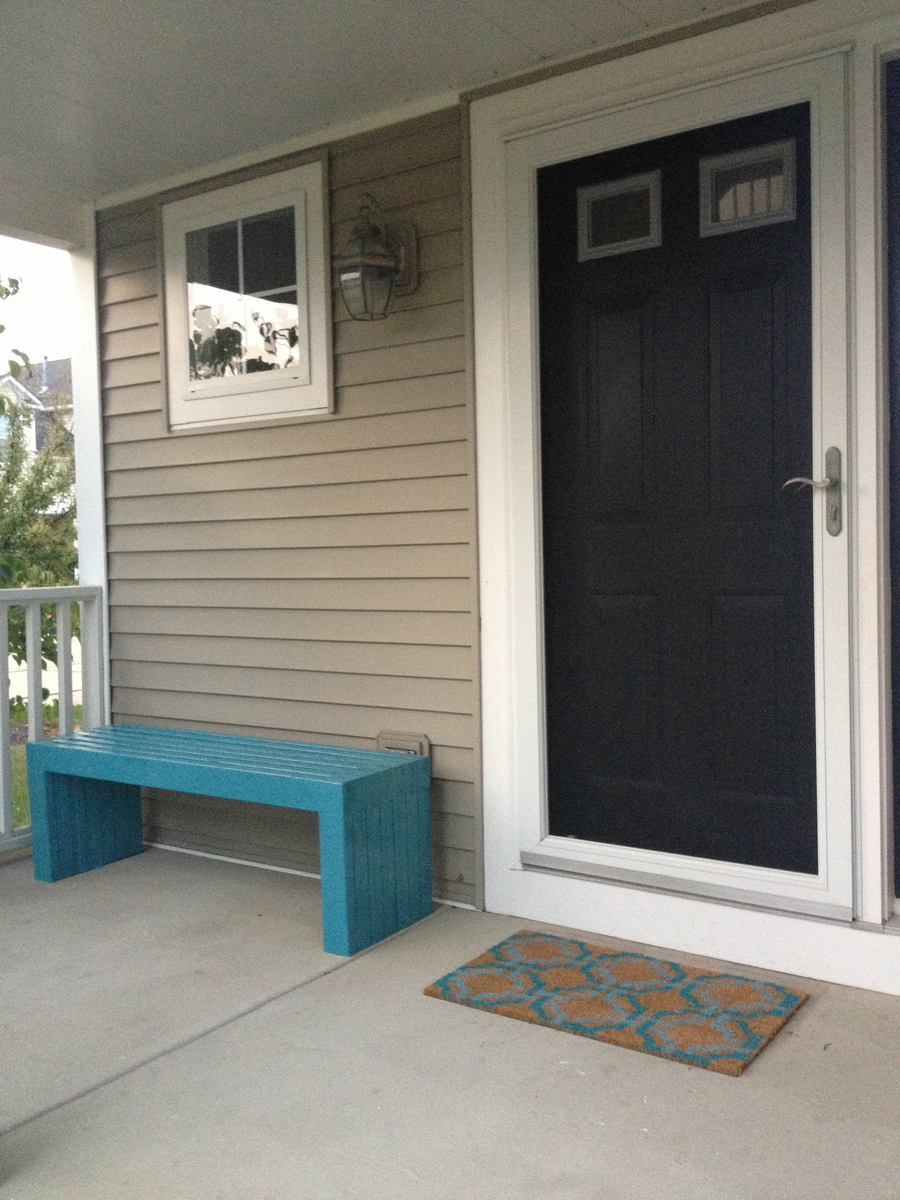
MODERN SLAT TOP OUTDOOR WOOD BENCH

This was my first project. I am pretty excited how it turned out. If I did it again, I would recommend sanding and painting prior to building.

Estimated Cost
$60
Estimated Time Investment
Afternoon Project (3-6 Hours)
Finish Used
Valspar Spray Paint - Oasis
Recommended Skill Level
Beginner

Comments

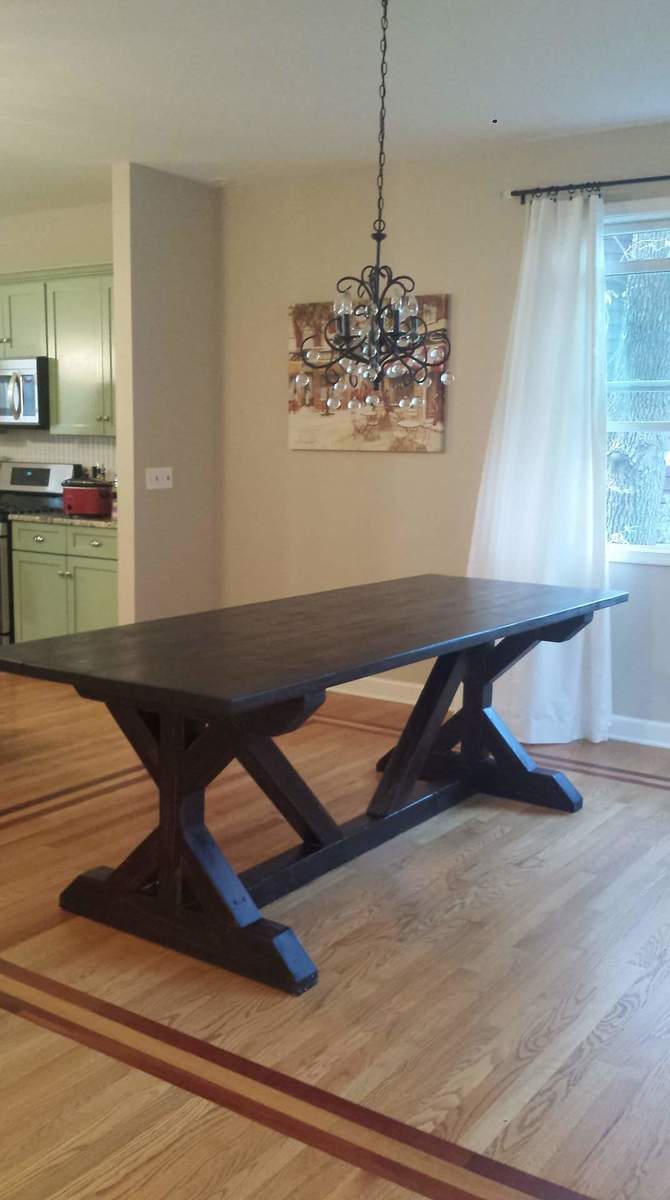
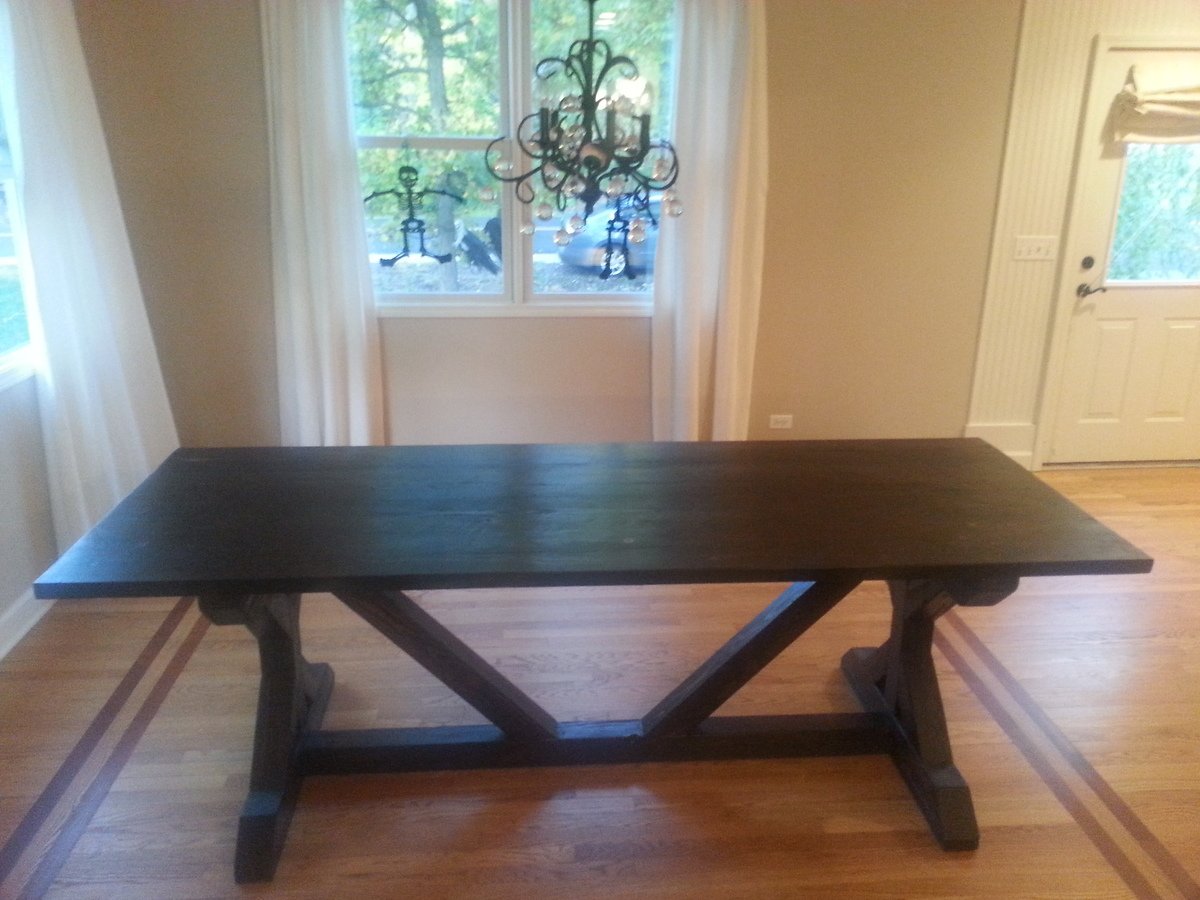
Fancy X Farmhouse Table

Submitted by Goodge12 on Fri, 10/23/2015 - 11:22

Made a couple modifications:

  • Used 4x4 for the cross beams instead of 2x4. 
  • Used 4x4 anywhere there were (2) 2x4s together. 
  • Used a dowel jig to attach the (4) 45 degree pieces on each post
  • Sanded down the table top until the seams disappeared.  Thank you, belt sander!

That last bullet was super-important to the Mrs.  She was adamant that the table should not have spaces in between the boards, yet she did not want any seams for crumbs to collect.  The result was that I had to sand down the table top about an eighth of an inch... but the seams disappeared.


Also, we initially used Ebony stain... until we realized it was too dark.  Sanded that down a bit, then went over top with the Kona stain.  Result was a dark brown with some black detailing.  Finished with some minwax wipe-on poly.  Turned out really nice!


Thank you, Ana - This project was a ton of fun, challenging, and ultimately, very rewarding!
Built from Plan(s)
Estimated Cost
Approximately $120 - the 4 x 4s were Douglas Fir.
Estimated Time Investment
Week Long Project (20 Hours or More)
Finish Used
Minwax Ebony, Minwax Kona , Minwax Wipe-on Poly
Recommended Skill Level
Intermediate