Outdoor Chairs
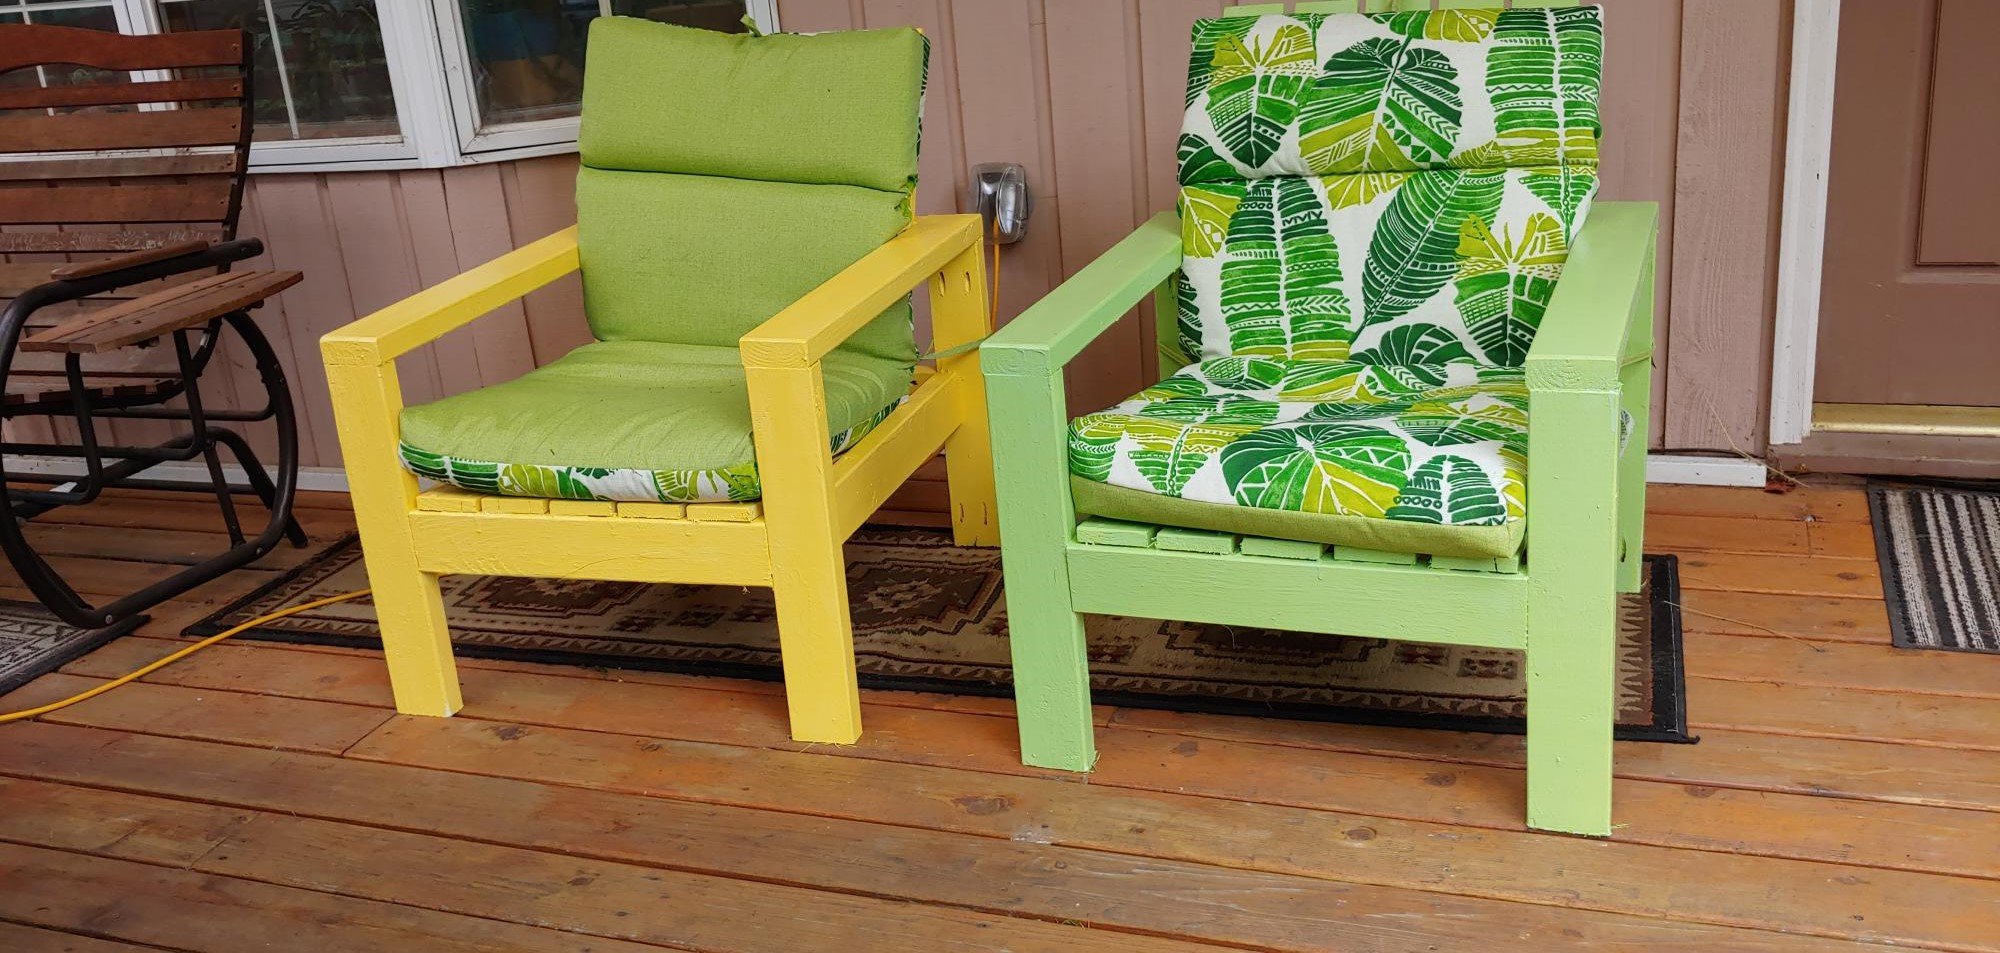
Brightly Painted chairs are popular here. I made two unpainted chairs in an afternoon. I would paint the pieces before putting them together if I made them again. Very comfortable!
Built from Plan(s)
Brightly Painted chairs are popular here. I made two unpainted chairs in an afternoon. I would paint the pieces before putting them together if I made them again. Very comfortable!
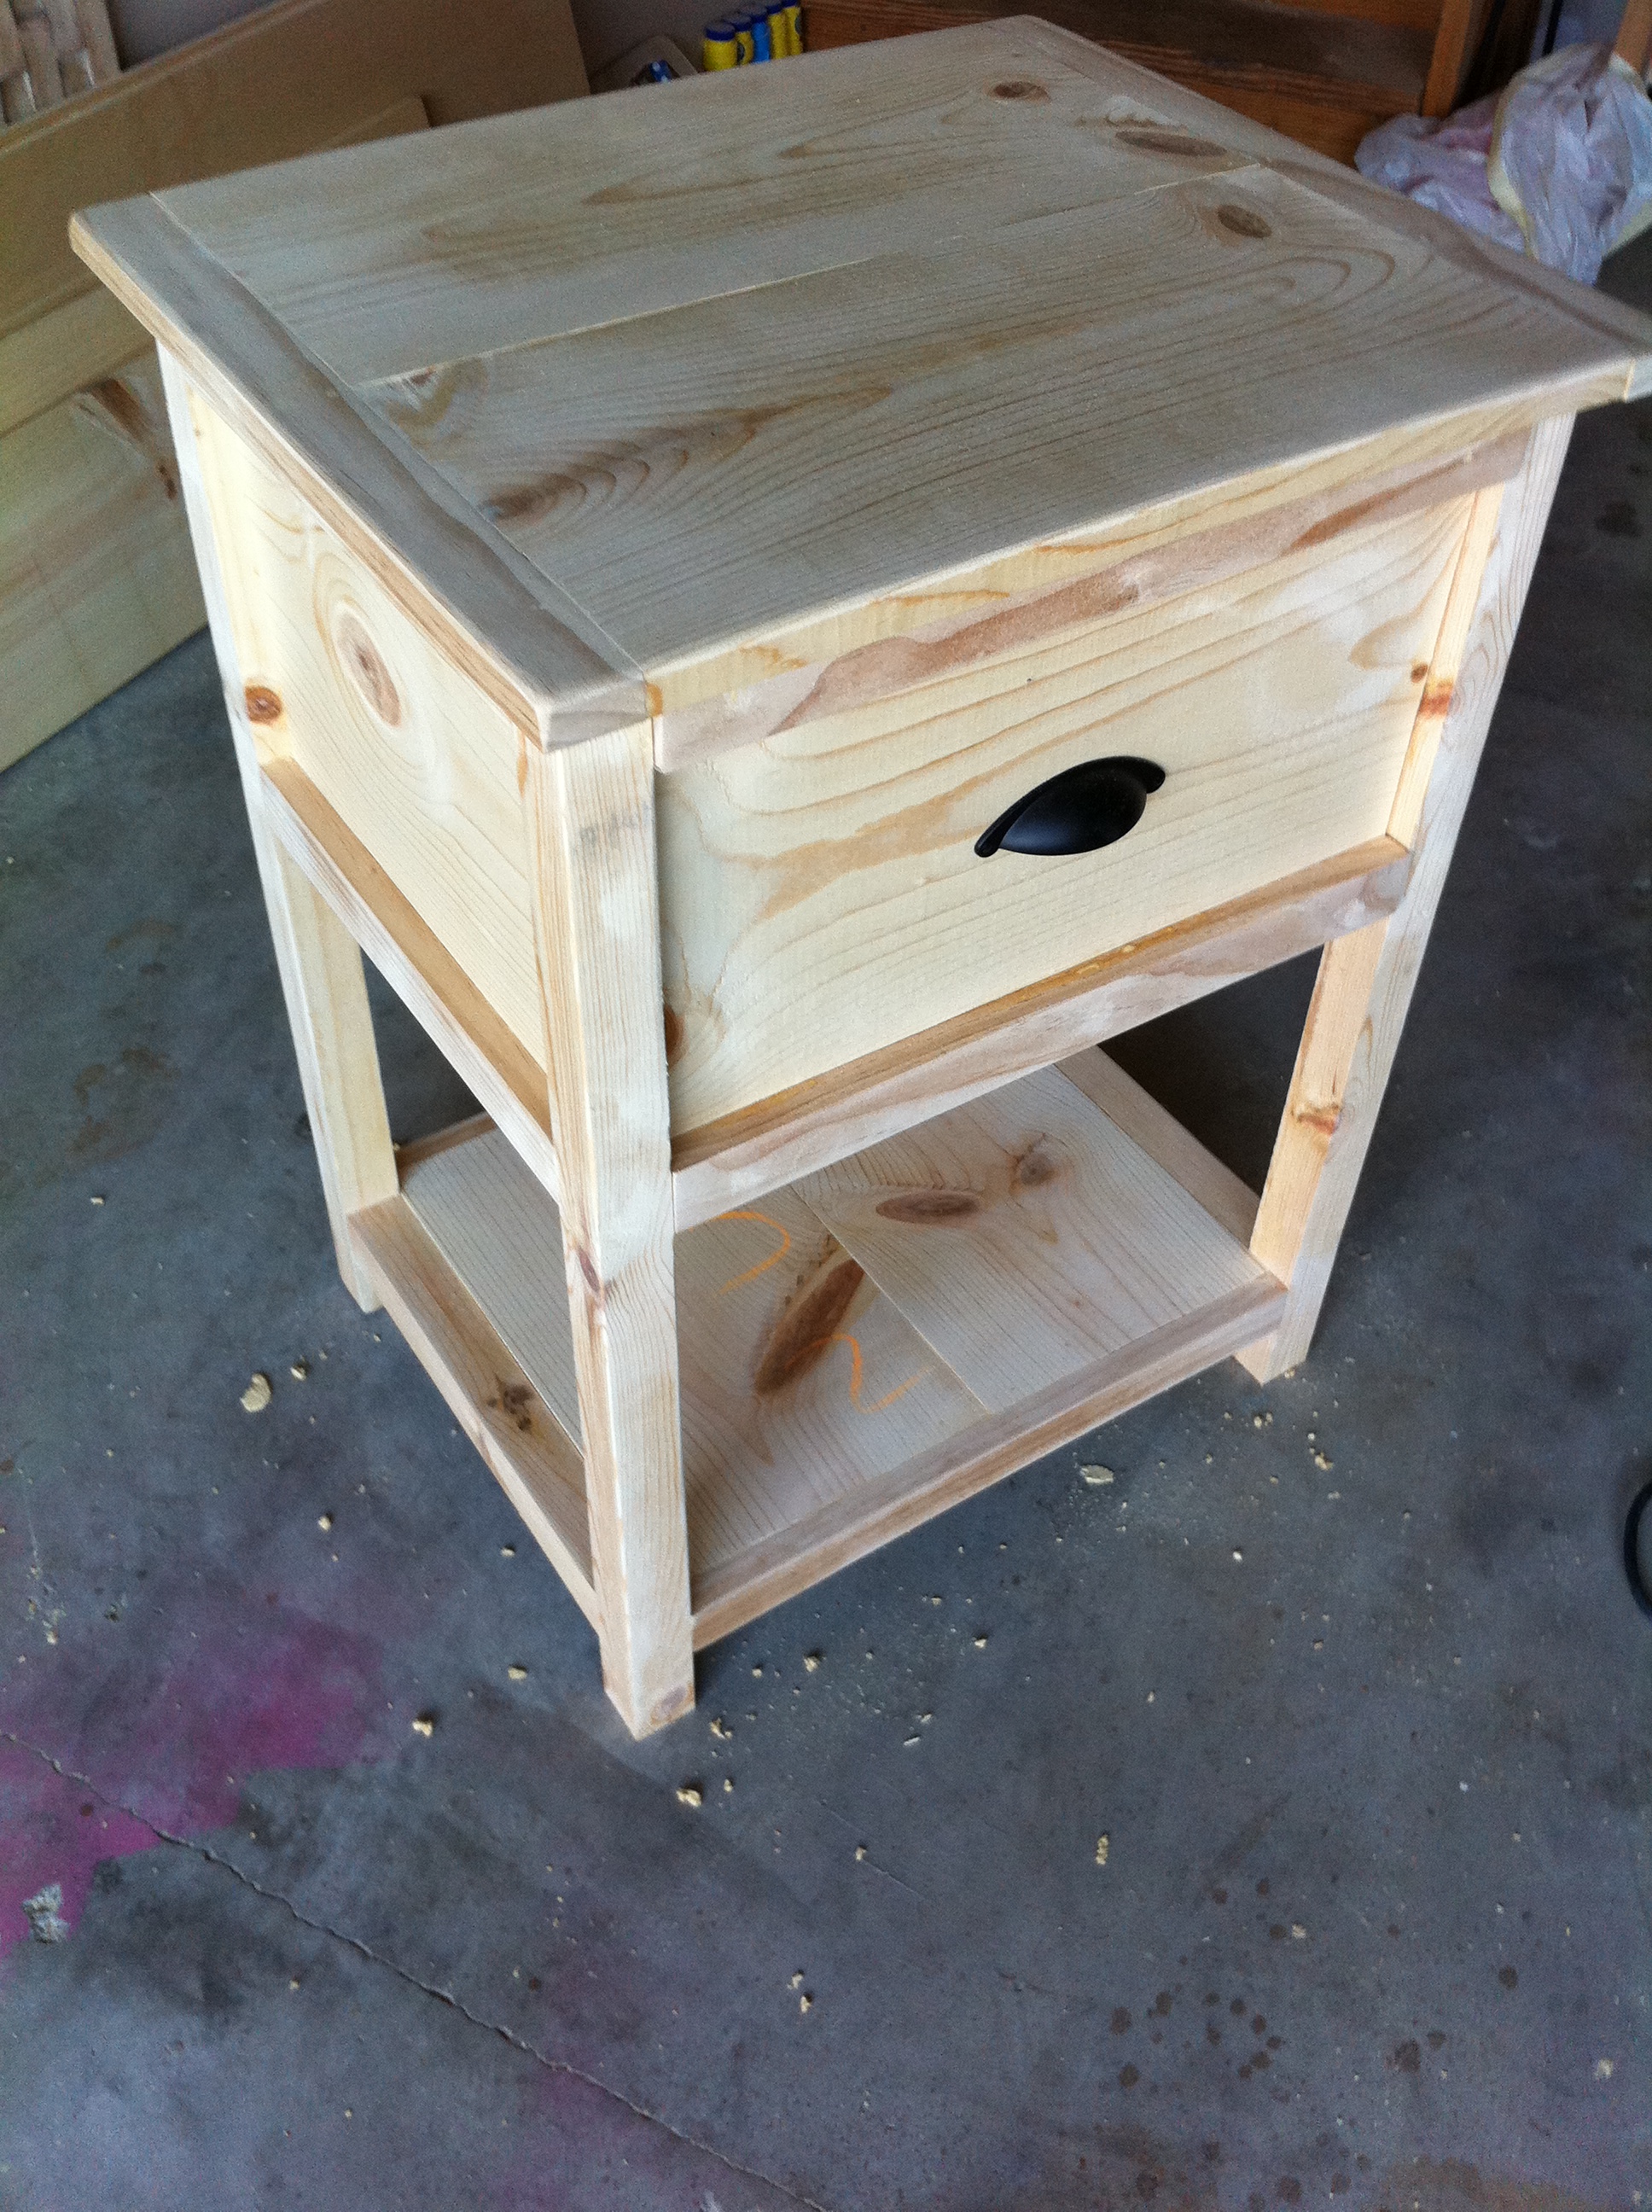
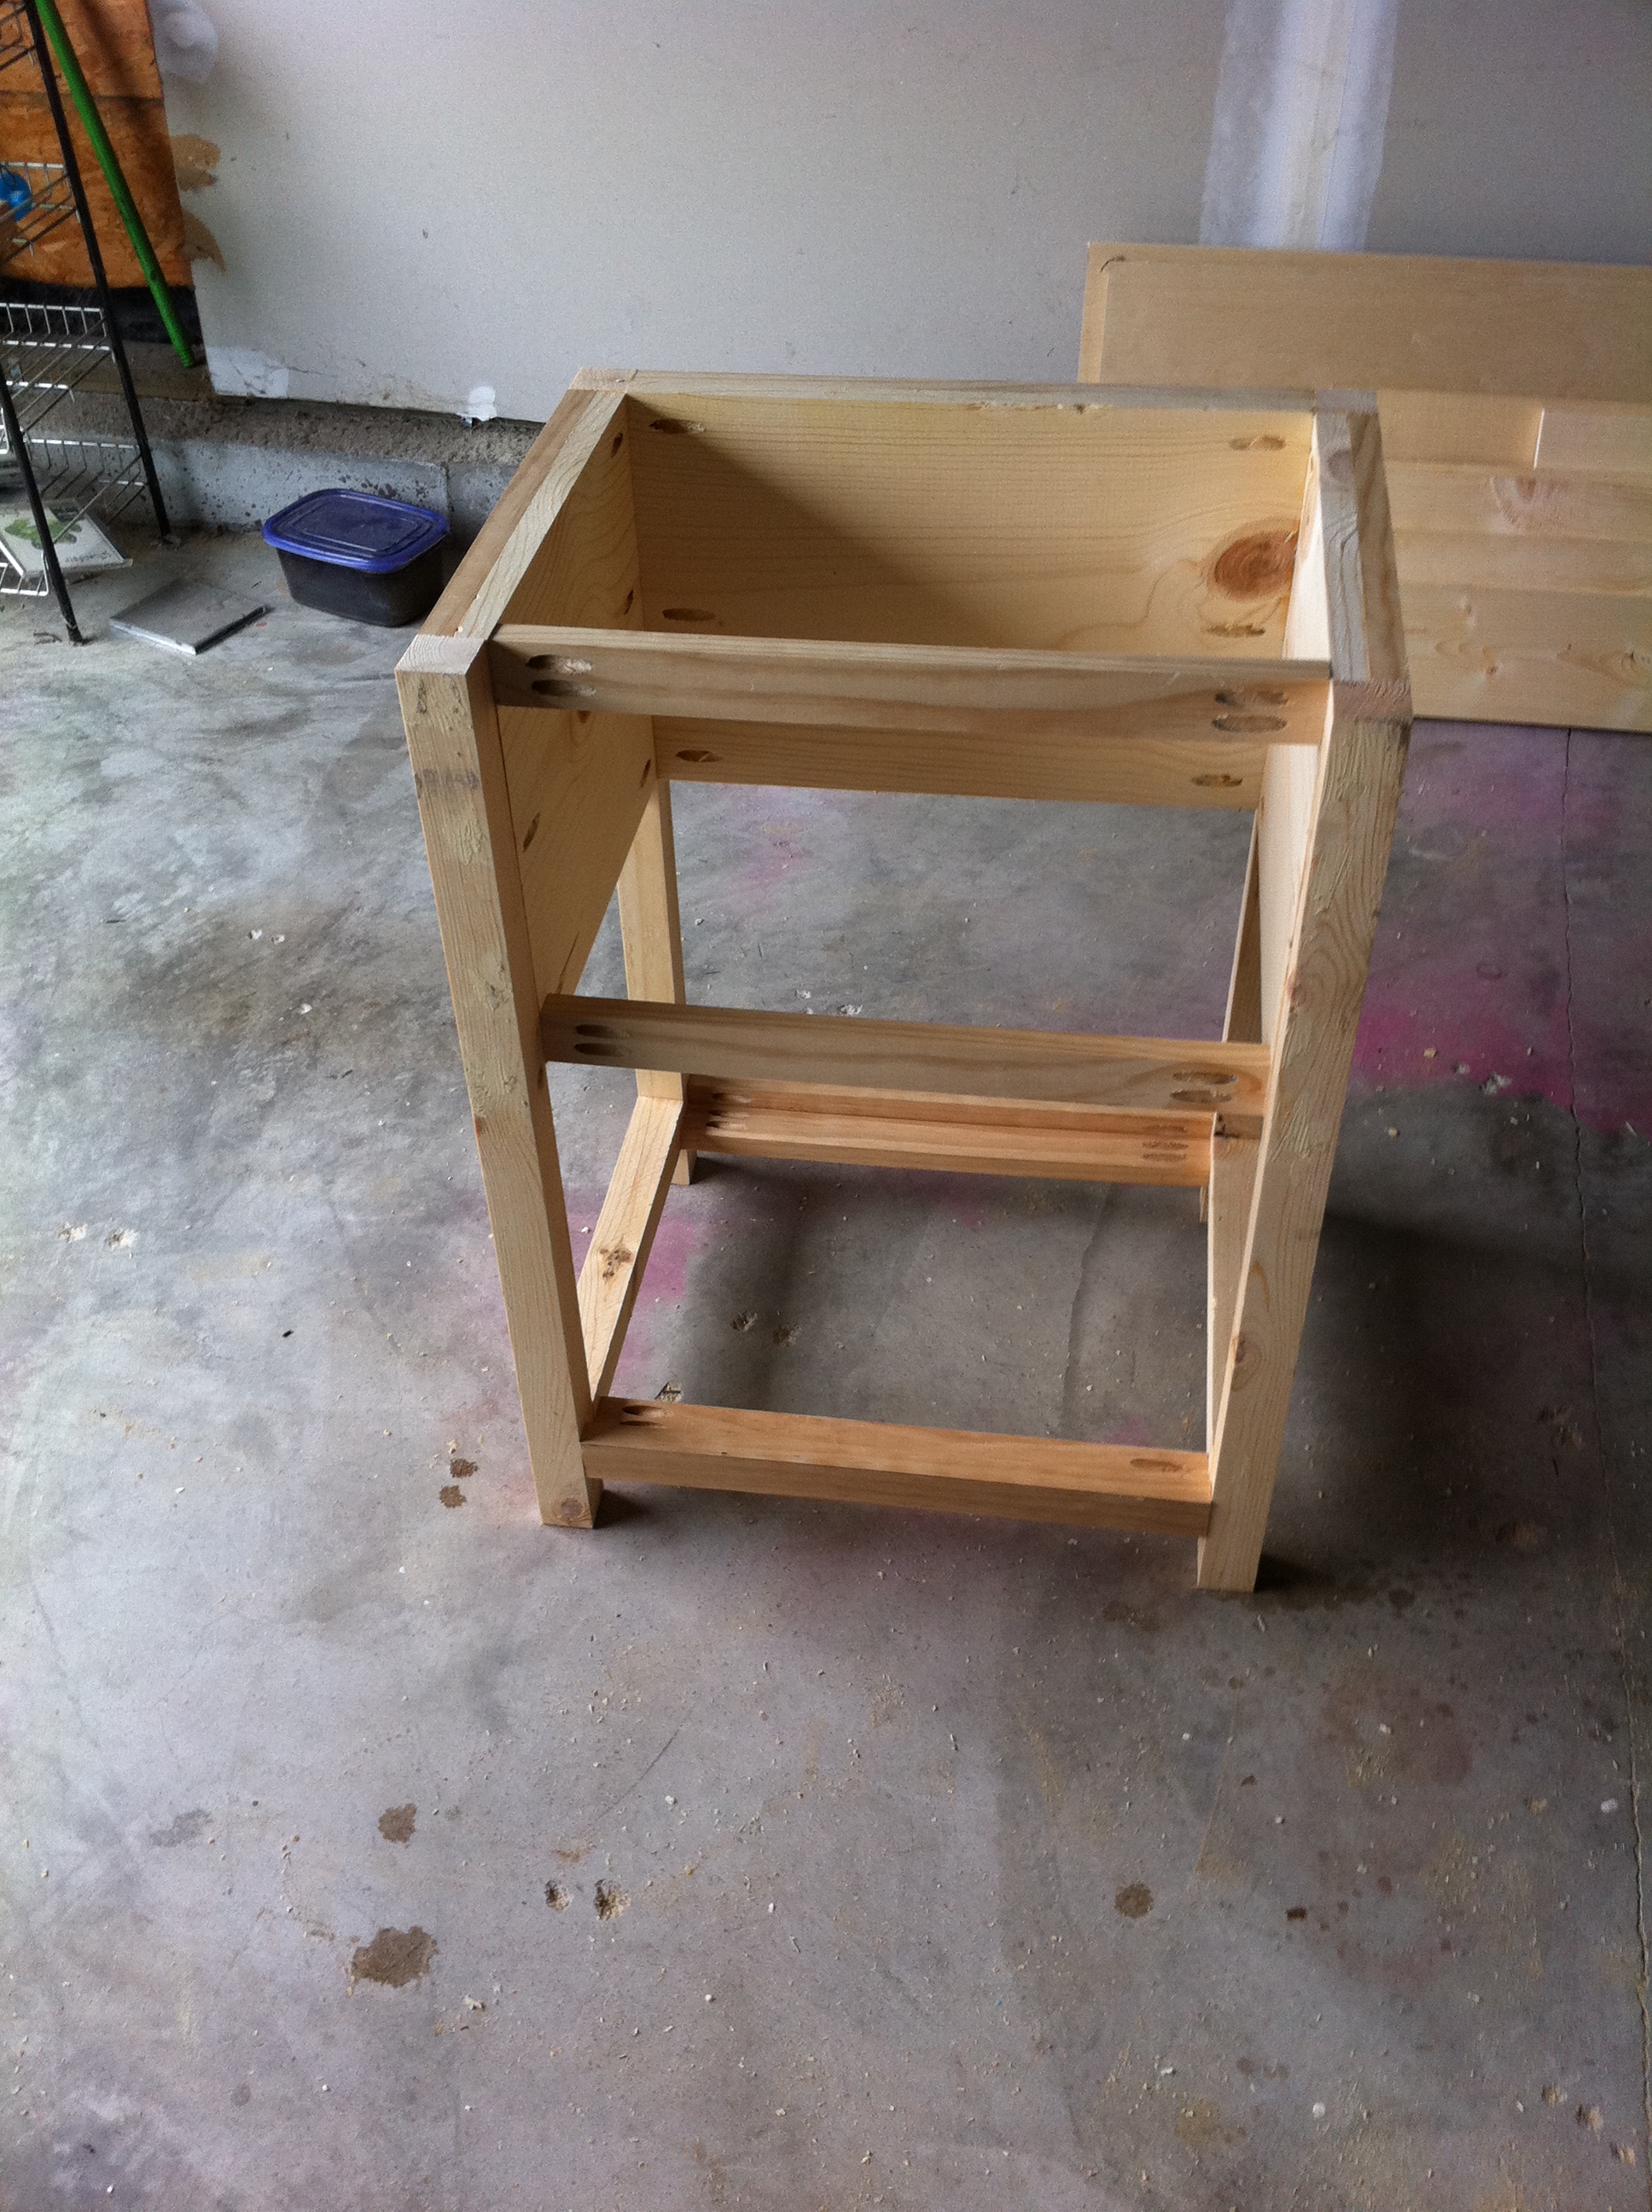
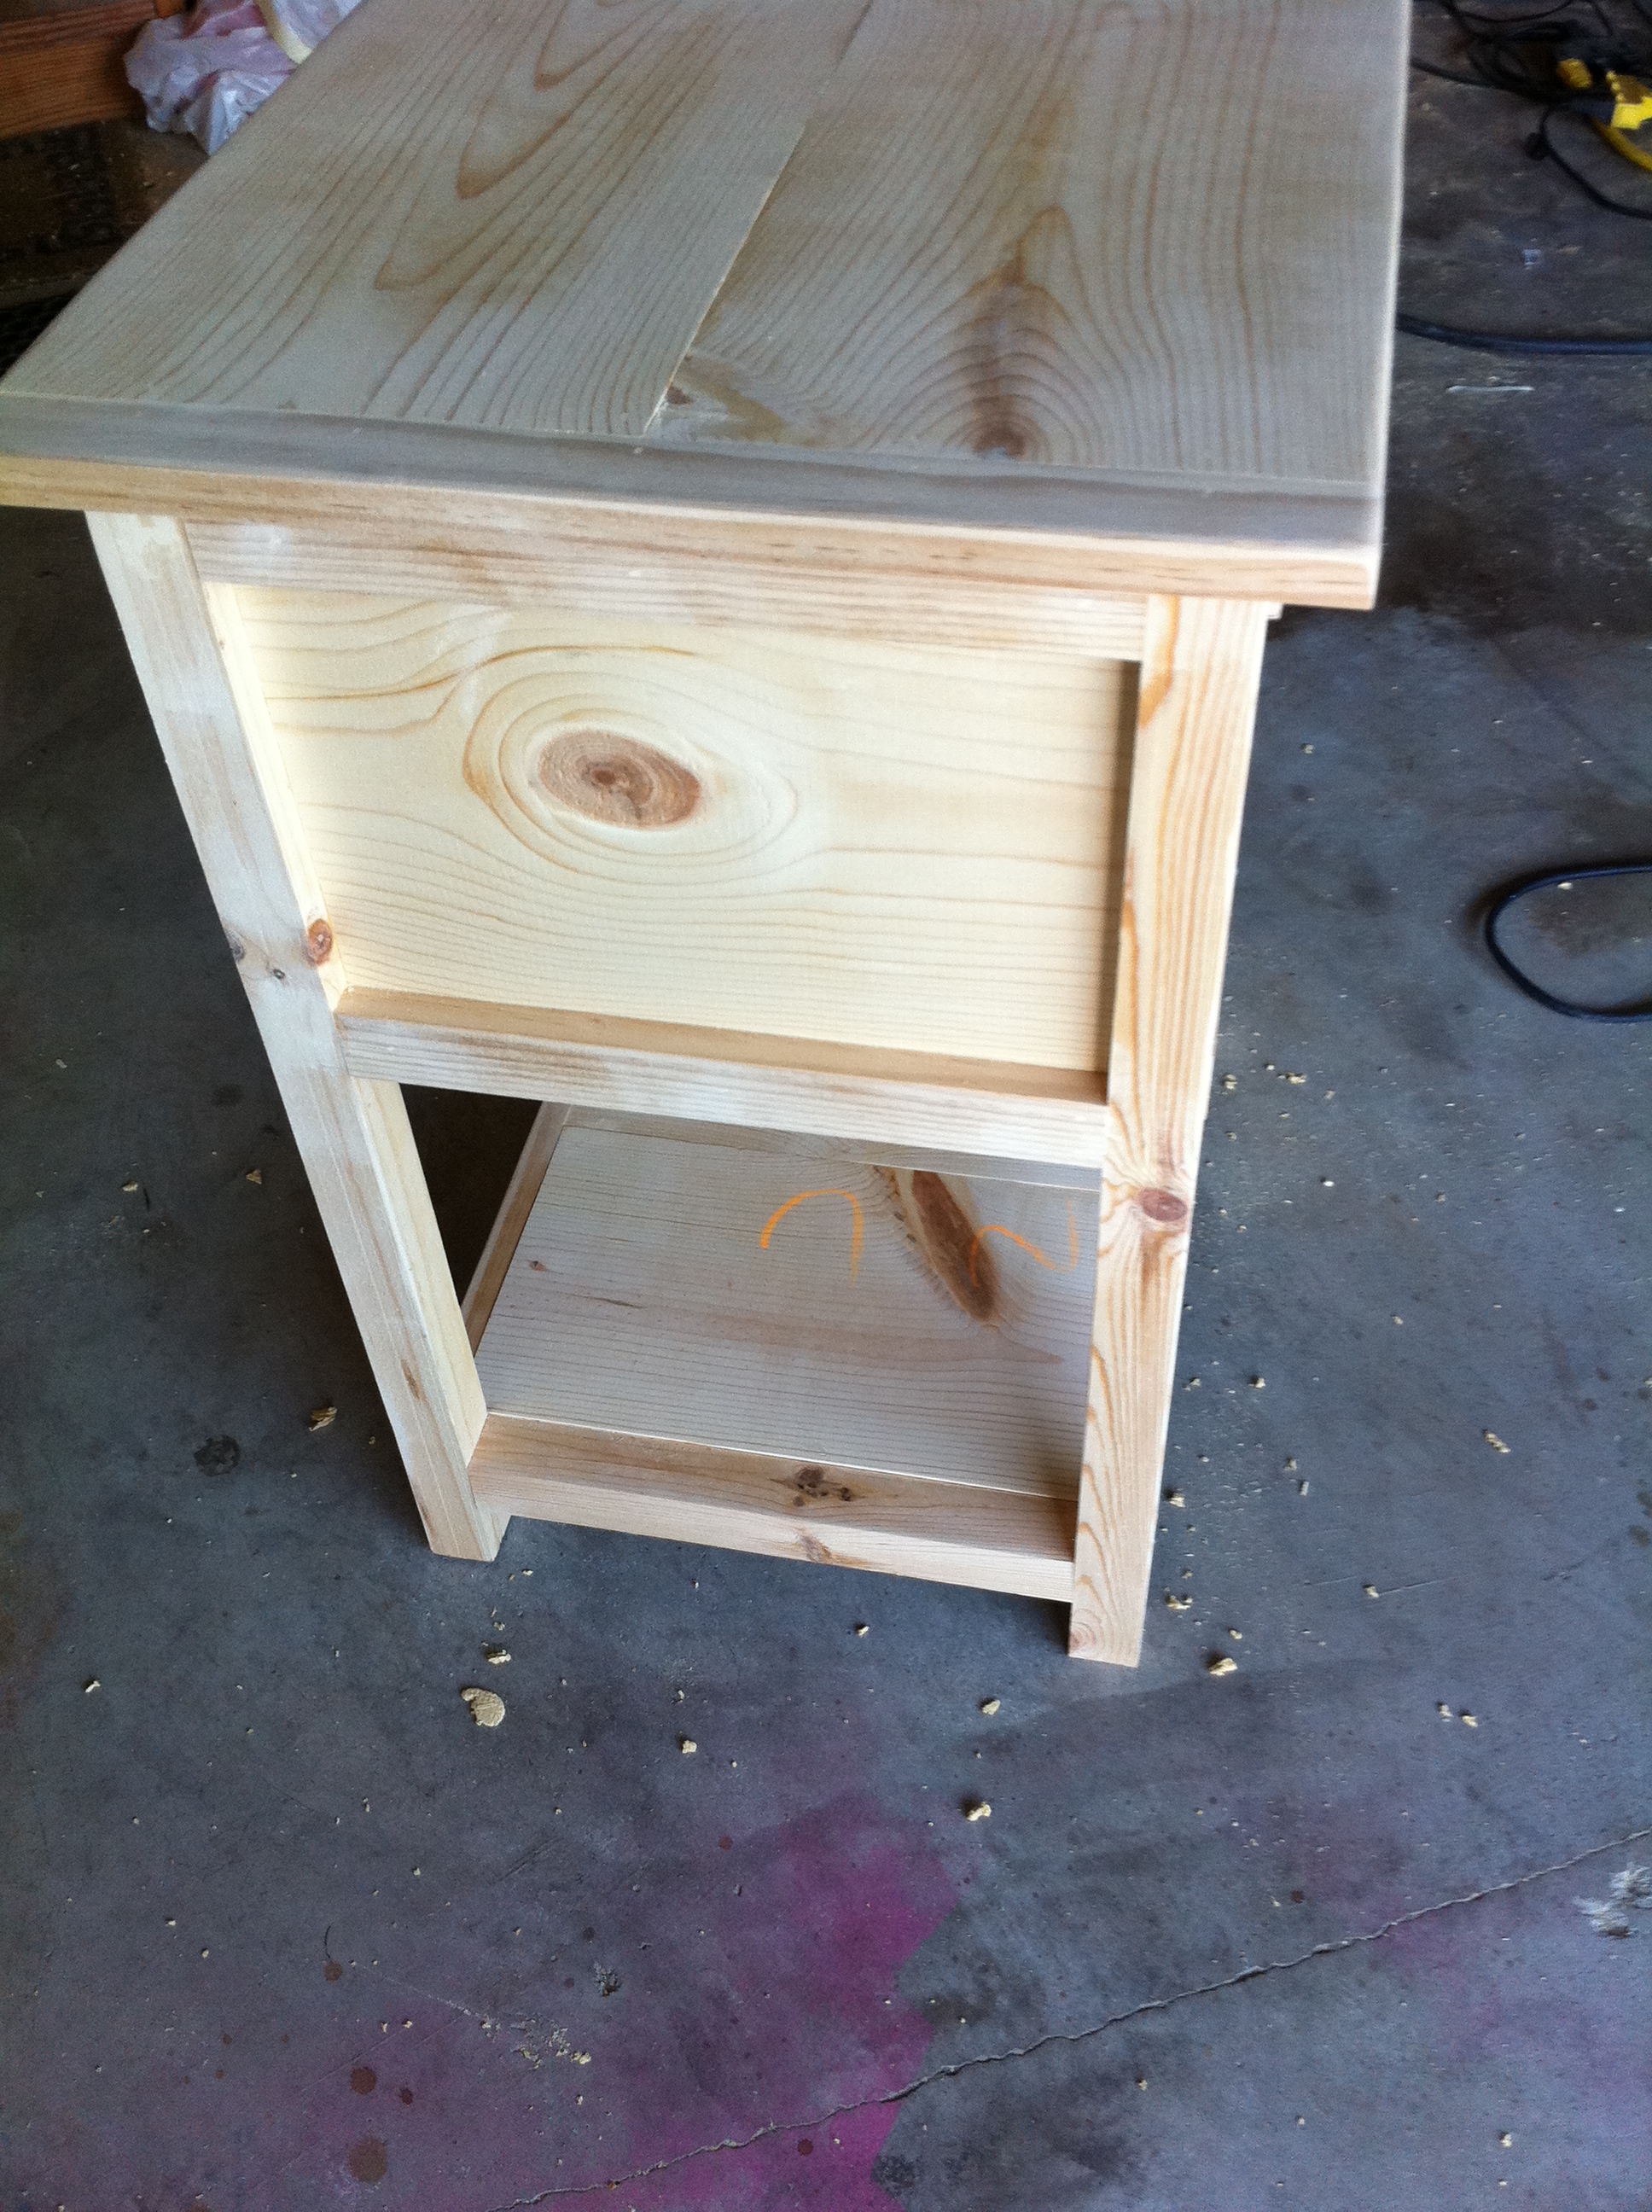
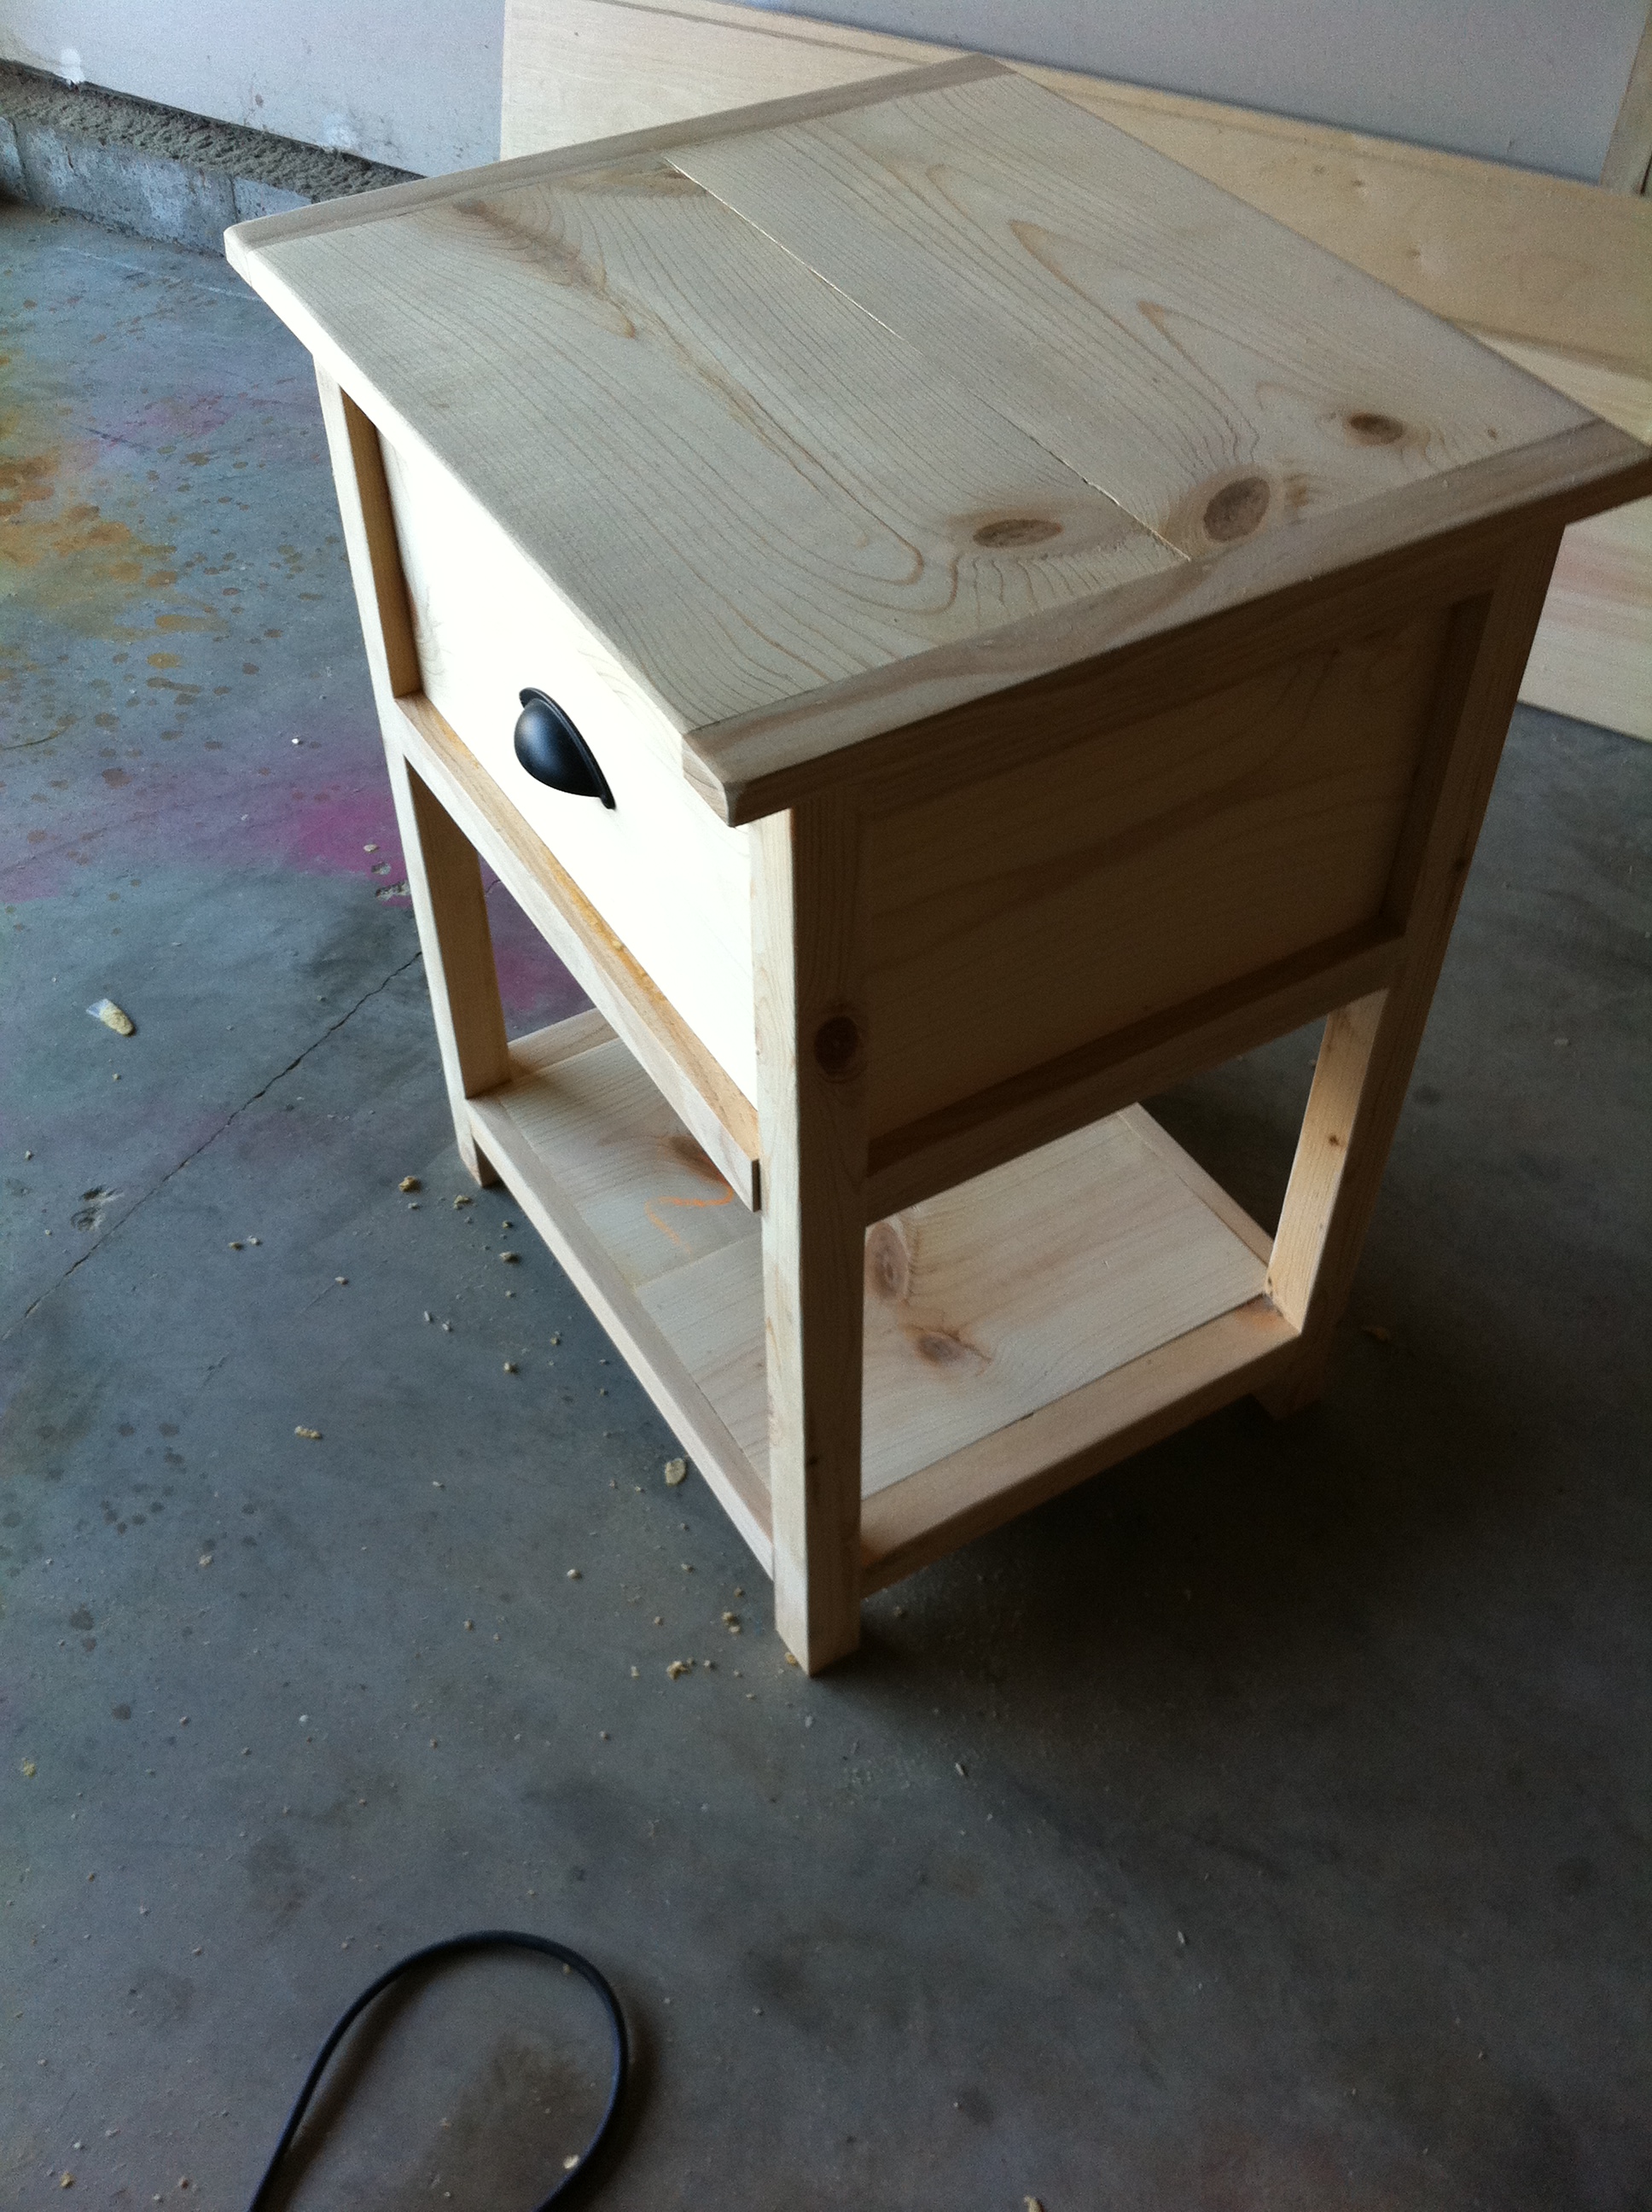
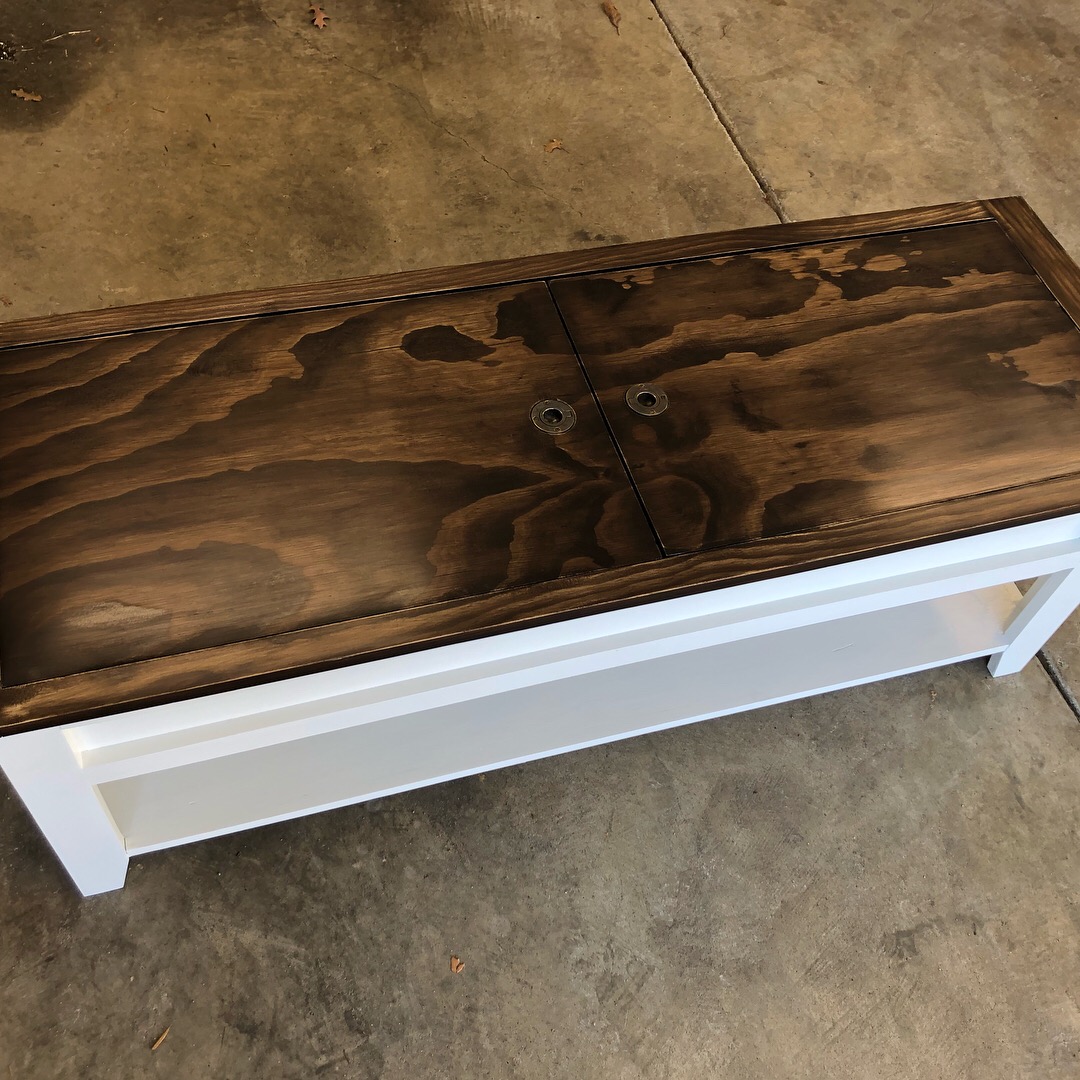
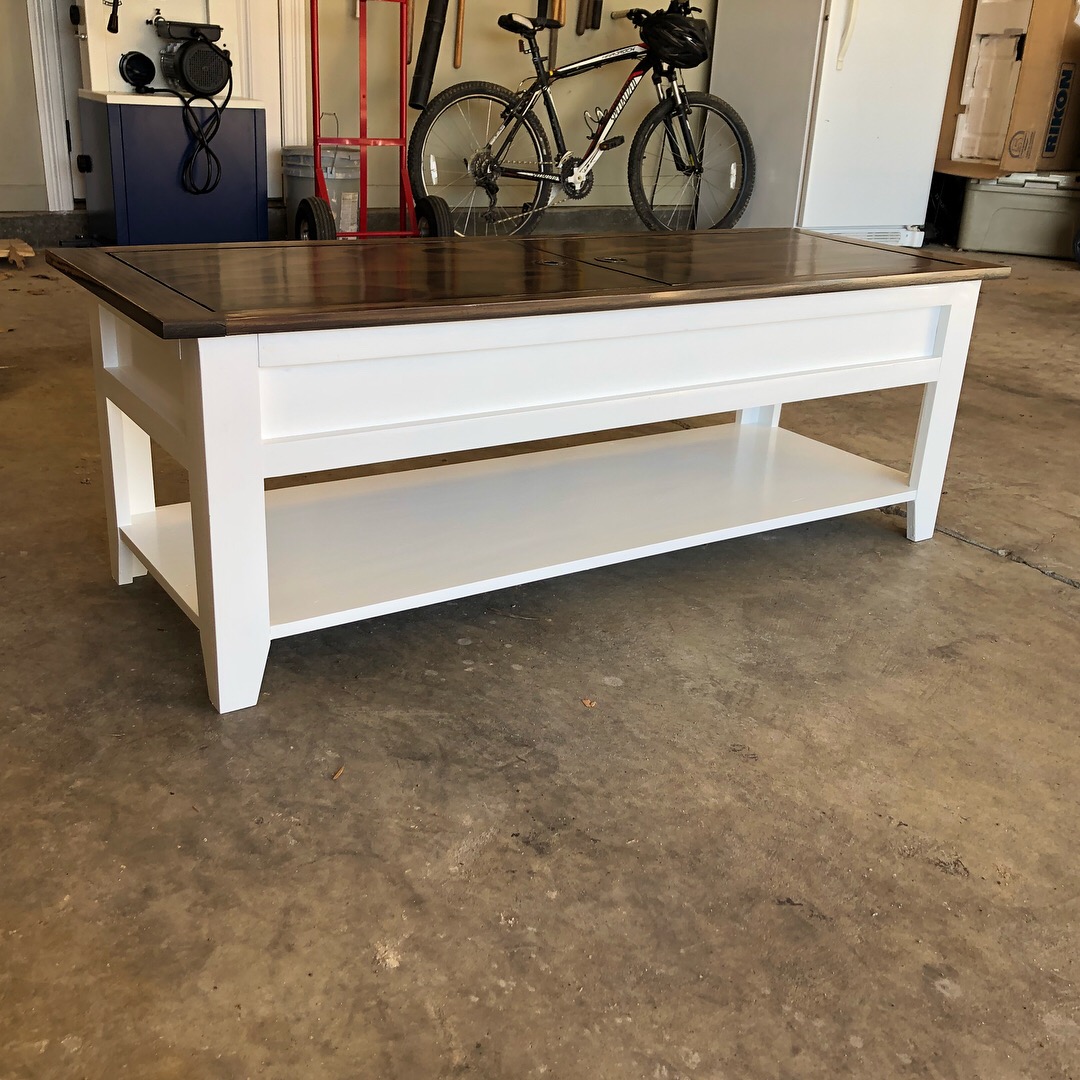
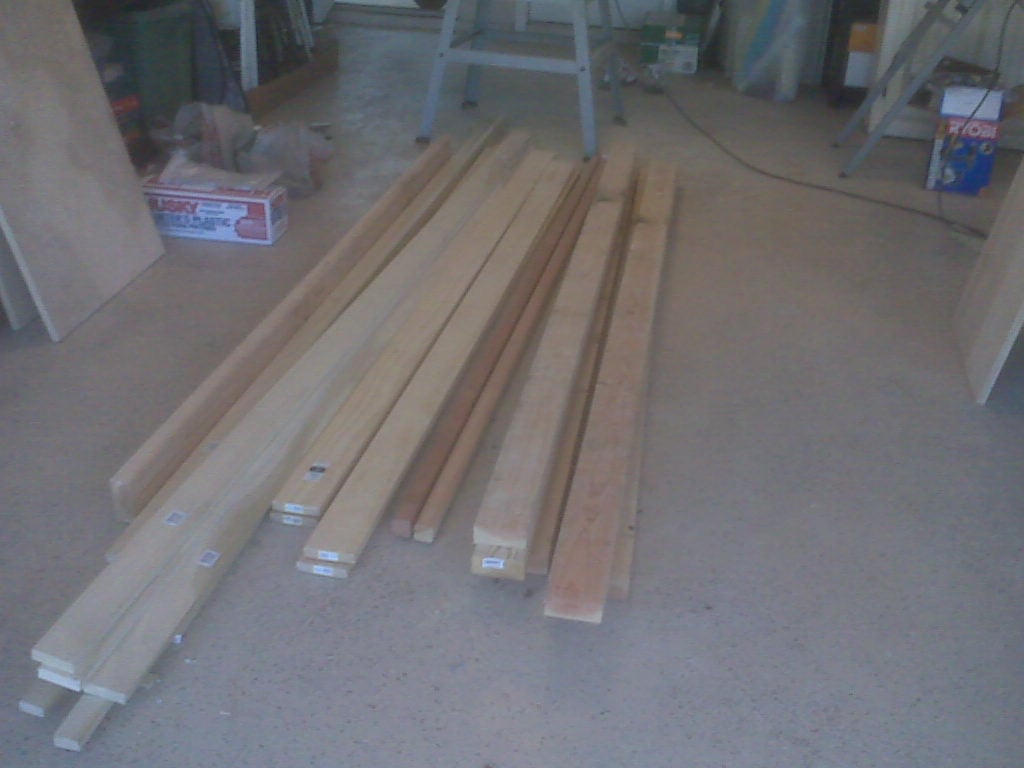
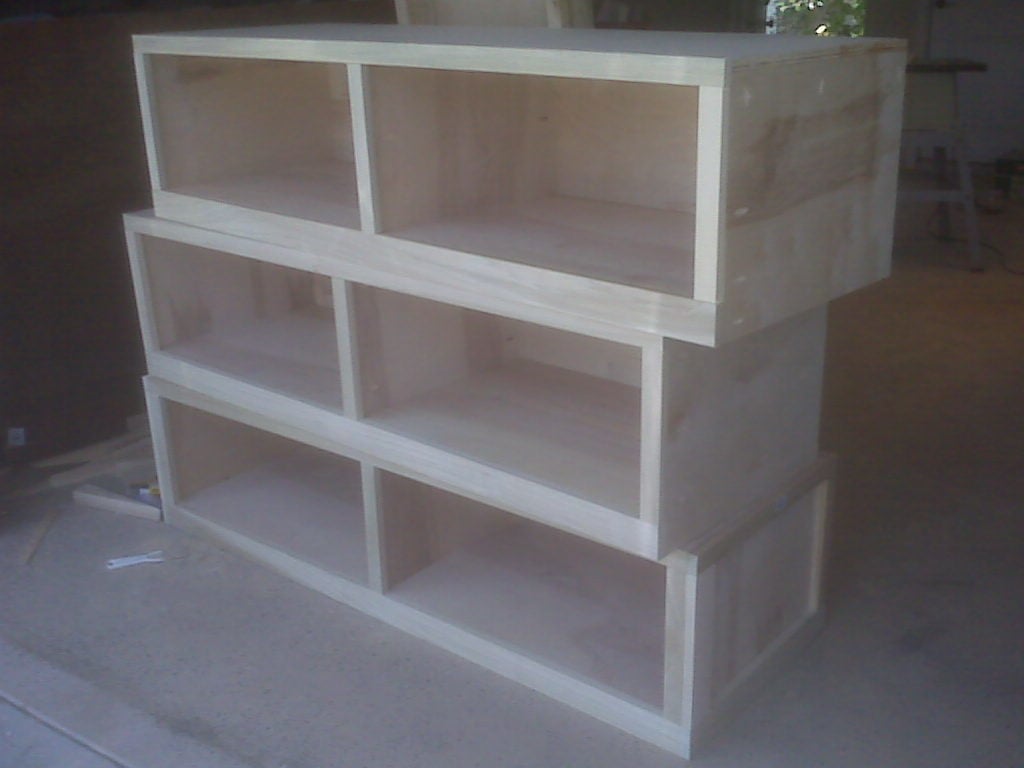
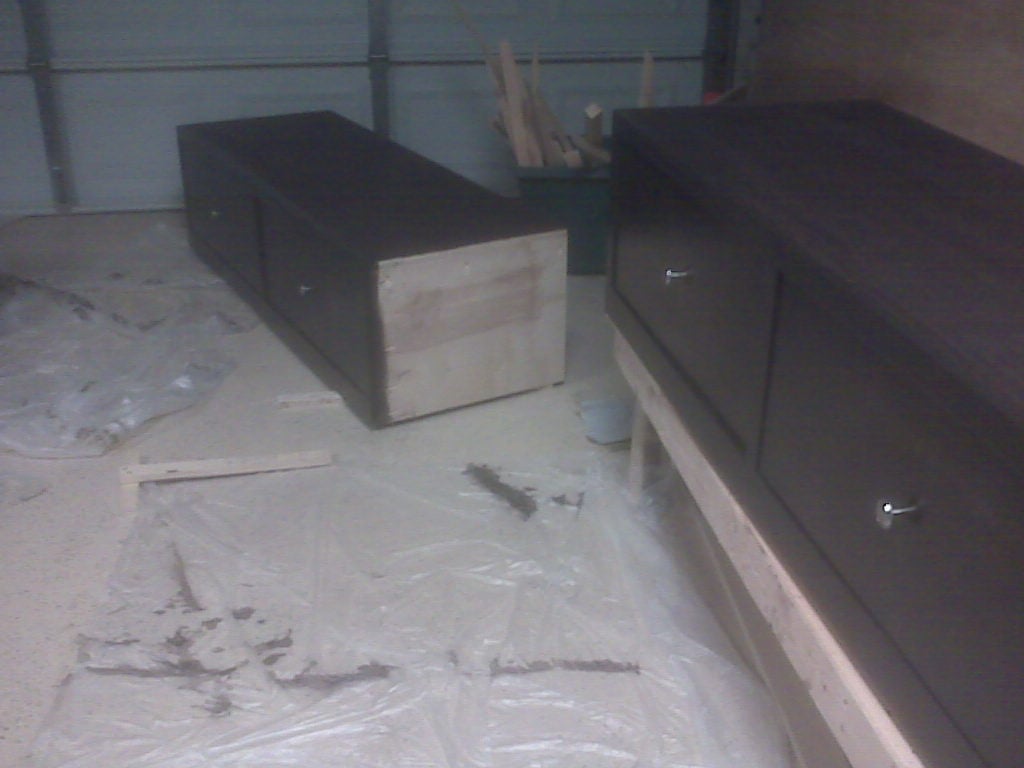
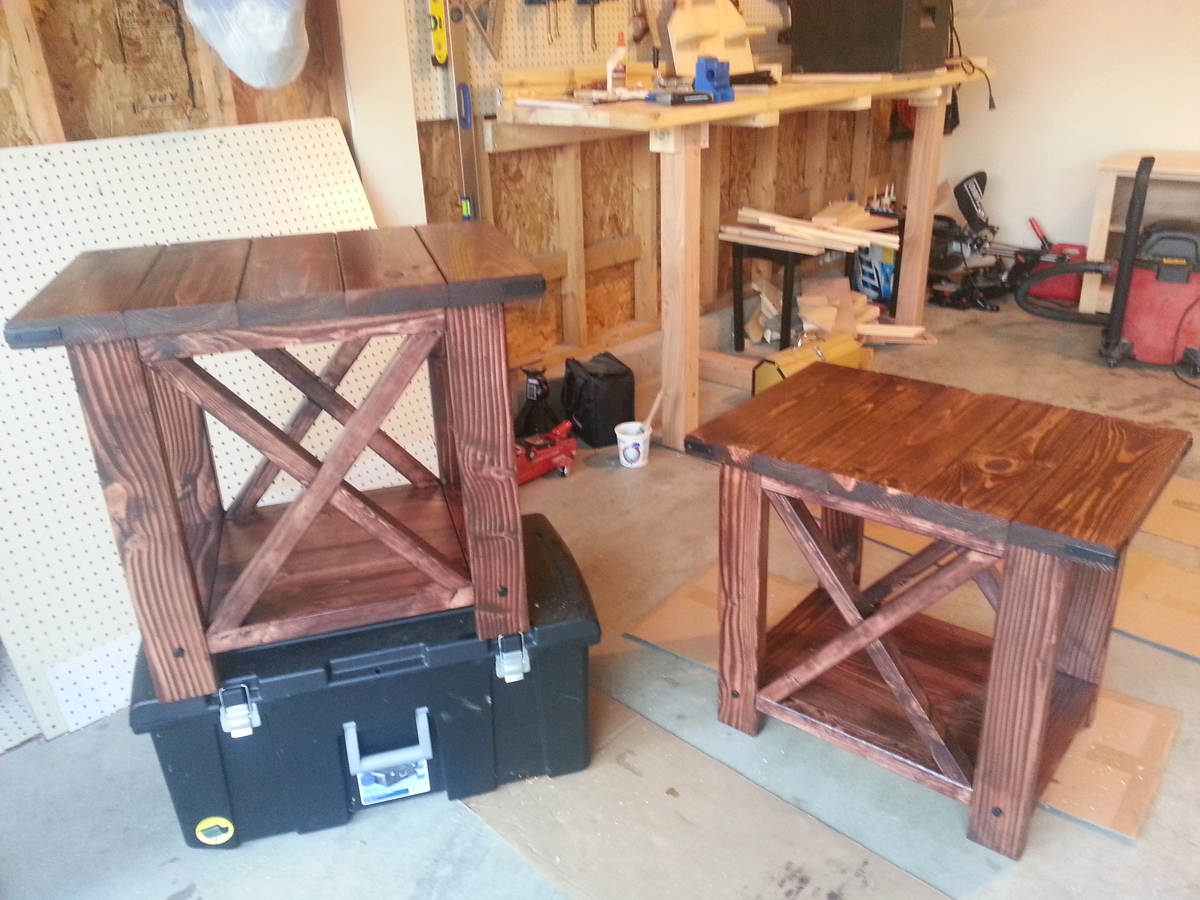
I needed new bedside tables to replace mine that were falling apart. I love the whole Stratton line at PB. I wanted to make something similar, but a bit more sturdy.
So, I made this table with a much more solid bottom shelf and a deep drawer with a full face to mimic the sides and the back panels.

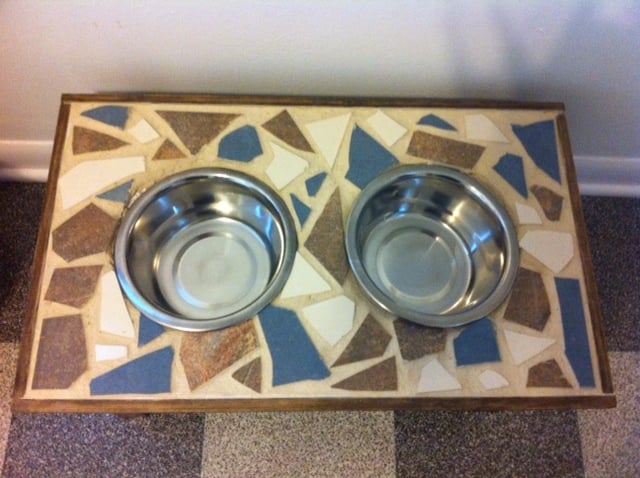
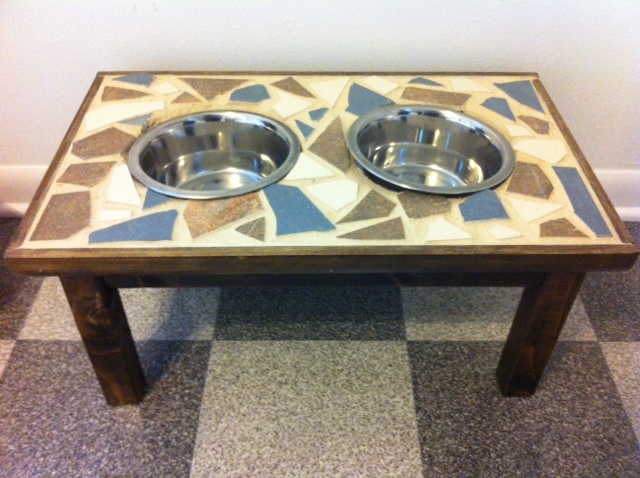
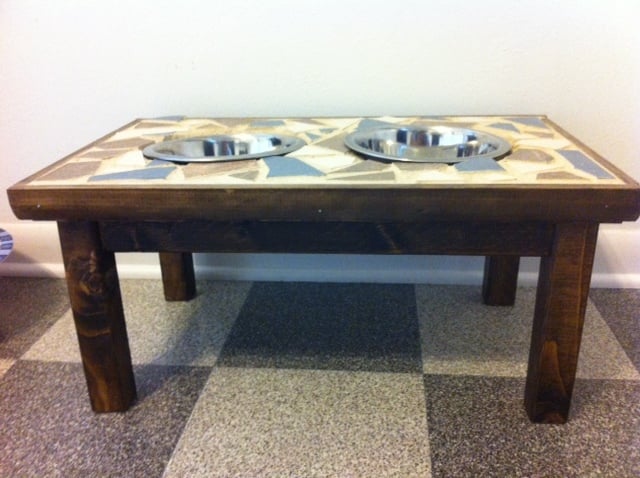
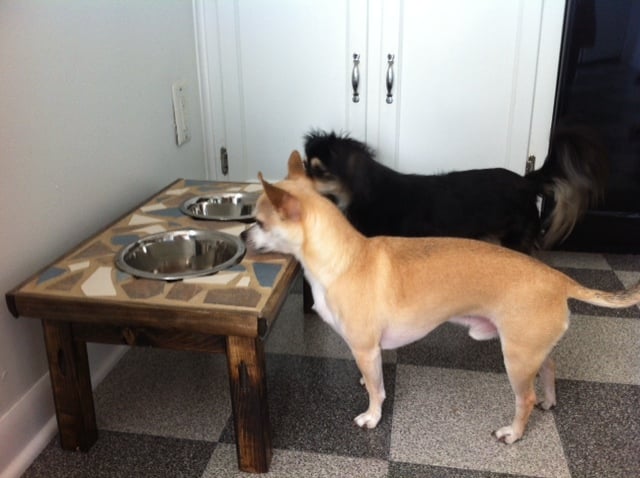
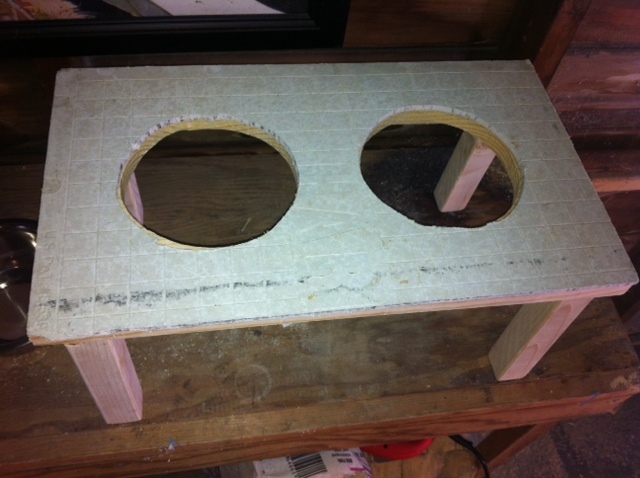
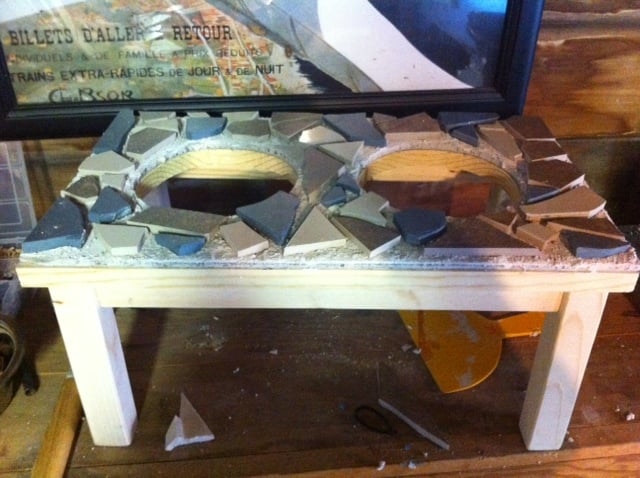
The design for this feeder came from Ana's raised feeder as well and the people who have made these feeders with tile. I had a lot of fun making this and I love how it turned out! I can see how they would be addicting to make. I constructed the wooden base (I just eyeballed how long to make it and how tall to make the legs based on the size of my bowls). I nailed hardibacker to the wooden top and applied the tile with thin set and mortar. This feeder is for my bigger dog, so disregard my small dogs checking it out:) The grout was a dark tan color before it dried, and I really like the color it ended up being. I bought the tile and grout from the habitat from humanity store, which had a big selection of miscellaneous tiles for basically free! Fun project!
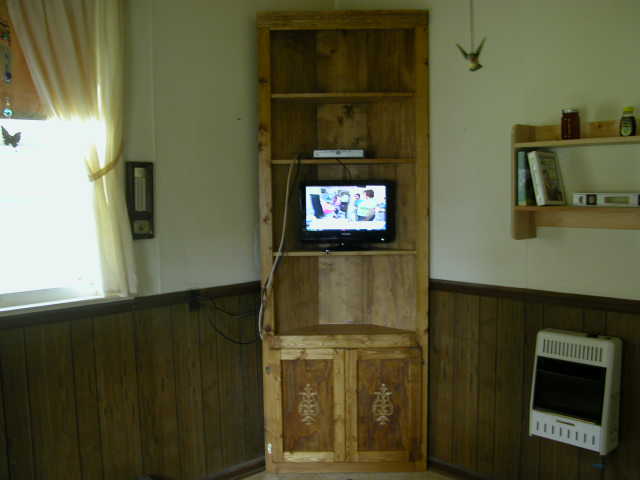
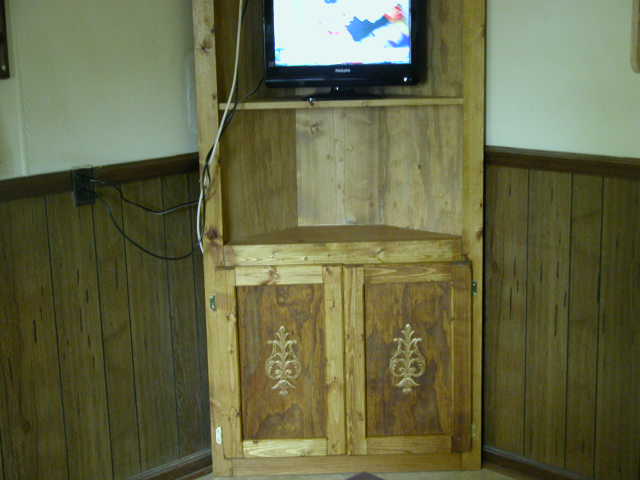
I needed a wider bookshelf with doors, to hide all my DVD's. I was able to make a mod of the original design and added panel doors to complete. This took a little longer than expected, as I ran into a complication with my original door plan. Once I found the panel door plan it all came together.
Helped to complete the patio
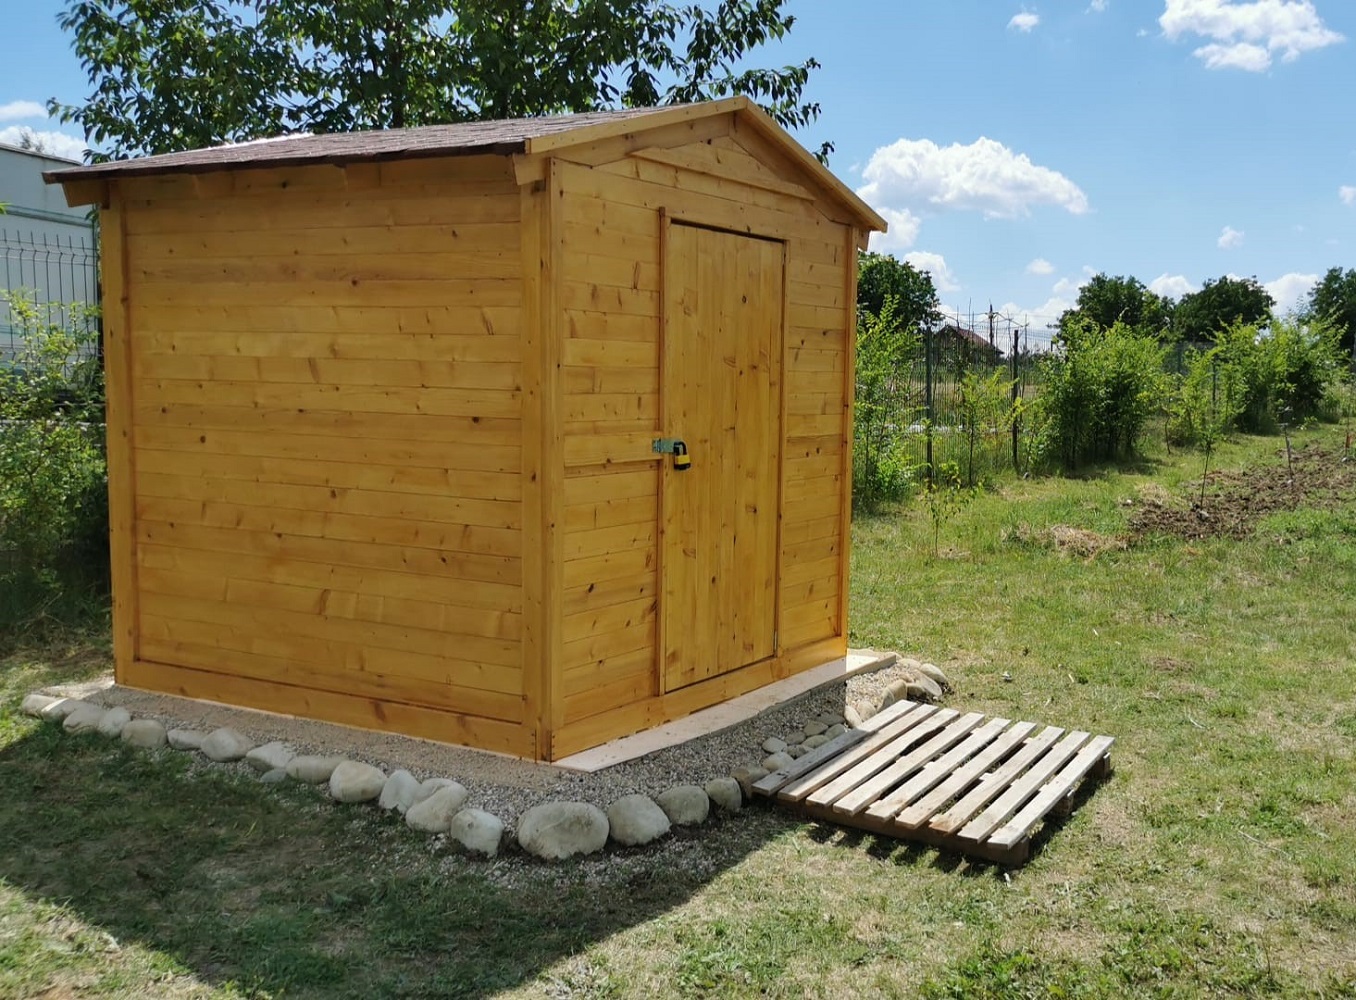
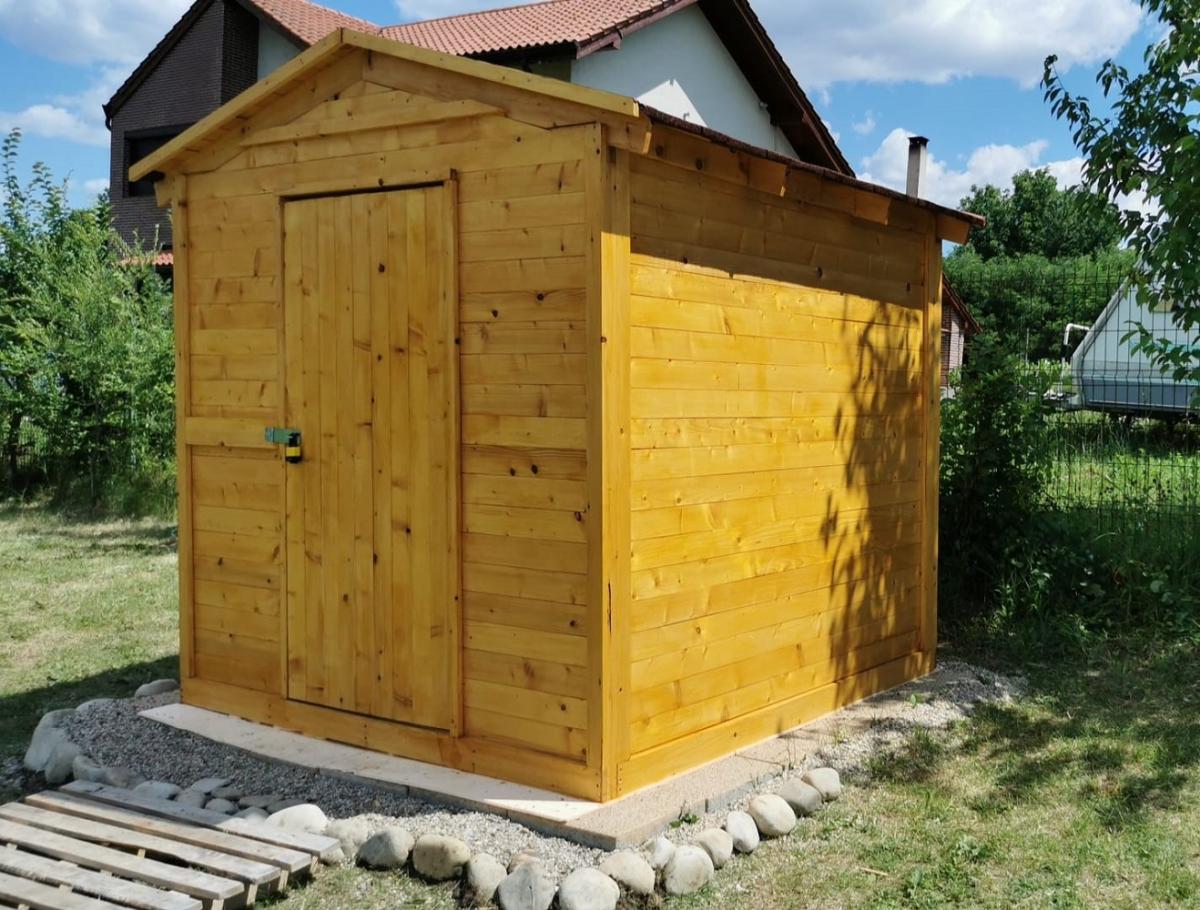
Our last project was building a tiny garden tools storage shed. We used only 1 x 4 boards. We don't have any plans, but you can watch the entire building process on our YouTube channel. We are very proud of the way the project turned out.
easy to follow instructions. I work in a hardwood sawmill as a sawfiler. I get a lot of wood from the mill. I bought a kreg pocket hole jig for the first time. Building the doors was easy. I'll never use mortise and tenon joints on small doors again. The door ornaments came from Lowes
Modified the plans for the rustic x console to fit in my kitchen. This was my first furniture making adventure, but end product was worth it, even if not perfect. Final product is 41inches by 25 inches and is 36.5 inches tall. I used shiplap for the top, over leftover 3/4 inch birch plywood.
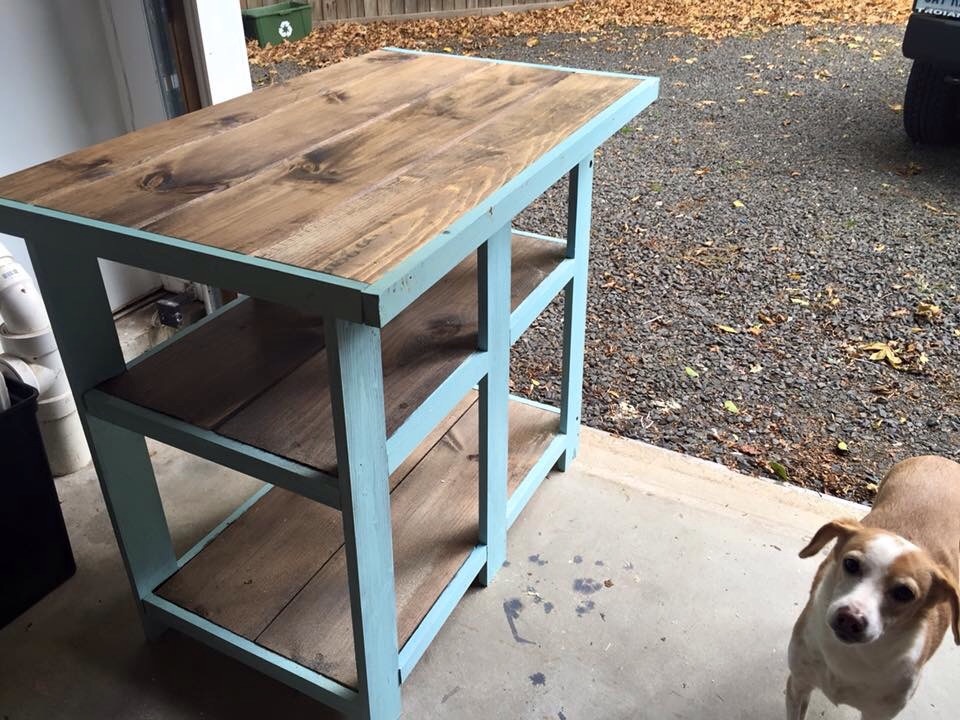
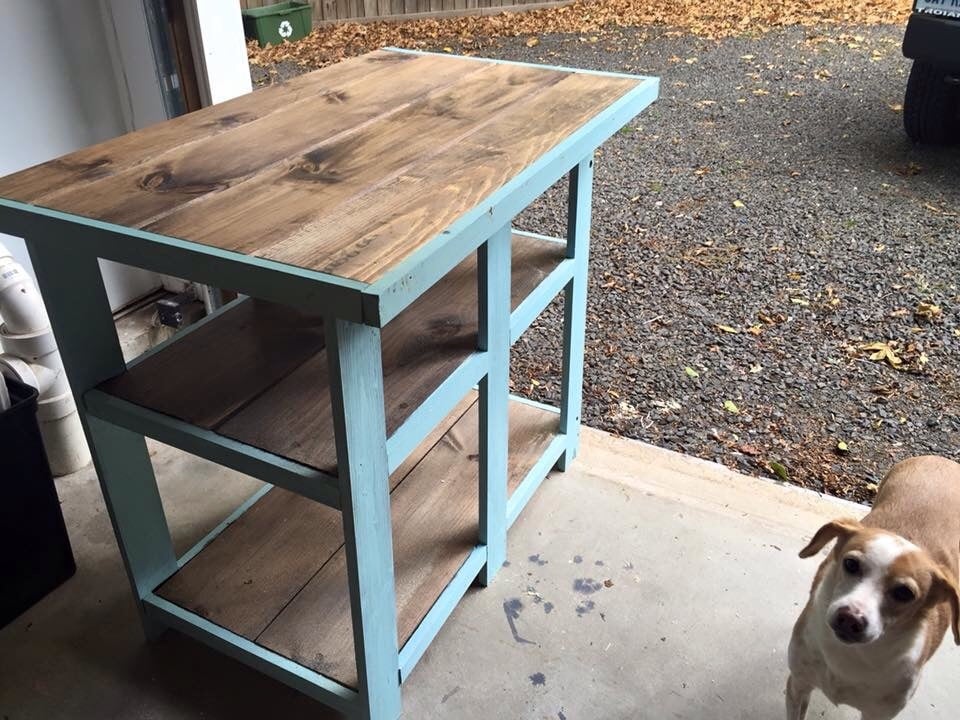
First furniture project. Storage table for my daughter and her husband.
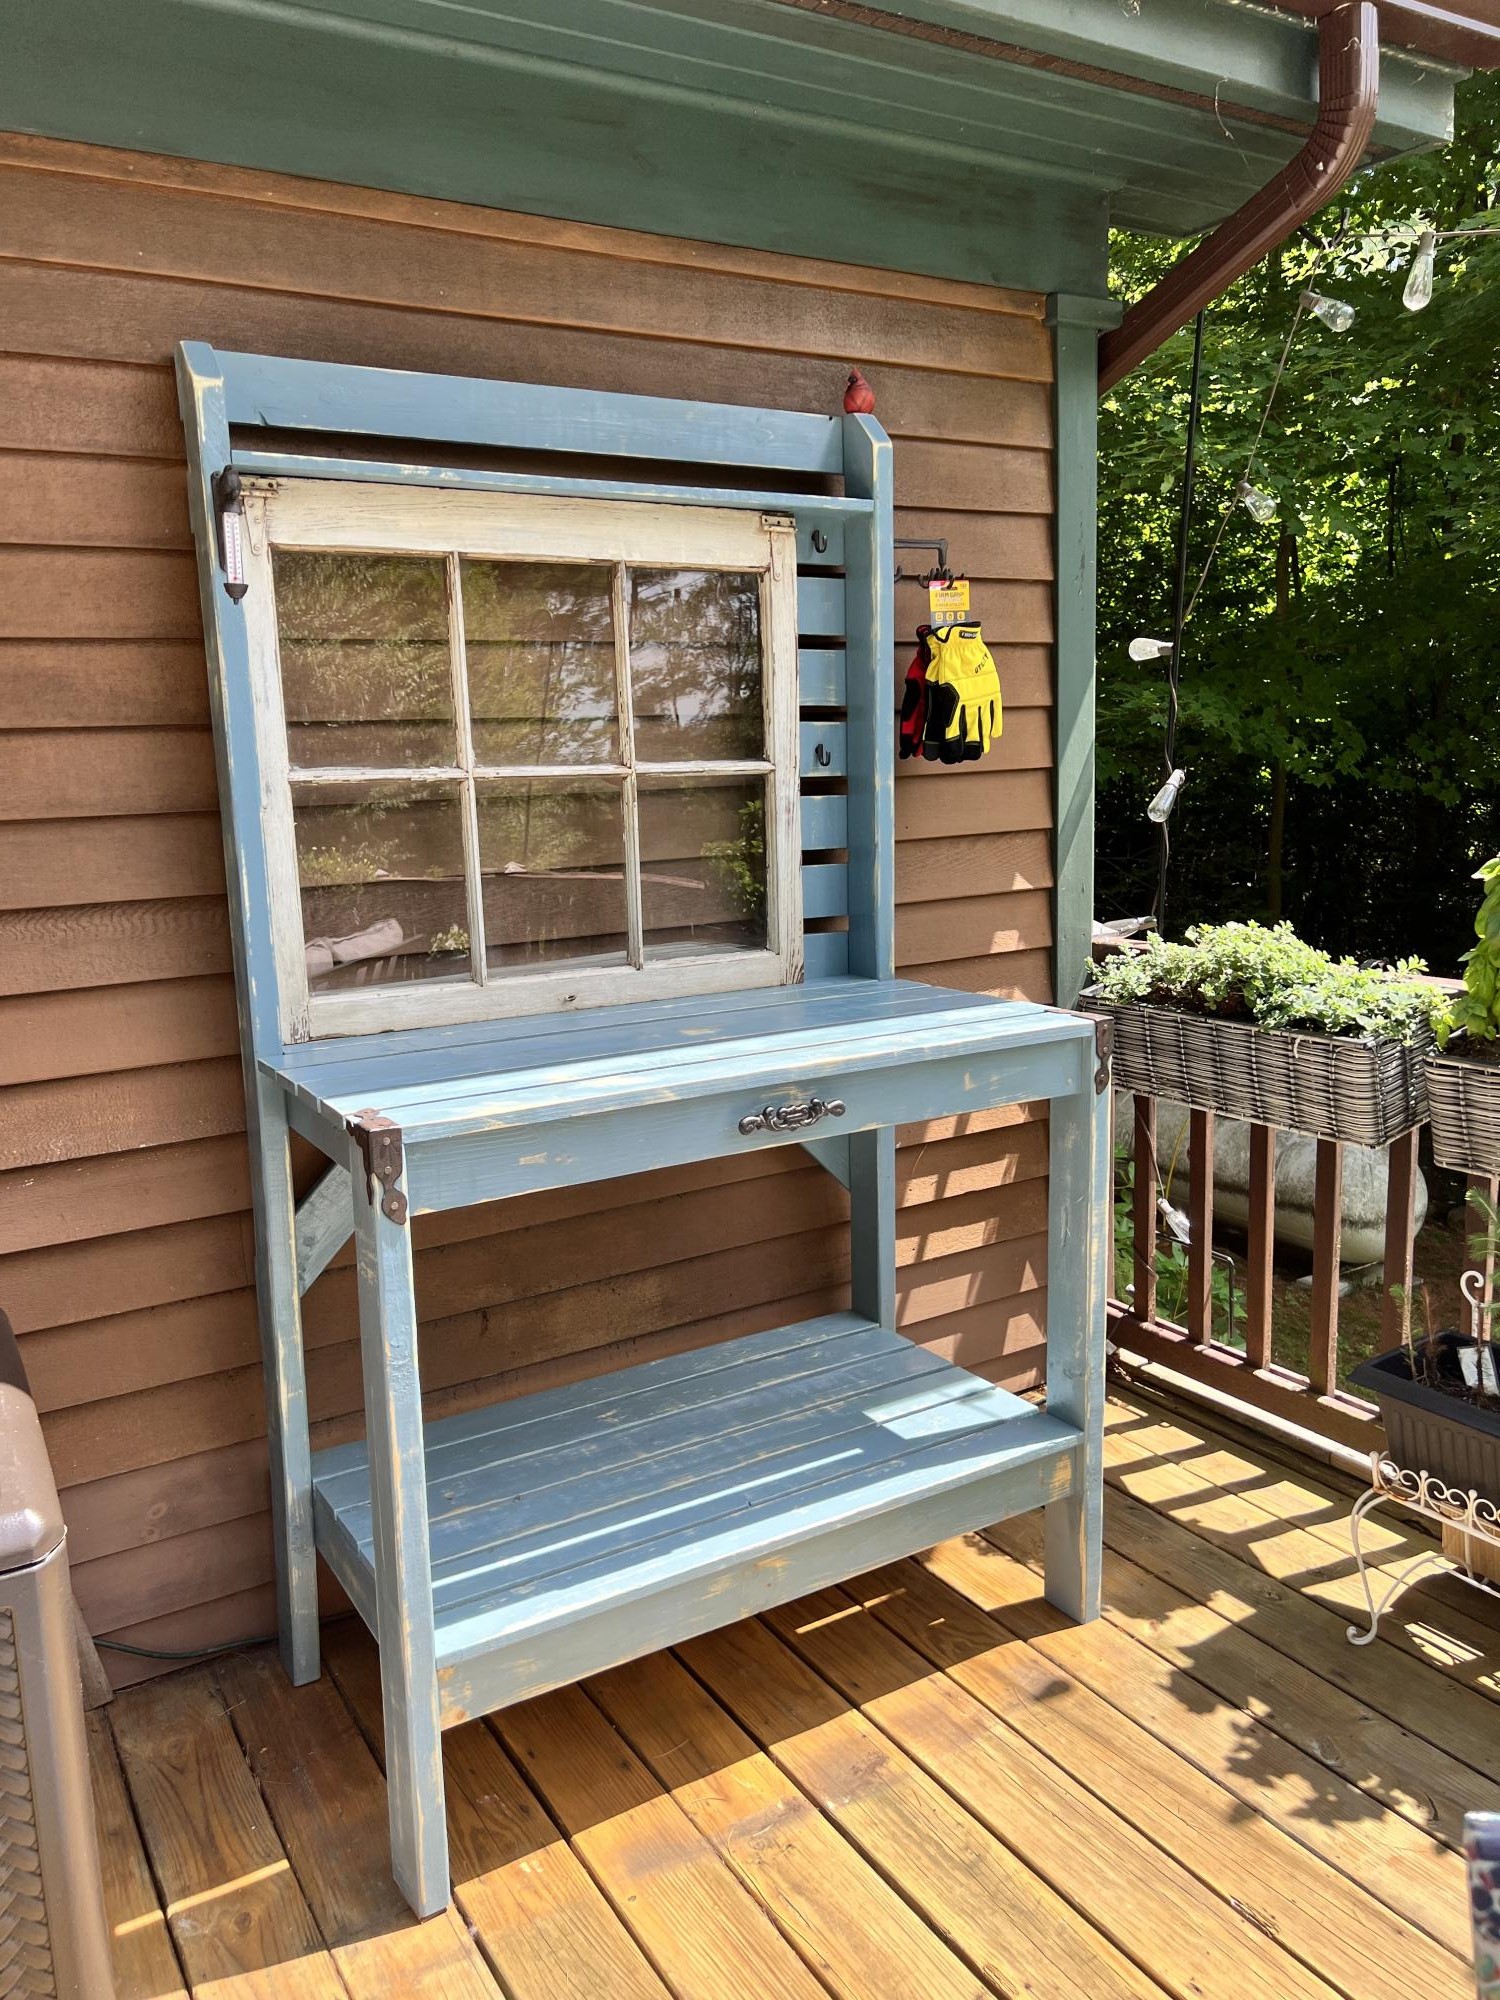
I made this for my mom for her birthday. I just modified the measurements to accommodate the window and added some cool hardware.
I was so excited to start the Queen storage bed - but then I had all that lumber and the cuts weren't perfect, and my measuring skills need work, and I don't fit into 12 x 18" spaces, and my vision isn't great to begin with and I certainly can't see into those dark, dark spaces!
But, in the end, I had fun, and the drawers work, the finish turned out well, I still have all my fingers, my bruises are about gone (2 weeks later, for goodness sake!) and, most important, my son and his wife say it looks great, is sturdy, and the drawers work! Whew!
Next month I'm doing the twin sized version for my daughter - and no drawers, yeah!

Sat, 08/13/2011 - 19:34
Well for all the problems with fitting into the spaces, seeing, and such, it turned out beautifully!! Well done! I
This was my first project. I am pretty excited how it turned out. If I did it again, I would recommend sanding and painting prior to building.
Made a couple modifications:
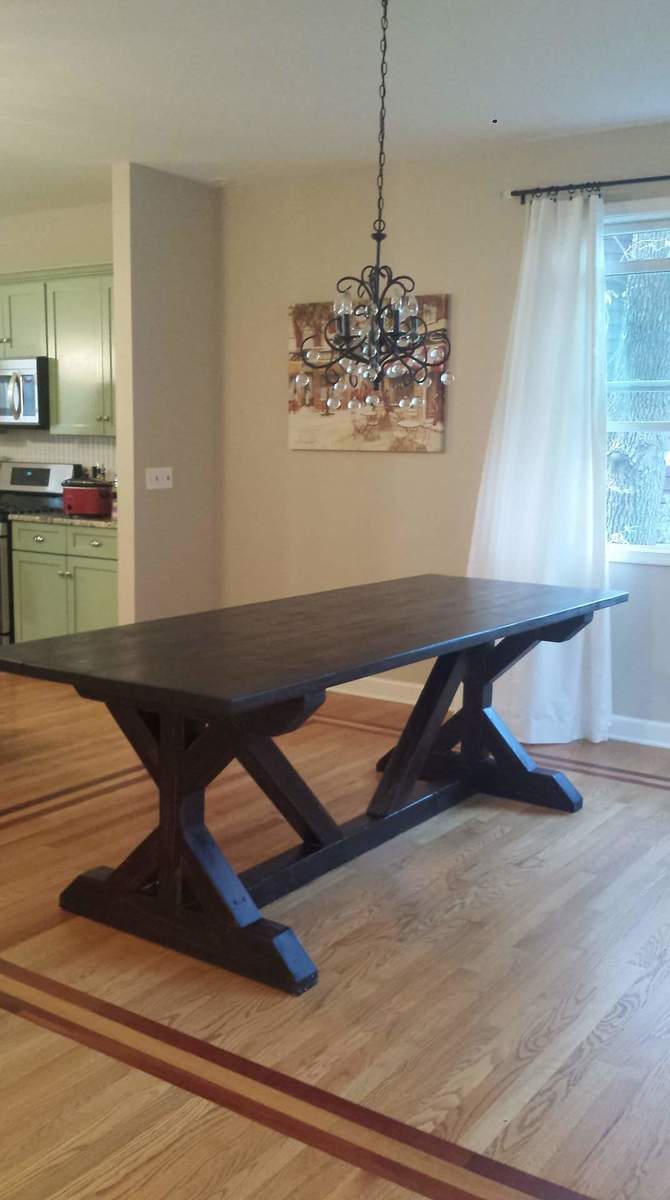
That last bullet was super-important to the Mrs. She was adamant that the table should not have spaces in between the boards, yet she did not want any seams for crumbs to collect. The result was that I had to sand down the table top about an eighth of an inch... but the seams disappeared.
Also, we initially used Ebony stain... until we realized it was too dark. Sanded that down a bit, then went over top with the Kona stain. Result was a dark brown with some black detailing. Finished with some minwax wipe-on poly. Turned out really nice!
Thank you, Ana - This project was a ton of fun, challenging, and ultimately, very rewarding!
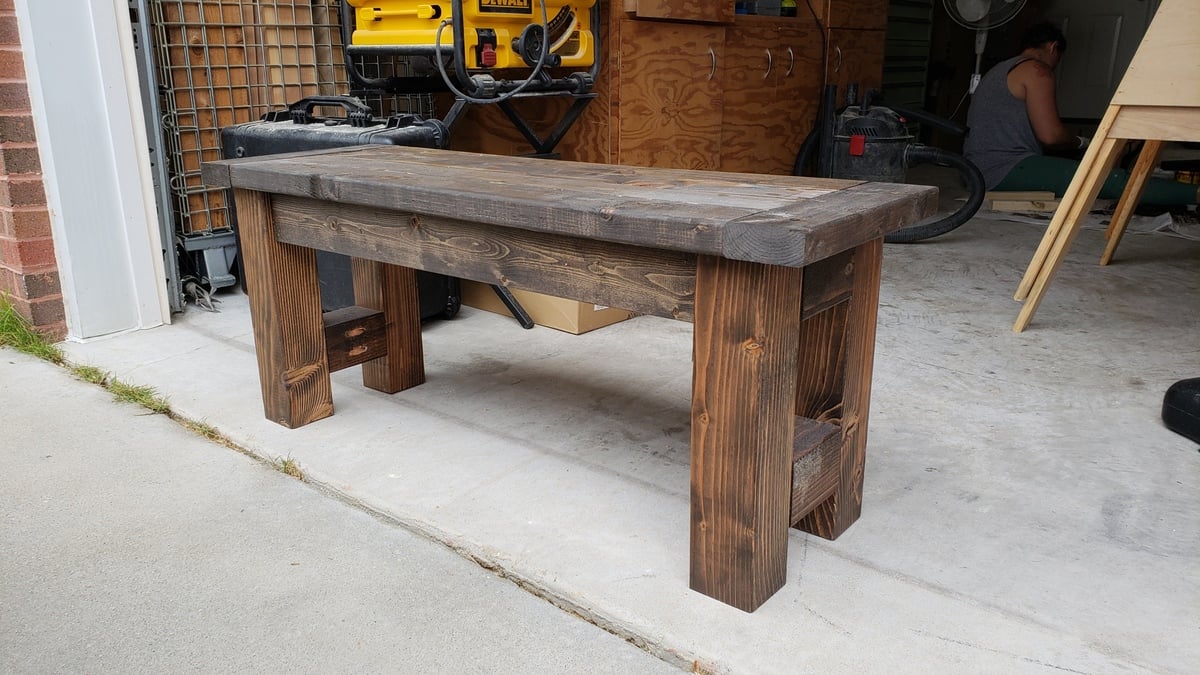
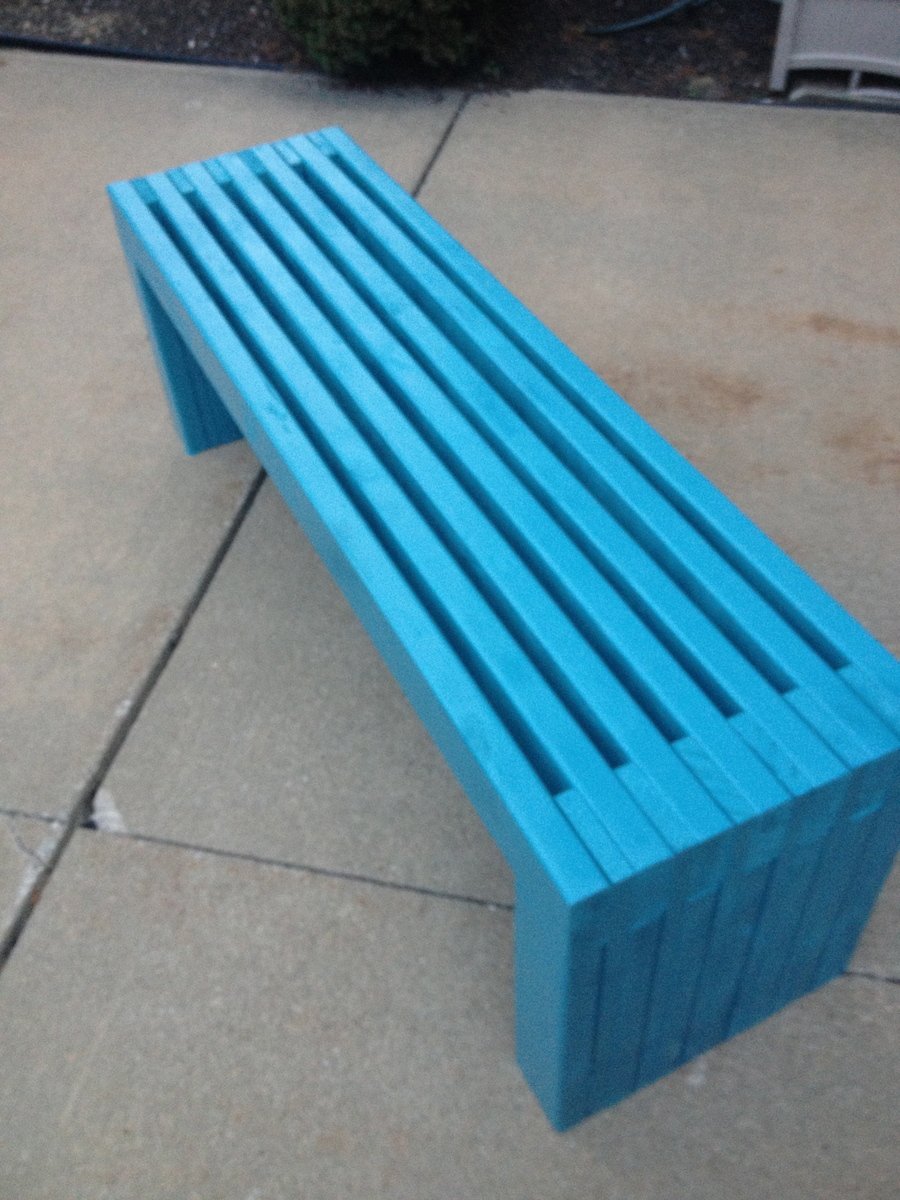
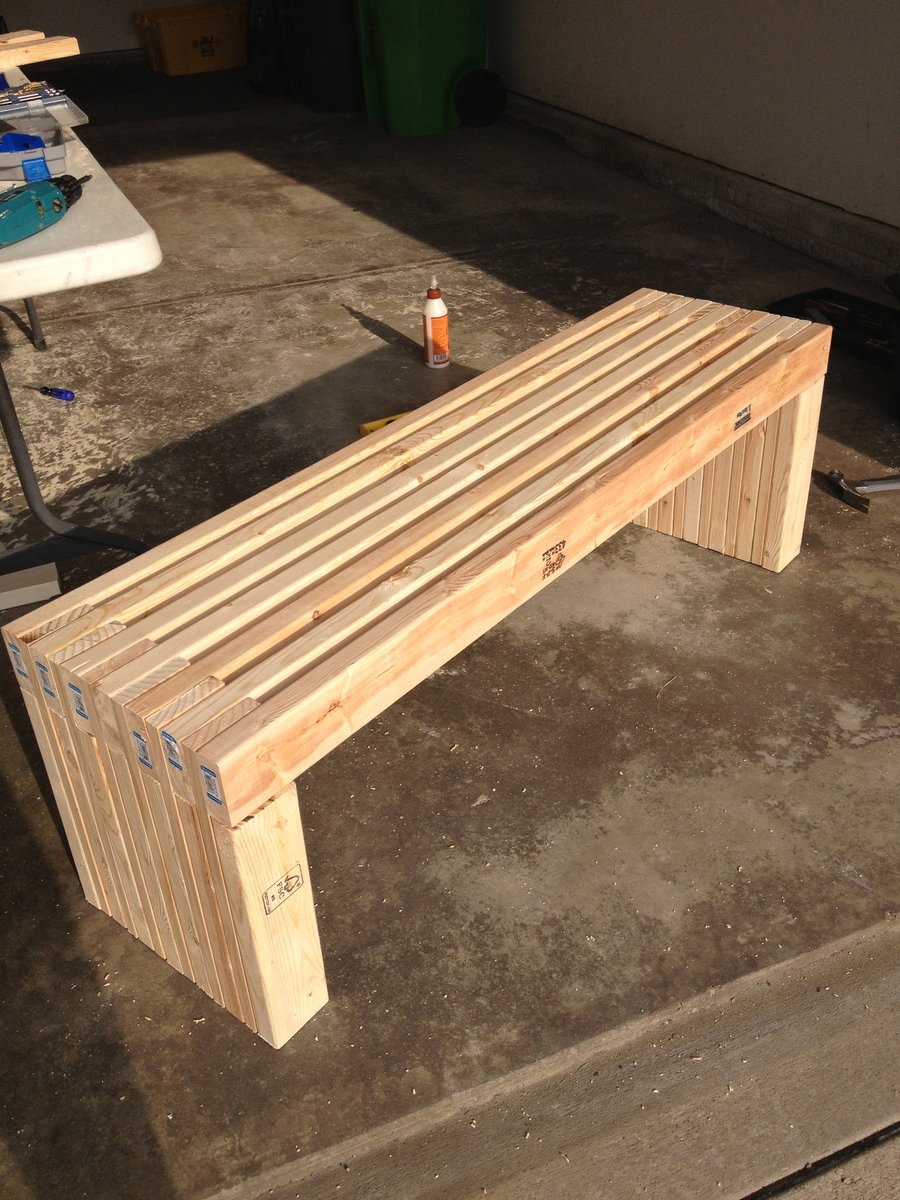
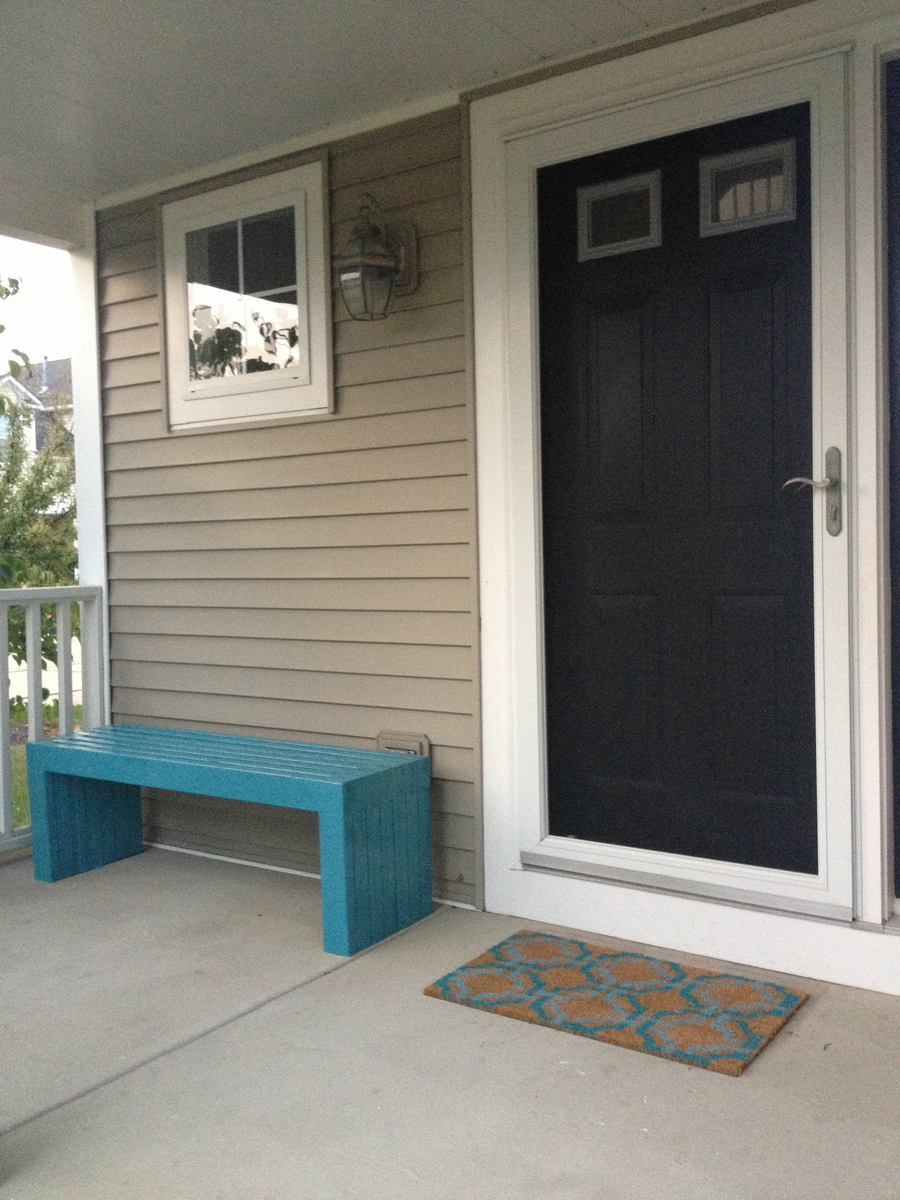
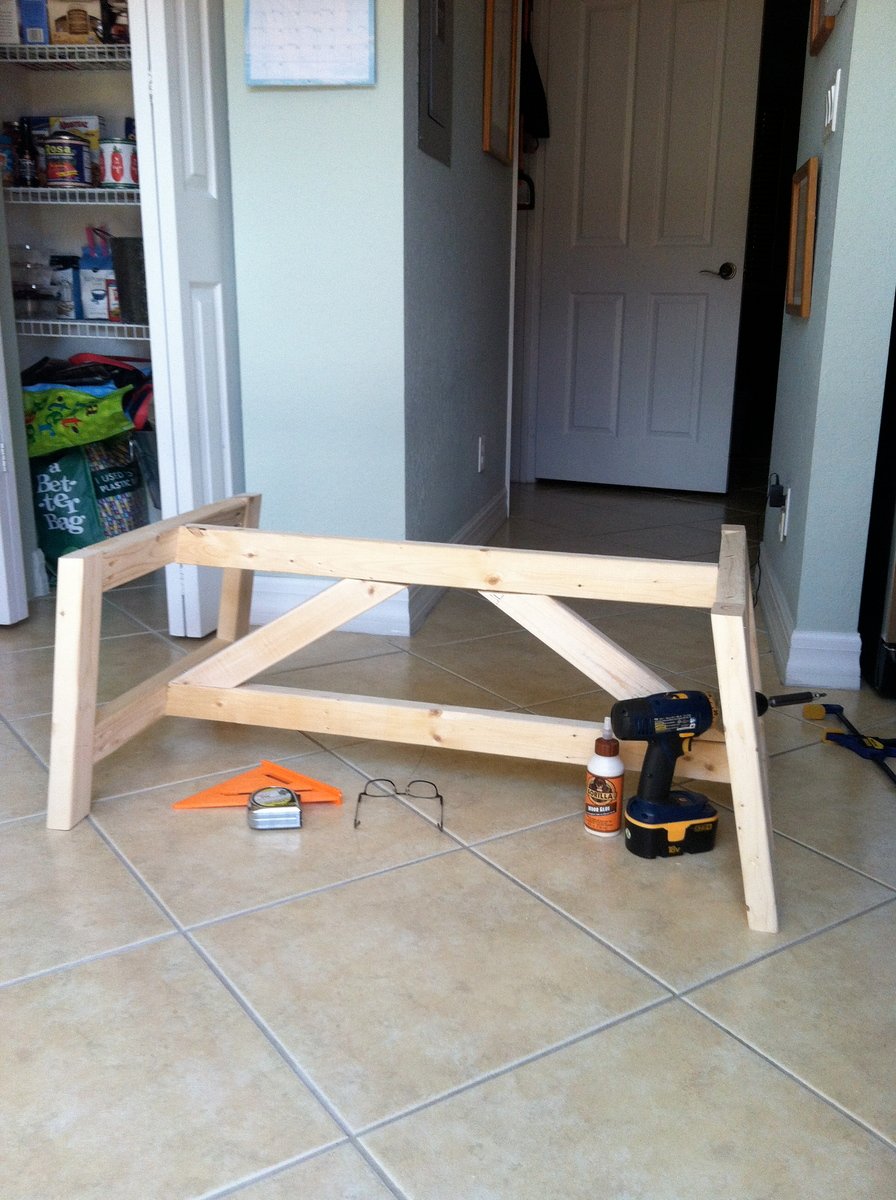
Made a 4 foot version of the farmhouse bench. I also used 4x4s for the legs instead of 2x4s. They work great, just makes the bench a little heavy.

Used 2 by 3 inch solid hardwood. Built end edge thick butcher block and added the rest. All solid hardwood and sealed

This was my very first Ana project. It probably took me three times as long as it would take anyone with any experience. That said, we love it! I have since made two more for friends! No need to look too close, there are plenty of mistakes.


I made the Restoration Hardware couch and deck chair. I got really nice Sunbrella material cushions for $60 each at HD. I wanted to make a matching coffee table. I just threw it together. It's a little "jacked up".
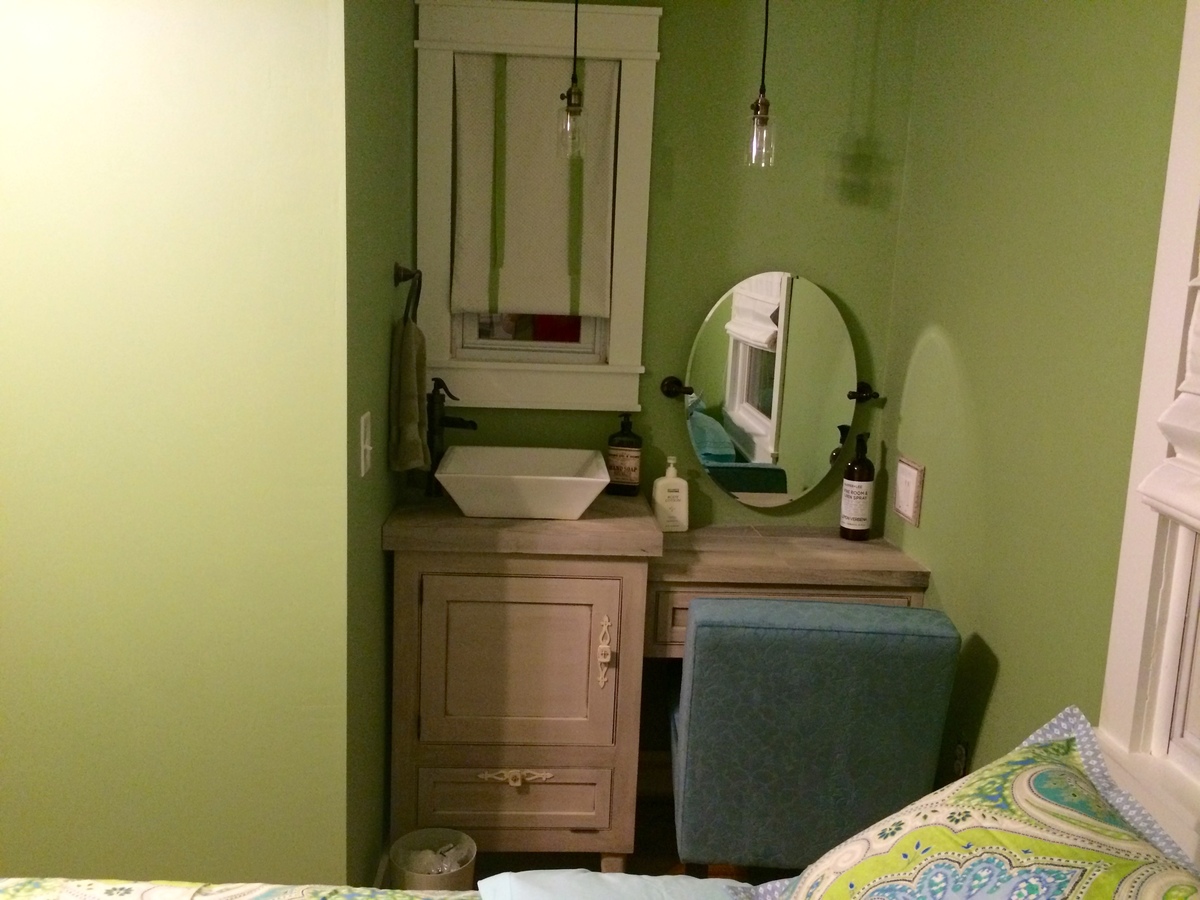
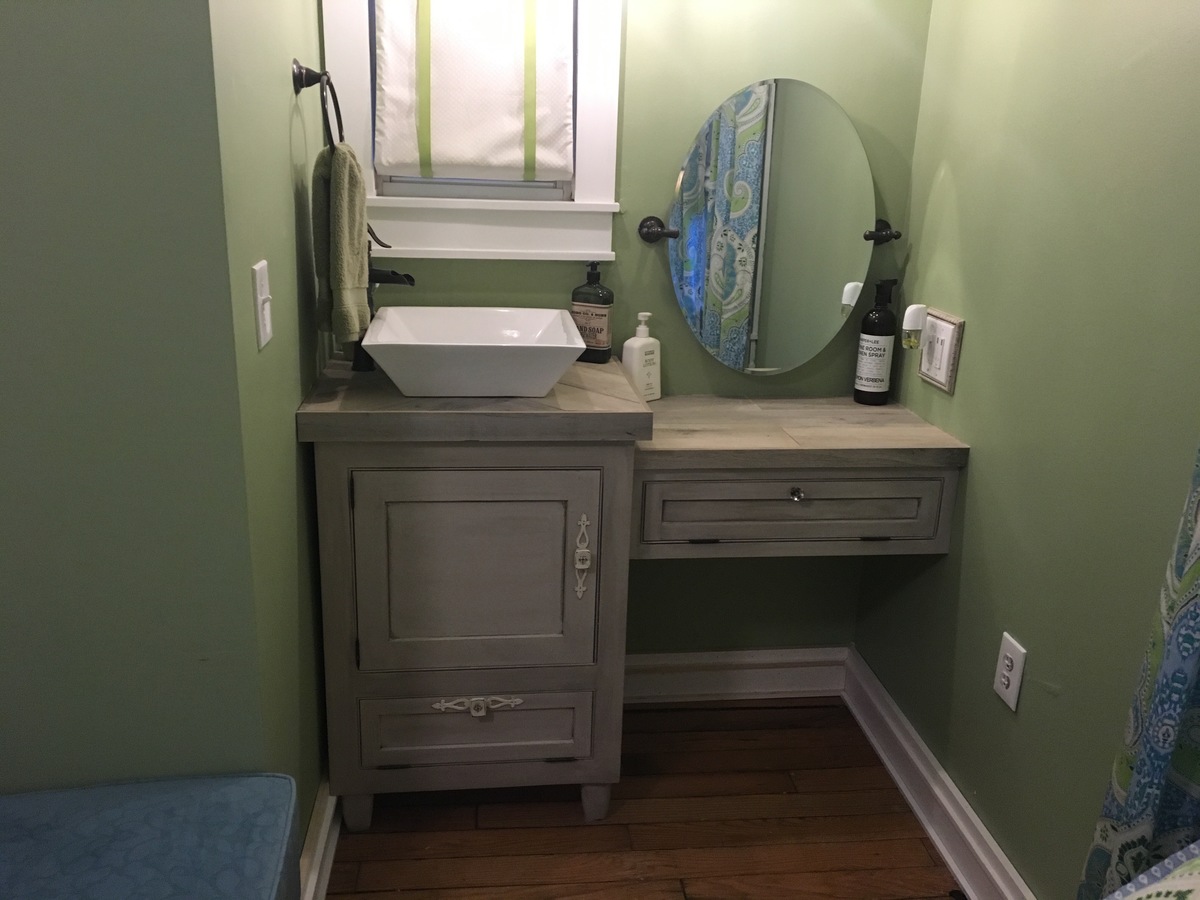
I had a half bathroom in my guest room but wanted a second full bathroom, so removed the sink out of the half and installed a shower. I built the vanity in the room and added a make-up area with seating. I used my Kreg beaded faceframe system and to add a bead around the faceframe and built inset doors and drawers. I used Behr paint and used valspar antiquing glaze for the finish. I used the leftover shower tiles to make the countertop.
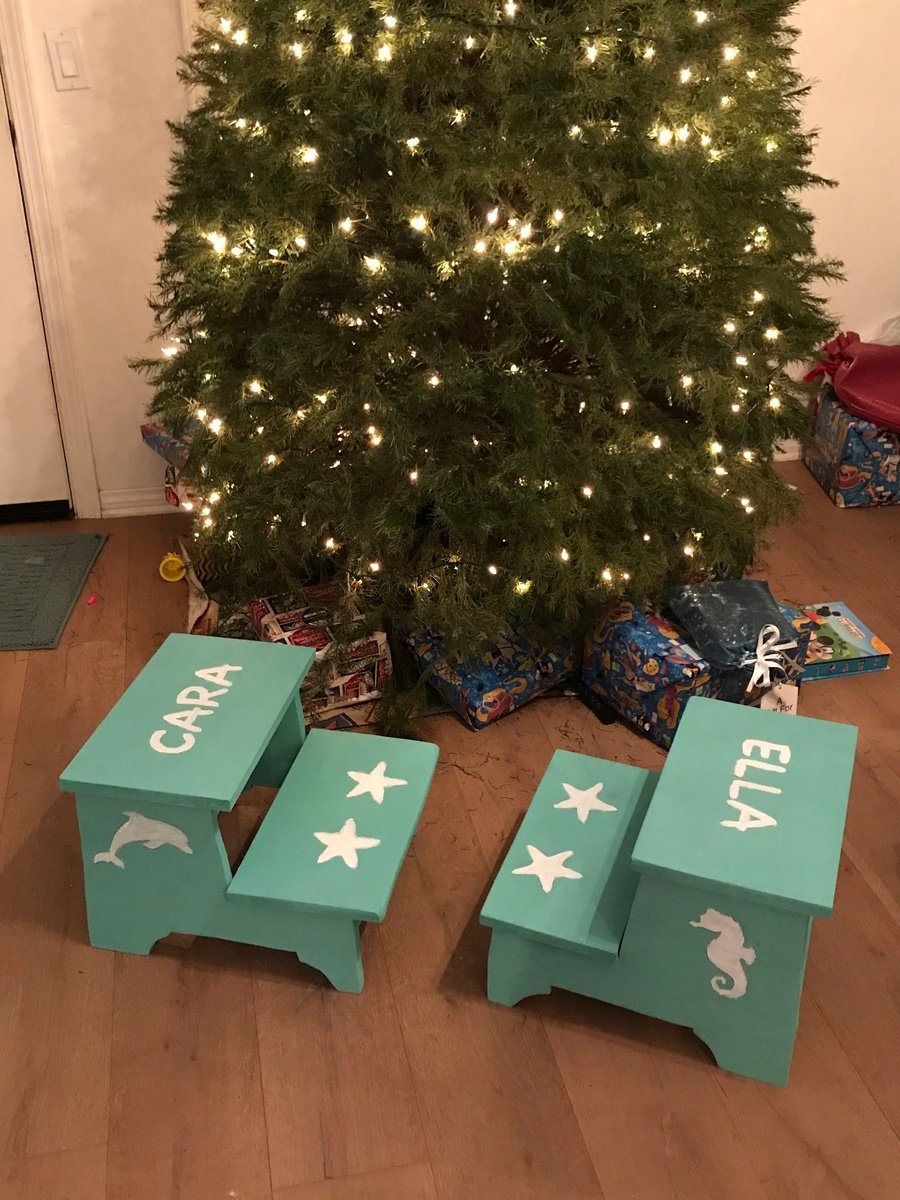
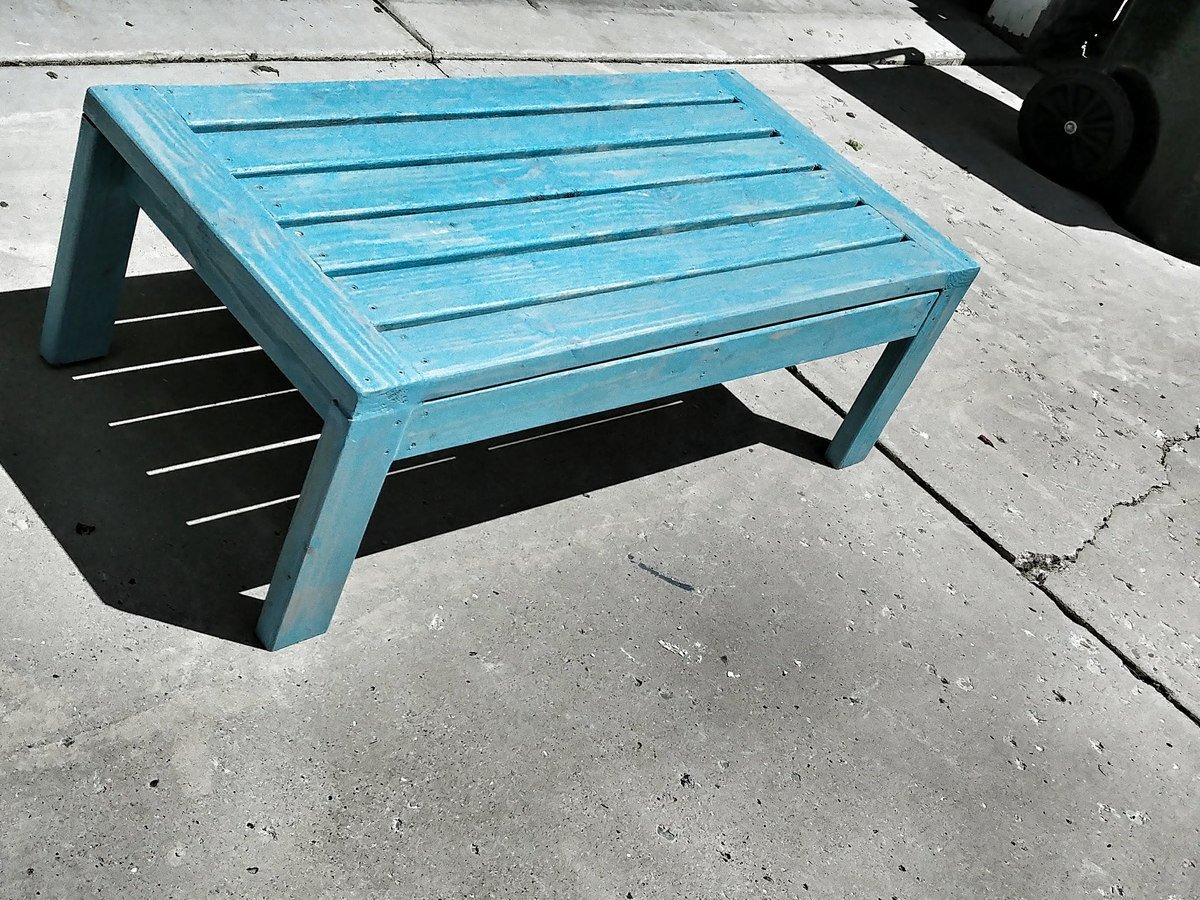
One for each daughter for thier bathroom. I did use a wider board on top for larger standing surface and stability.
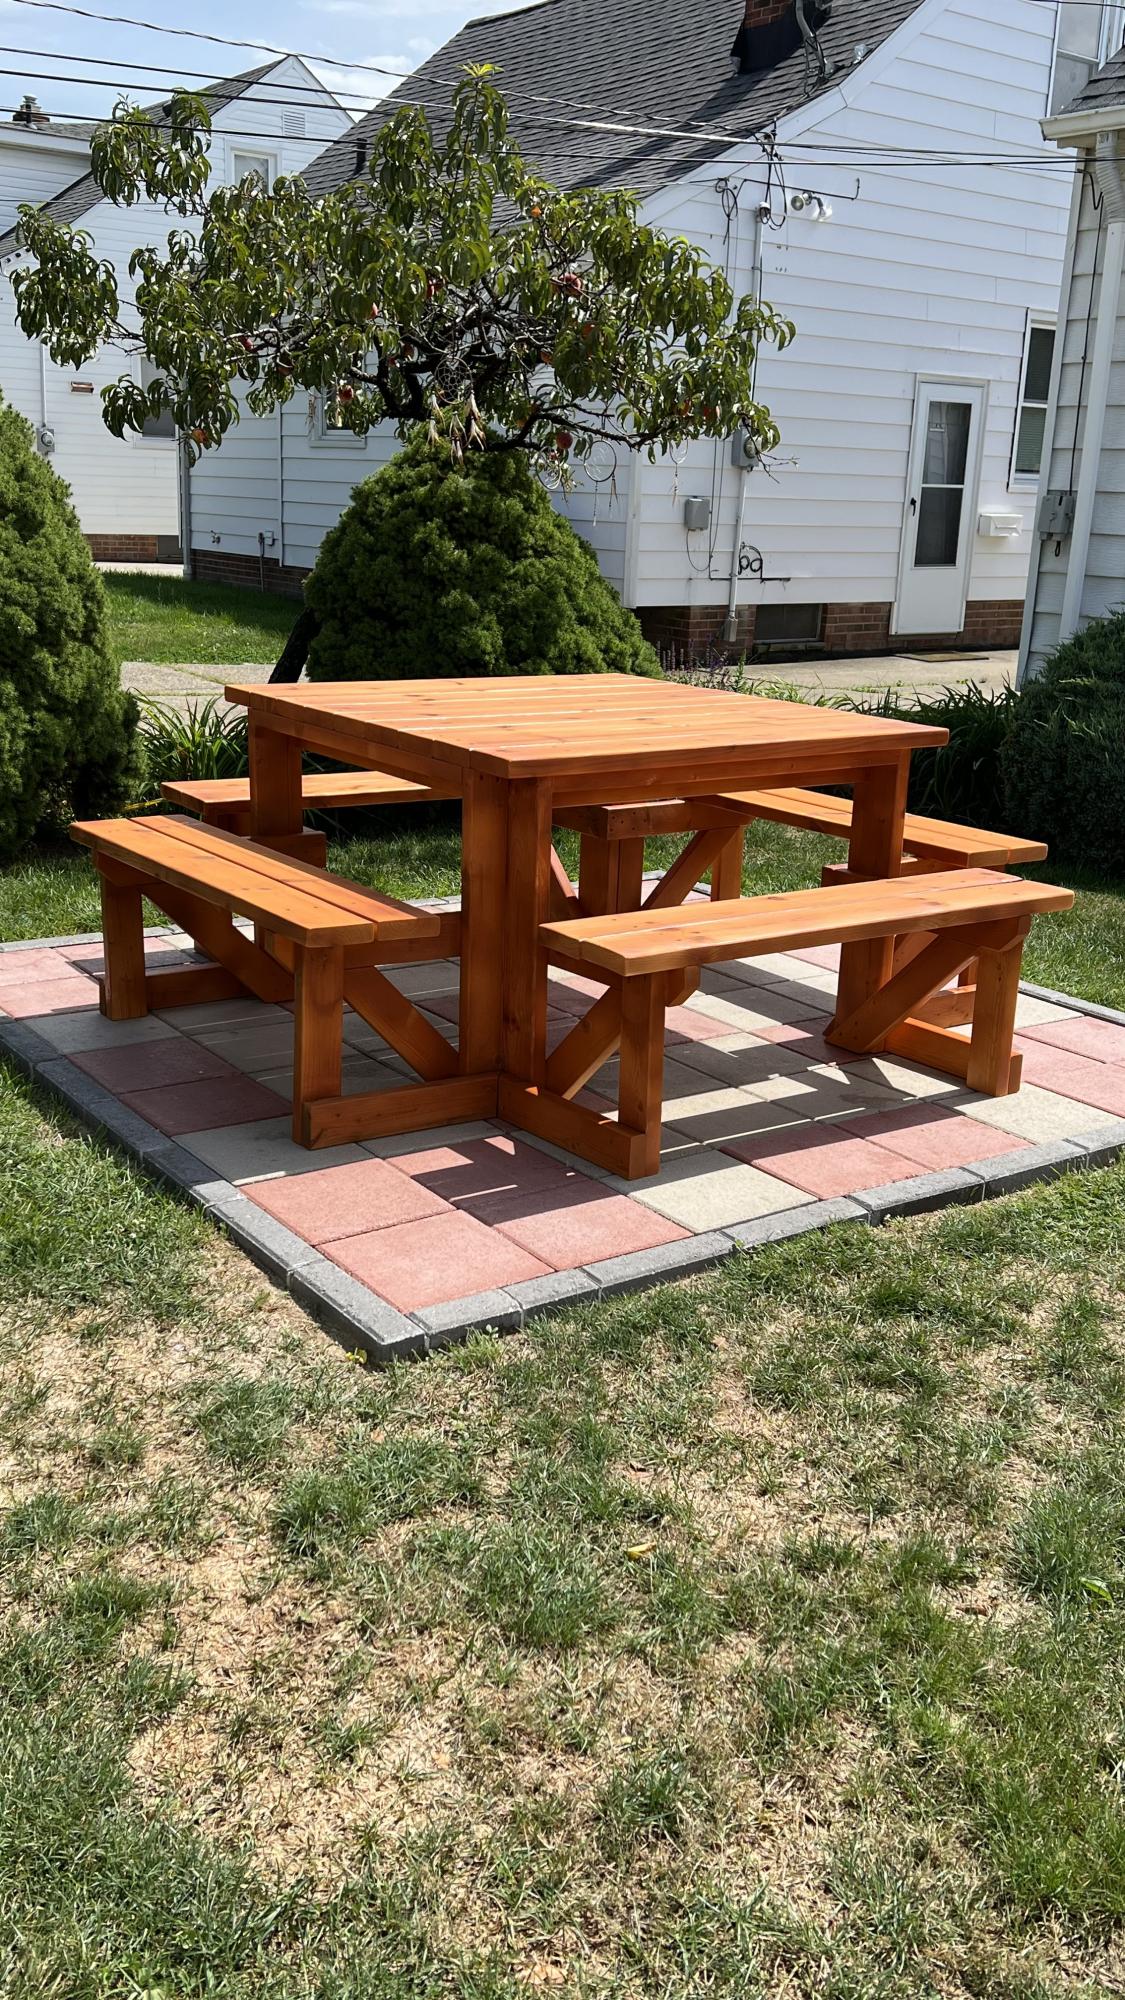
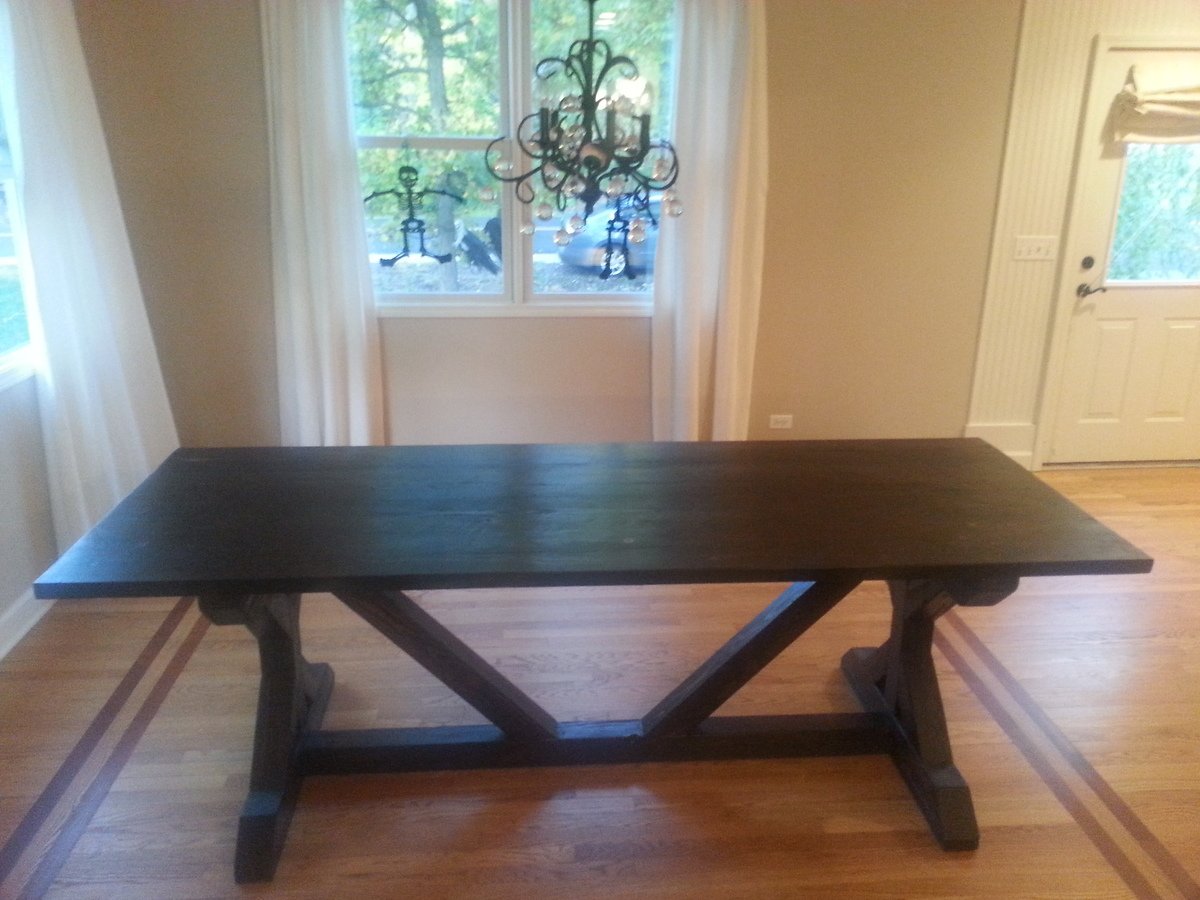
Made few modifications. Added a 9th board to the tabletop to make it larger, horizontal aprons connecting the legs, and seat support. For stain and sealer, I used Olympic semi-transparent redwood. Overall a great project. Thank you, Anna.

Comments
Ana White Admin
Mon, 07/18/2022 - 14:17
Fun and bright!
Love these, thanks for sharing!